Bose Amp with new head unit - simple question

Thanks for the input.

I have just ordered the Pioneer 250 and the Dynamic Sounds (Connects2) fitting kit, which claims to include everything needed.

I am going to get an antenna from Amazon, but don’t know for certain if I need an SMB or SMA connector for the Pioneer.


I think this is the one I need, and accept I may need to make a spacer to fit on the existing rear wing mount to get the angles correct.
Any better recommendations?

Good news. Did you buy the 250 and the fitting kit from dynamic sounds? Ta

Yes. Seemed best price on the few places I checked, plus they responded to a tech question previously in good time, so happy to give them my money.

Reassuring and thanks. :+1:

You may need the male iso harness for the bridge above the amp connector, I had some trouble figuring it out when I done it. Just remember to connect the blue/white lead from the Pioneer wiring loom to the blue/white lead from the connects wiring (circled in white) otherwise the stereo will turn on but have no sound (took me an hour to figure out😂)


As for the aerial, I did look at getting something to fit with the original but decided I did not want to go through the hassle of running all the cables so I just decided to mount this on passenger side windscreen and it has been working well
Hope it goes well and your not disappointed. When you install if there is anything you need to know just shout.:+1:t2:

And it is smb connection on the Pioneer for the dab👍🏻

Hey, thanks for the help!

I am hoping it will be a pretty much plug and play job with the kit. It is described as ‘everything needed including steering wheel control connections’.

I am not cutting the Amp out, simply routing the new head unit into the Bose harness via the Connects2 adapters…

(I have a Powered Hardtop NC, and I think the Bose amp is far more accessible on these than on the rag top, so I may venture into full Bosectomy territory later if I am still throwing money at trying to meet unrealistic expectations! )

I went for the wing mount antenna, which was described as being for the Pioneer, but is an SMA.

Doh!

Will now get an adapter ordered.

No problem. The dab aerial you put the link up for is smb connection in the picture on Amazon!

My bad. The one I ordered, and received today was identical, but for the connector… It is an SMA… Convertor now on order.

It was a 50 / 50, now you know why I don’t gamble…

1 Like

OK, job done.
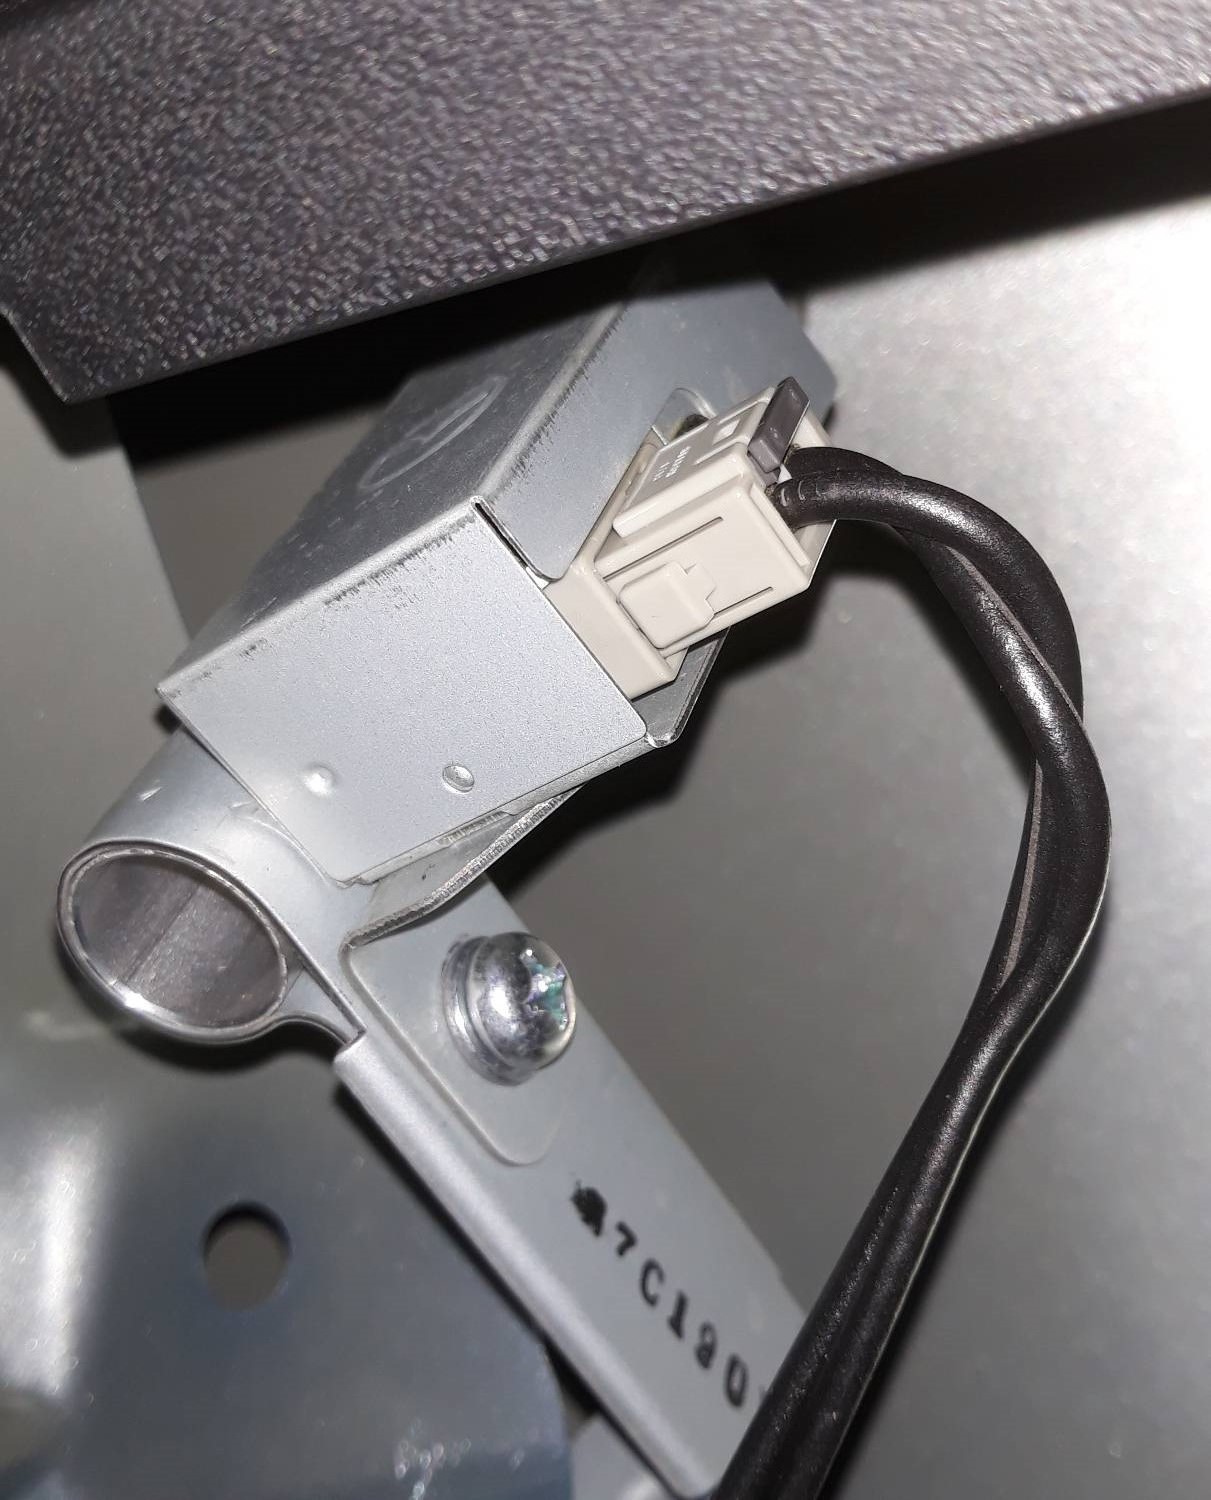
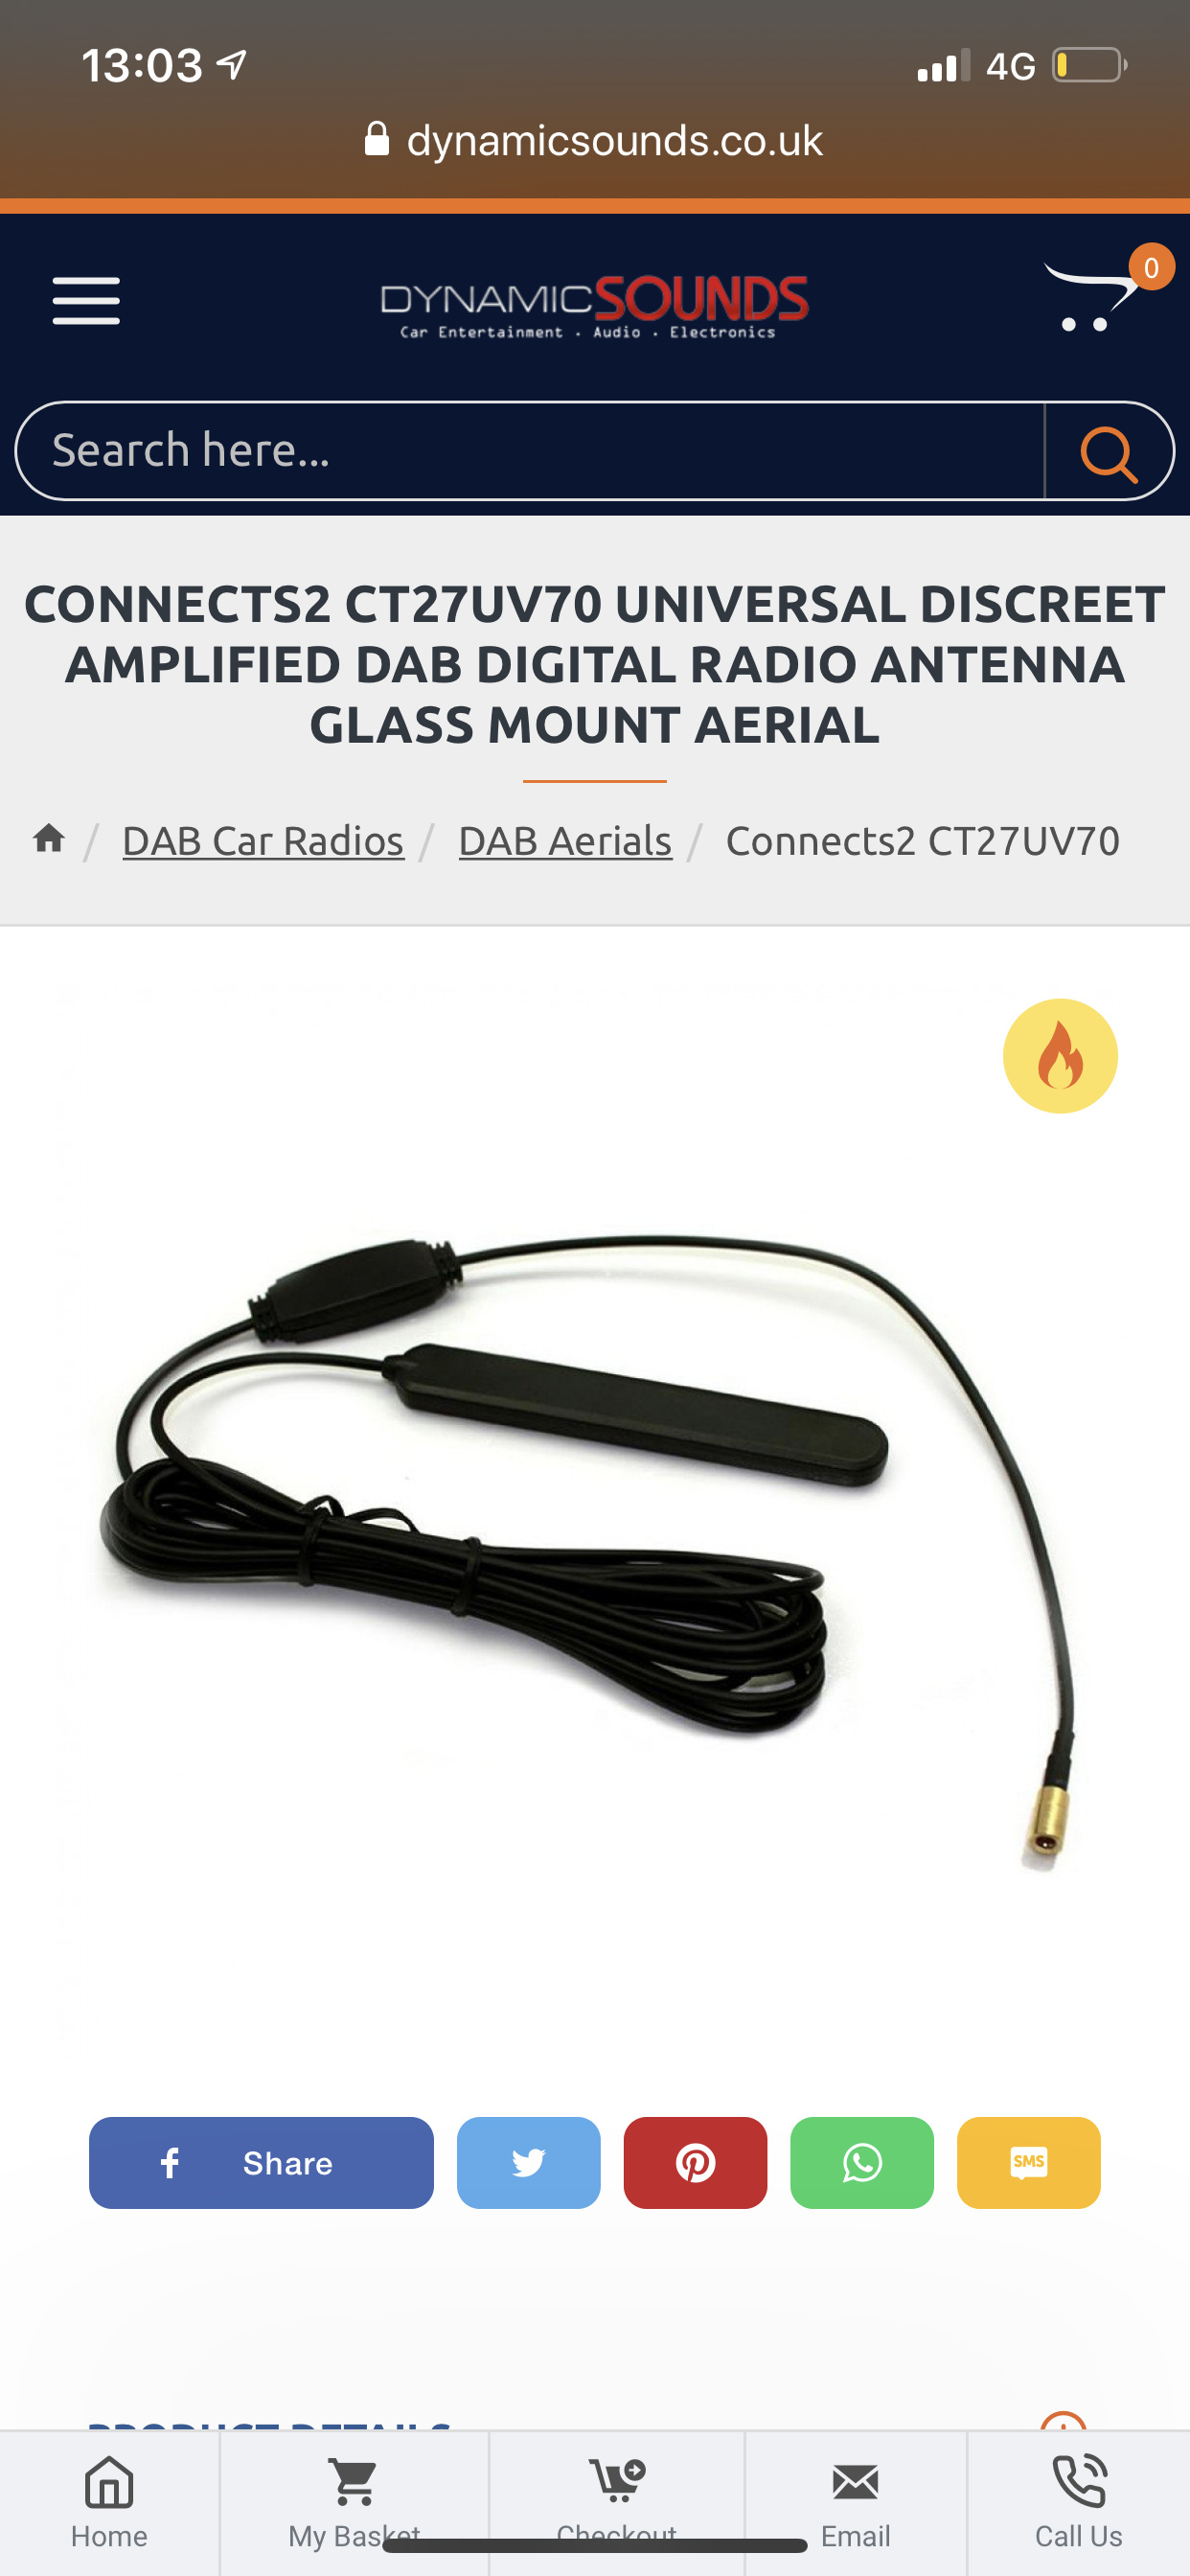
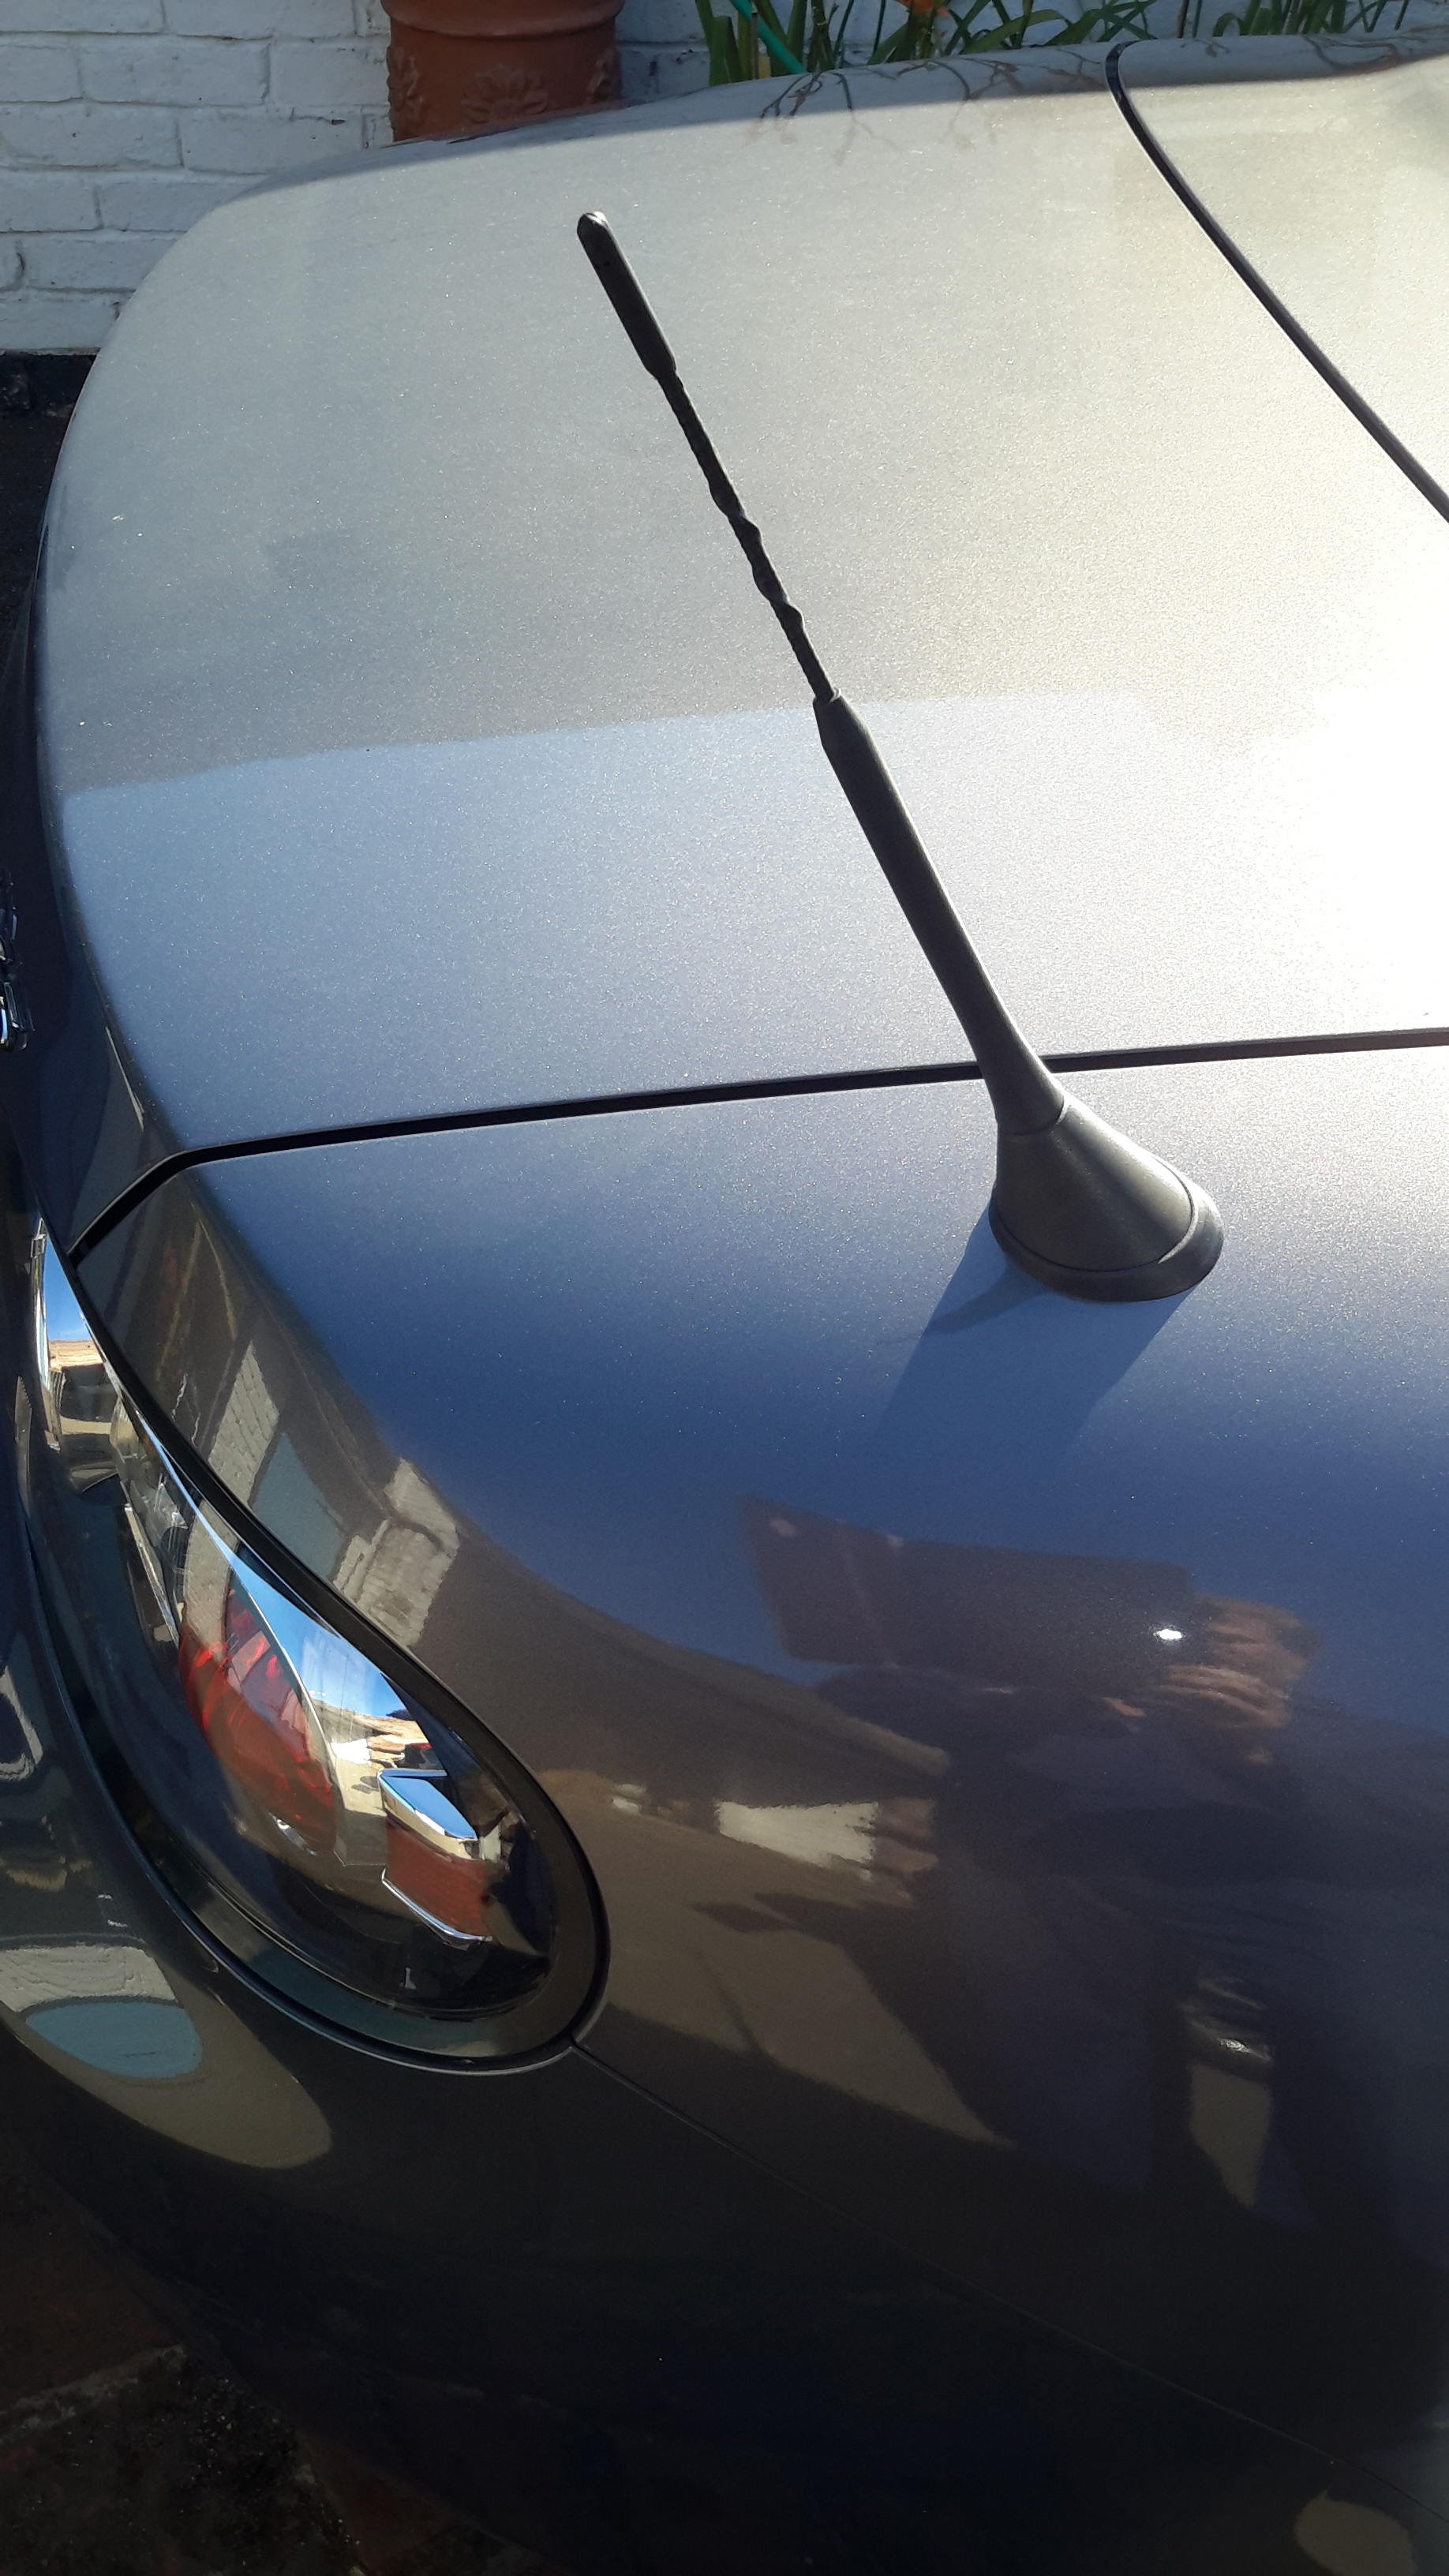
Antenna fitting was first job. I bought a £28 powered roof mount one from amazon. My biggest concern was how I was going to make a flat roof like Base for the existing rear wing hole. Shouldn’t have worried, mounting at a slight angle was all that was required. The old aerial was held on by a lock nut that unscrews from the top using circling pliers, and the under wing assembly held on with one 10mm bolt. The new one has one locknut screwed on from underneath.


Running the cables was complicated by having the powered hard top, but simple enough round the back of the top of the shock absorber, under the carpet, through the gap in the centre above the transmission tunnel and forward past the gear lever. All the trim is easily moved with plastic levers to pop up the rear cover, front coin holder, and the floor panel on the front cup holder to expose the five screws holding the centre consol in place.
I tapped into the power supply for cigarette lighter for the power feed for the antenna.

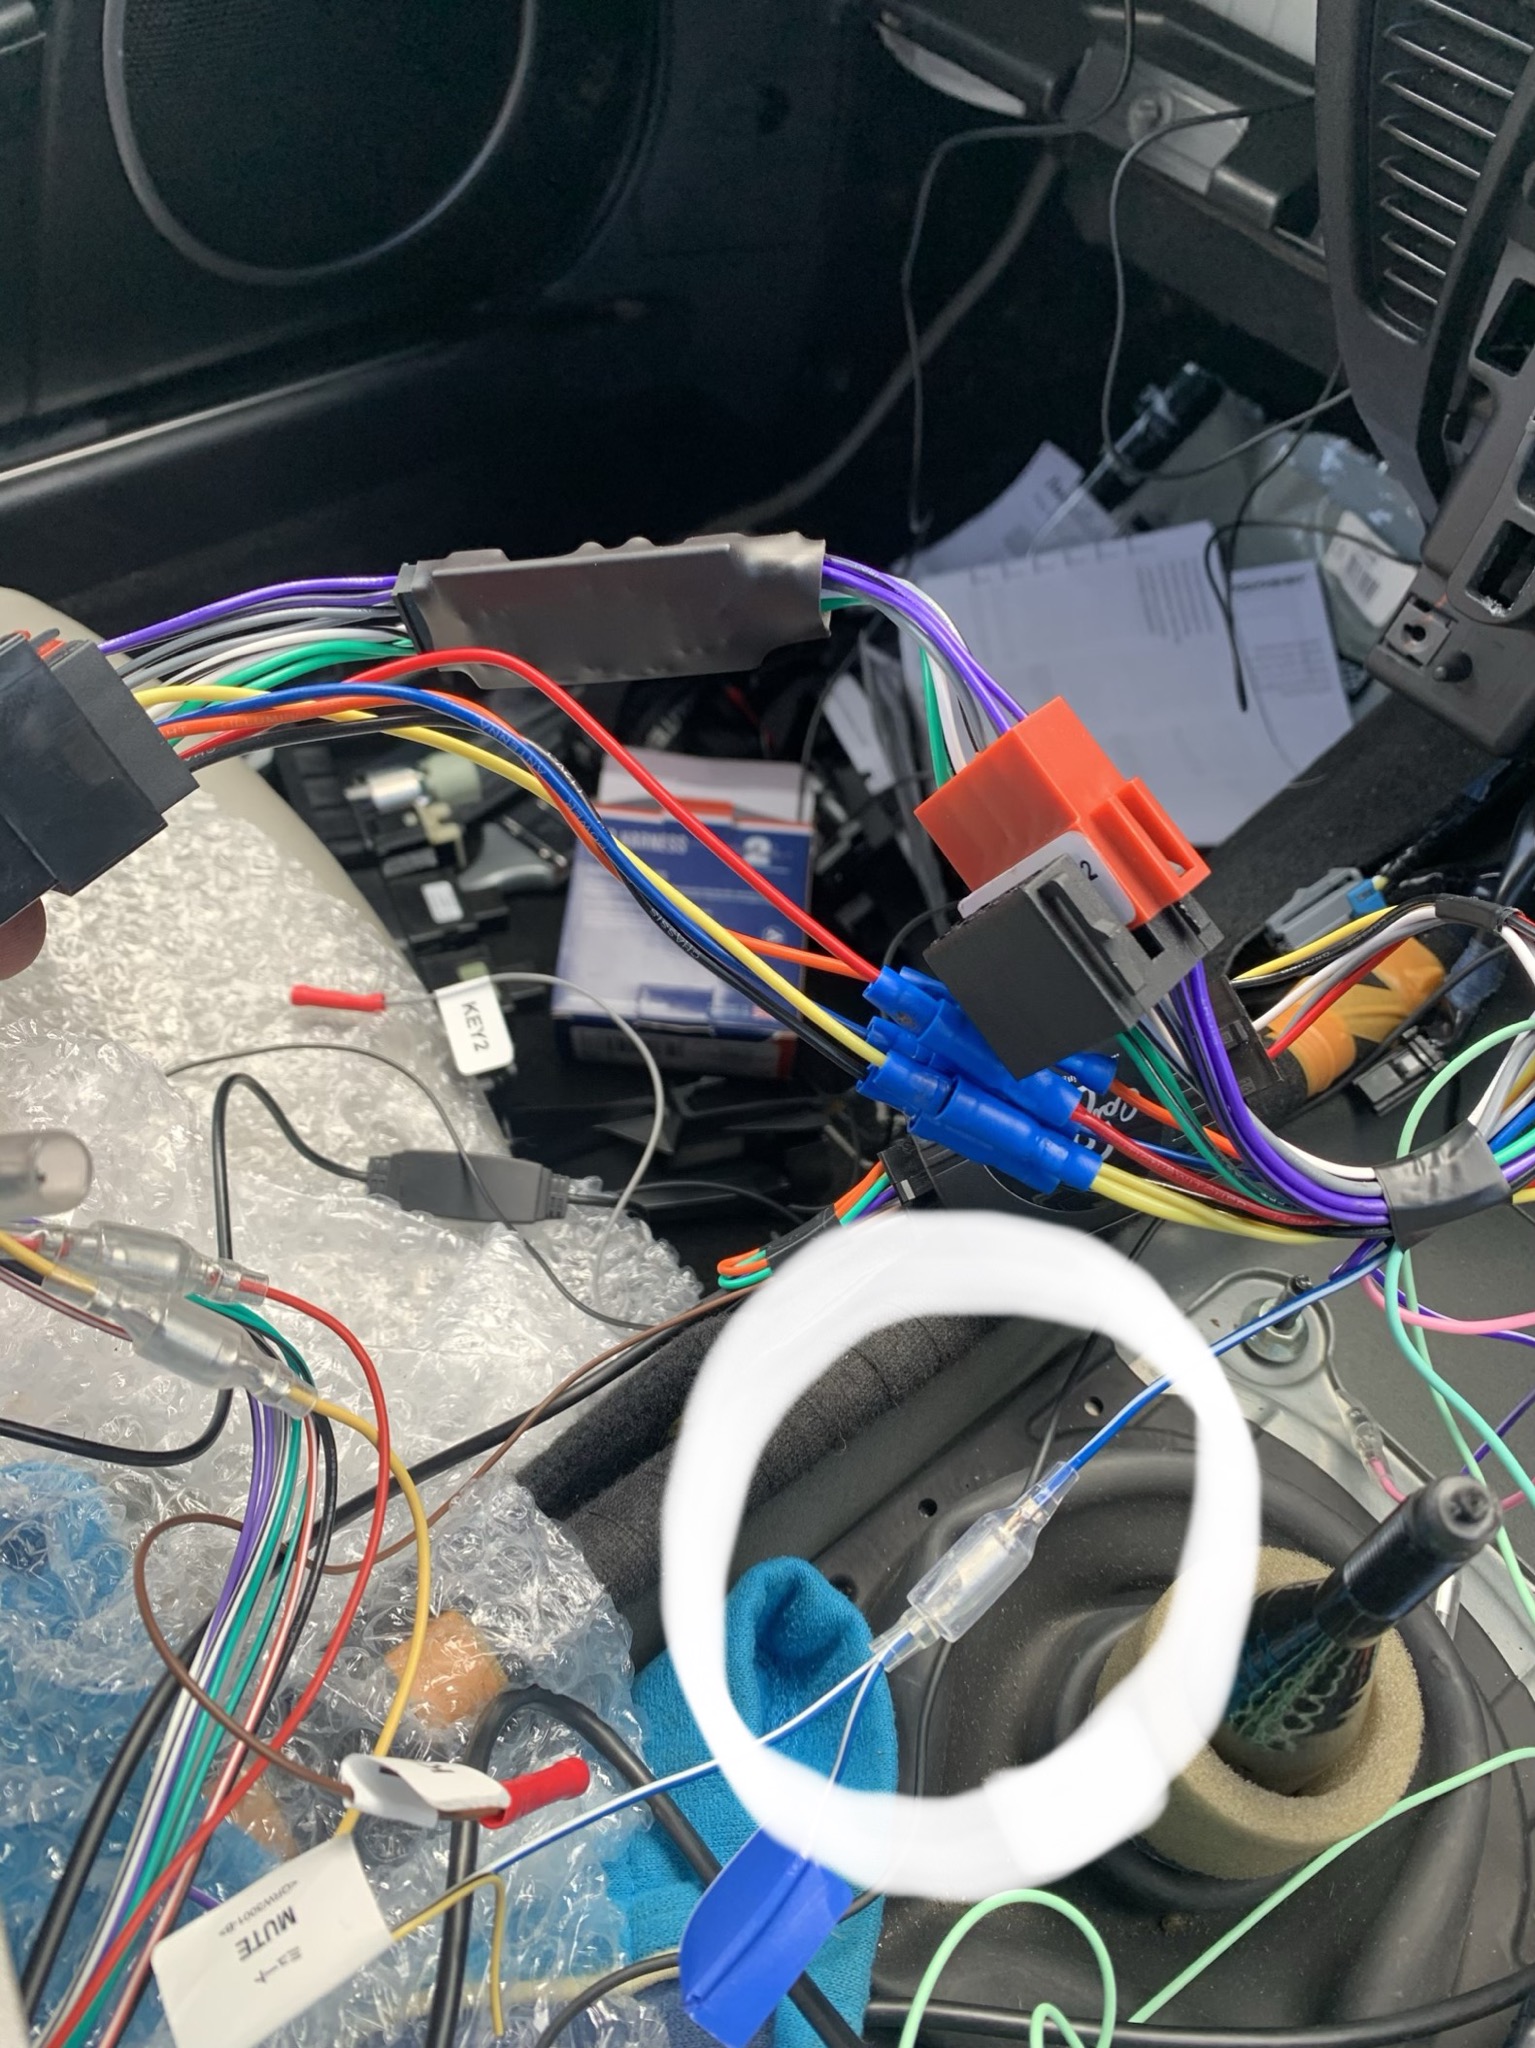
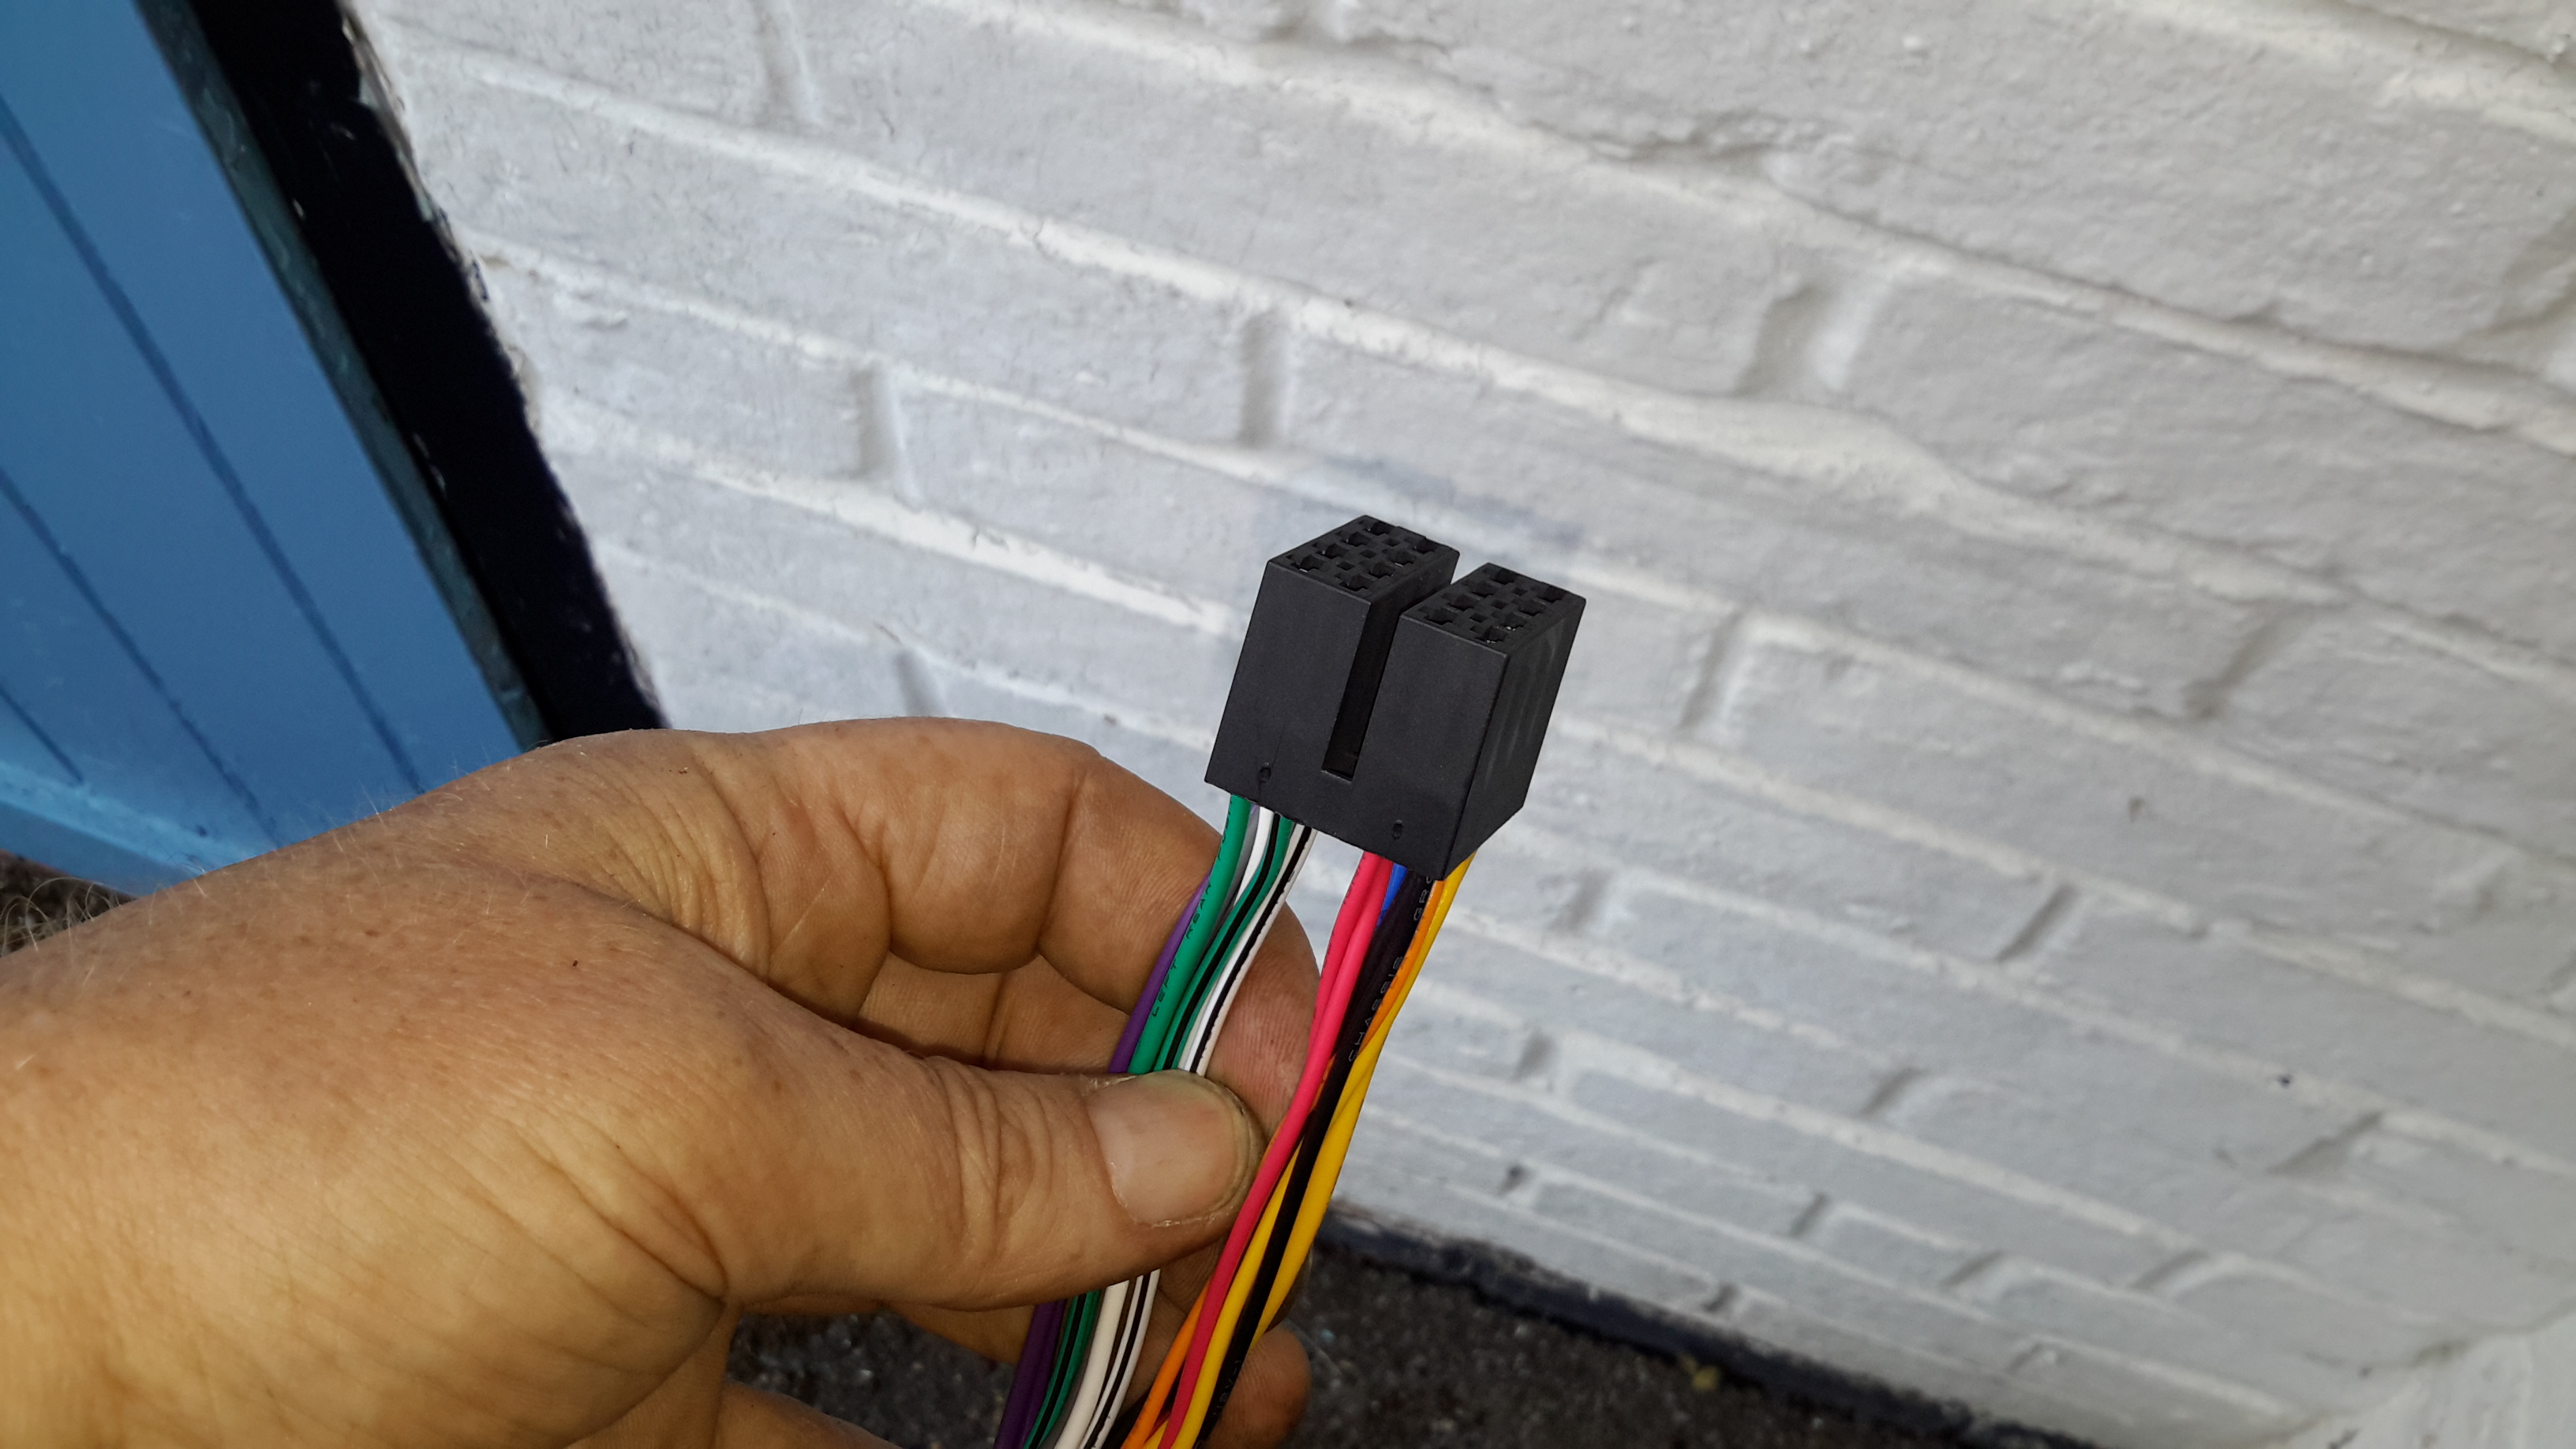
The Connects2 harness was simple enough, and came with the correct connection for the Pioneer steering wheel controls. But… the main Pioneer harness has one block connector, which would plug straight into the single block connector on the Connects2 harness IF you didn’t have an amplifier (Bose) that needed the resister pack to bring the Head Unit output down to Line In levels for the amp.
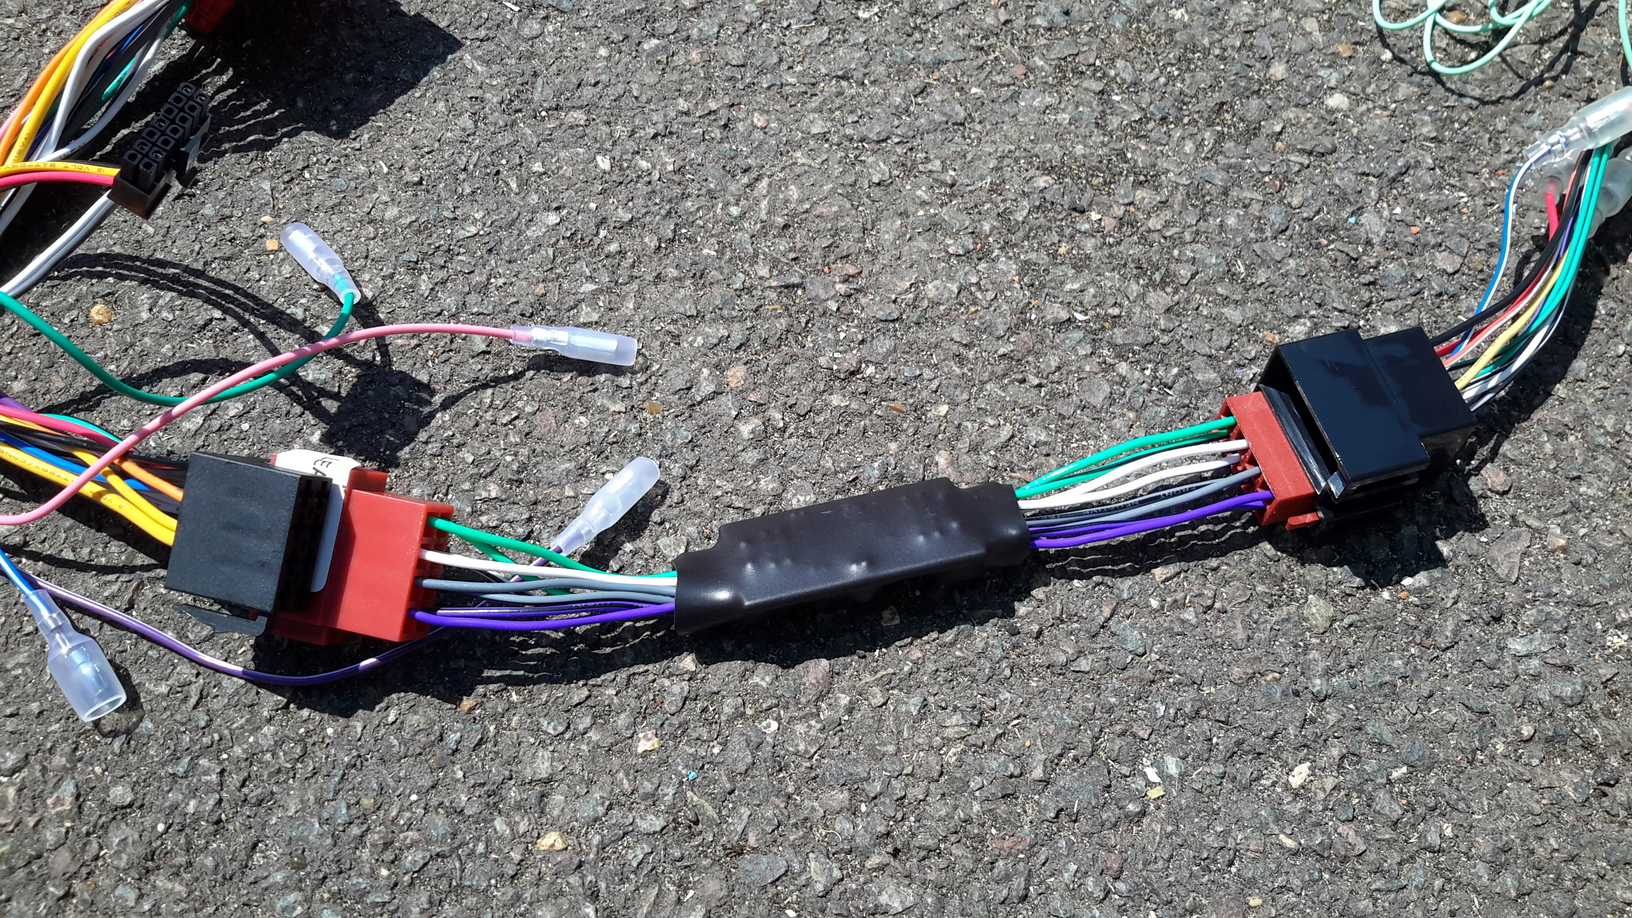
A quick call to DynamicSounds to confirm this, and they agreed the kit doesn’t fit straight on to some head unit harnesses due to this block connector. No biggy, it was easy to cut the block on the Connects2 harness to make it into two separate connectors and then it could all plug in.


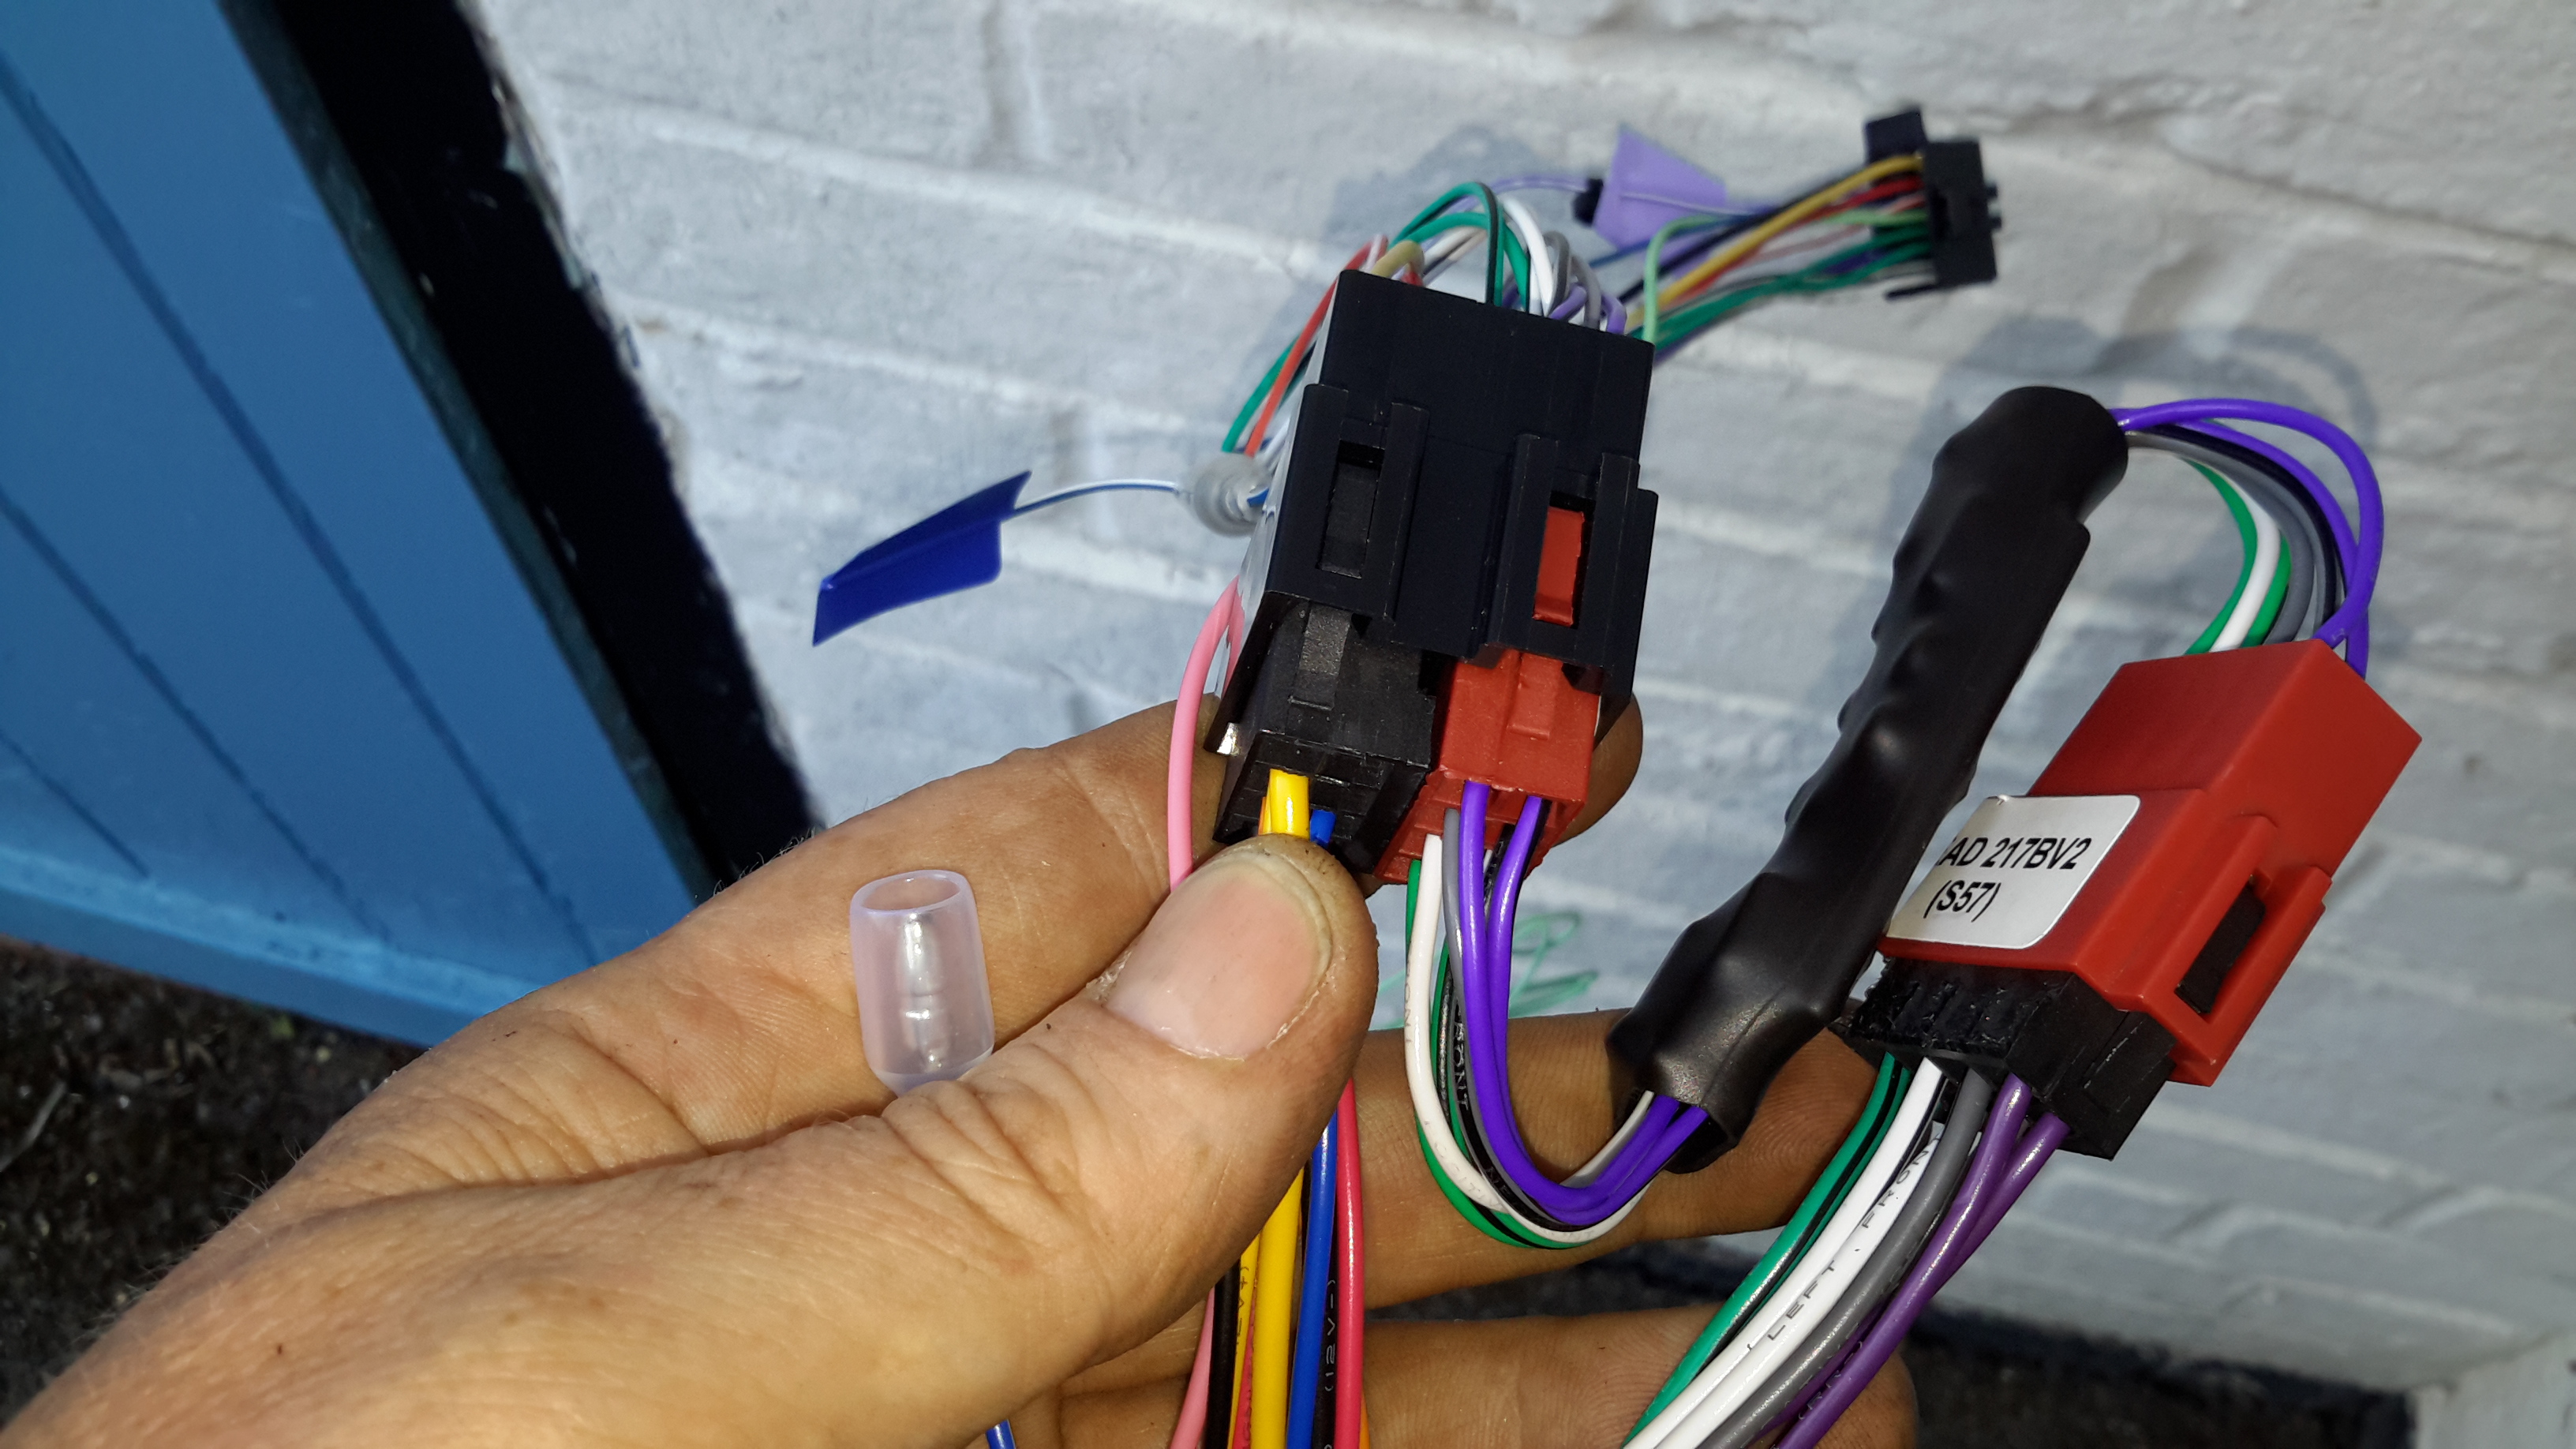
I then had to join the blue wire, clearly labeled on the Pioneer harness to the blue wire on the Connects2 harness, which came with bullet connector ready to join up. Fortunately I had some cable and a connector I could use to make the connection.
The Pioneer harness also has connections for reverse, to tap in to the reversing light to use as a trigger for rear parking camera, but I left this unconnected as I don’t have a camera.
And a green wire to tap into the handbrake wire, so the device knows when you are parked which unlocks functions, such as video play back, which are not safe to use in motion. Internet wisdom says you can simply ground the wire as a bypass, NOT TRUE, on older systems maybe, but this needs a signal. The green wire is plenty long enough and has a squeeze together clip to make a connection with the single cable that runs to the handbrake switch.

Microphone. This is needed for making calls, as well as controlling the Google Assistant in Android Auto. It comes with plenty cable and is advised to clip on to the sun visor. In an open top car I thought this would be too noisy a location and simply stuck it on the dashboard with the provided 3M double sided sticky pad. I ran the cable straight back and under the dashboard mounted speaker, filing a small groove in the speaker to not pinch the cable.

USB. I cut a hole in the cup holder in the centre console and fed the cable from there forward. I plan to make a better cubby hole space for my phone replacing the cup holders, and will make a tidier job then.

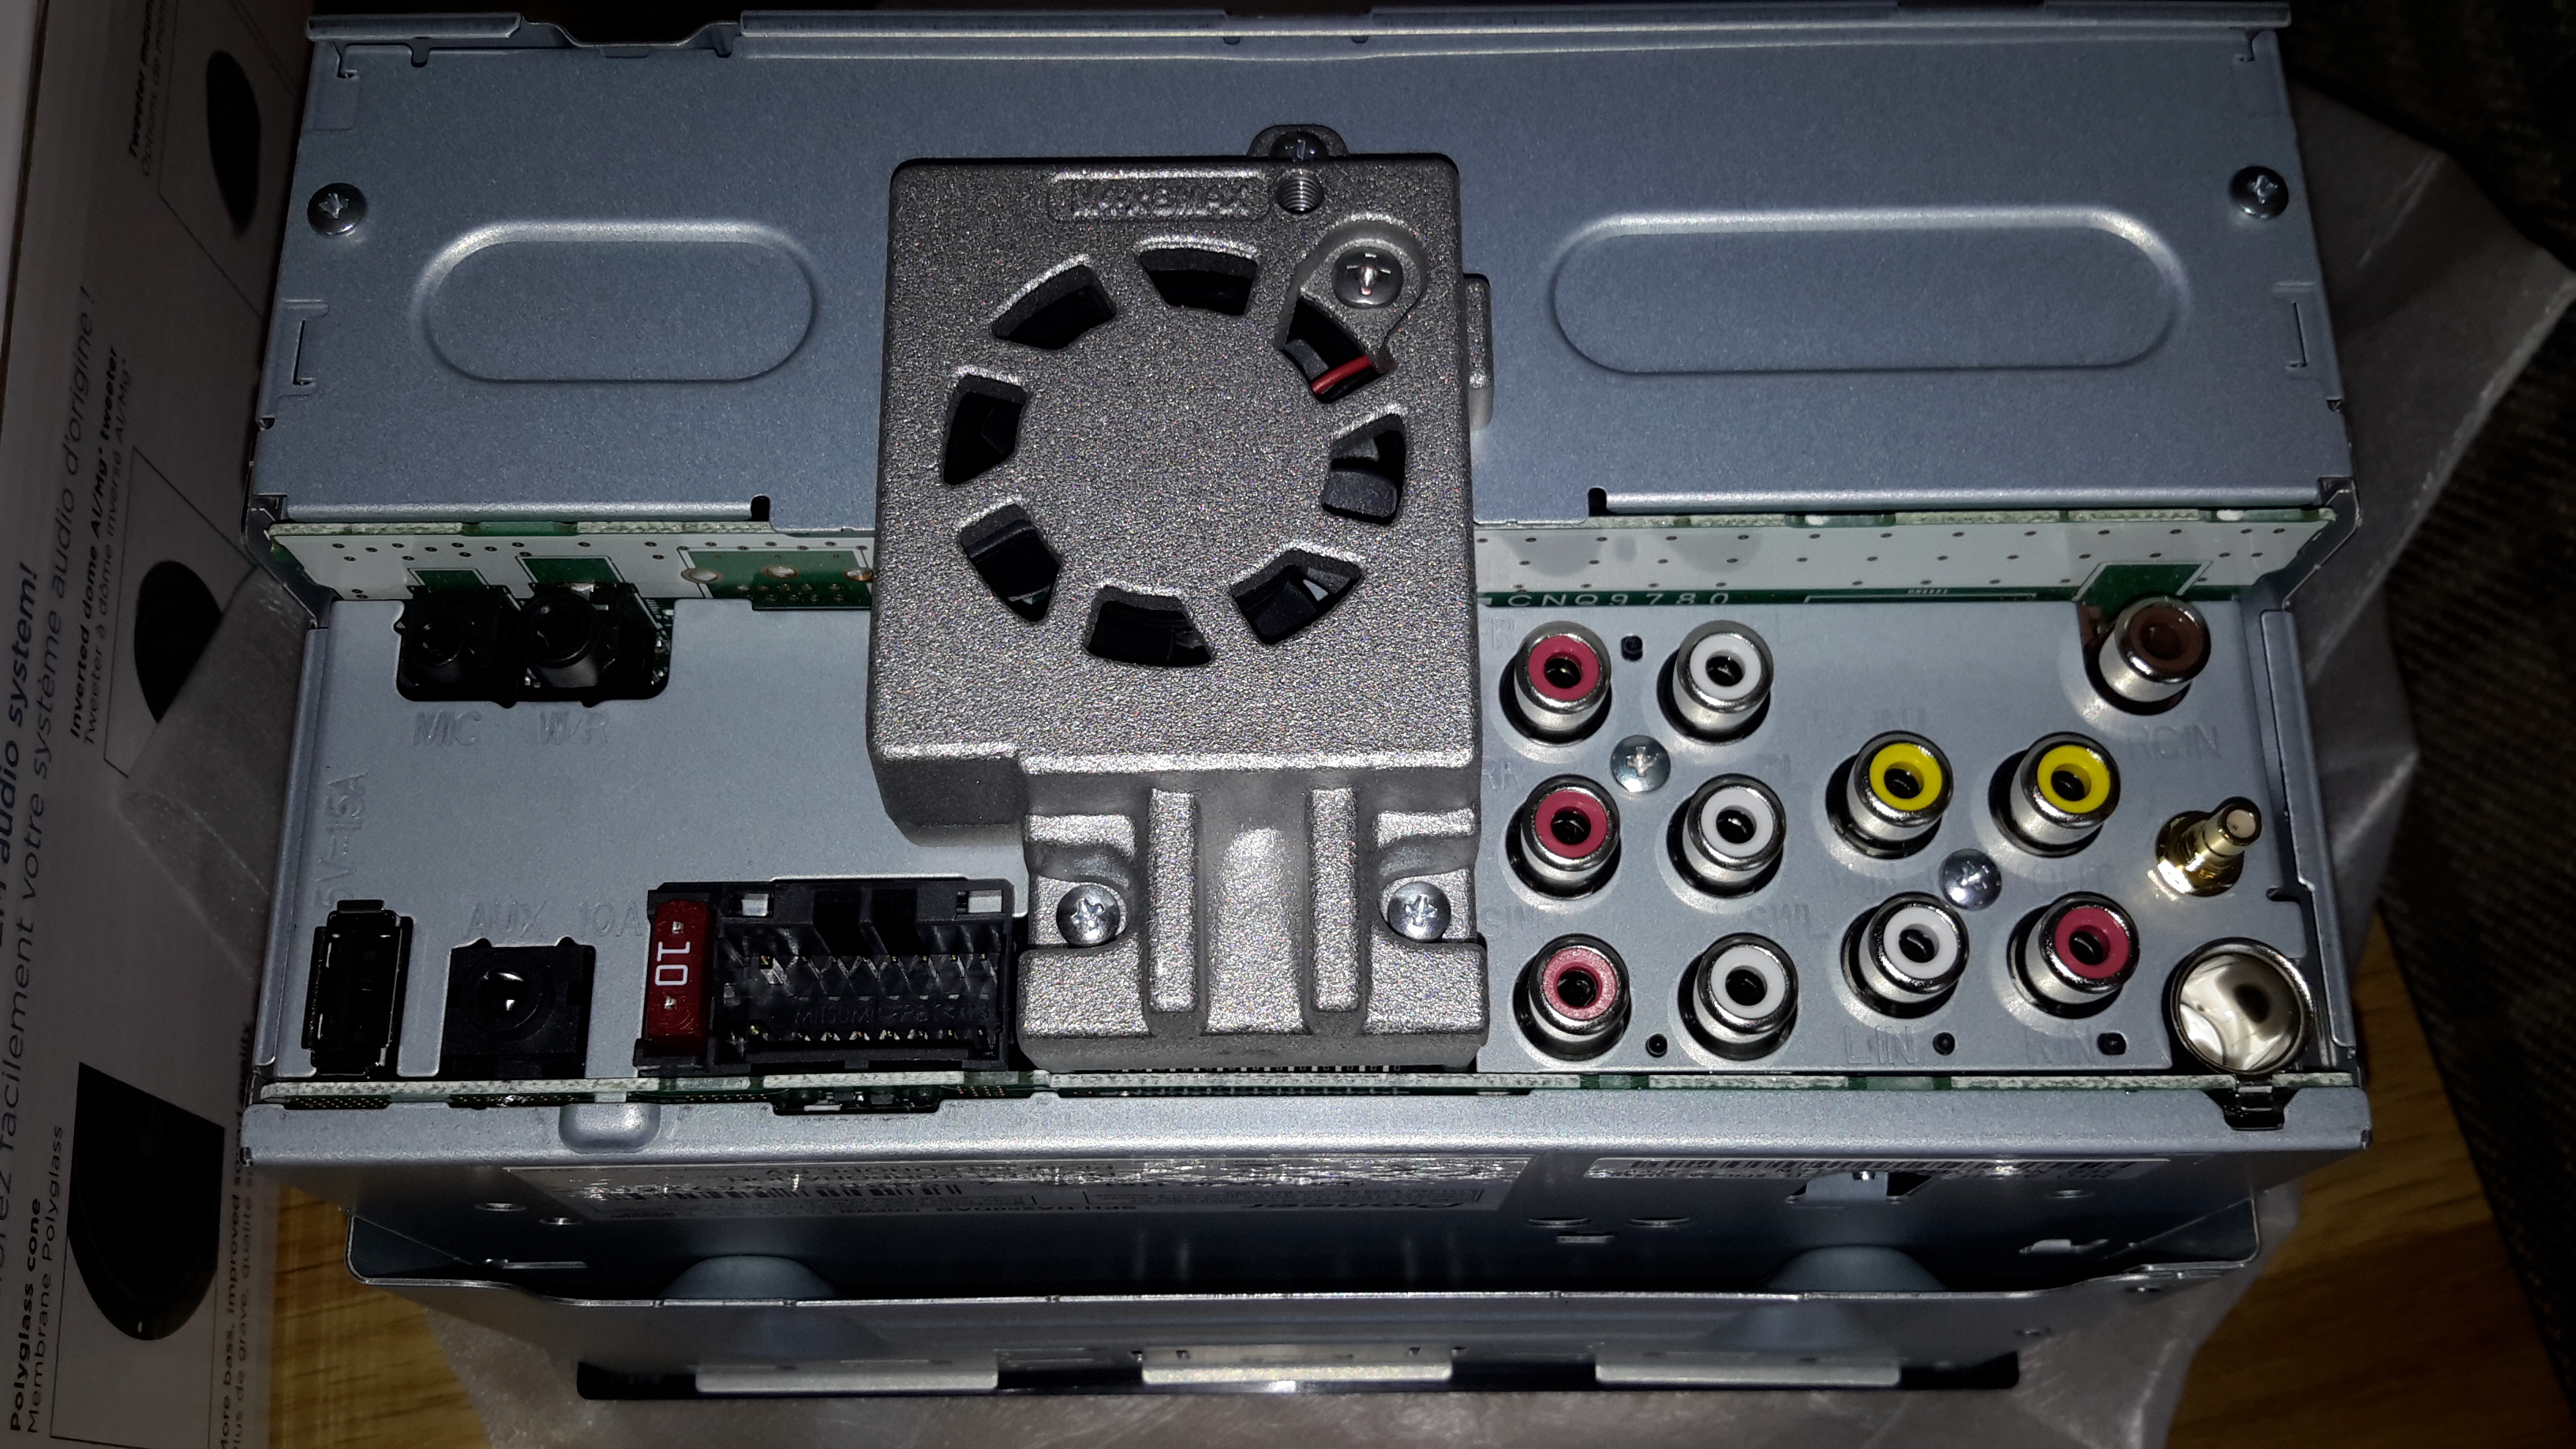
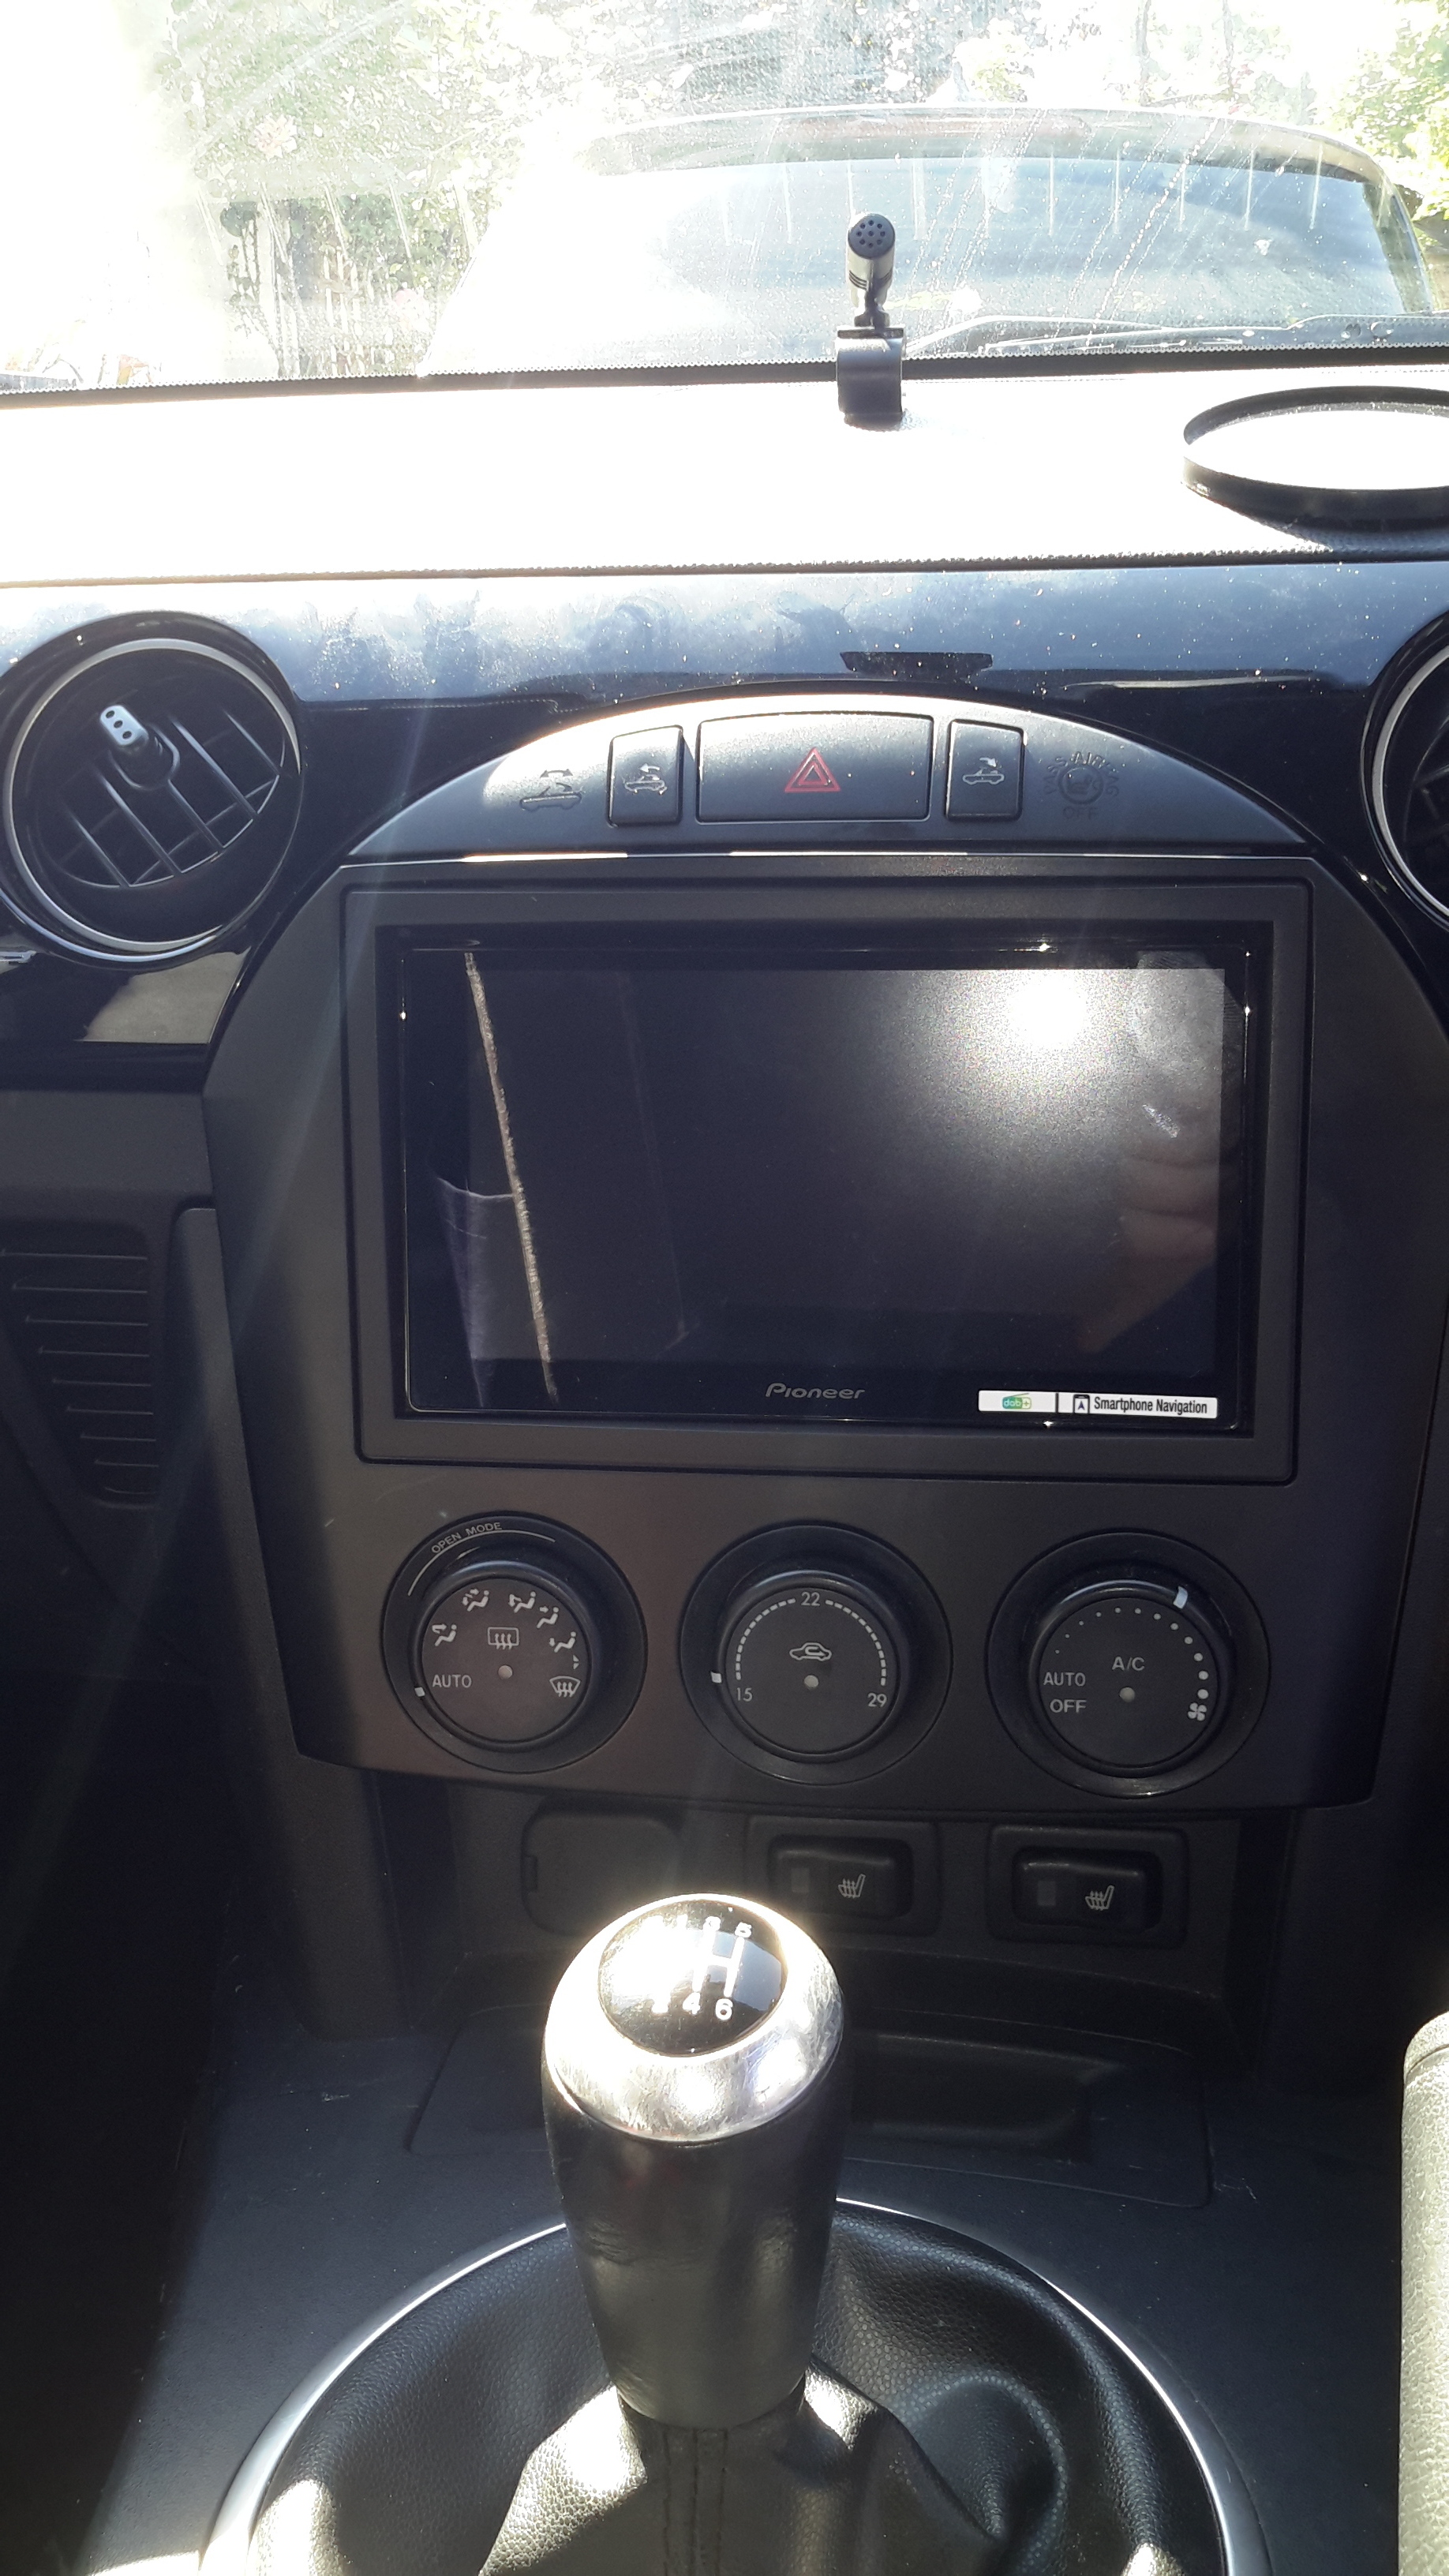
Now ready to fit the new head unit. The new plastic kit was four parts, front, two clip on sides, and a press in screen surround. I wouldn’t say it was flimsy, but is not as robust as the standard kit. For the money, no complaints.

Fitting the head unit in was frustrating, it needs plenty clearance to fit and with all the connects2 harness, plug in box for the staring wheel controls and the amplifier resistance pack getting in the way it wasn’t a two second push in and tighten up. At this point I was wishing I had bought the Sony AX3005 head unit which is only half height at the back, and also not full depth. That would have been a breeze.


The Pioneer is fine, but getting all the cabling out the way as it gets pushed in is bothersome. You need to have enough slack on all the cables to get the unit in and out, so it is hard to be neat with routing. And once in, when putting the screws in each side, the top of the trim that locates into the back of the hazard light surround kept popping out. Eventually I got it to stay in, but think I will open the holes out a couple of millimeters to remove any strain. I will only do this if I the locator pops open when bouncing around on the road. It might be OK as is.

Next refit the centre console, and drive. Except my power hood didn’t work. And then the flashy red warning light for the hood wouldn’t stop flashing… I was thinking what sensor could I have damaged routing the antenna cabling? Then it dawned on me that in my haste to refit the centre console I had forgotten to reconnect the power windows, and the hood moves the windows when opening or closing. So console out, connector attached, console in, test, and smile.

The sound is where I want it to be, the connectivity to my phone gives me Deezer and Amazon music all controllable by voice, even at 60mph+ top down. My Focal woofers massage my calf and thuds the small of my back. It is good enough for me, so will not be looking to swap out the Boss amp, or feed it with a home made PreOut harness. Really quite pleased.

So why the Pioneer if the Sony would have been easier to fit? I would also have preferred physical buttons which are a lot easier to use than a touch screen. But the Sony is approaching end of life, and the Pioneer is this year’s model. That means compatibility with phone technology is more assured with the new kit. That was the bottom line. The physical button issue is mitigated by having the steering wheel controls, so I don’t see too much of an issue going forward.

5 Likes

Hiya, great write up for anyone wishing to upgrade :+1: having done a couple myself both Bose and non Bose, I relived the moment where I too forgot to connect the window switch and also getting all the wires stuffed back in! :nerd_face: well done, enjoy your new head unit!

Barrie

Thanks. But thanks also to everyone else higher up the thread and in other threads that greatly helped in the research and procurement. Much appreciated.

Great forum this.

2 Likes

Now I remember why I picked the JVC, apart from the capacitive screen it was the short body enabling ease of fitting of the wiring. Been there with all that wiring on my last install, it went in just.

May need to pick brains on the aerial. Not looked at it yet but is the standard aerial powered on the NC as in it has a signal booster? How does that work with the one you fitted? I need possibly to find another DAB aerial, having said that mine seems to be ok ATM, my area rather than the current set up me thinks.
Great write up BTW a great help for future fitters who have Bose👍

Standard aerial is not powered on the NC. The NB I used to have had an electric motor to raise and lower, but again not powered as in not amplified.
DAB needs an amplified signal, but some head units, the Pioneer included, have an option to provide power to the aerial, but I think this is low voltage via the coaxial shielding to a dedicated DAB window mount type aerial.

I don’t know if the external aerial is better than the window mounted ones, but reading the reviews on Amazon for the 12 volt ones is nothing but positive, with every other post saying ‘Had several glass mounted ones and they were all rubbish, should have got a proper aerial ages ago’. And at under £30, not a huge investment.

1 Like

Also should have said, the standard aerial is removed and replaced with the new one, which has two leads, one for DAB and the replaces the old FM/AM one. Plus the 12 volt supply. Make sense?

1 Like

Yes that makes sense thanks.
I bought a stubby mast a while ago (looks neater) here’s hoping I can utilise that if I decide to go with that one in the link you posted.
More testing of DAB signals tomorrow, I’m up in the Peak District.:grin:

Maybe…

With the new DAB aerial, my car gets better AM reception if I stand next to the car and hold the aerial. That didn’t affect the DAB reception.

I then tried my old aerial, the screw in top part, screwed into the new DAB amplified base mount. This improved the AM performance, but made DAB unobtainable.

So my guess is your stubby aerial won’t work for DAB. But only a guess. Maybe you can buy a stubby DAB amplified aerial, I know you can buy shark fins etc.

Really?

The standard NC aerial (including mine) has 12V (blue wire from head unit) to the rf pre-amplifier in its base. A well known problem is people not connecting this blue wire when changing head units. However, being carefully tuned for FM and AM, the original rf pre-amp and antenna are both useless for DAB.

The inserts in the Mazda plug can be extracted quite easily, if you know how… Then you only need to add the new aerial and the DAB coax to the car, and splice the FM (preferably with proper coax connectors) and power to your new rf pre-amp.

pic of NC aerial amp and connector, two wires moulded together, one for coax, one for power.

1 Like

Just checked mine, and yes the conector is the same as the picture. I guess I thought it was then fed into a coax cable. If one of those is a 12v feed, then it would be a lot easier to take the power off there than tap into the cigarette lighter like I did. I didn’t check for voltage, but assume you are correct.

Thanks for pointing that out, may help the next person.

Great write up and I am really happy you have got the sort of sound you hoped for👍🏻