Happy New Year all,
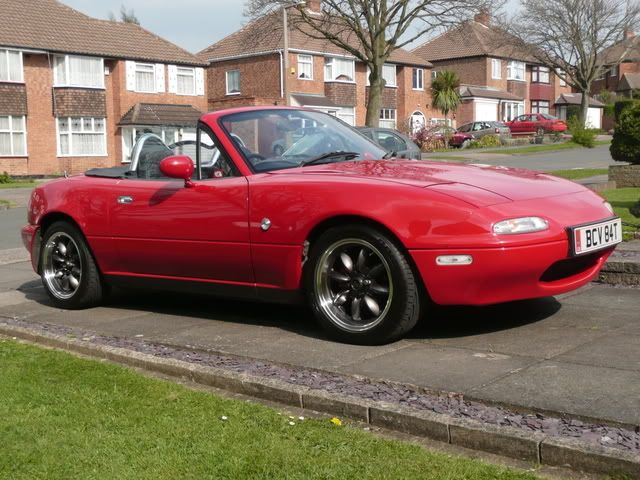
Here I go the first detailing of the year is upon me, and after the induction kit and chrome fuel cap have been installed by Santa I feel she is worth the effort.
I wouldn’t say I am the greatest detailer, by any stretch of the imagination, I think alot of it boils down to time and patience! the later I have plenty of the time part weekends are spent tending to her needs.
I have a few pointers in here which maybe of some use to people, others may already know these.
Lets get going shall we,
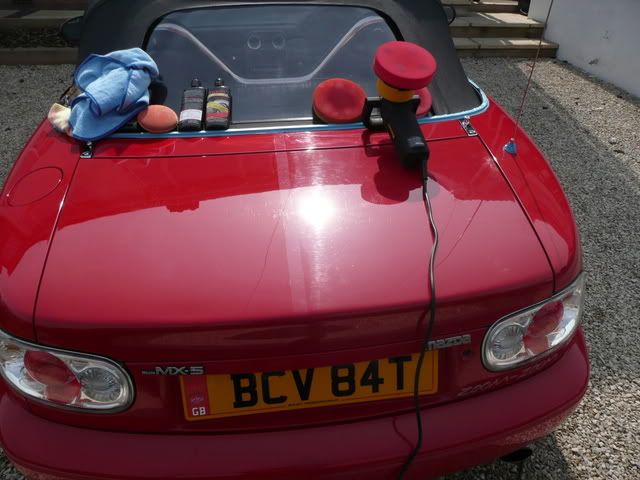
Equipment
2x Buckets of Water (one hot one cold)
1x Sheepskin Mitt (tip #1 worth its weight in gold!, much better then a sponge, can be washed, and doesnt hold grit etc)
2xMicrofibre Cloths
2xMicrofibre Pads
1xClaybar
Other bits will be mentioned throughout but the above is a good start for anyone.
Step 1. Cold Rinse the car, especially if its been a warm day, park in shade and use the cold rinse to get rid of surface dirt, bird droppings, flies etc.
Step 2. I use AutoGlymn Body Shampoo added to warm water, apply using sheepskin mitt and feel the benefit  - Rinse using Cold water to rid of any suds etc
Step 3. Chamois Leather and dry the body work, make sure not to leave any water spots these are a pain and only made worse later on in the process.
Step 4. Once the car is dry my favourite bit and tip #2 start up the car and give her a blast around the block, this will ease out any other water that is hiding in the headlamp recesses (i hope thats correct) and my favourite the water that lurks near the reg plates! - same as before dry this off with the leather and hey ho good to go!
Step 5. run your fingers over the paint work, if you feel slight bumps then use a clay bar…so Clay your paint next. Meguiar’s do a clay kit with Quik Detail (QD) spray and white clay, a good video link to see how you apply it is on Youtube. Have a mooch! - Dry the spray using a Microfibre Cloth and ready for step 6.
Step 6. This is my new step, using the dodo juice pre wax cleanser (ebay can be a good place to pick this stuff up from) to clean the paint work ready for wax and polish! - using a small amount per panel and i microfibre pad apply leave to dry to a haze and buff out using a MF cloth or a polishing mitten (Halfords do a reasonably priced one!) – this Like the claybar step is pretty labour intensive! - However Dodo juice smells of lime and I like limes so me I just dig it!
Step 7. Another additional Step from my previous and from reading other links about detailing, I then apply Klasse all in one (look at Motor Geeks website for reasonably priced goods), AIO contains a very mild cleaner which will help to remove and cover any fine swirl marks in your paint. PERFECT for my 03 model! shes getting on a bit! — apply in straight lines with the bodywork NOT in circular movements, this will just emphasize any swirls which remain!
buff off with a MF cloth for a brilliant shine and a seal which should last 6 months or so. If you are really keen you can layer Klasse – just wait 20 mins or so between coats… this however doesn’t smell of lime so only one coat on mine.
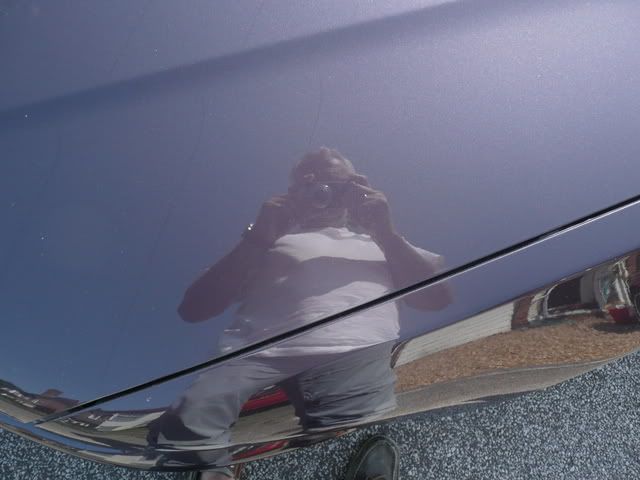
Step 8. From a protection standpoint, you could stop here. You should have a very nice shine at this stage. However, and particularly if you have a dark colour, you can get that really gorgeous “wet look” gloss by applying a pure wax on top of the Klasse. I use Dodo Juice natural Vanilla Wax — hmmmm vanilla — Apply using a MF pad and panel by panel dont leave to dry / burn on to the body work, leave for a few minutes then buff out! This stuff sets like concrete and my o my looks the bee’s knees
Step 9. Tip #3 Have a Quik Detailing spray in the boot and cloth and whenever a bird soils your car a quick spray and wipe — bonza all pretty again.
The above should last a good 6 months easy! Klasse generally will last 12 months for water and salt resistance. However I do get addicted to the cleaning so every 6 months I detail her.
Hope this is of interest to anyone and something which people can use as and when they require. I’m close to thinking of doing detailing in my spare time!
All the kit, polish, waxs etc does cost a wee bit, but build it up month by month, and no need to go out and buy everything AutoGlym or Meguires there are some really good cheaper products out there, especially for leather cleaning internally! — I wont go into this now! LOL
Kind Regards
Mat
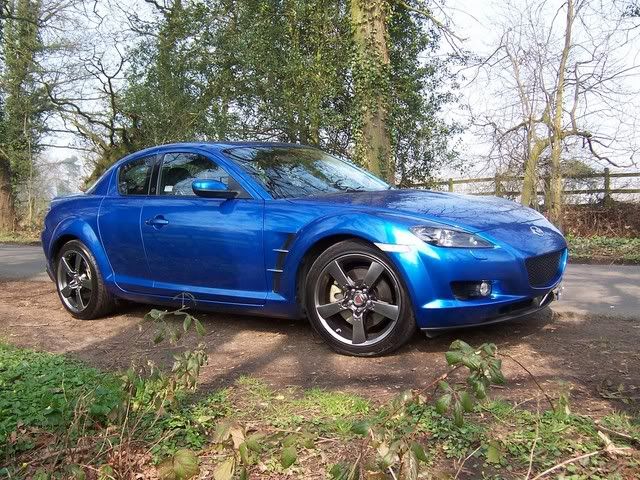
Tip #4 - if you have a scratch or chips in the body work visit drcolorchip.com - I used it on my 5 and was amazed by the results! Worth having some in reserve.

 .
.