- My model of MX-5 is: Mk3 Sports Tech
- I’m based near: Bodmin Moor Cornwall
- I’m looking for technical help or recommendations on: Double din SatNav/Audio Head unit
I am trying to remove the head unit from my 2013 mk3 Sports Tech
Its a Sanyo factory fitted GPS/audio double din head unit.
I have removed the centre console, Removed the two screws holding the front of the radio/facia and got the triangular side trims off
I was left with four screws in the sides (two each side)
I removed those NOW what?
Is it just a matter of yanking the unit out or are there any more screws secreted away?
Thanks Fred
Try giving a good yank out (as you call it) if it doesn’t succumb there could be that security bolt holding it at the right hand side.
Do they have them on this unit/model/year anyone?
Dont they have the 10mm bolt tucked up inside dash ? Accessed from drivers foot well, a hassle to find and remove.
Just swapped out mine although older than yours (NC1 2006), extended rachet bar with toggle end required to reach.
1 Like
Agree with PaleRider!
I posted this to another user in a previous thread- hope it helps.
Not sure if this is any help to you but here goes. My NC (Venture) came with a built-in Sanyo Tom Tom system. First job I did when I bought the car was rip this out in favour of a more up-to-date head unit.
If you do want to go ahead with the swap, it’s totally doable but there are one or two headaches with it. Firstly, I couldn’t work out how to get a wiring harness to fit as the system Mazda installed had its own unique connectors. Essentially, I ended up having to pull out an entire rats nest of cables to strip it back to the factory-standard Mazda connector. Also had to remove the glove box to take out the existing USB cable which was very awkwardly cable-tied in 3 different spots. It was a faff but all-in-all was delighted with the result. You just have to be a bit fearless and take your time when removing all the excess cables. If you’re looking for wiring harnesses, I can thoroughly recommend DynamicSounds- fast, inexpensive service.
Side note; the most difficult part of the whole process was removing a 10ml bolt that sits inside the dash, past the steering wheel column. Unfortunately the existing head unit won’t come out until you remove it!
Hope this may have been of some help!
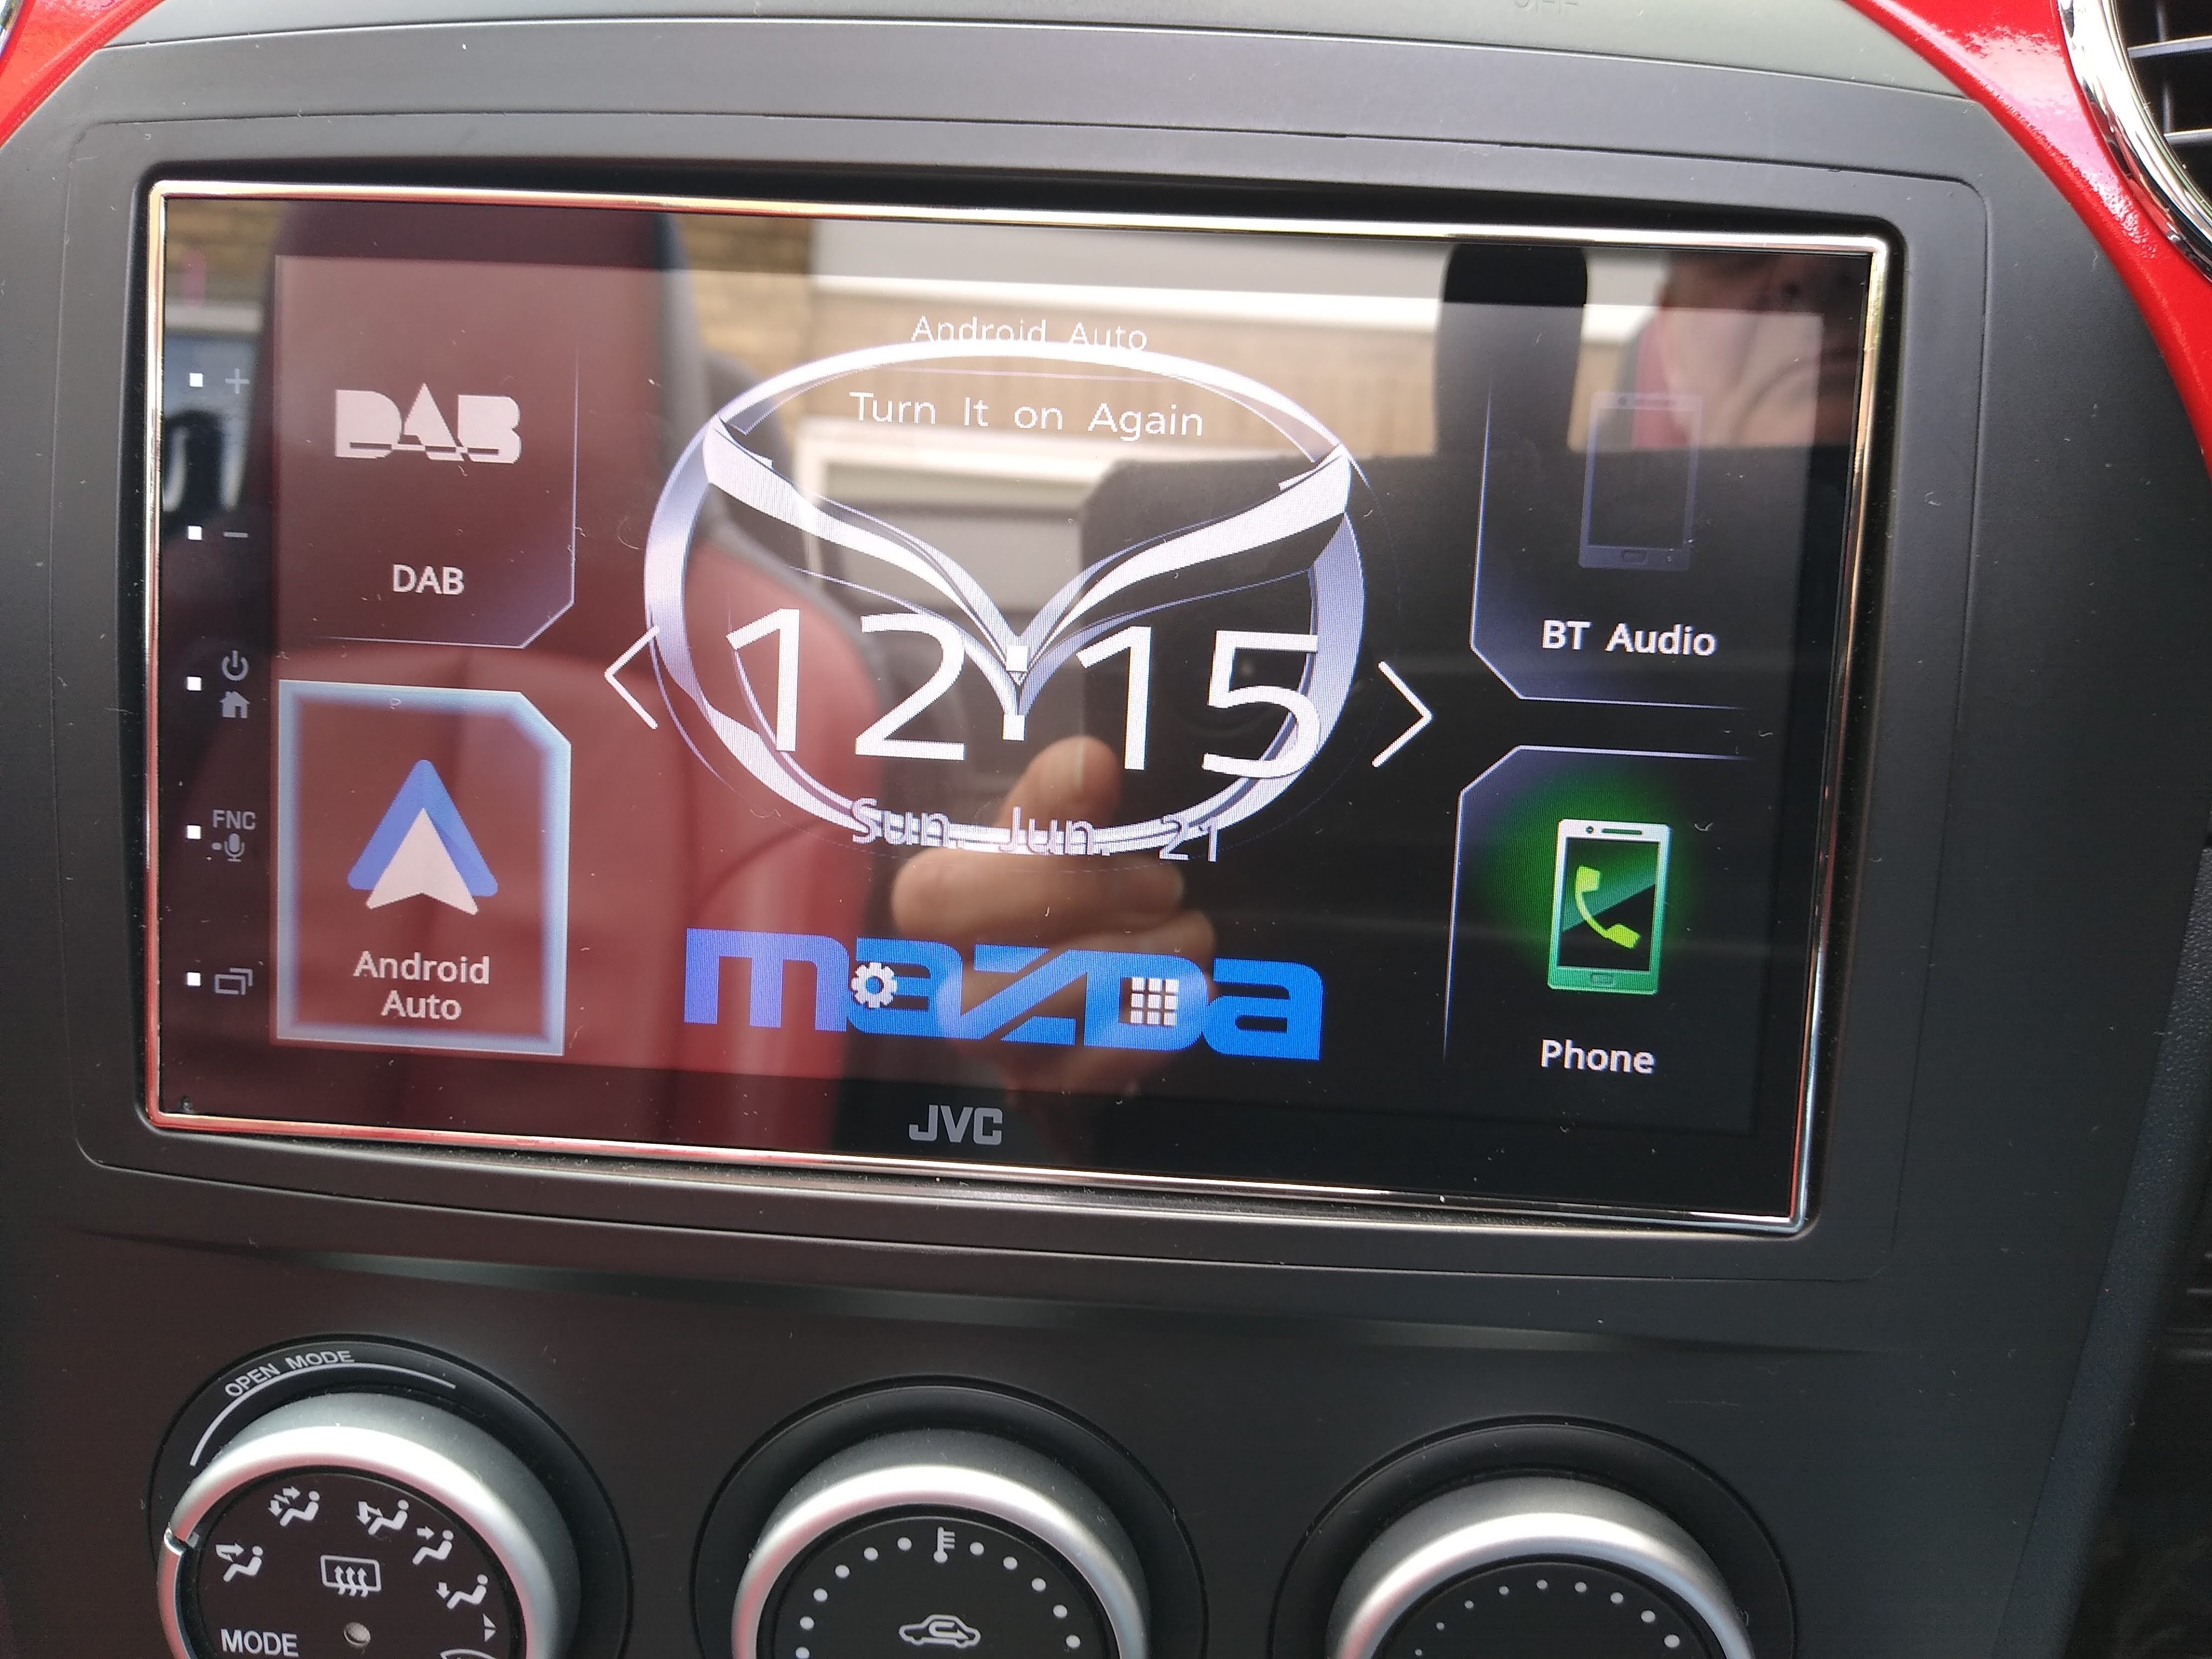
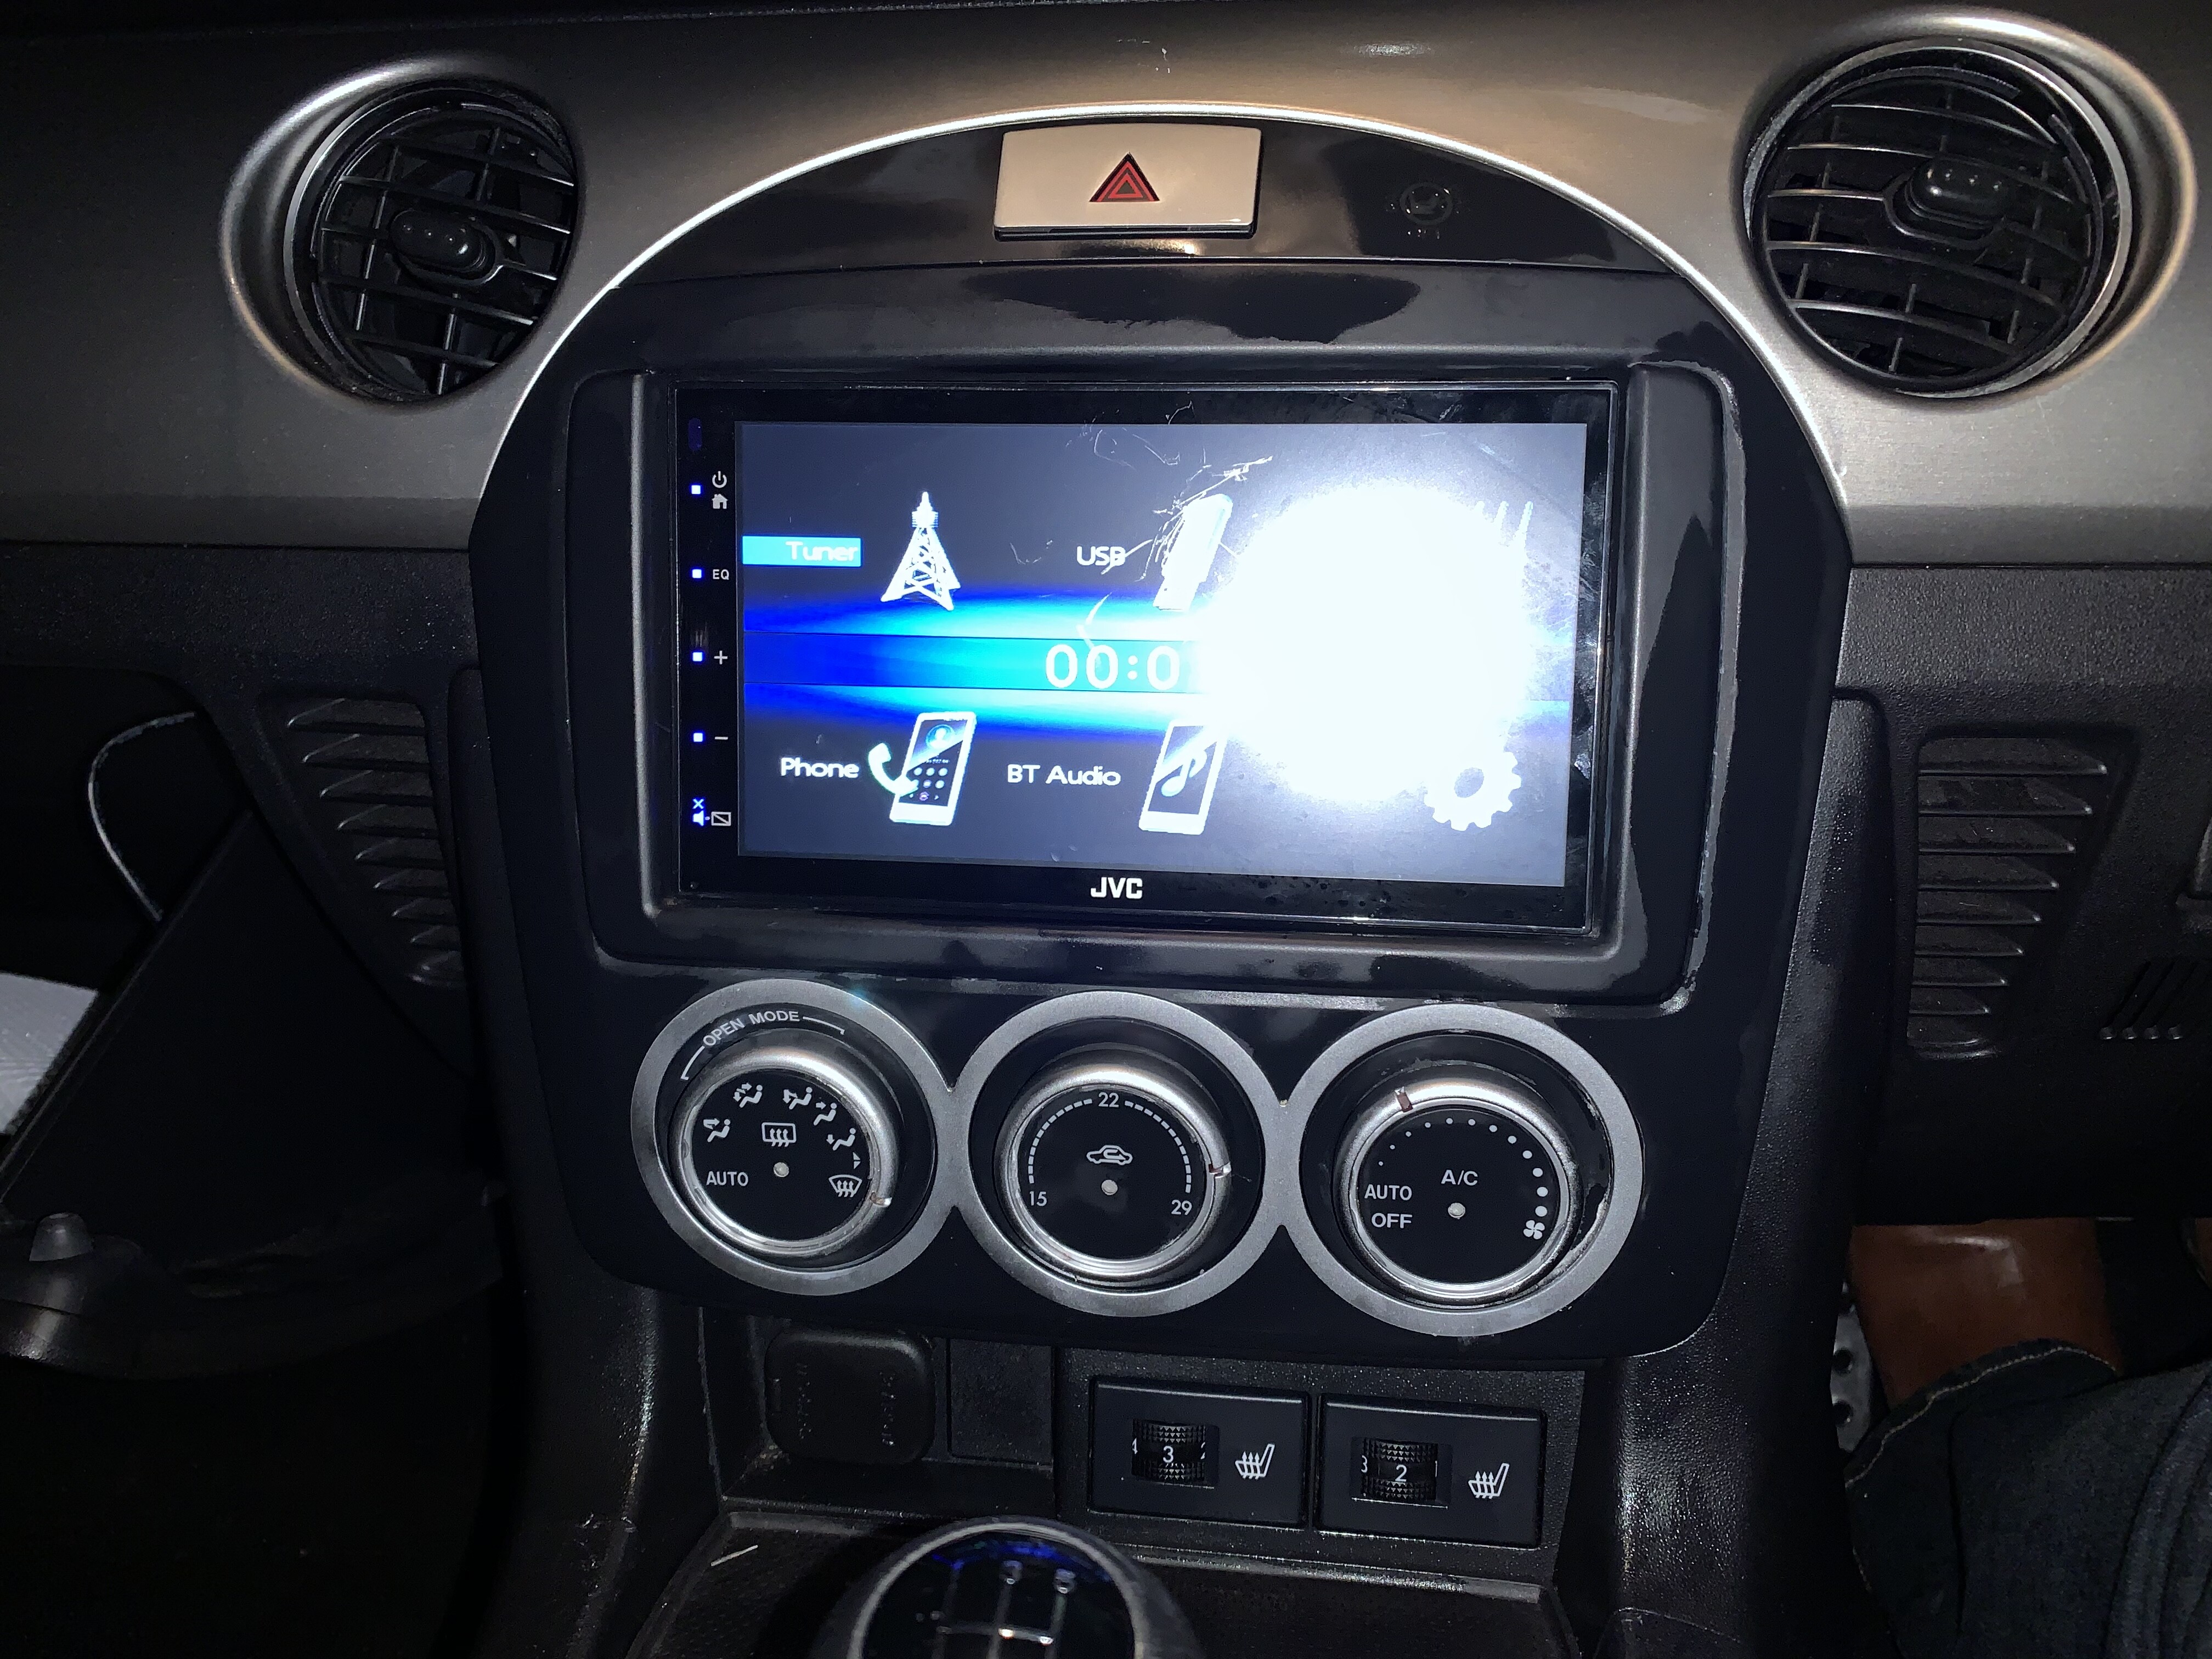
And this was the end result
1 Like
Thanks for the answers Gallaibh. Is this 10mm bolt seeable? Is it in the same place as it is on earlier Mk3s ? That is on the drivers side of the radio?
Another question on my Sports Tech there are two slot headed screws securing the facia in each of the sides of the facia did yours have those?
You can just about see it with the aid of a torch but obviously that makes it a wee bit trickier to actually get to, sorry 
 It’s tucked away right inside the dash on the driver’s side. If you see a metal strut that goes lengthwise from the fascia towards the bonnet, look beyond that, you’ll see a bolt, probably slathered in a peanut butter-like goop. That’s the one you need. As PaleRider says, you’ll need an extension on the socket to reach it. Once it’s out, though, your fascia should come out straight away.
You should only need to remove two wee cross head screws from either side of the fascia then one or two light pulls and the whole thing should come out. You’ll find the head unit is bolted in to a metal frame which you’ll need to keep a hold of as it’ll house your new head unit. If yours is anything like mine, the screws might be in shoddy nick. I had to use a screw remover to get them out.
1 Like
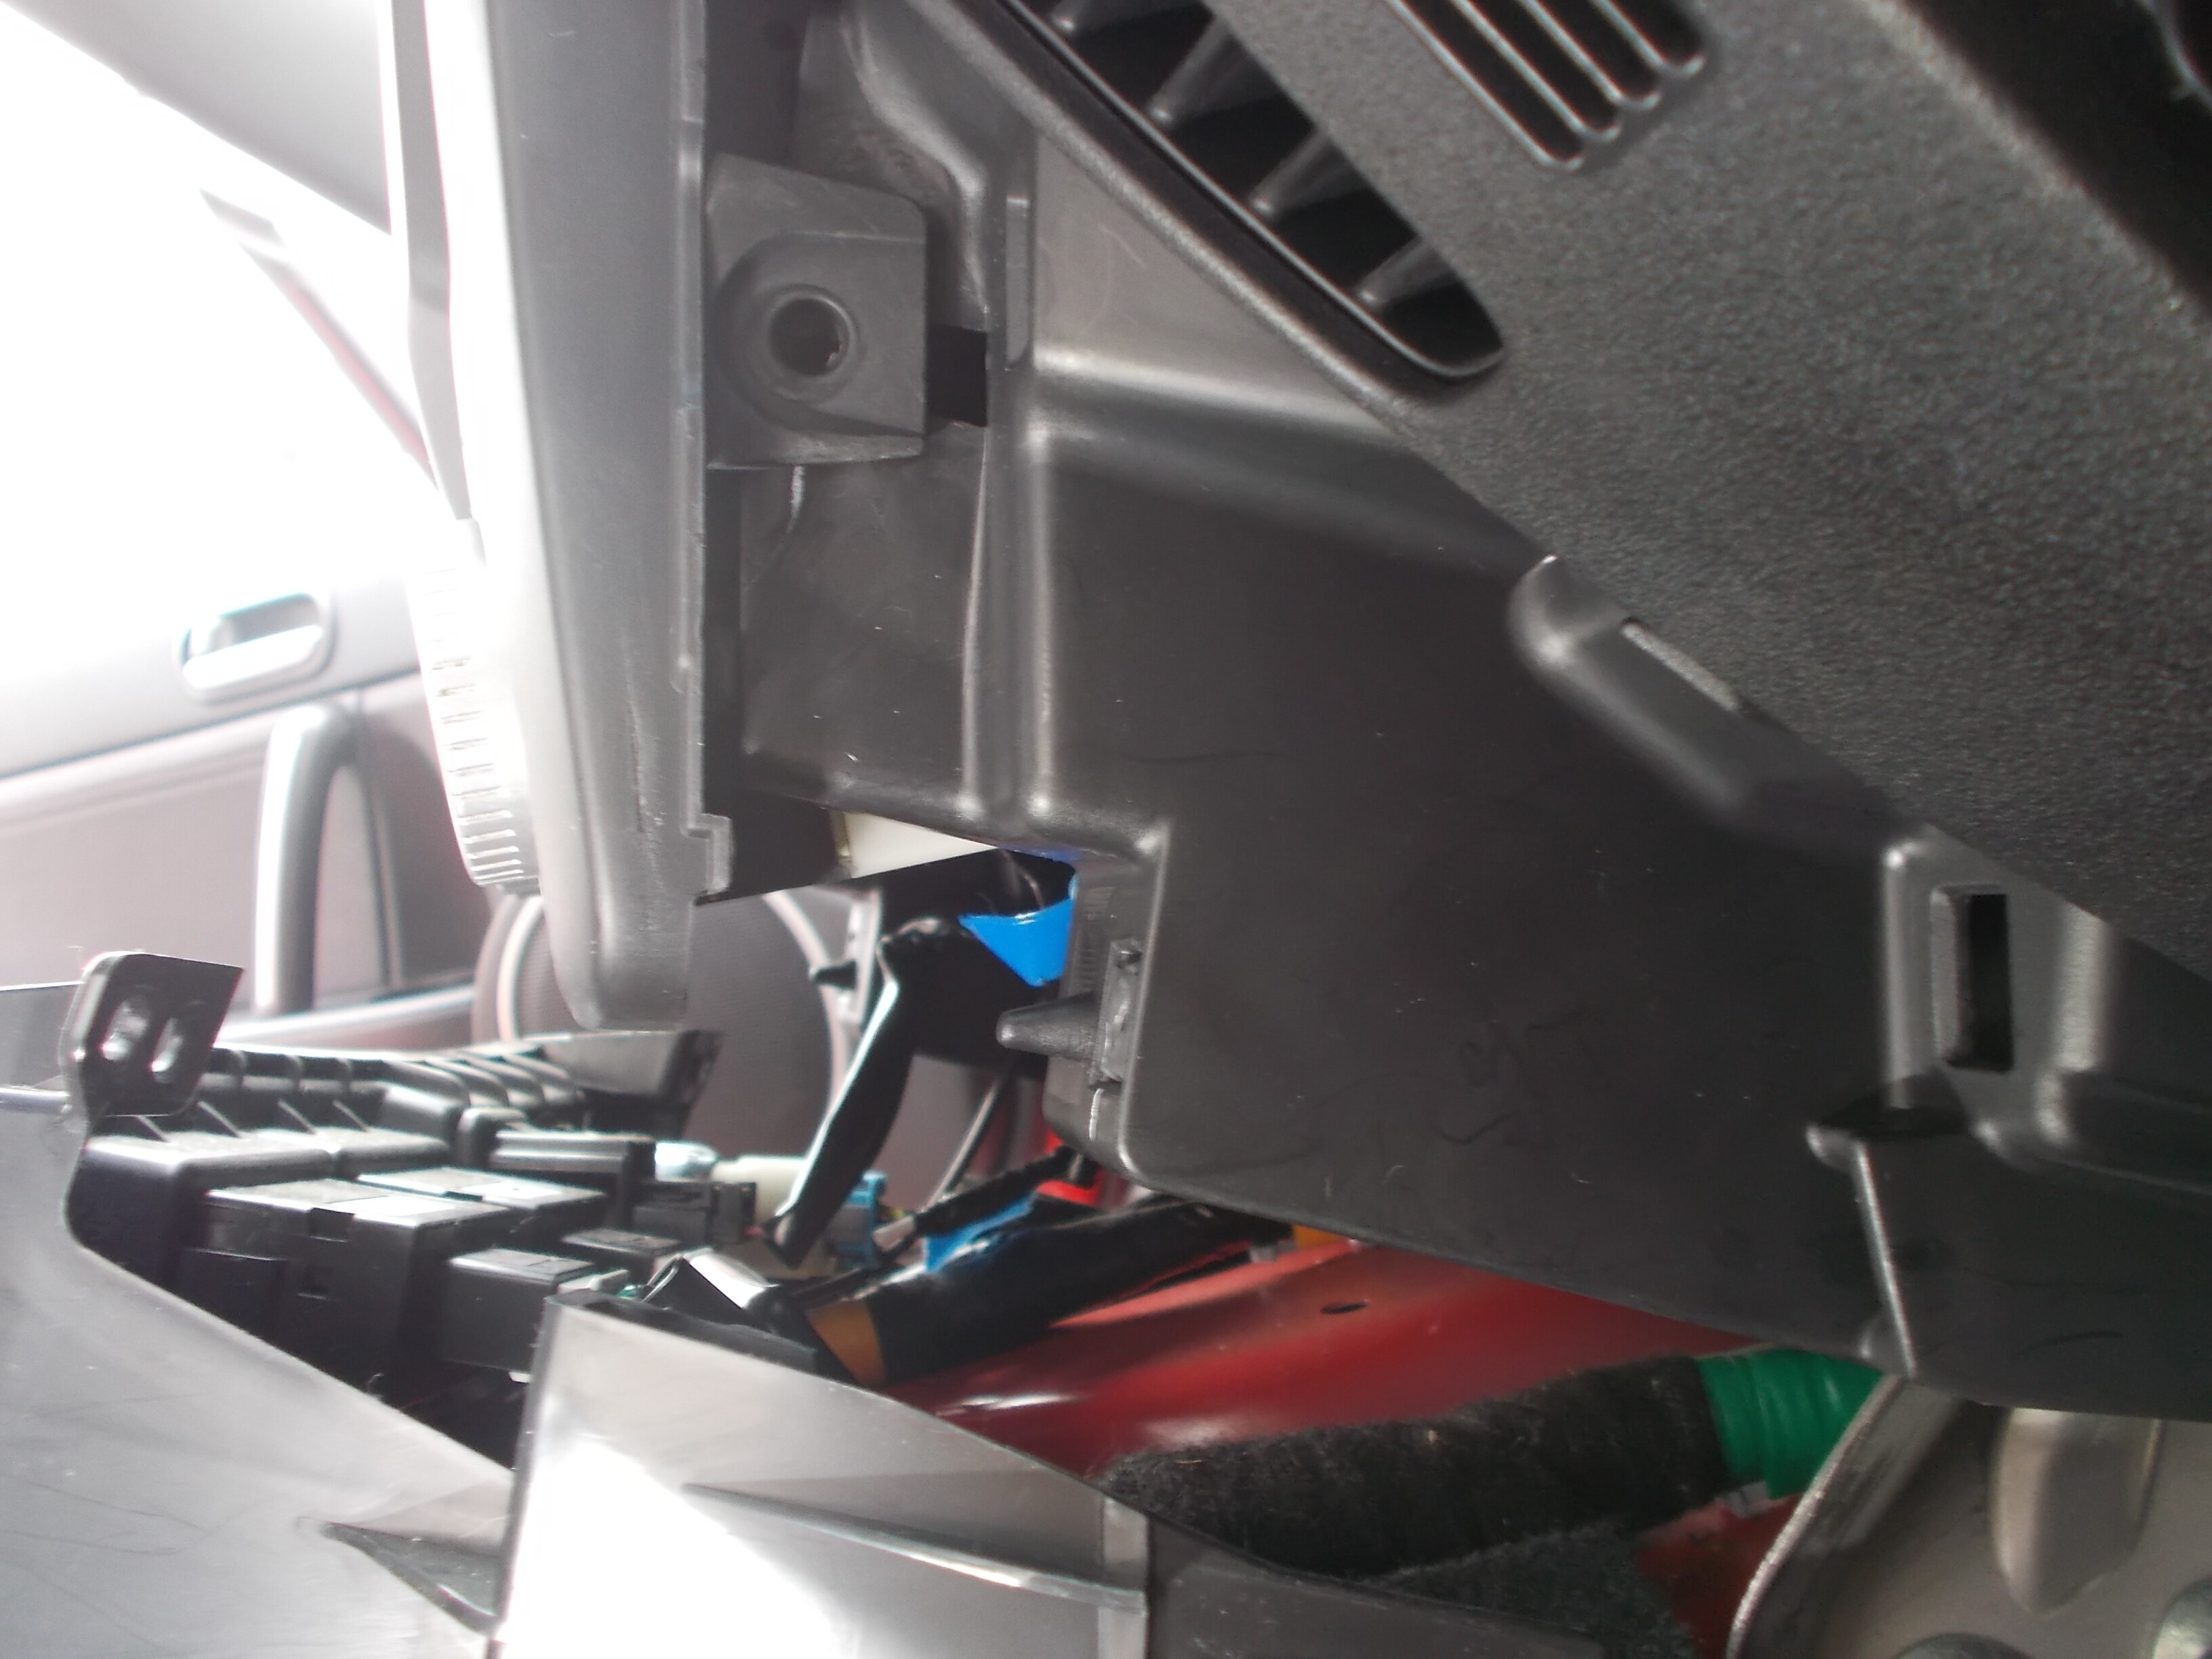
The picture attached is the DRIVERS side of the radio with the triangular trim removed and lots more.
I am faced with this plastic cover over the side of the radio.which I can’t fathom out how to remove
The radio or the very edge of it is on the left of the pic.
The steering wheel is behind the camera
It is obvious and I have no doubt there is a small 10mm bolt holding the radio in but how do I access it?
The cables etc you see at the bottom are the cables to the heated seats etc the trim holding the heated seats is lieing on its front
My NC1 sport there’s a plastic trim under the dash above the pedals and maybe a metal trim under that that needs removing.
I maybe telling fibs about the metal one, can’t remember  the plastic one is just clipped in. Remove those and you go in up to the side of the radio, can’t remember taking any further plastic trim away at the side but the NC2 could differ.
Sorry for the delay pal, am on nightshifts the now.
Have a watch at this video, the guy shows you where the bolt is- be easier than me trying to give directions. Am useless when I can’t point you to the nearest pub ![]()

Skip to 2:14 ![]()
1 Like
I have seen this before its nothing like how mine is fitted ufortunately
Thanks
I managed to suss and remove today after lots of heart ache and grief.
Much swearing as access to the 10mm bolt was almost impossible not only was it covered over by cable and the vent hoses there was extra bits of trim on the side making it only accessible by a double jointed midget. It took me the best part of 3 bloody hours.
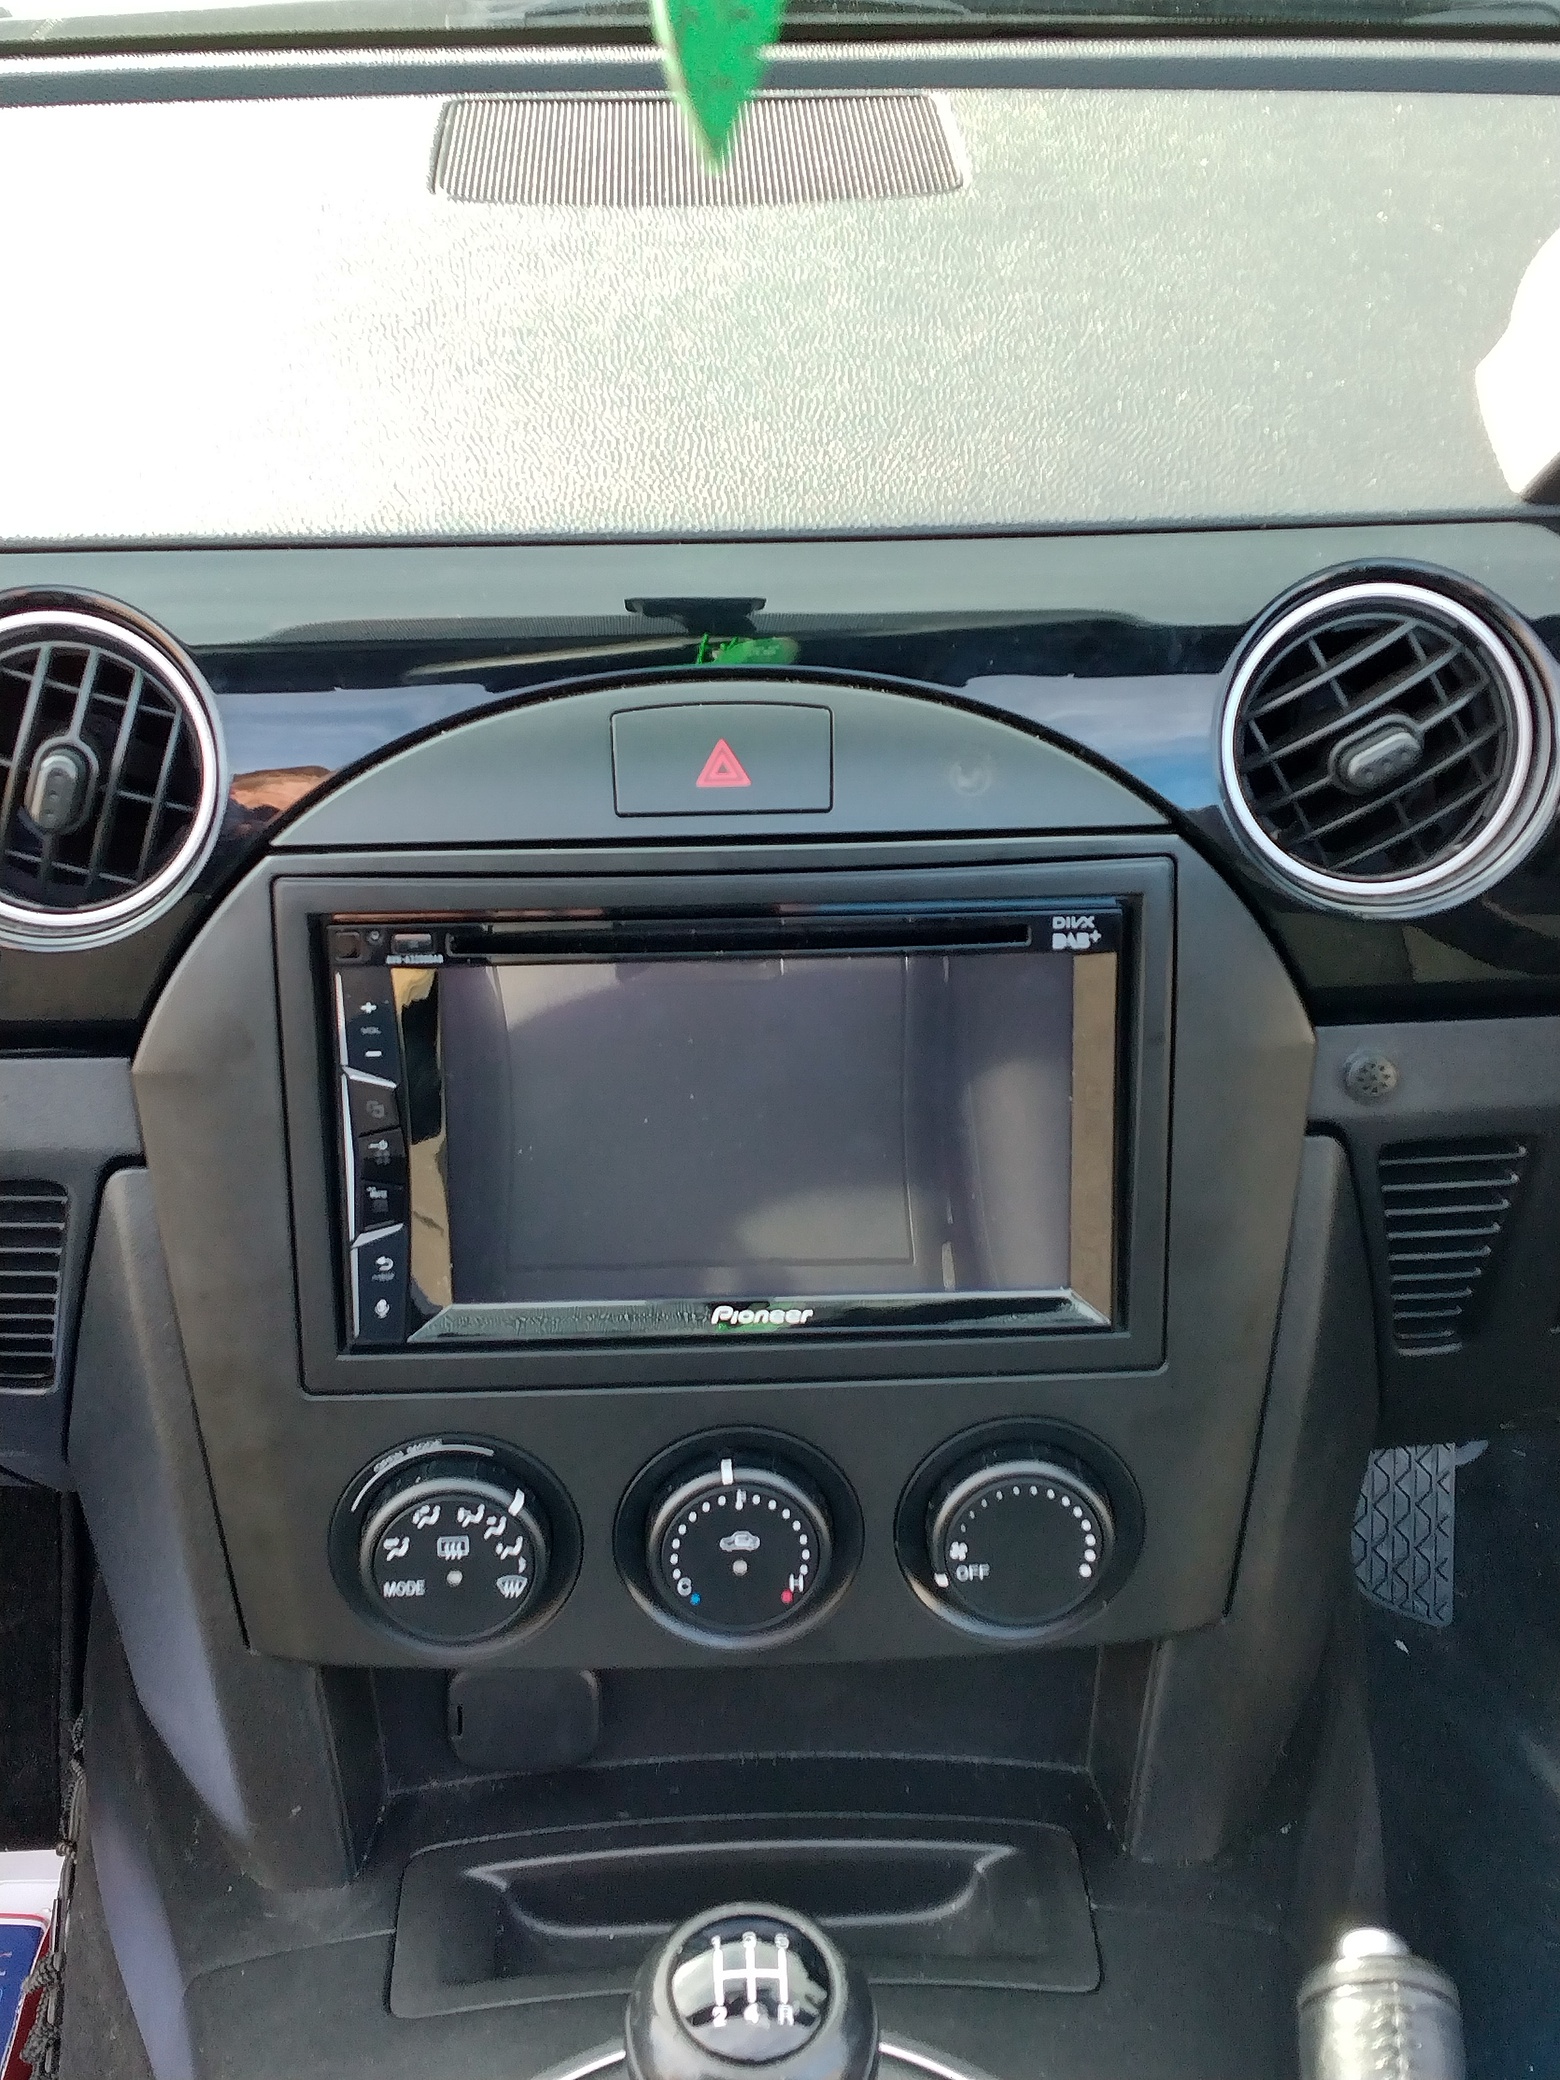
Then there was the cable loom !!! Anyway its all out no I have to take a Dremel and a ruff file to the facia to get the Pioneer head unit fitted .
Tomorrow is another day 
1 Like
Well done. That wiring loom was a pain in the bahookie to sort out- lots of gummed up tape and then you still had to track back all the individual connectors to get back to the factory fittings 
Yeah, the fascia with the Sanyo was a weird one as, although it’s a double din, it’s slightly narrower one than standard. I got quite lucky with head unit I got- there was a problem with the original one I wanted so they sent me a different one which happened to be on sale at near-enough the same price. Coincidentally, it was designed for slimmer fascia and had a wee adapter plate you could clip on the front for a nice snug fit
If it helps re facia trim fitting. I bought the Connects2 kit (few years ago) and instead of fitting the trim/radio surround that came with my JVC unit I found the Connects2 trim piece supplied fitted better, infact perfectly. I also found it looked like it just clips any way, no top or bottom. Infact it will only go in one way, it’s slightly different top and bottom but you can hardly tell.