5th & now 6th (šŸ™ˆ) MX5 & the beginnings of a Rocketeer build

Thanks Brembo :slight_smile:

The only thing that I am hesitant about with the Hawk, is that there is no memntion of it being adjustable width. The ones from CJ autos, all allow you to adjust the positions of the supports width ways. I canā€™t imagine the Hawk would be completely un-adjustable, as it would then only support a small number of cars.

Iā€™ll have to drop them an email and see whats what.

As I guessed, the starter motor is a total ā– ā– ā– ā–  to remove.

Unfortunately, I wasnā€™t feeling too good over the weekend so didnā€™t manage to complete the job, but hopefully iā€™ll get it done today; shame the termperature has dropped by about 15 degrees and have a tent based garage!

Image below vaguely represents where it is, buried to the back and toward the bottom of the block.


Some of the nuts need to be removed (using a 12mm and 14mm socket) via the wheelarch and from underneath the car:

Imgur

Also be warned, there are electrical connections (a spade connector) which are very easy to damage, because they are impossible to see!

Youā€™re going to be faced with many challenges along this journey and thatā€™s a fact. I hope you choose to share how you cope with them as it may just help those of us who also tinker with our cars.
I have tried taking the approach of not setting myself a definite end point.
By at least beginning a job it gets me off my backside instead of procrastinating.
If it goes well I keep going until Iā€™m at a convenient stopping point. If it doesnā€™t go well I donā€™t beat myself up for not continuing. Iā€™ll take a step back, maybe have a cuppa or even stop altogether until my mind is right.
When I feel up to it Iā€™ll continue, often with greater success funnily enough.
This whole thing should be fun and enjoyable.
Good luck with the starter motor removal.
Cheers,
Guy

1 Like

Thanks Guy!

Sounds like you can tell iā€™m frustrated haha. Anxiety is a right pain in the ā– ā– ā– ā– . Iā€™m trying to do all those things, and enjoy it.

In the back of my mind are lots of big worries:

  • Electrical differences between versions
  • Electrical differences between manual/auto gearbox
  • How I get under the car!

One of the things anxiety takes away from you, is the ability to isolate thoughts and worries - so whilst one bit is going well, its tempered by "yeah, but youā€™ve still got blah blah blah to worry about!

Ah well, iā€™m almost on my lunch break and iā€™m going to get out there with a cup of tea and crack on with cracking on!

Thanks for the encouragement :slight_smile:

1 Like

Also, who knew a r s e was a swear word. What would my mother say!

Starter motor removal or replacement is a right pain in the car. With what you are planning why not remove the engine/gearbox front subframe and suspension in one hit.

Hi Brembo,

Iā€™ve seen this done before, but the Rocketeer instructions follow the idea of using an engine hoist. How easy is it to do? I do need to replace the brakes and suspension components anyway so in that respect it might make it easier.

The only major issue I foresee is getting the car high enough off the ground although Iā€™m 99% definitely going to be getting the scissor hoist this week, so that probably goes away also.

In addition to the engine hoist route, Iā€™ll have to remove the steering rack I suppose and what do I do with regards the suspension travel and unsprung weight? Although as Iā€™m replacing most of it anyway, Iā€™m not too worried about that.

Food for thought!

1 Like

Surprised to hear you say Rocketeer recommend lowering engine in from the top, see the link below of the car throttle boys trying this at 14min 30 sec in!
https://www.youtube.com/watch?v=dwd2AhzoRQY
I recently installed a standard engine/box/subframe/exhaust manifold and down pipe in one hit, it was alot easier on the knuckles and quicker than the usual lowering method. I used a couple of basic car wheel dollies to move it all under the car - you just need a smooth surface to move them about on, hence my suggestion for the second sheet of ply. Once under the car you will need an engine crane to pull it all up into the engine bay with a jack on the tailshaft of the gearbox. Job done lol

2 Likes

Brembo,

Thanks again :slight_smile:

Jazda also did it that way.

I emailed Bruce, but no reply yet, however having watched a couple of videos on the process it doesnā€™t change anything based on where I had currently got to, so I think iā€™ll head down that route.

Whilst I am waiting to be paid so I can order my car lift, today I carried on with the clearing of my engine bay; specifically the removal of the drivers side headlight and the expansion tank.

Removing the headlights can be a tricky process depending on the state of your car. Jazda (as an exaxmple) had more trouble than me because the rear of the mech had rusted out. Luckily for me, there was no rust, I was only hampered by my huge hands!

Removal of the plastic surround is a straightforward process - simply two philips style screws on the left and right side removes that. The light itself is removed via two mounting screws which are screwed in to some of those ubiquitous plastic clips - mine were fine but these can perish and be a bit of a pain.

Imgur

Unlike a lot of the connections on the car, they were electrically connected via spade connectors, which can of course be a bit fragile.

Imgur

Next came removing the mechanism itself. These hard to see nuts are connected to a free moving screw, so you will need to hold from one end with an adjustable spanner or something similar.

Imgur

Imgur

You can then remove the unit, remove the motor and the bracket and you have freed up lots of space

Imgur

It was not absolutely vital I did that, as you can just about remove the expansion tank without , but I wanted to completely clear the bay so that I can clean it and remedy any issues that might arise.

2 Likes

@Brembo1 RE Axle Stand points - I thought the hardened/reinforced area on the jacking points either side of the car were inside the pinch points, which is why I positioned my axle stands like that easrier ^.

If I rotate them 90 degrees, isnā€™t the car being supported on the pinch points instead of the reinforced areas? Maybe iā€™m viewing it that way because the ā€œVā€ of my axle stands is not as pronounced as on other models.

Hi guys,

Hope you have had a good start to the weekend.

I managed to get my car up on the ramps at long last!

Imgur

Alternator removed, which contrary to some experiences I have seen was actually really easy. On some models, the bolt threads through the other way, from back to front but mine was super easy.

Imgur

I STILL canā€™t even see where the back nut for the starter motor is, let alone remove it. If iā€™m to remove the engine from underneath, do I need to remove the starter? i.e. is it mounted to only the engine or the engine and bulkhead?

Imgur

Iā€™m still at a 50/50 on whether to remove engine from underneath or above. For me, thats for these reasons:

For removing above:

  • I can remove the engine before removing the PPF/propshaft/diff - the PPF is proving tough to move also.
  • I donā€™t need to take the car off the ramps (bearing in mind car is currently not powered)

For removing below:

  • Can take the whole subframe and gearbox out as one
  • Donā€™t have to remove the exhaust manifold/downpipe (I think)

As you can tell from above, I currently have two major issues:

  • I have managed to remove the manifold nuts (thanks to the swivel socket I got this week below!)and the nuts holding the manifold to the downpipe. However, there is a bracket just below that join which has extremely rusted and rounded nuts on which is meaning I canā€™t shift the manifold/downpipe. I know I could take an angle grinder to it (if I can find one mini enough), but a) I donā€™t have one abd b) iā€™m converned about spakrs flying around near a partially dismantled engine bay.

Imgur

  • Iā€™ve removed the 4 main PPF bolts and the whole mechanisms ropped a couple of inches, but it is now stuck fast in place. On miata.net iā€™ve seen mention of spacers that get stuck on top of the PPF. Does anyone have any experience?

Andrew

Is the ppf stuck at the back or front? mine came off OK but the alloy spacers can get a bit stiff have you tried jacking it back up to the correct position and taking the bolts out with it still supported?

1 Like

Assuming the problem is at the back, in the back of the PPF thereā€™s a spacer block top and bottom, and the top one is a pain because itā€™s actually part of the PPF itself; the clinch nuts which the two long bolts go up and into are long enough that they protrude down into the spacer, pinning the spacer to the rest of the PPF).

(The lower spacer is fixed to the diff case instead and is no problem as soon as the ā€œtop hatā€ shaped insert has been pried out of the bottom of the PPF).

The problem with the upper one is that thereā€™s a tubular insert in one of the bolt holes (front one IIRC) which is pushed up on assembly and that pins the diff carrier to the spacer above even when the bolt is removed. I believe Mazdaā€™s official method is to put a larger (M14?) bolt up the hole, screw that into the tube and pull it down. But nobody does that. Not even Mazda garages do that. Indeed Iā€™ve heard it claimed that later cars donā€™t even have the inside of the tube threaded so you can do it.

What everyone does instead is run the two long bolts most of the way back in and then smack them with a mallet to push the nuts out of the top of the PPF (or if not all the way out then far enough that the splined nuts no longer protrude into the spacer). Then the PPF can slide off the diff leaving the top spacer fixed to the diff.

Hope thatā€™s useful.

2 Likes

Hi guys,

Thanks for the advice.

Try as I might, I couldnā€™t get the back of the PPF off, eve trying those solutions.

However, as I was replacing the diff anyway, I came up with the idea of removing the PPF and diff together, which worked. So now, PPF/Propshaft/Diff are all off the car, hurrah.

Imgur

Releasing the diff is fairly straight forward, just make sure you support it with an axle stand (or even better a jack).

Imgur

And to make it easier to unmount the thingies from the side off the diff, release one of the upper suspension arms, so you can swing the hub out slightly to give you more room.

Imgur

Now thatā€™s done, next thing to consider (again!) is the best way to support my car to remove the subframe and engine/gearbox from below. Currently it is on ramps (which I got the car on via jack and a thick piece of wood. So either I raise it slightly, remove the ramps and set it on the 4 axle stands or I buy the scissor lift.

Could I use the ramps under the jacking points on the side of the car to provide me with more reassurance? I could place some wood on the top of the ramps as not to damage the sills. I just donā€™t fancy undoing all those serious subframe and gearbox bolts whilst under a car on 4 axle stands.

Hope you all had a good weekend, sorry itā€™s Monday.

Personally I wouldnā€™t start subframe/engine/box removal whilst the car is perched on axle stands alone.
From where you are now Iā€™d crack the gearbox mounts undone first, then support the rear of the car on its wheels on concrete blocks or similar with the handbrake on. This will stop it moving forwards or backwards. Leave the front on stands.
Support the engine from above using an engine hoist, and undo the subframe / gearbox mounts etc, then lower the complete assembly (eng/box &subframe) onto a dolly of some sort, then use the hoist to lift the body up if necessary to slide the whole lot out to the front.
Iā€™ve actually done similar to this years ago (not with an MX5, it was a Chevette that I fitted a 2 litre Ford Pinto and 5 speed box to) and I used a garden swing frame type hoist that worked well as the legs went either side of the car, not underneath it.
Obviously the above assumes you have a flat floor to work on, and is just how Iā€™d approach it, itā€™s not advice.
Obviously be extremely careful, and I hope it helps, and good luck.

1 Like

Overdrive, thanks for your advice.

I decided to bite the bullet and order one of these.

Iā€™ve got to spend a lot of time under my car, it gives lift distance of around 60cm and above all else it means I can combine it with the use of my ramps and be completely safe.

Also thanks to whomever suggested getting some wood and a car creeper, iā€™ve done that also! The scissor lift will be here by Saturday so it will hopefully mean I can achieve a lot this weekend!

Andrew

3 Likes

That looks good.
Youā€™ll have to detail how it works for you on a step-by-step so we get an idea of how it lifts the car. The spec and description on the Seeley website looks good. :+1:

1 Like

Change of plan!

The eBay seller decided not to tell me it was out of stock until I messaged asking where it was. So currently, I still havenā€™t got my refund and I am lift-less.

However, in this case it turned out to be for the best, as whilst I was at my partnersā€™ allotment I noticed she had some spare timber. Who says an MX5 isnā€™t practical?

Imgur

I put the rear wheels on these, jacked up the front and then used four axle stands to hold the front of the car securely in place. Picture below is for illustration - I placed two axle stands underneath the front jacking points and two at the ends of the frame rails where they are slightyl reinforced. Iā€™d read about this being possible and with the engine/gearbox supported by two jacks, I figured that spread of weight across the 4 axle stands was quite low.

Imgur

Then I assembled the crane which I would use to hold the car up at the front far enough to wheel the subframe and gearbox assembly underneath.

Imgur

Iā€™ll let you know how that goes later on todayā€¦

3 Likes

Sorry for the delay, snowed under with work and spent the whole weekend under the car, over the car and training for a last minute charity event in honour of Sir Tom.

To anyone that is interested - his family is encouraging people to do ā€œ100 of somethingā€ to raise money for charities (who have been hit hard during the pandemic). So because I have a history of these kinds of things (I once ran from London to Edinburgh, doing a marathon a day), iā€™m running/cycling/walking 100kms on Saturday 1st May to raise money for mind. Iā€™m not going to plug donations or whatever because frankly iā€™ve never met you and thatā€™s not my style - but if you do want to, feel free to PM me.

Annnnnyyyyyyyyywwwwwwwwaaaaayyyyyy the subframe/gearbox/engine is out!

It was actually fairly straightforward in the end - although unfortunately, right at the last I noticed that the car was being heald to the subframe by the brake lines, that was it. Unfortunately, the only way to untangle the mess was to cut them, but that was an educated decision based on the fact the brakes were being upgraded anyway.

Mostly it was a fairly straightforward process; there are 8 bolts in total:

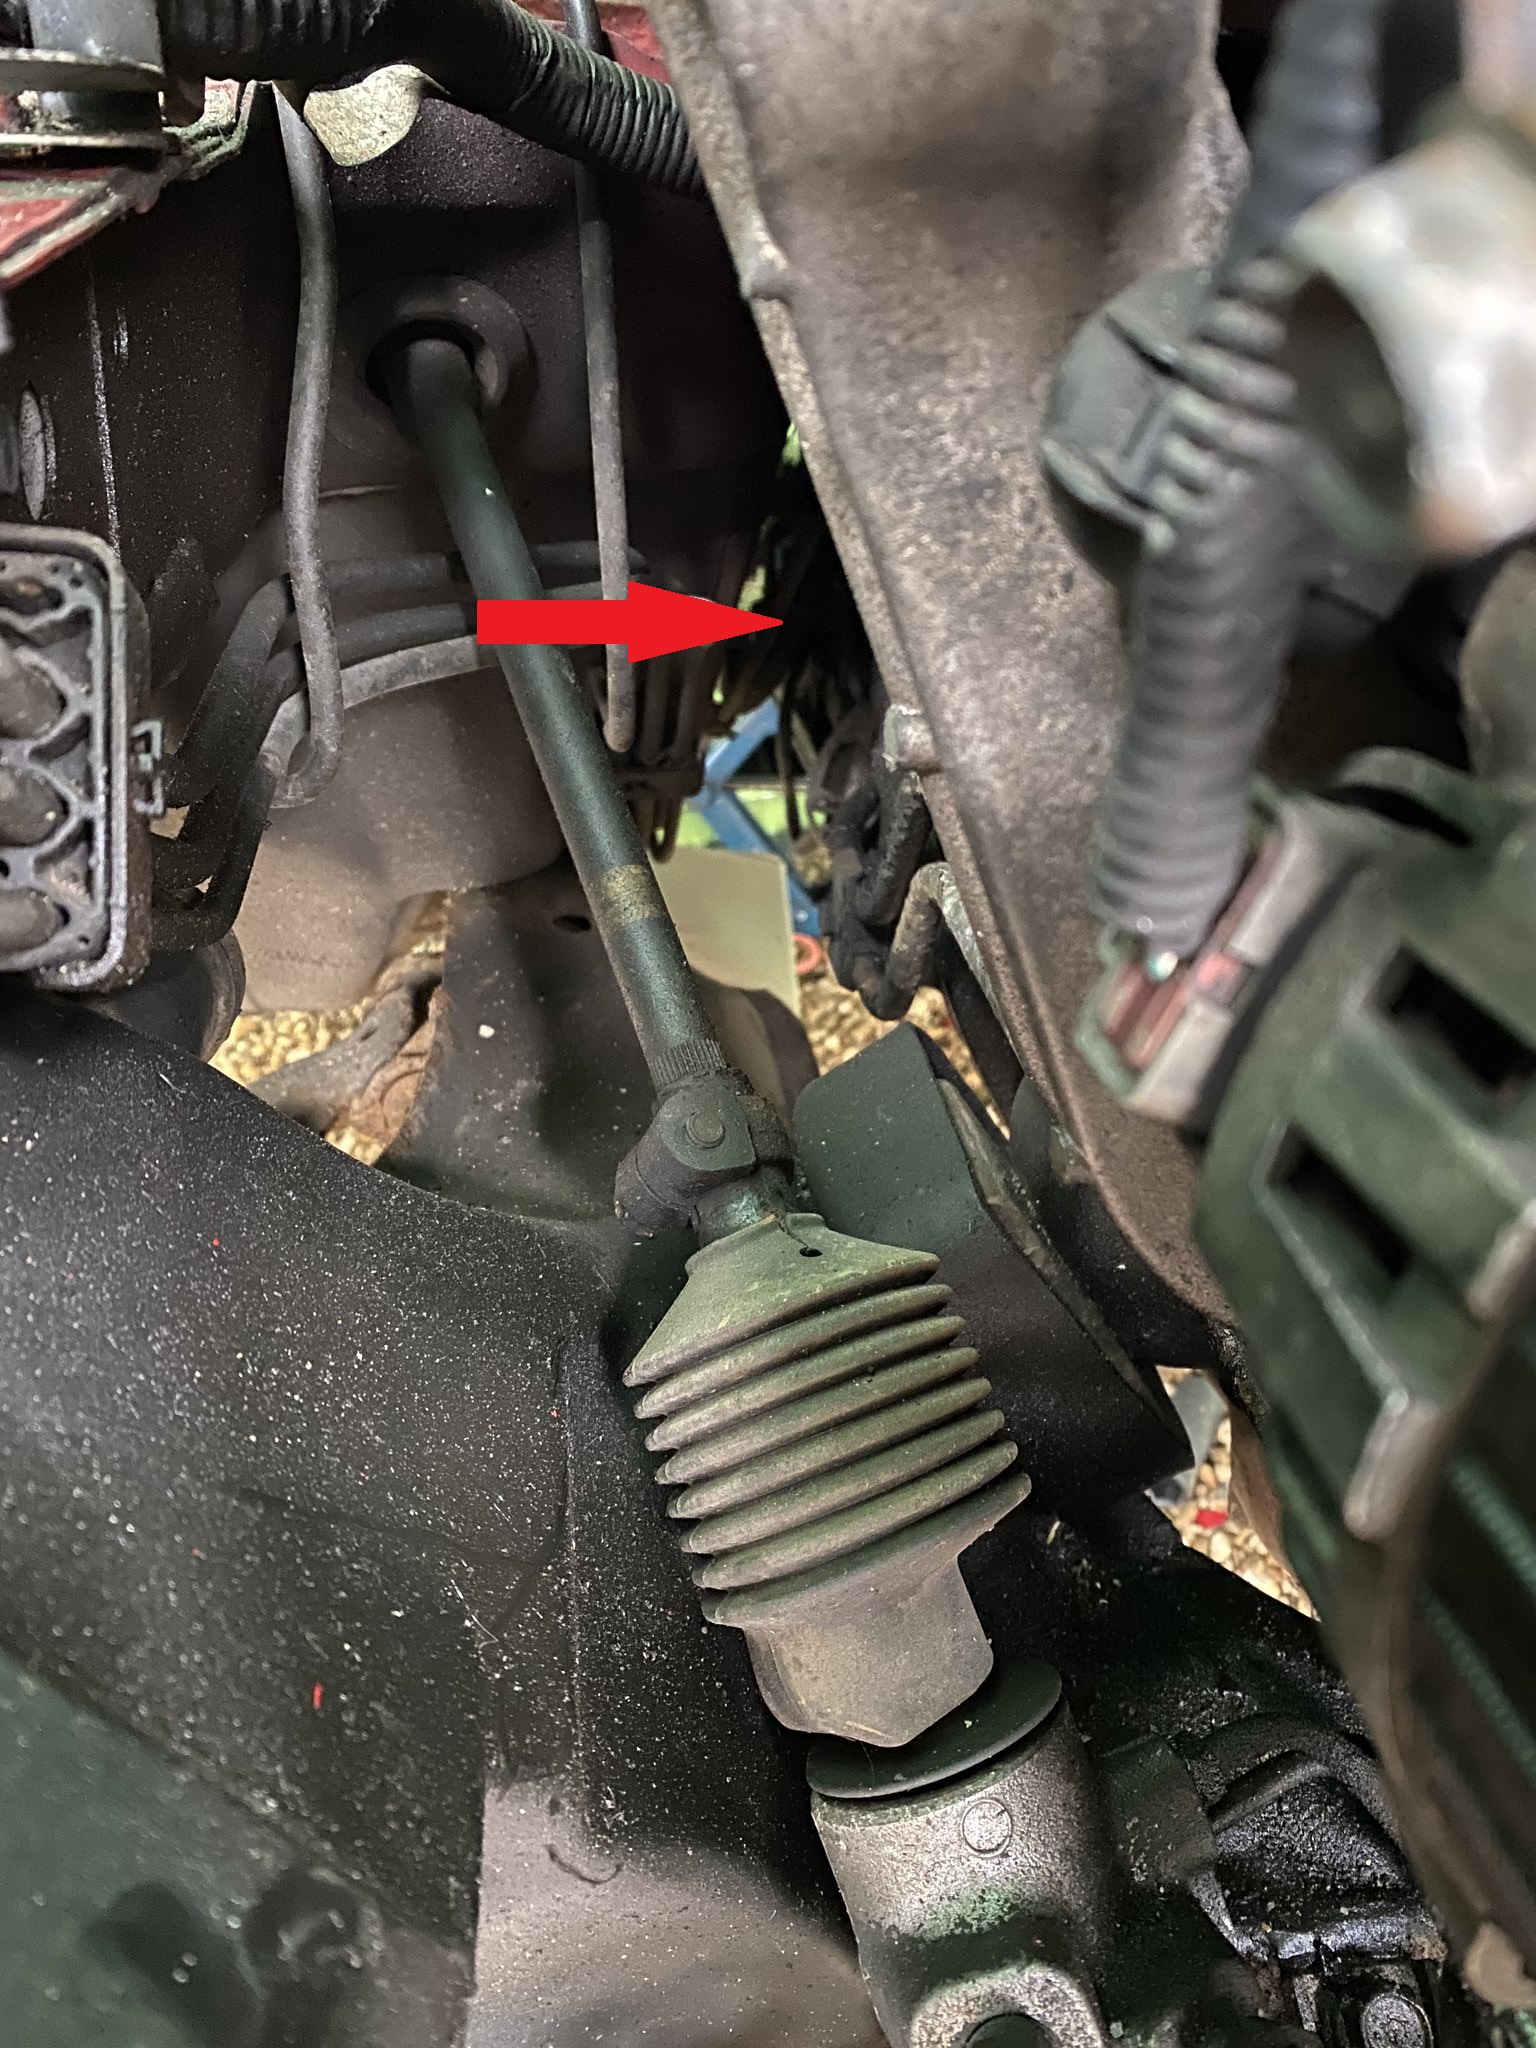
Two either side of the engine bay just above the suspension mounts:

Imgur

And then two more each side of the frame rails near where the engine joins the gearbox.

And here it is, fully removed:

Imgur

I introdcued the NC to the NA subframe

Imgur

I have an old school friend who I reconnected with from this build, I hadnā€™t spoken to for 20 years. Heā€™s in to MX5ā€™s in a big way so is providing some parts for me which is great!

Next steps are to strip the subframe, refurbish the suspension and control arms, buy new brakes and suspension components and then begin assembling the new subframe and then dressing the engine.

Hope youā€™re all well,

Andrew

4 Likes

I just spoke to my old school friend and he is currently fitting a kit which allows the use of a combination of Subaru Impreza turbo calipers along with Renault grand scenic discs (which are the same PCD as the mx5) - he says that the stopping power is great and a bigger improvement than the MK2.5 big brake kit. Itā€™s also cheaper, which is a bonus!

Anyone had any experience? I trust my mate as he has been ridiculously helpful over the last couple of weeks and is also a race car engineer; but itā€™s not one iā€™ve come across before so thought iā€™d ask if any of you had had experience of doing anything similar?

Andrew