Is this better added as an edit or new entry?
I will start new entries as an edit for the time being.
Good day.
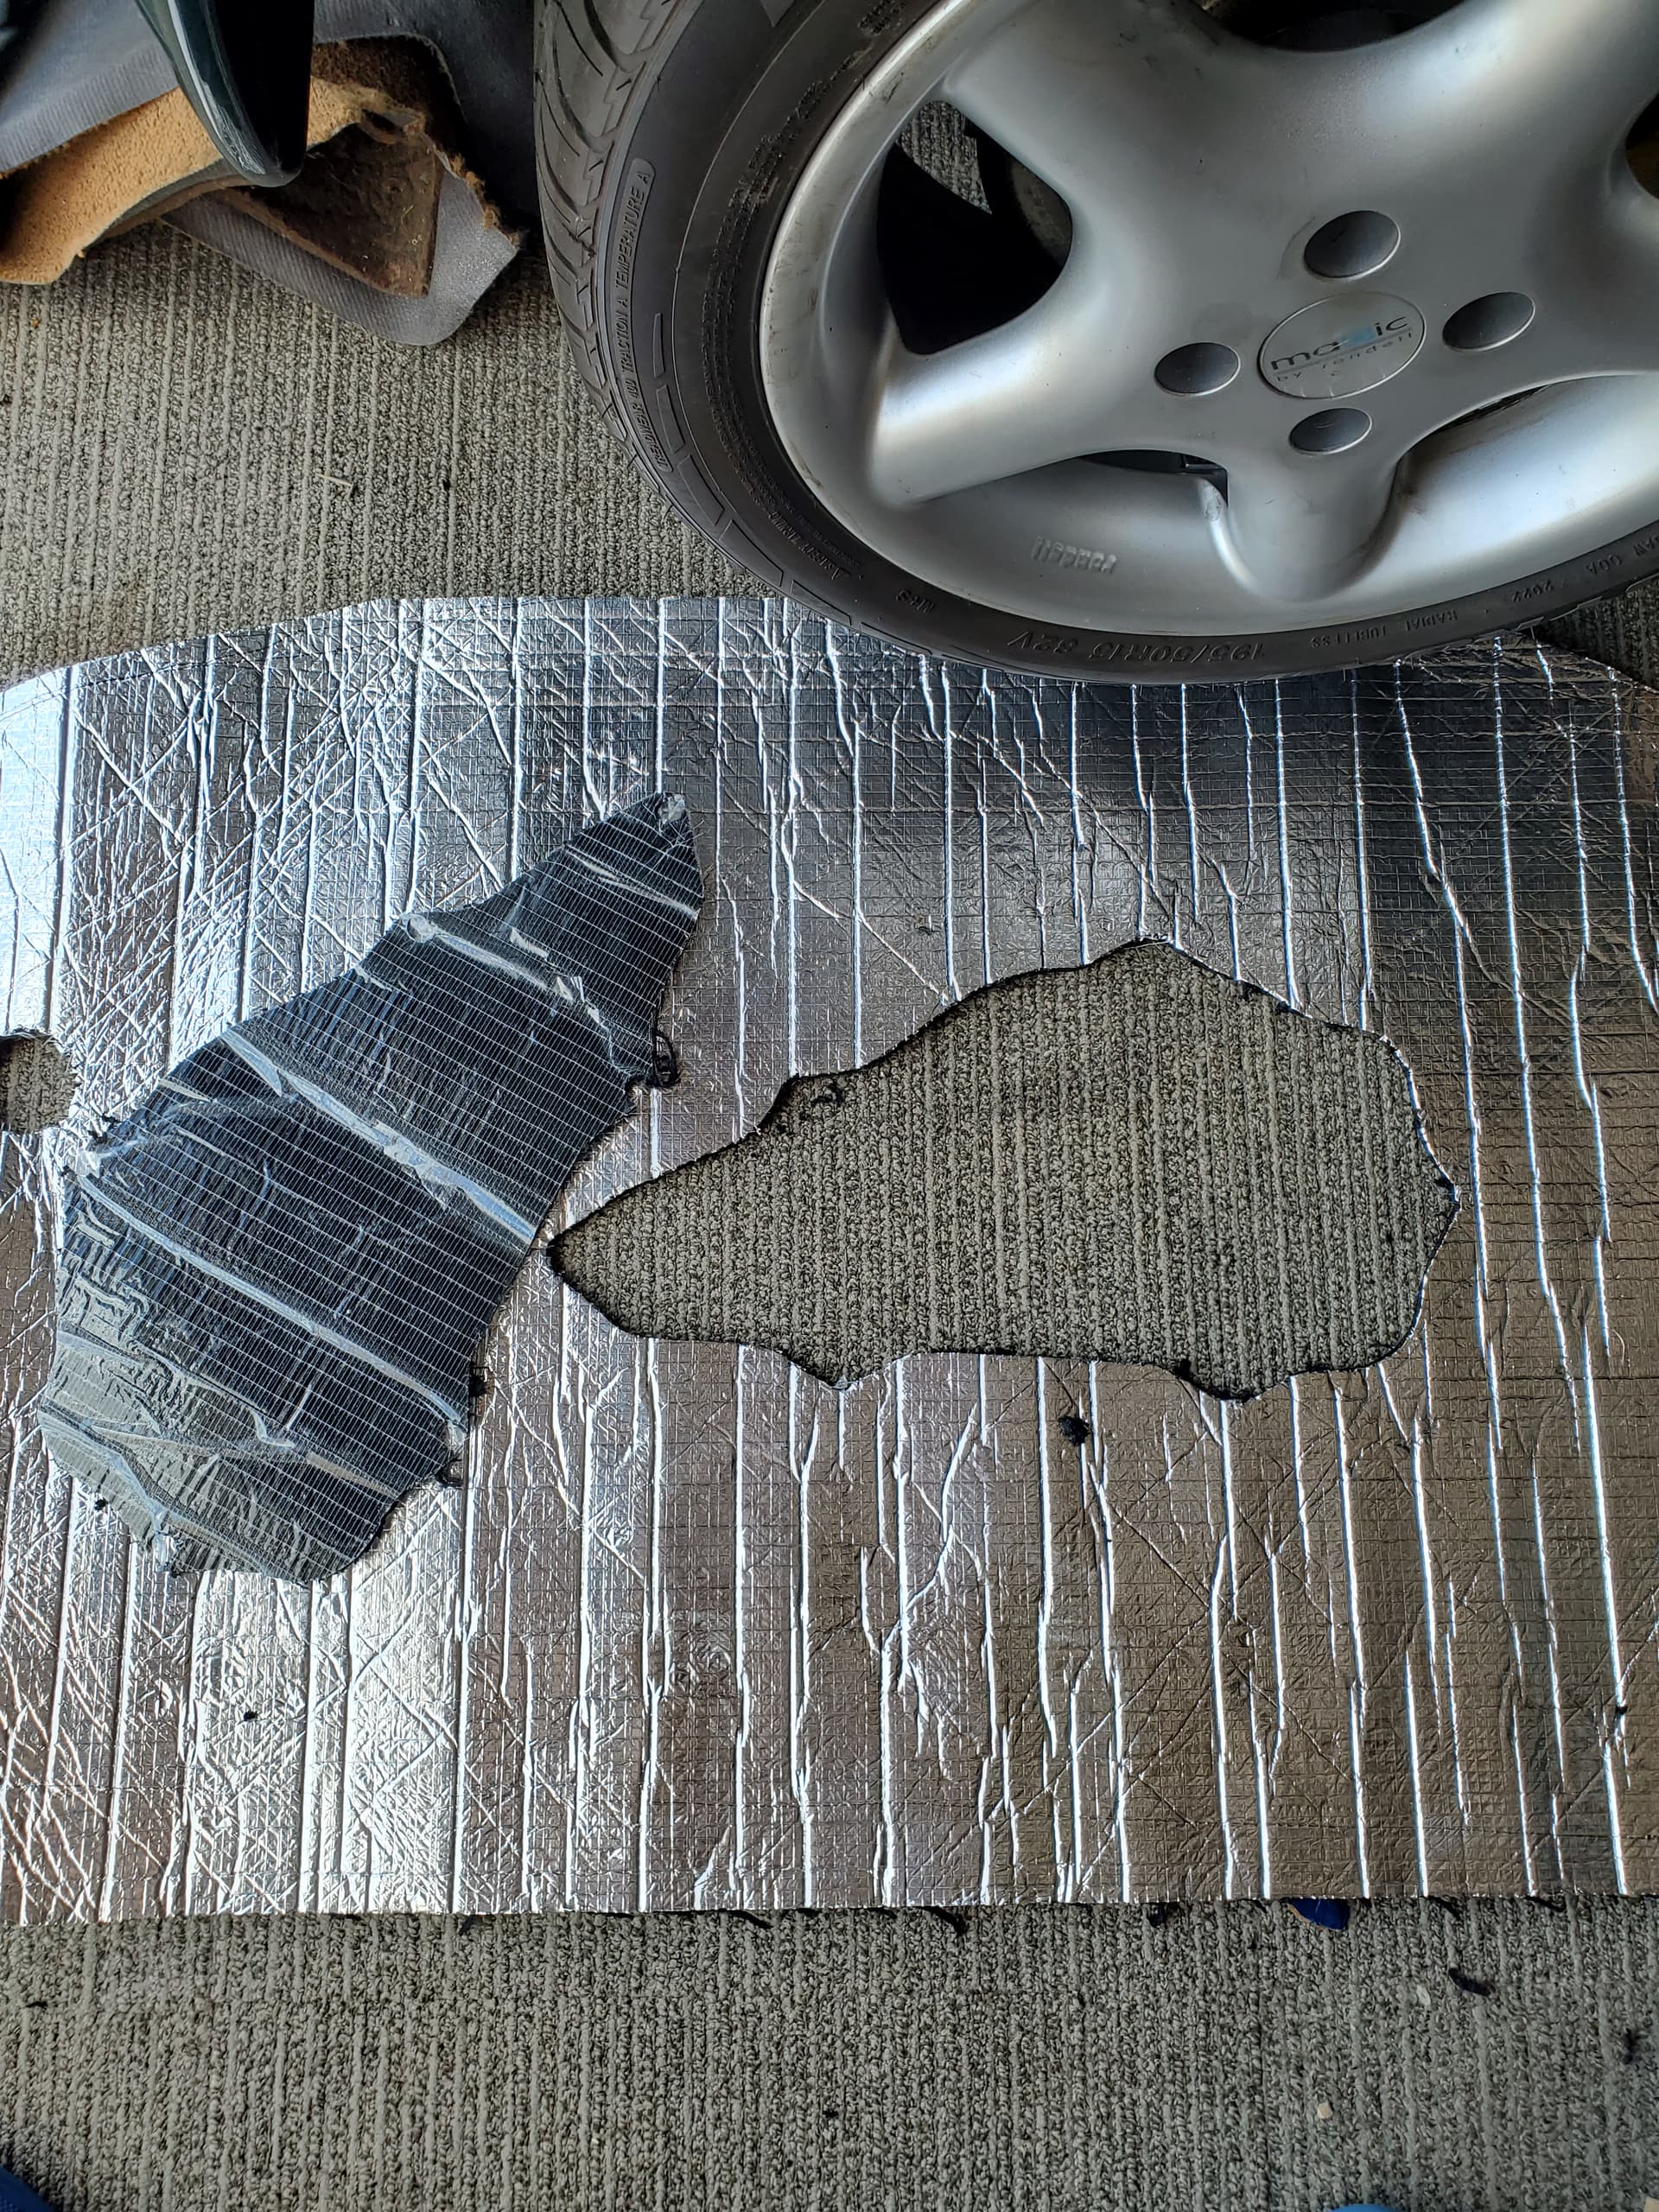
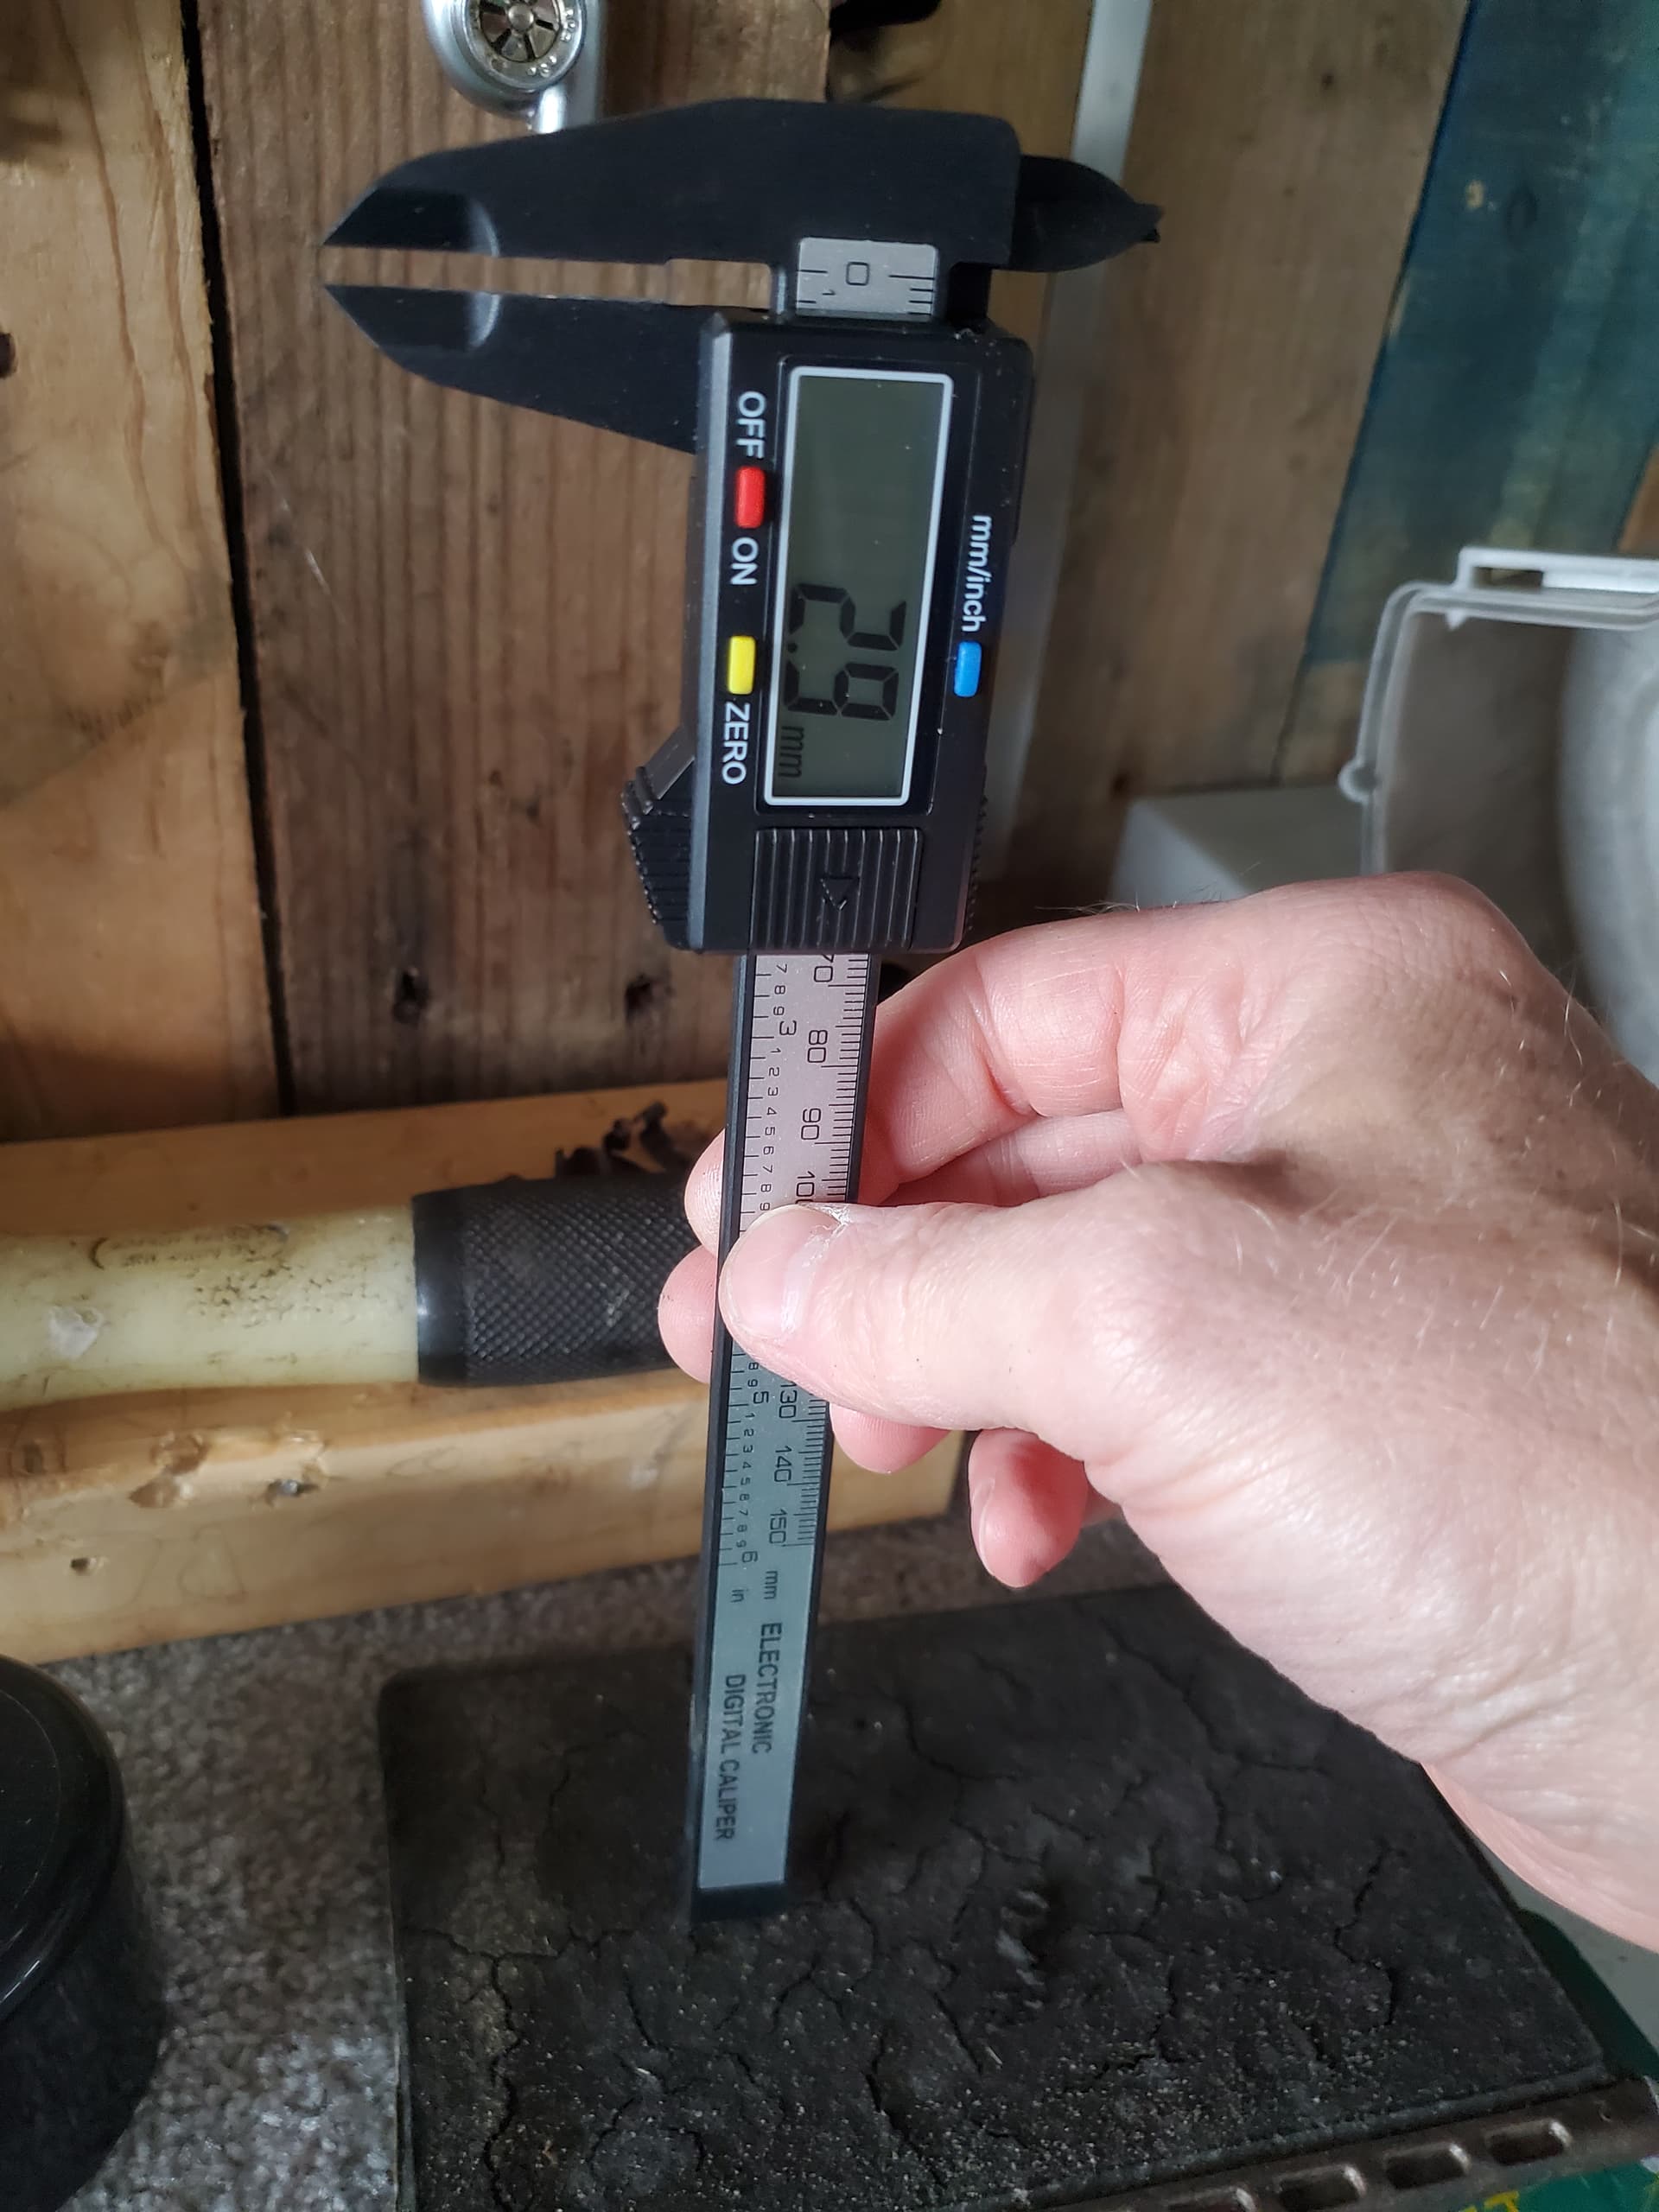
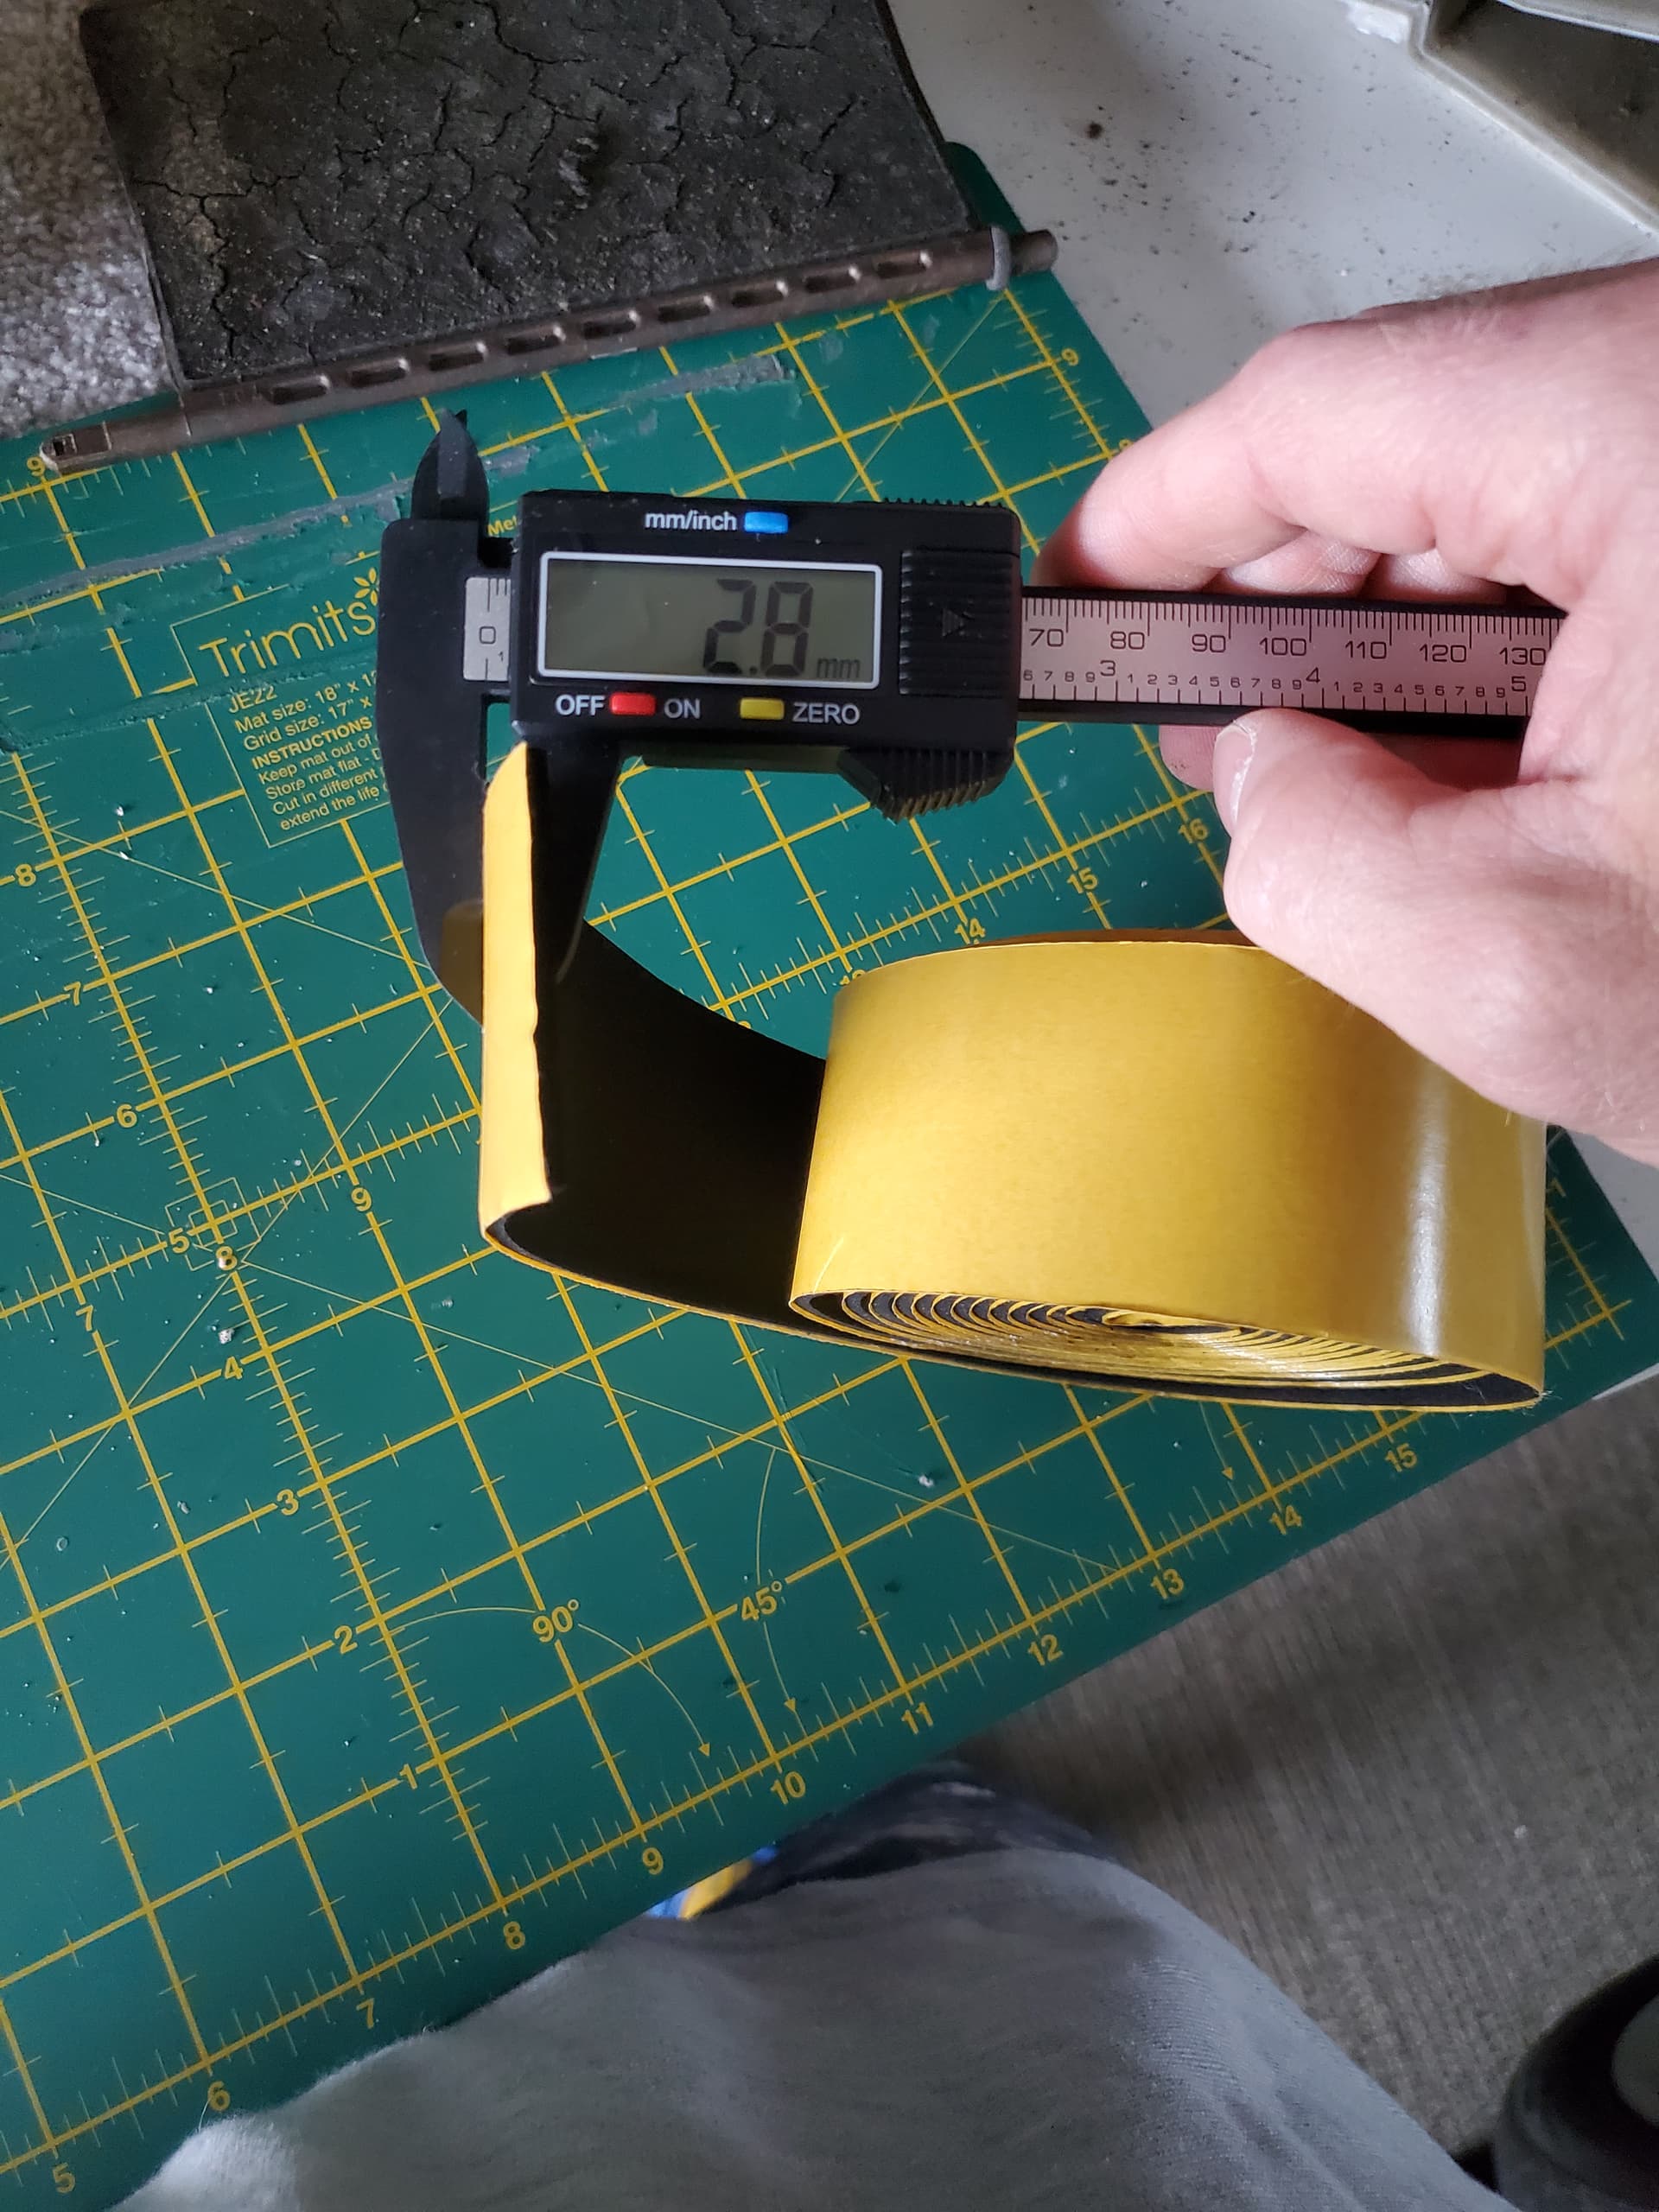
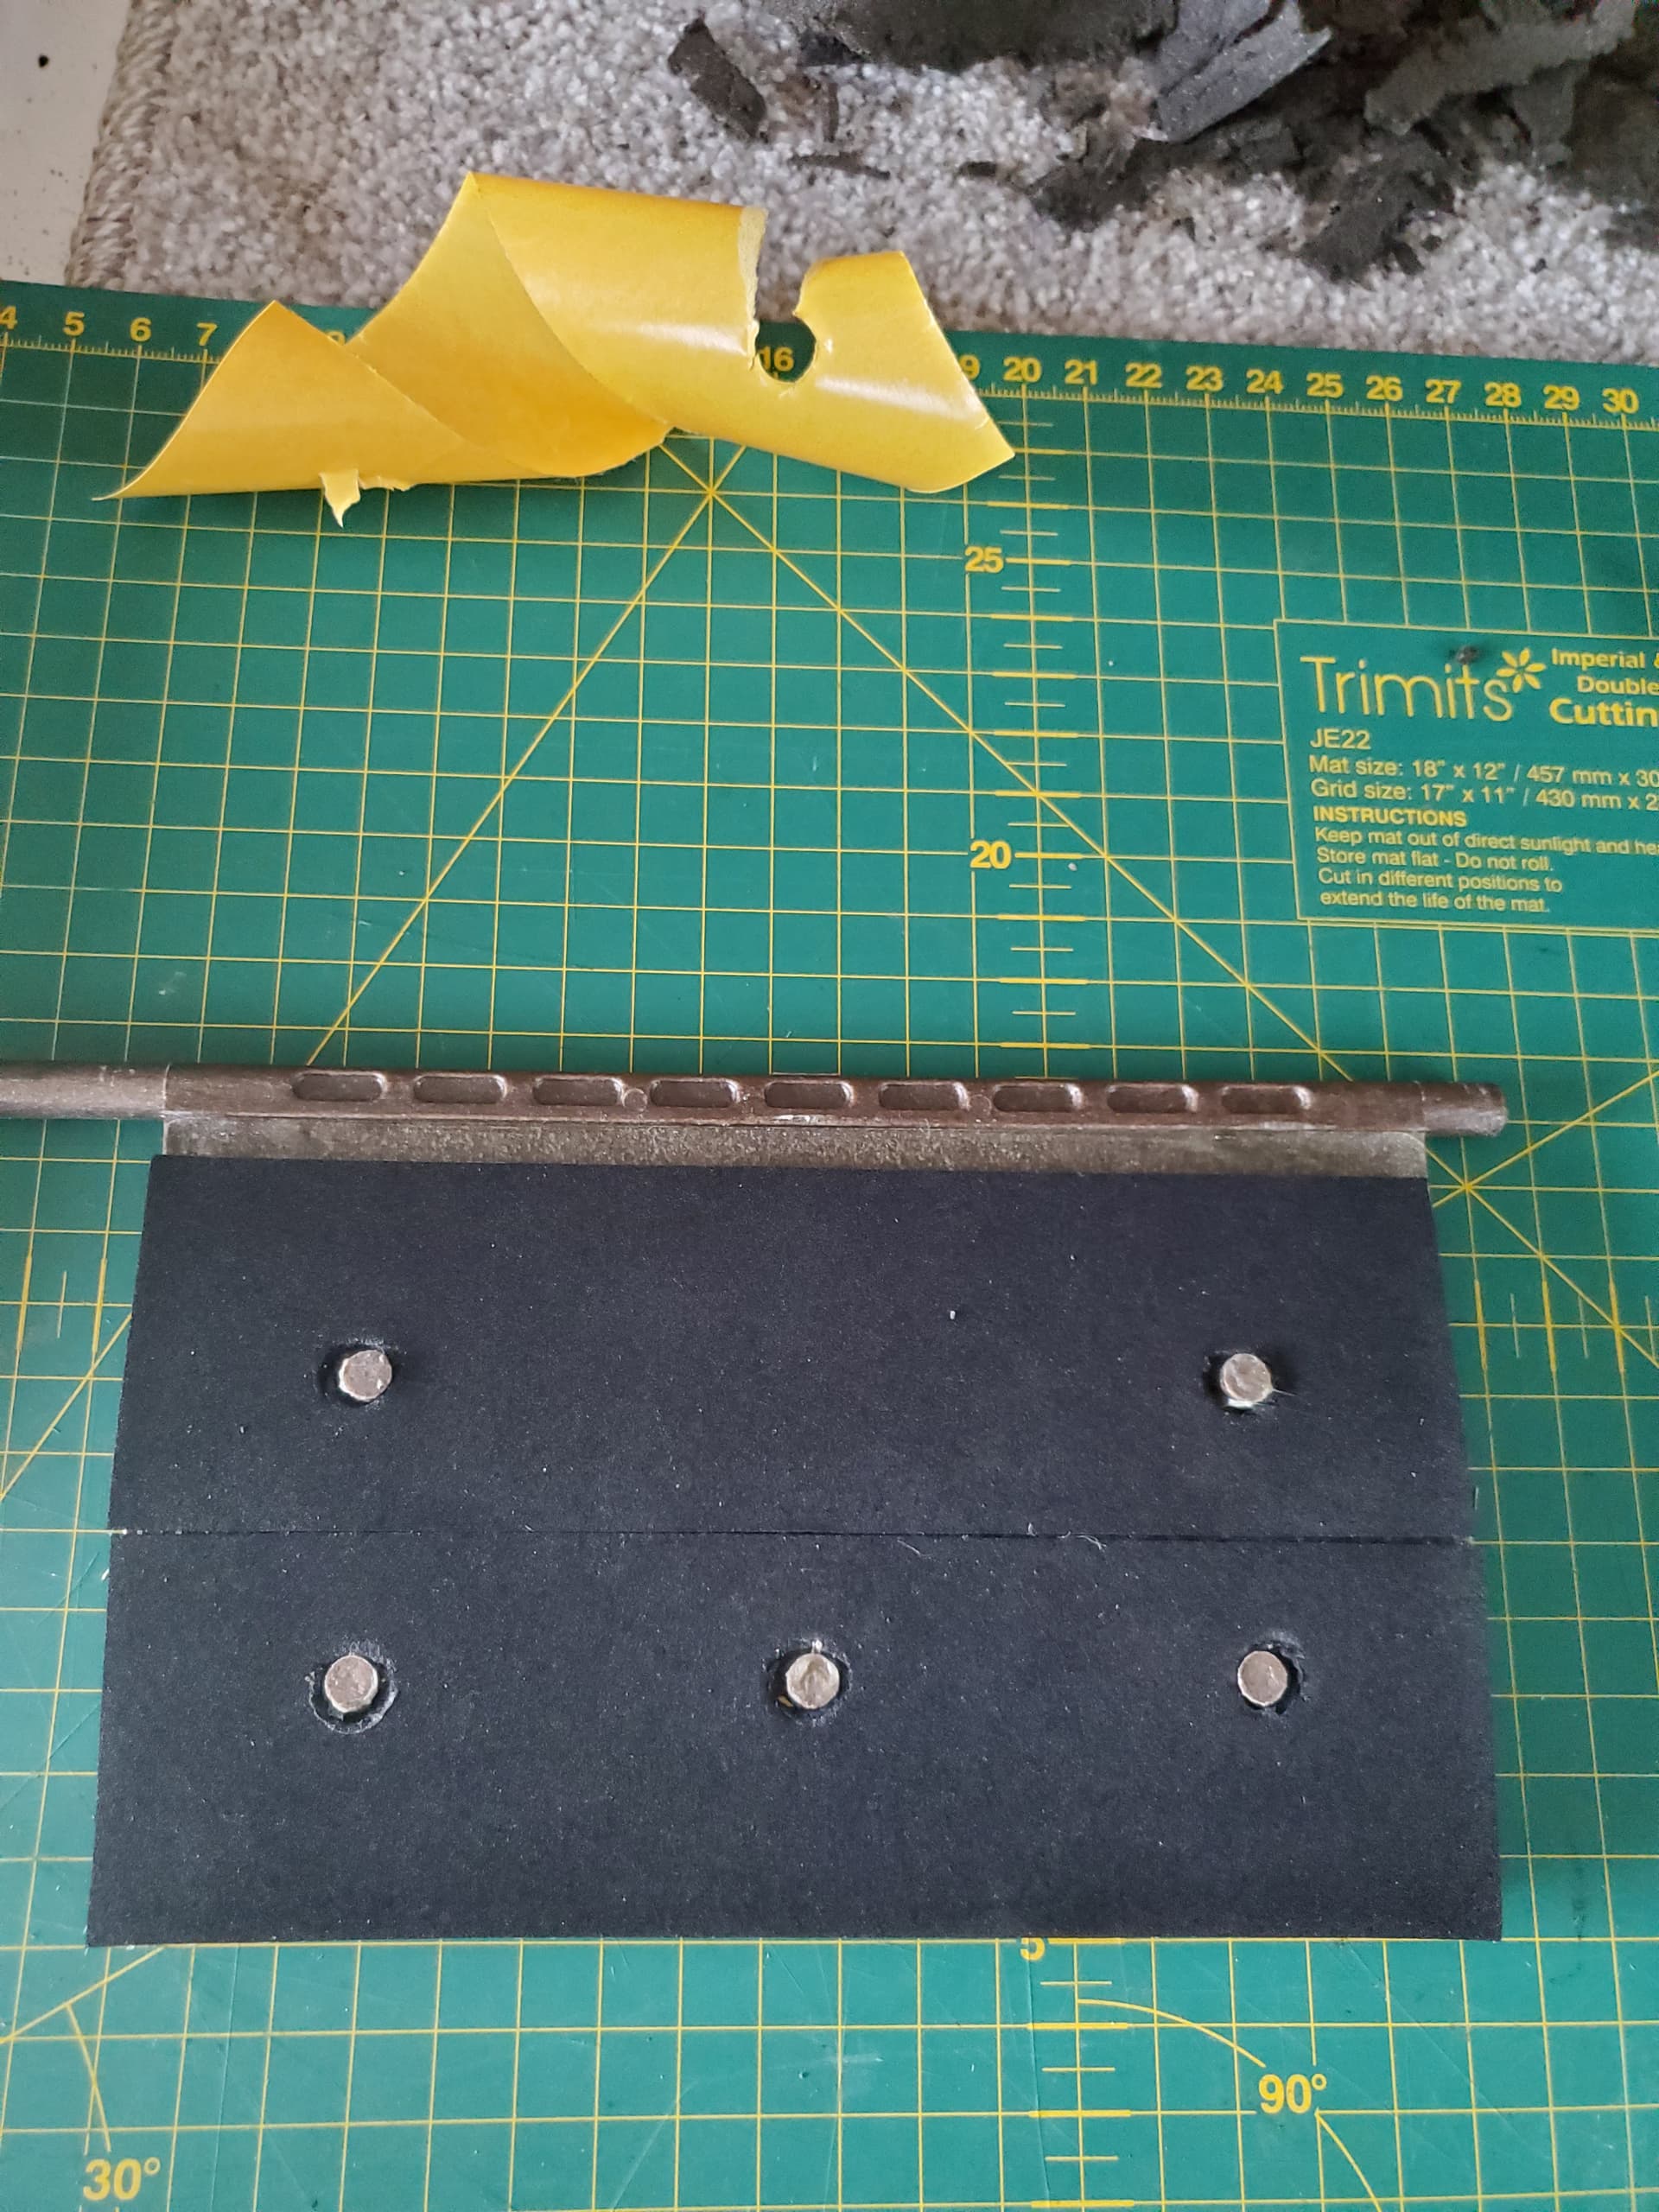
OK, so the stickiness of the backing on my material was she ite. So used the contact adheasive. First job get the right thickness material.
This is the origional, more or less.
And this is the replacement, more or less.
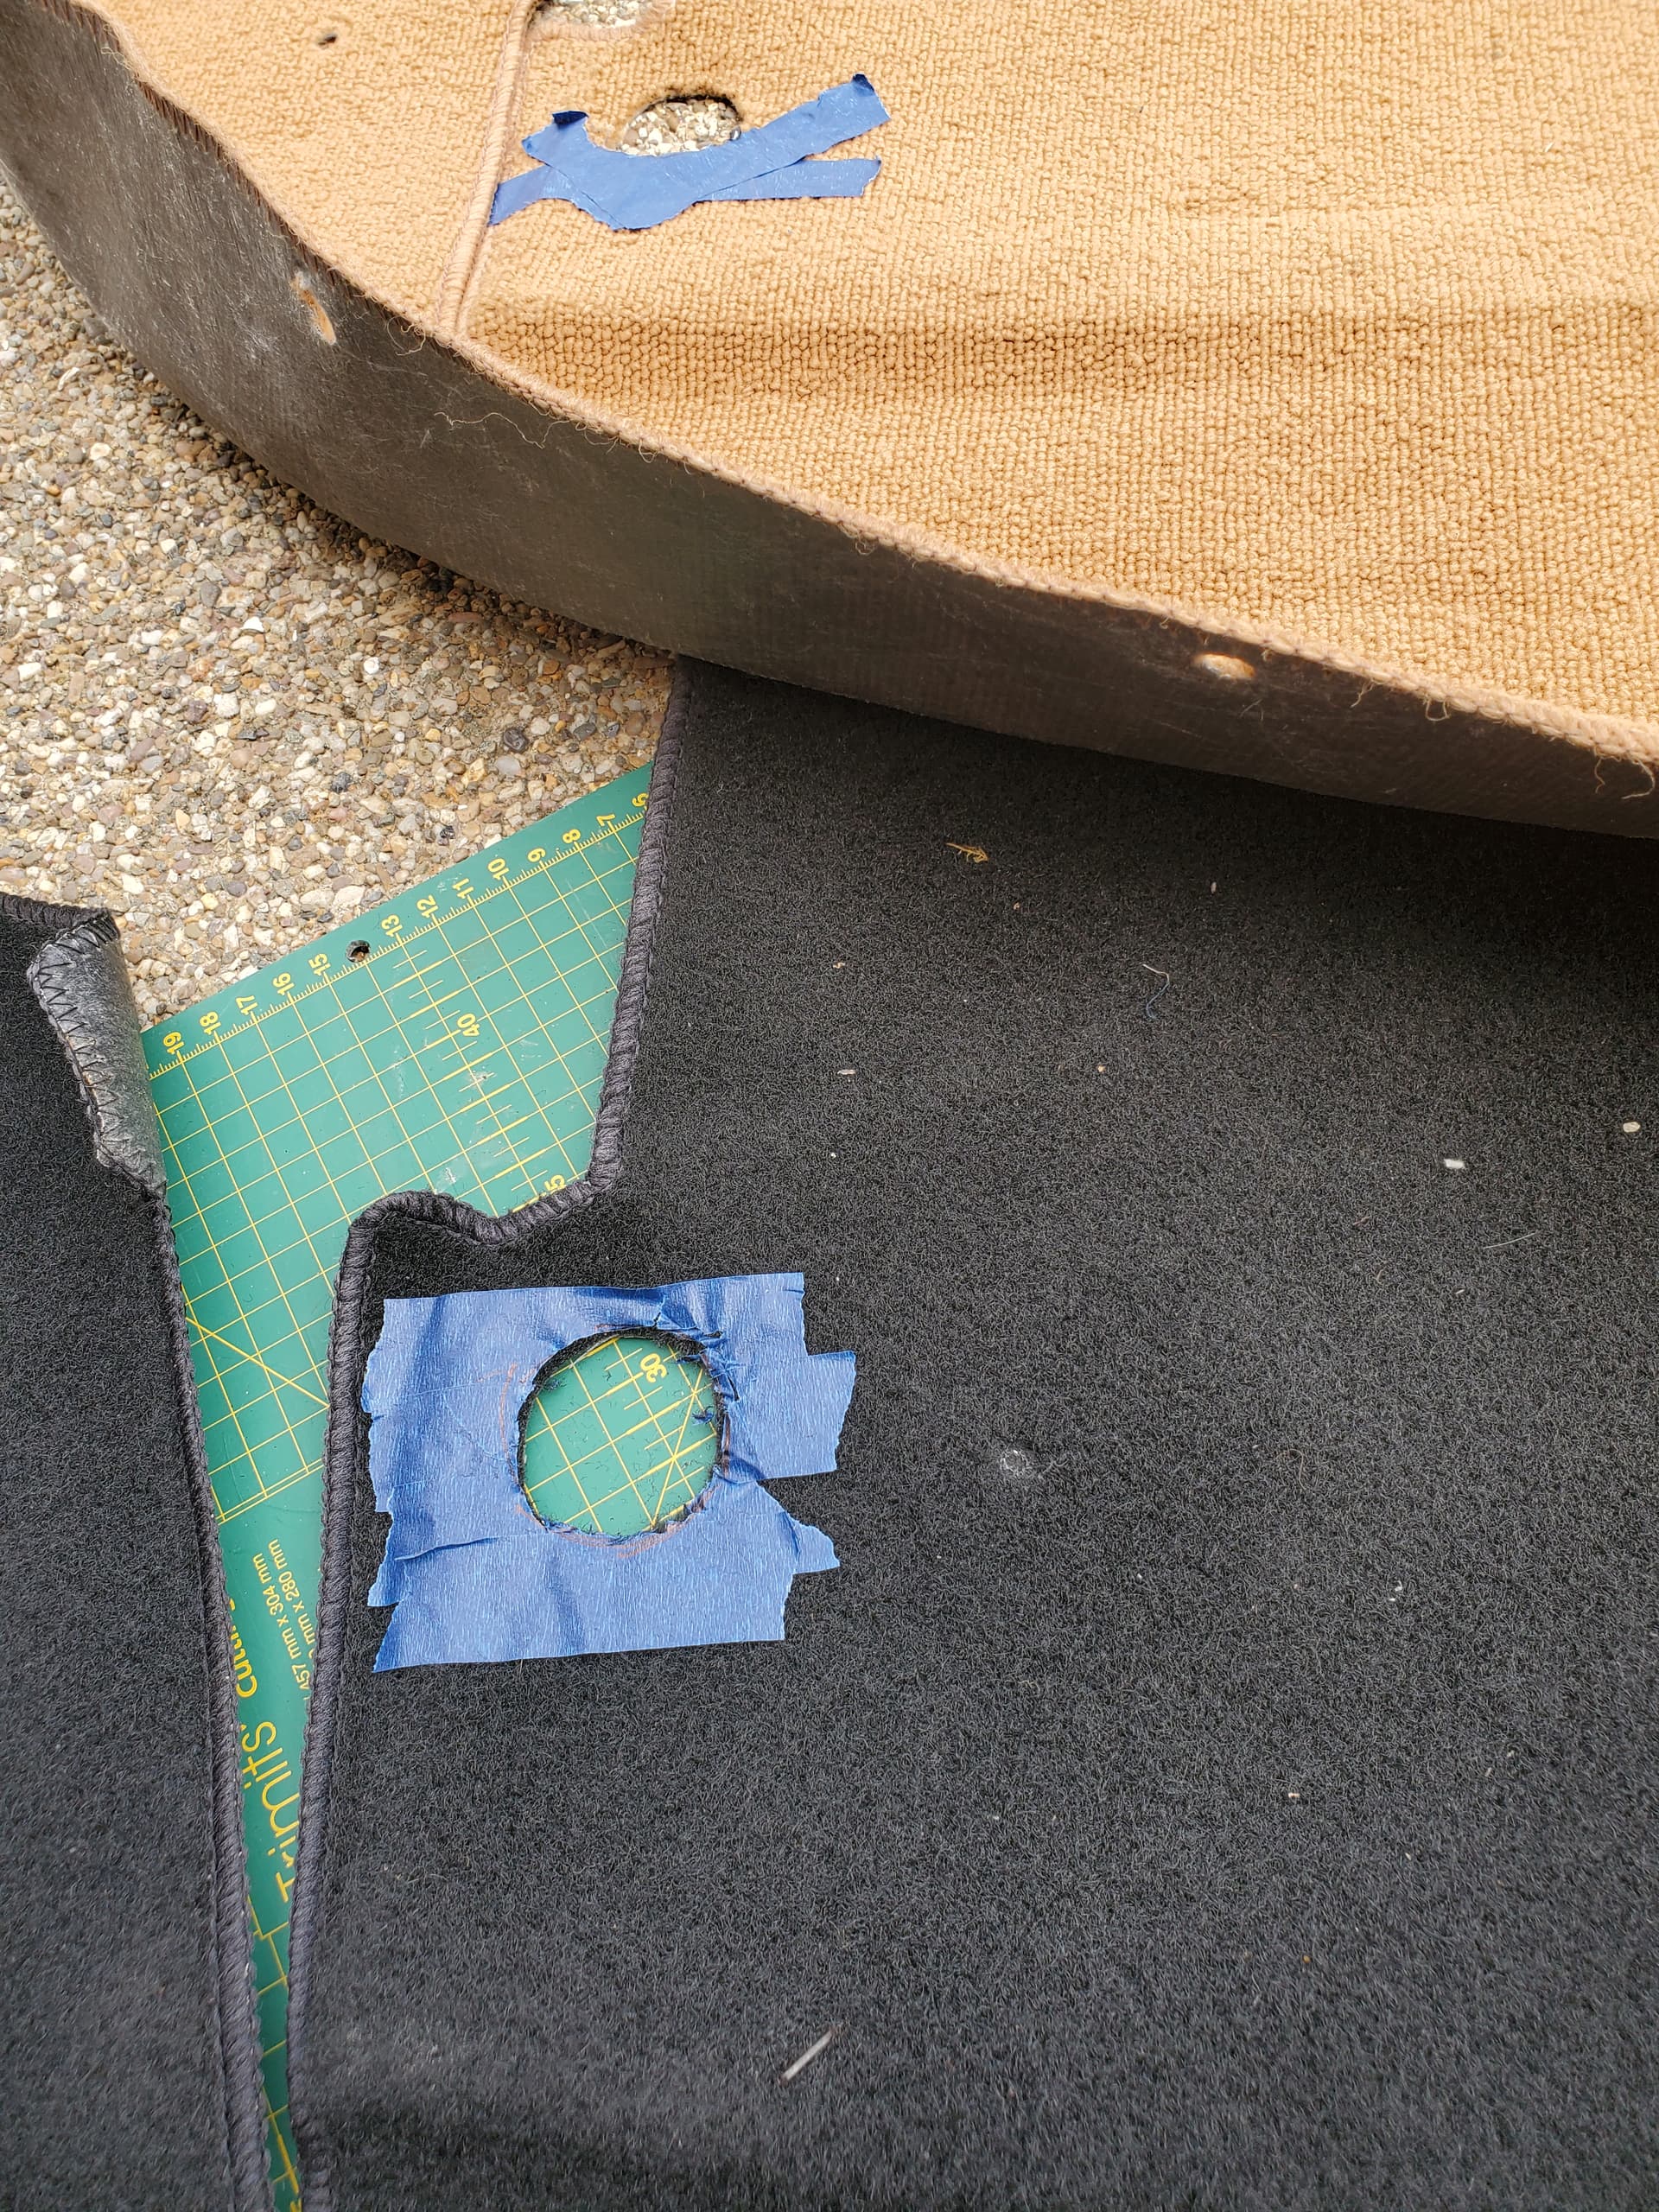
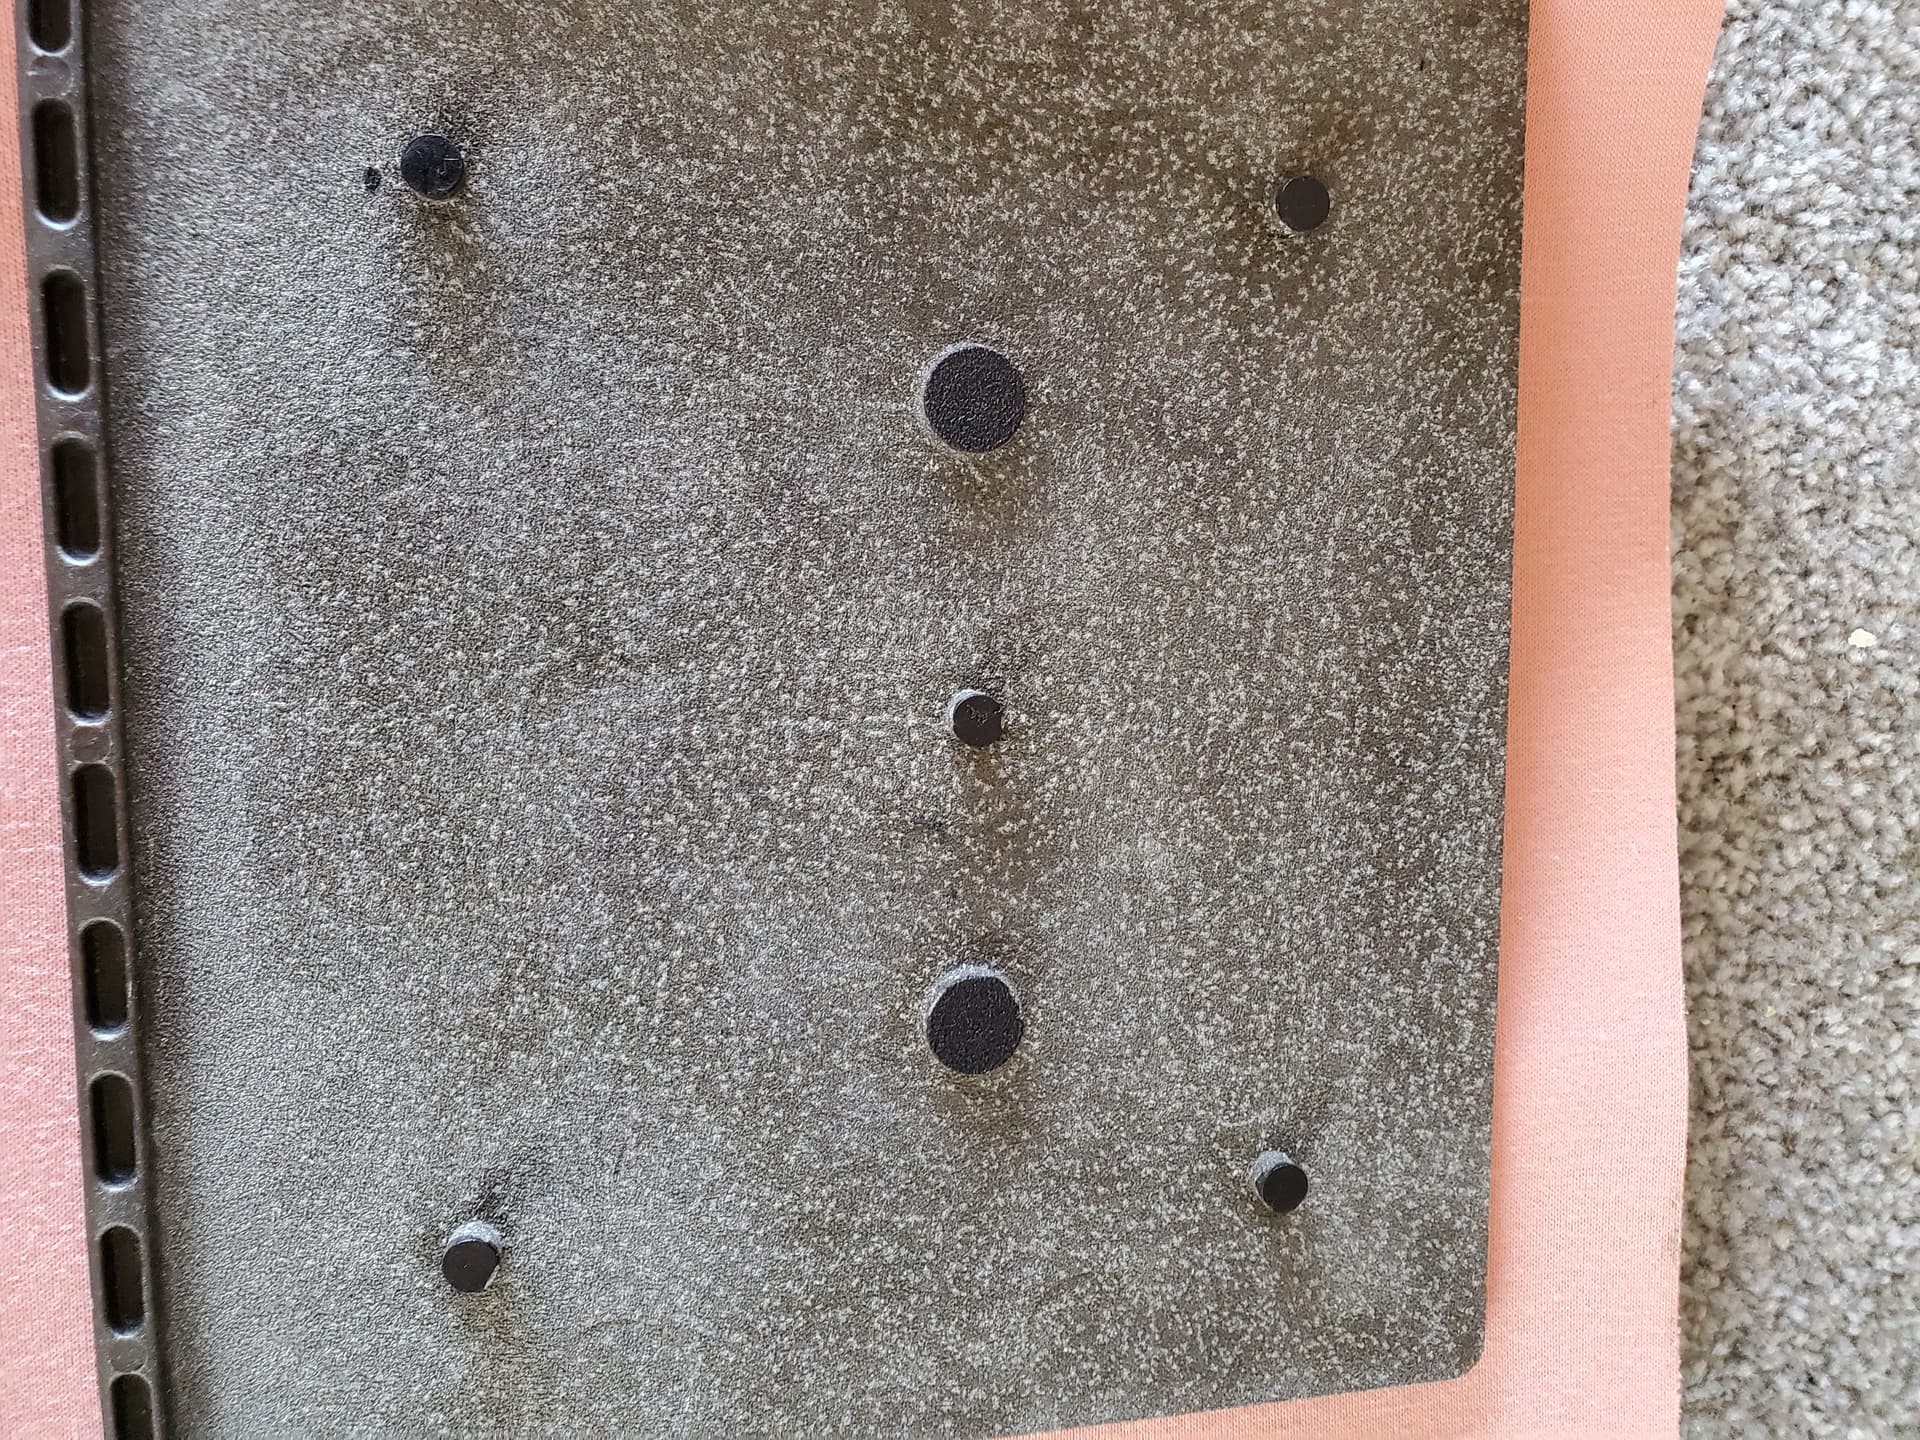
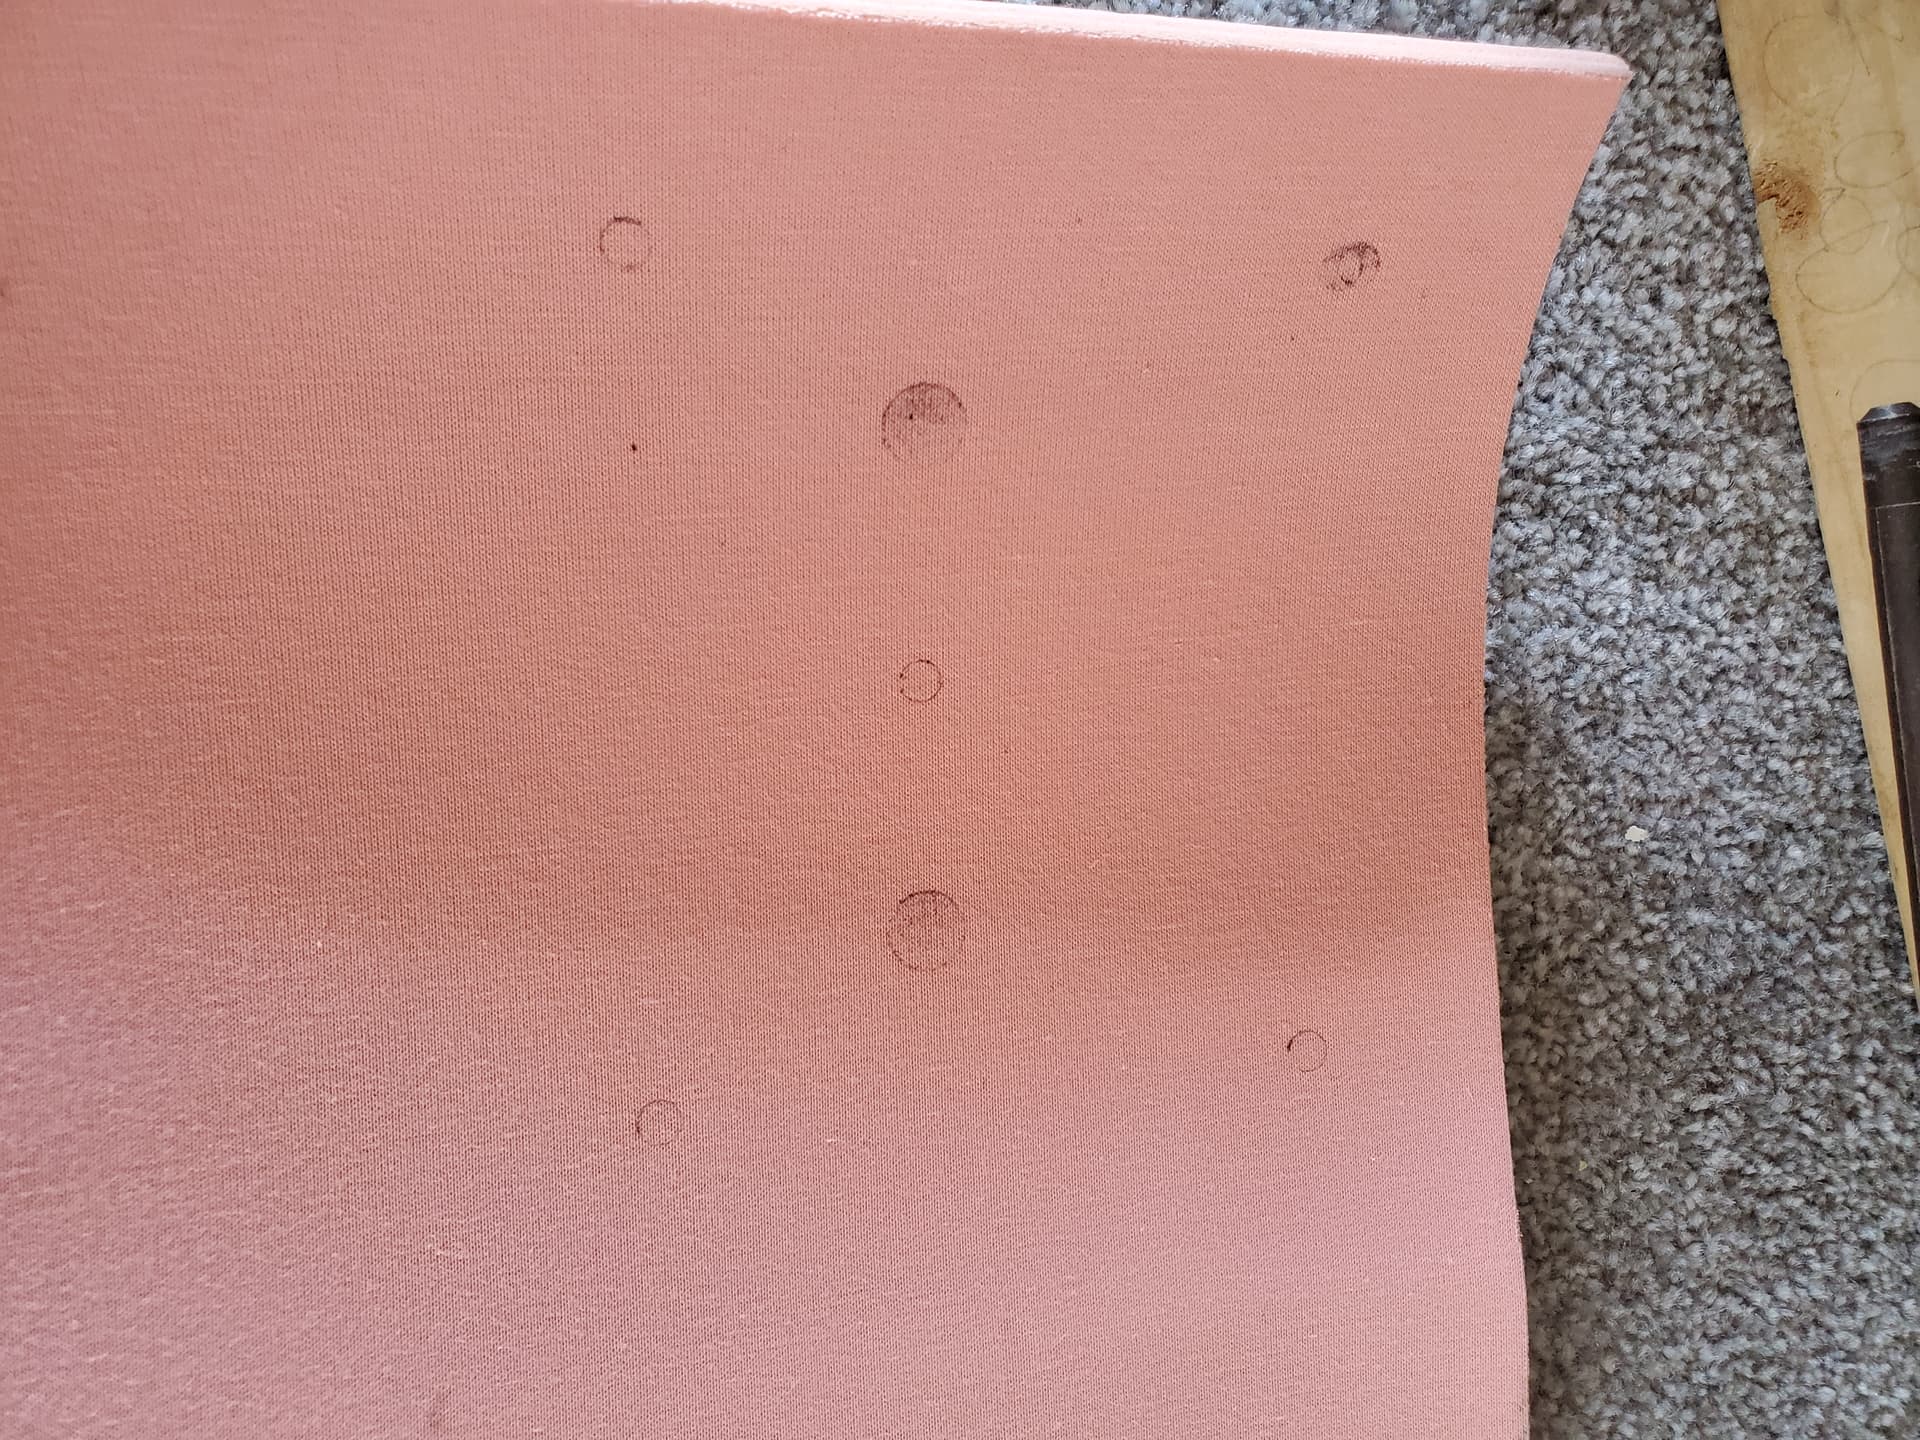
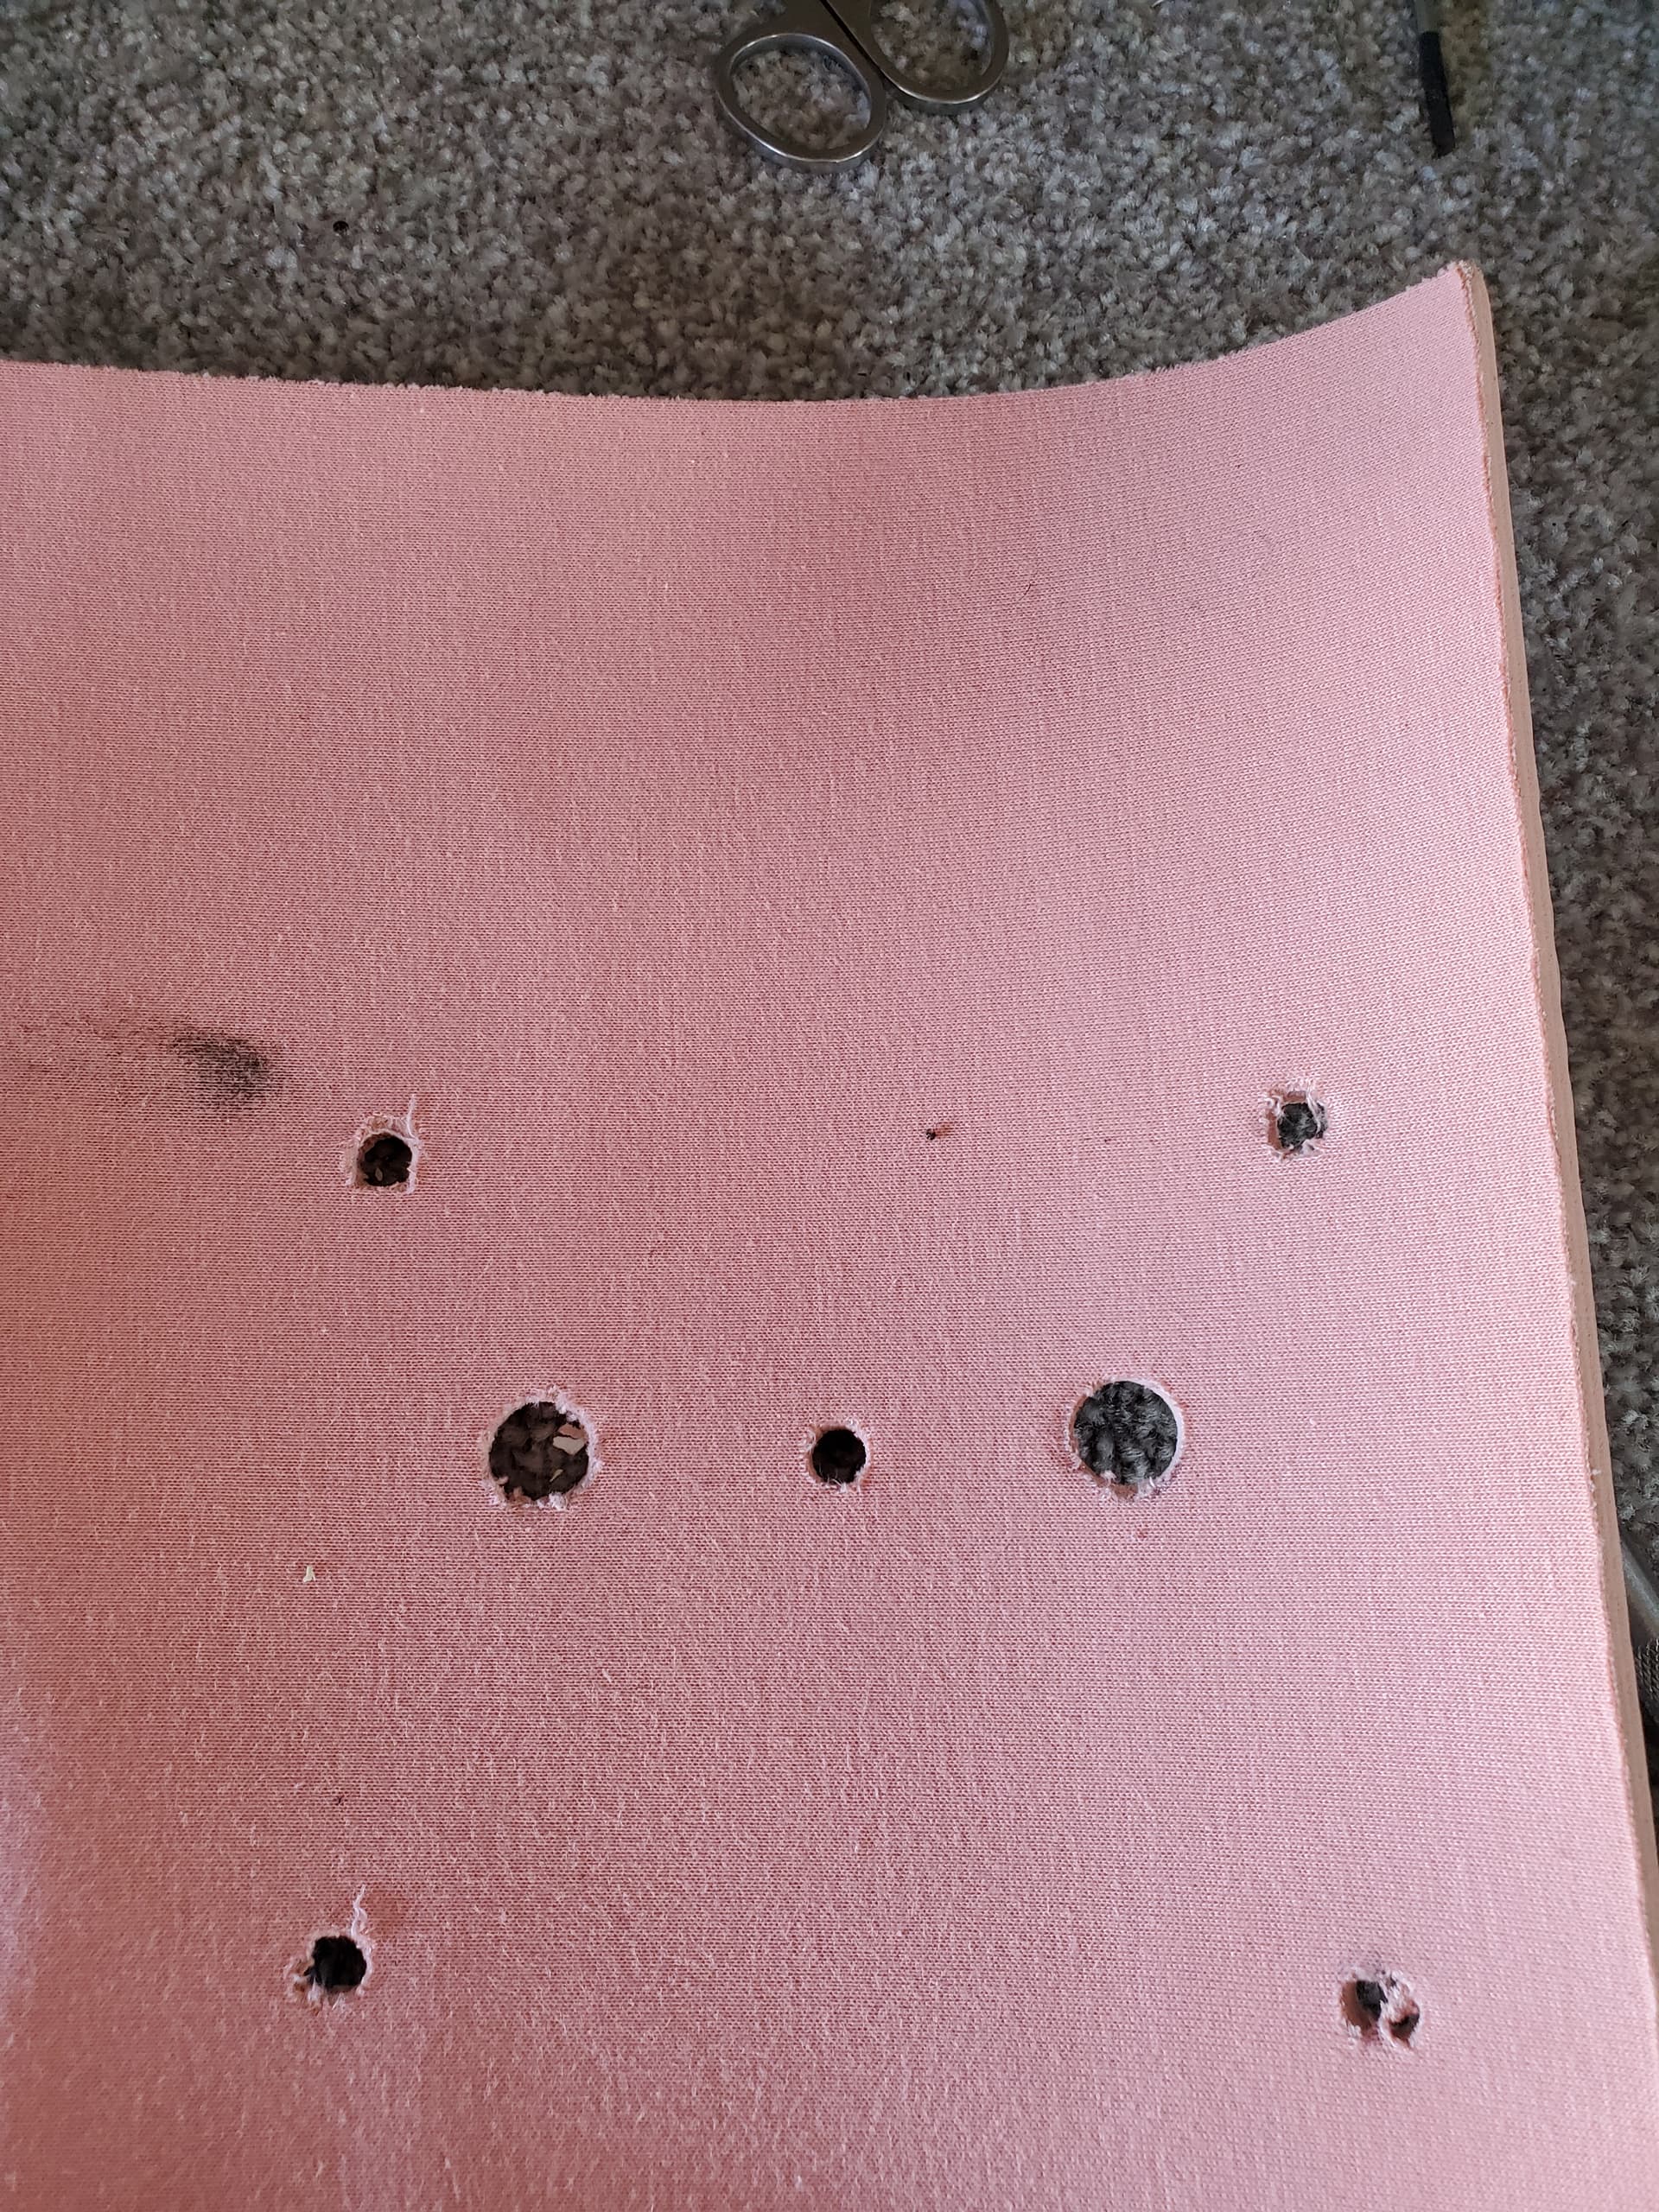
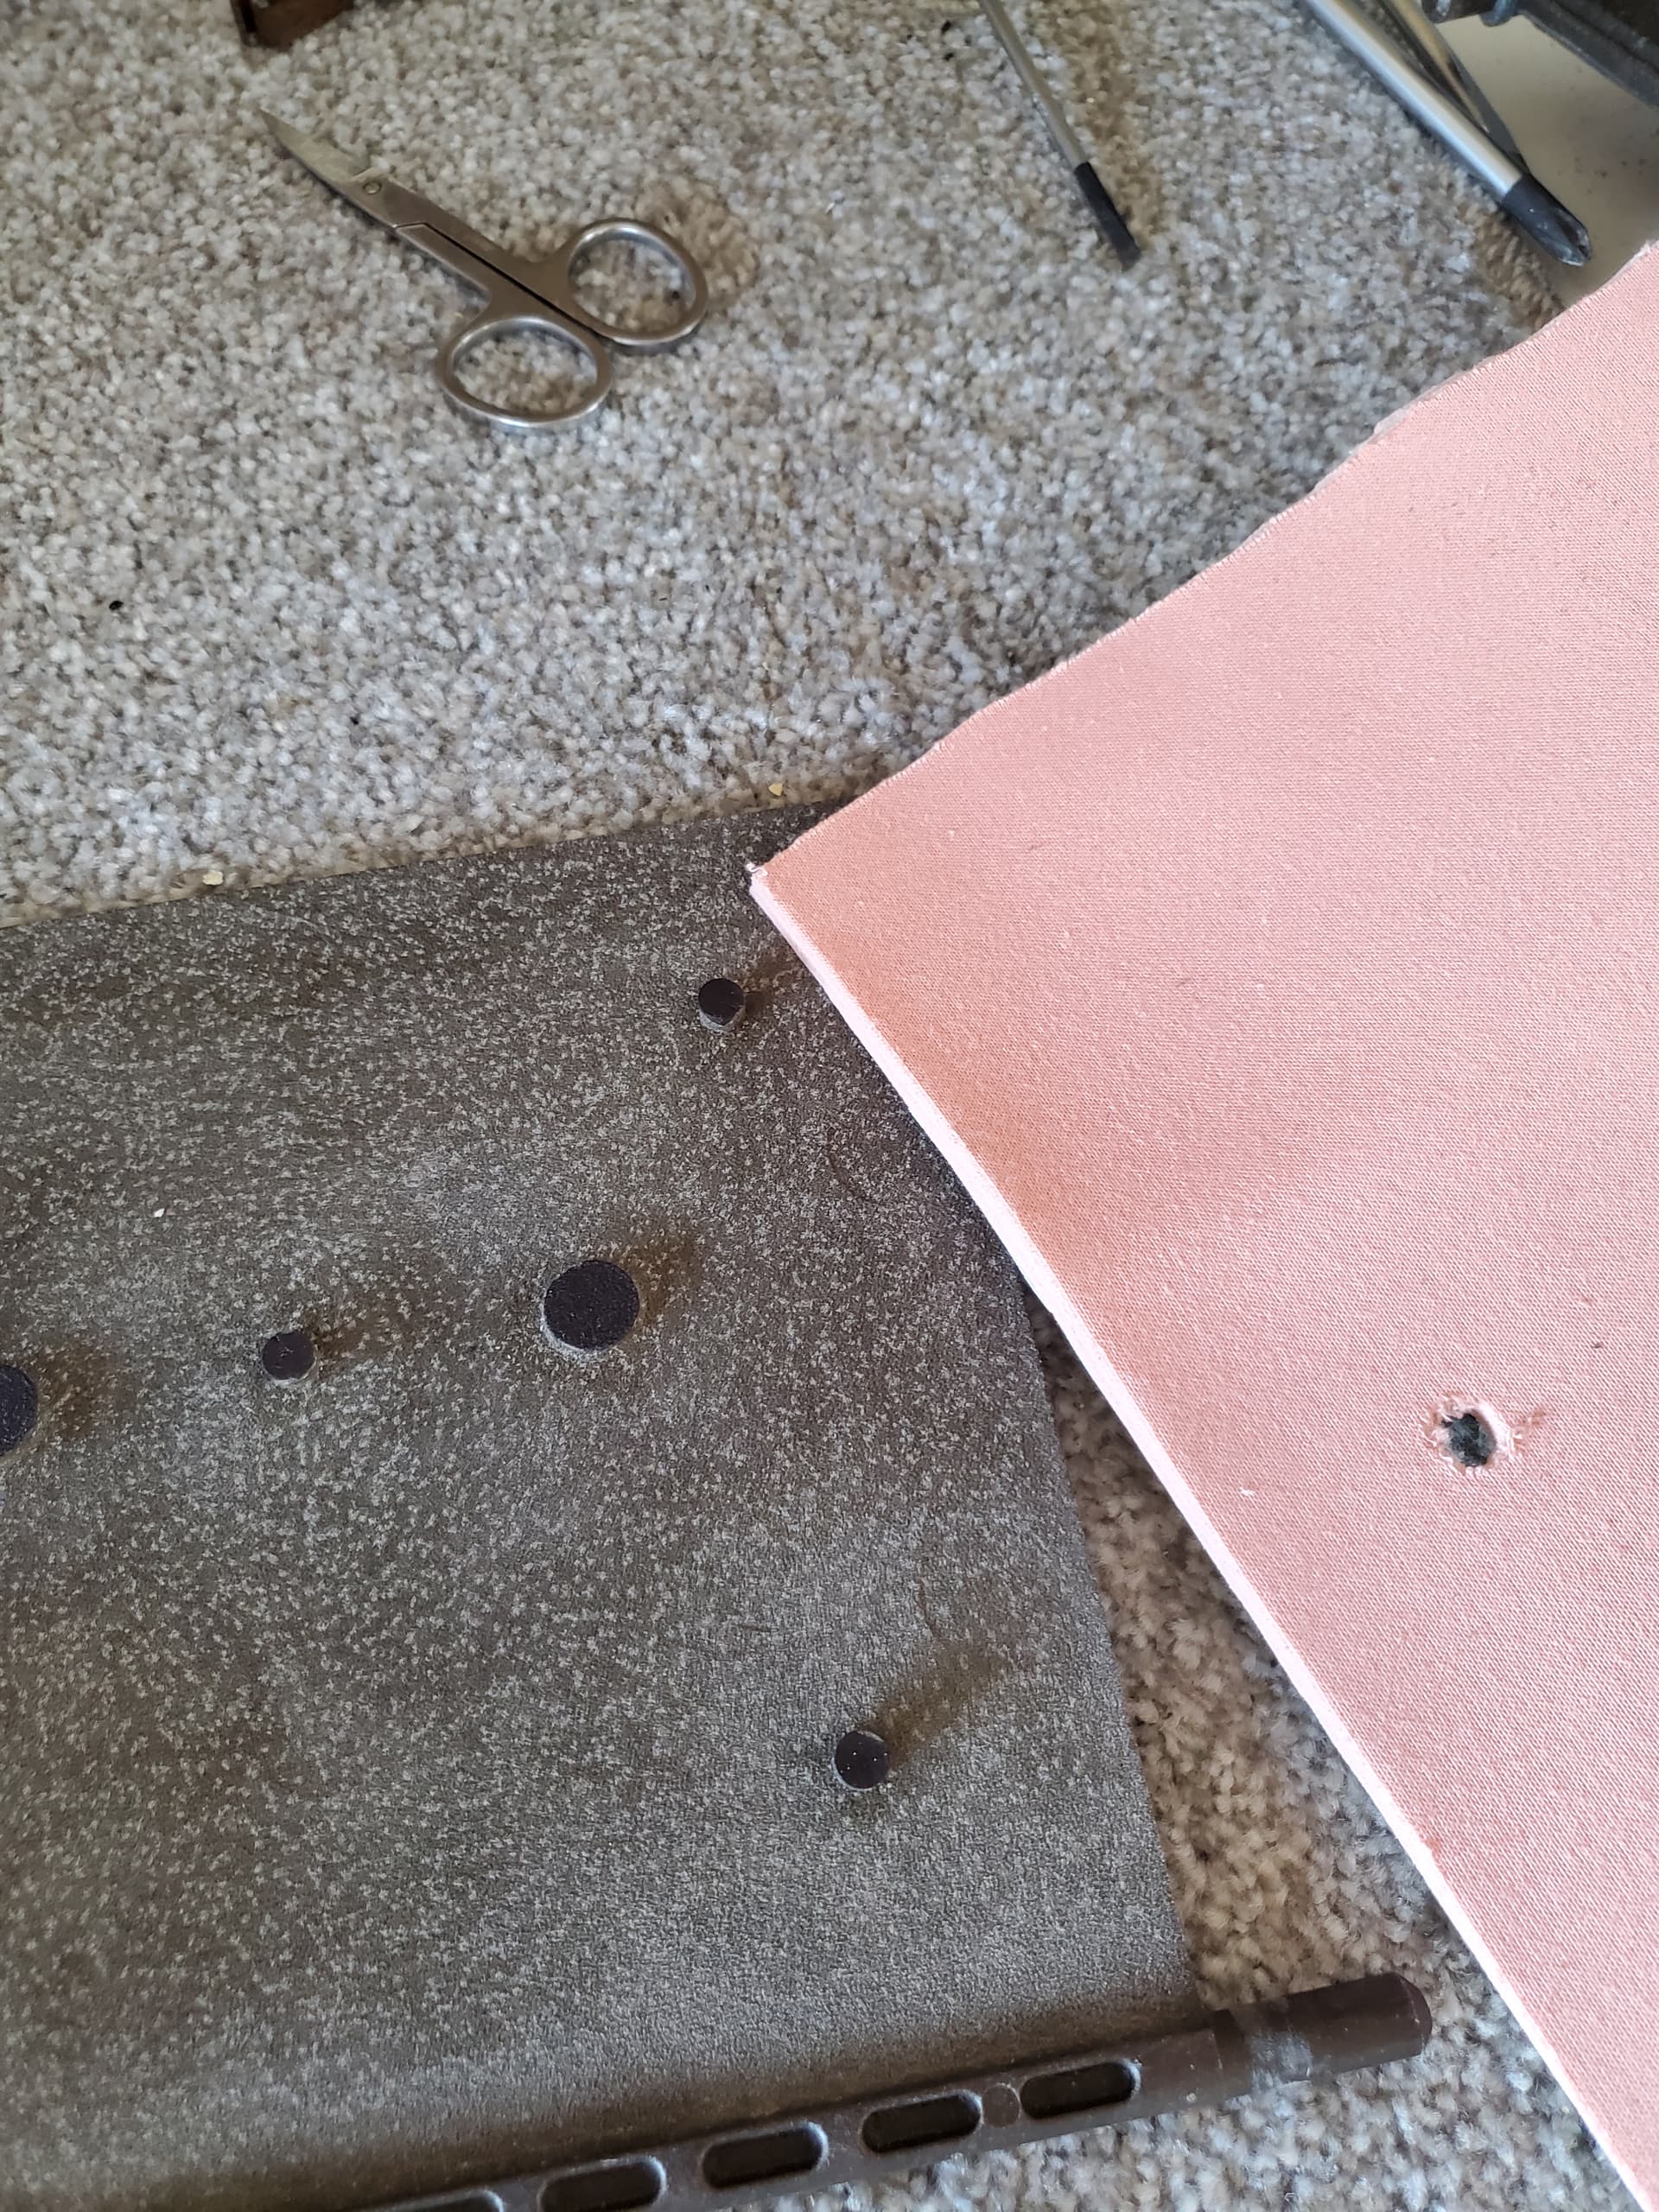
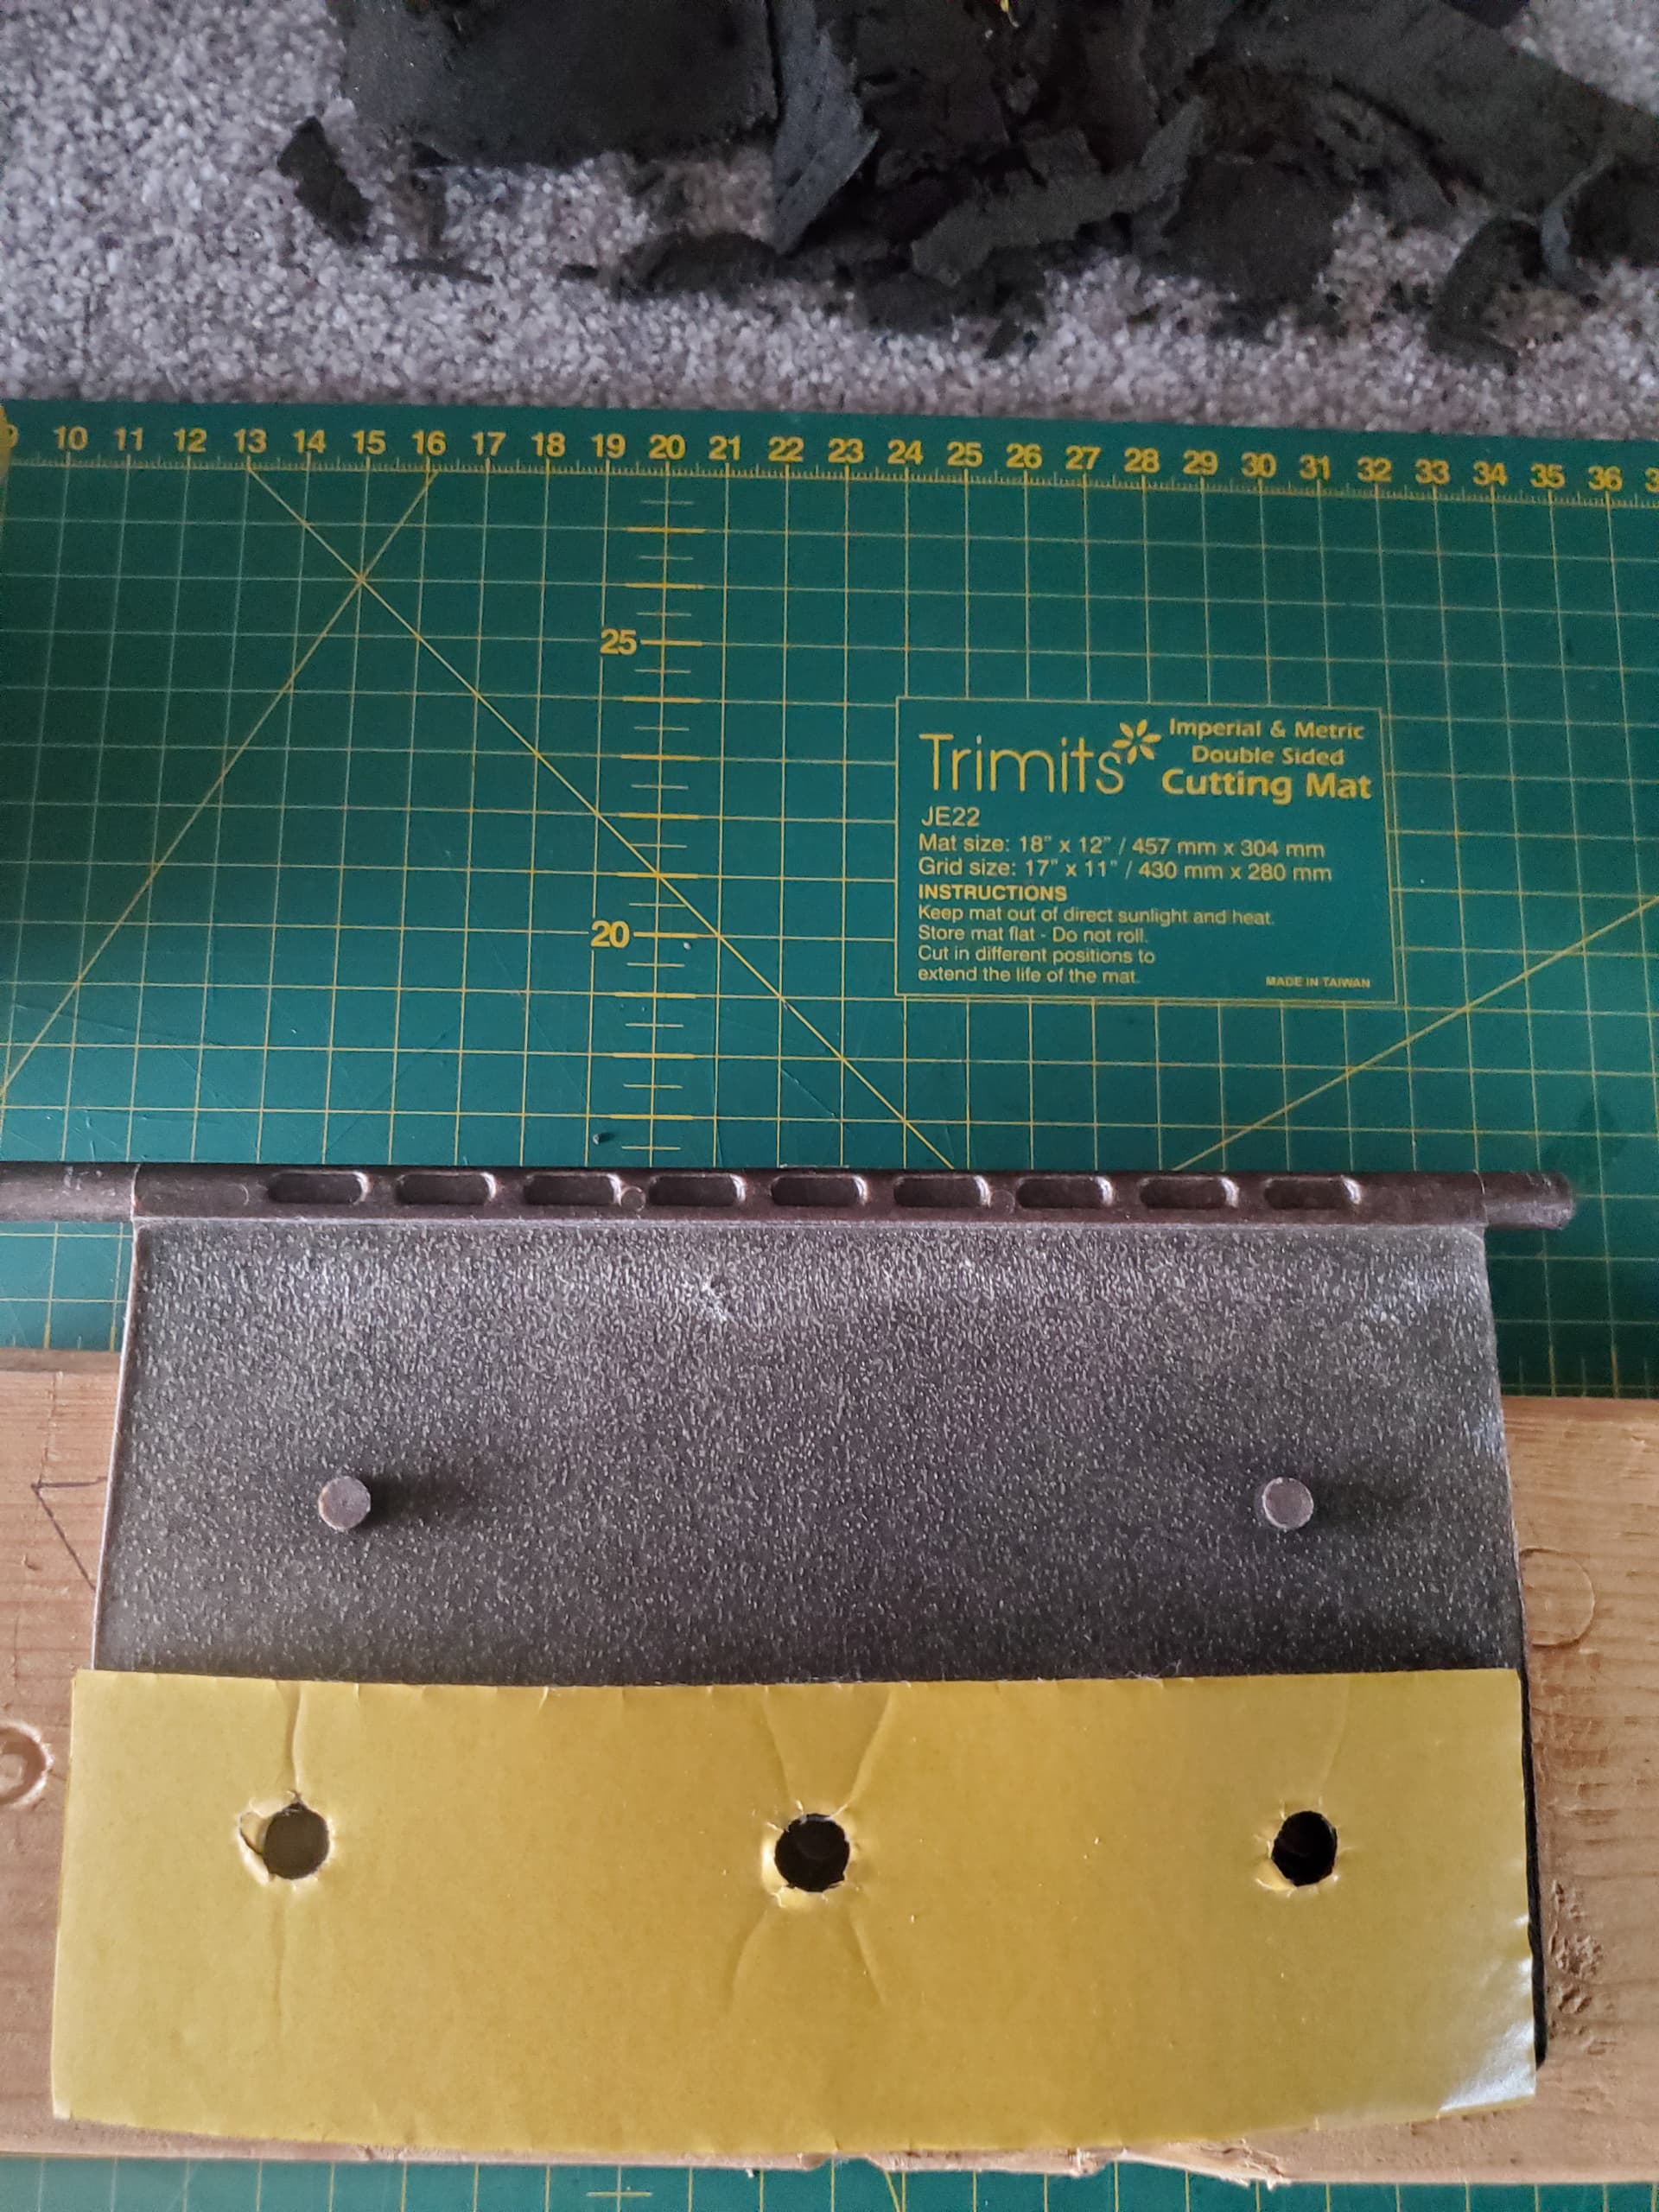
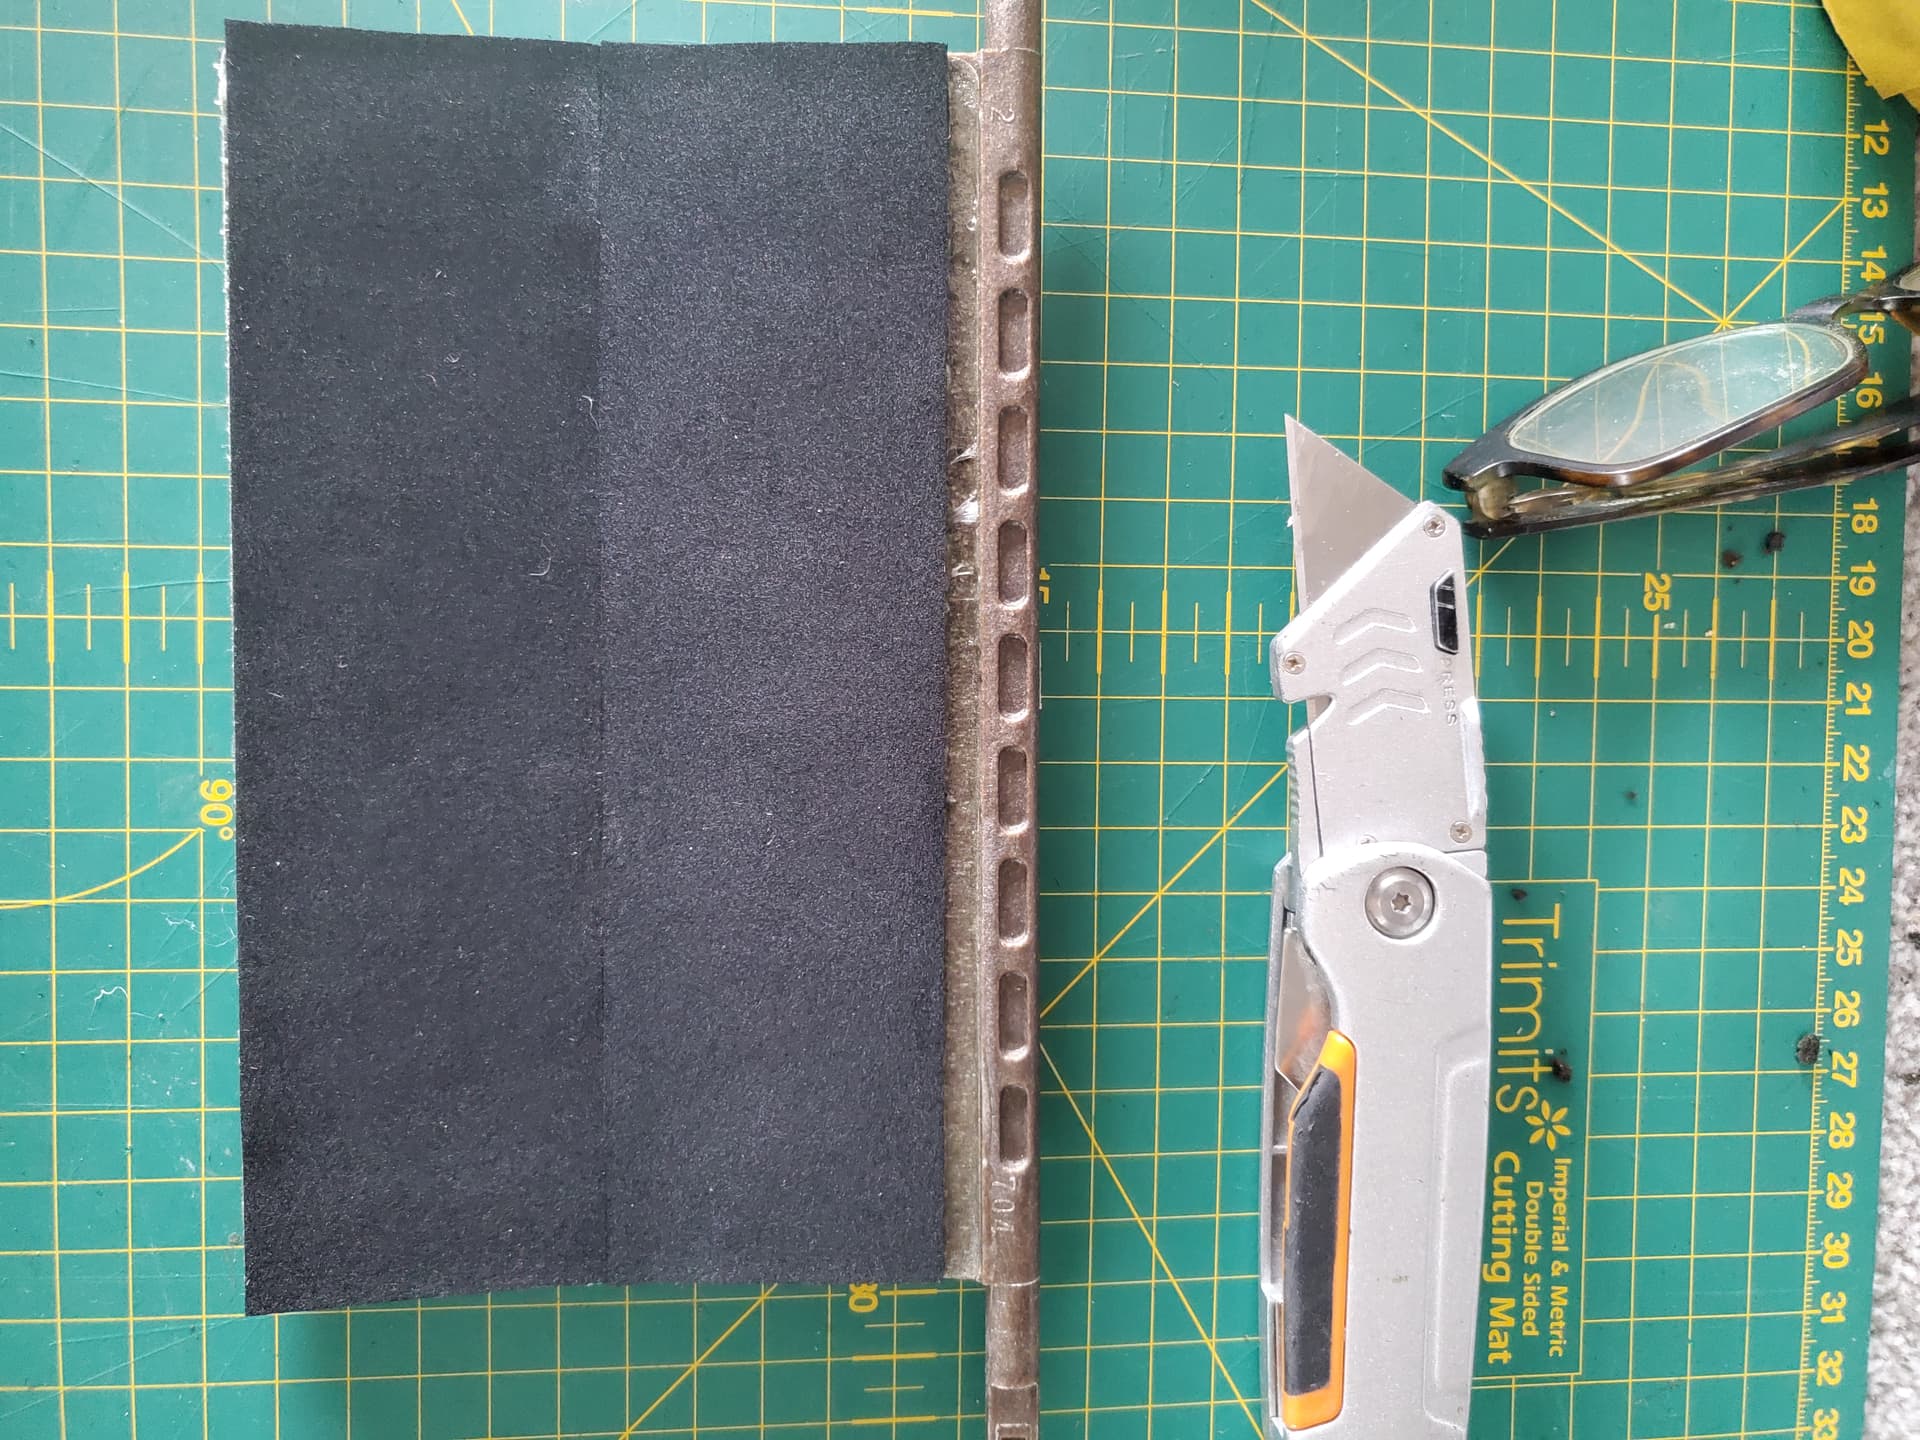
Offer it up, cut to length, mark the holes to be punched out were required. Some flaps have them and some dont. All flaps seal around the outer edge so material in the middle is not necessary really but it more trouble to not cover it 100%!
Repeat for the rest of the flap. Spread the adheasive. As its a porous material on the flap you can stick straight away.
Repeat for the other flaps.
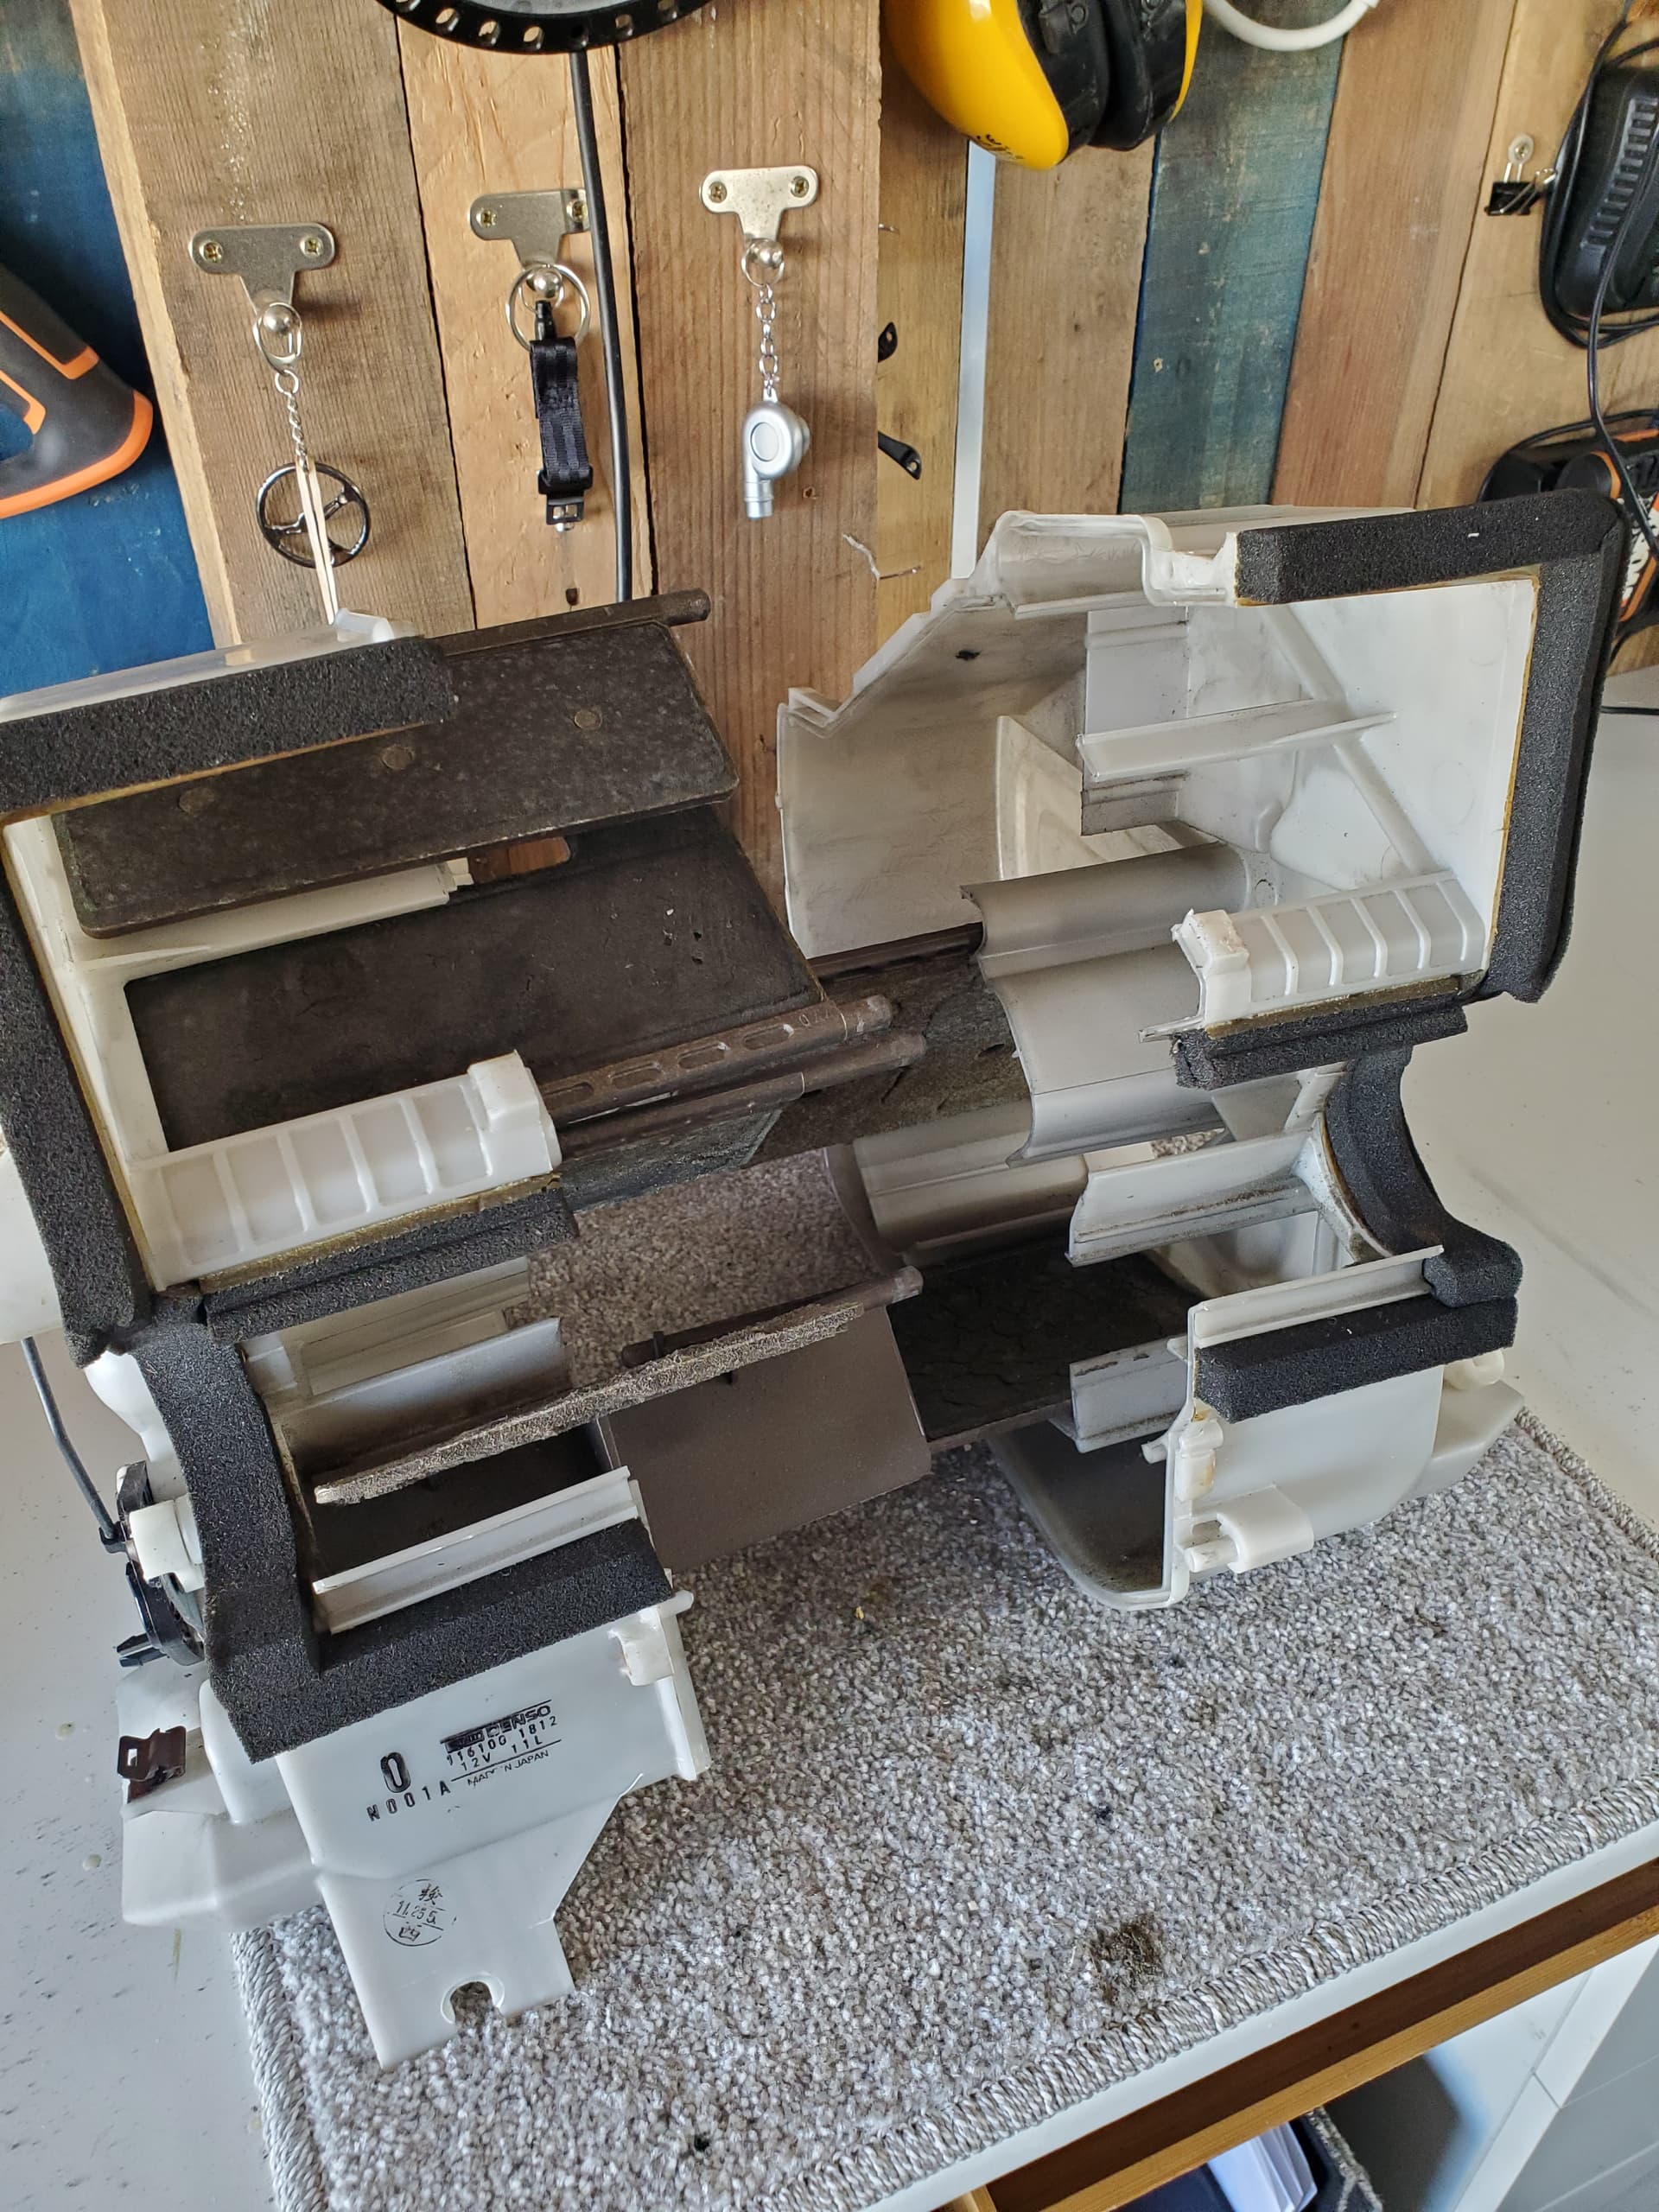
Side profile then looks like this.
Here you can see the second flap slightly open.
And closed. It only seals on the edges.
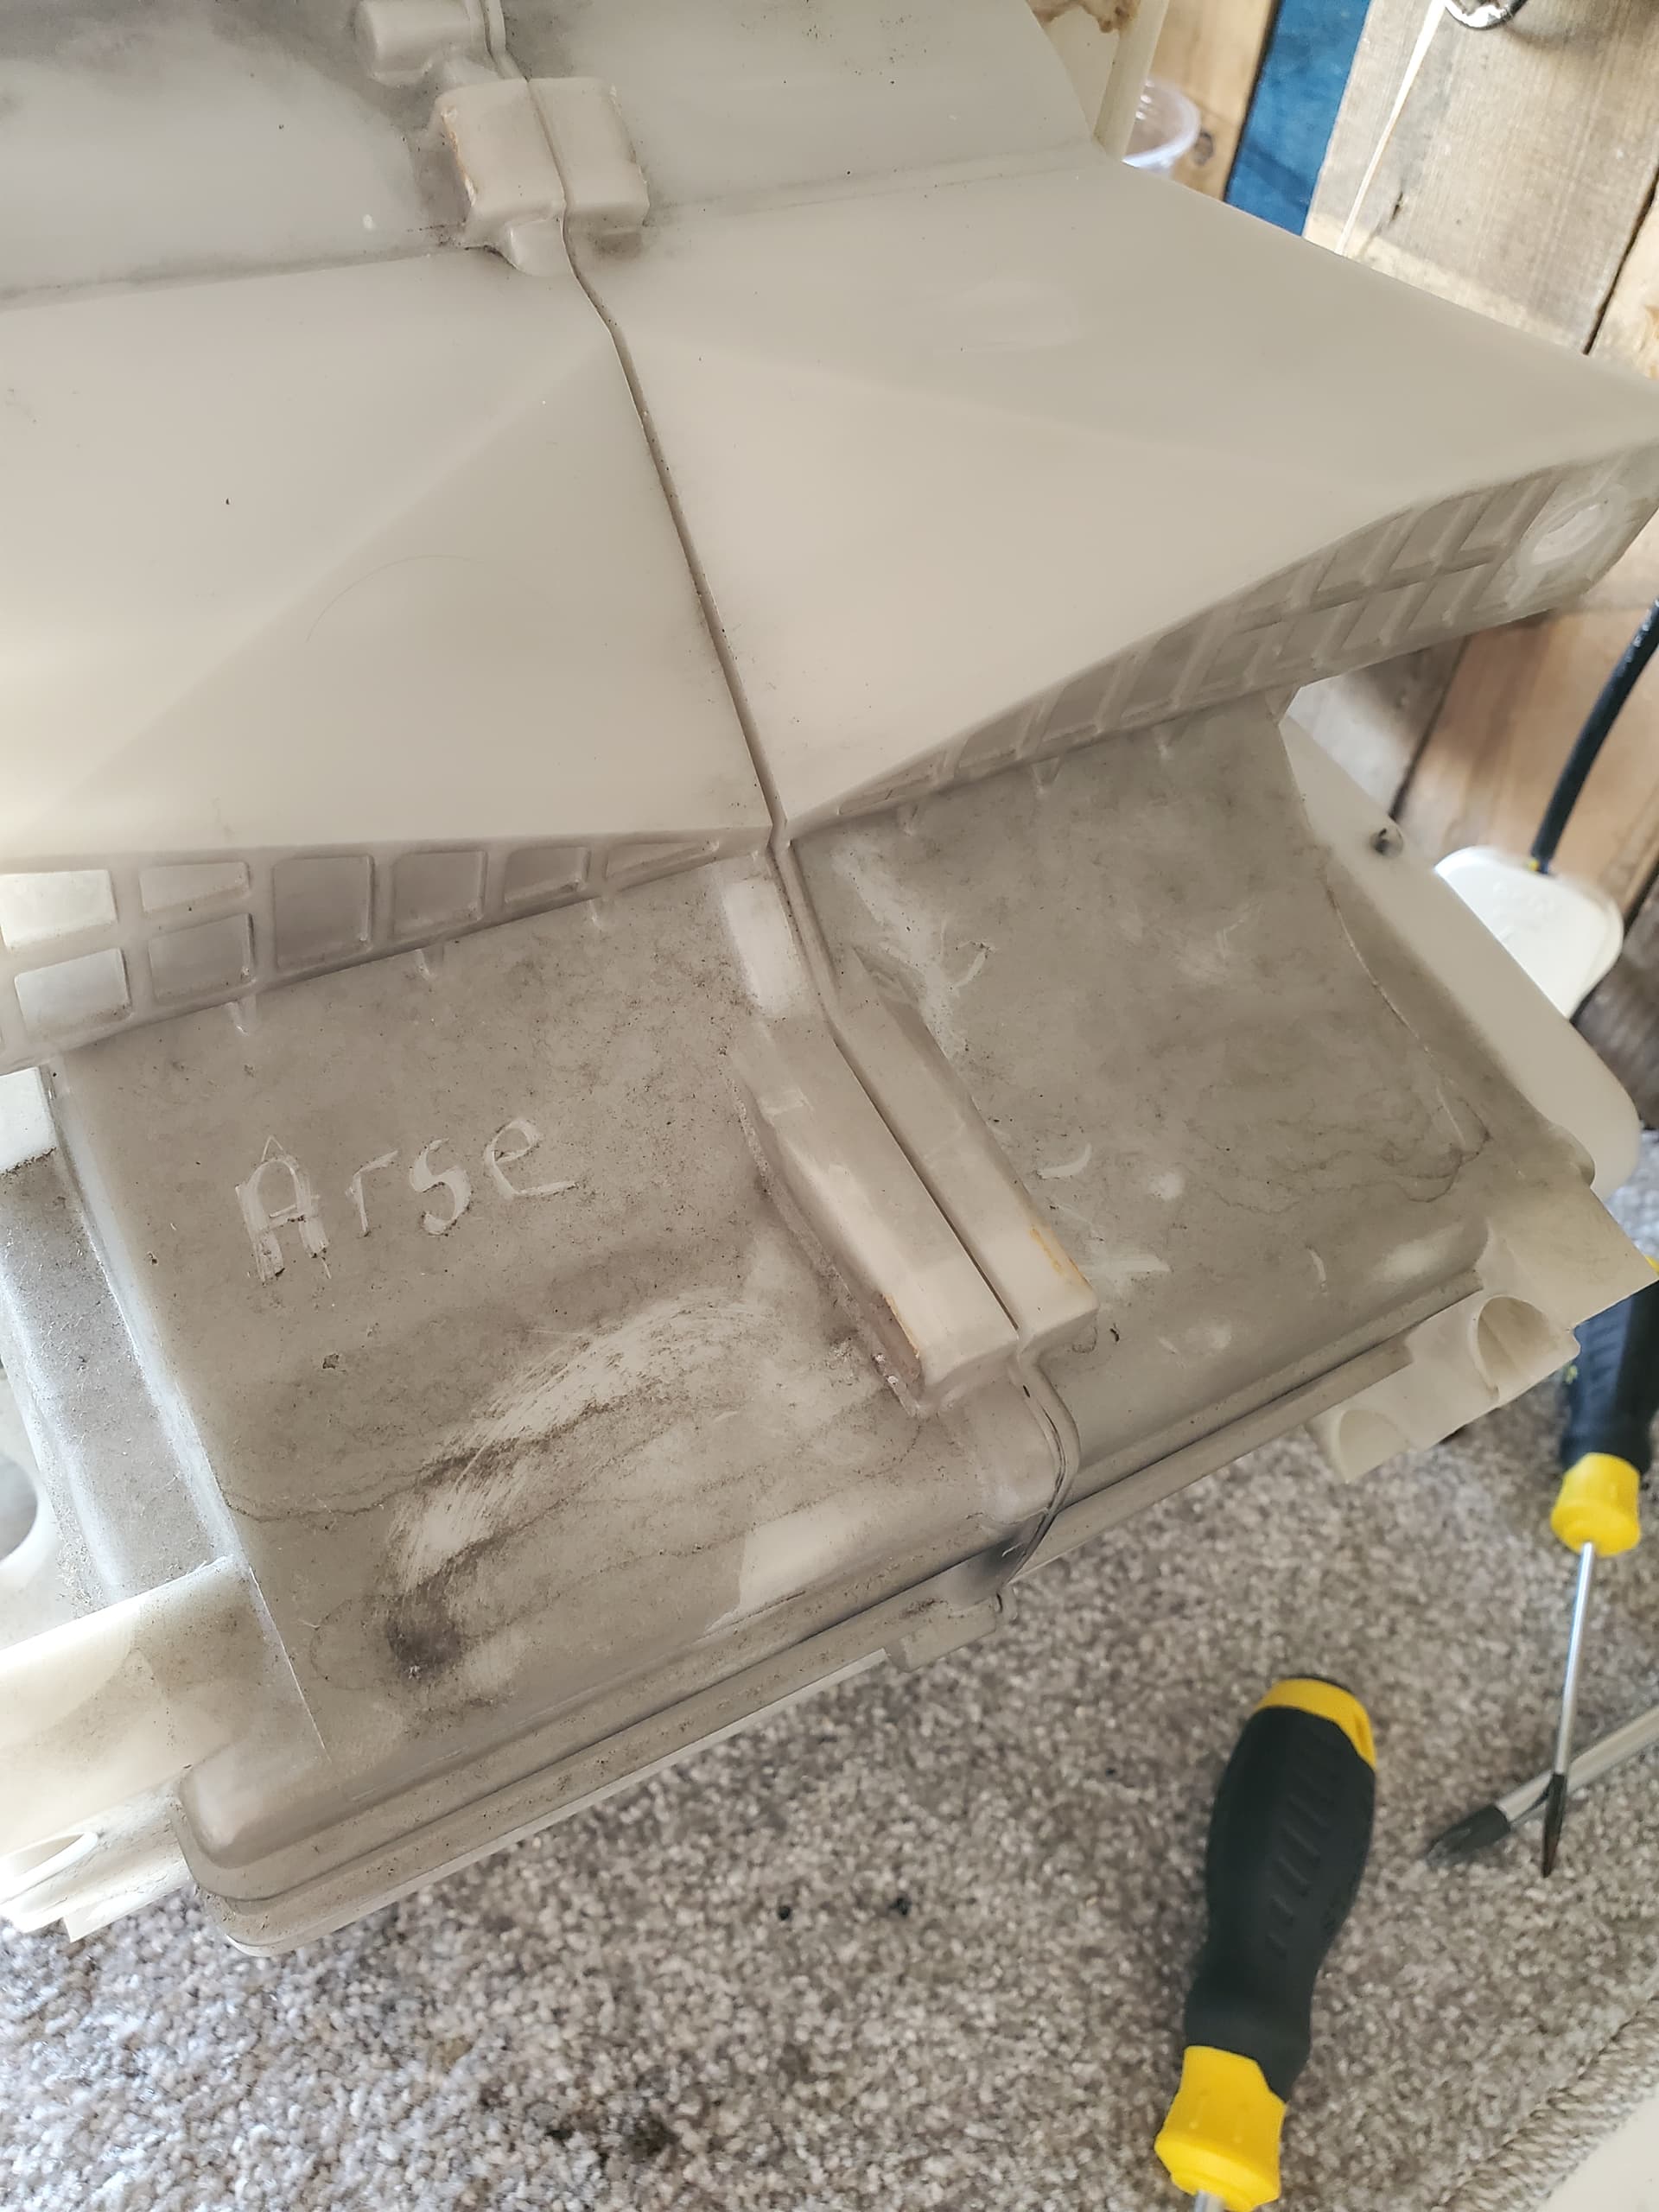
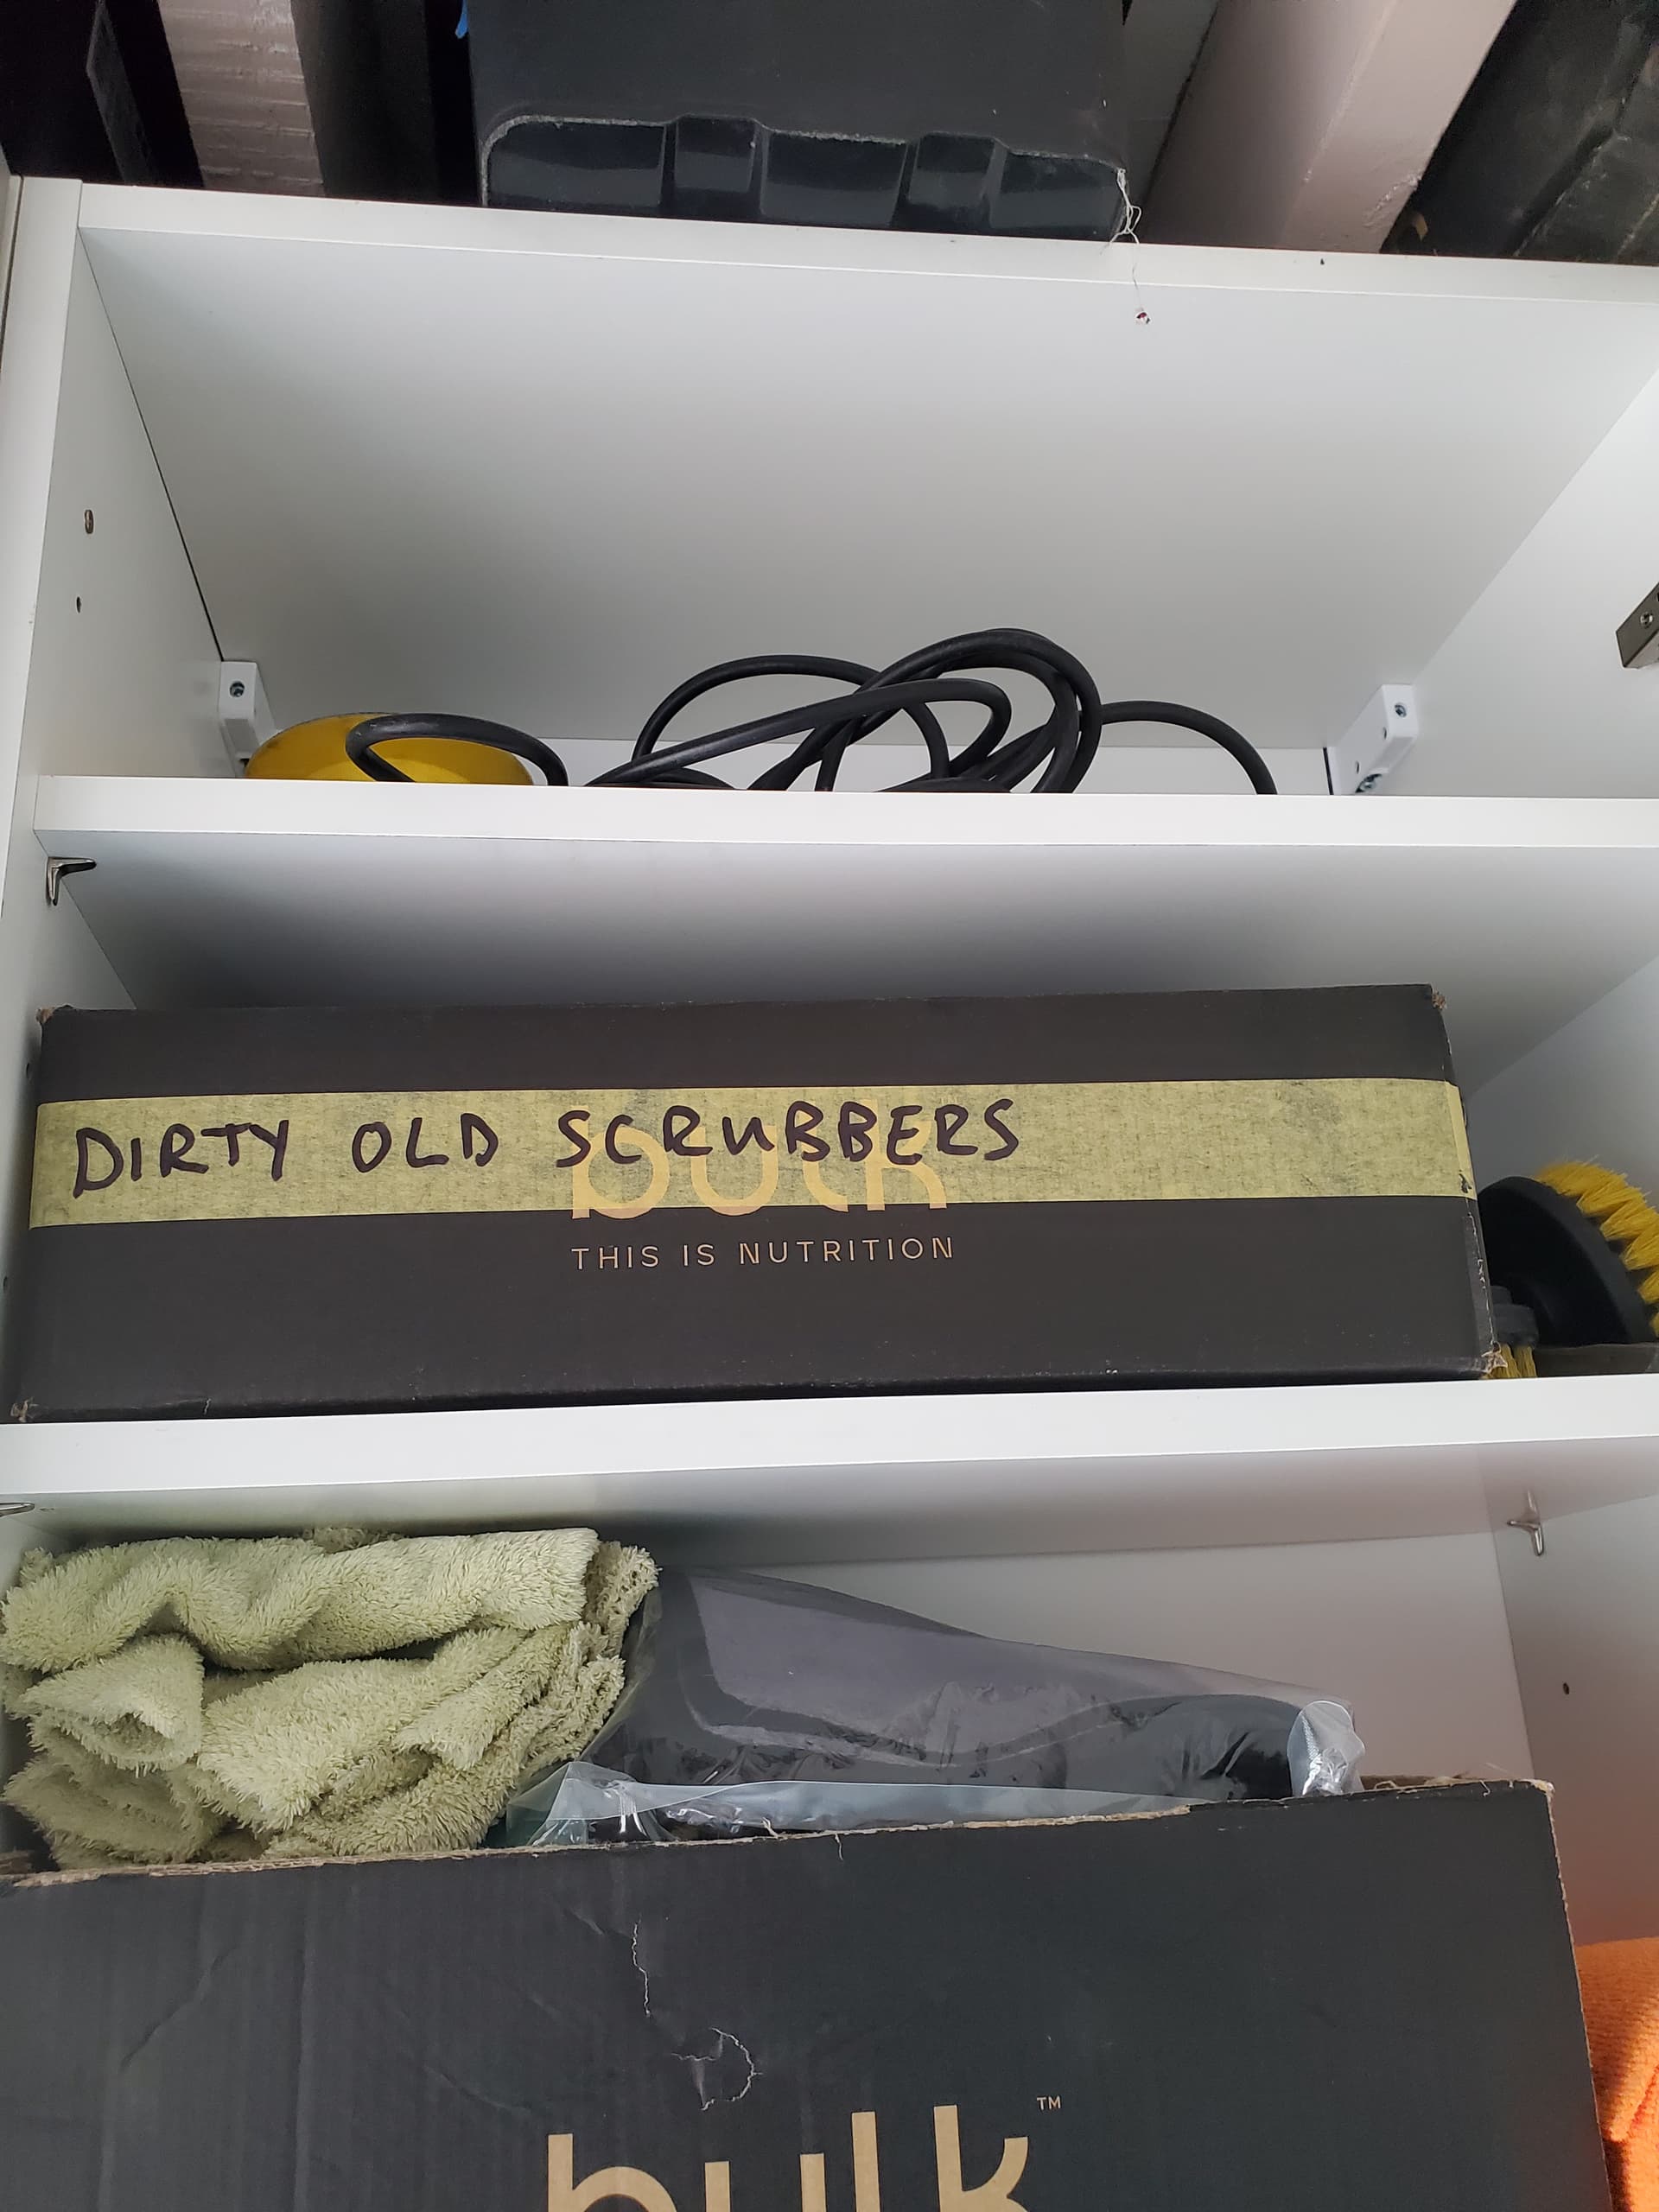
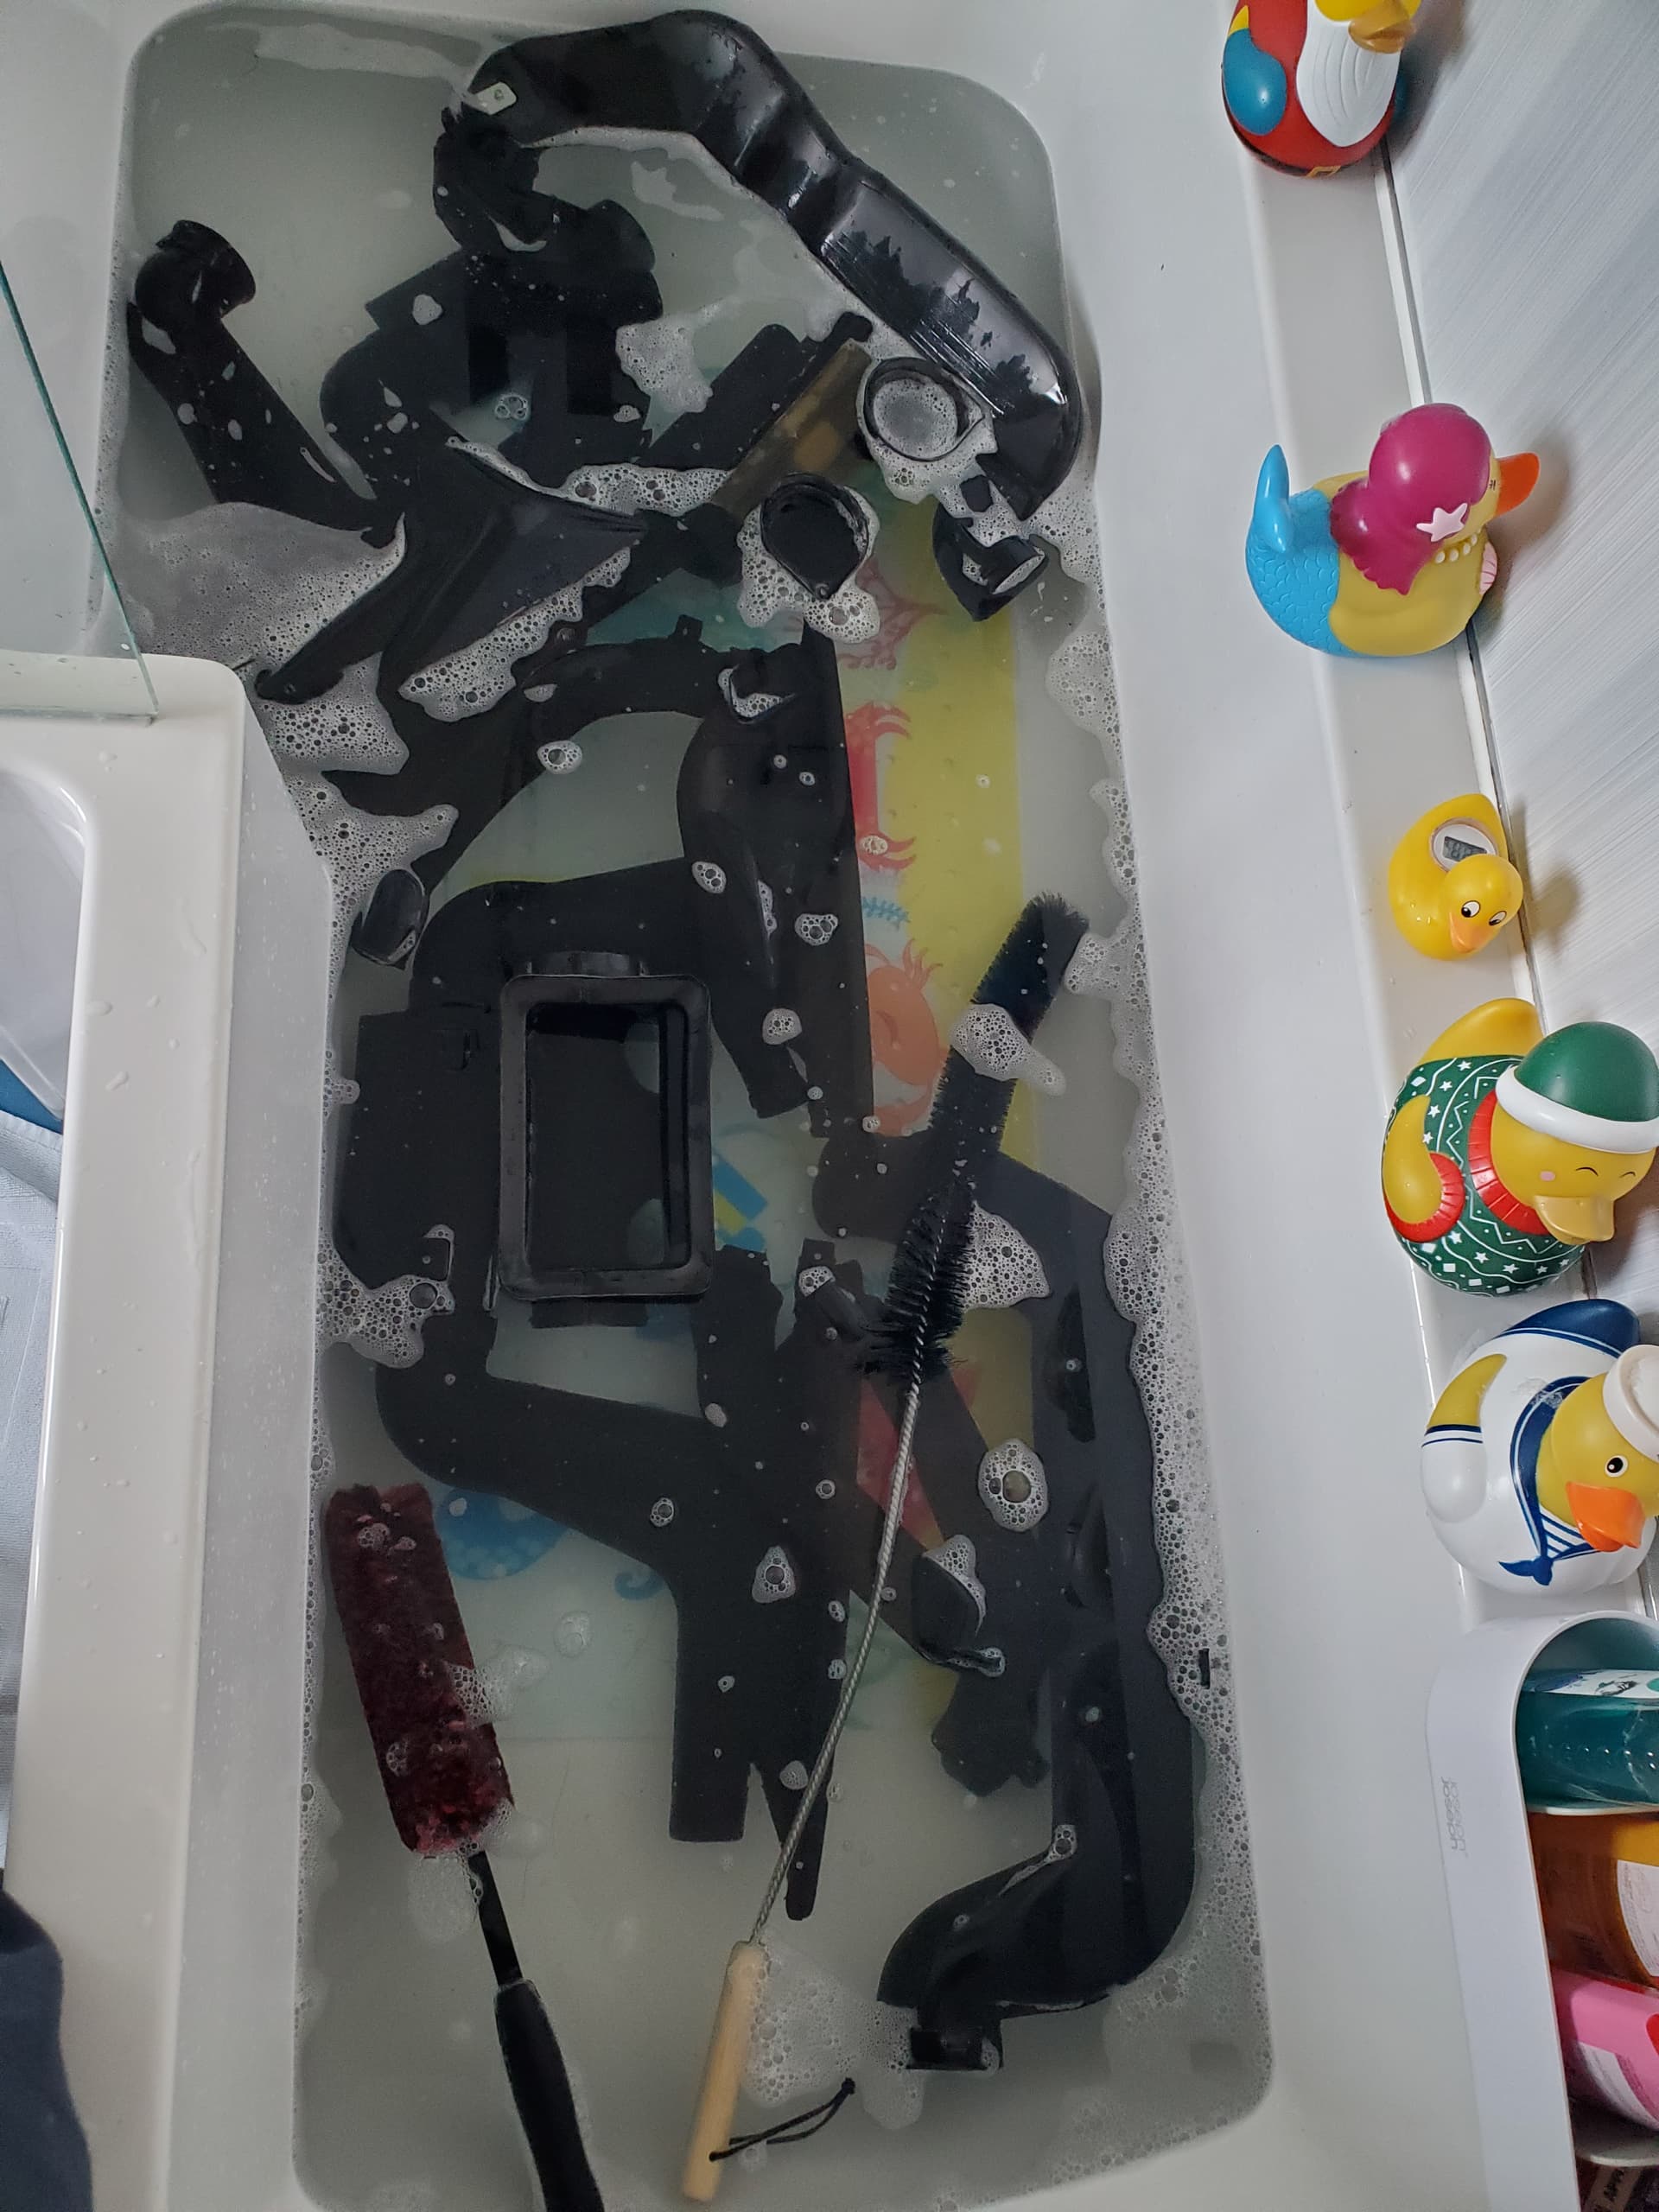
Next for this sordid colection.
To give this filthy old dirt box…
…a good wiping before stuffing the flaps back inside.
Then i span it around and saw the other side even more of a state.
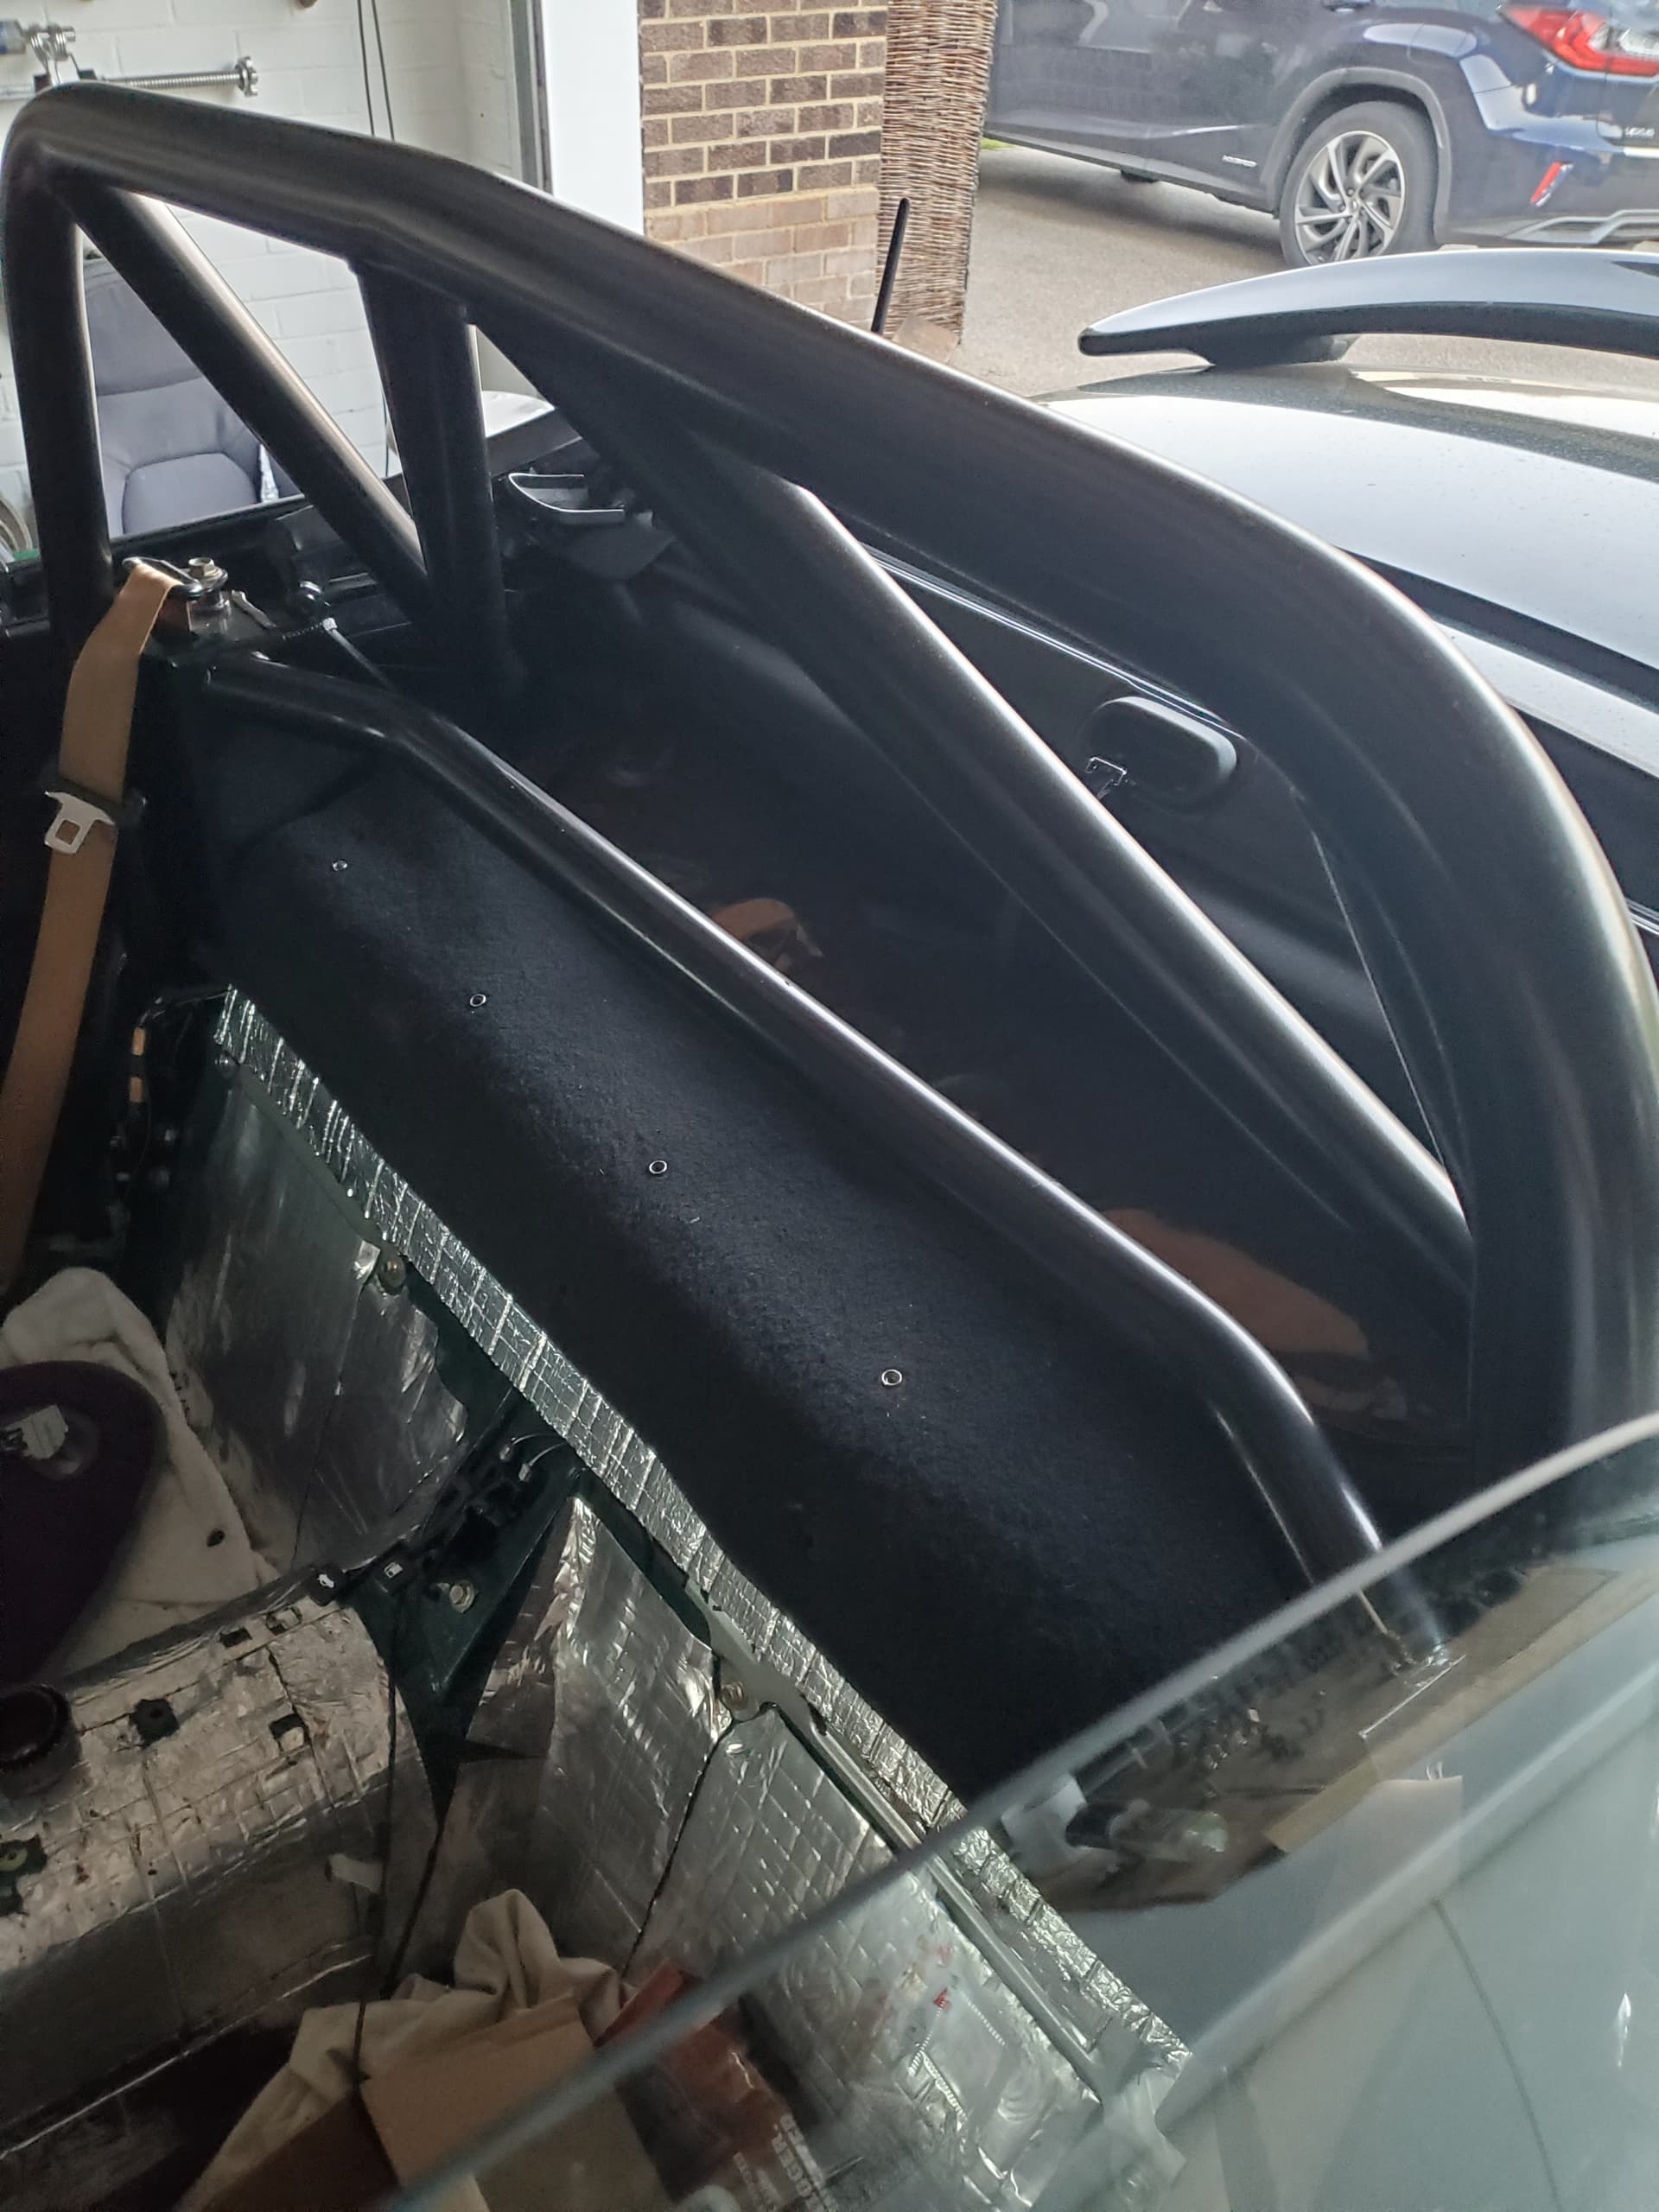
Took some pictures and several fly by style videos but evetually bottled it and decided not to dissassemble the linkages on the side. It looks far too cuffufling.
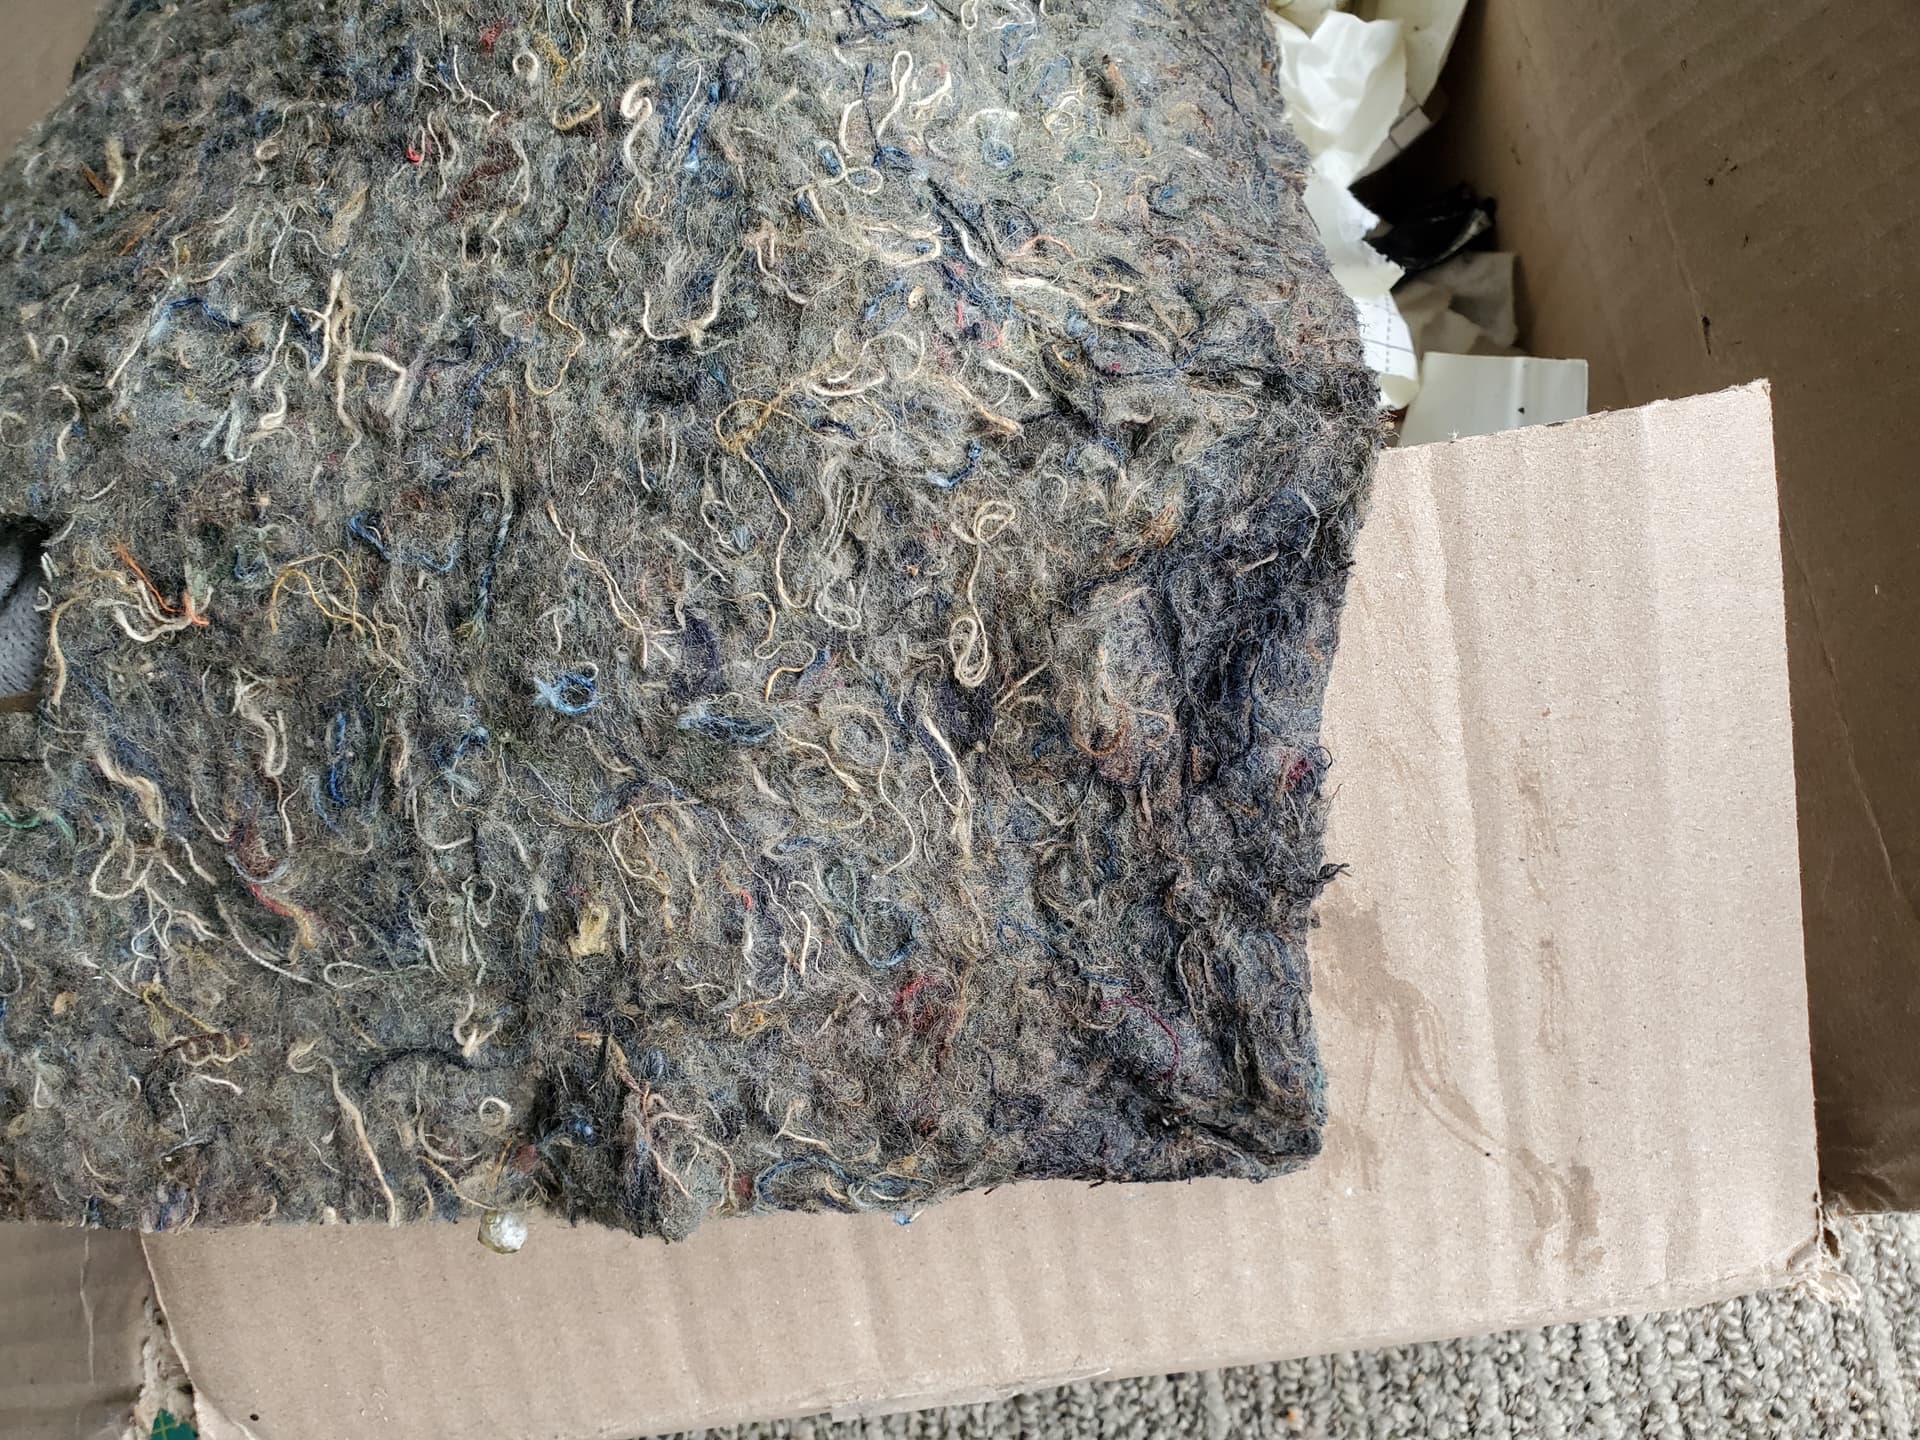
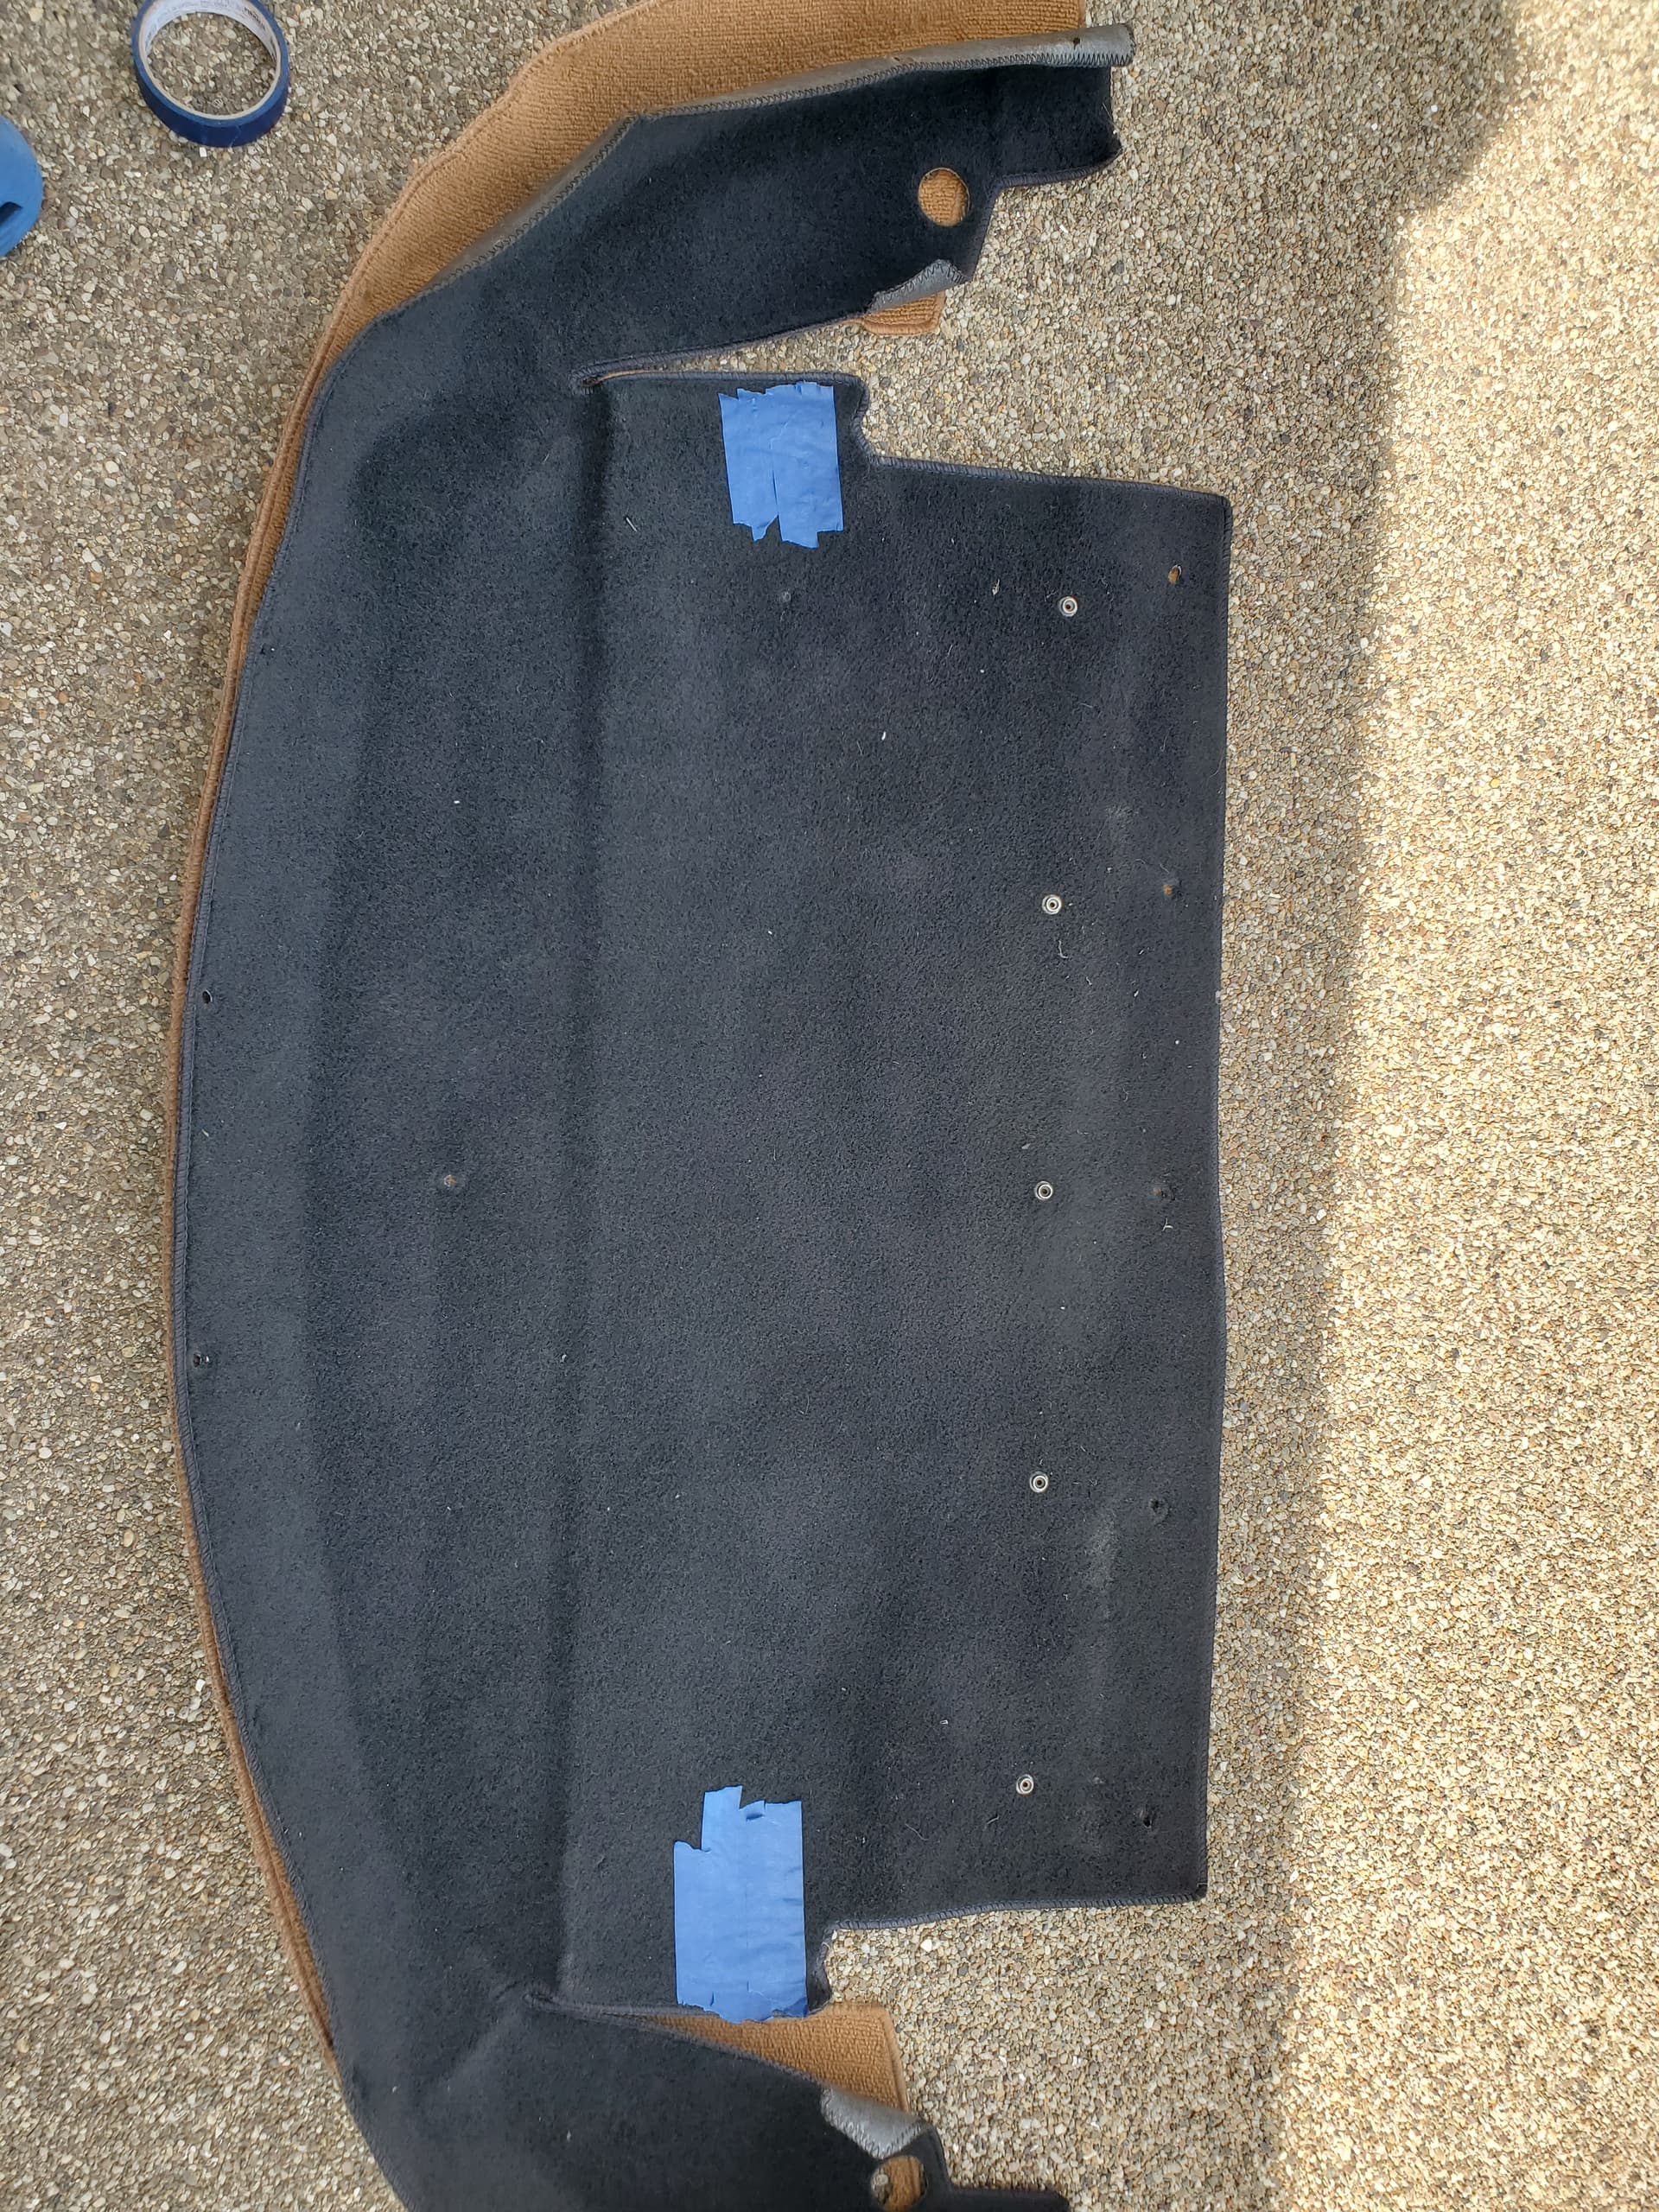
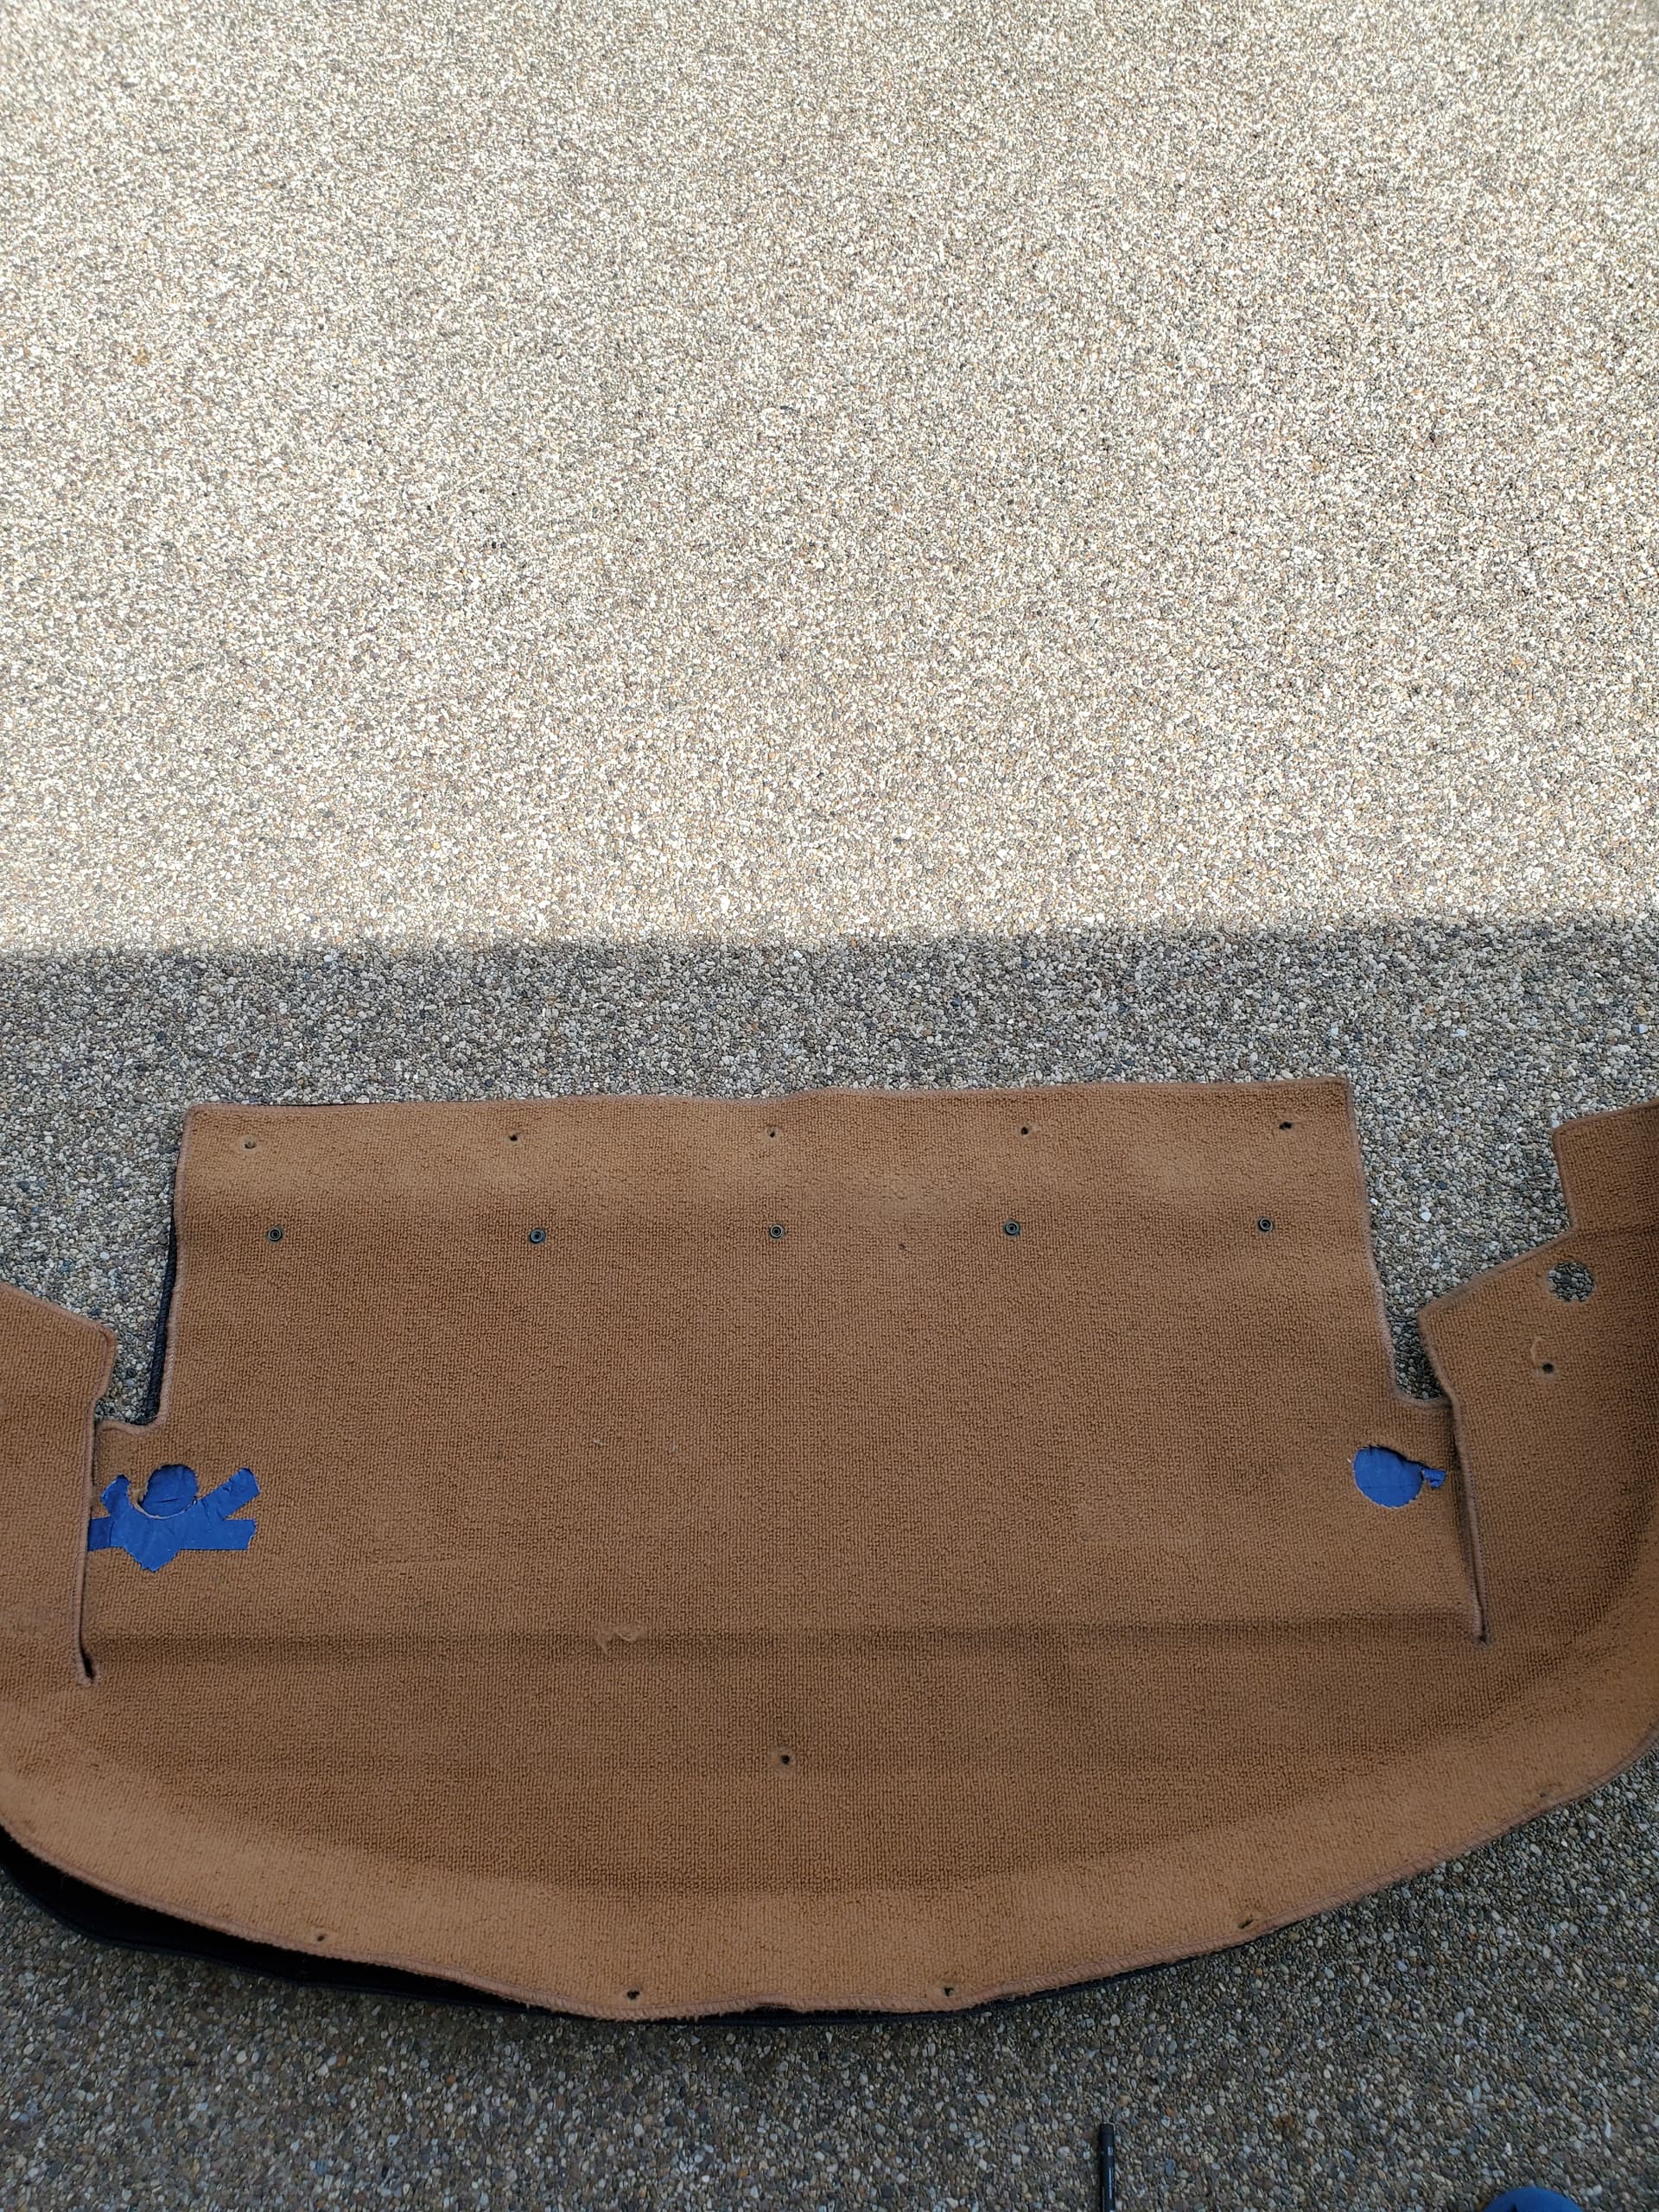
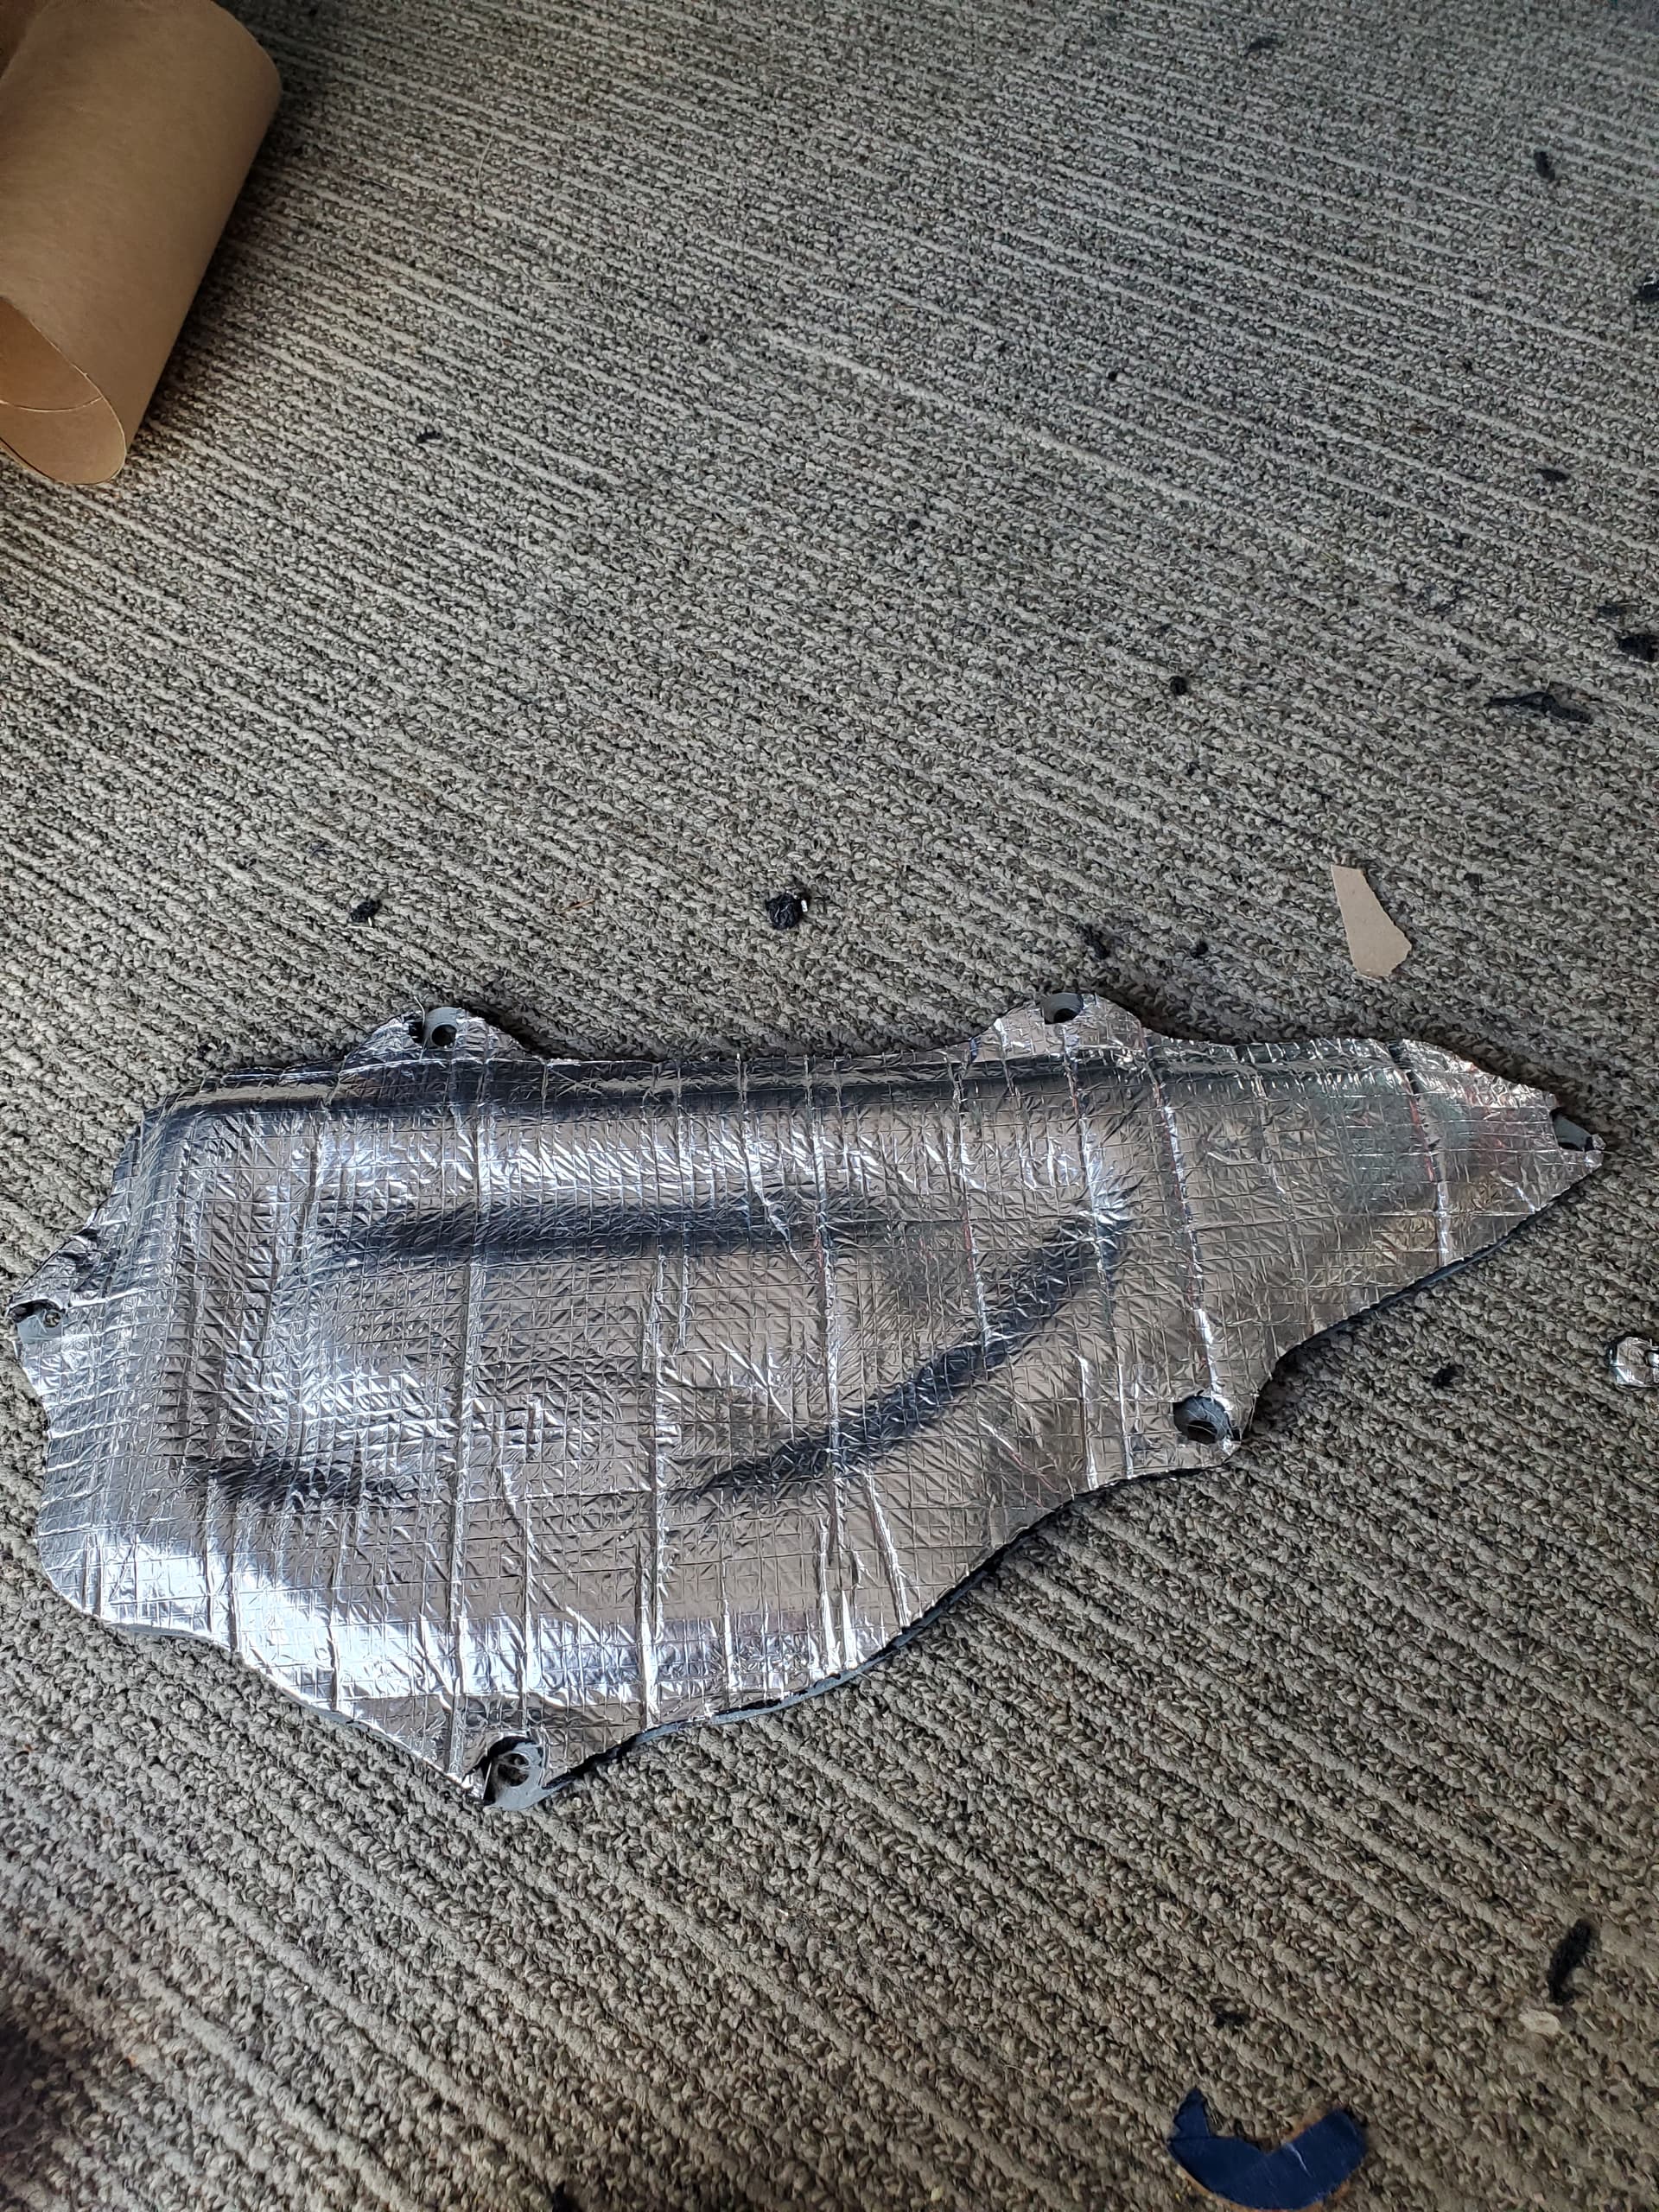
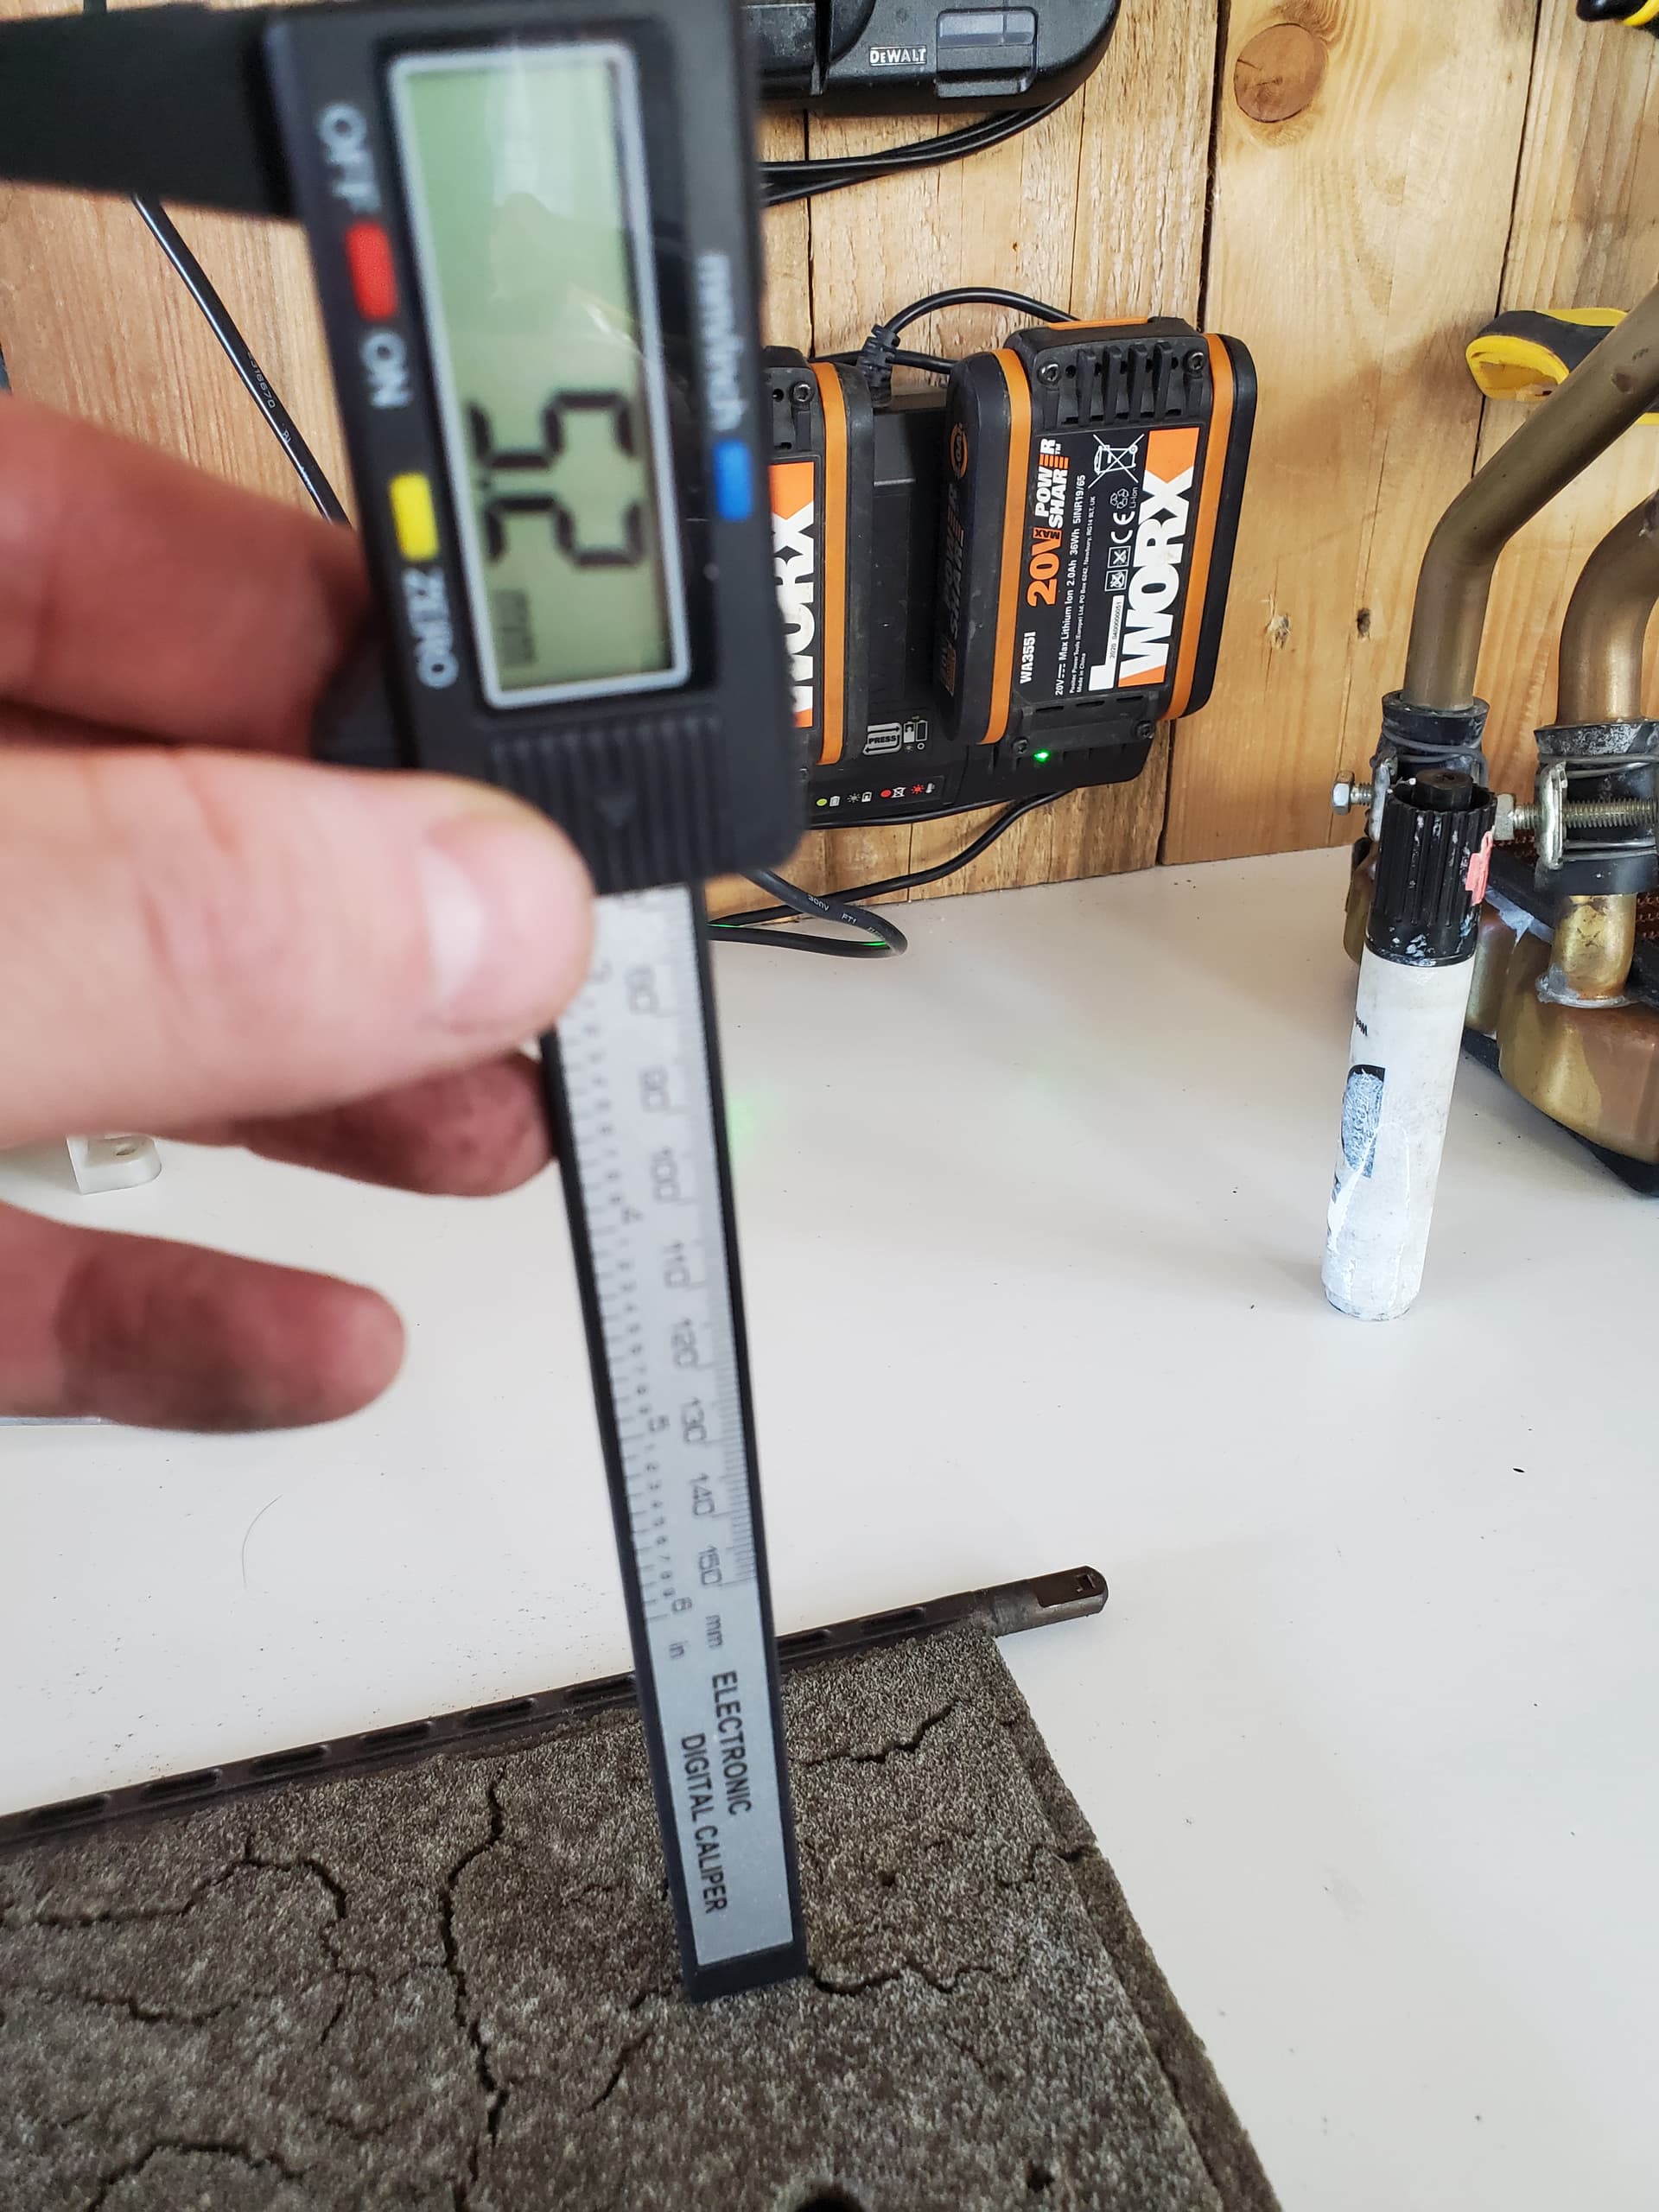
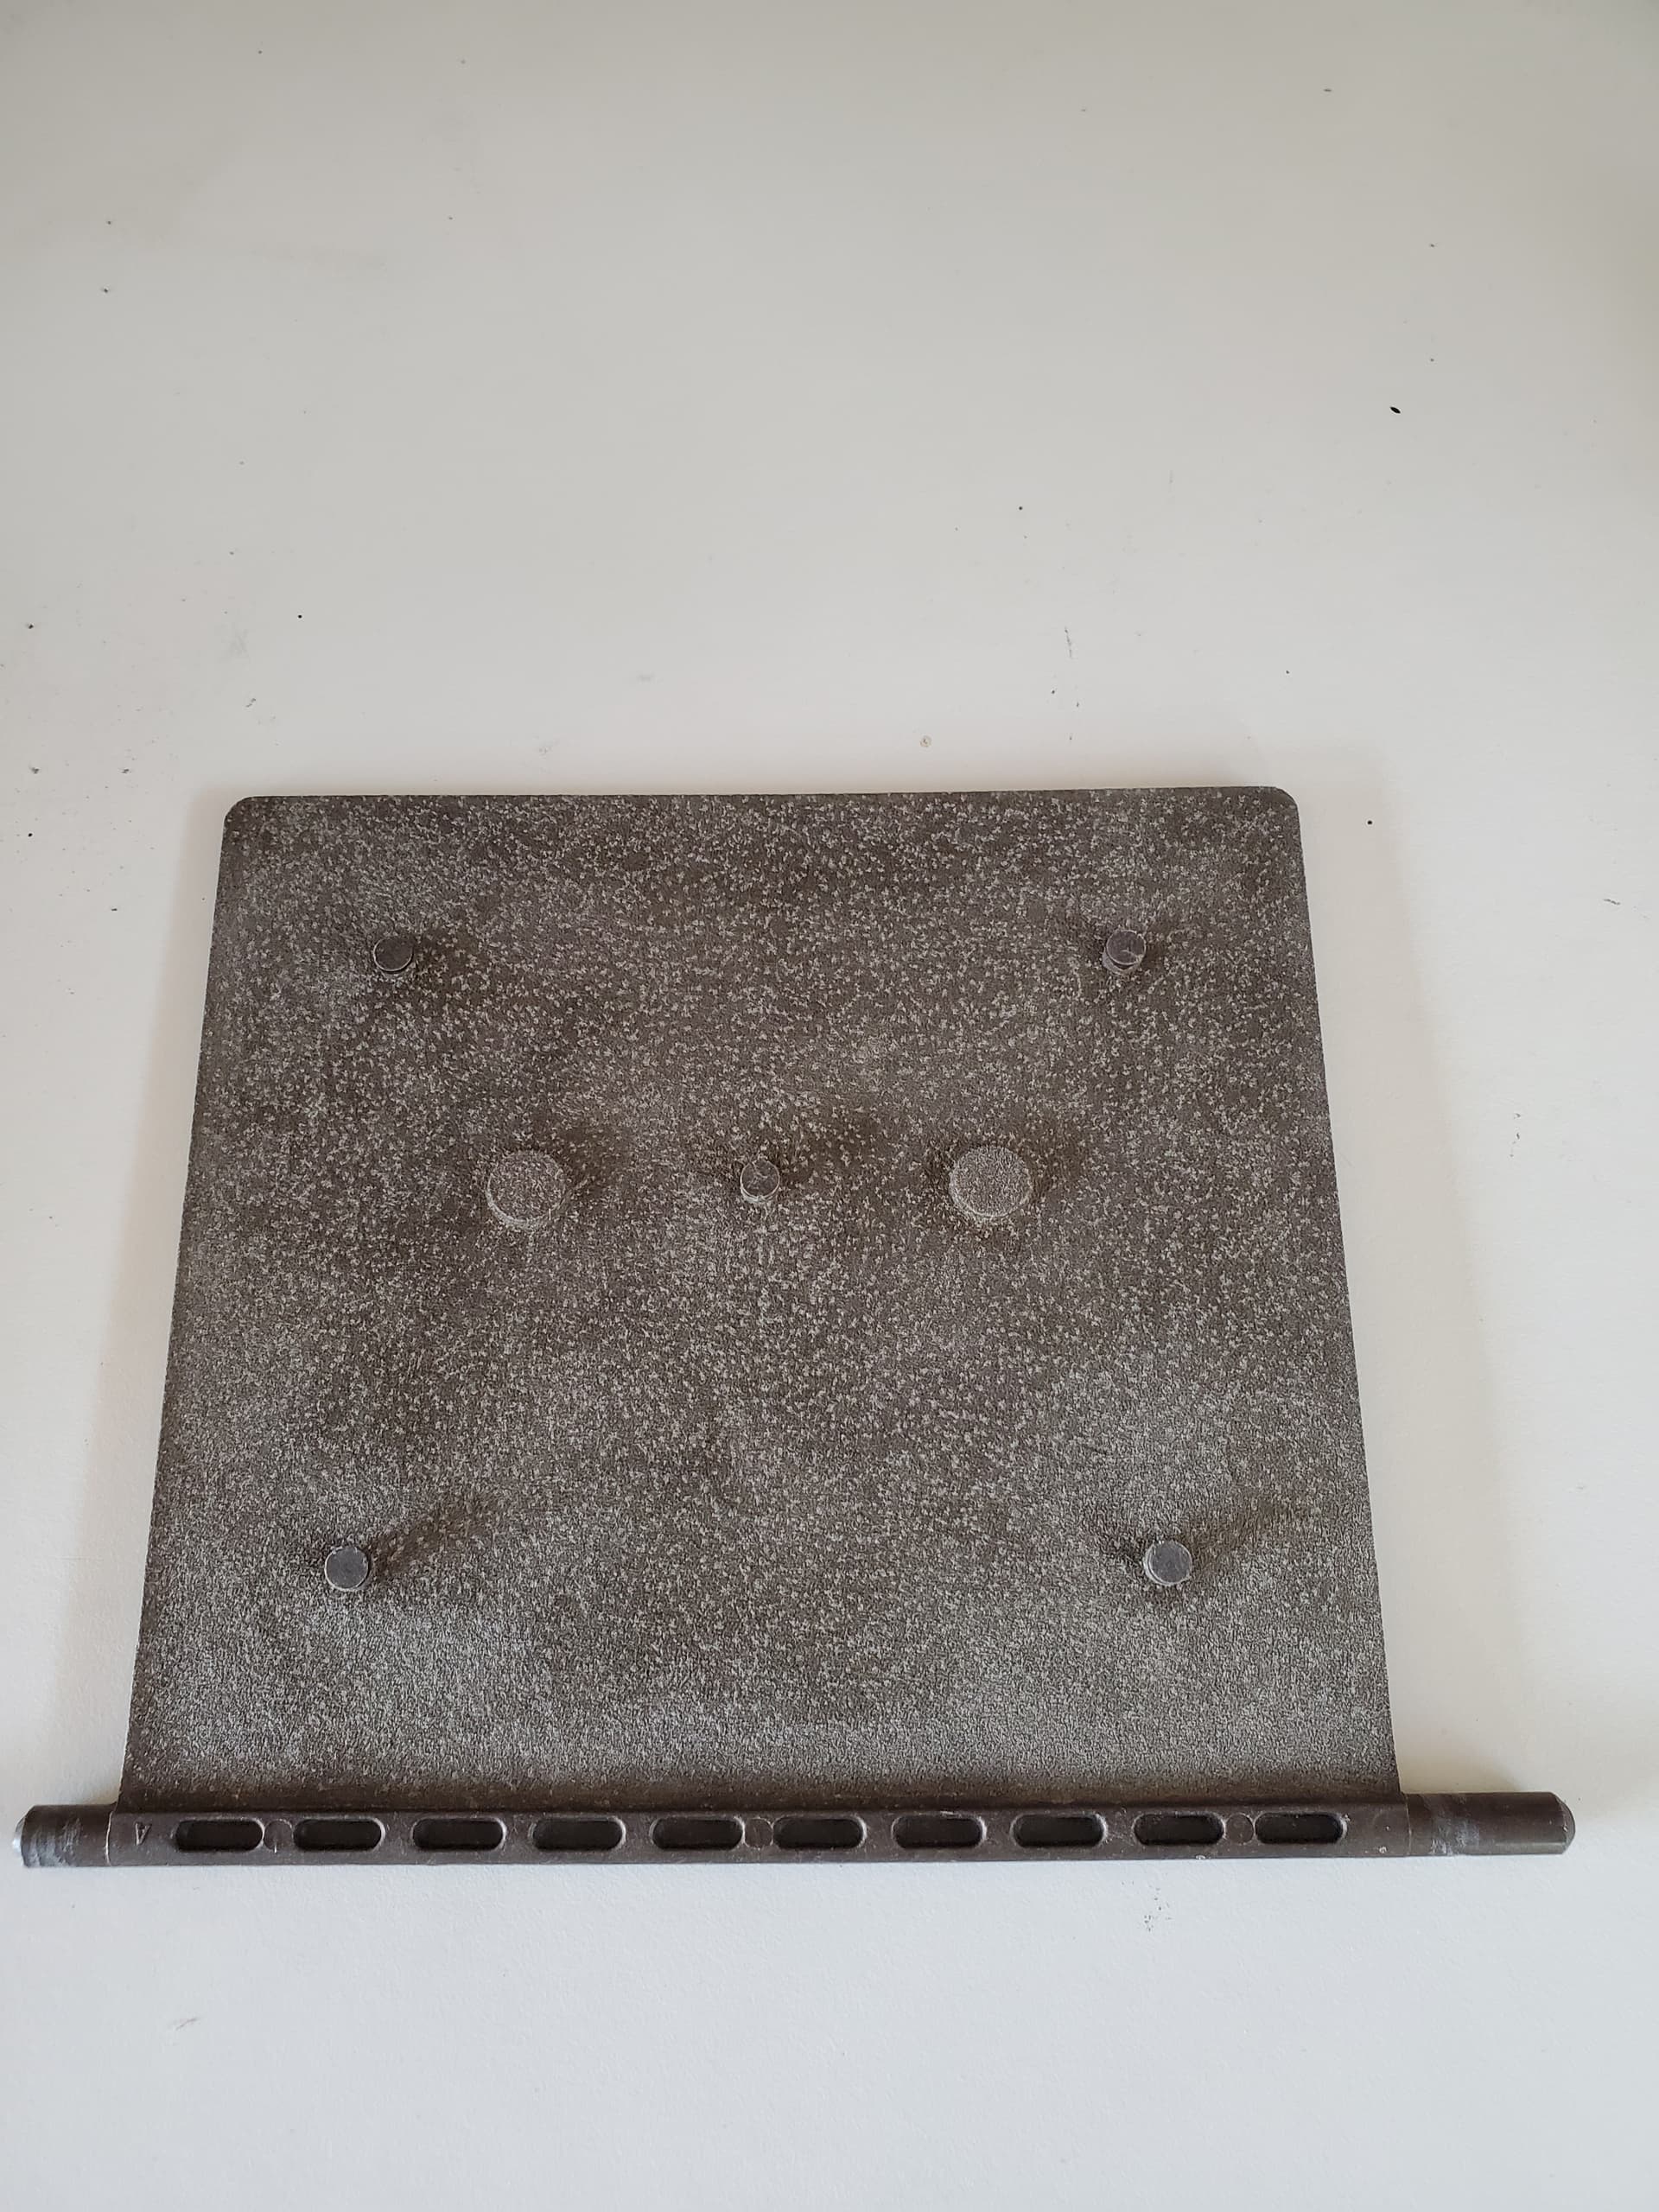
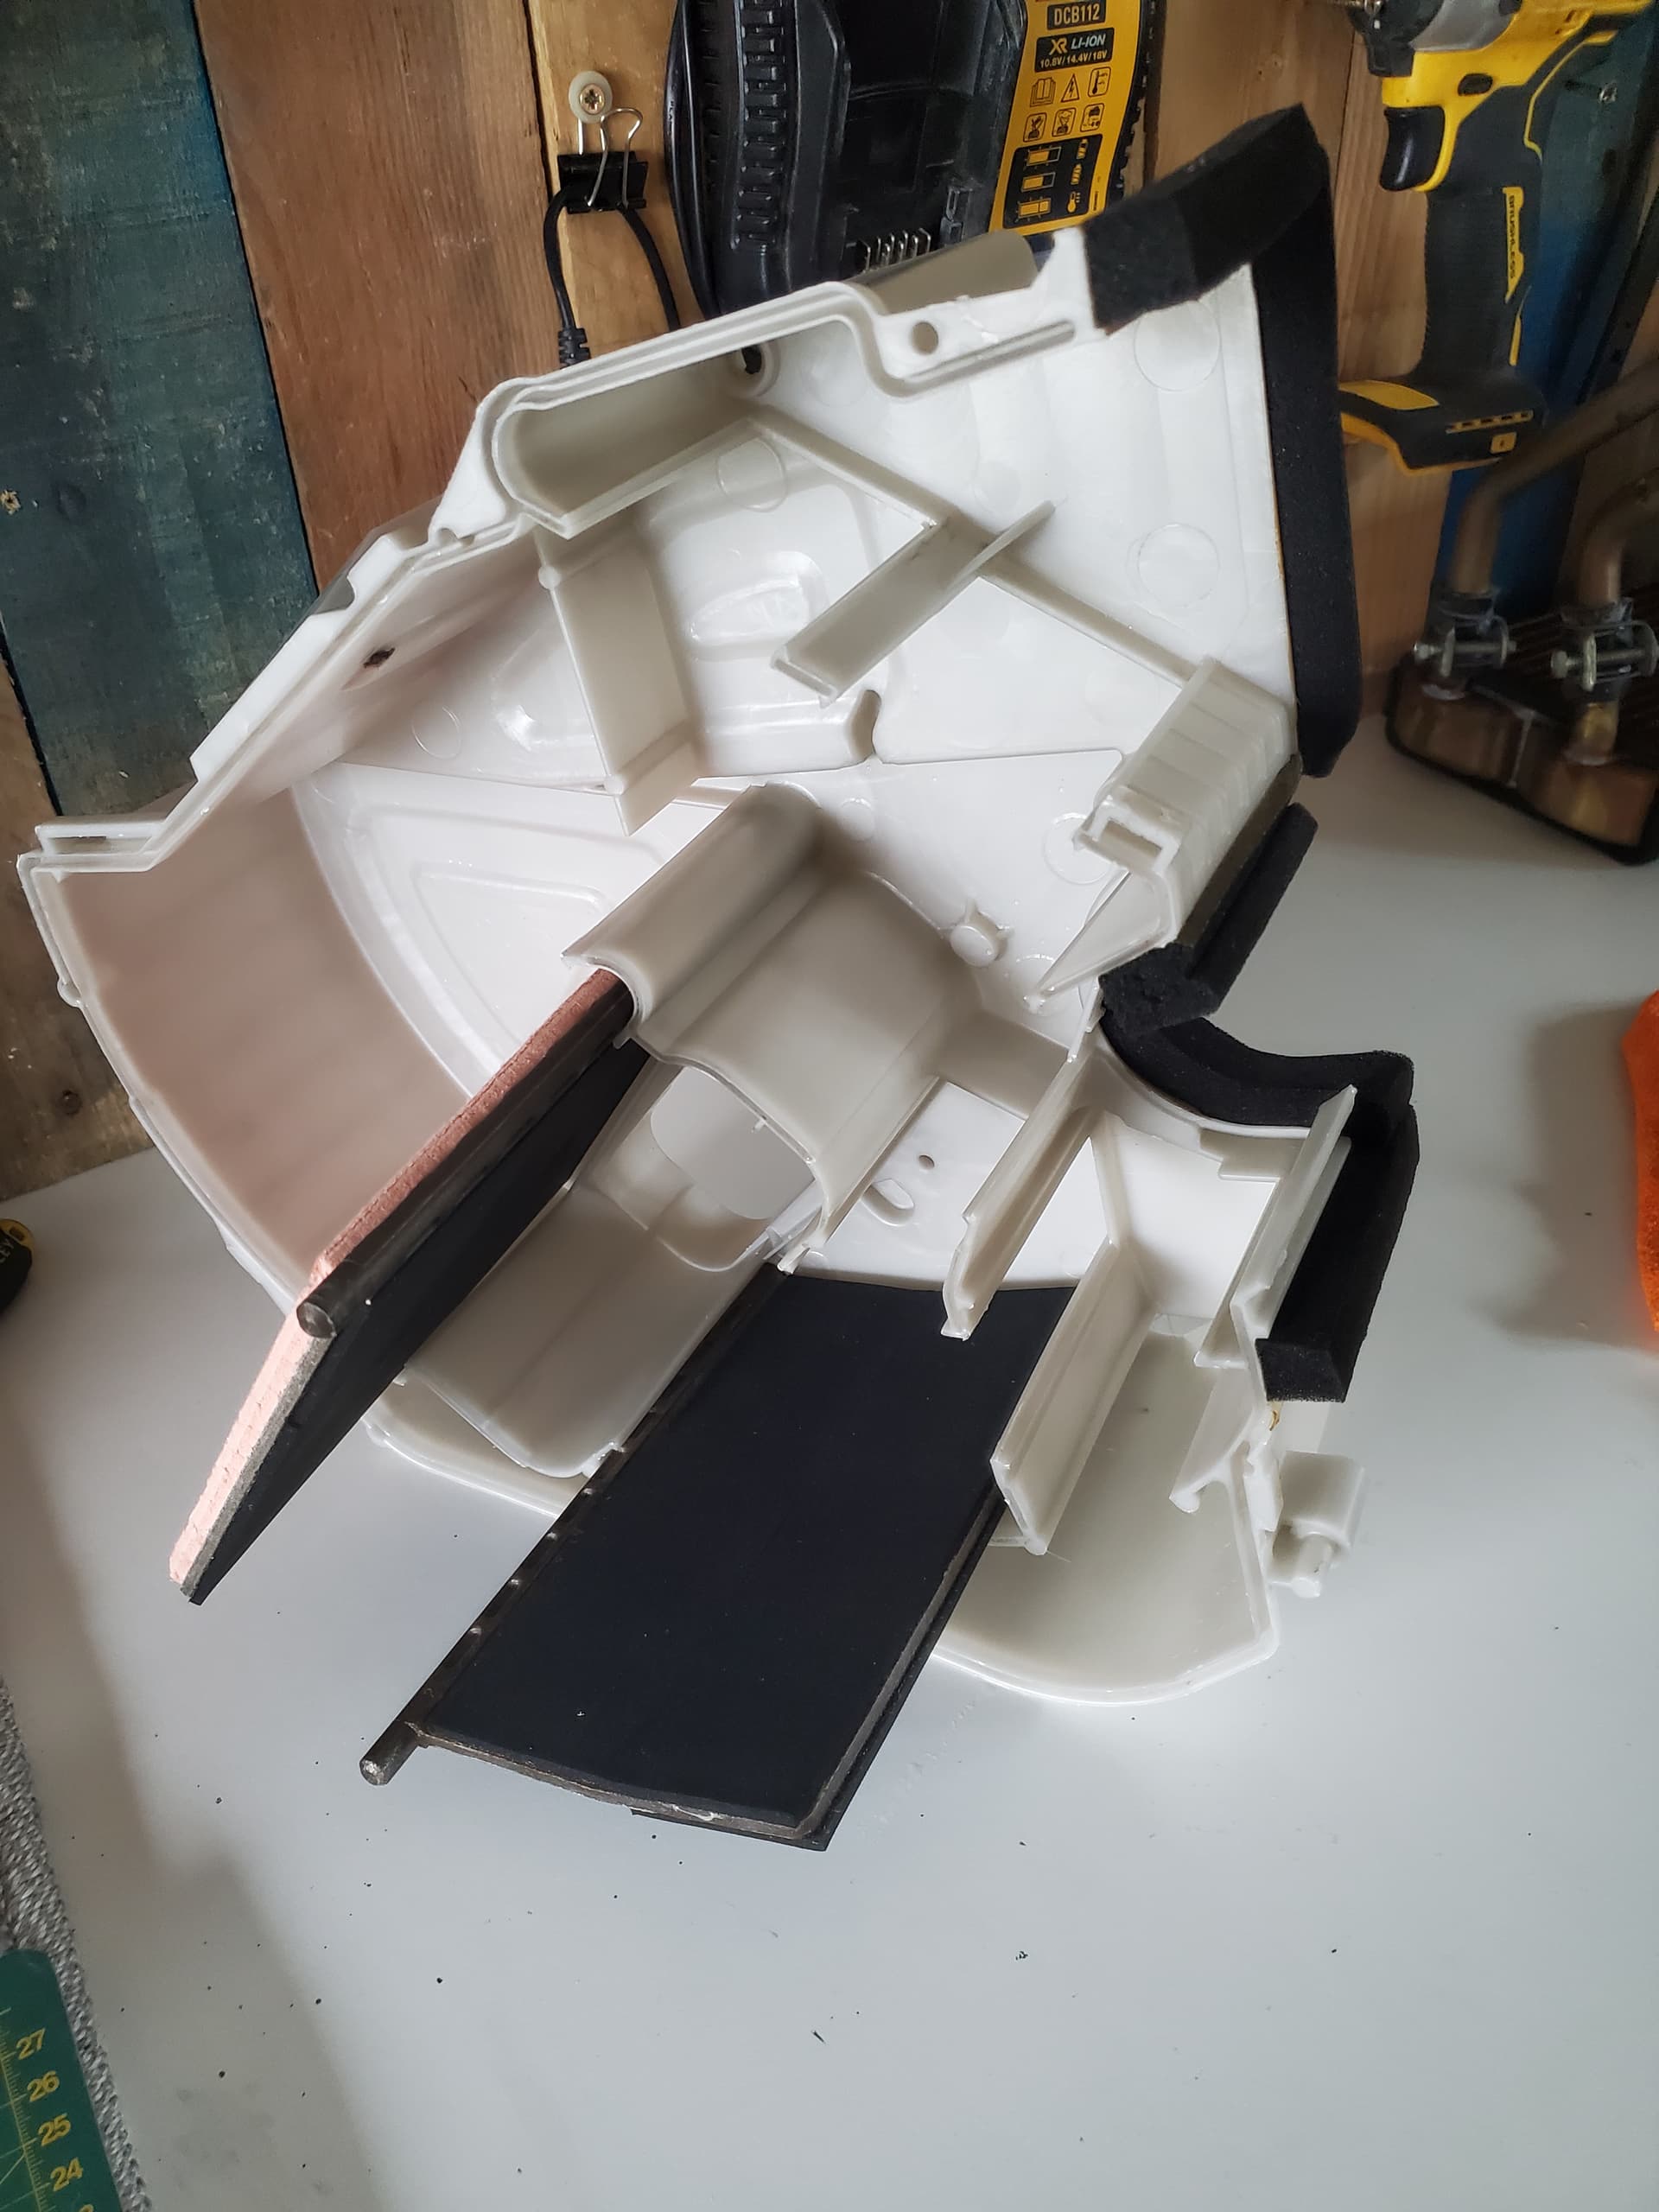
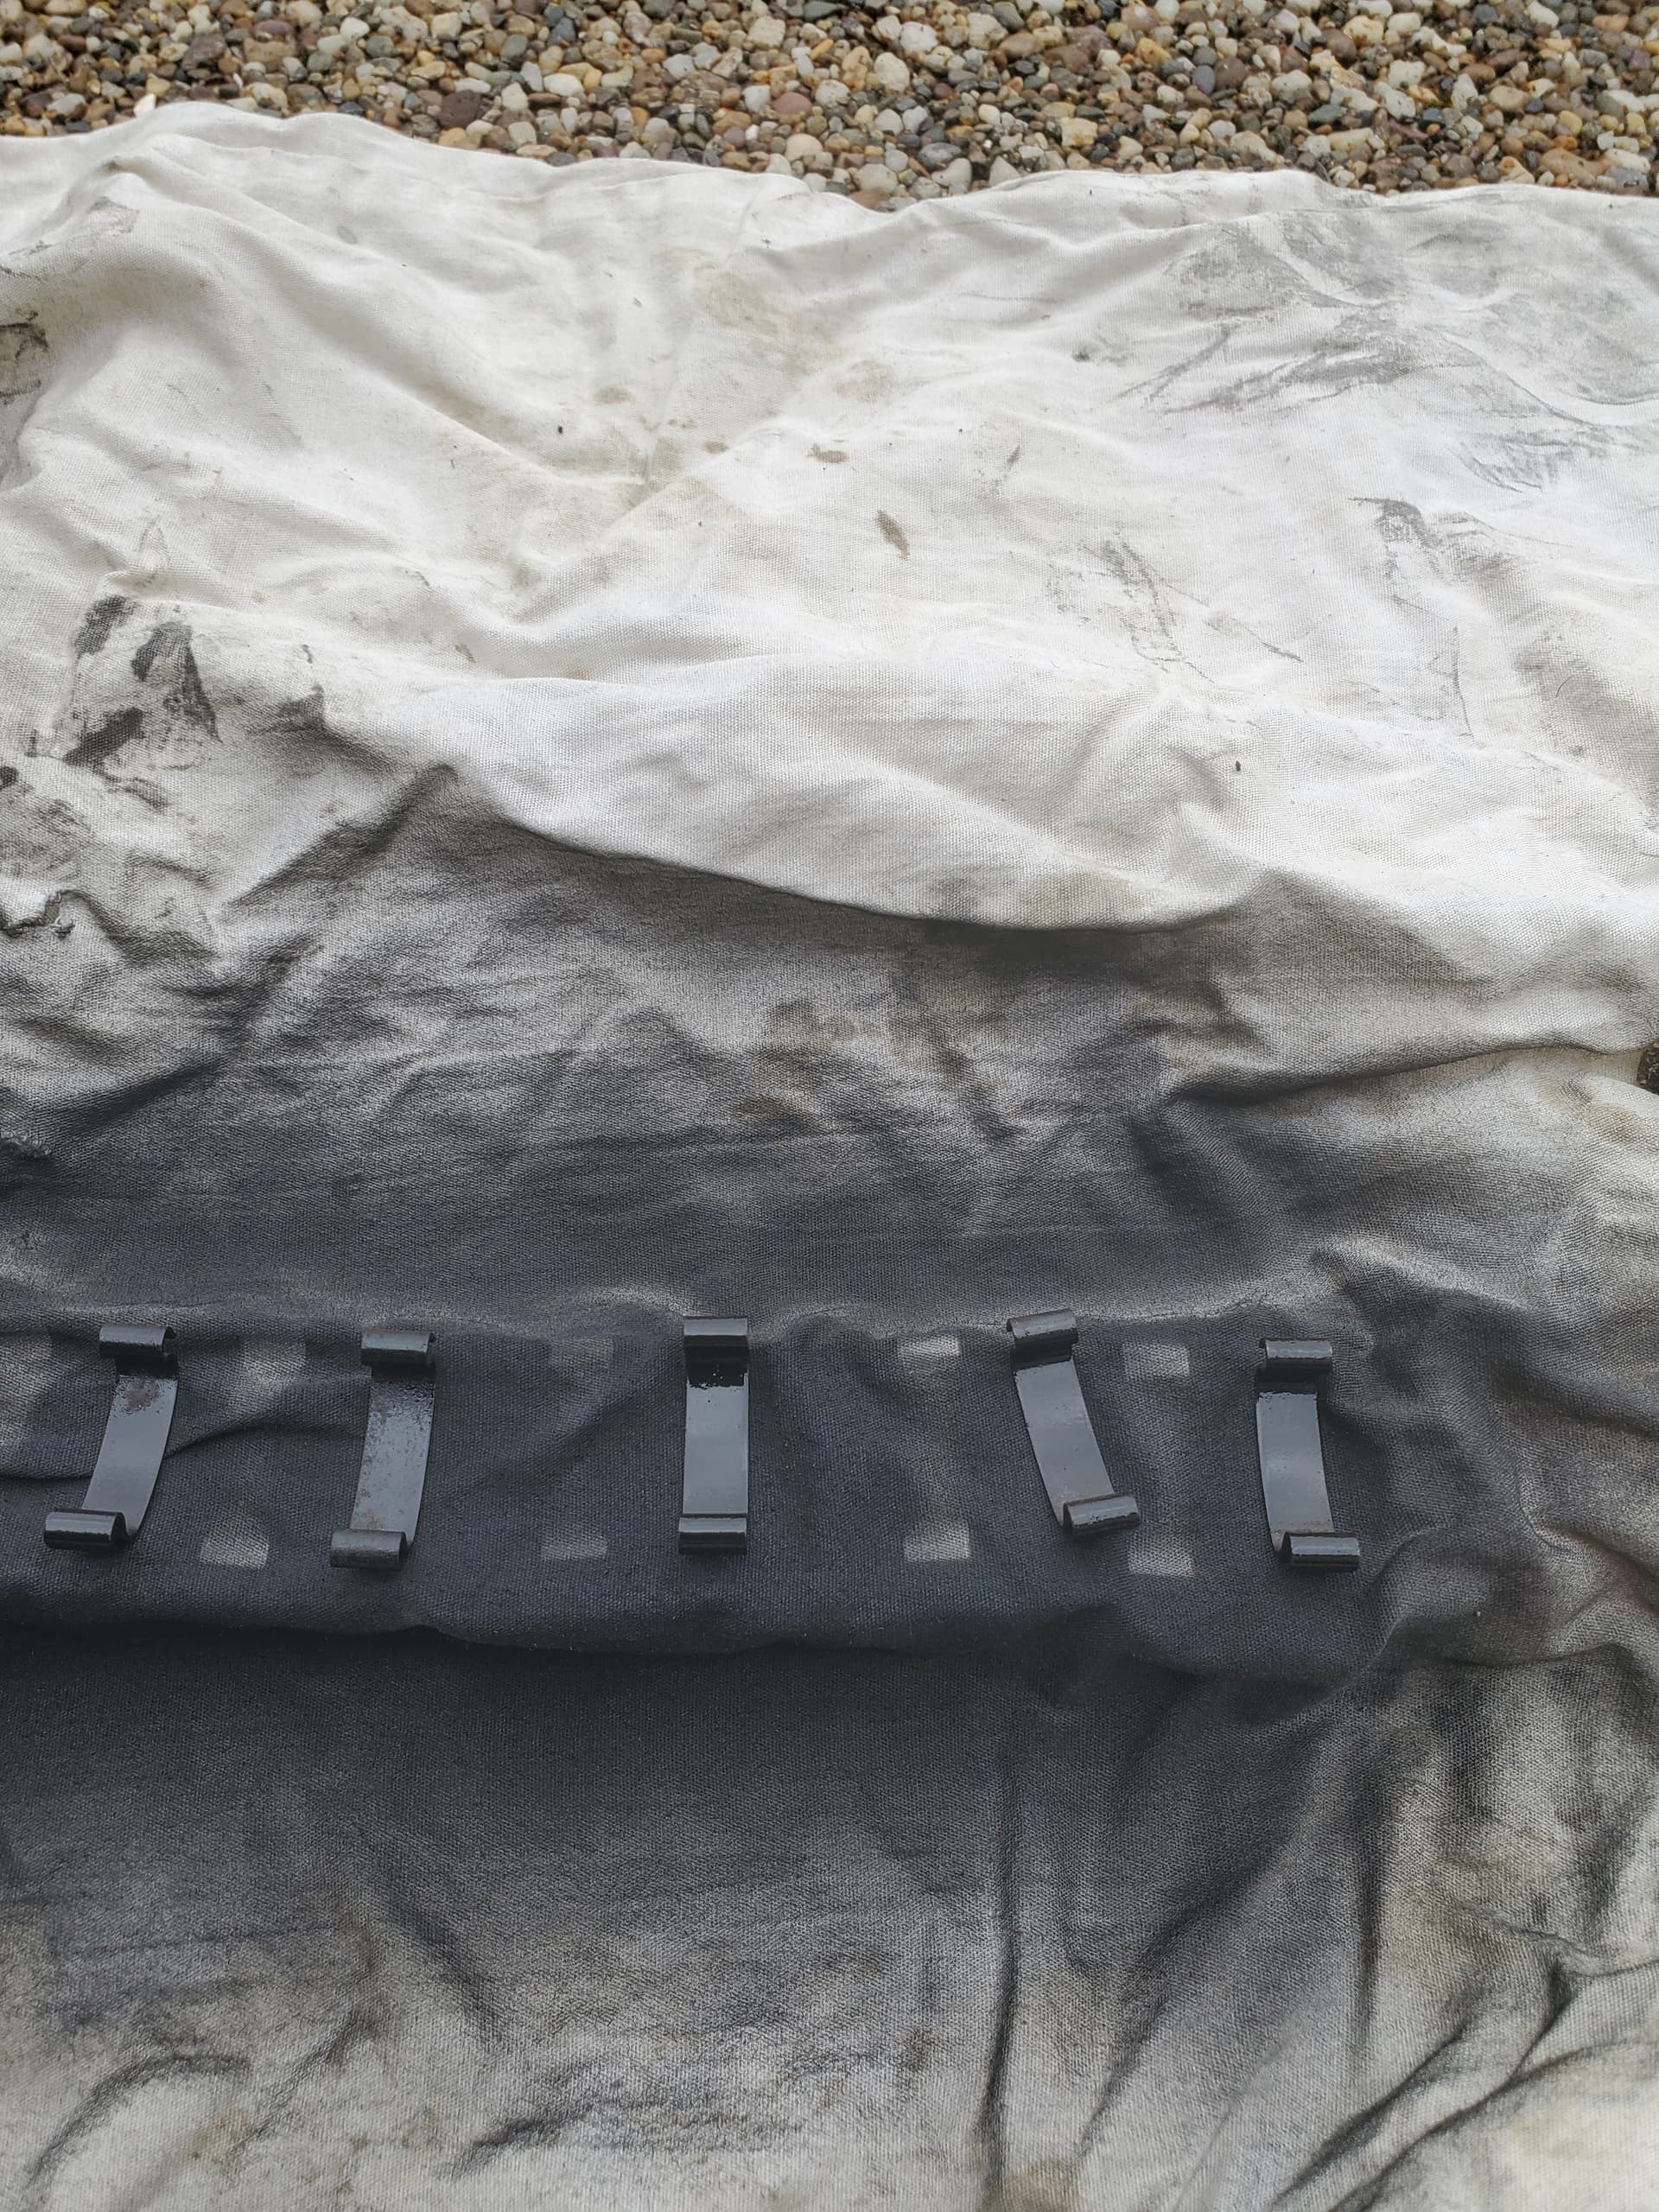
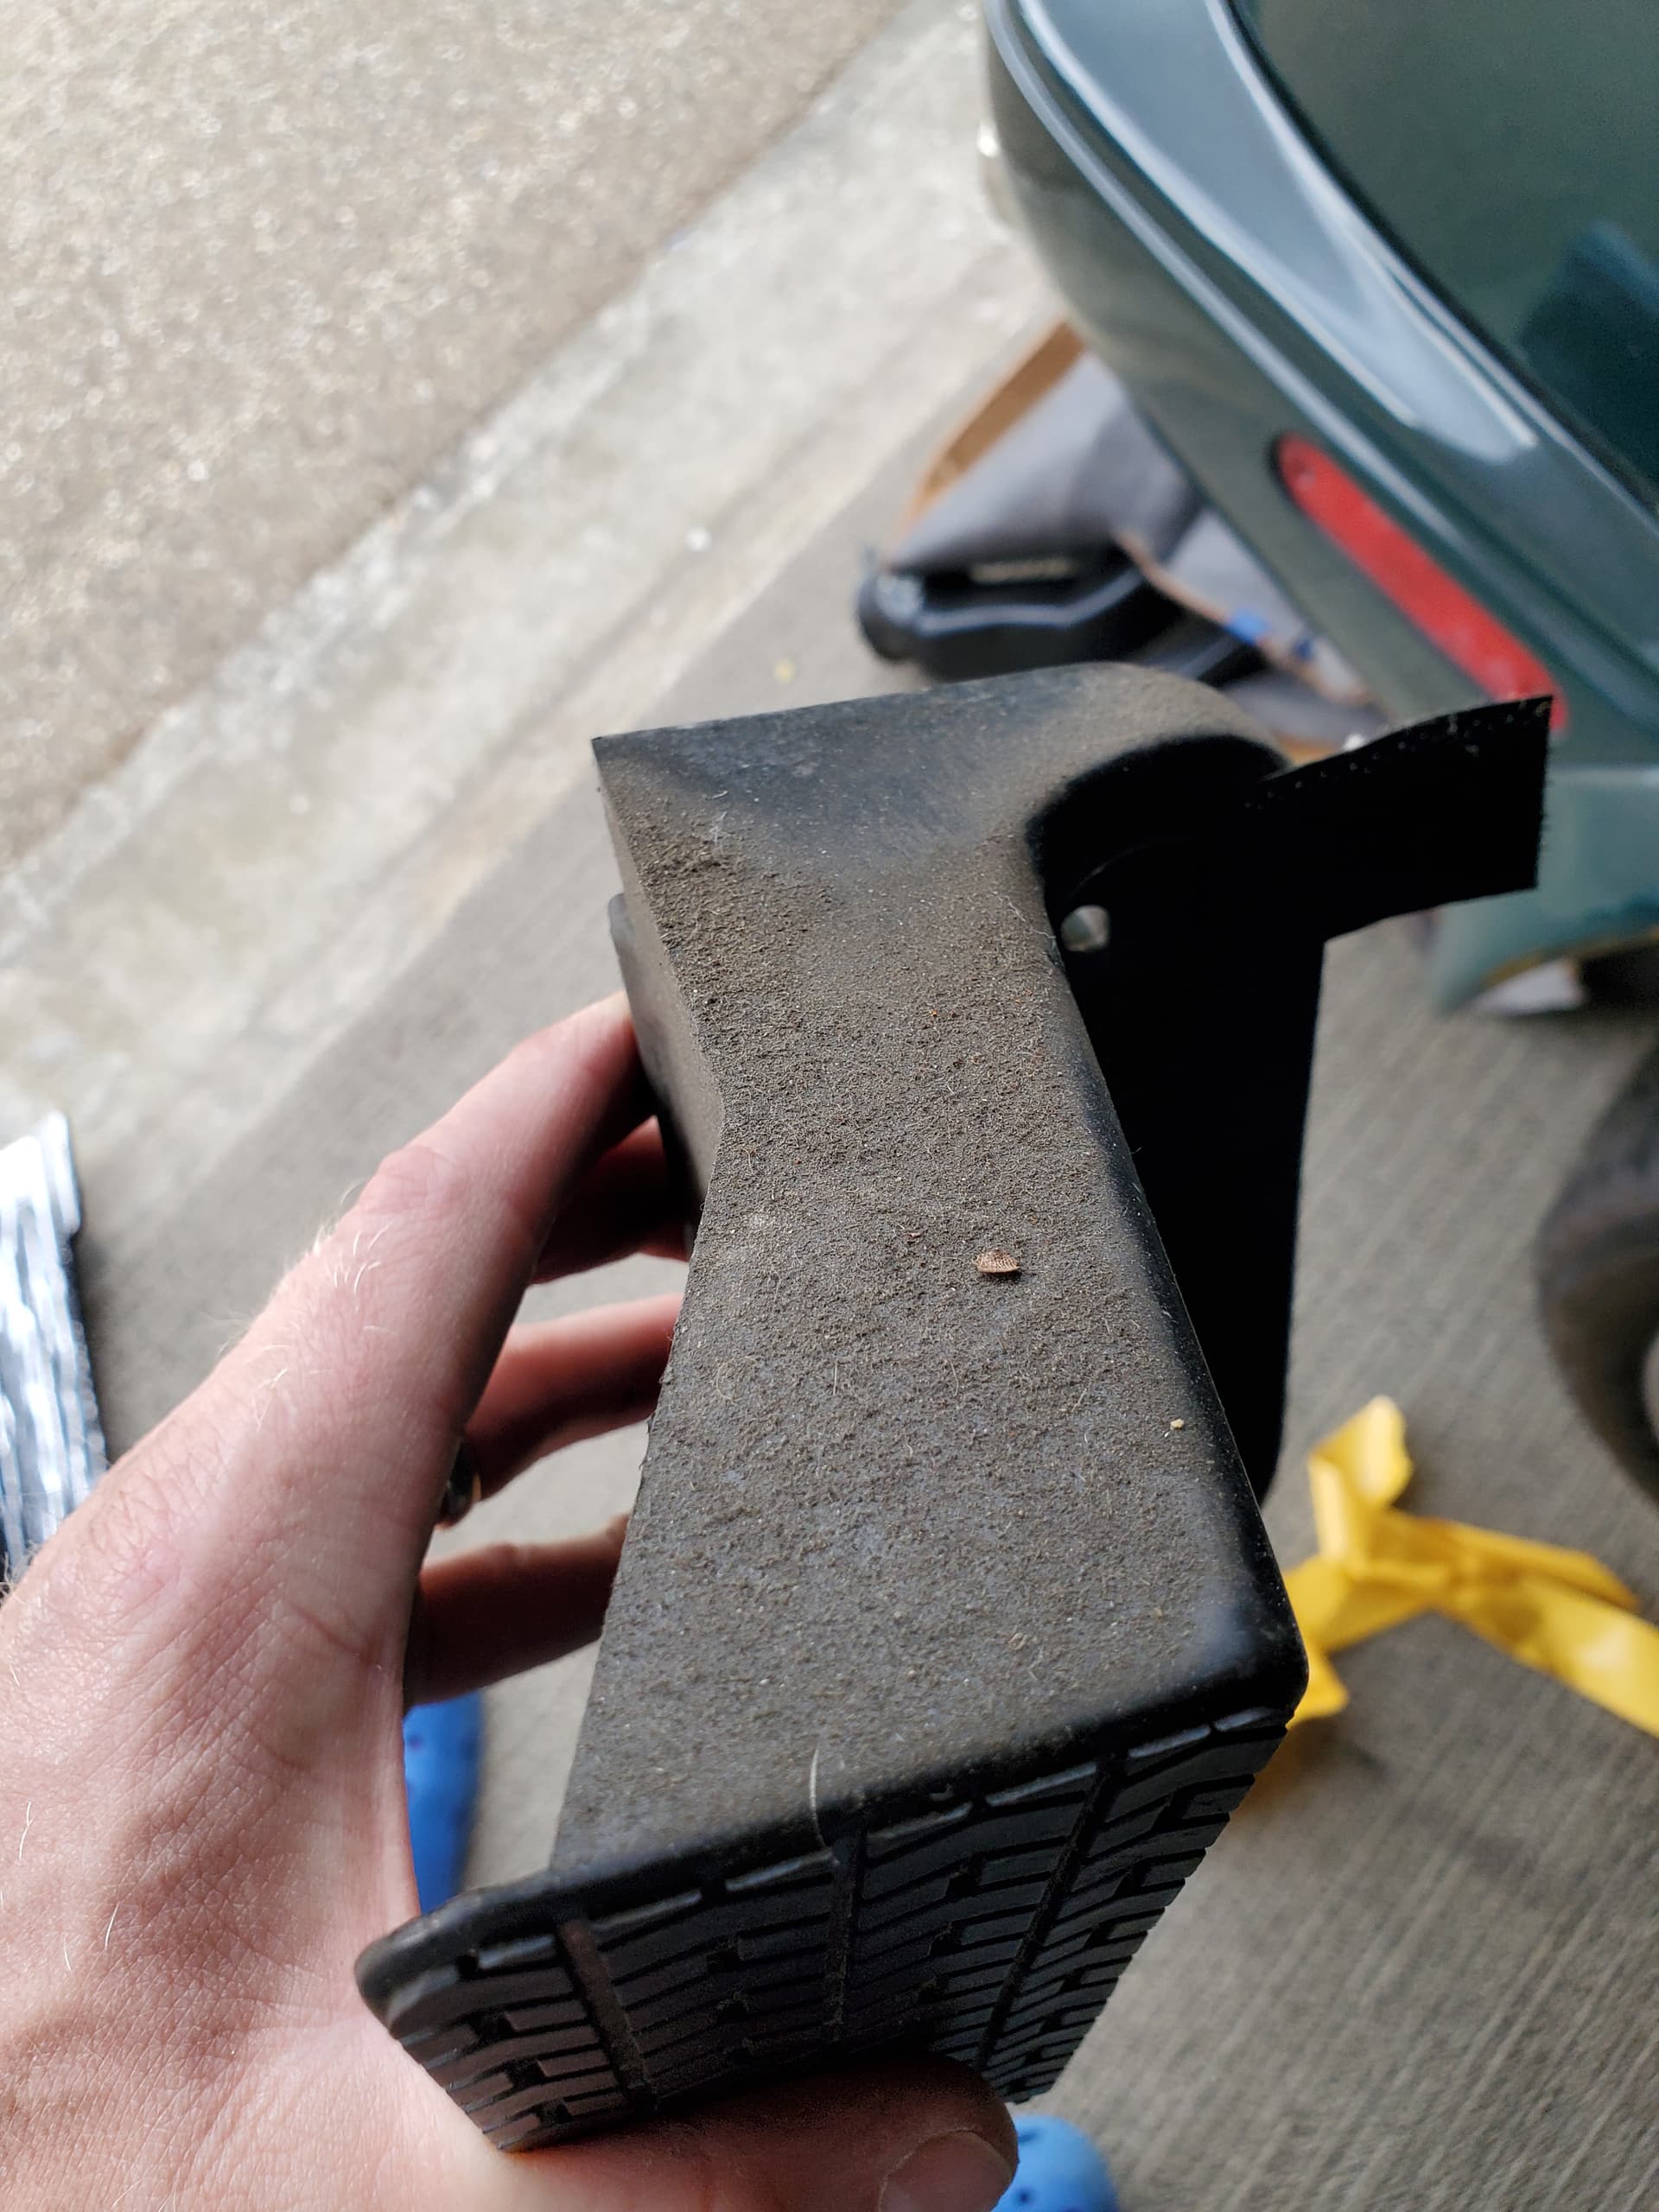
I did each flap one at a time top to bottom and layed them out as i finished them. Apart from the first (now pink) flap they are all 3mm thick.
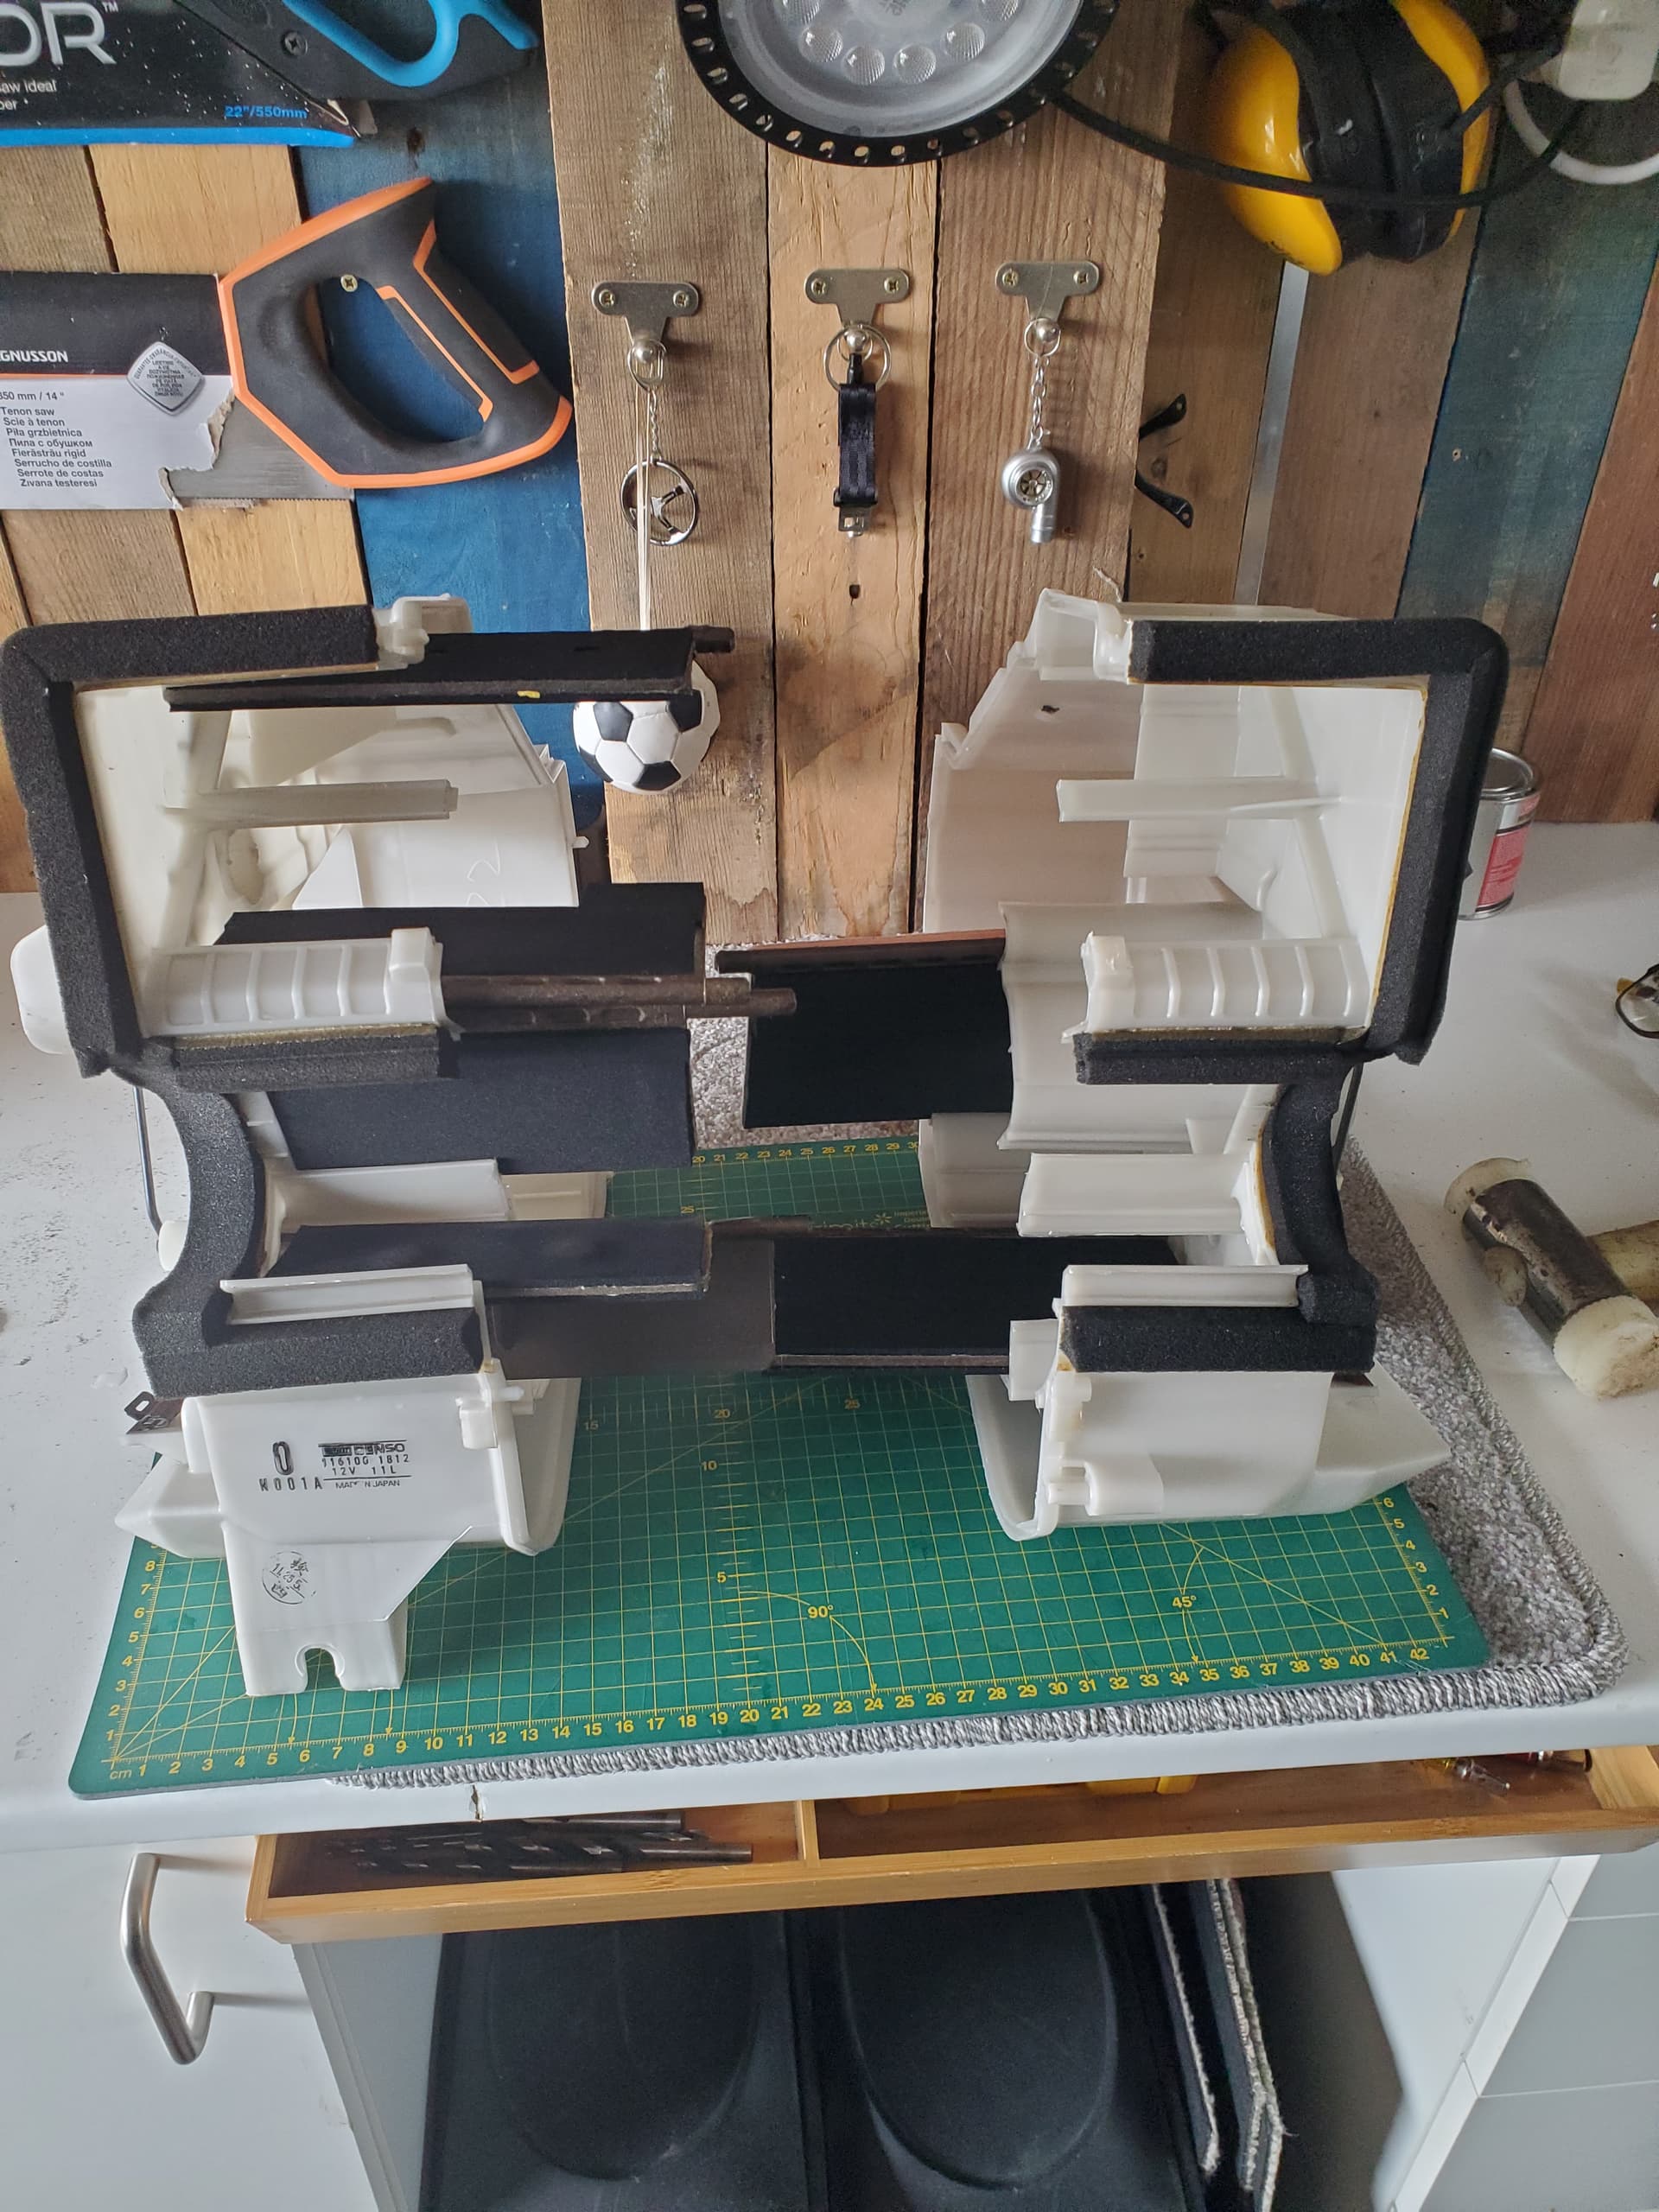
Here are the two halves reflapped. They only go in one way with the tab hole outermost. As long as you get them back in the right place the orientation almost sorts itself out. Although the videos i took where vital to see which side of various notches and stays they sat. A picture is ok but you will find yourself thinking “i wish i could see round that bit” or “is that above or below that bit”
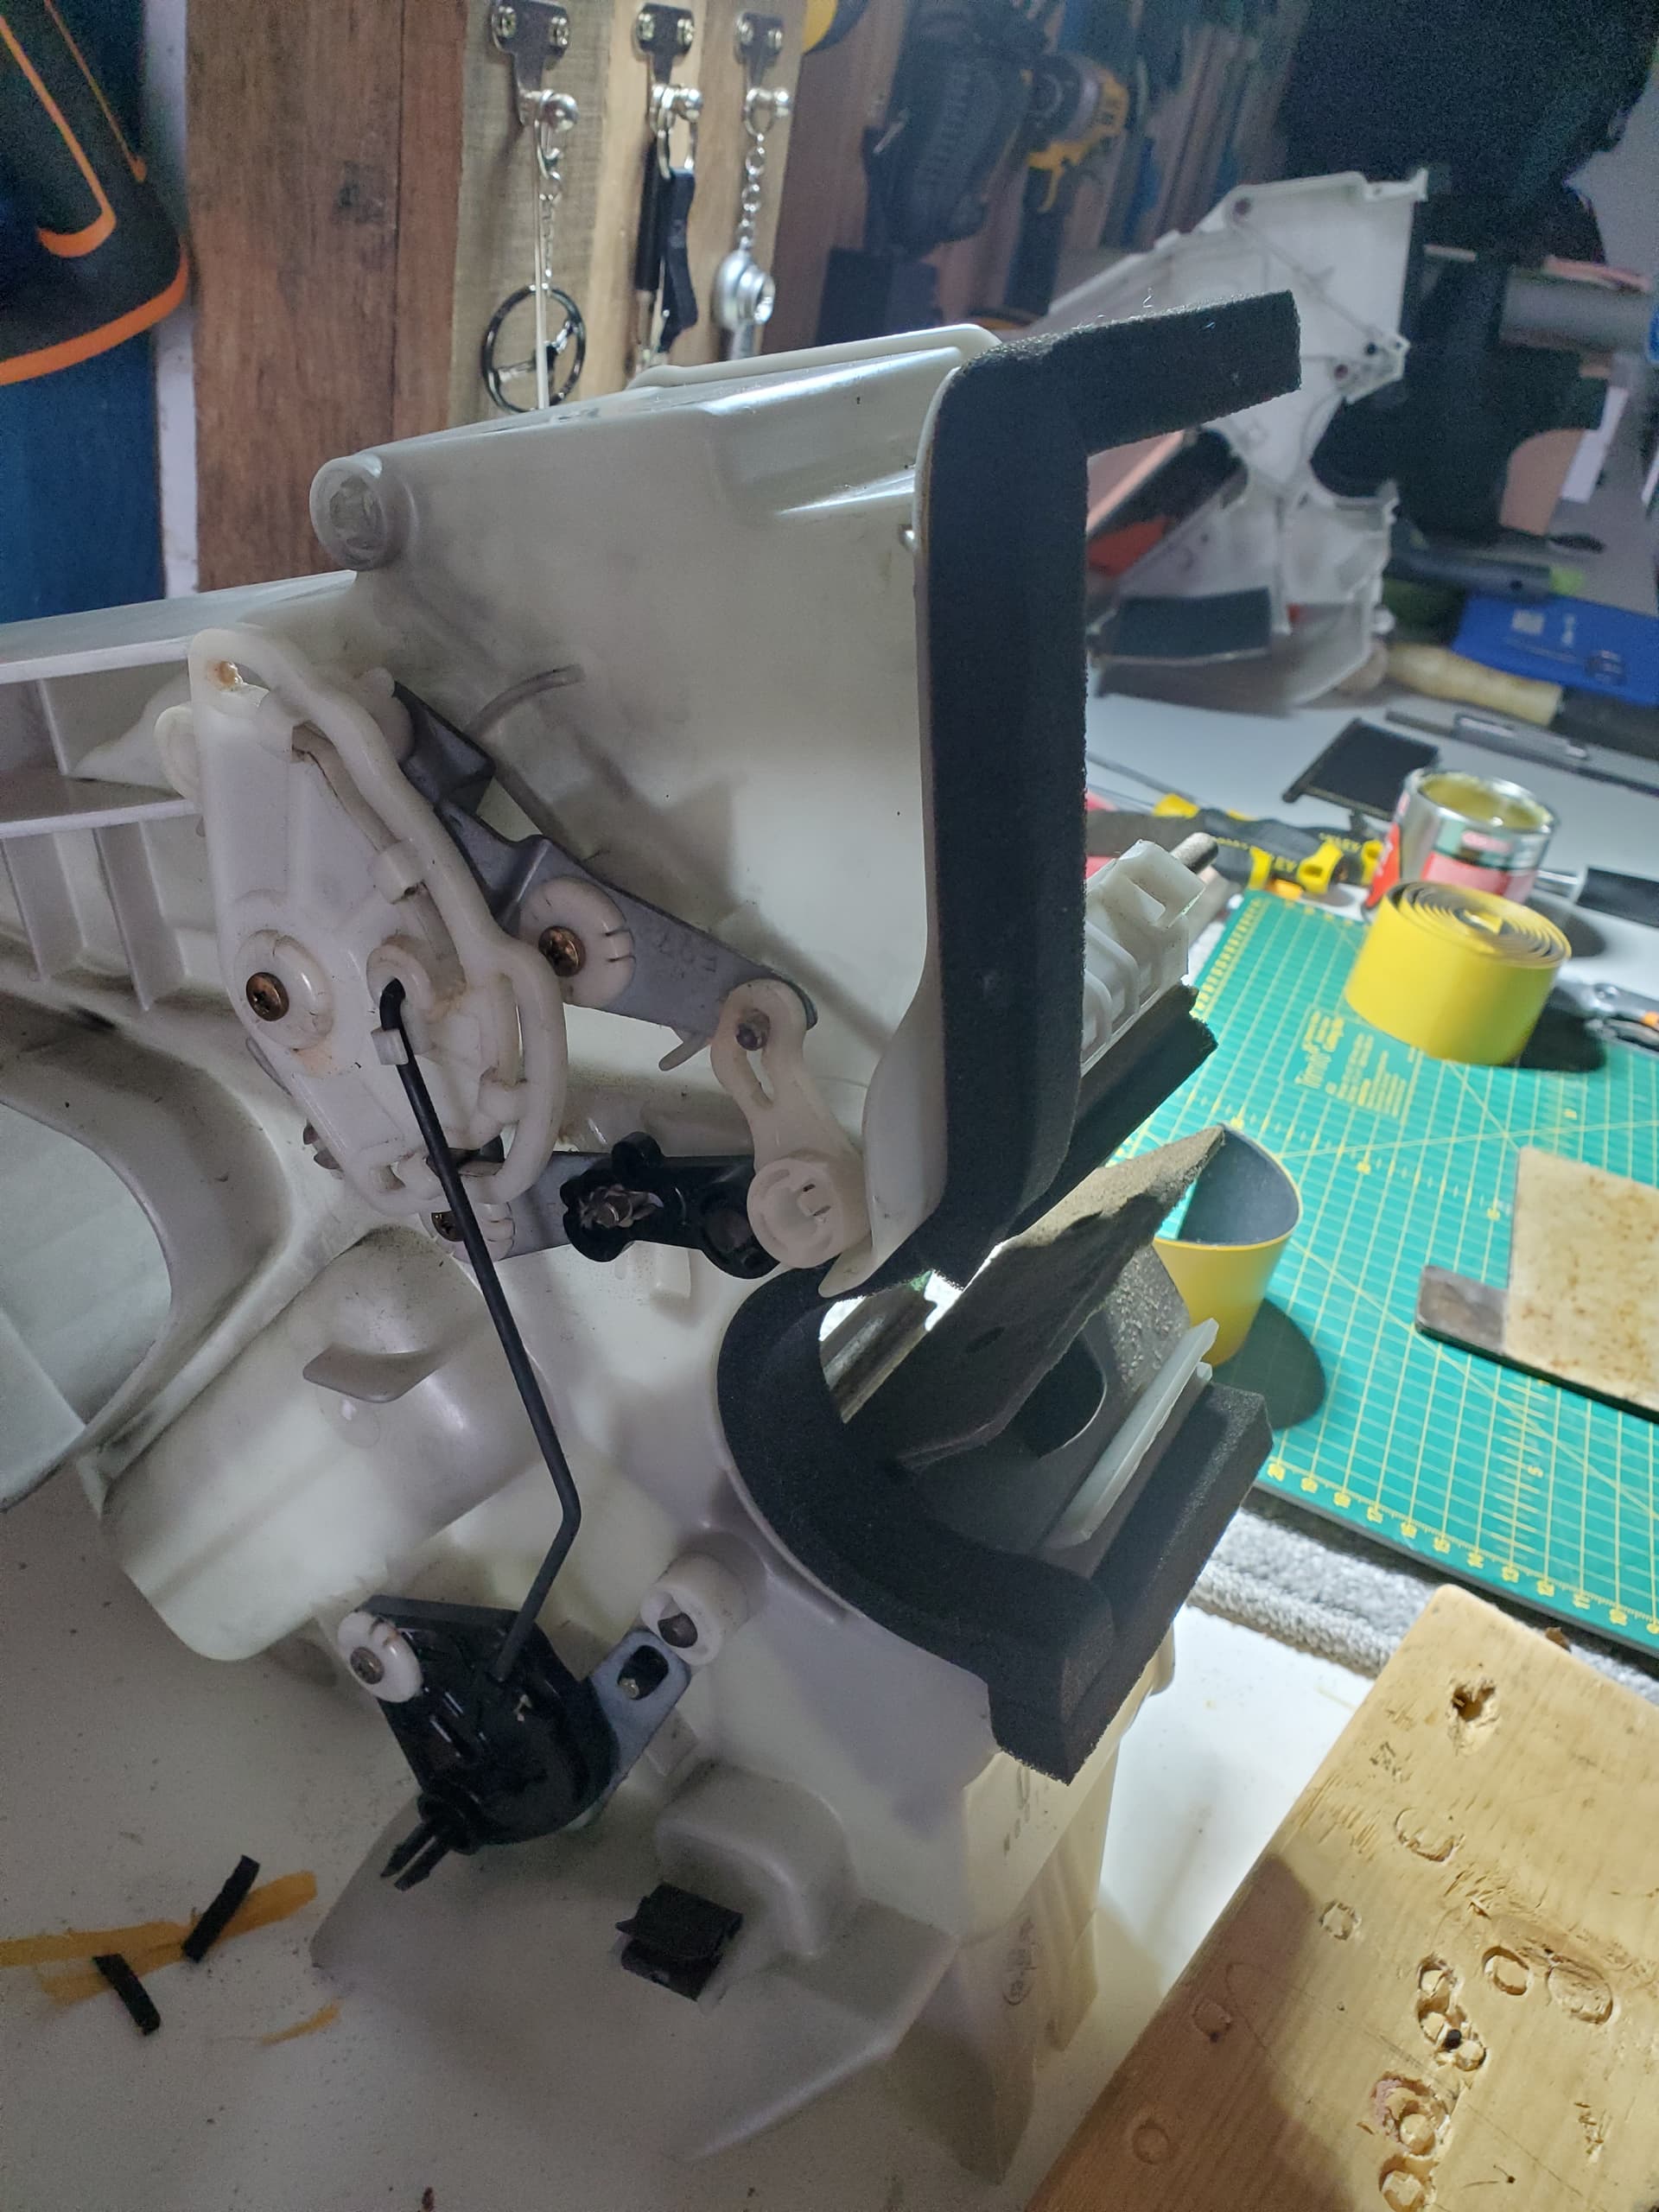
Here is the 2 halves back together!!! Thought it would never happen. This was probably the fiddliest bit as you have to line up the non clipped ends of the flap bar into a non clipped hole in the opposite half.
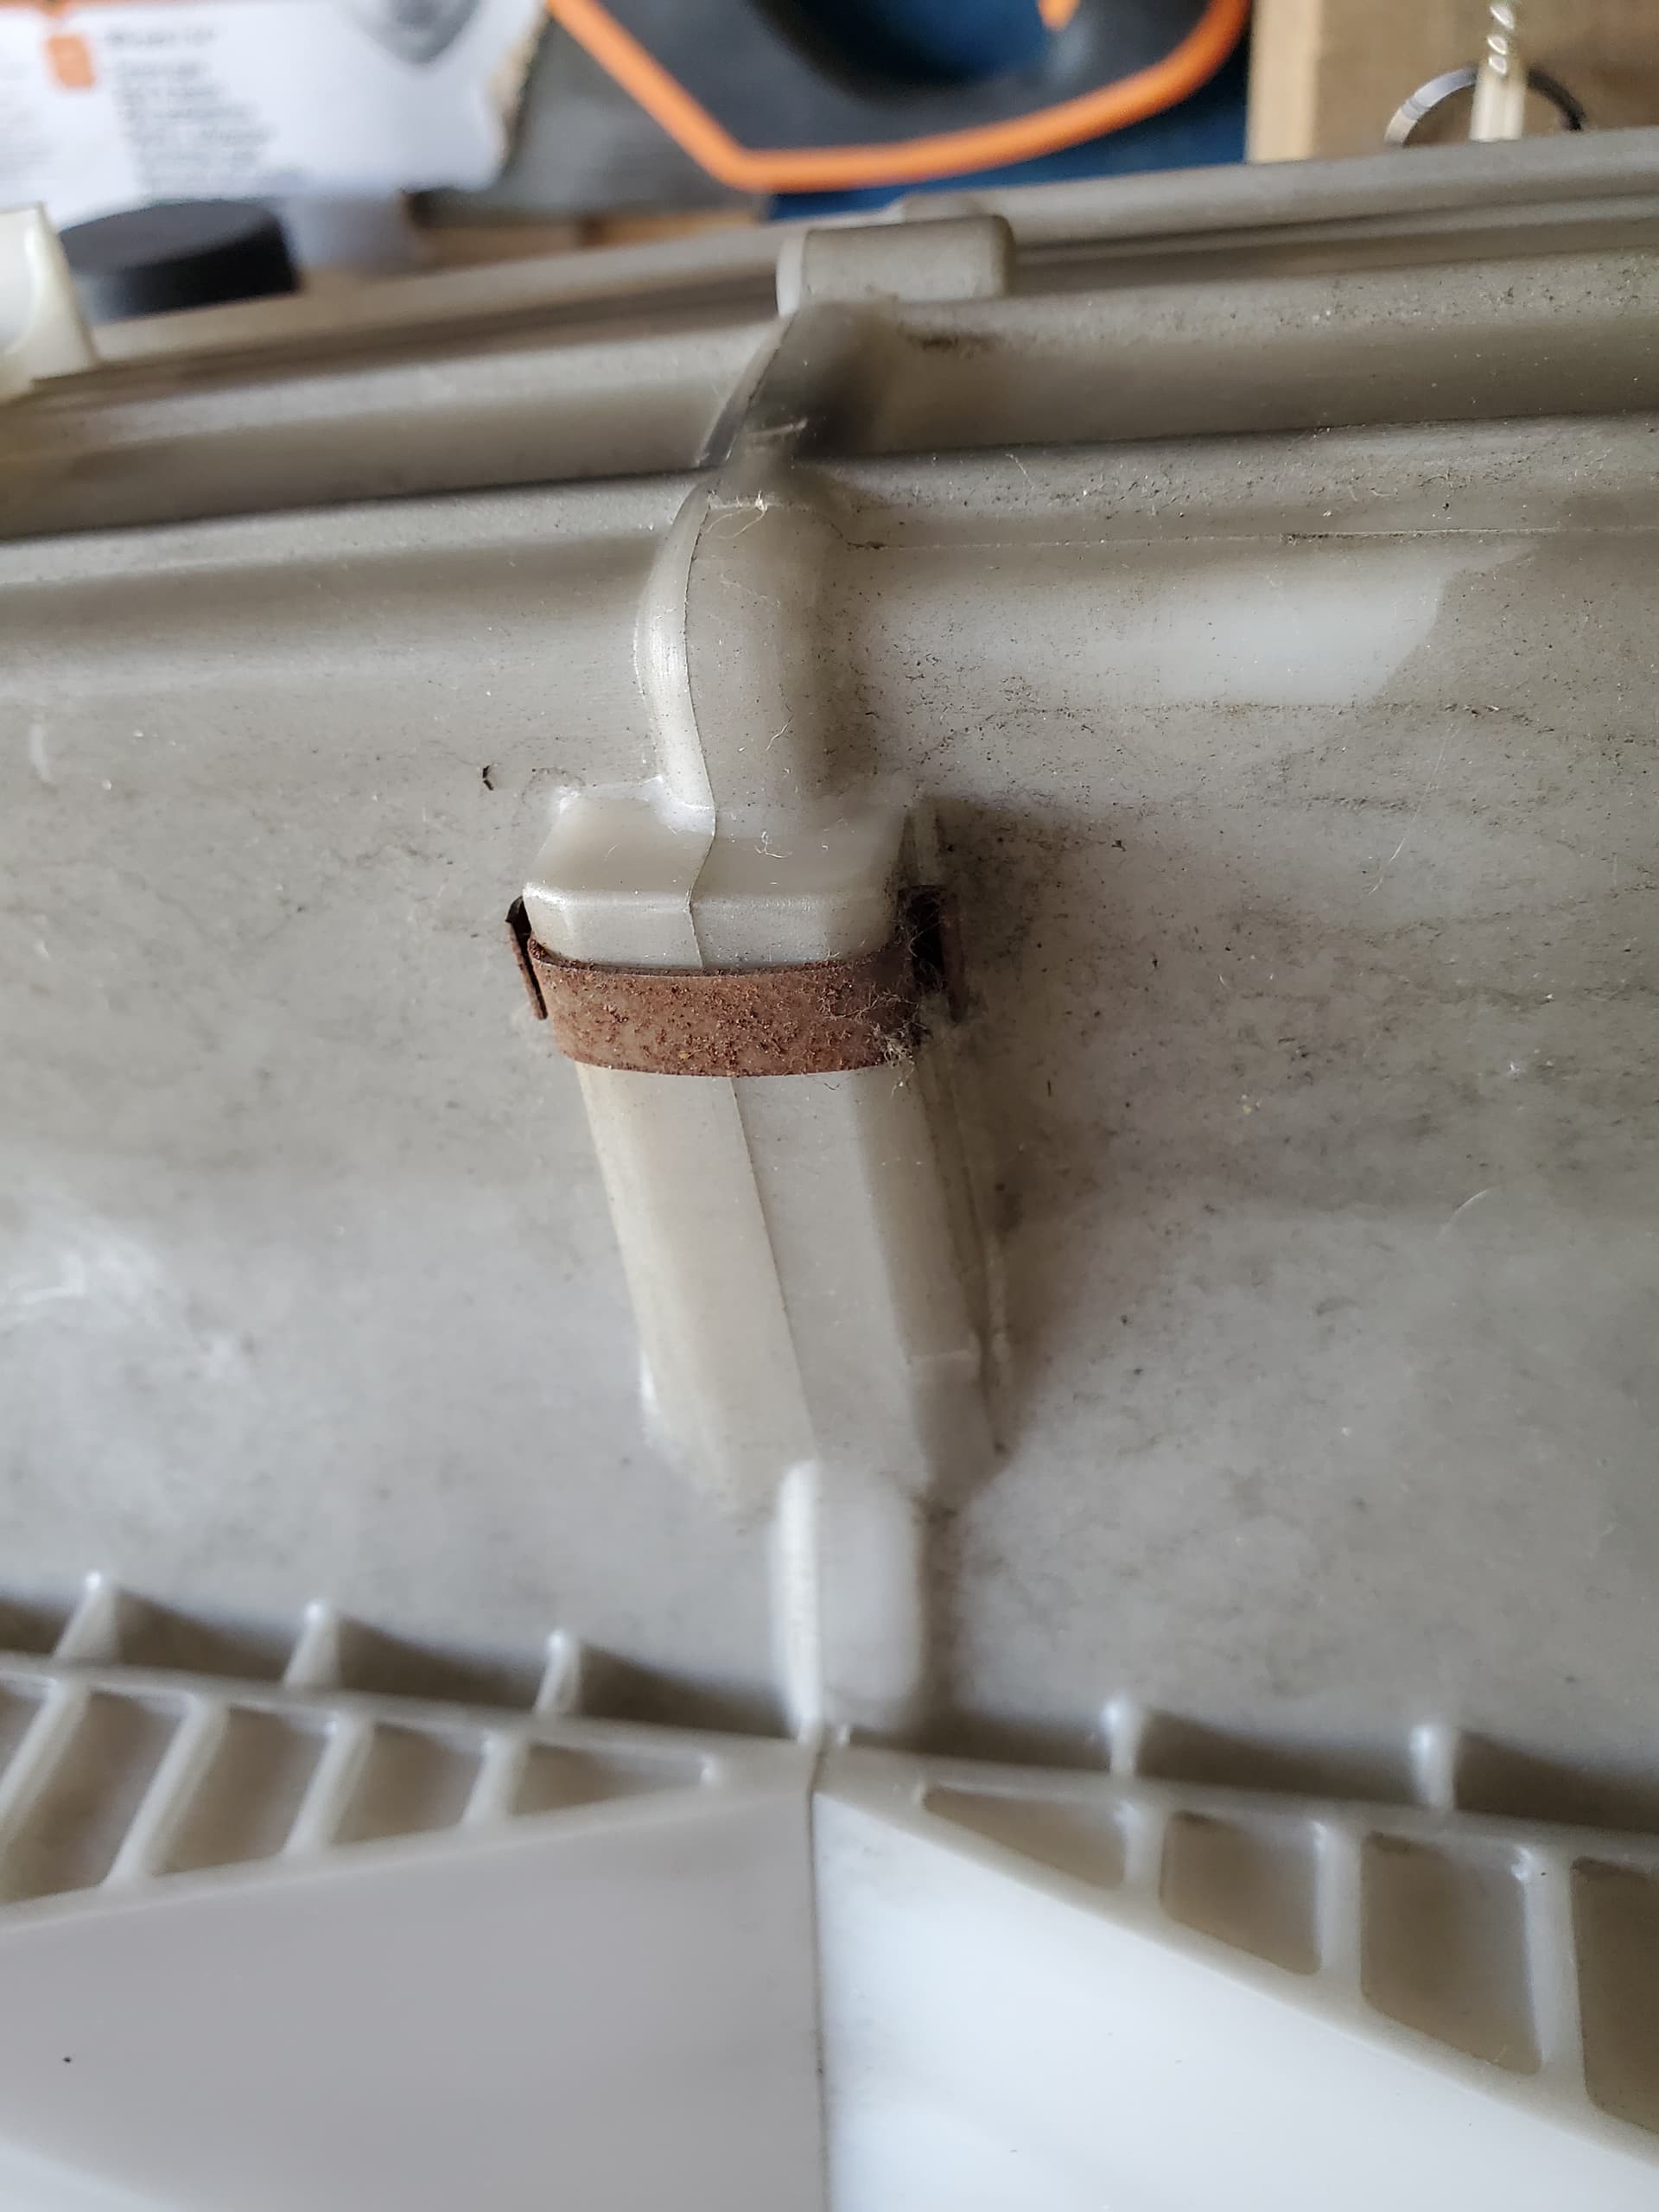
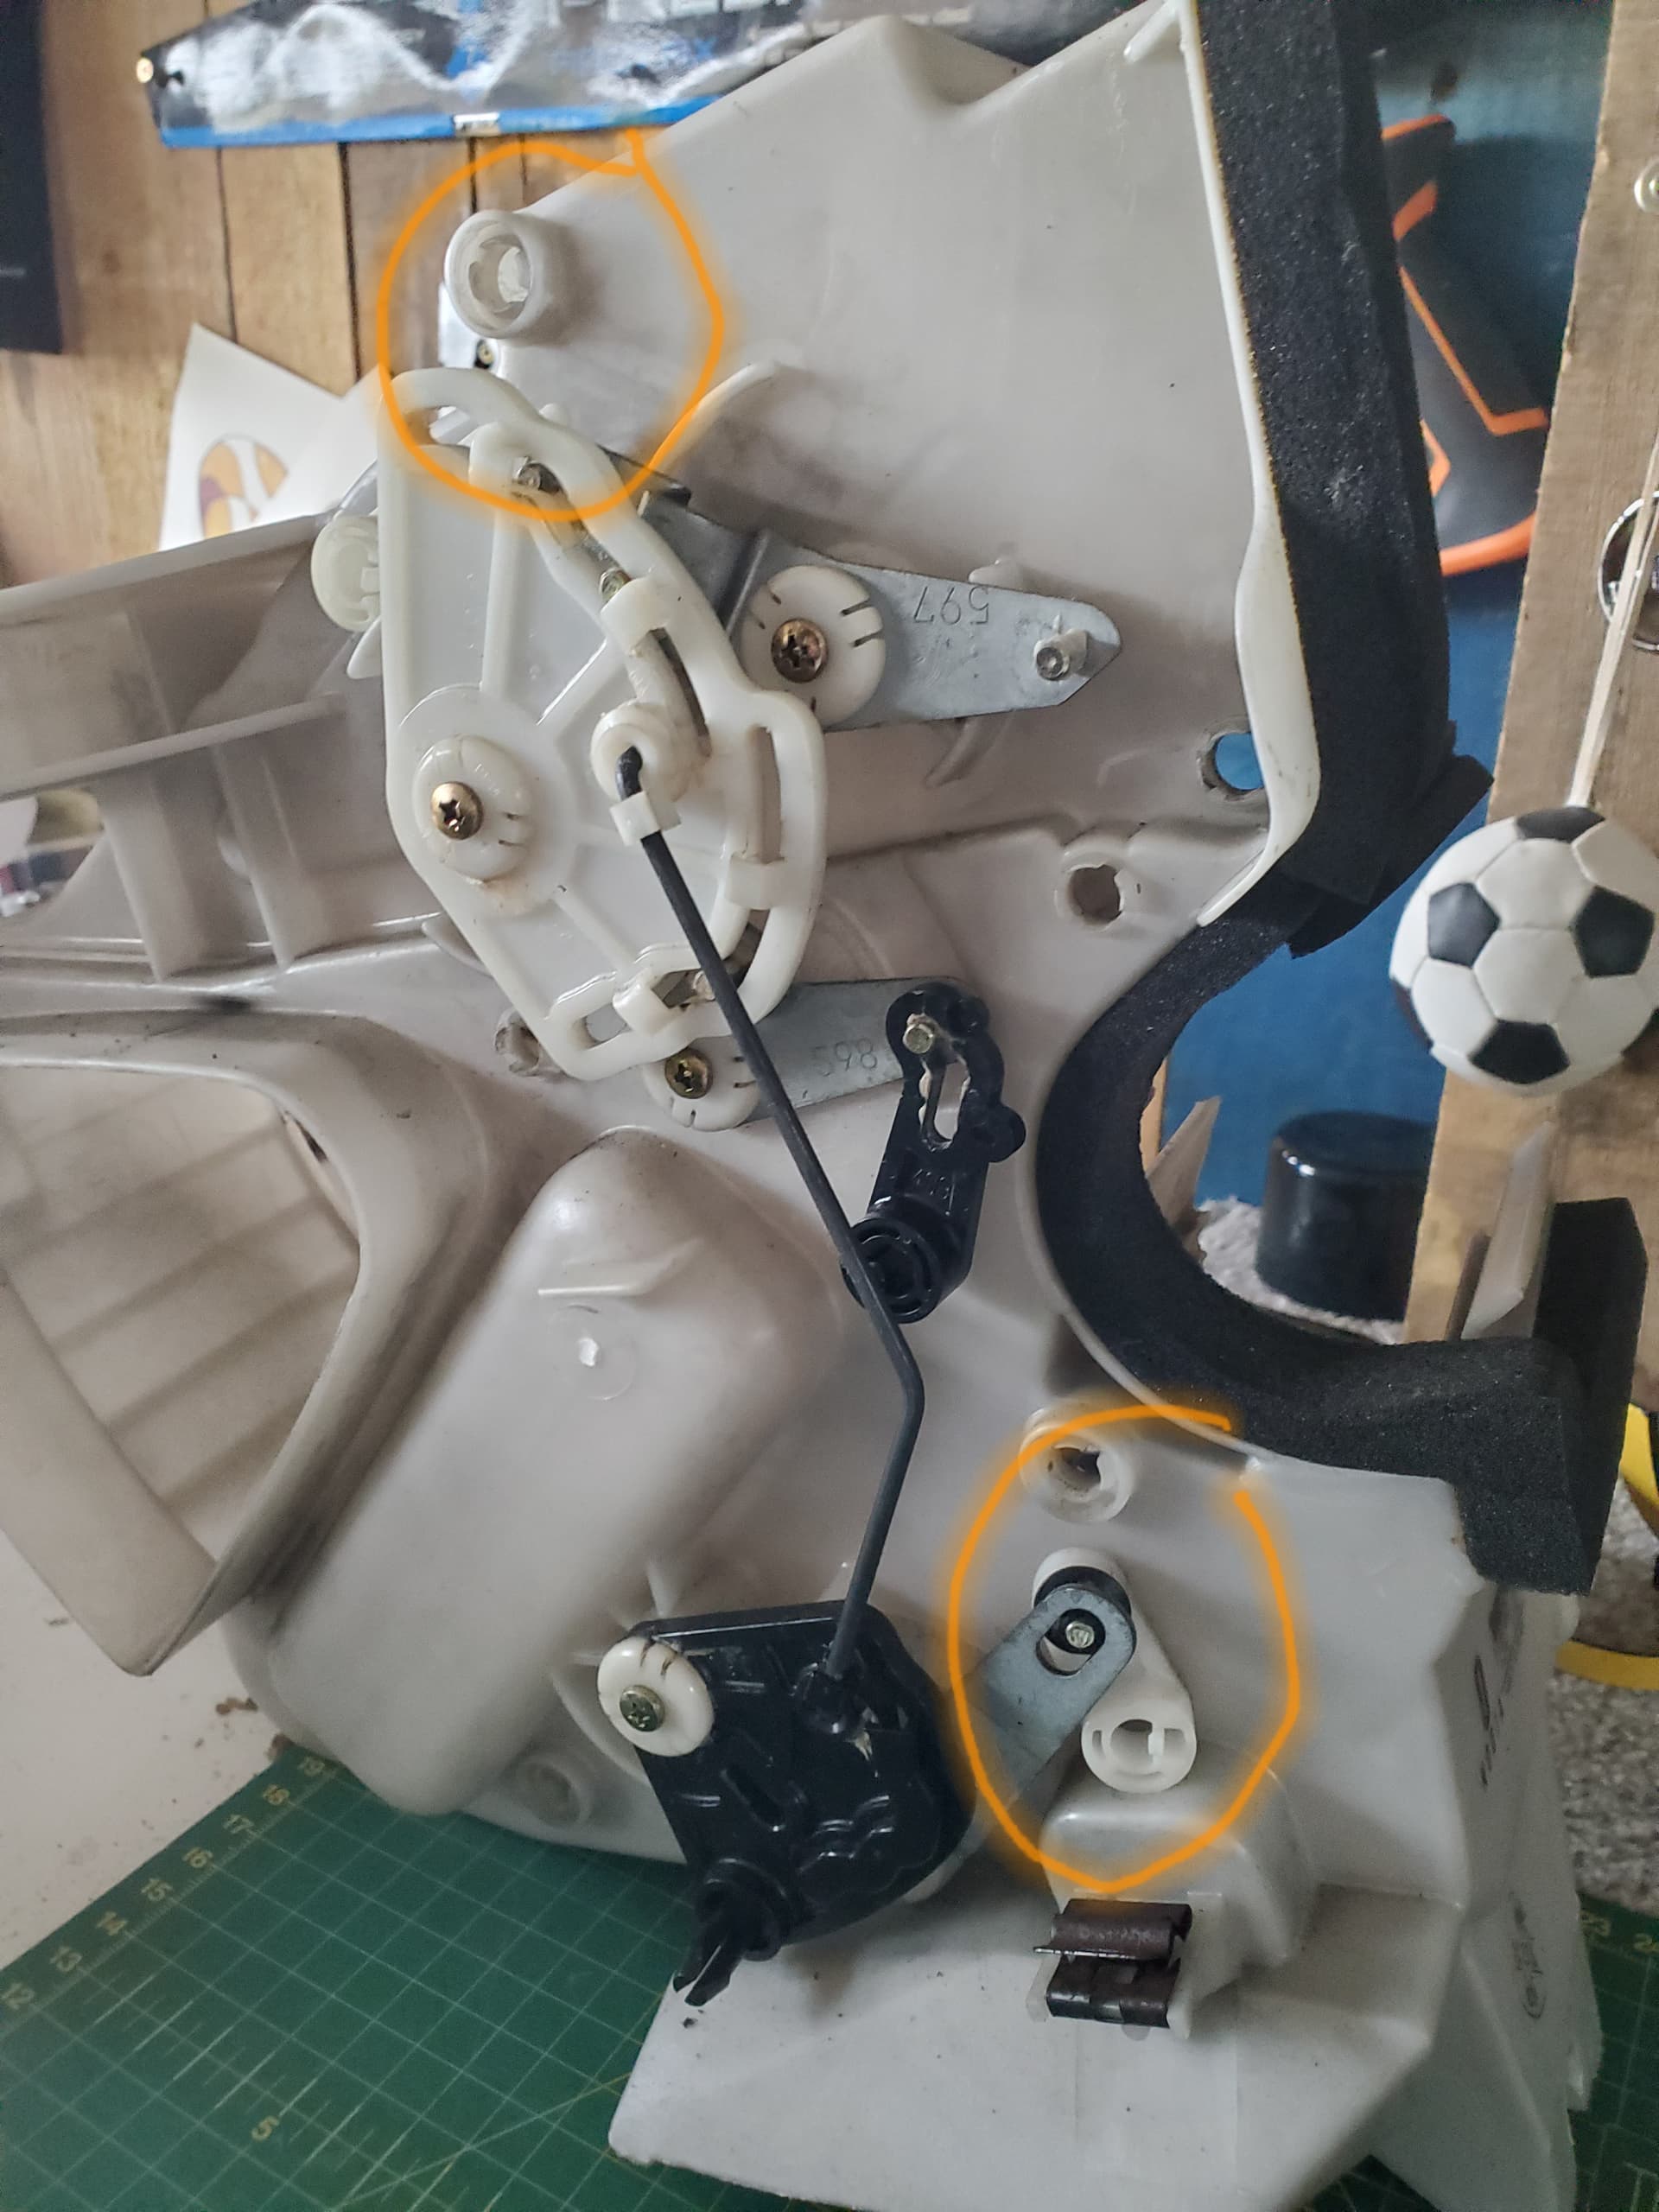
Also be carefull of the 2 white clips that link the flaps to the rest of the mechanism.
They look the same but the orientation of the tab is slightly different.
Hope this helps someone.
Blower box next.
Last job on flap box.
Cloth over magnetic bar. Spray clips. Otherwise they get blasted across the foor.
Then snipped back in place.
All nice and new.
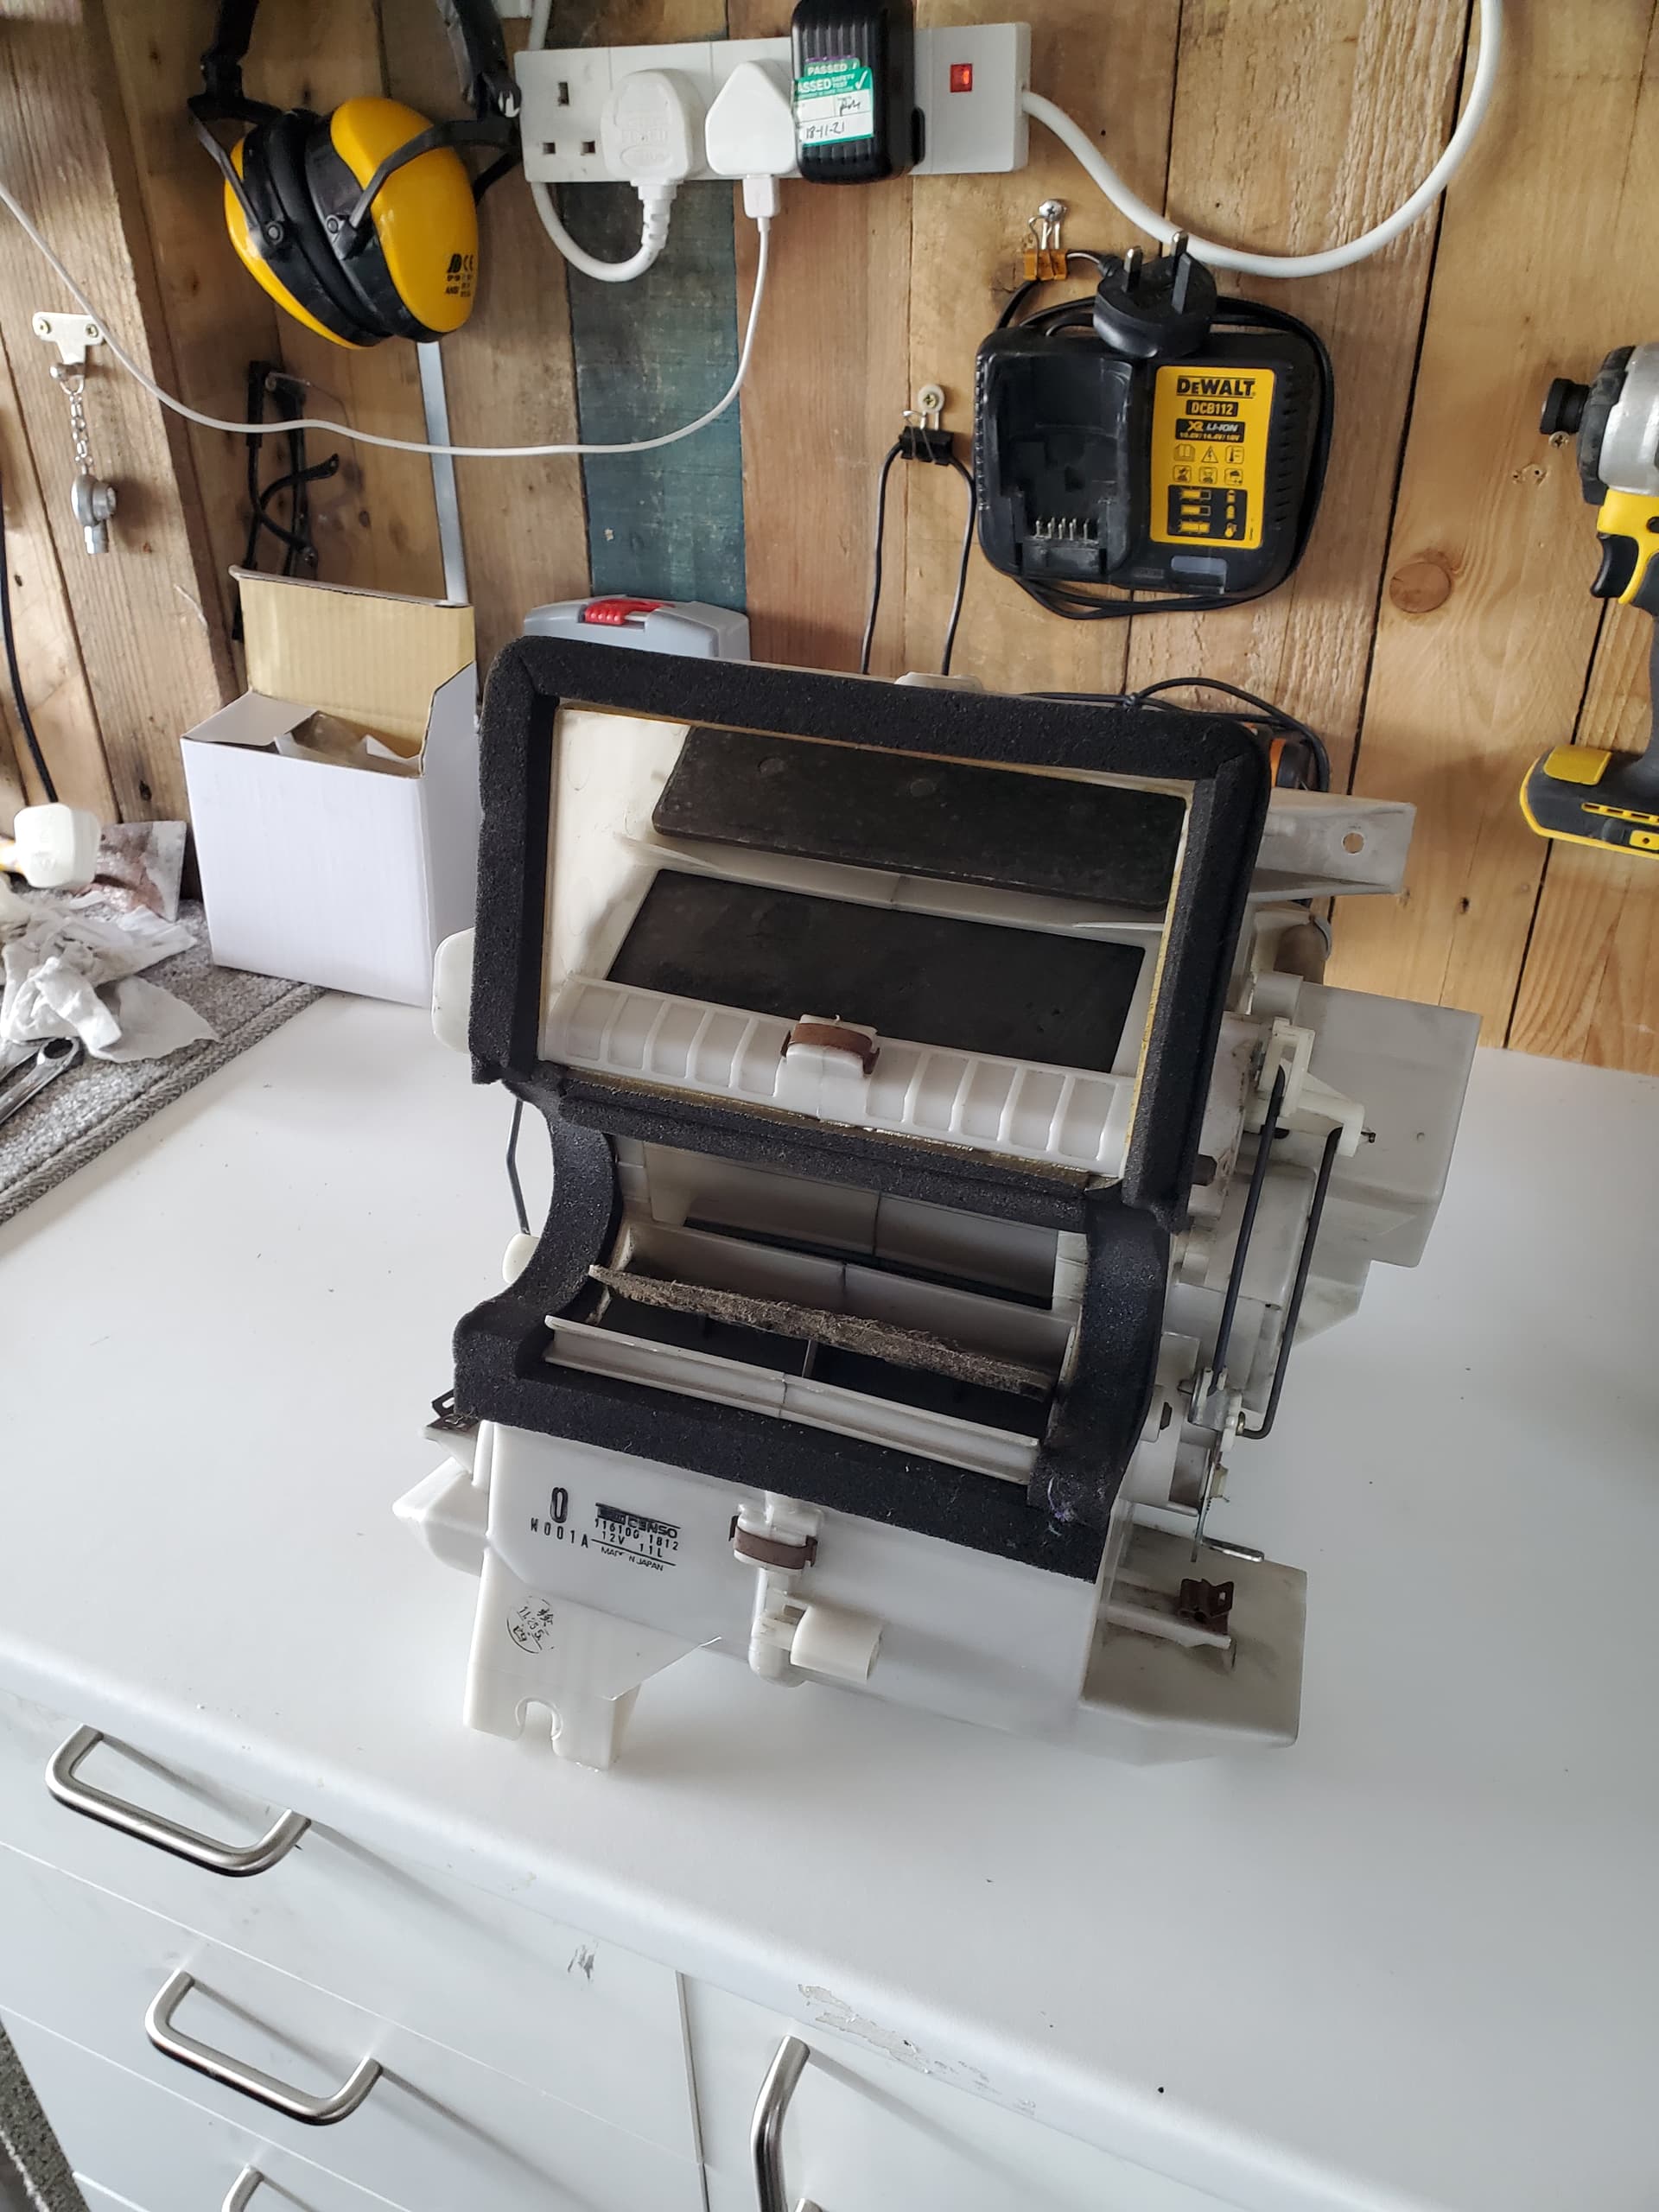
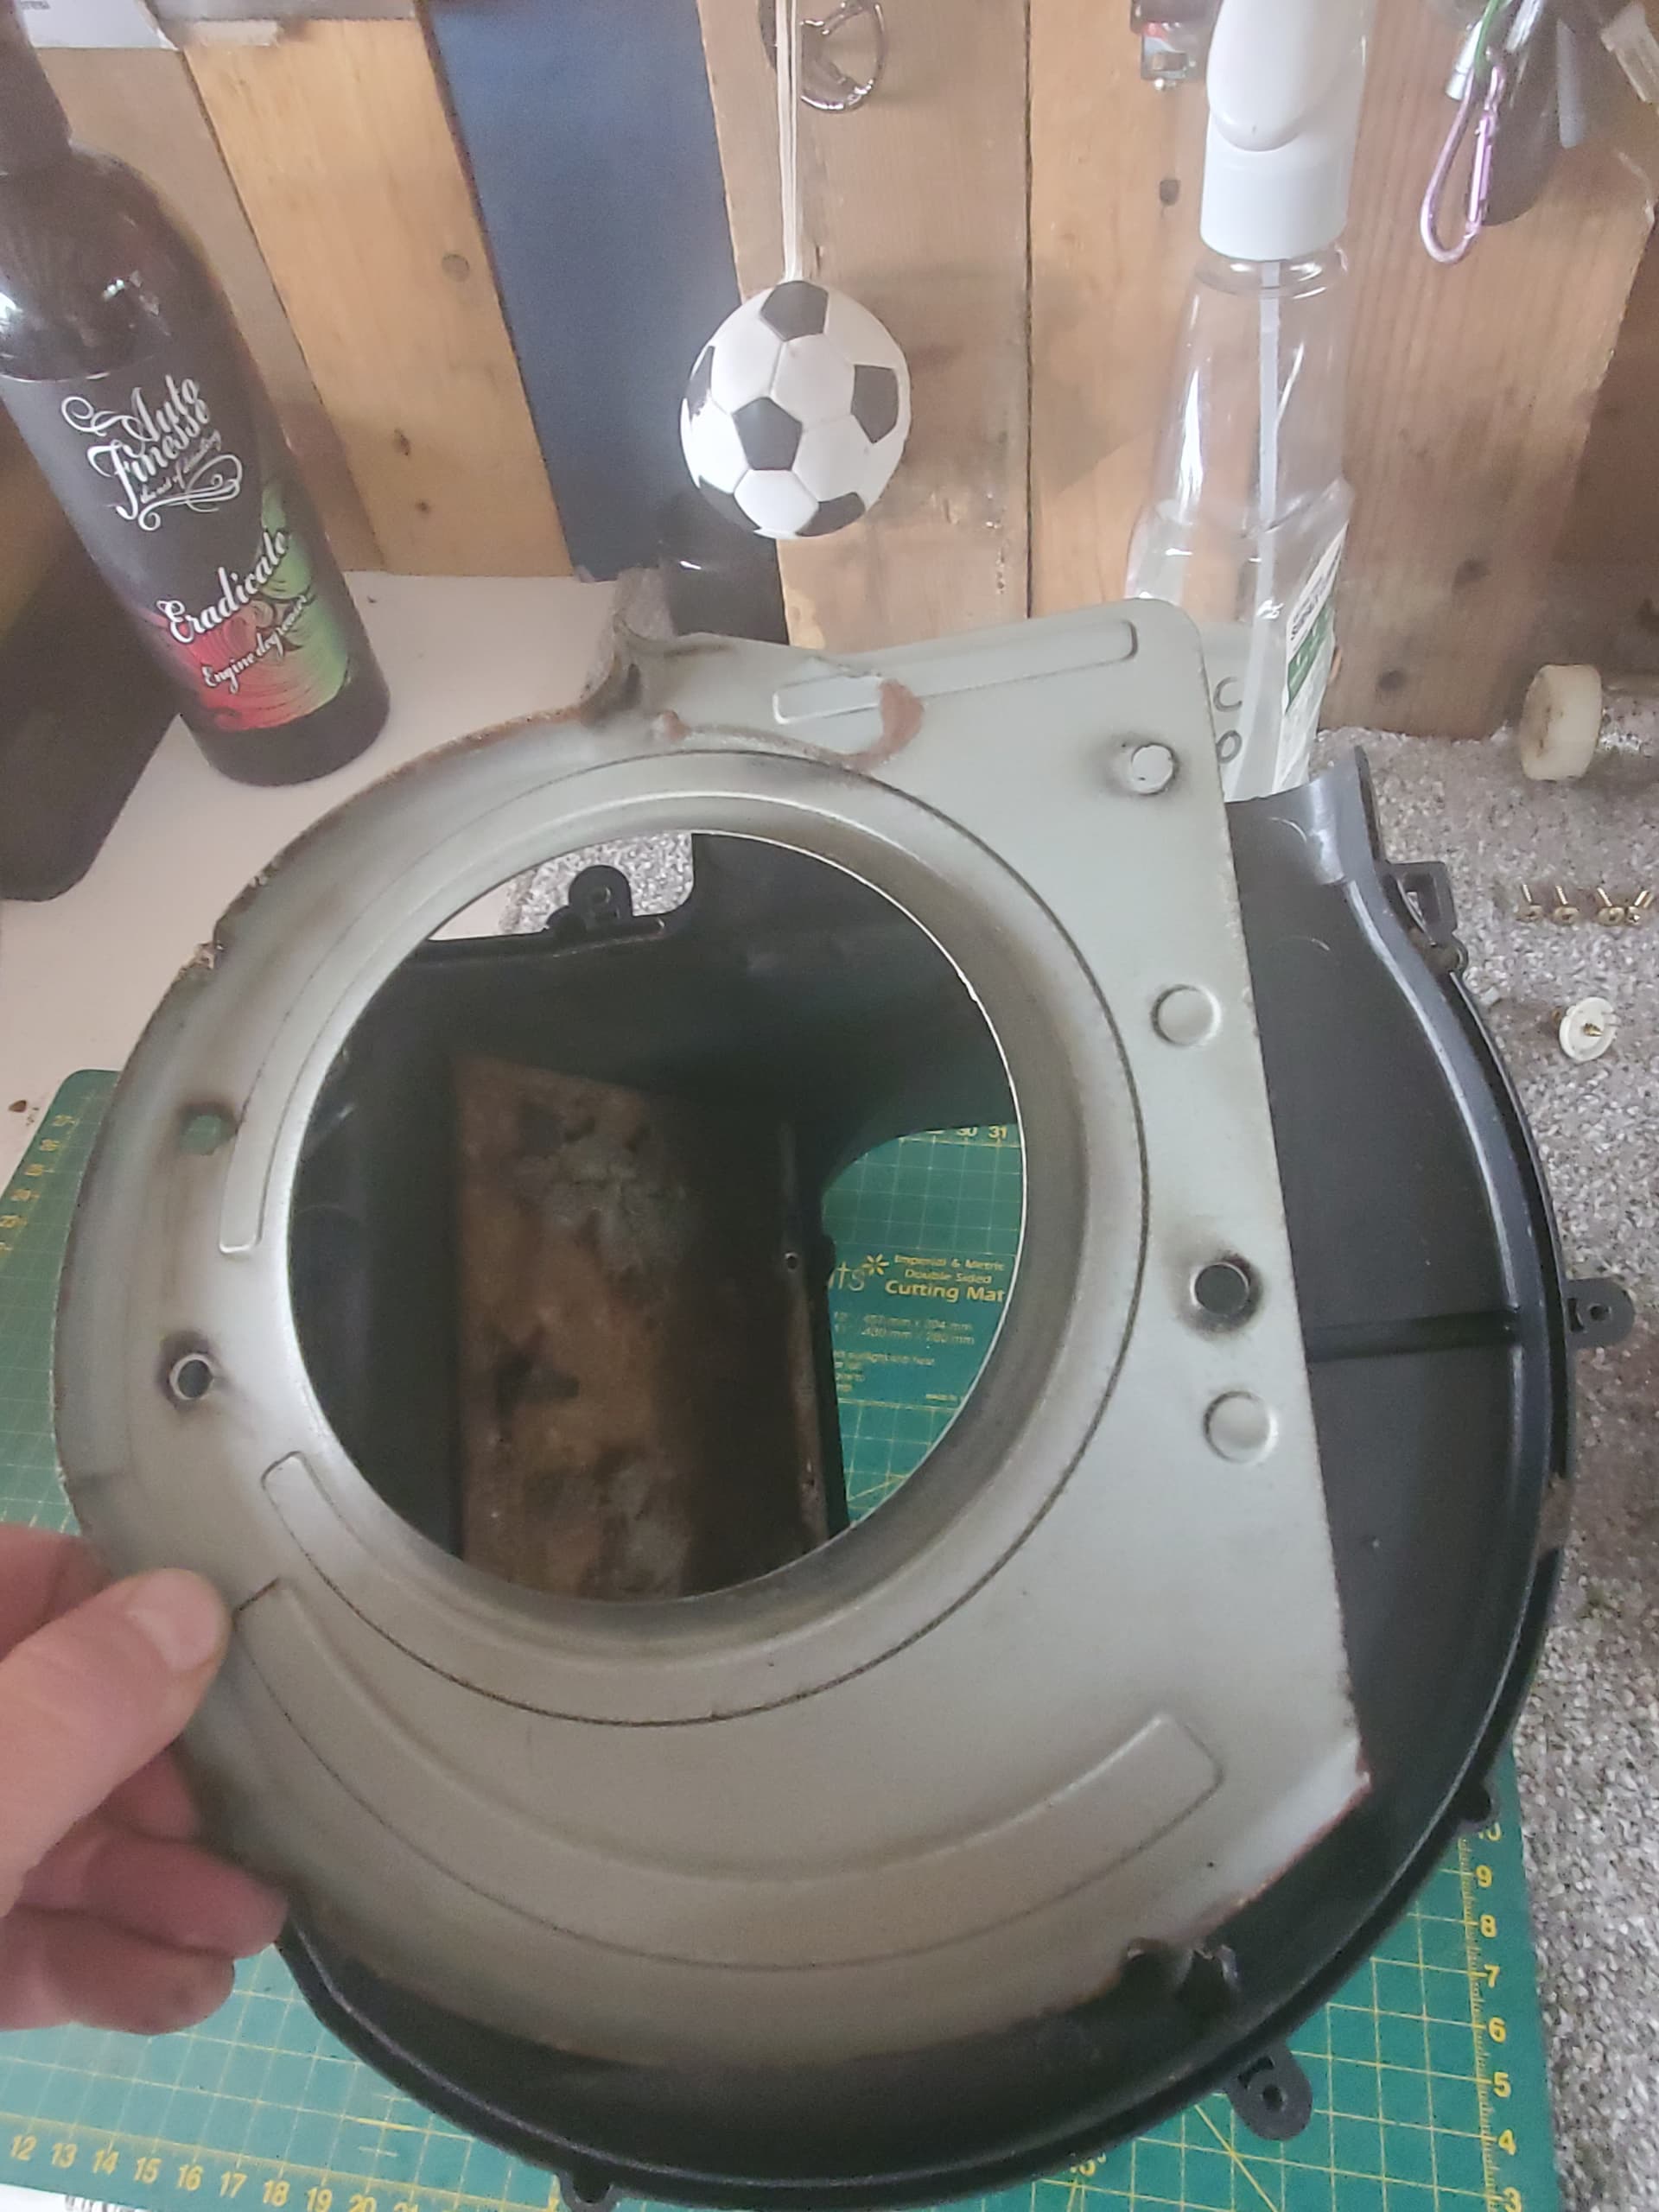
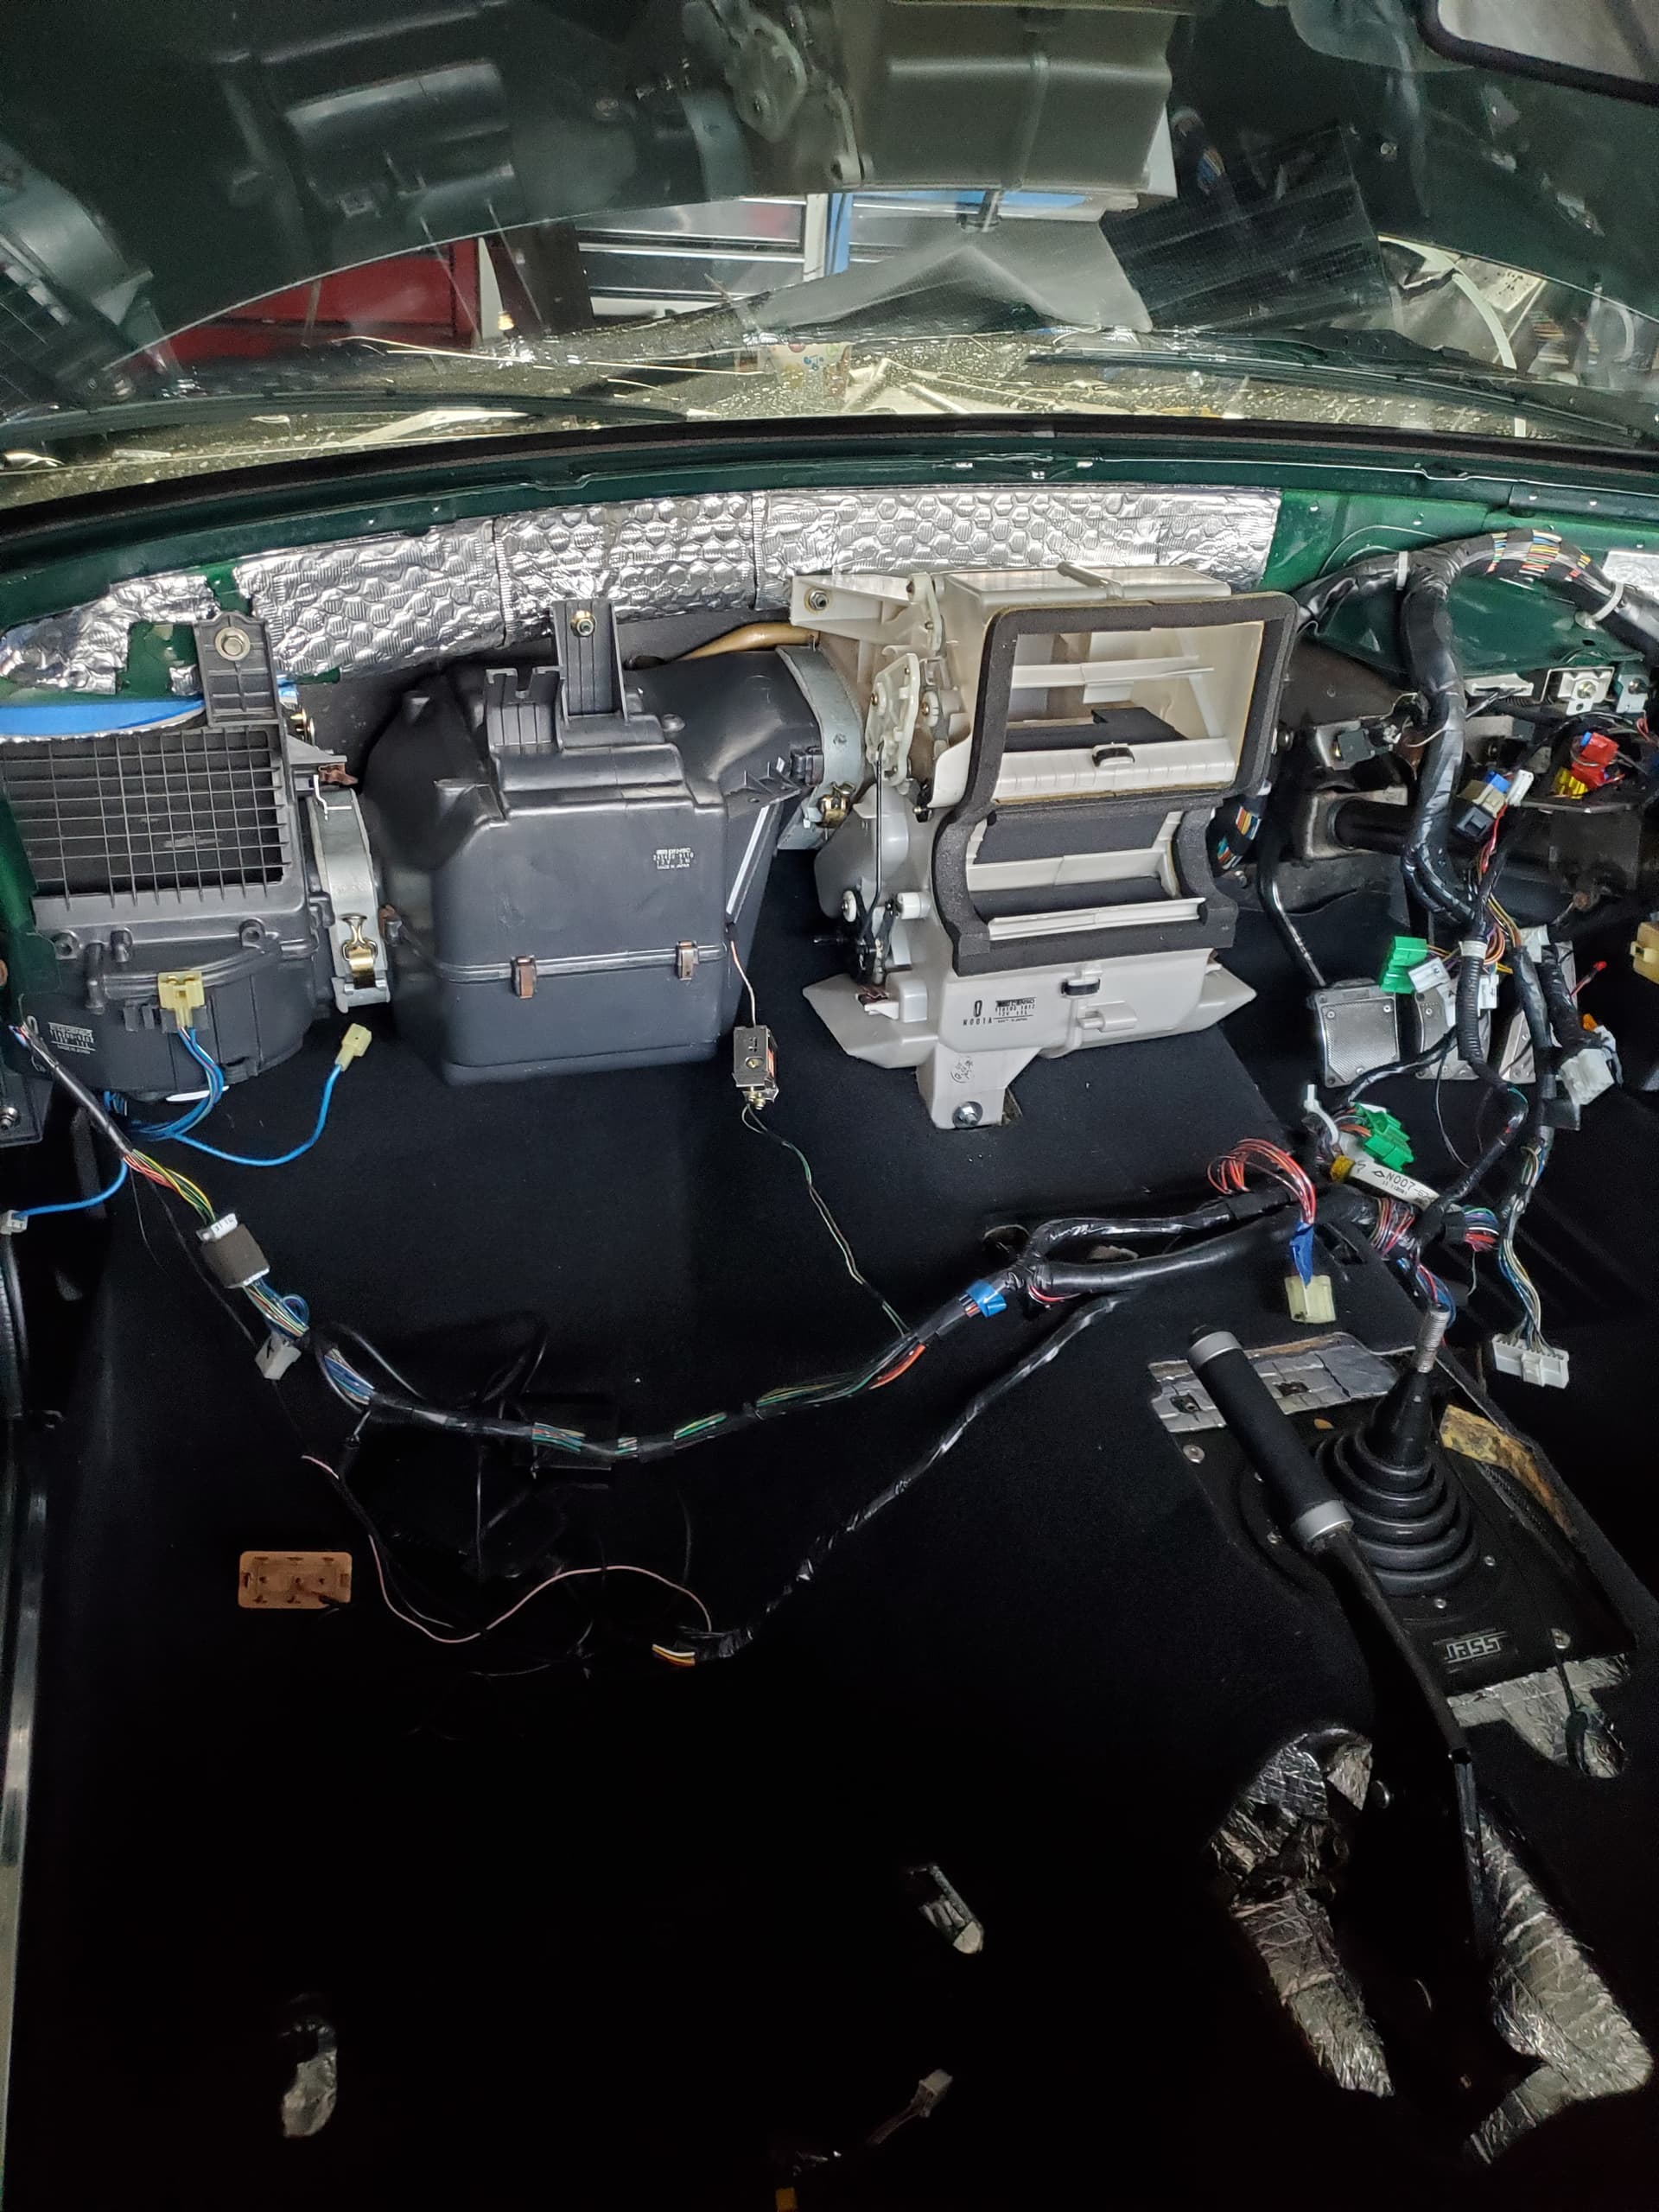
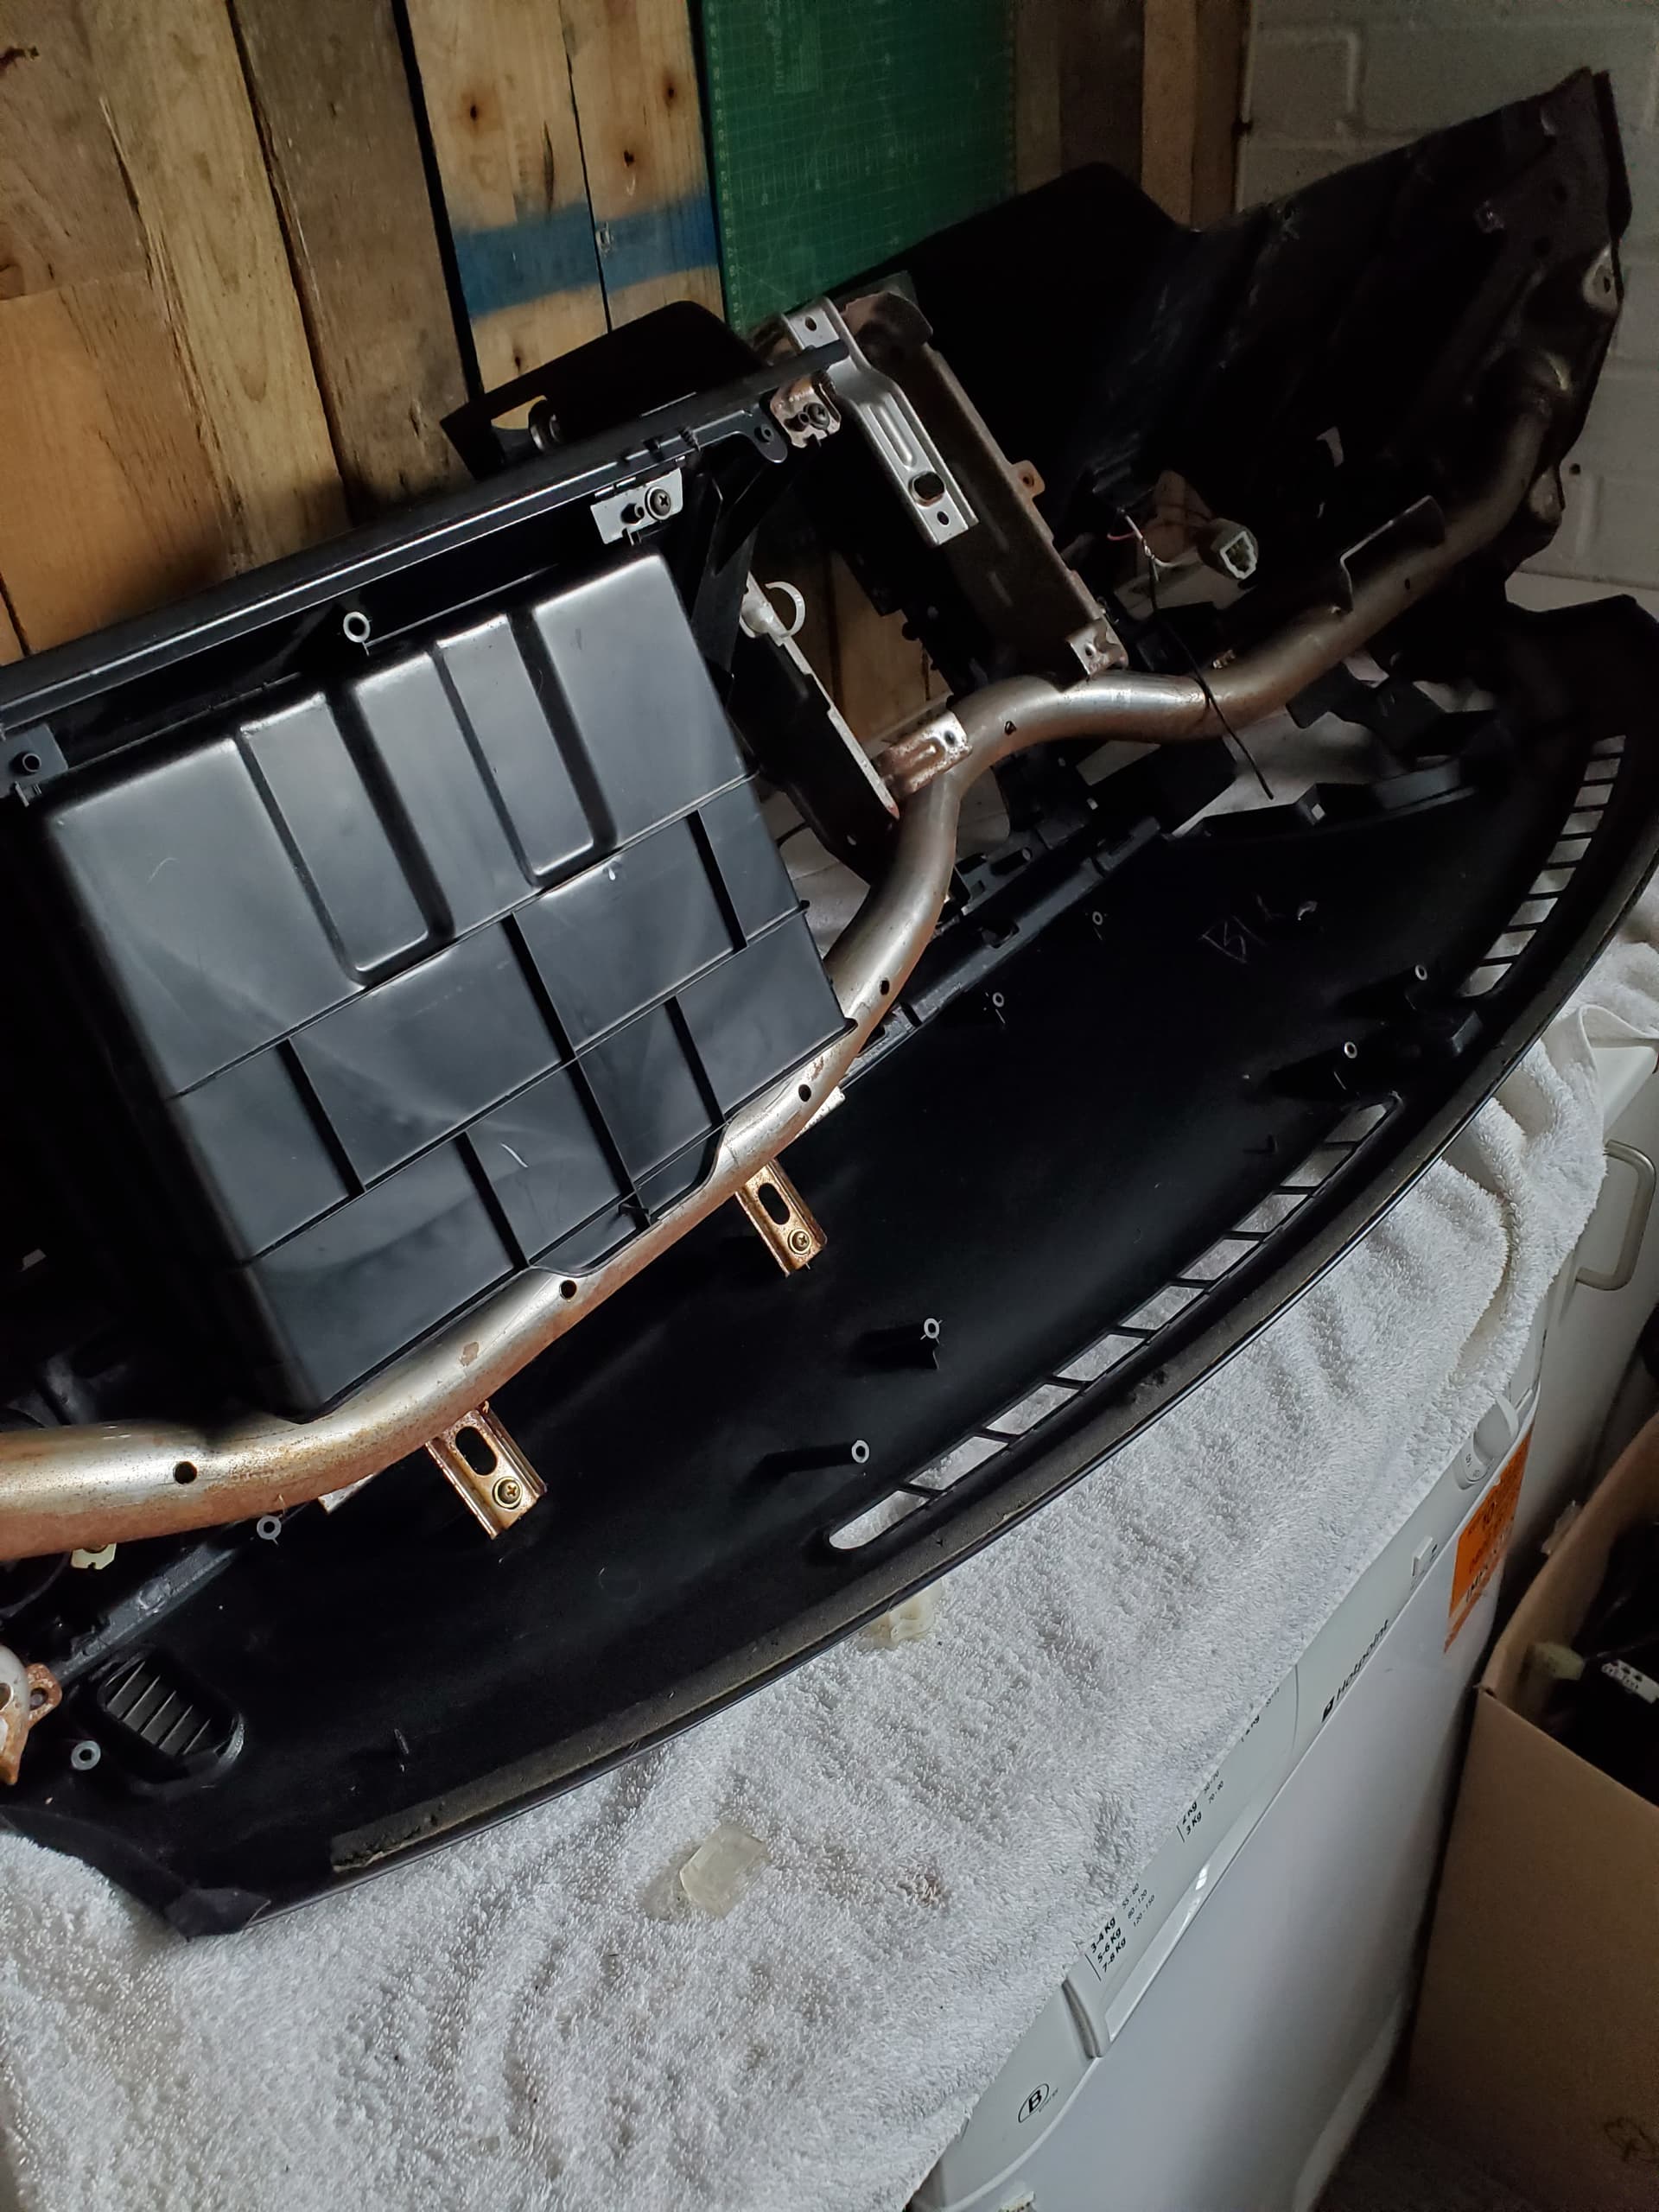
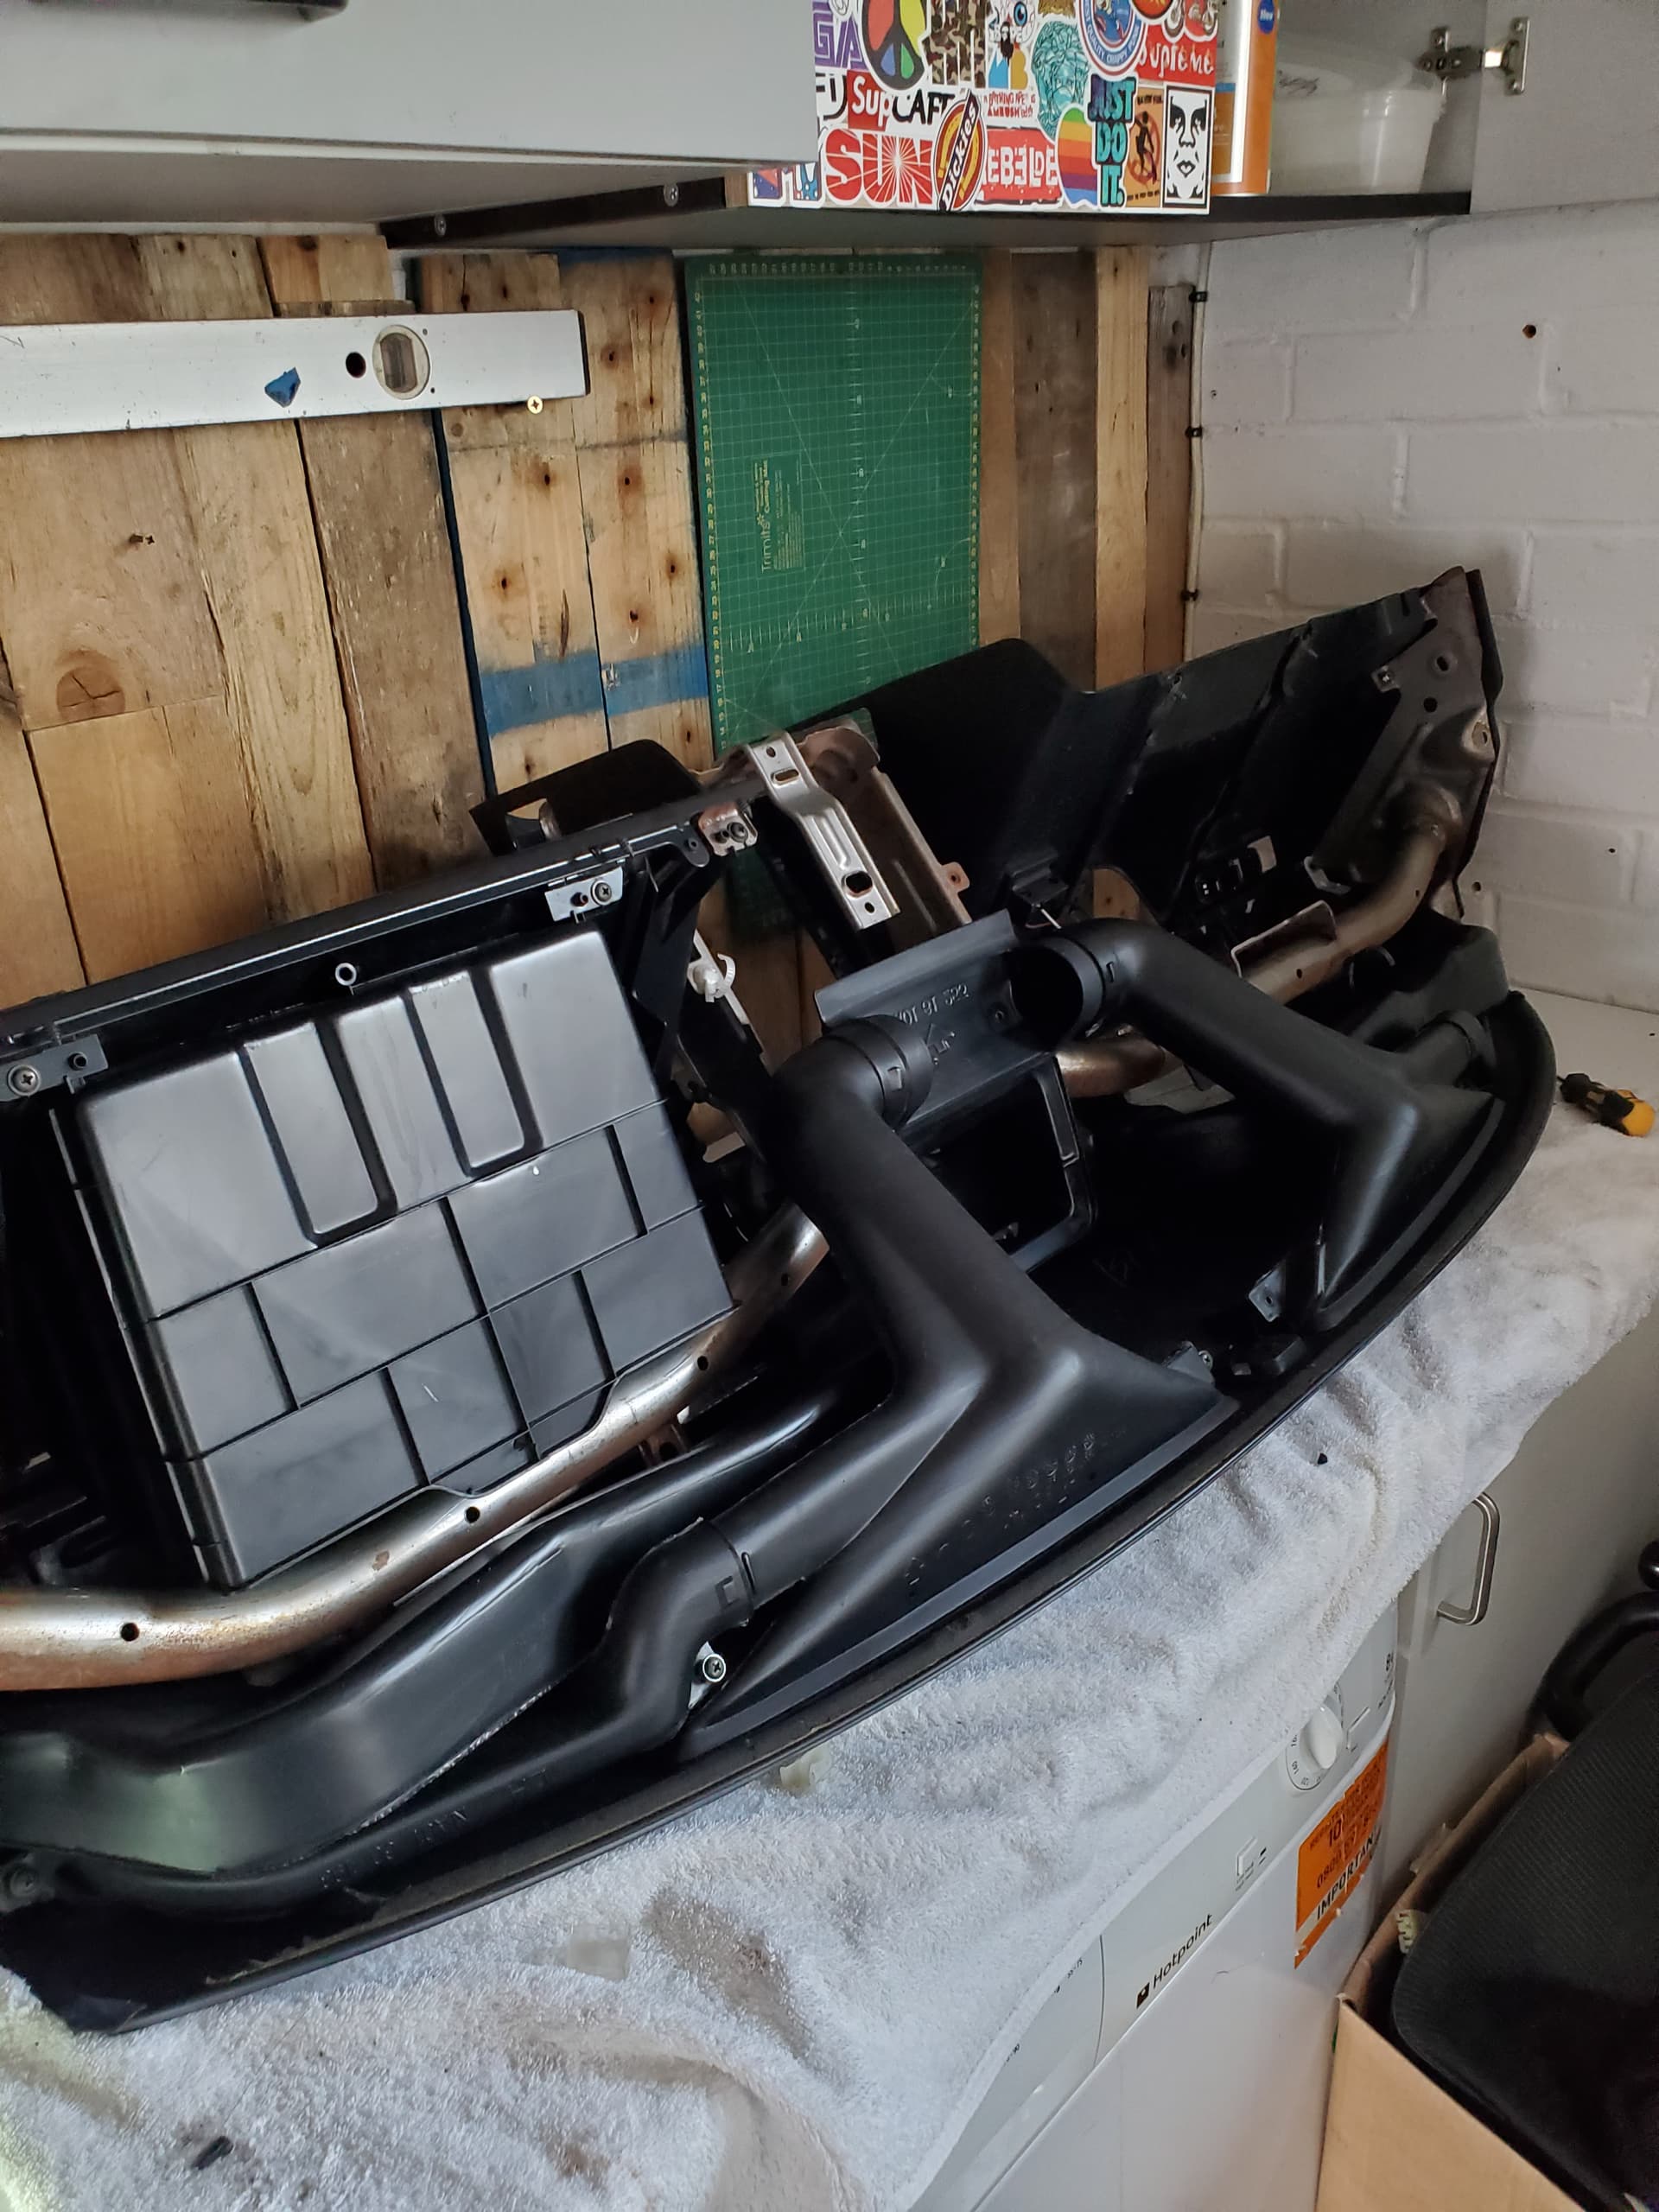
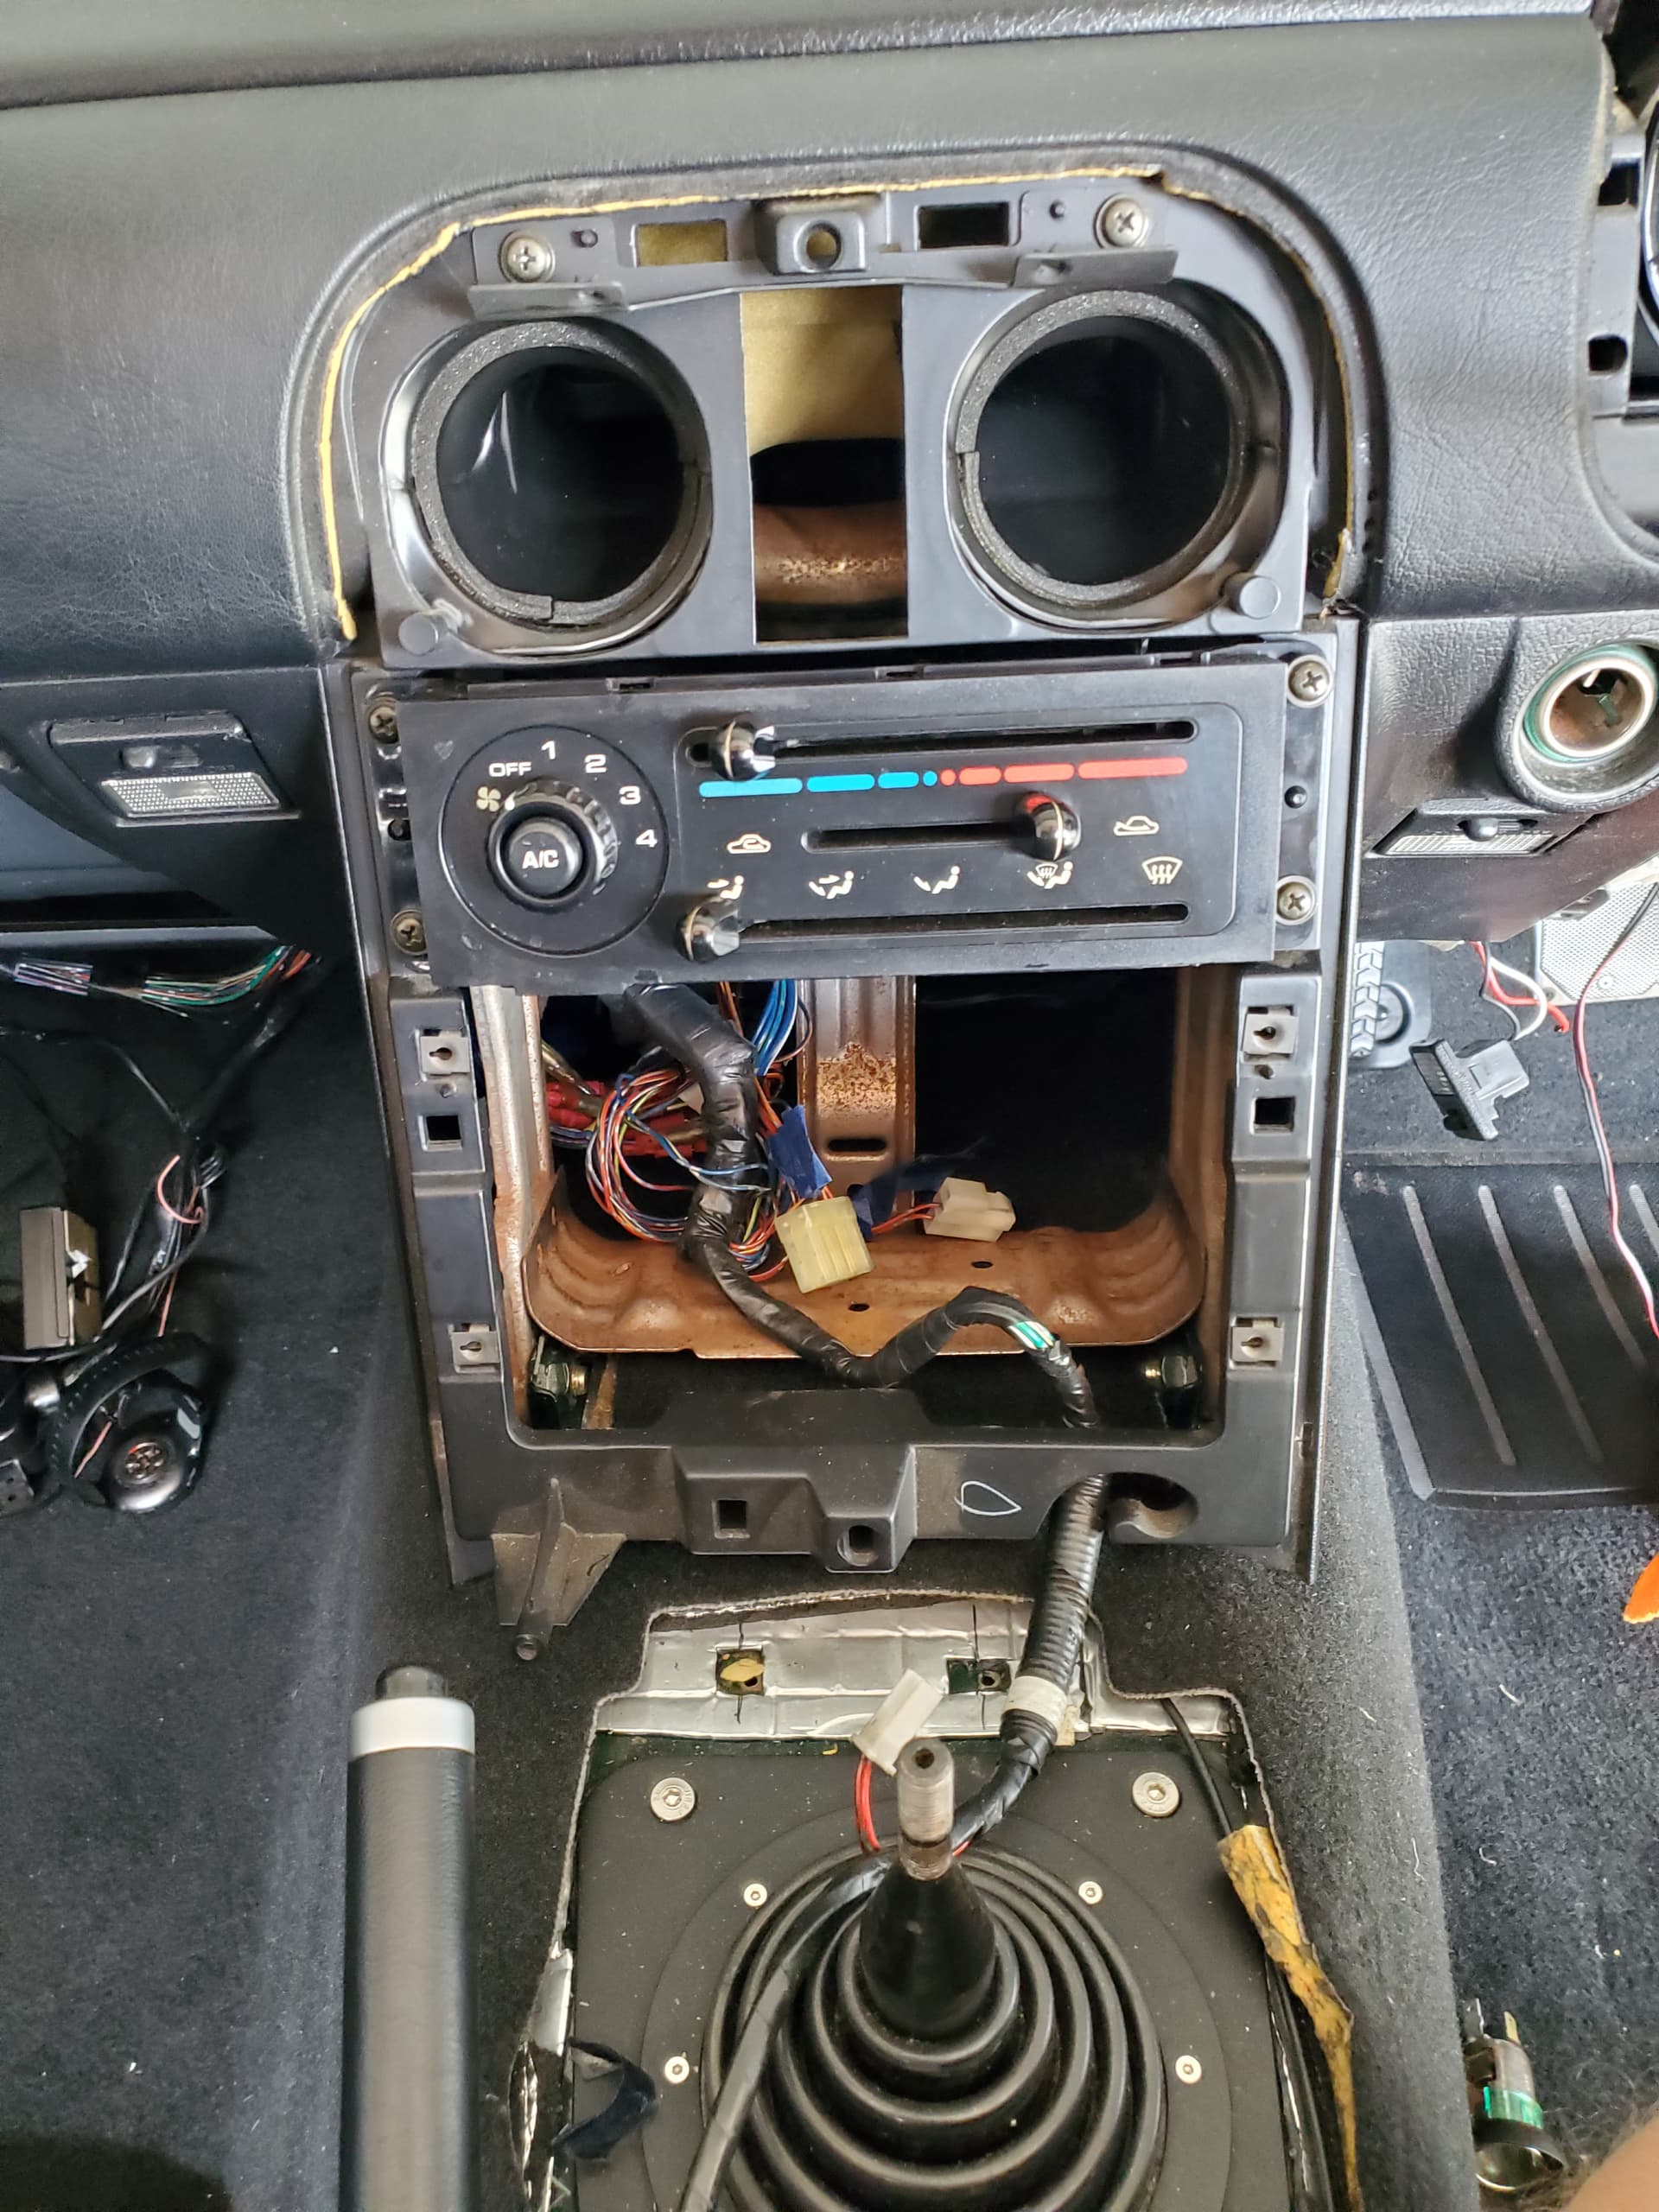
Right blower box.
Here we go.
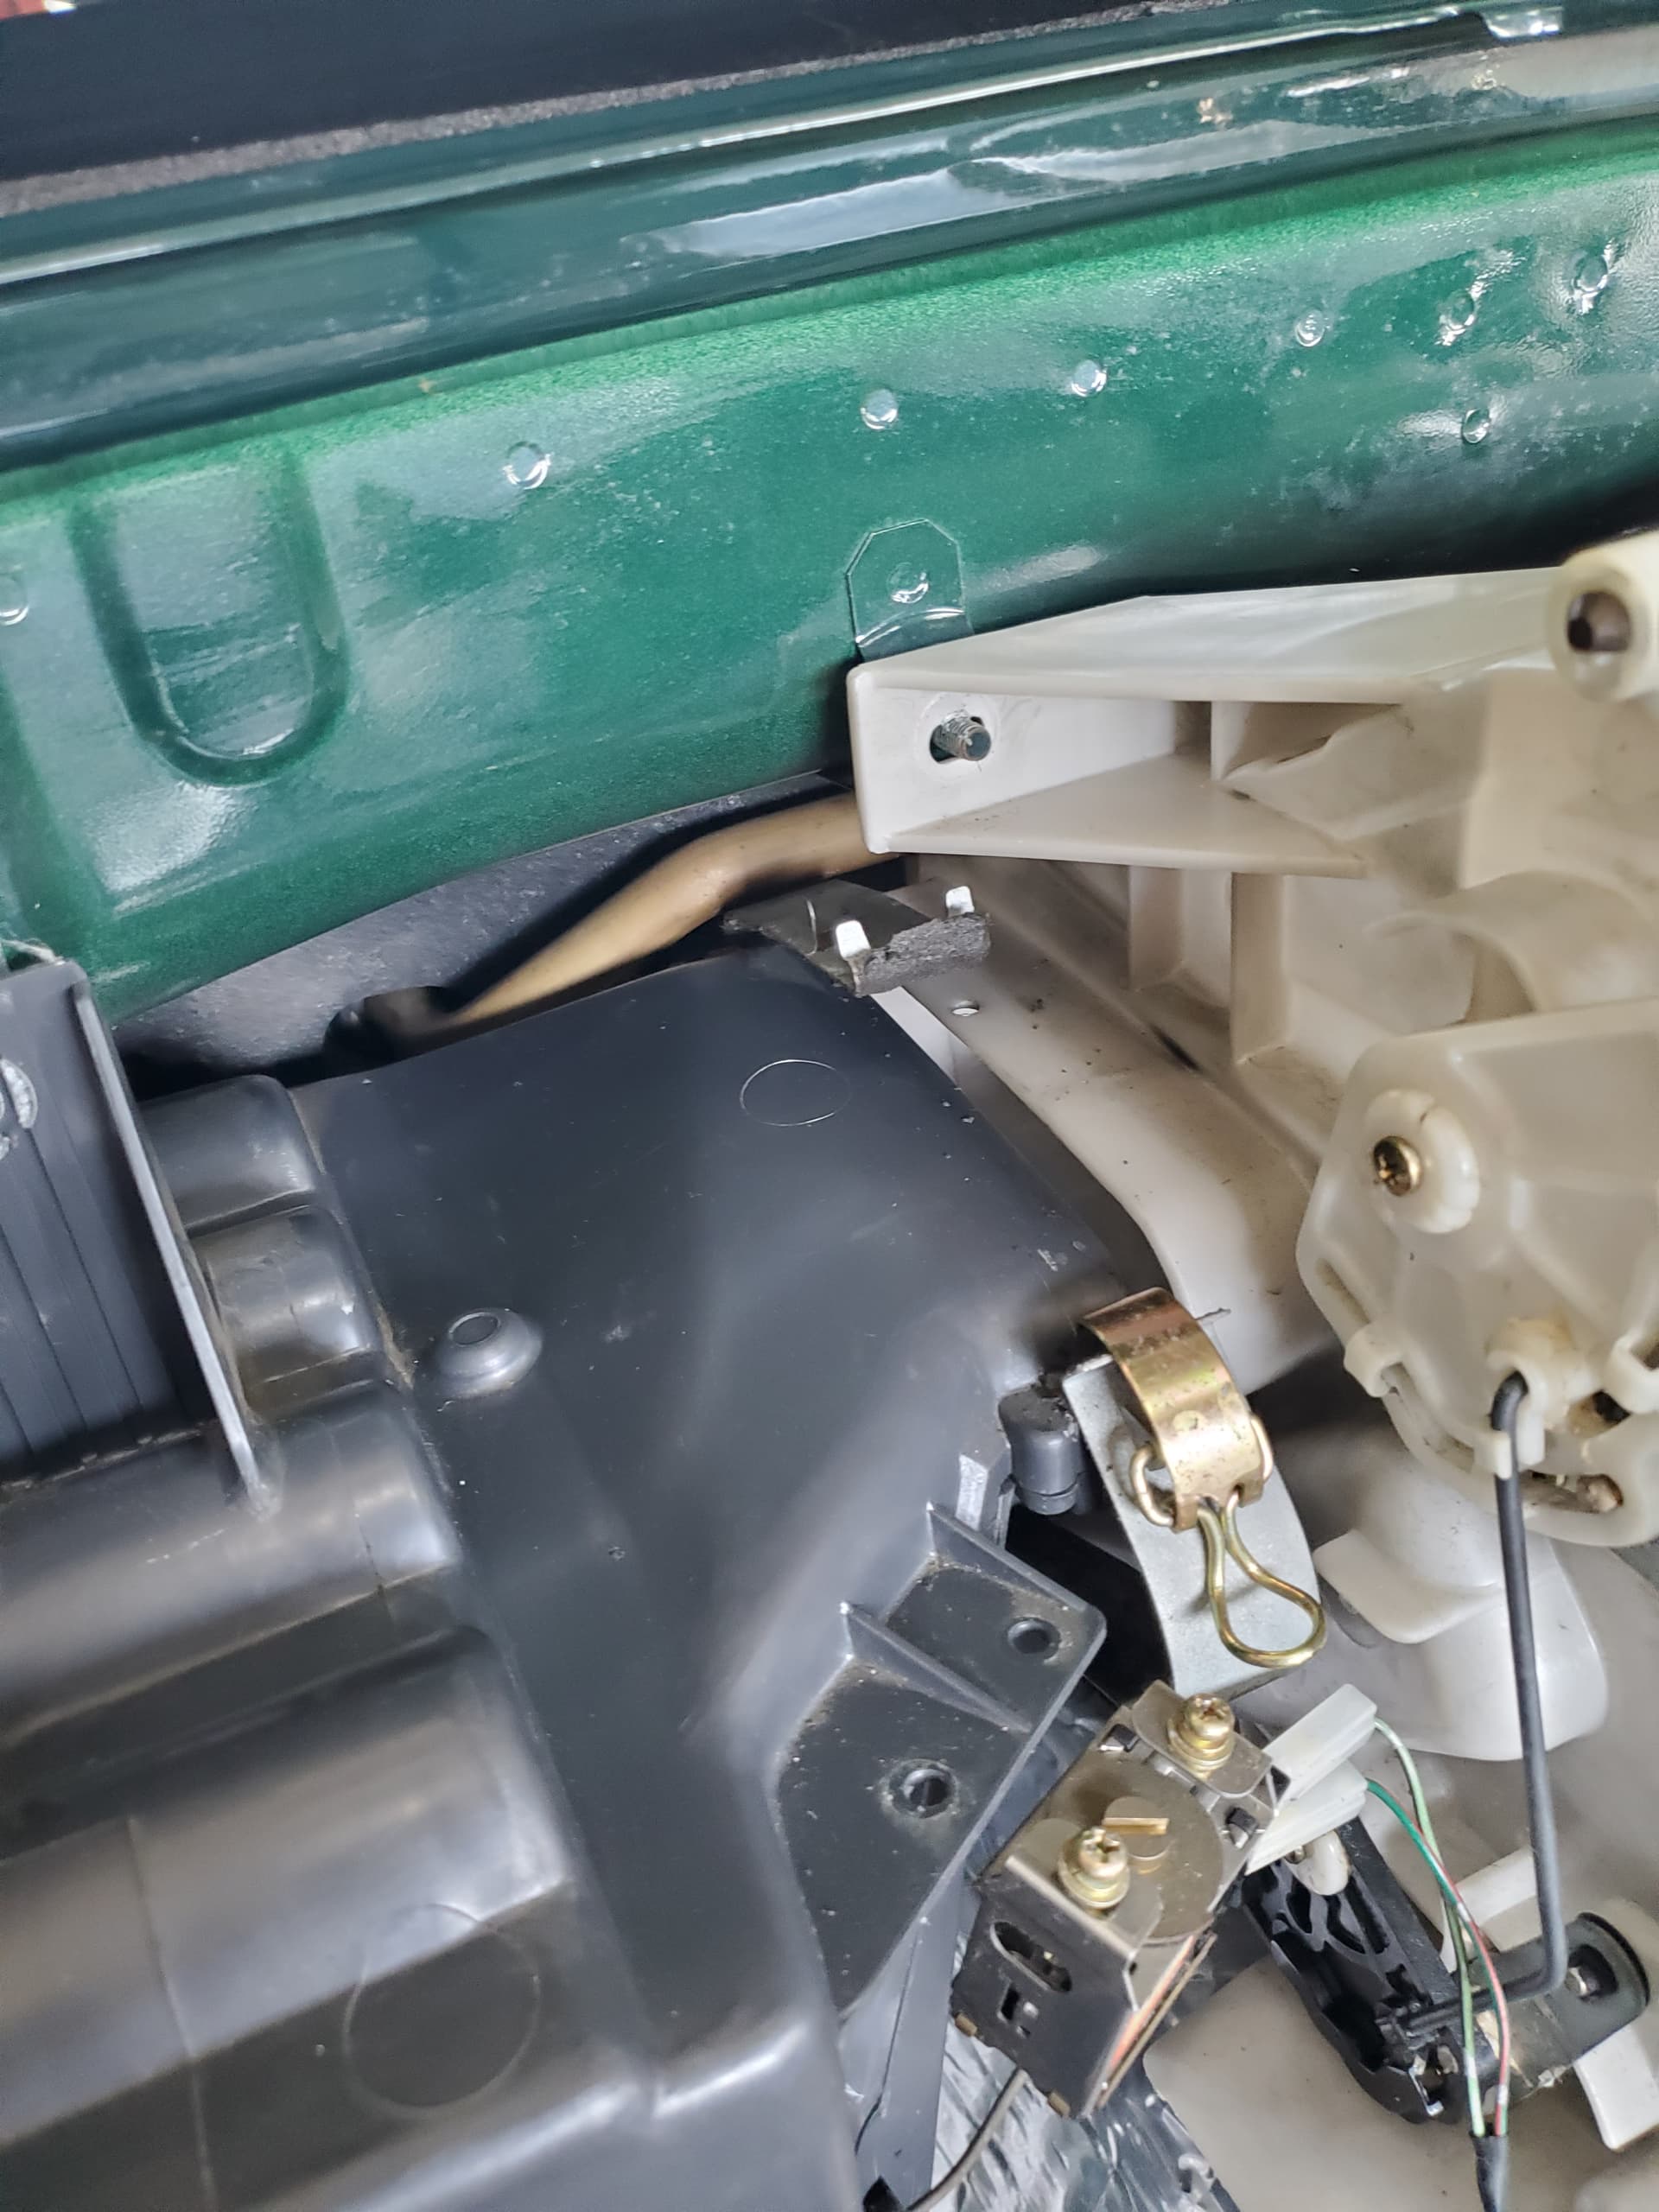
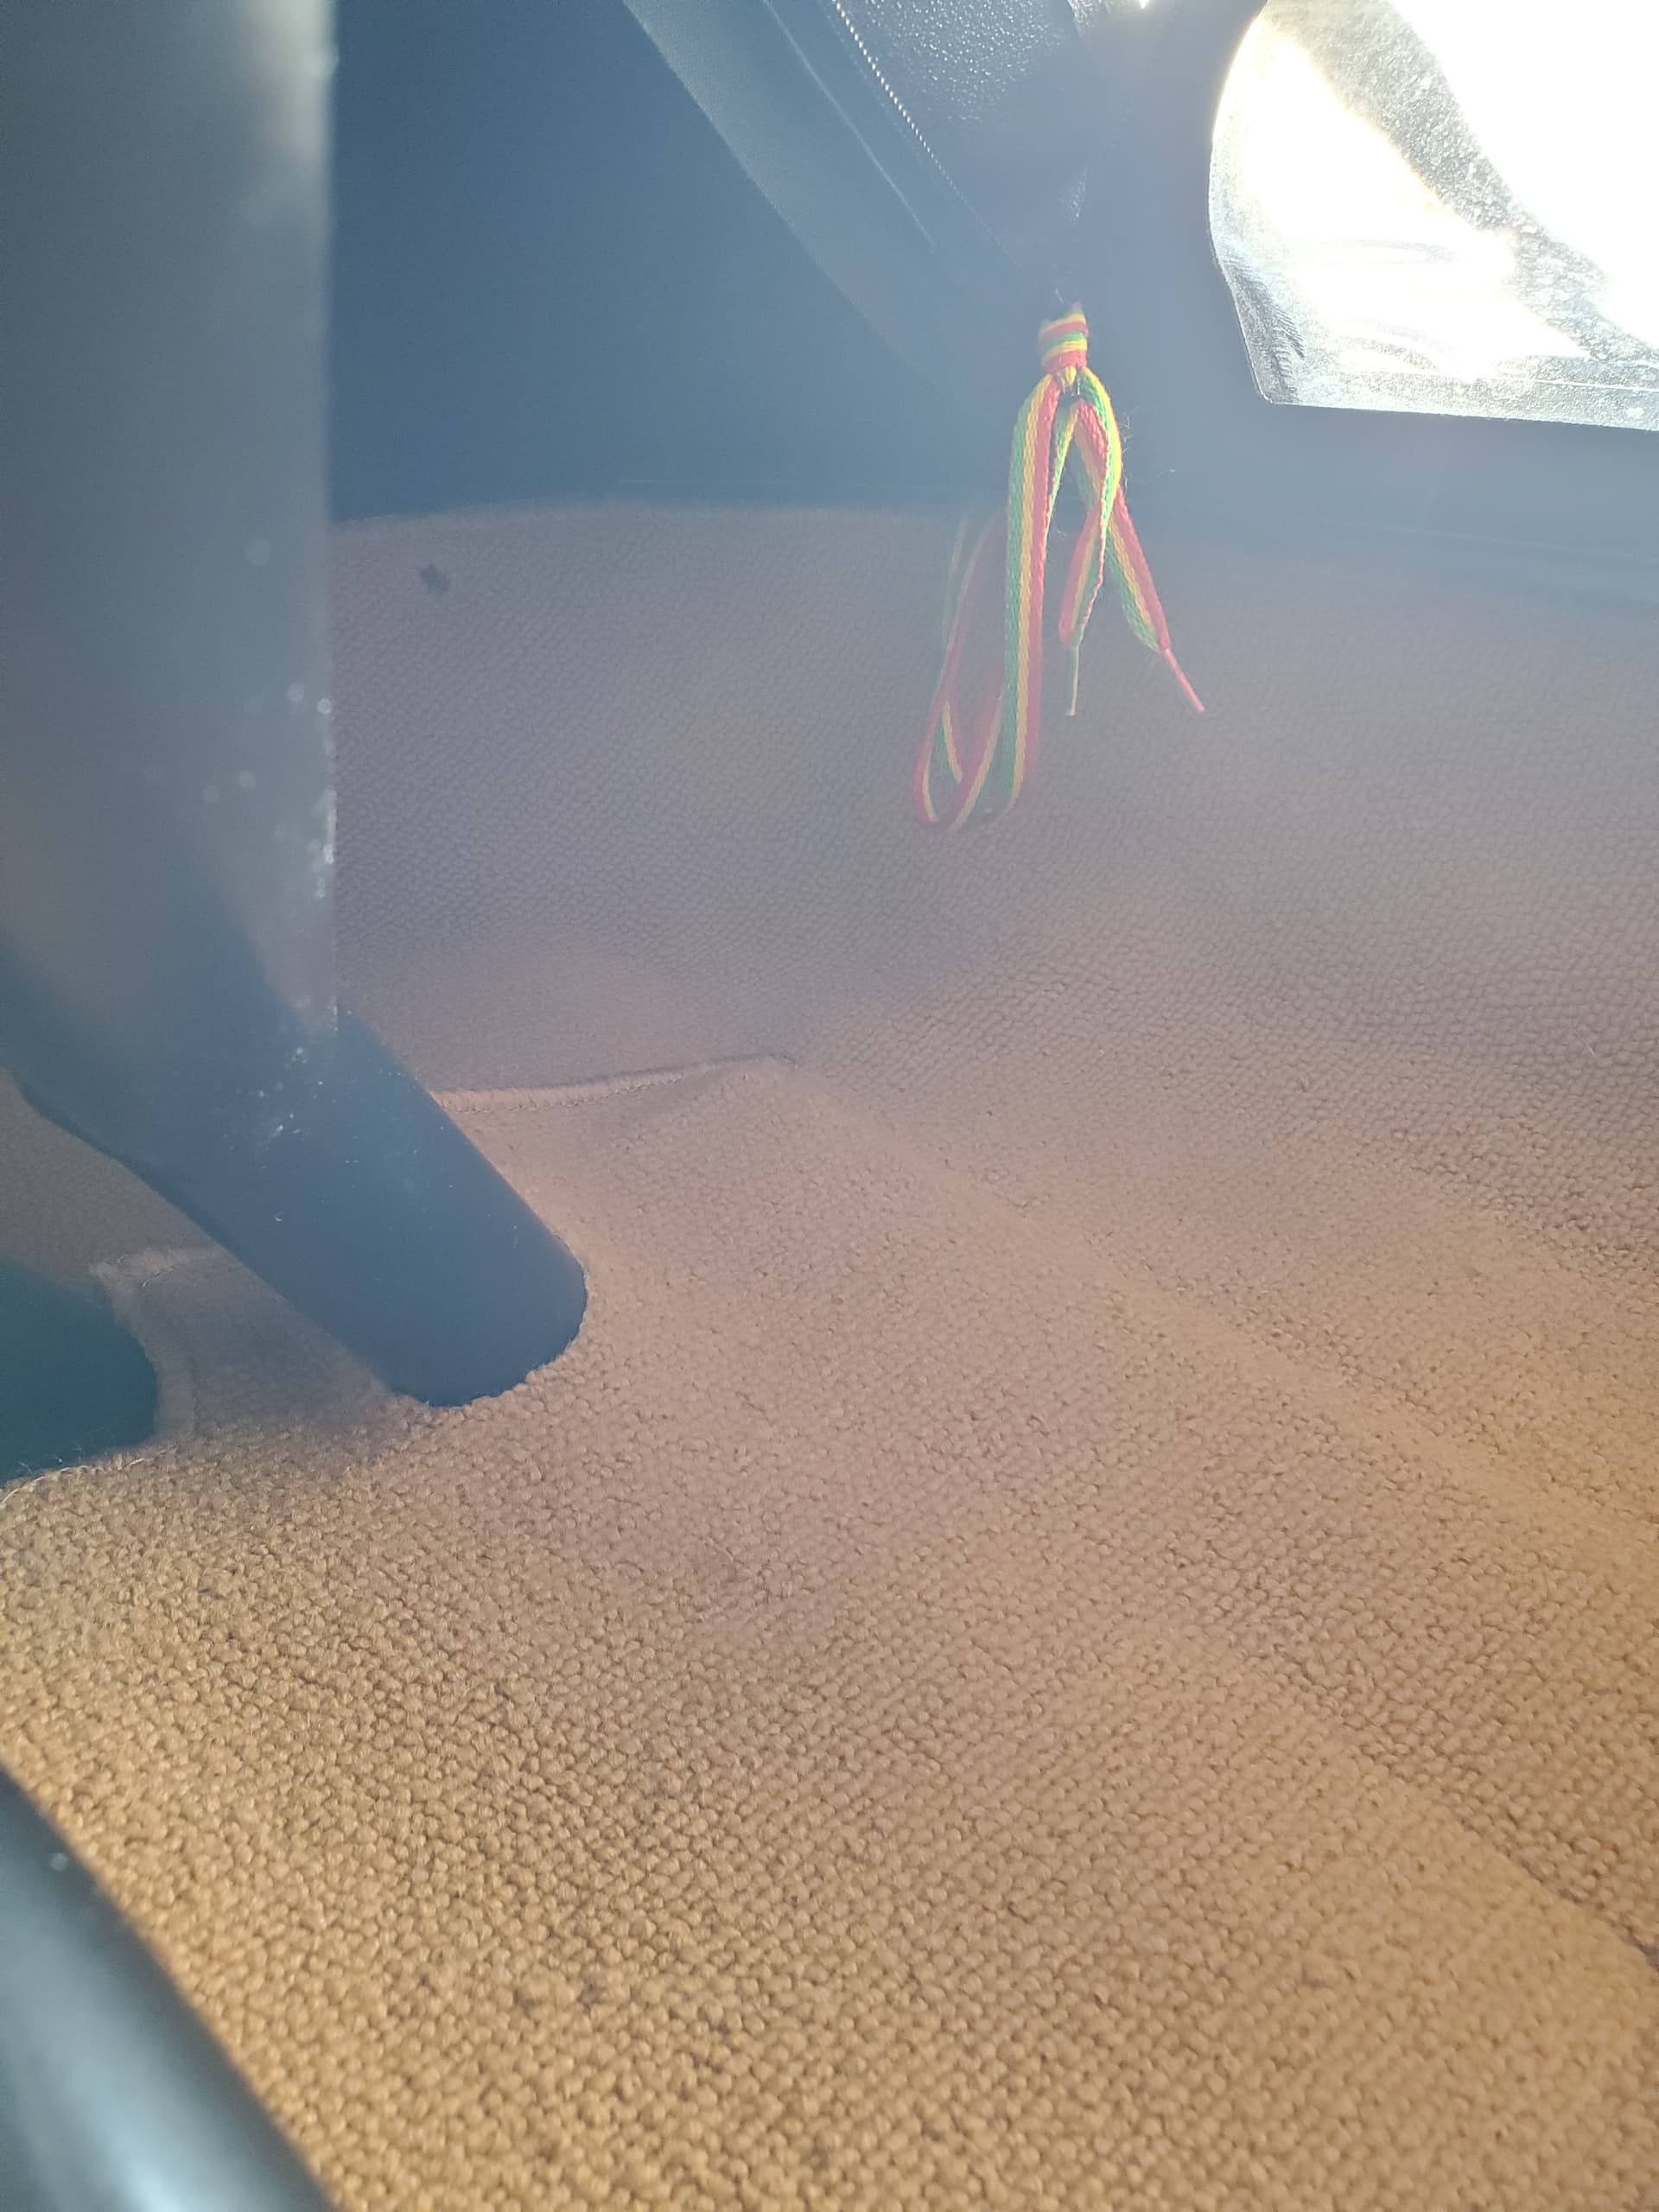
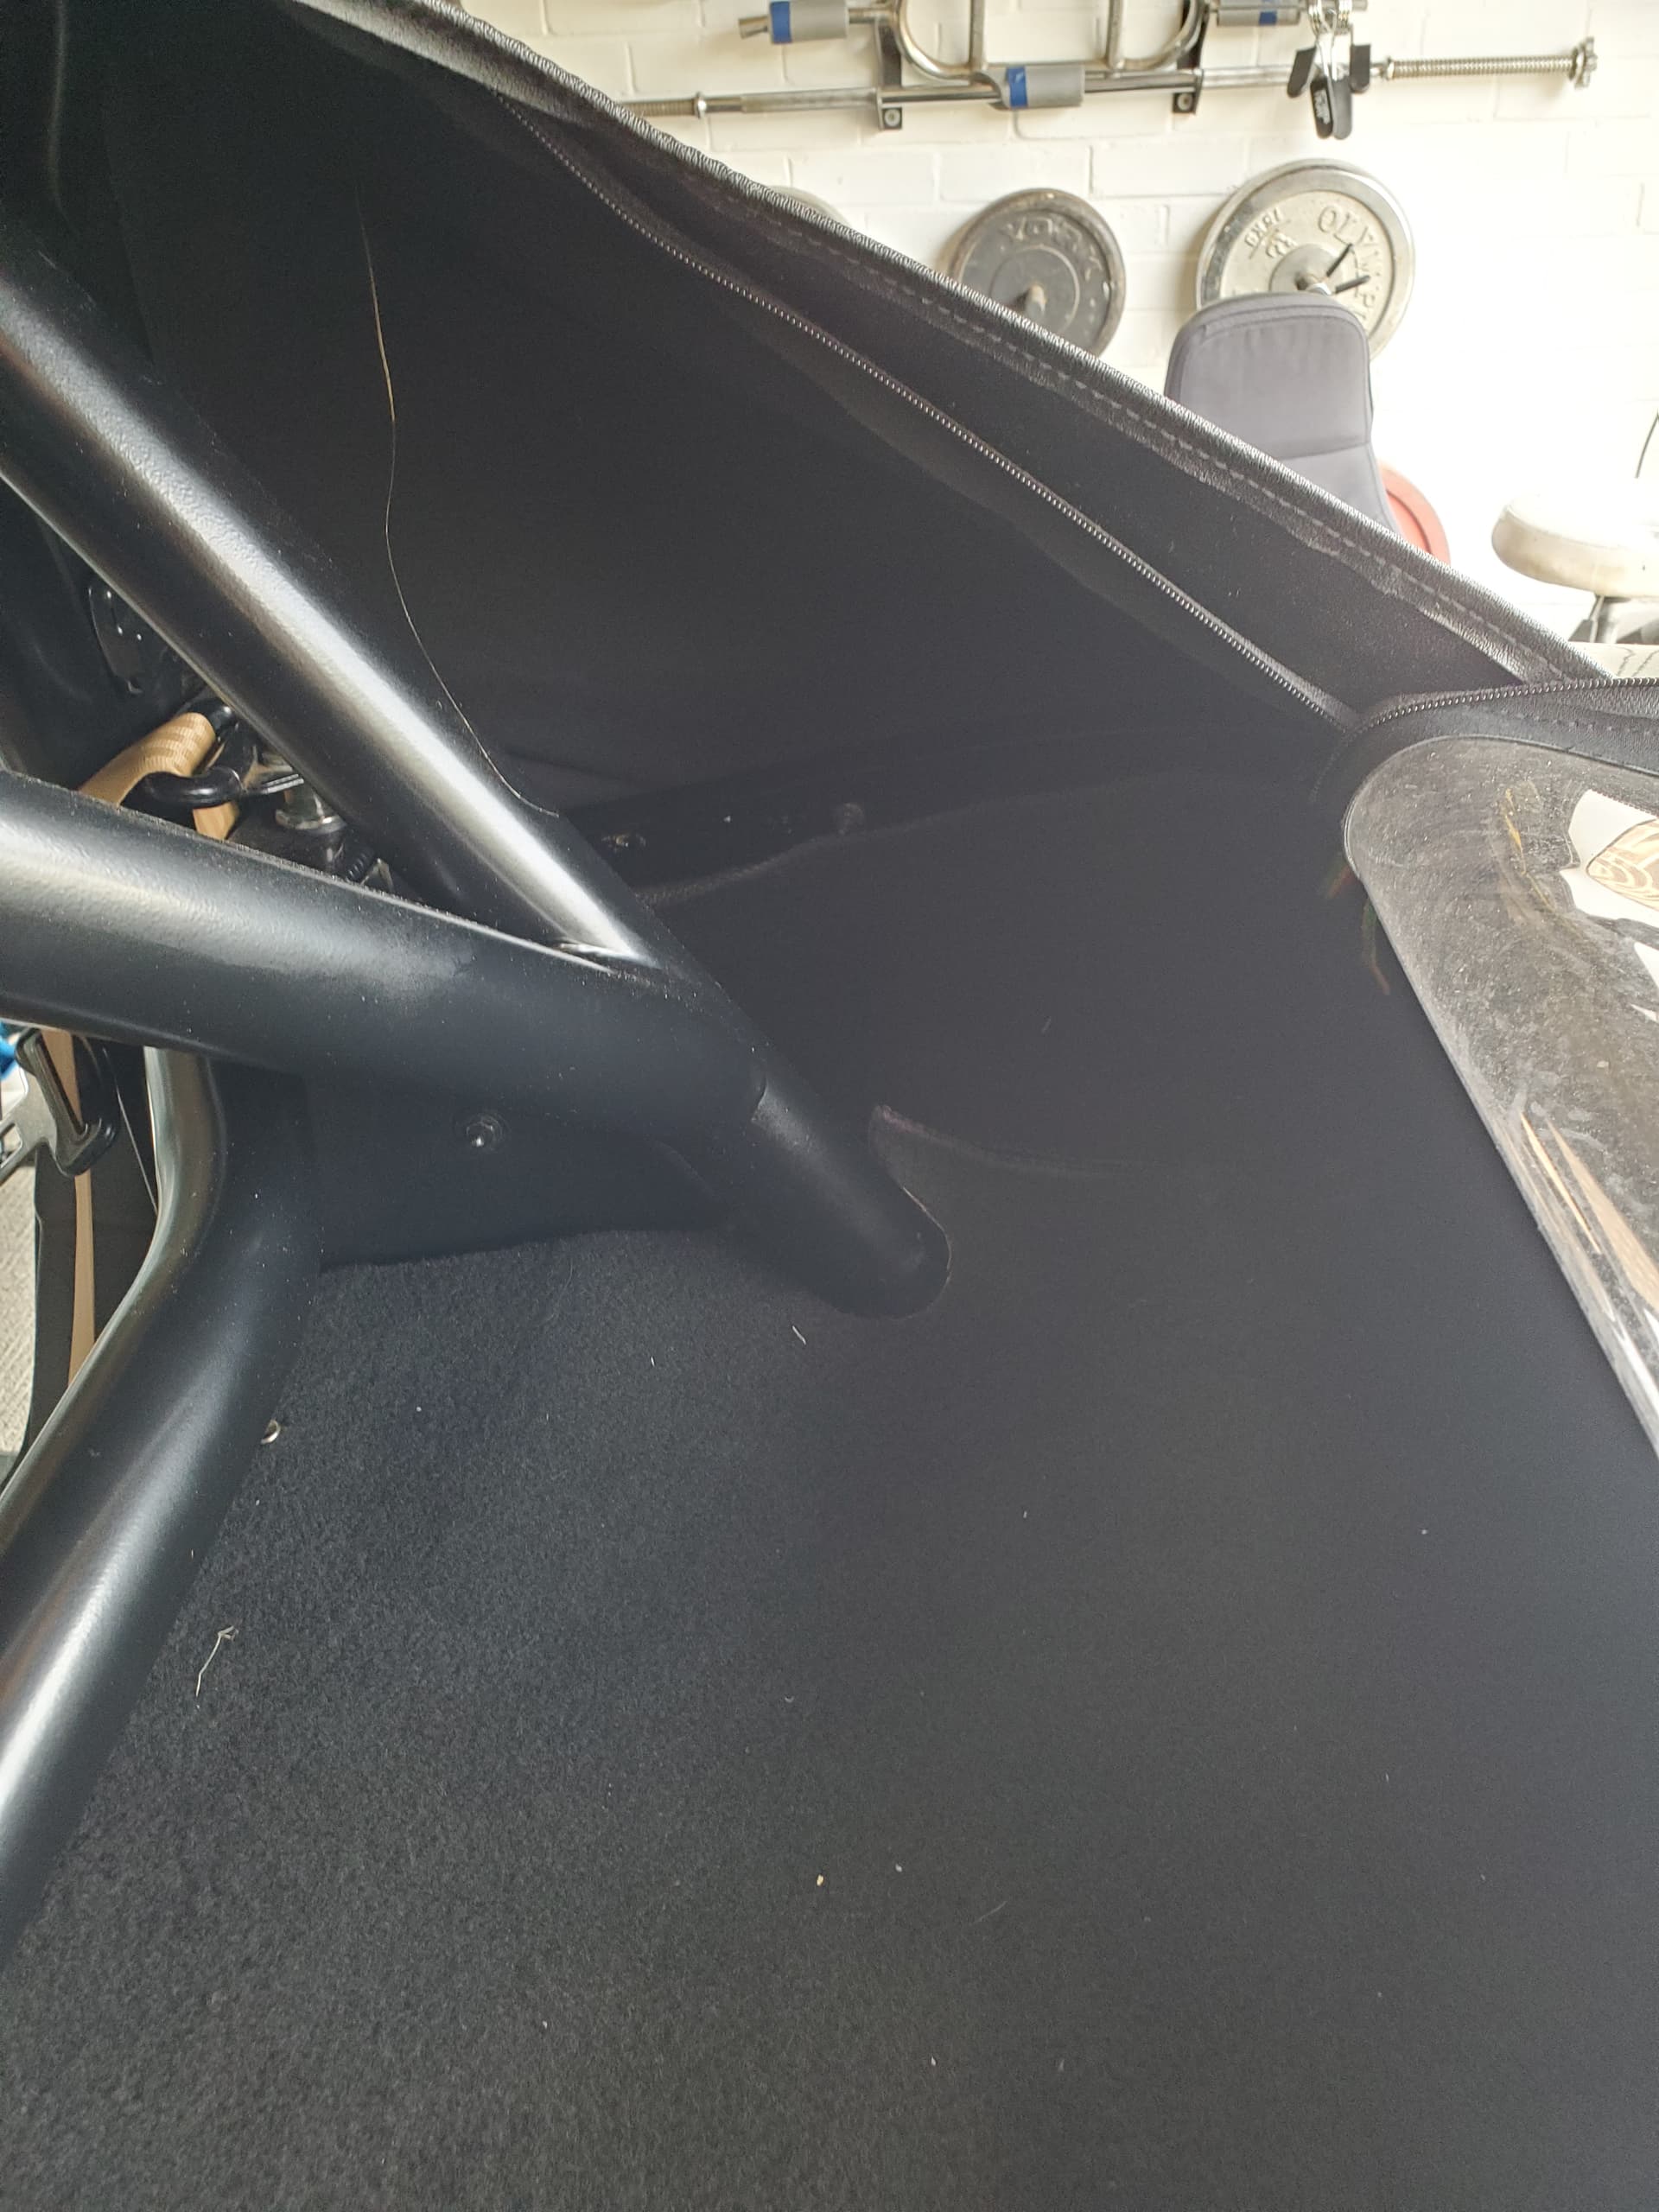
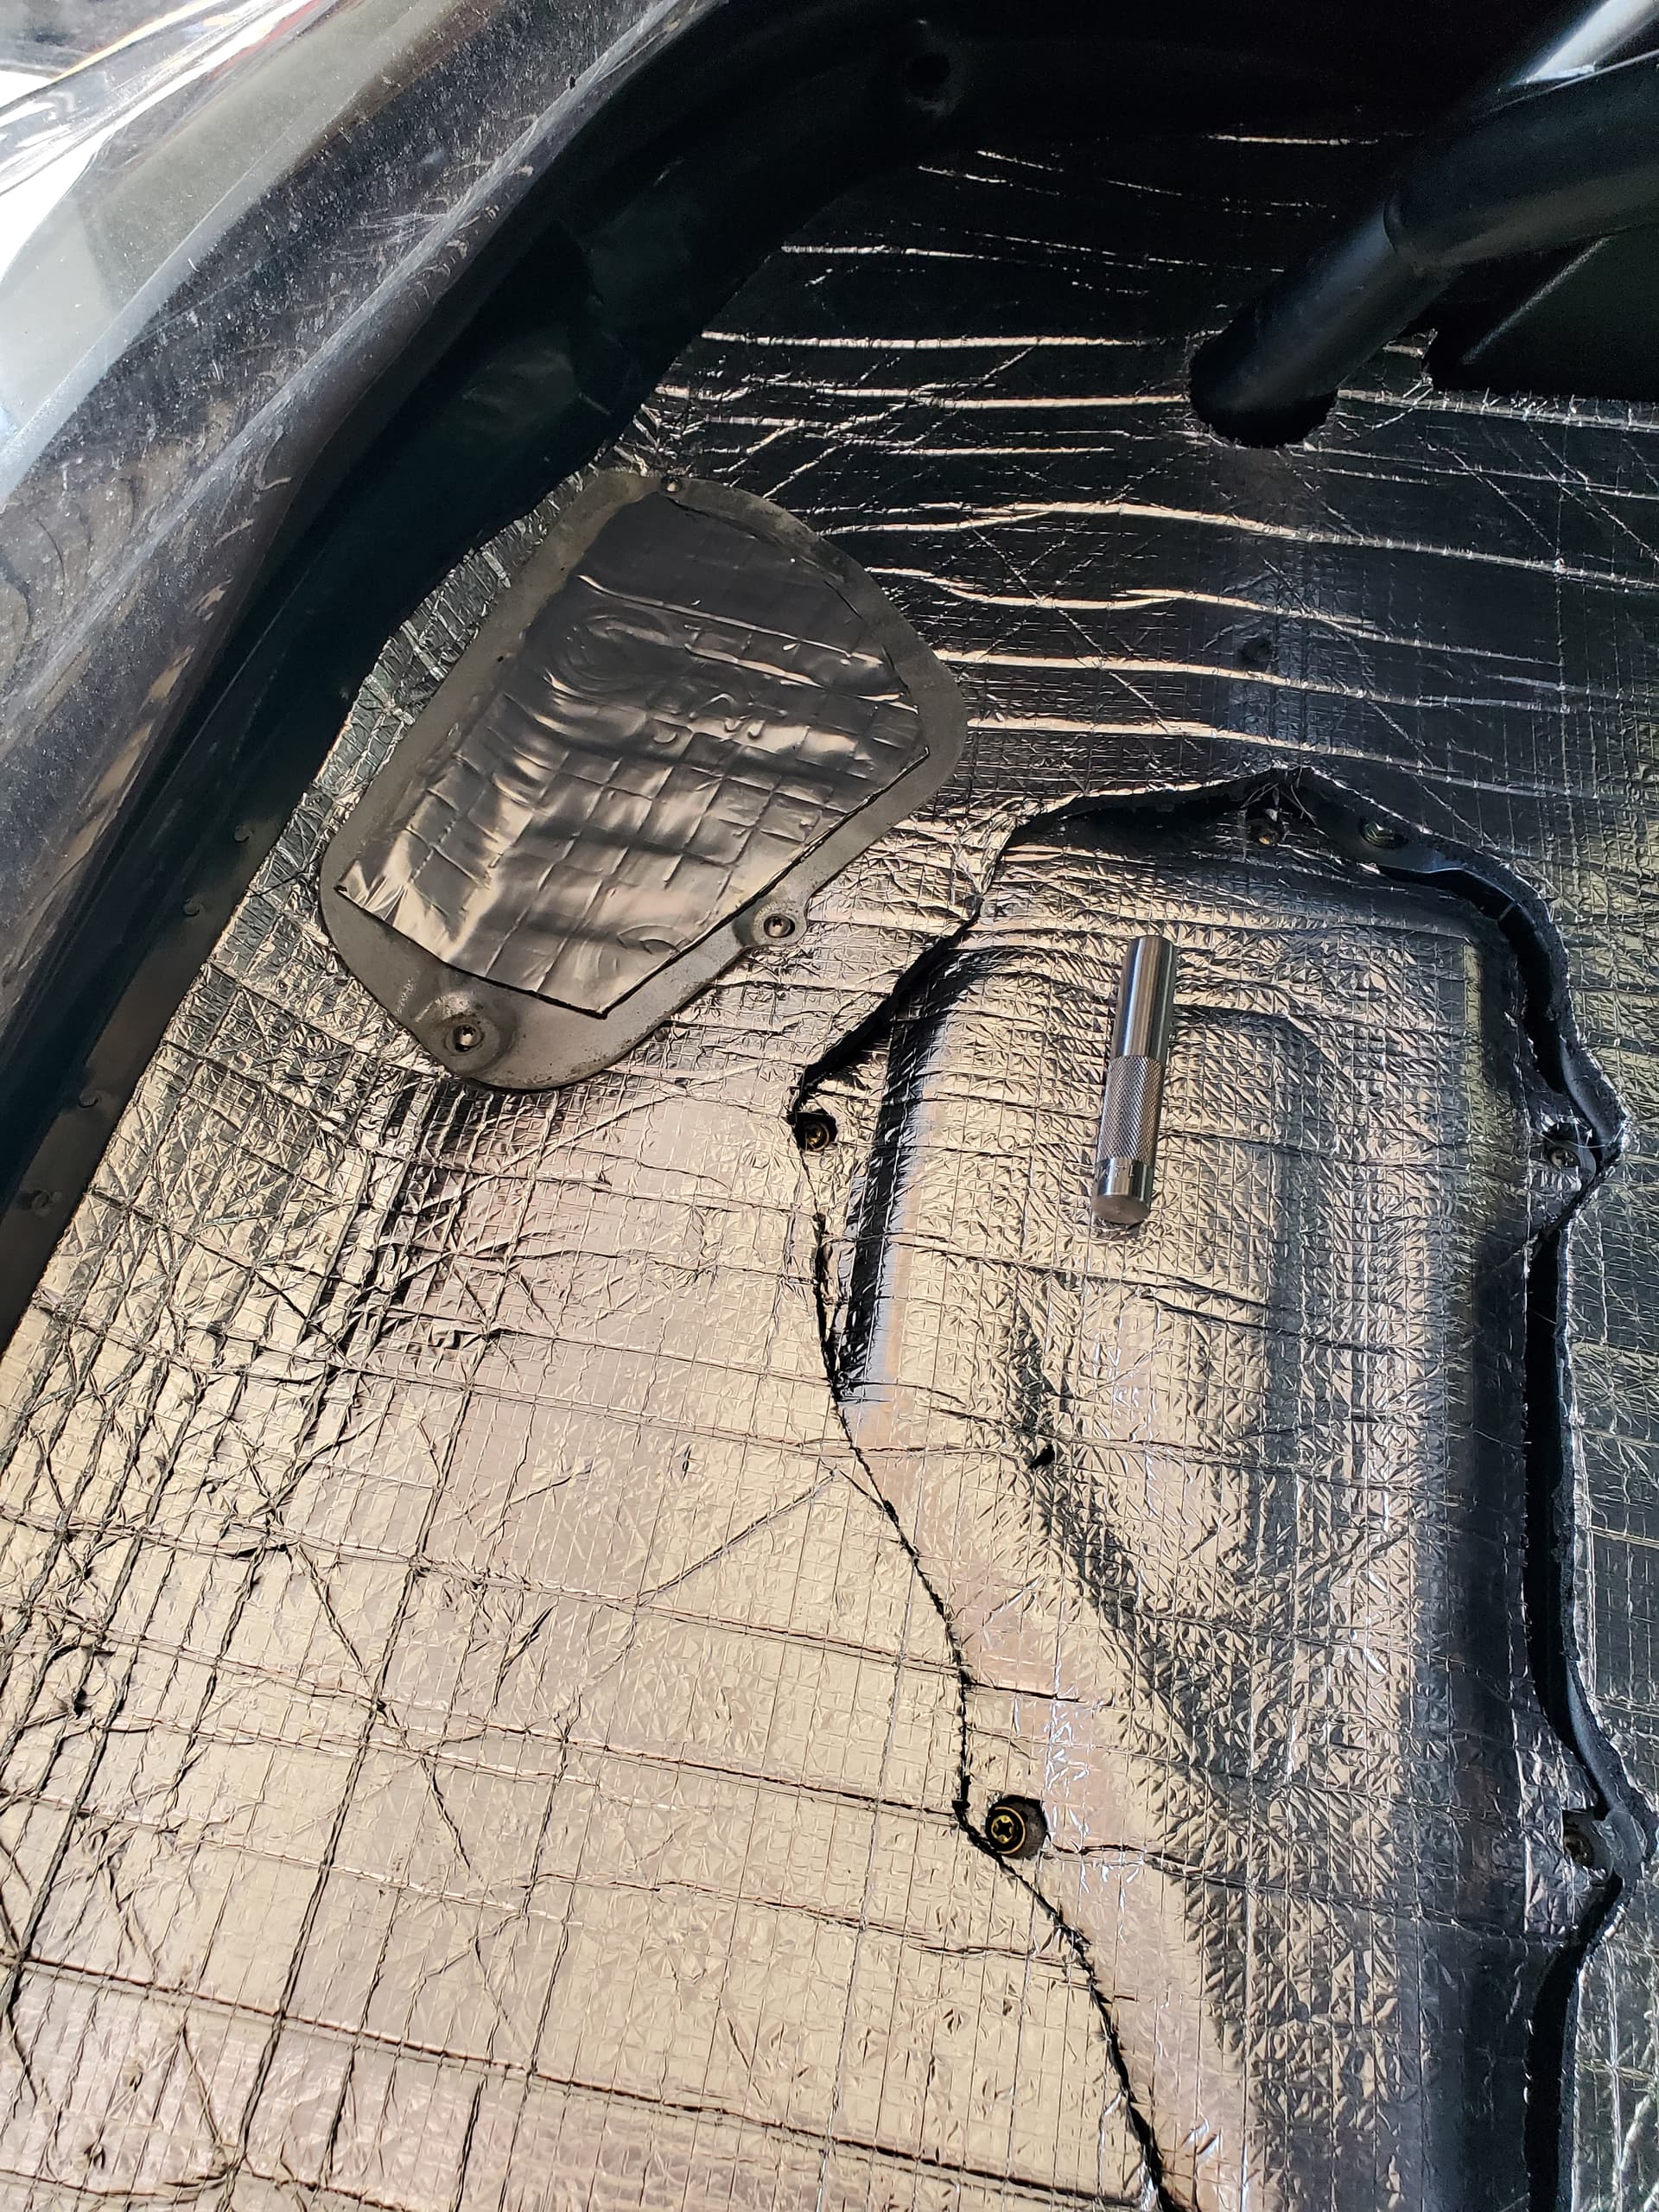
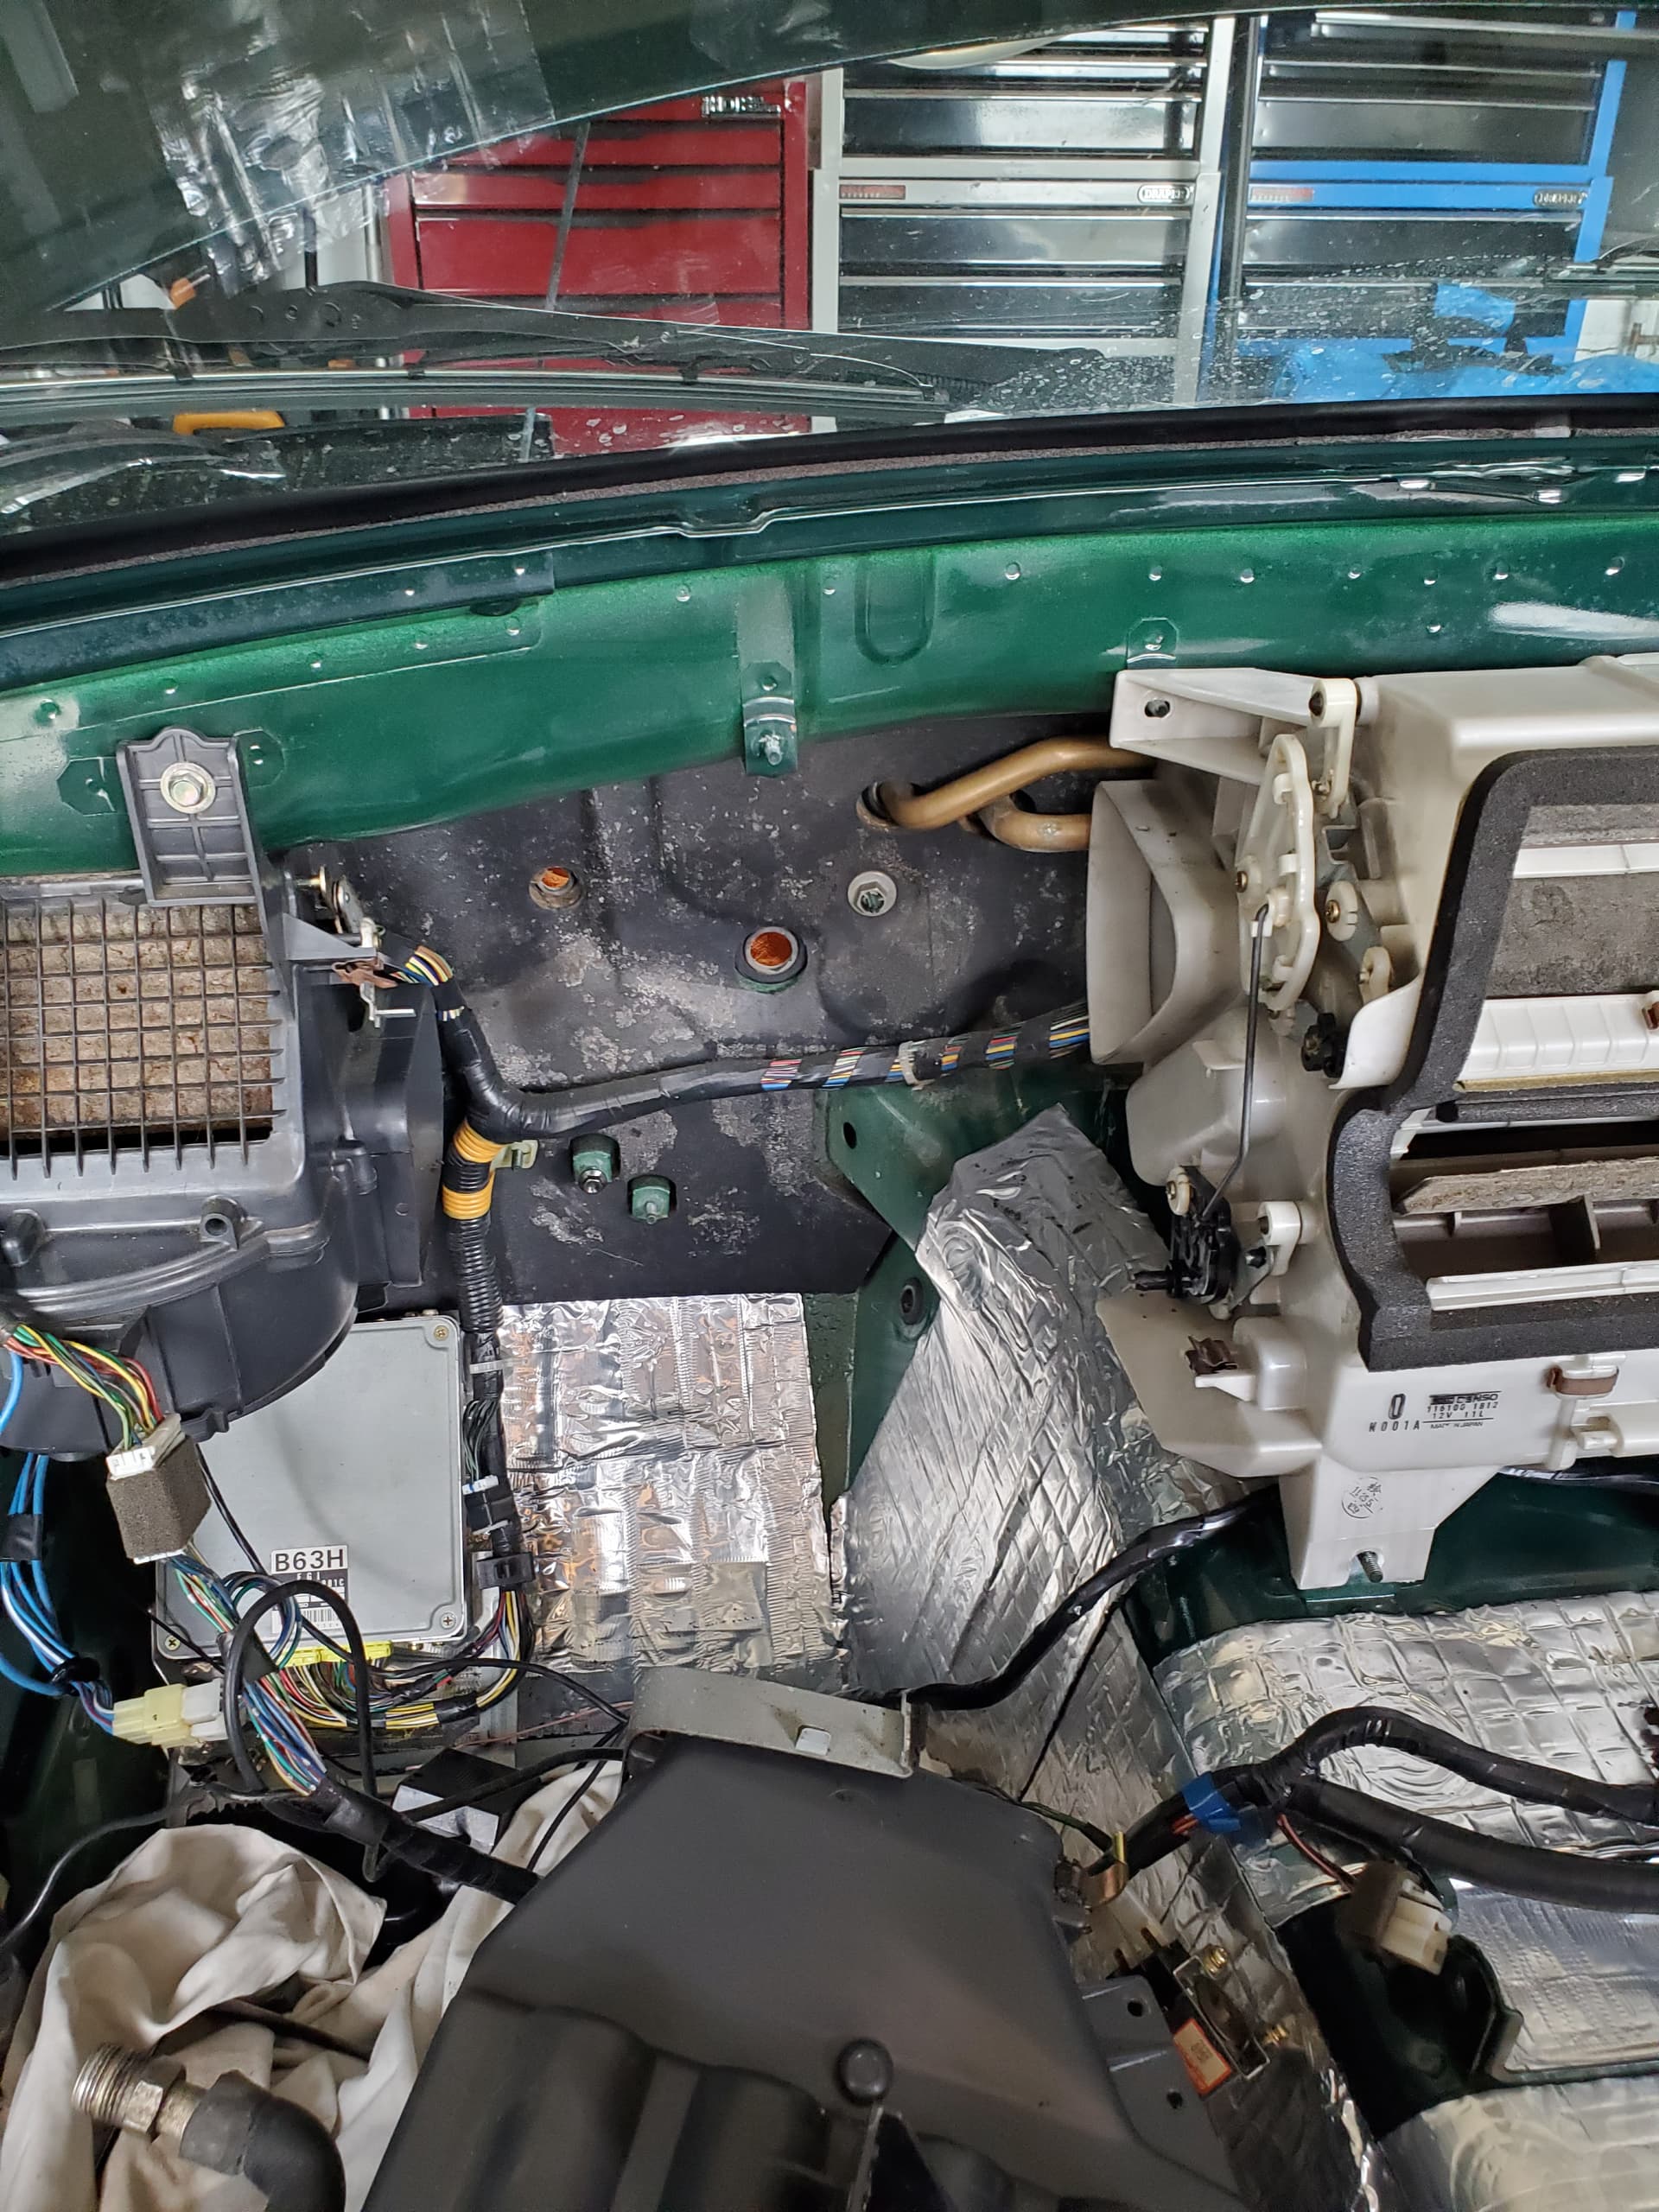
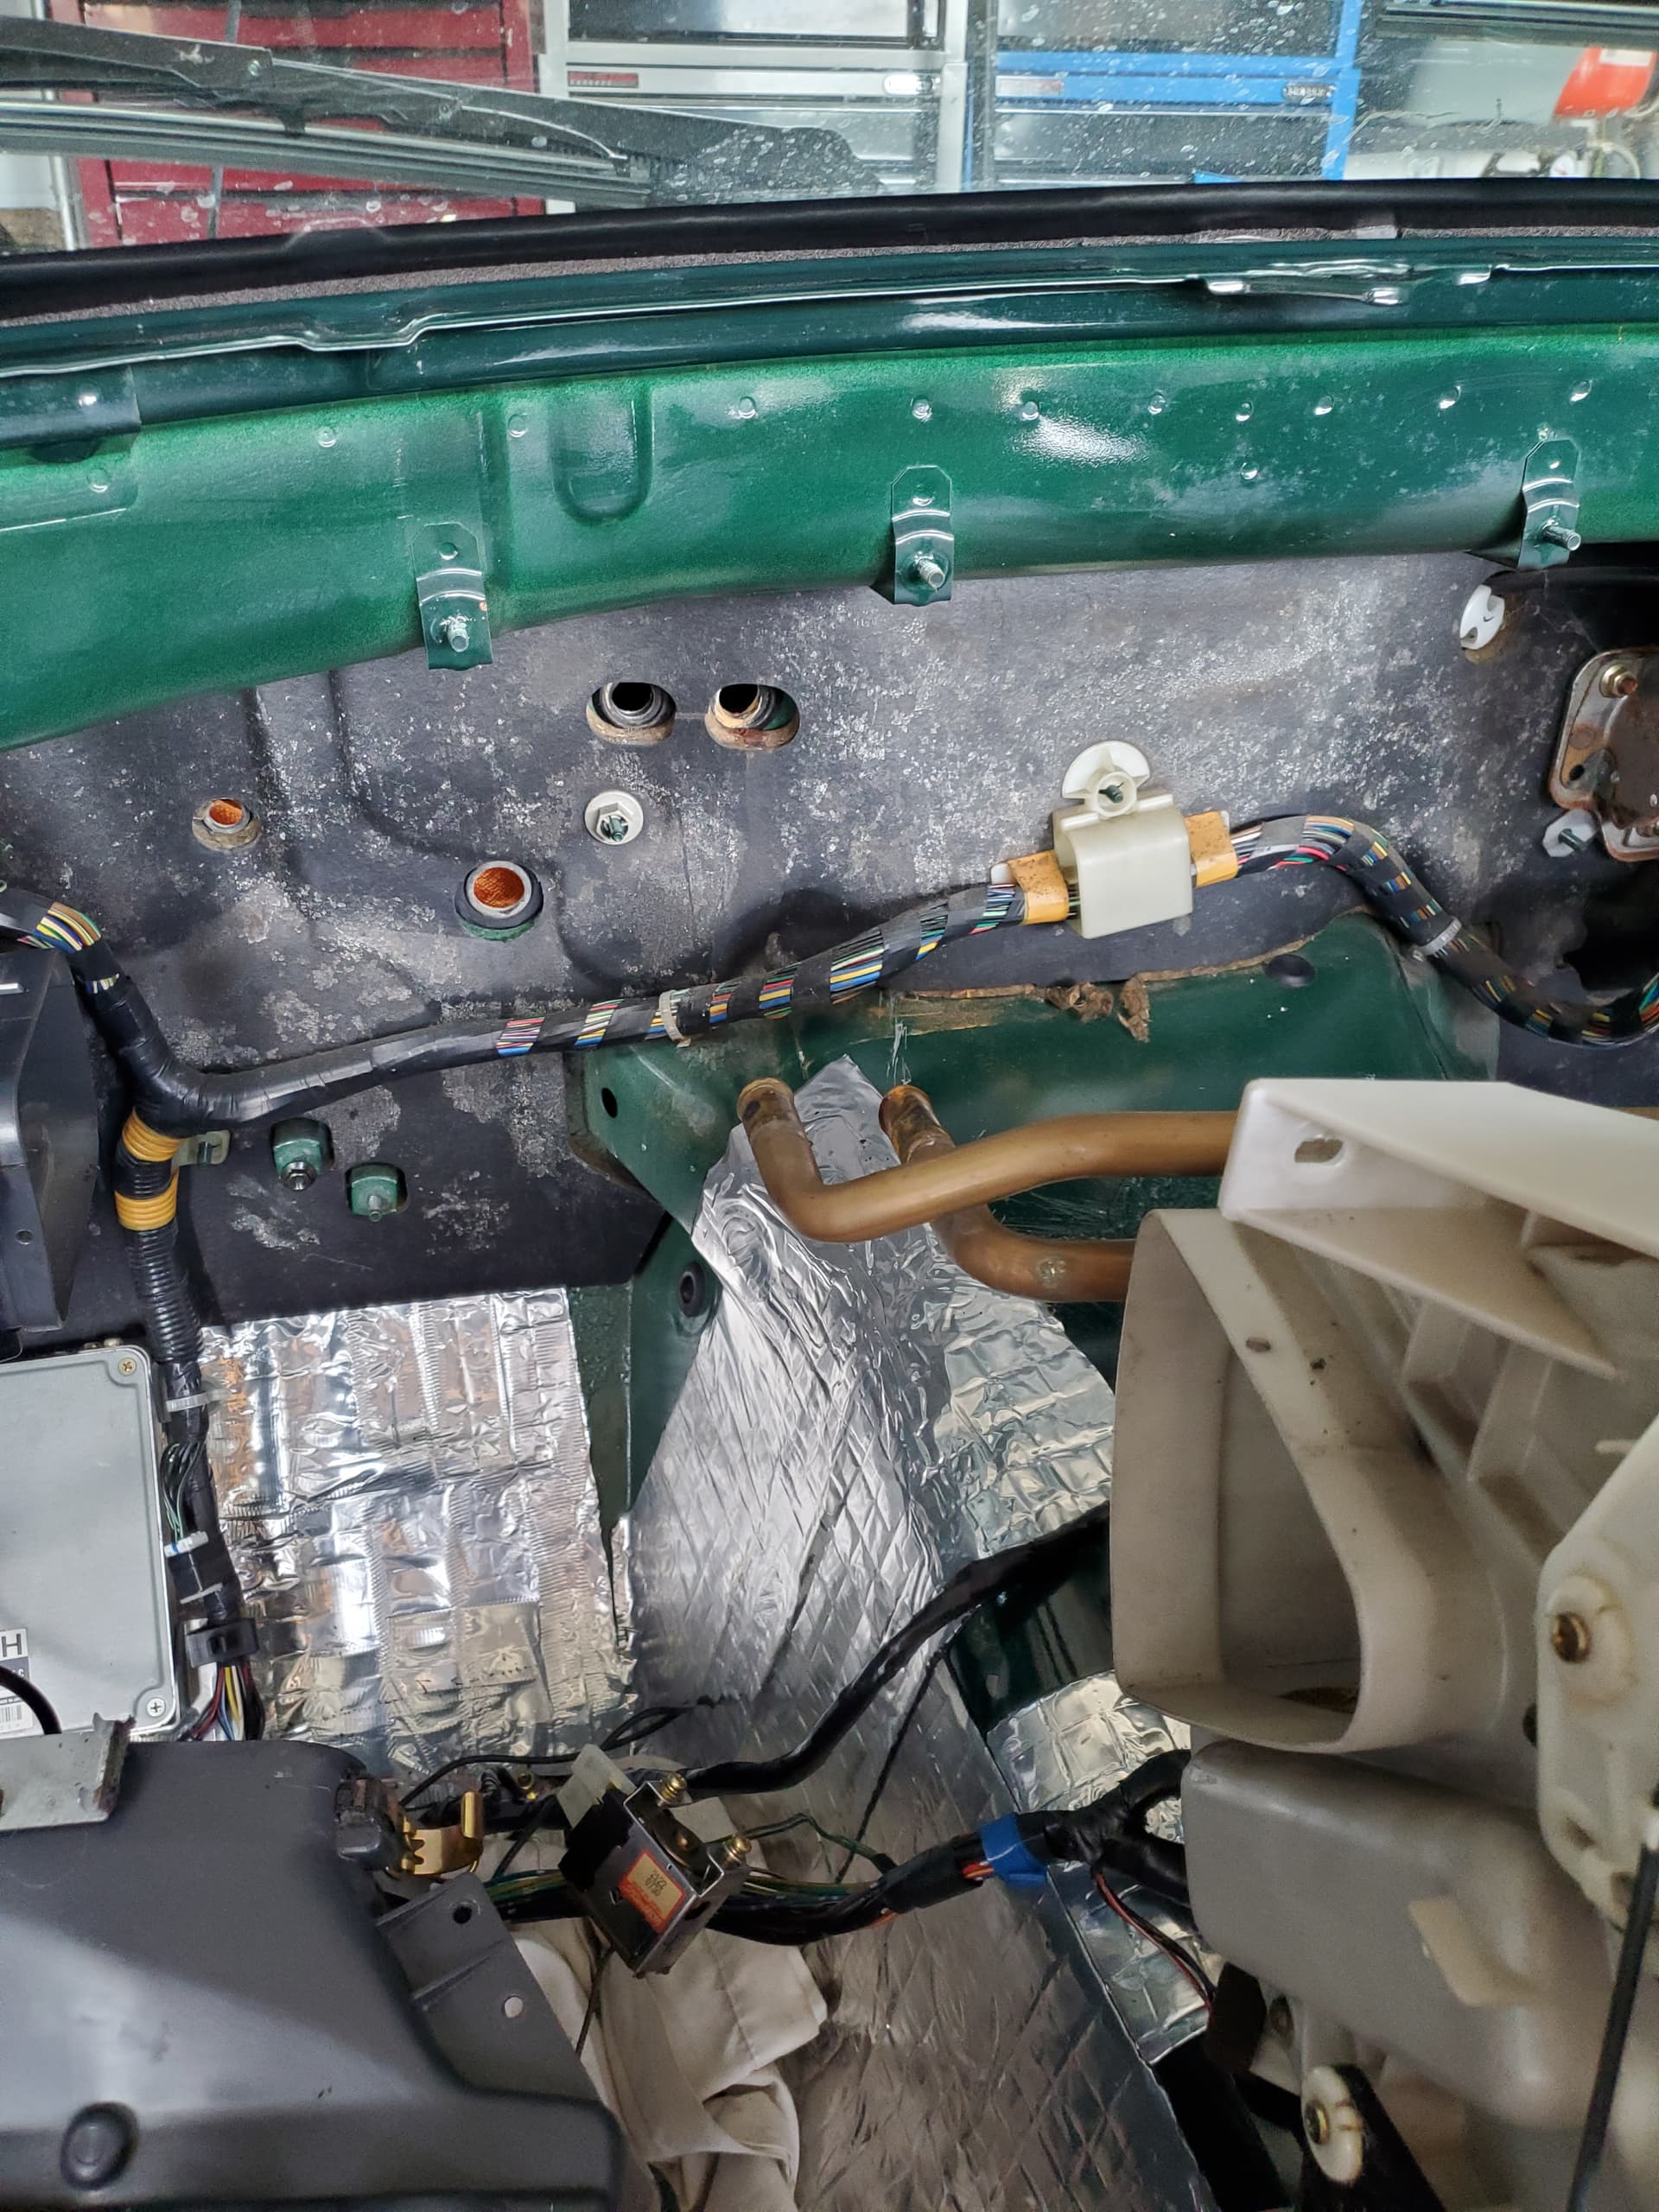
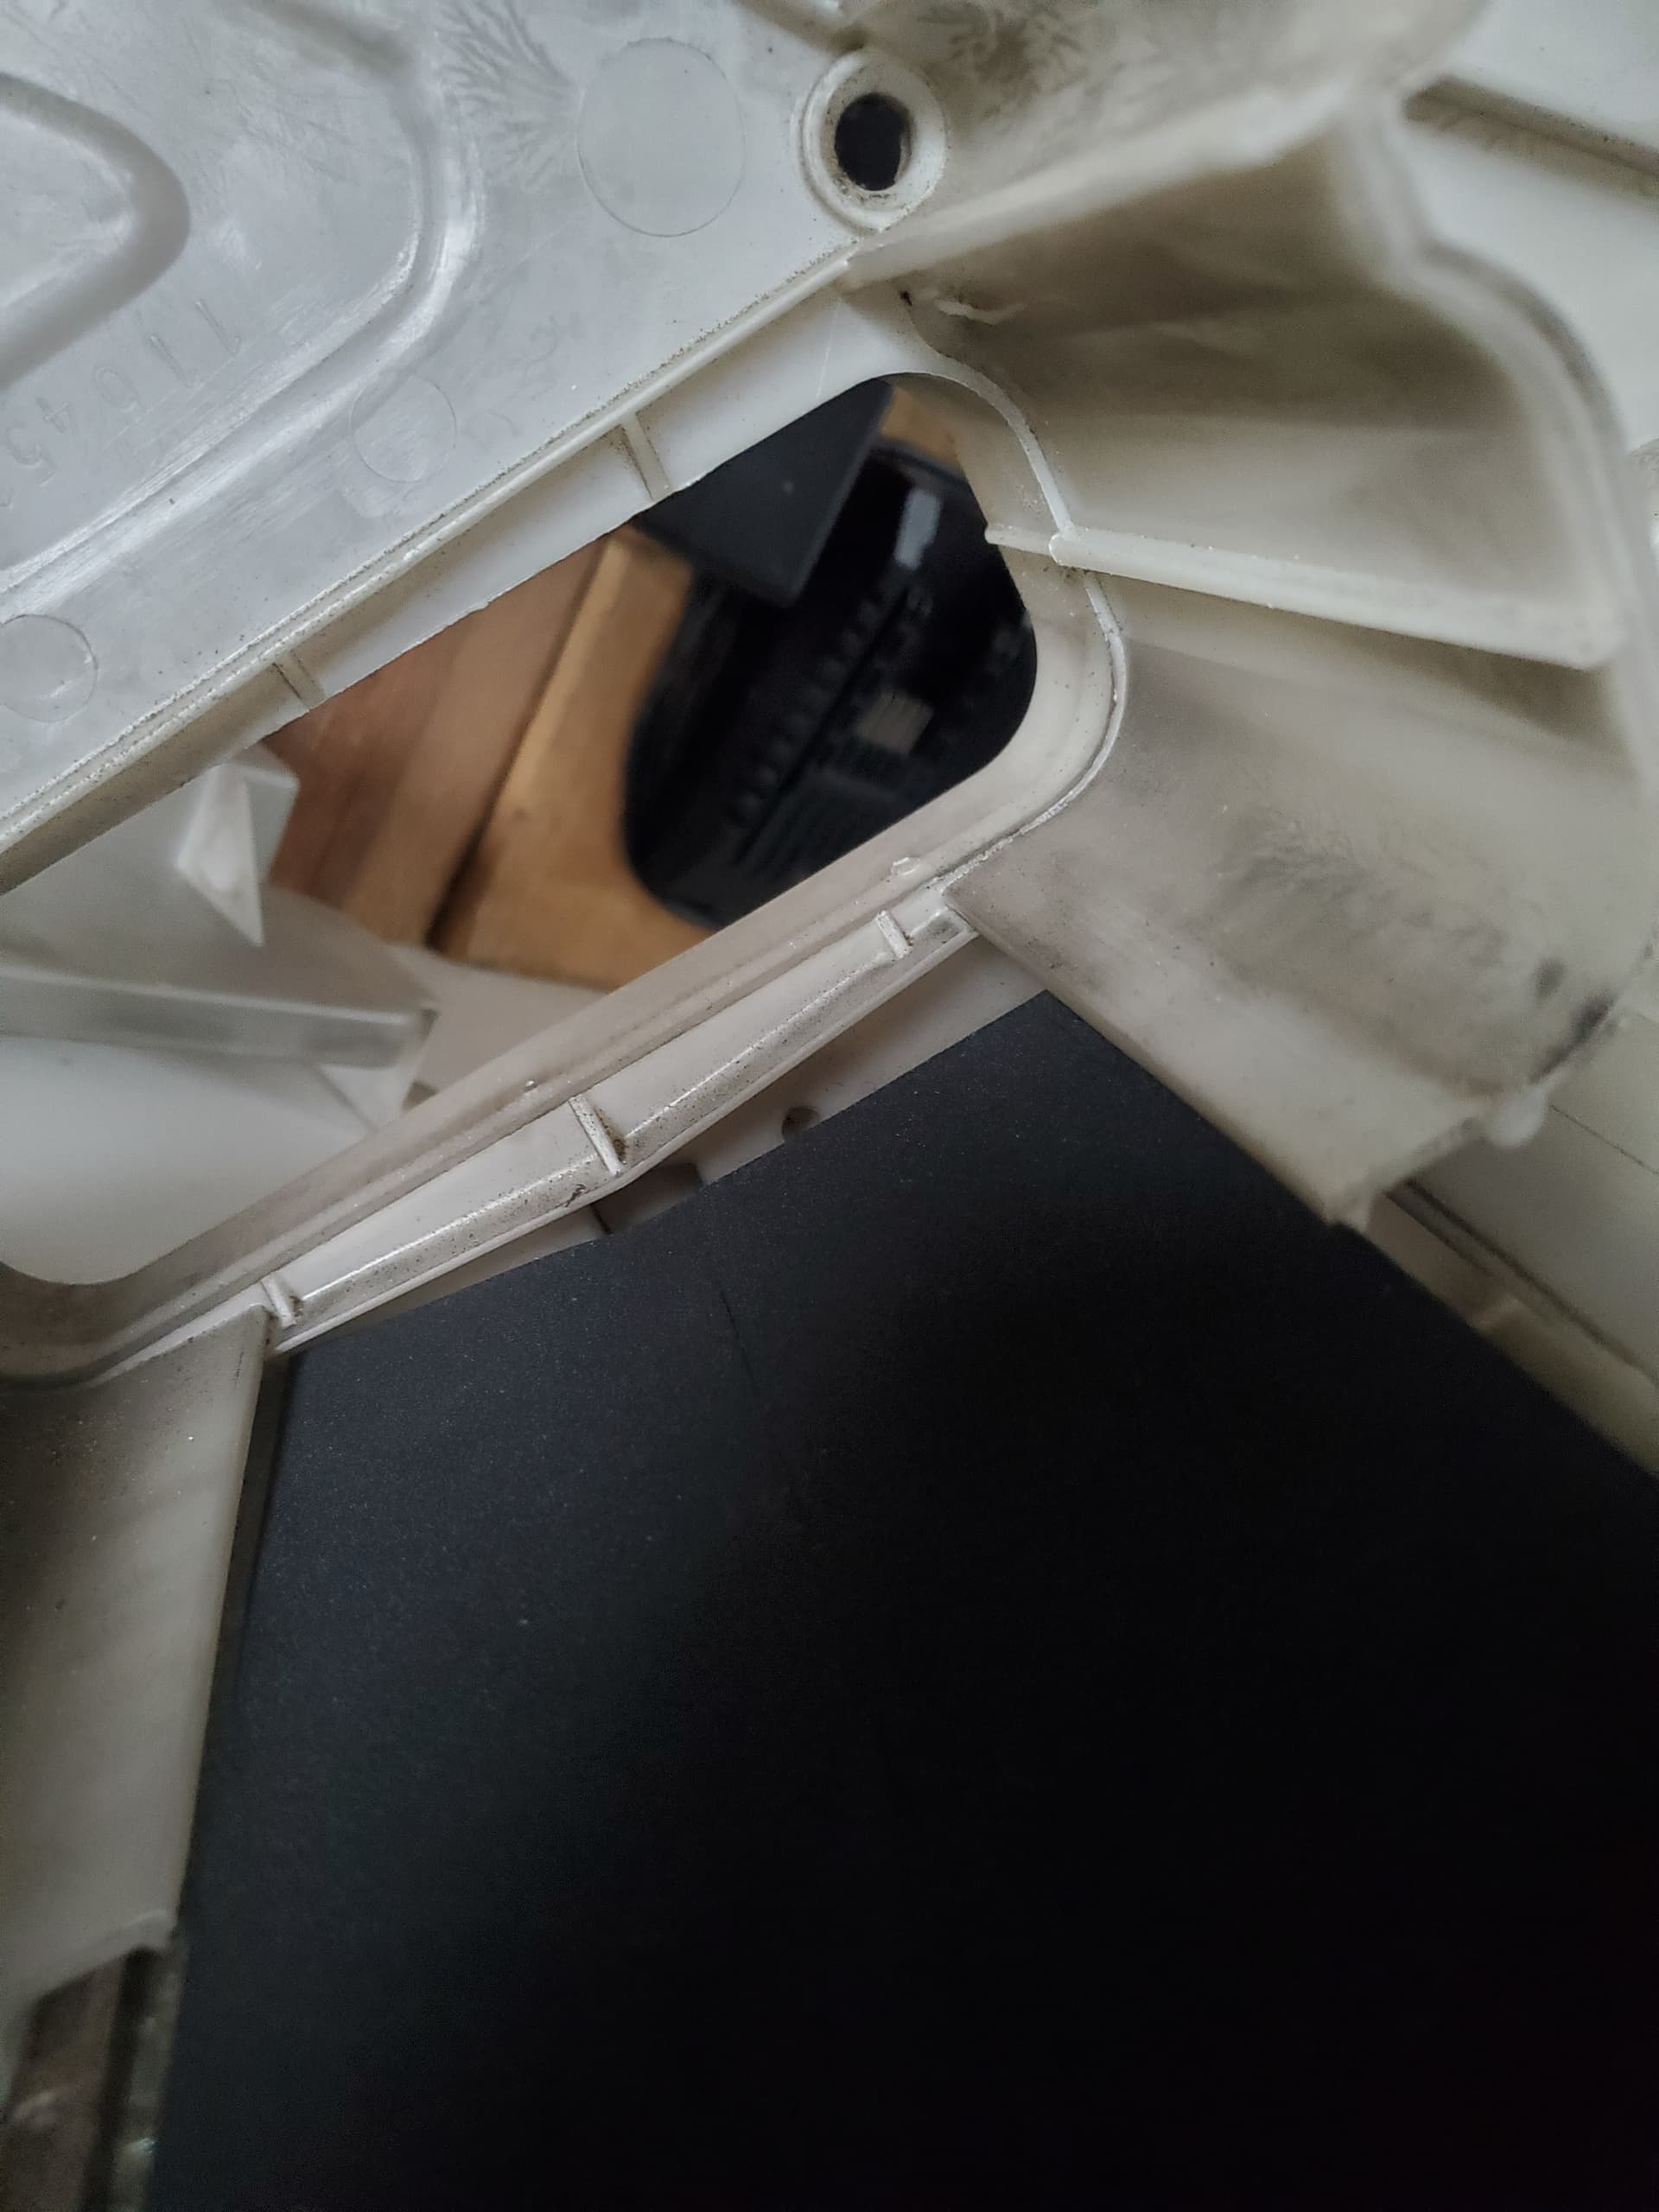
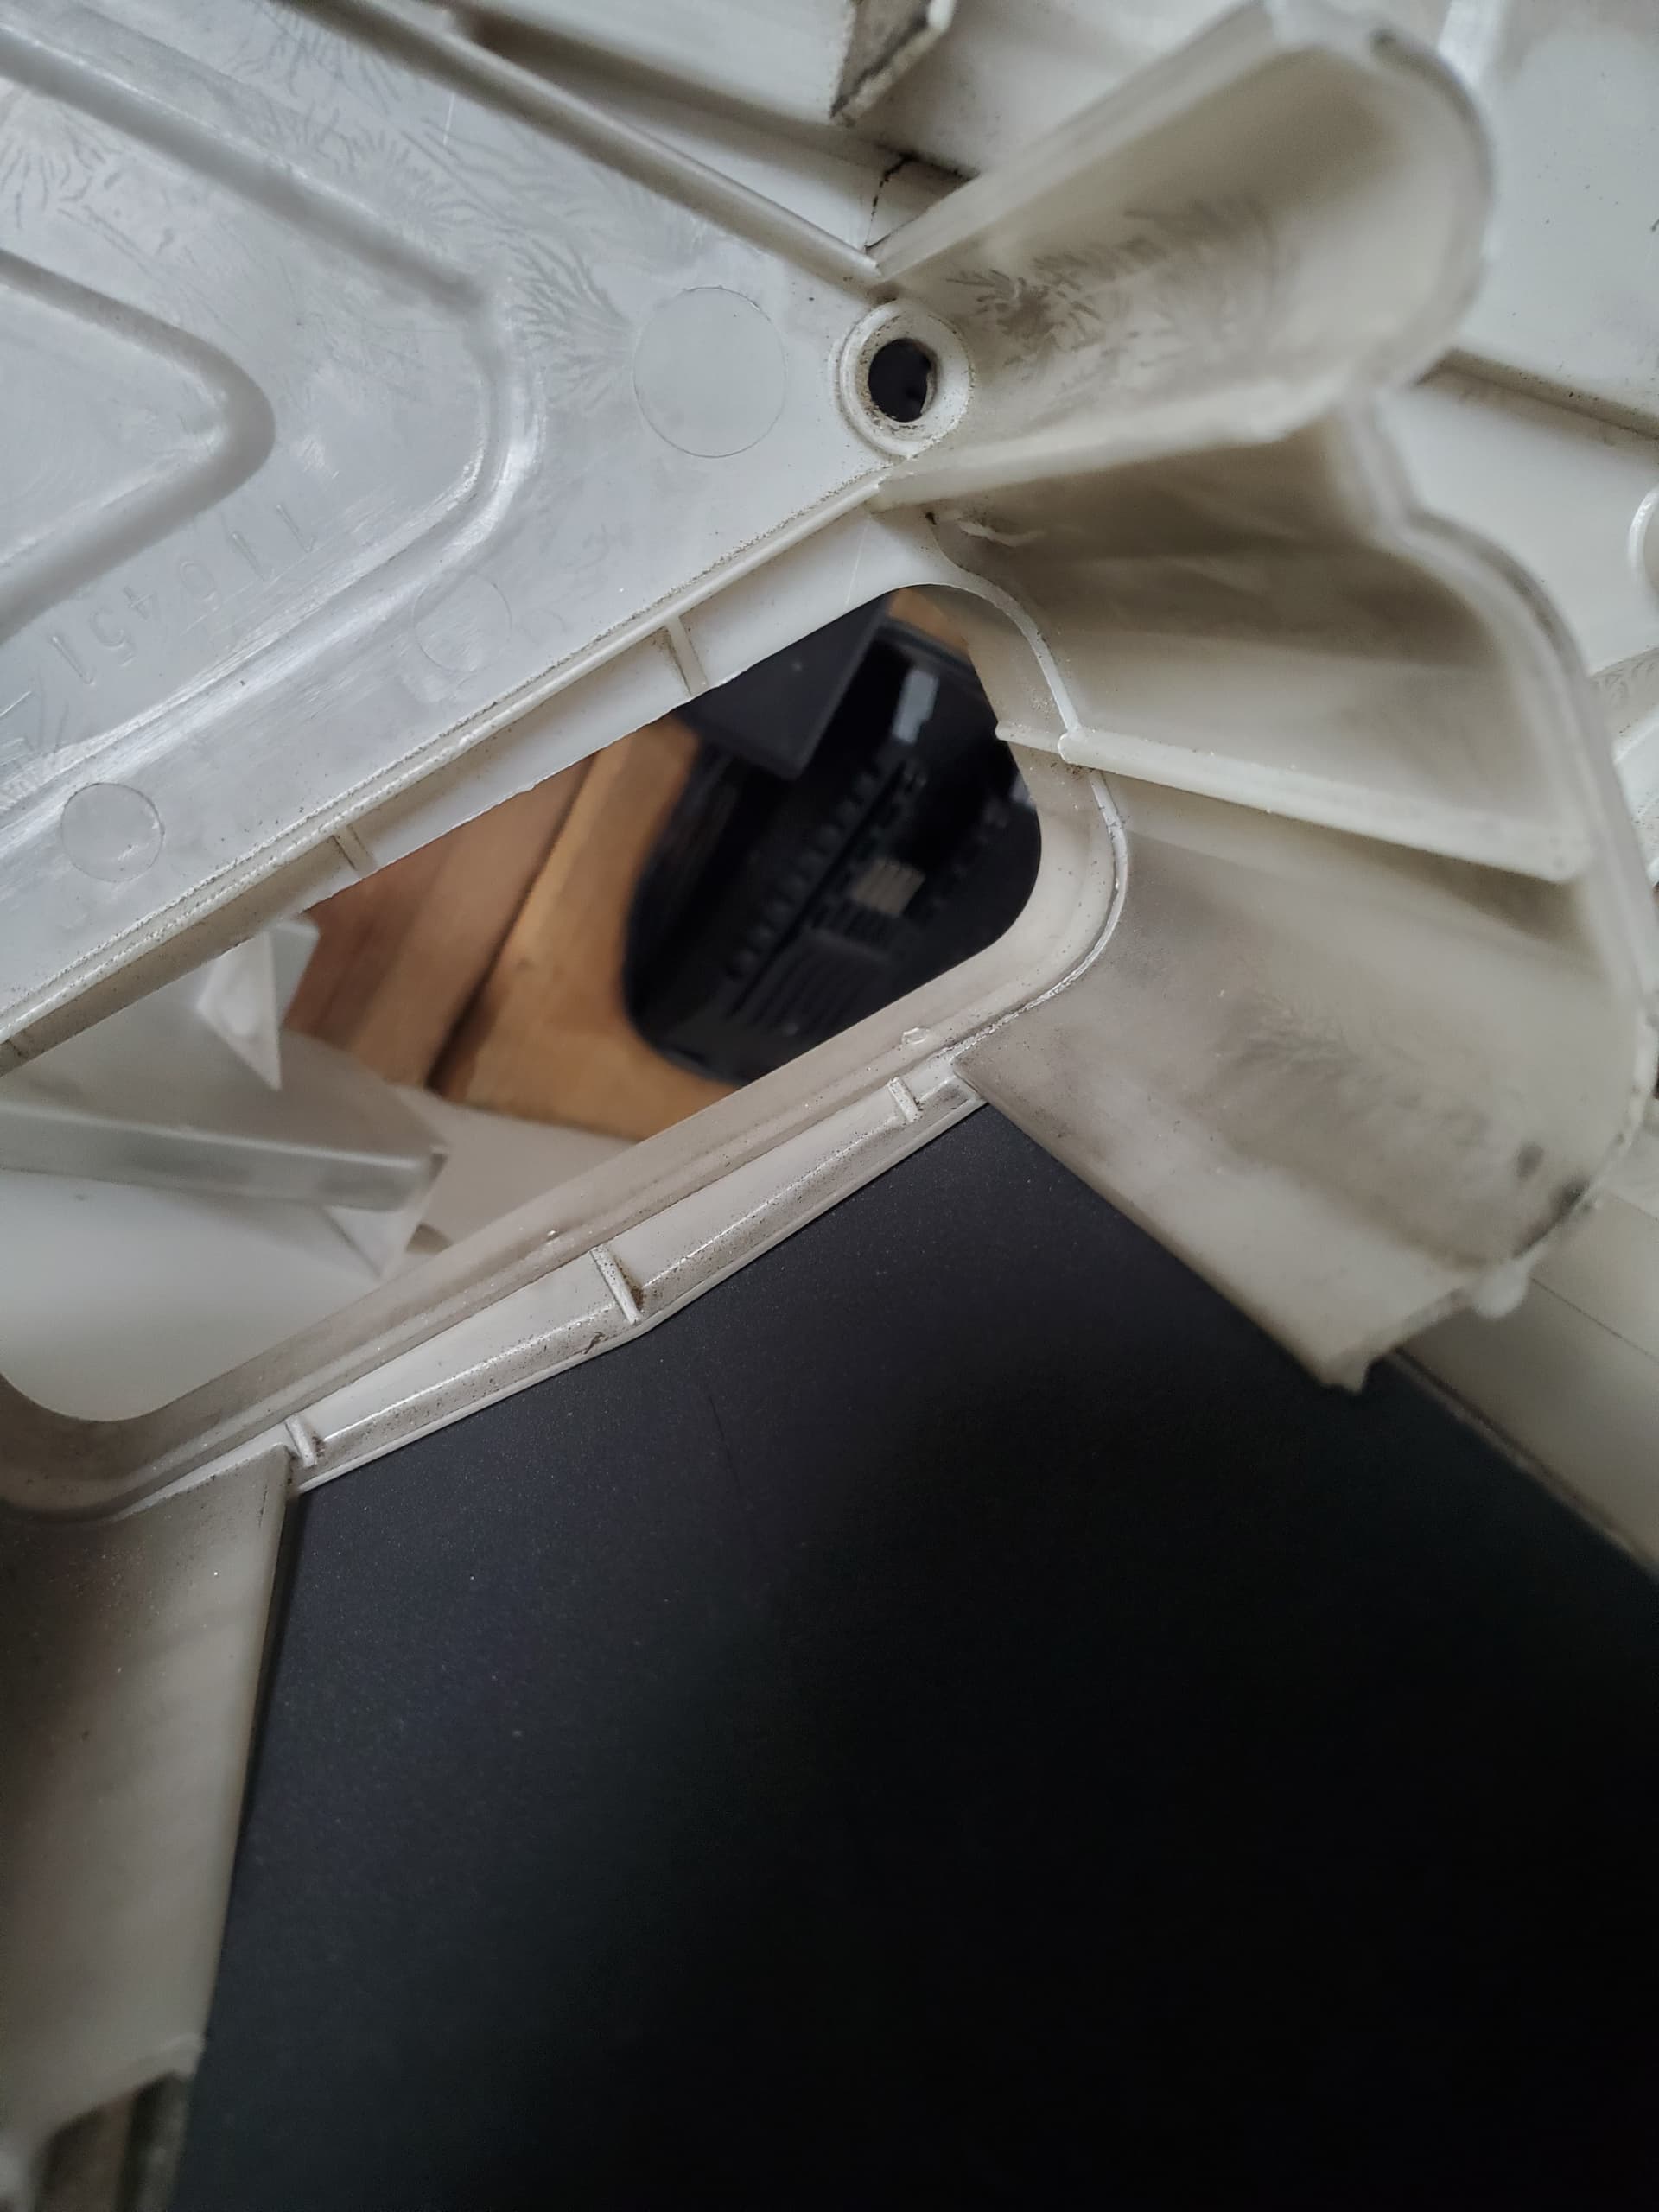
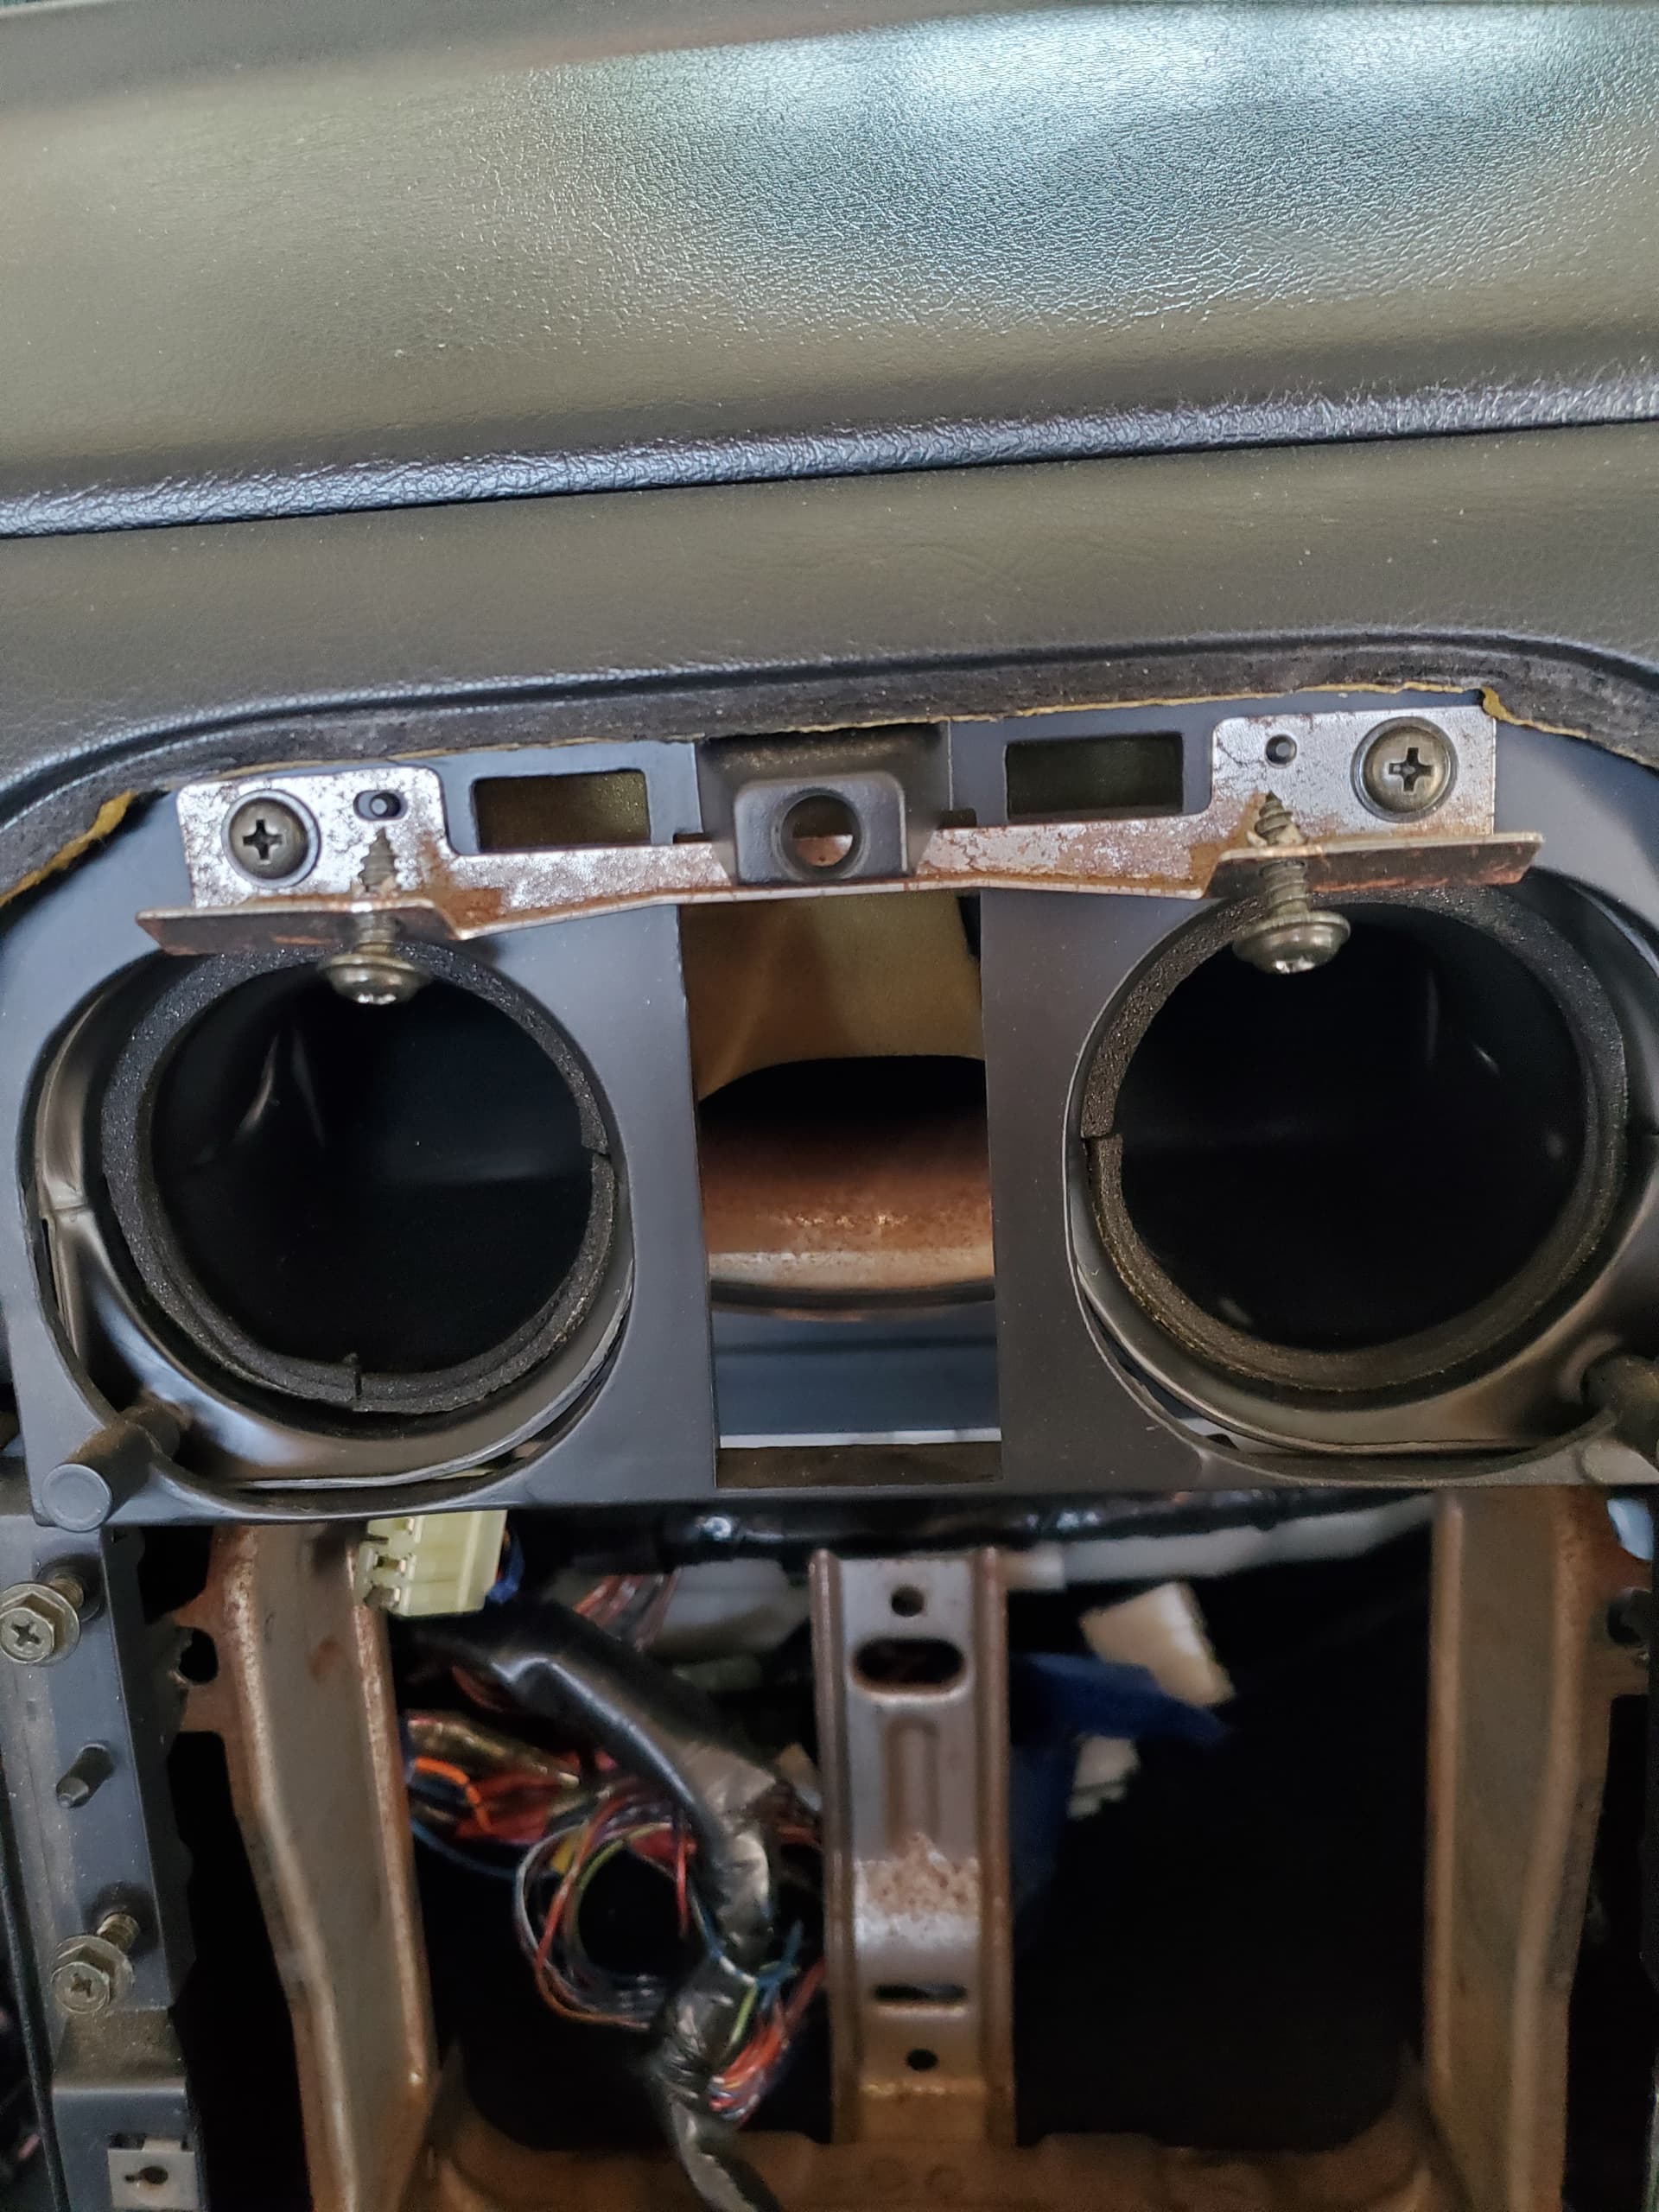
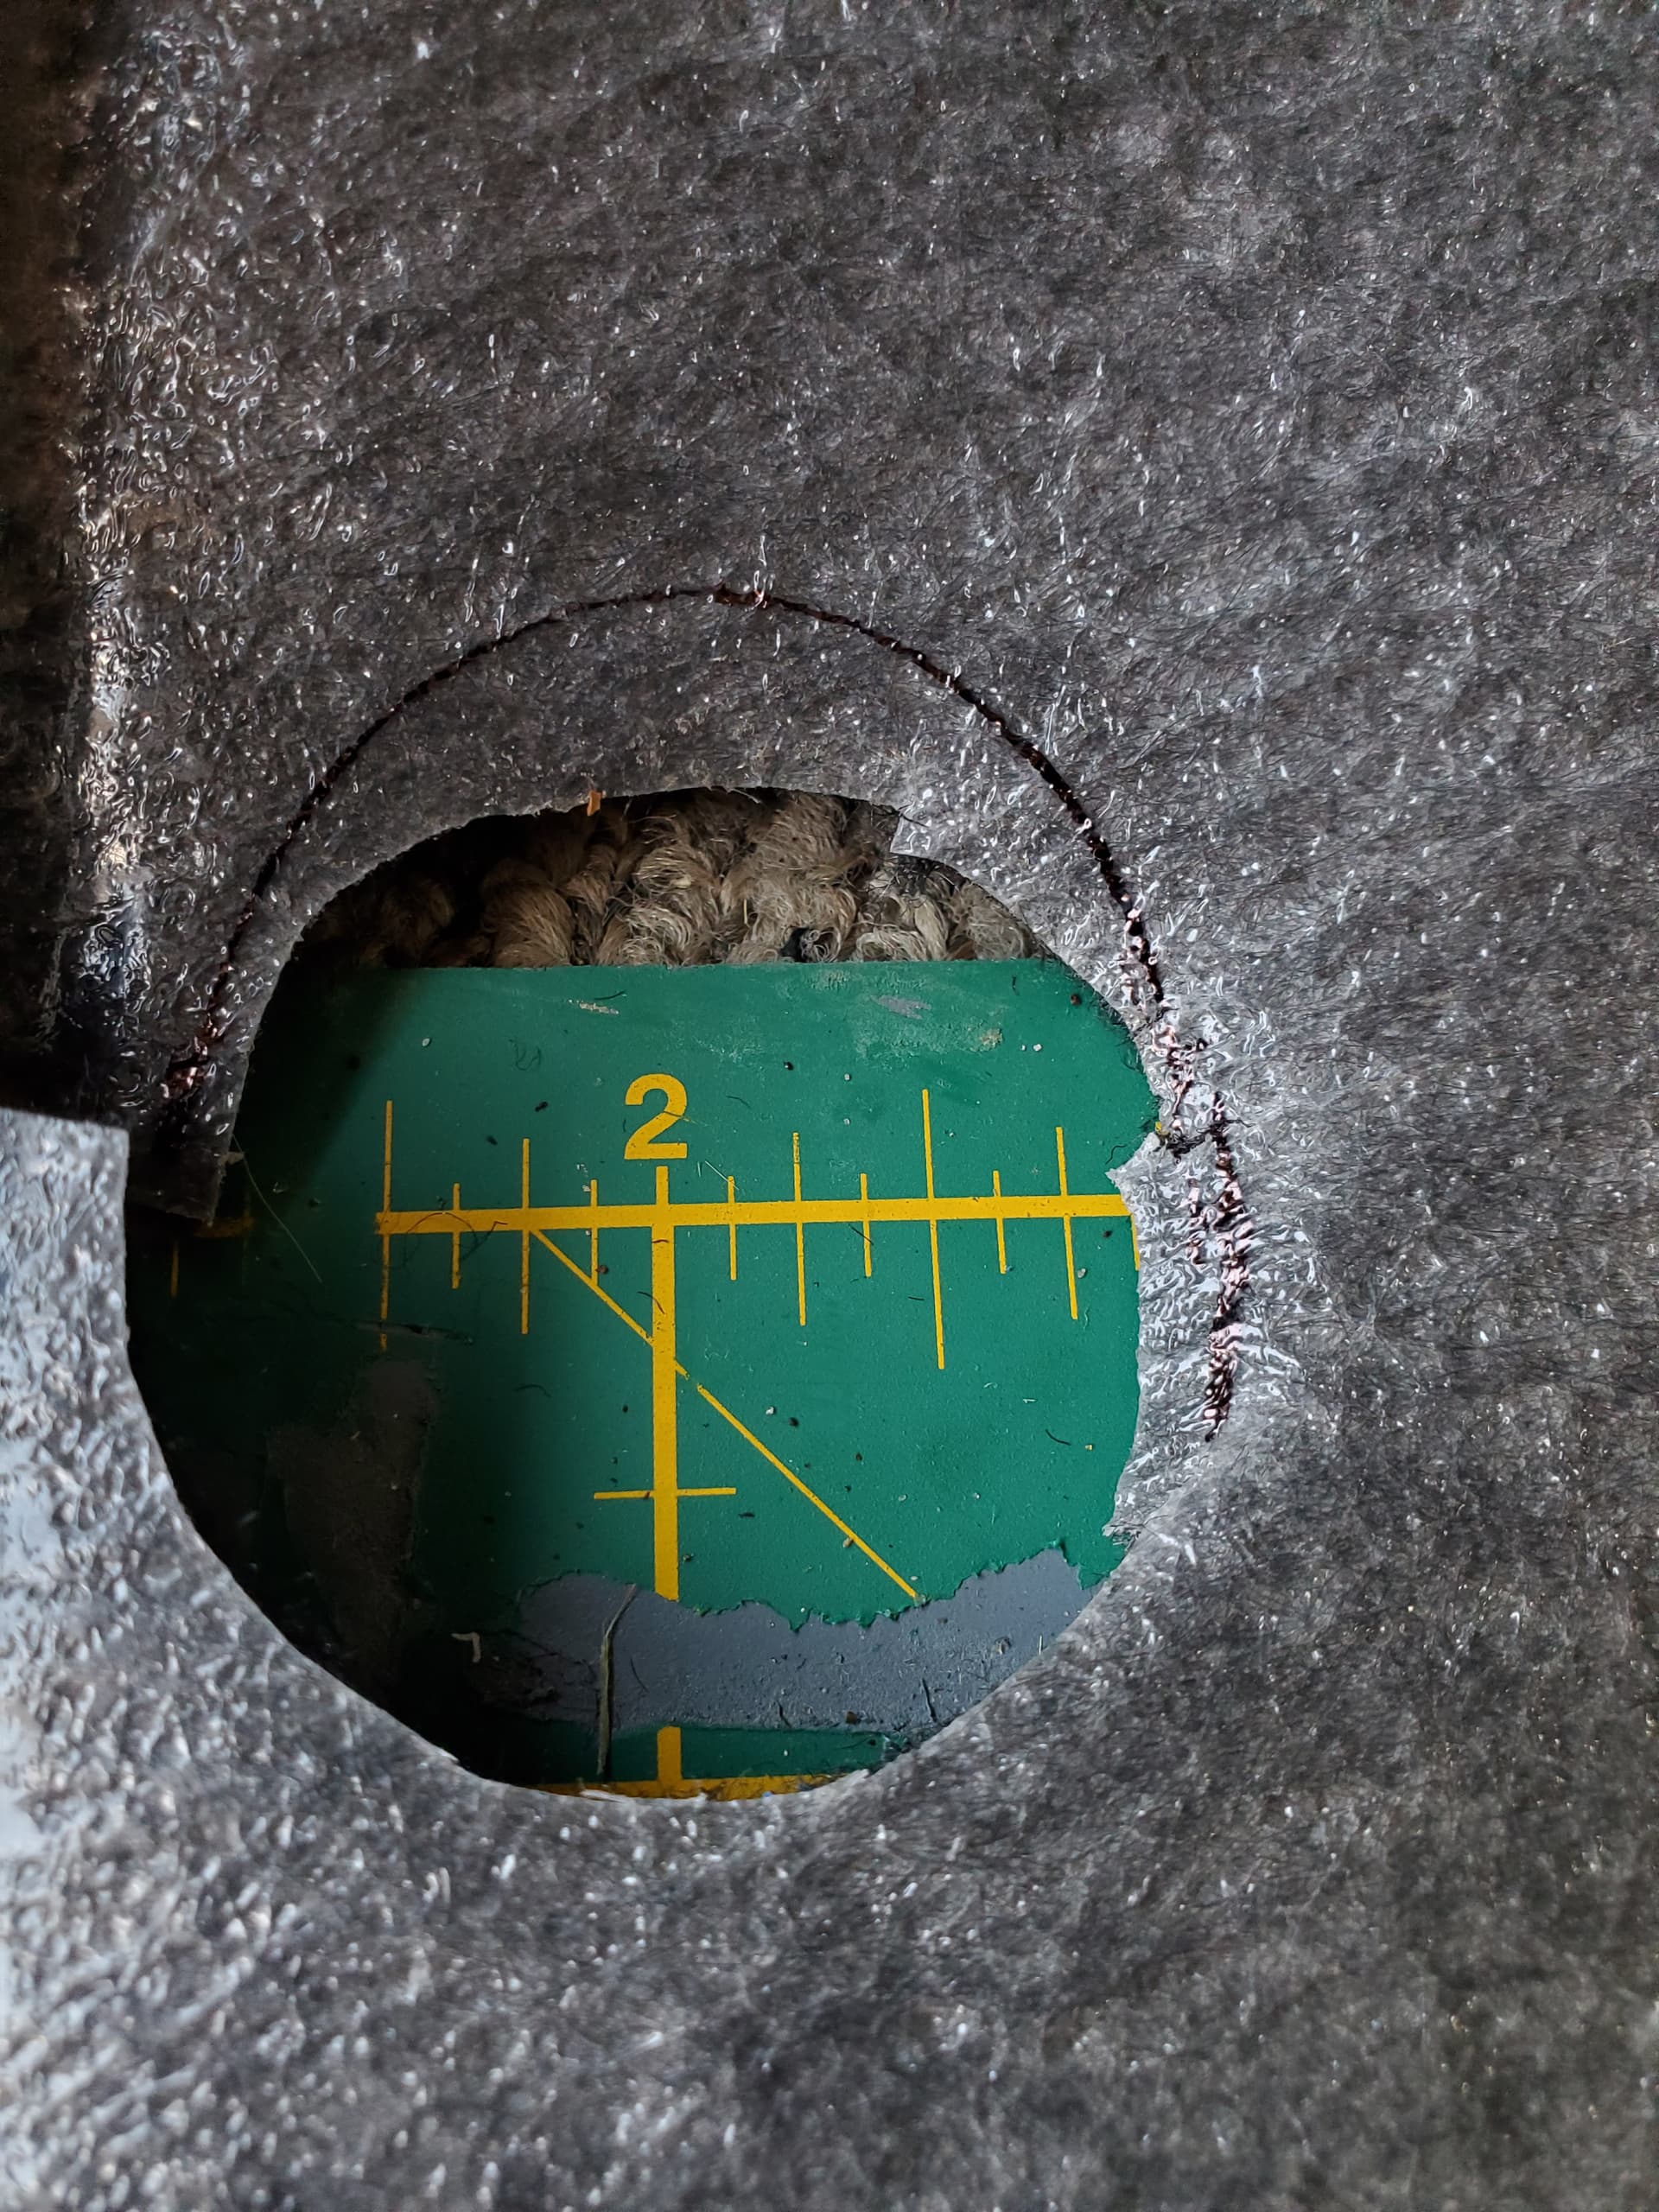
Here you van see the state of the seal between the box and the under inner side of the windscreen/cowl bit. So it was probably sucking in bit of fithy air from under the dash rather than the high pressure area its supposed to. In a way it is a randall intake but for the interior!!
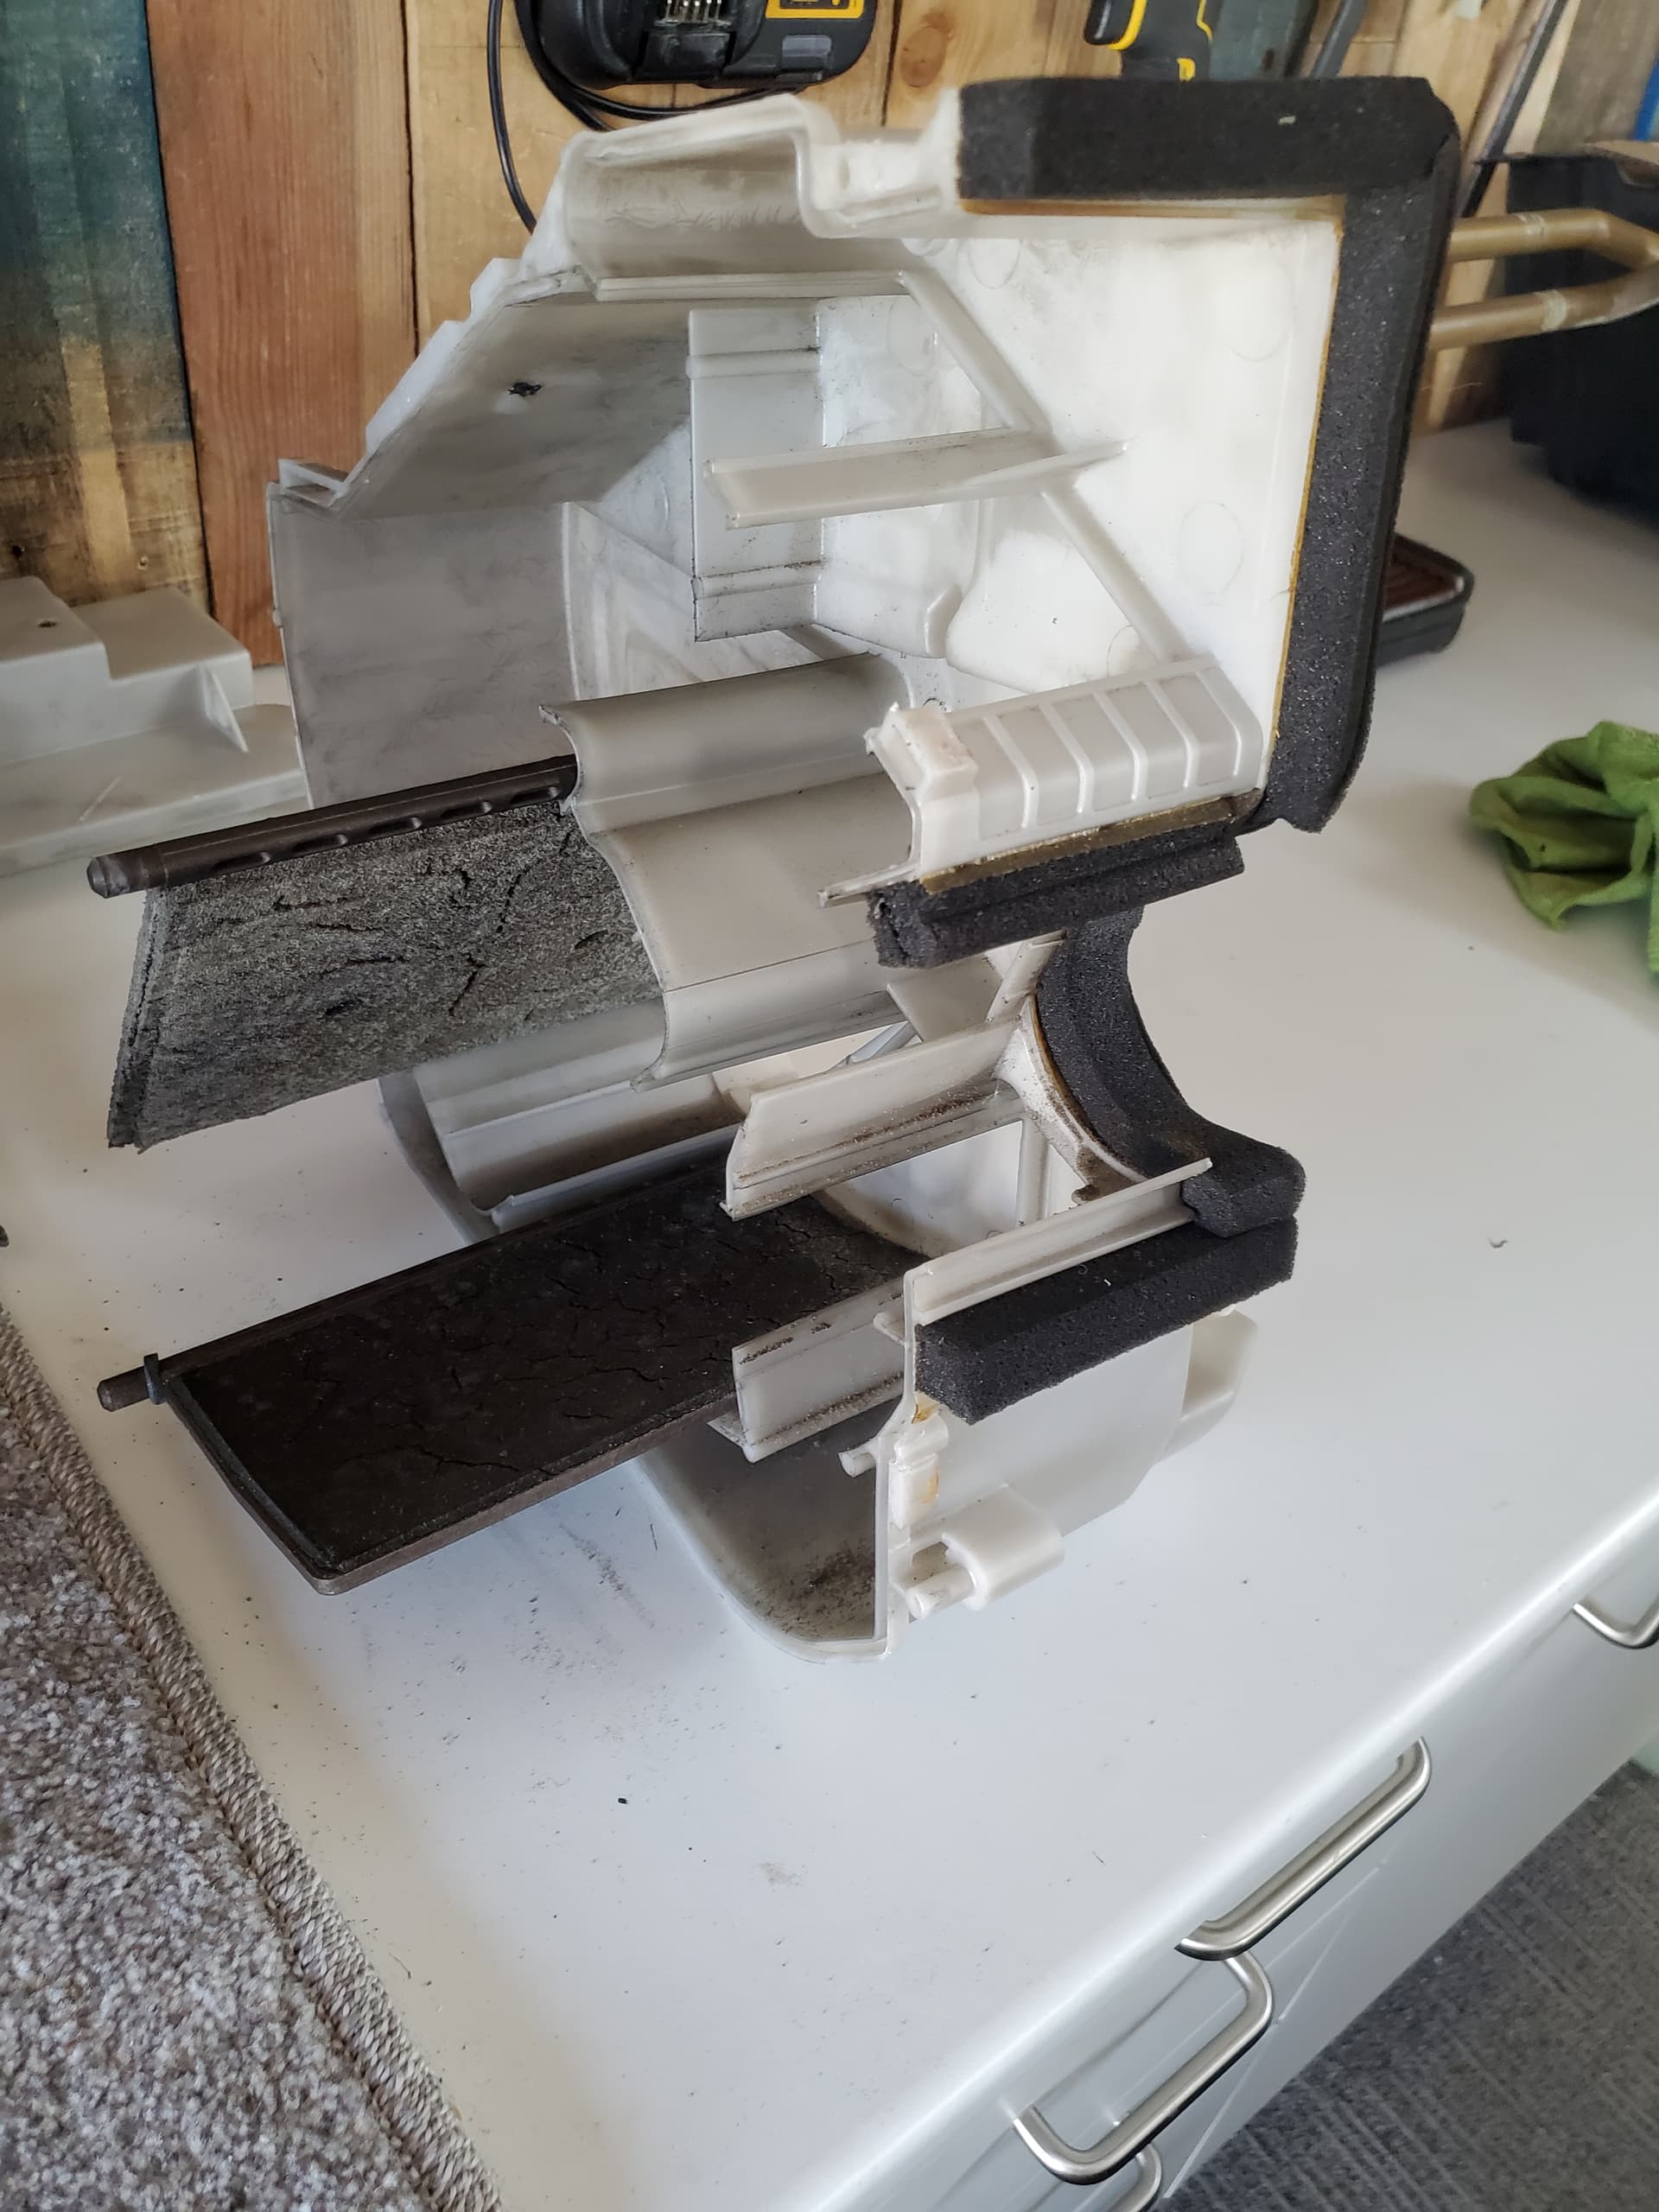
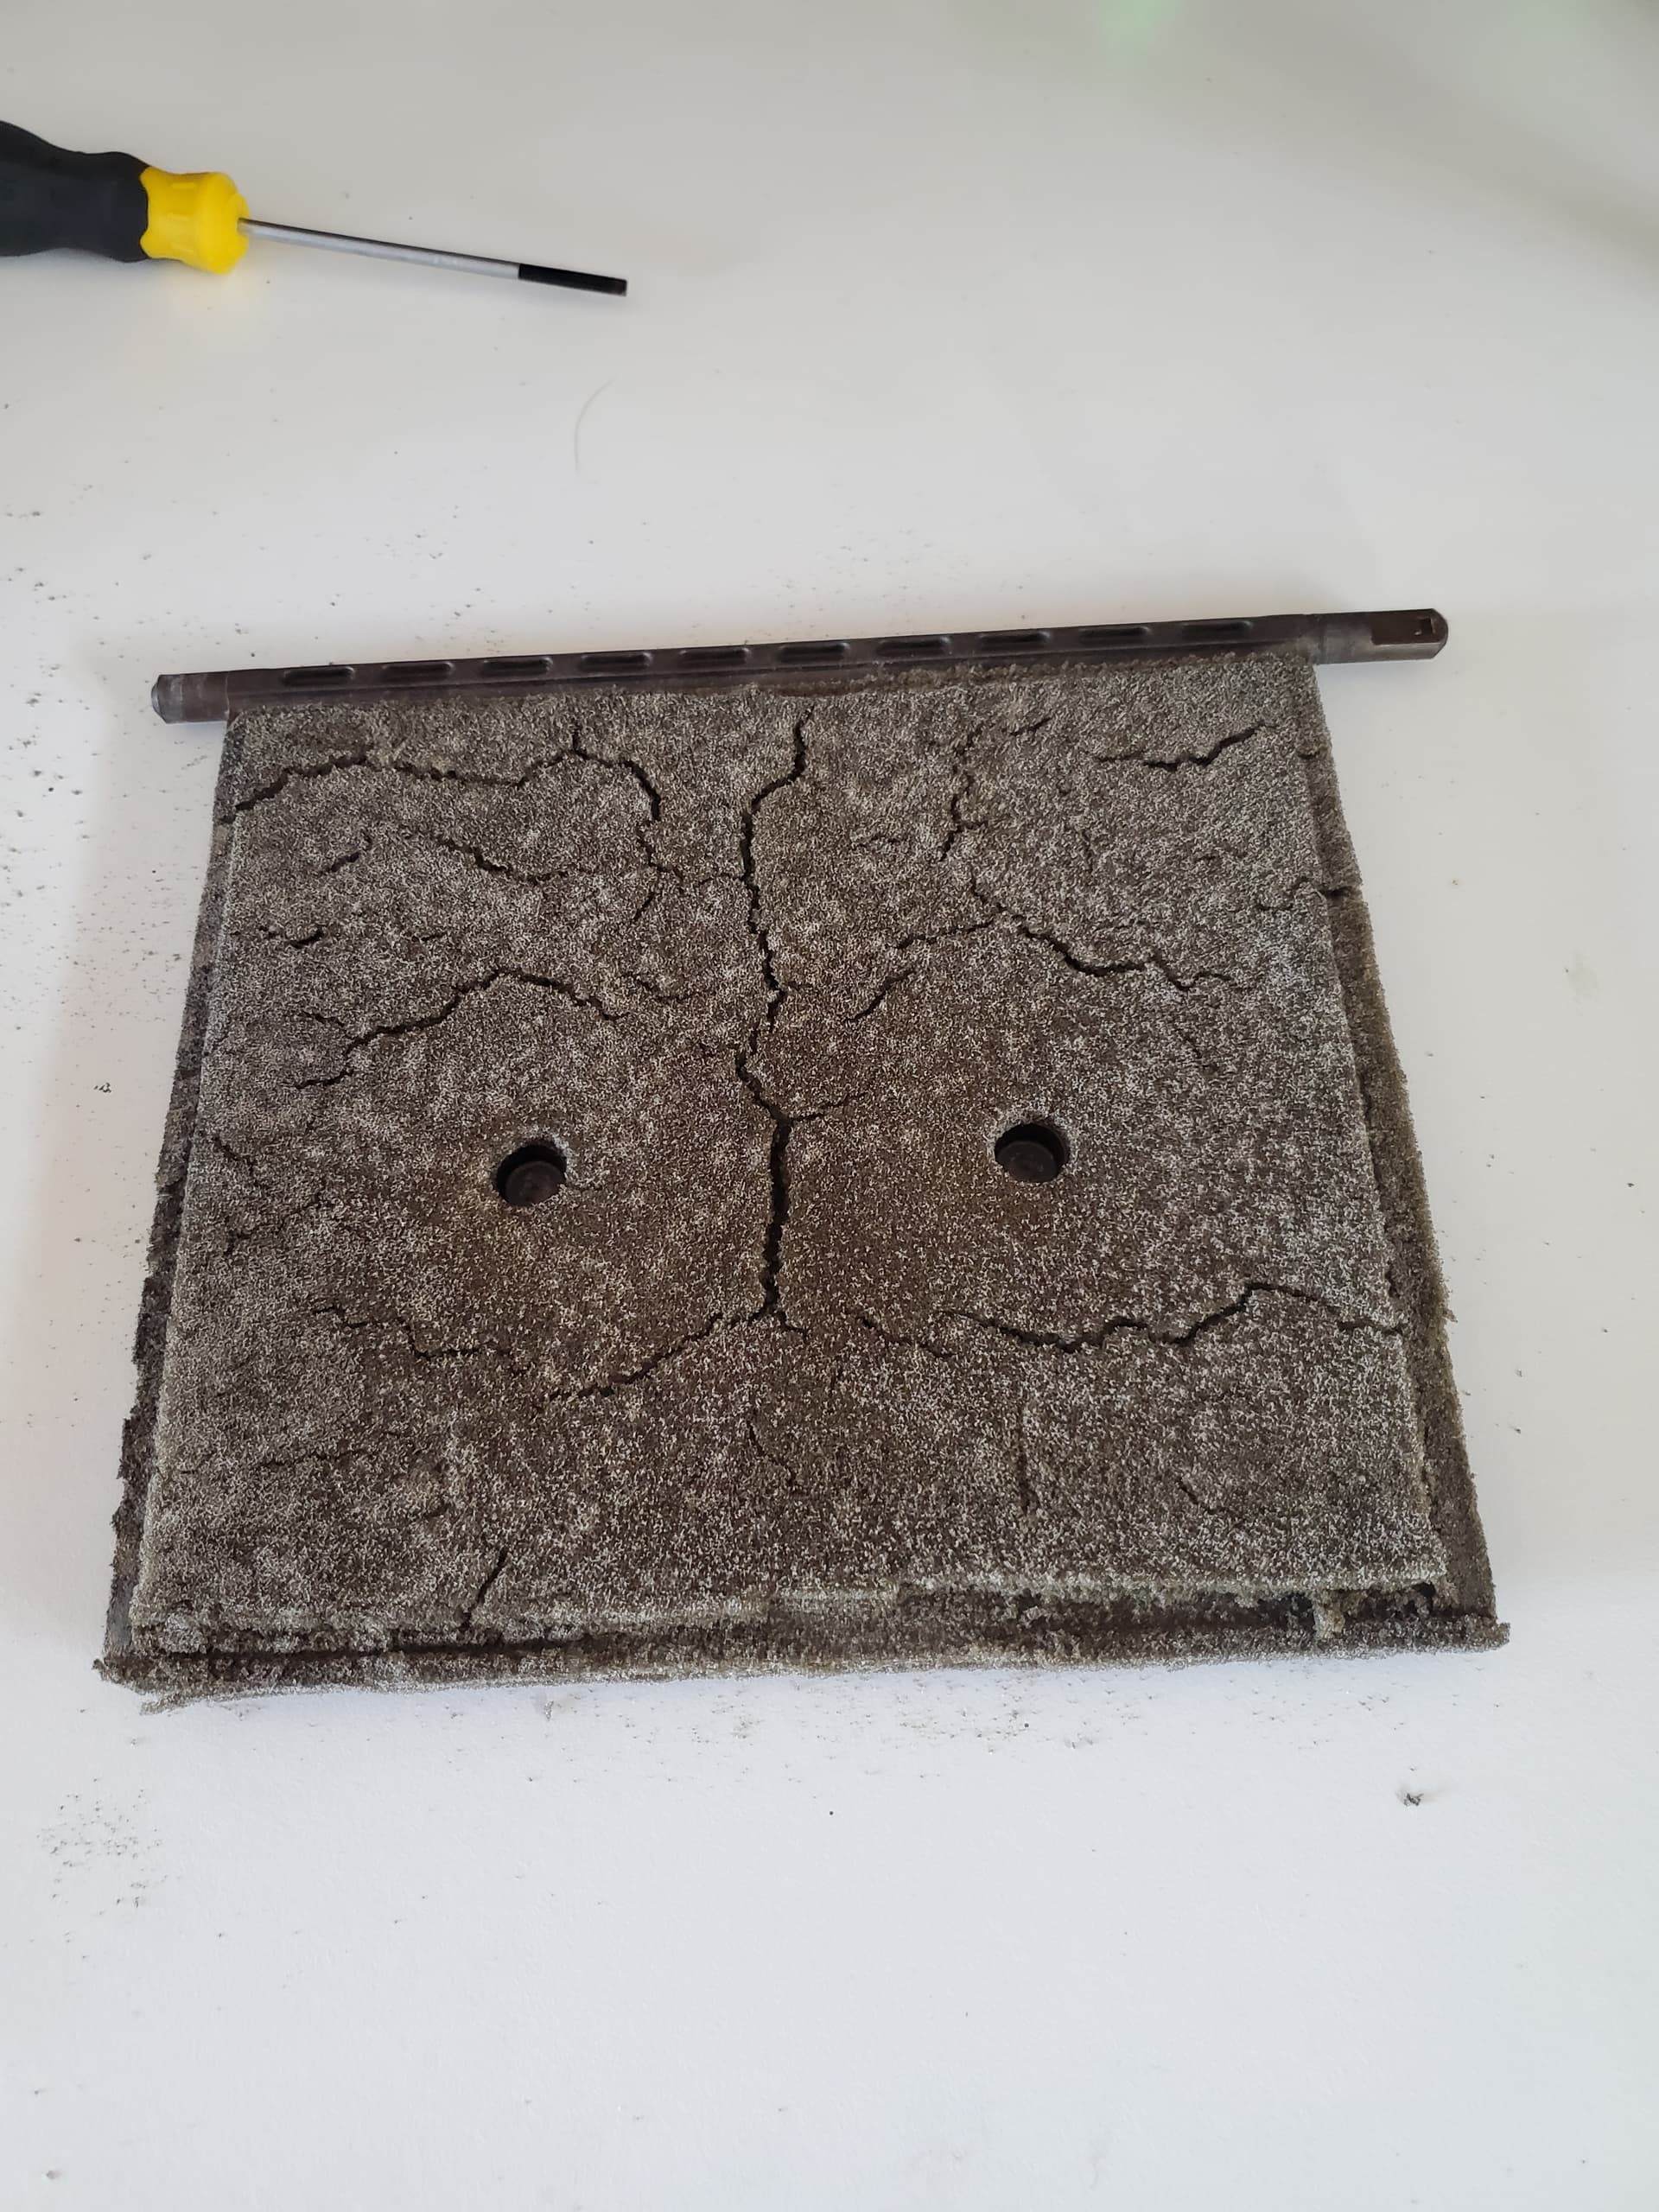
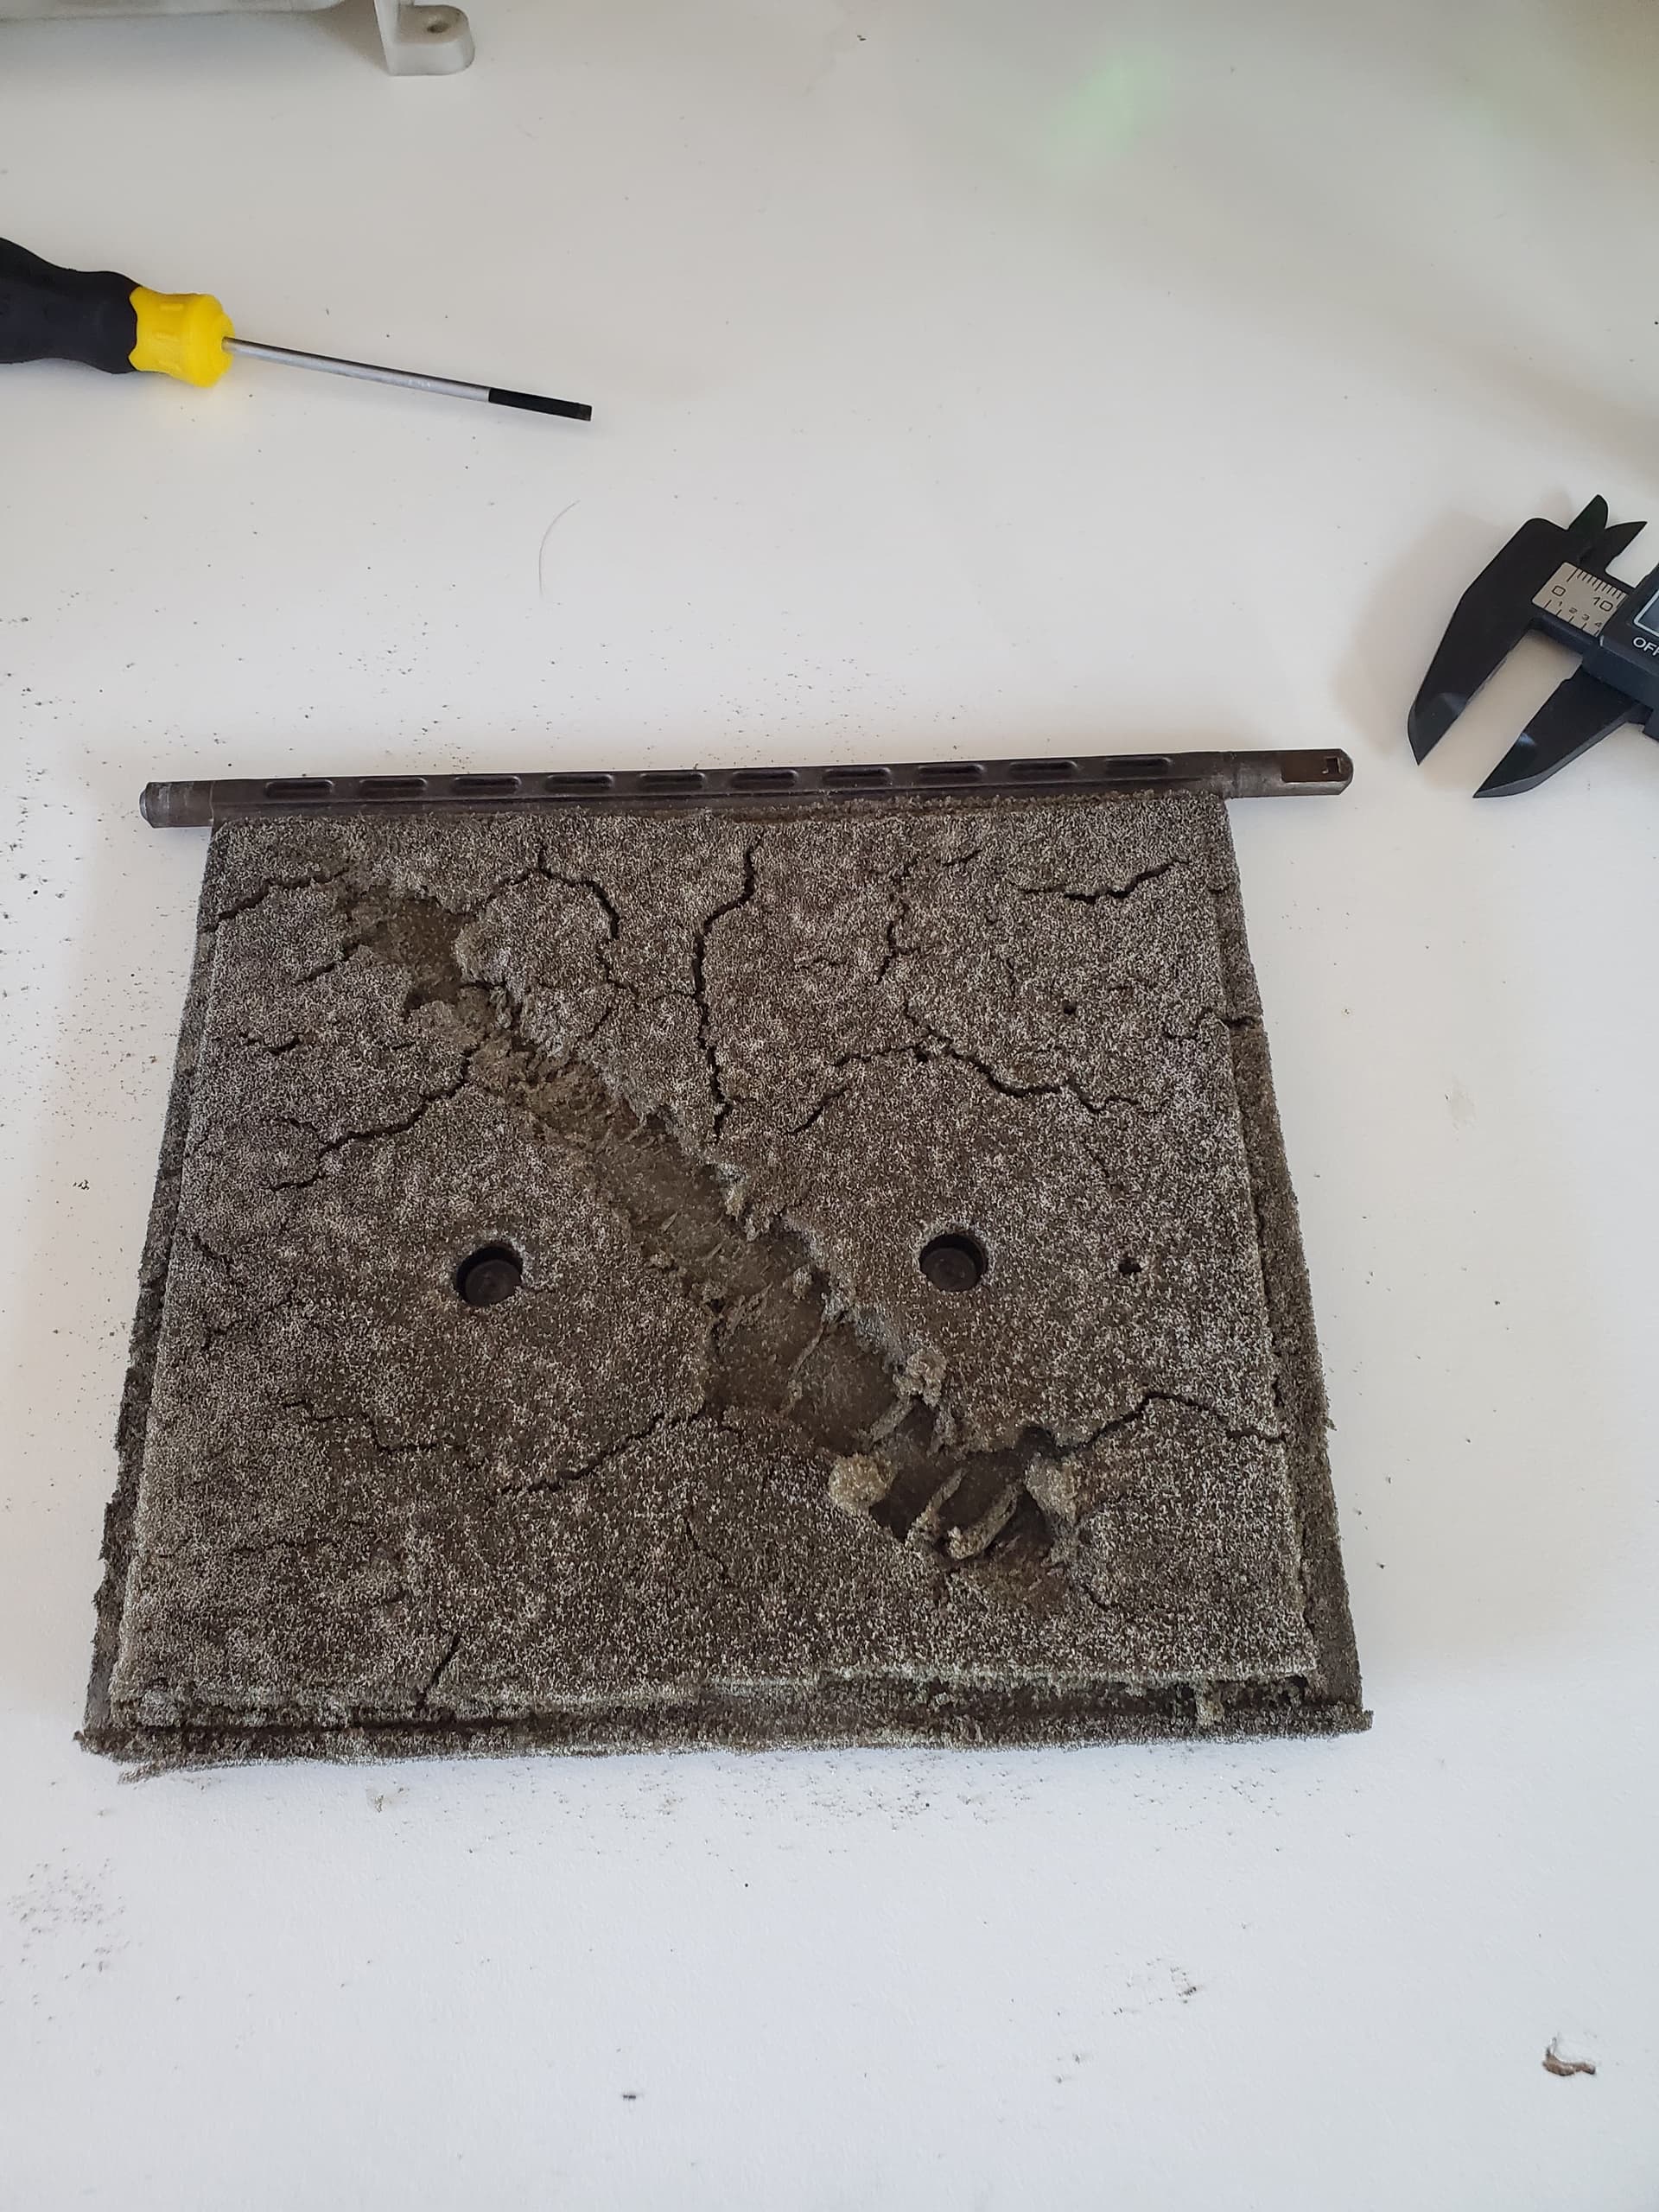
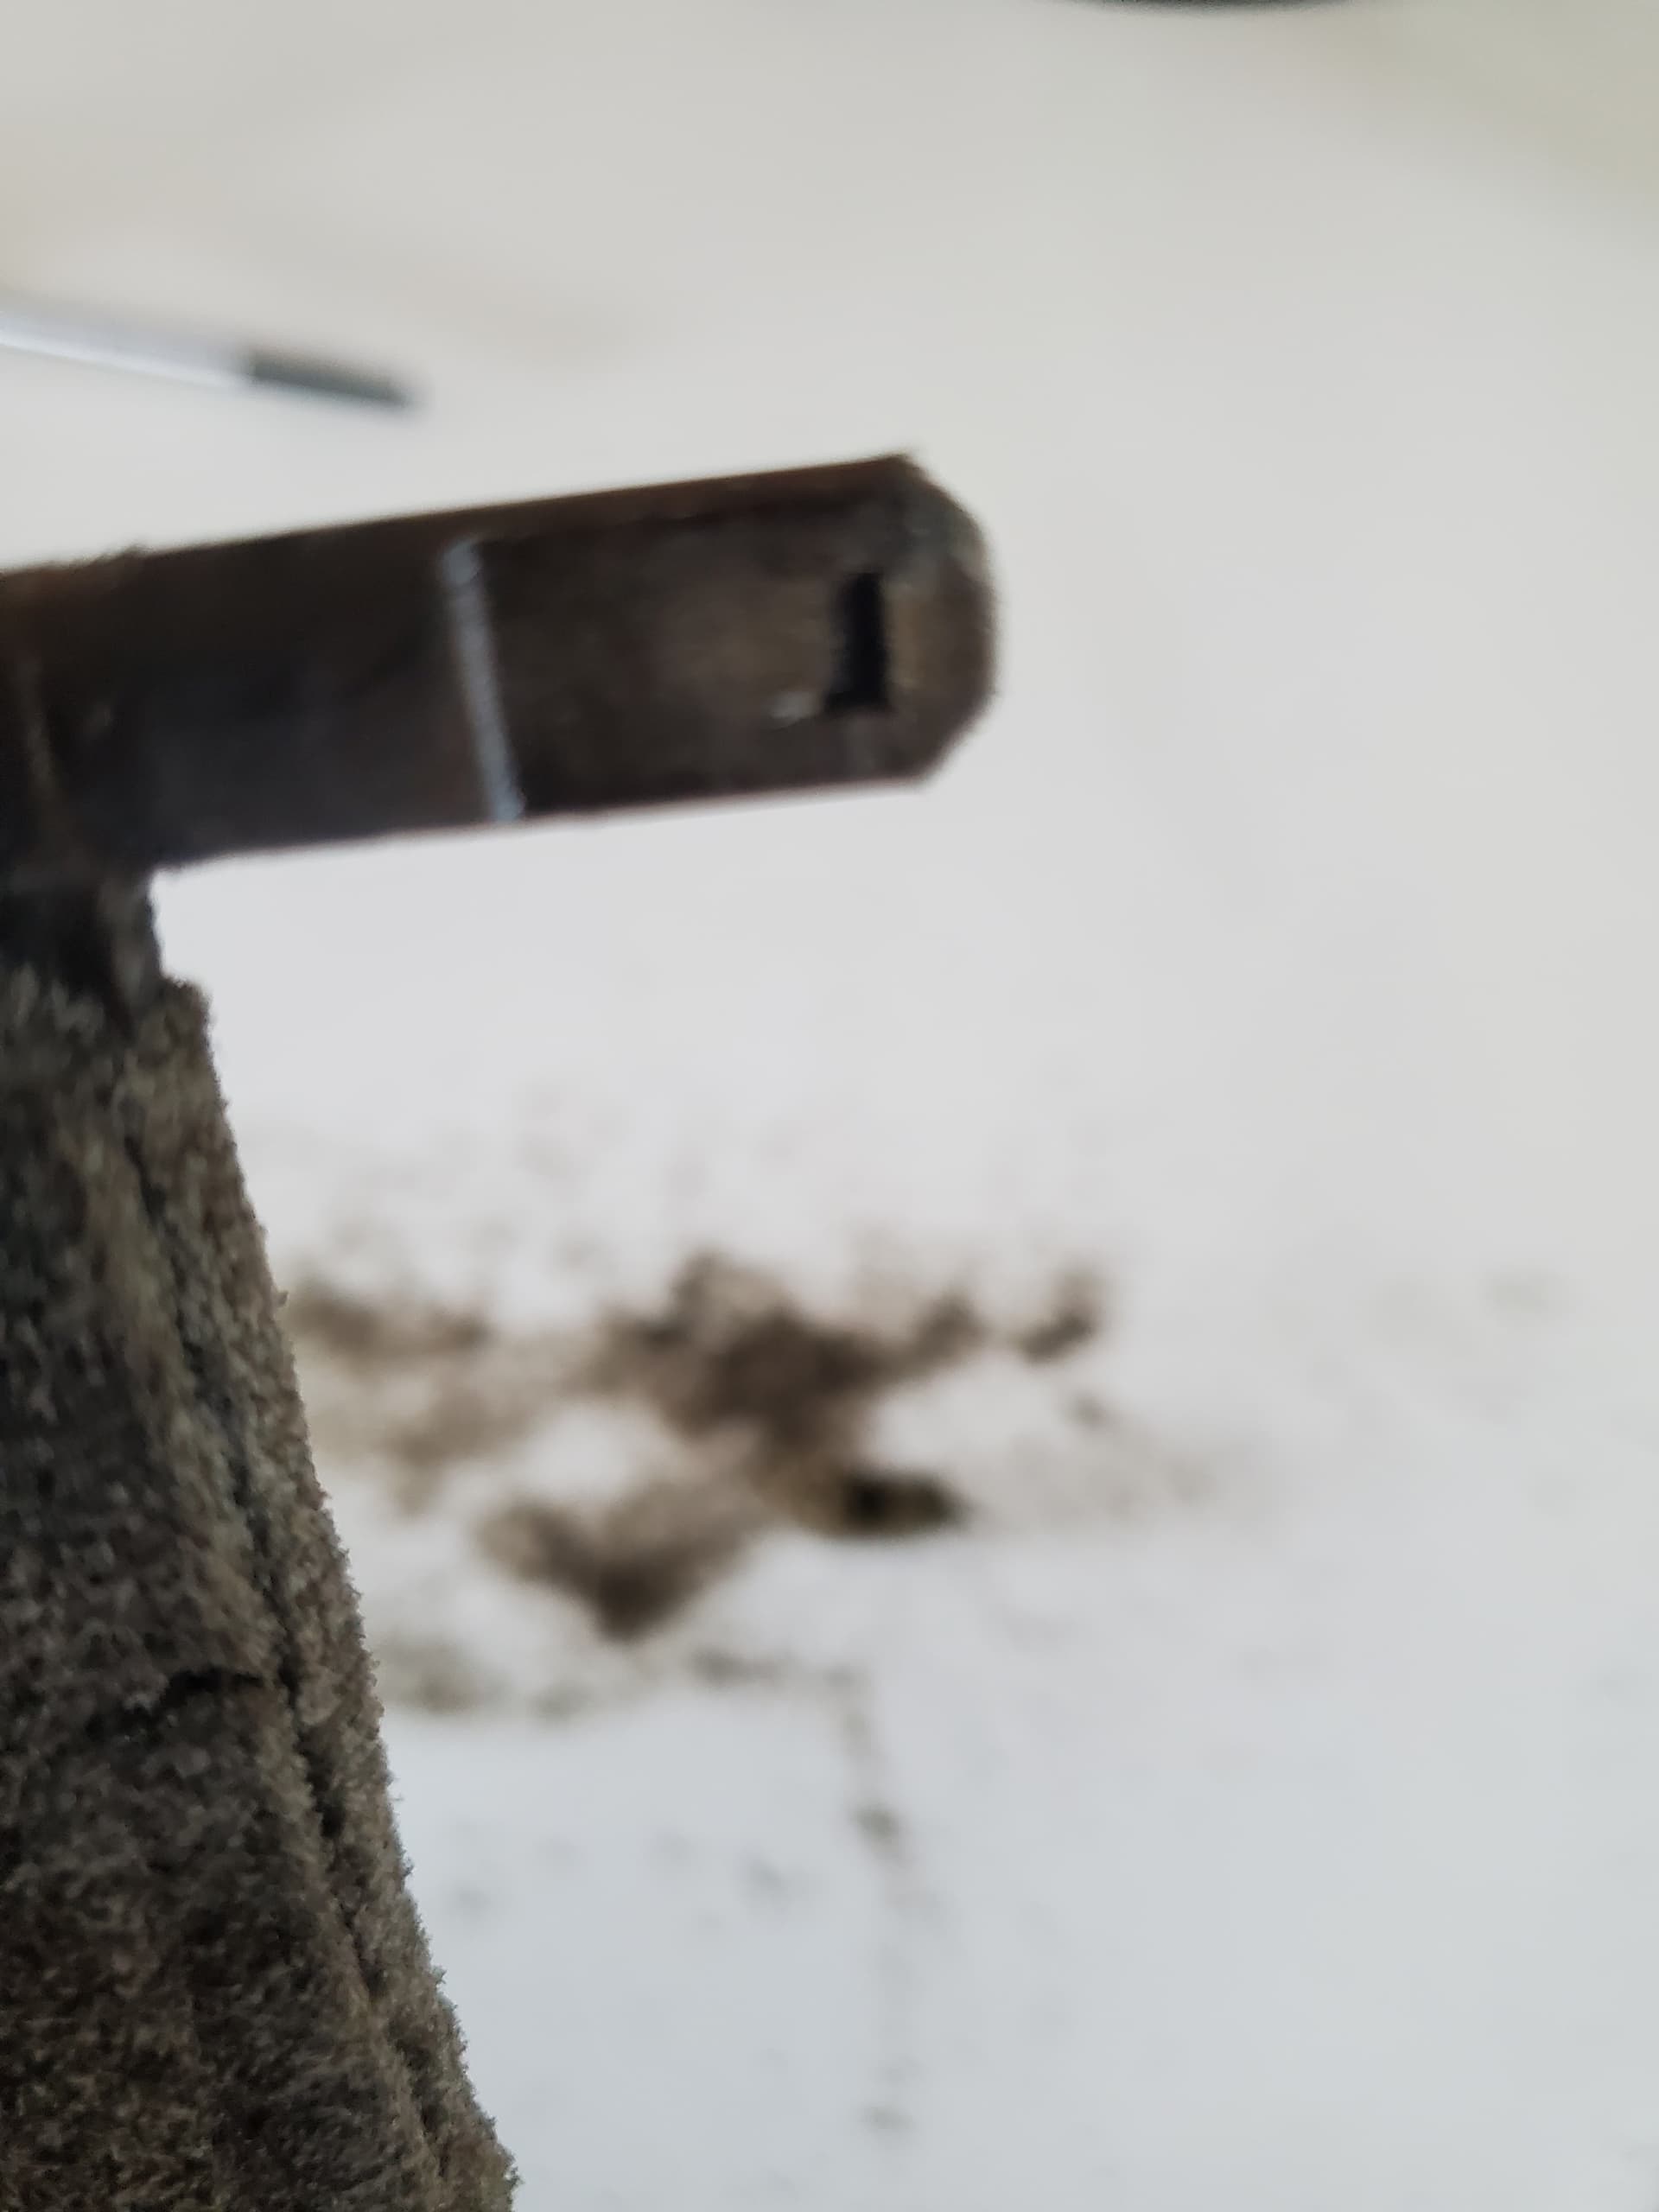
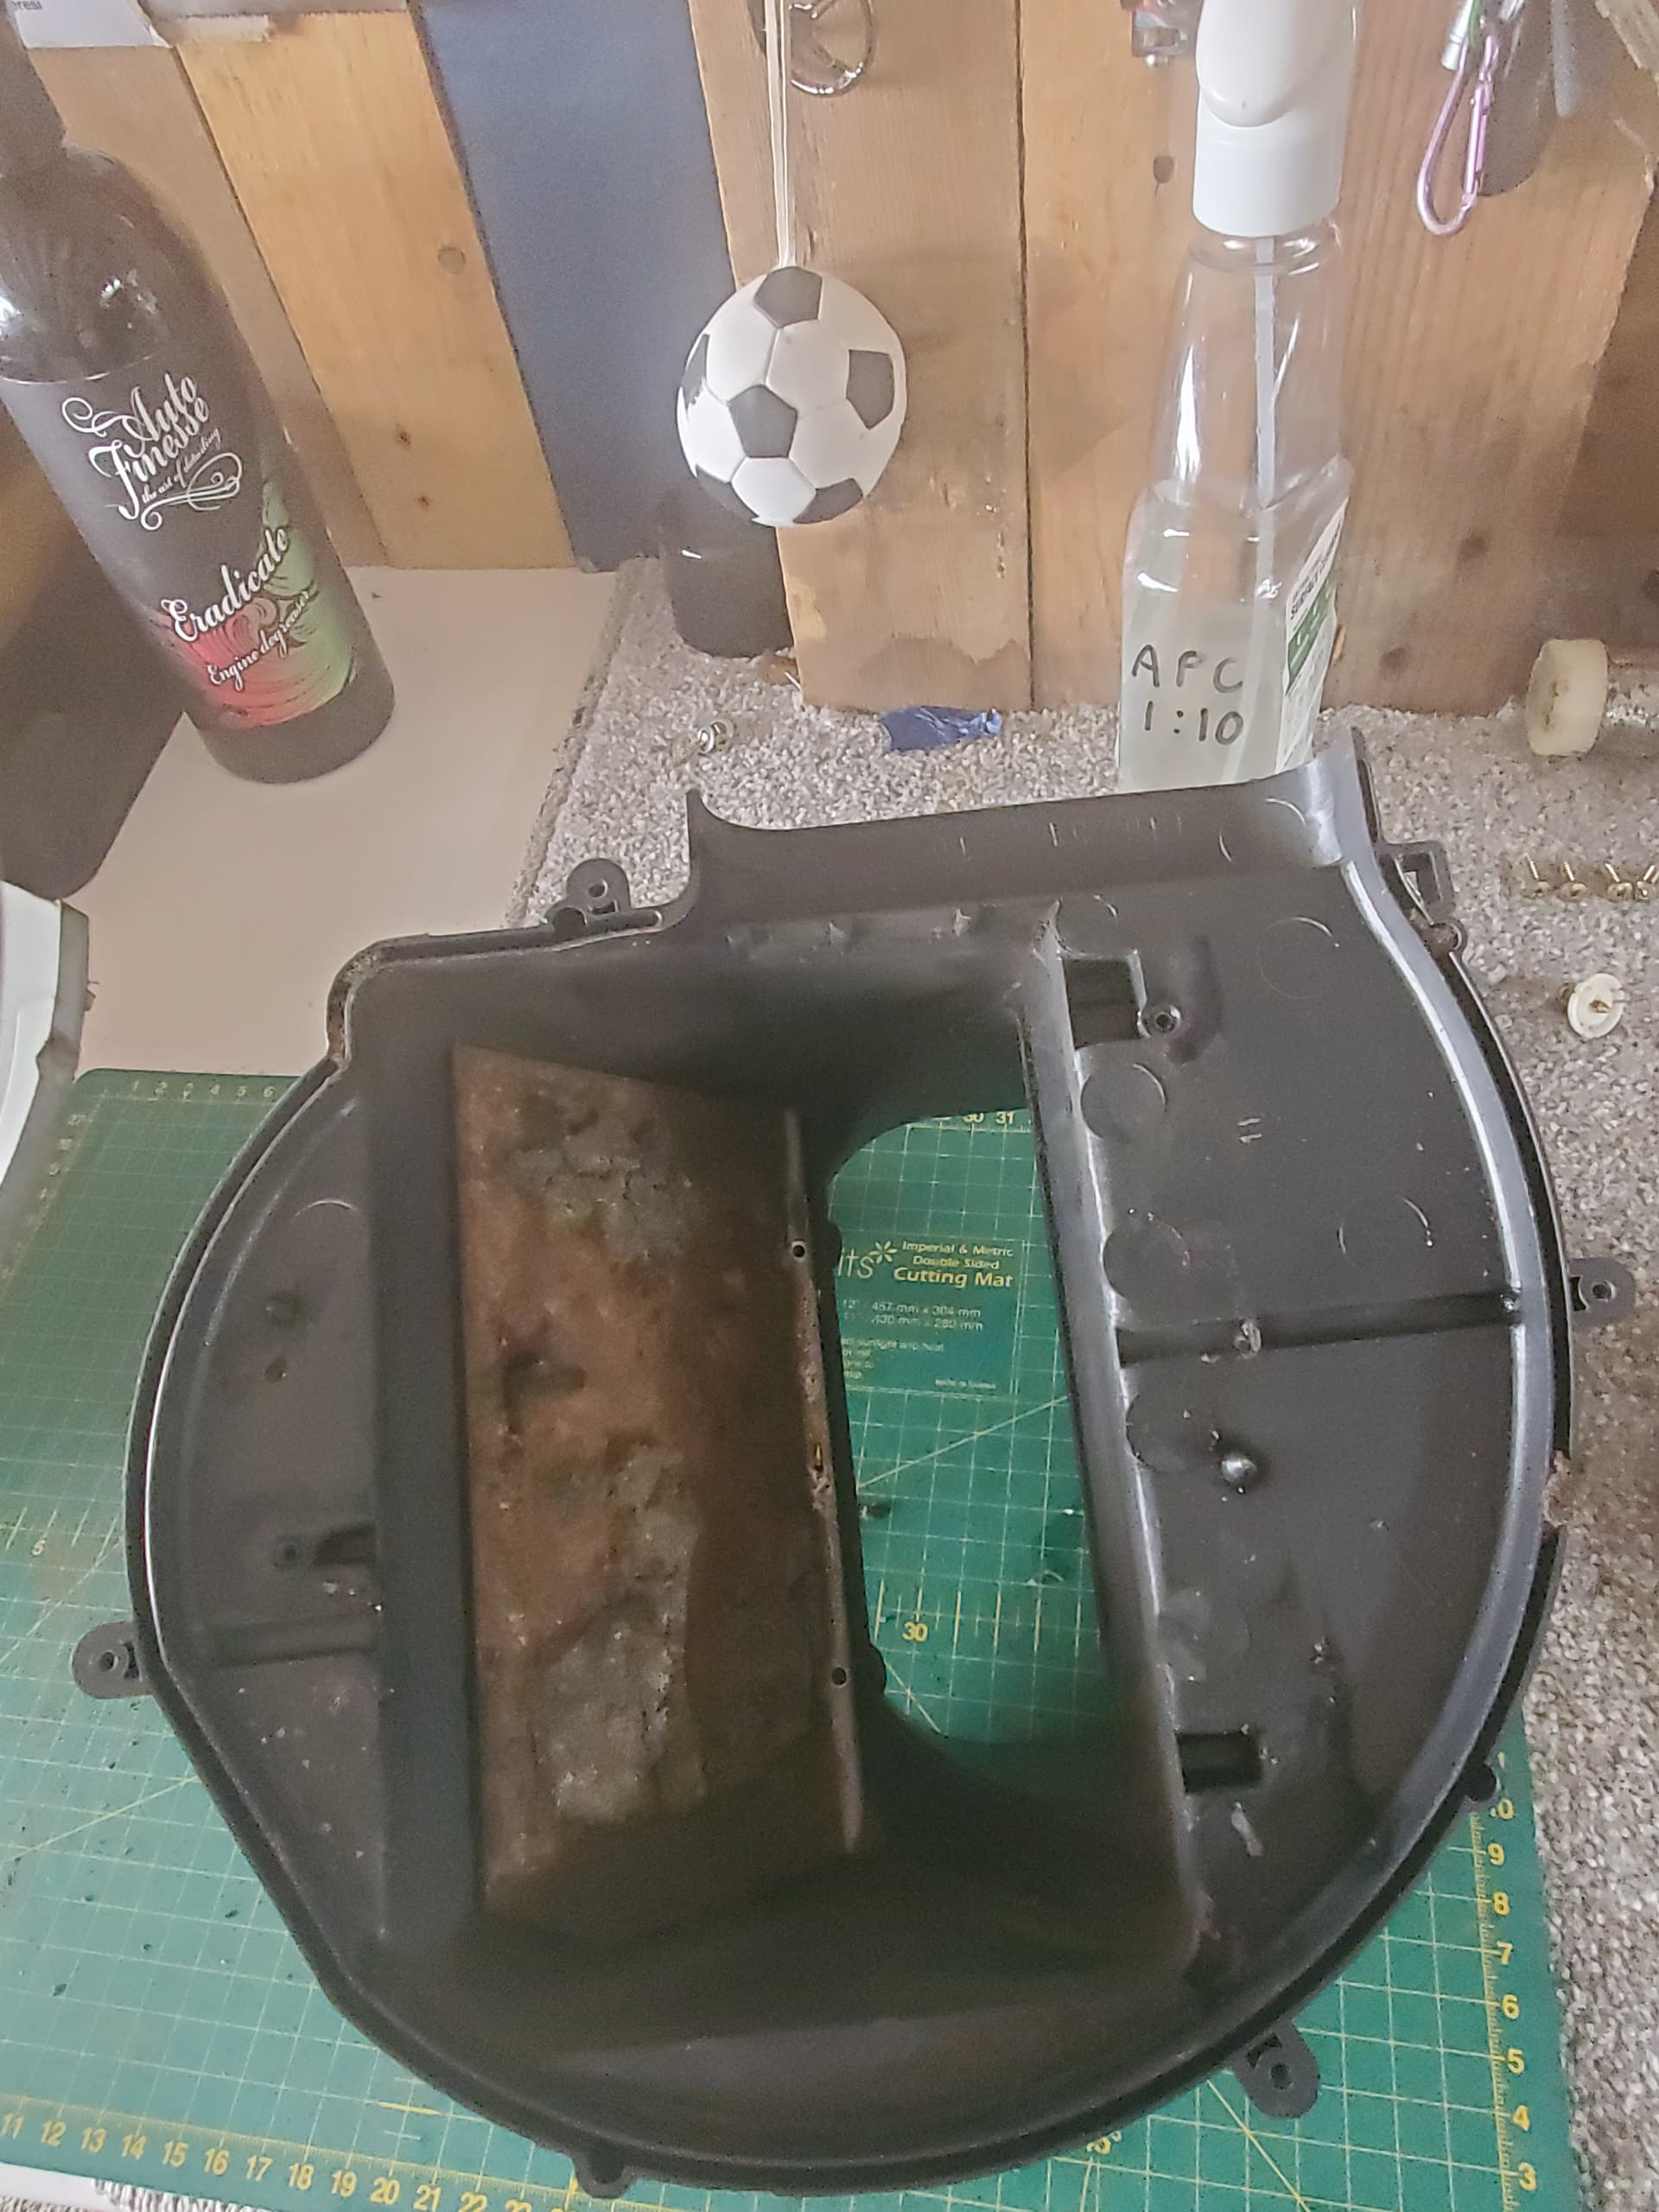
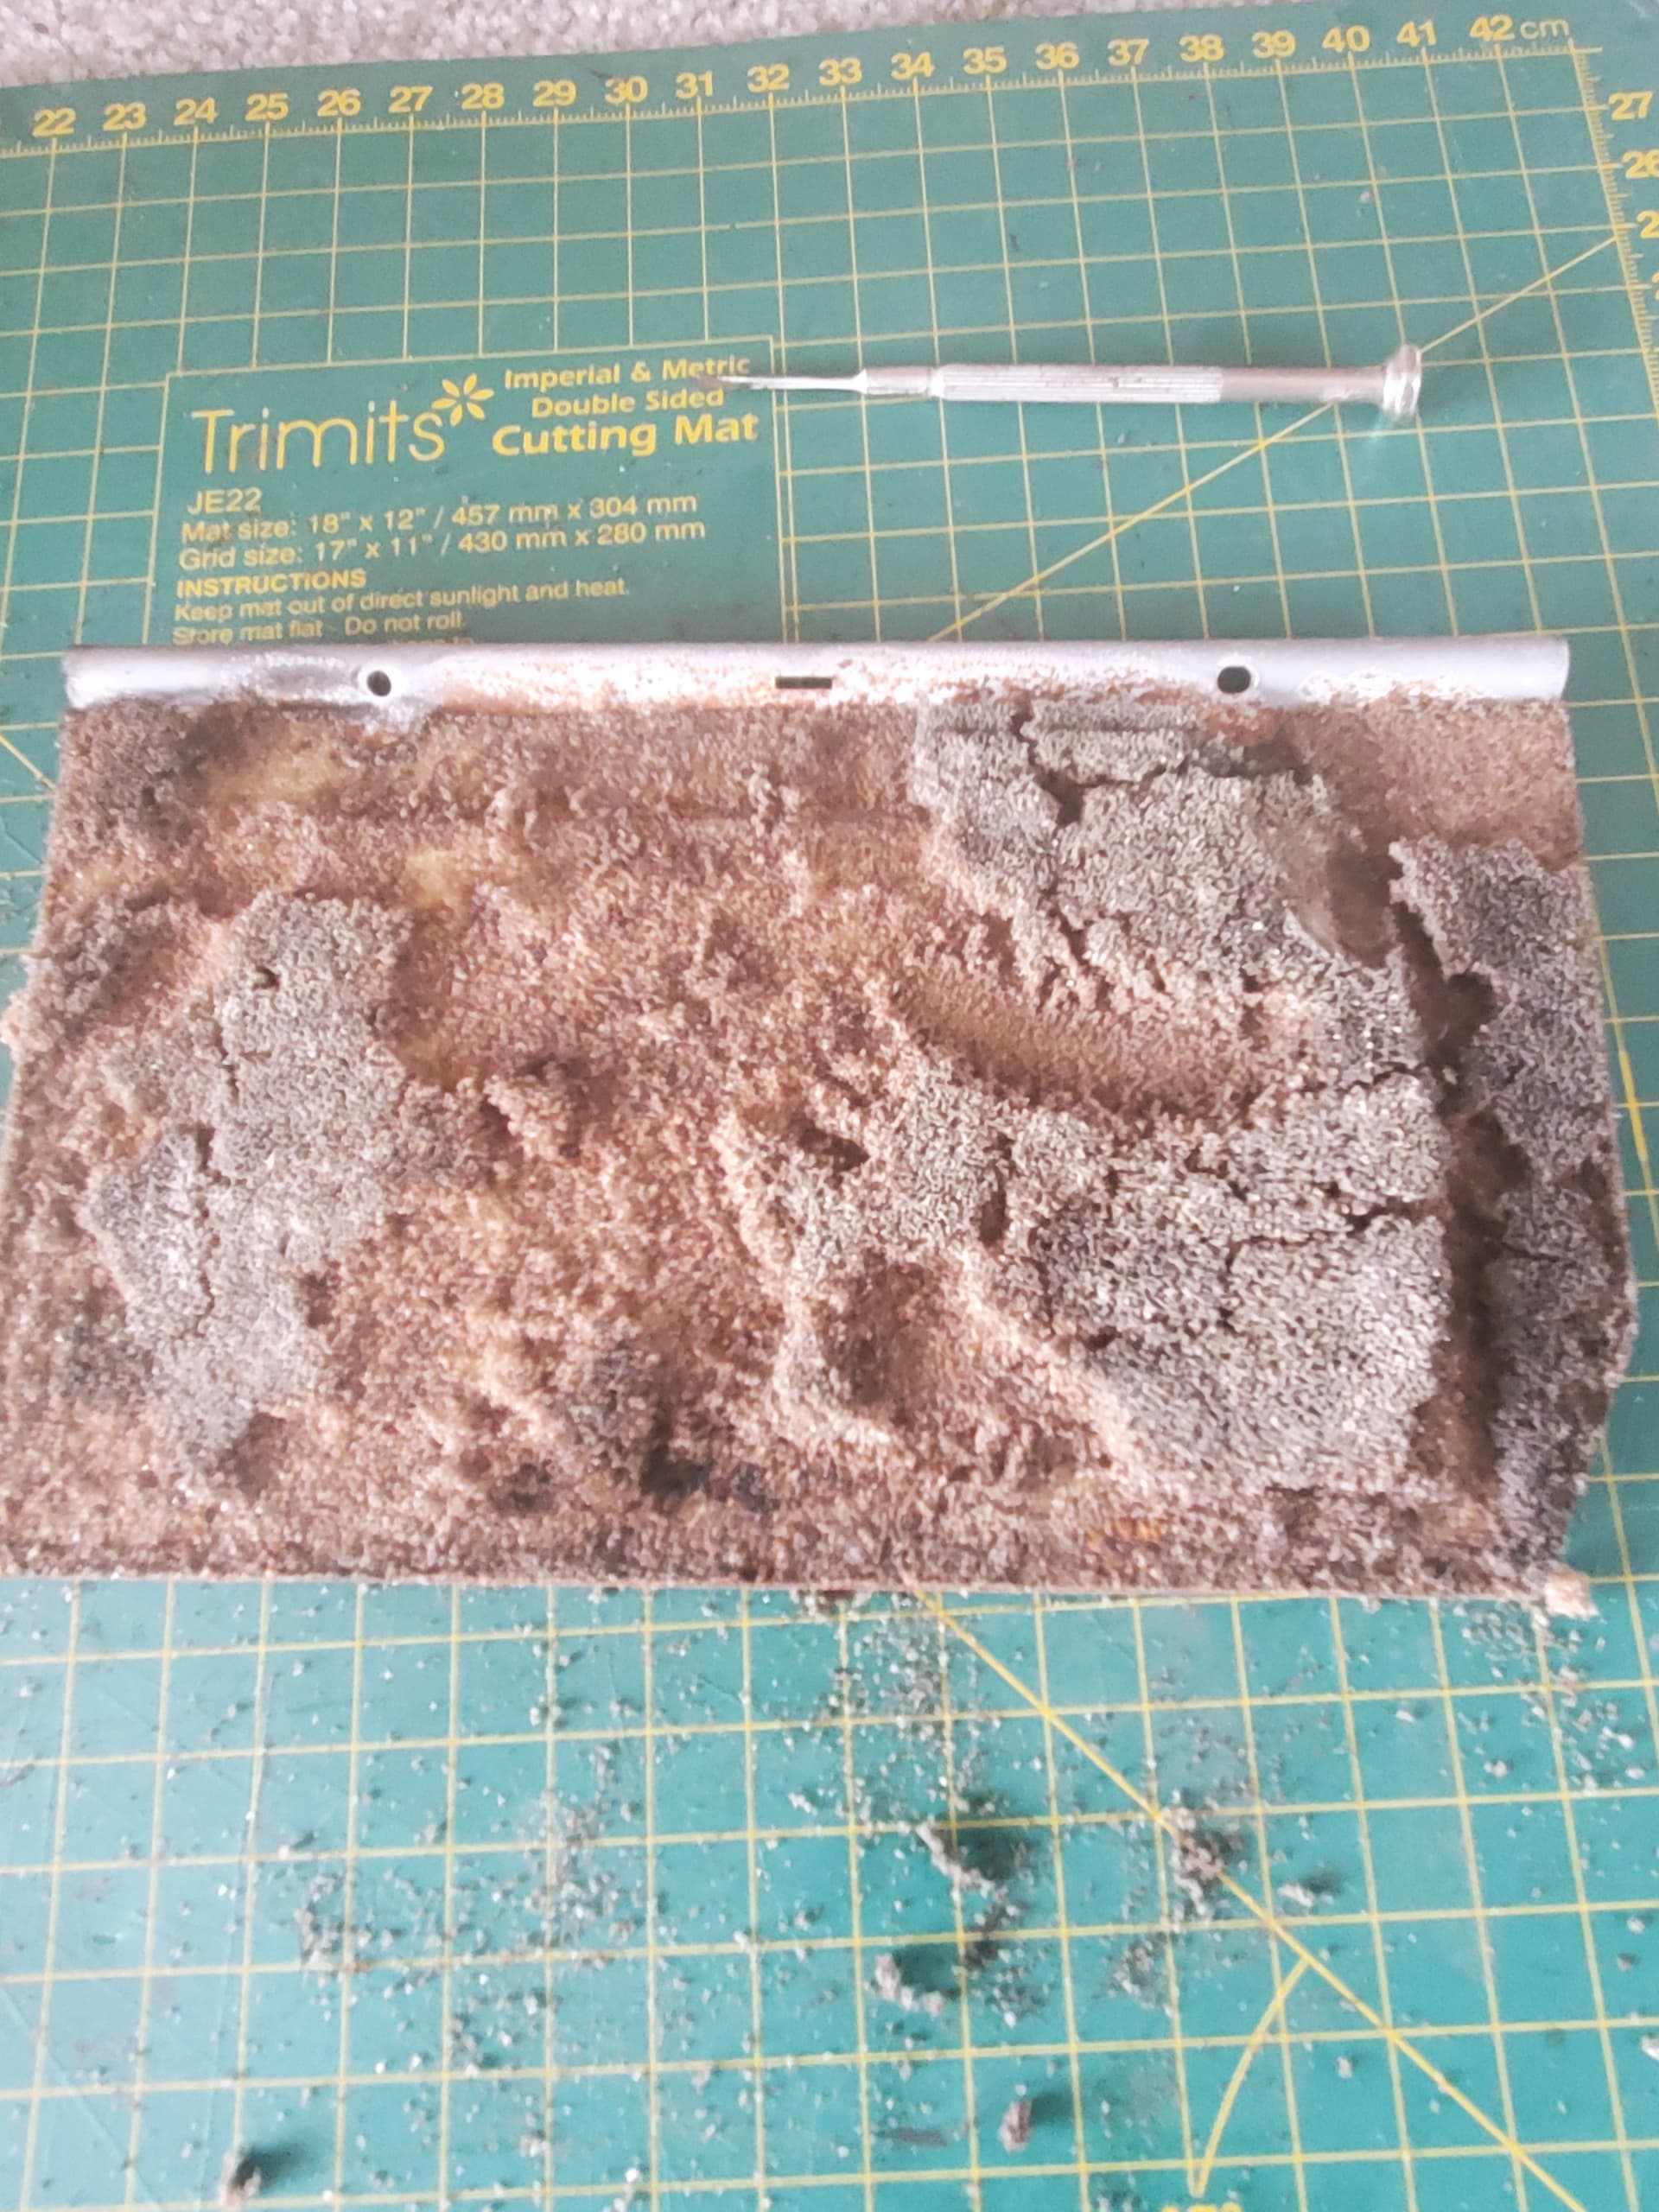
This is the main sealing flap for, i think, recurculate or fresh air. As you can see it stinks and basically turns to dust as soon as its touched. There are bits of it all through the rest of the assembly.
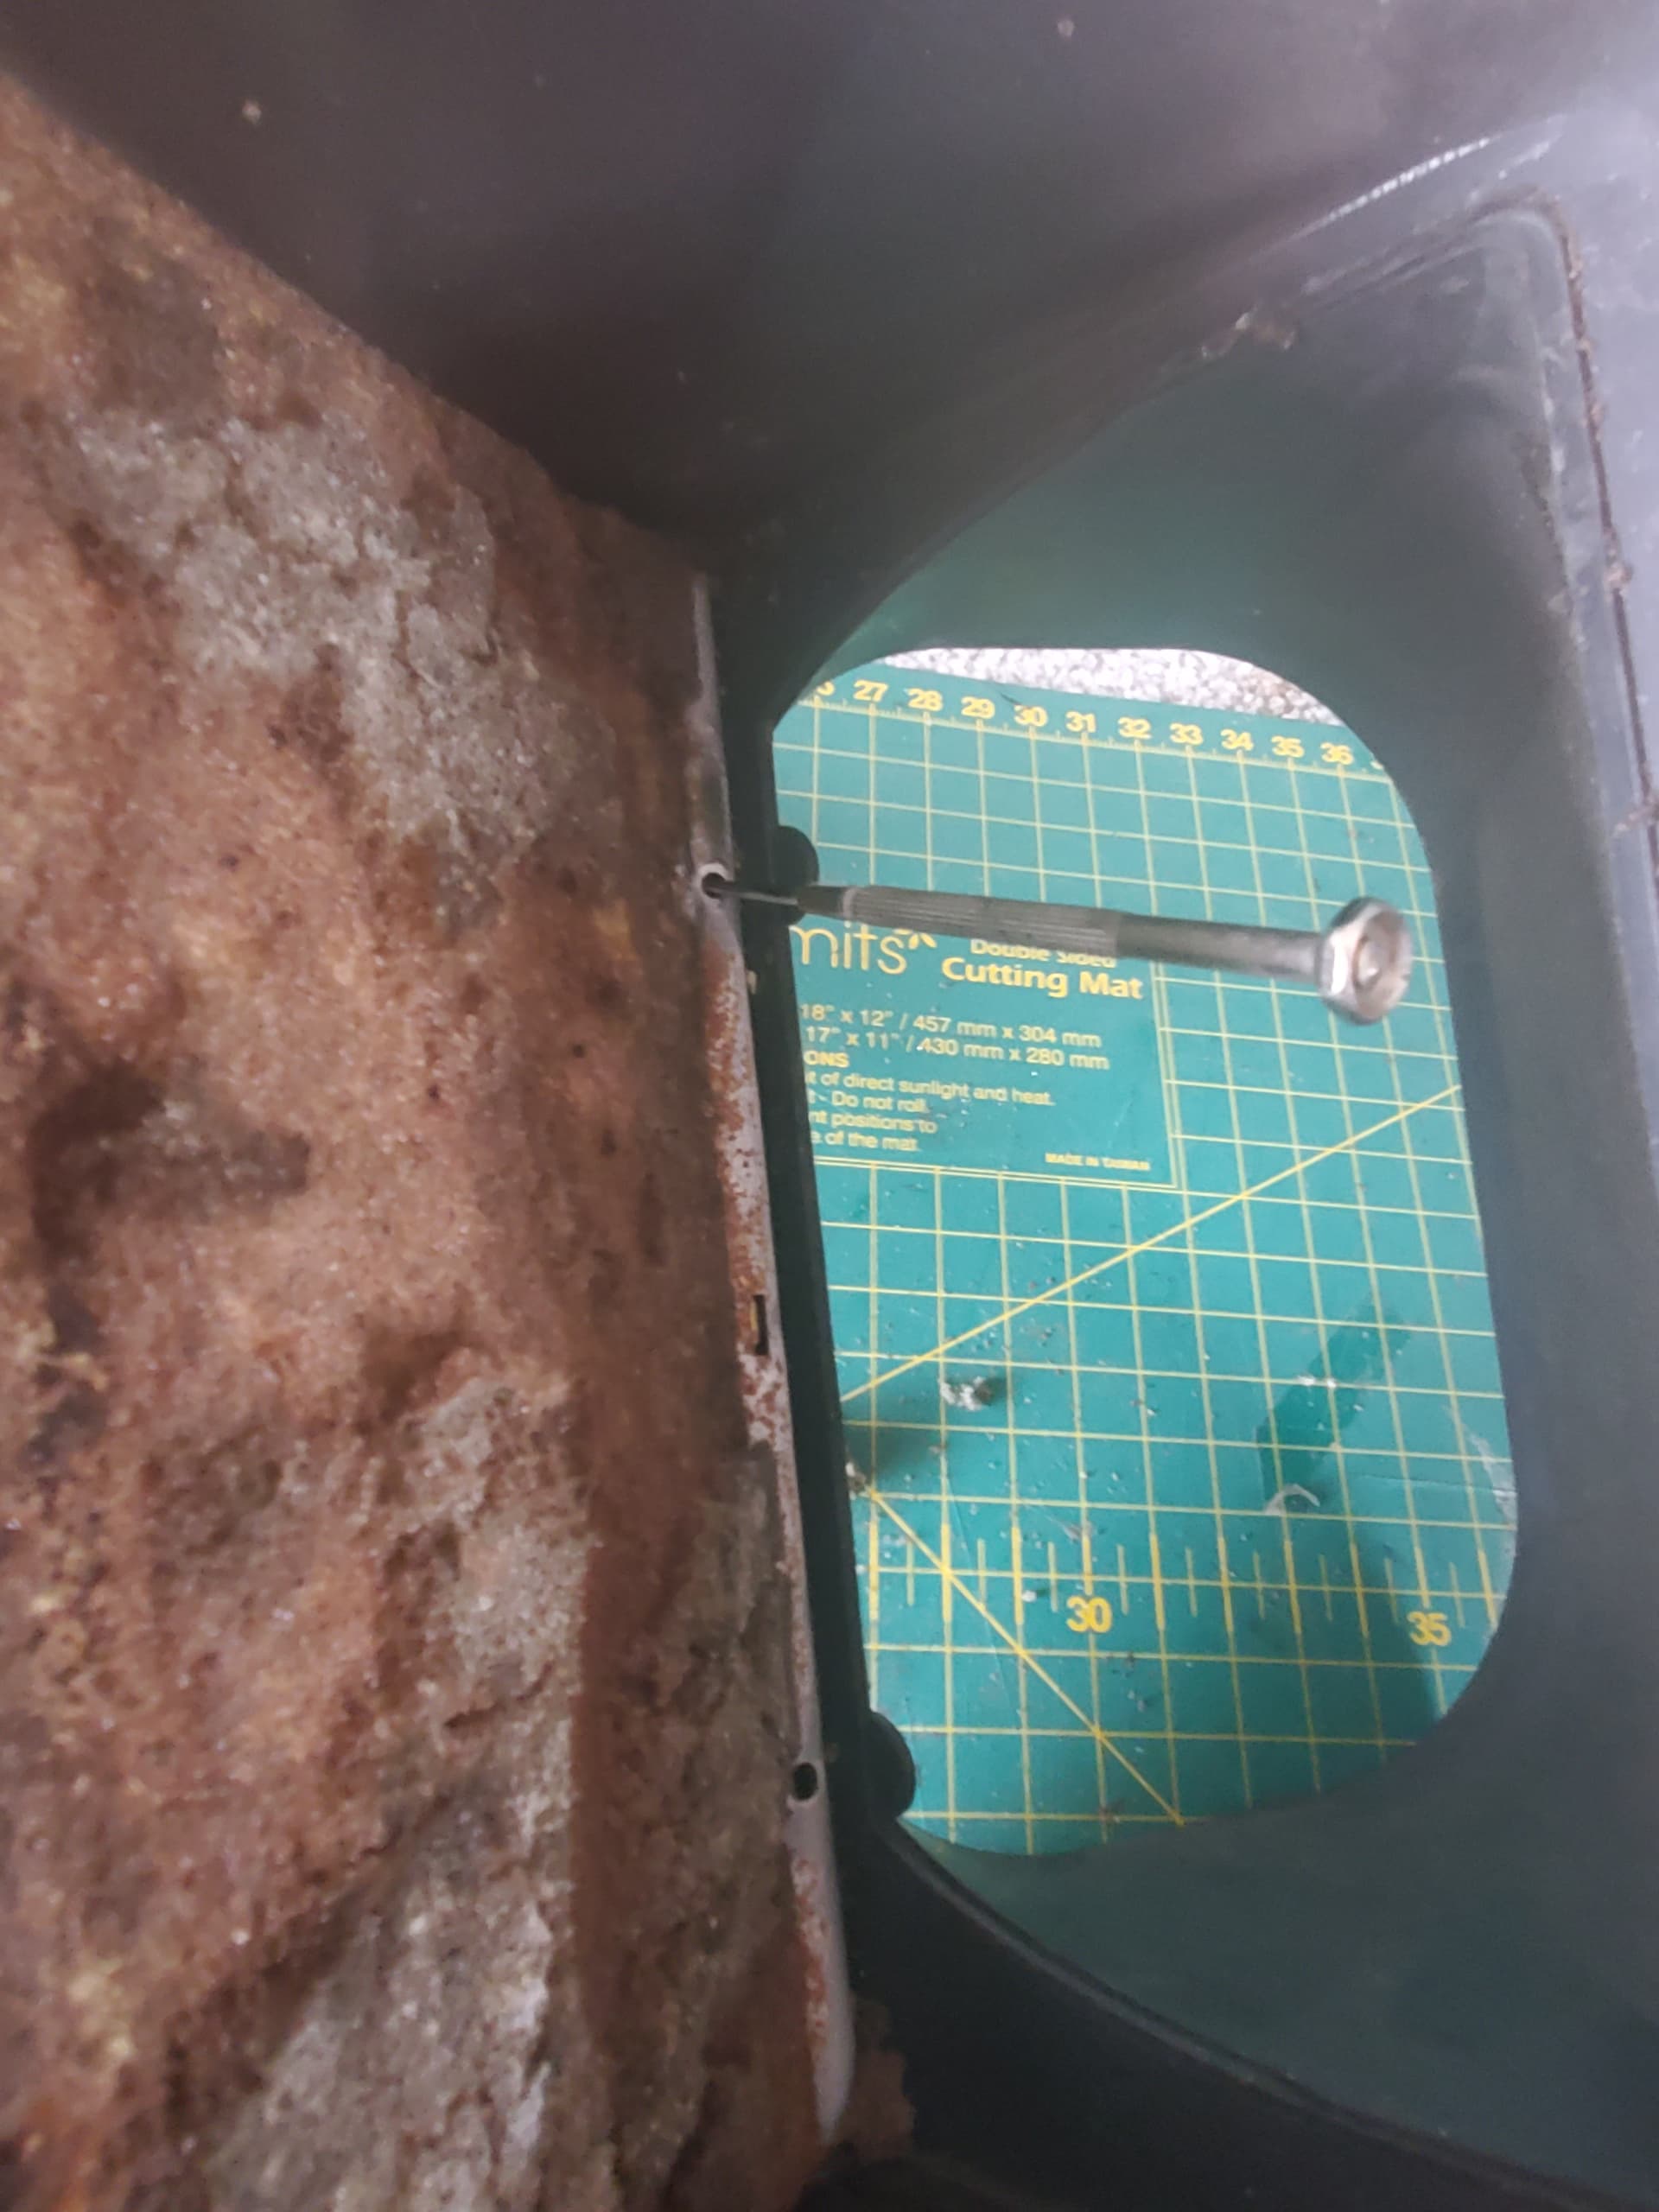
Undo a few perimeter screws and…
she parts.
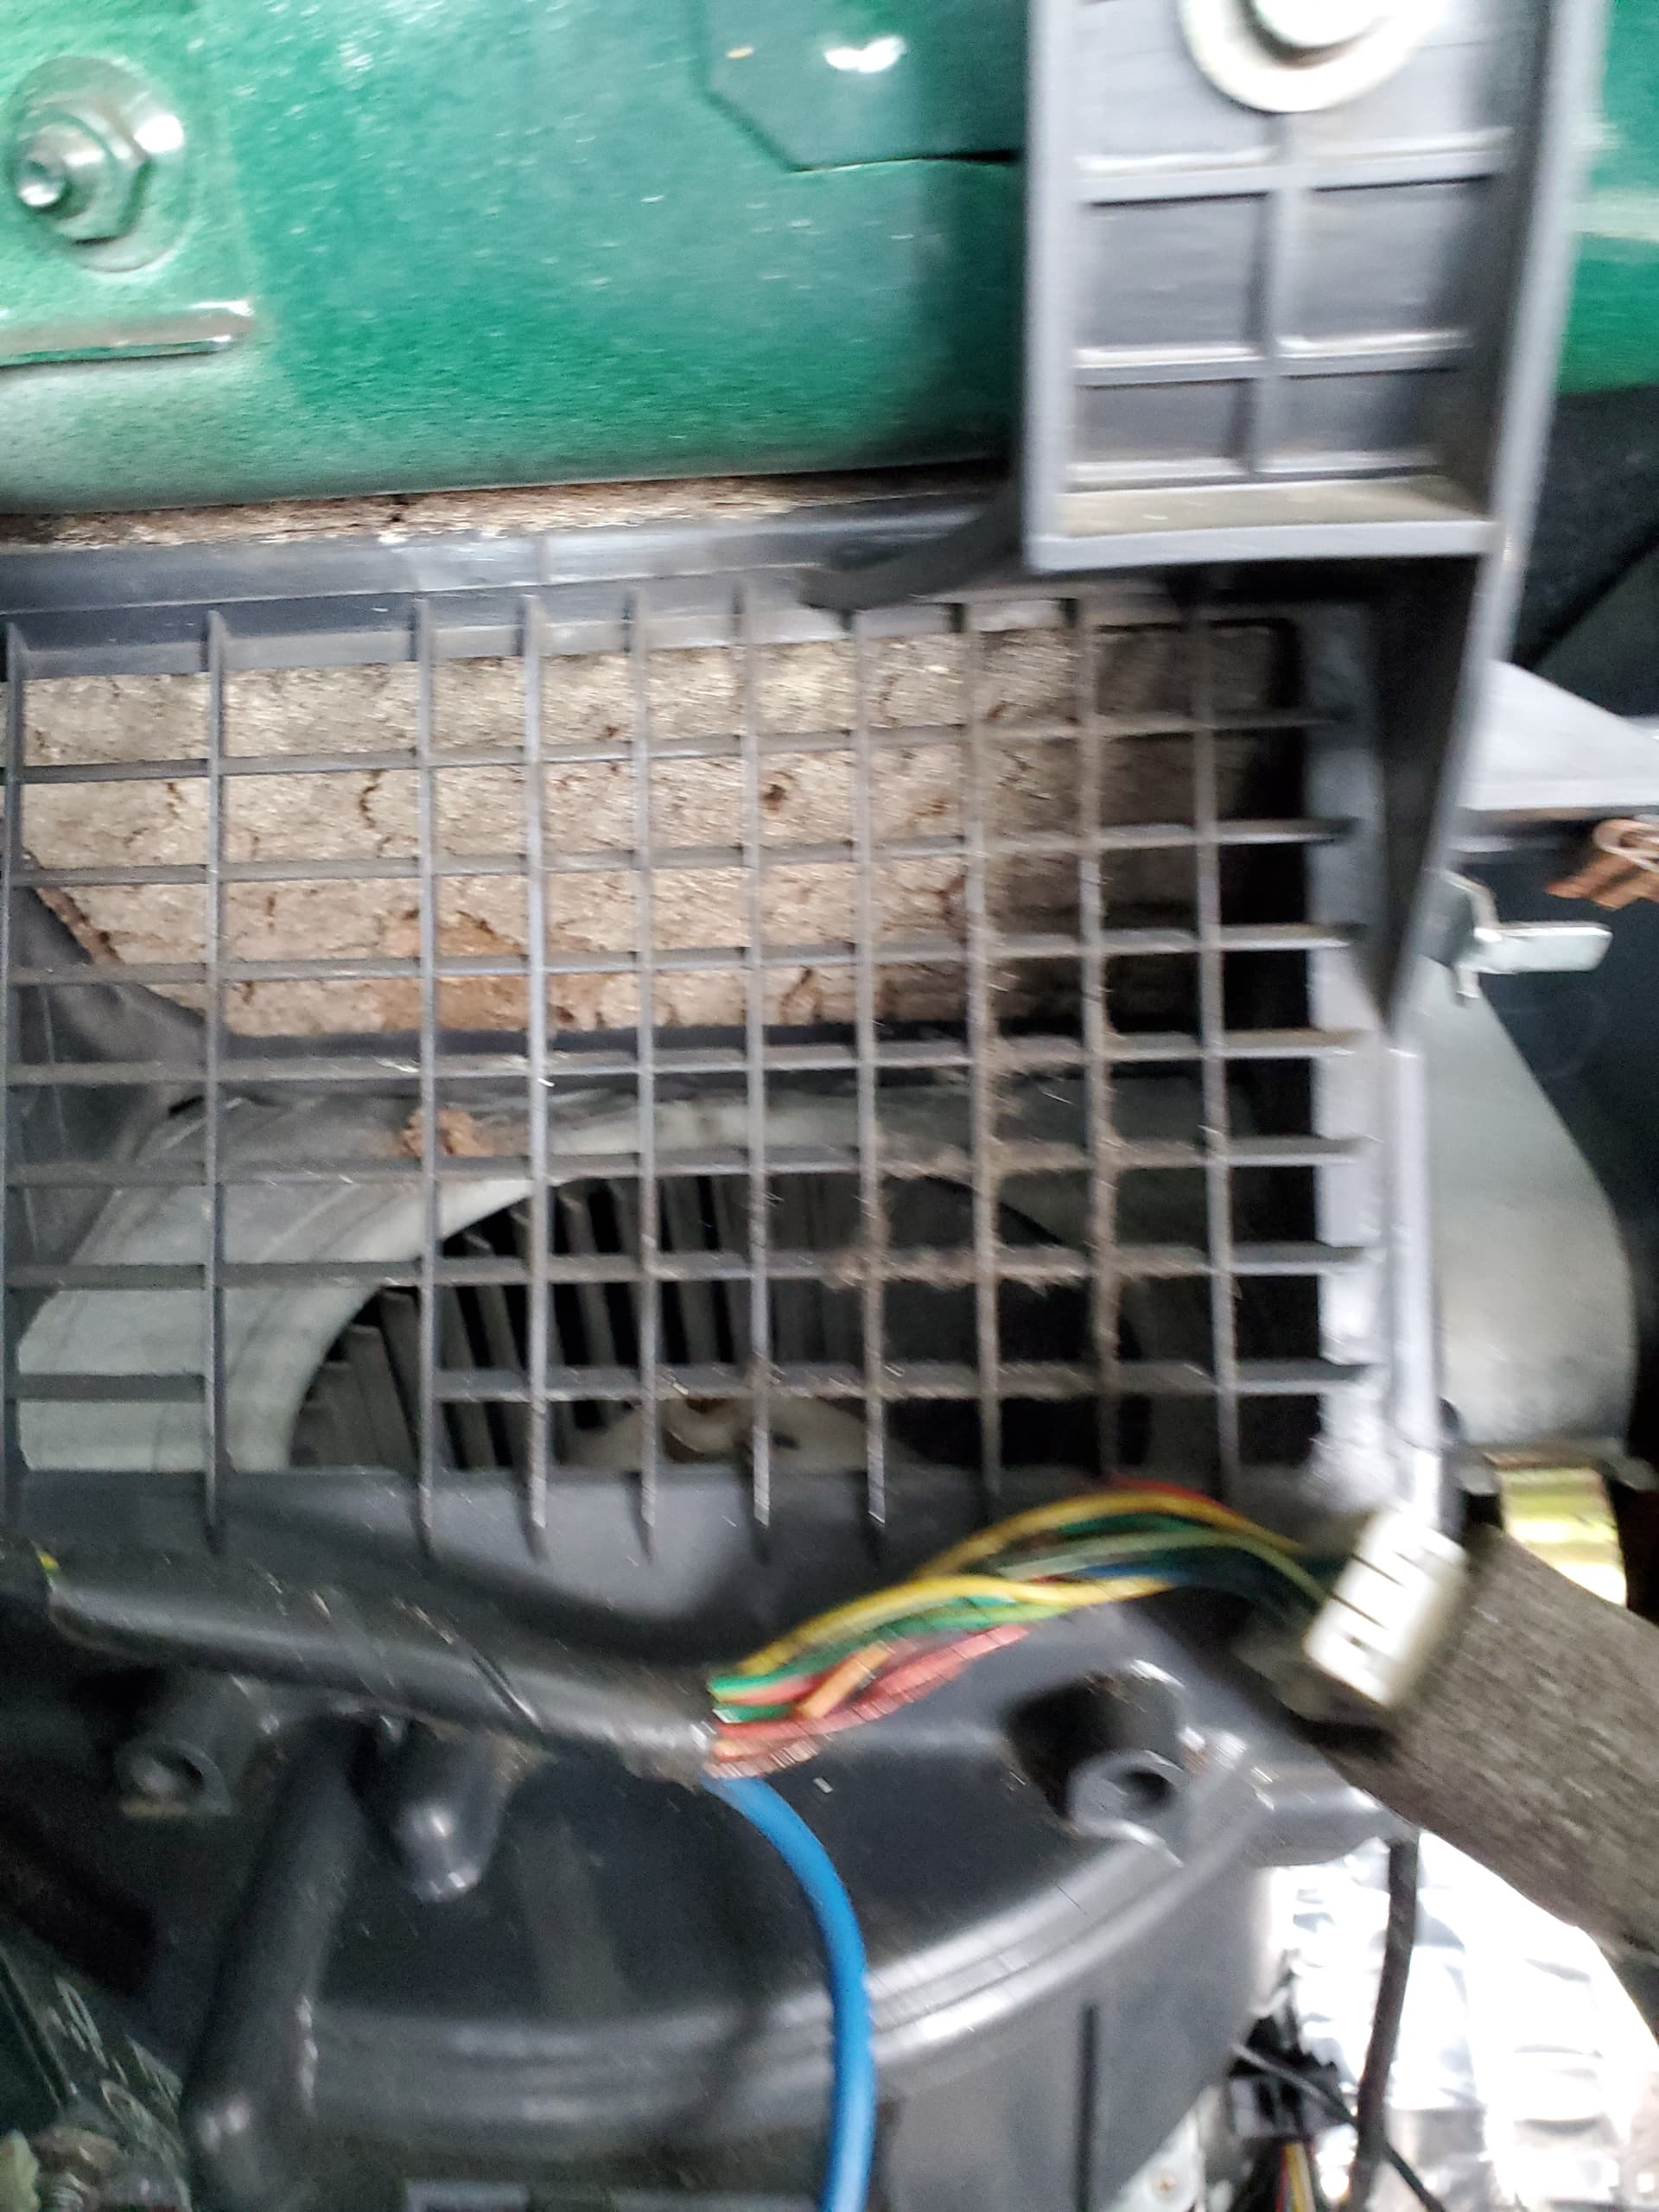
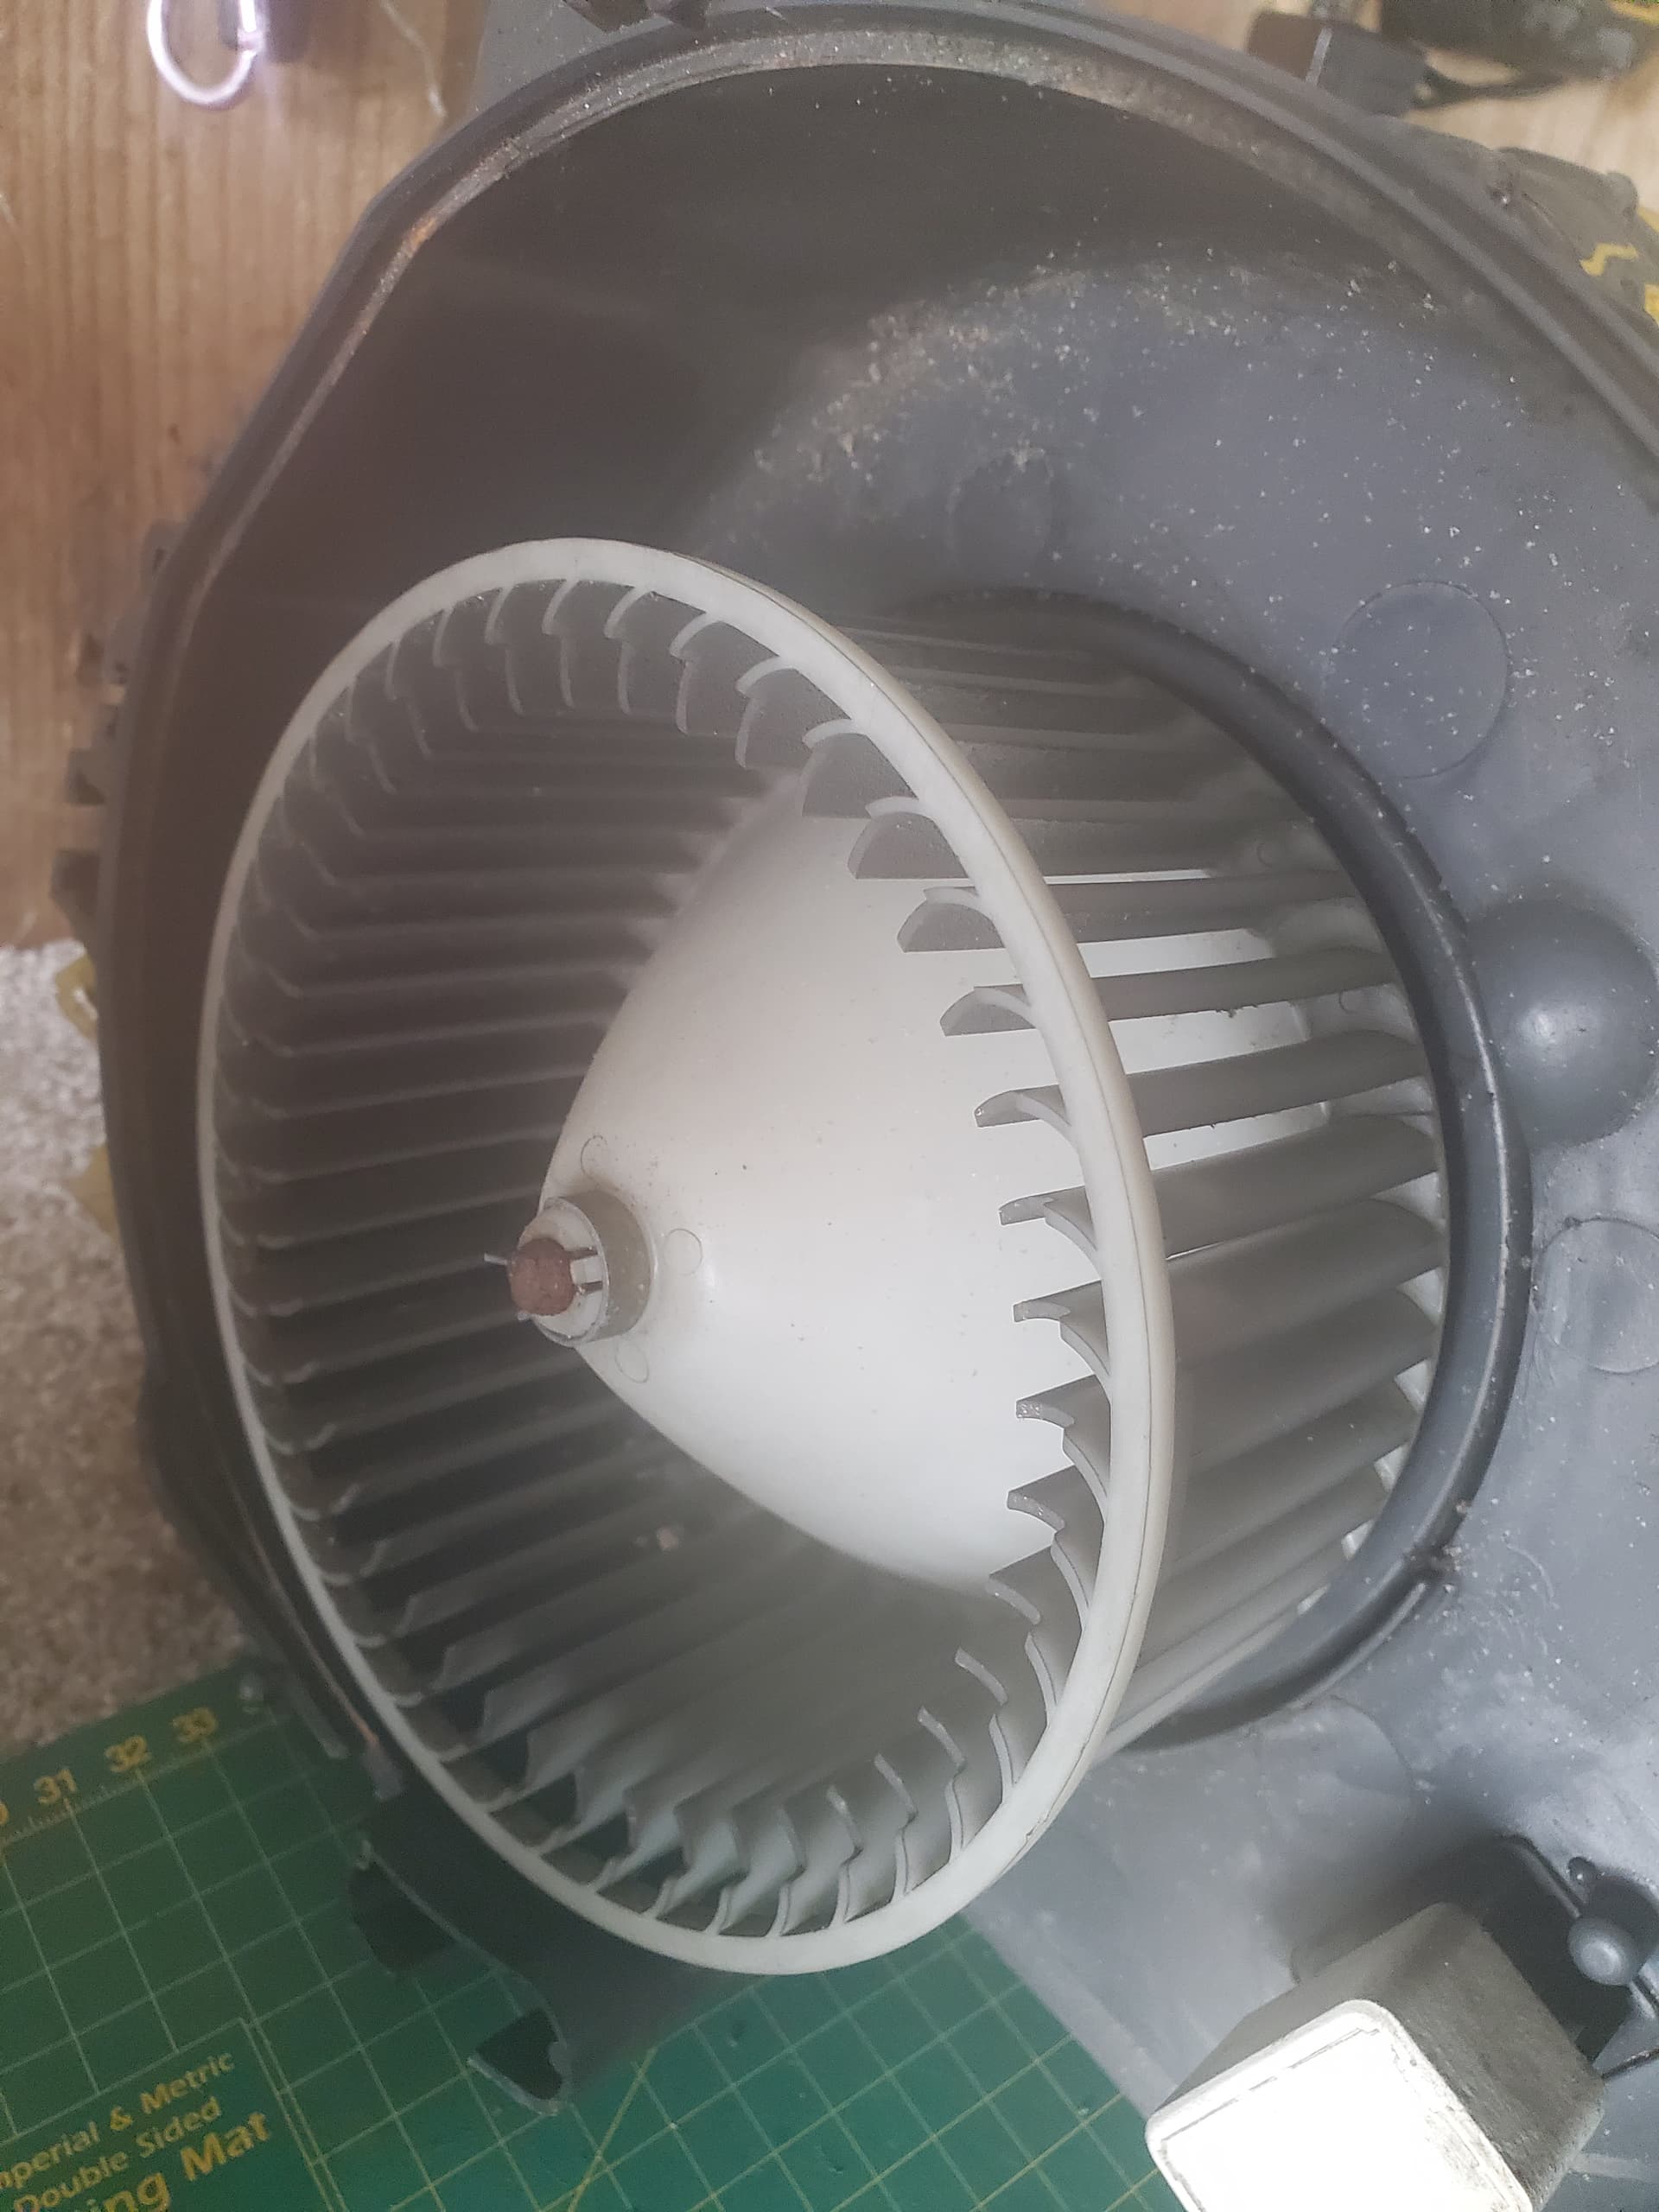
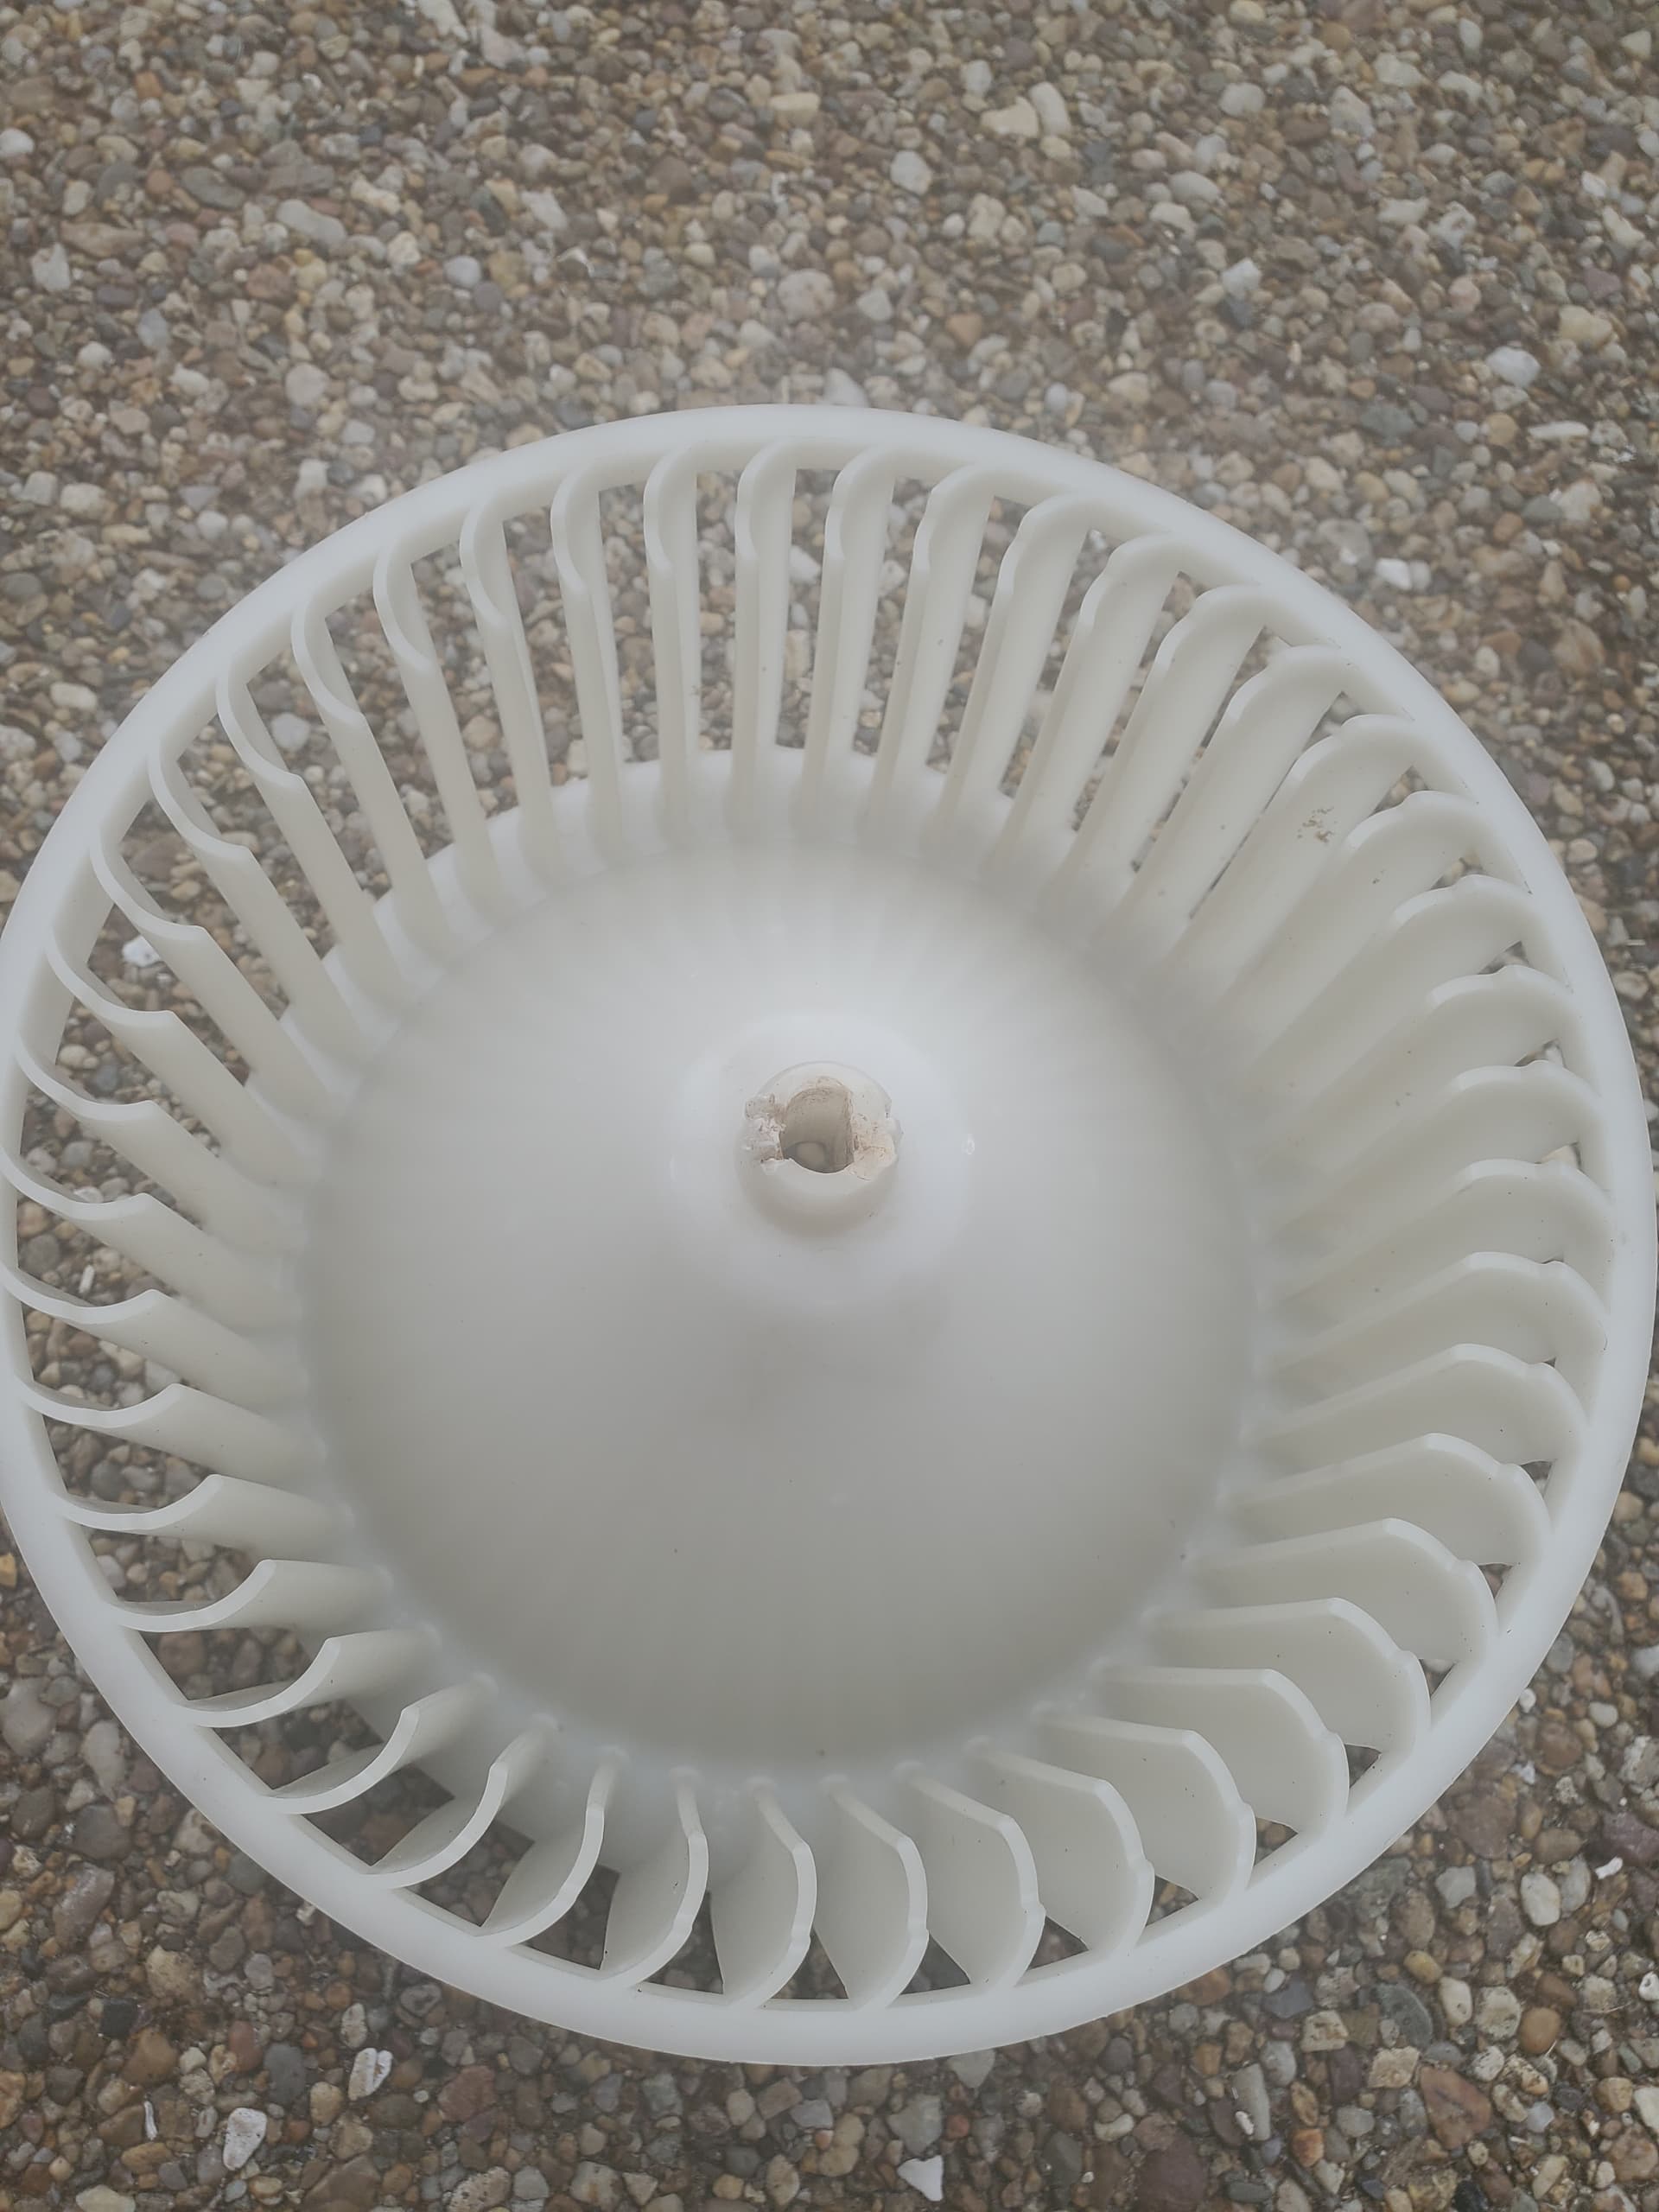
Here is the blower fan. Disgusting.
A hose style clamp and a small tab later and its ready to effortlesley slide of the shaft.
It actually needed a bit of whacking with a punch while el wifeo held the fan from the underside.
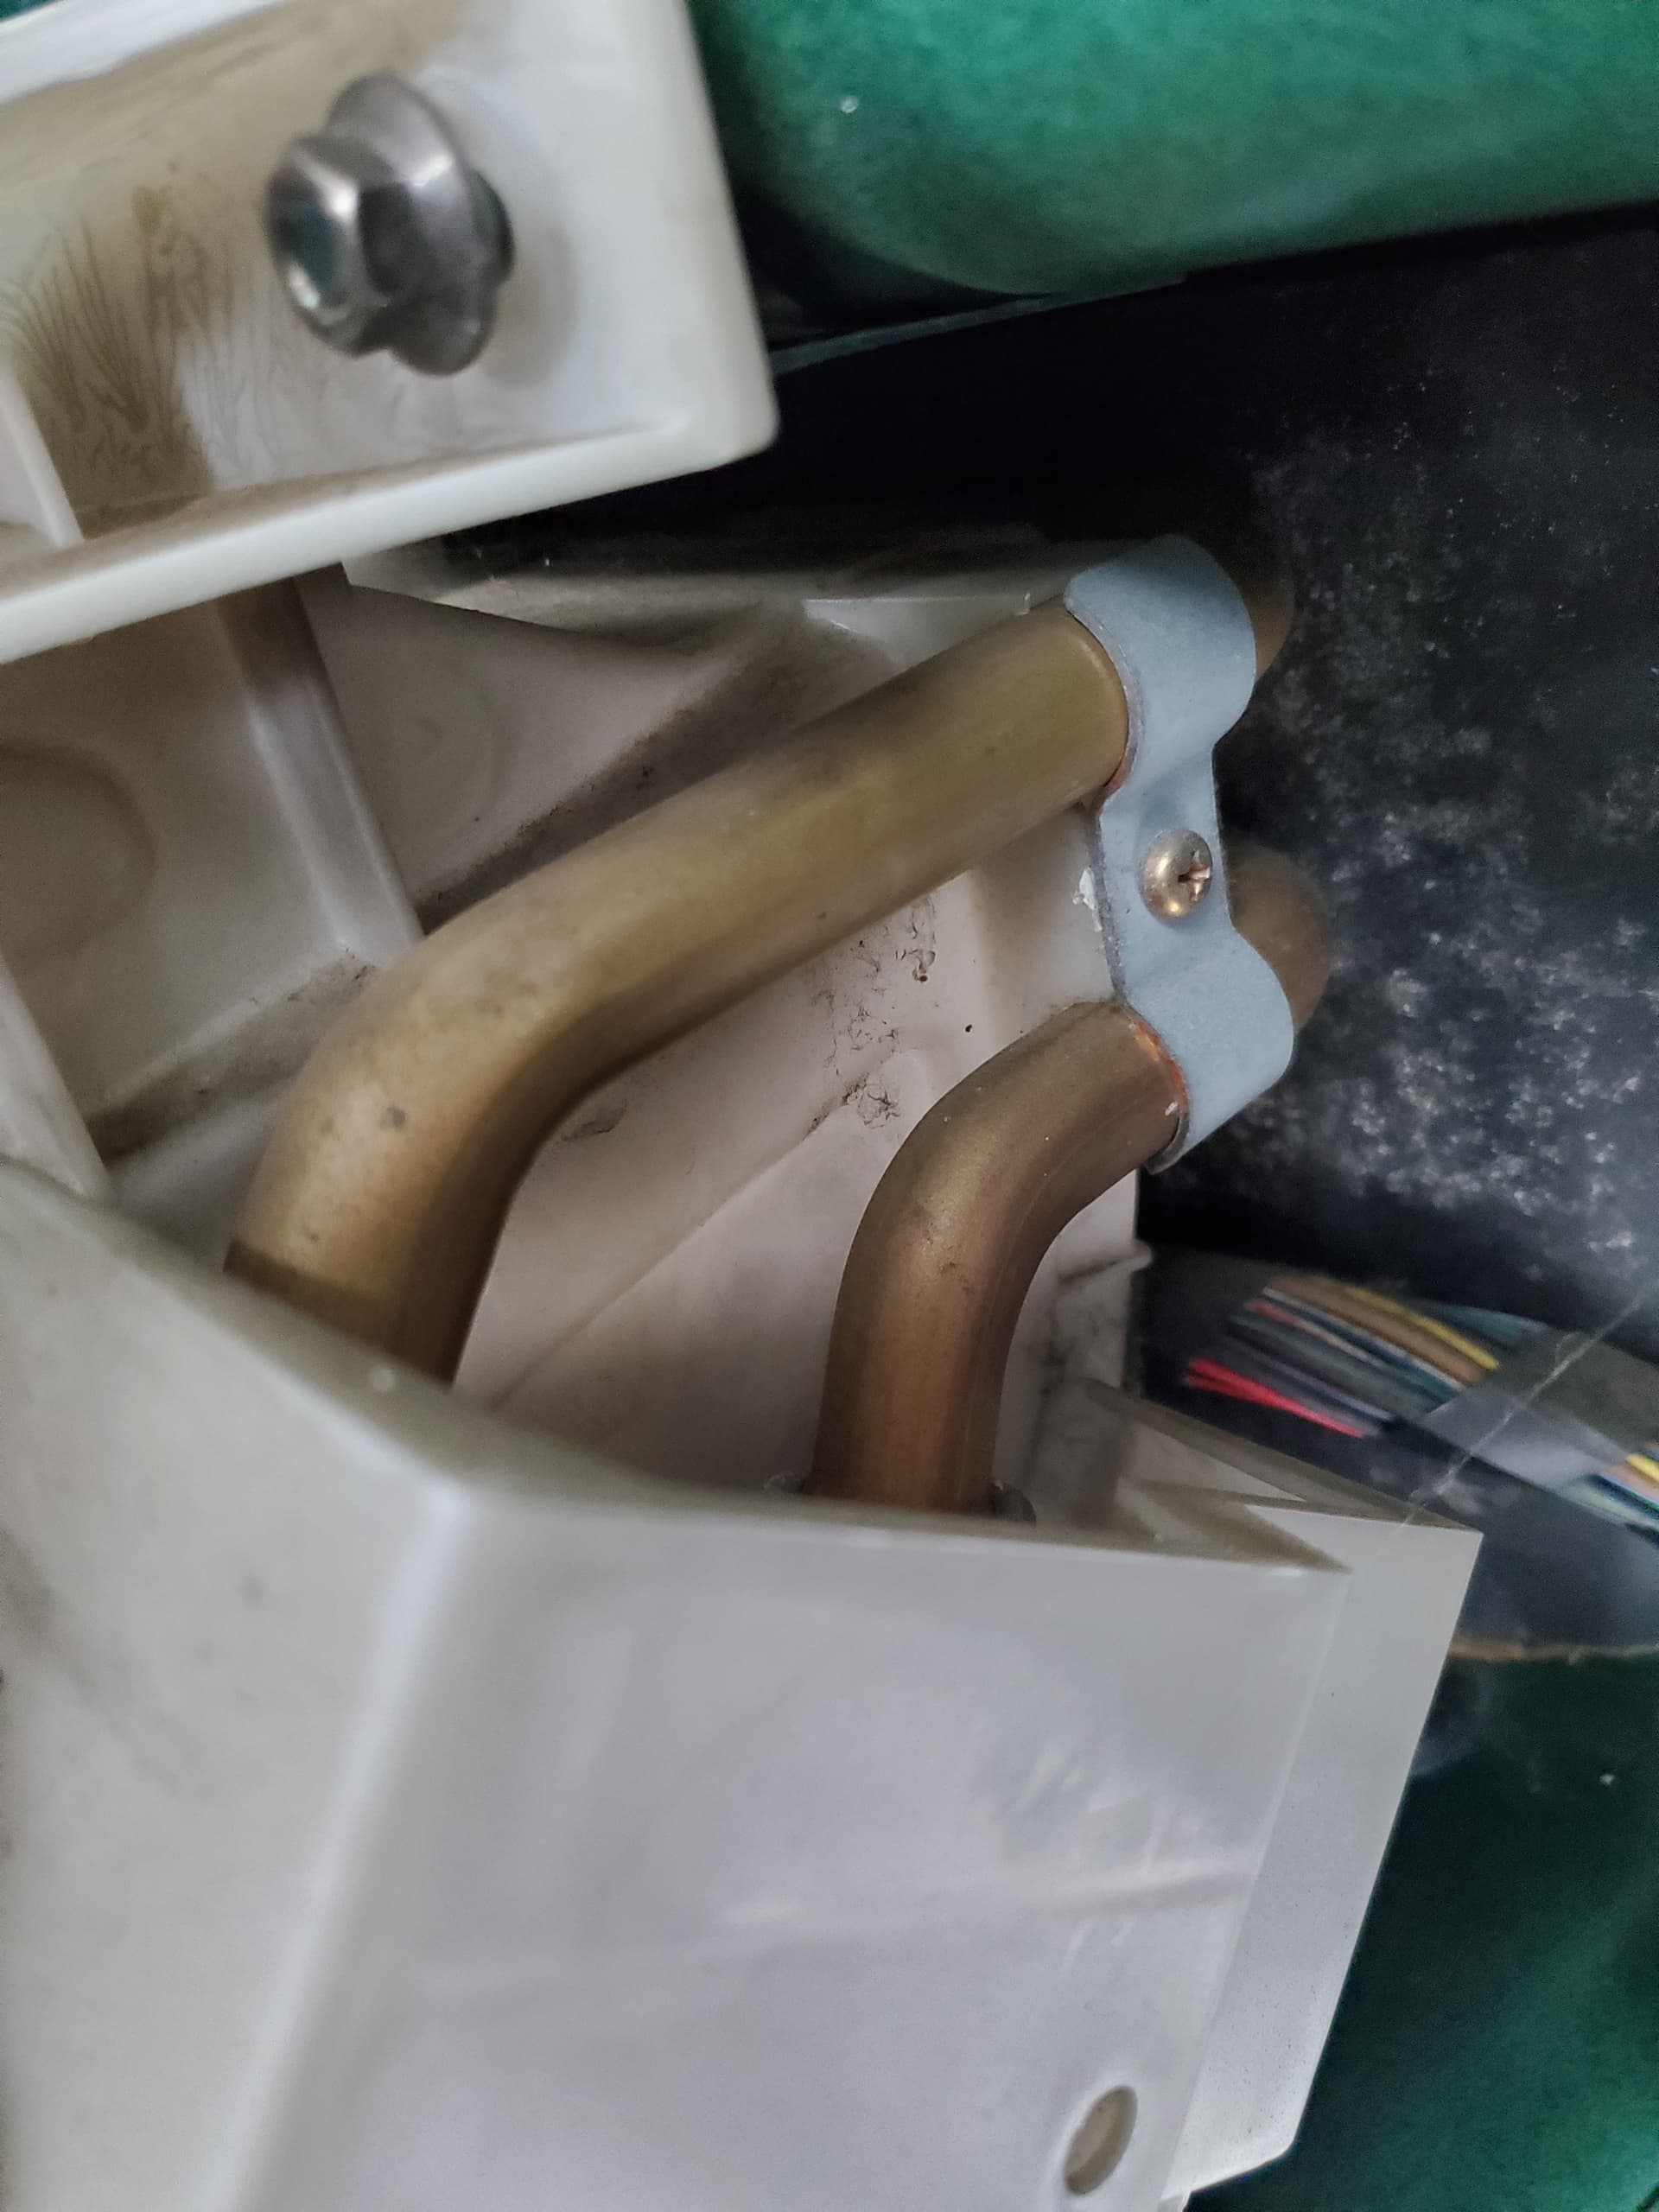
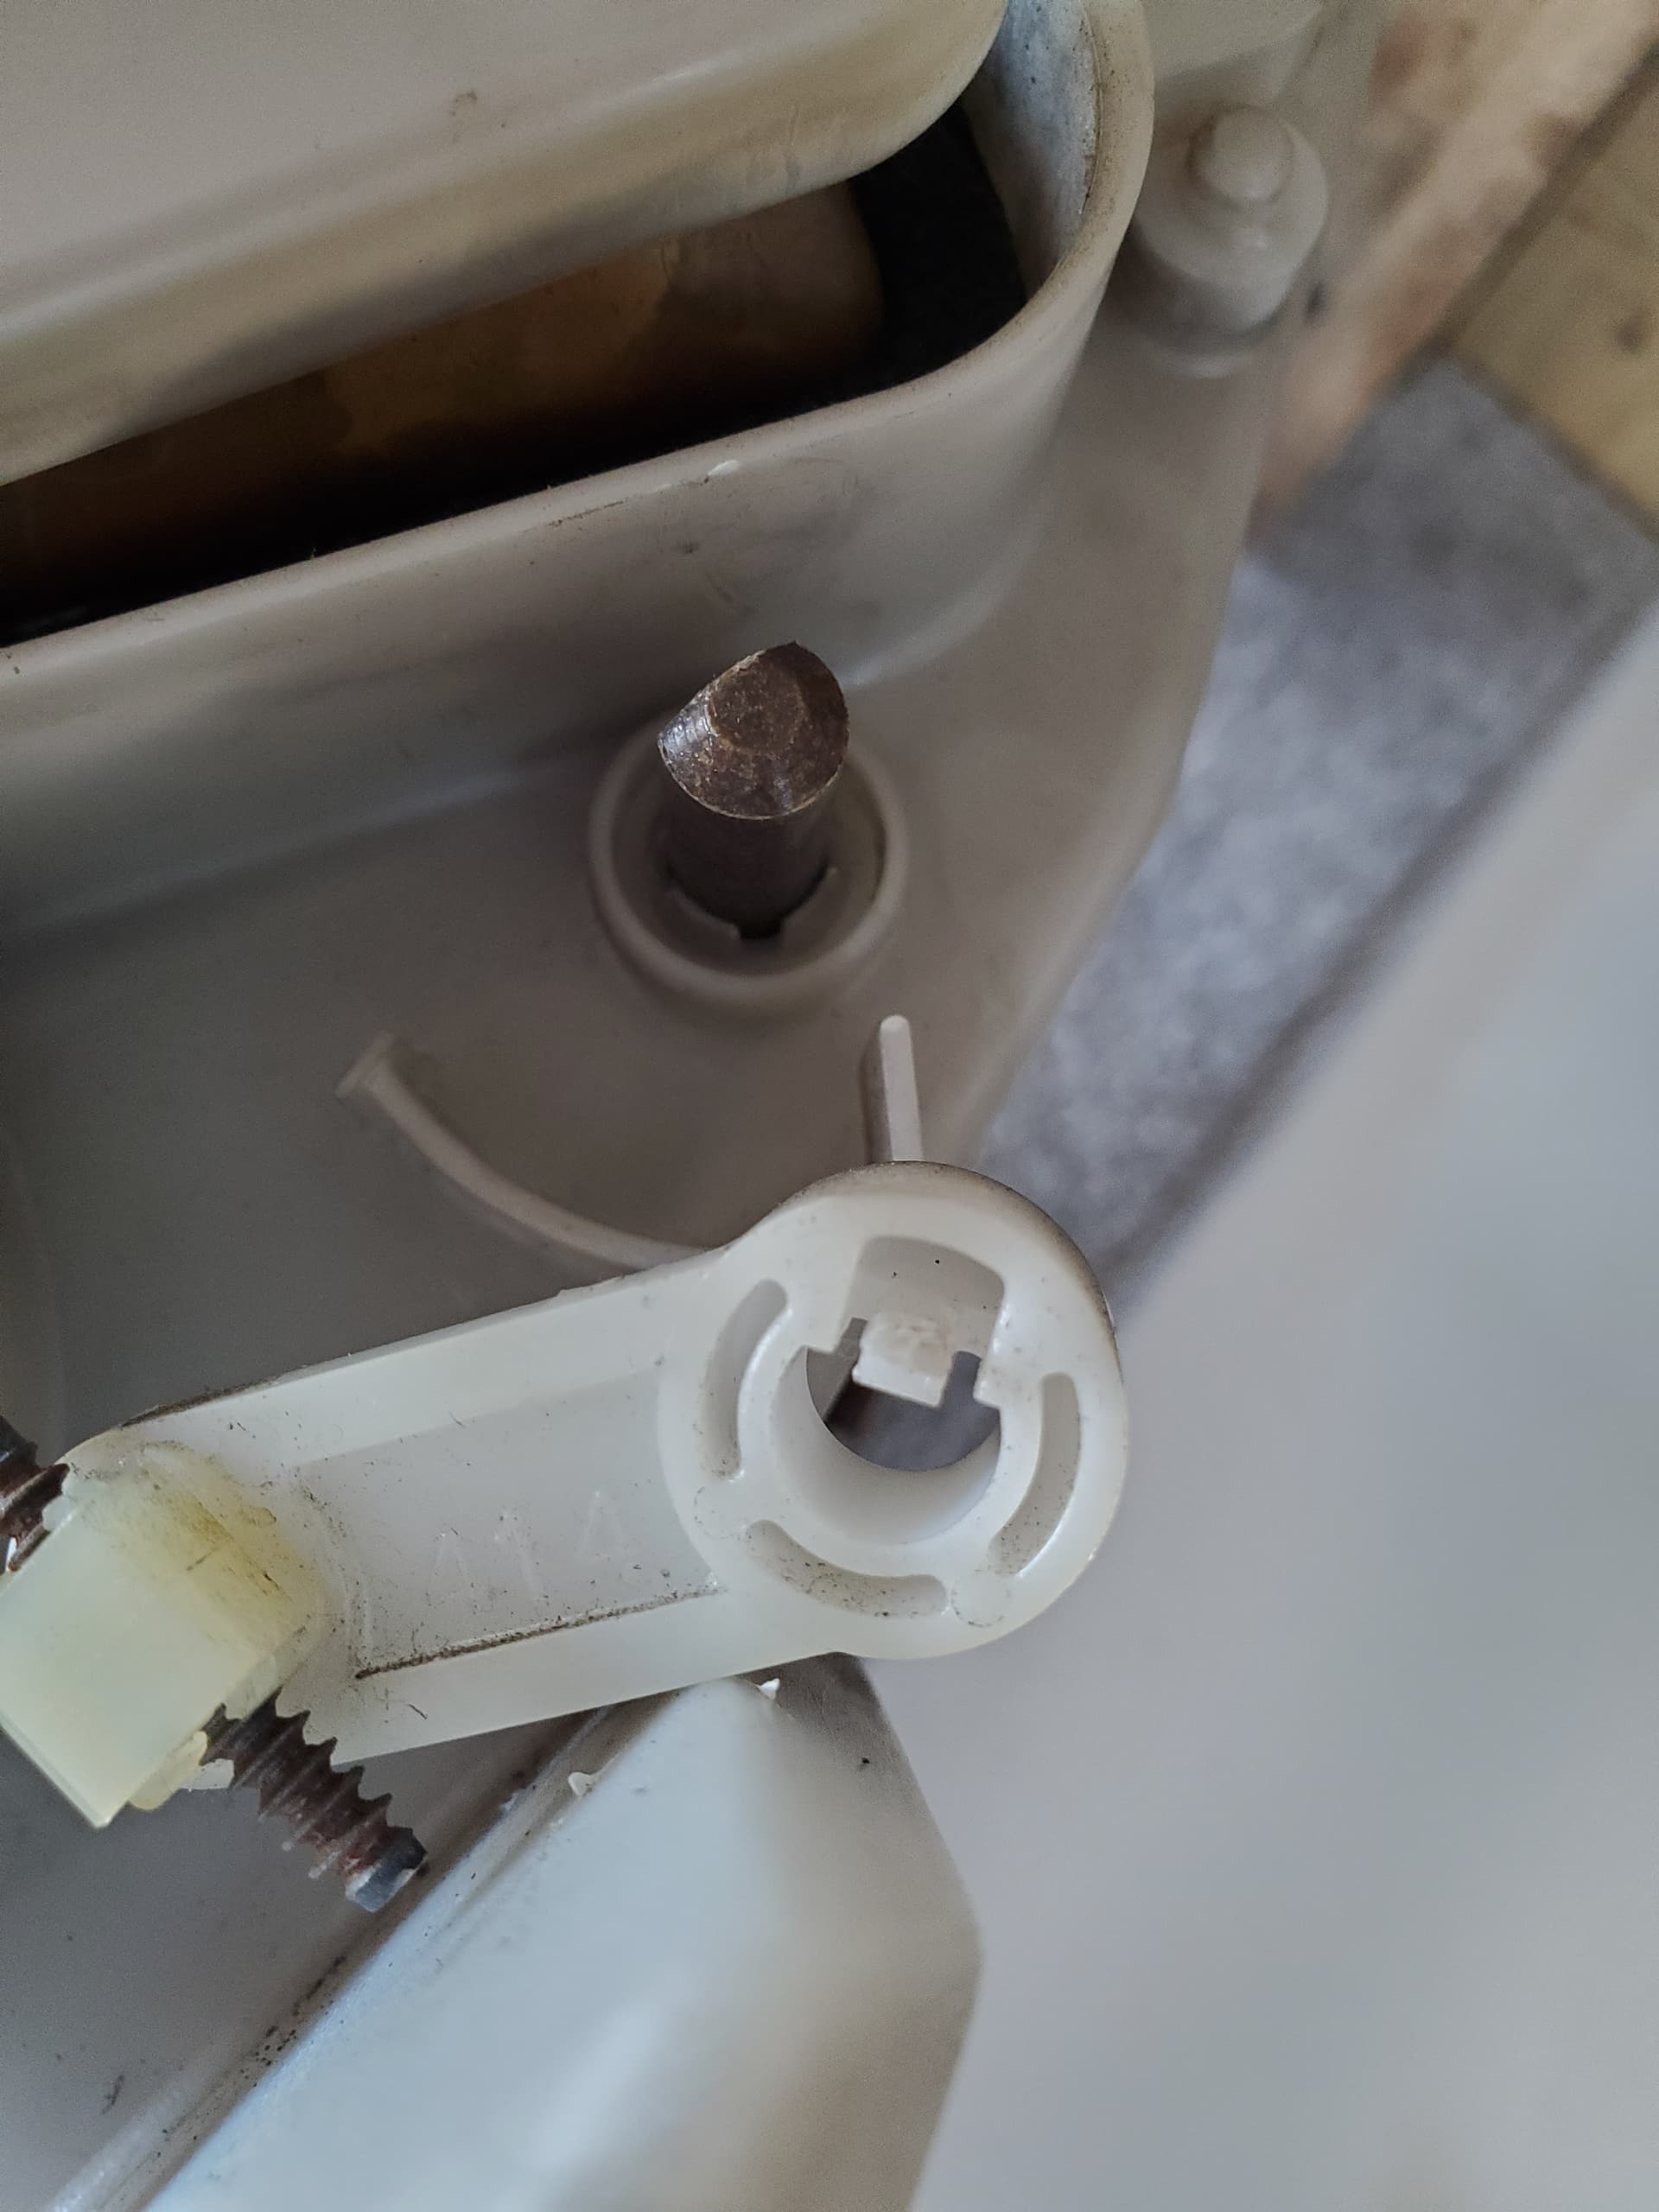
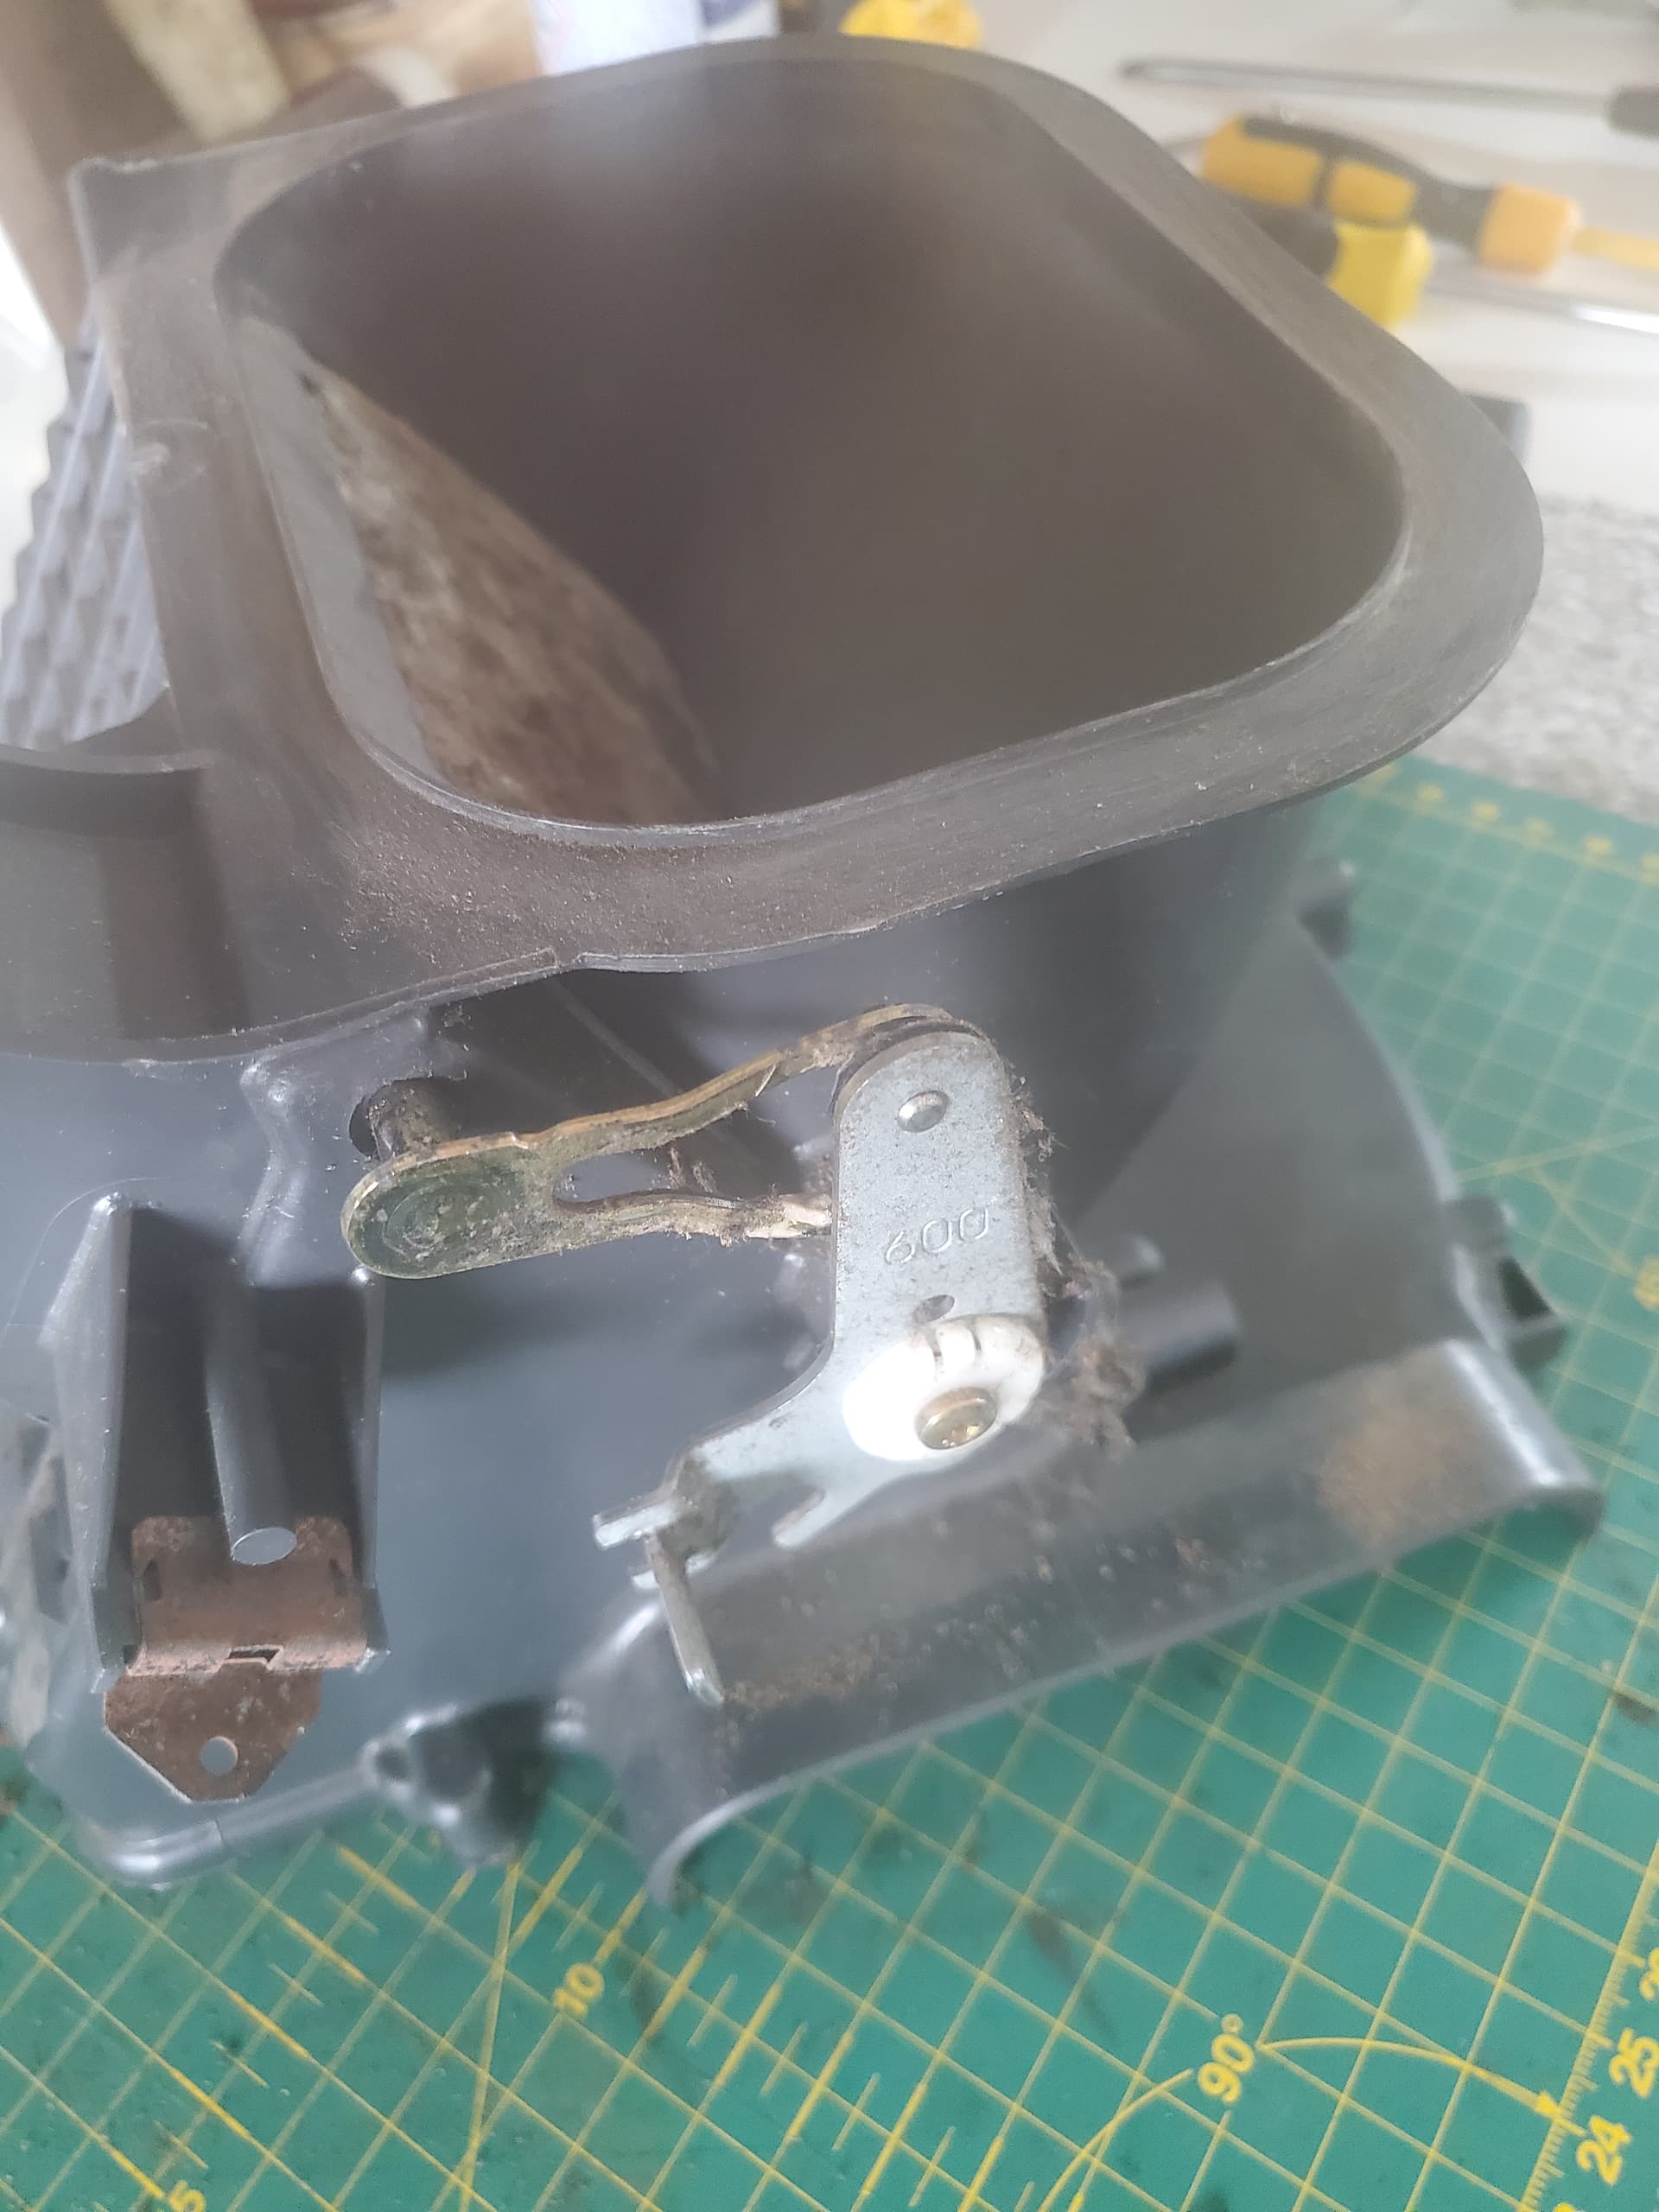
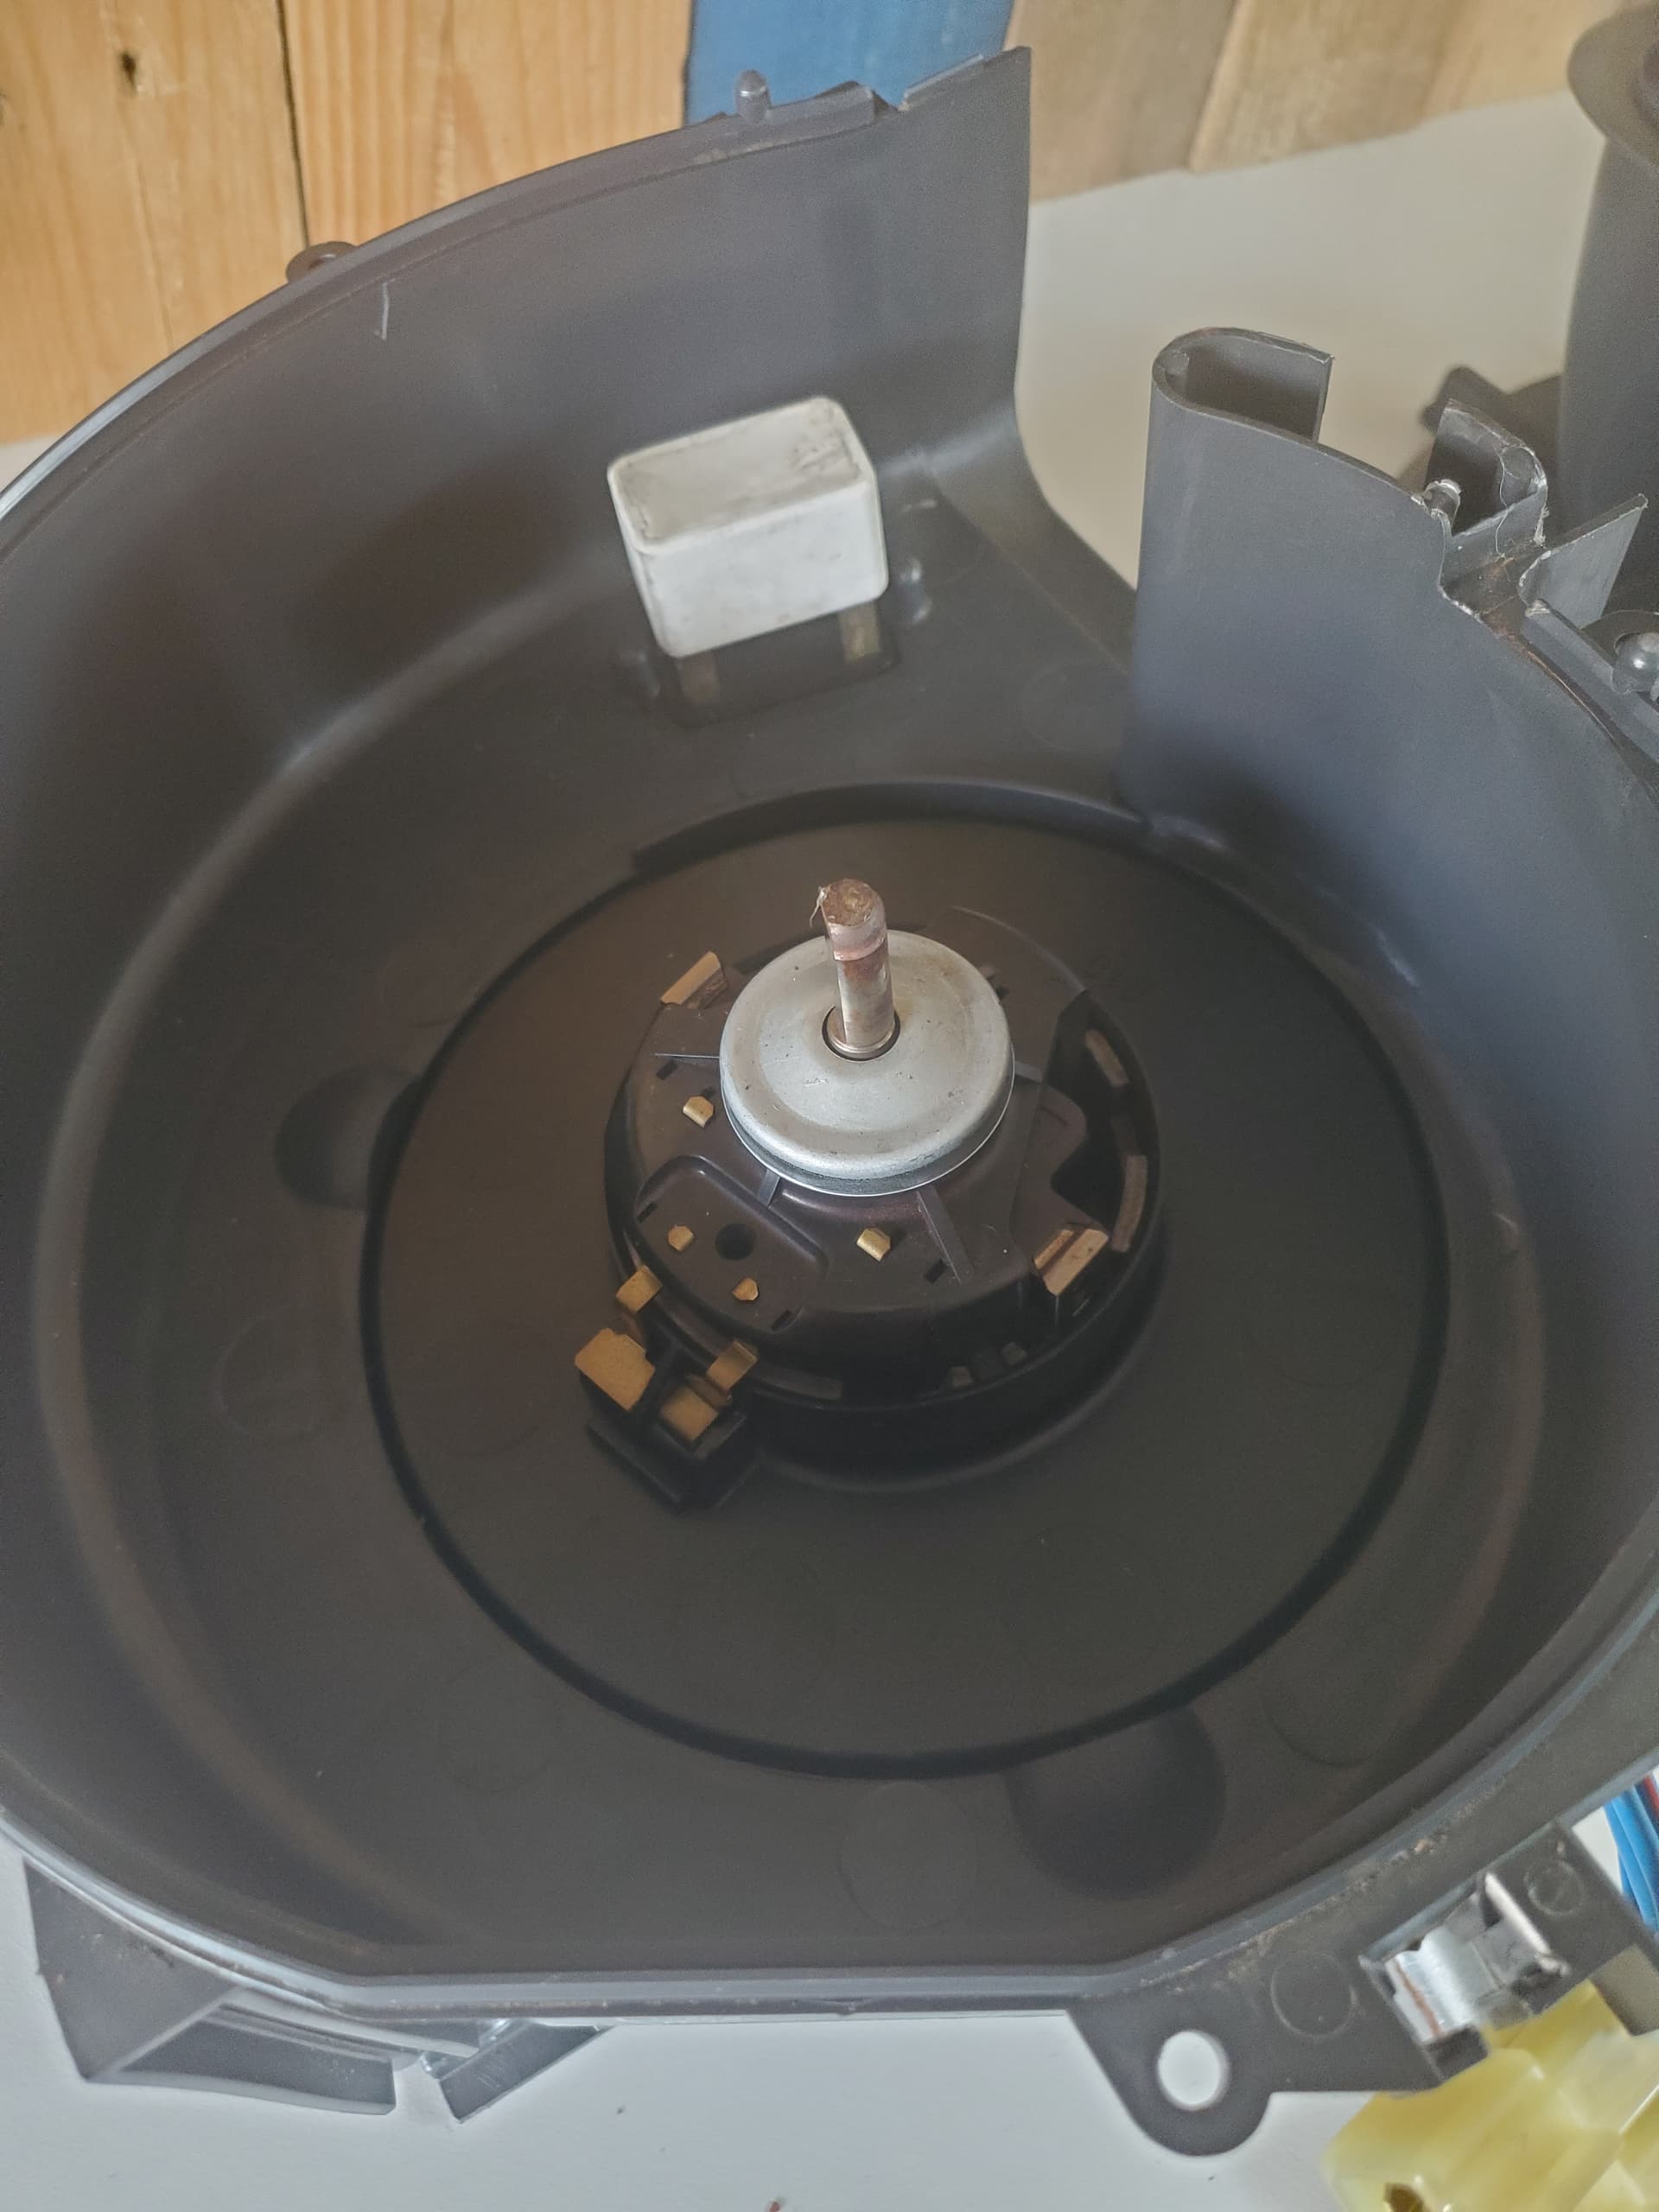
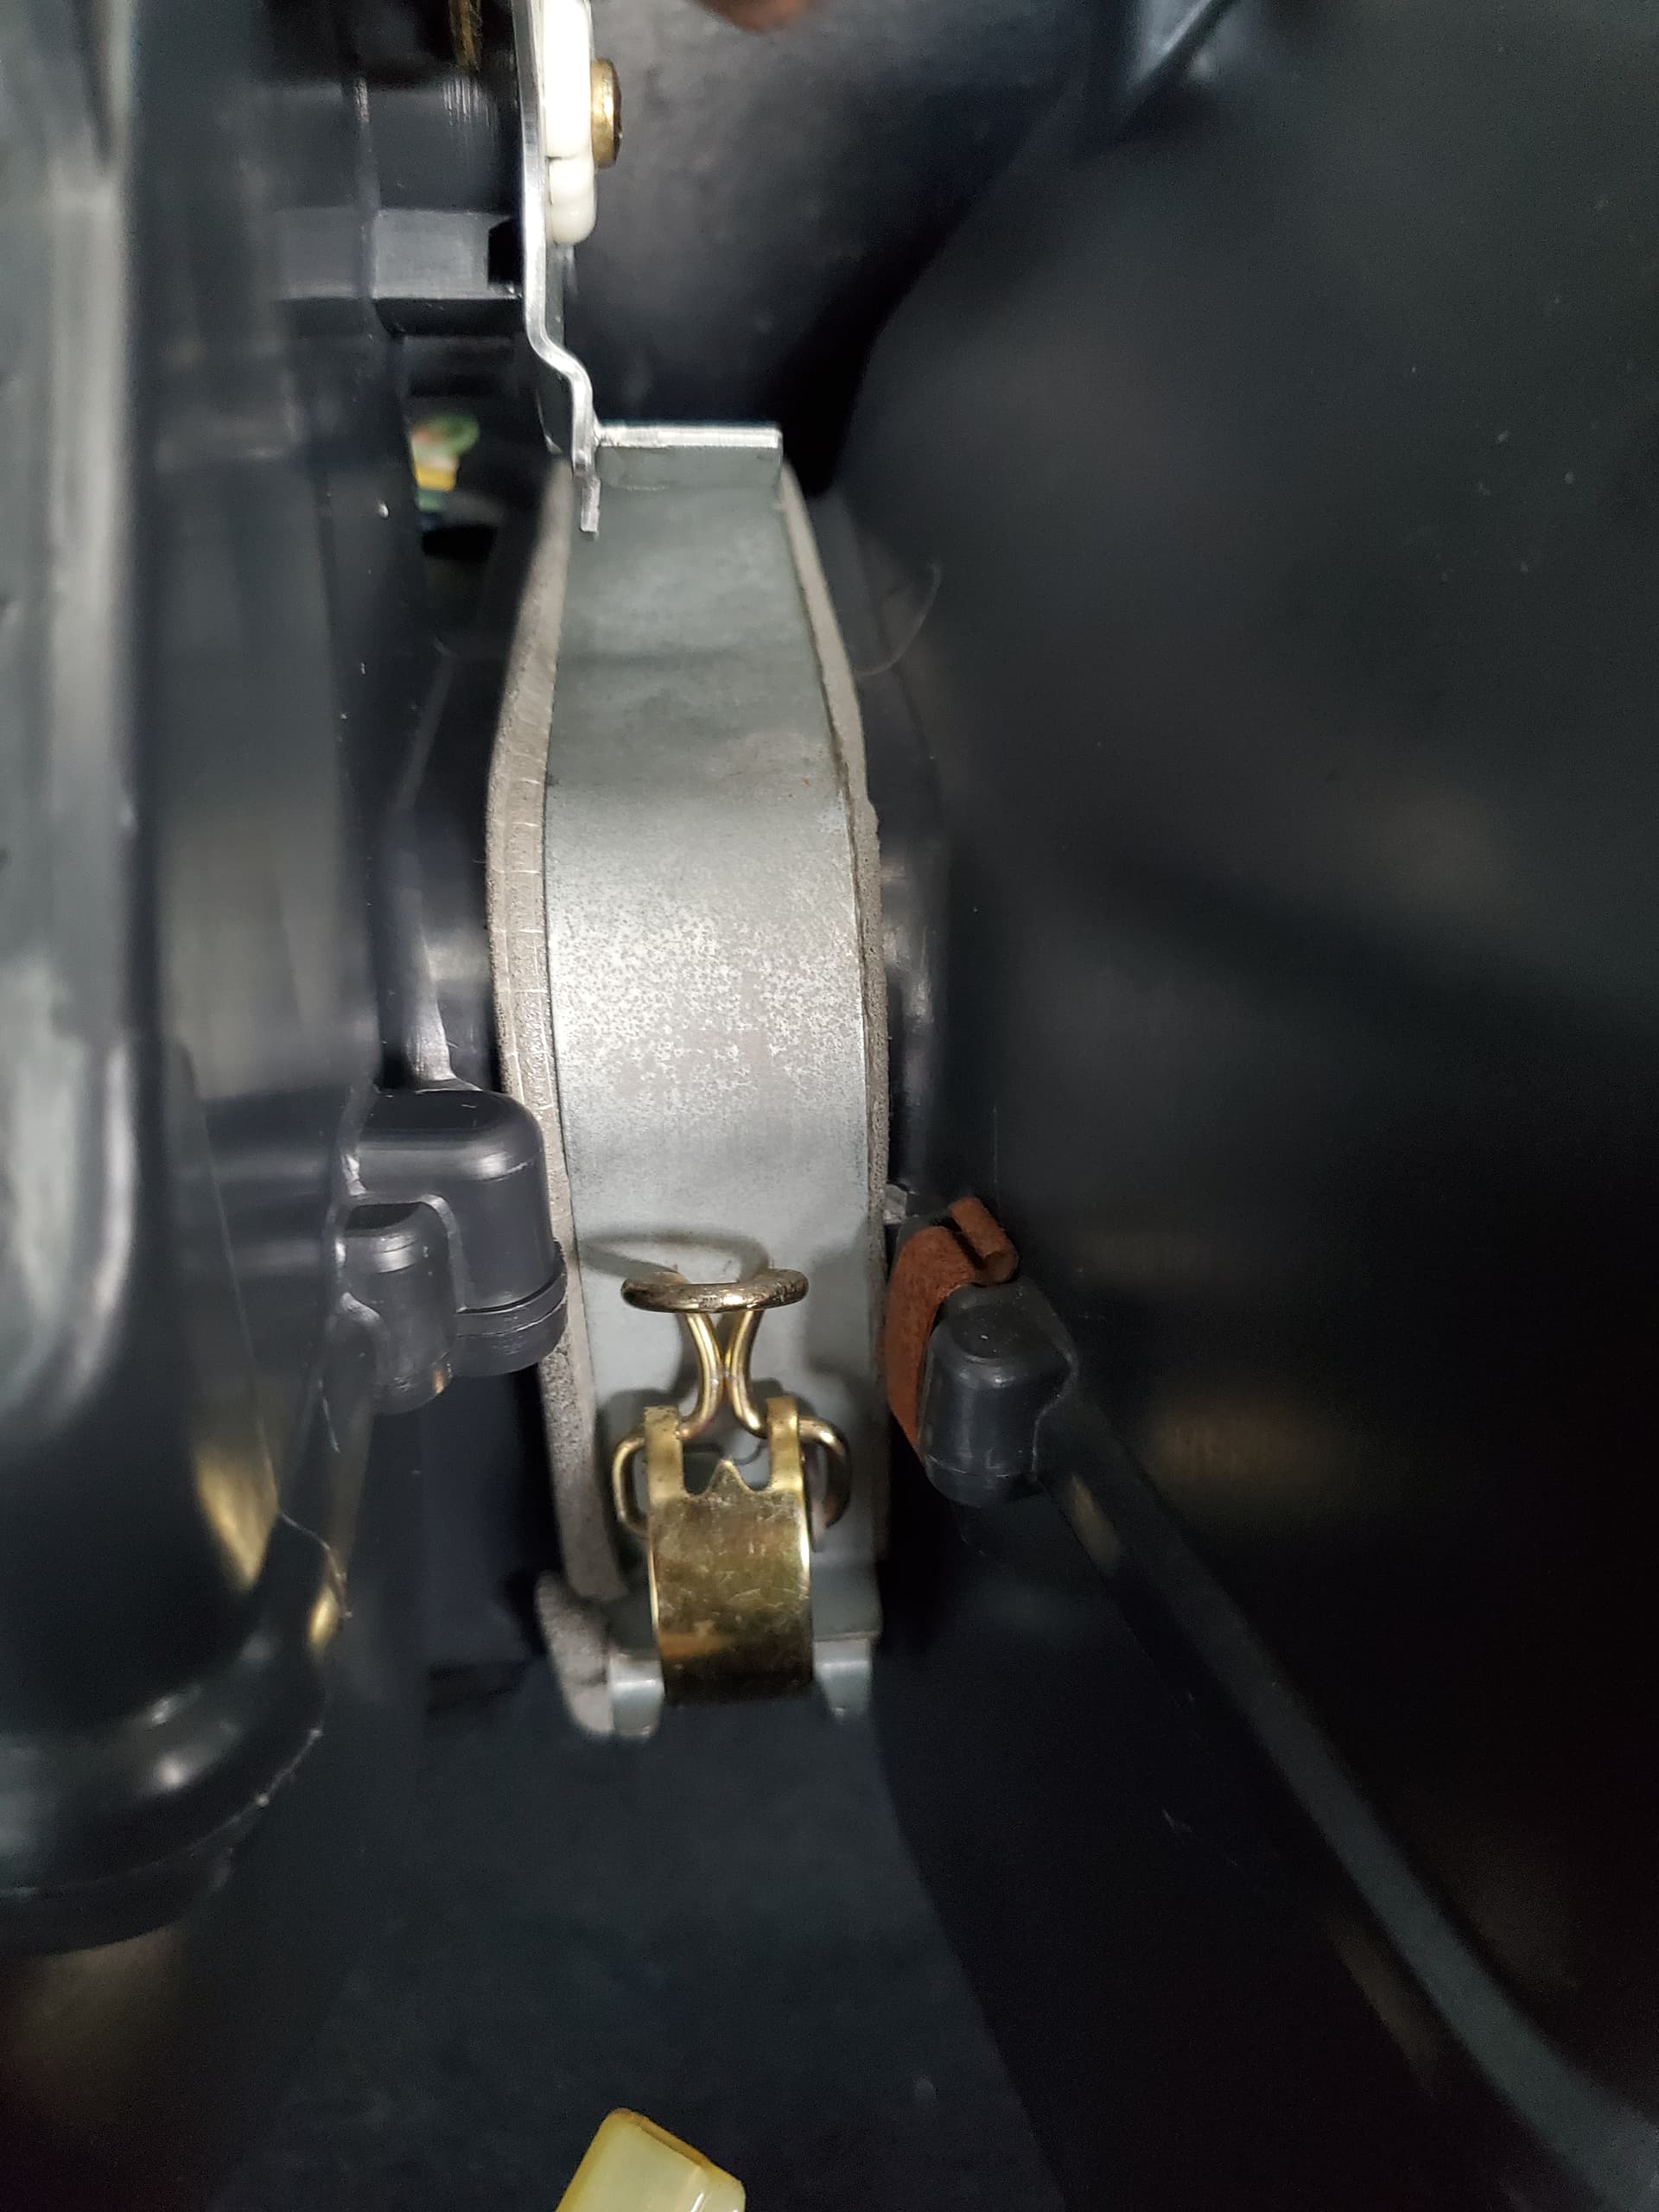
The mechanism on this is much simpler but just as grubby.
Whip of this metal cover.
To get at the flap.
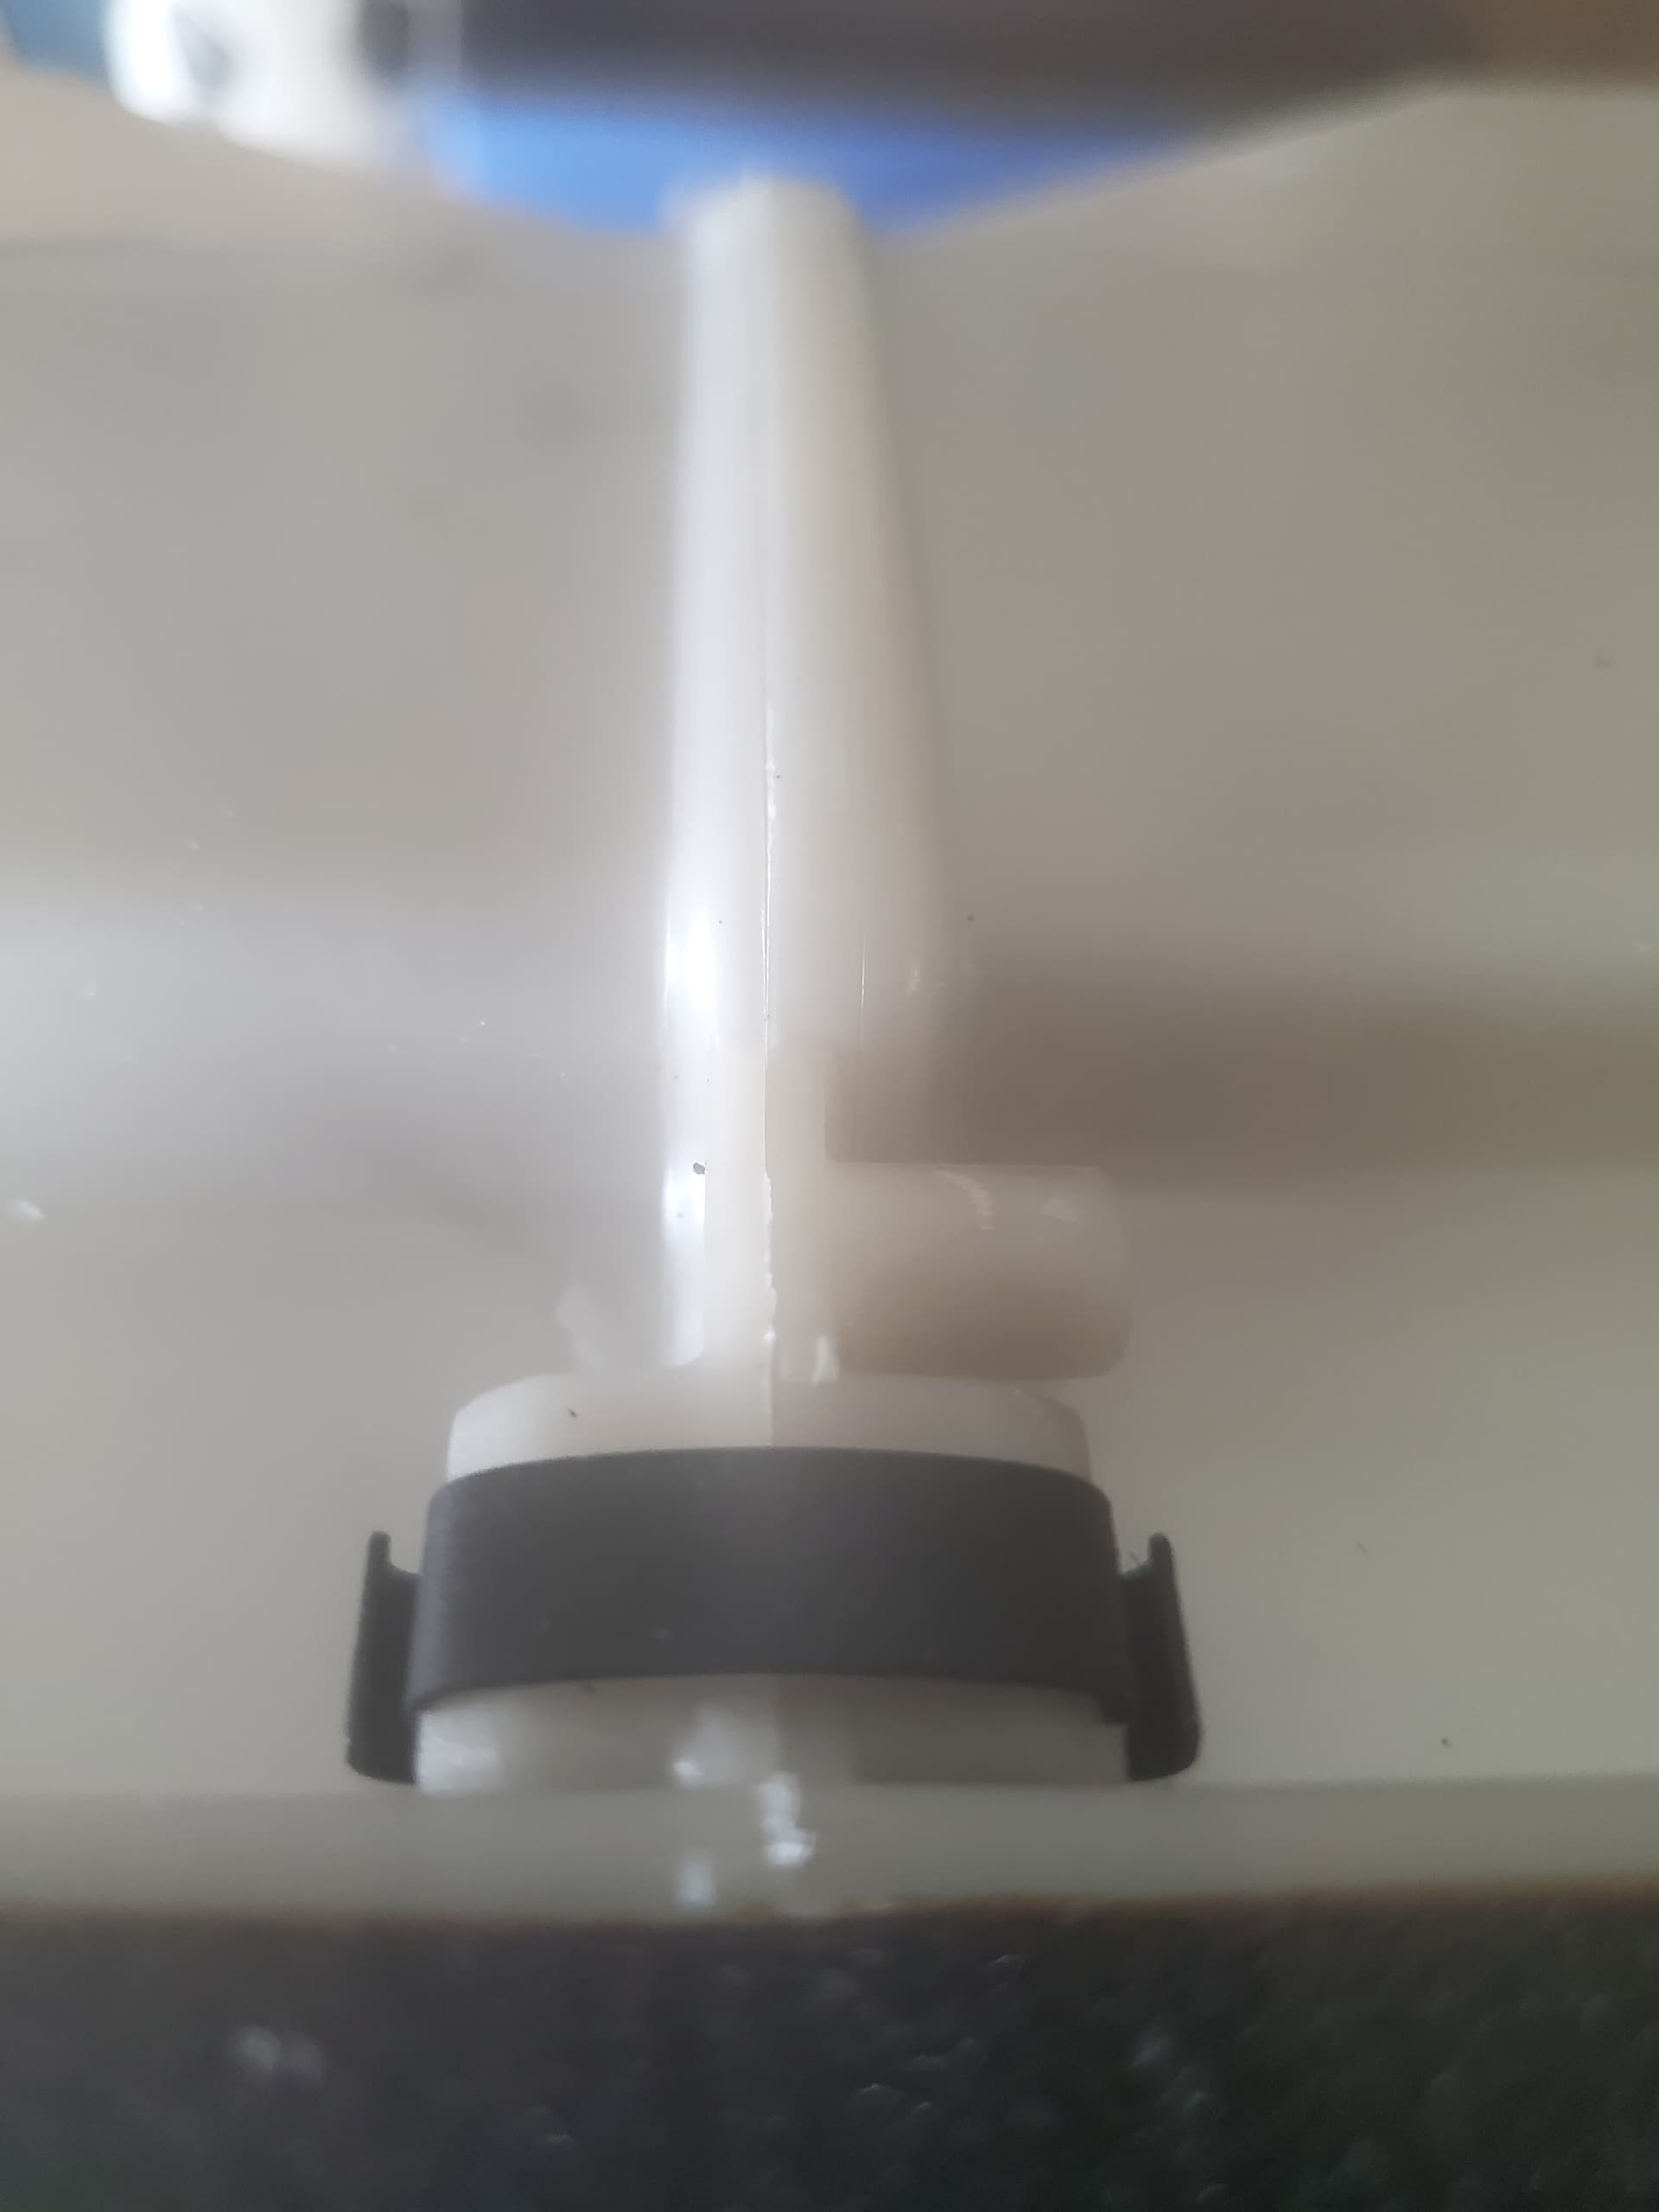
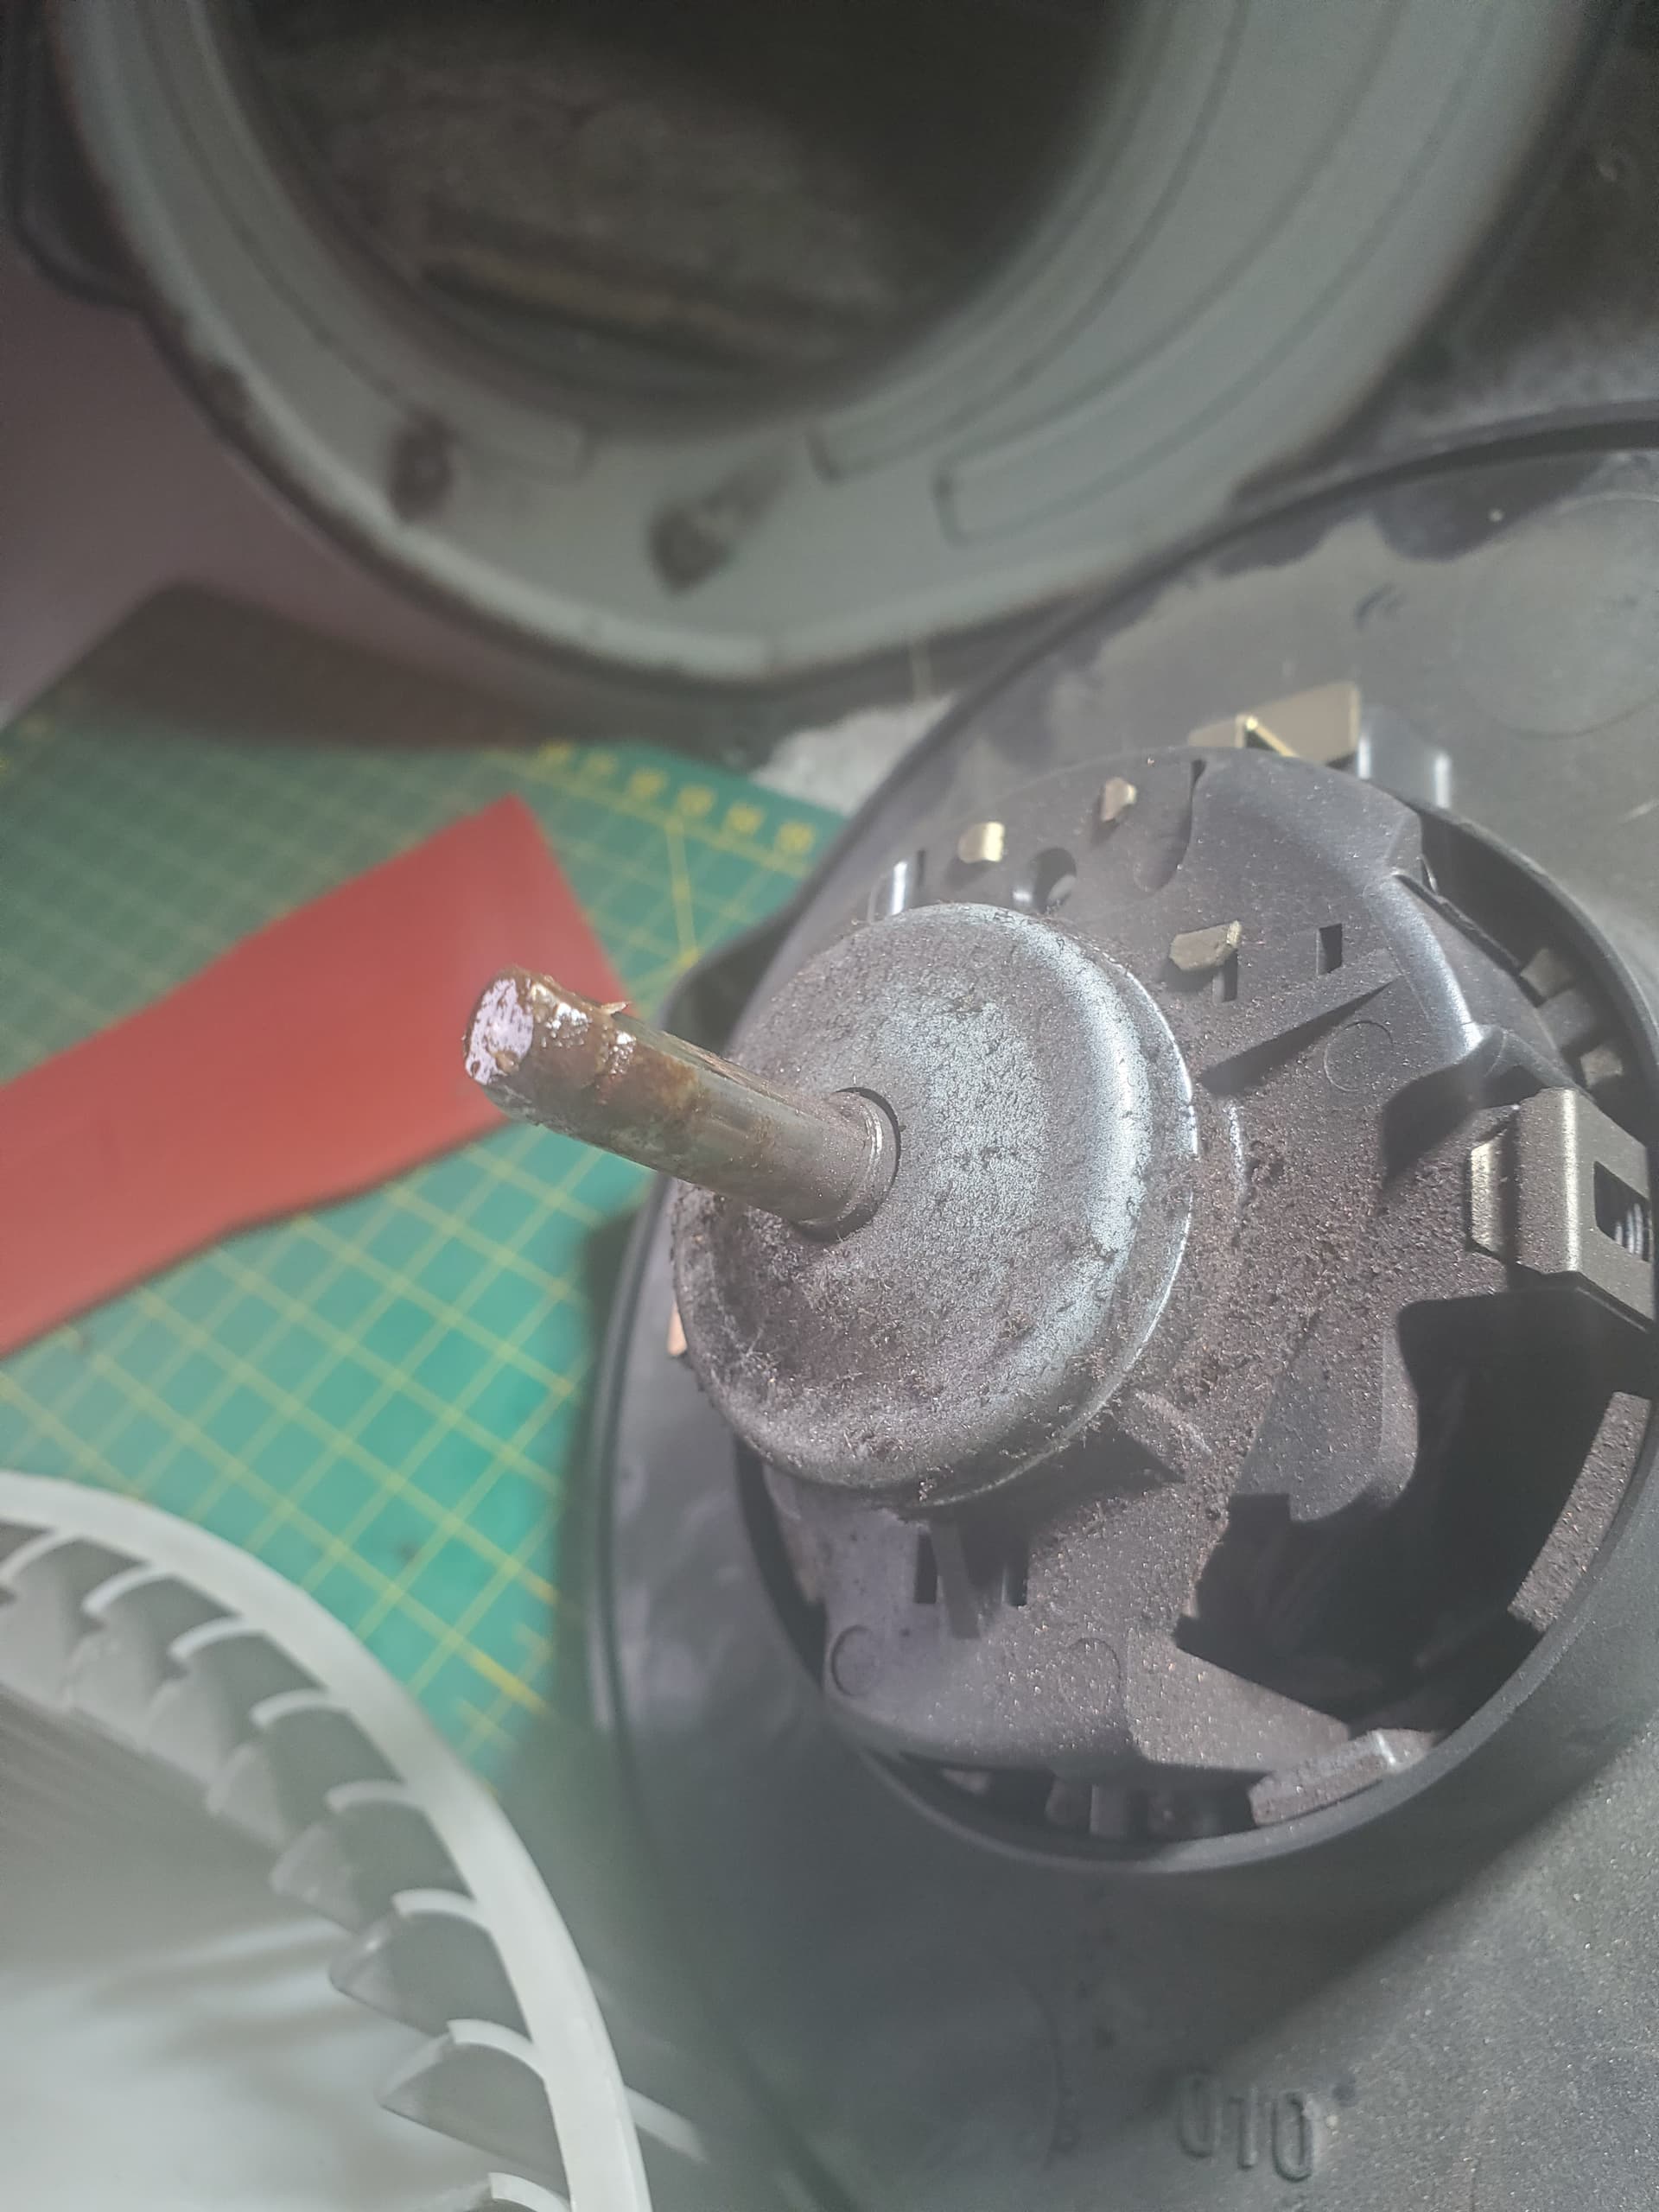
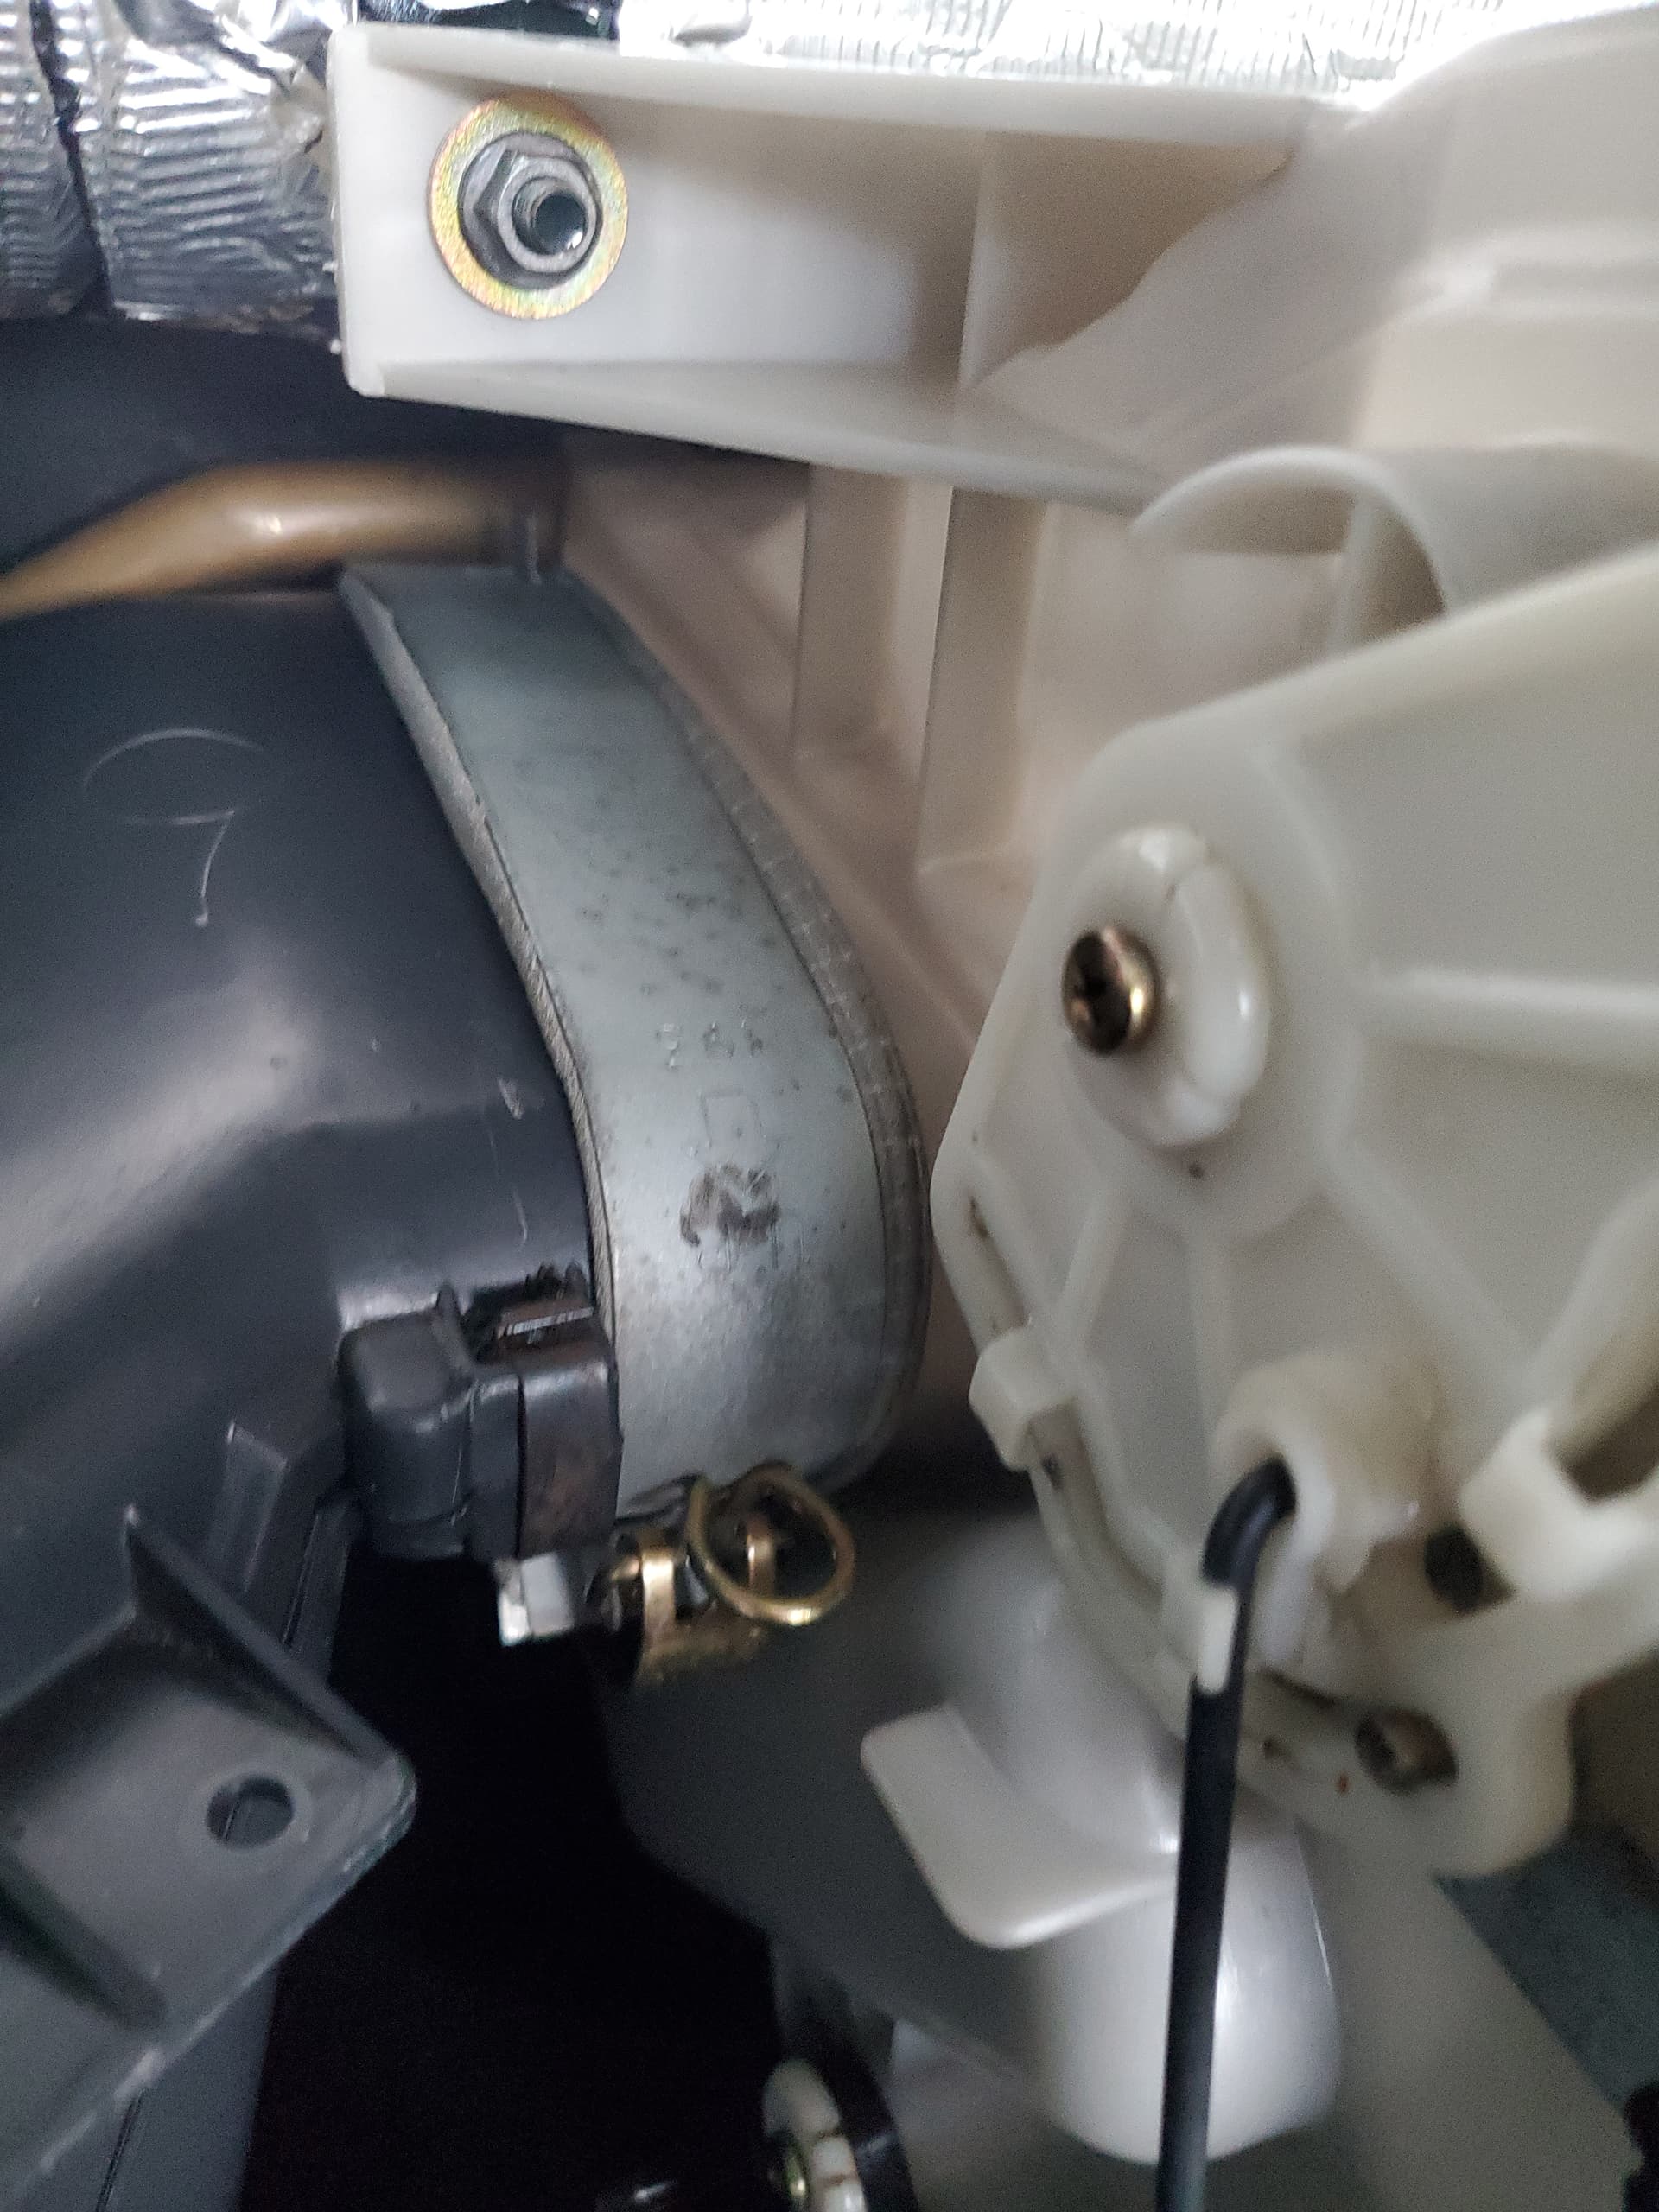
It is screwed onto the shaft with 2 little screws where the screwdriver is jammed in and the opposite end. Then the shaft slides out. As you silde it out it will jam so turn it a bit and then it comes out. You dont need to remove it as its seprate to the flap this time but i wanted to clean the housing and regrease the mechanism.
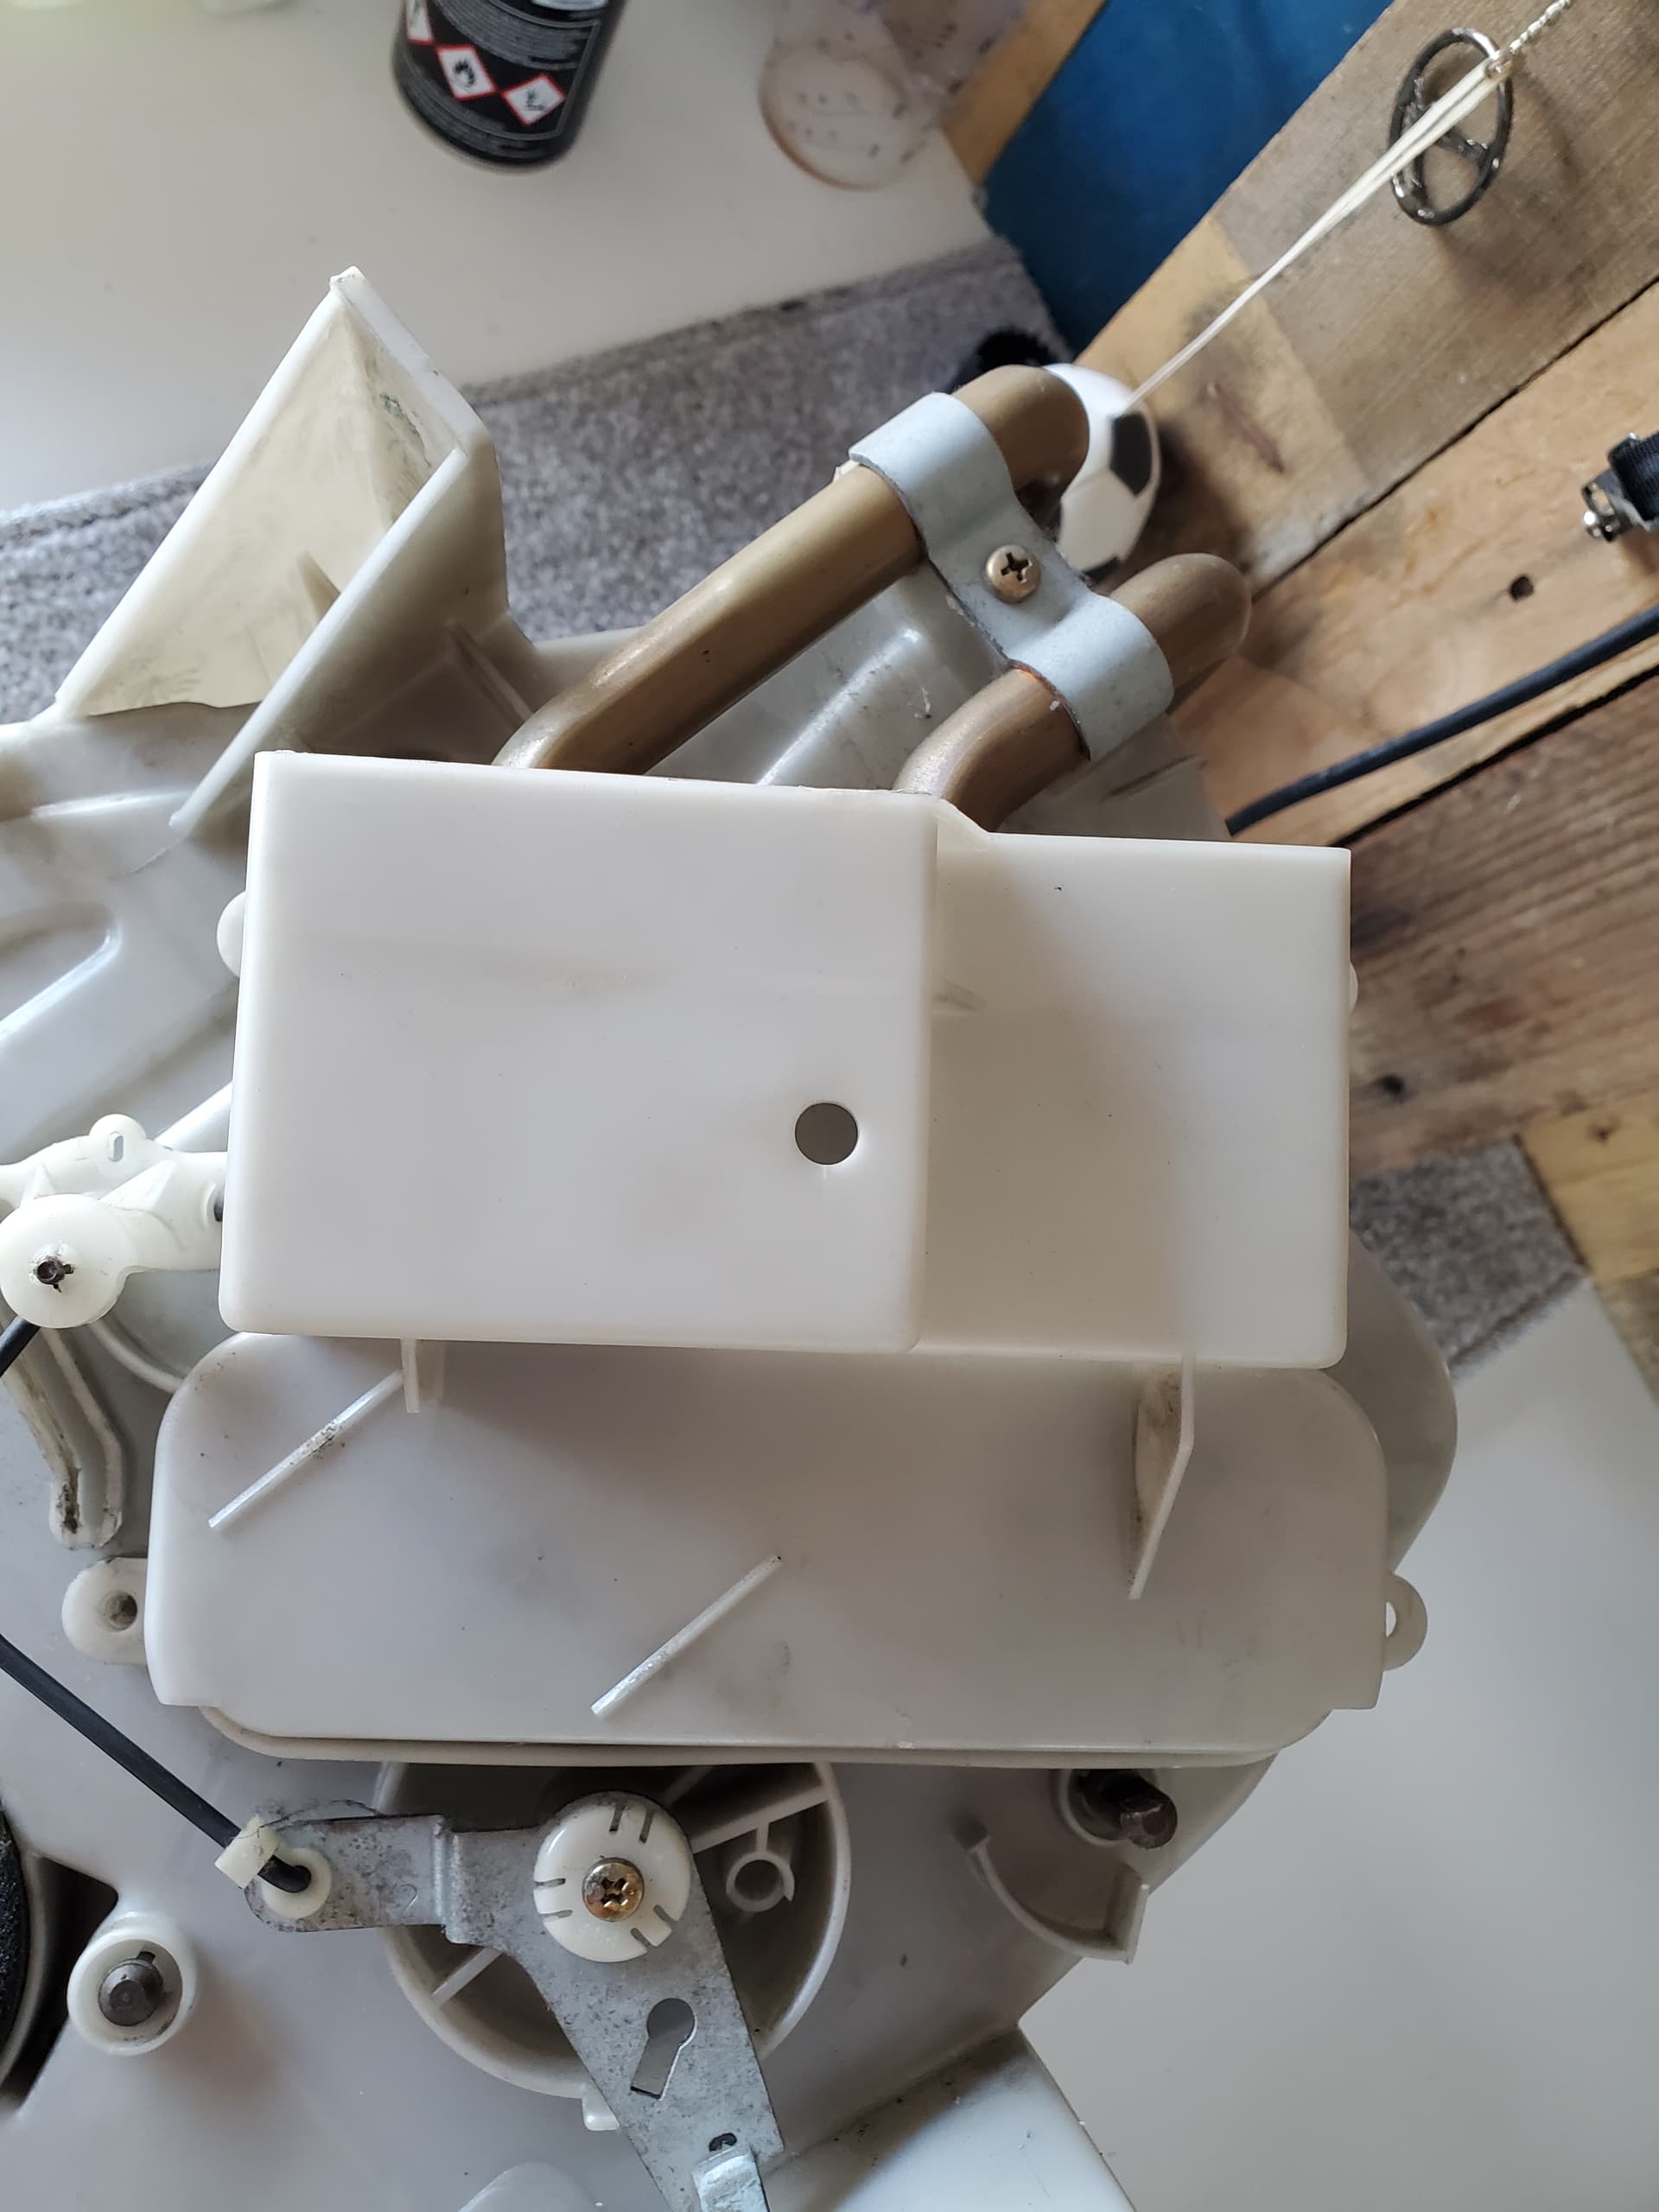
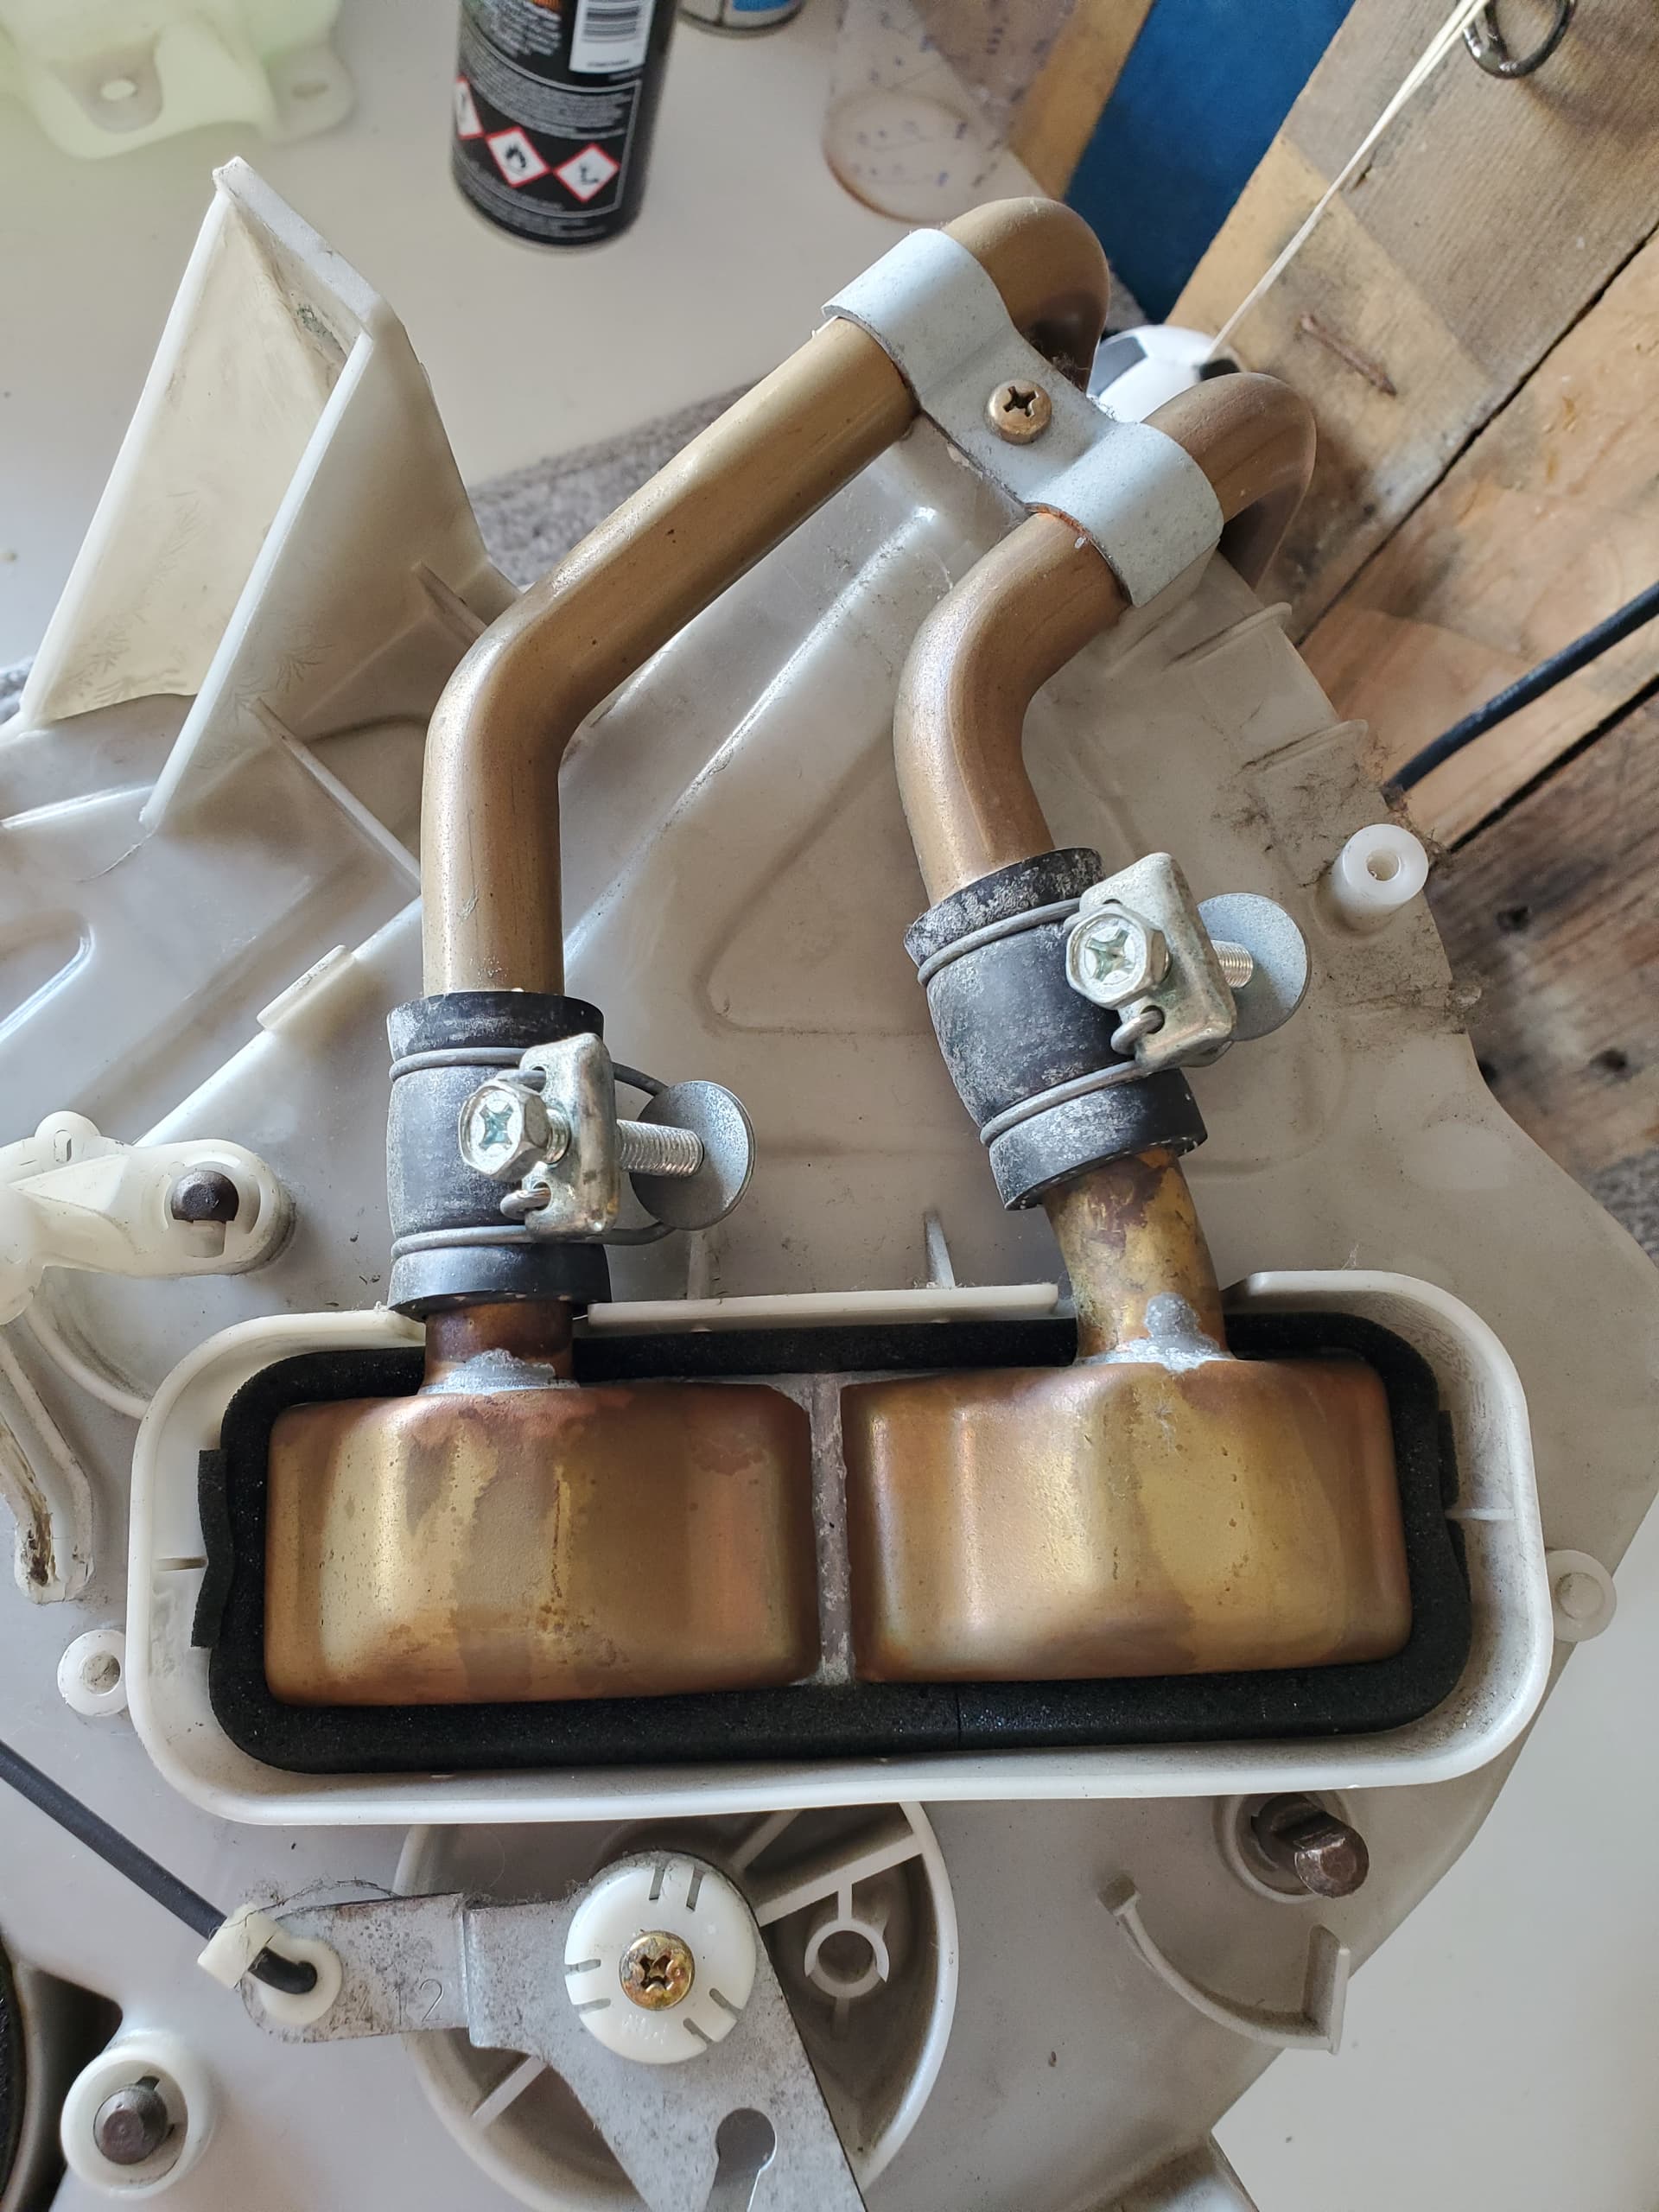
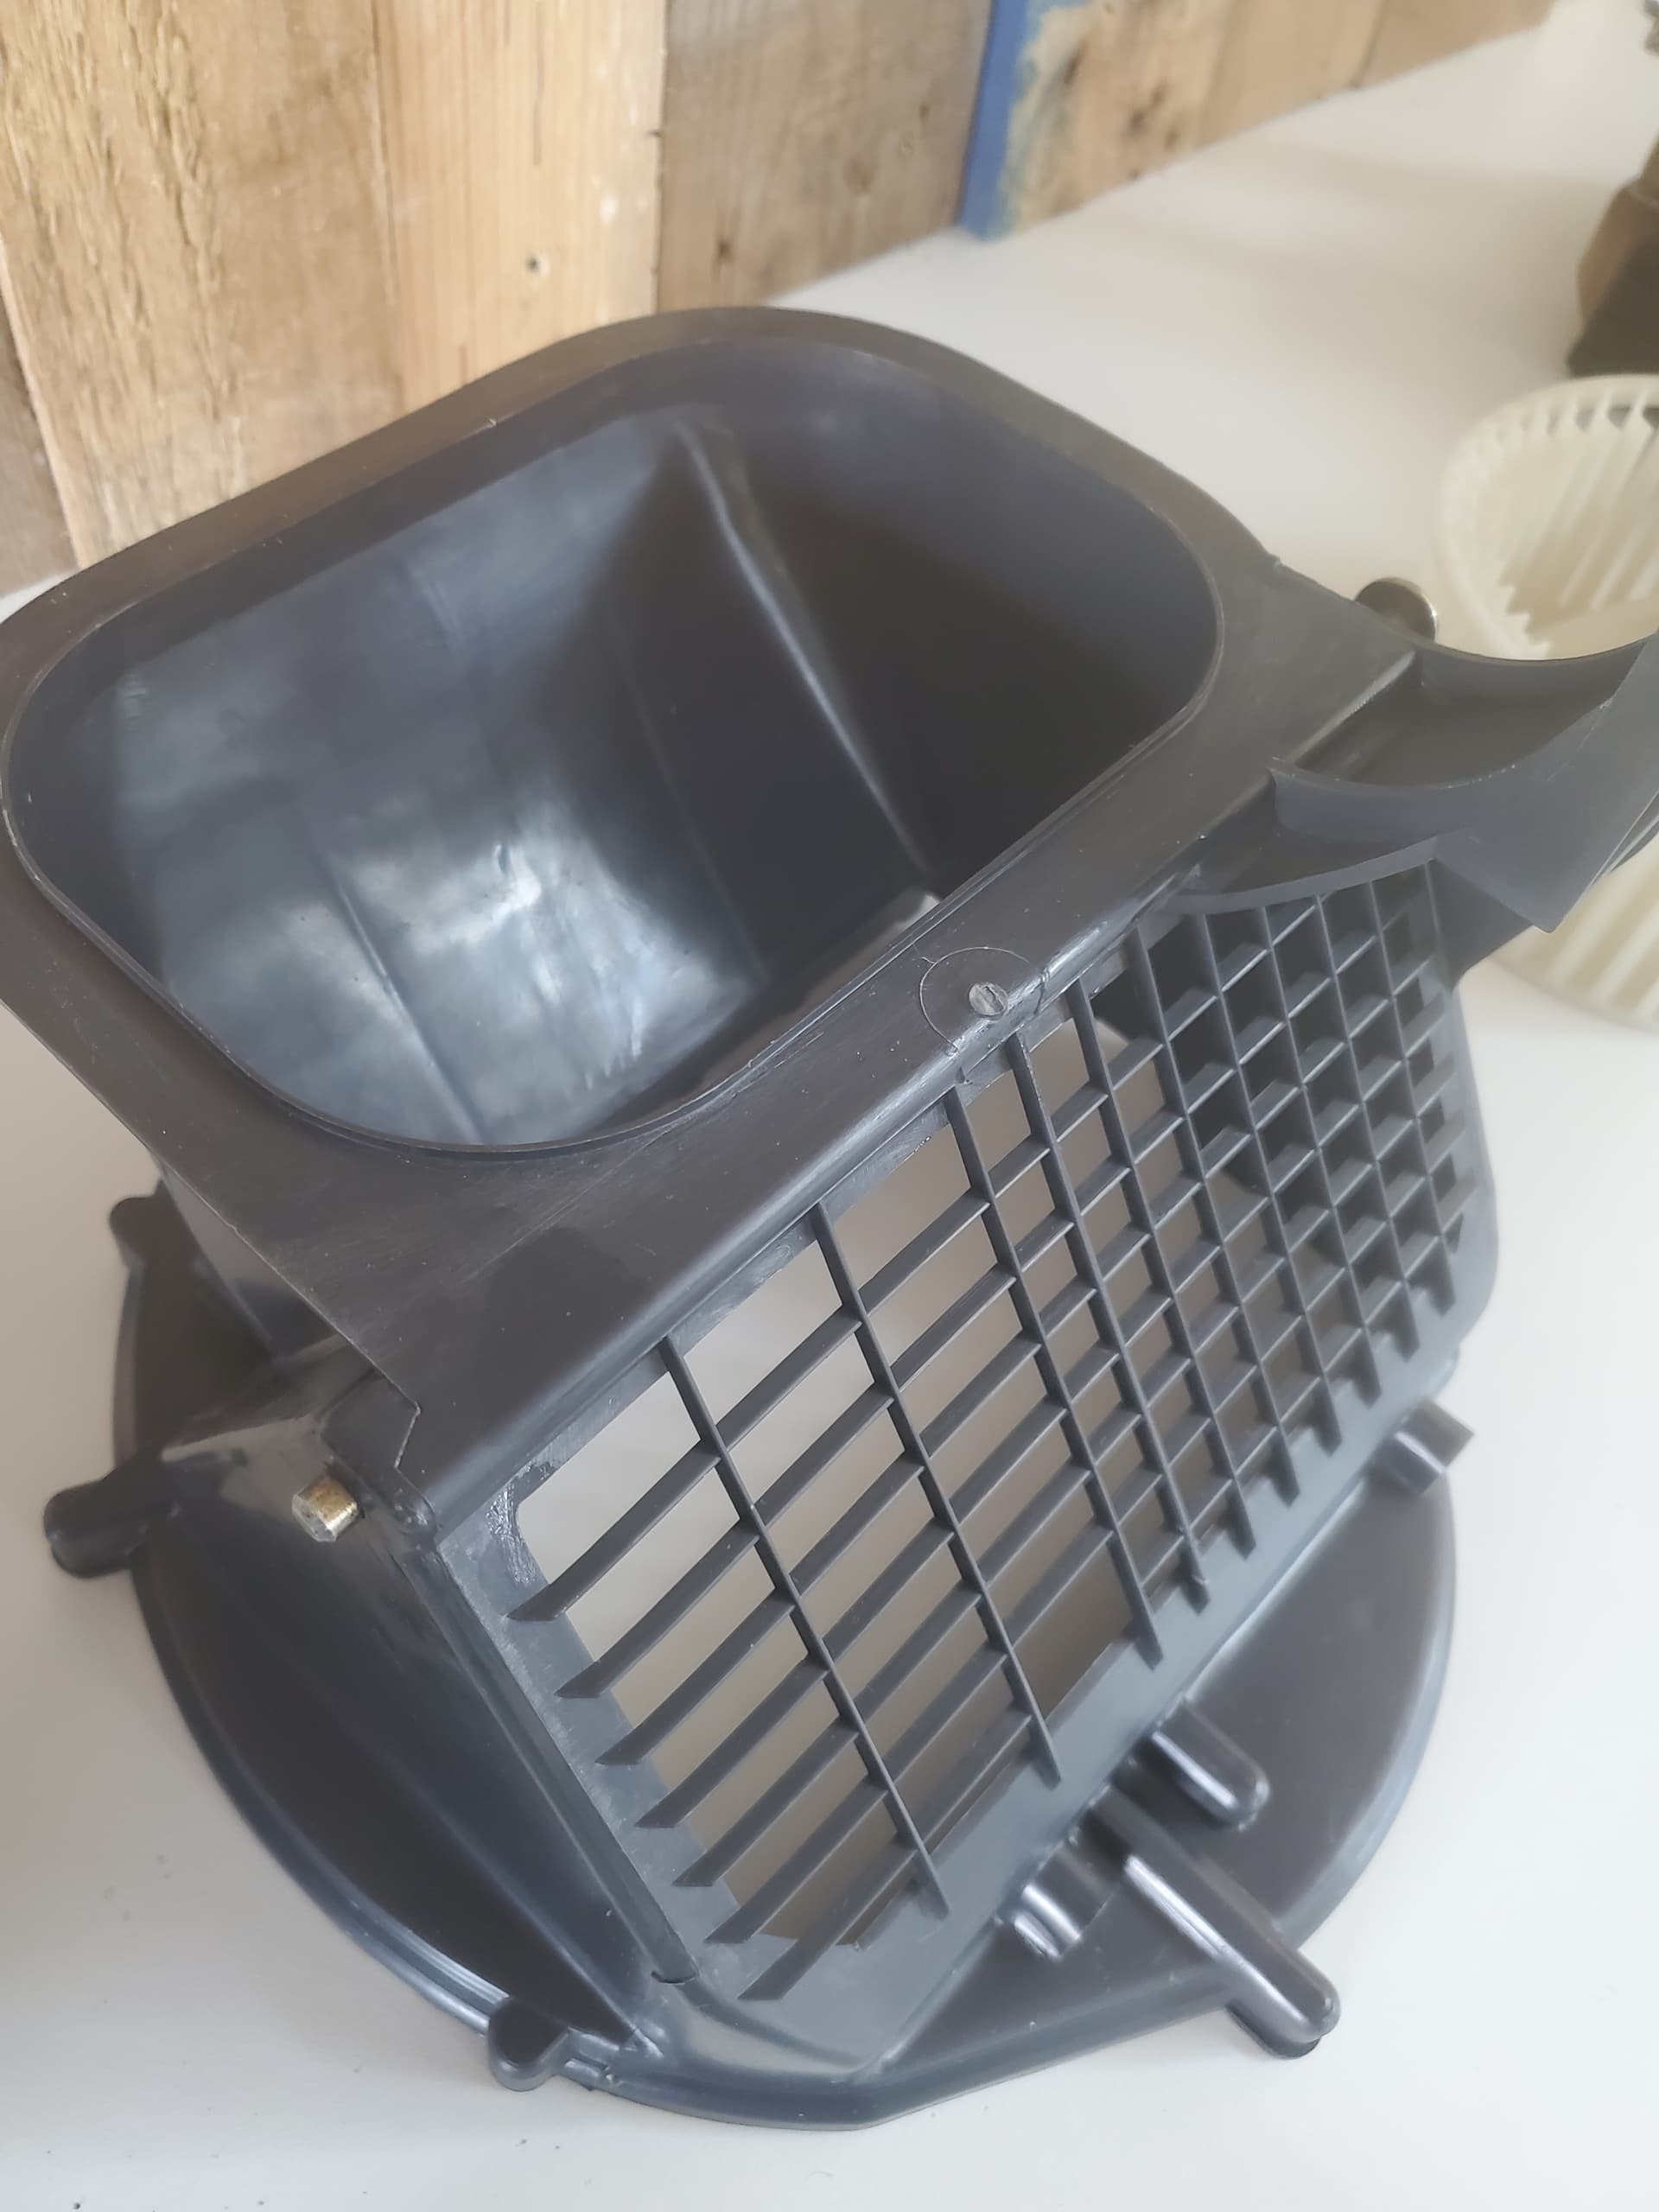
This is the hidden side of the flap as its a double foam job.
Here is the fan blade cleaned. Satisfying.
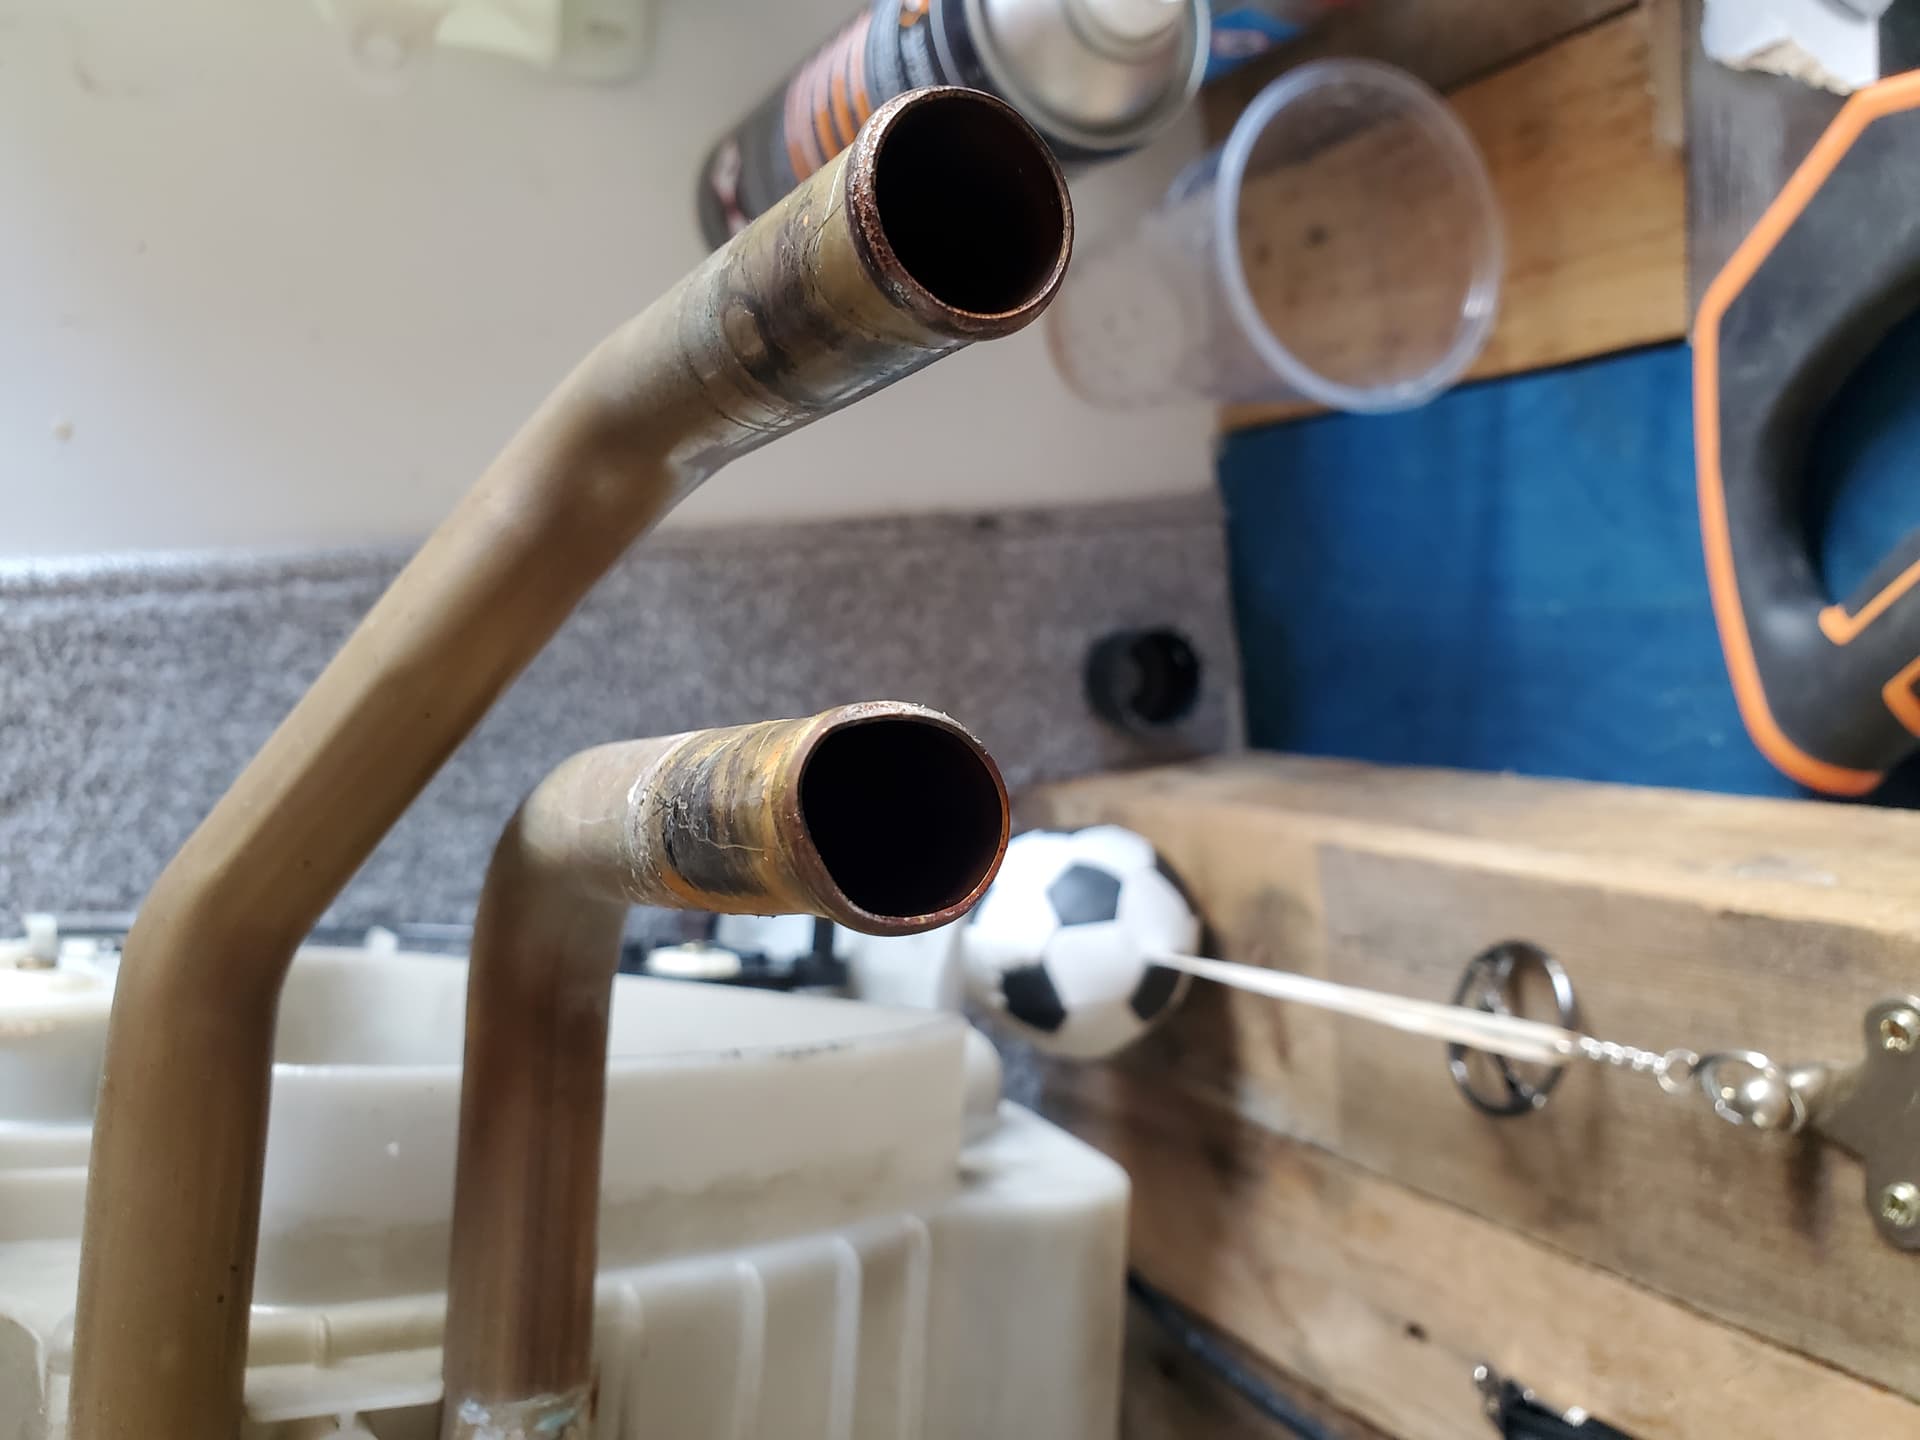
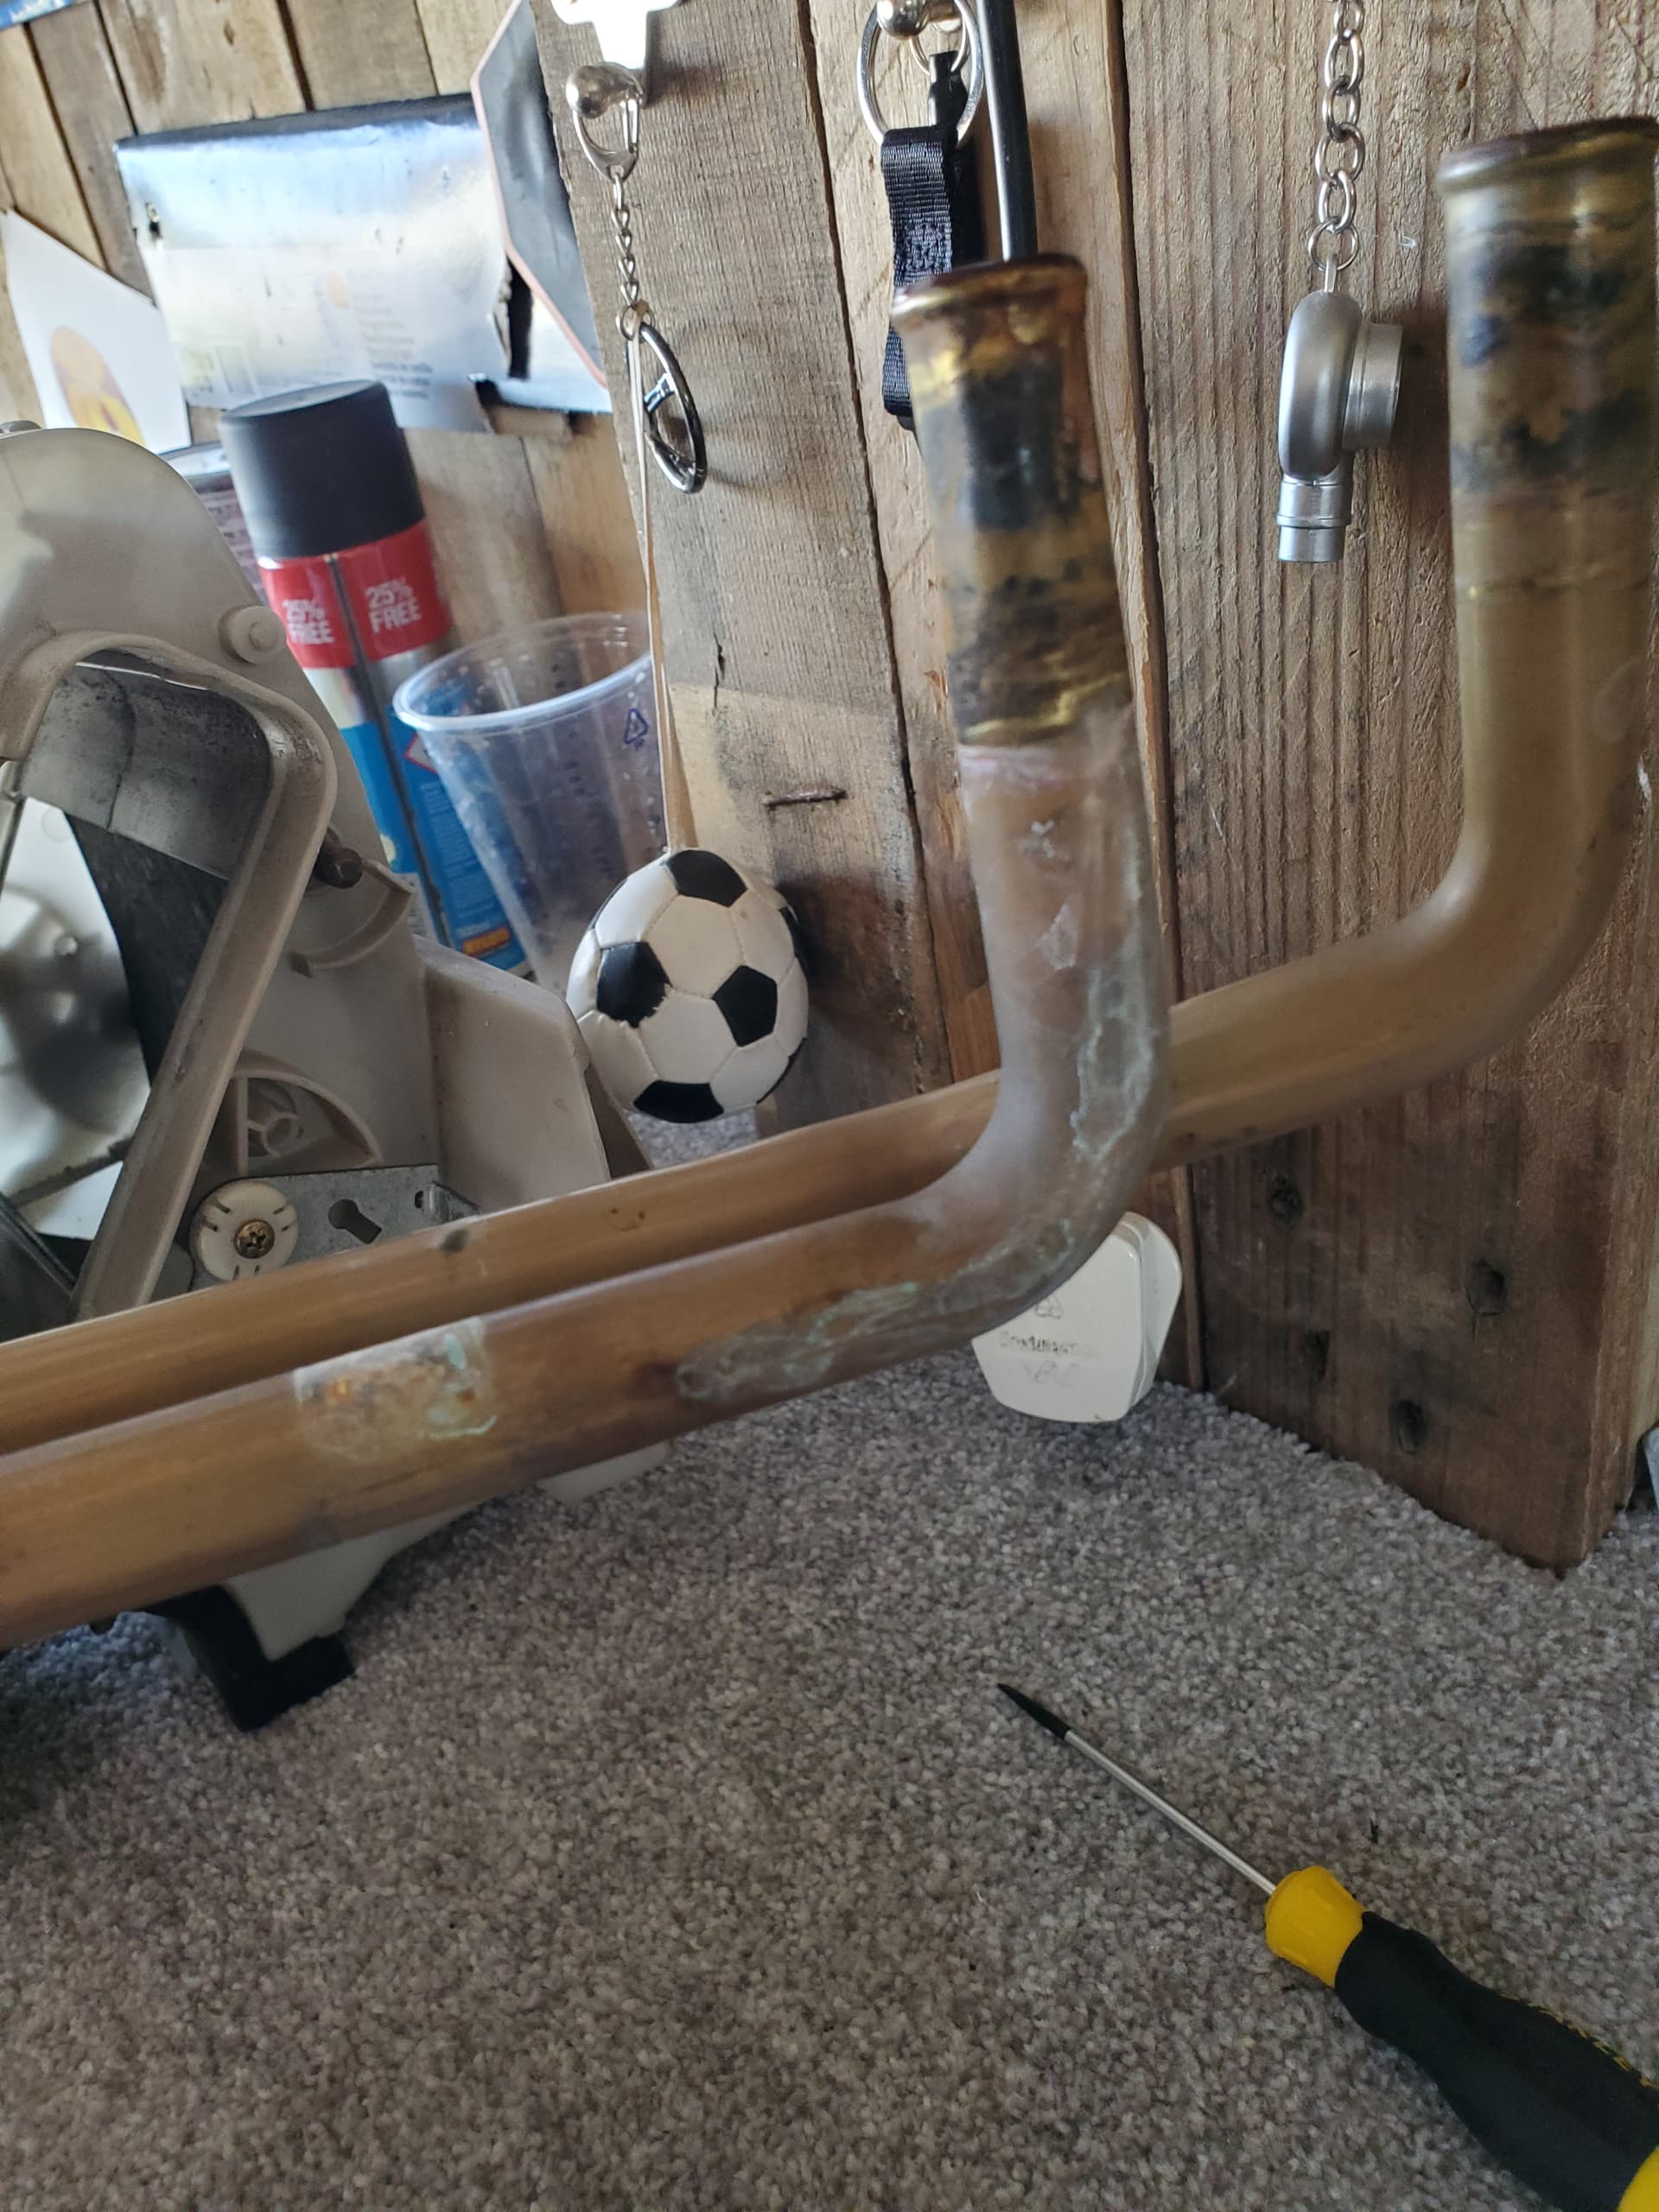
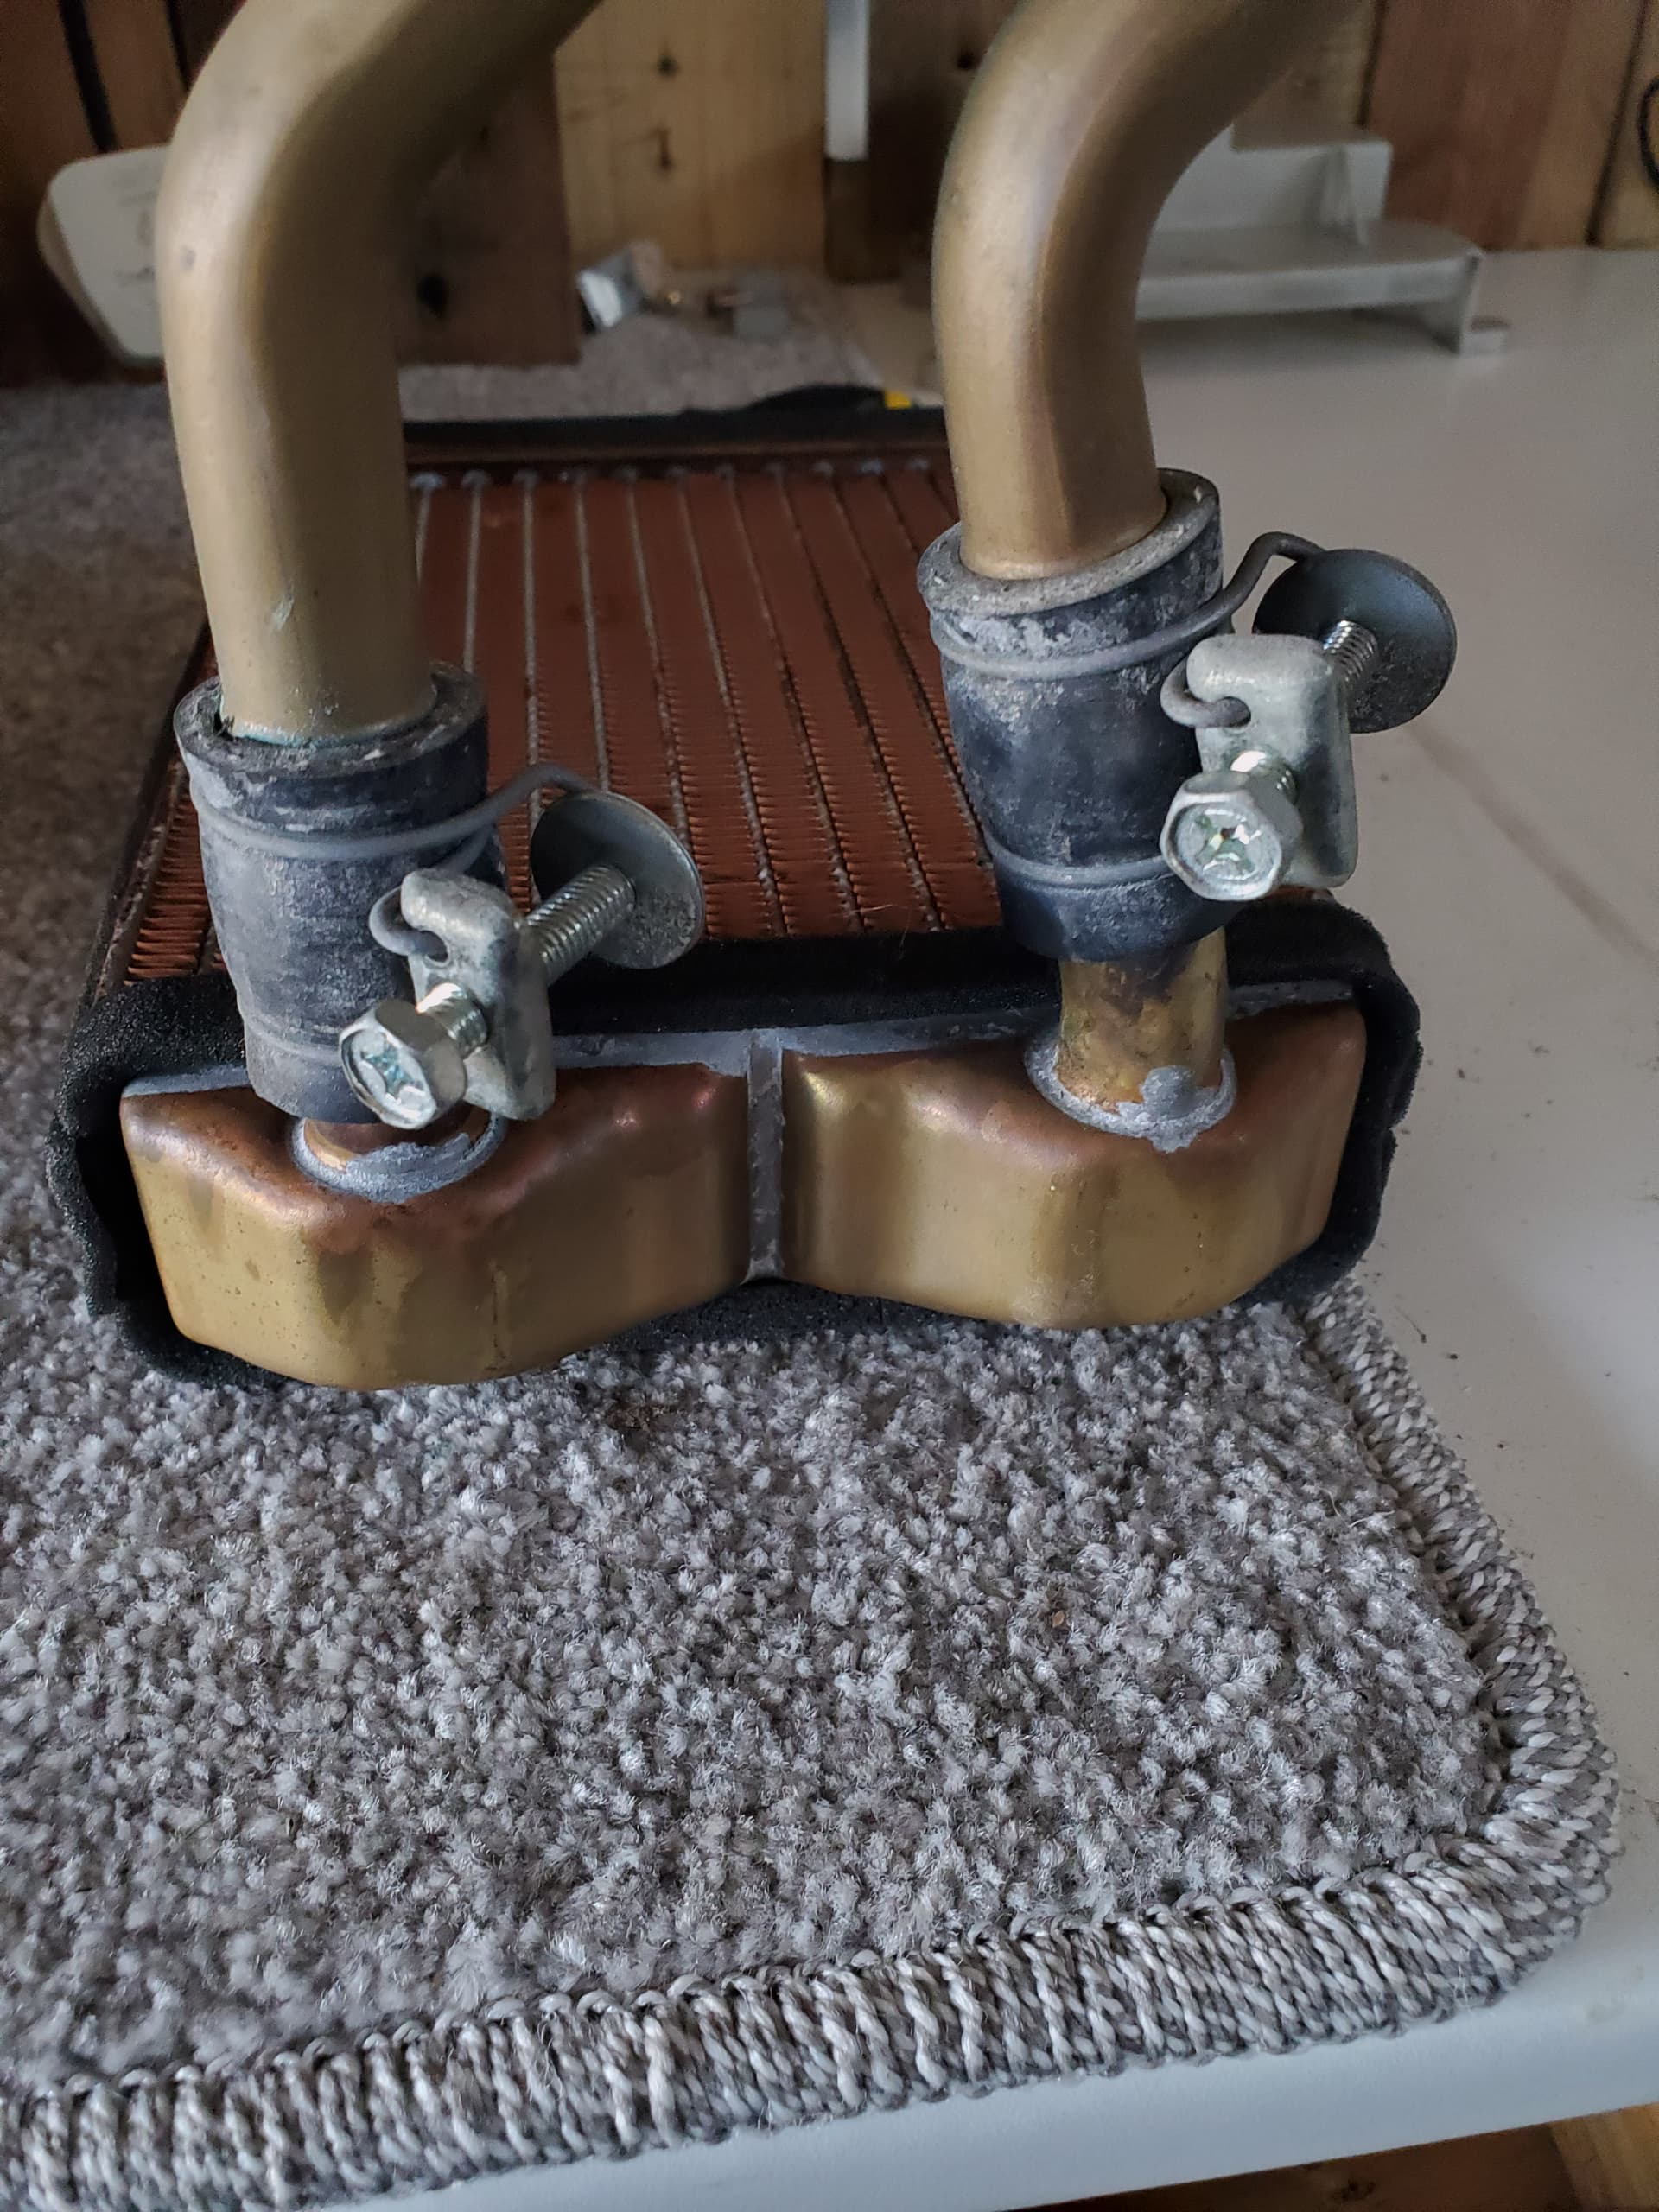
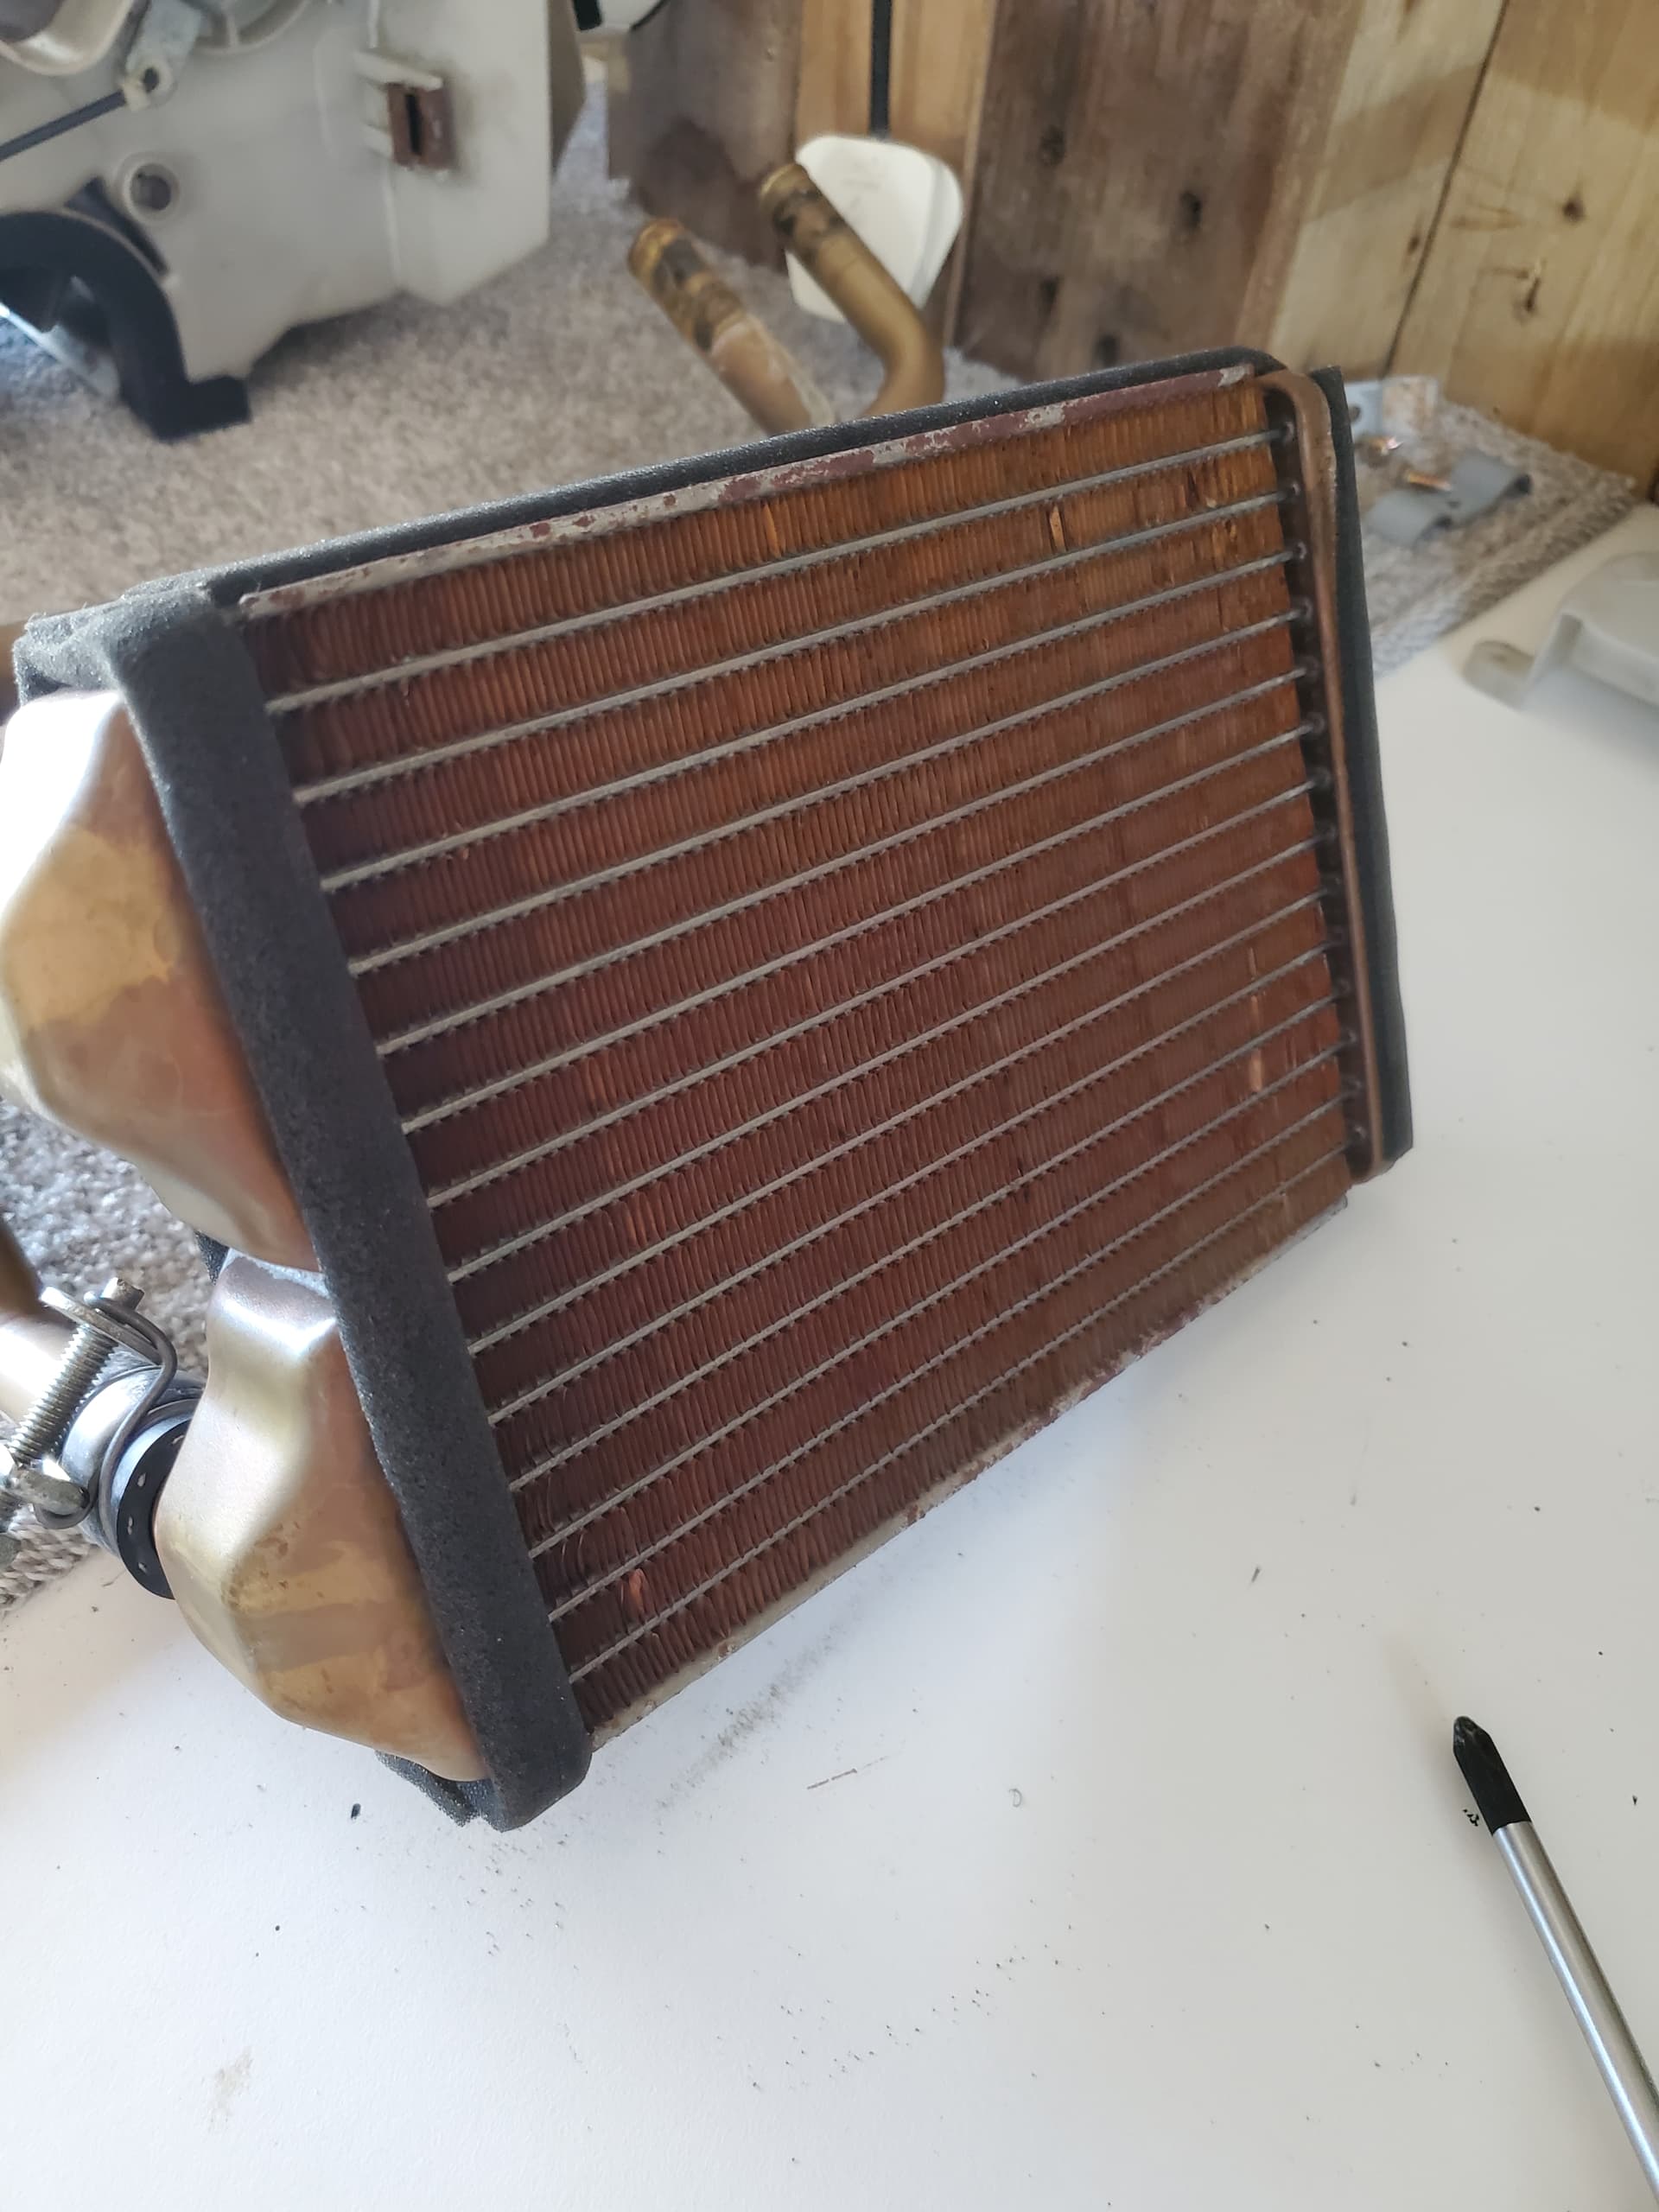
I have ran out of foam so ordered some more. This time its 5mm not 3mm. Hopefully get the heater core pressure tested next week and if its ok then i might only be 3 hours away from it all being back in the car. Depending on wether or not i take the air con cooler box apart. Let me know if you would like to see that!!
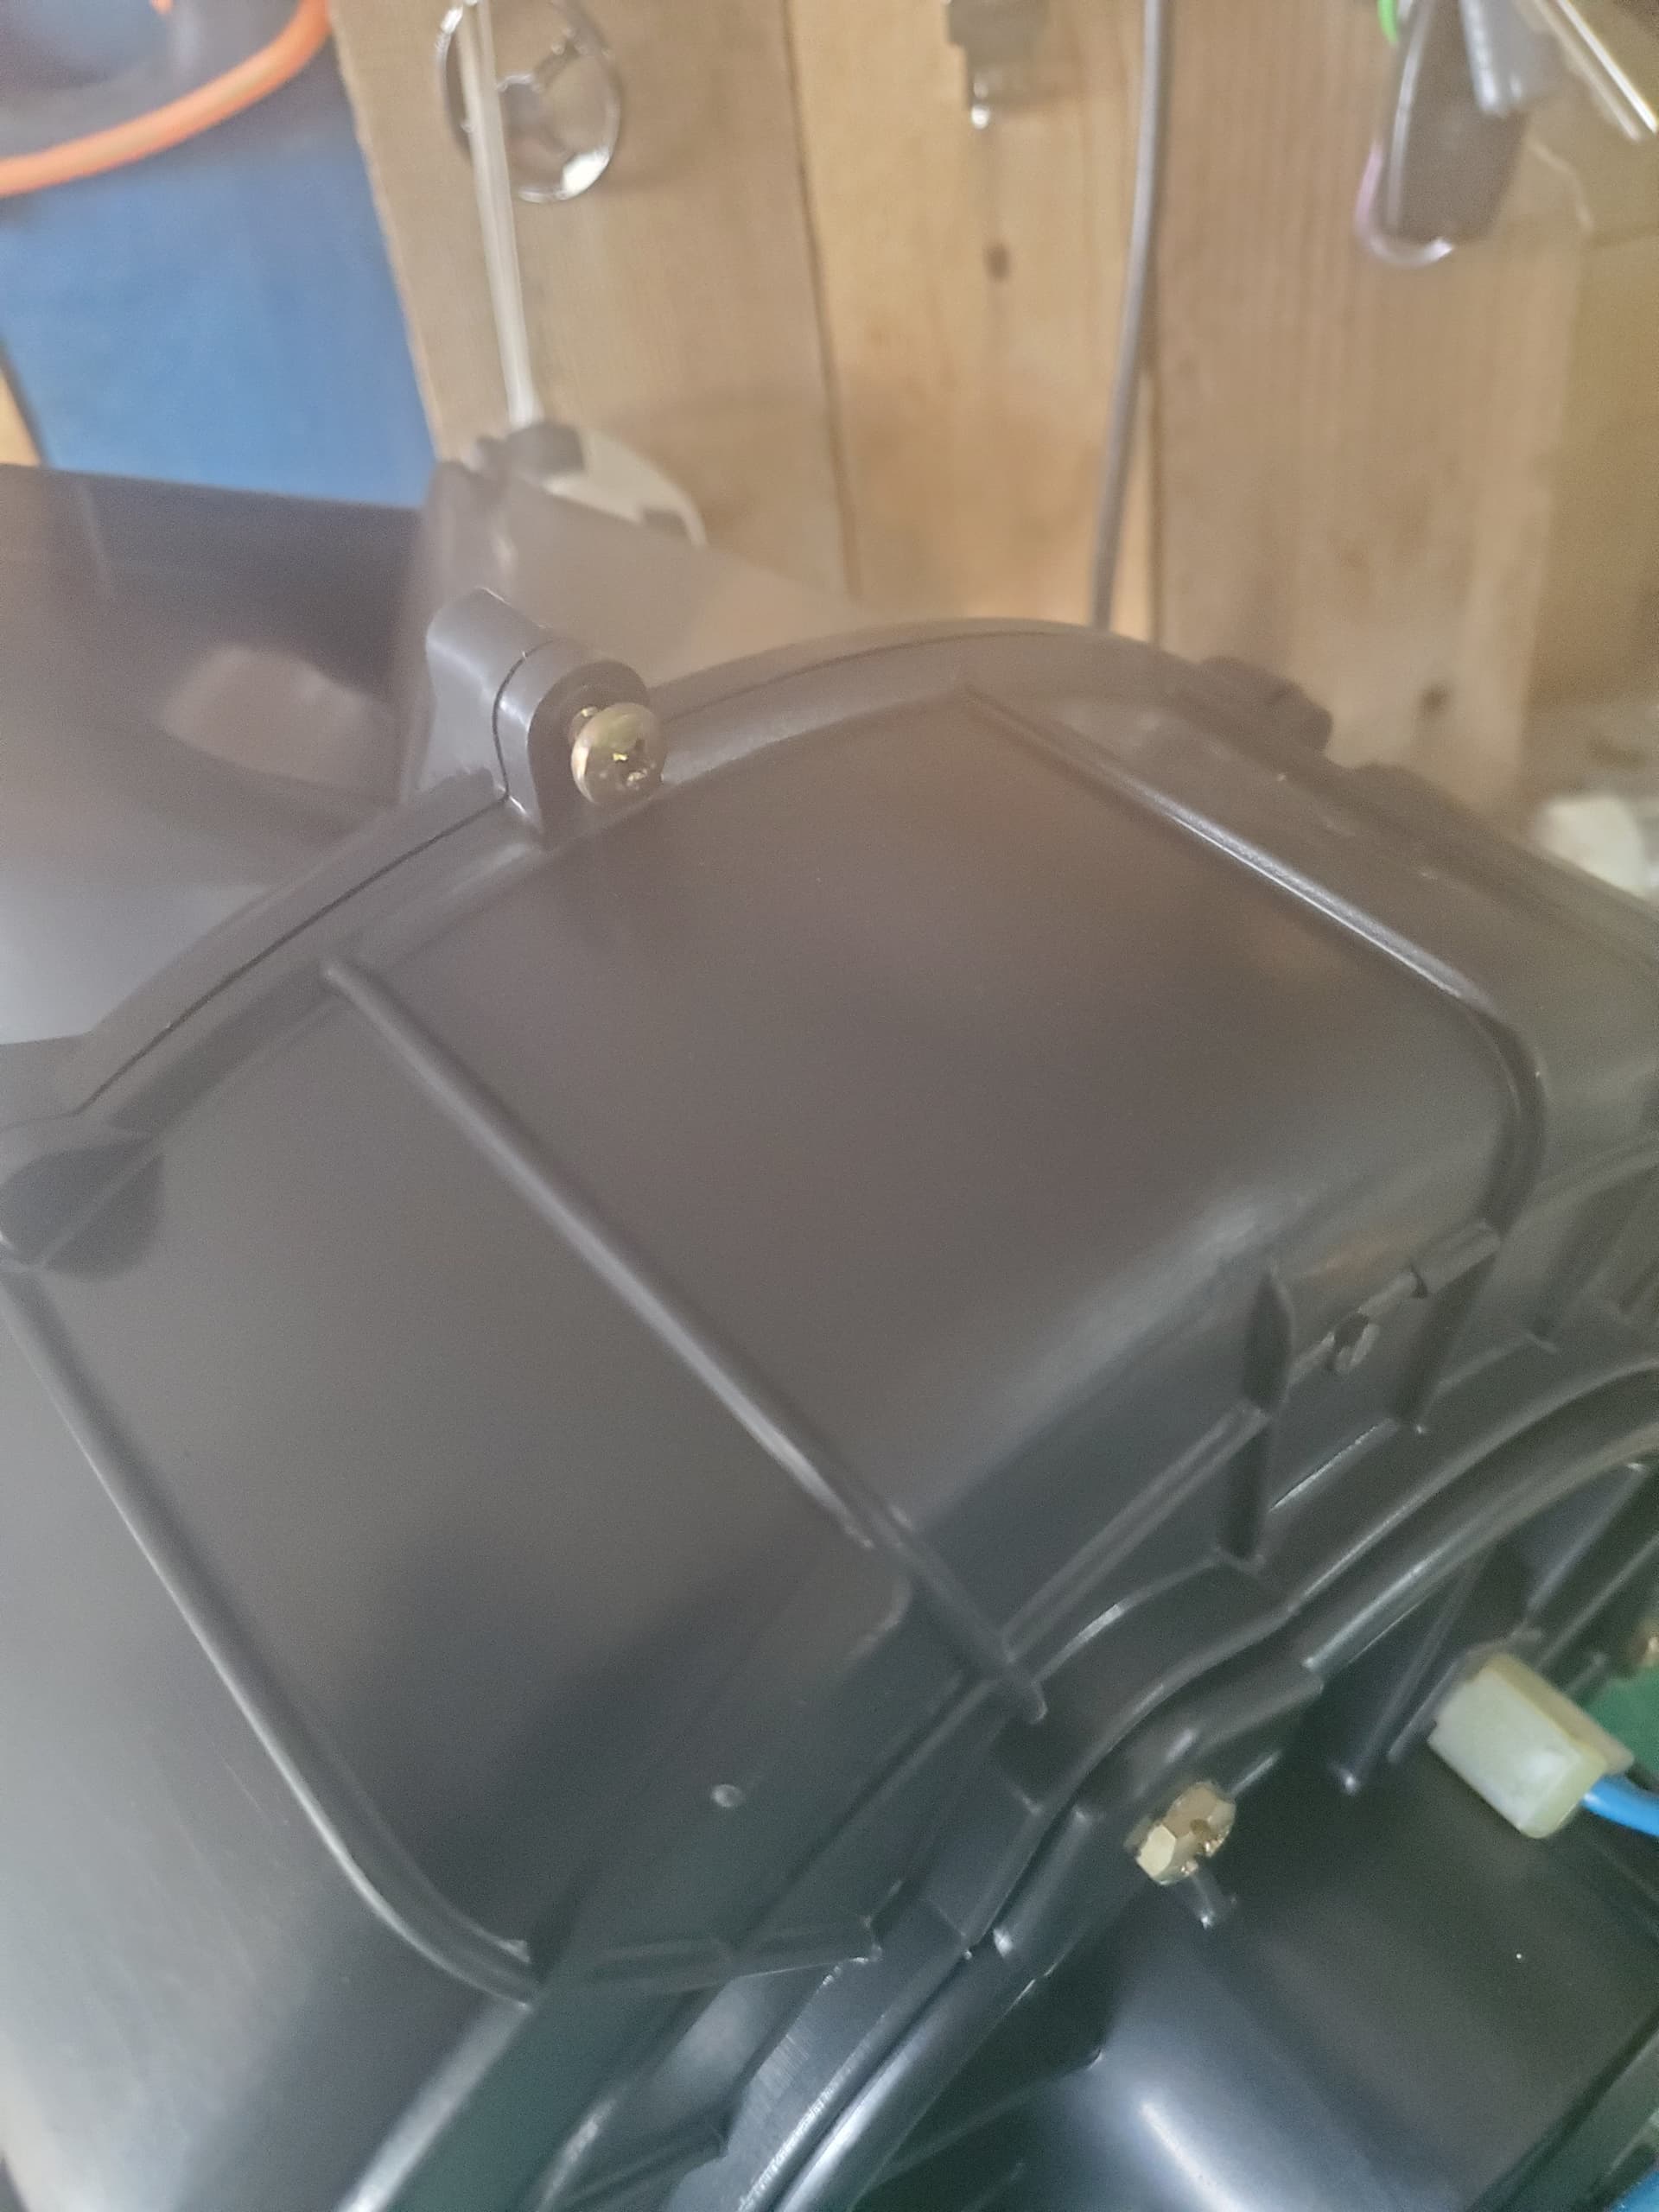
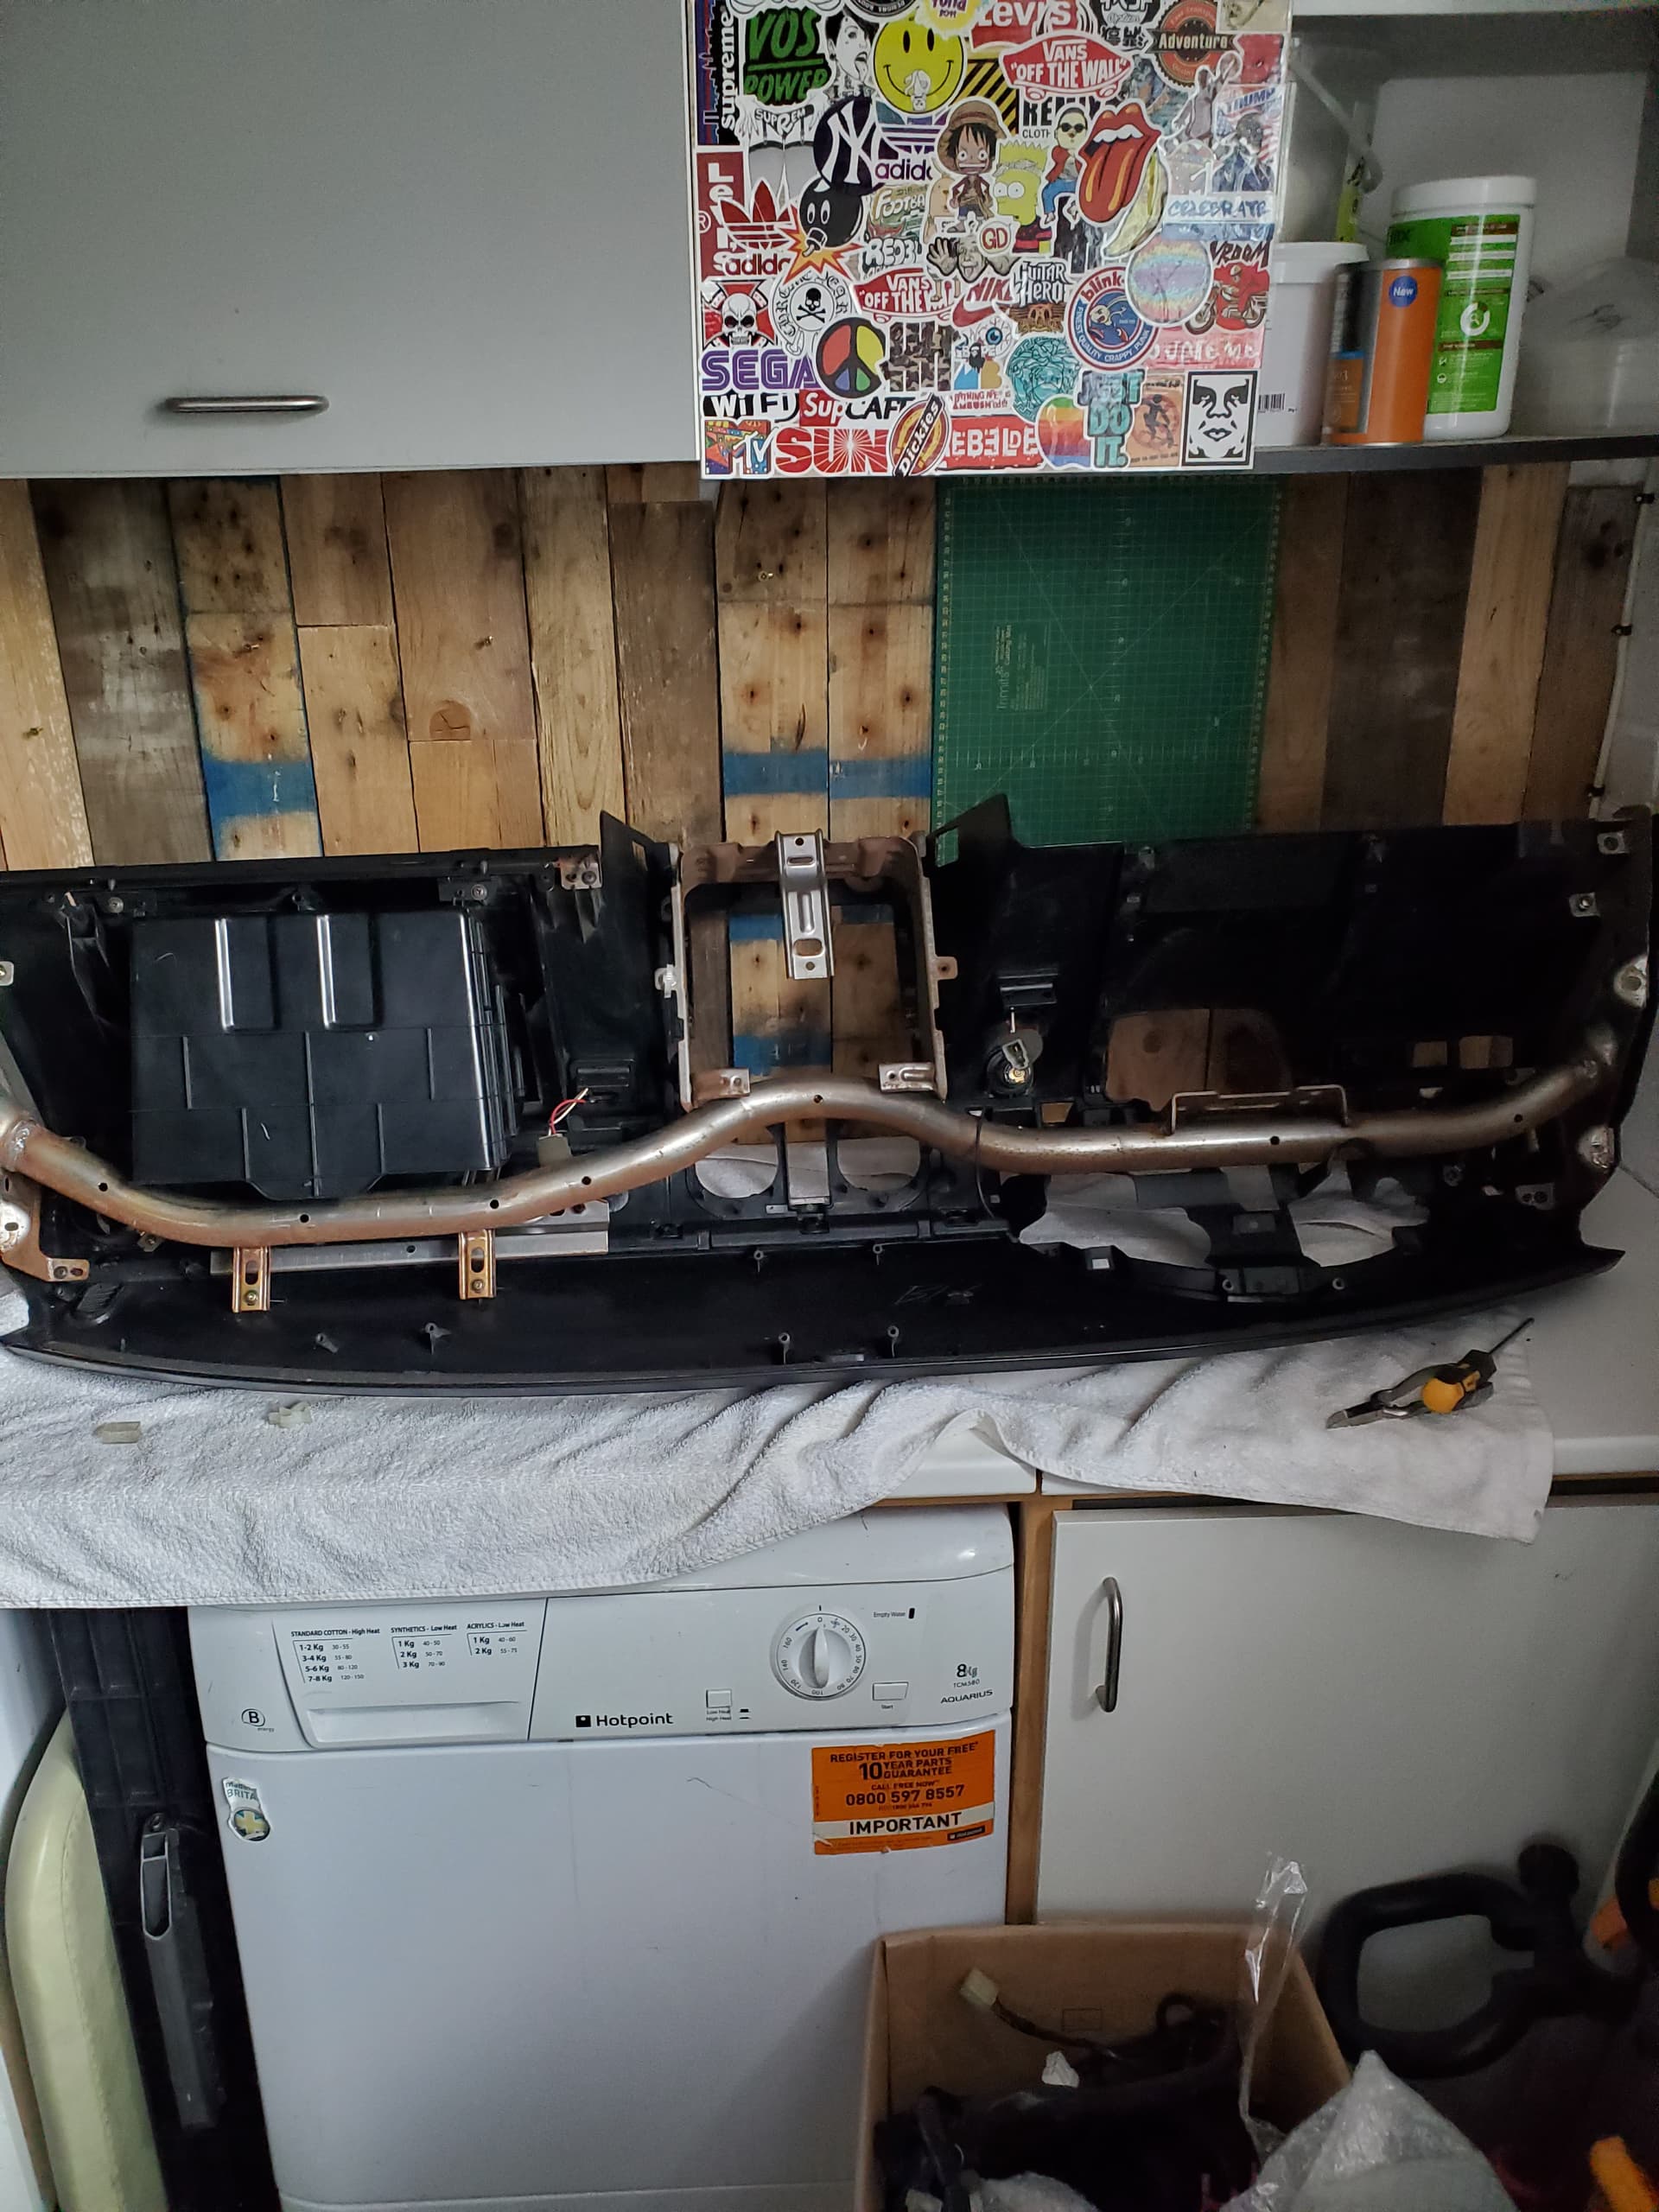
Cleaned up the motor box.
And the grille cover bit.
Tbc tomorrow when the foam comes.
If any moderators think this is better of as seperate threads. Ie flap box,heater box, interior change then id like to split it up.
I am thinking of doing a full air con service so that would be another one. Or maybe one big HVAC one. It might make it easier to digest.
So cracking on.
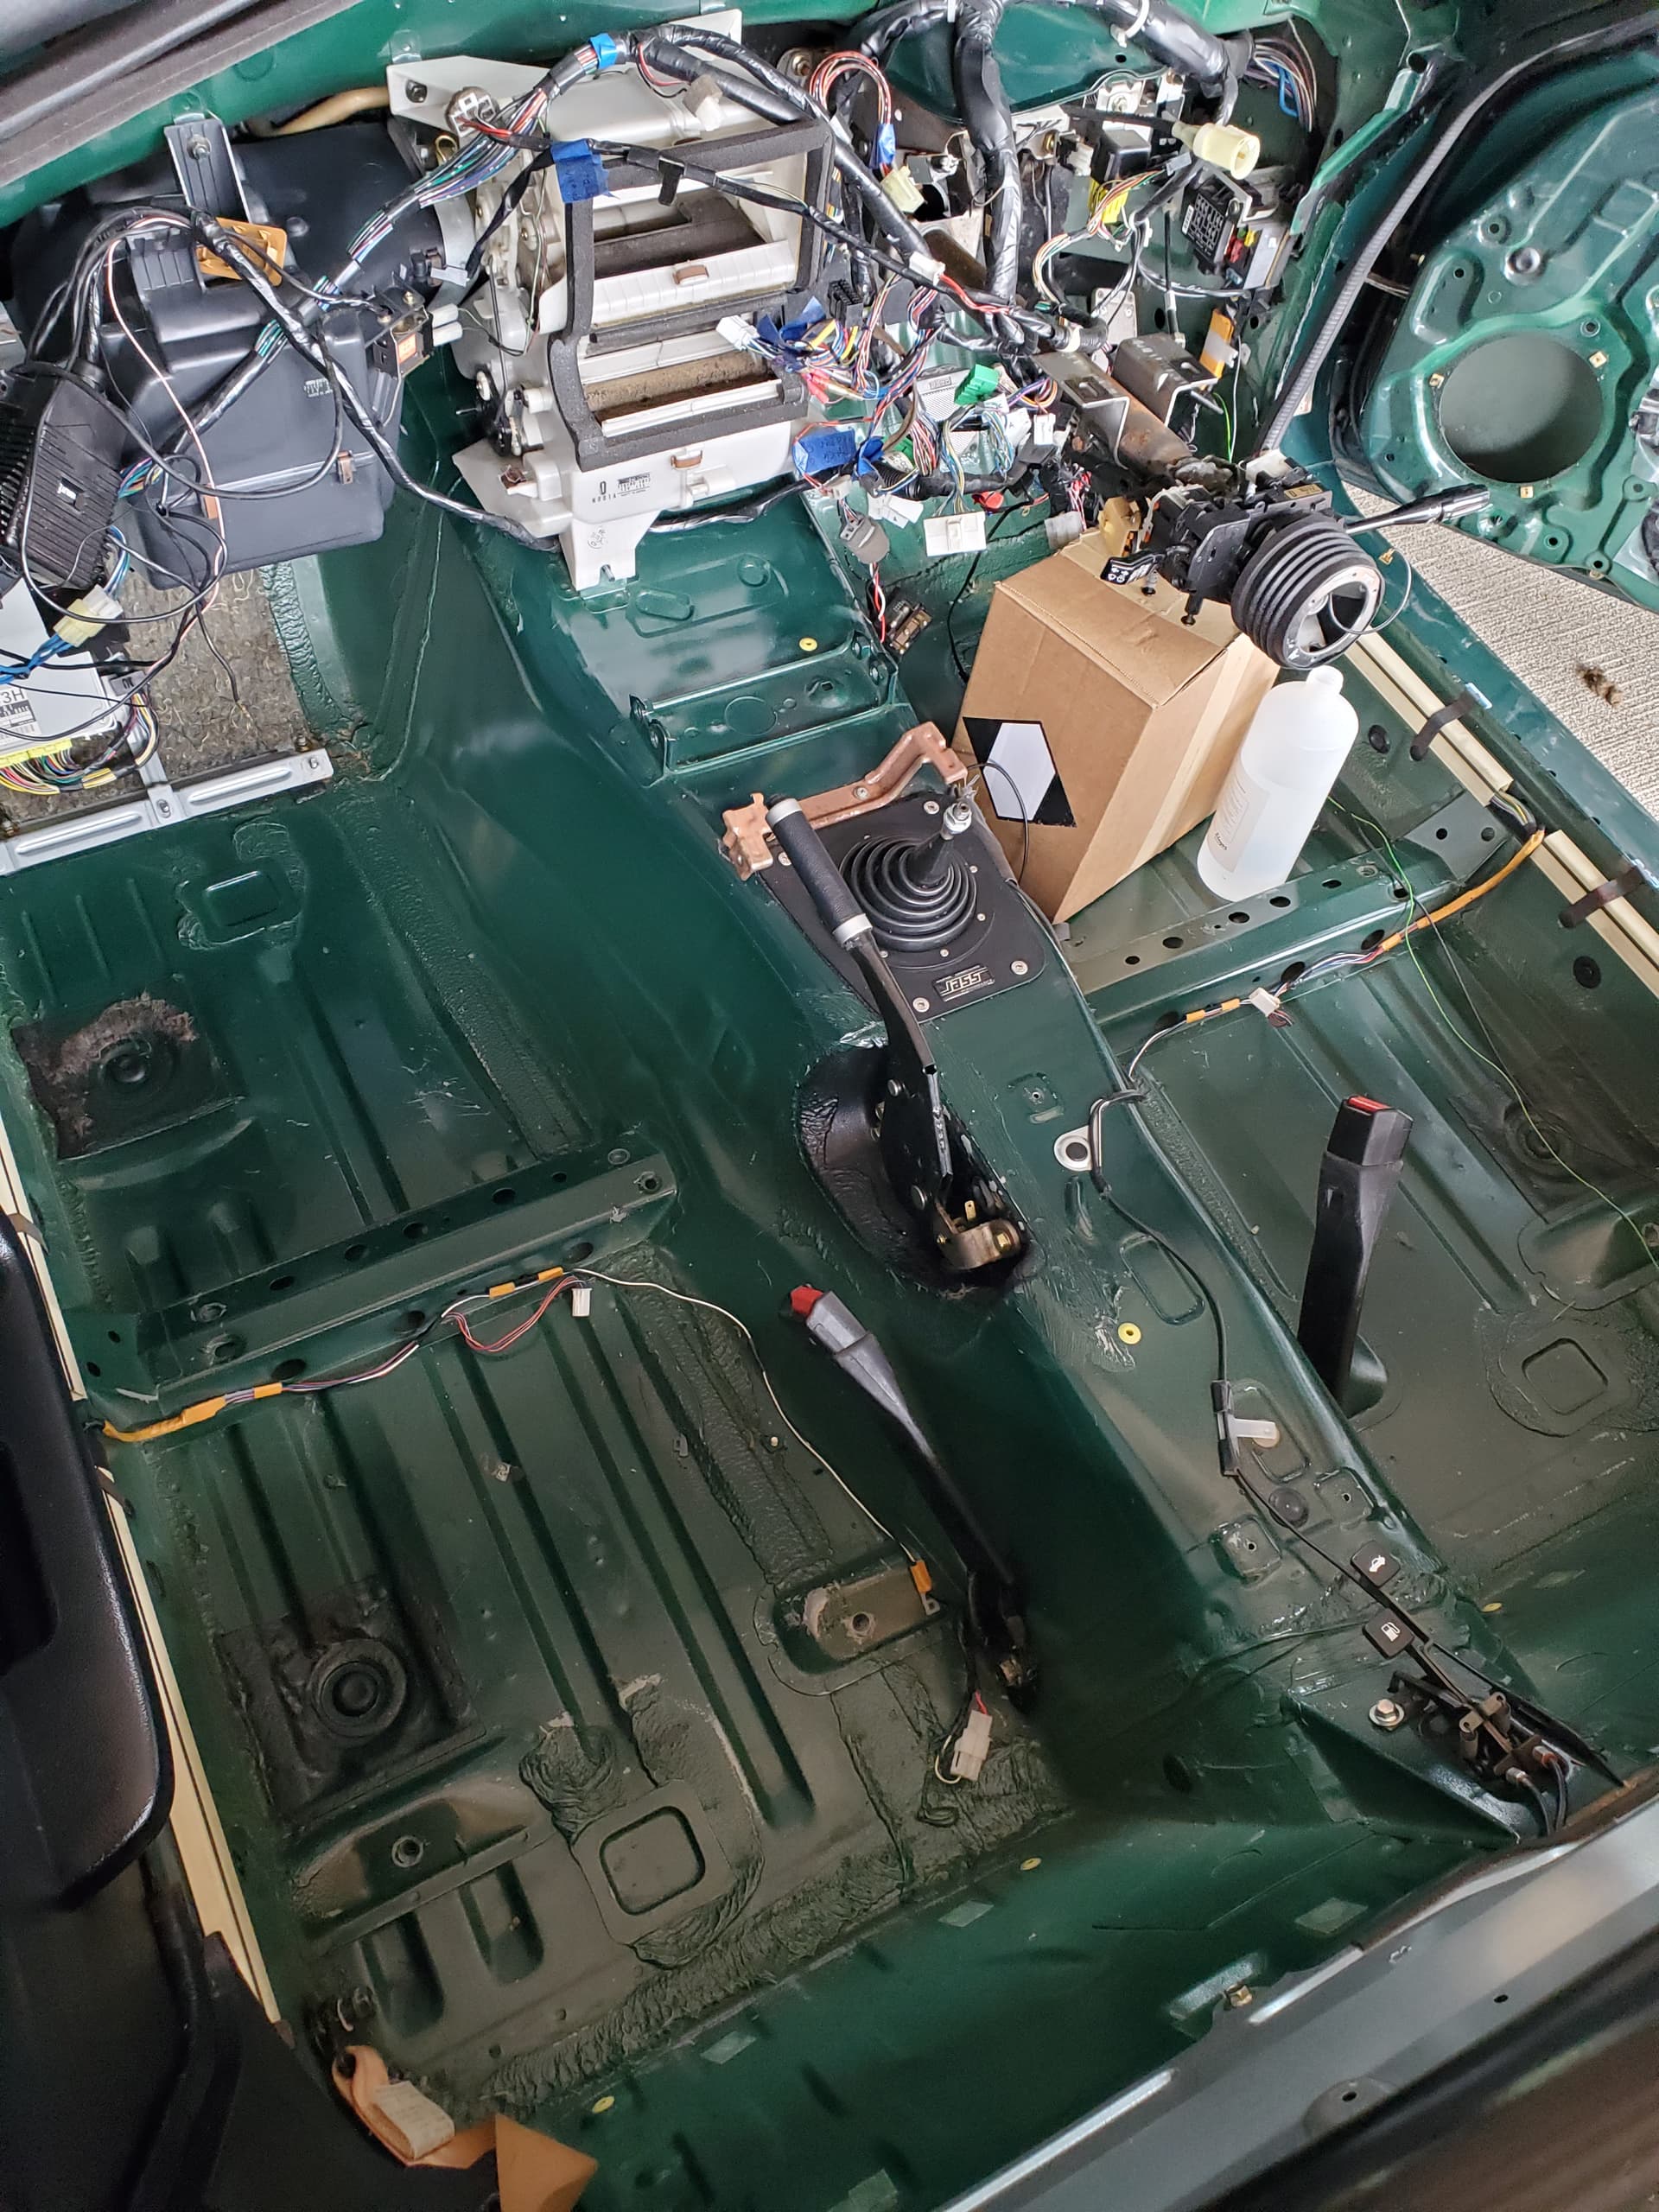
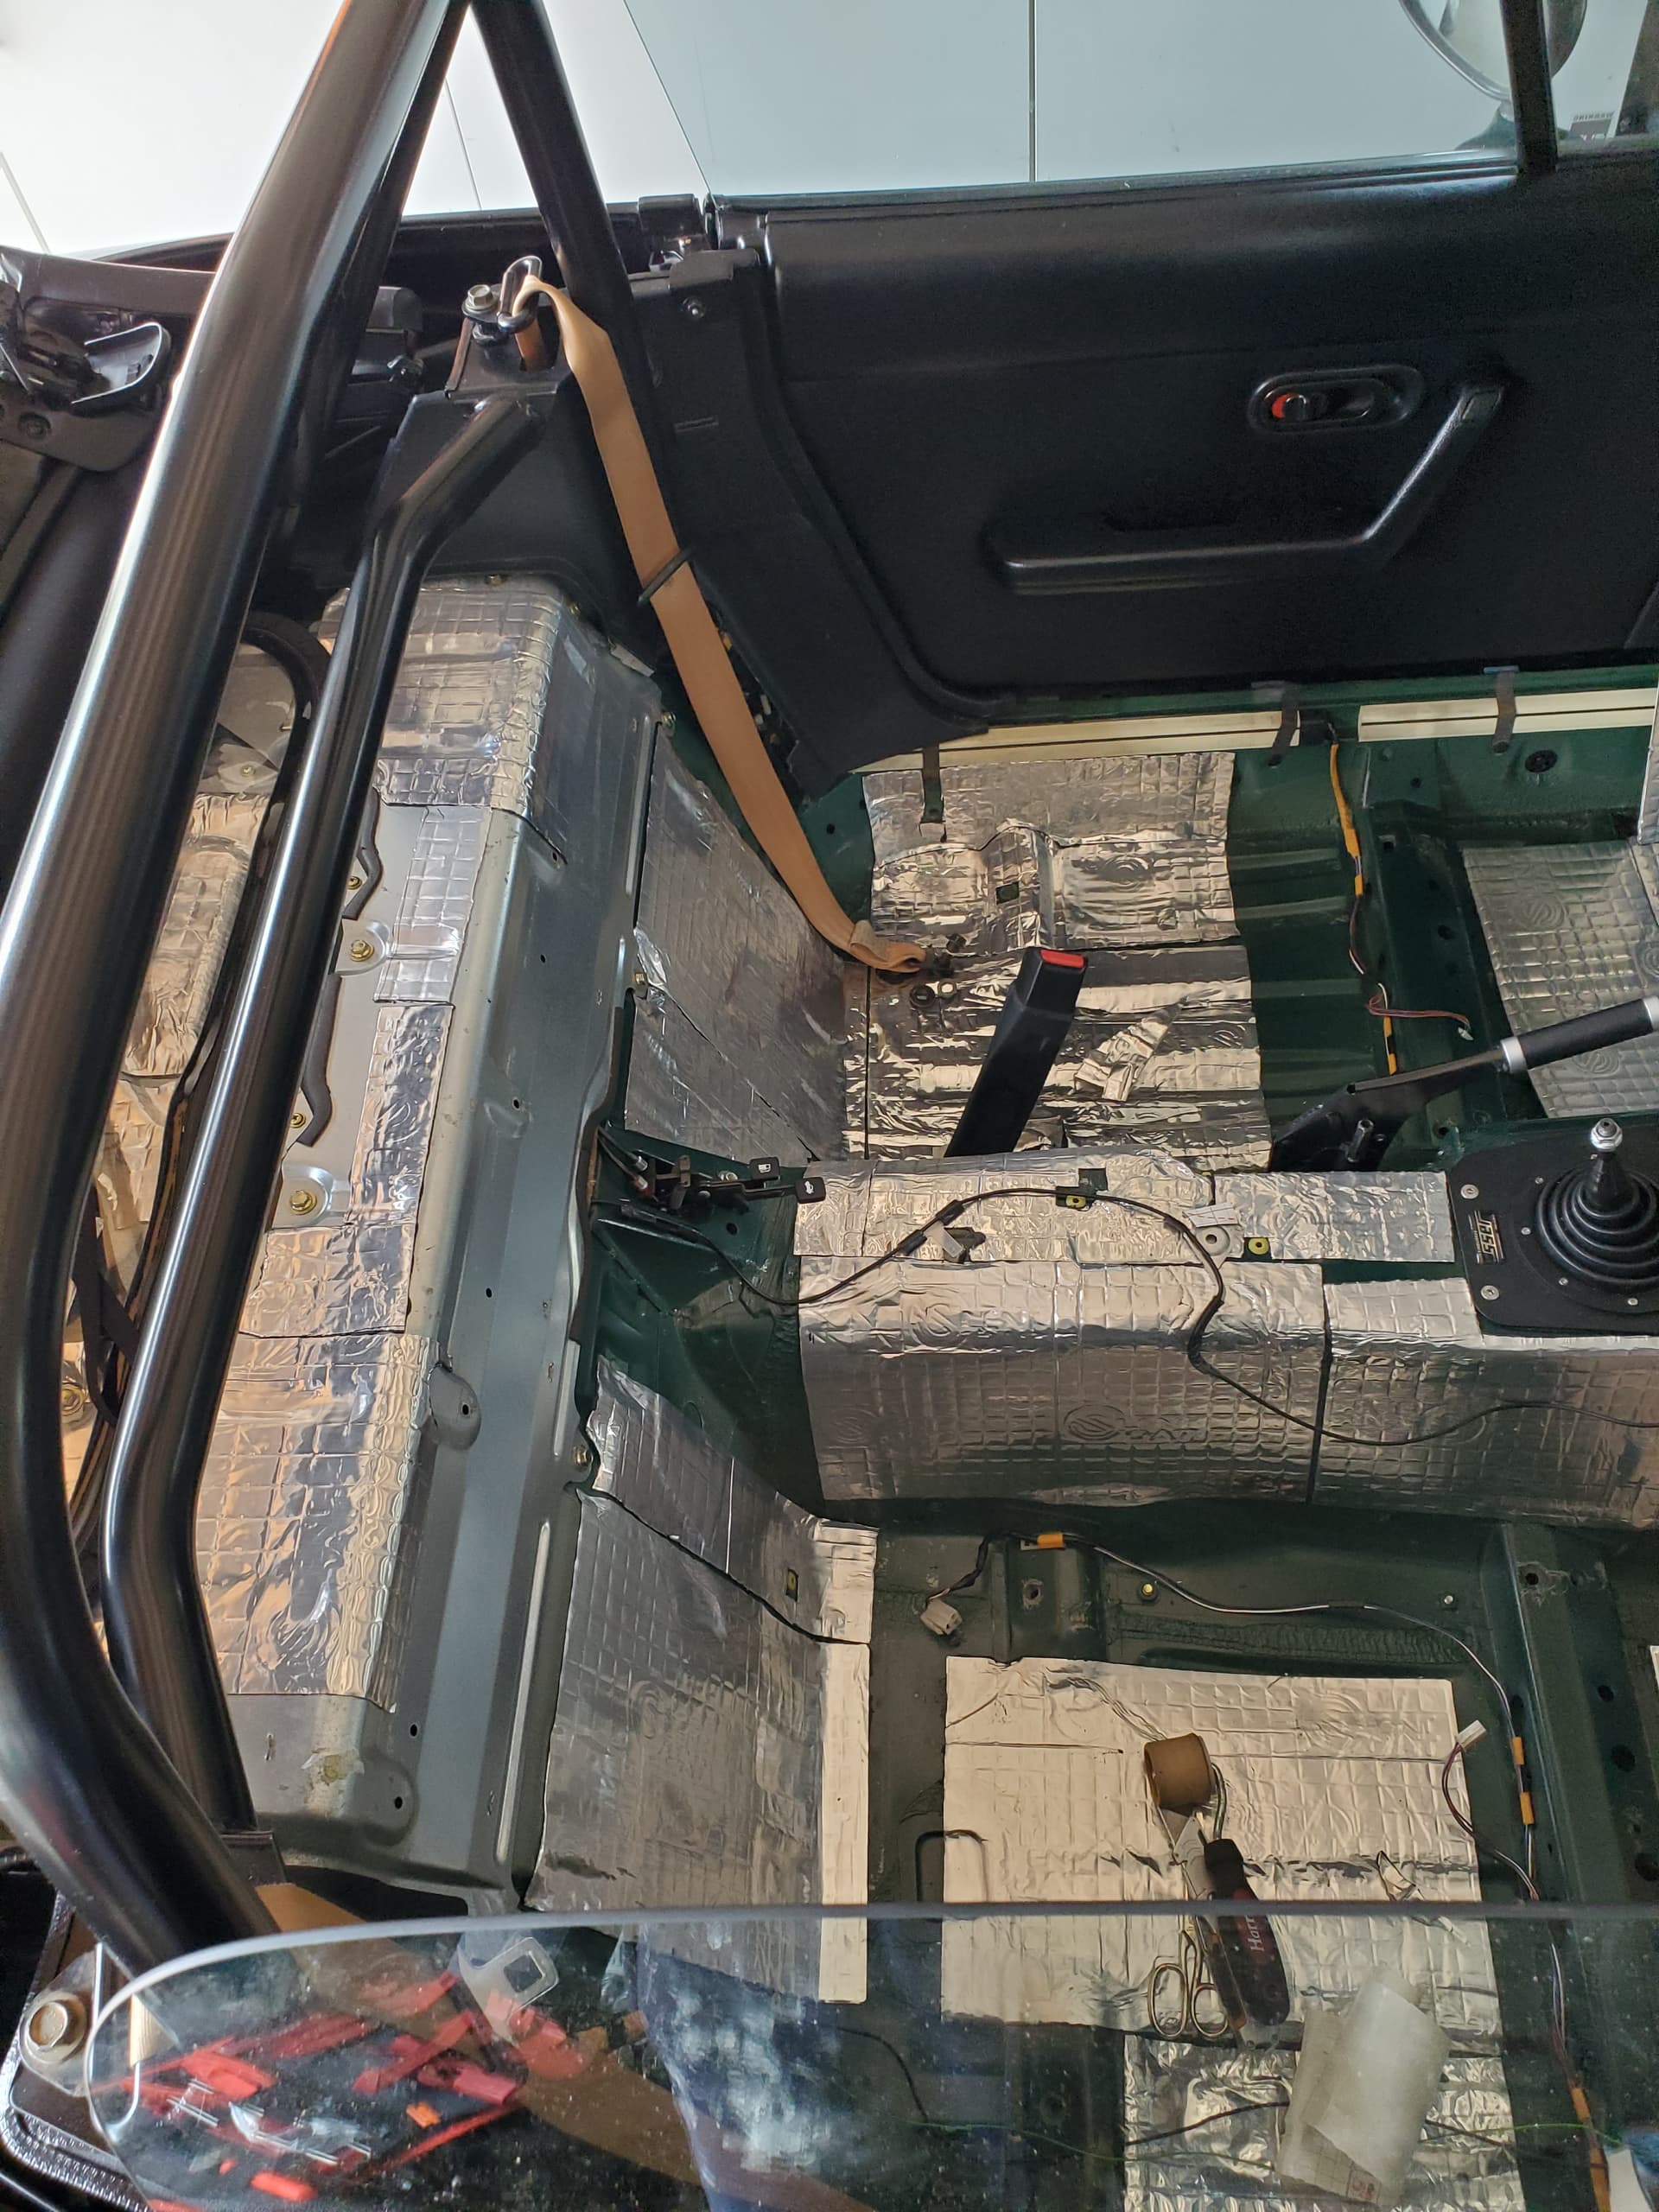
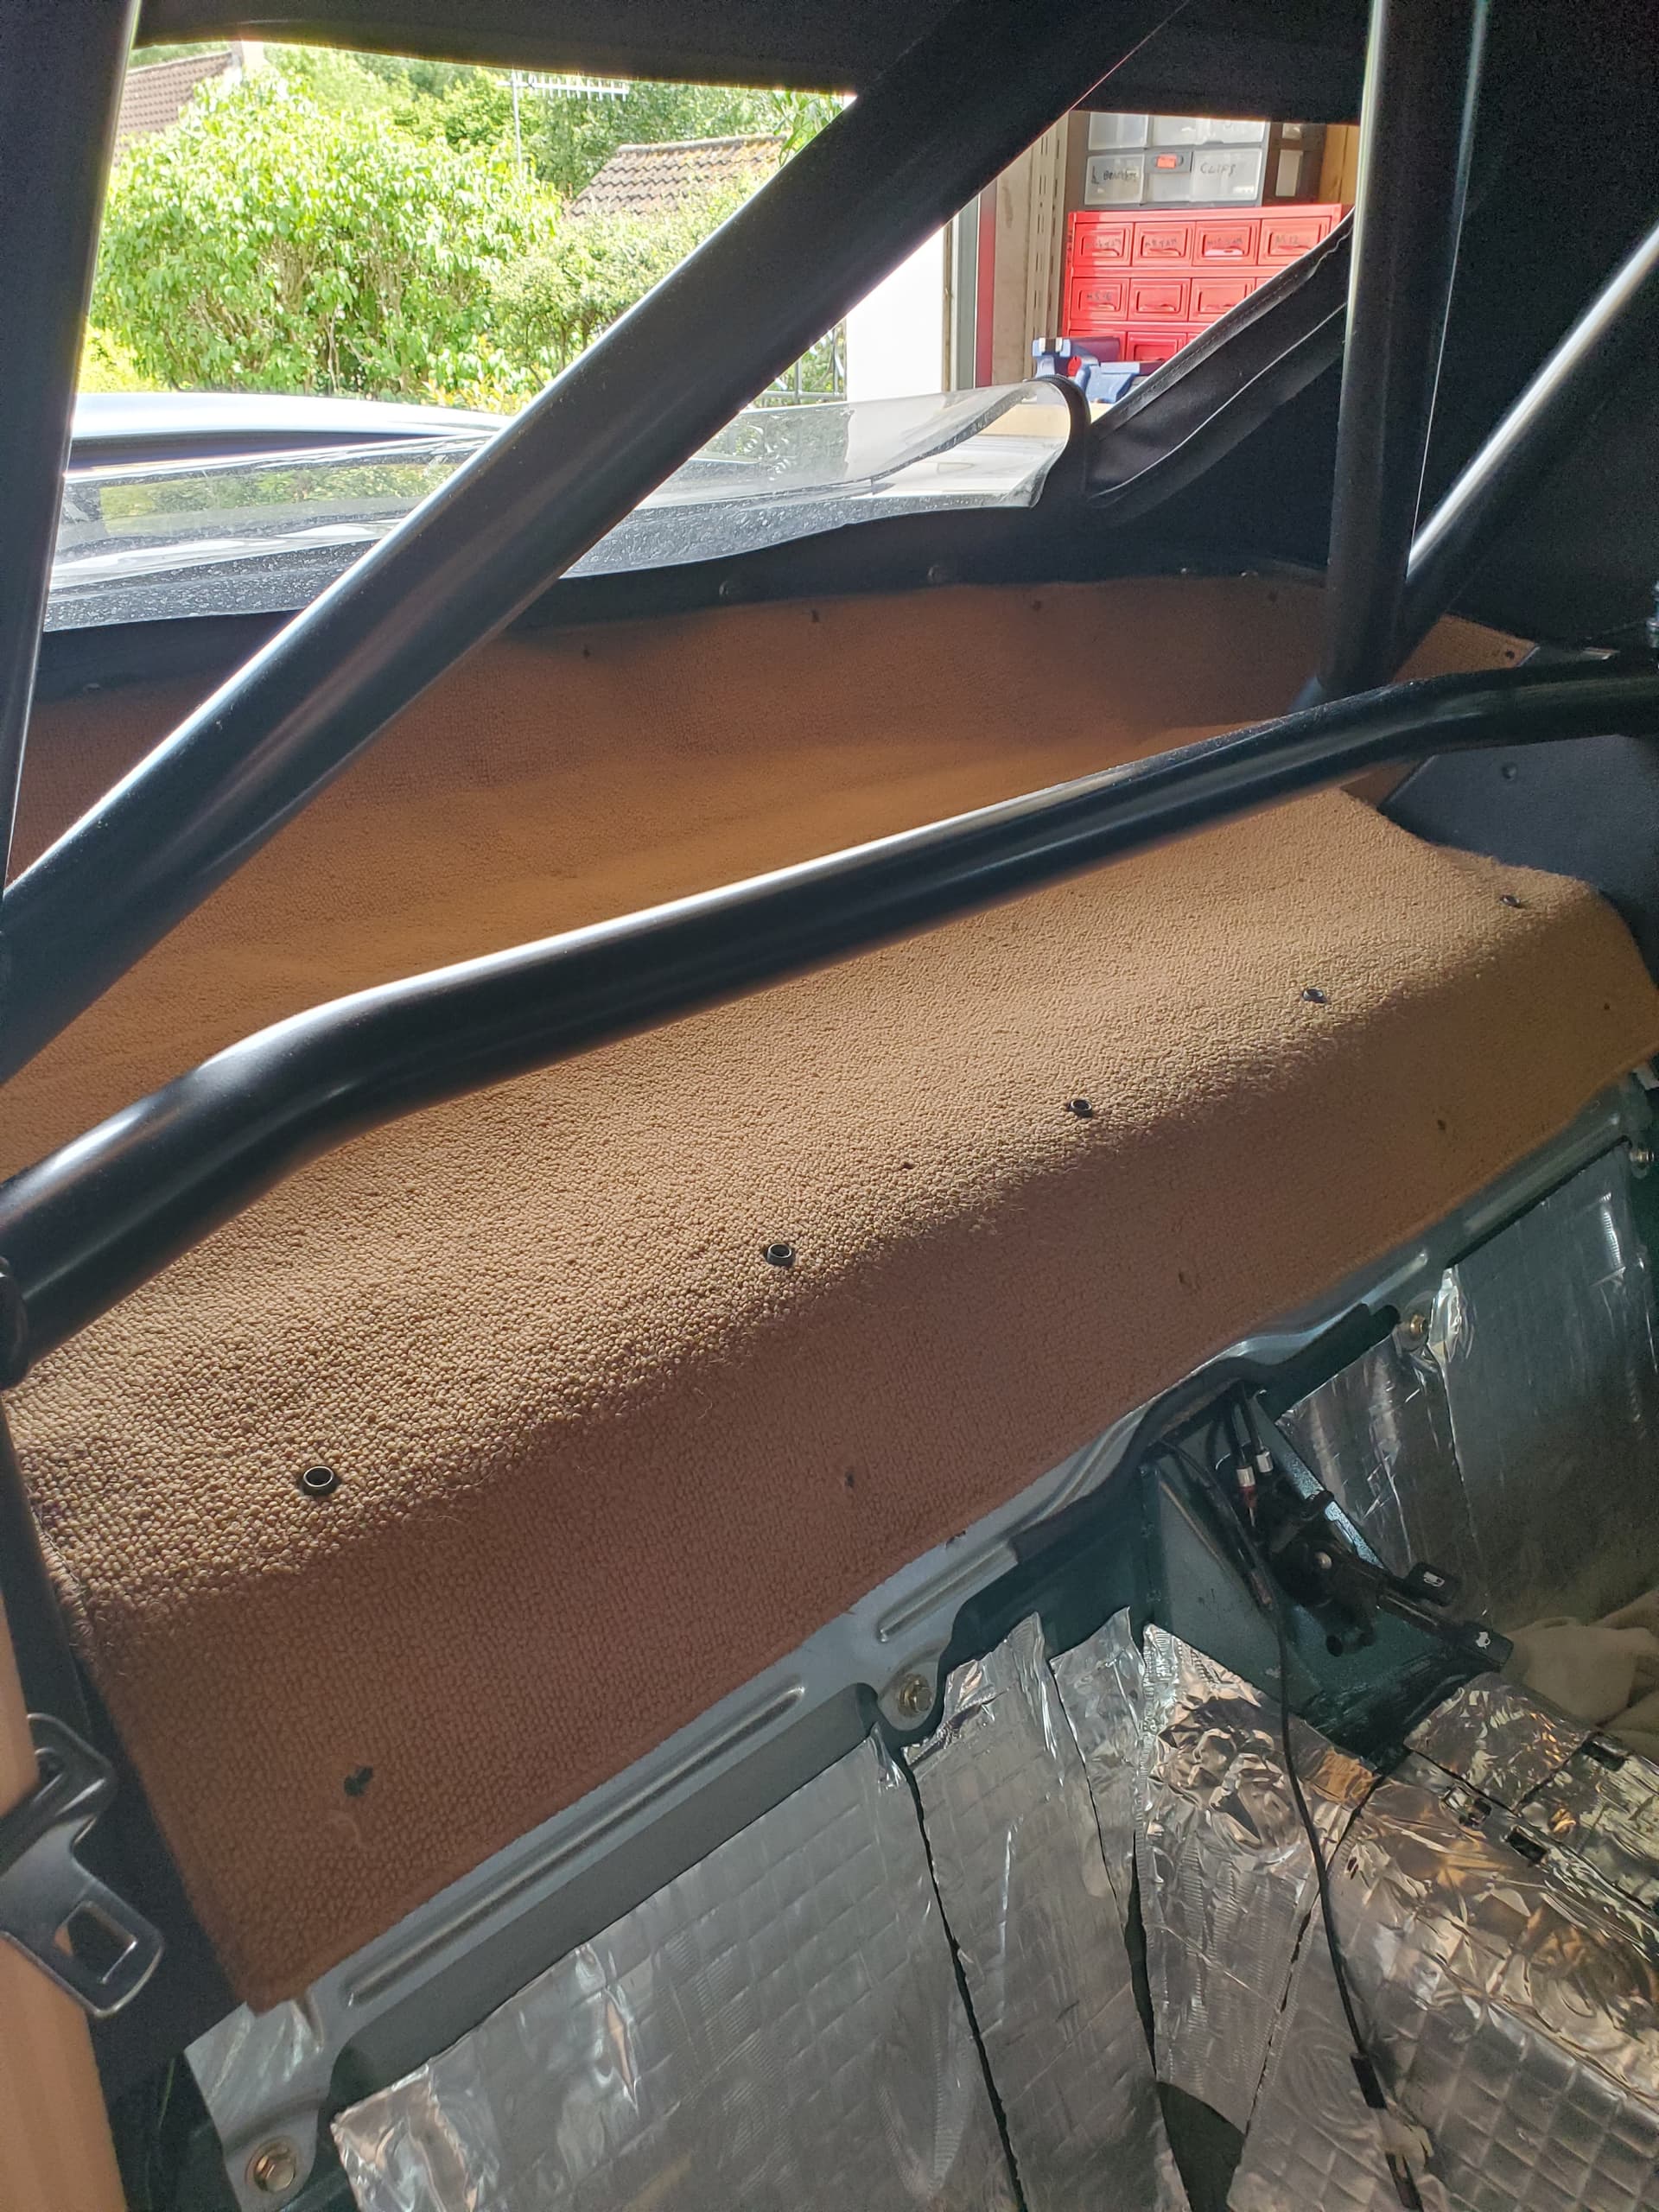
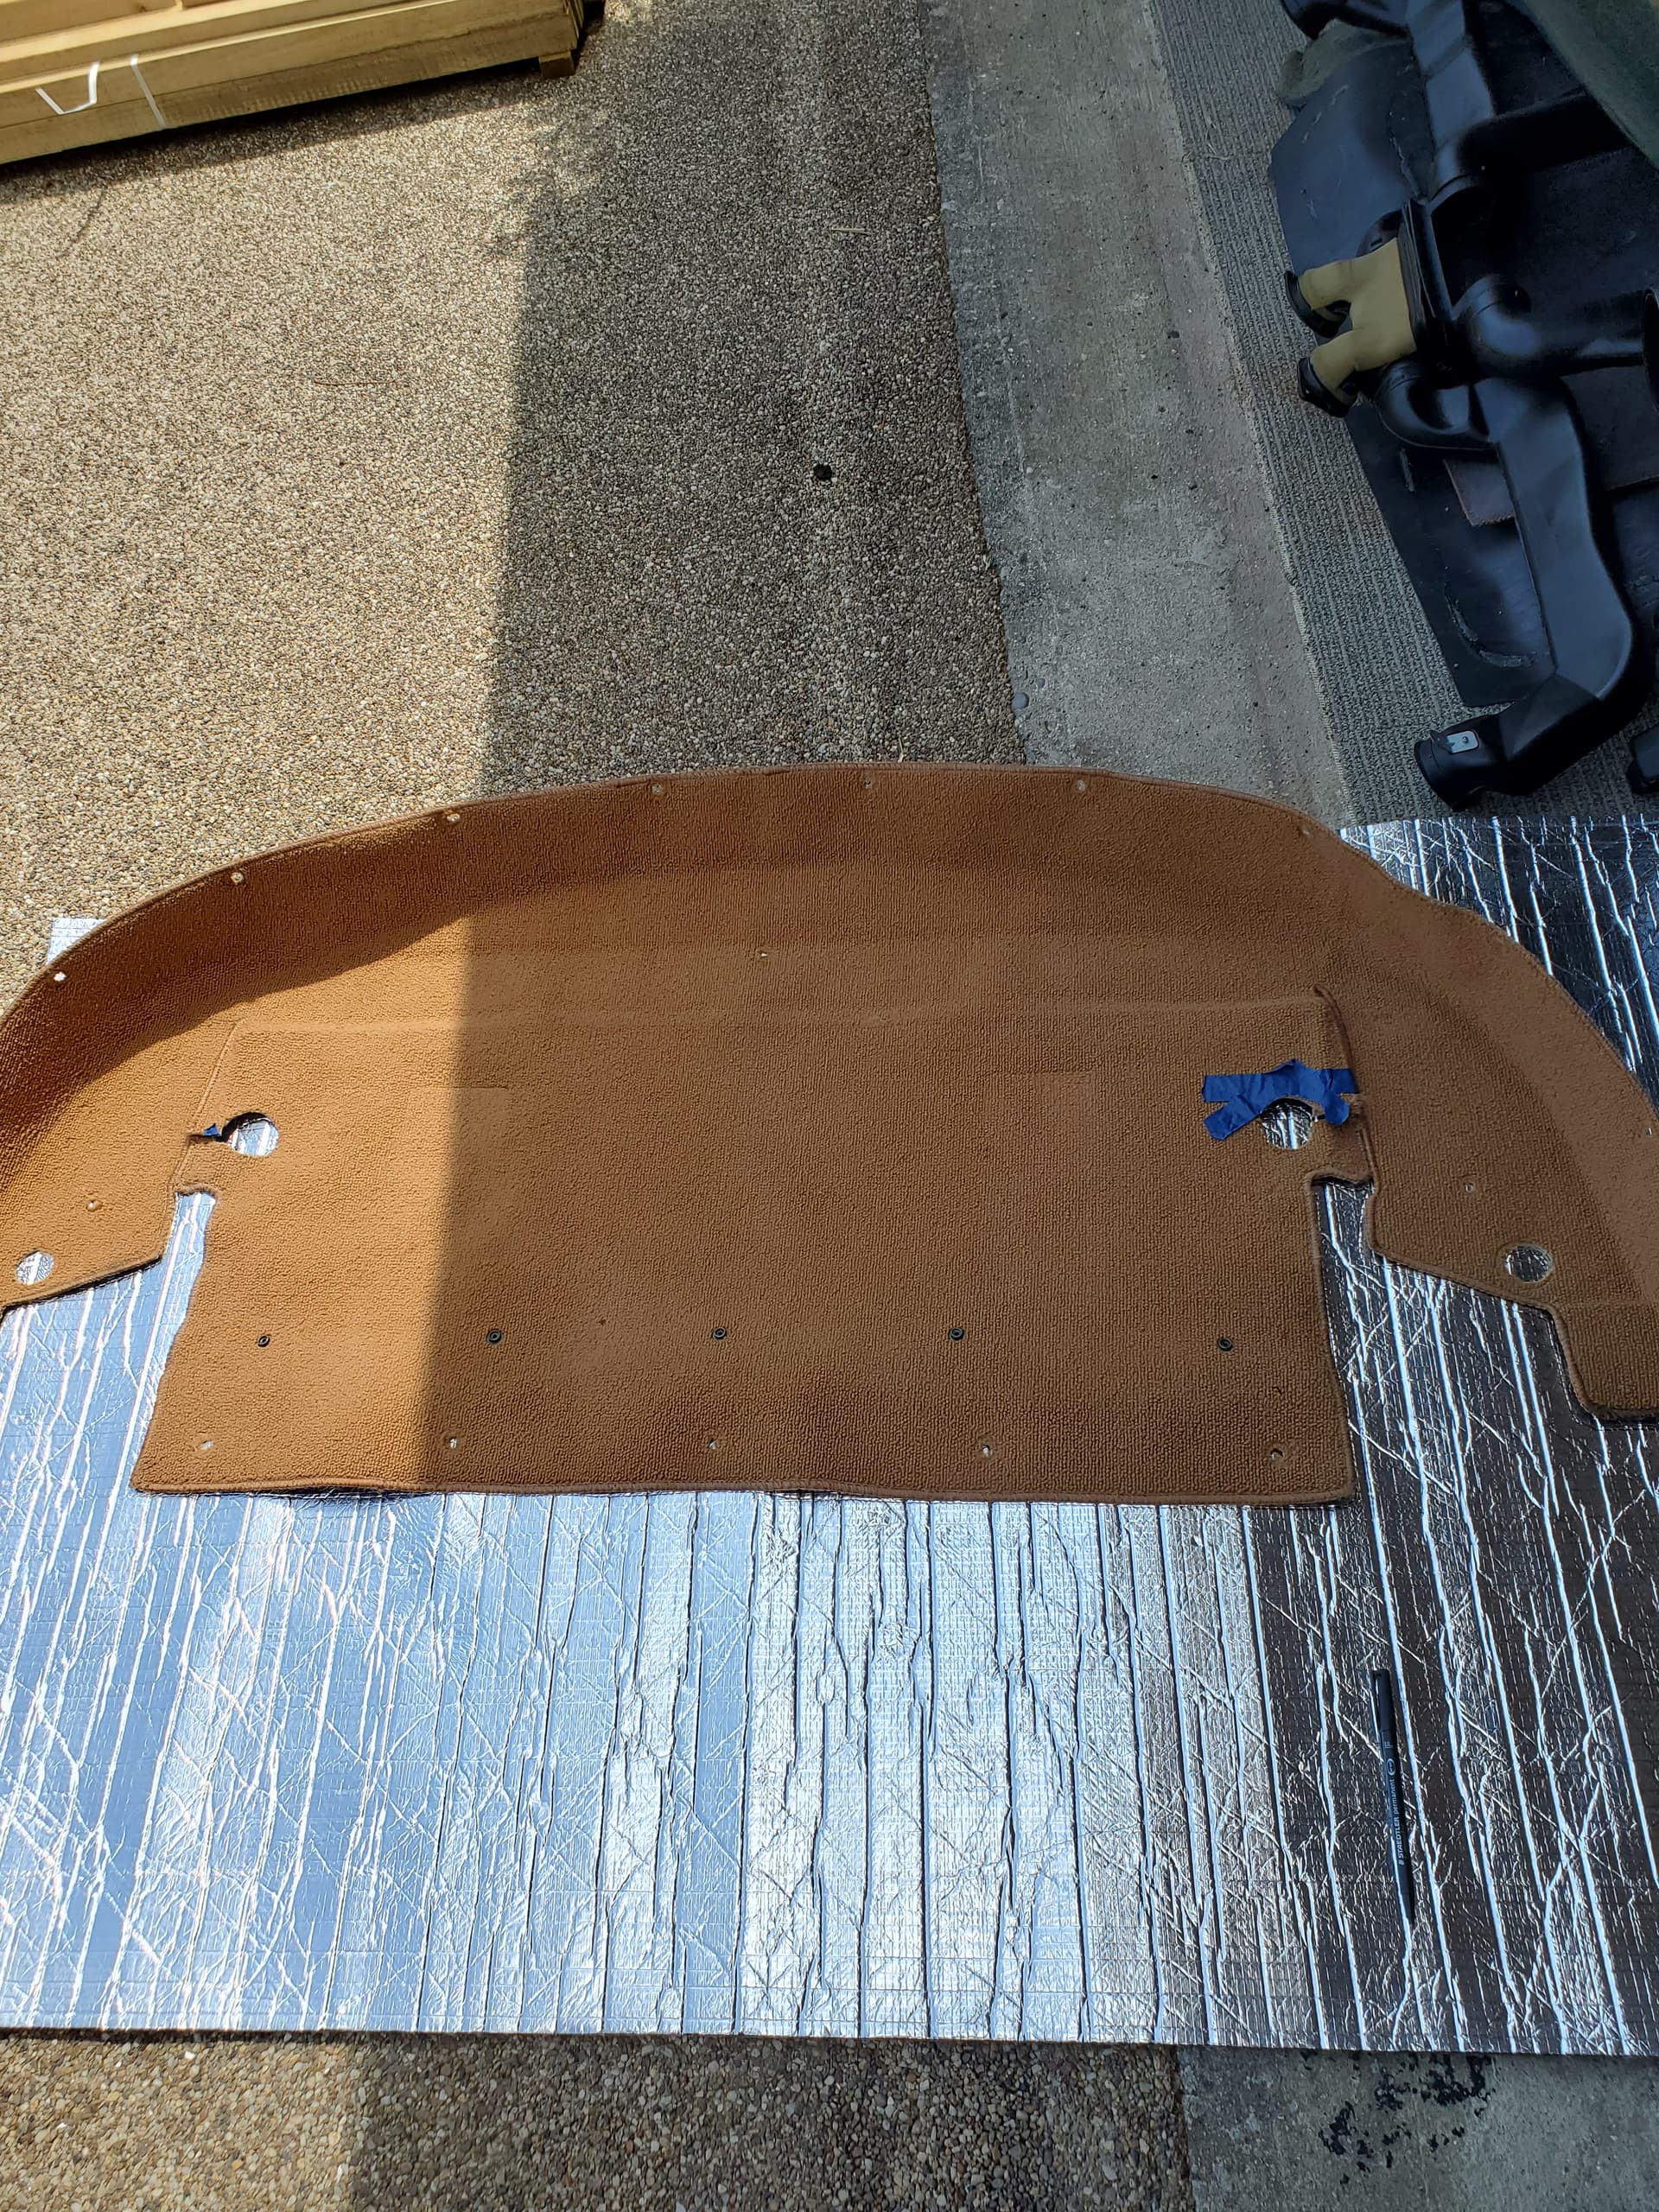
Start to get the carpet back in.
Basically lob it in and line up some holes. A bit of carpet double sided tape hither and tither and its in place.
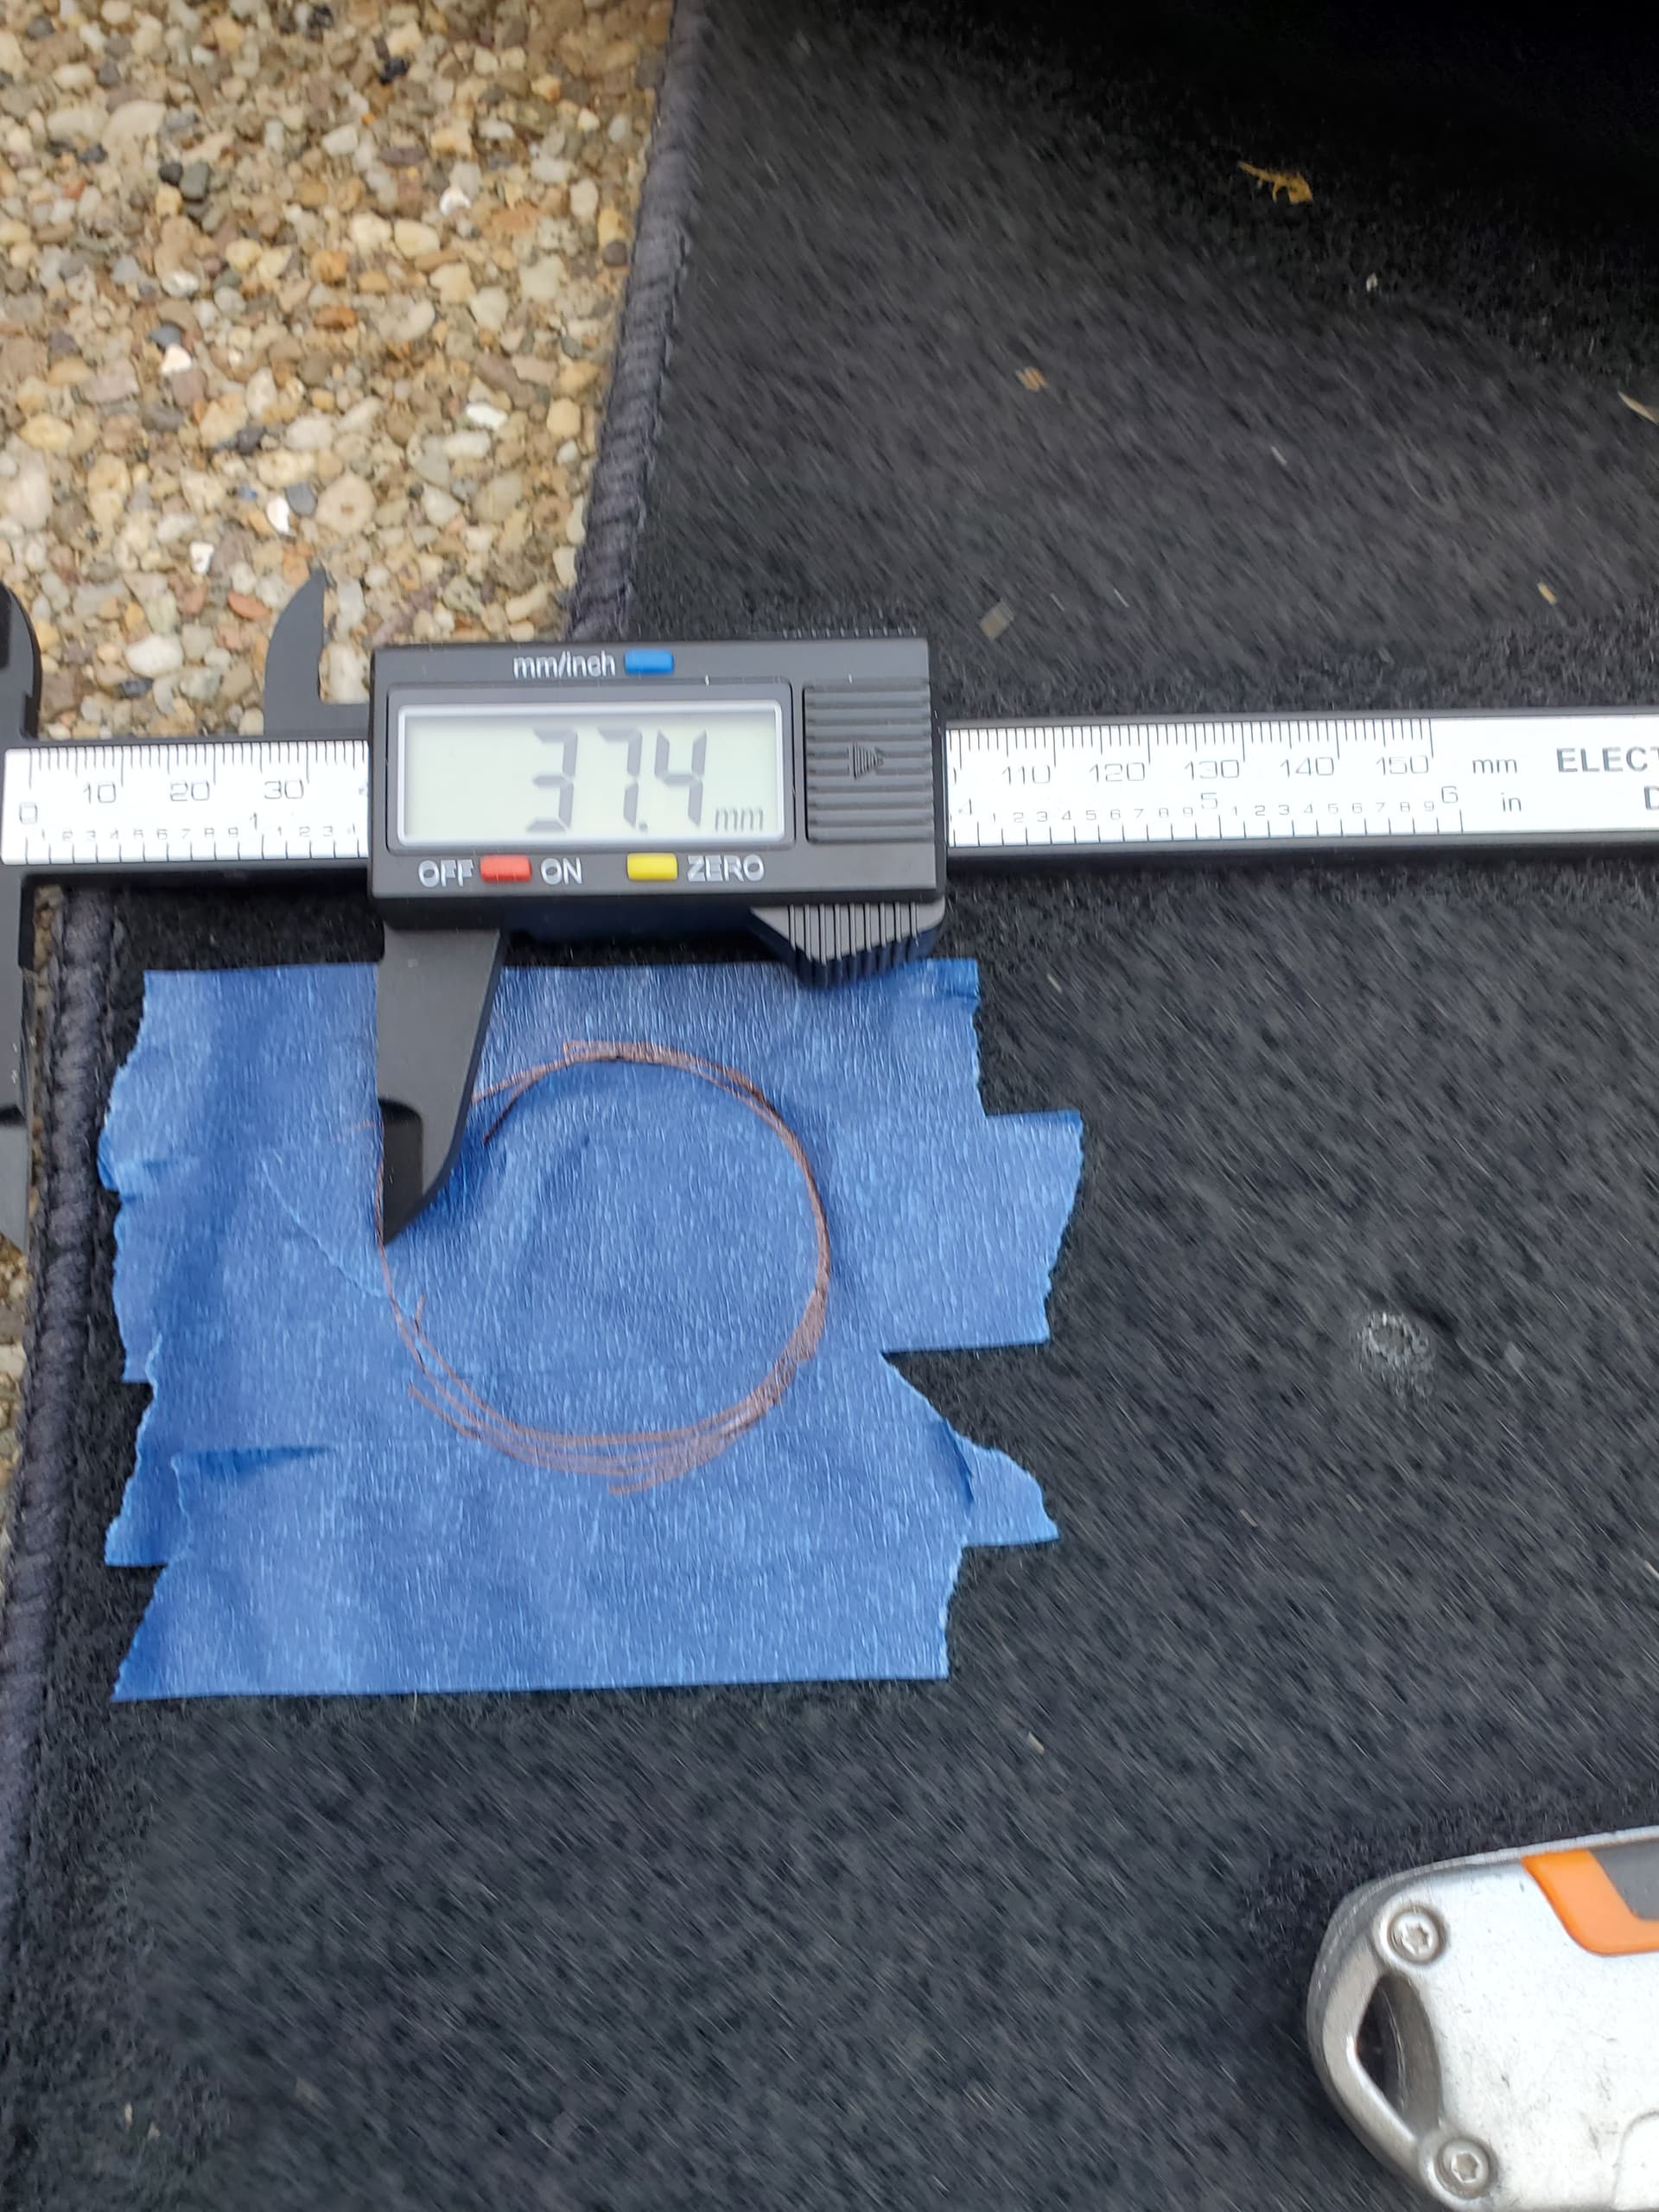
Clean up the foot rest. More filth.
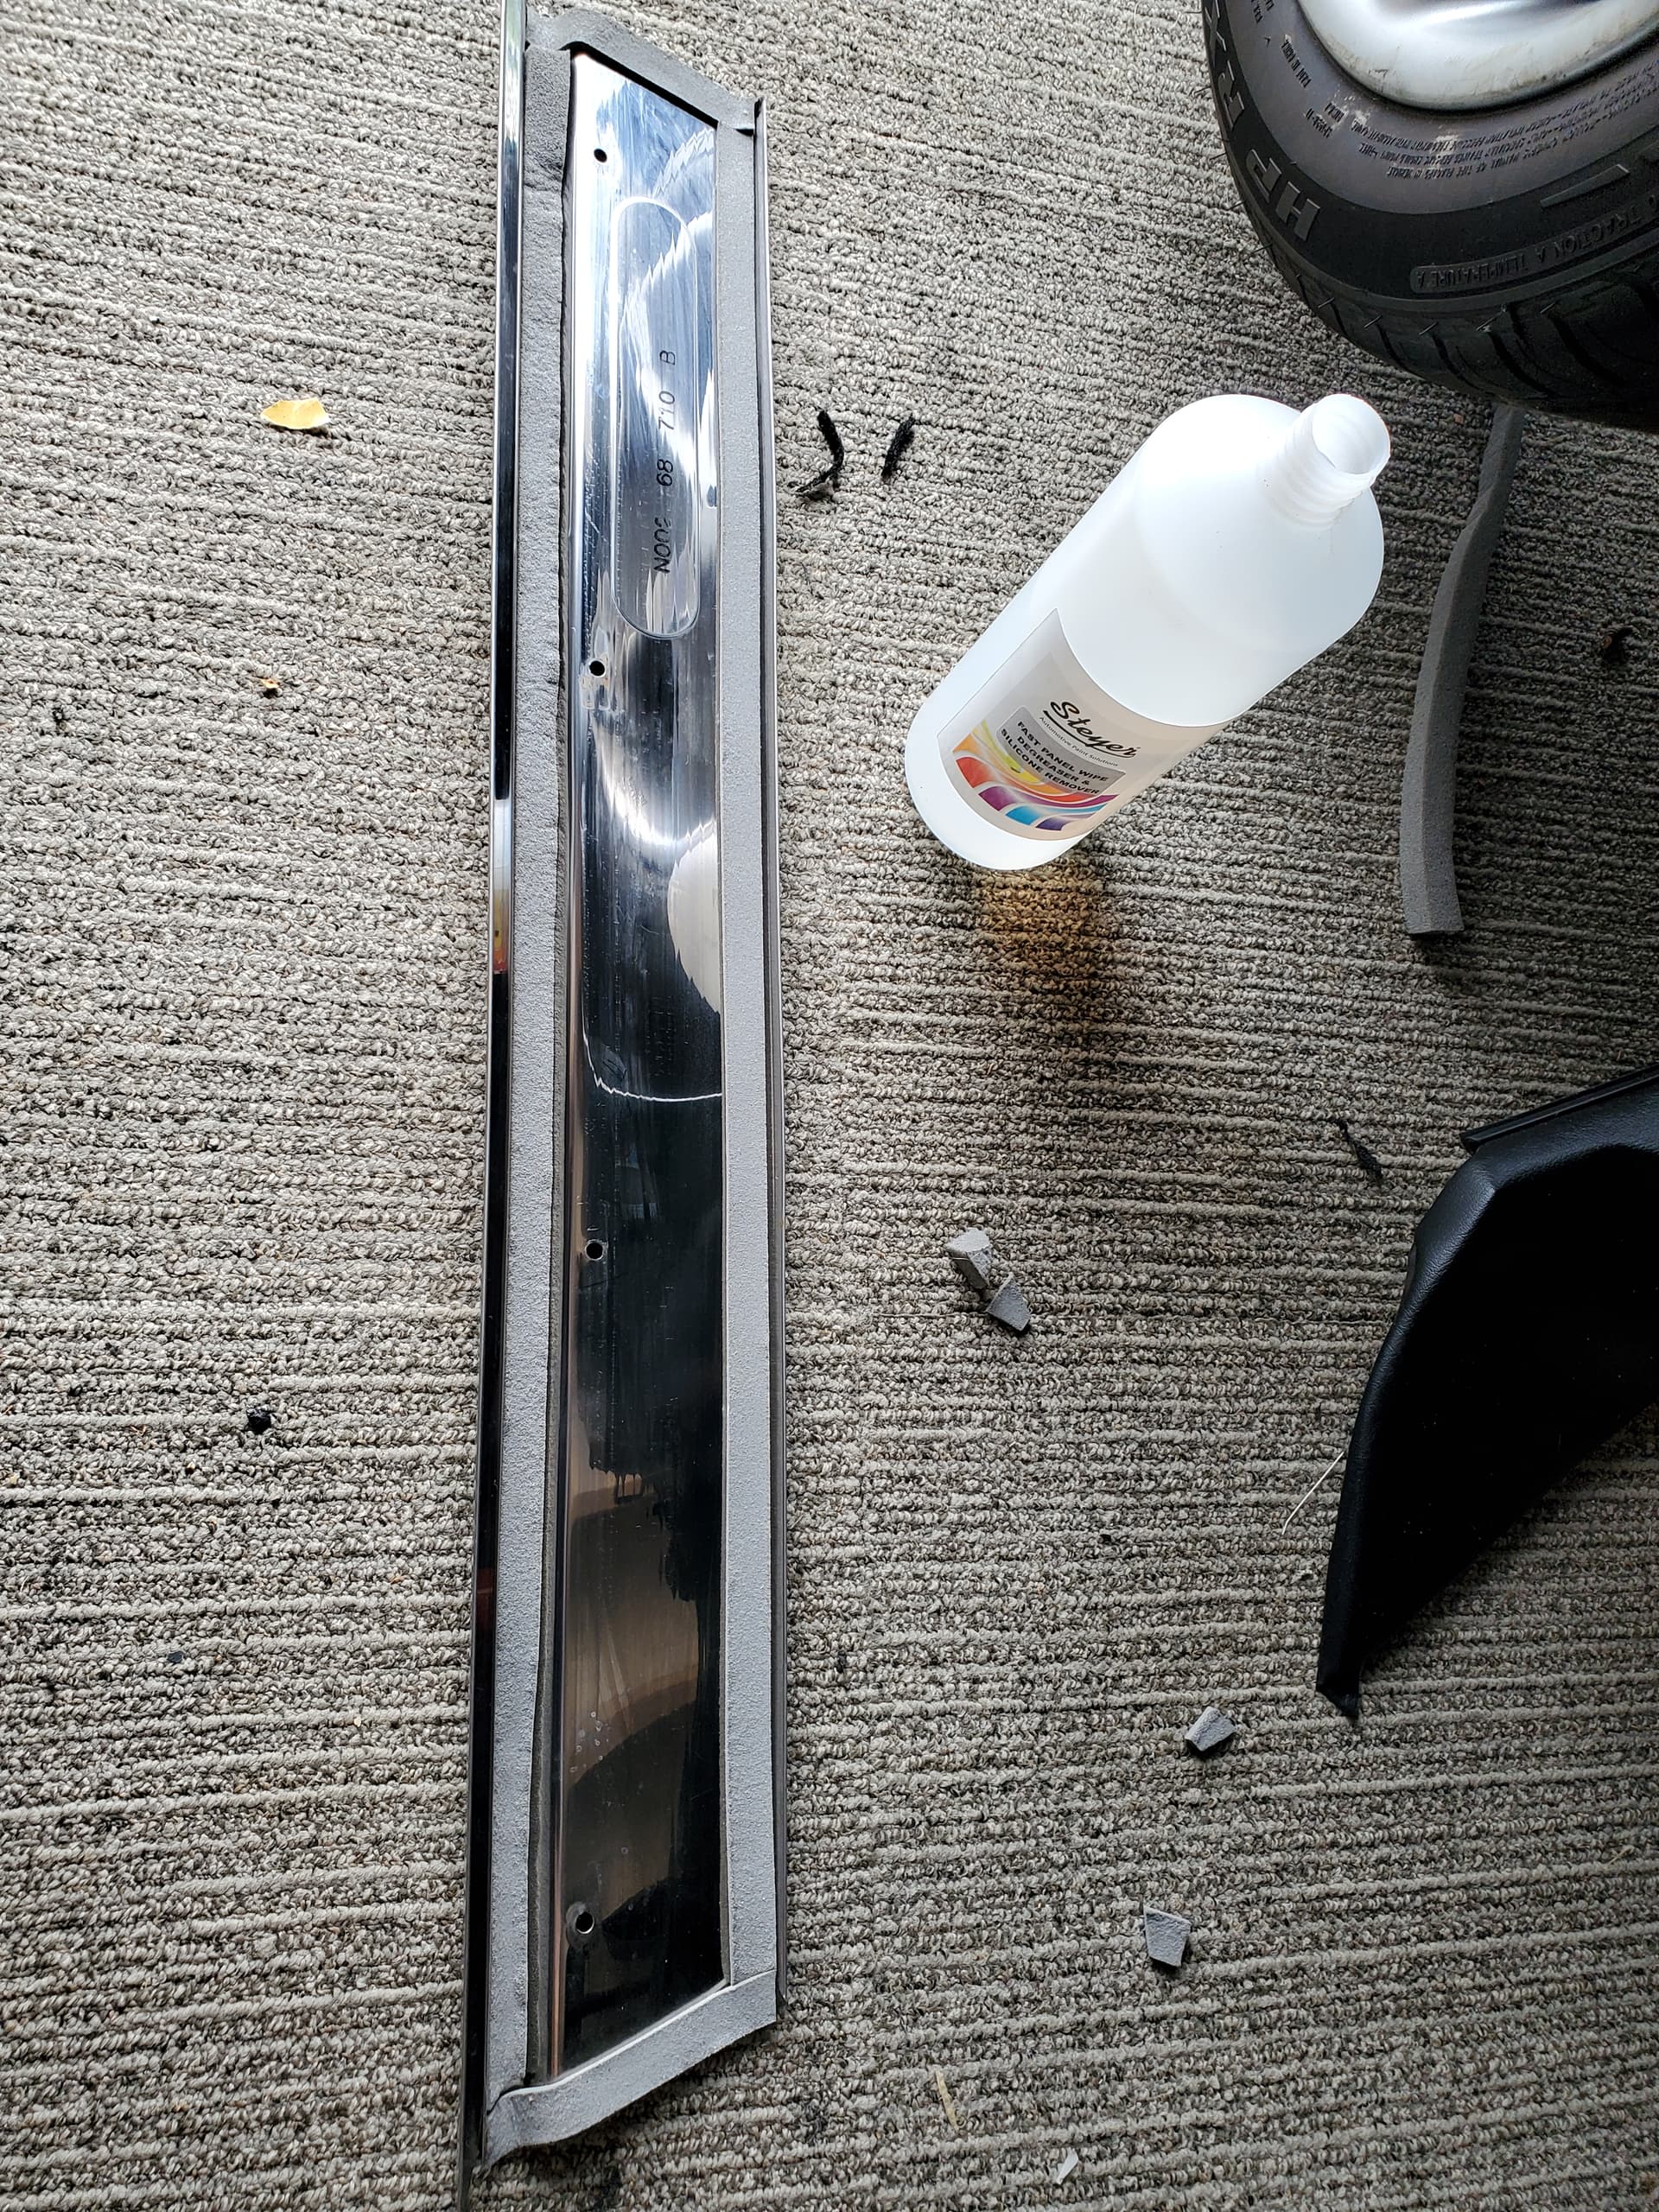
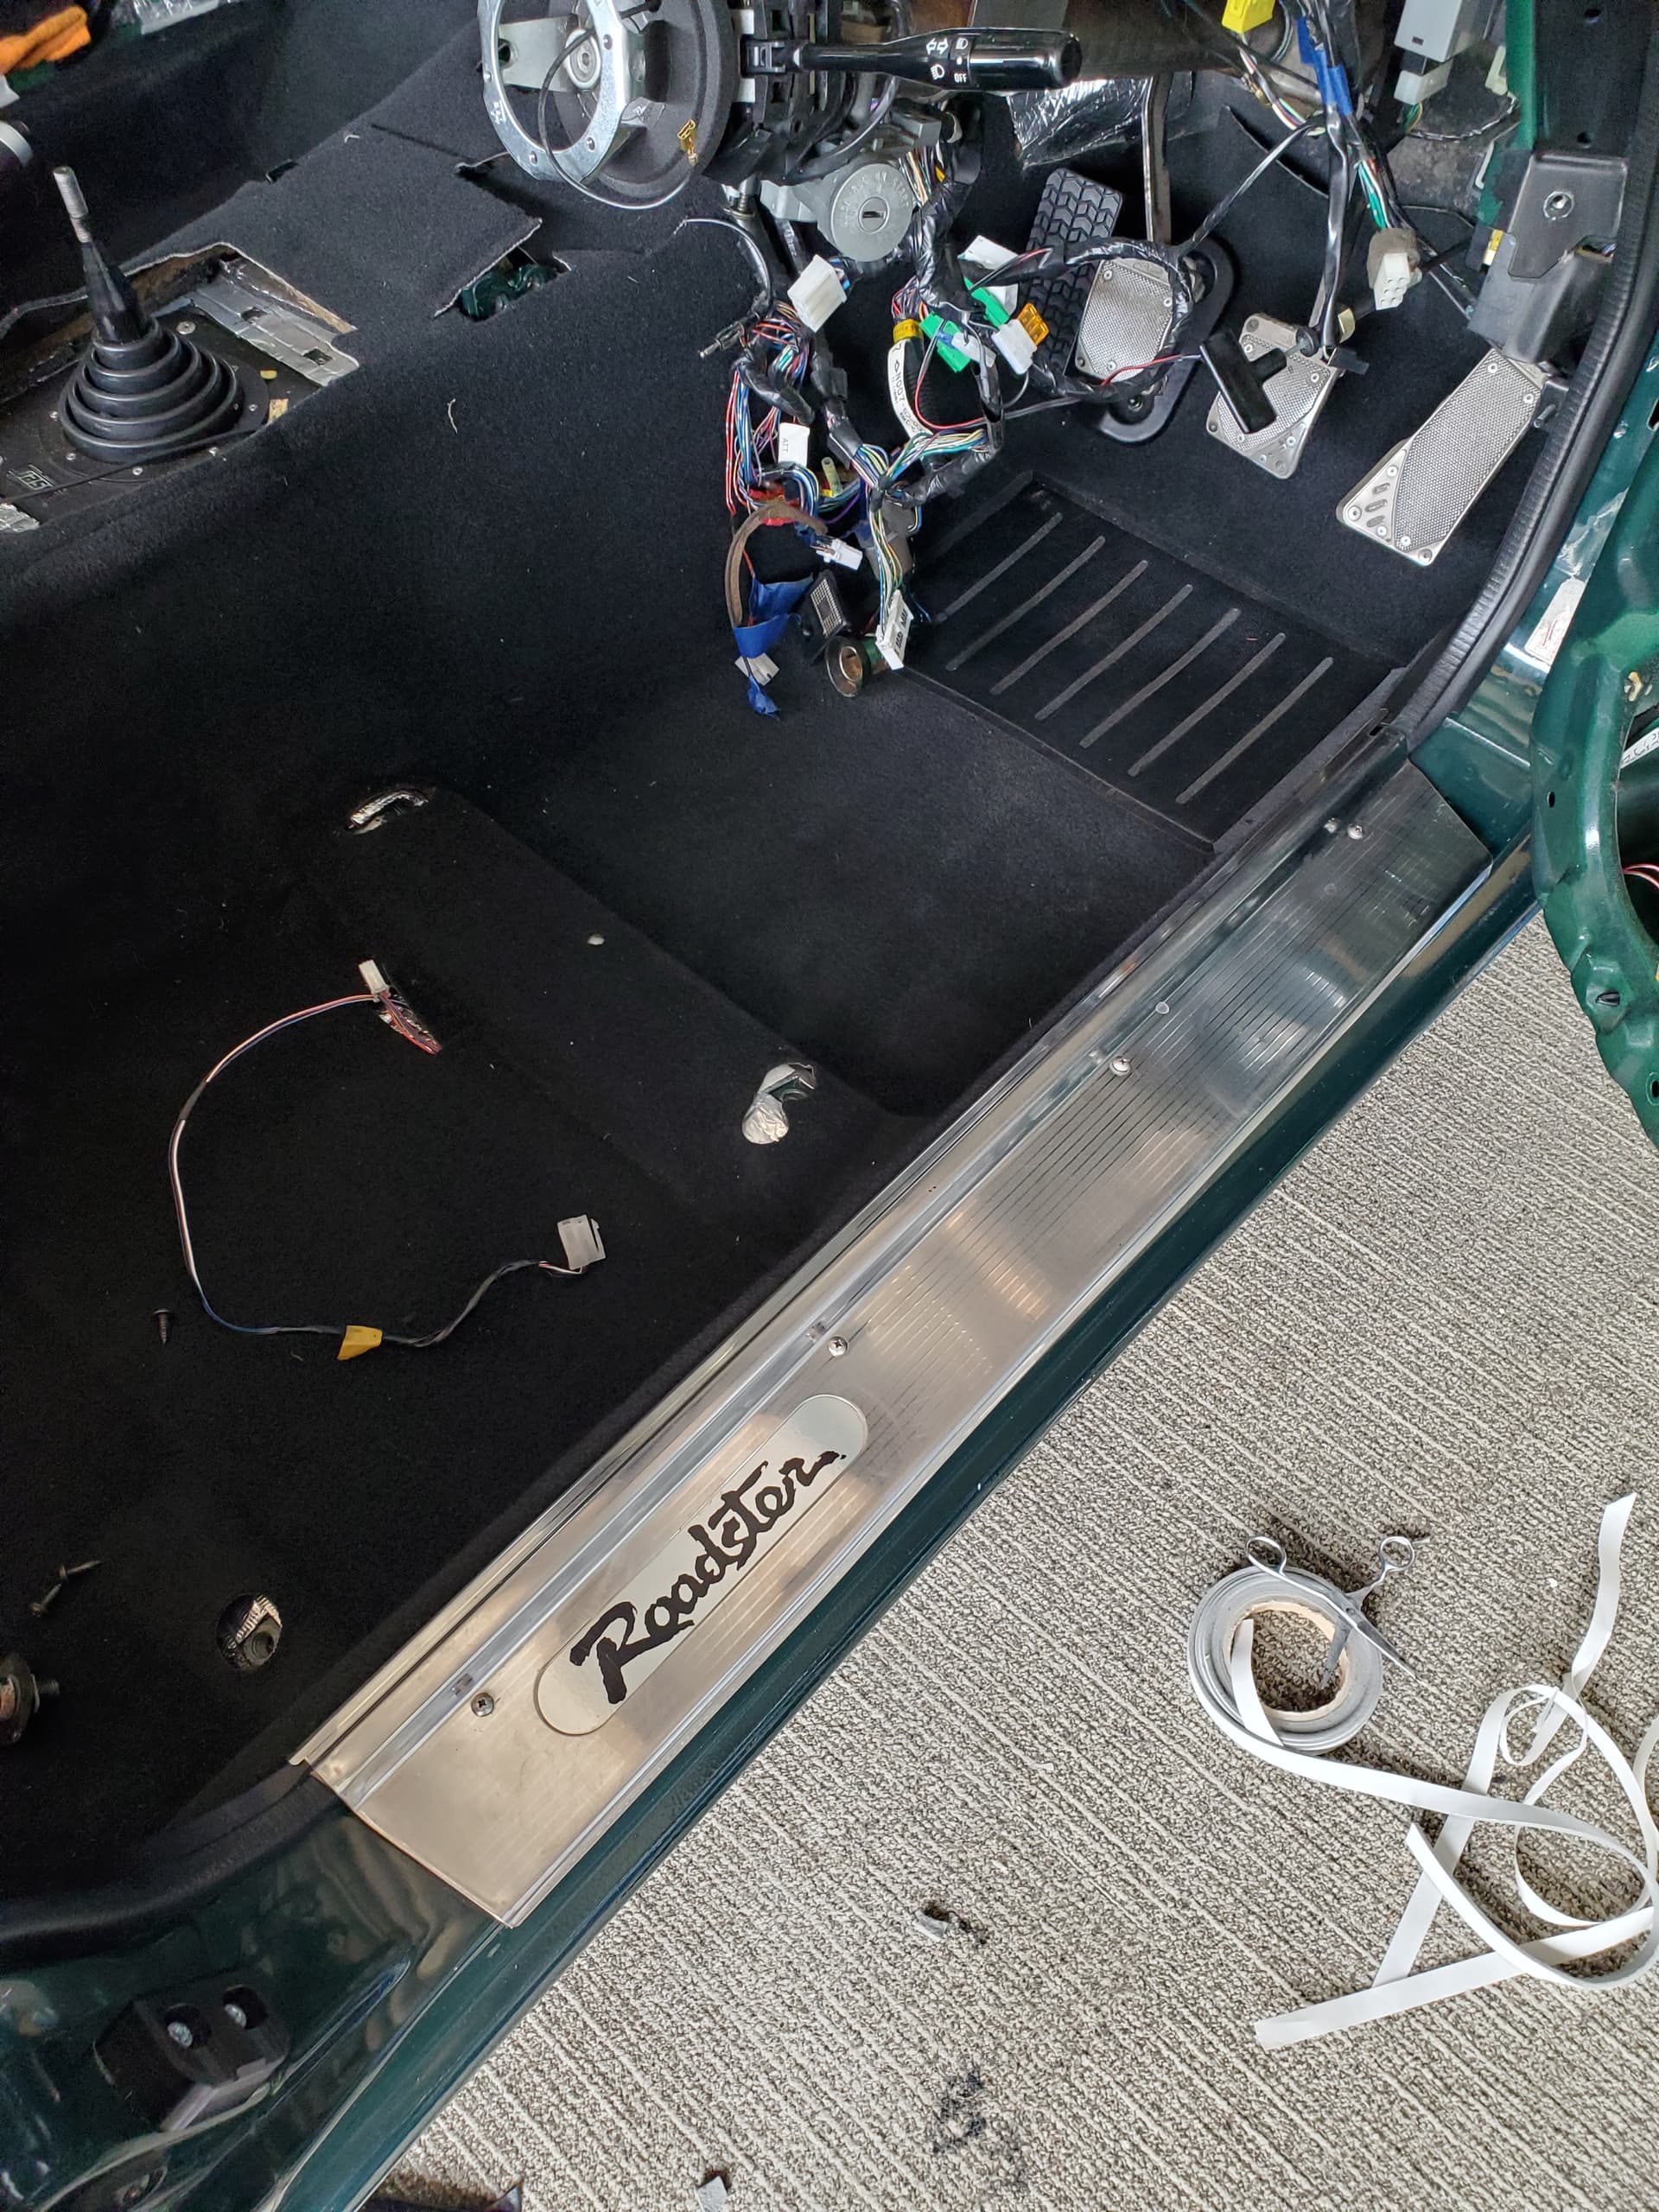
Clean up the sill plates with a bit of new foam.
And screw them down. Not too tight or the metal bends.
Bit of a job getting the plastic catches to line up and they slide around a bit. The sill fixes the carpet down so once they are in it starts to look a lot better.
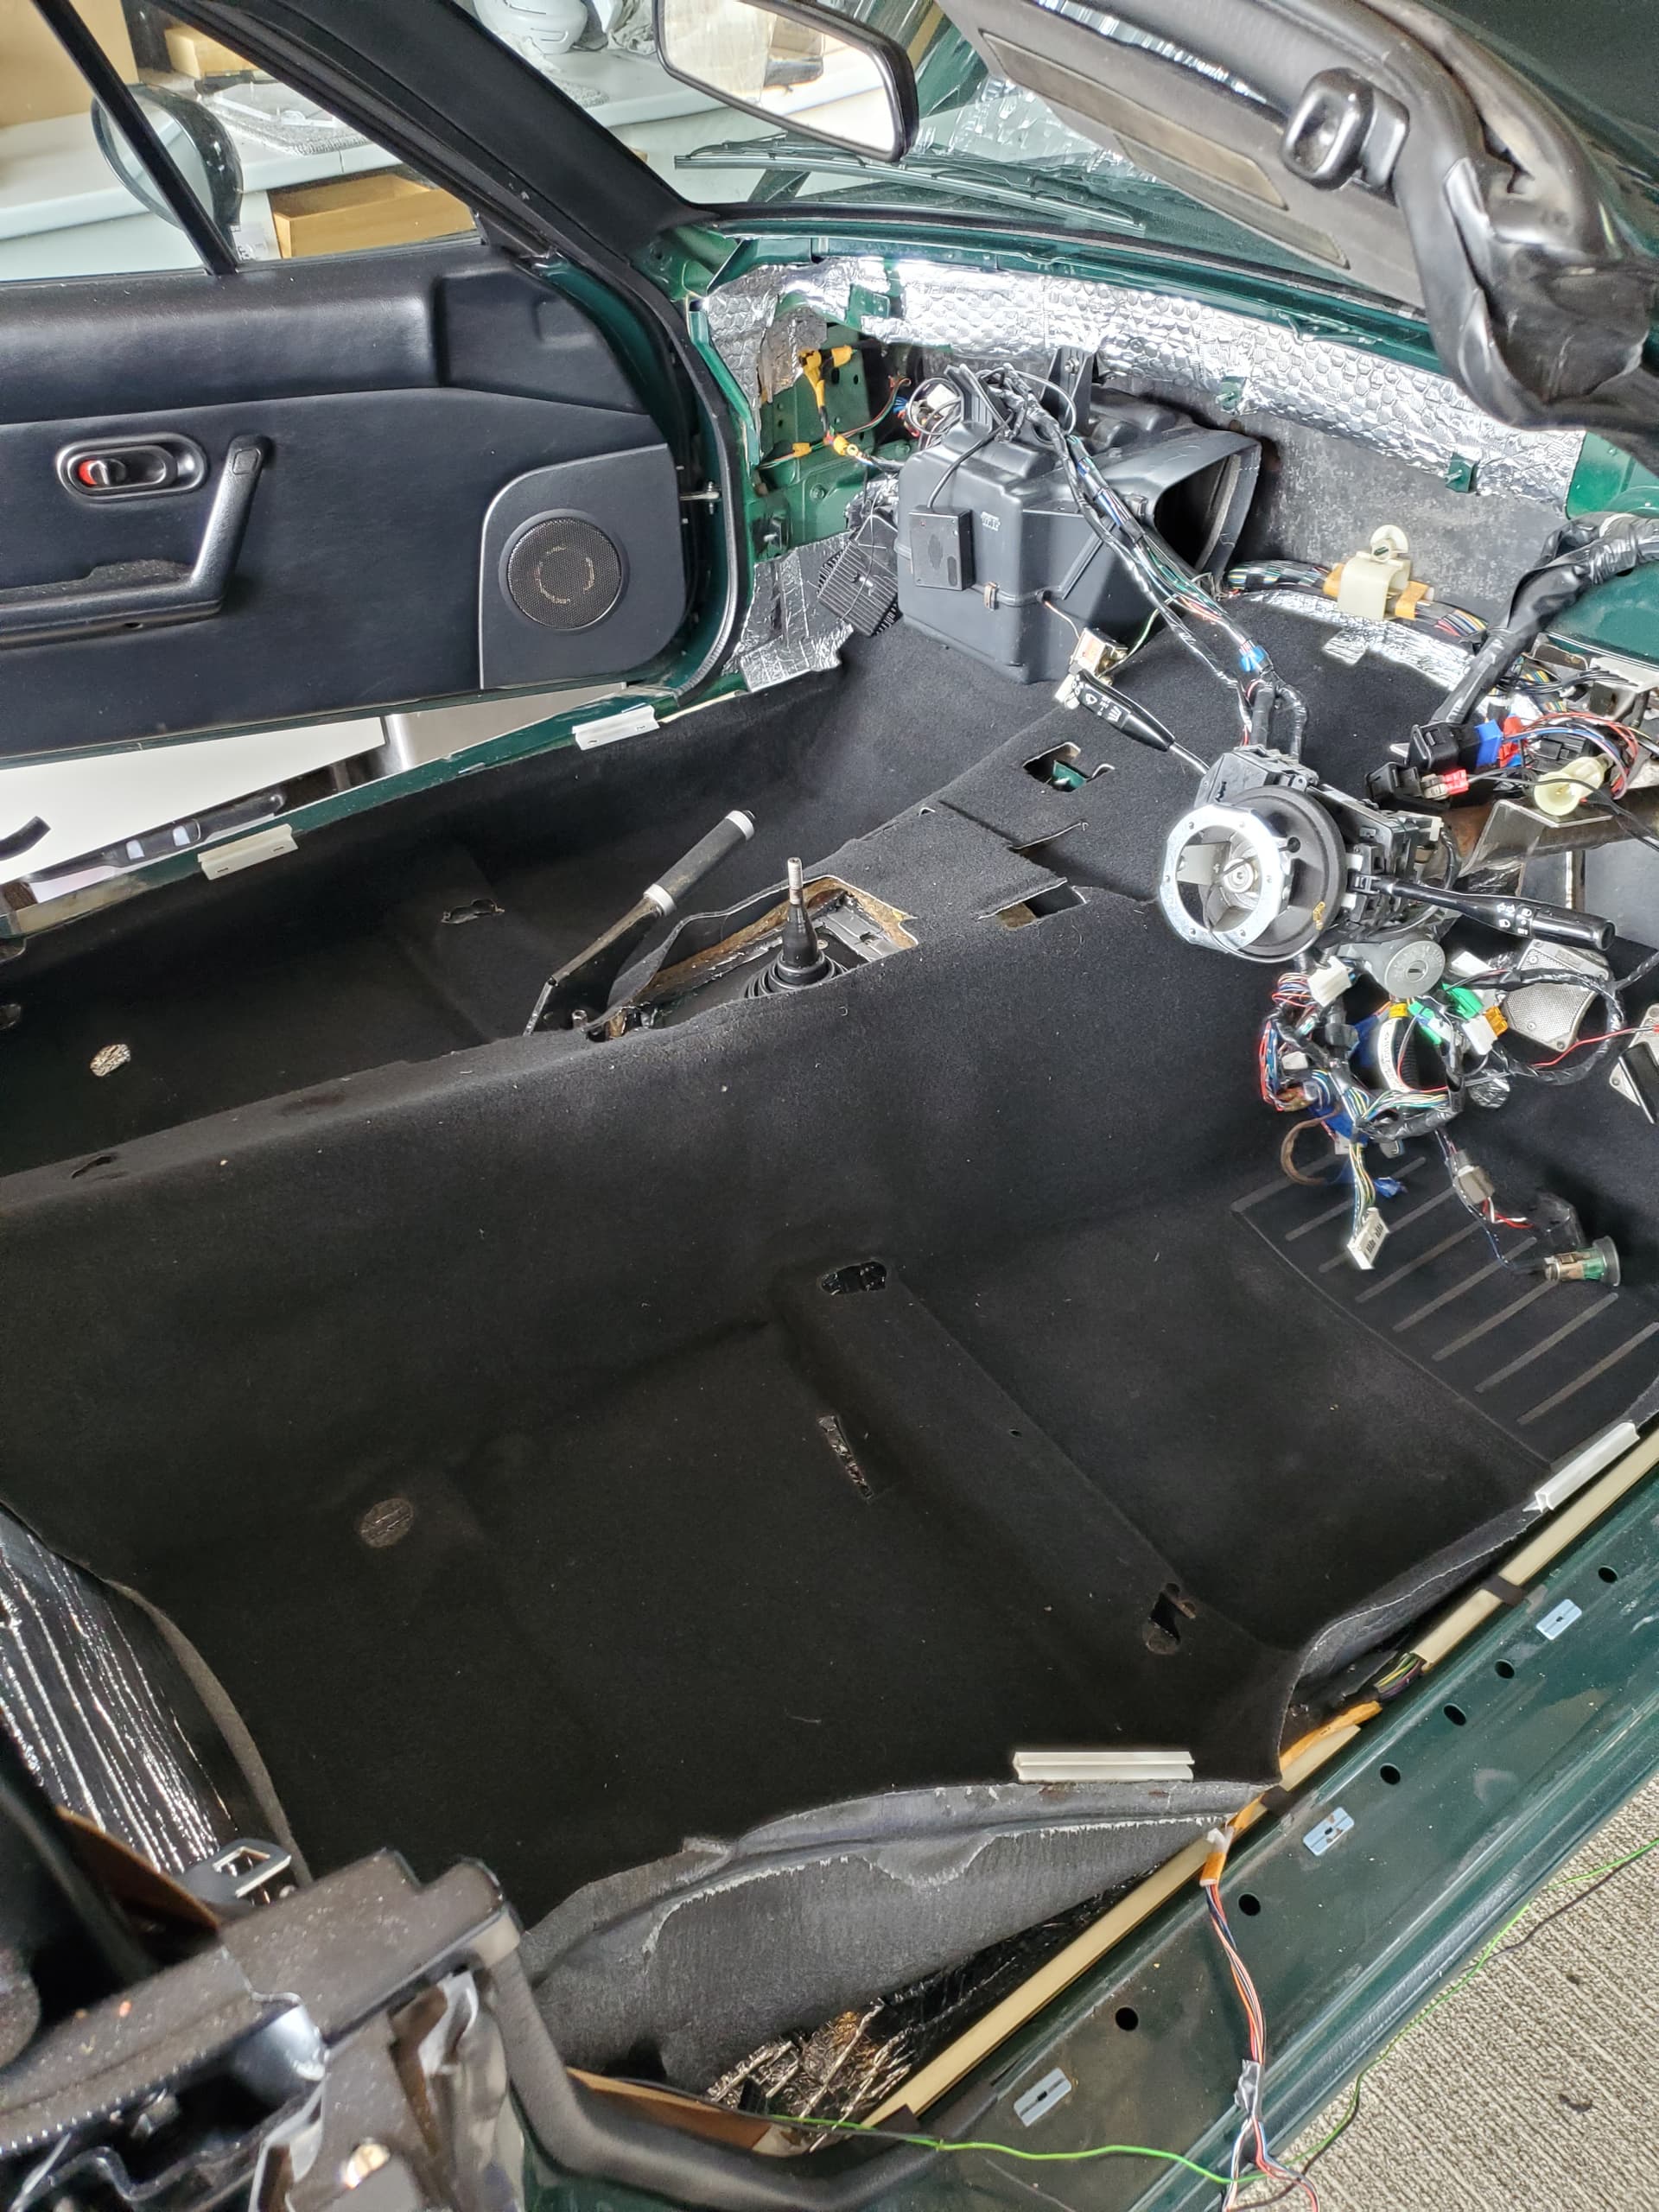
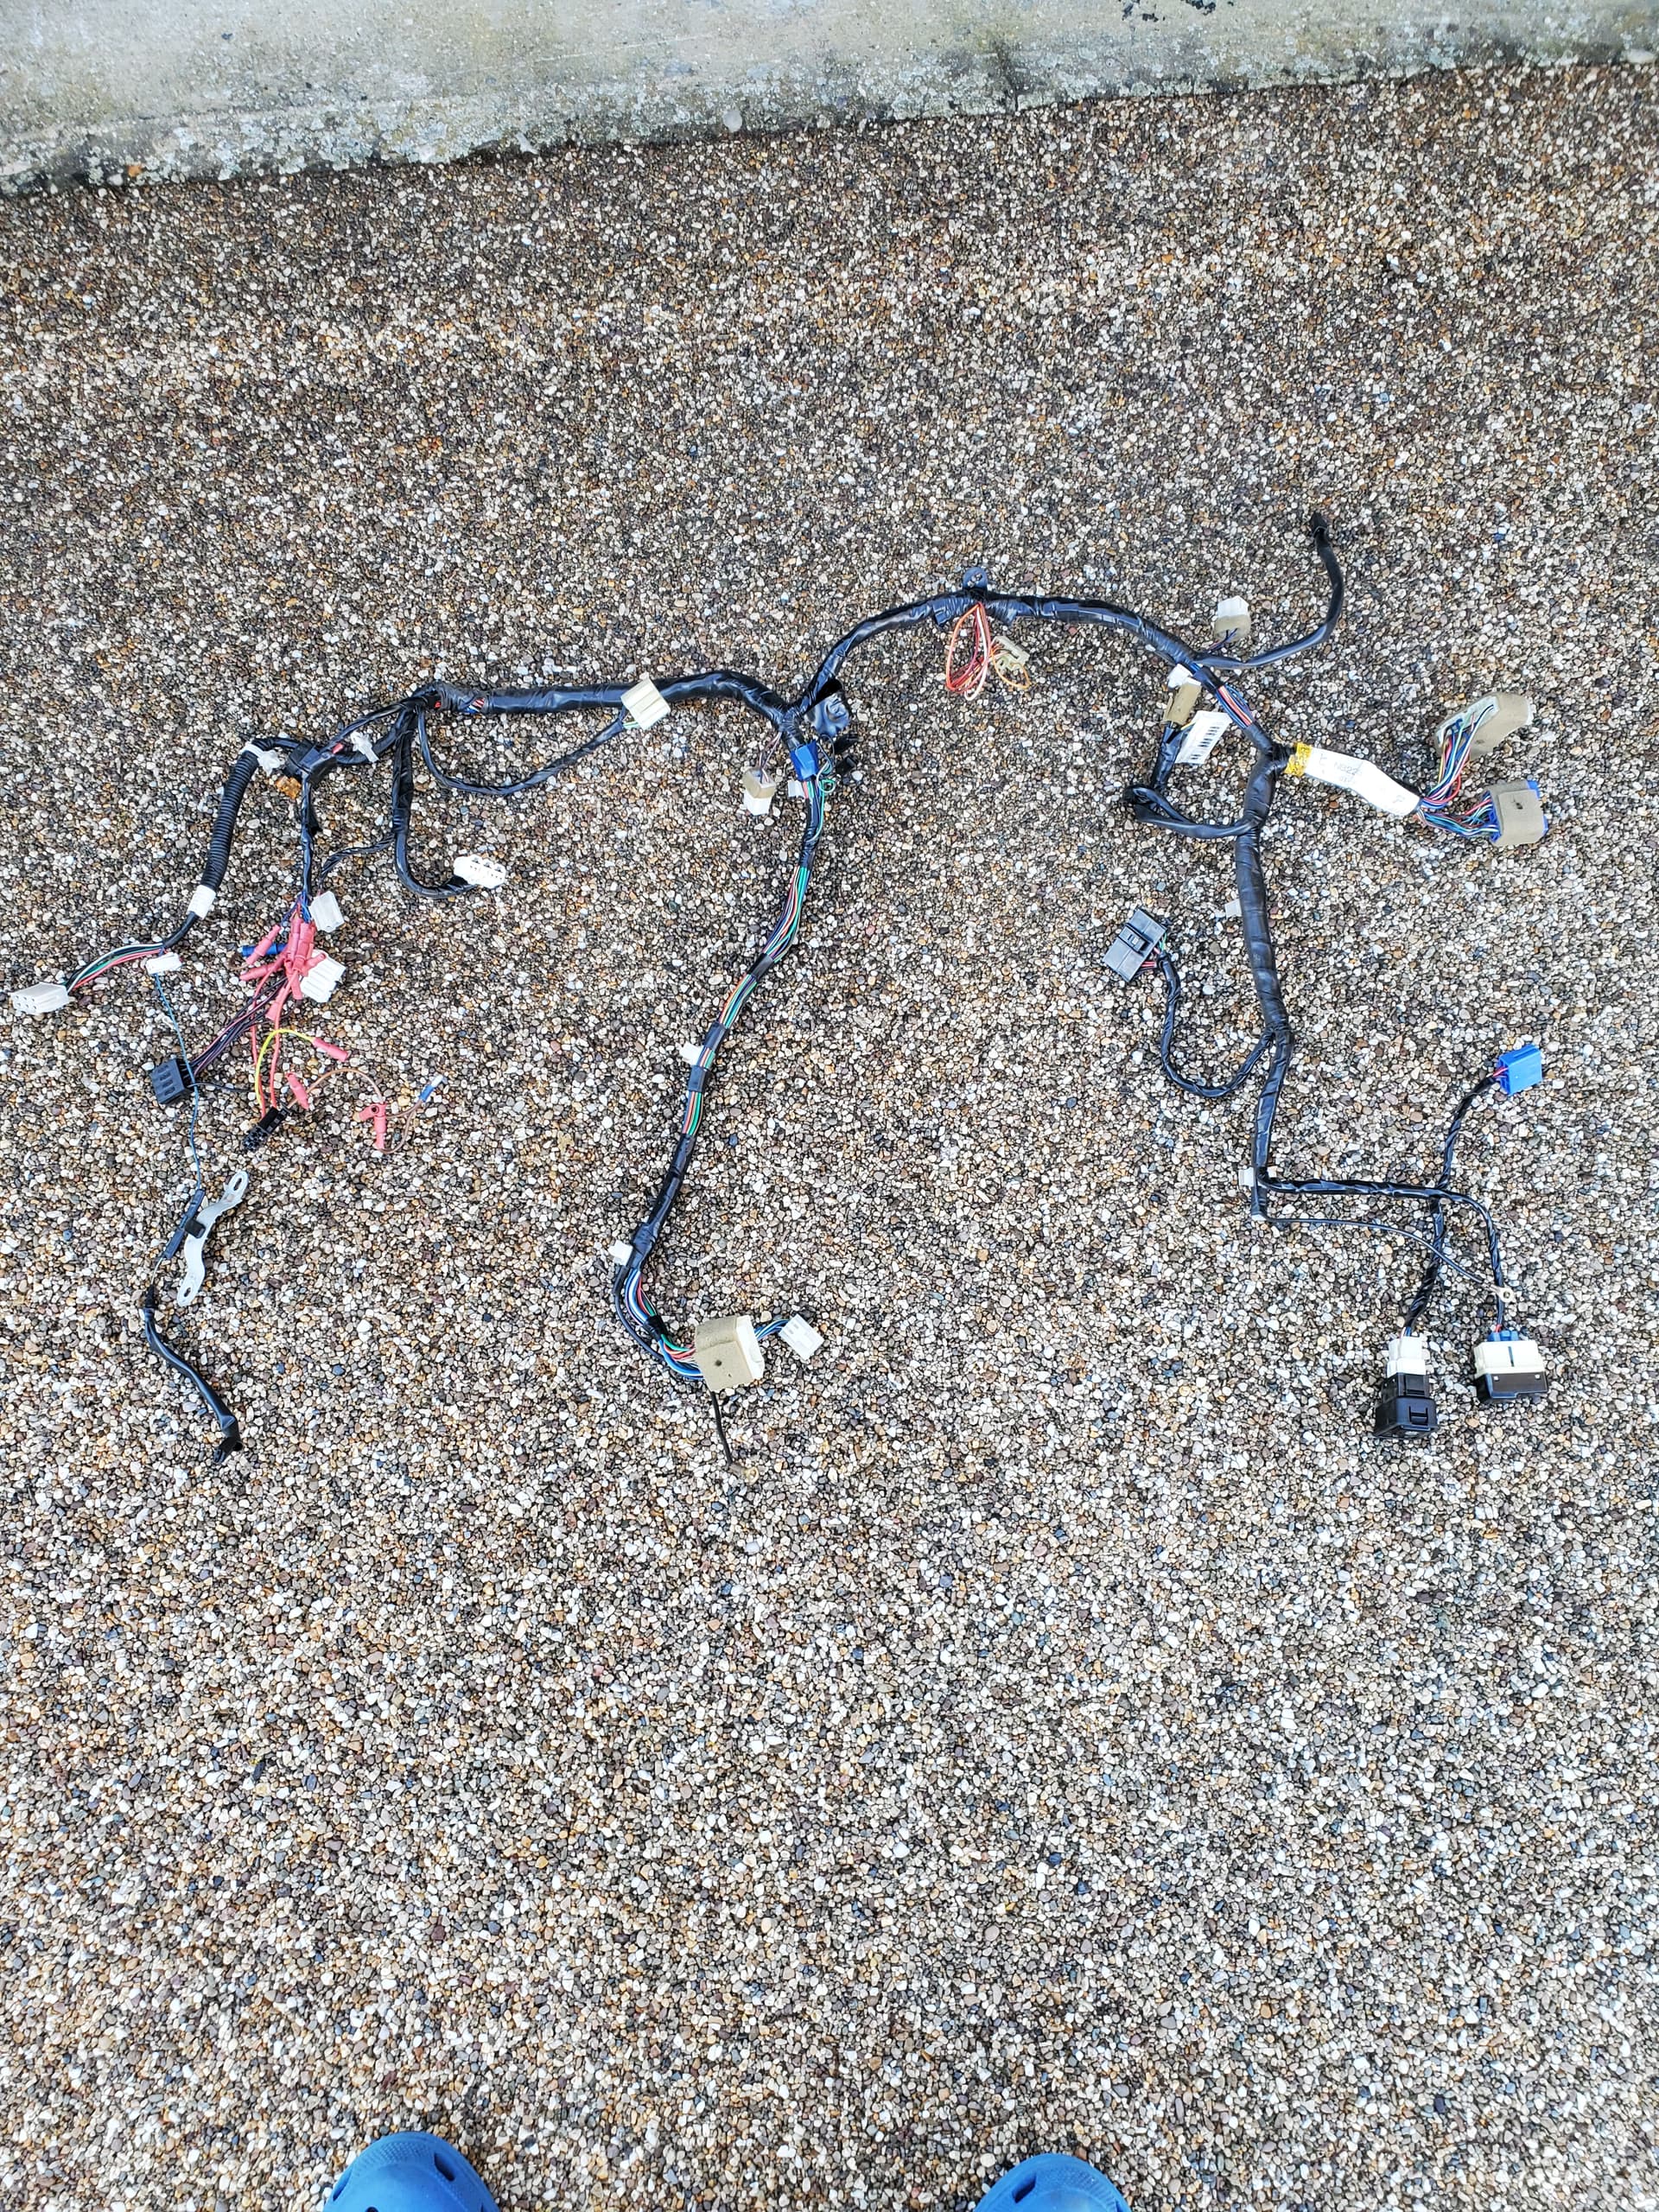
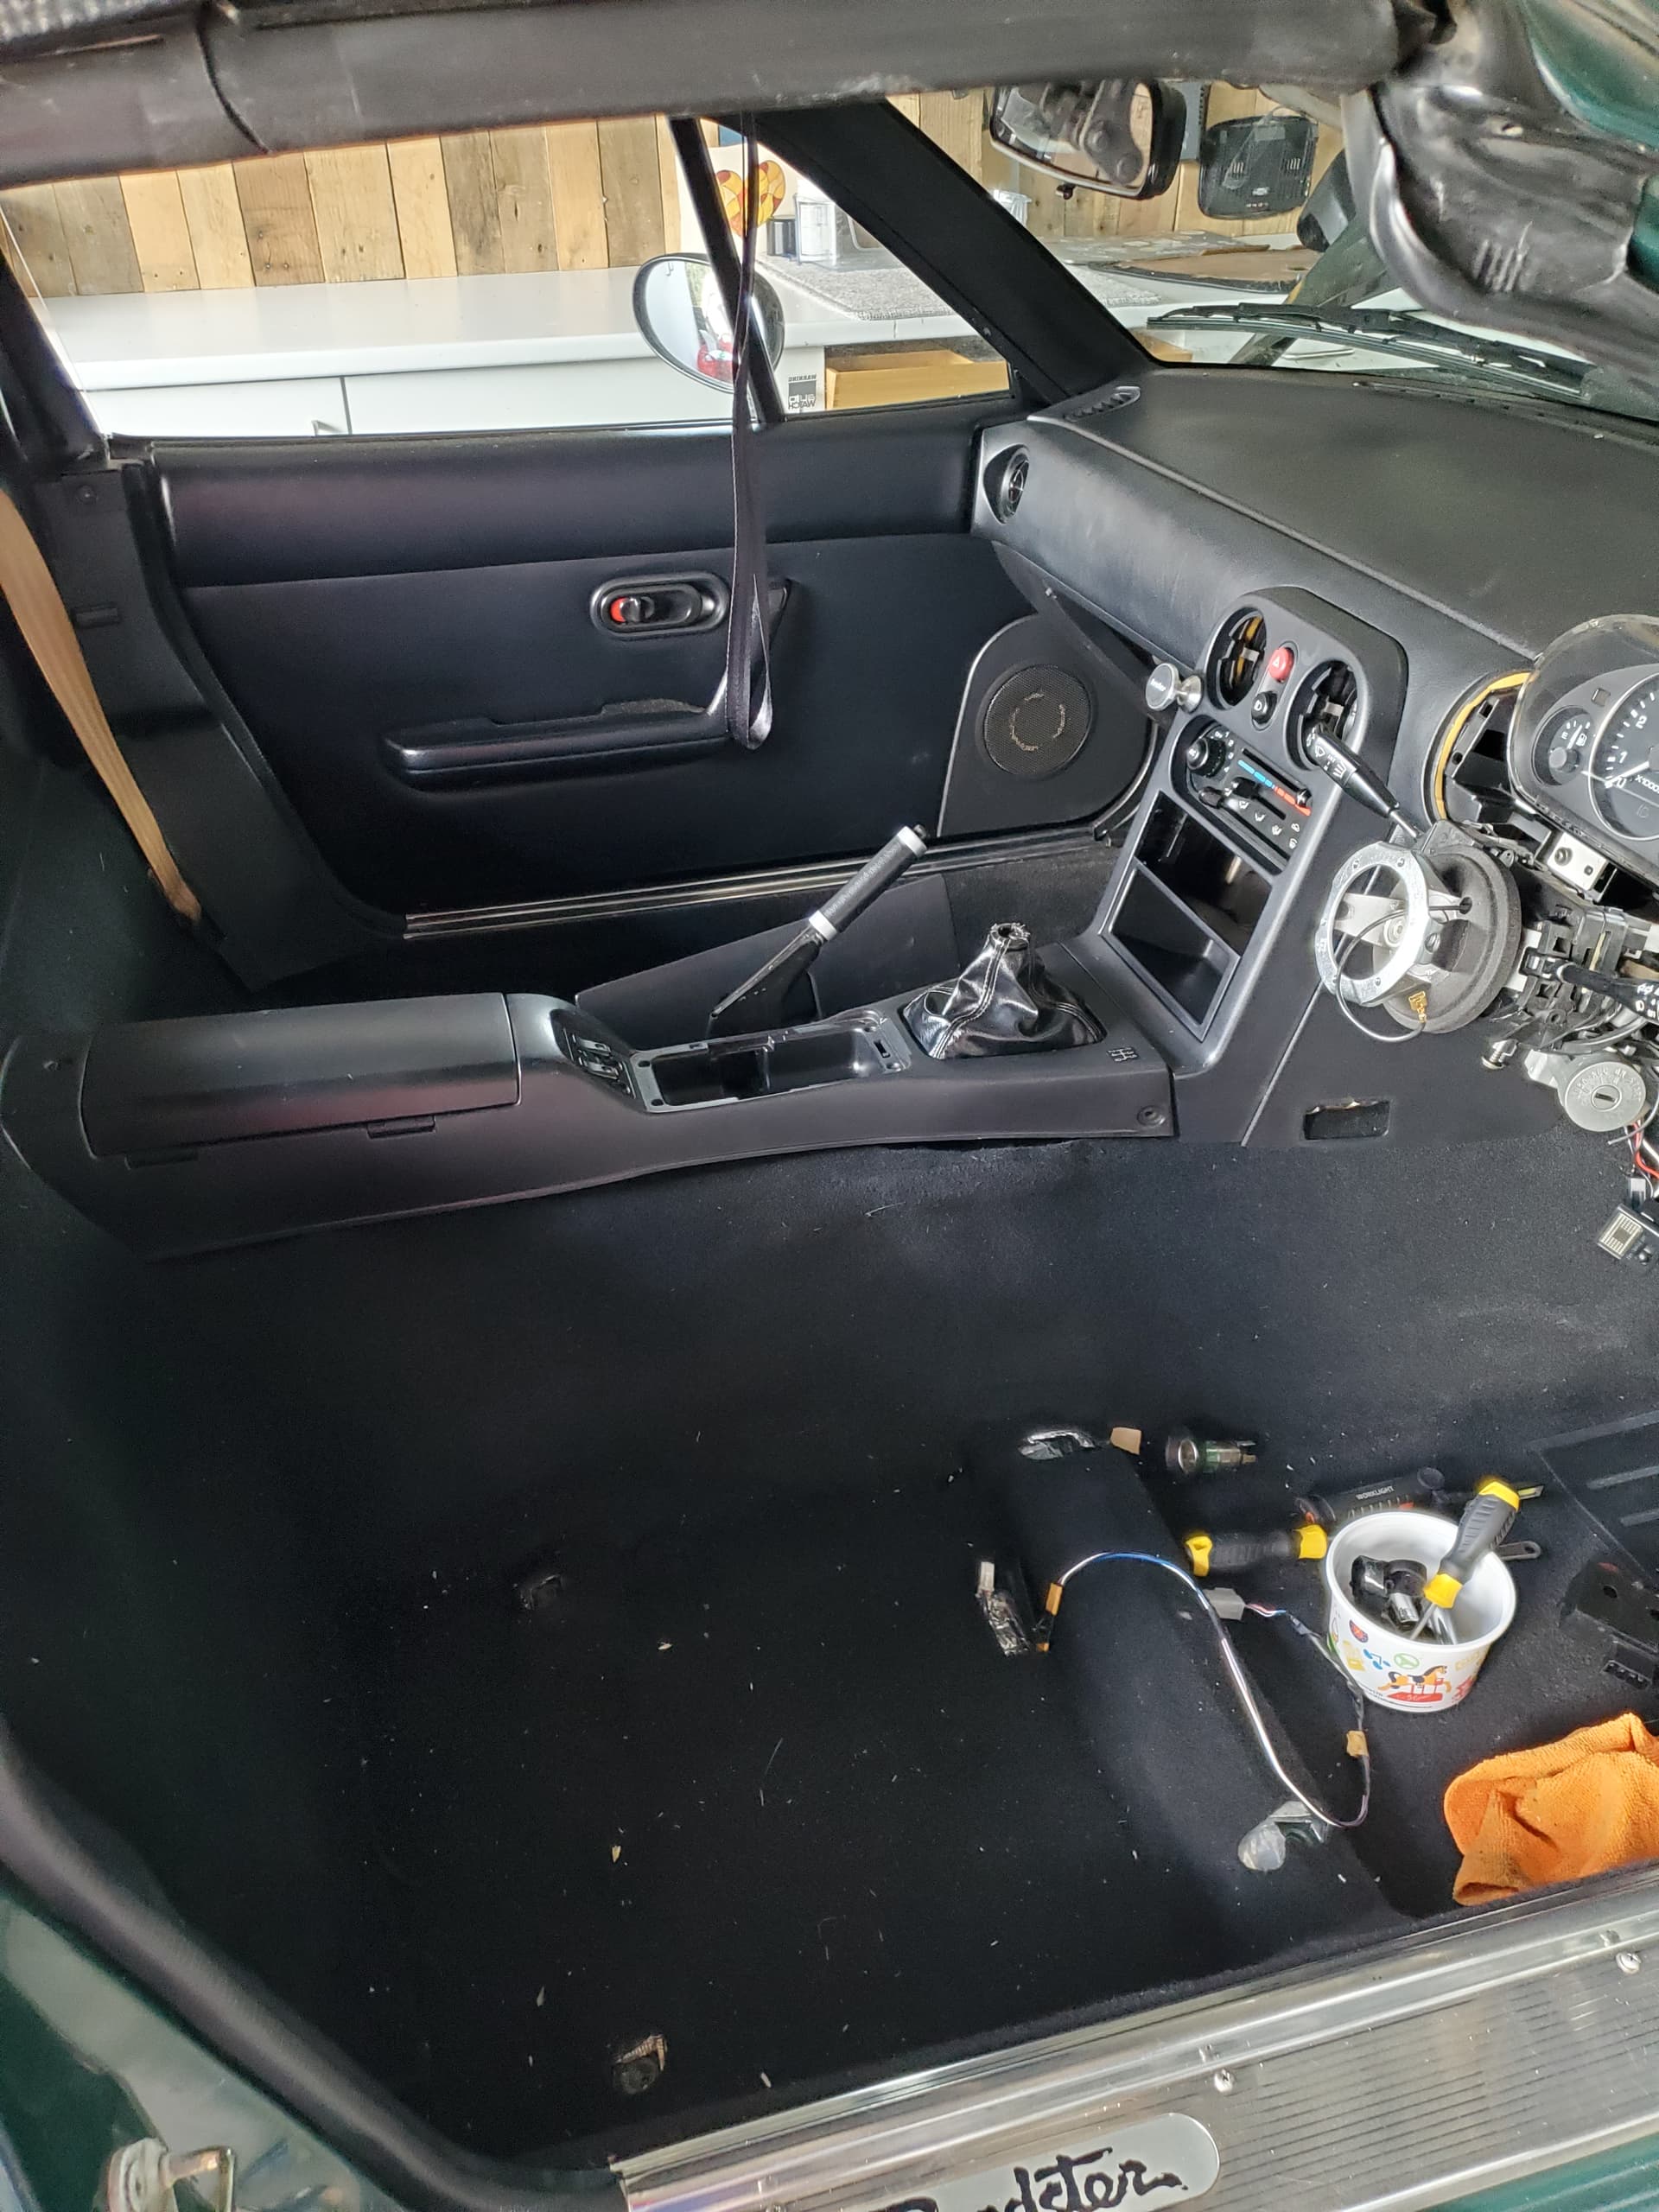
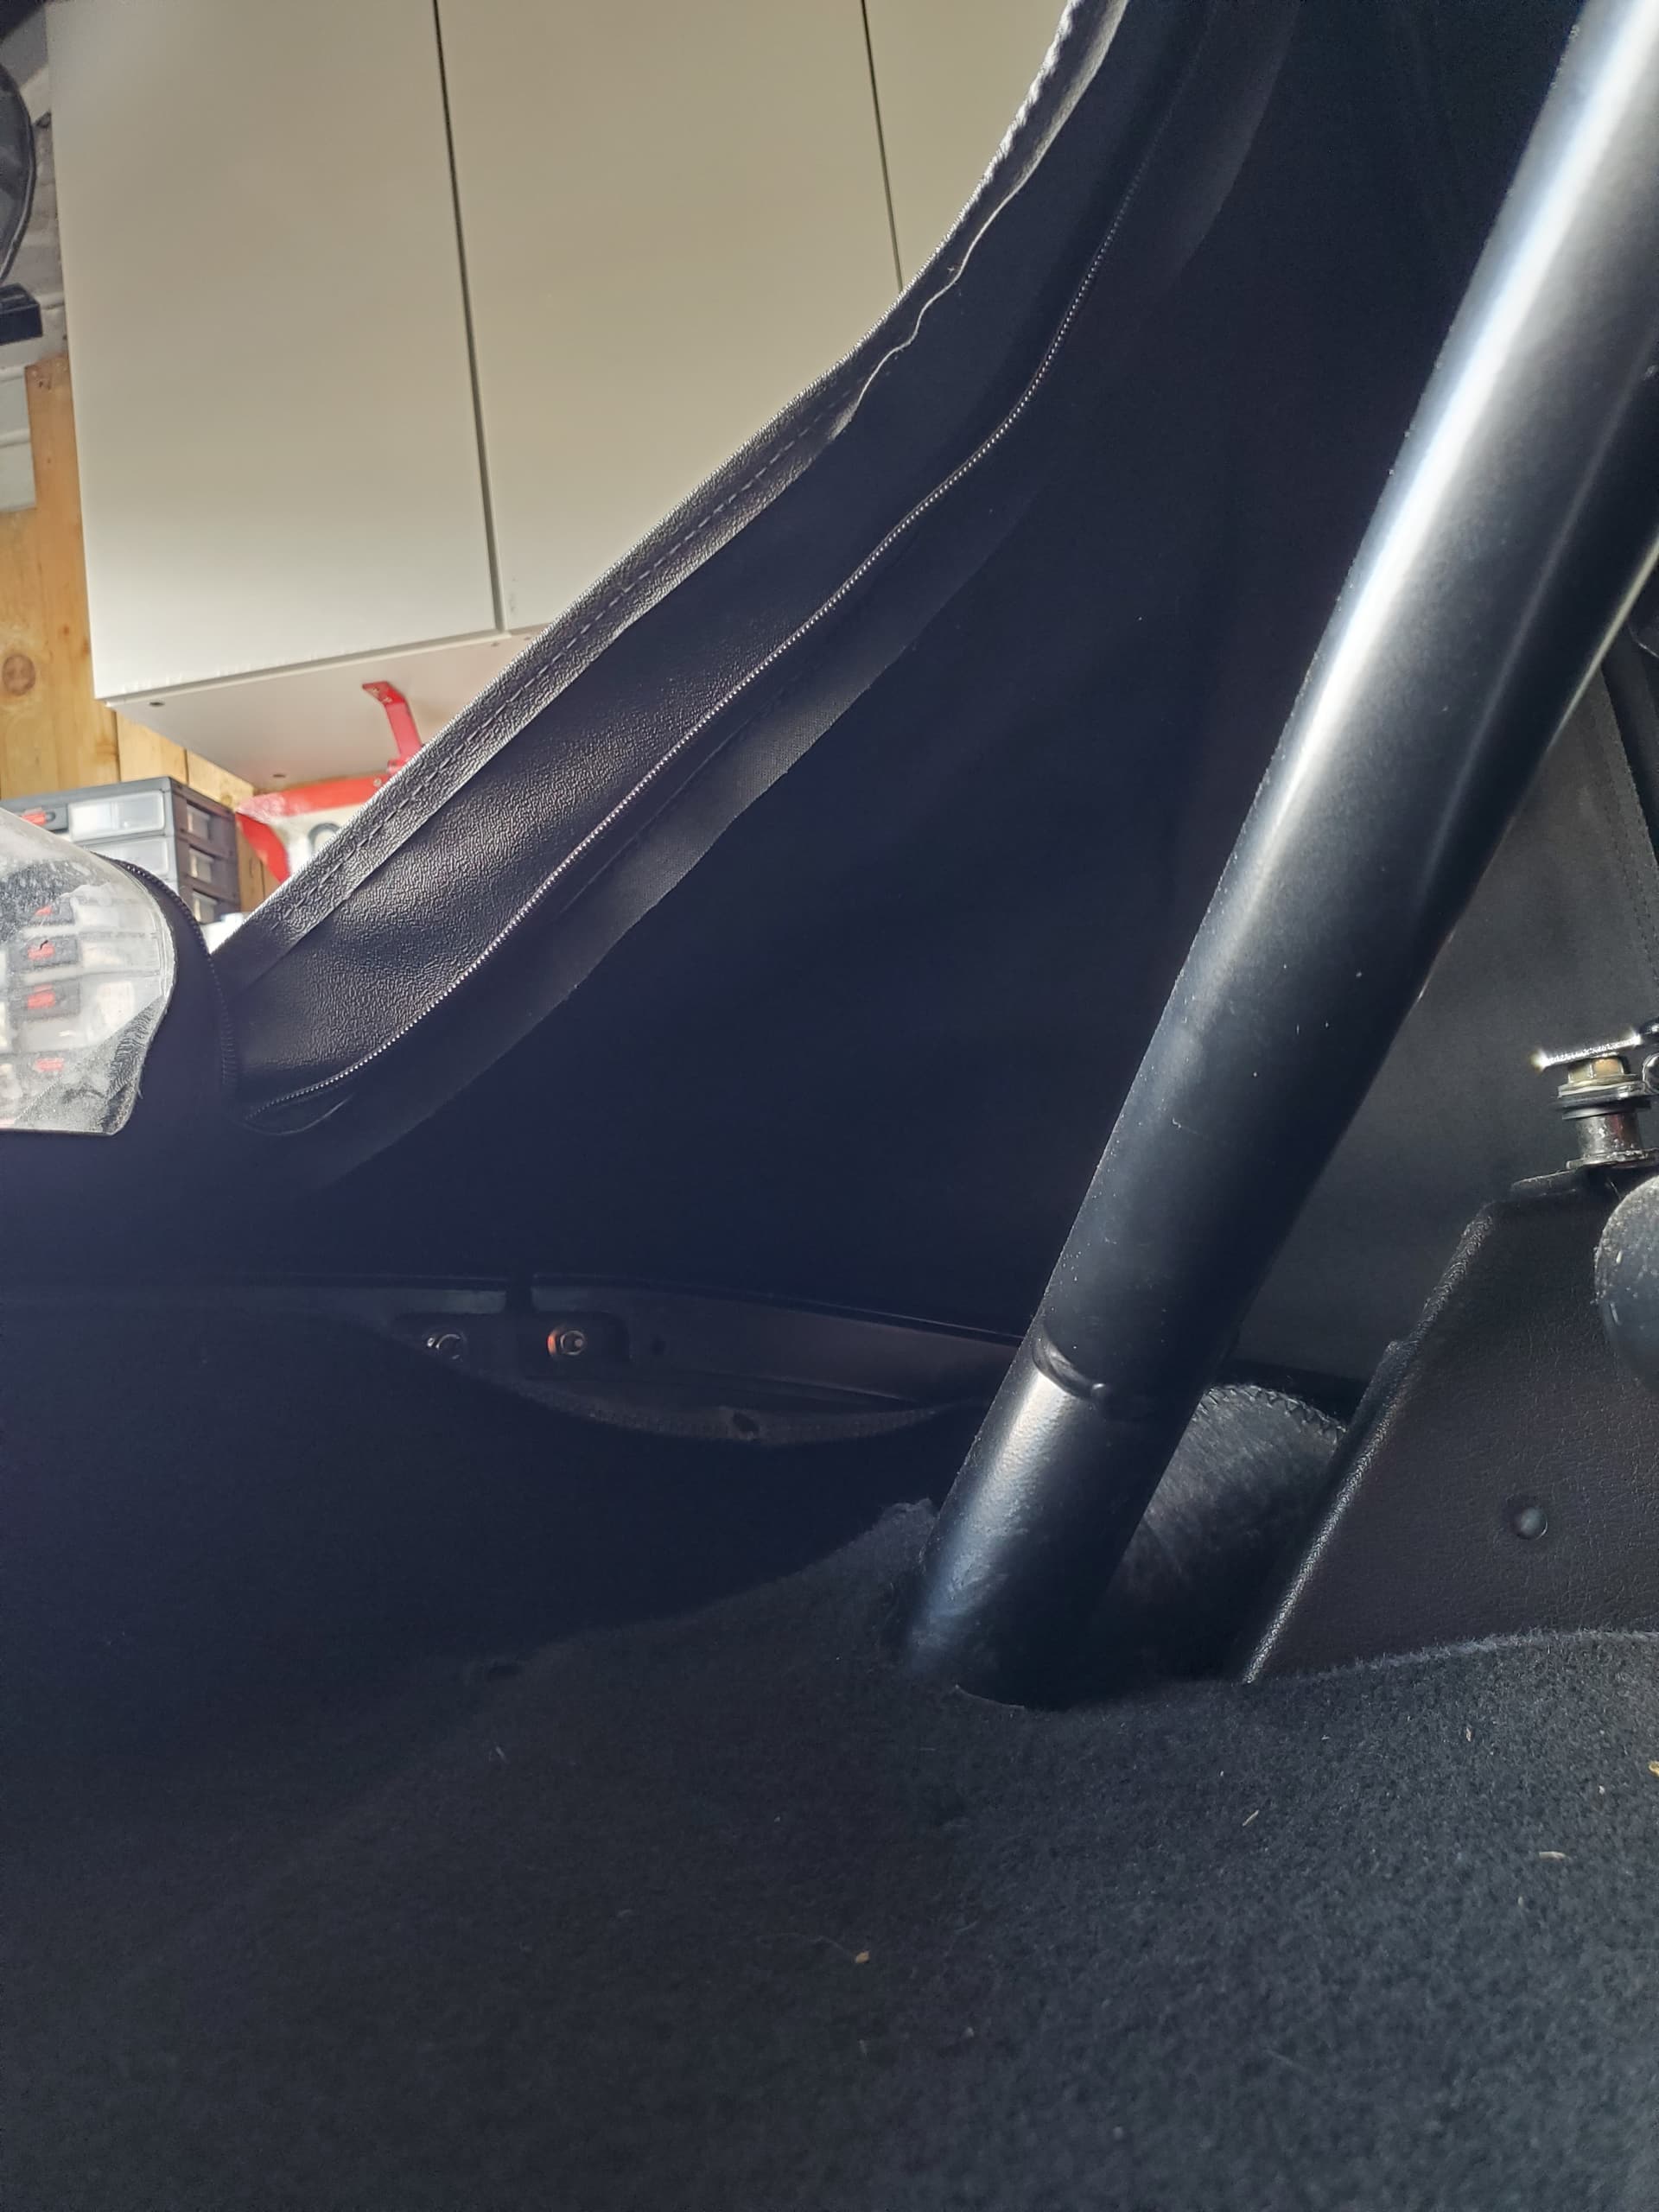
Here is the carpet pretty much fitted. A bit of wire tucking here and pulling through elsewere. There is 3 looms on mine under the seats. Ine for the seat belt. One for the seat speakers (not fitted now) and another one for ? Heated seat option.
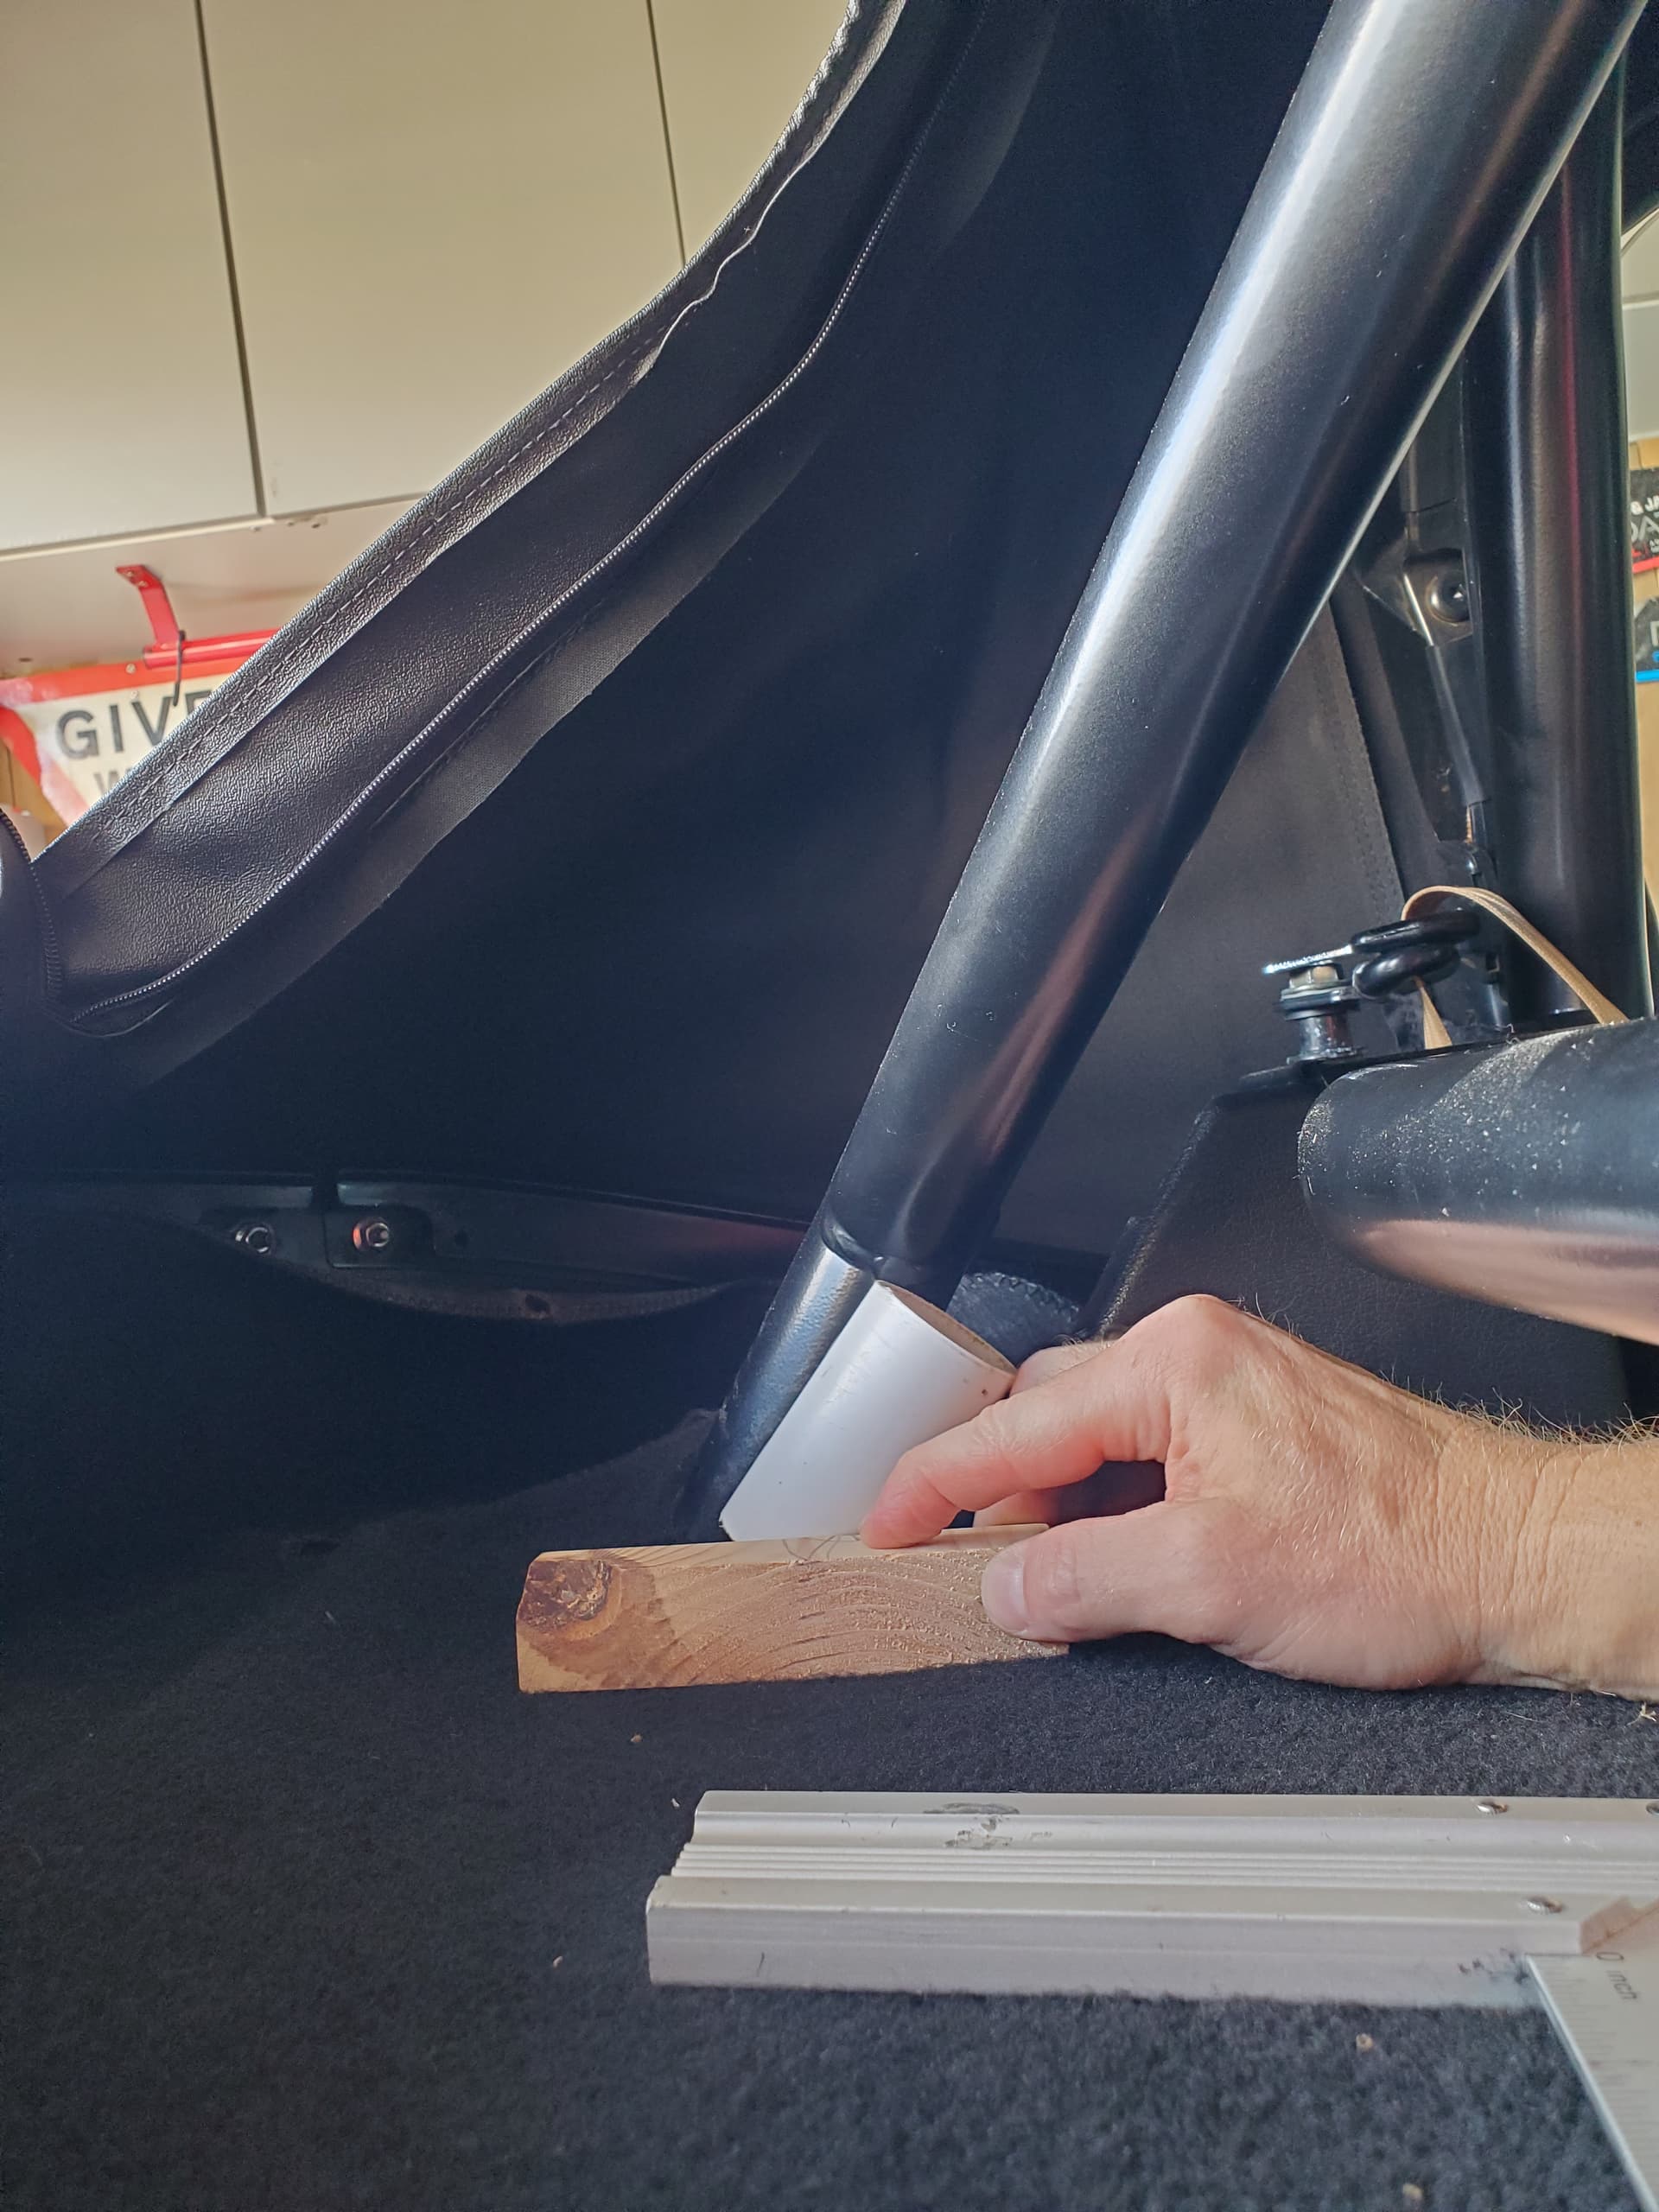
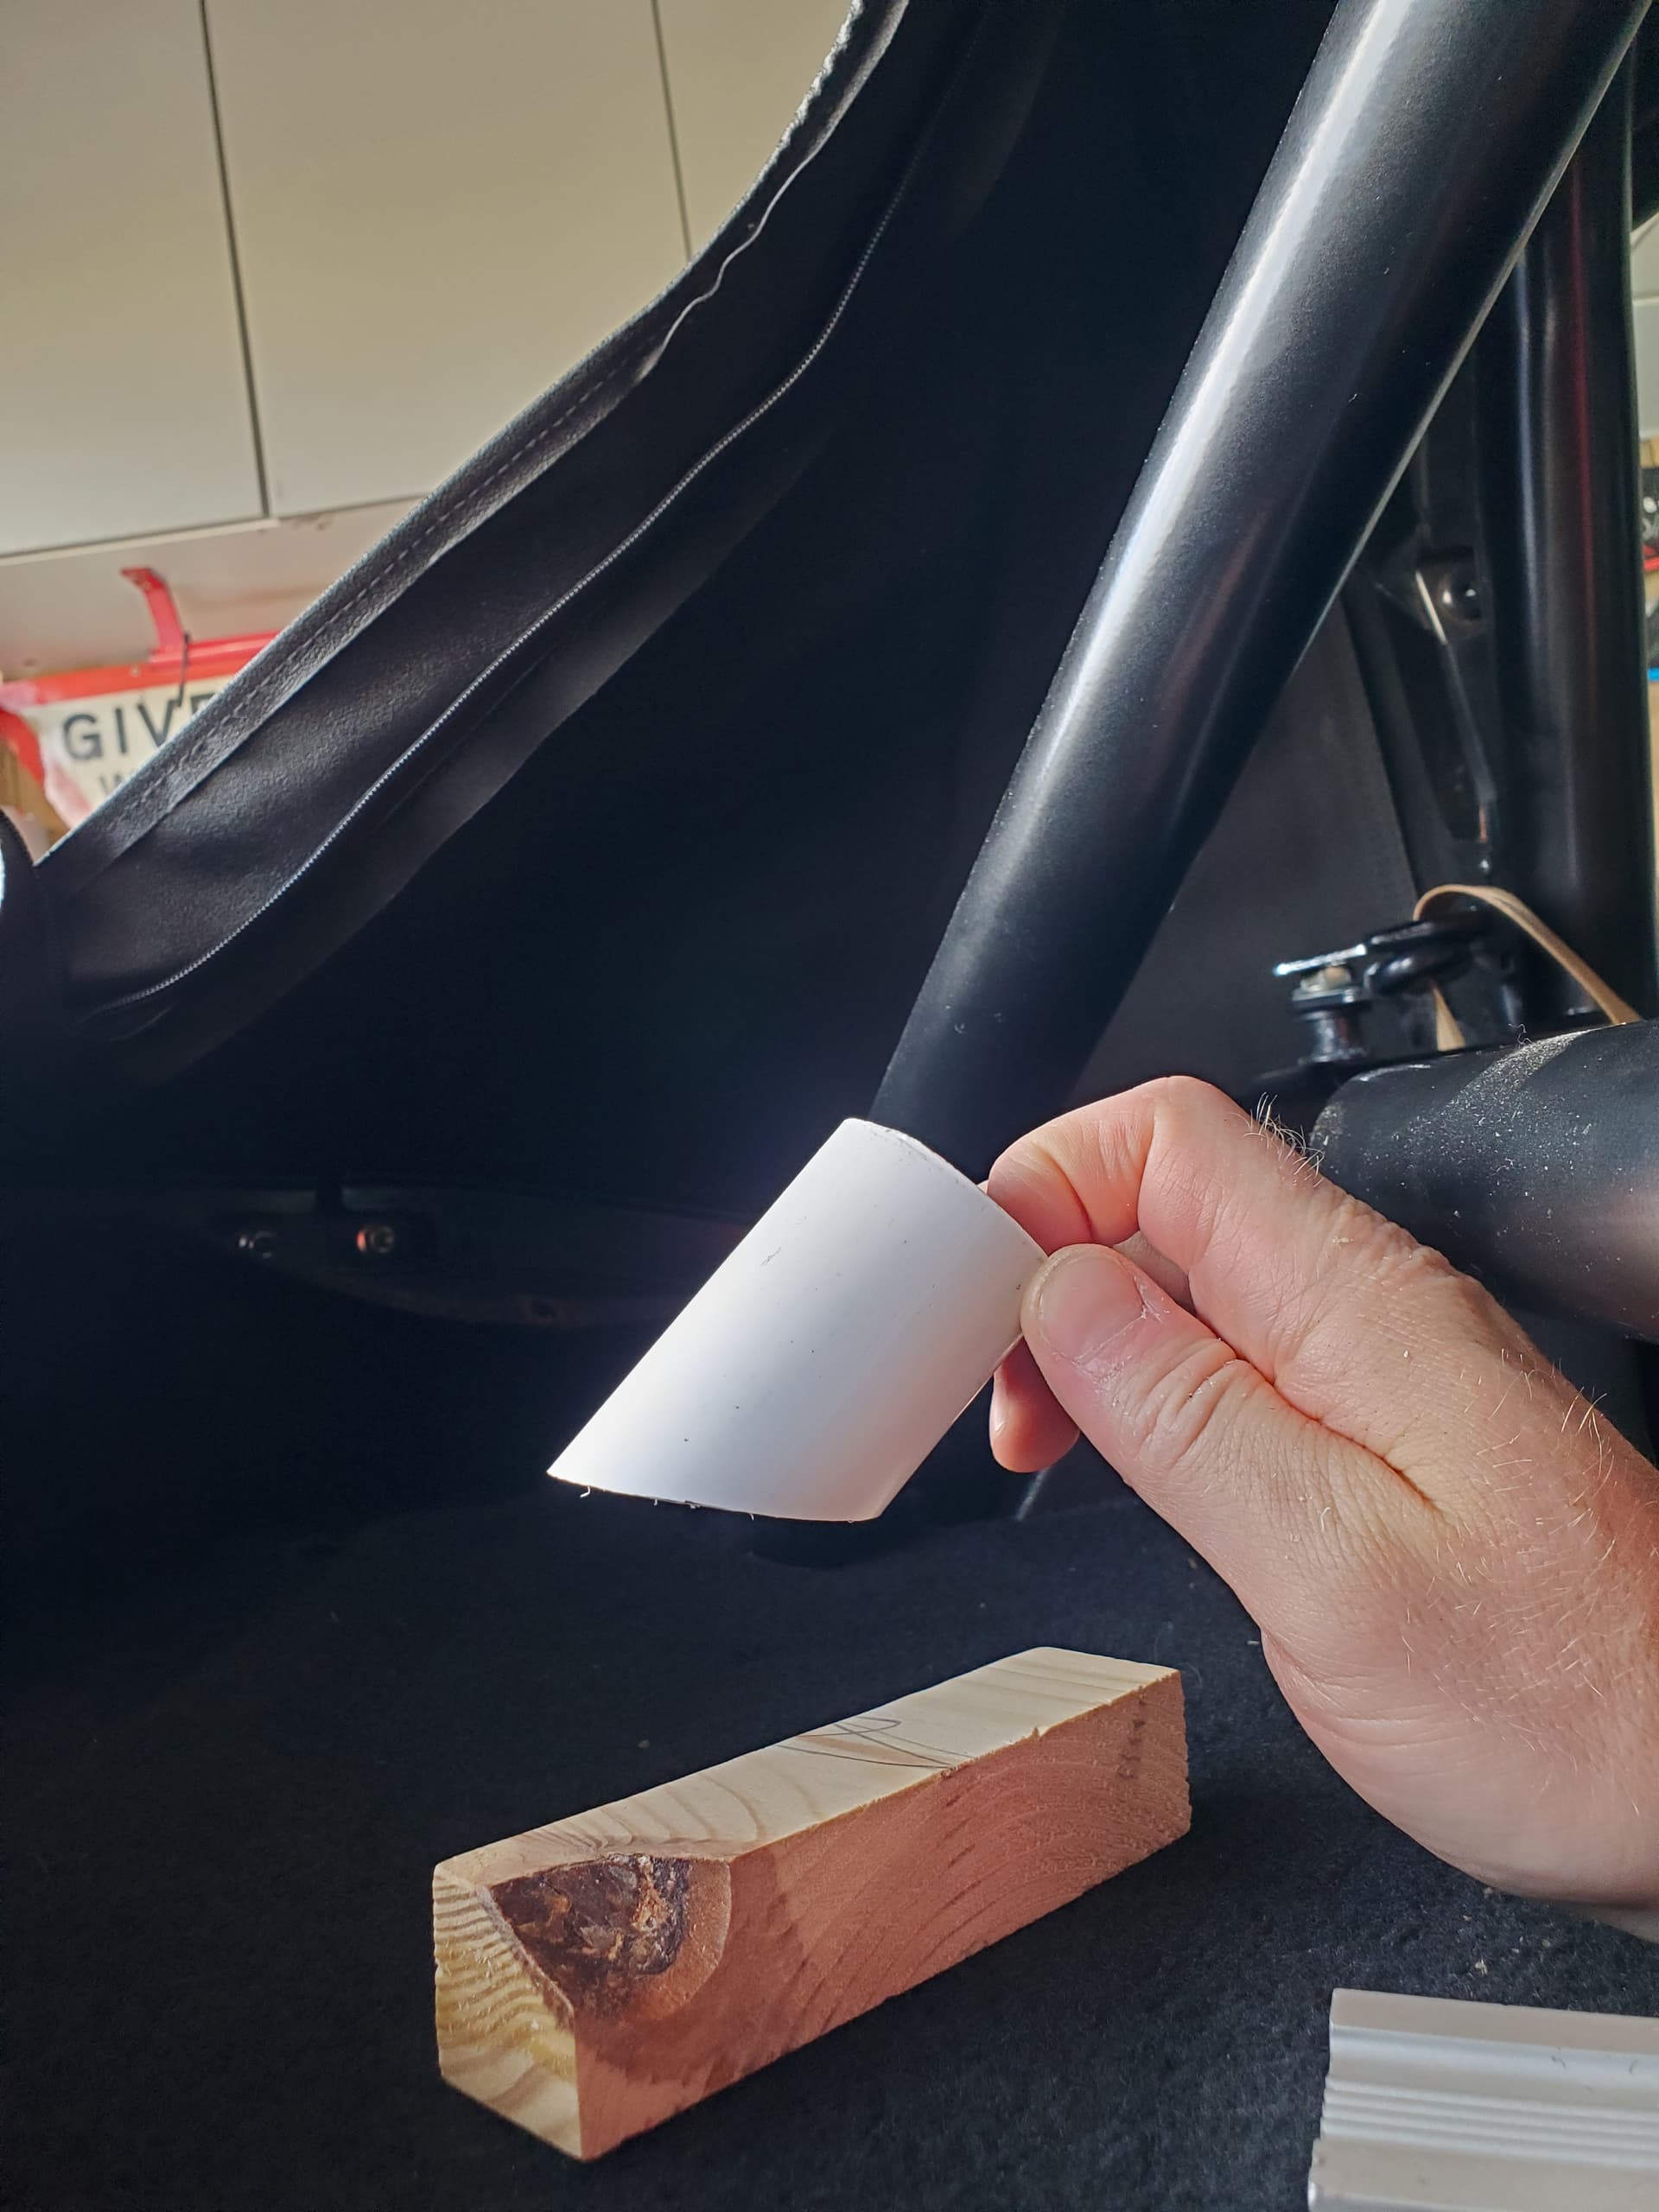
Next job refit heater blower with new foam to scuttle underside. Everthing is tighter due to the sound deadening. Wrestle to fit air con cooler. Drop nut down behind ECU cover. Try and retrieve it. Cant. Take up carpet. Unbolt ECU cover. Retrieve nut. Blood everwhere. Refit cover. Wipe blood off cover. Refit carpet. Try to fit hvac flap box. Realise it needs to go in before air con cooler. Take out air con cooler. Refit flap box. Refit cooler. Realise the straps that seal them together are tight as hell with clearance around the back and new foam situation. Reloosen all fixtures. Fit straps loose. Re tighten everthing again. Do up clips! 2 hours gone.
Here you can see how the seal these provide is essential as the flanges of these three bits do not marry up exactly and leave gaps.
The cooler to flap box side.
Next installment is the dash installment. Stay tuned. Smash that like button. Etc.
Onward
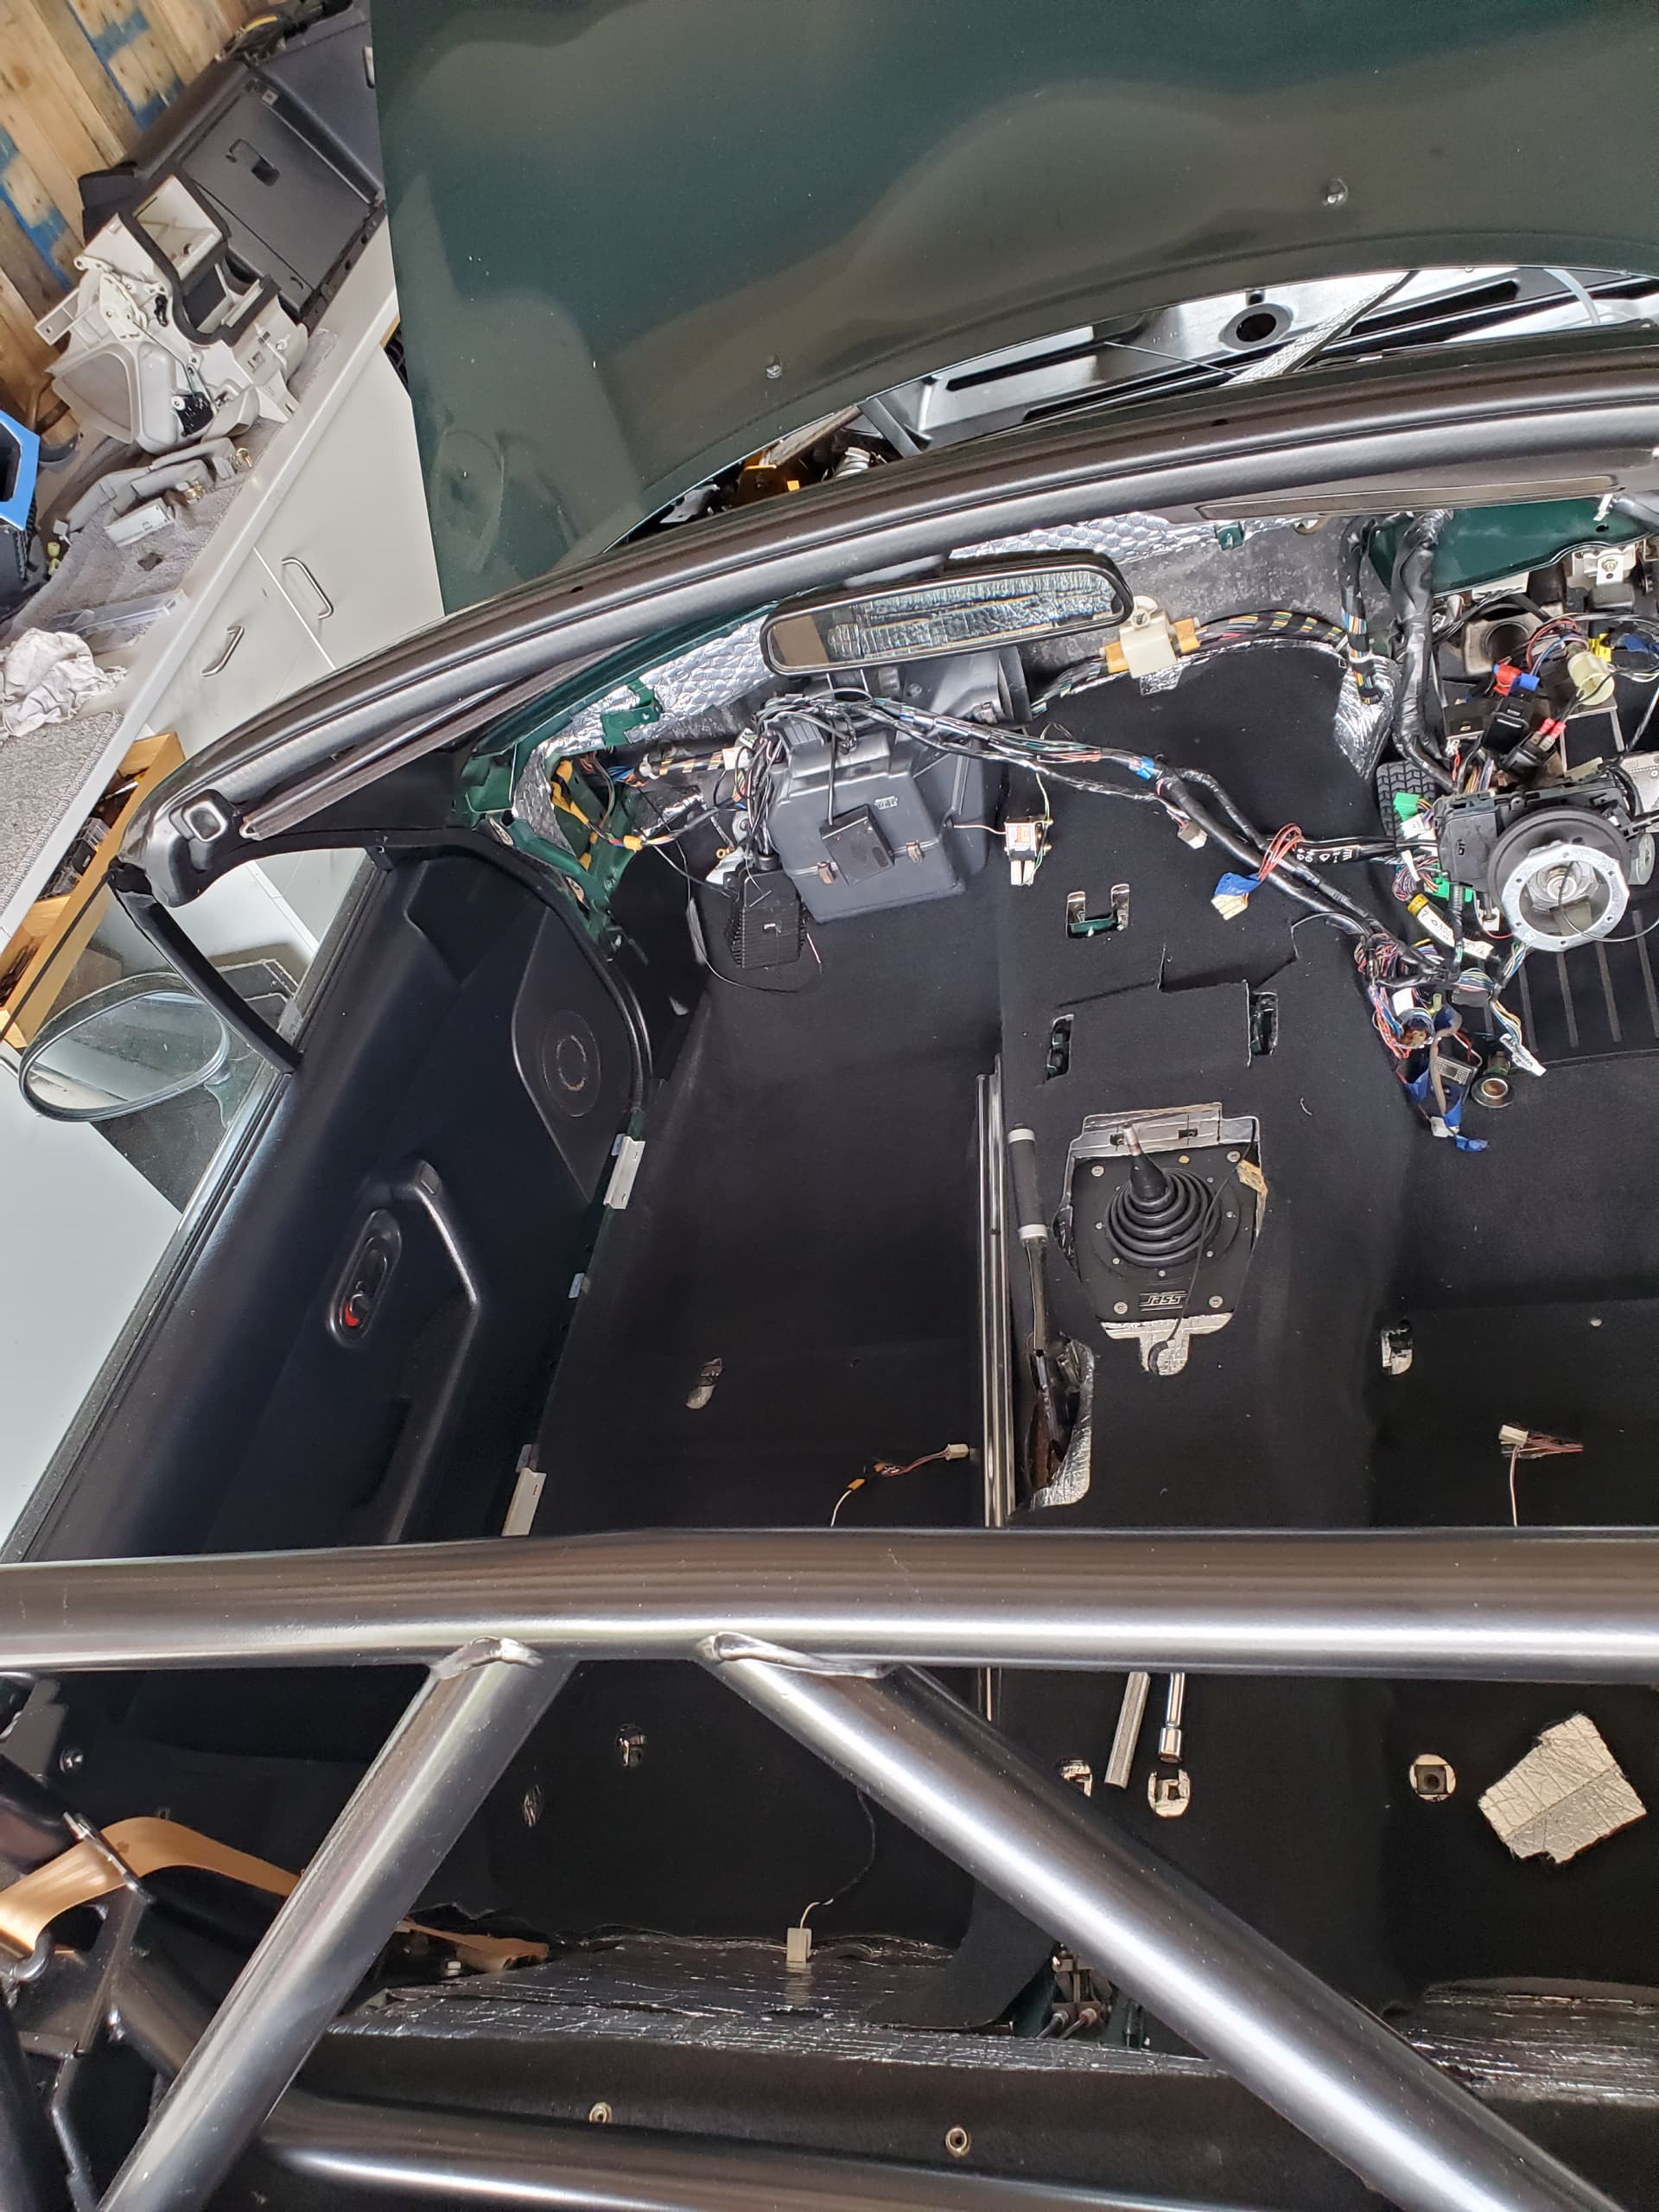
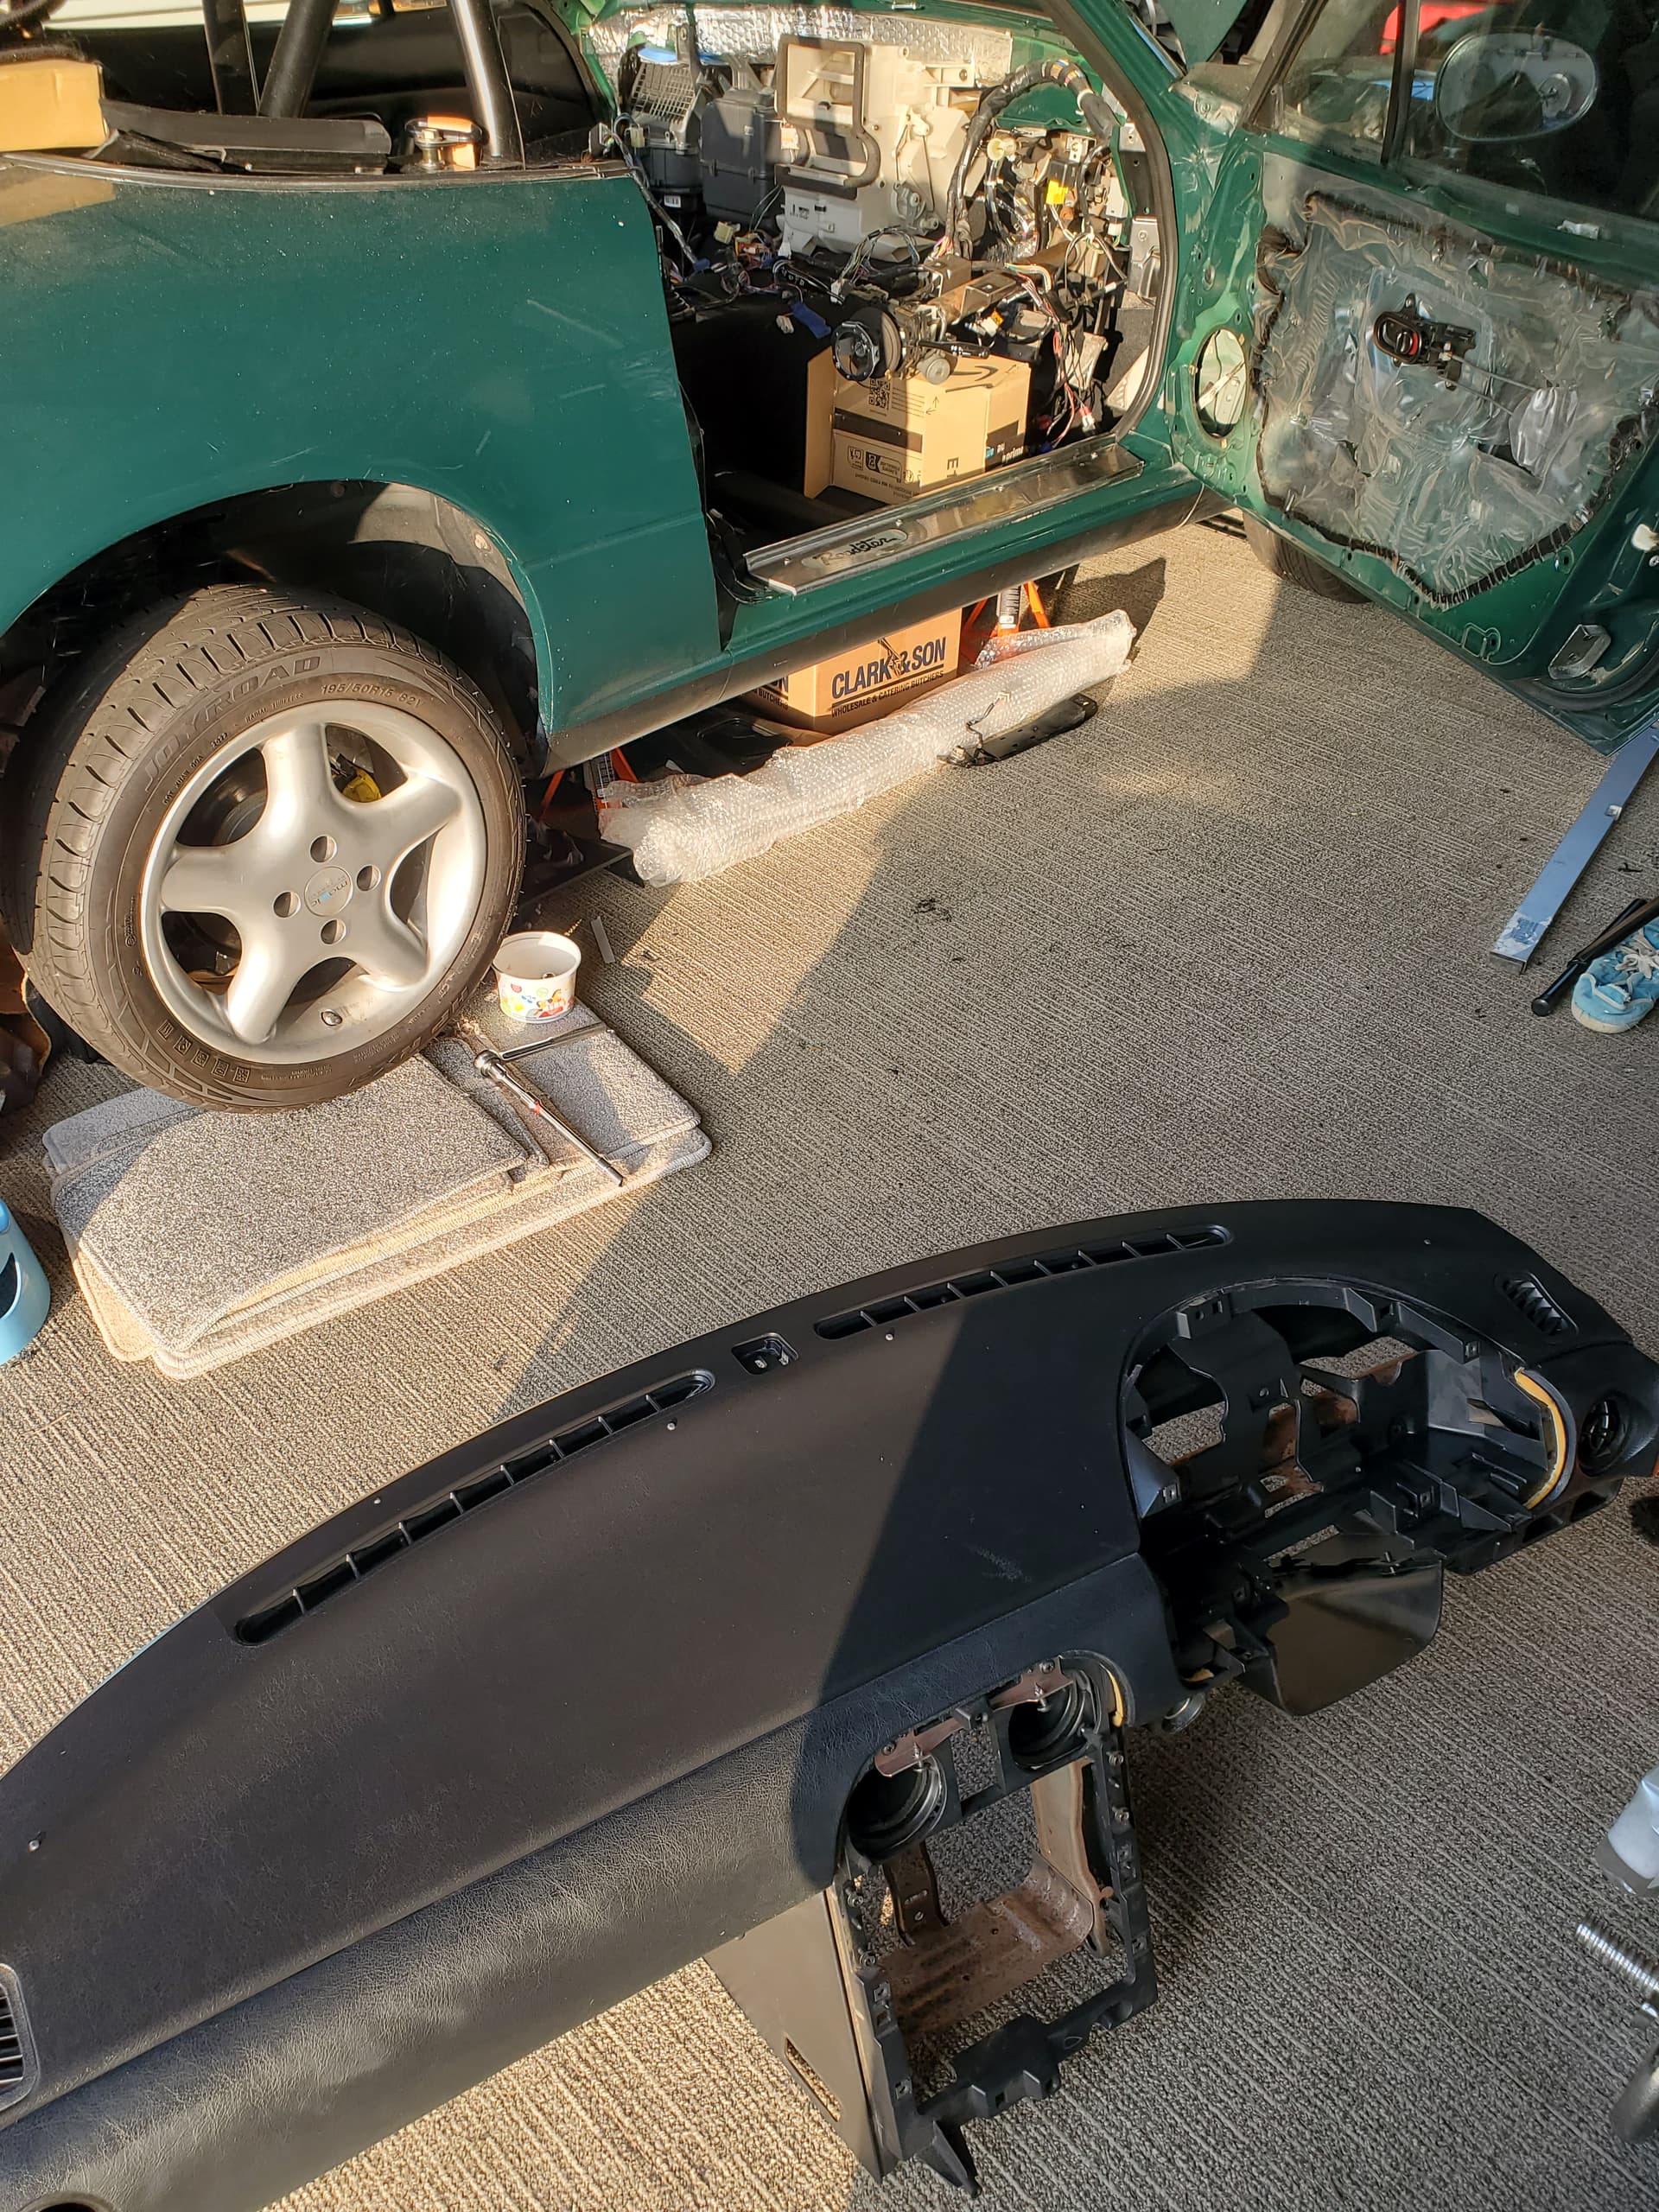
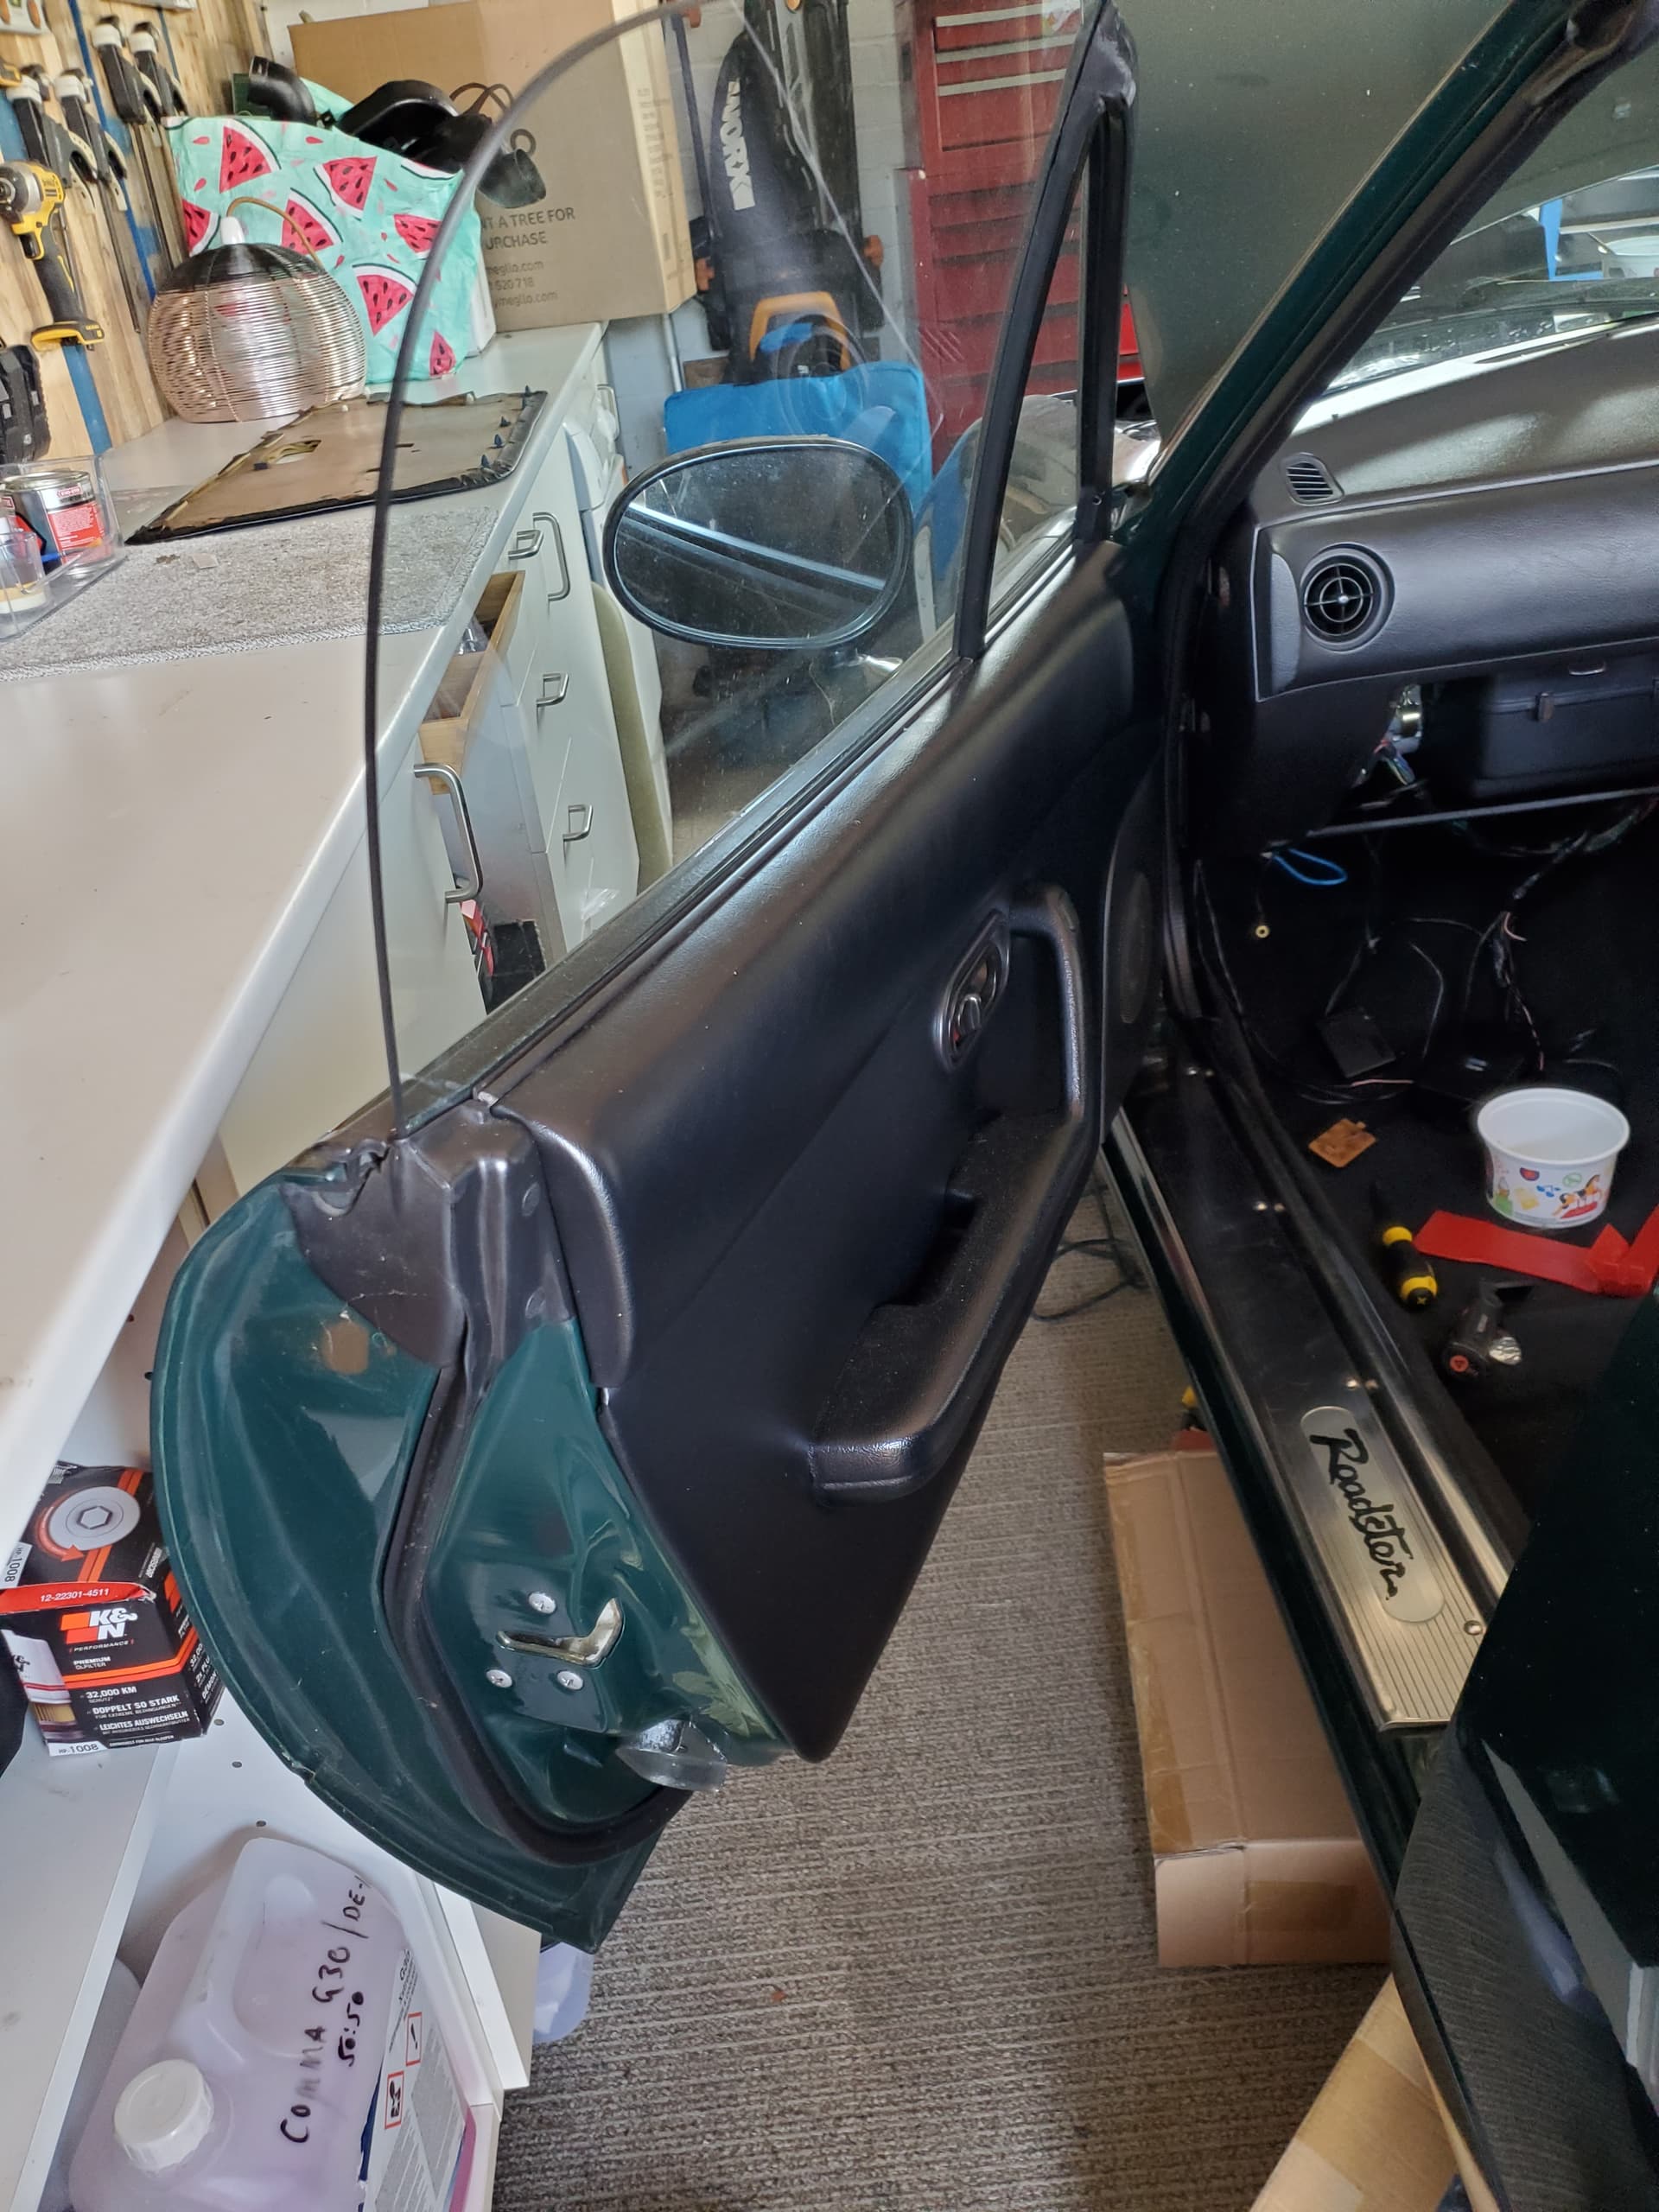
New dash.
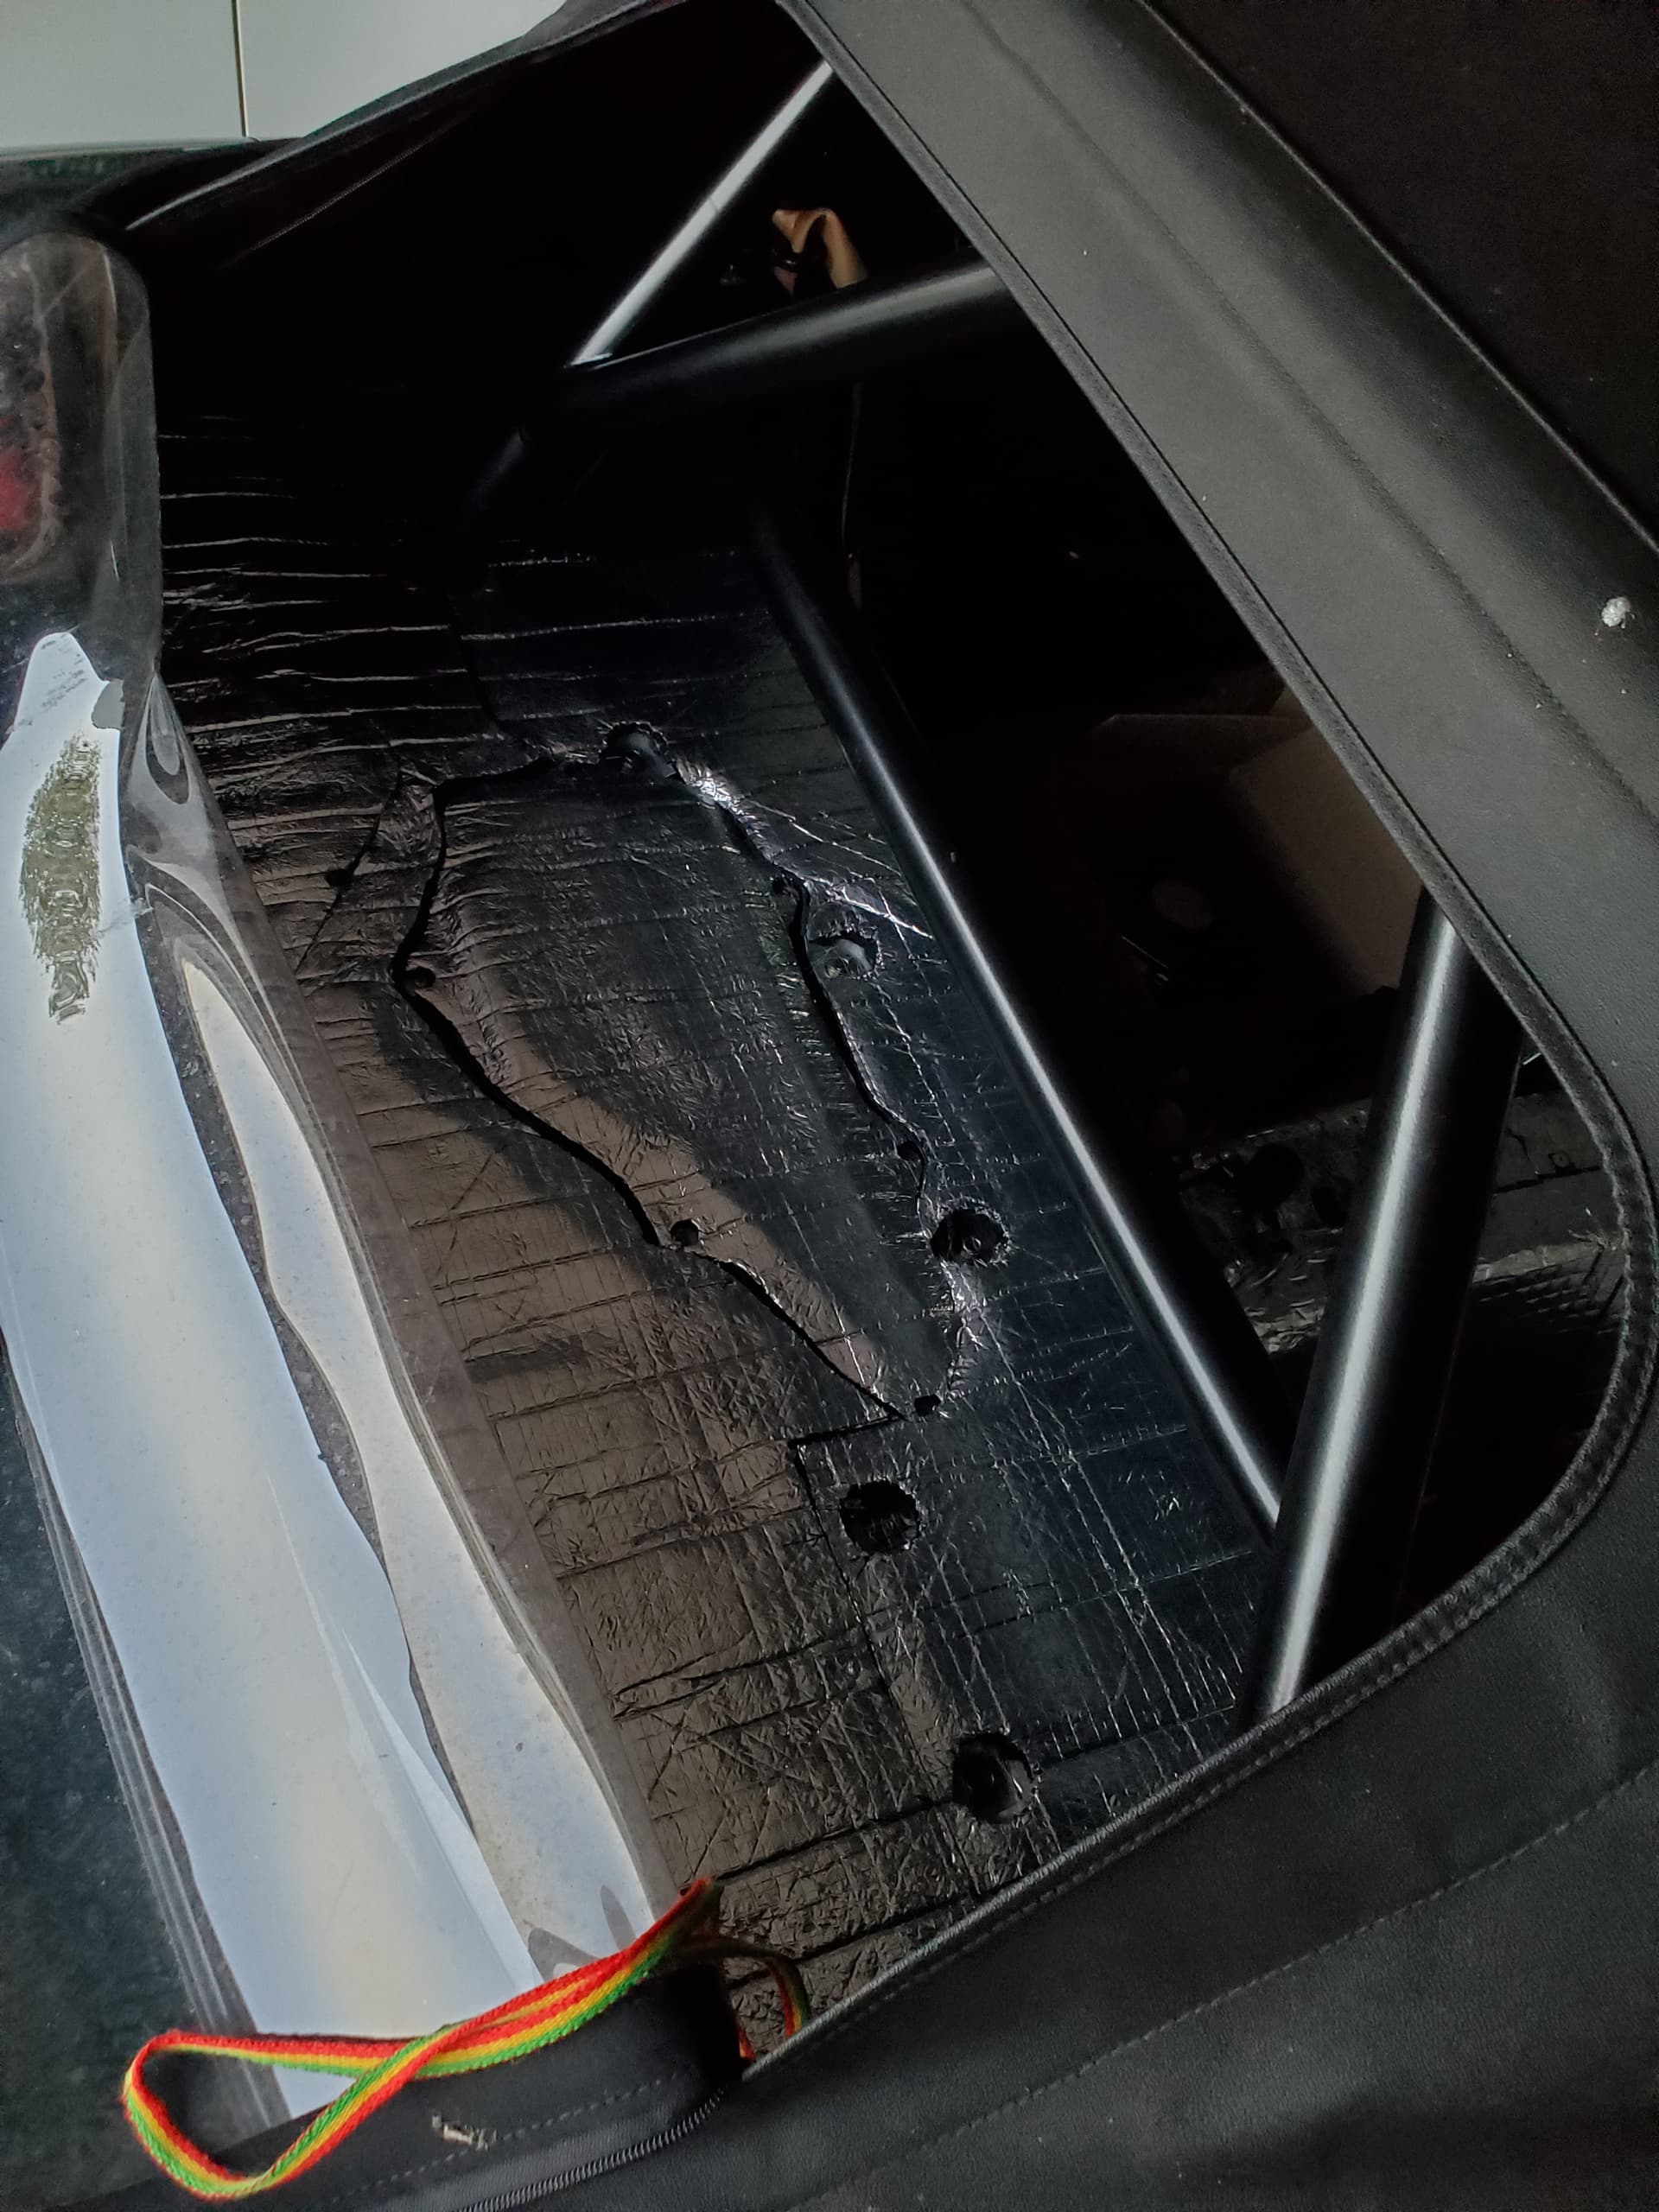
Whip out the air duct plastics and…
Get them in the kids bath water. Obviously remove kids first. Then calm wife with reassurances on clean up. Leave to soak while kids are diapatched to bed.
After a good rogering with various pipe cleaners let them drip and air dry mostly. The plastic is ok but does not look like it will take much more abuse.
I had to take all this out because once i had to remove the dash harness. When i saw the sate of them inside the eye twitch came back.
Give the back of the dash a good clean. Usual greasy caked on grime I thought about reapraying the bar but its all too destructive and the coming together again is motivational. Also the dash takes up a lot of space and i need it out the way again.
Refit ducting. Takes a bit of jiggery pokery.
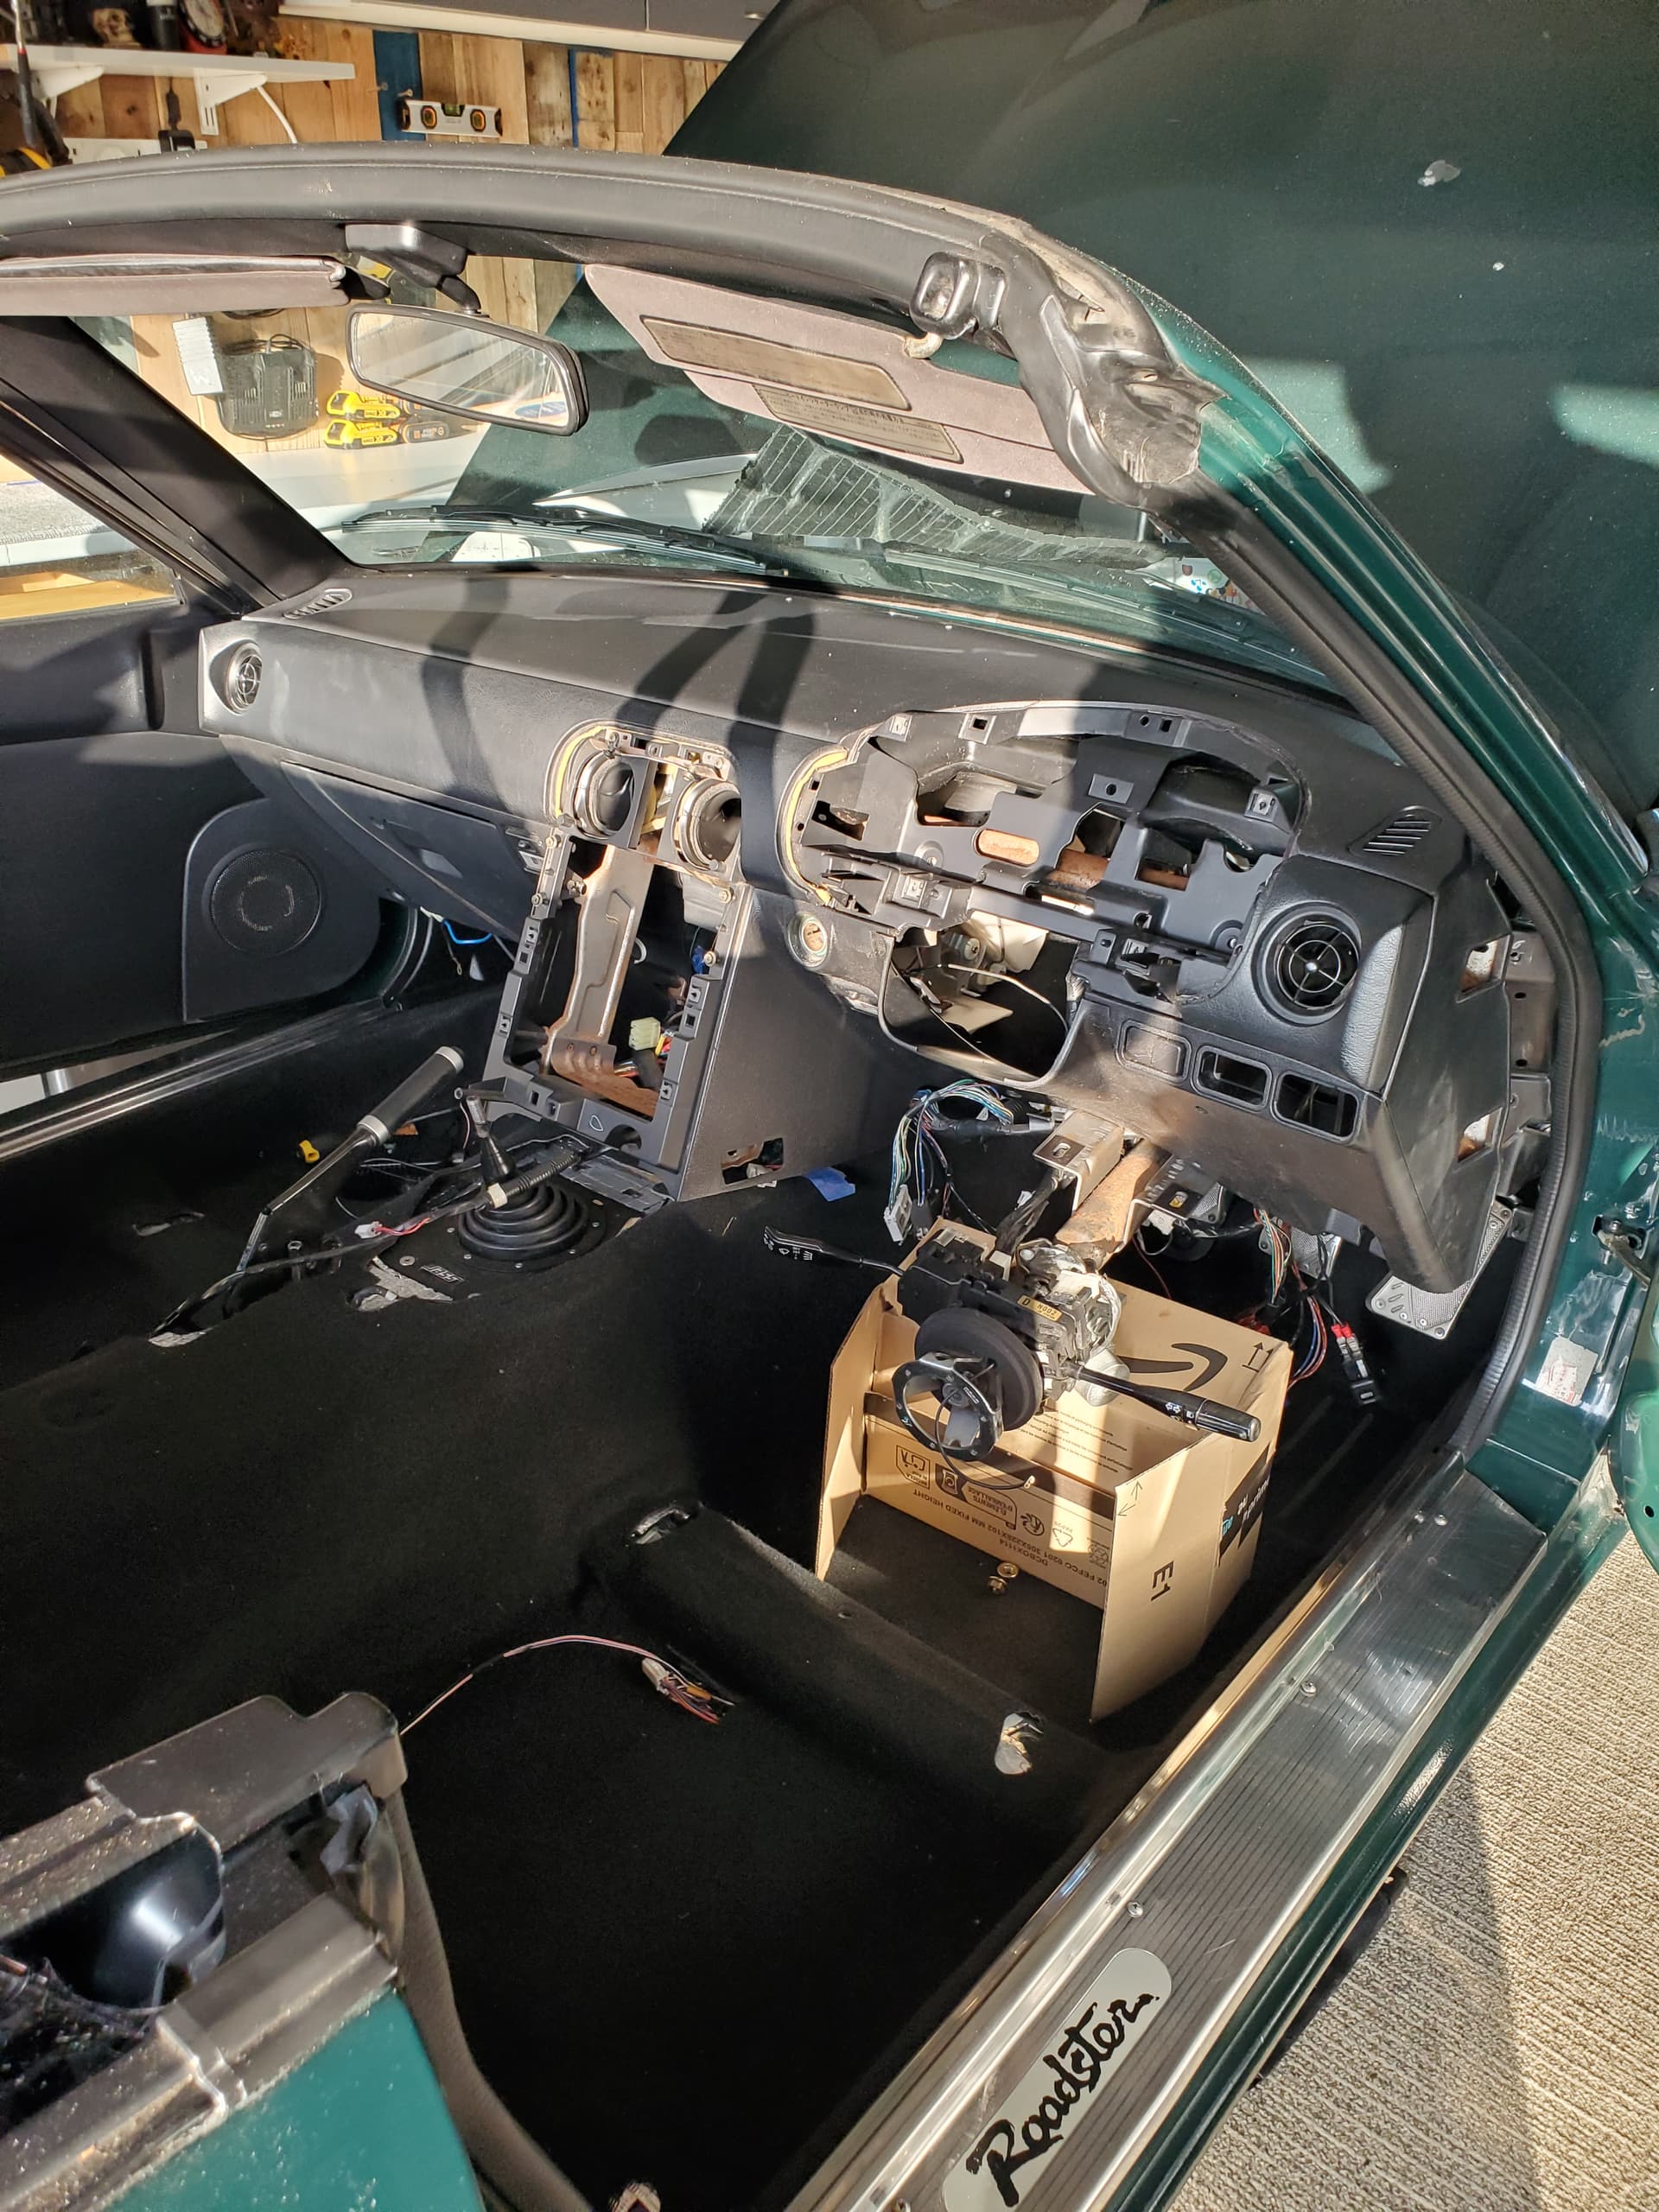
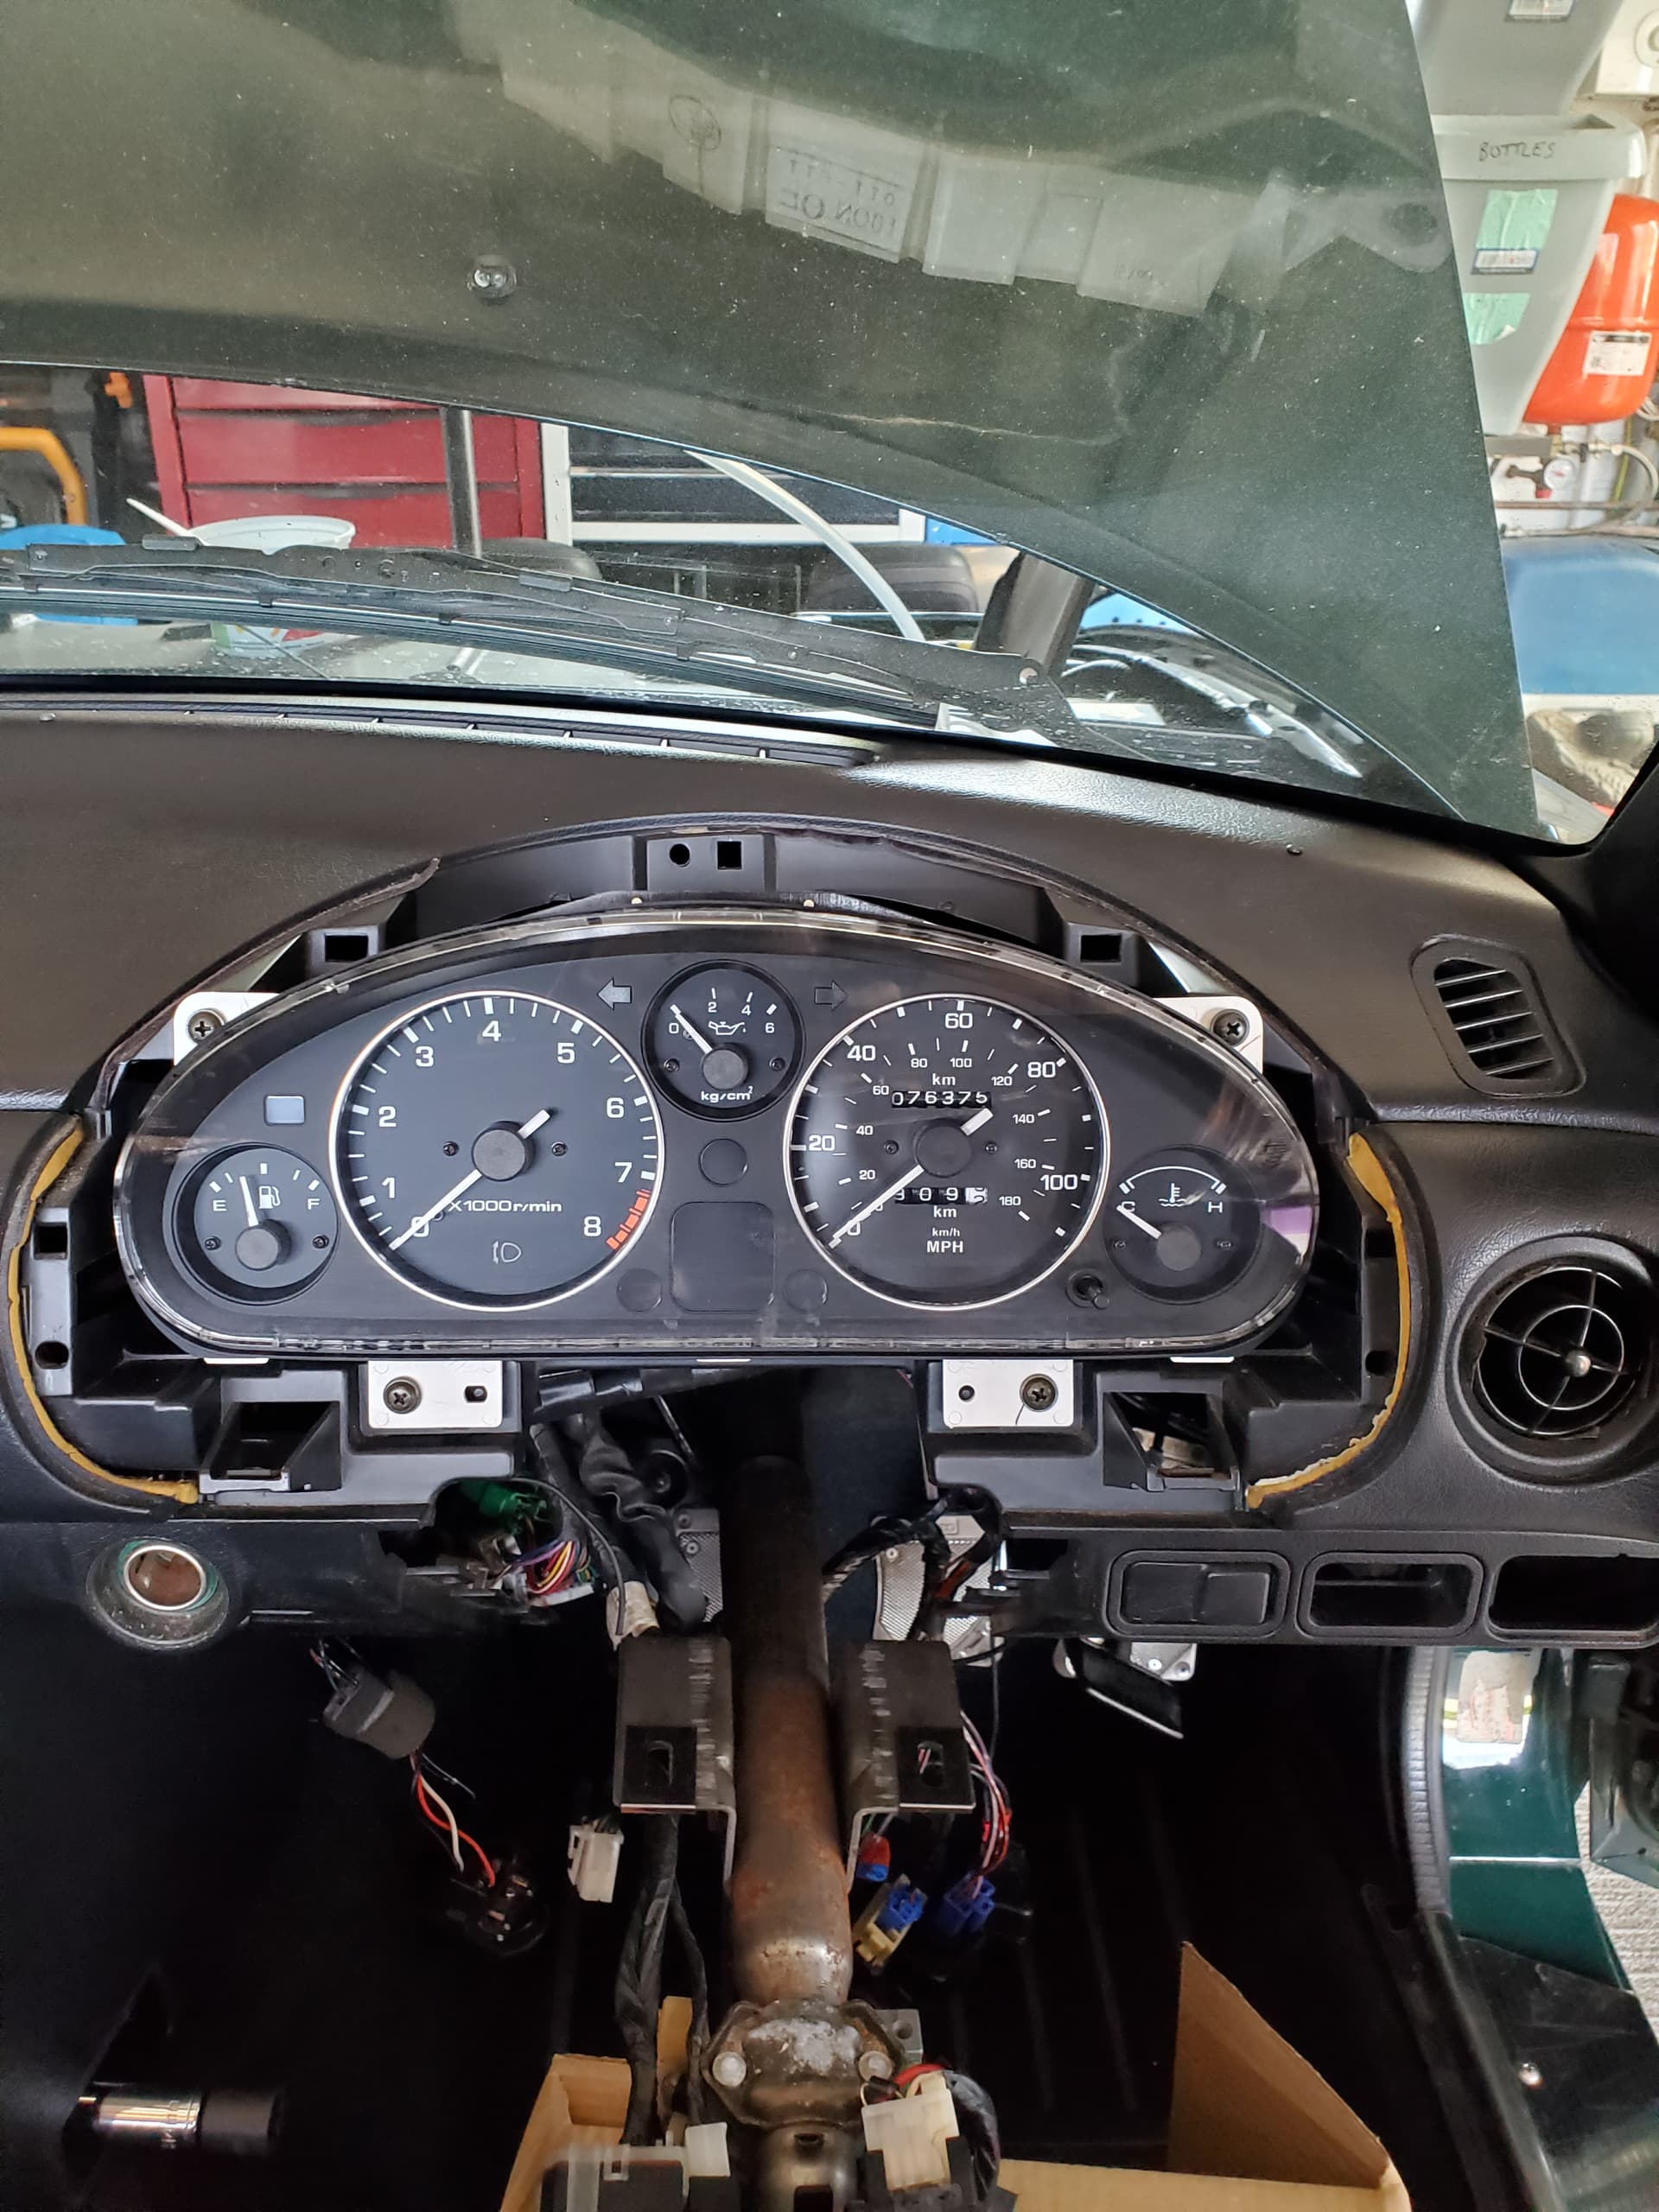
Dash ready to go back in.
Dash re inned.
Its a case of offering up check for loom snags. Wriggle it. Check why its jammed. Move that wire to the right location. Jiggle it more. Then it pops in.
Only joking
The lower centre metalic bit for the back of tombatine snag on the floor so it wont swing back. This is due to the sound deadening. Panic. Then i realise if i firmly press the carpet down and push at the same time it will go in gradually. Finally get the 4 lower transmission tunnel bolts in. Run around garden with t shirt over head and arms aloft.
Stay tuned.