I did a quick post recently about the removal of the side skirts on my Mk3 and what I found, here’s an update with a little more detail.
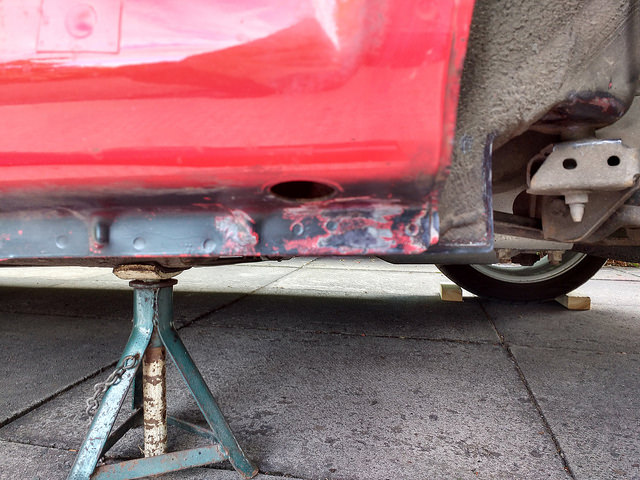
Since last year I’ve been meaning to tackle some small areas of rust on the rear end of my Mk3, mainly the wheel arch and sill areas. Also mindful of a very small amount of surface bubbling of paint around the rear wheel arch lip on one side, about the size of a 5p piece I thought I’d tackle both problems whilst the wheels were off and I had it up in the air.
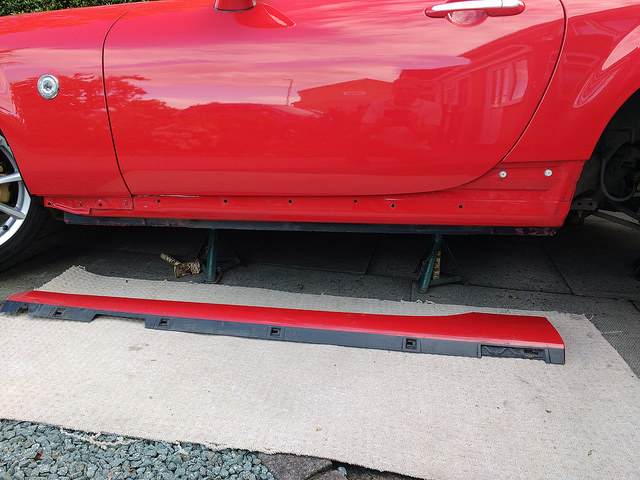
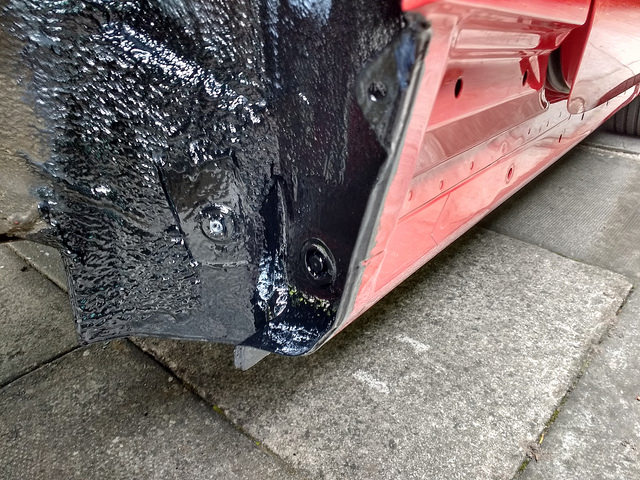
It was rather a longer process than I had planned for, about a week all told as waiting for layers of paint to cure and rust treatment to act. I was curious as to what lay beneath those plastic painted side skirts, I couldn’t see any with just a peek after unclipping the rear end of them so off they came for a better view. Once off I was pleasantly surprised to find it was mostly free of rust along the sill, just a small amount of bubbly paint towards the rear end, jacking point areas.
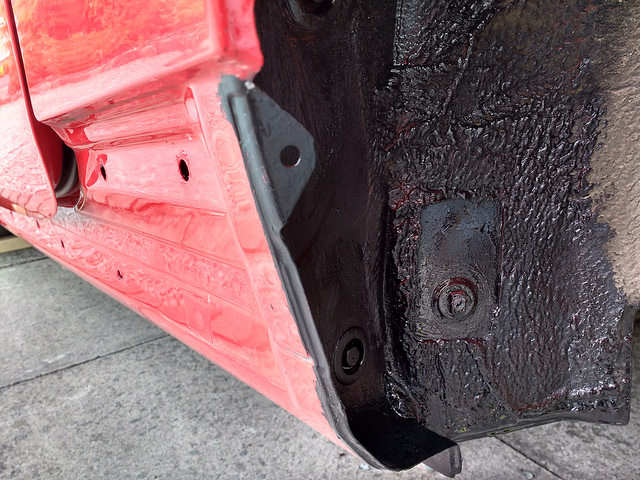
What I did find around the rear inner sill and up in the lower wheel arch area were sections of underseal lifting or on some areas missing altogether, not a surprise owning a Mazda I guess for most. BTW you need to remove the wheel arch liners too, not a difficult job just a series of plastic studs and screws, pretty simple.
Sadly I forgot to take some pre treatment shots on some areas but TBH there wasn’t much to show, just a few rusty bits showing through a treatment of Dinitrol I applied over 2 years ago.
So with the skirts removed and the area ground back I was ready for treatment…
My method was with a Dremel and flap wheel, gets in those hard to reach places, I wouldn’t have got in there with a standard drill and wheel. Rust ground away I applied Bilt Hamber Hydrate 80 to the areas followed by their Epoxy mastic x 2 coats, that’s a bit potent mask and gloves needed.
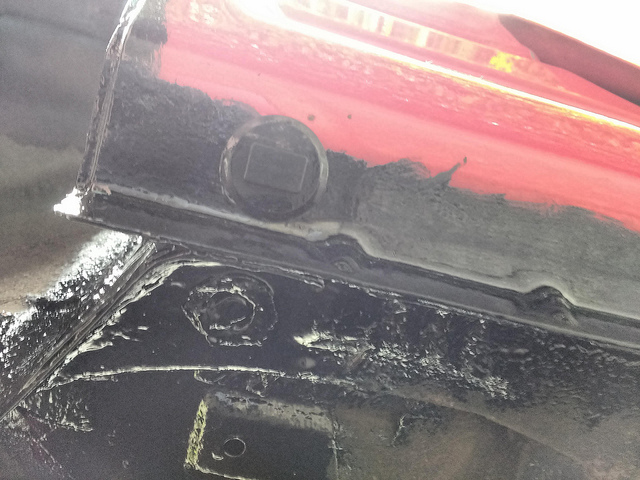
A sort of before shot of the lower arch, especially around that area where arch meets sill, prone to catch all the muck and stuff thrown off the wheel, Iremoved all the rubber bungs prior to treatment and paint
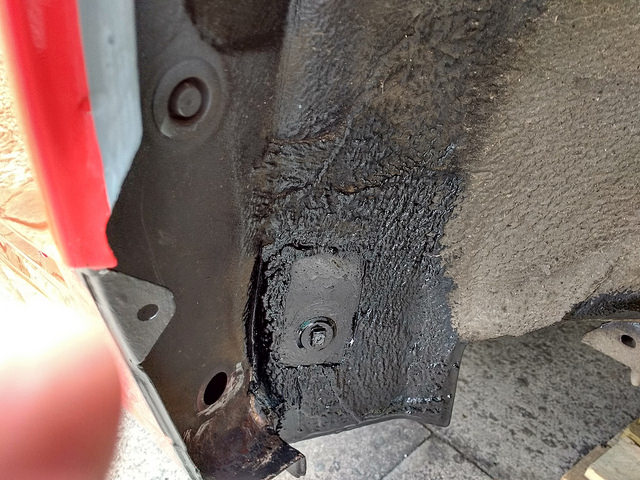
Application of the mastic x 2 coats NS arch followed by an application both sides (shown on the OS) of some black paint I had in the garage to finish.

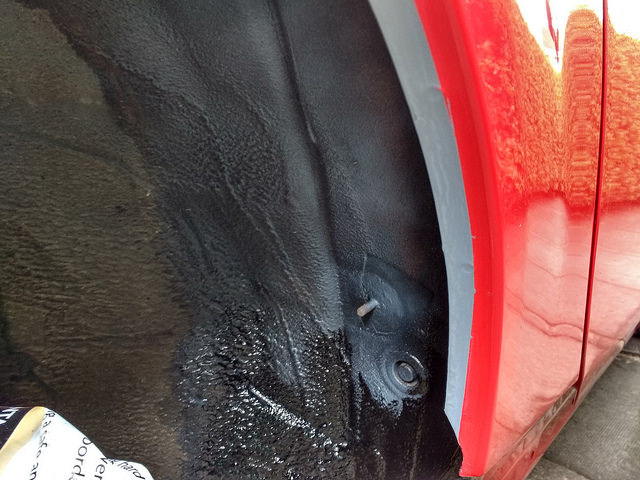
For good measure I also did along the outer sill whilst the skirts were off and the areas requiring treatment on the rear inner sill.
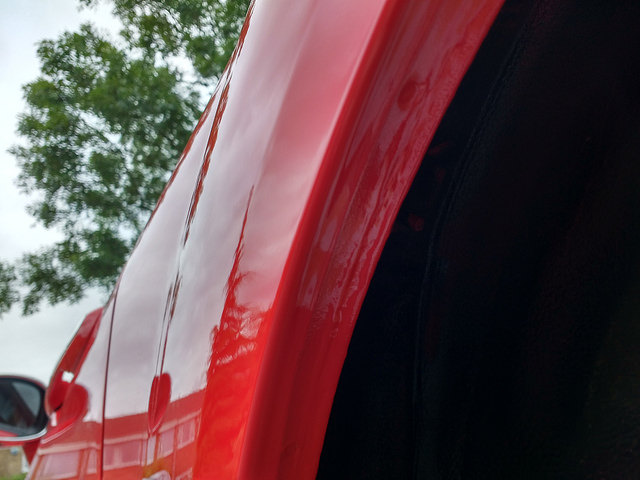
You may have noticed I have painted the band of grey primer around the arch lip, I thought I’d treat the whole edge around the arch whilst I was treating the small patch of rust so I ground away the top coat of paint and treated it to a coat of epoxy mastic. I followed this with 3 coats of primer and 3 coats of true red and finally 2 x lacquer, not bad for an amateur painter. All carefully sanded back and blended in (you can hardly see the join) cut in and polished and a wax finish. I treated the undersides as said 2 years ago, also I painted inside those arch lips then, they still look good but I still applied some more mastic around there. Best viewed inside there with a mirror and torch as you can’t get you head in there very well.
I recommend taking a peek under your car at the areas I have shown, also get the wheels off and the arch liners off and take a look all around. As shown in the pics there’s a good deal of edges that are prone to catch the muck and stuff and as with mine the underseal starts lifting and rust begins, caught early it’ll save on costly remedial work at a later date.
I’ve not finished yet, next job exhaust back box off and treat a little area up behind the arches, a catchment area for muck and anything thrown up from the wheels.