Spent the weekend just gone installing the Cybul roll bar and Jass 1 inch seat lowering brackets on my NC ‘07 MX5. Thought I’d leave a little after action report here for those thinking of doing the same in the future - as I couldn’t find much content out there re. the Cybul roll bar.
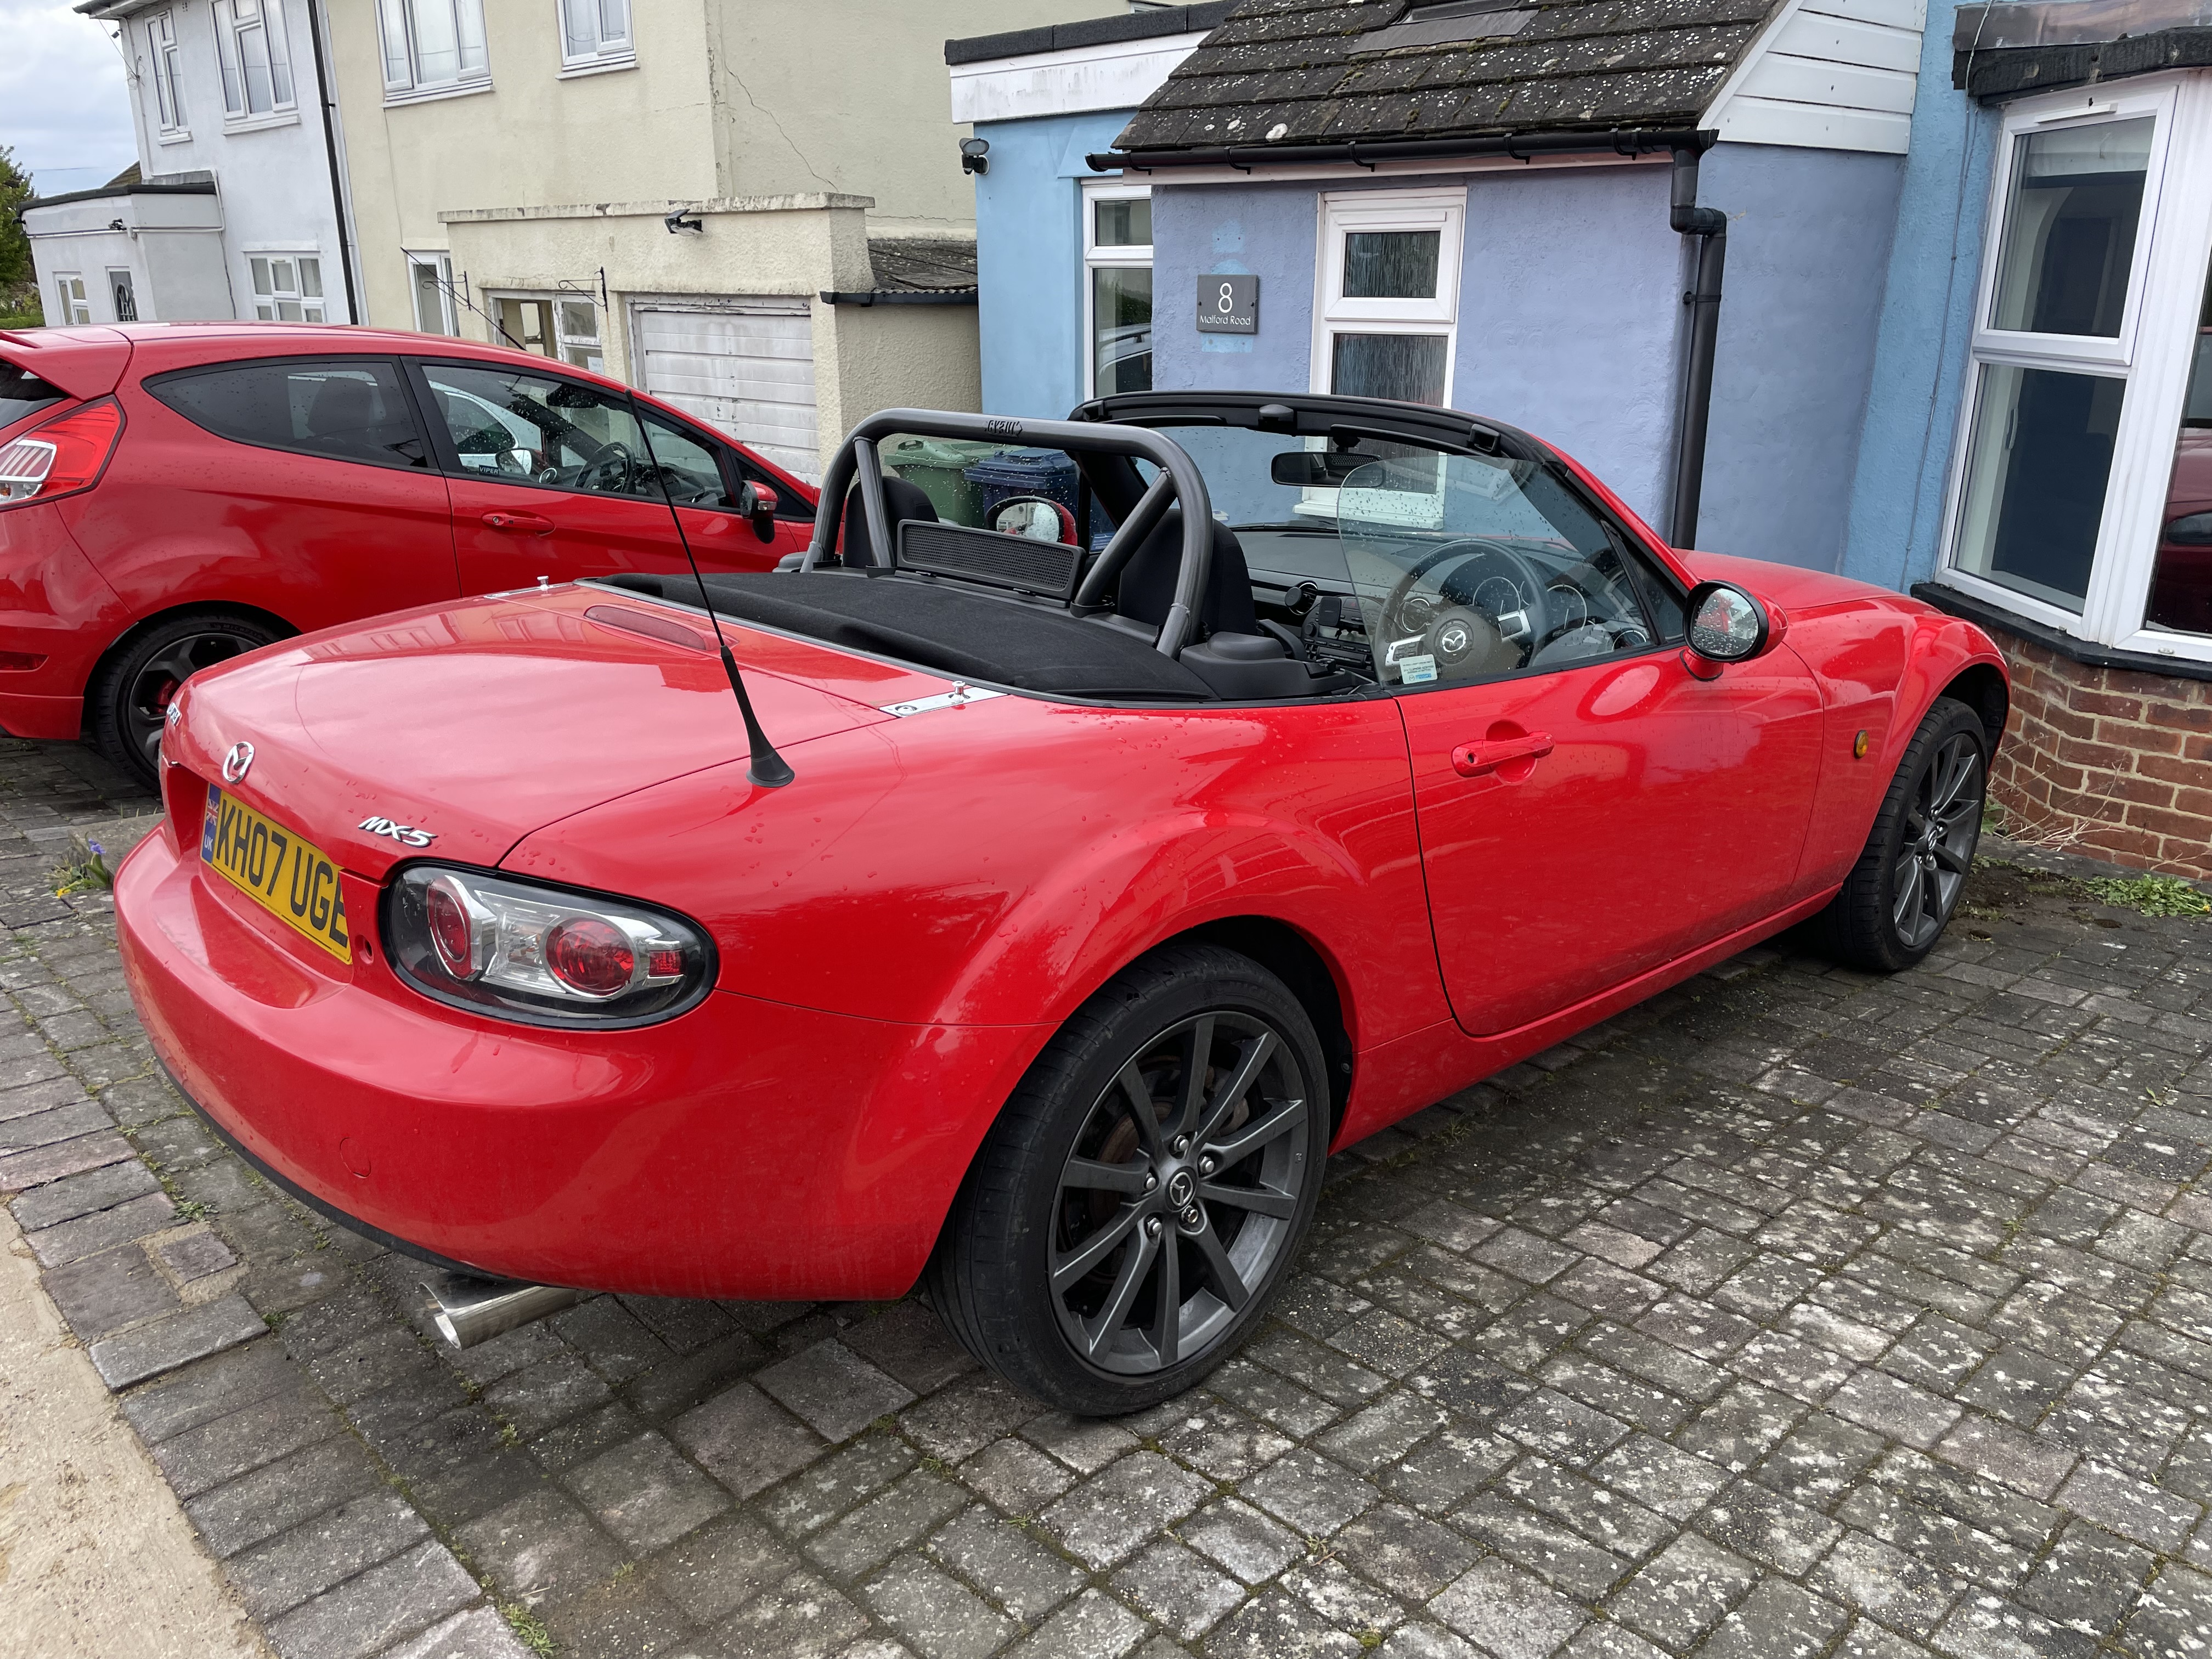
The job took about a day and half for me and my dad, was good fun and the result I think is pretty great! Almost exactly fitting my hopes of a roll bar that blends well with the standard look of the car. Voila:

Some hopefully useful thoughts on the process:
-
I bought the bar from Bofi, who were great as always. One key thing to note though - when ordering I thought the bar would come painted black, as it looks like this in the picture on the site. However it arrived painted gun metal grey. Now, I got VERY lucky here as the colour actually perfectly matches my gun metal wheels, so it was actually a big win. But could’ve been a nasty shock.
-
The bar itself, fittings and instructions from Cybul were all great. Instructions did miss one part of the process (removing some of the B-pillar trim etc), but generally were decent given how many steps were involved.
-
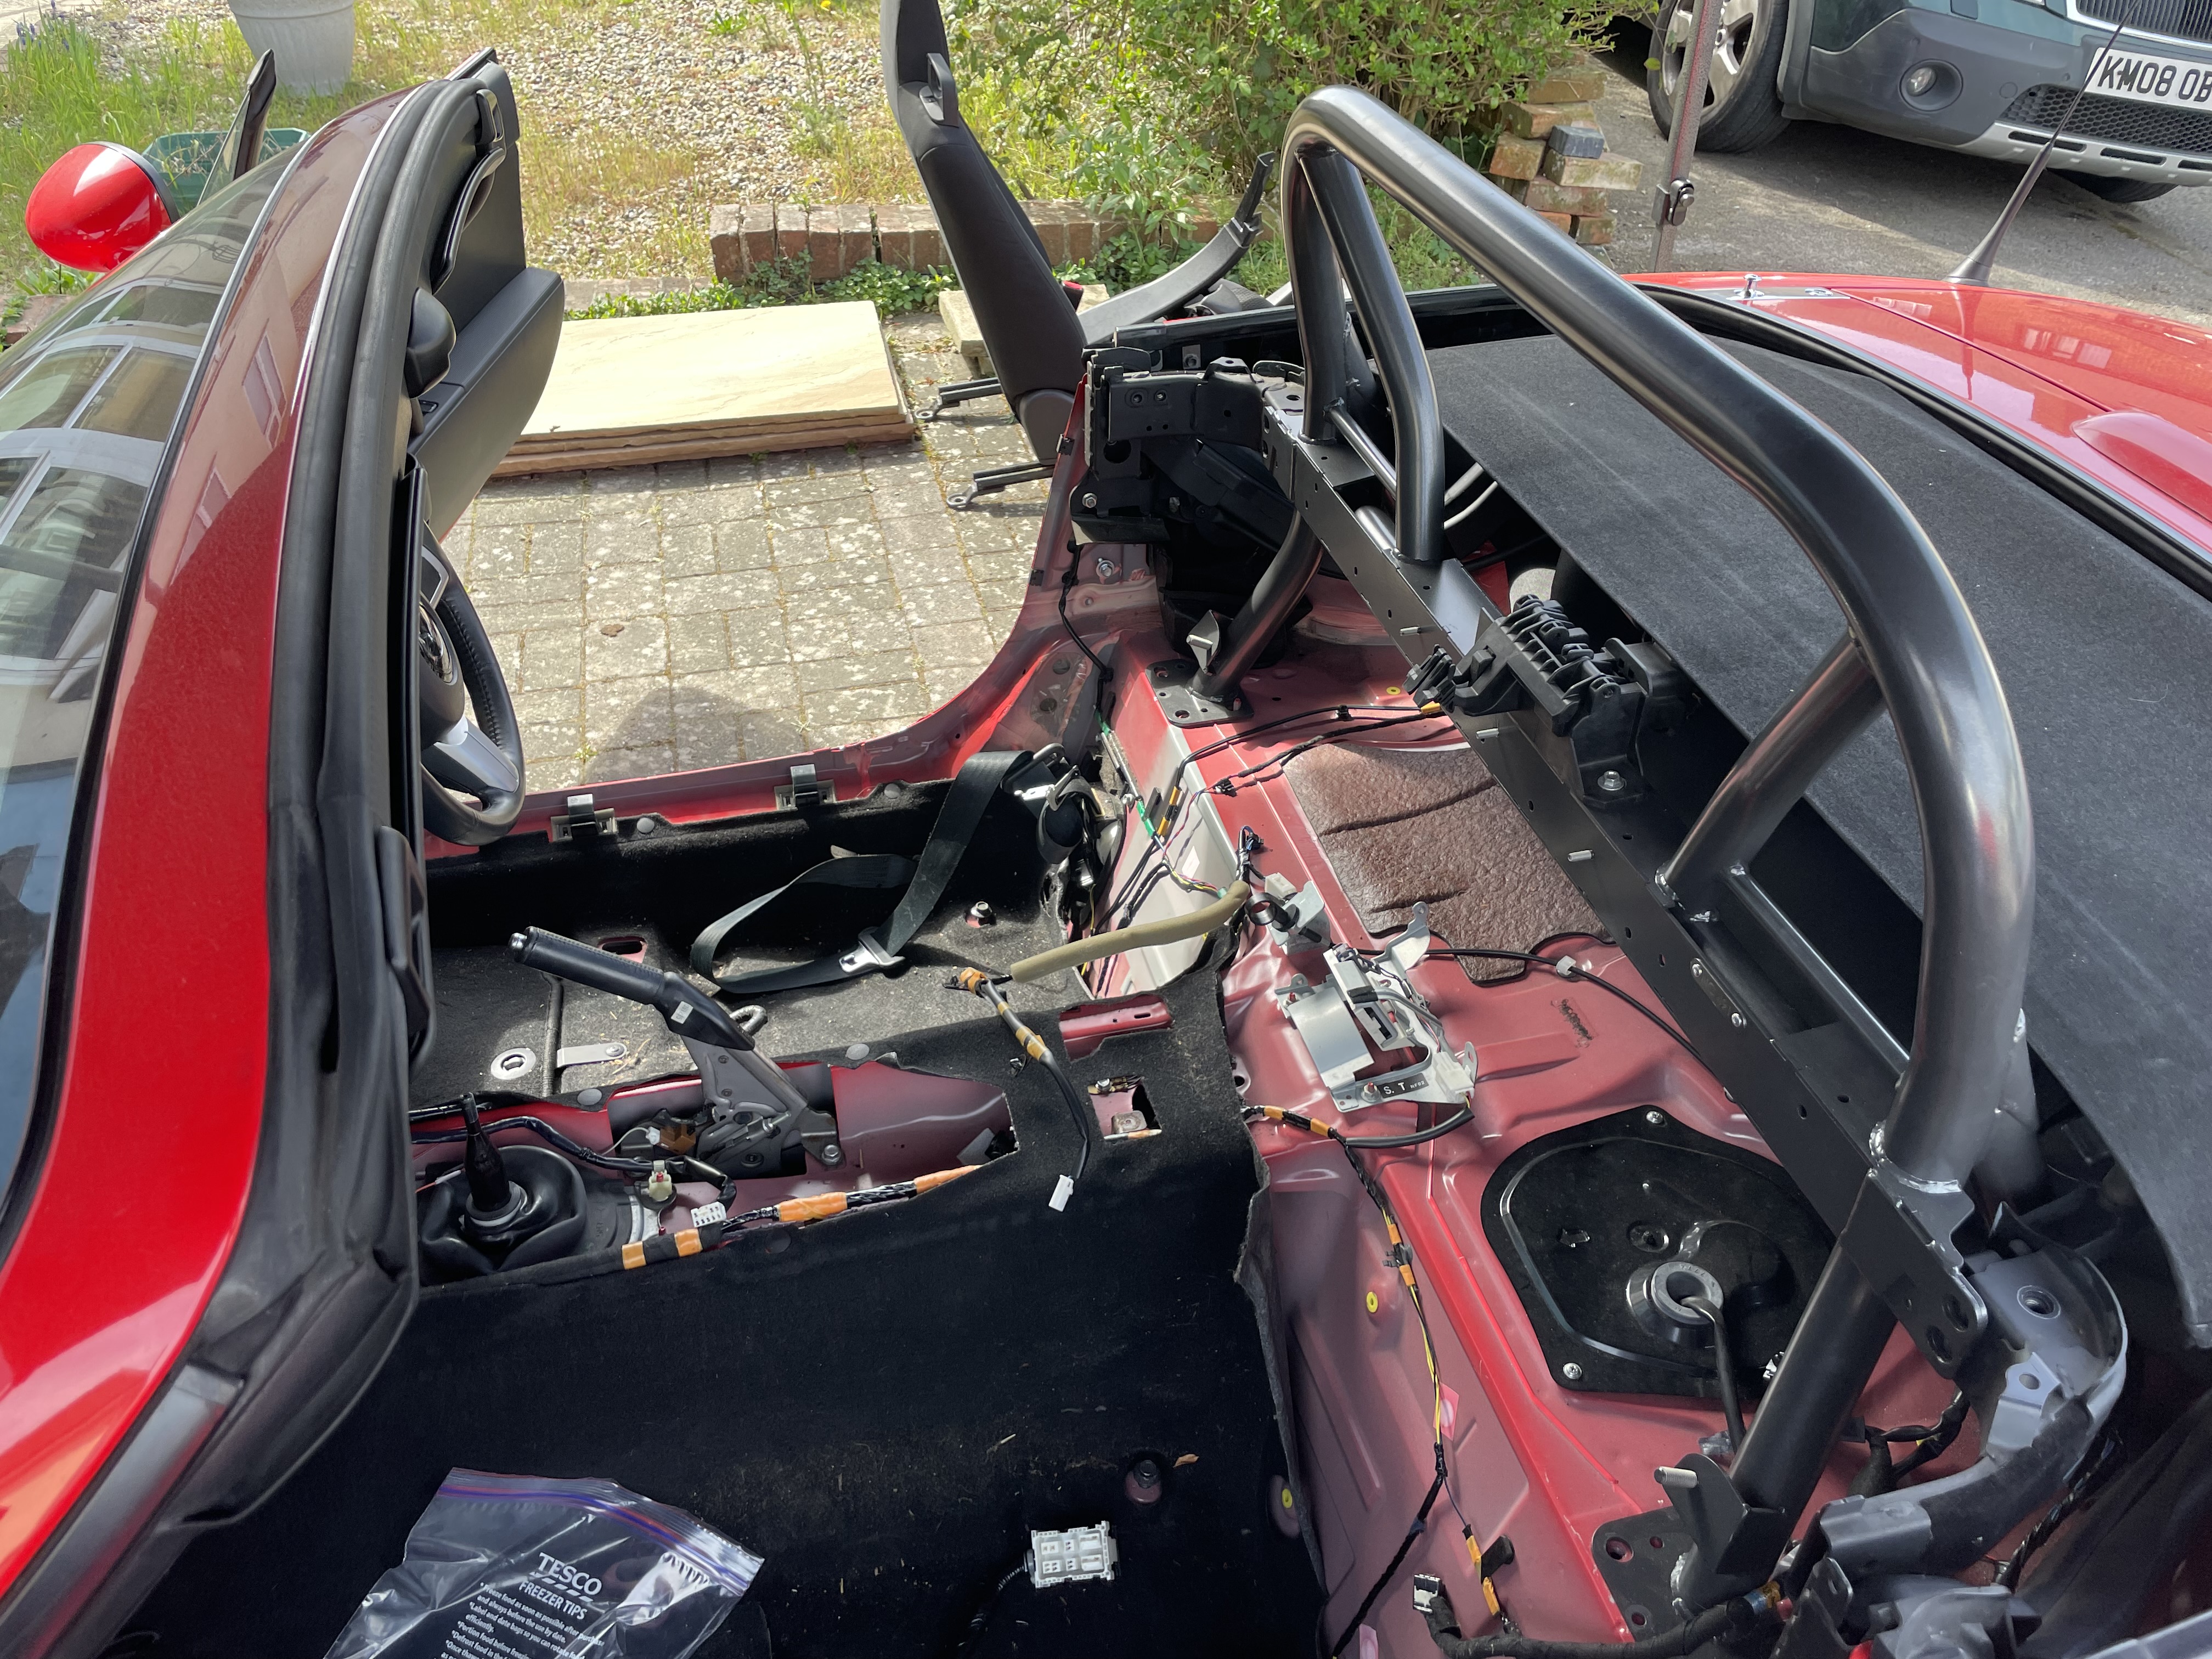
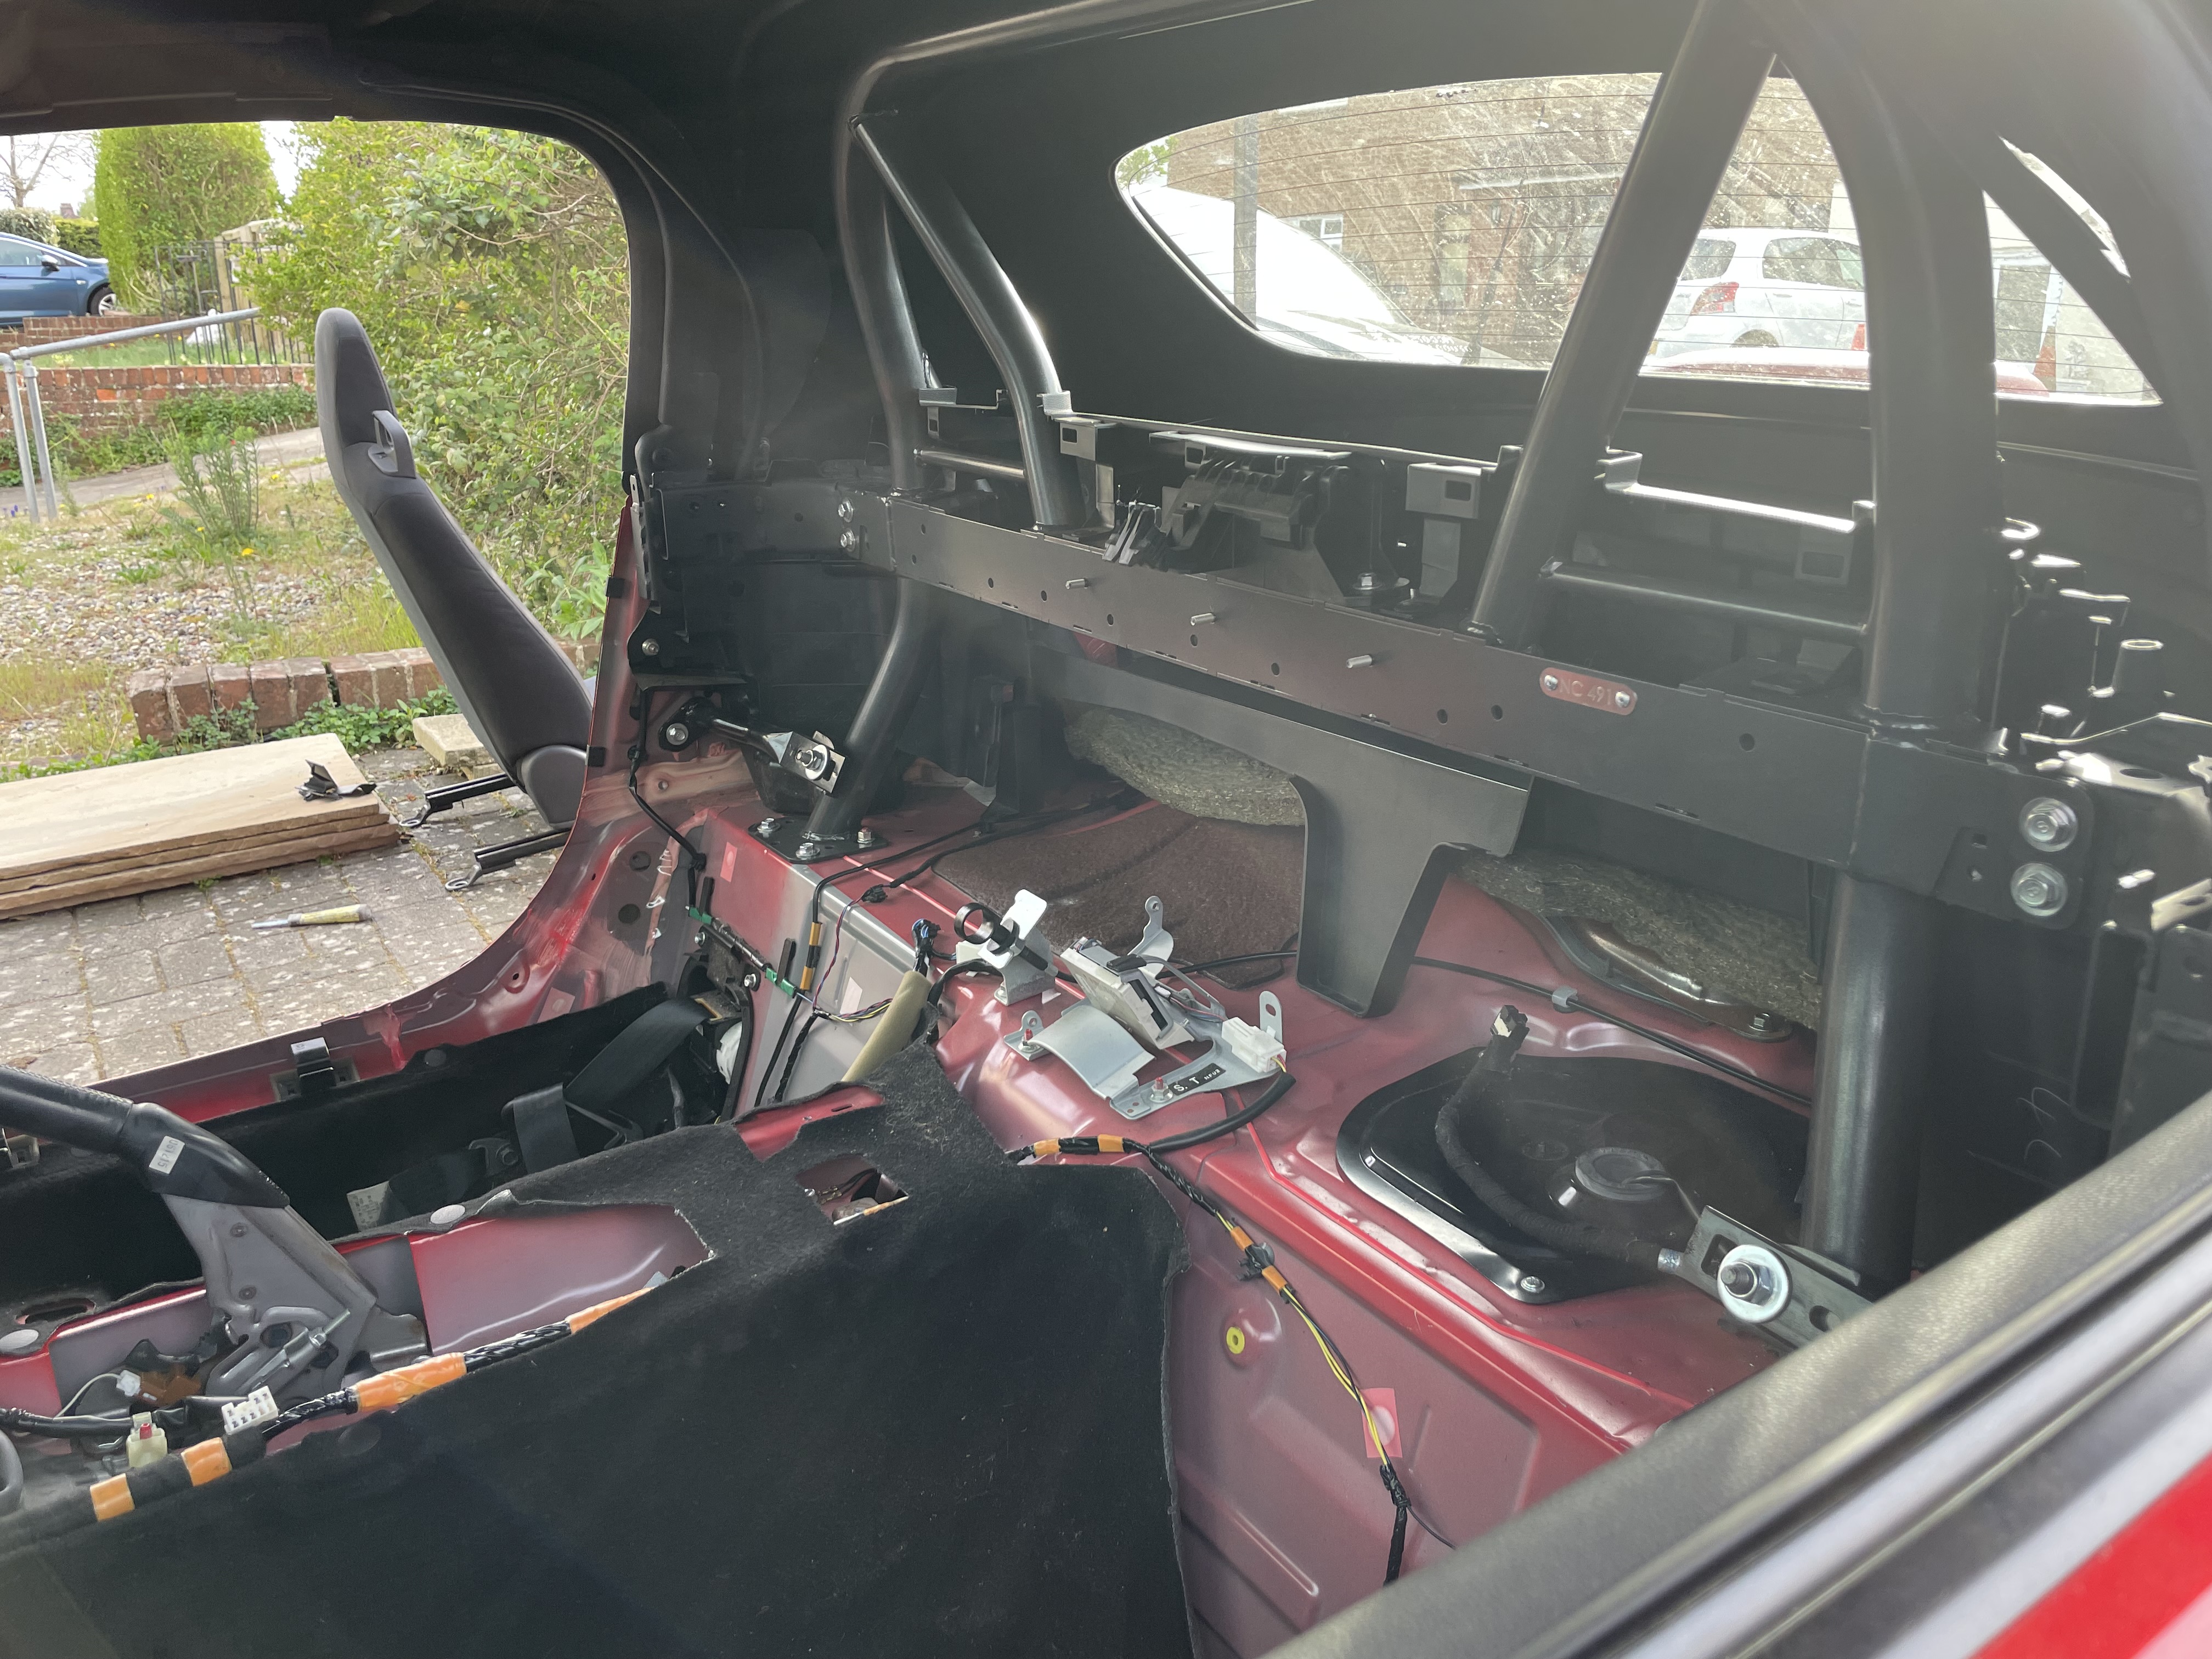
Taking the car apart was the easy bit, but surprisingly it was cutting the plastics to accommodate the roll bar that proved the most annoying step. While the bar itself actually fit really well in the chassis of the car (we didn’t have to use any washers to get it to fit like some people seemed to need), we did have to take several shots at cutting the back plastic panelling, as the measurements noted in the instructions just didn’t match what we needed. Eventually got there, not too alarming as it’s mostly plastics no one will ever see.
-
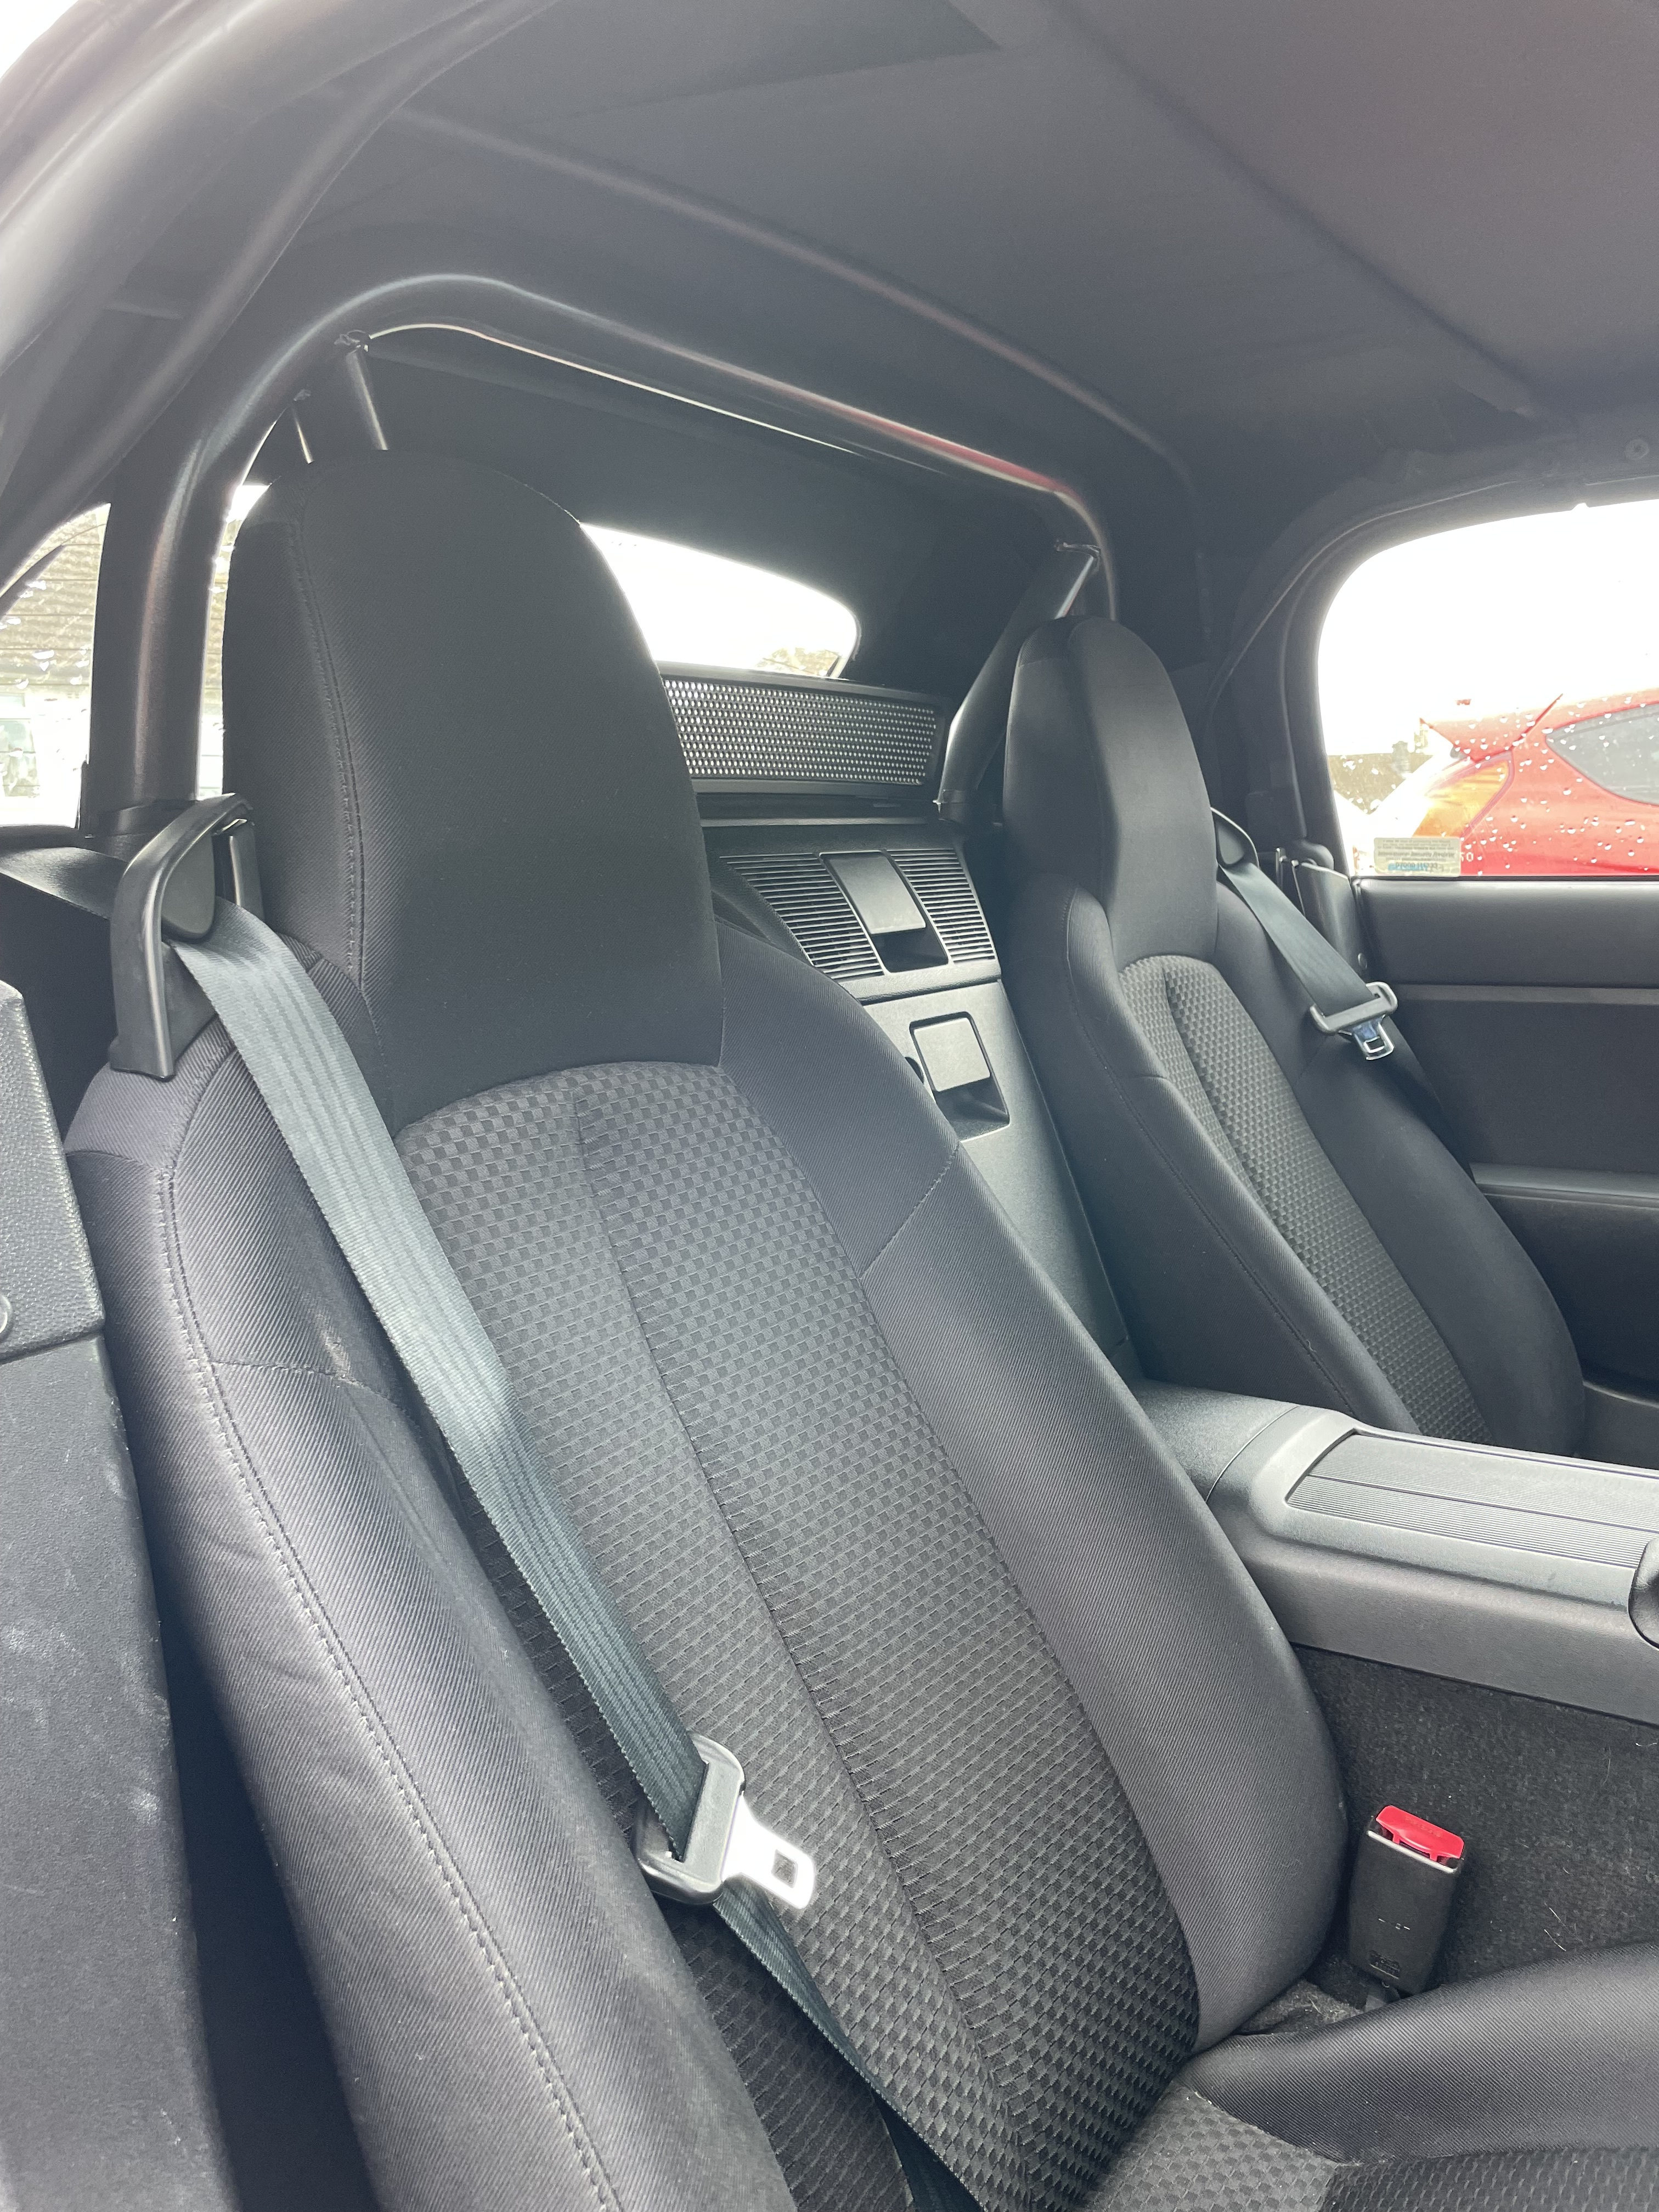
Putting everything back together was also mostly straightforward; again, plastic trim was our nemesis as the trim that sits around the bar (at the top) didn’t sit right. So we had to cut off more than expected. This bit you can actually see in the pictures if you’re eagle eyed - note that the plastic doesn’t completely surround the bars protruding on each furthest side of the car. I was a bit bummed by this at first, but quickly realised it really doesn’t detract from the look at all. Not sure if we messed something up to cause that, but nyeh, hardly a big issue.
-
In terms of tools etc we didn’t need anything fancy. Mostly used a hacksaw for the plastic rather than the Dremmel I bought for this job. Was easier. Here are some pics of the process:


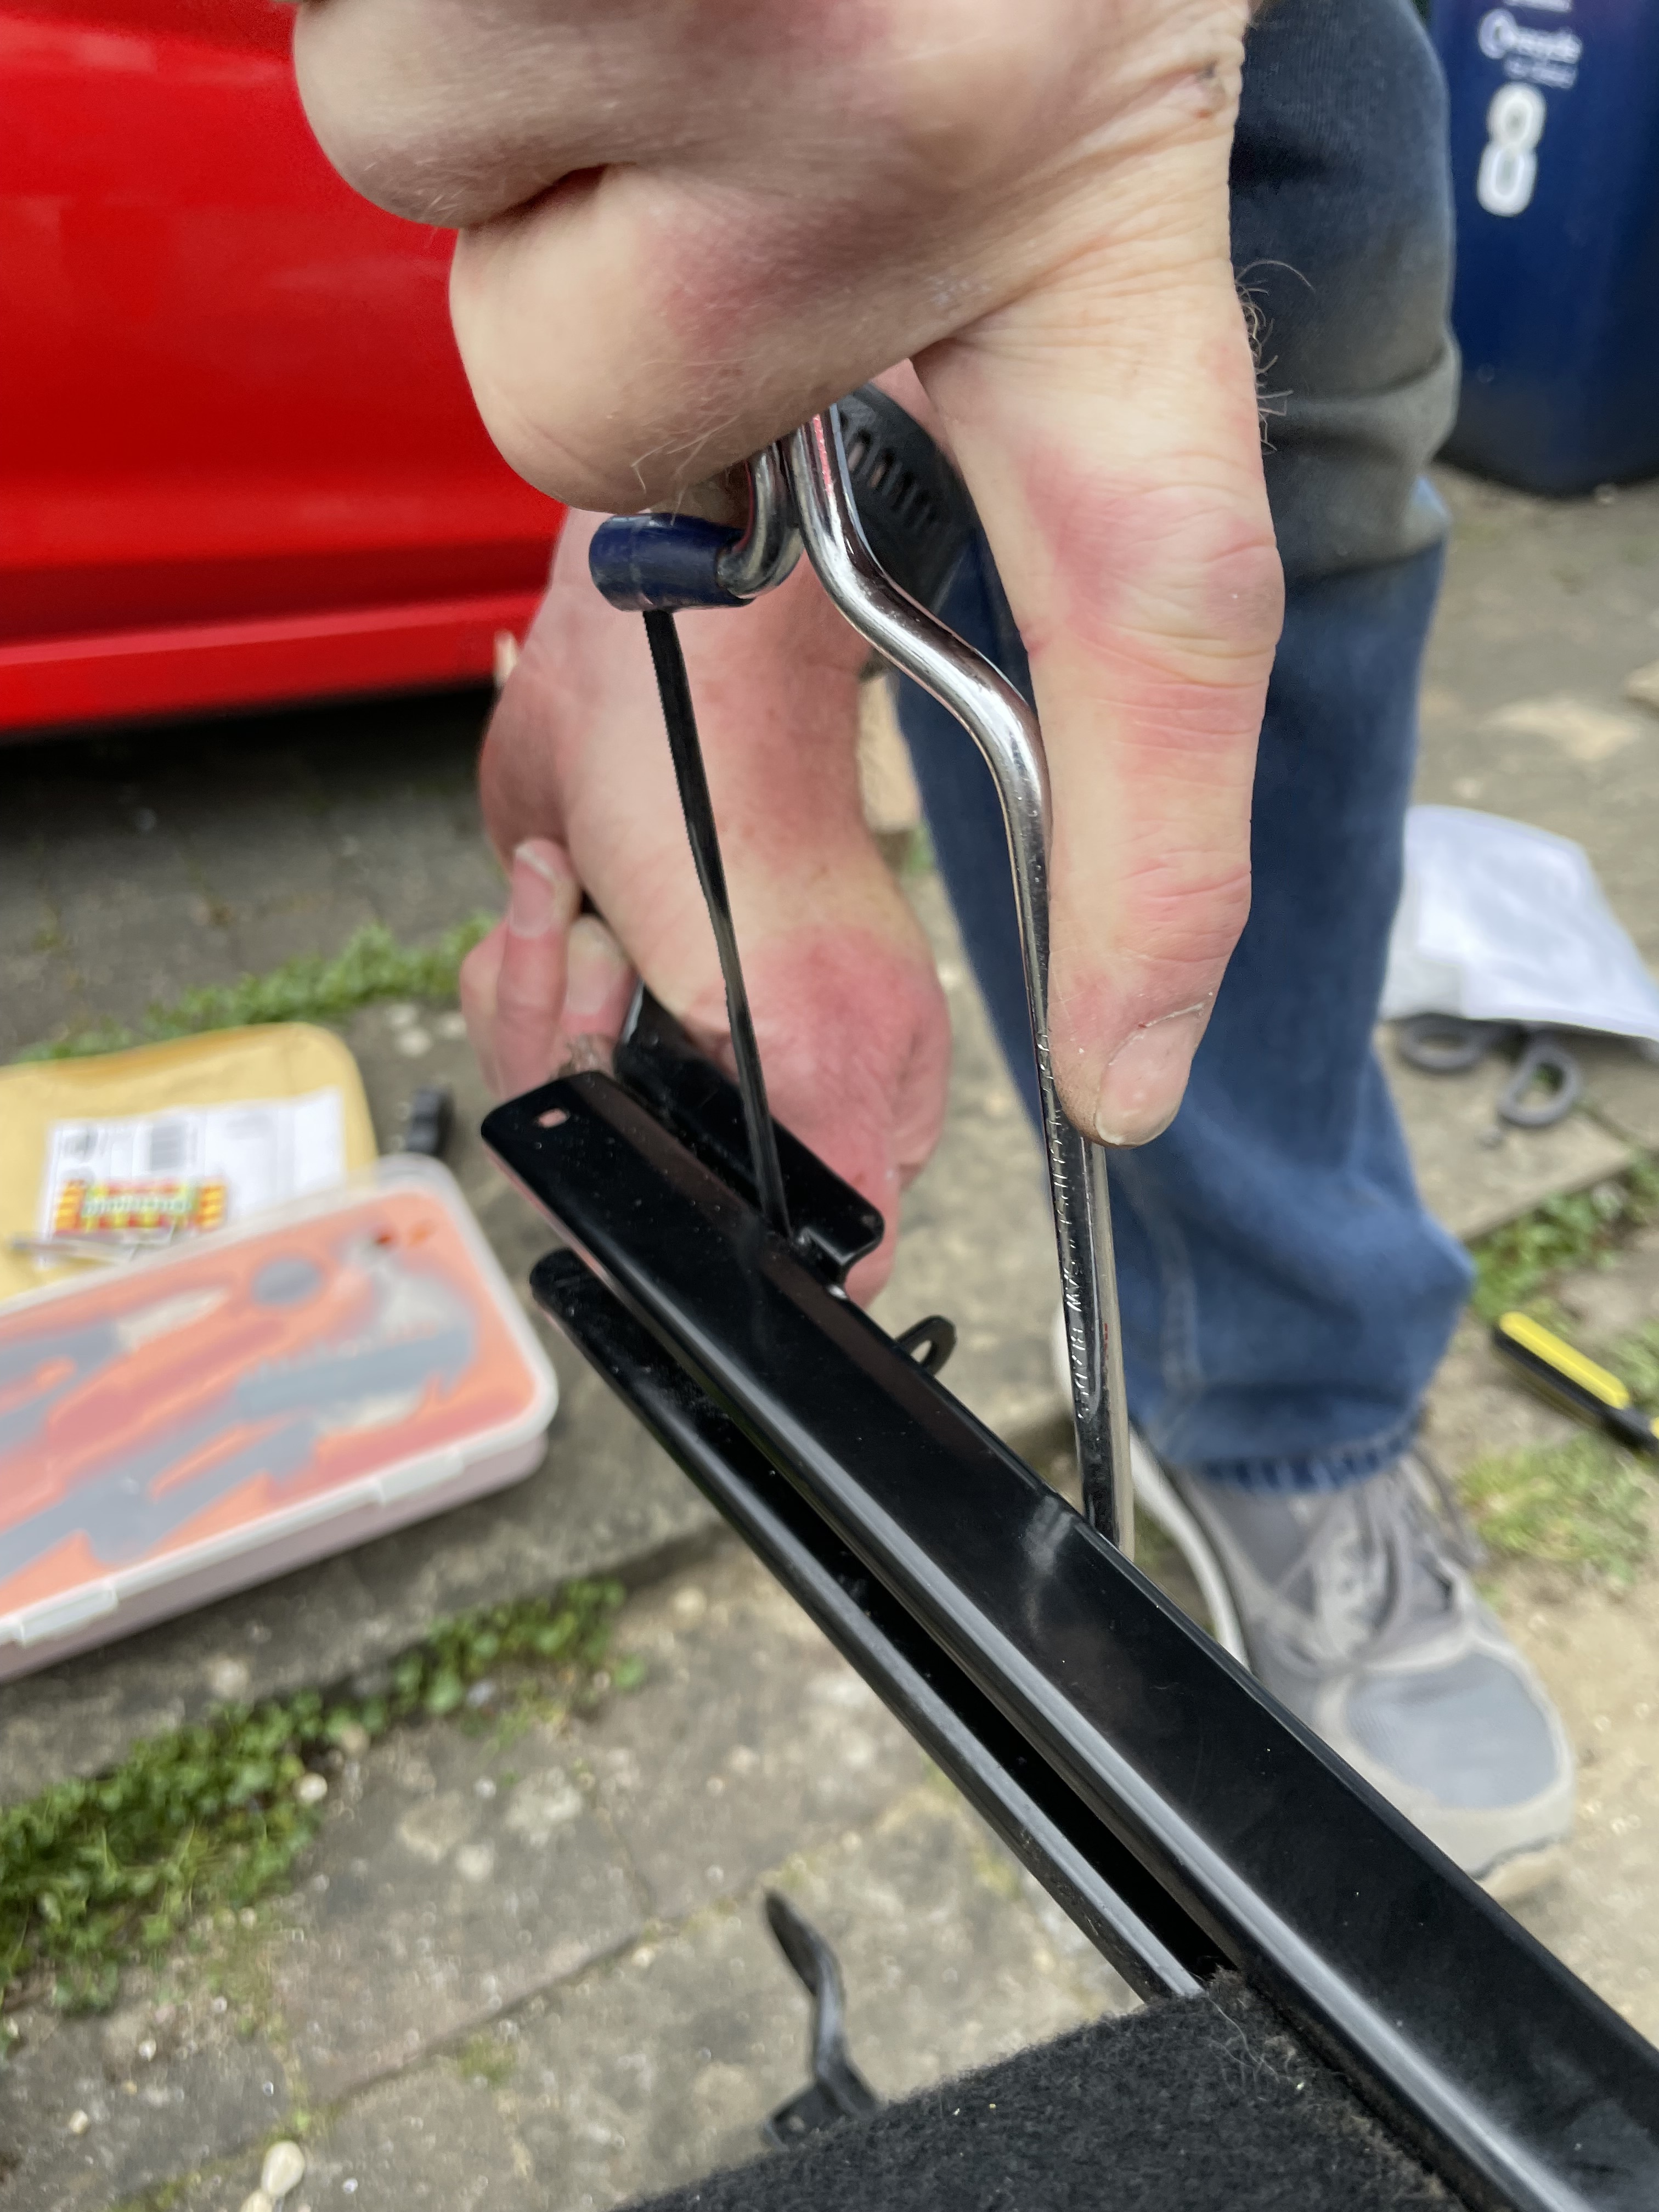
With that done, we moved on to the Jass Performance seat lowering brackets. There’s a bit more stuff online about these, so I’ll keep this shorter. But, they were actually a bit more of a pain than the roll bar, primarily because it was MUCH tougher to remove the original seat end brackets than all the videos/instructions I’d seen suggested. The spot weld should’ve just fallen apart with a bit of twisting once you’d drilled the nut out. But whoever welded the brackets for my car must’ve been employee of the month because he did a damn thorough job. Cue lots of hammering, hacking, grunting:
Eventually got them off, and otherwise fitting the brackets was a doddle.
All in all - super happy with the Cybul roll bar + seat lowering combo. No major issues, looks awesome and gives me WAY more clearance now above my head. I’m 6’2, and now this combo gives me a few inches of extra space above my head, so even with a helmet on I should be fully covered.
As a certified wimp I was super keen to do this before taking the car on a full track day. So I’ll be getting some new brakes on, then booking for the near future!