If you need to extend your 4-wire O2 sensor lead, to fit an exhaust manifold on a 1.8 NA or an NB which relocates the sensor further down the pipe then, well, I expect you’ll be supplied with some kind of extension kit for the sensor which lets you chop and crimp extra wire in to extend it. But if that doesn’t take your fancy and you would prefer a plug and play solution then I may have just the thing for you.
I recently made this for another member in a similar situation and he reports it fits neatly. This one has a free length of a foot, plus I allowed an extra inch on each end for termination.

So just in case it’s useful, here’s my shopping list of bits:
The plug and socket are the harder to find parts and they came from Auto-click.co.uk
Plug is this part 174259-2 (auto-click.co.uk)
Socket is this part 174257-2 (auto-click.co.uk)
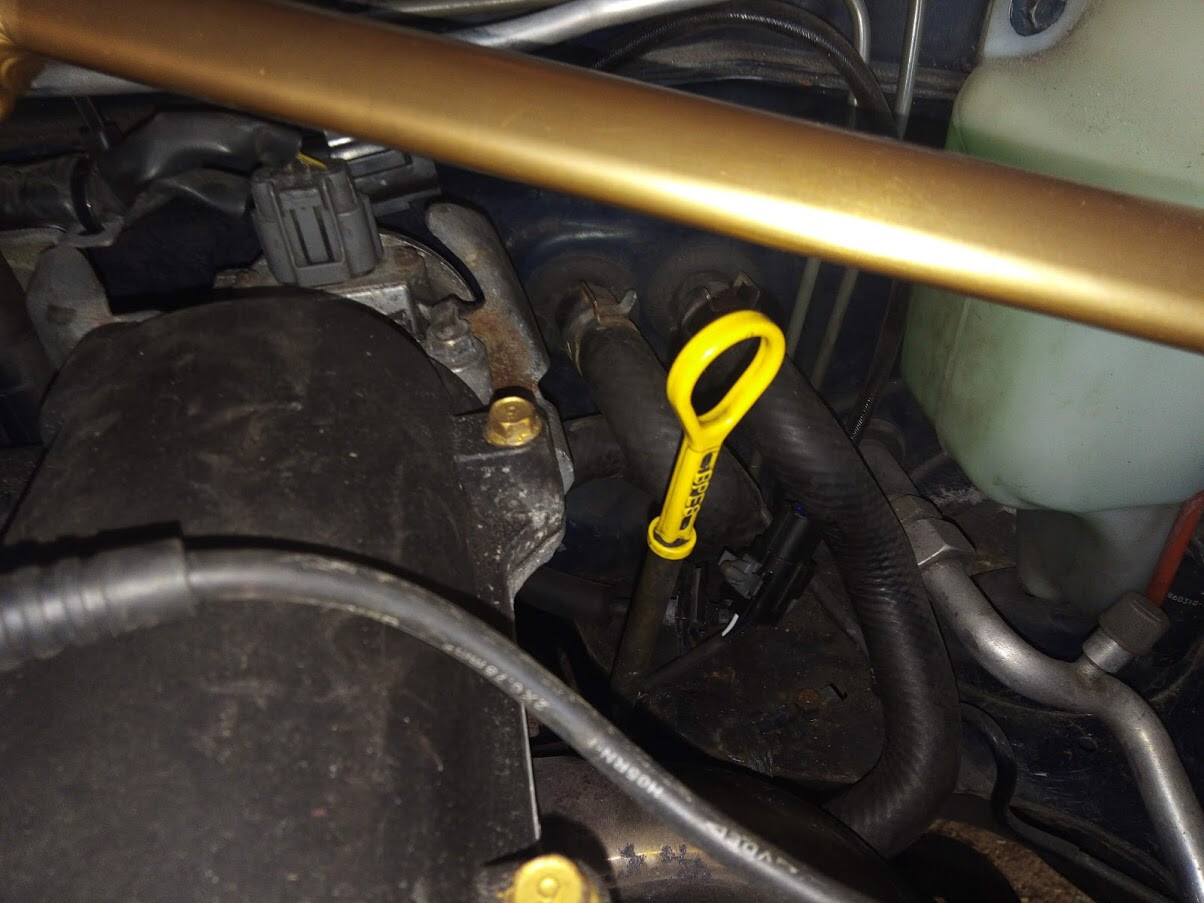
One part I haven’t yet found is the little plastic clip which allows the socket to snap fit onto the bracket above the CAS on my Mk.1. I managed to salvage and reuse my original one. If anyone knows where these can be got hold of please chip in.
The wire I used was 1mm sq thin wall automotive wire from vehiclewiringproducts.co.uk which they sell by the metre. I happened to have the colours matching the car’s loom (Red/Blue, Black/Blue, Black./Yellow and Black) but if you’re not worried about colours nobody will see then two metres of cable in any colour will be enough for the job.
The heatproof sleeving is 5mm diameter silicone coated glass fibre sleeve. I just searched on Amazon and bought a metre. I’ve used similar sleeving before but not the silicone version and I must say it’s very easy to work with. Its rubbery nature means you can cut the sleeve to the exact length but pull it back out of the way while pinning the ends.
The only other thing you would need is some kind of crimp tool. The proper tool for these TE/AMP terminal pins can be a bit pricy. I happened to have a generic crimp tool which did an OK job with care. If you were really careful you might get a decent result with snipe nosed pliers but in that case I would be inclined to dab a very little solder on the crimp to make sure. In either case, my top tip from experience is don’t let the wire intrude further up the pin than the place it’s meant to be crimped because the space right in front of it is used for a plastic tab to snap into place as the pin is pushed into the connector shell. When you push the yellow plastic insert into the front of the plug and socket to finish assembly, tabs on those yellow parts push the tabs down, locking the pins in place. It’s a neat idea but won’t work if you’re clumsy with assembling the pins.
Hope this info helps someone.