Cup holders
There is subtlety to the Mazda designers as you will find the profile of the cup holder fits into the profile of the tunnel top, if you try to install a box full size square edged it will not fit. The cup holder is also mounted on a stand off, up off the tunnel to avoid the rounded left hand edge. Very clever…
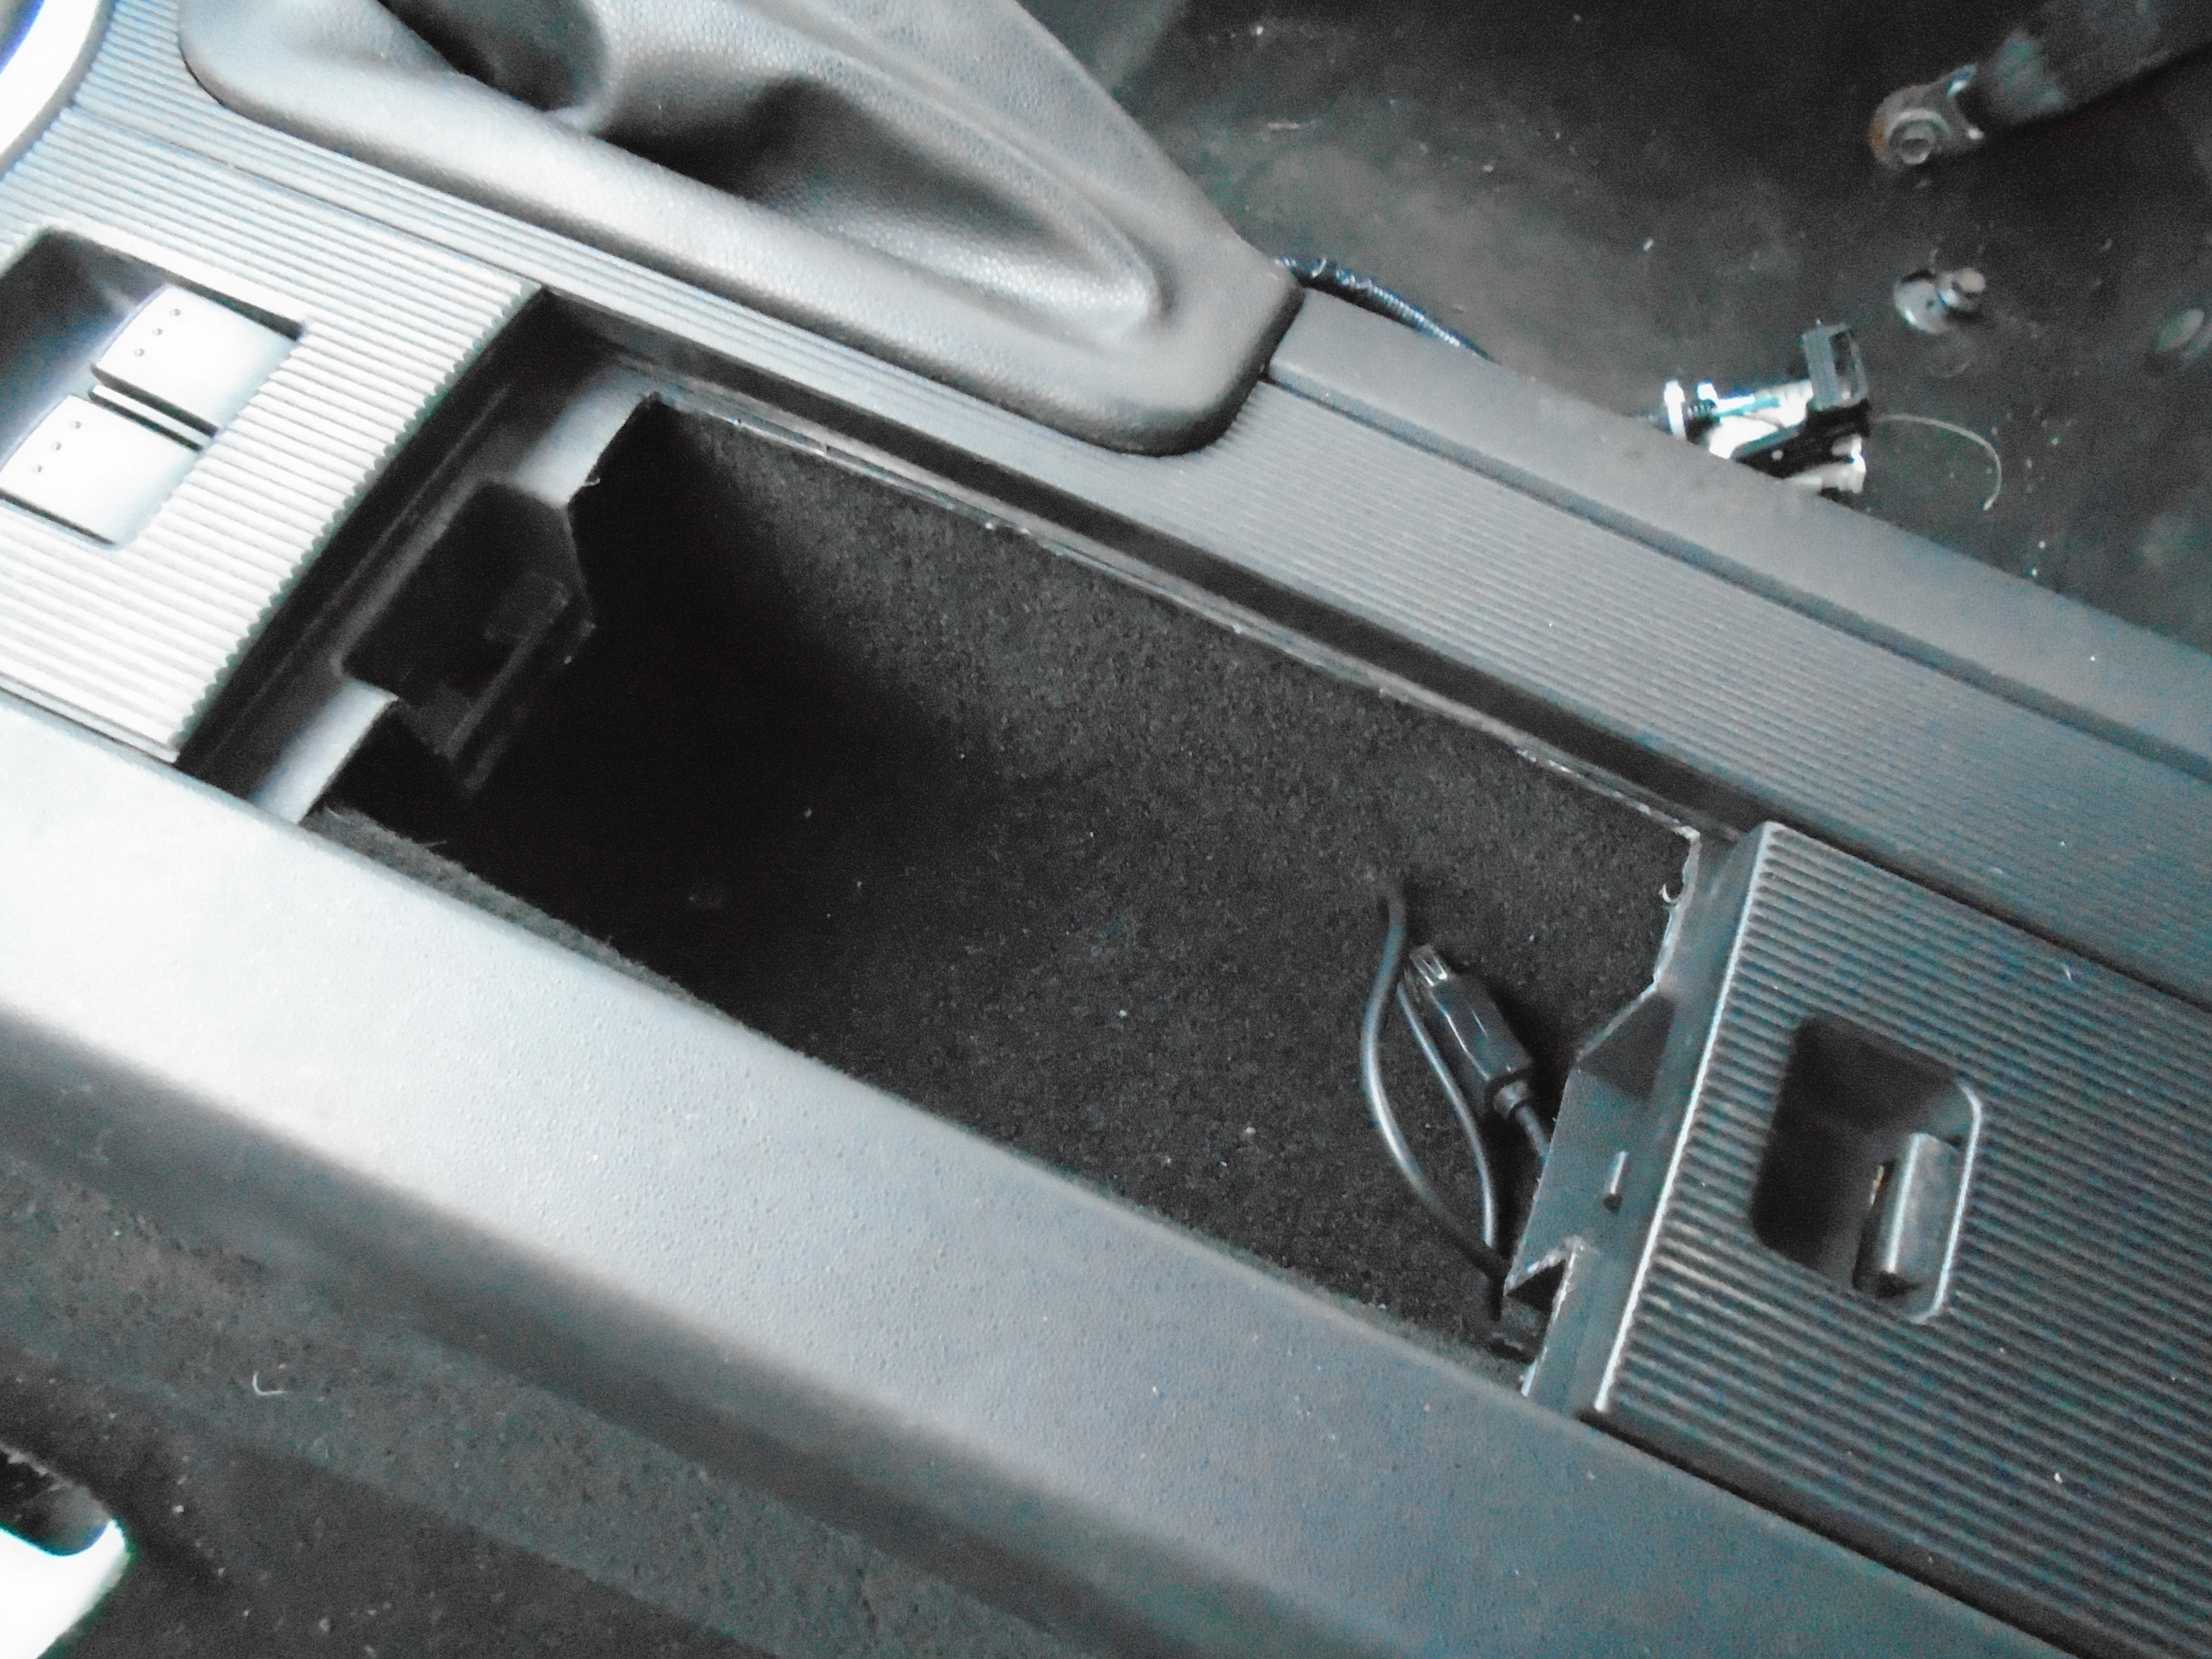
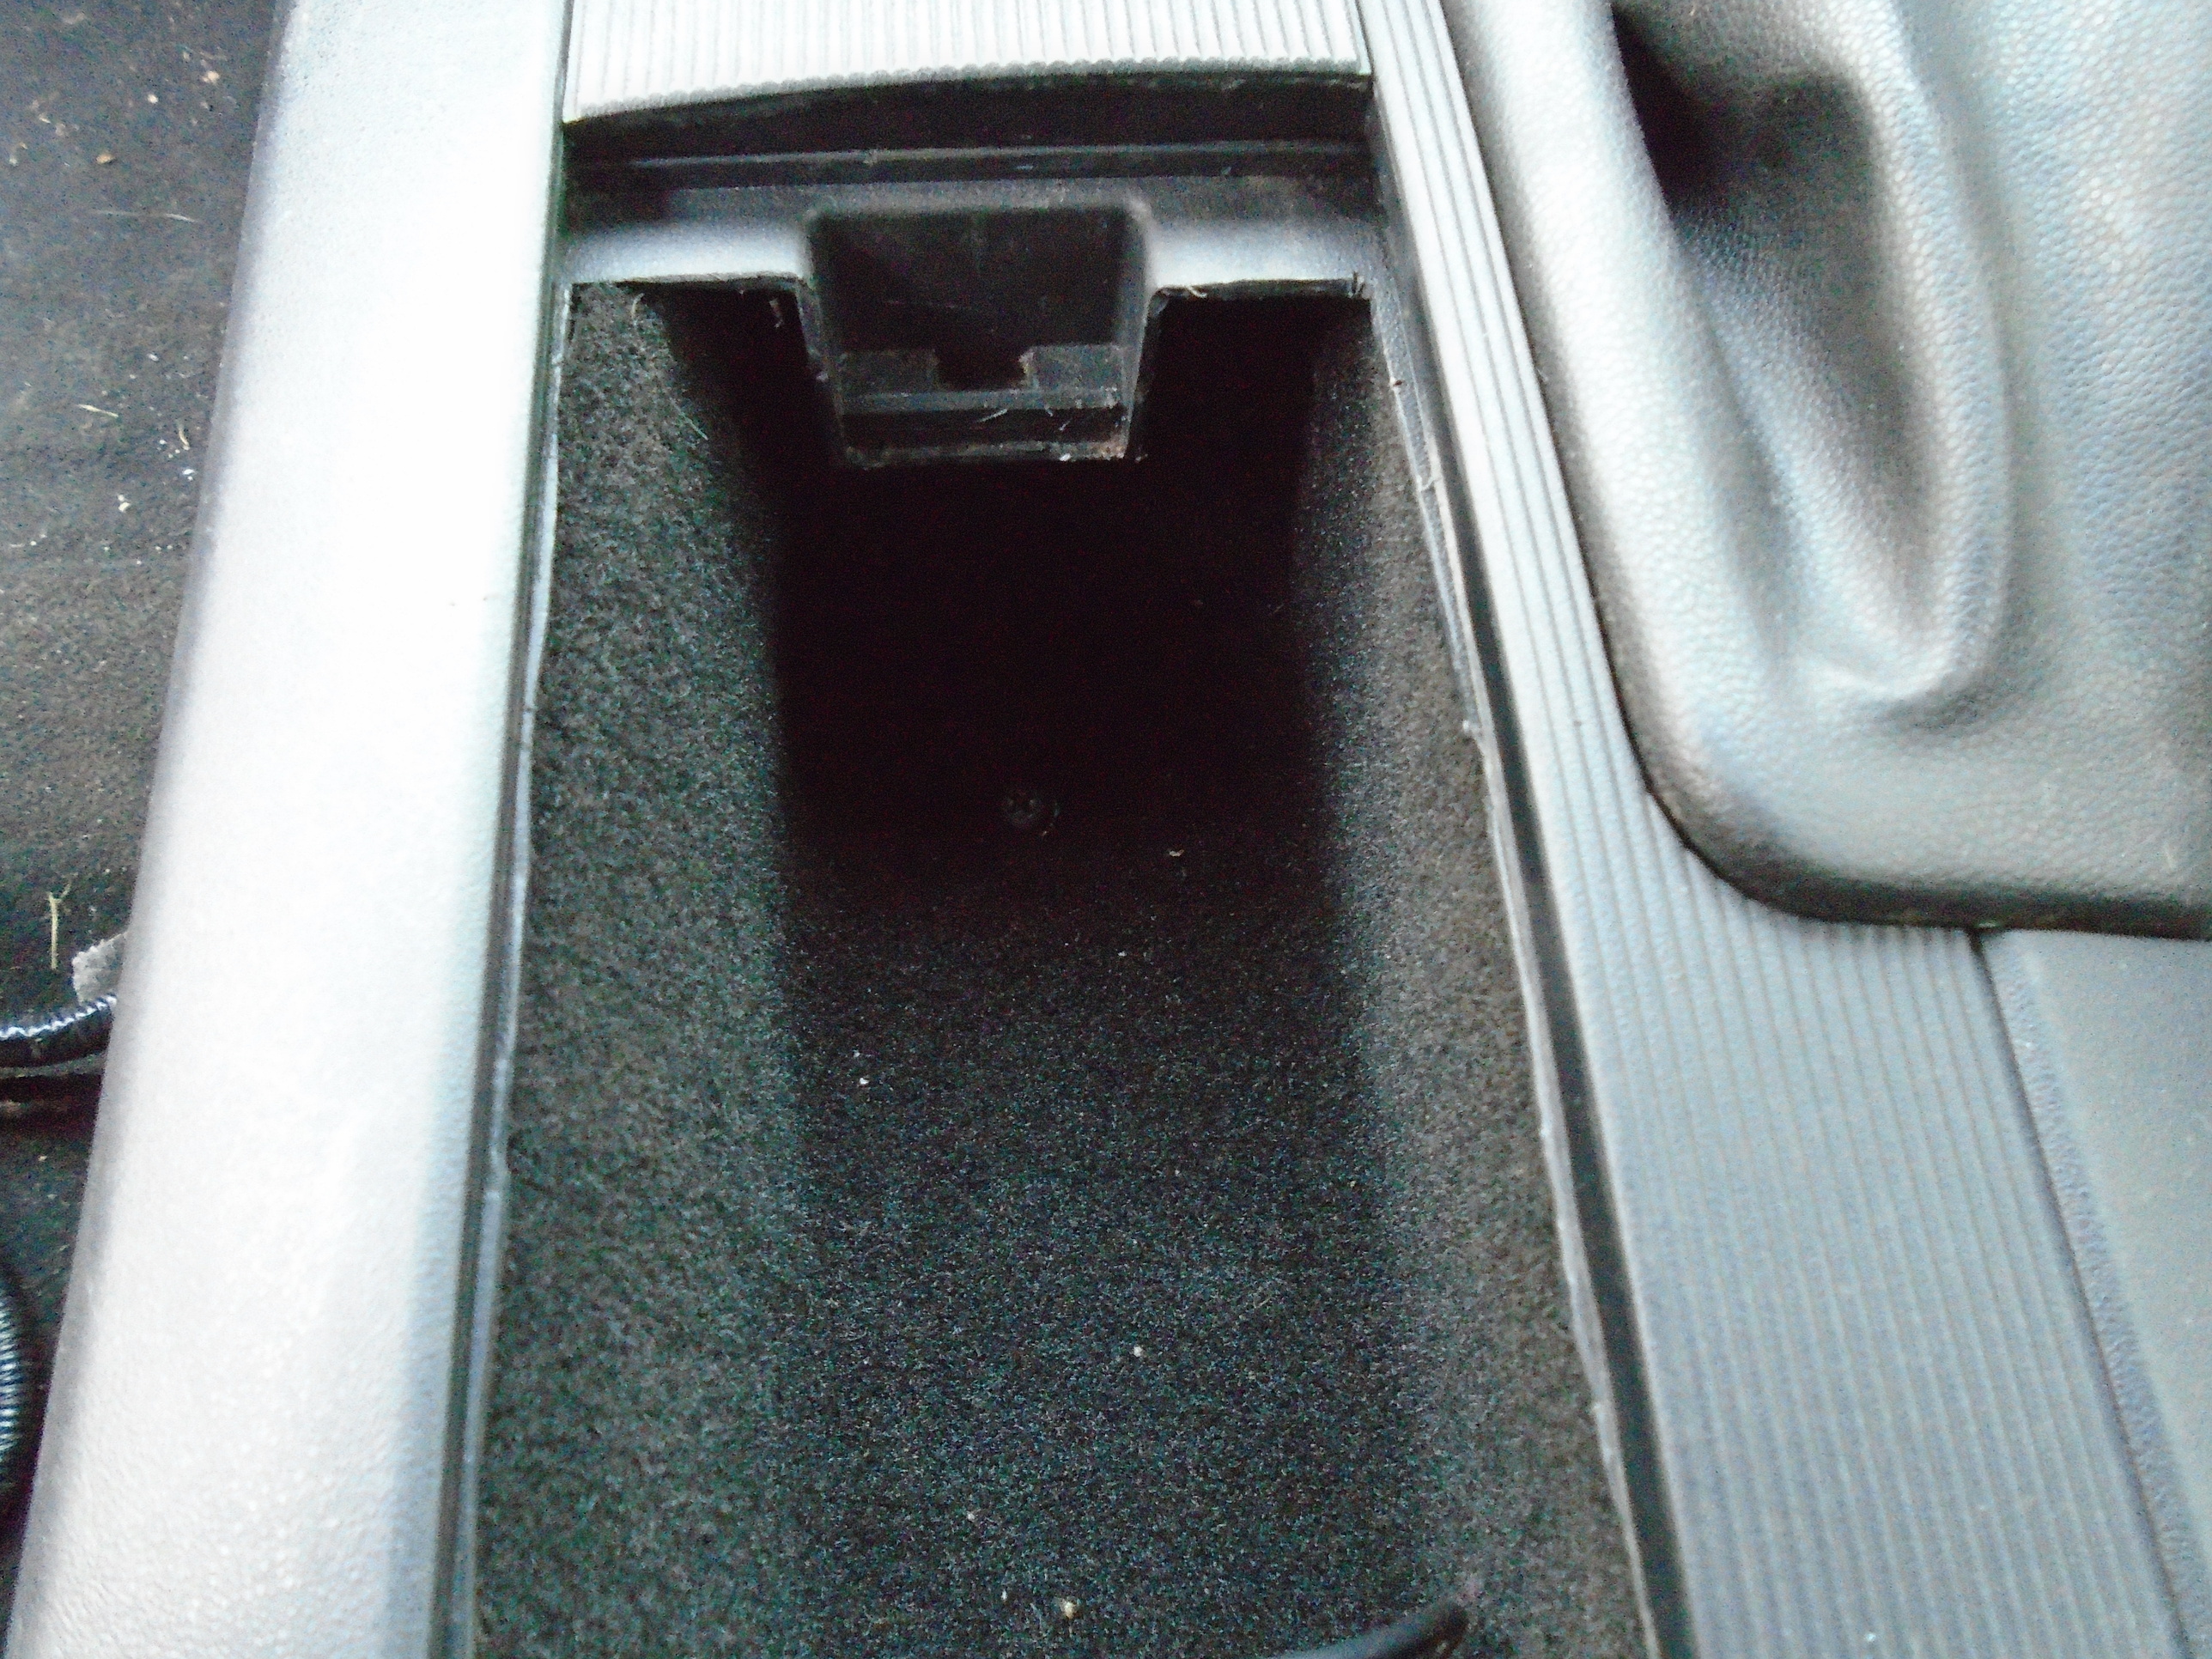
The first thing in the way is the YAW sensor cable (installed whether you have DSC or not) is routed down the side and underneath the cup holder but gets in the way of a full size box, second the profile of the tunnel will not allow a full square sided box shape to be installed as the left side slopes and the bottom is rounded, if you max out the space that is. The cup holder fits perfect but a square edged box is compromised. You need to either make the box less deep to avoid the rounded left edge and/or angle the side of the box to miss the steel of the tunnel.
I wanted a black hole, well of a box, so I was into max size and followed the profile of the tunnel side.
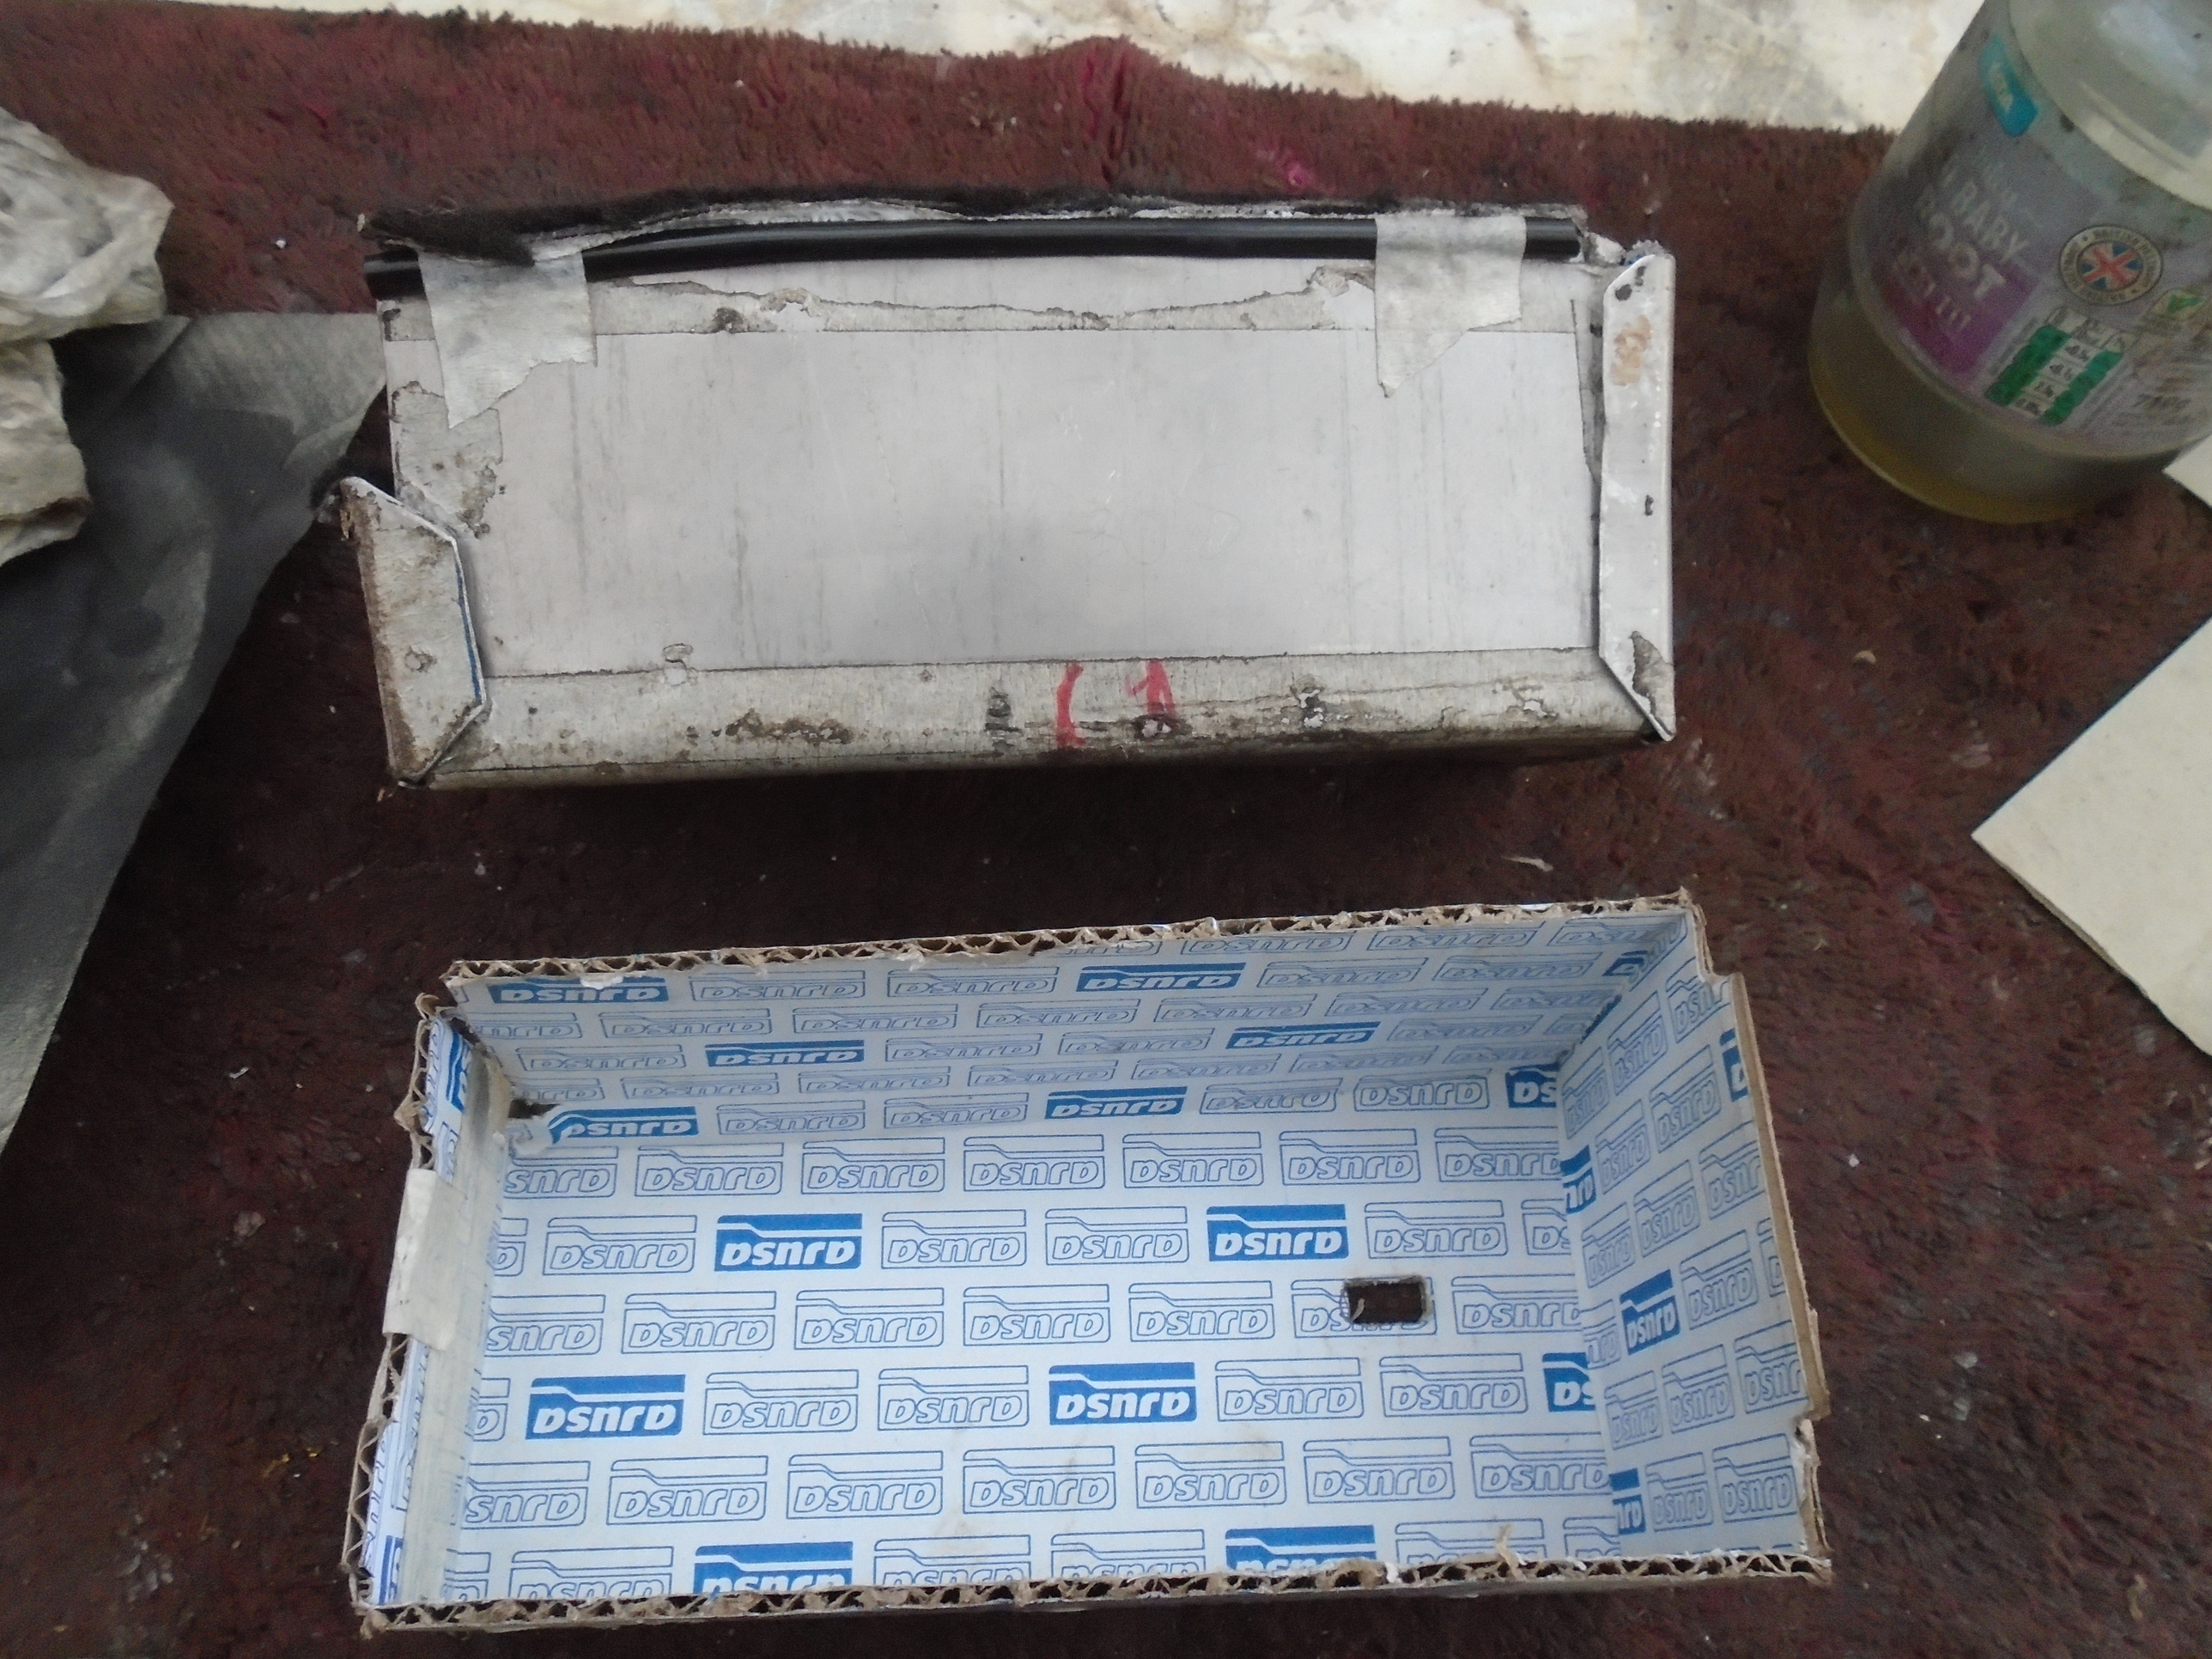
I used what I had in the garage as my construction material so it was steel but the cardboard template would actually have been just as good, unless it got wet! I did put drain hole in my box by the way.
I also draw you attention to the fact that any ‘box’ you make and install does not need to be bonded back onto the underside of the plastic slider frame. If you use the single screw that holds the cup holder down you can lock the ‘box’ into the tunnel well and place the trim cover over the top it saves a vast amount to messing around with hot glue and the limited bonding surface you will end up with once the cup holders have been cut out. I used the tacky edge of the padded insulation fitted round the cup holder as a pad under the back edge of my box and found this sufficient to square up the bottom and ‘hold’ the box in place.
The back edge of the box was left half open as there is plastic moulding in the way and it makes it easy to thread cables in.
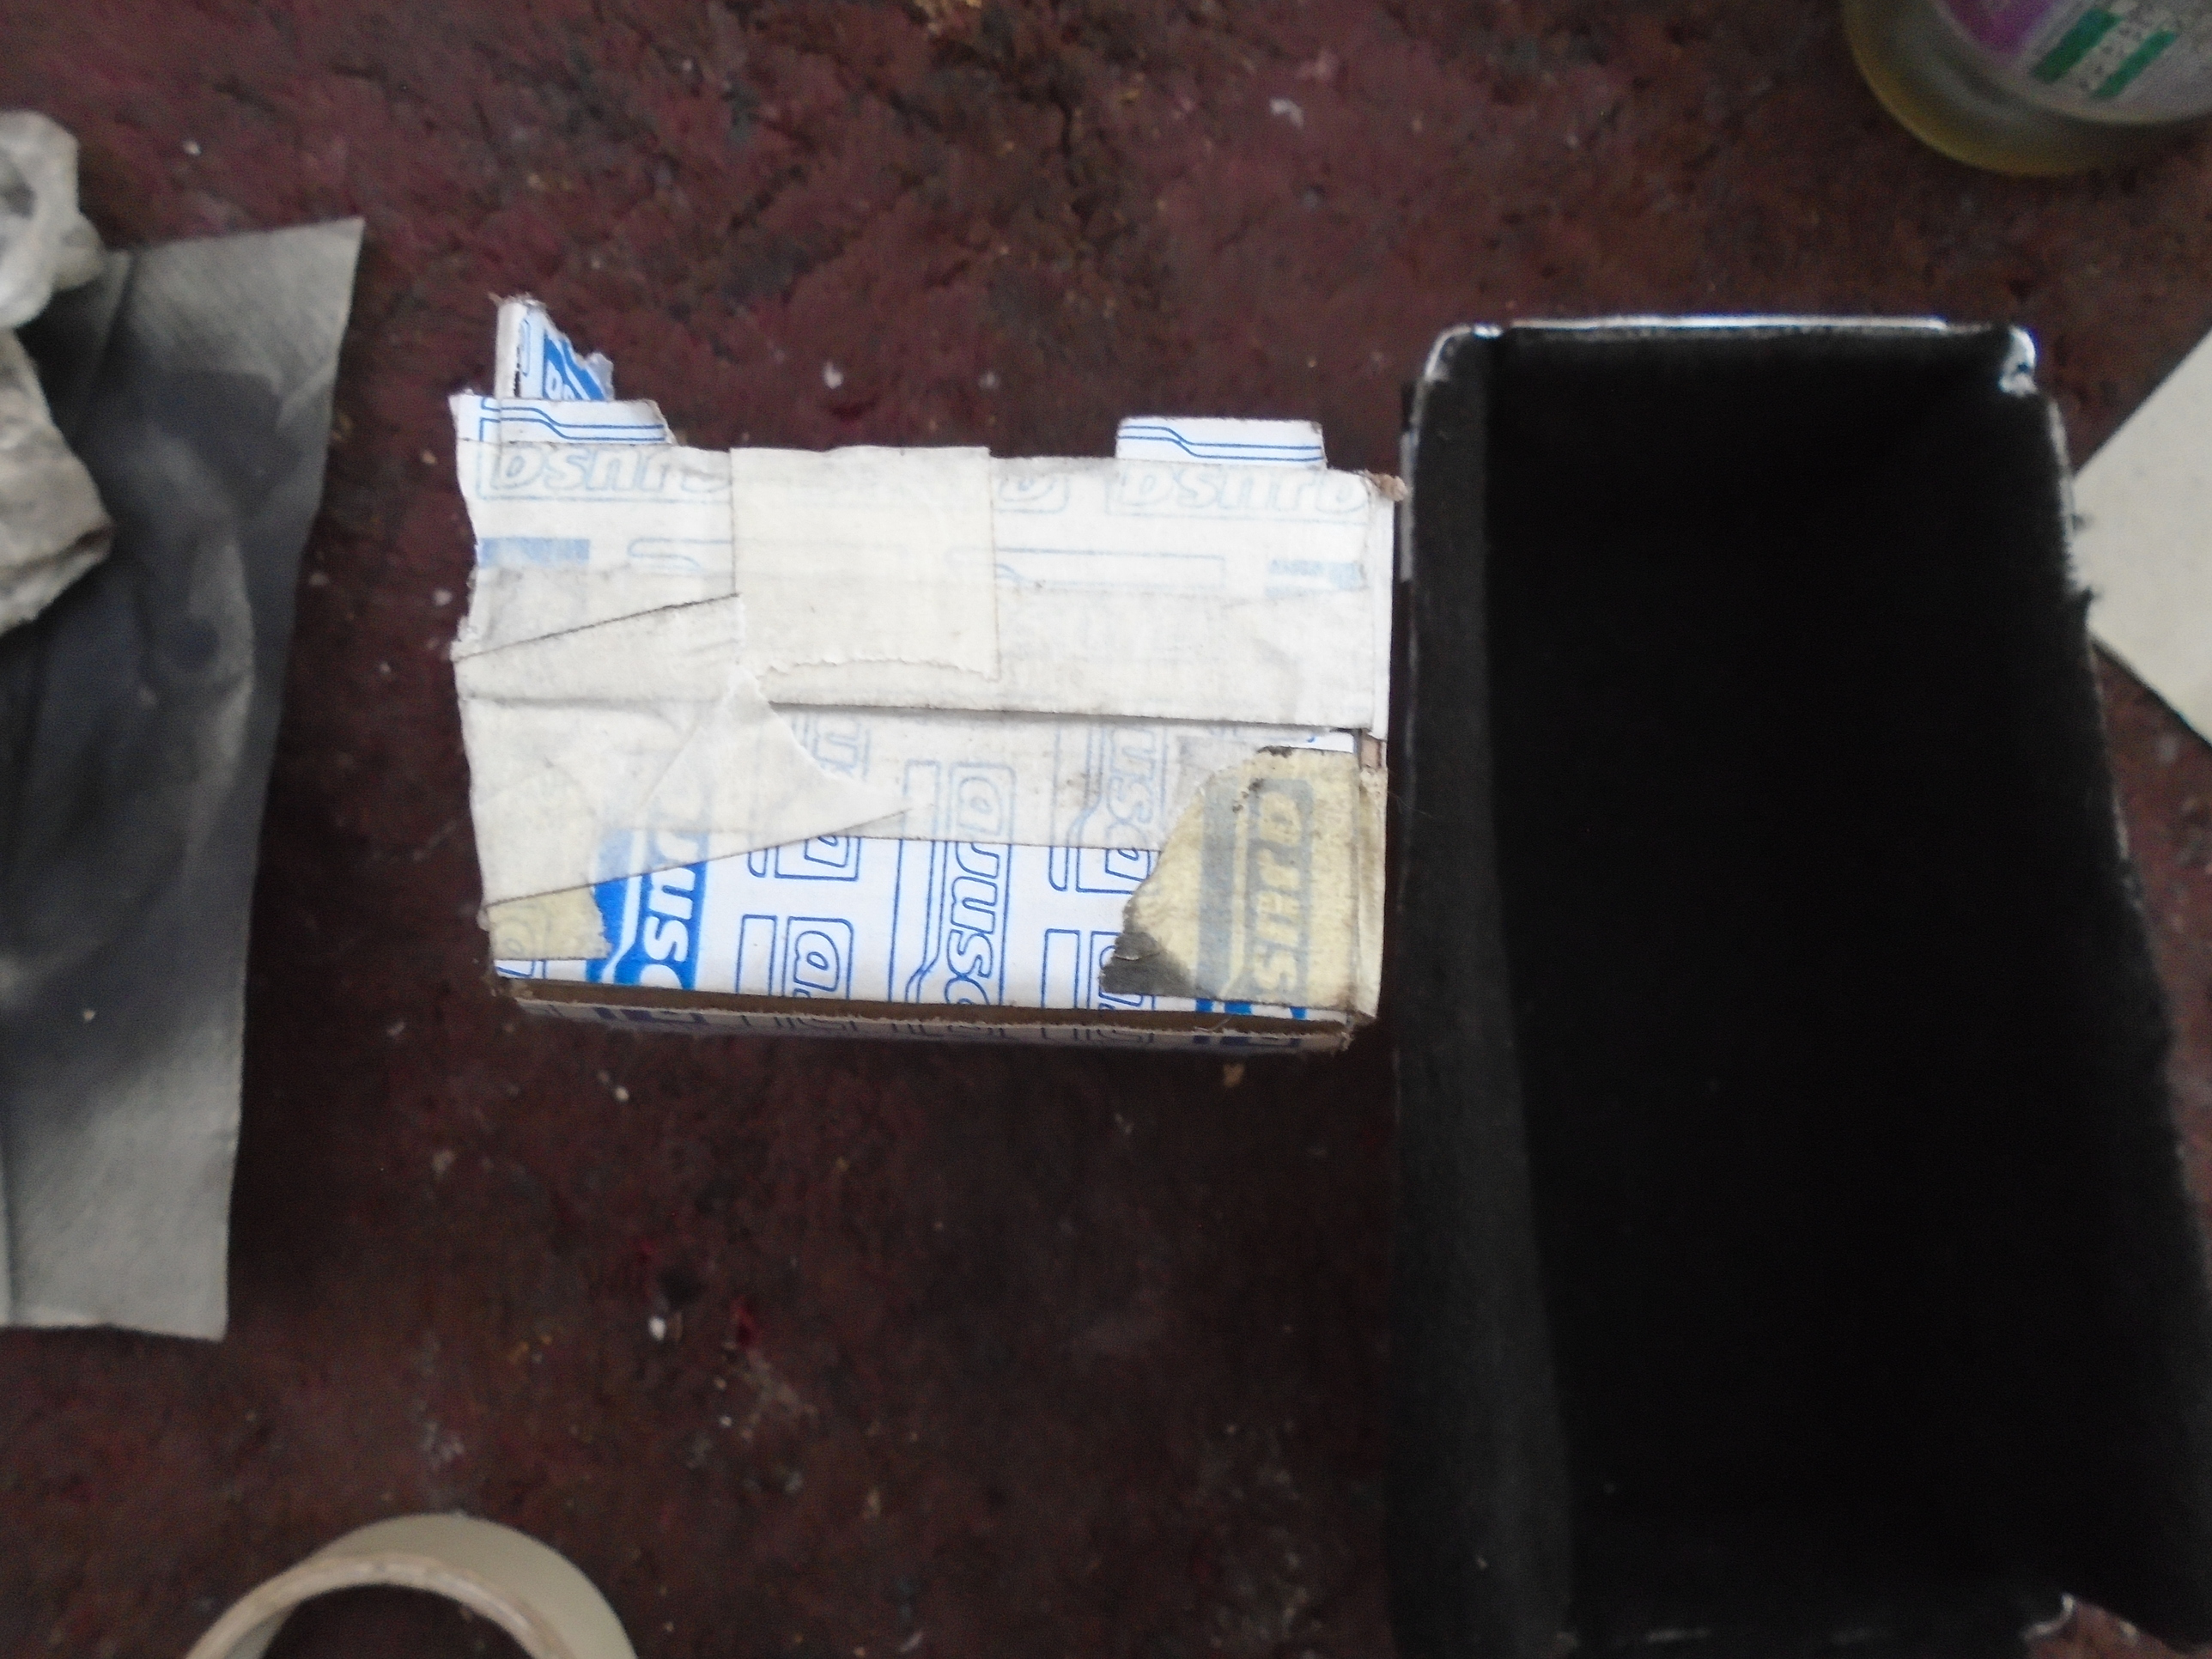
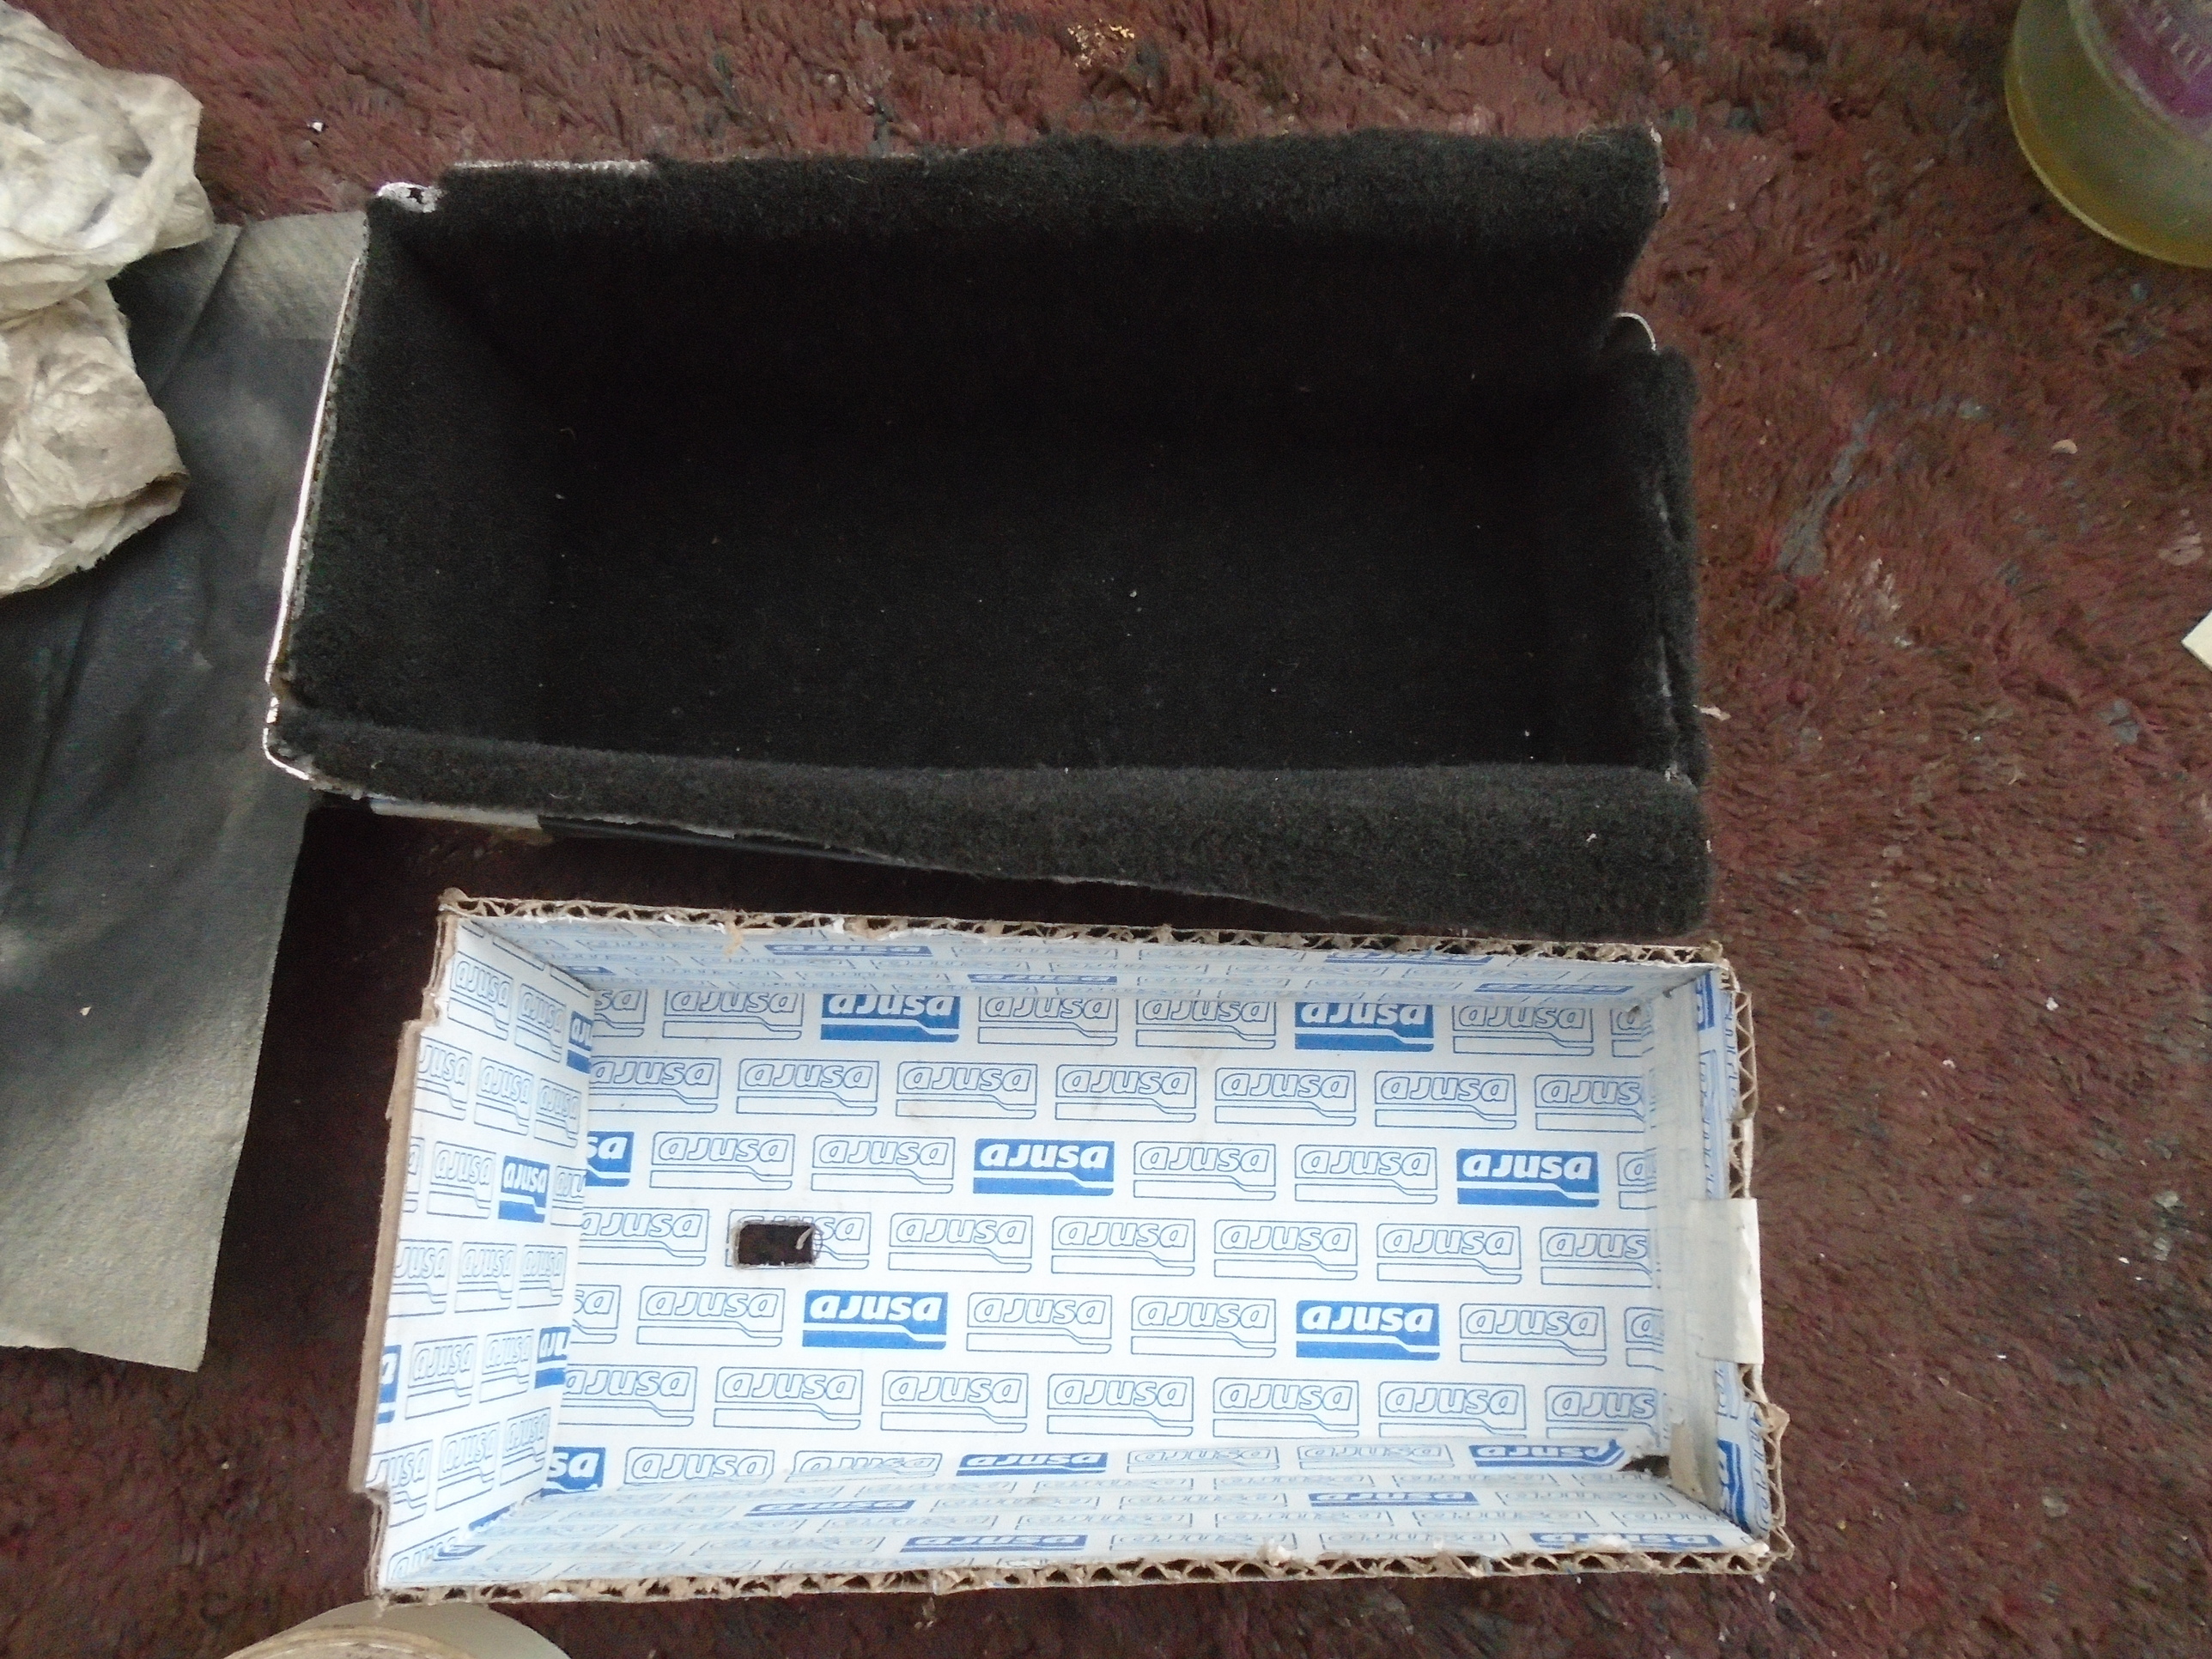
A CAD (cardboard Aided Design) was constructed and tested before any final material was cut.
It was then changed many times to make it fit the unexpected profile for max space.
I re-routed the YAW sensor cable to the side and pull back the sound deadening fabric to give a max size storage box. I did not bond the edges just a wrap around joint was enough.
The cable is easy to reposition under the tunnel loom and zip tied back with no detriment to the installation of sensor and the sound deadening will be added to in the final installation.
This gives the largest box size cavity which will be secured in place independent of the ctr console top with the ctr console top section resting on top on the box snug but firmly fixed in position.
If fitted accurately and with care this saves the box needing to be bonded to the underside of the slider section of the ctr console.
I have some fabric liner material to line the inside surface of the box and can add the additional sound deadening materiel round the box before installing the top of the ctr console. Please note that the interior liner material of the box was lapped over the two sides of the box to provide a fabric ‘touch point’ with the underside of the slider frame and hide the top edge of the box material. You may also see a slit 6mm pipe is run on the top edge of my metal box to save the plastic edge.
The addition of a USB power cable powered from the cigarette lighter as a charging point will complete the ctr console mods. In my case the cigarette lighter was dismantled, the metal inner section comes out of the plastic mount so the mount can be used to plug the hole in the trim.
The remaining power socket used to power a standard car adaptor with the cable and adaptor hidden behind the coin box trim.
I found the project time consuming but very satisfying. I have a usable space that does not look out of place and its as big as it can be,