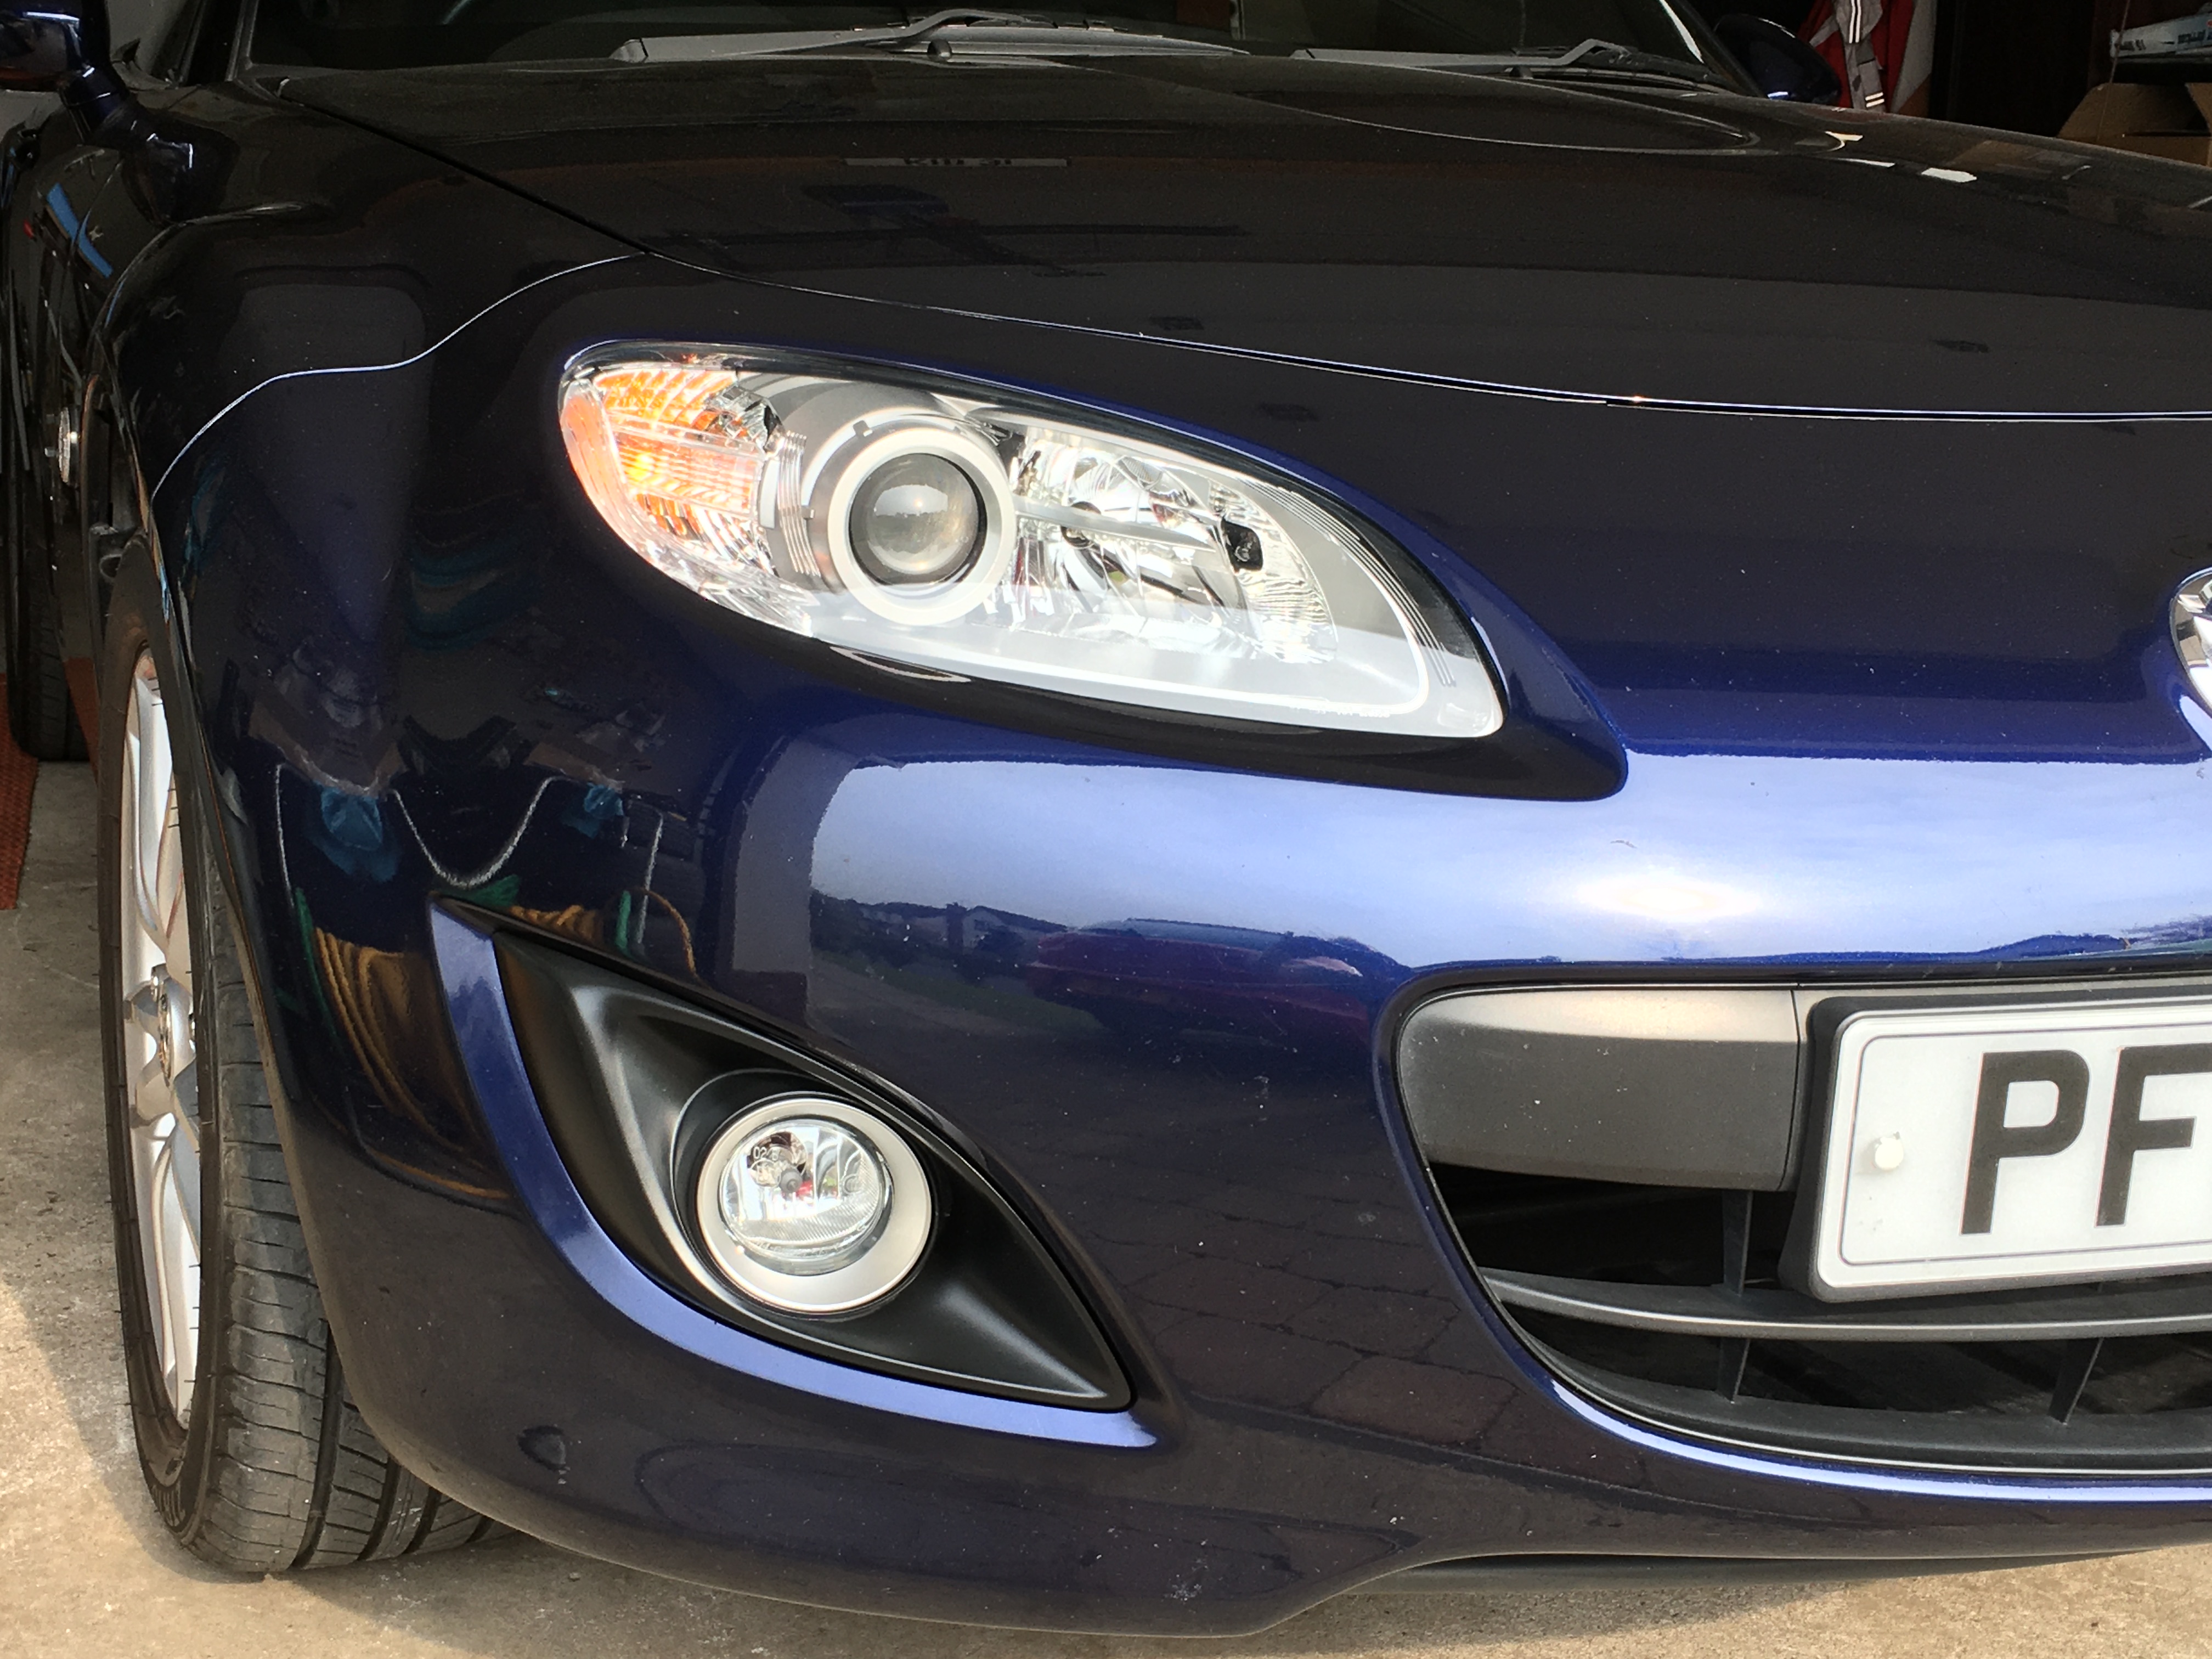
A few lessons learned when fitting fog lamps to a Mk3.75 NC 1.8SE from 2014 this morning.
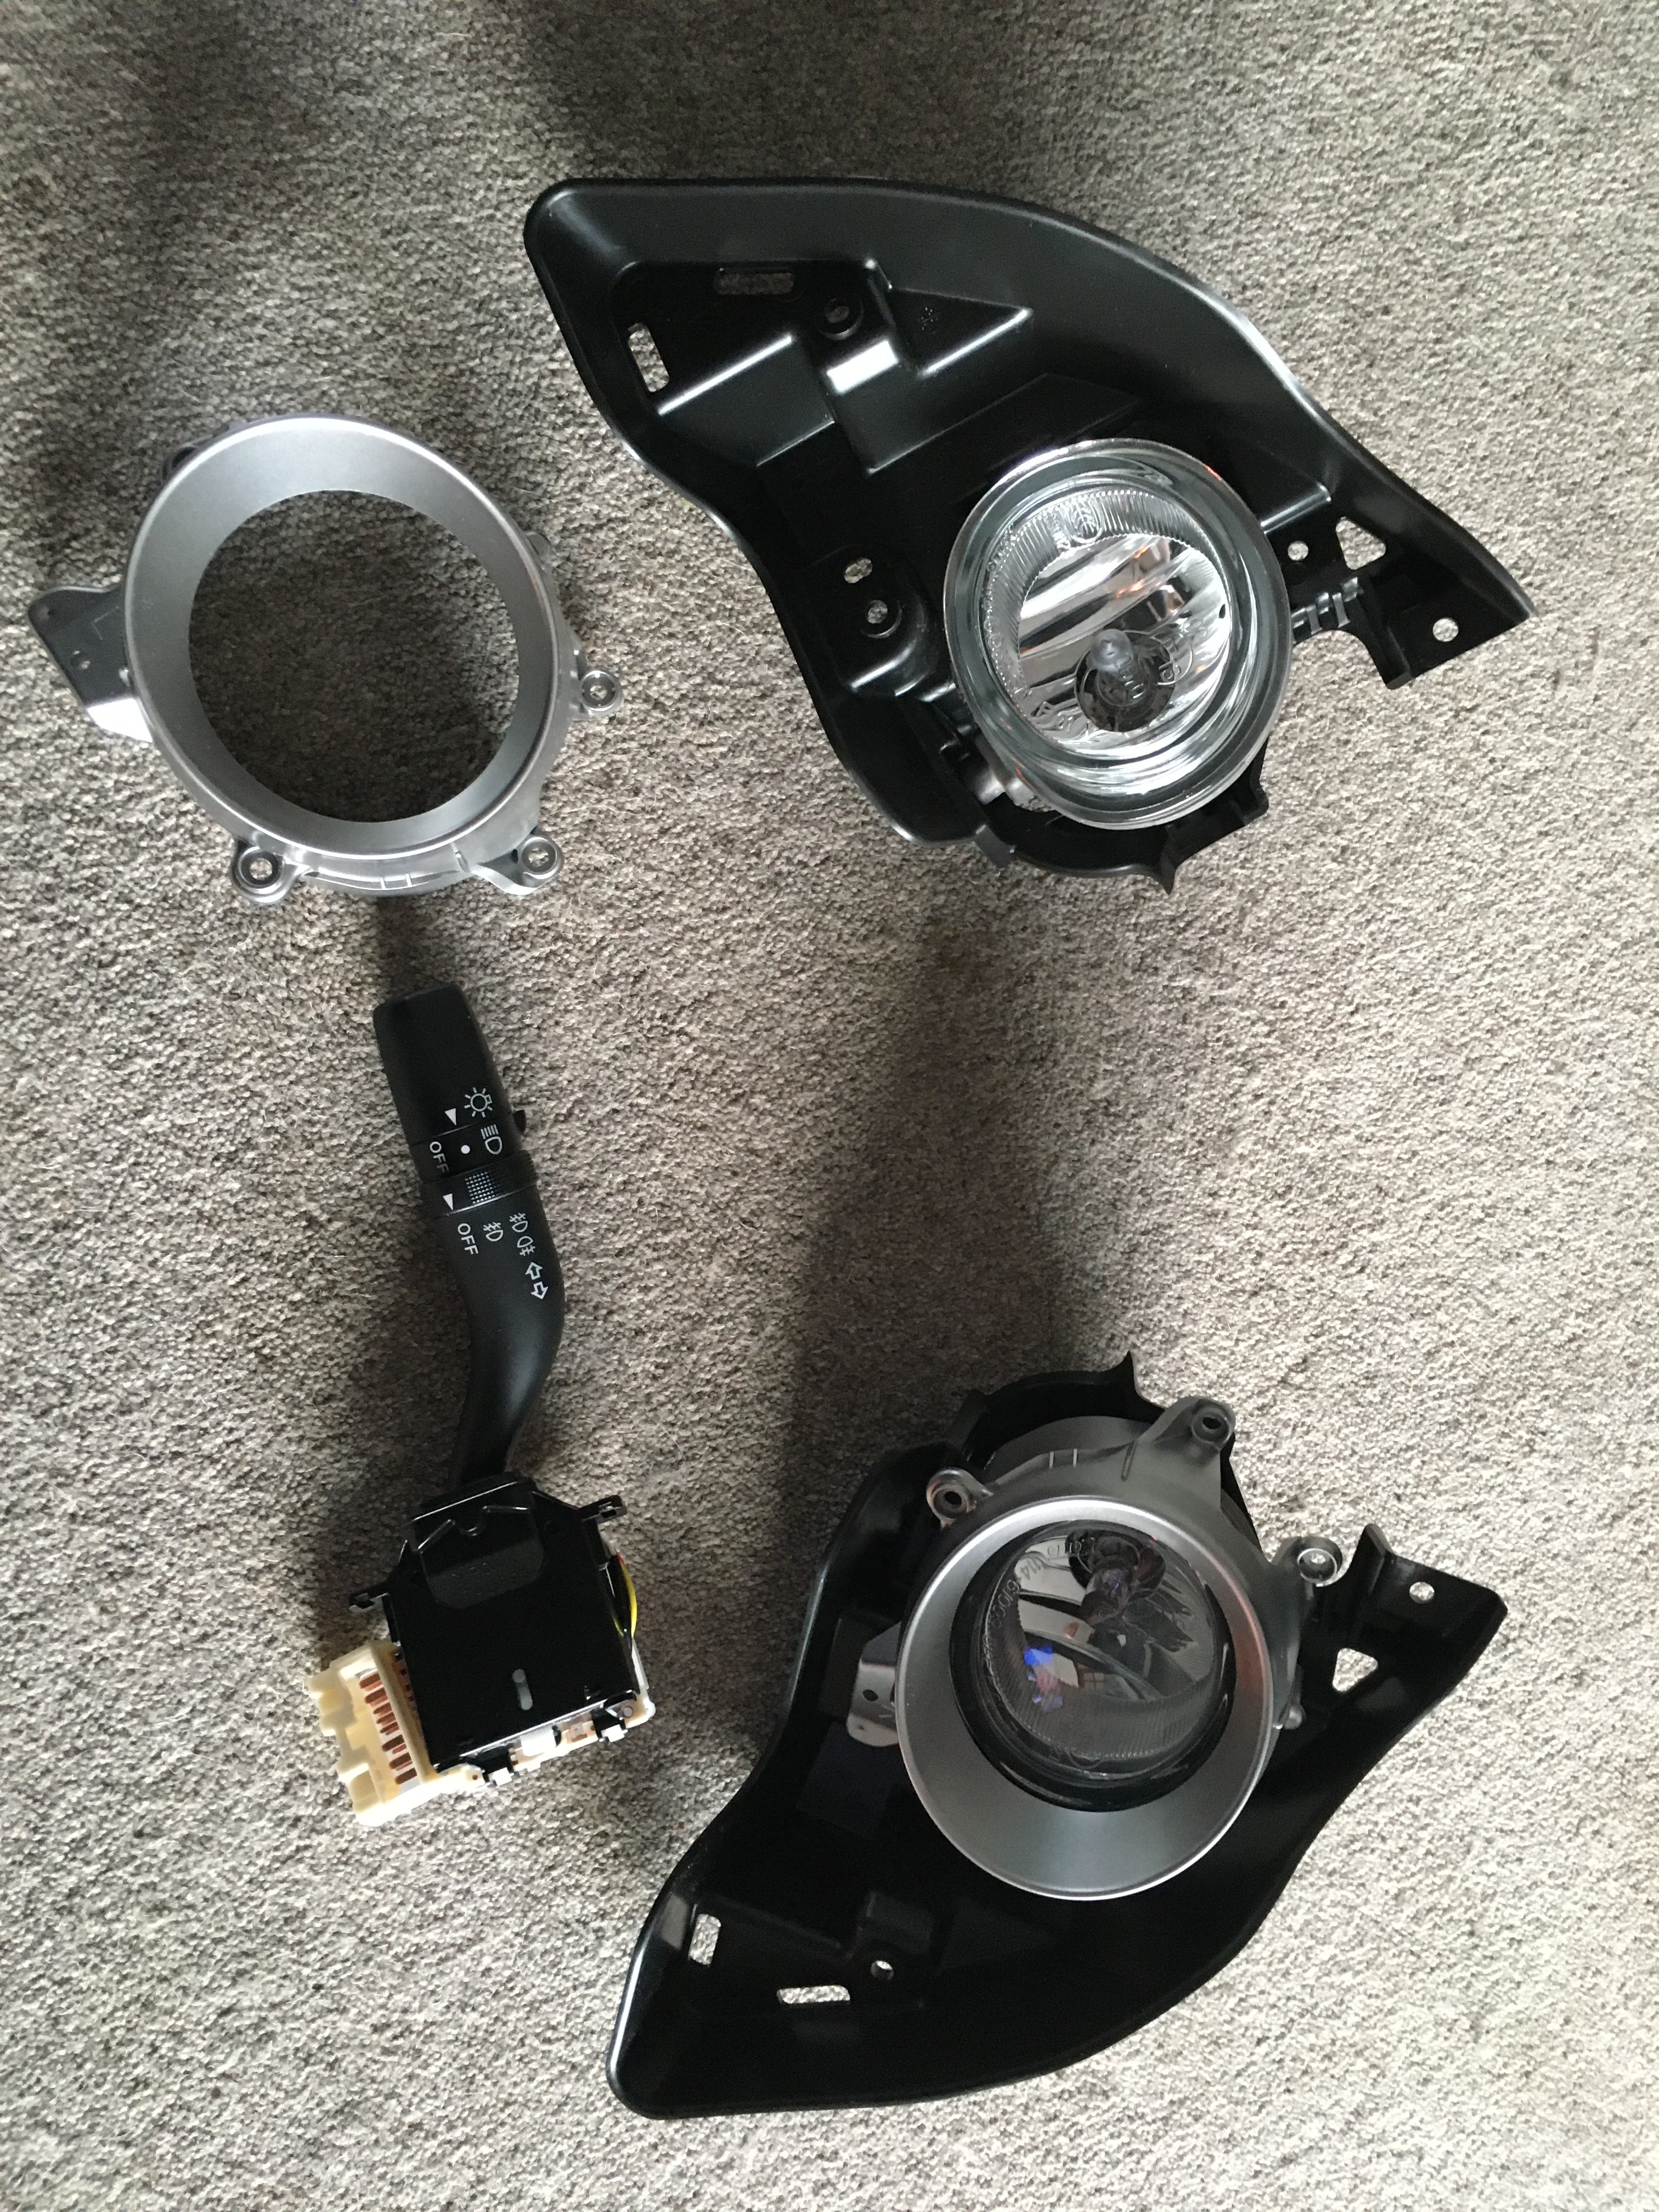
There are 4 parts required:
- The outer trim & bezel
- The lamp itself
- A holder for the lamp which screws to the inside of the bumper.
- A suitable stalk for the steering column. Mine came from a Mazda 6, found on eBay.
I didn’t realise that the holder was required, bought some RX8 lamps from eBay, and discovered I didn’t have everything I needed.
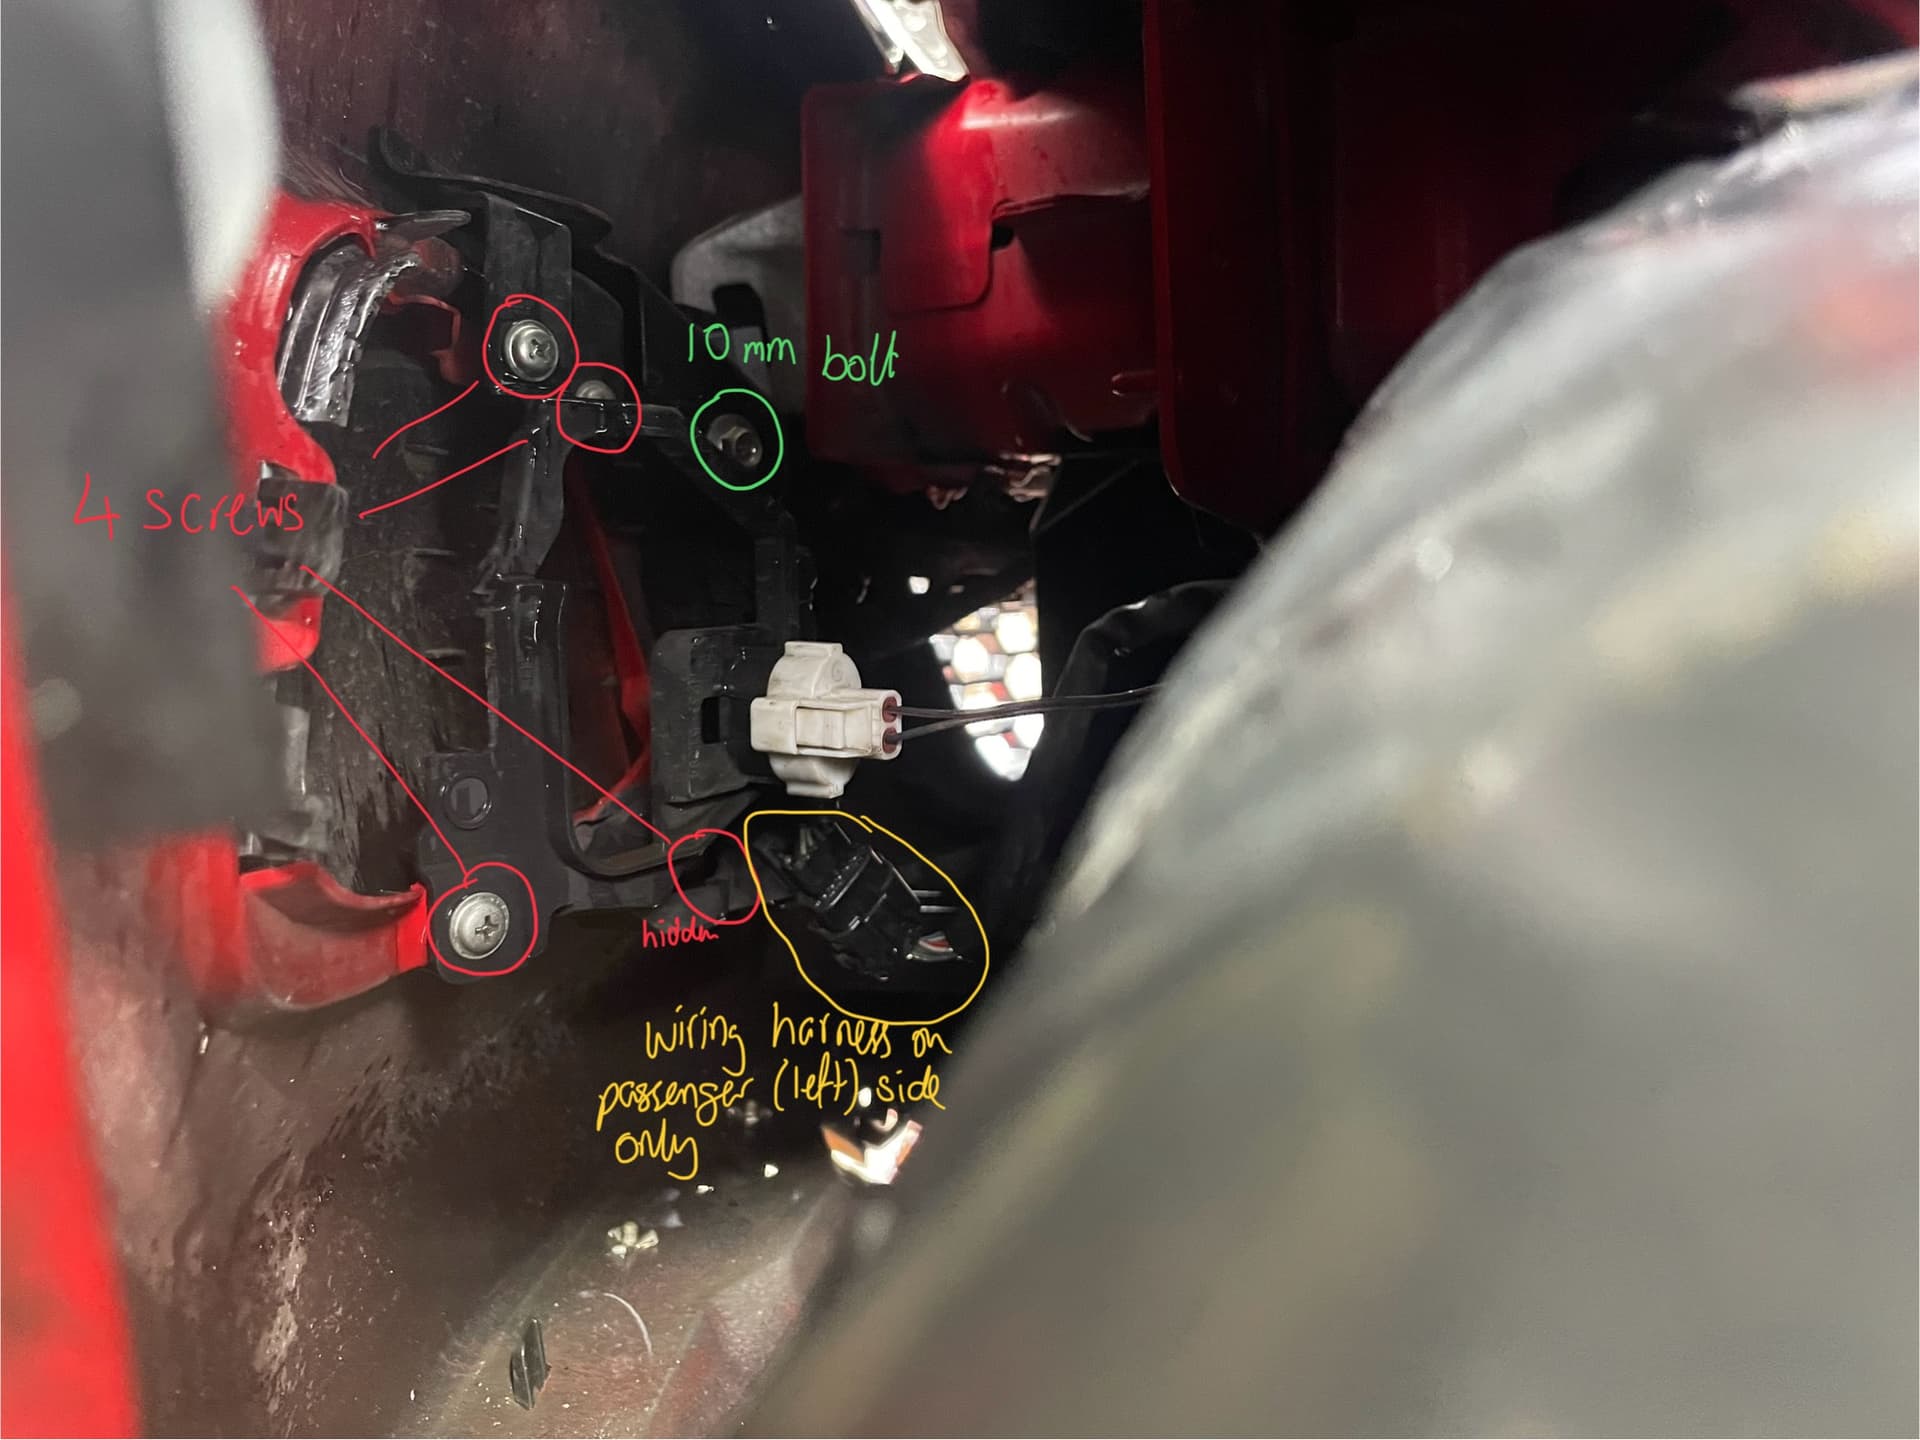
Installed in the unmodified car there are two plastic parts; the exterior trim panel, and an interior part which holds the wiring plug in place. One of the screws holding this part also holds the exterior trim panel on. No new screws are needed to install the fog lamps - just reuse the screws which you’ll remove in taking off the existing trim.
On the right hand (drivers) side, the only wiring is for the connector to the fog lamp.
On the left hand (passenger) side, there’s an additional wiring loom clipped on to the internal “holder” part. This easily removed with a pair of long nose pliers.
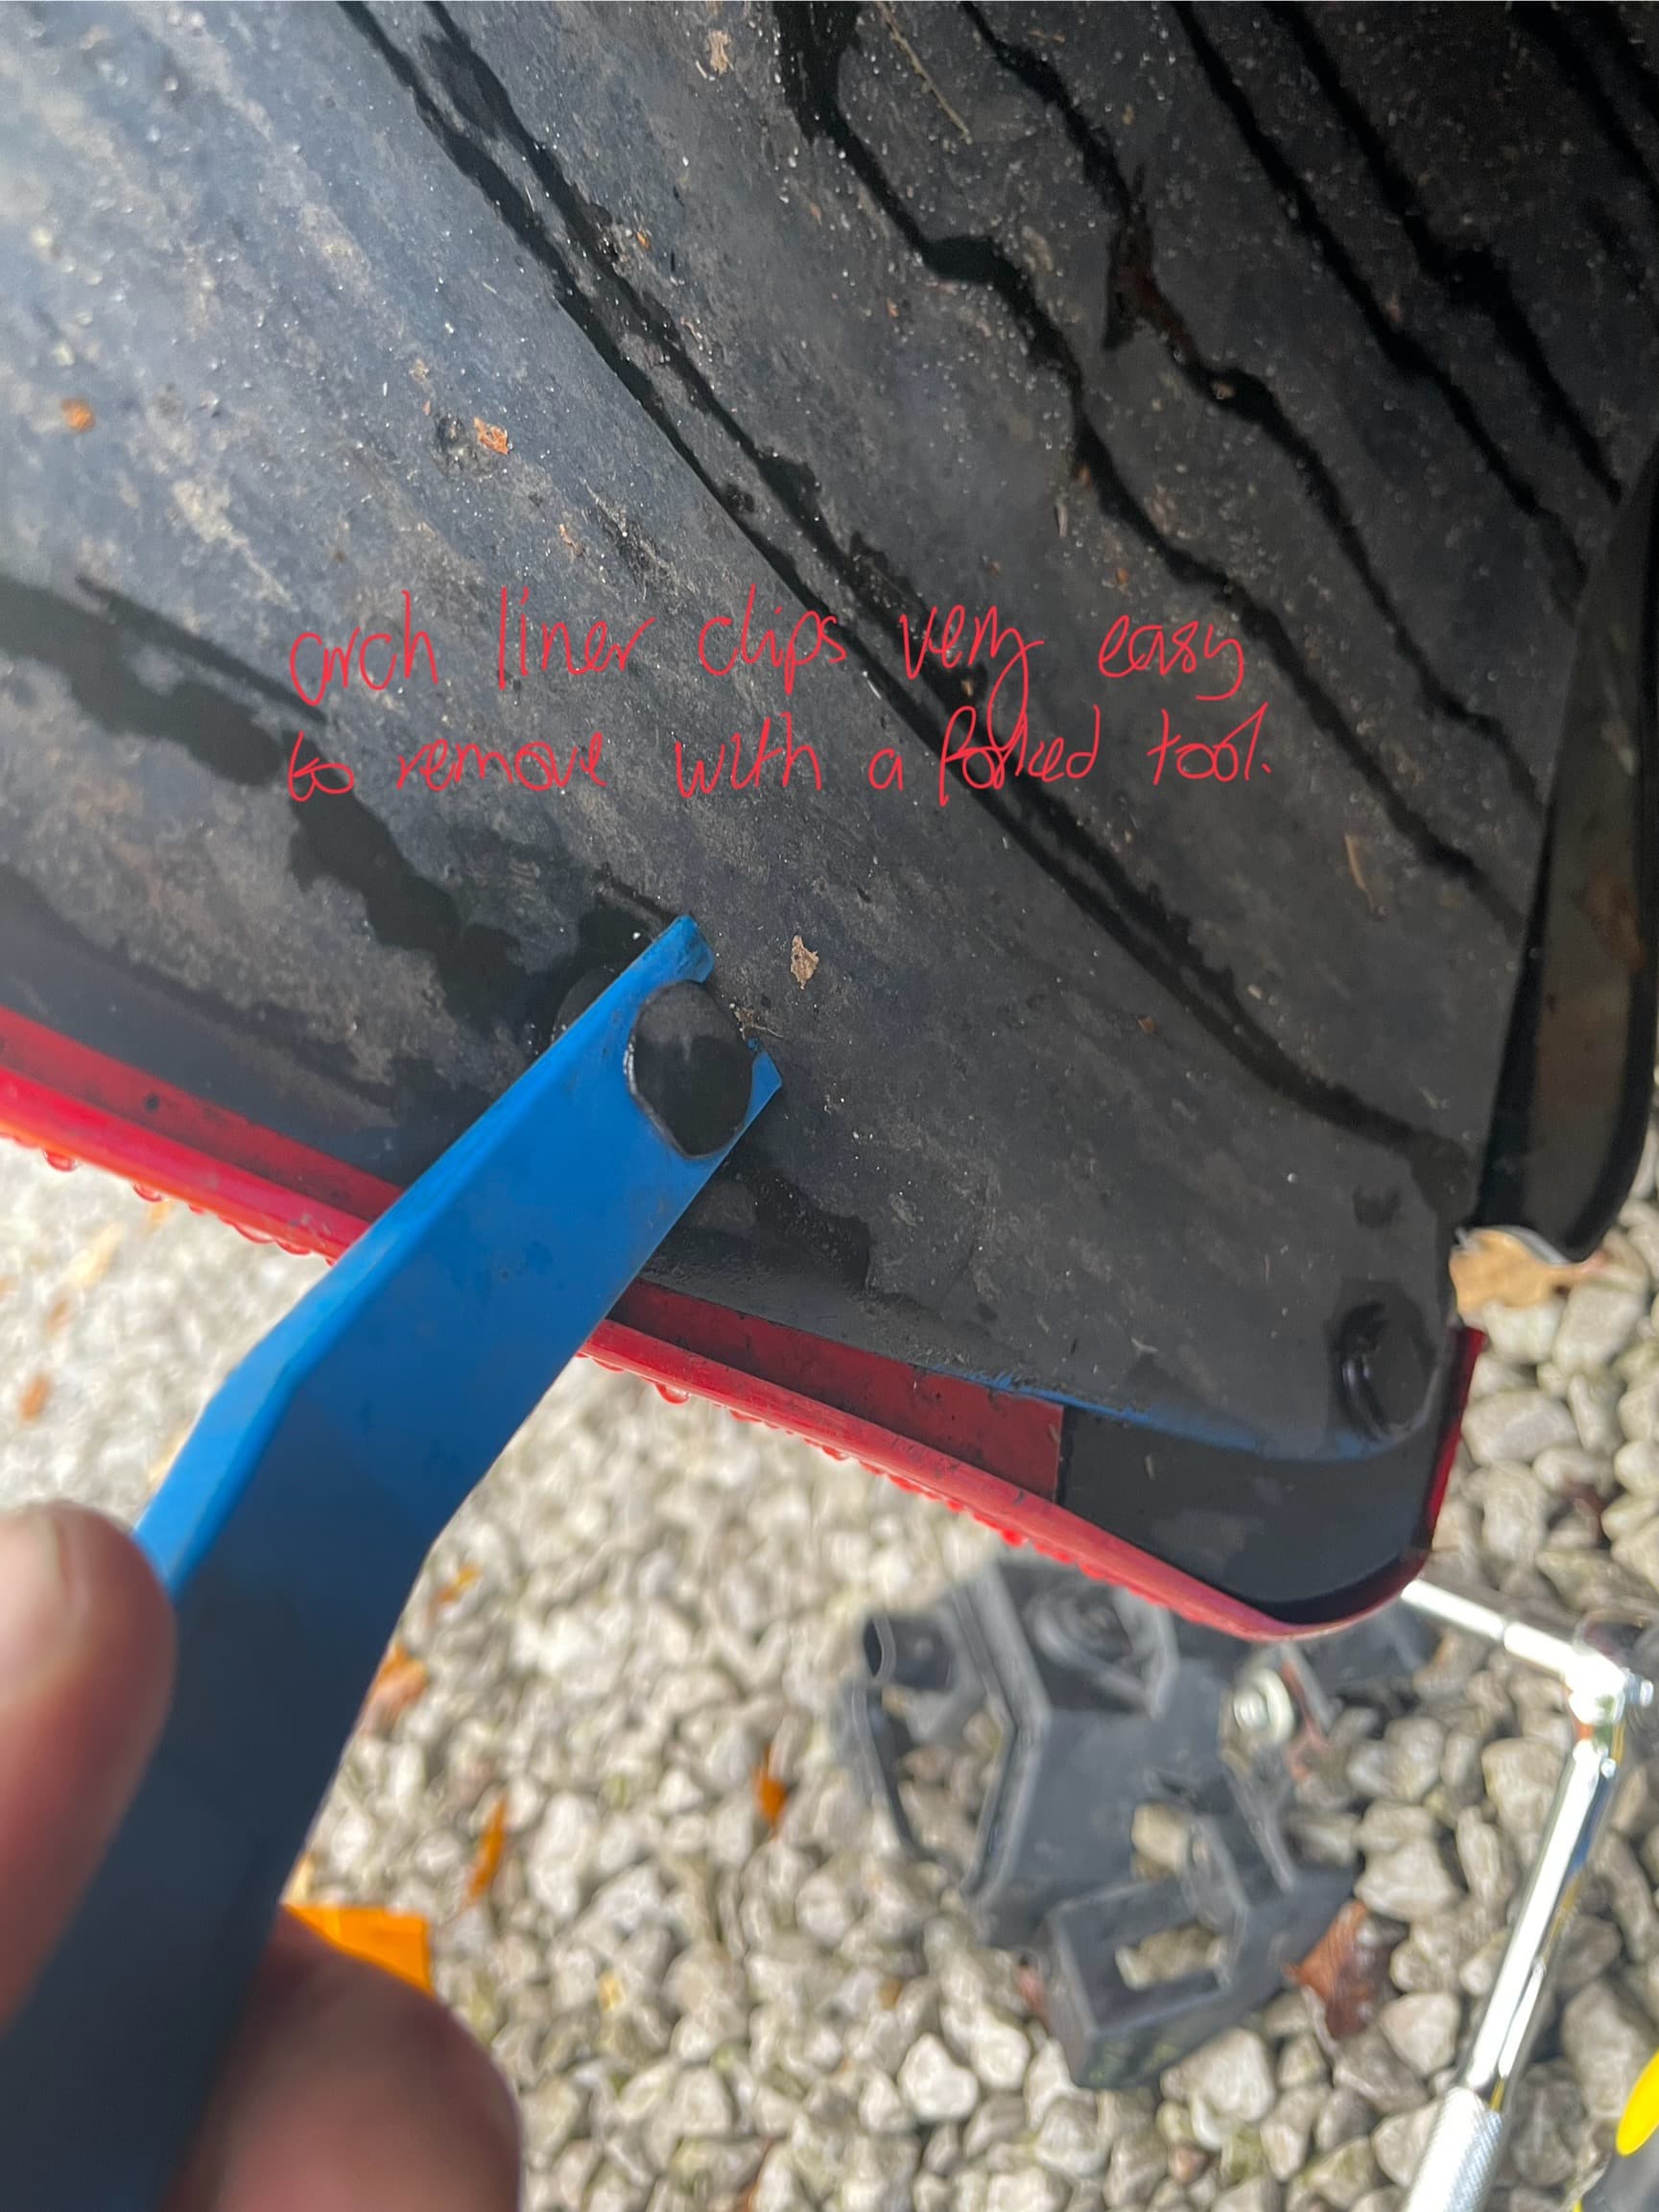
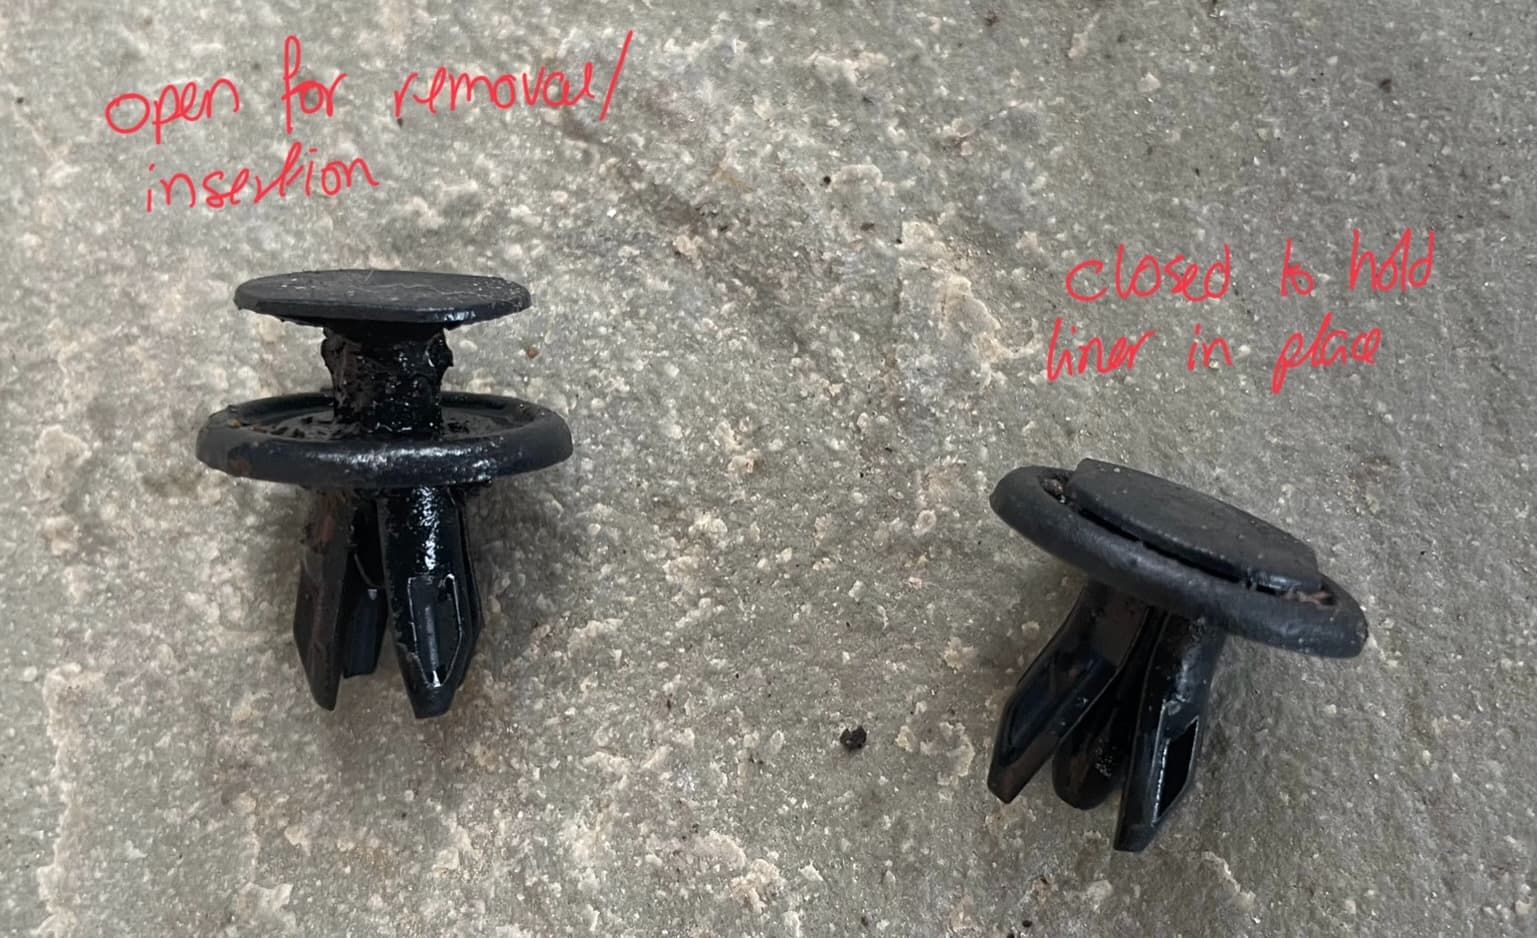
The wheel arch liner isn’t held on by screws as seen in some videos; it uses an expanding plug type which just pushes into place and is easily removed with a forked trim tool.
I needed only 4 tools:
- A forked trim removal tool
- A philips screw driver (fits better than pozidrive)
- A 10mm socket & extension on a ratchet handle
- Needlenose pliers
The procedure is a little fiddly, but nothing that can’t be resolved with a little patience.
-
Remove wheel arch liner clips; I took out 4 around the front rim of the wheel arch, and 2 about hub height further inside the arch.
-
Fold back the liner to get access to the fog lamp area.
-
Remove the fog lamp connector from its’ storage place
-
Remove 4 screws and 1 bolt from the existing interior part. I immediately placed these in the corresponding holes on the new interior part so I could remember where they came from.
-
Wiggle interior part free from the bumper, and swap the screws into this part for reference during reassembly.
-
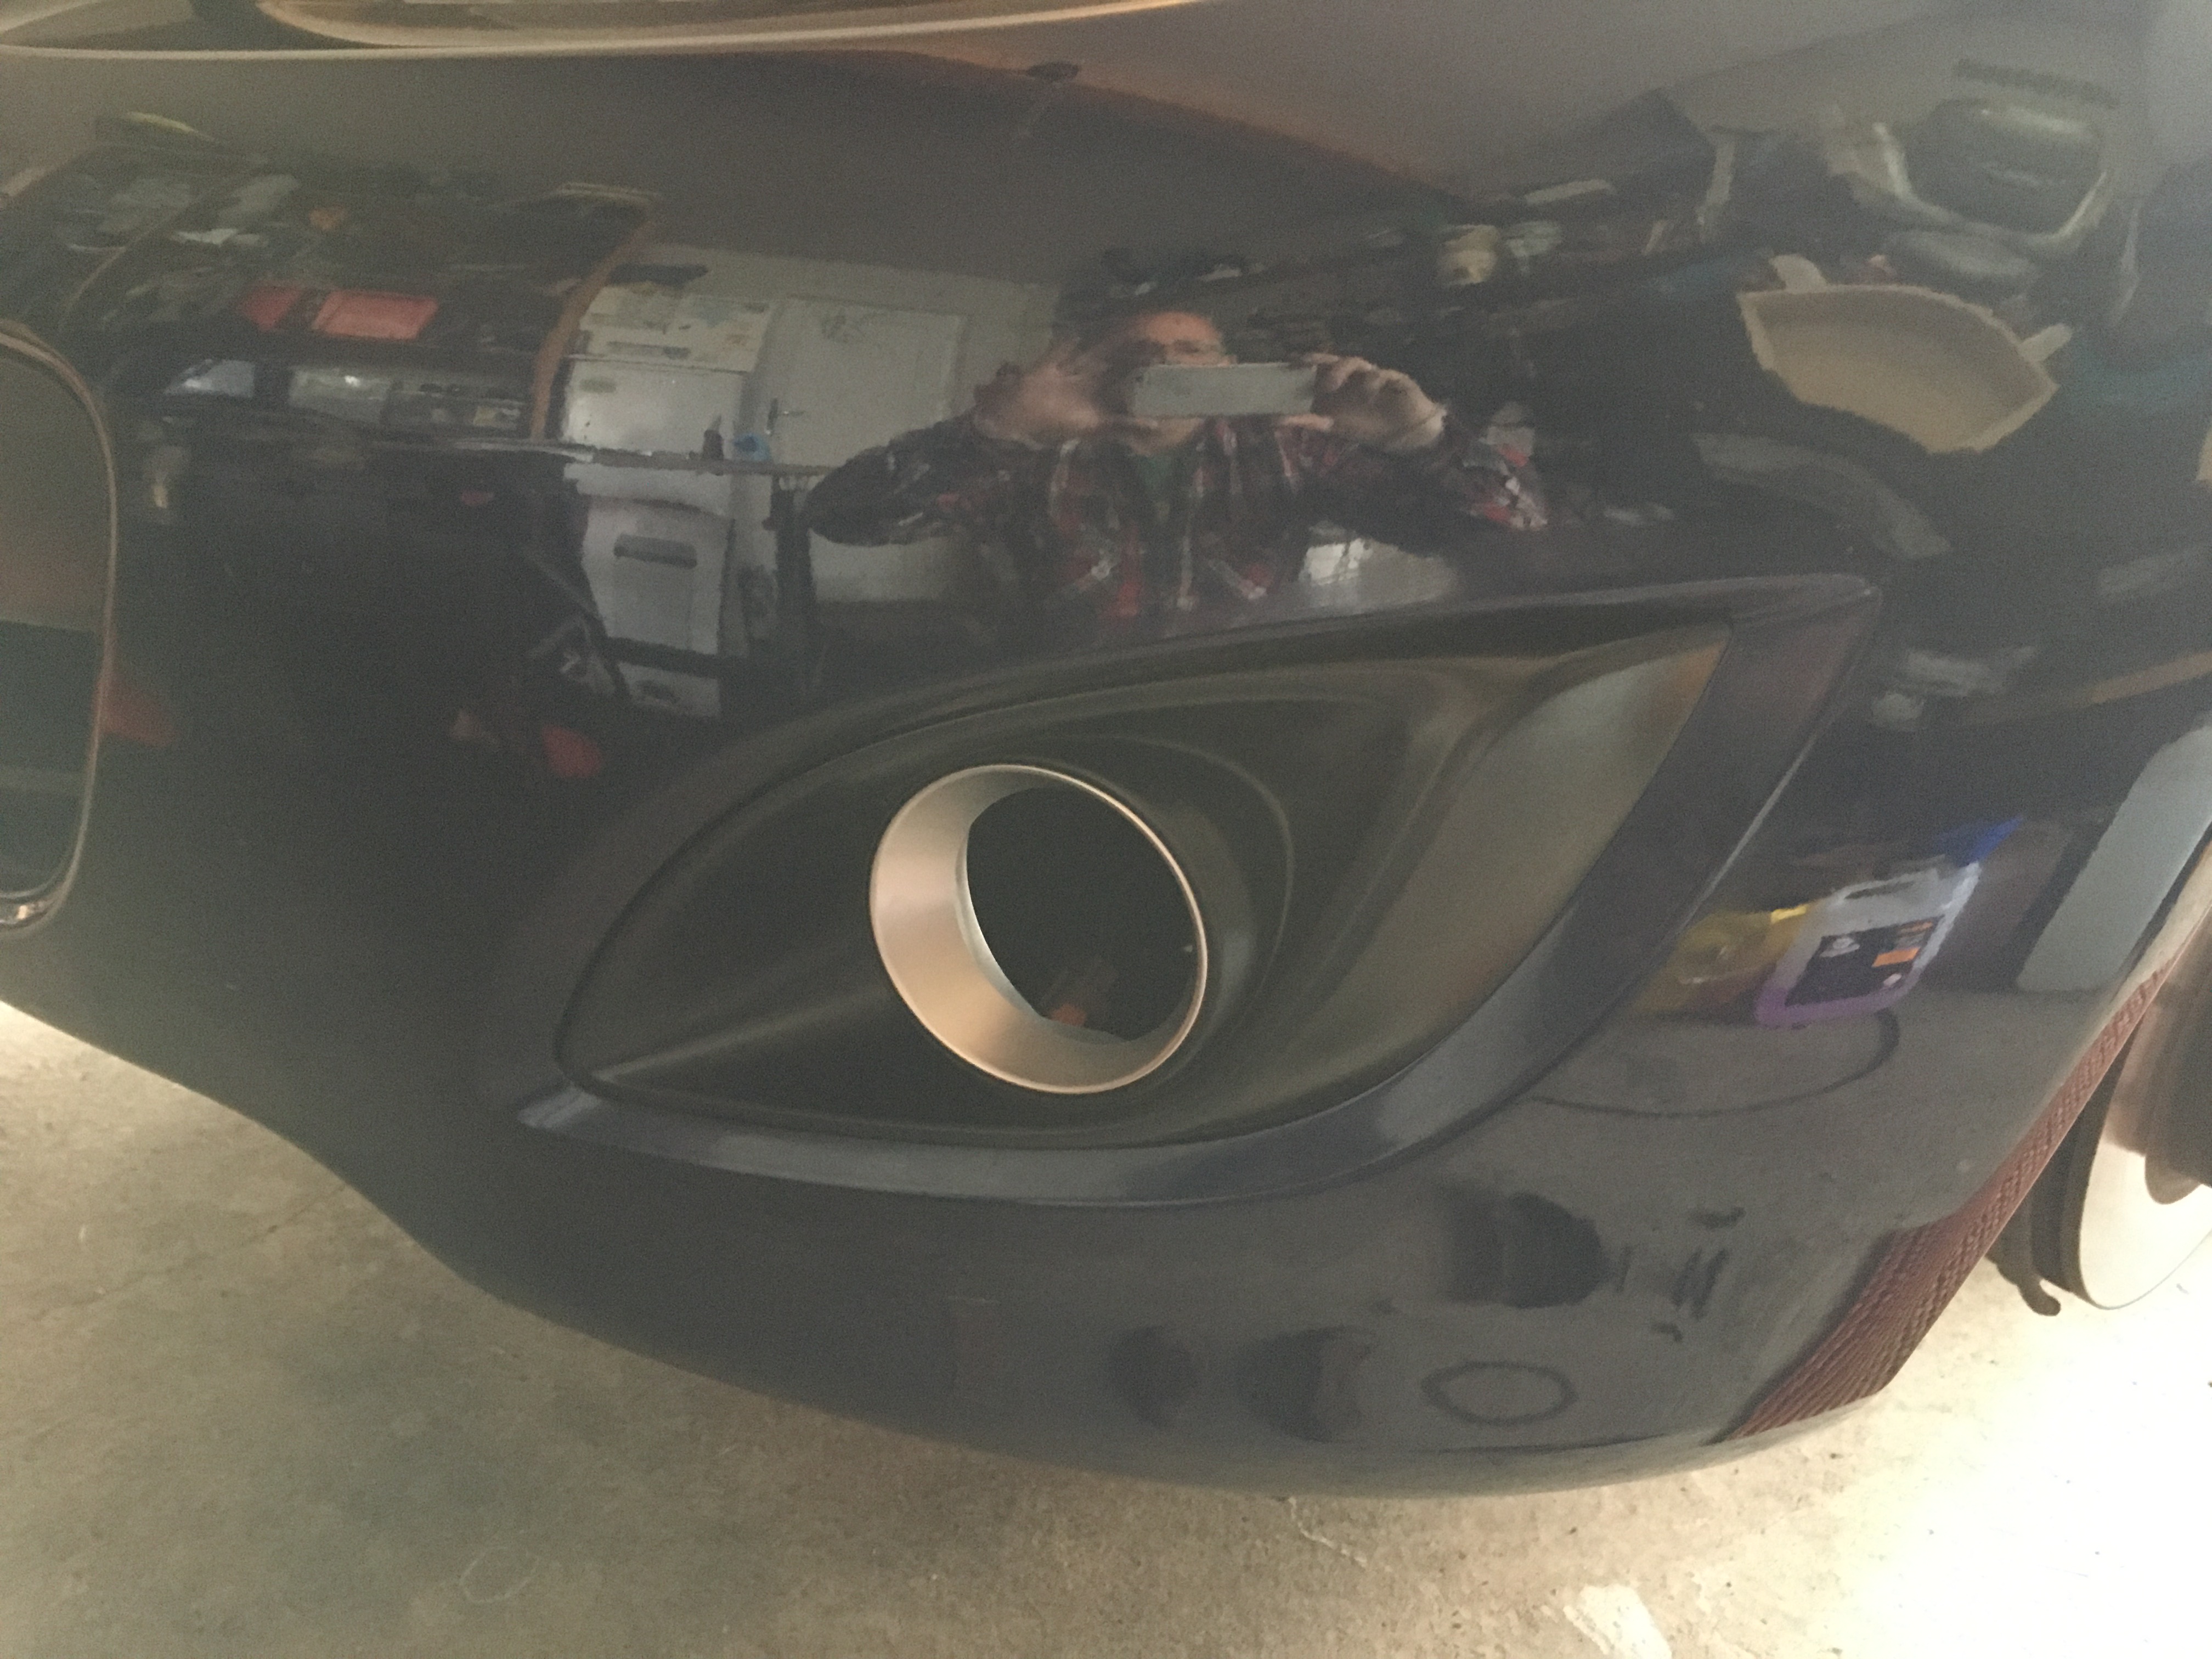
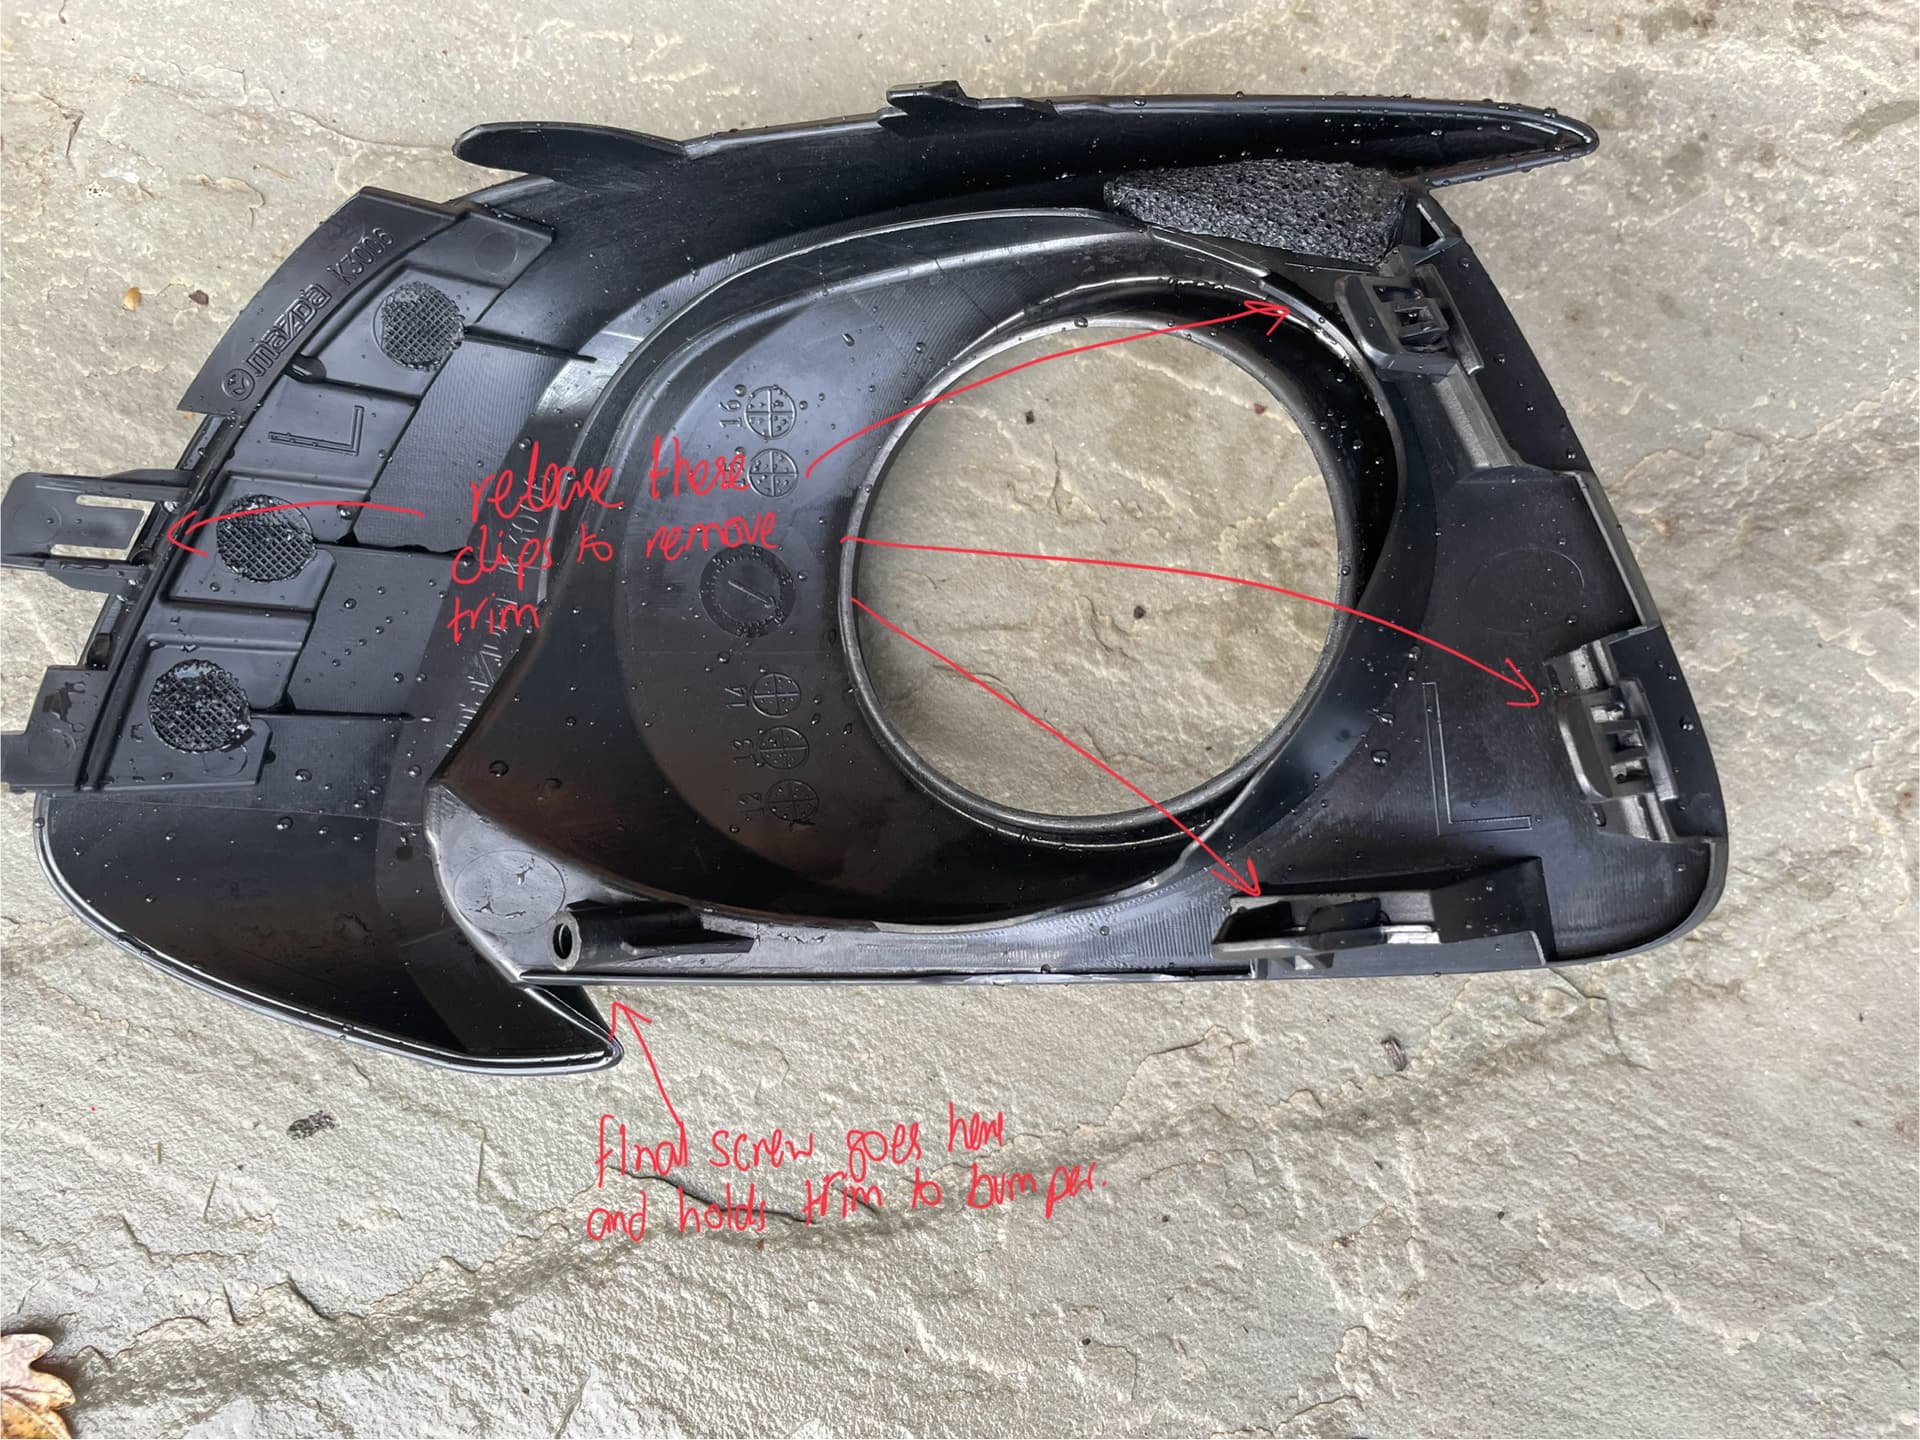
Release the exterior trim panel from the bumper by undoing the clips from the inside and pull it off forwards. I found it useful to have the new fog lamp bezel by the car when doing this to help locate the clips.
-
On the left (passenger side) there’s an additional wiring harness clipped to the interior part. I used needle nose pliers to release this (two places) and detach the harness.
-
Then you can remove the interior part entirely.
Reassembly is the reverse of removal. Some tips.
- Reattach the unclipped wiring harness on the left (passenger) side before installing the lamp holder - then you can see (a bit) of what you’re doing.
- I found it easiest to fit the lamp holder by first loosely fitting the bolt in place - this makes it easier to locate the screws properly.
- Note that the section with the captive nut goes behind (nearer to the front of the car) a tab on the bumper, so the bolt goes first through tab and then into the lamp holder.
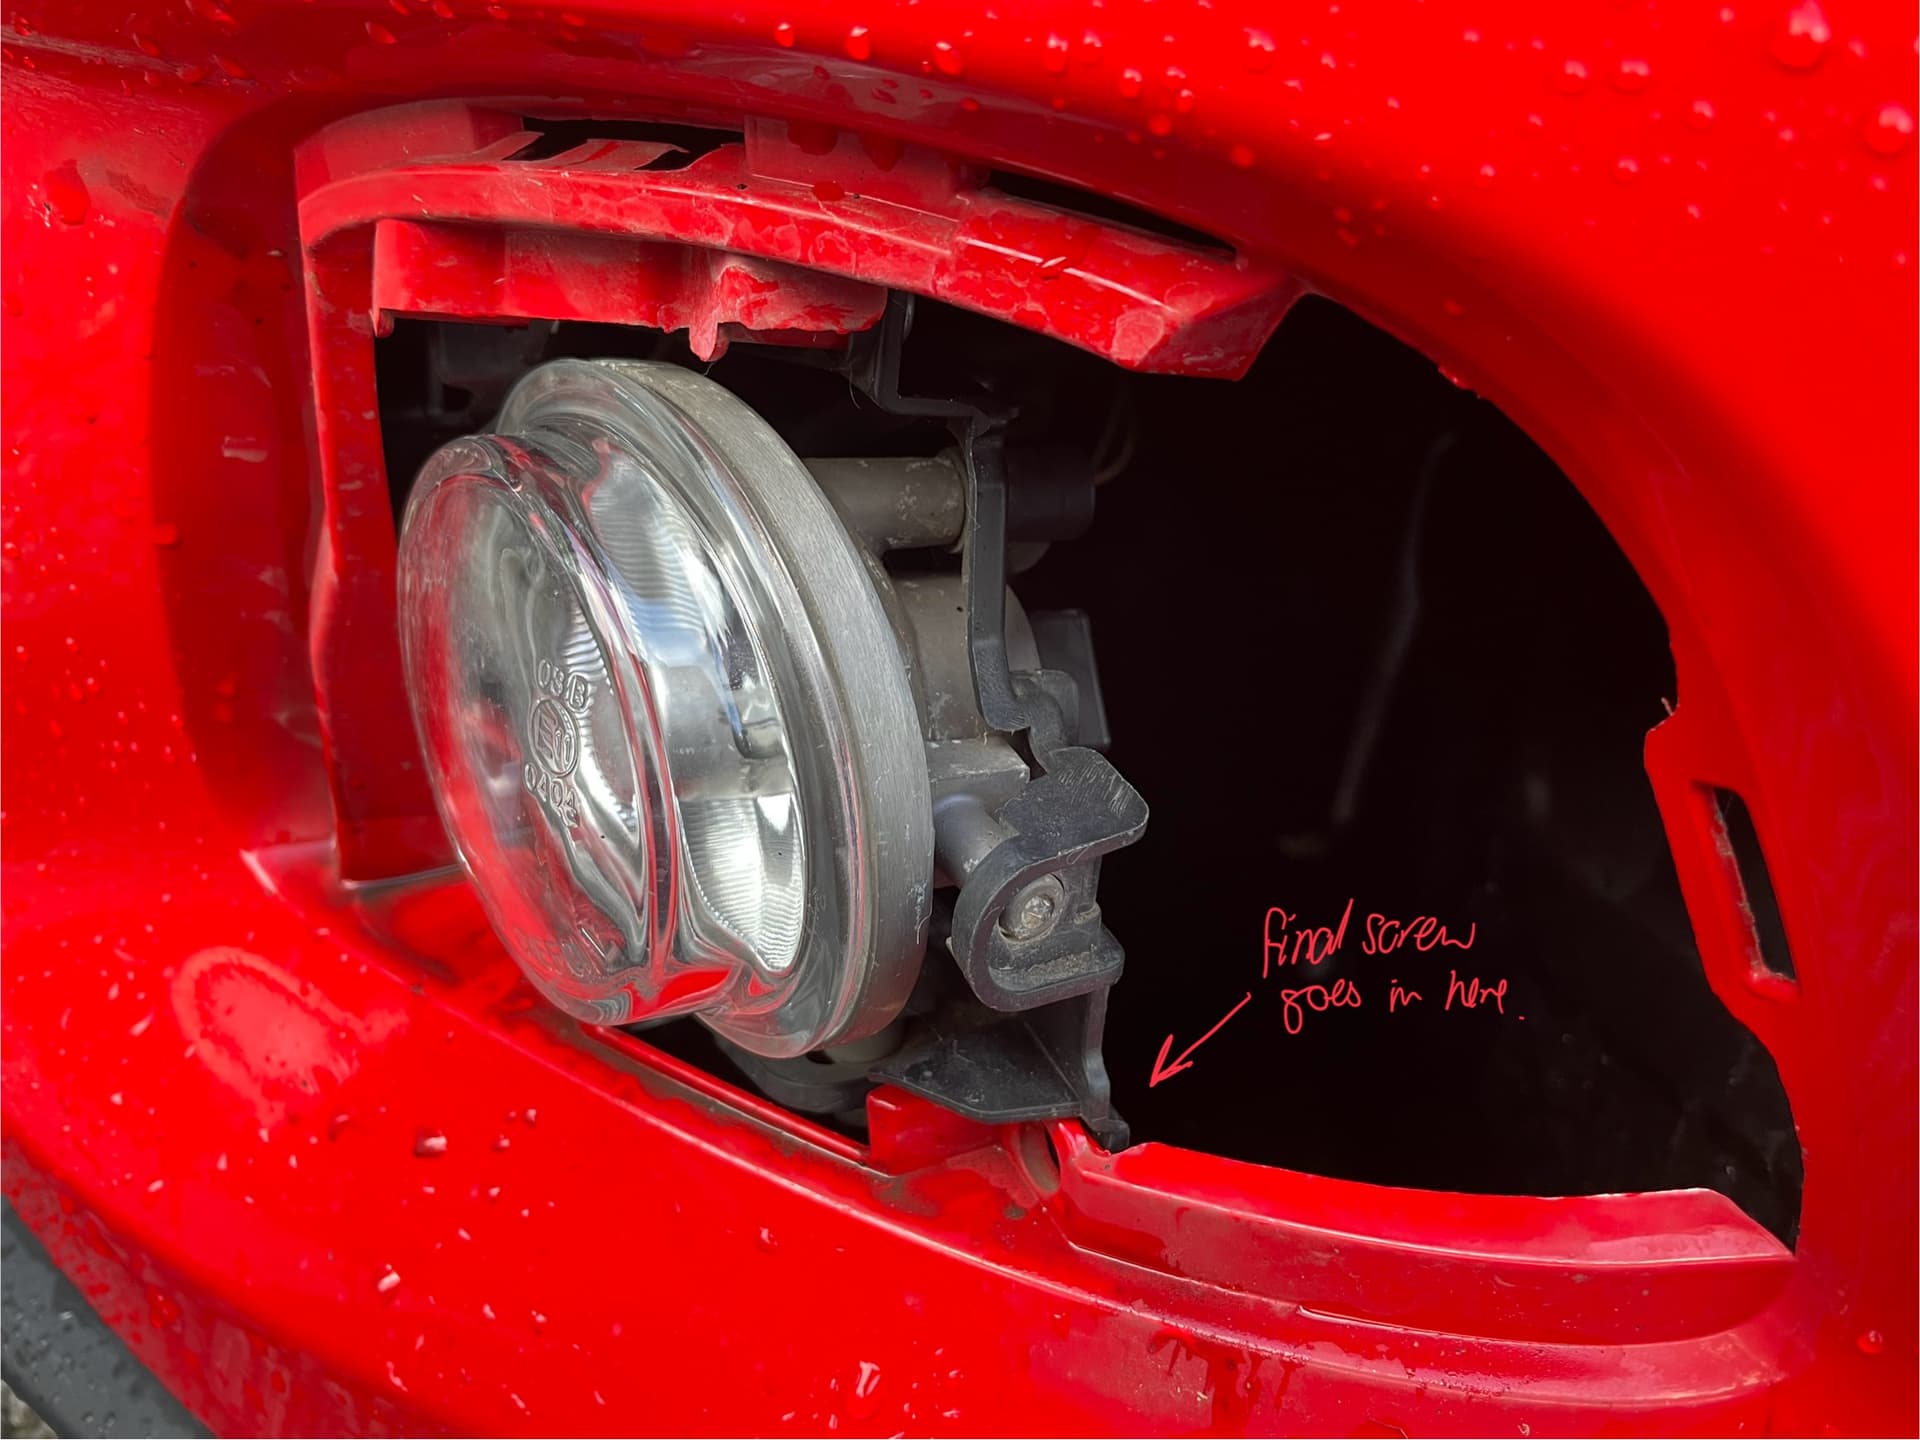
- Save the lower outside screw until last - this is the one that holds the exterior bezel in place, so you can only fit this screw once the bezel has been clipped in.
You’ll also need to change the stalk on the steering column, but this is covered well in other posts so I won’t repeat it here.