As information seems thin on the ground on these spacers for mk2’s, I thought I’d share my installation pictures & notes. The Spacershop solution is simple and seems well engineered, and is available for mk1,2,3,4 MX5’s. Mine is a mk2.5 and it’s given me about 50mm of extra kneeroom which was greatly needed for someone who’s over 6 foot.
Firstly, the battery was disconnected and then waited for 15 minutes before finally pushing the brake pedal to remove any residual charge in the car. Make sure the steering wheel is straight, The airbag is removed on the mk2 with a bolts either side of the back of the wheel.
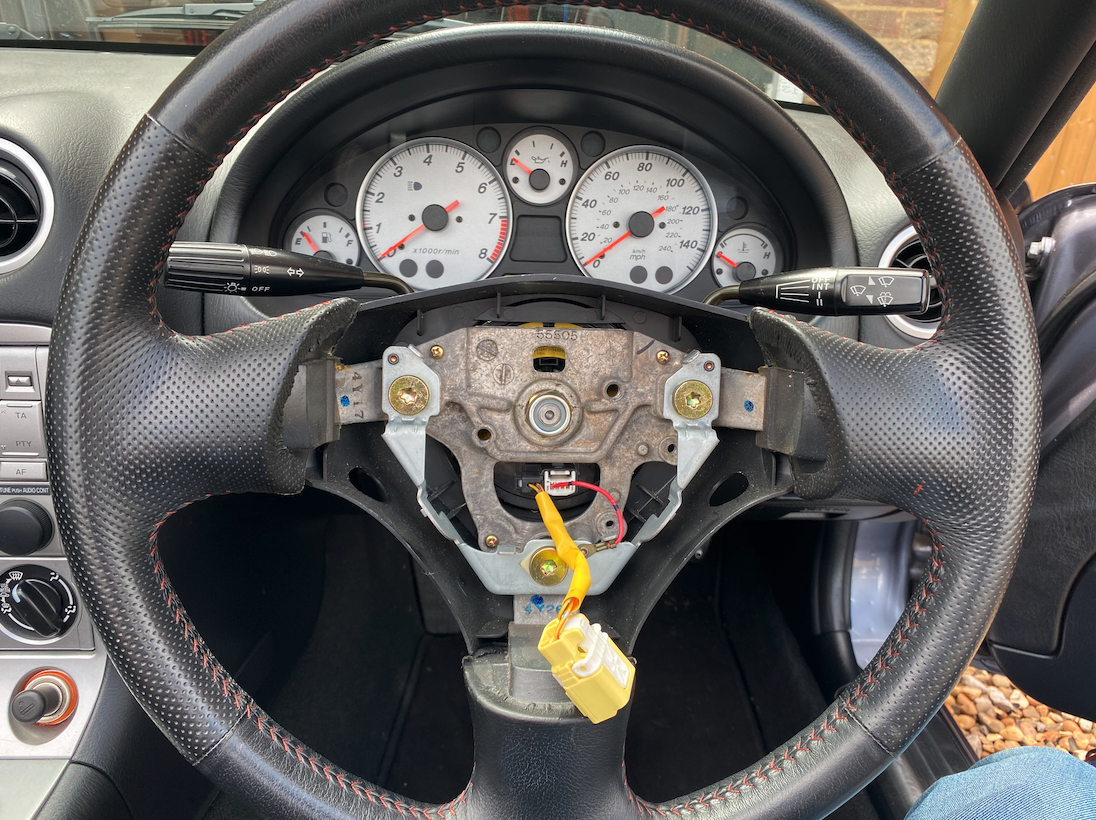
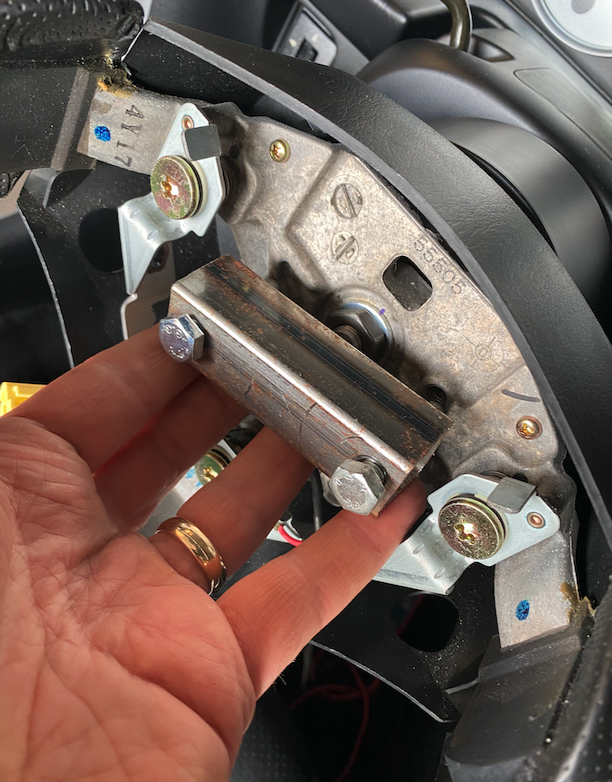
I made a quick steering wheel puller tool, but didn’t really need it as the wheel came off relatively easily
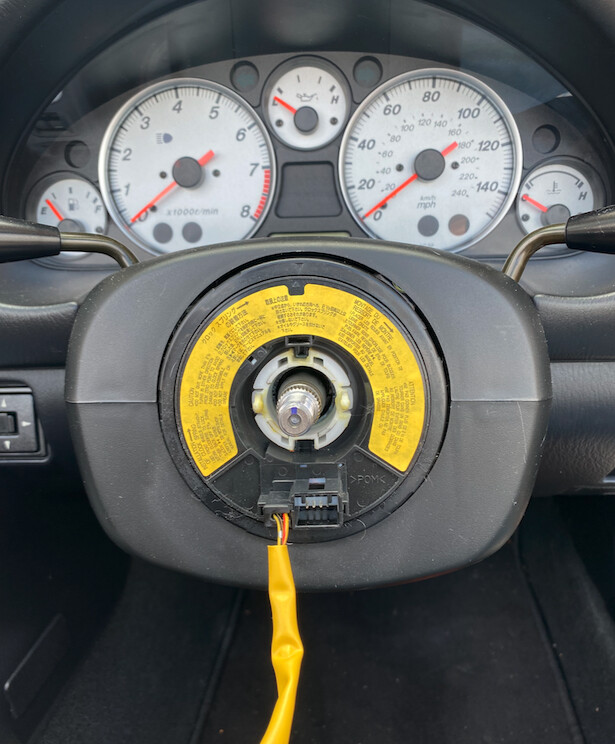
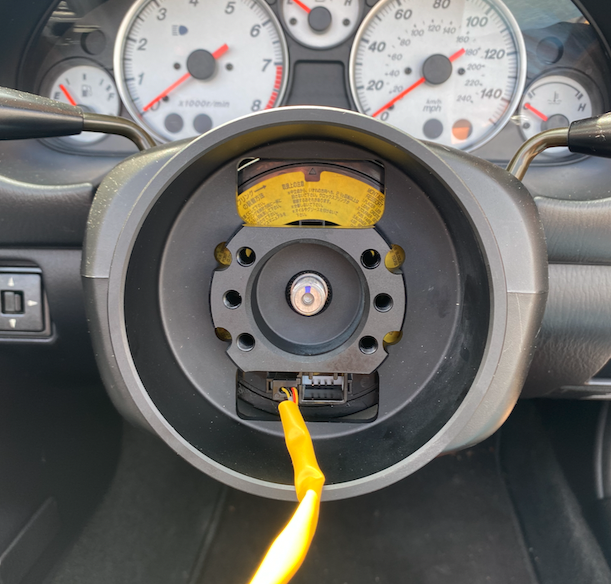
After the wheel was loosened, I disconnected the airbag harness (yellow) and the horn wire, leaving the clockspring in place (do not move or remove this)
This is the kit, the large boss bolts on in place of the steering wheel, and the smaller part then bolts on top effectively extending the splined column.
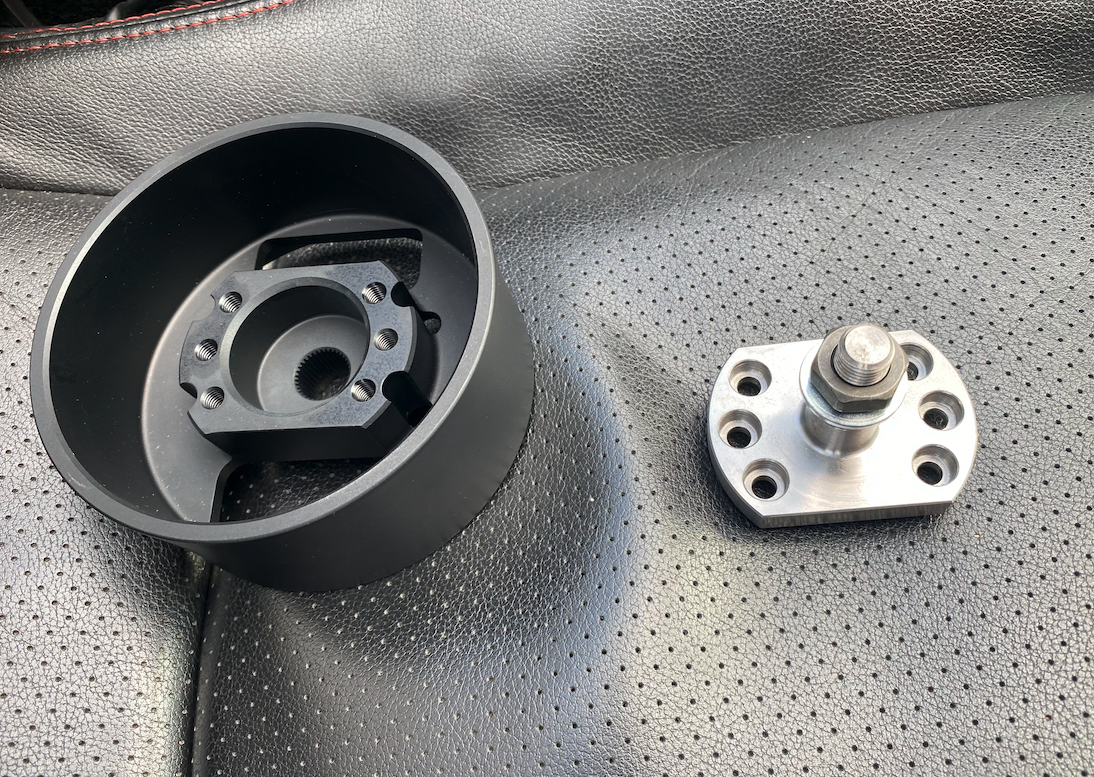
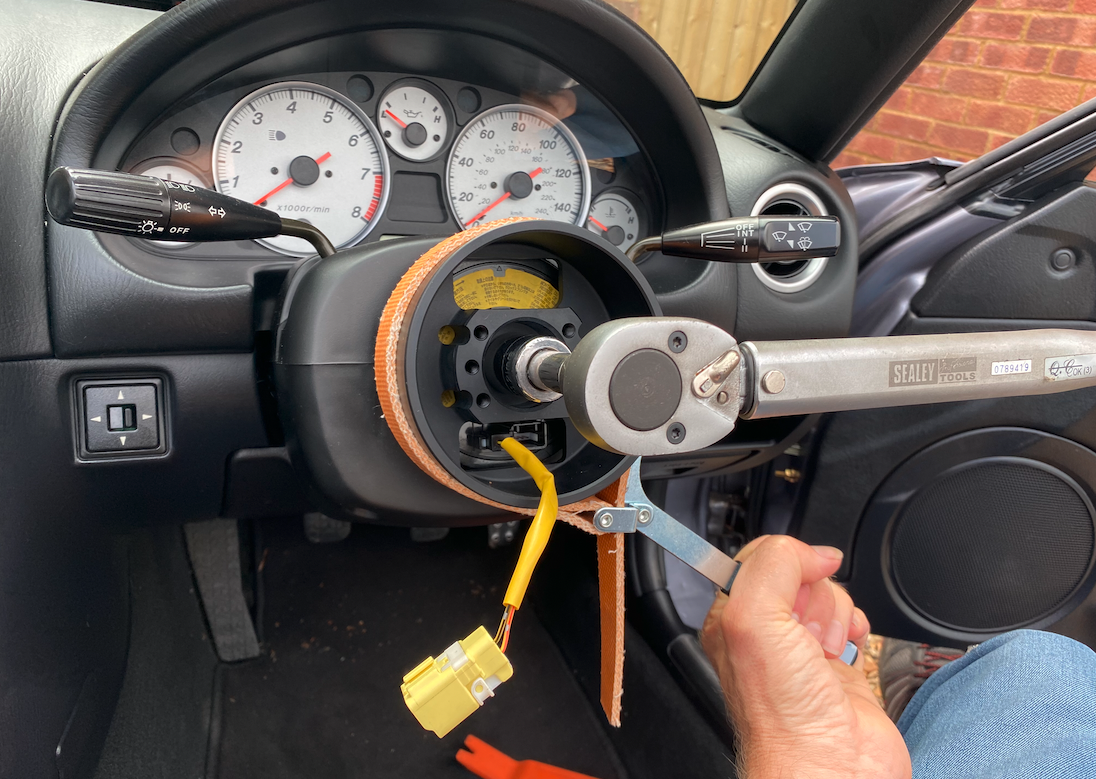
the new boss goes on, then is tightened. It’s machined specifically for the mk2 clock spring so the indicators will cancel themselves still. I used an oil filter strap to keep it in place when torqued
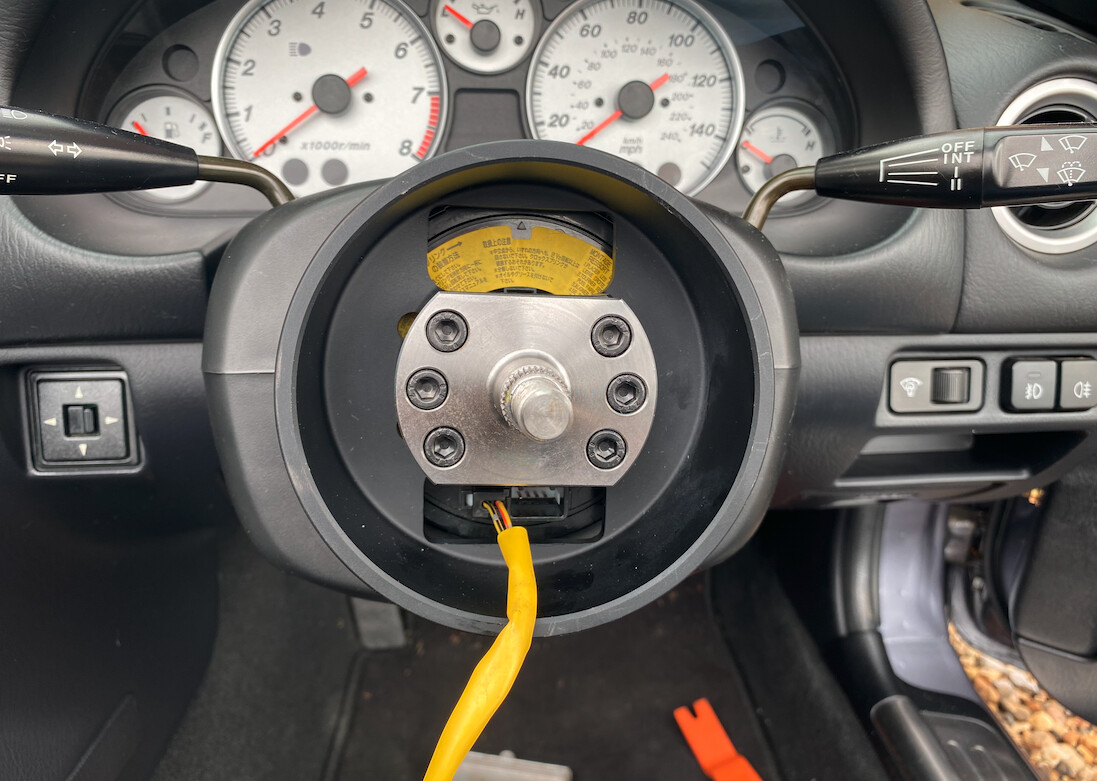
Then the column extension is bolted in place, I used too much threadlock on the bolts and the horn didn’t work due to no continuity, so had to clean it off a couple of bolts (lesson learned)
The steering wheel is then fitted back on, I did have to extend the horn wire but not the airbag loom
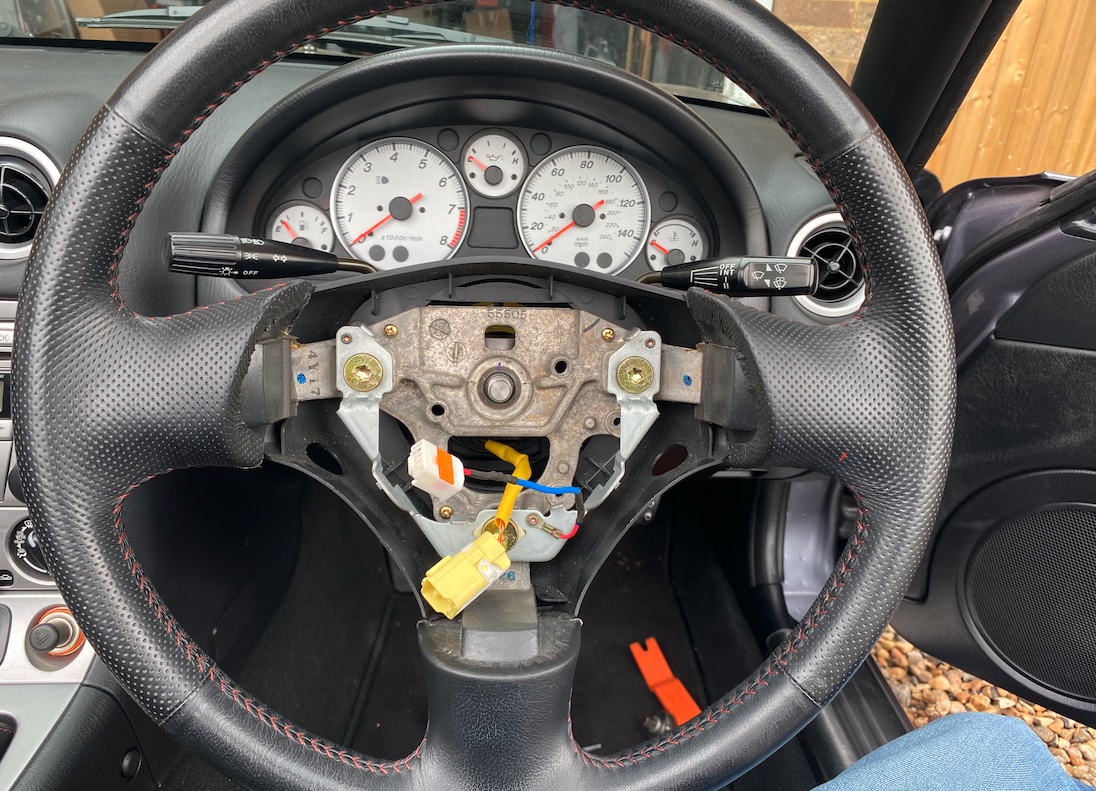
Refit the wheel, torque the nut, refit the airbag and this is the result
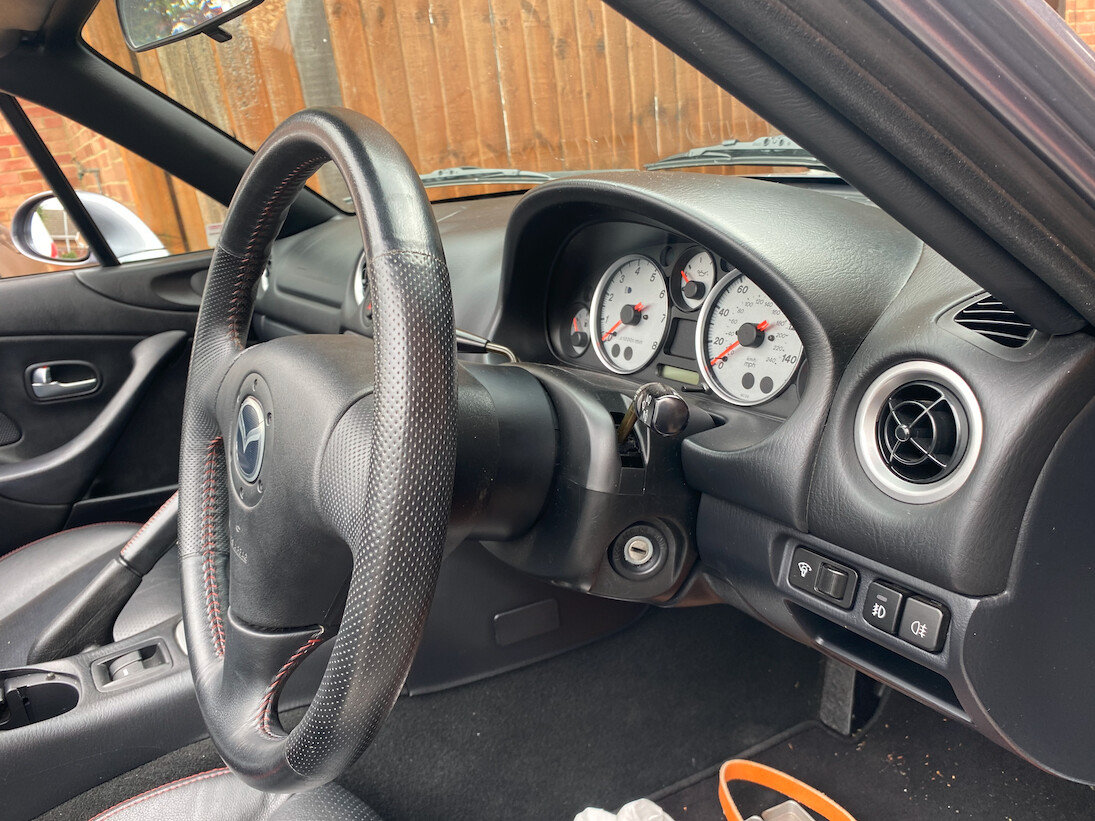
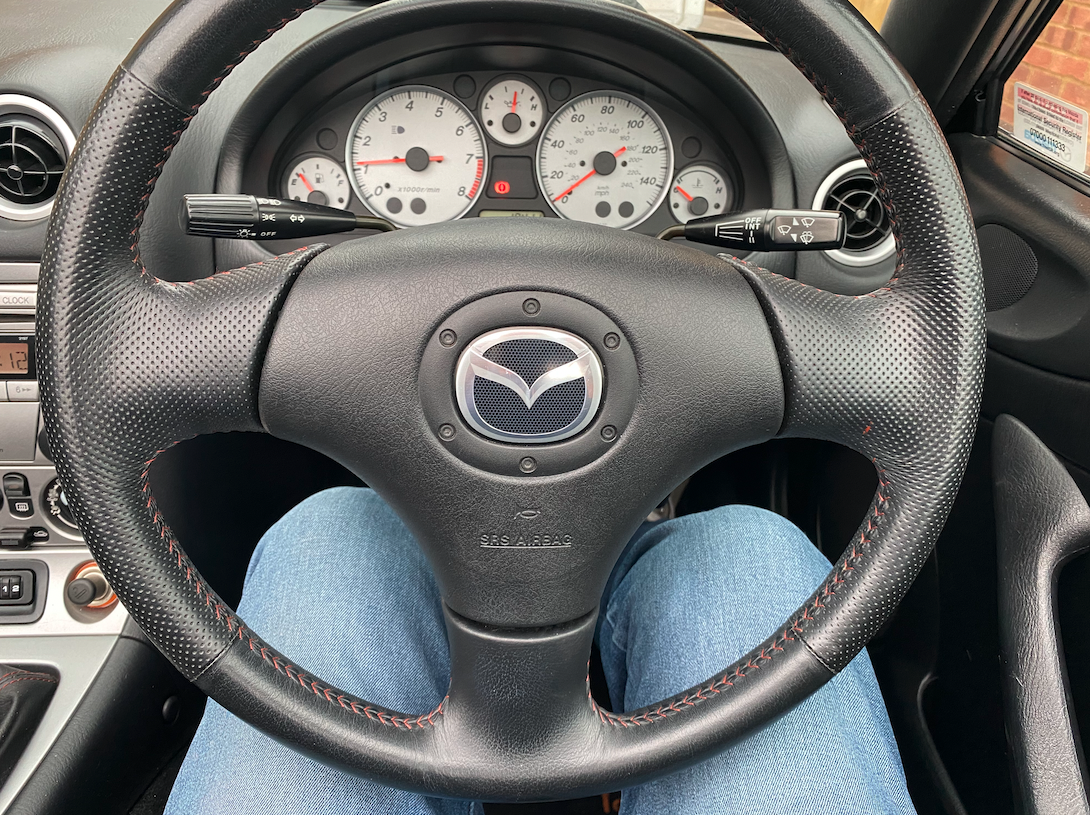
Loads more kneeroom, just need to get used to driving with the wheel closer and the indicator stalks further away!