So I had a look, and found the catch is easily accessible if you remove the boot liner. What I found was the cable was in excellent health, but the sliding catch on the cover mechanism was corroded causing the ‘gritty’ feel to opening.
Quick “How to…” below which may come in useful for anyone searching on the same:
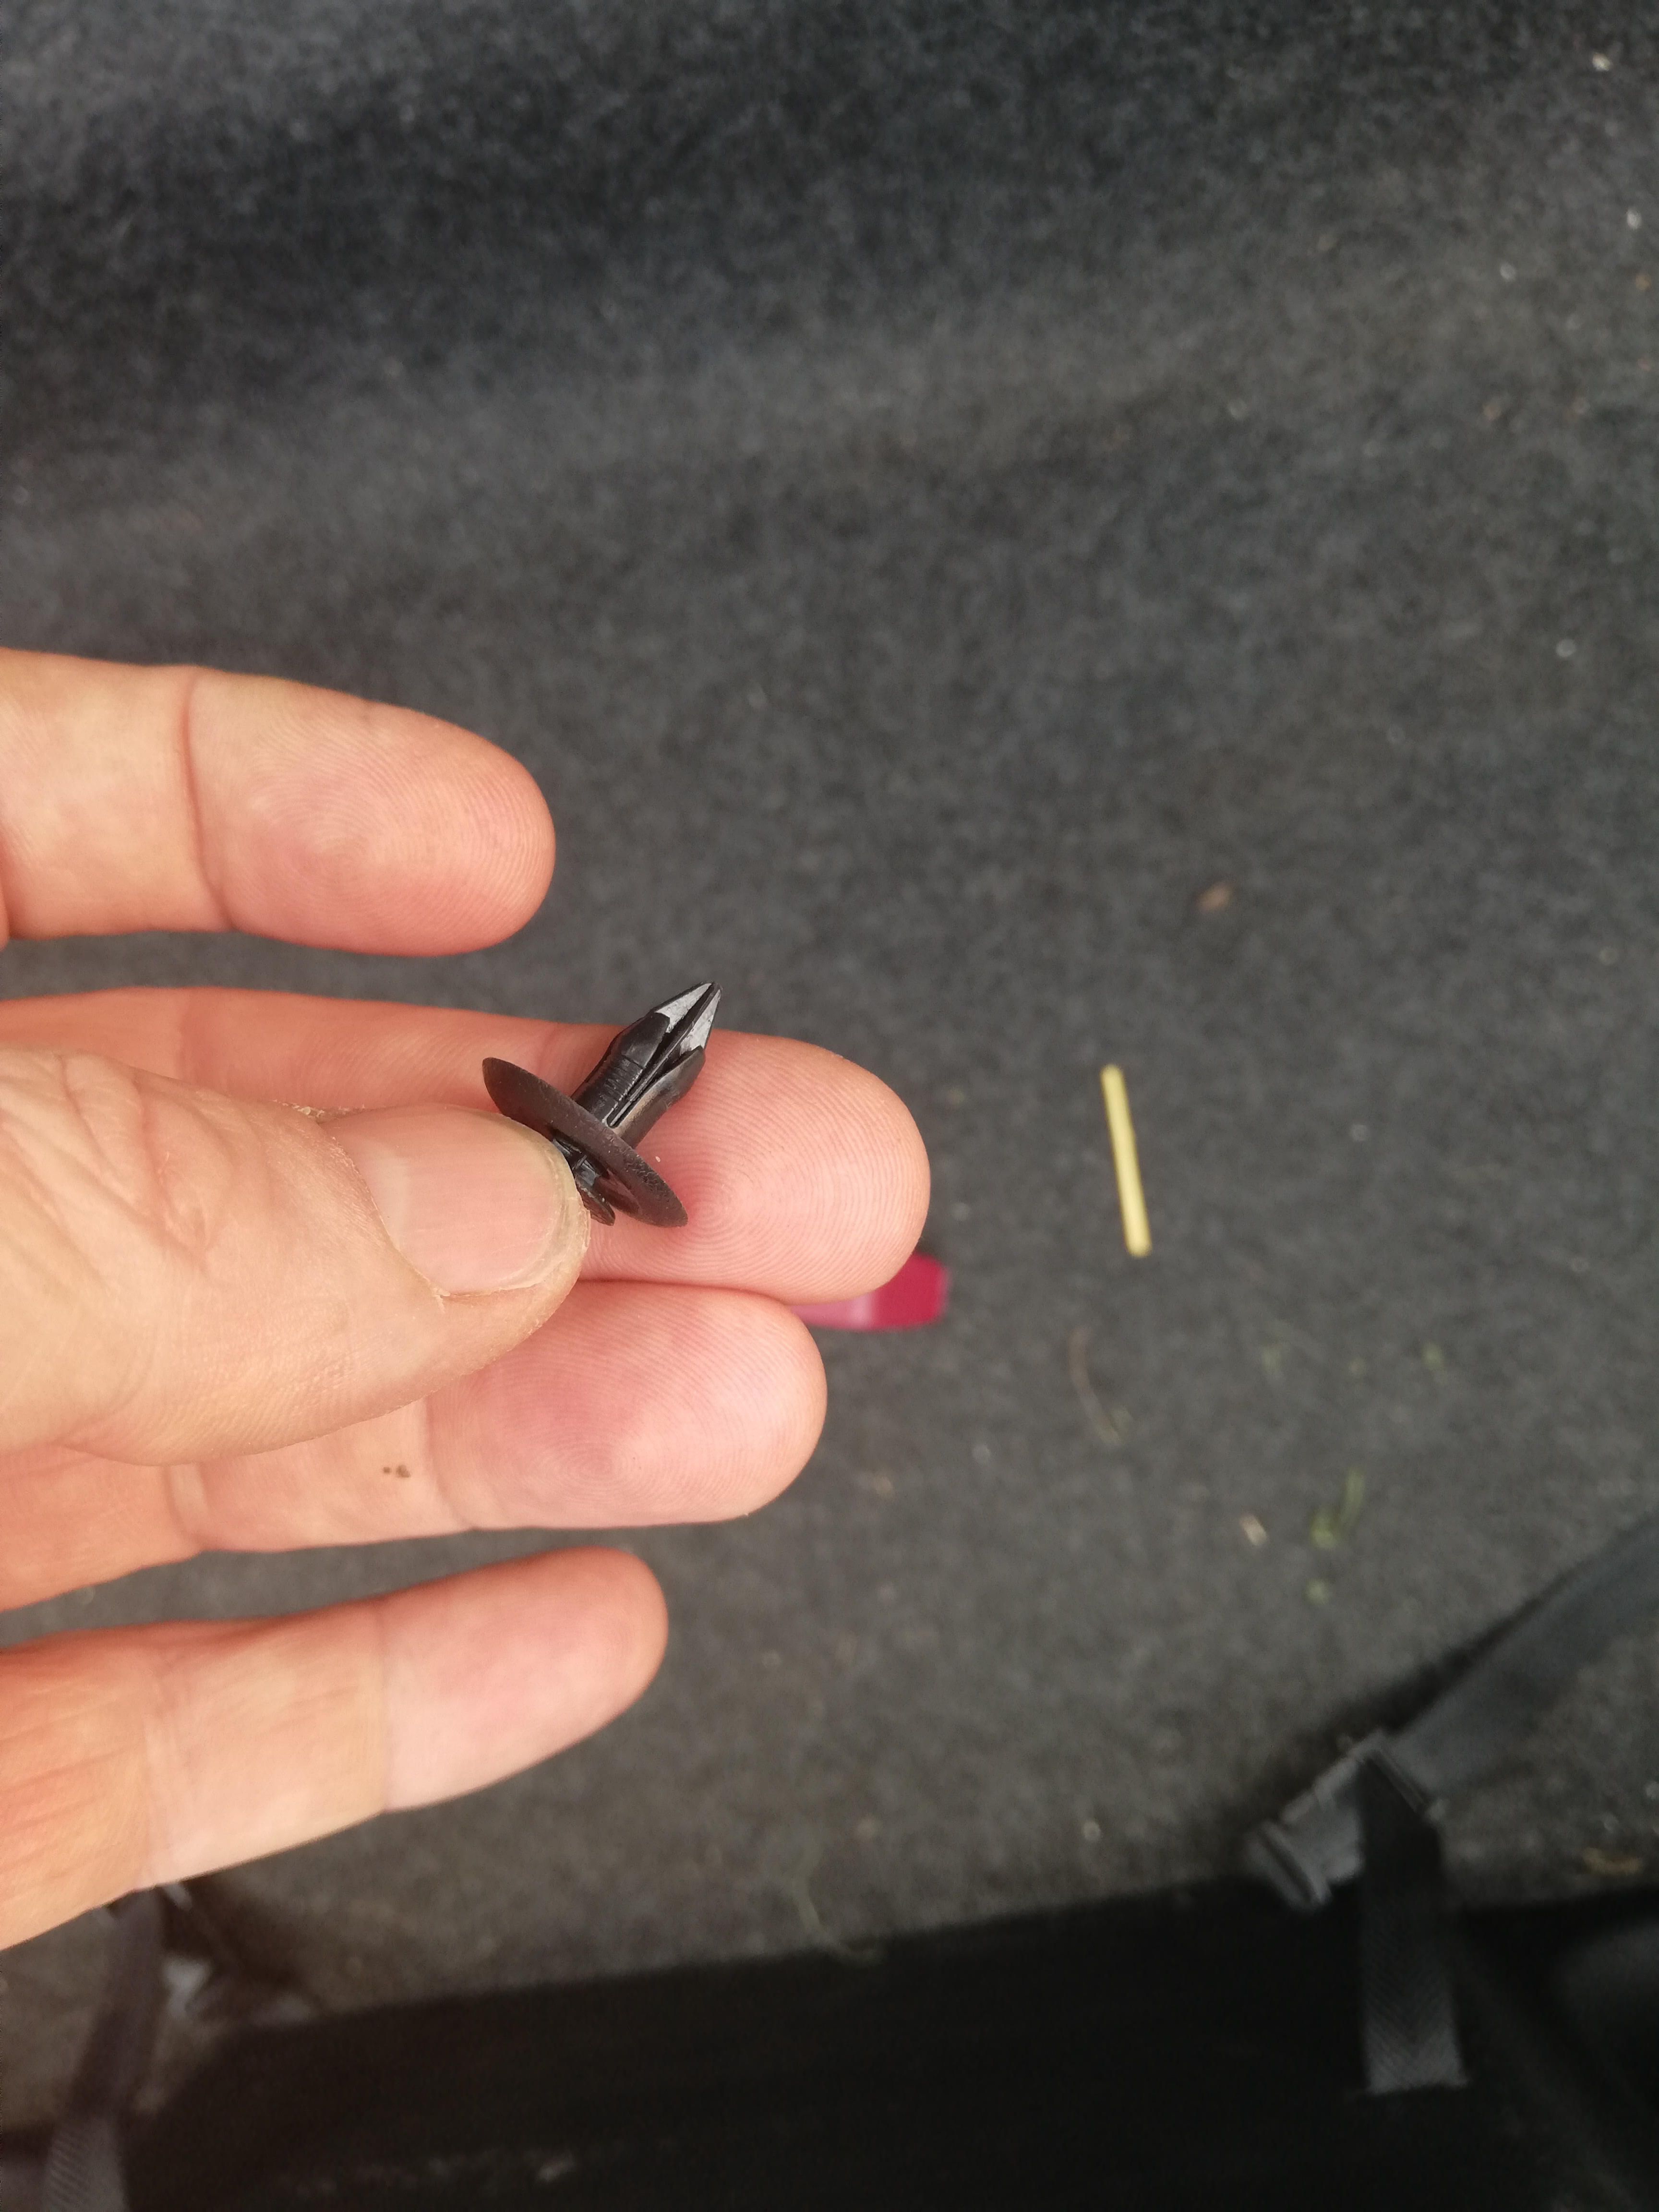
Remove the boot carpet - two plastic rivets that just prise out
Remove the back panel and front boot liner panels, you need to do this to get access to the rivets on the left side panels, then remove the left panel. If you haven’t done this before, it is very easy. You need to pull the centre of the small rivets back, that releases the expansion and the whole rivet pulls straight back. If the rivets have never been touched, they could be quite tight - use a thumb nail to guide a prising tool (such as a metal nail file in an emergency) to pop the centre back and then the whole rivet can pull out.
When you take the back panel off, be aware that that there is a small electric connector for the light monuted on the panel. This is a simply press to release type bayonet connector.
With the left panel removed you can reach the mechanism. There is a lever on the mechanism that makes it easy to ‘pop’ the cover without any further dismantling. If you are doing this in an emergency, you can now get access to the cover release mechanism, pop the cover,put the fuel in and carry on with your day.
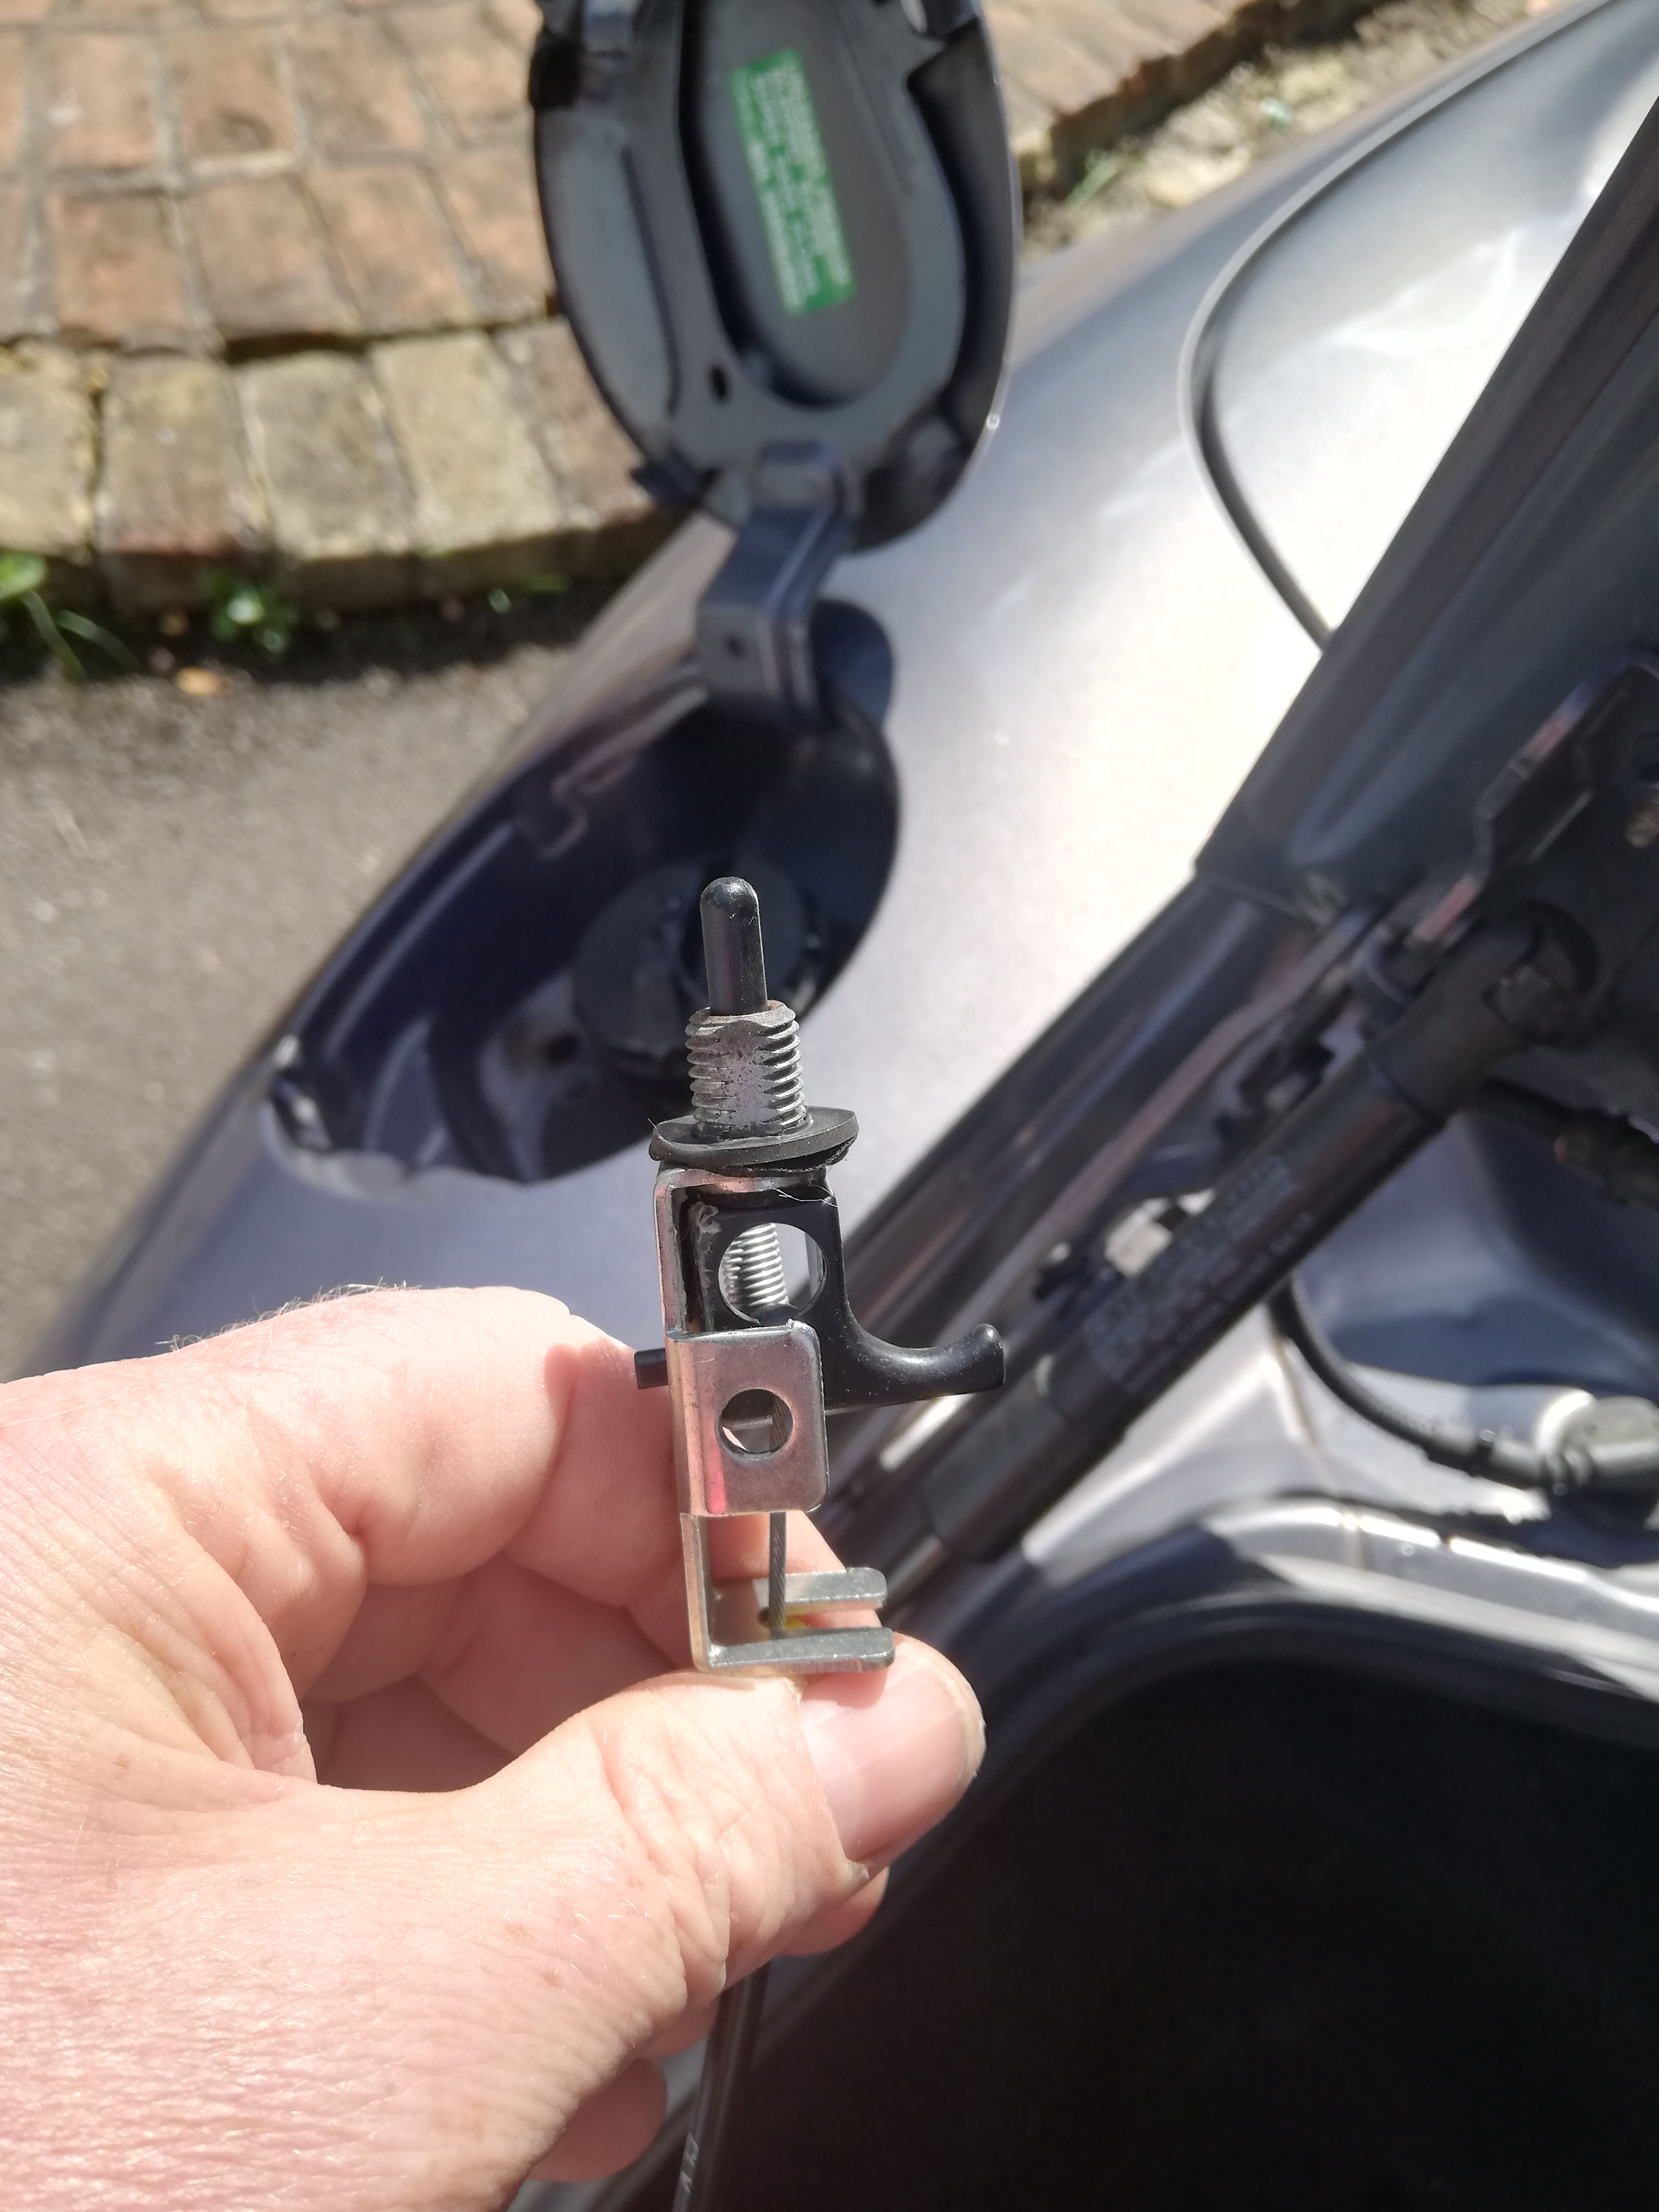
I removed the mechanism and you can see the lever on this picture.
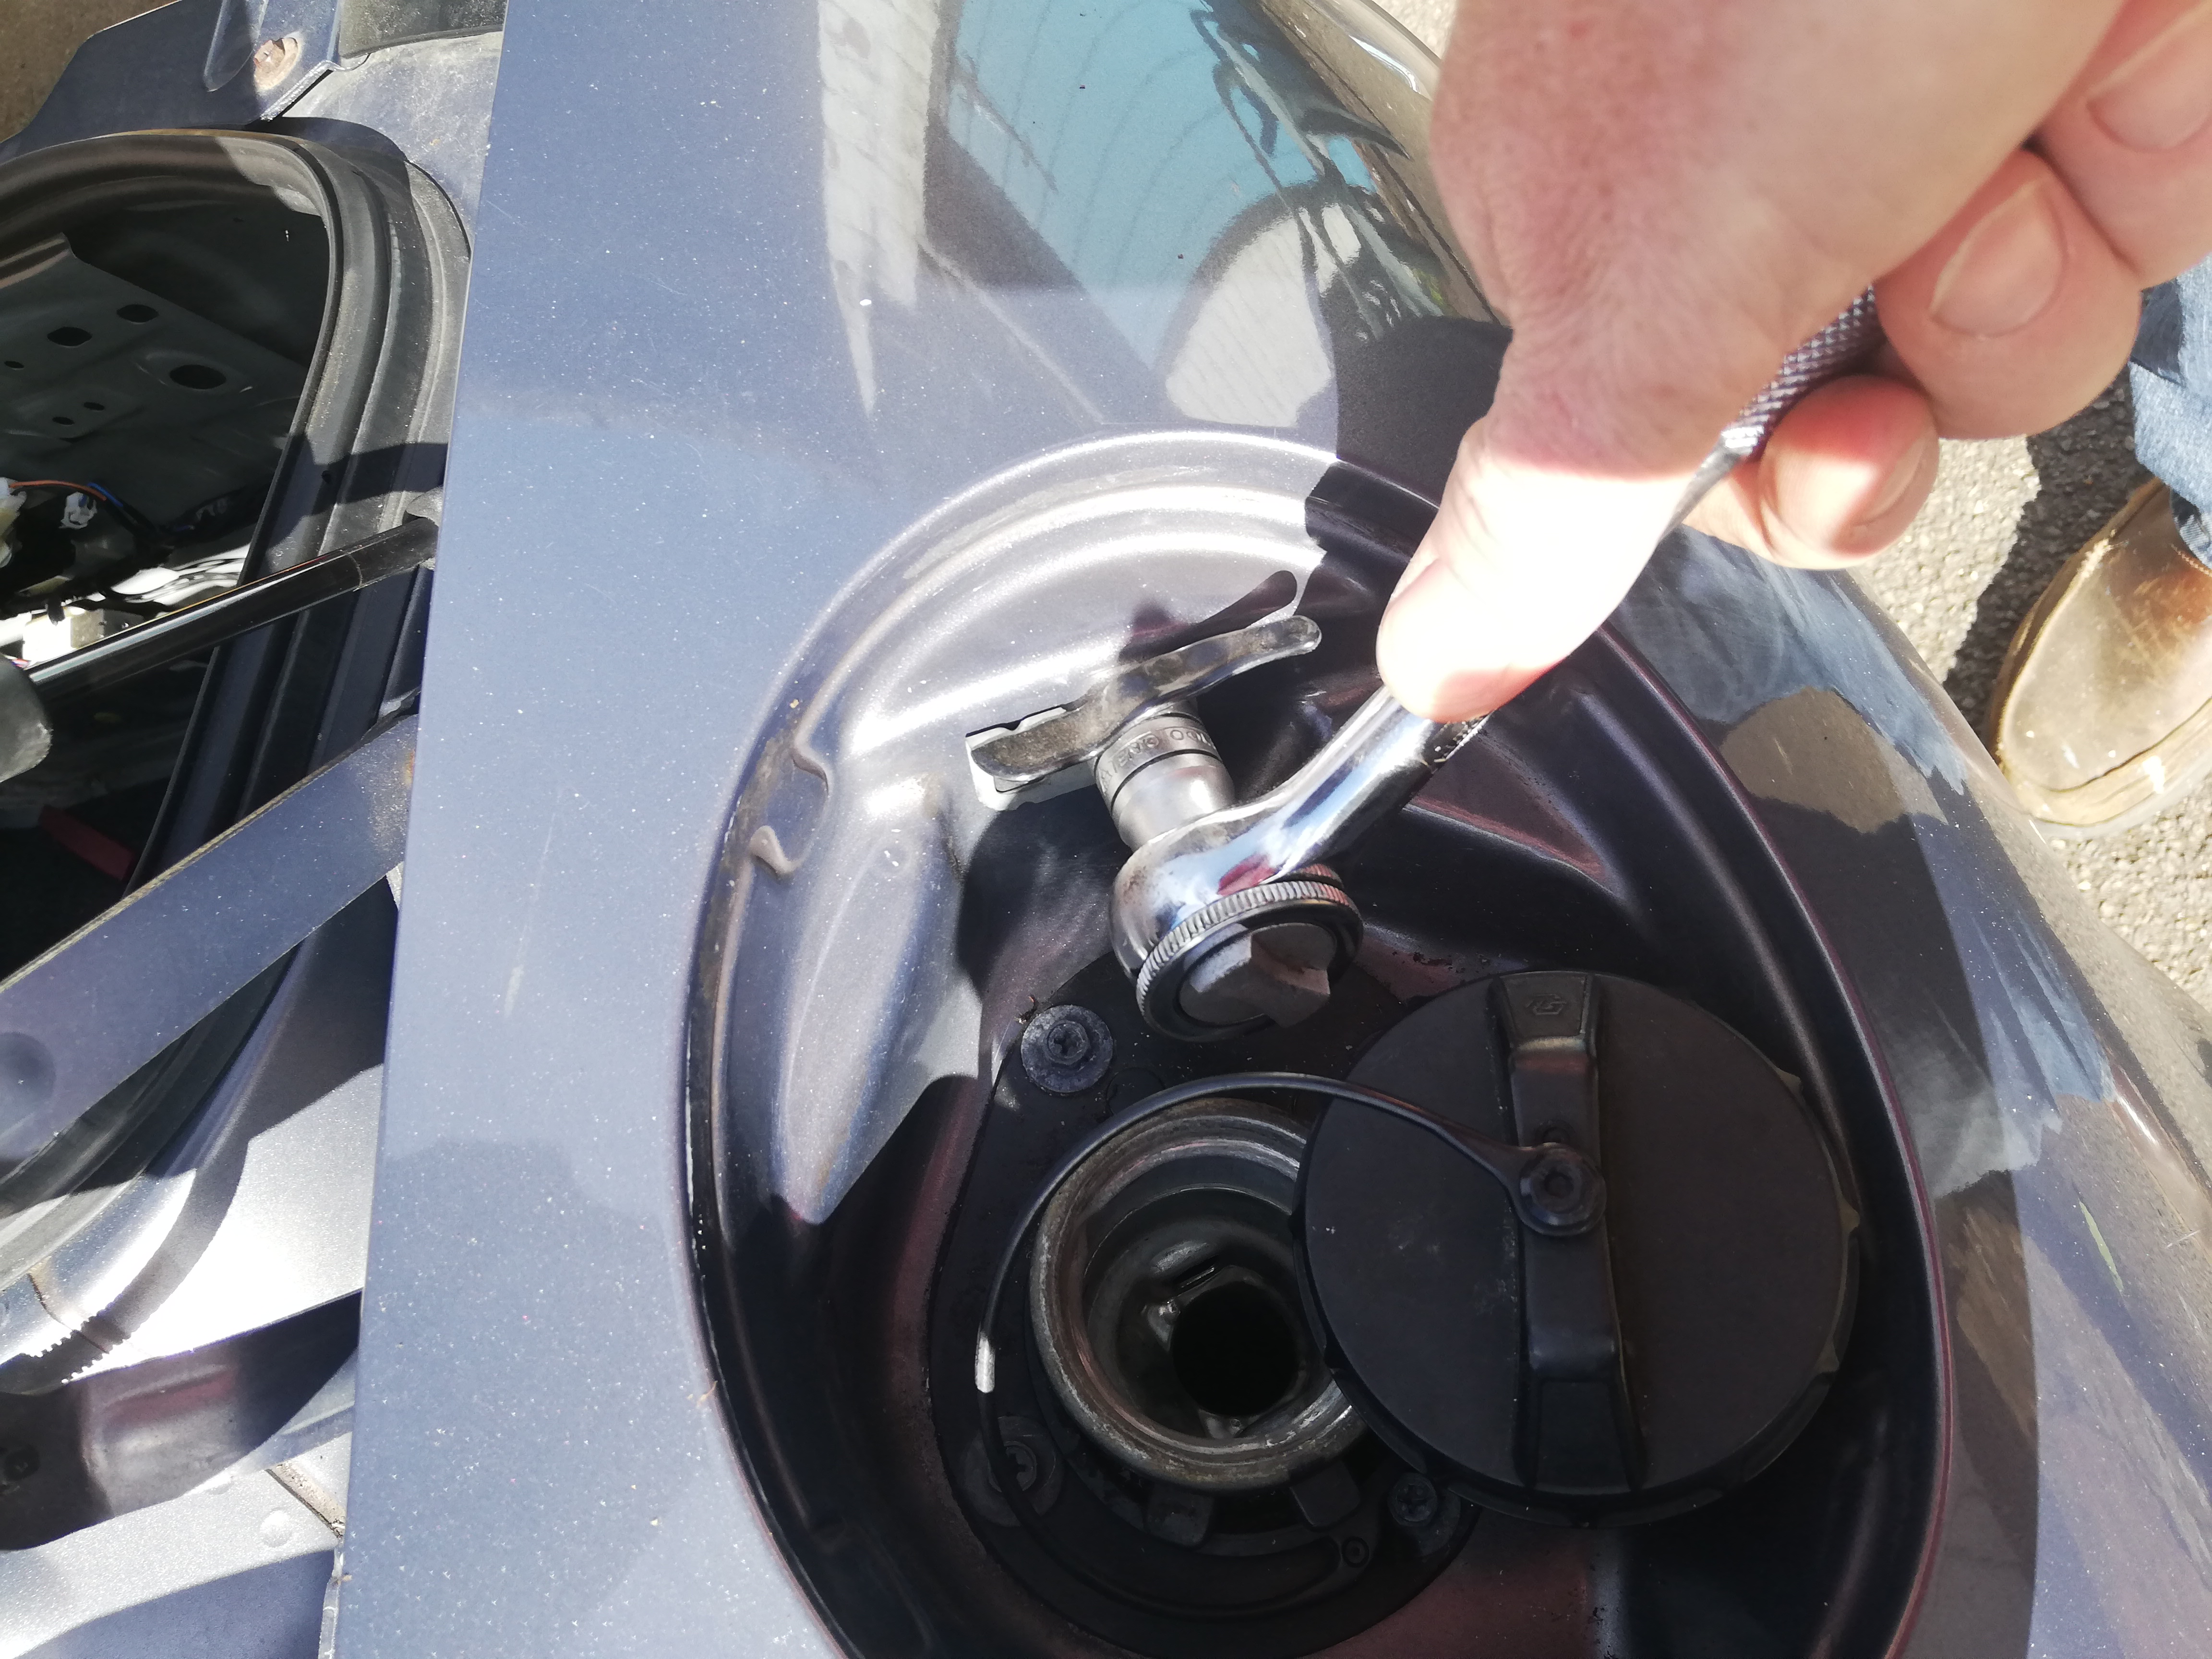
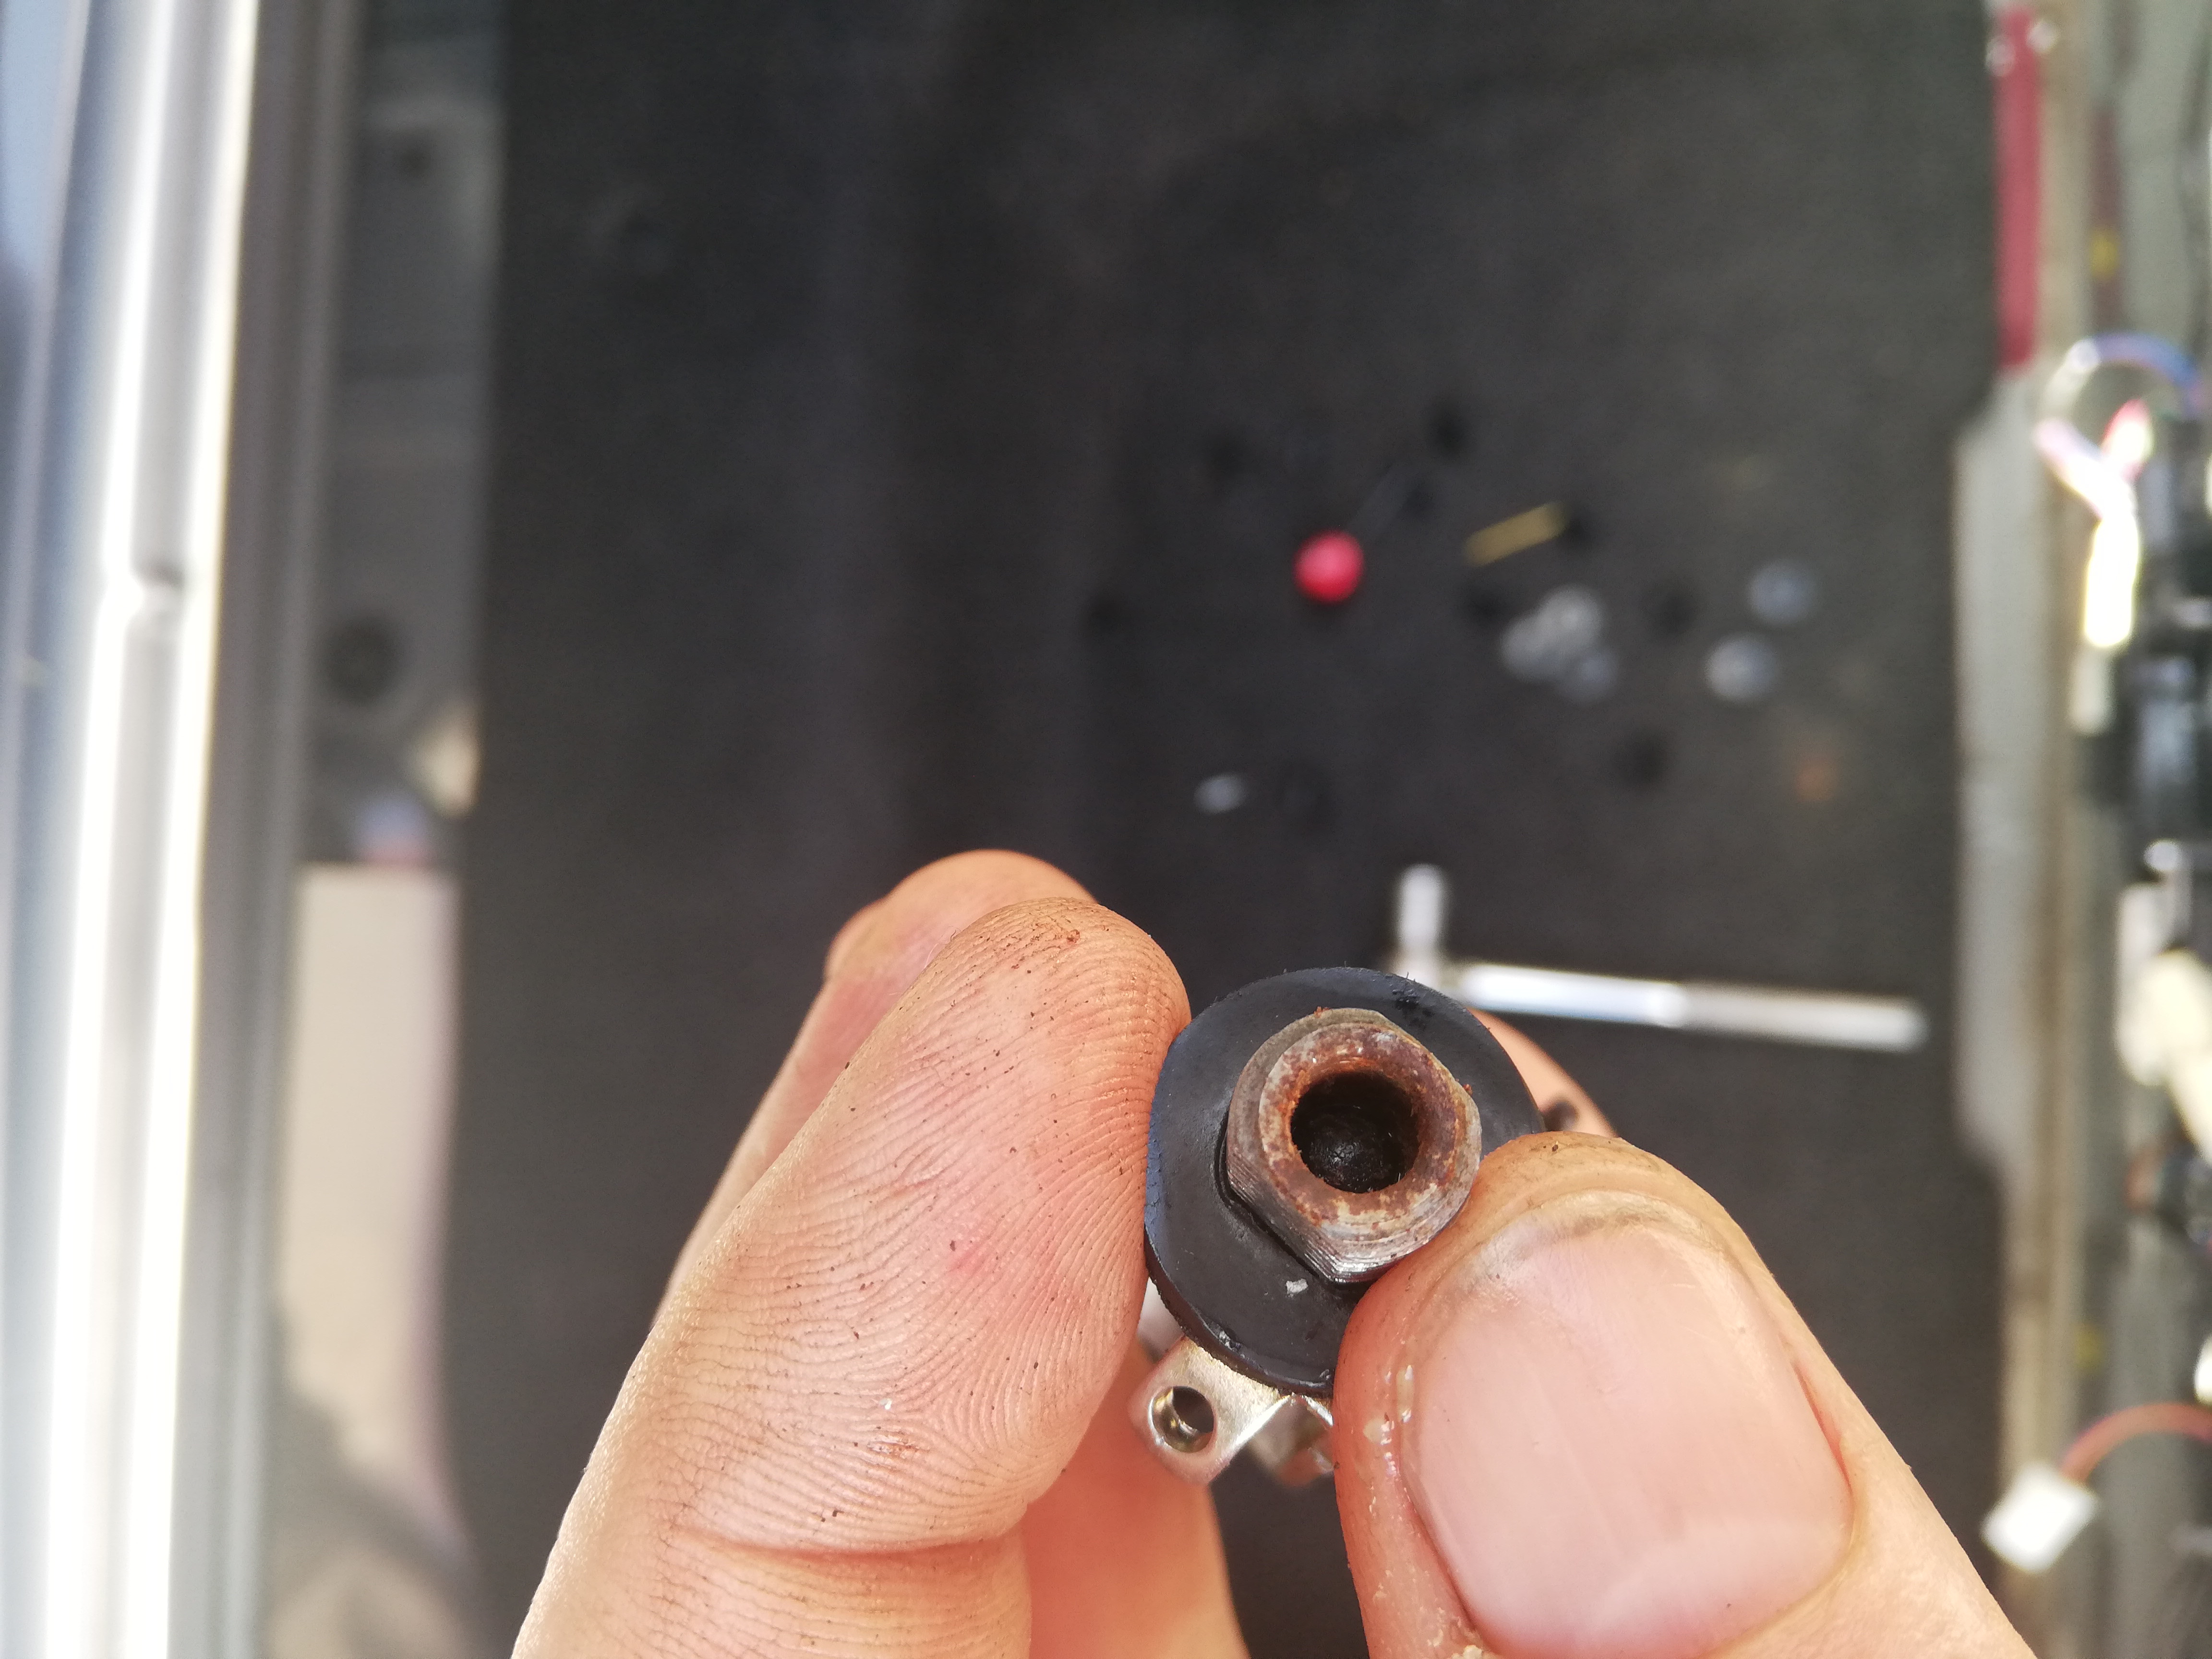
The mechanism can be removed still attached to the cable by undoing the nut inside the fuel filler area
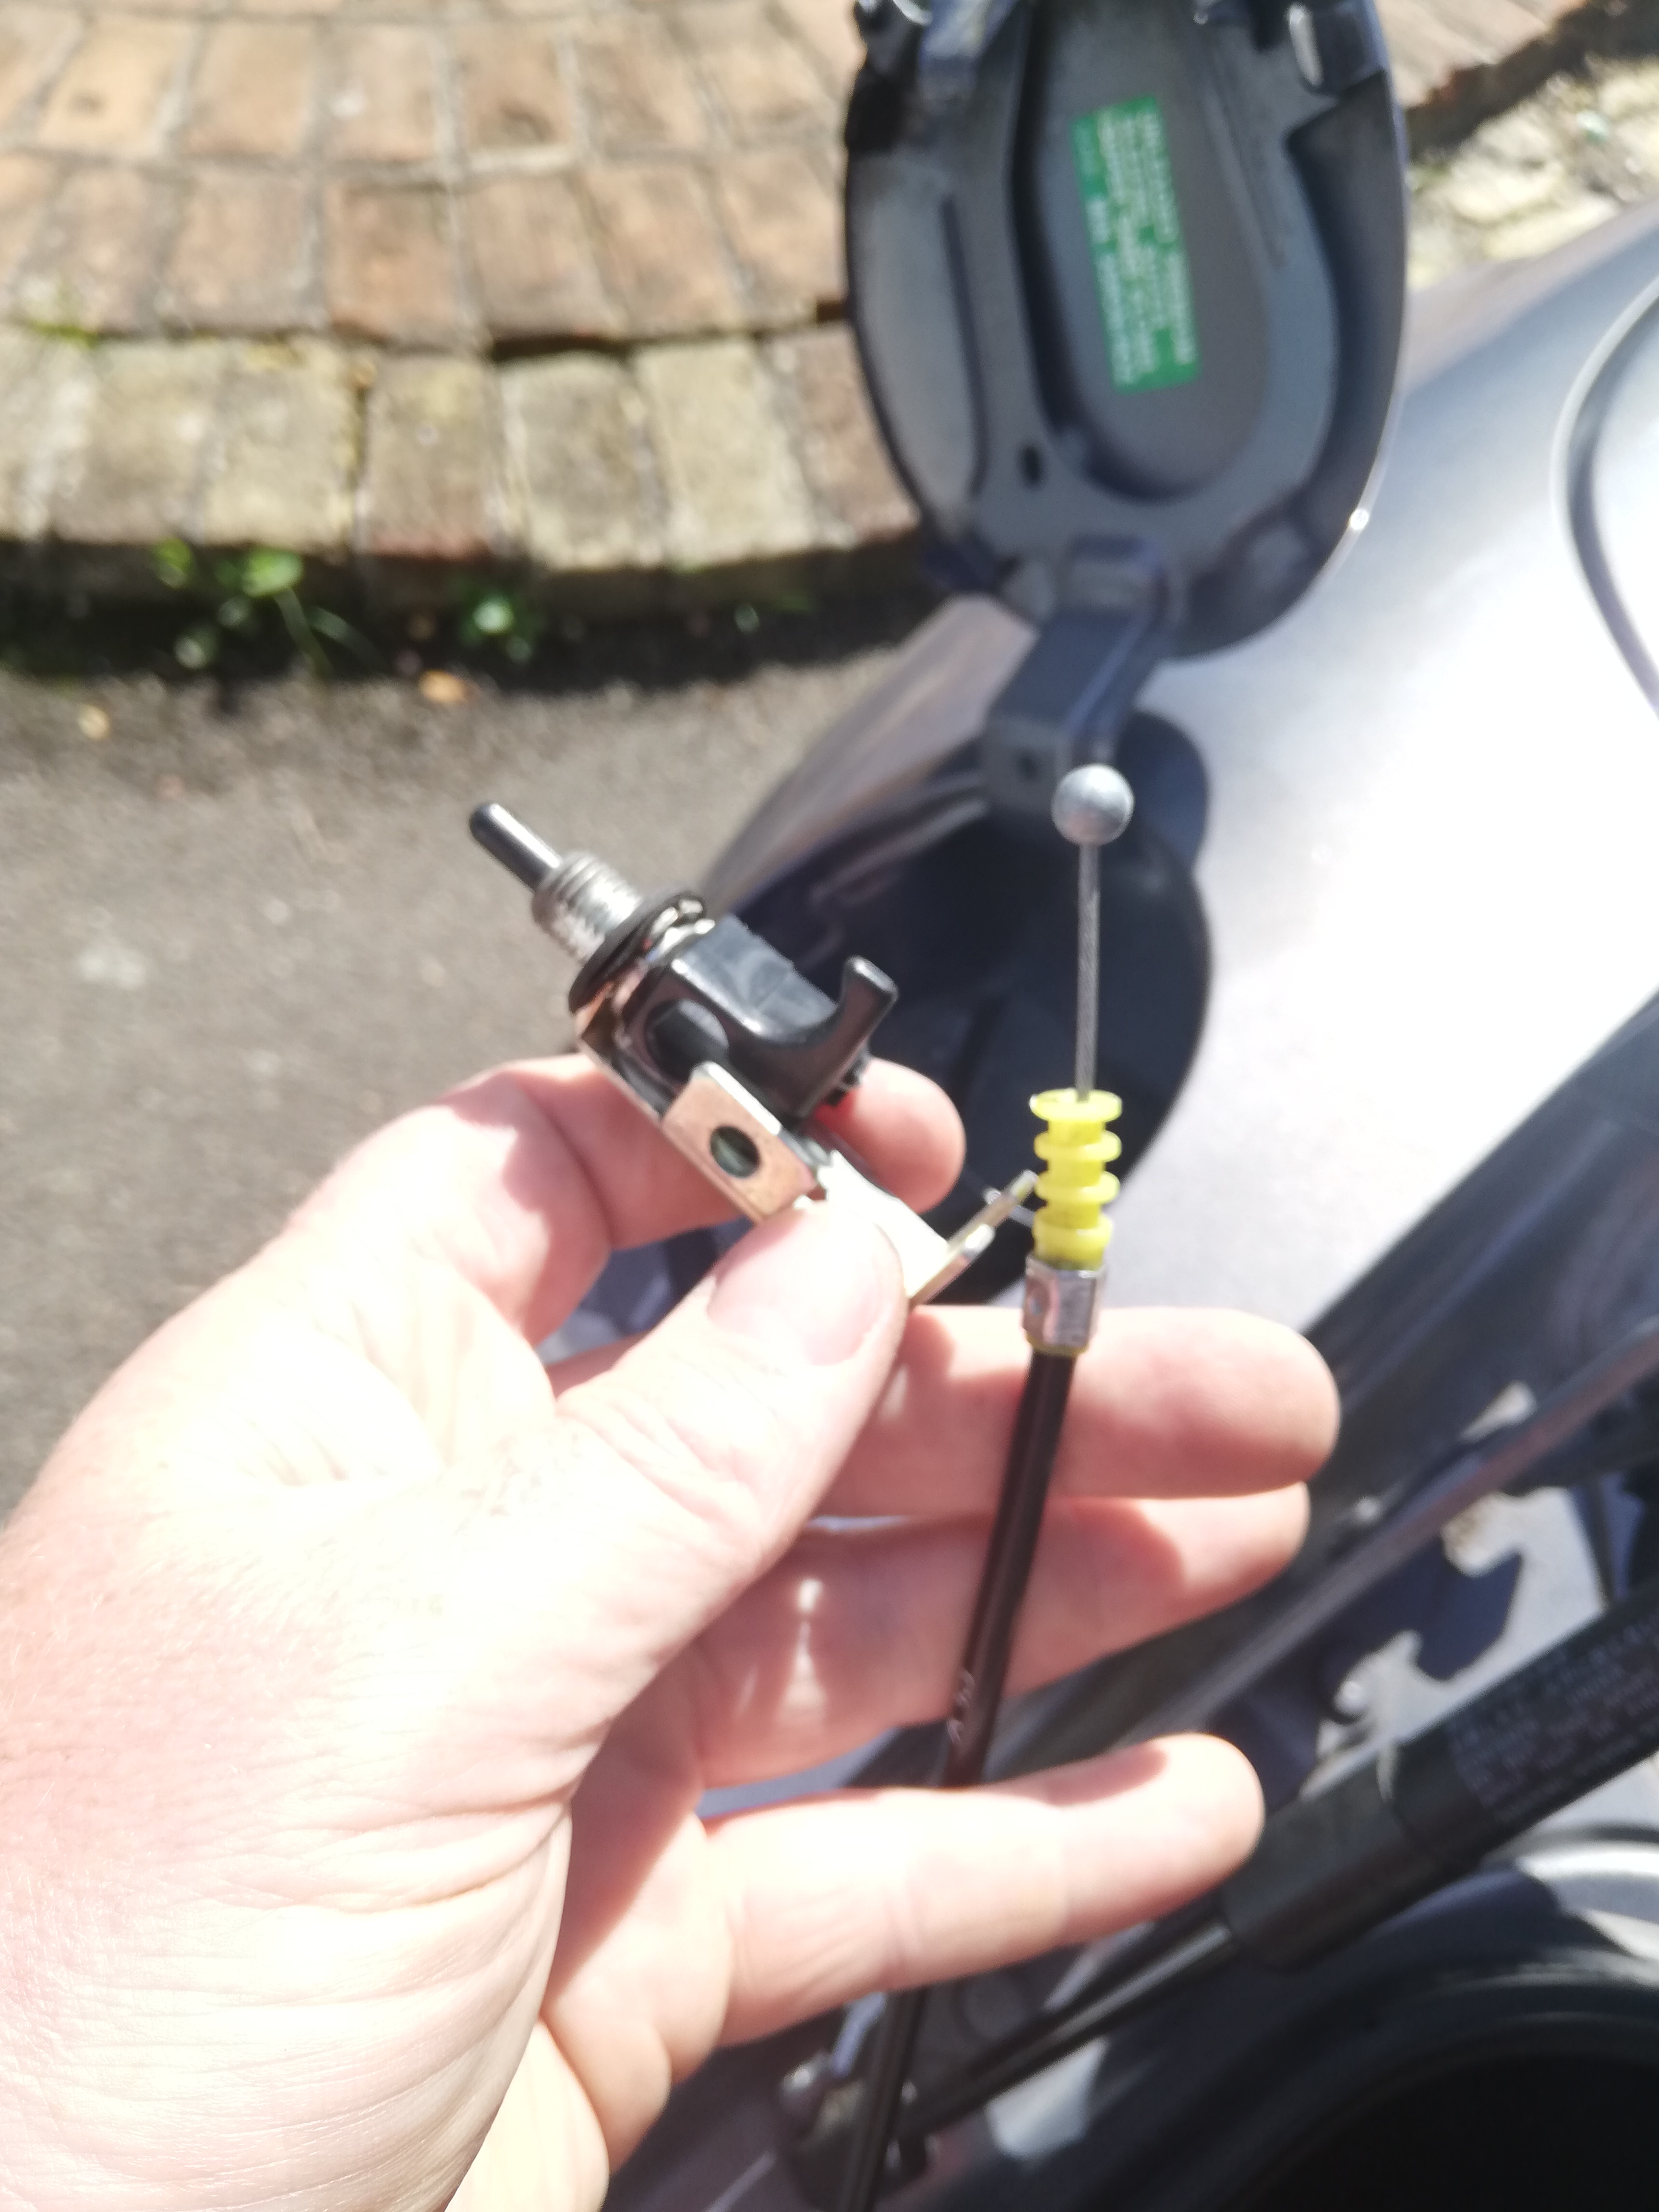
The cable comes off the mechanism easily, simply a ball ended cable that sits in a cup, just lift it out.
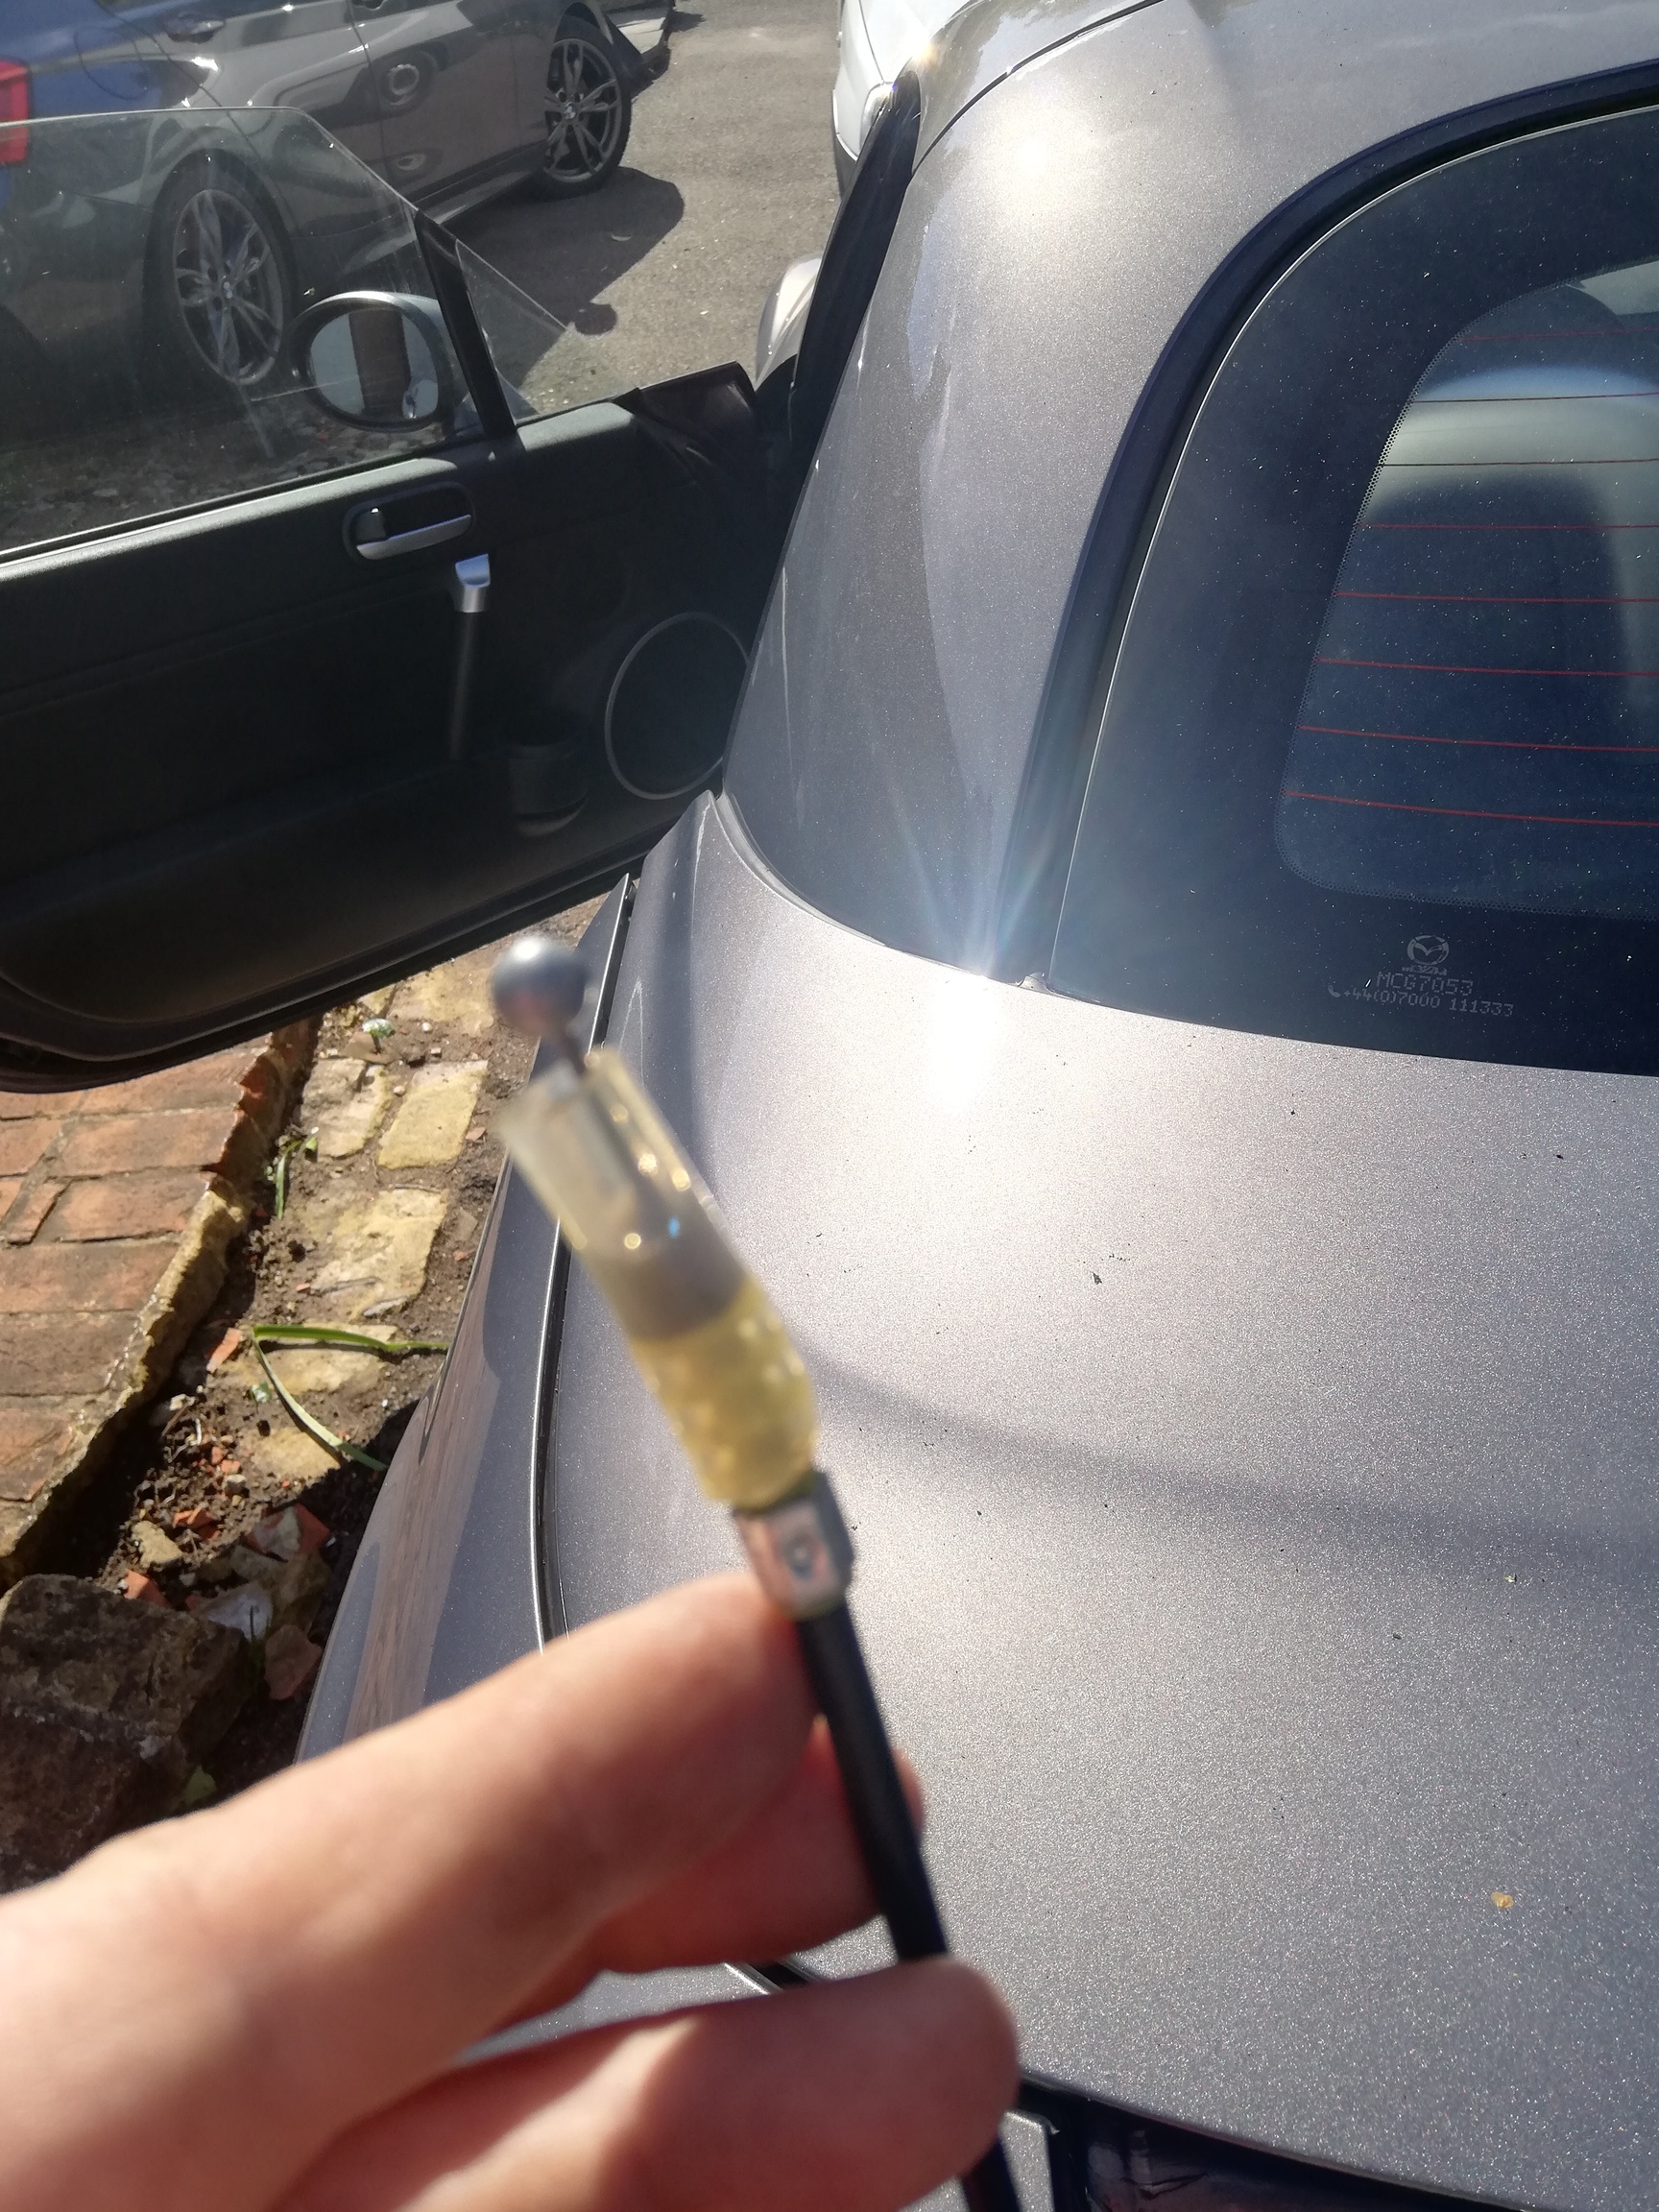
I then lubed the cable - probably not needed, and may actually be counter productive as wet lube can attract dust etc. I used a very small amount of thin penetrating oil, fed through a ‘funnel’ made form silicon tube, and let gravity do its thing.
The mechanism itself was in a poorer state, with corrosion in the ‘barrel’ causing the gritty feeling.
I lifted off the small spring but could not fully dismantle the mechanism - sort of pressed together so dismantling would probably ruin it. I may buy new on in due course, but on this one I cleaned the bore as best I could with a round needle file, washed it with penetrating oil and then sprayed some white calcium grease on it.
For good measure I carefully applied some penetrating oil to the activation end of the cable - but did not attempt to dismantle, just attacked from the outside.
Reassembly is simple - attach mechanism to cable, route cable though holding clips, feed through hole in the panel to the filler, put the nut and cover spring back on, replace boot liner front and back, remembering to connect the electrical connection for the lights, replace side liner, replace carpet.
Having done this, I am happy I understand how it all works so I can access the fuel cap in five minutes if it should ever fail. I am glad I cleaned up the catch, but not so sure I needed to lube the cable, so suggest you don’t do that unless yours is in poorer condition than mine. Mine is now feeling almost ‘factory fresh’, but suspect a new mechanism would be the only way to get it to feel like a knife through butter.