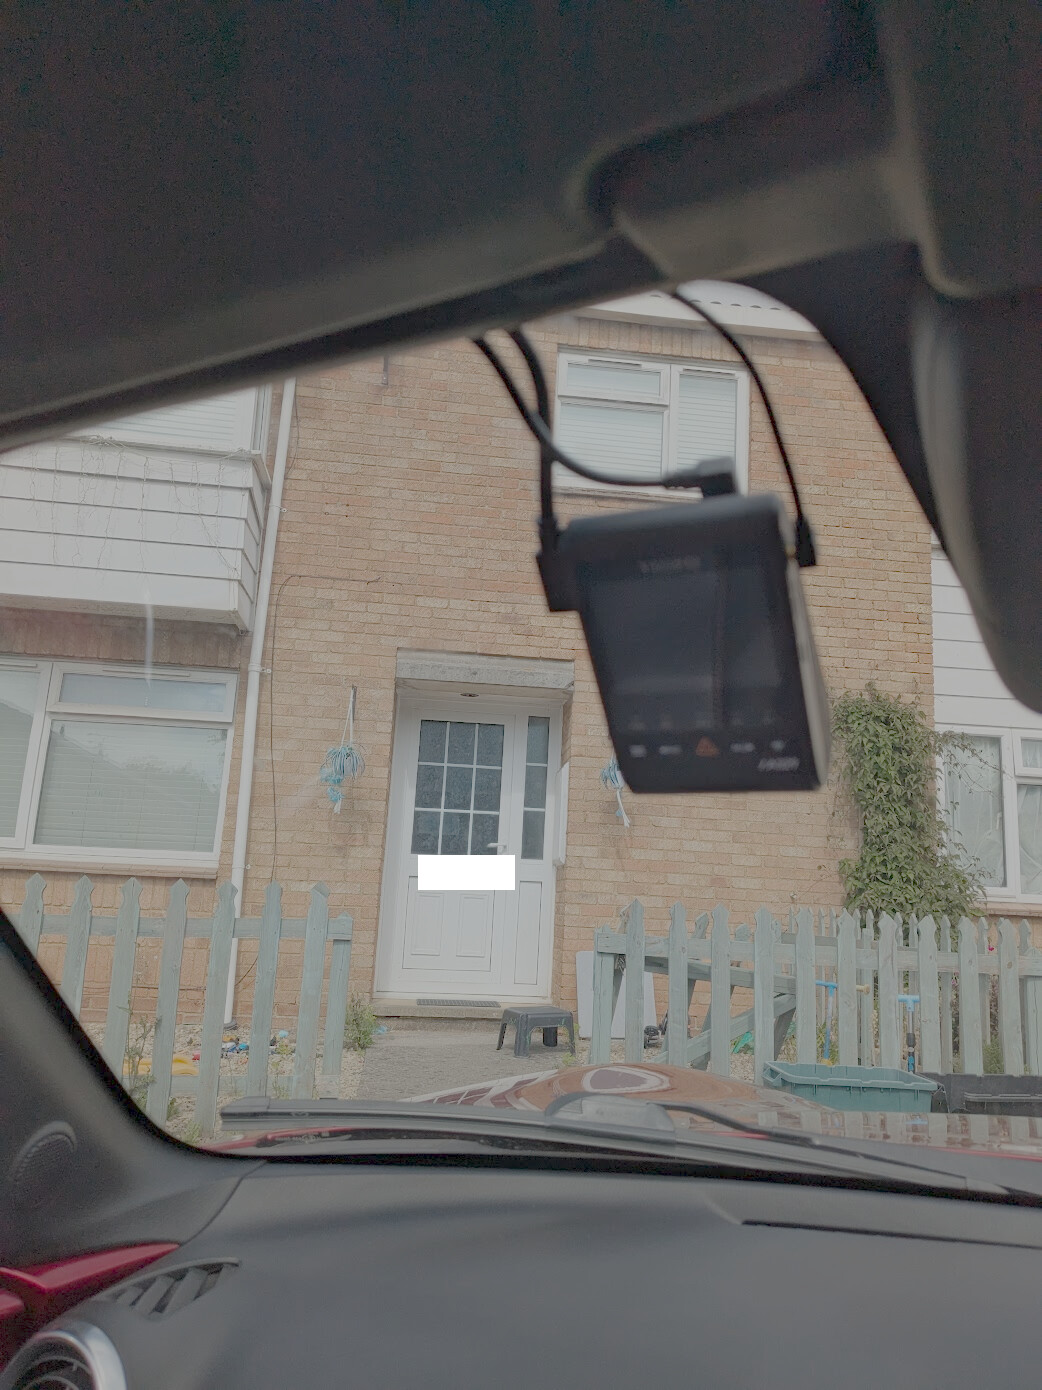
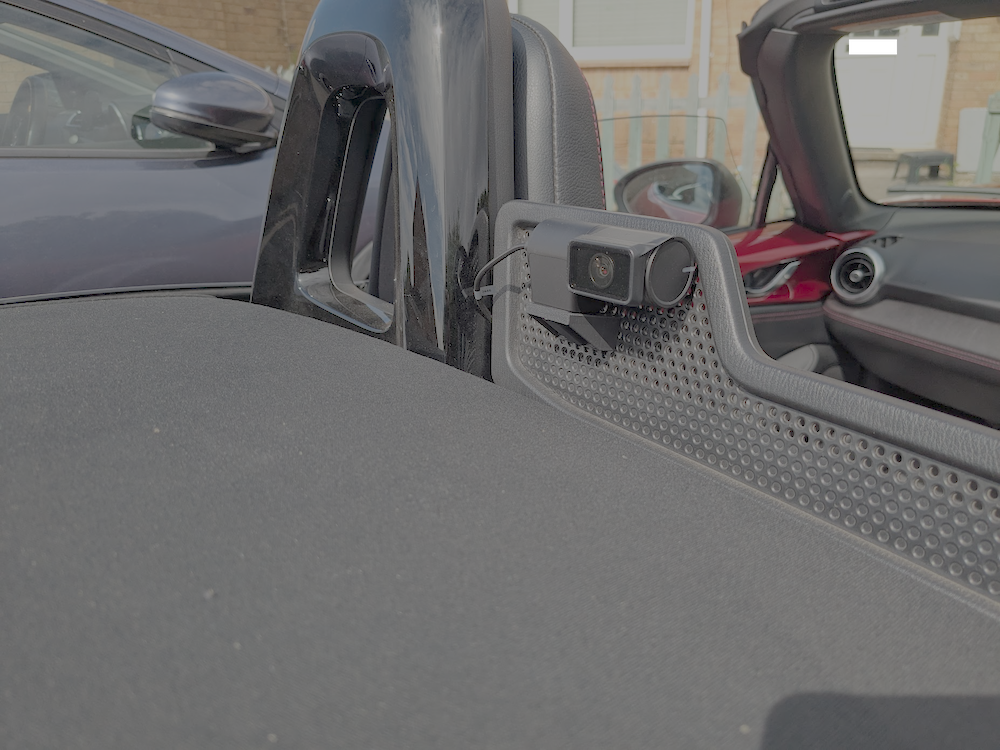
Viofo A329 front and rear cam installed, saving video to an SSD.
All steps not thoroughly documented in the pics, apologies, I was too distracted by the process. Hope it helps someone do the same. Happy to answer any questions.
Took me about 4 hours to do, that was with plenty of testing along the way in ensure it was all working - parking mode etc. - before putting all the trim back on.
I got the fuse hard wiring kit along with the camera and also the specific Viofo USB-C cable to connect the SDD: 1.8M/2.5M SSD Hard Drive Data Connection Cable for VIOFO A329/A329S Se
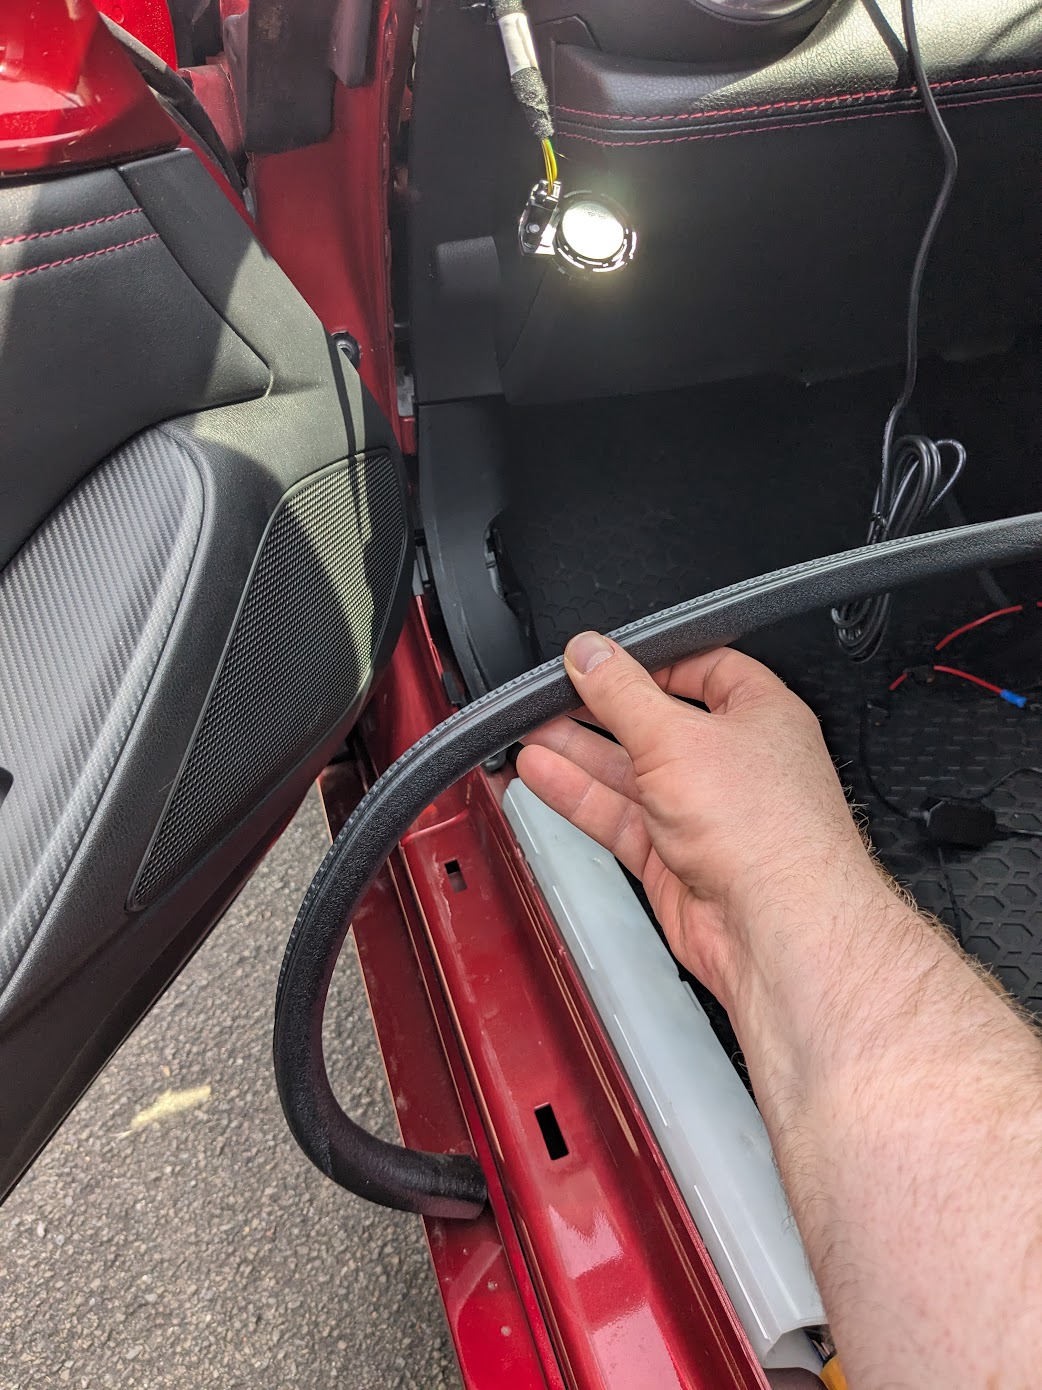
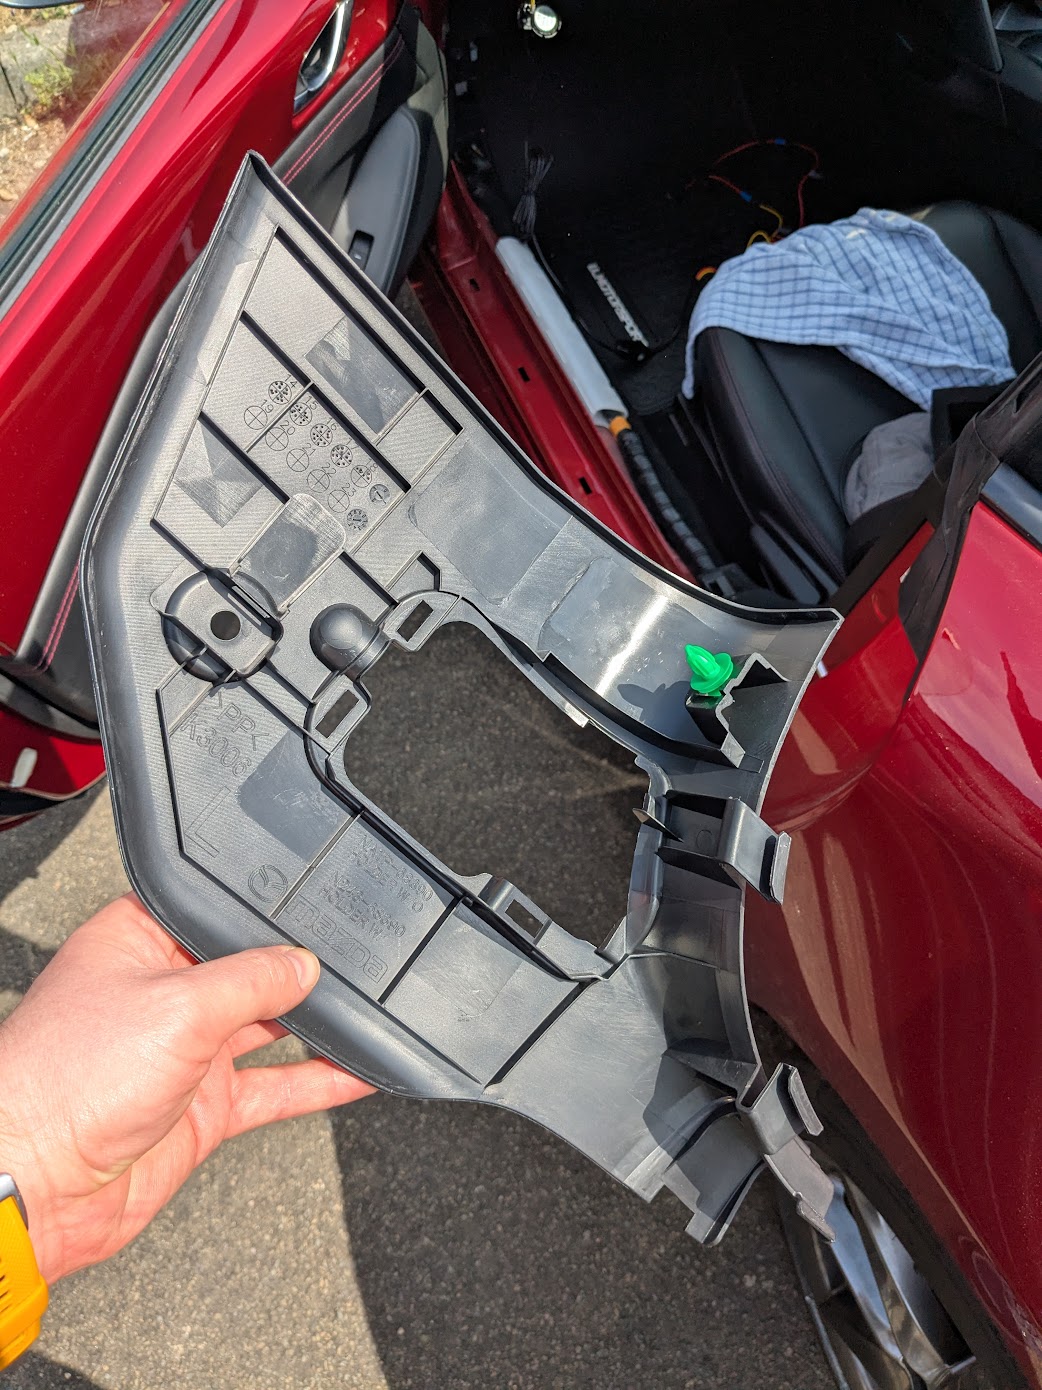
Trim comes off and goes on pretty easily.
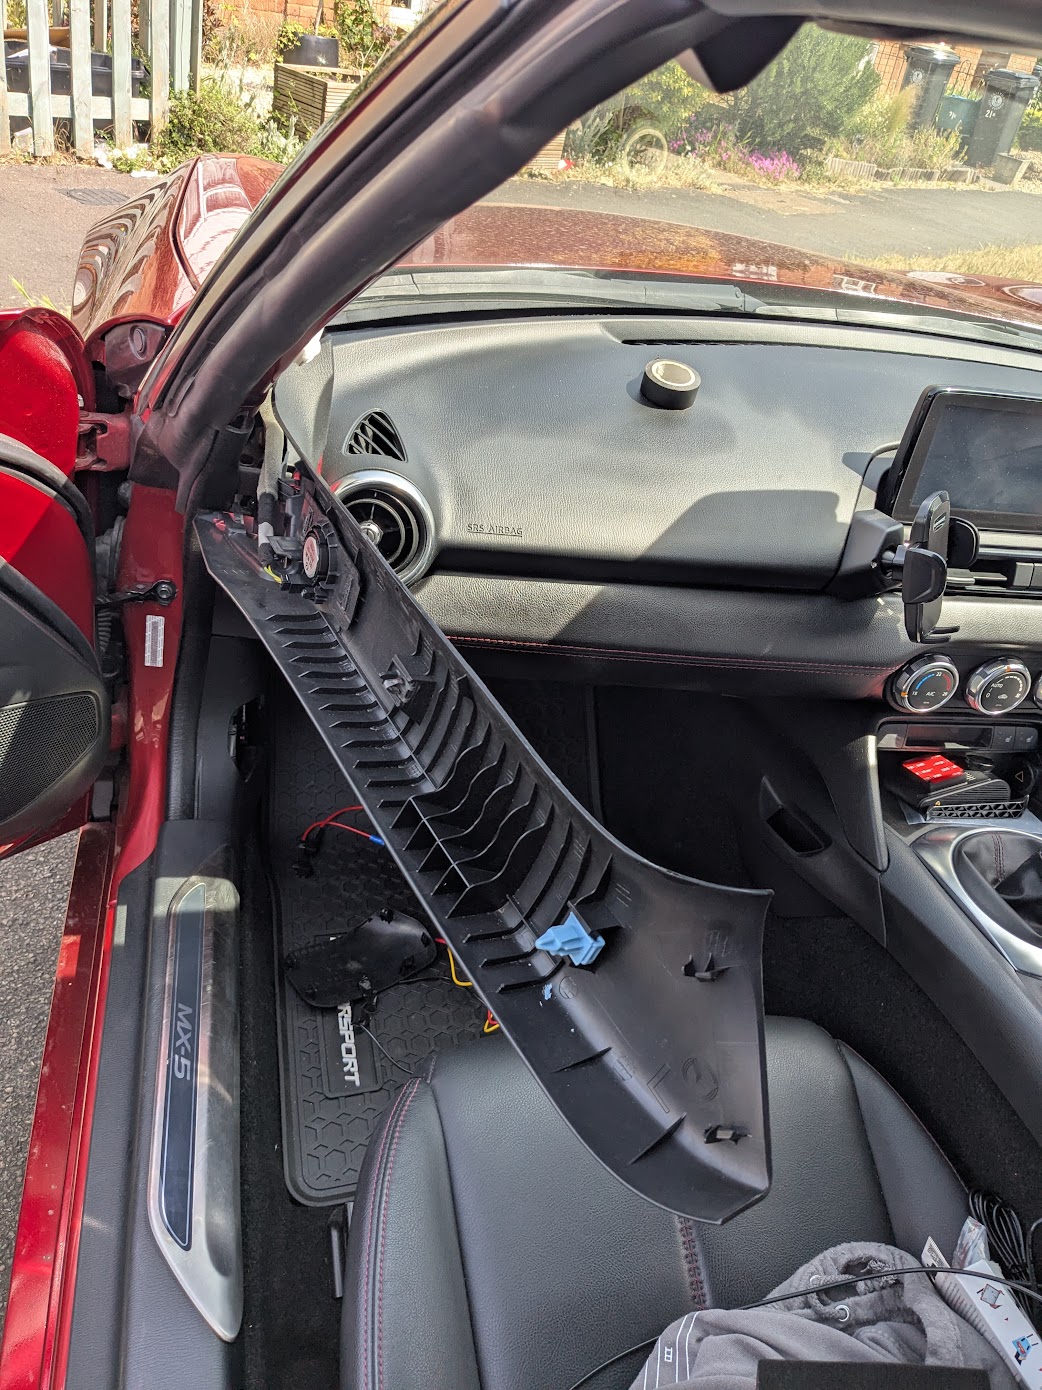
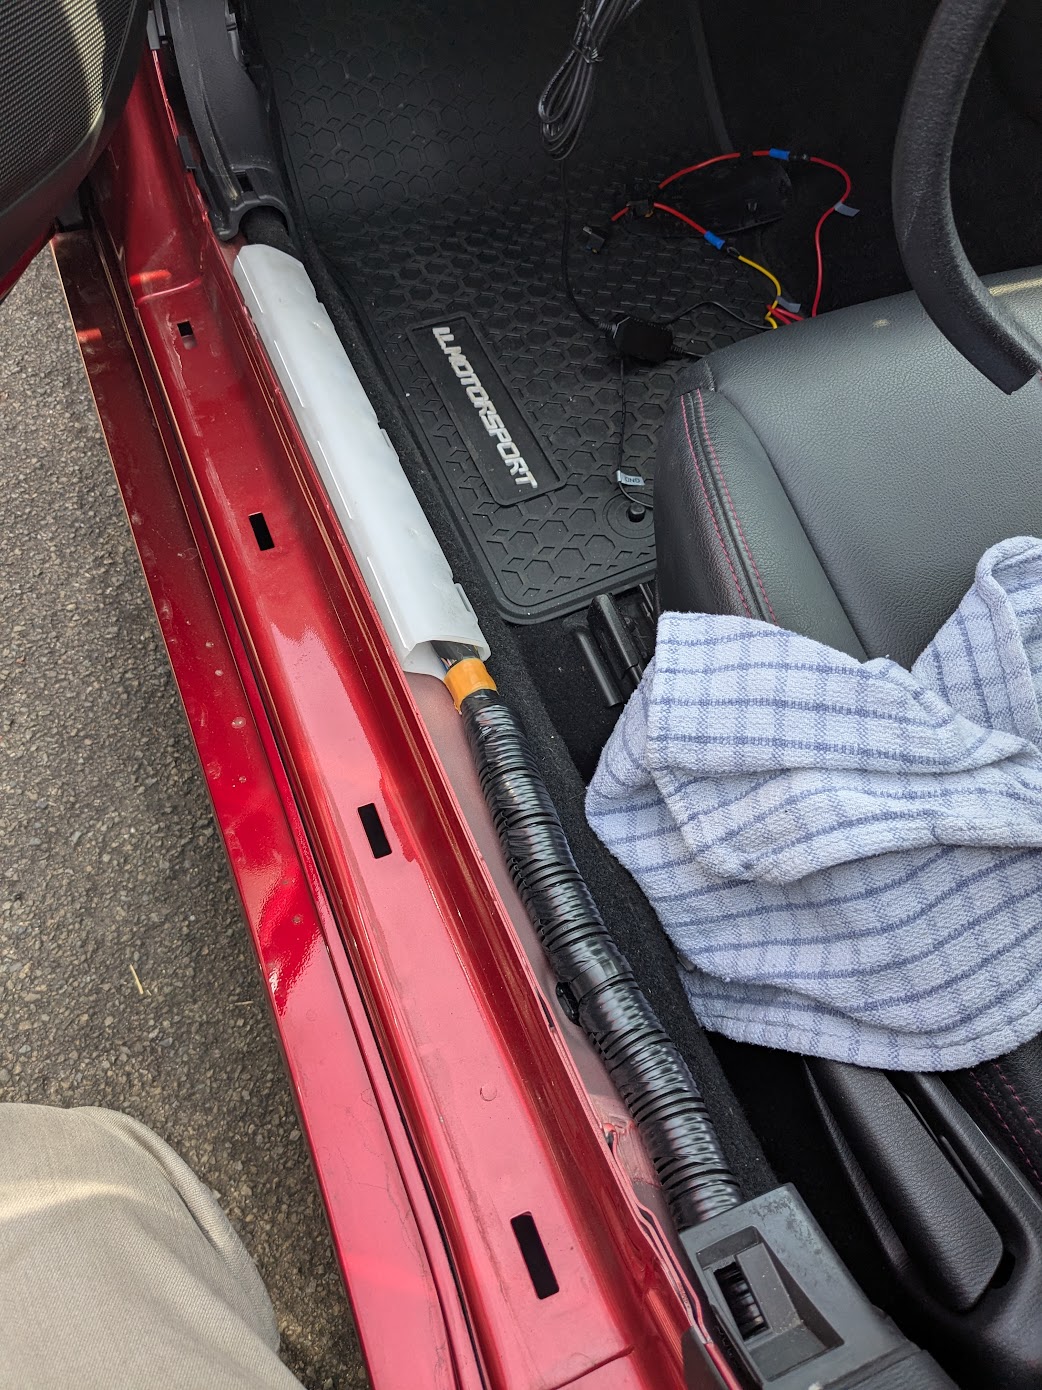
I took trim out behind the seats in an awkward order I think, but made it work.
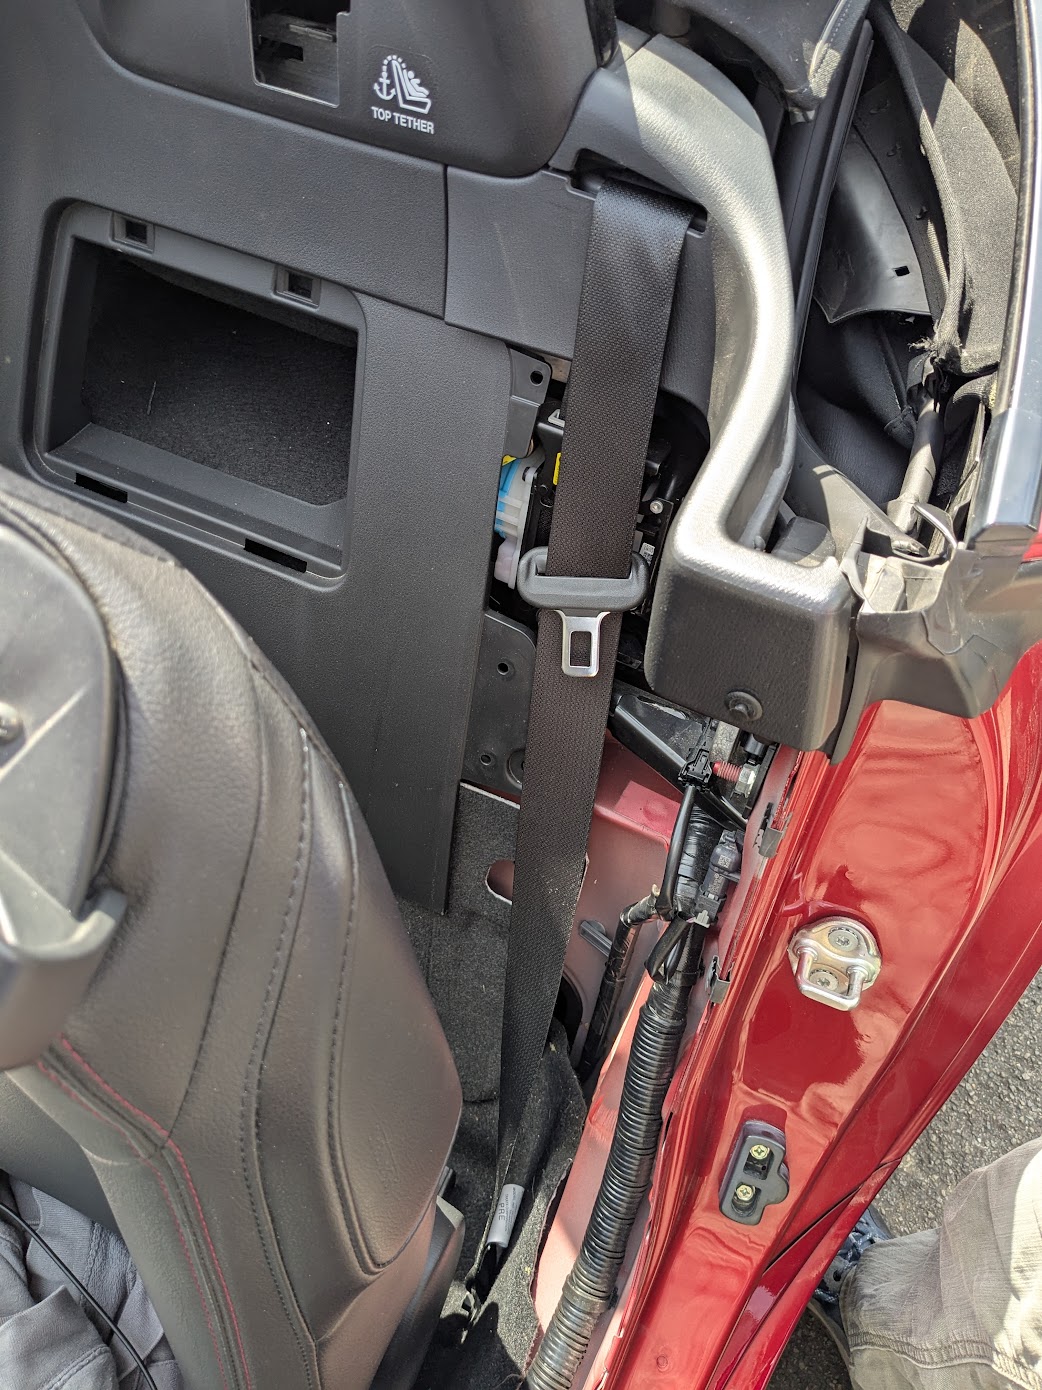
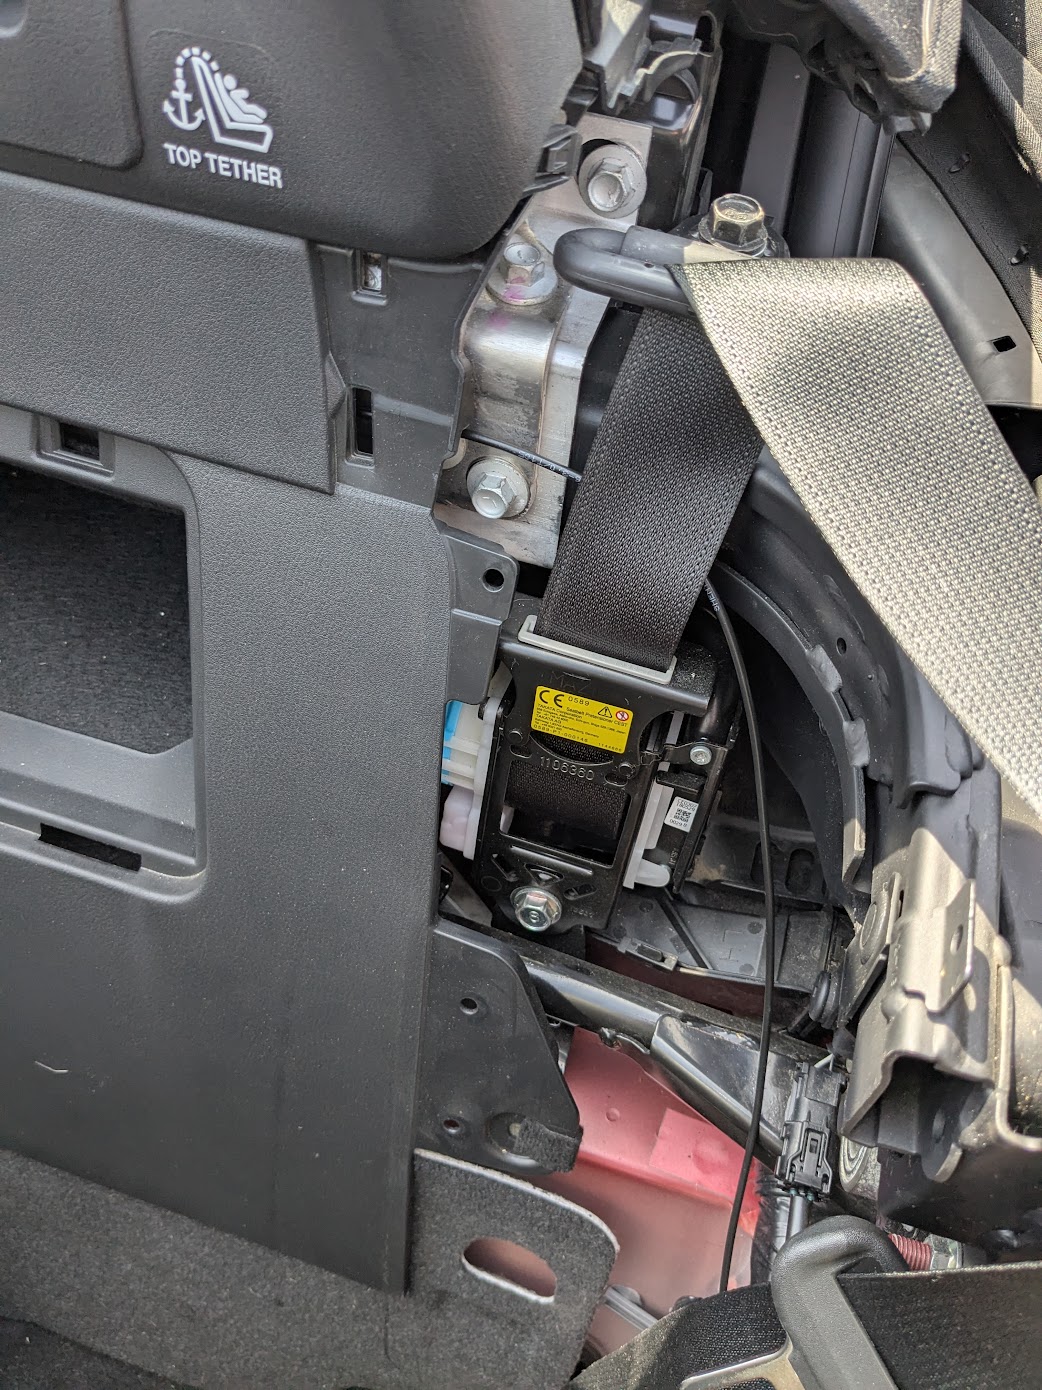
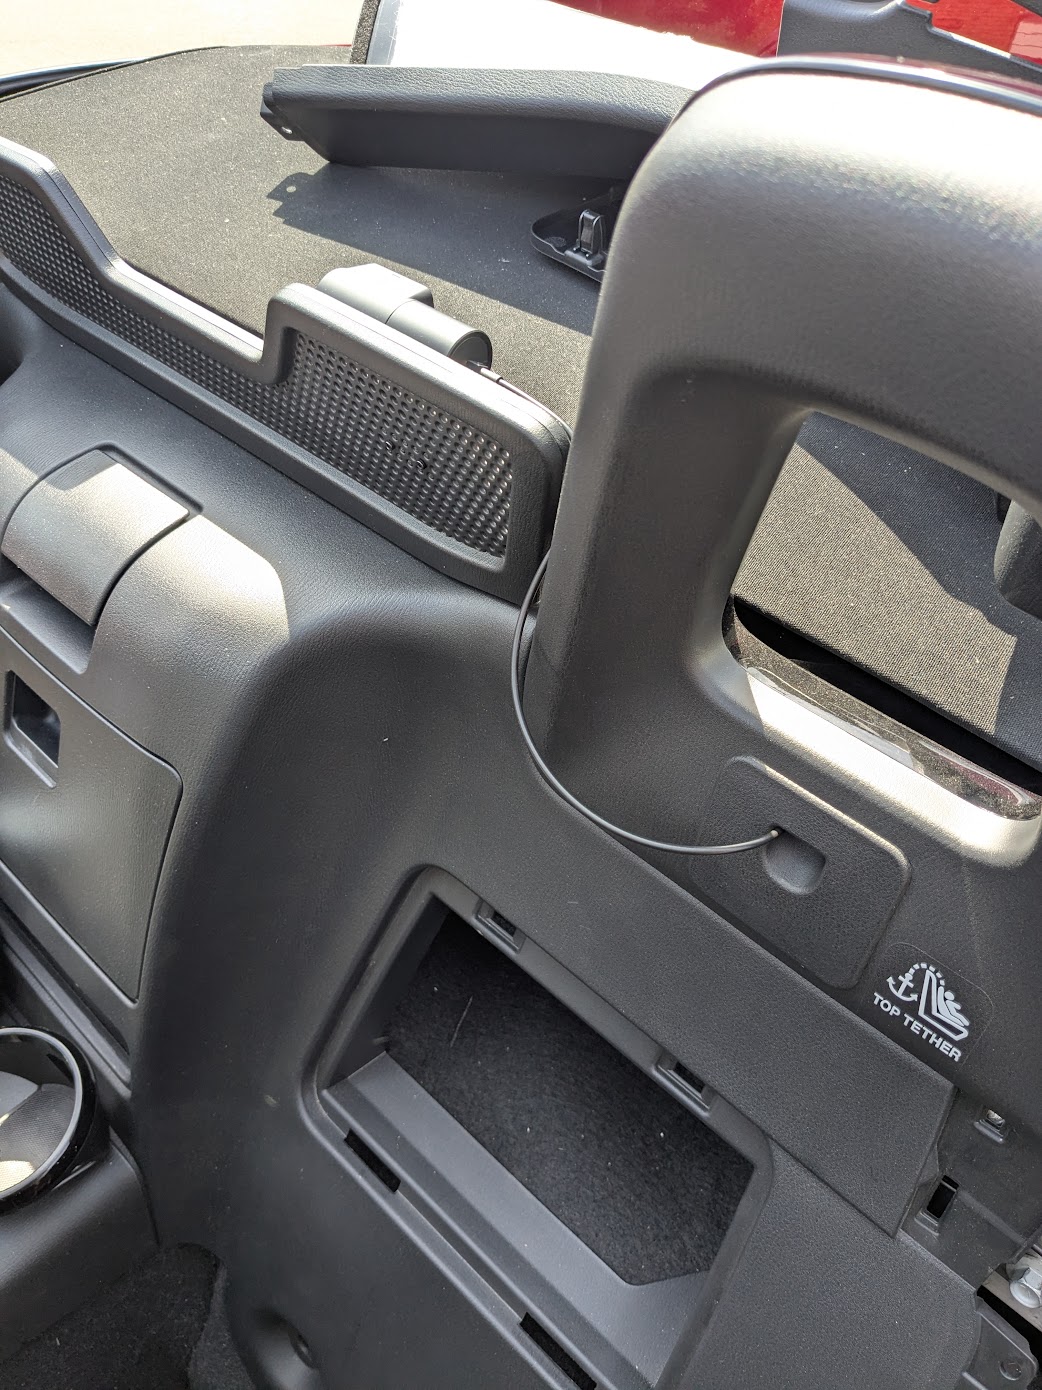
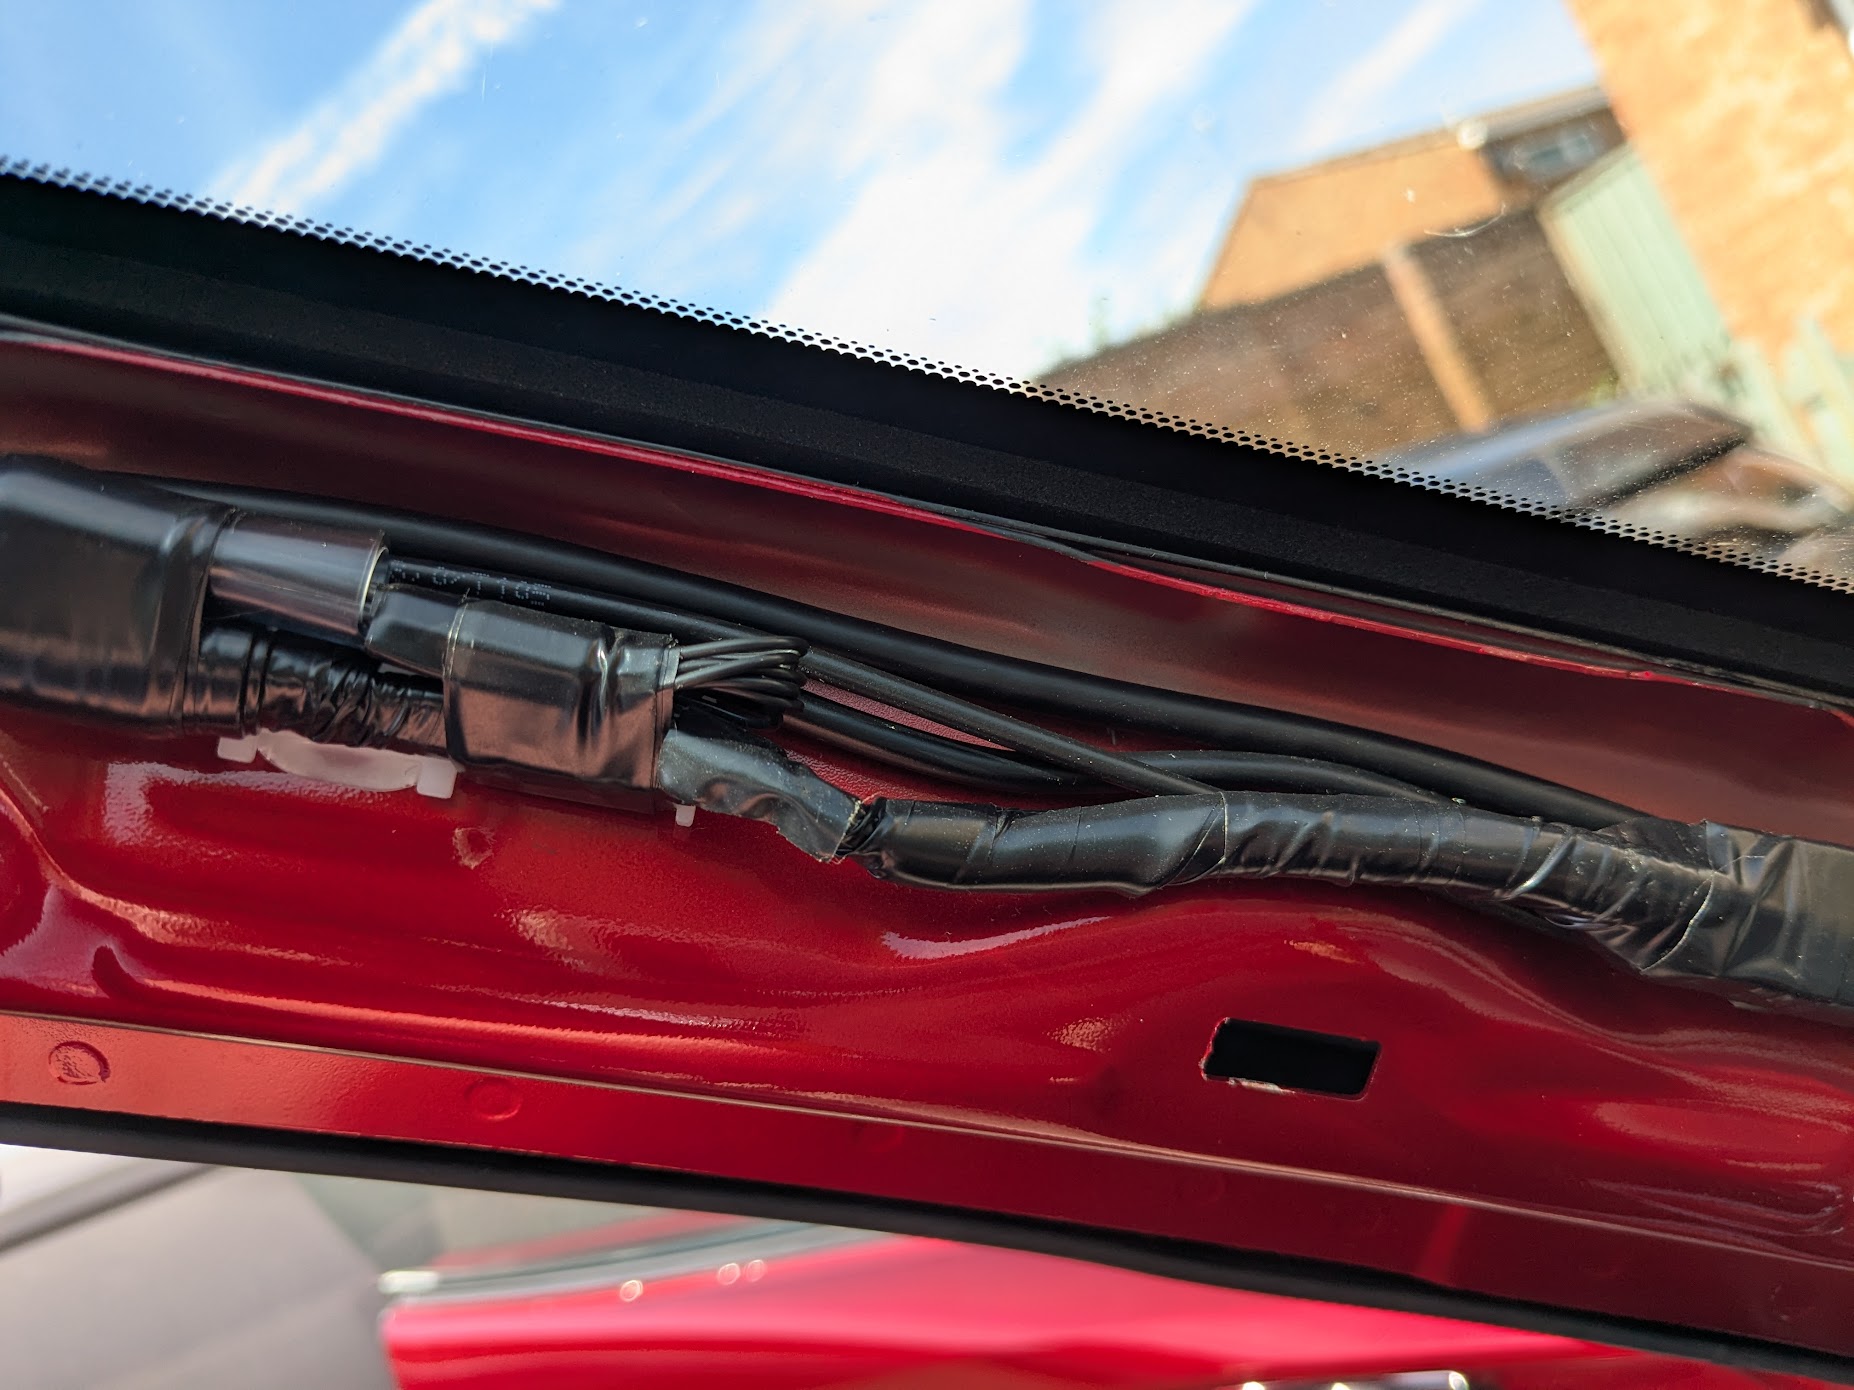
Three cables - power, SSD and rear co-axial - all routed down the A-pillar:
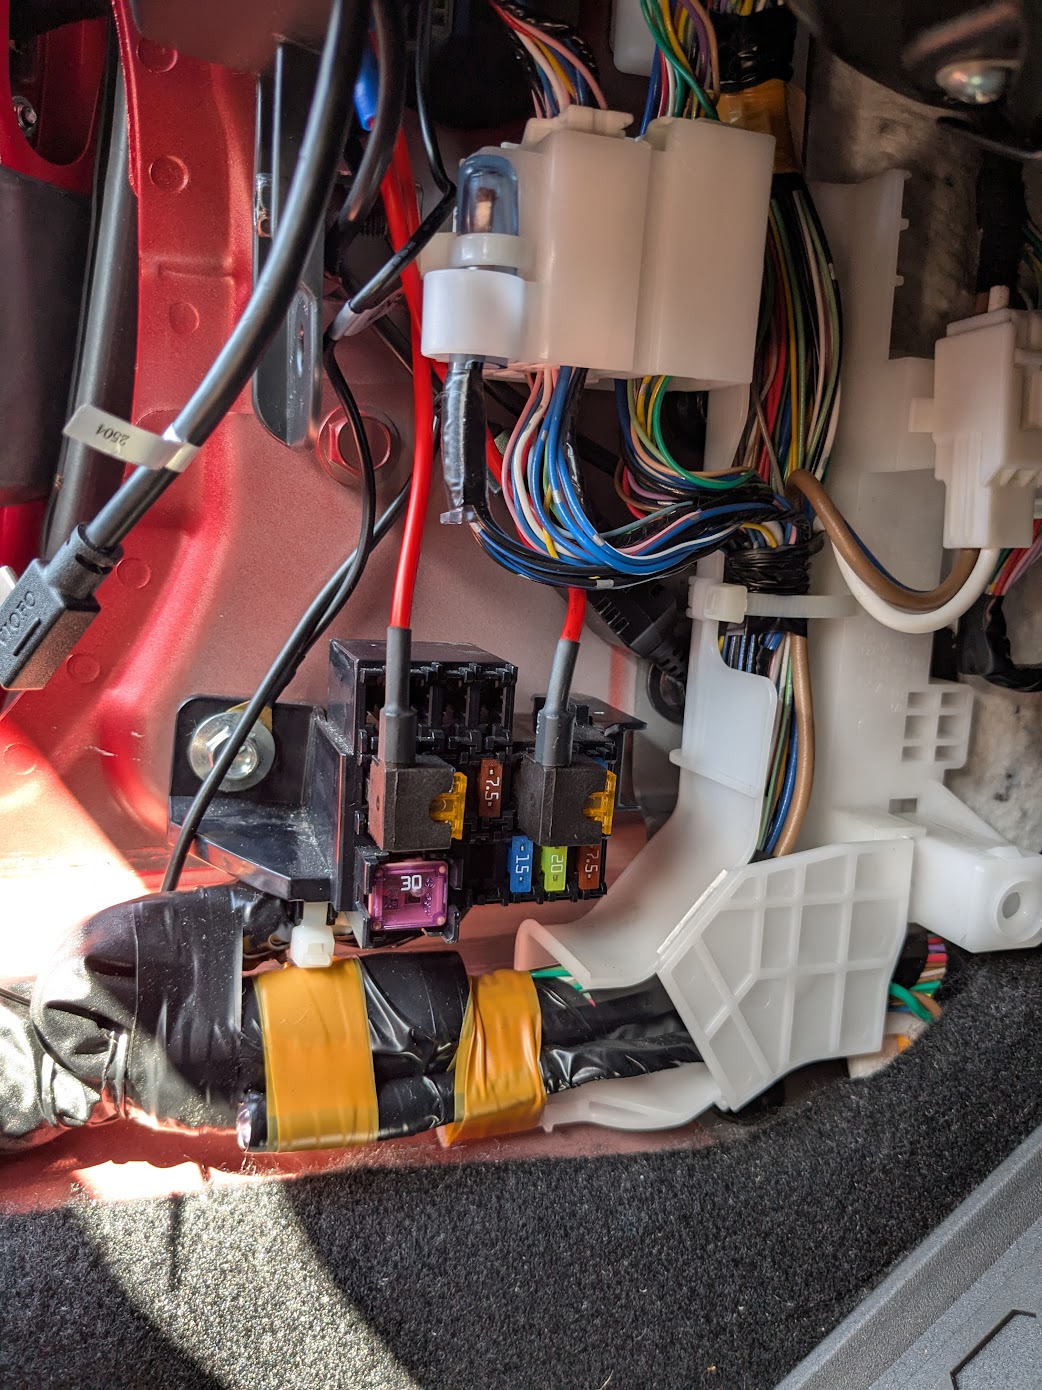
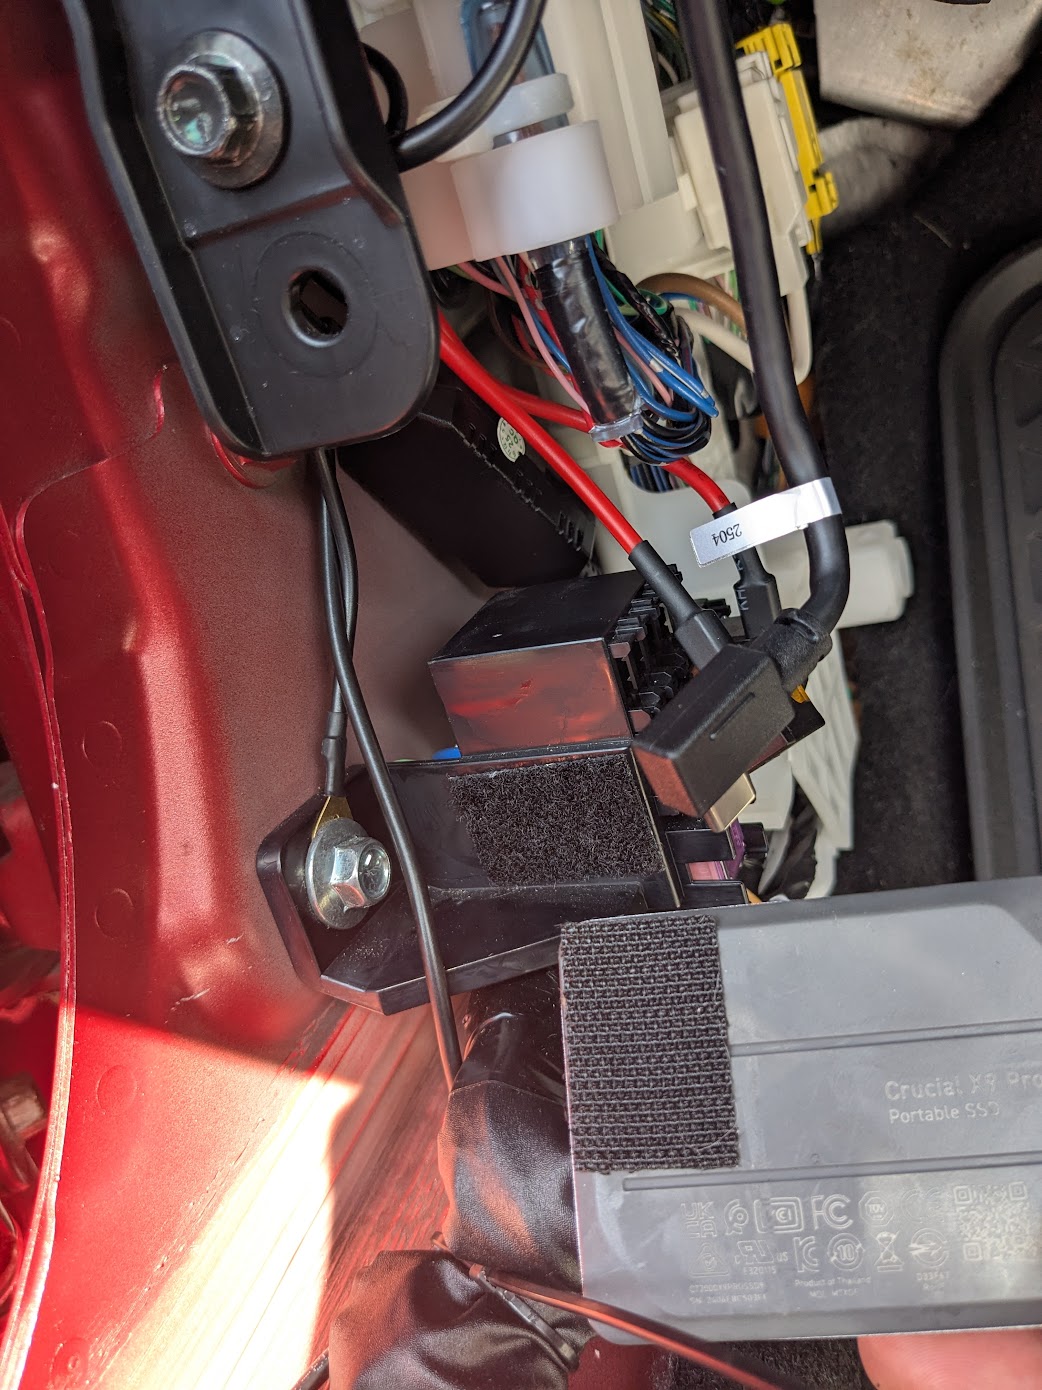
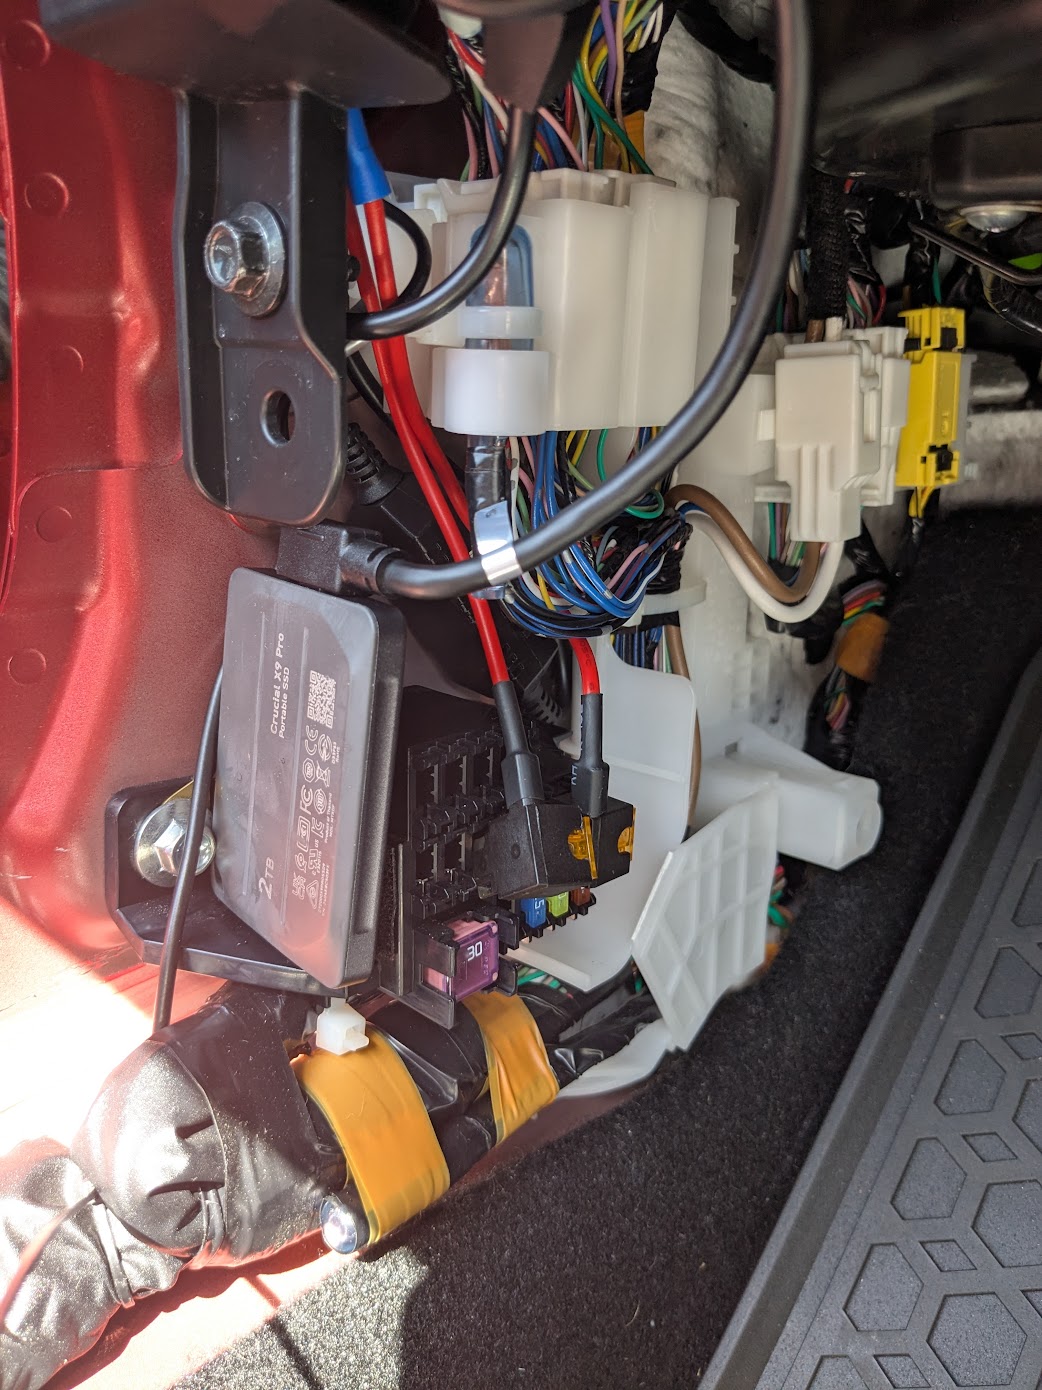
The SSD (Crucial X9 Pro 2TB) was small enough to fit into the space next to the fuses in the passenger footwell where the power taps are connected, with a bit of velcro to keep it in place.
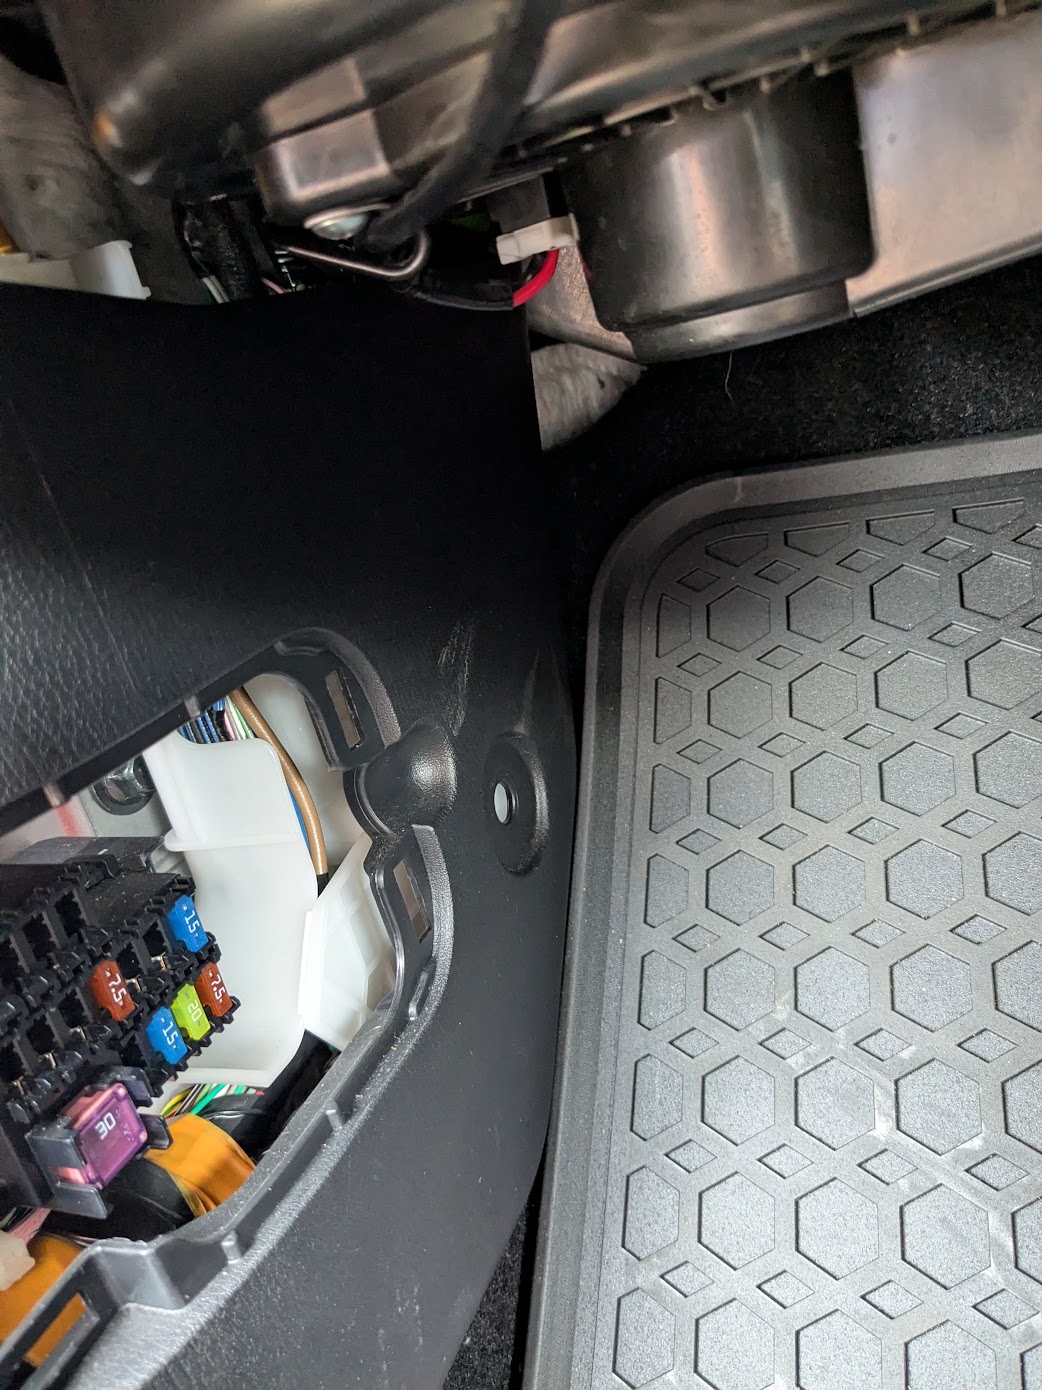
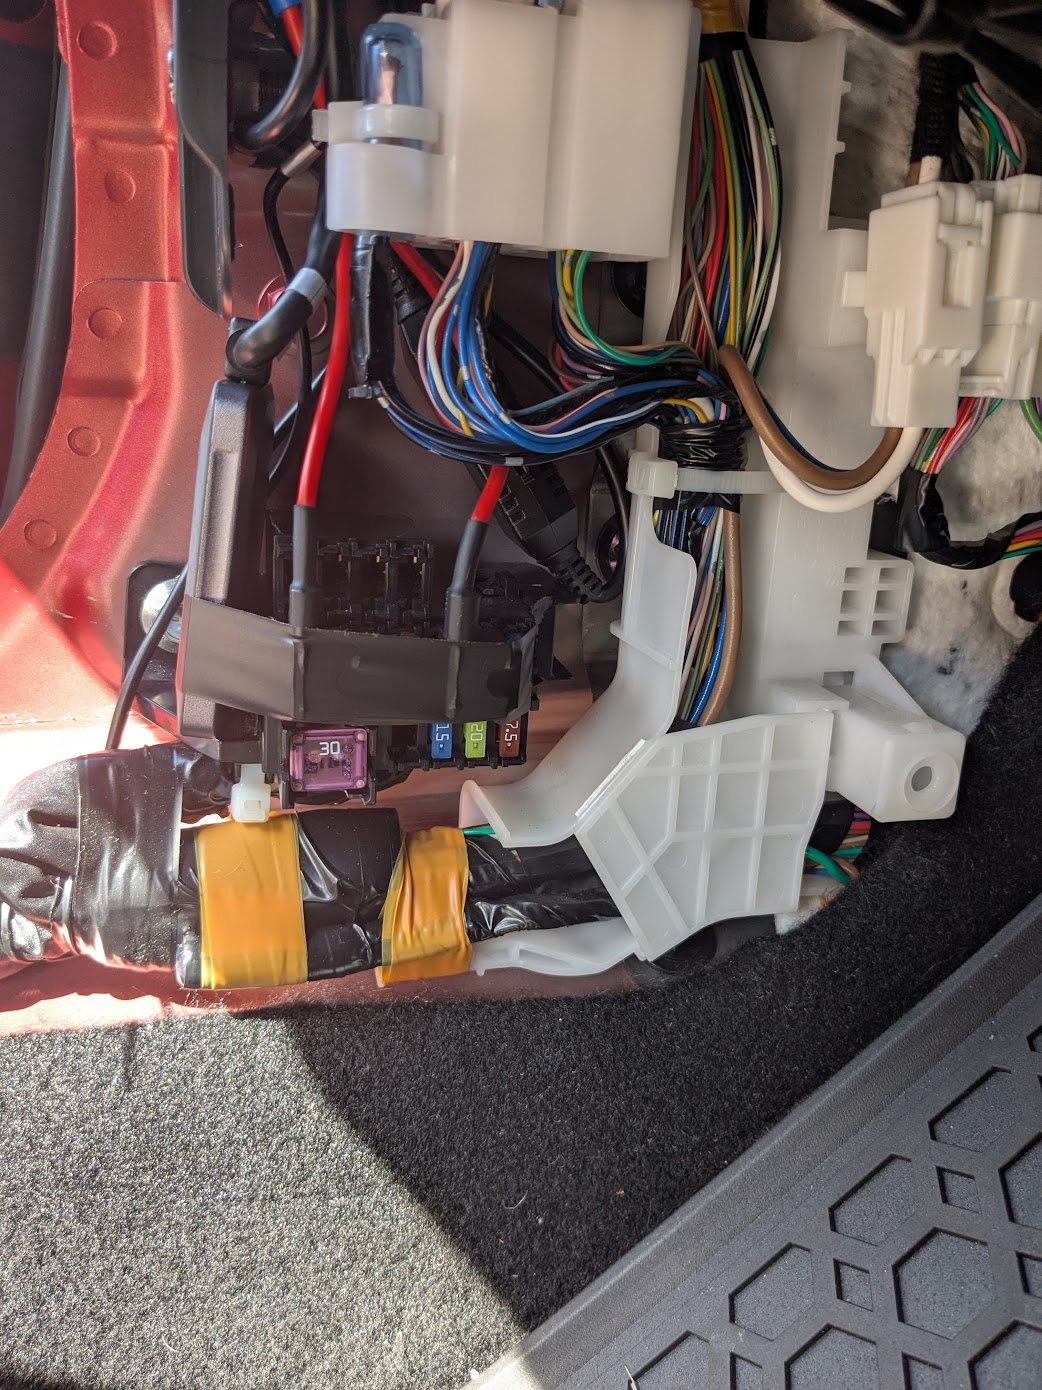
The fuse taps don’t fit very tightly so the electrical tape is just to keep them in place.

All installed!
I had this rear cam mount 3D printed - a neat solution for those still using the factory wind deflector: Dashcam Mount for MX-5 ND Wind Deflector (Windschotthalterung für Dashcam) by Adrian_Wee - Thingiverse