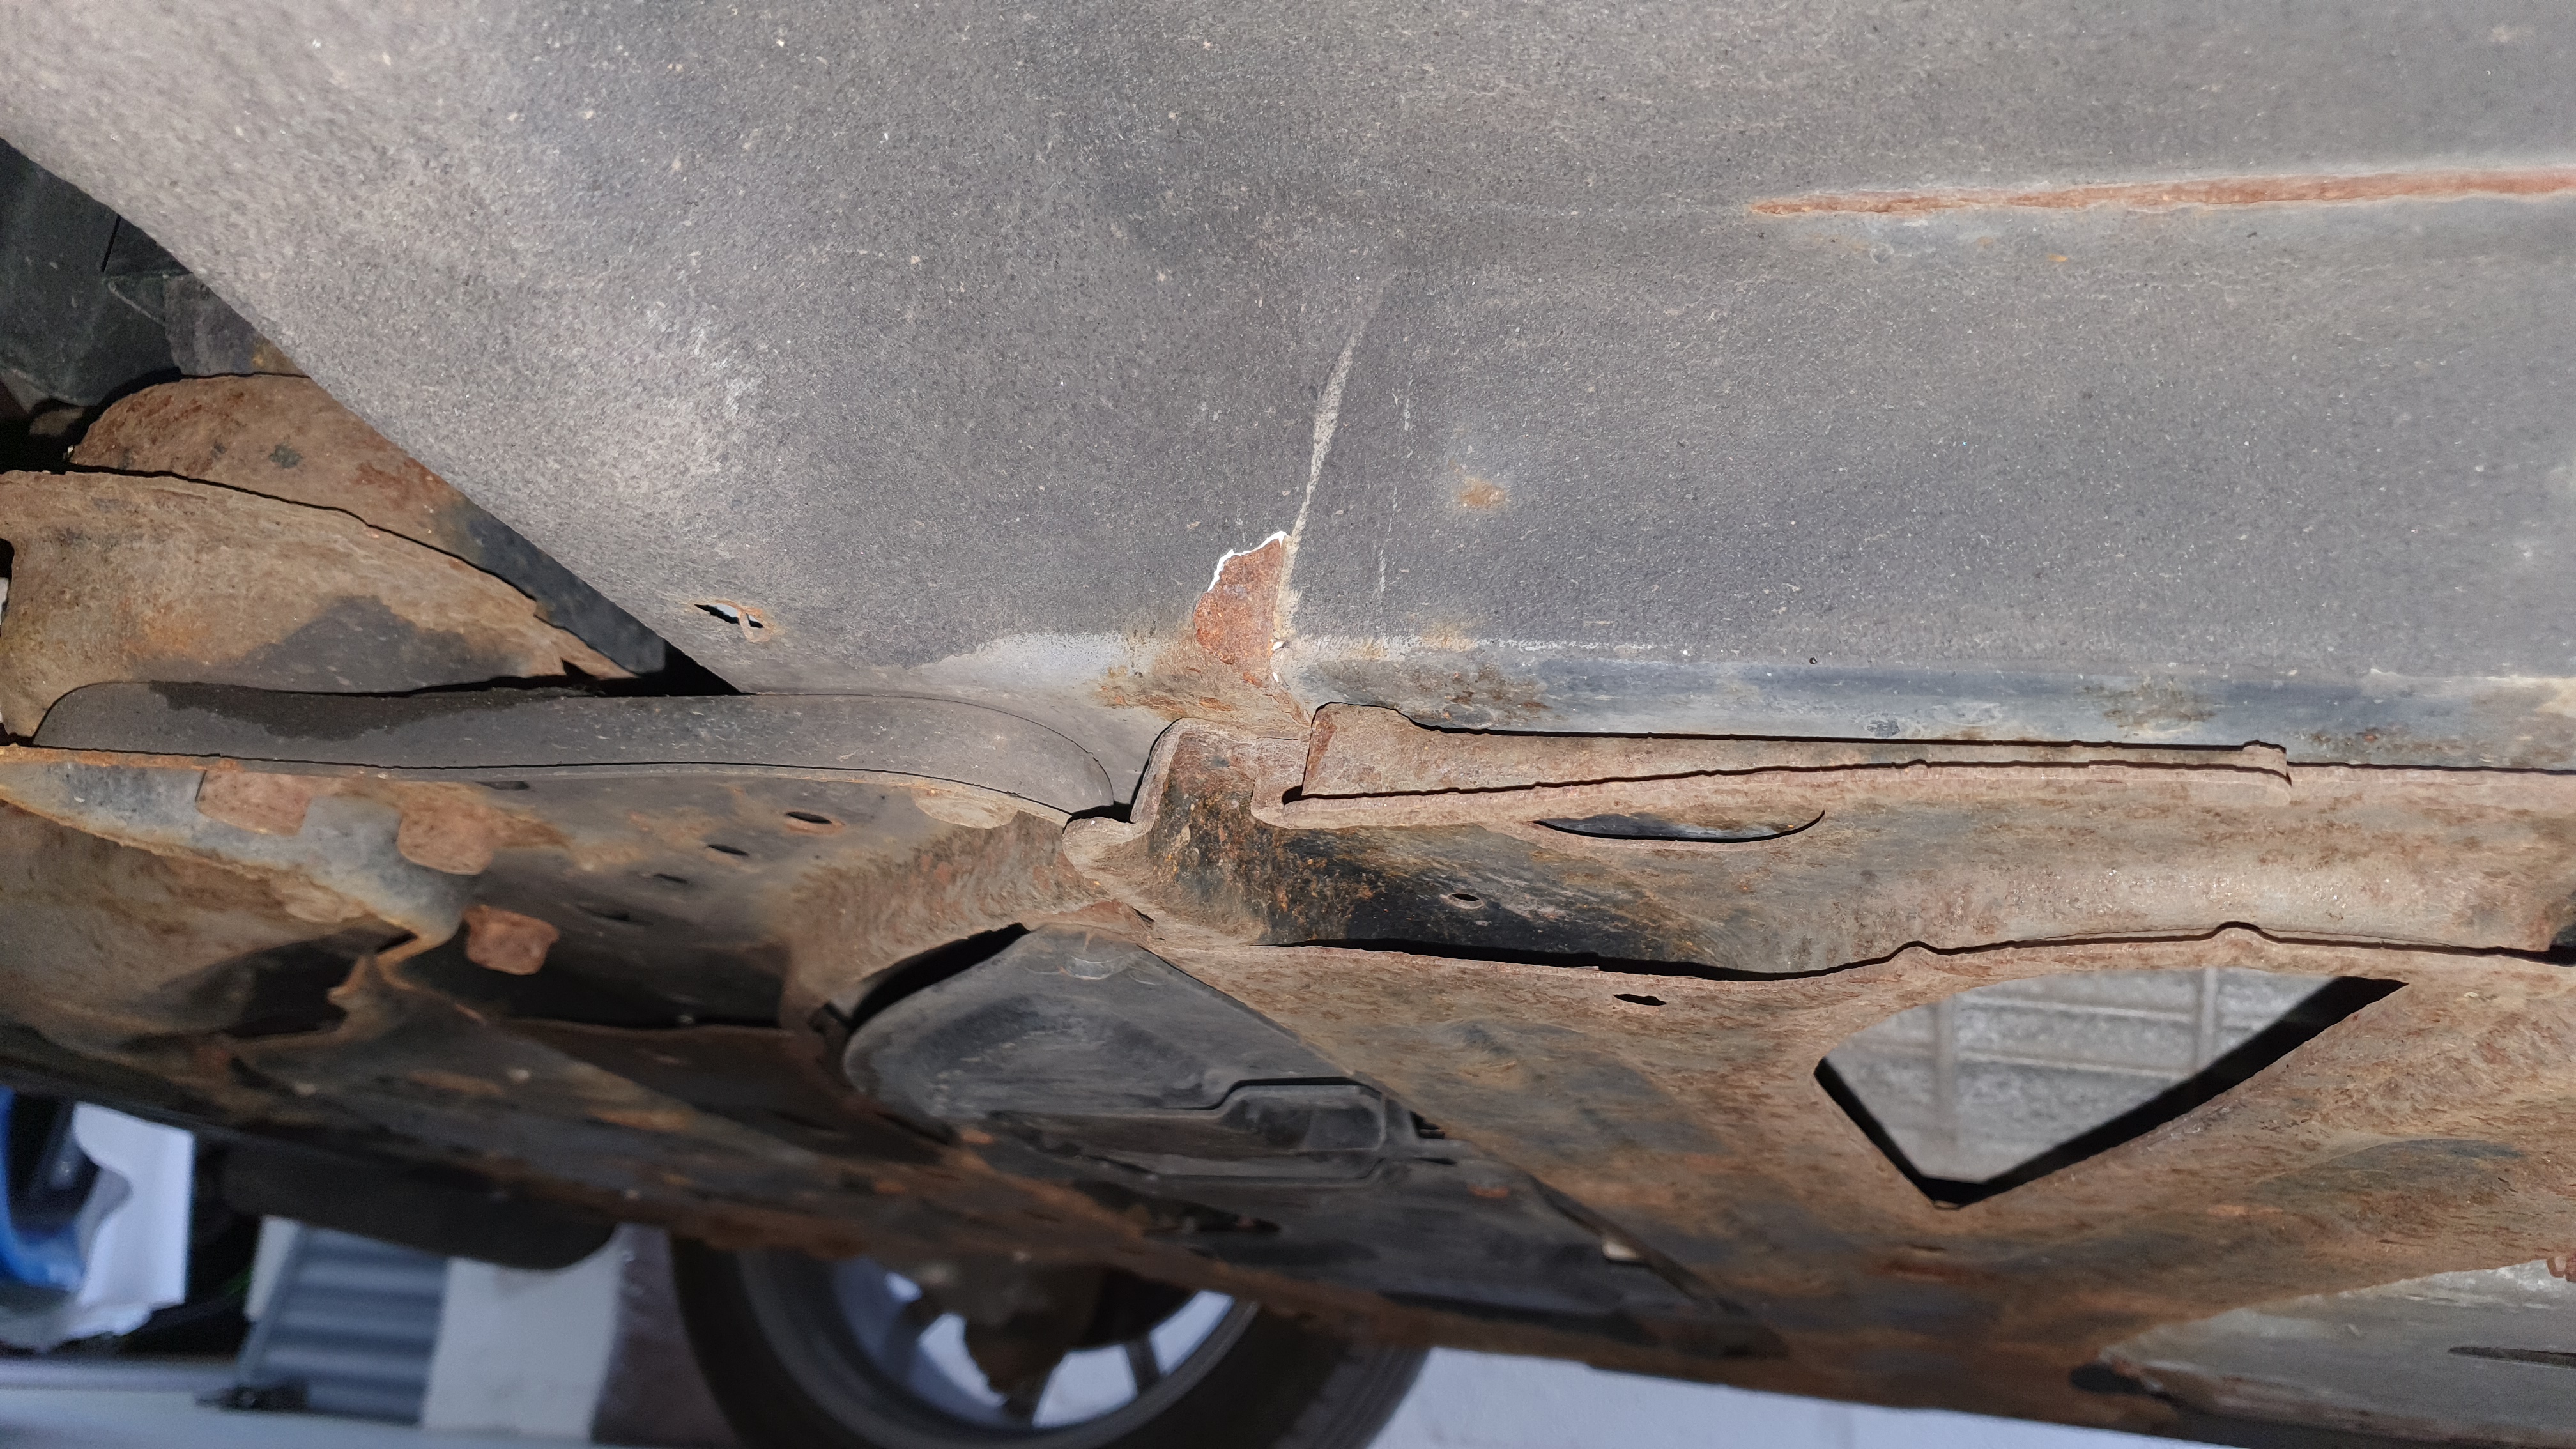
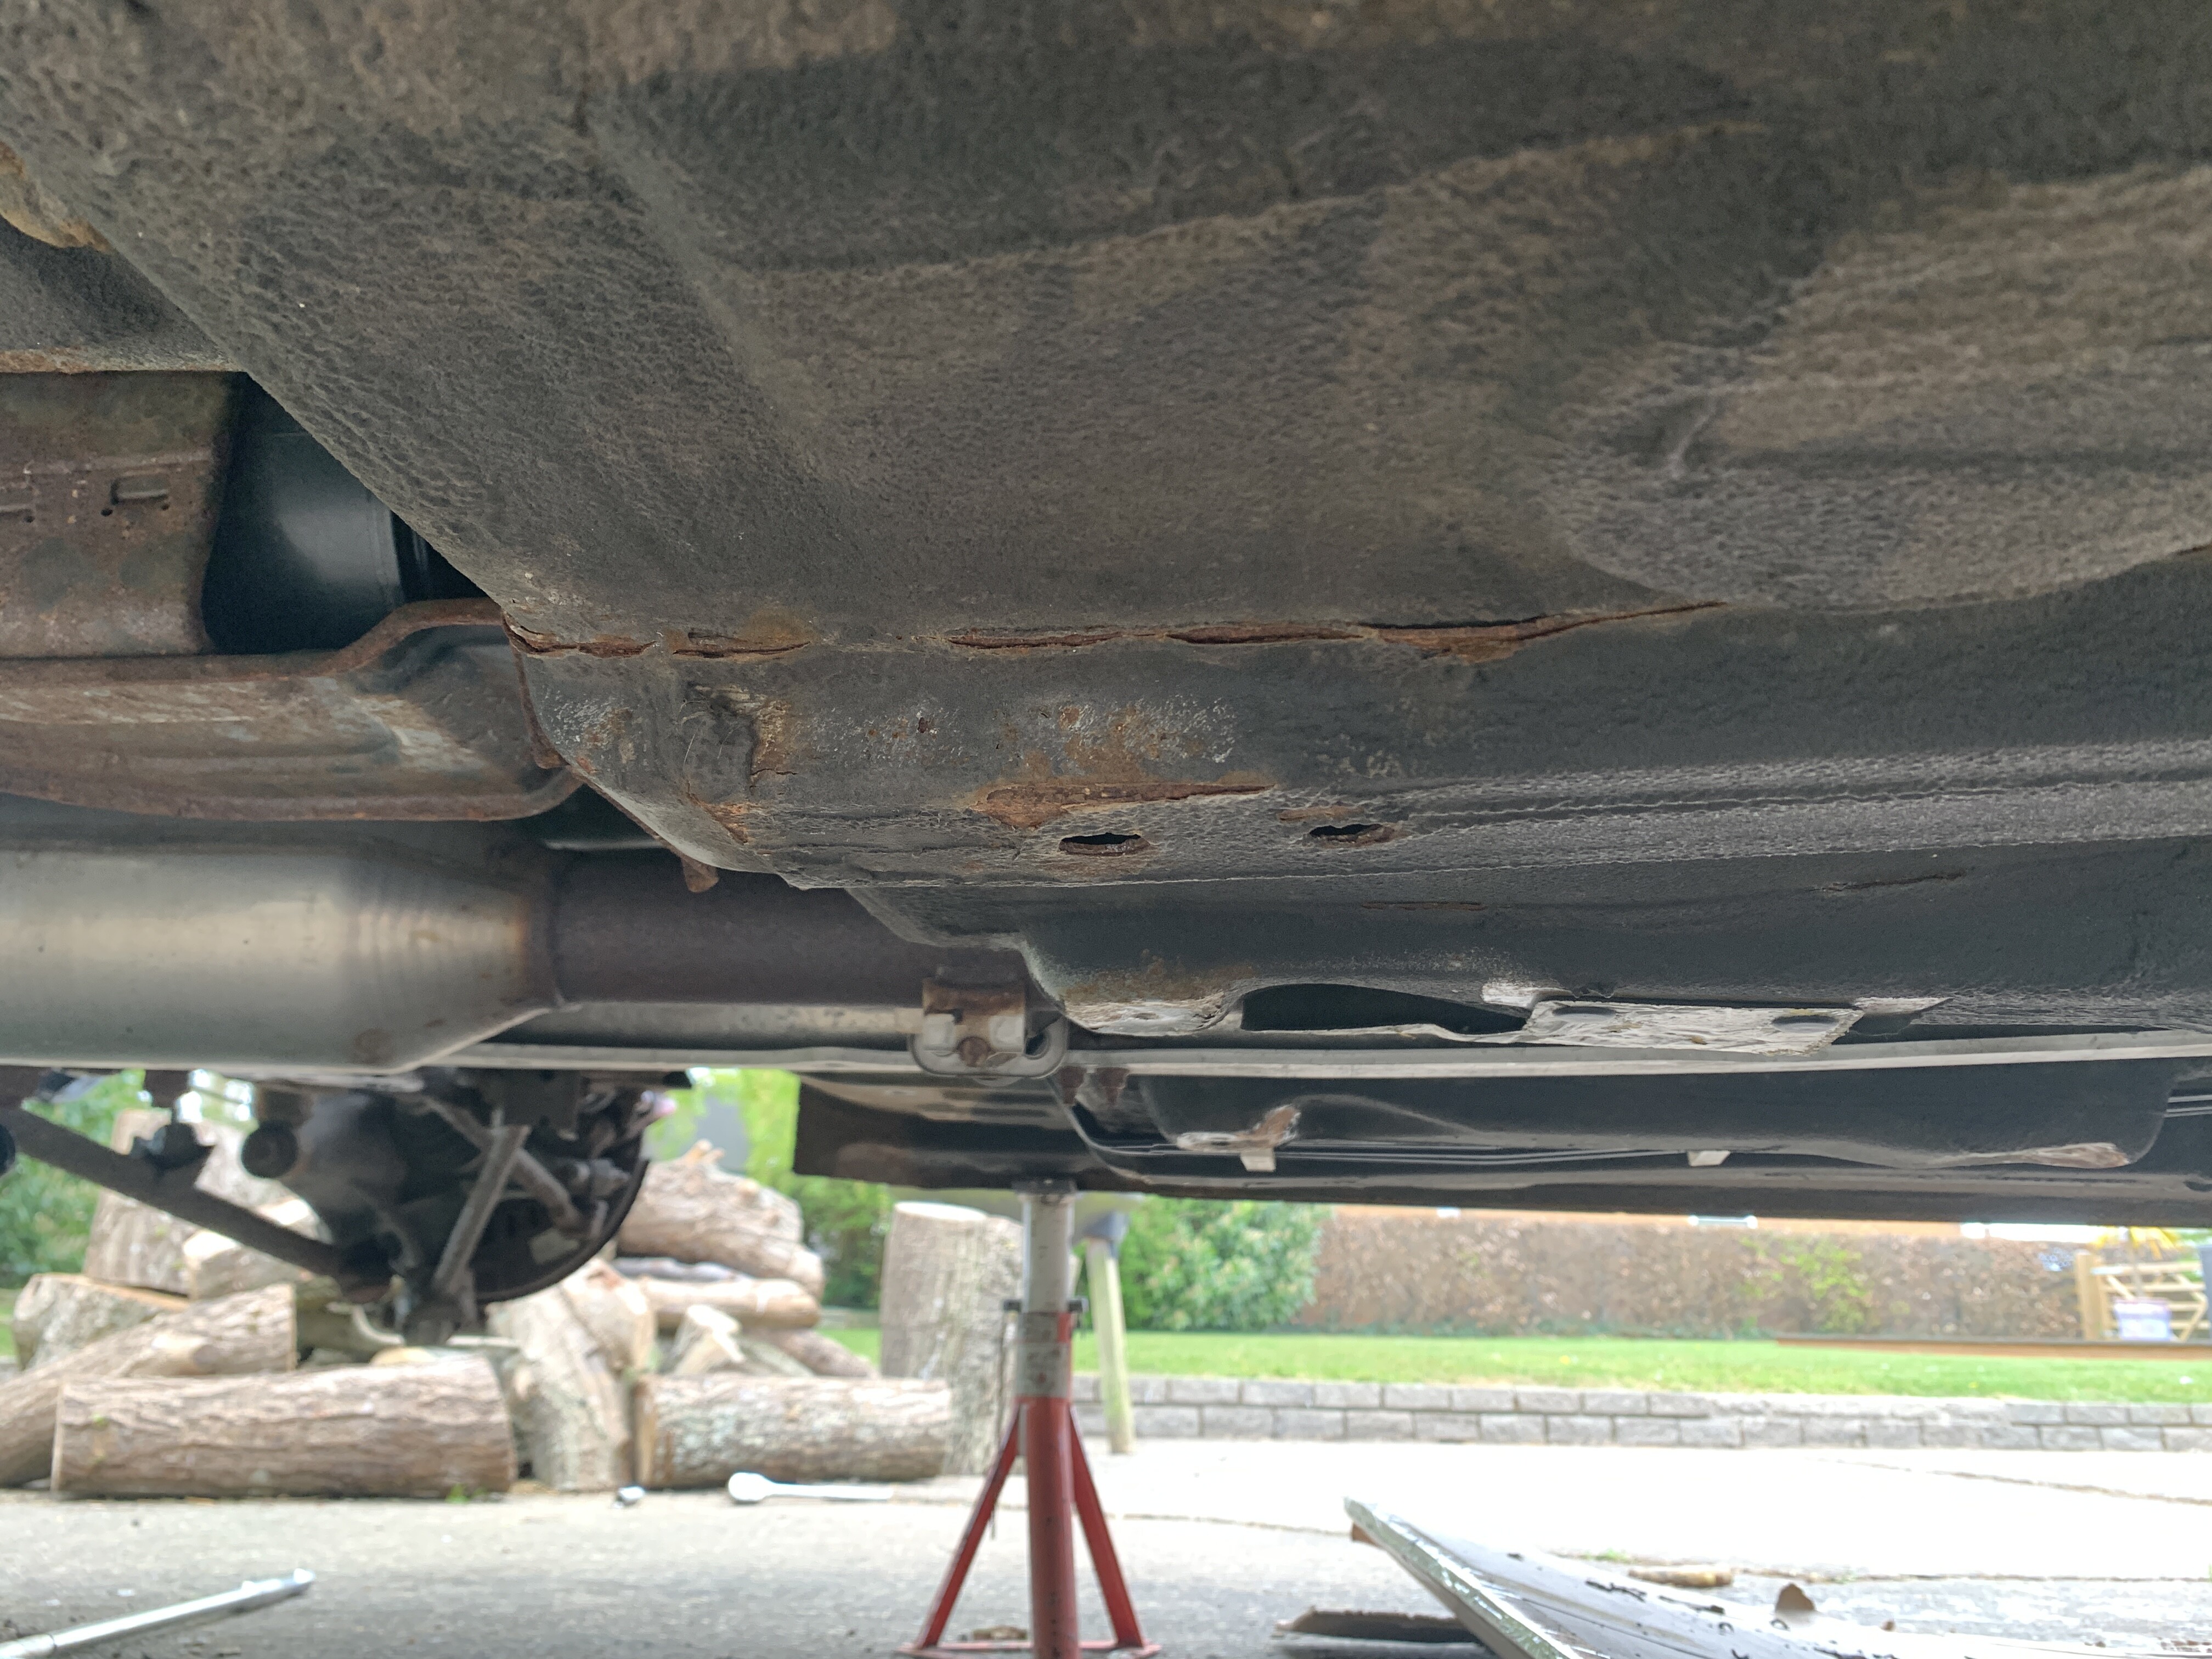
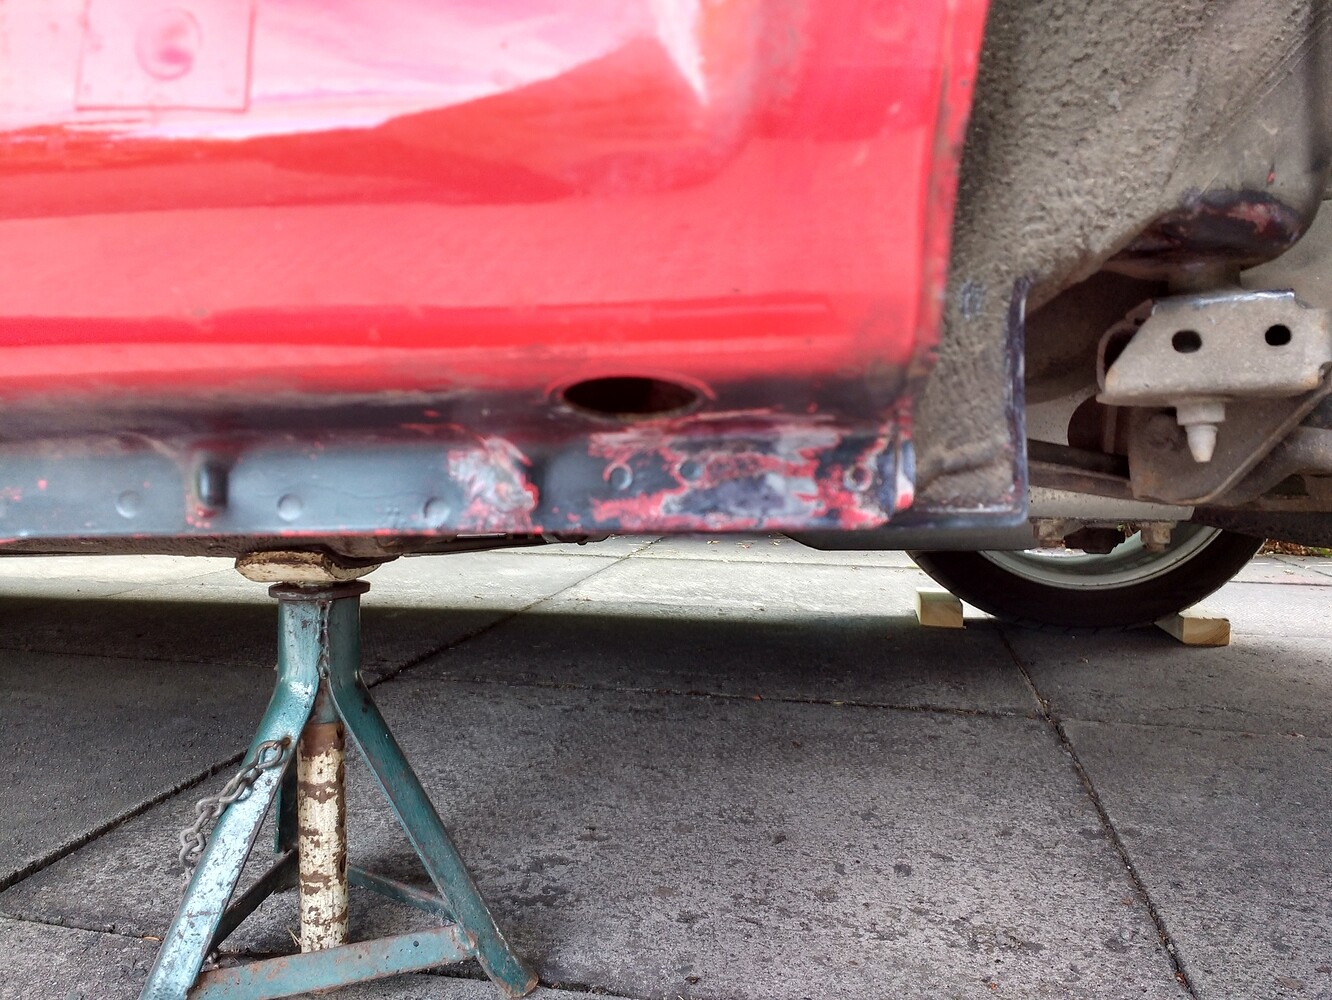
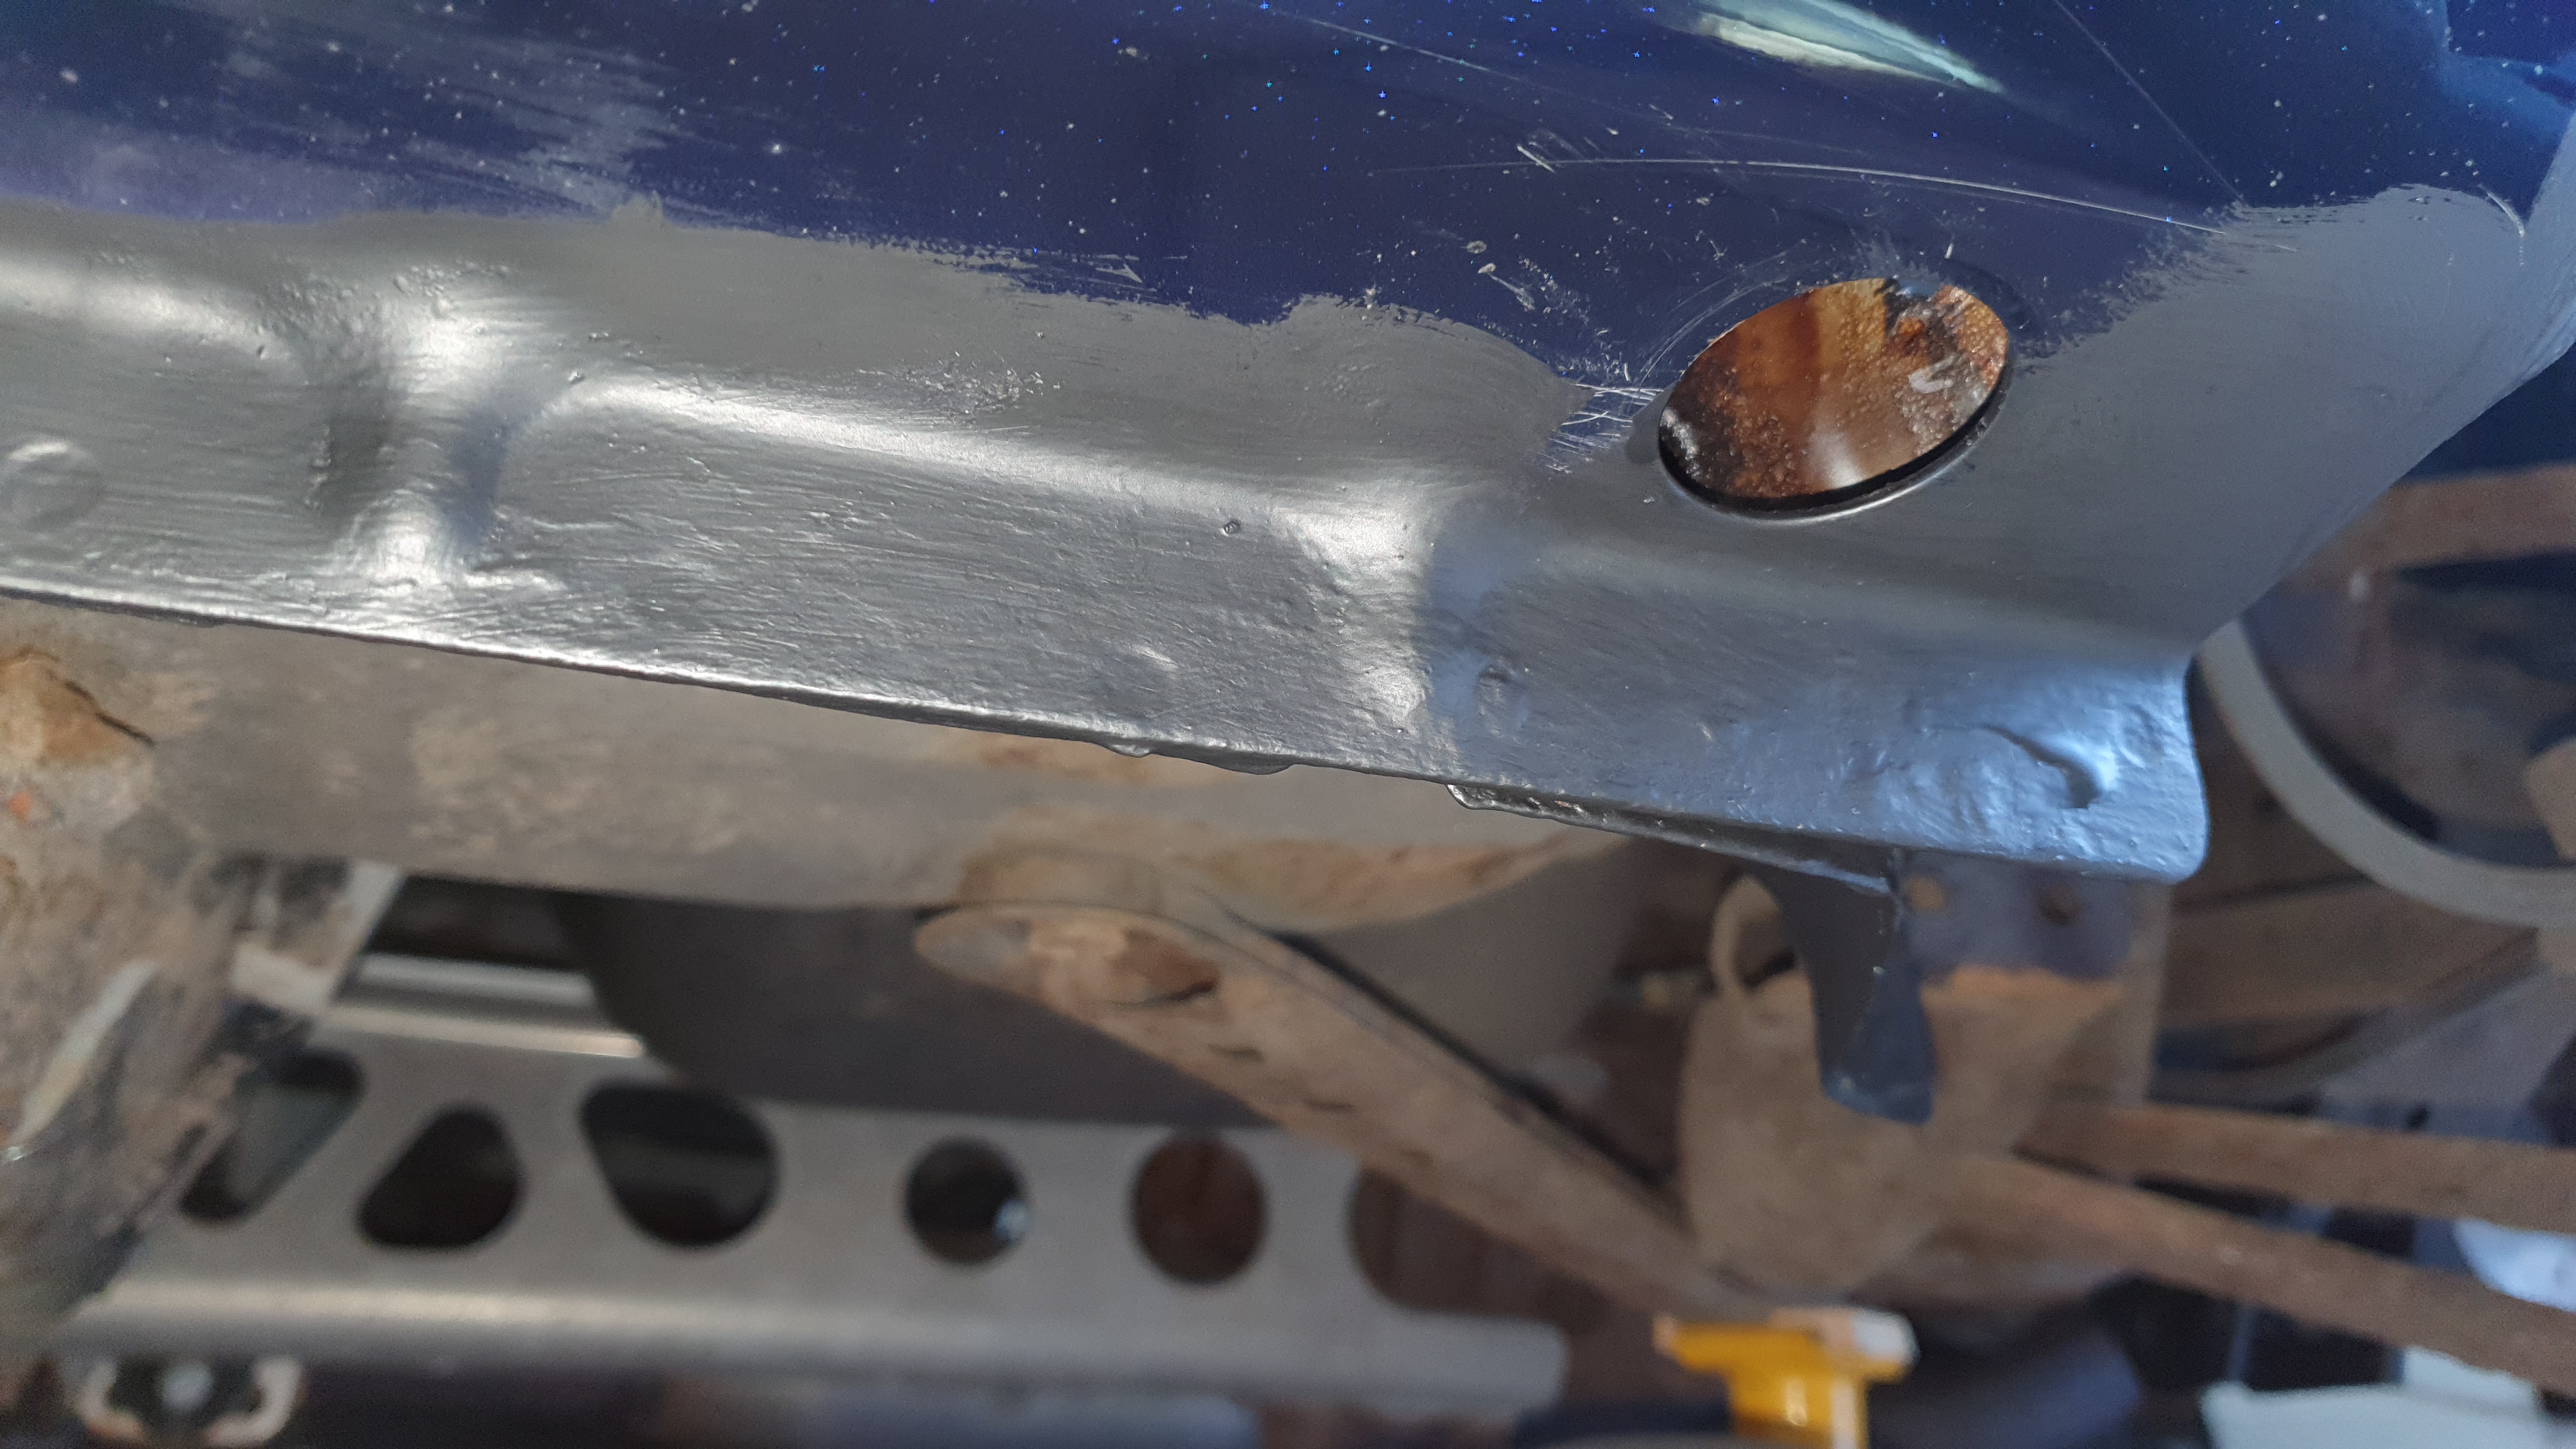
Ive had the car a week and still getting to know it. So, in the process of adjusting the clutch i was under the L/H Front at the slave cylinder and i took the below pics. Looks like it has underseal already? Thoughts? Am i right in saying that area would be just paint?
I was planning on getting it treated underneath, but the initial few inquiries up in ABZ have drawn blanks.
I may therefore do it myself (de-scale, hydrate, prime, Lanoguard/BH UC)
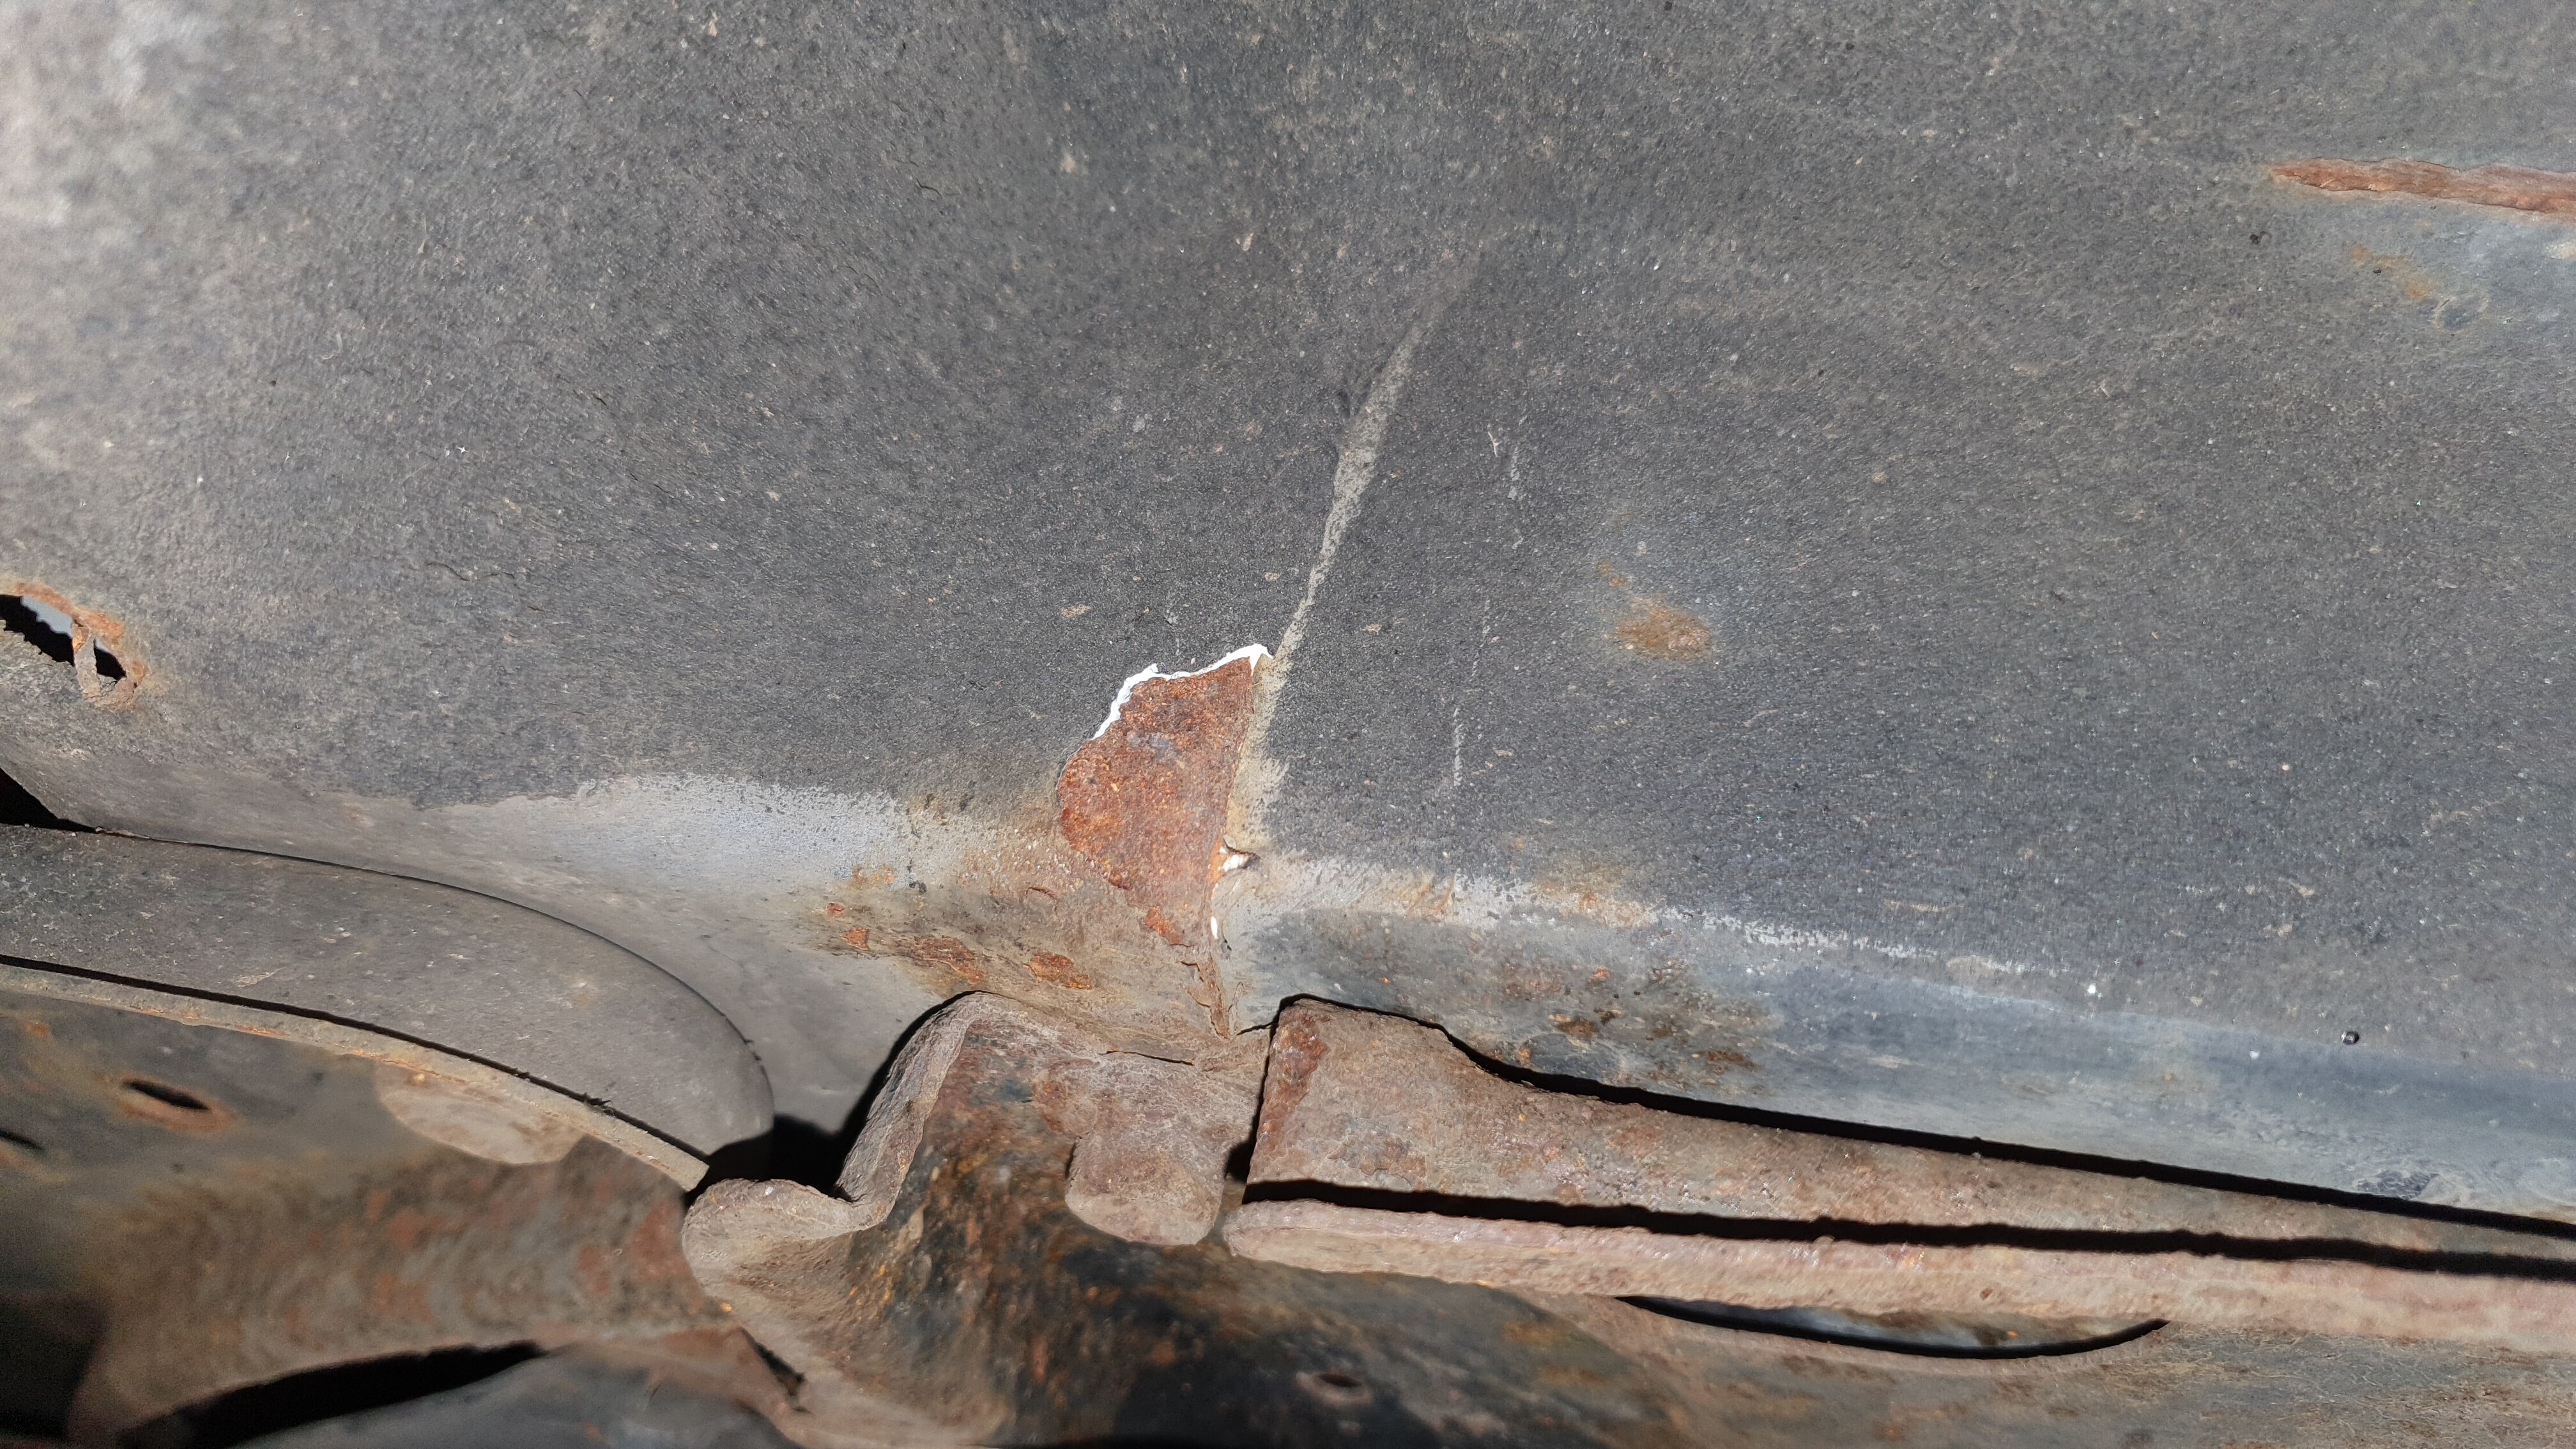
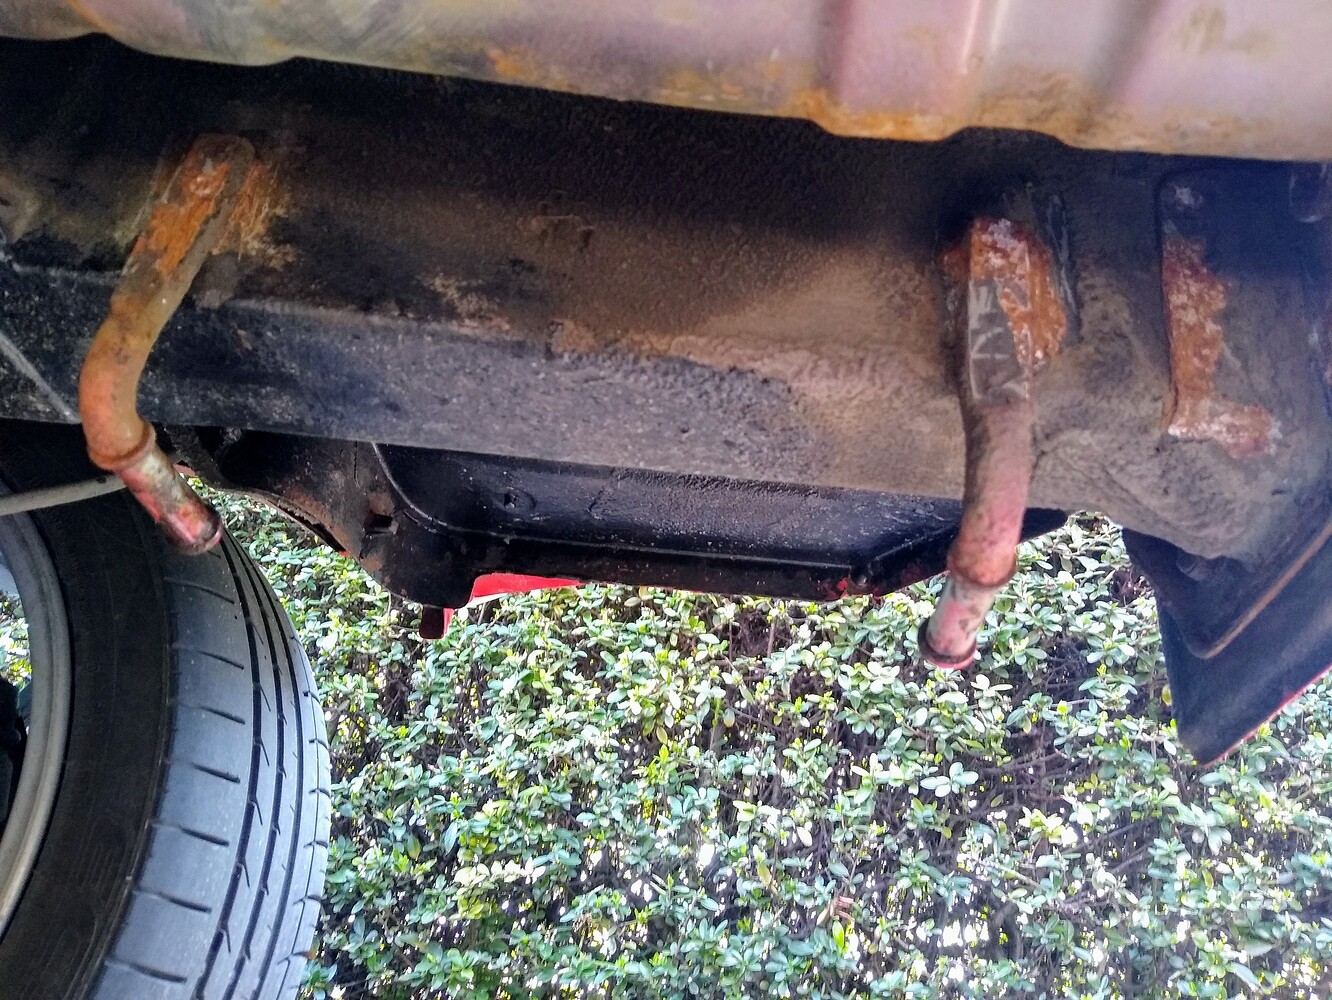
There is some undersealing done under there but it does start to come away especially at the seams/joints in the chassis over time. That cross brace will unbolt, I did mine, removed it and painted around the area and the brace and replaced.
Take particular note of the rear end of those chassis rails and around the rear sill wheel arch area, this is a common rust area, in fact priority area to treat.
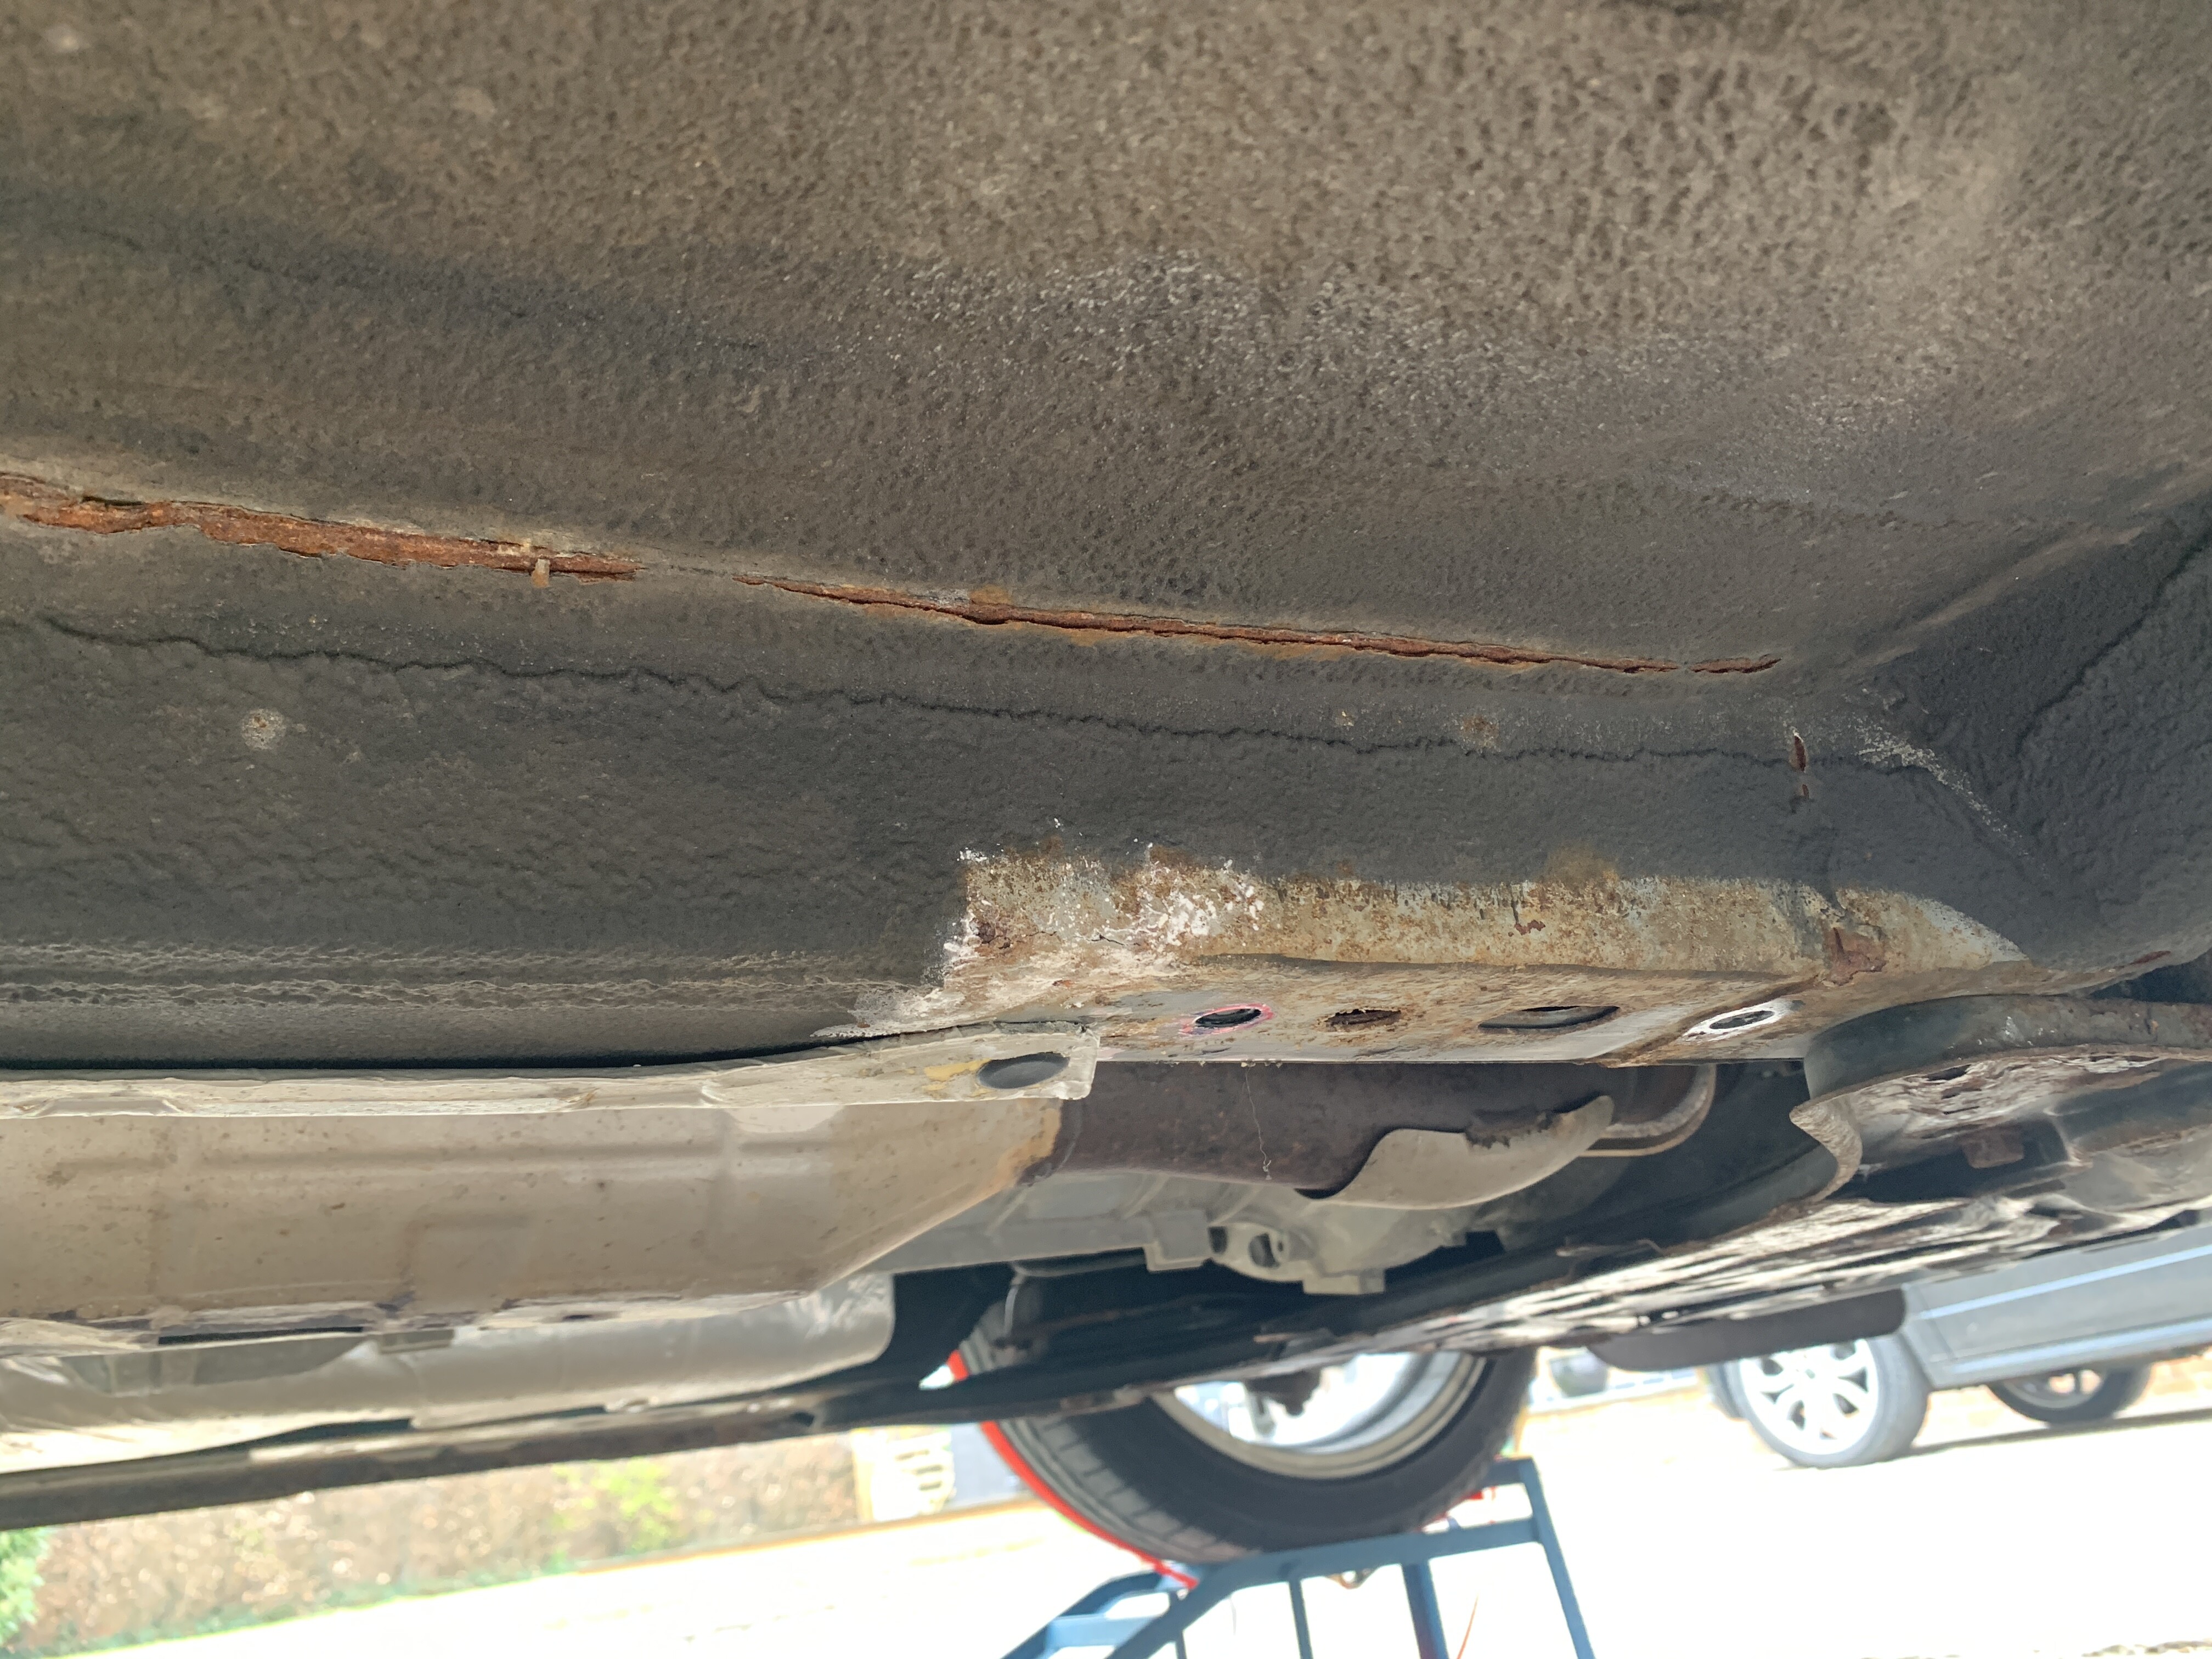
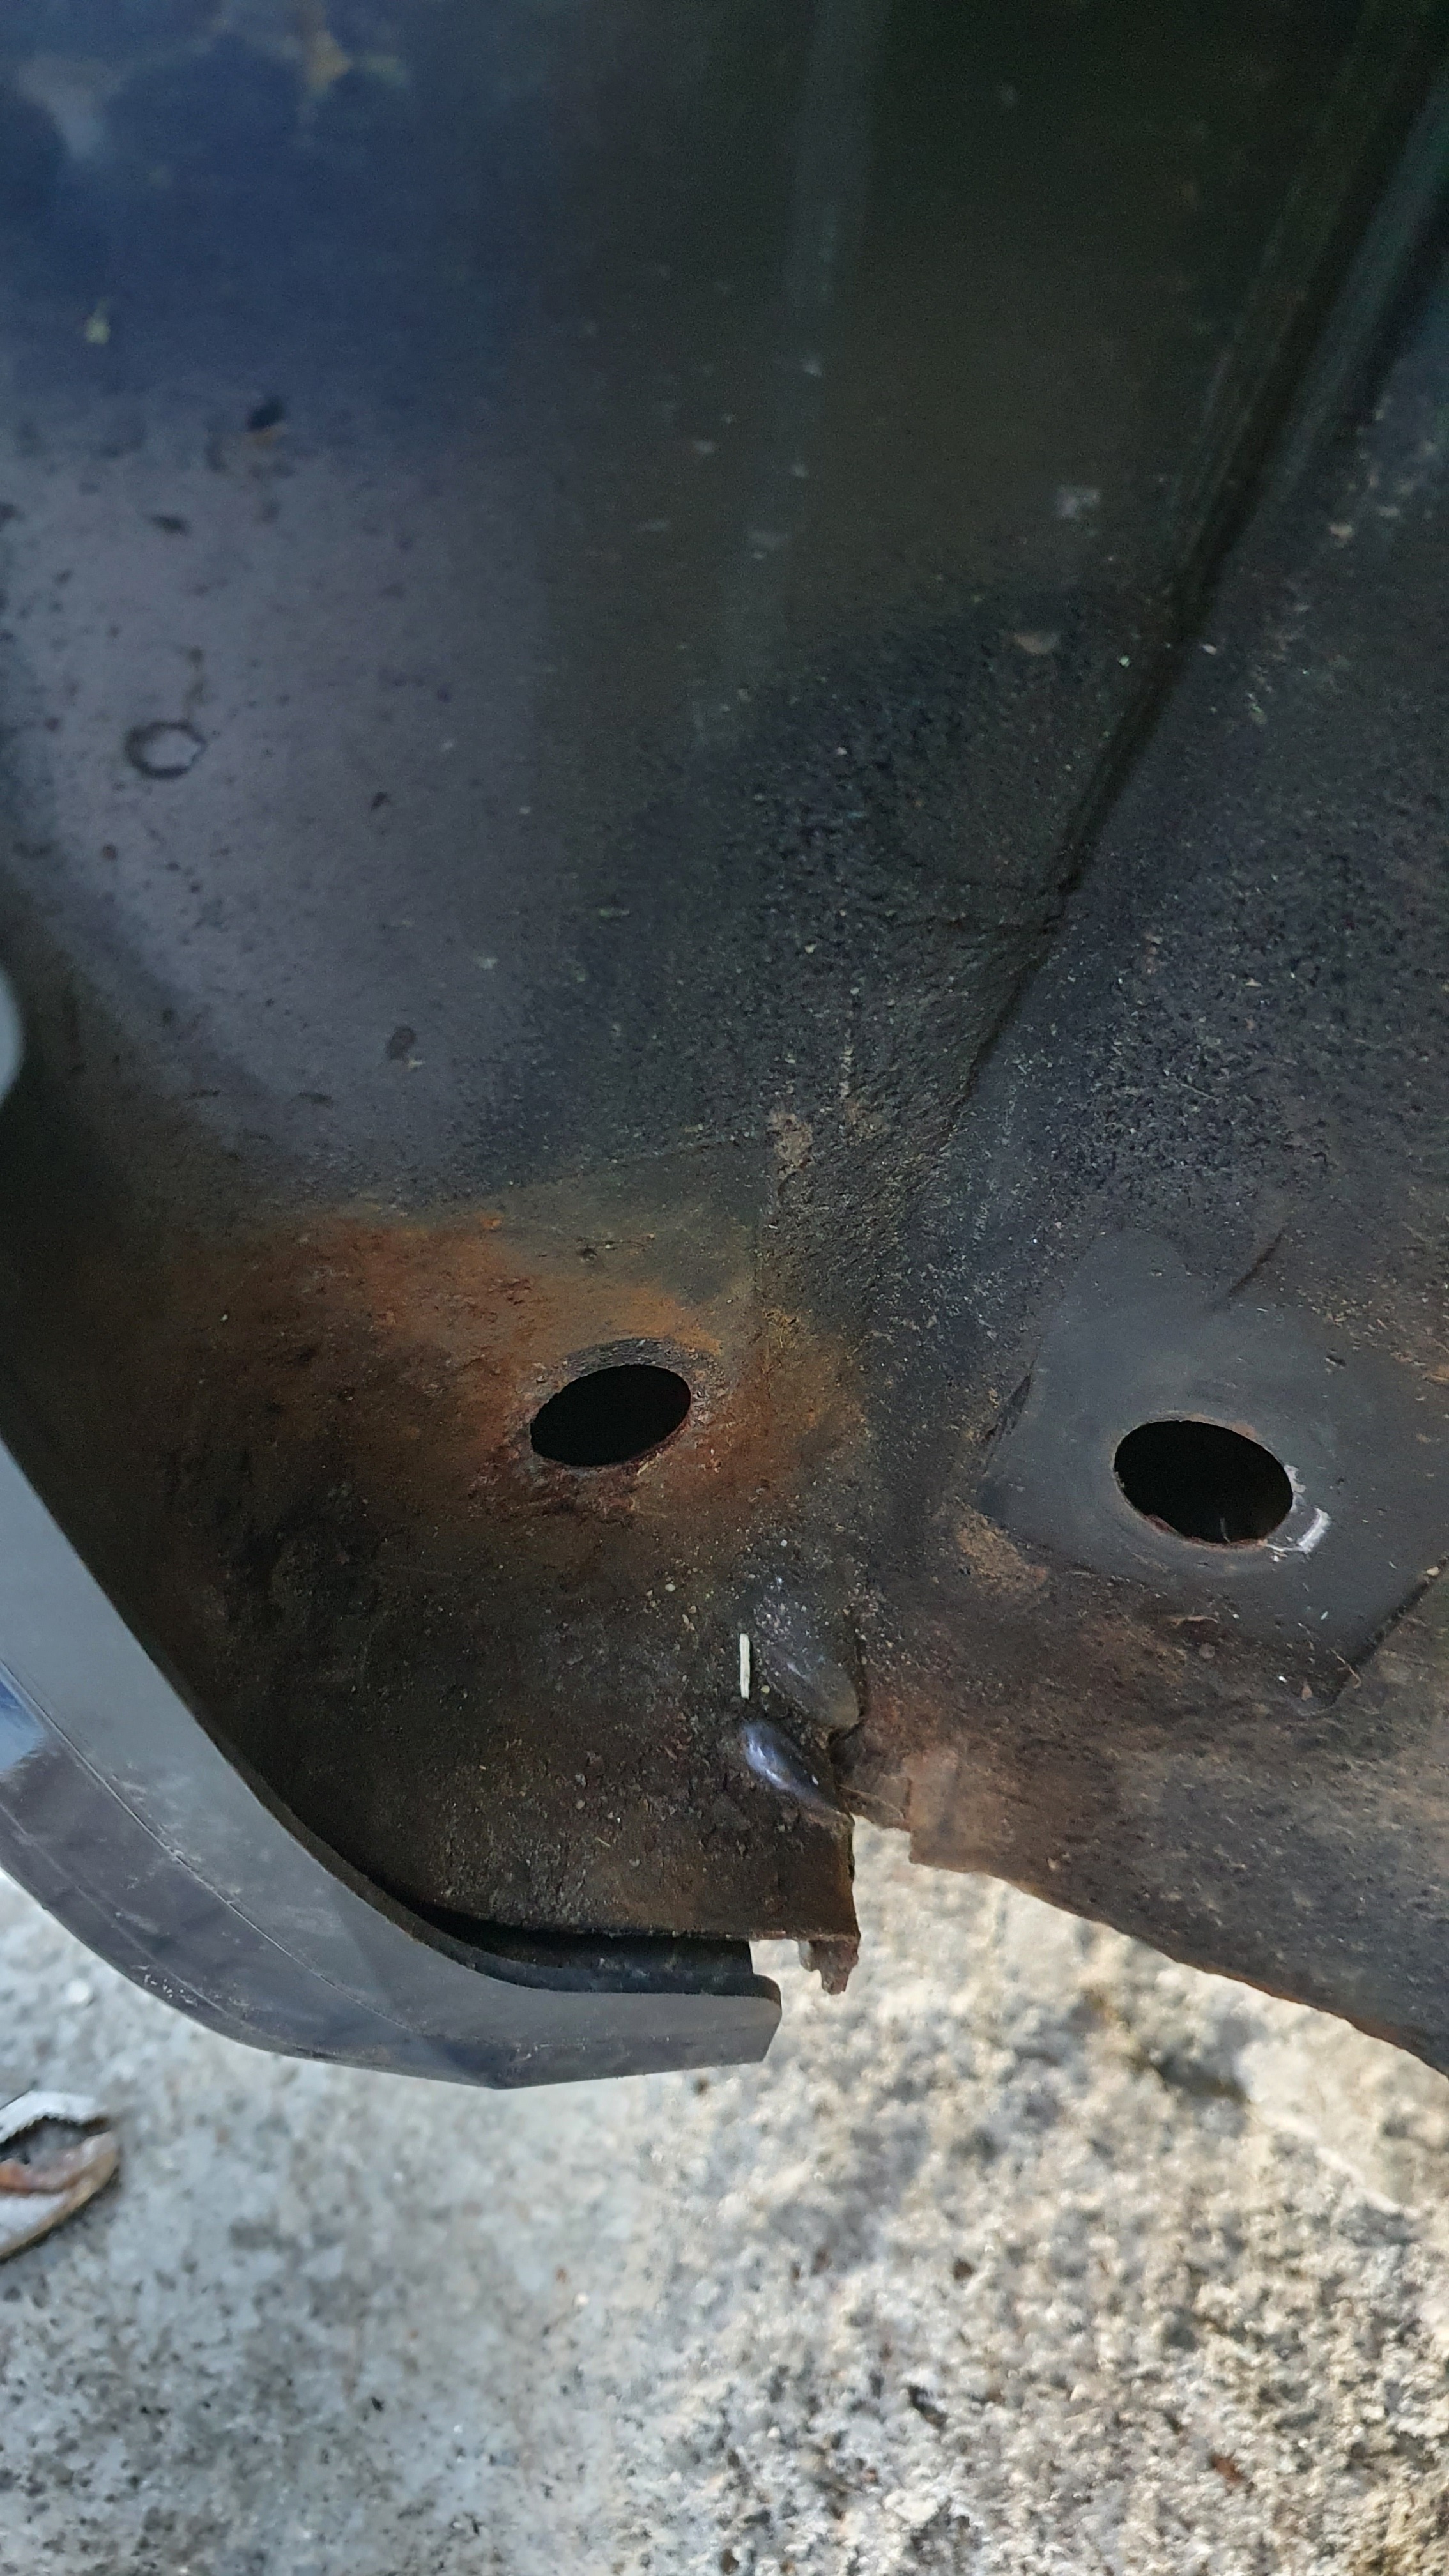
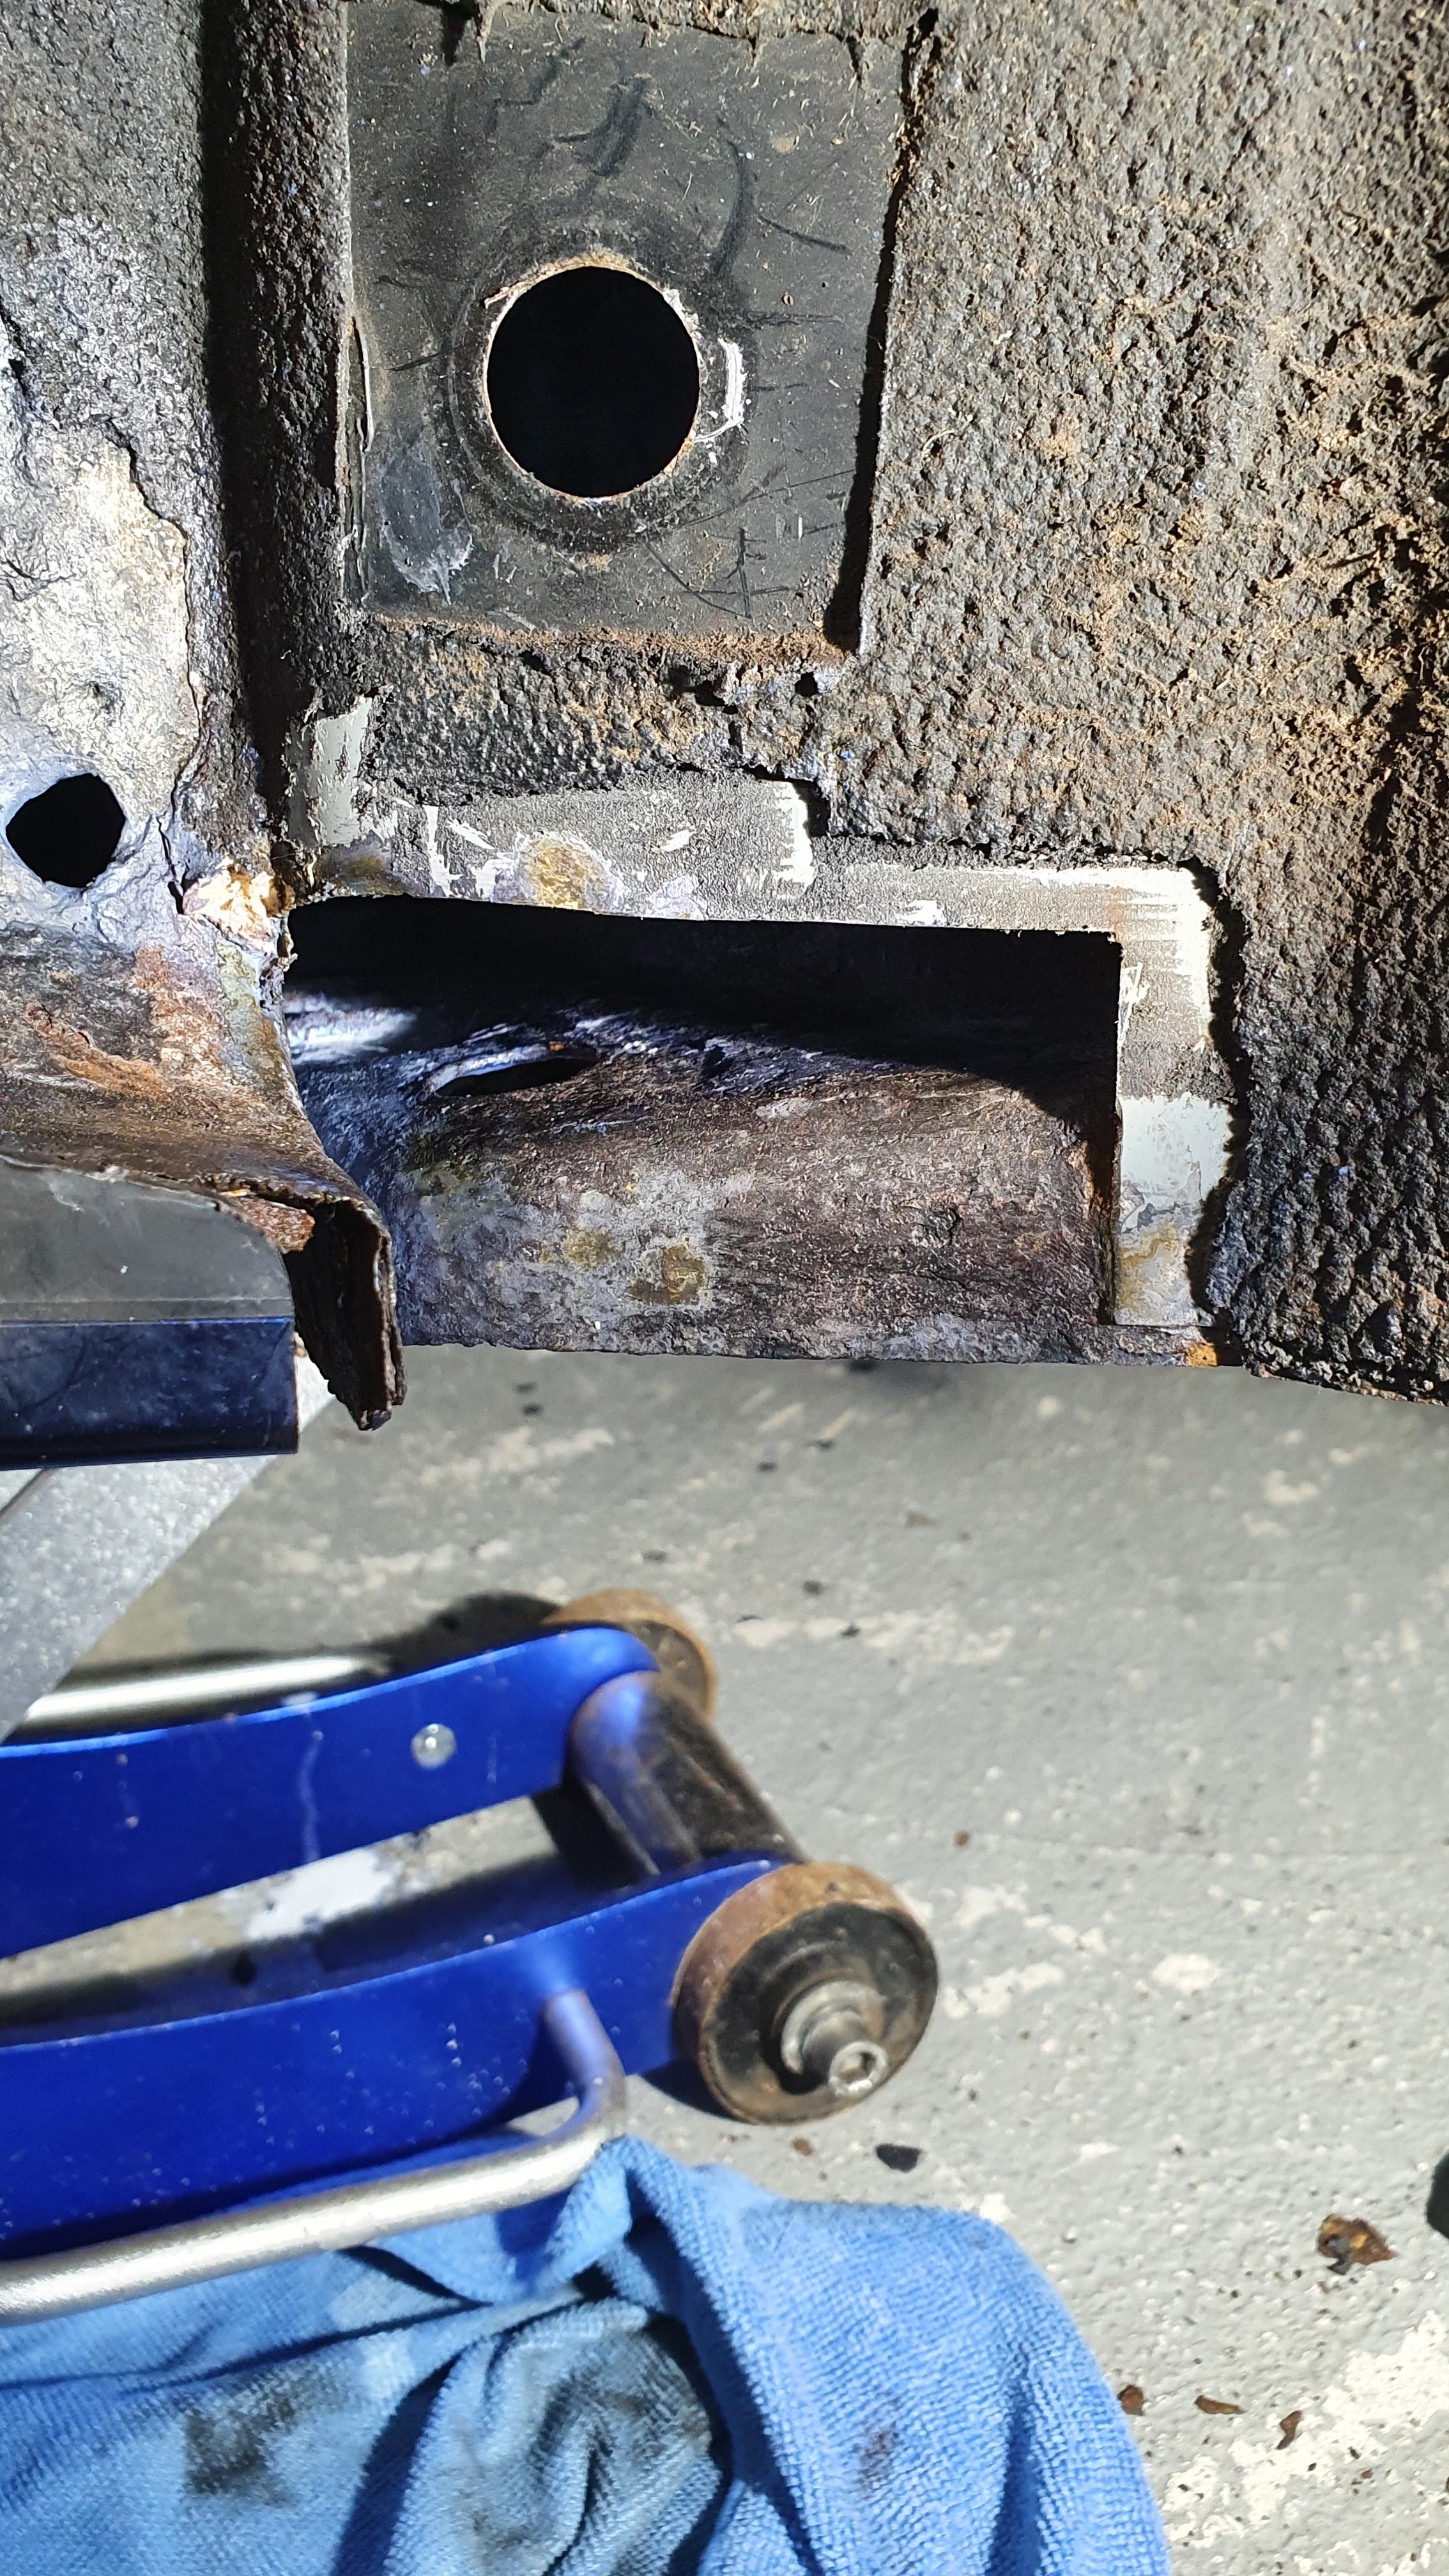
Hi, I have been doing my NC today. Low mileage, only dry use for the last 8 years. Under seal
Looked ok except for some cracking on the seams.
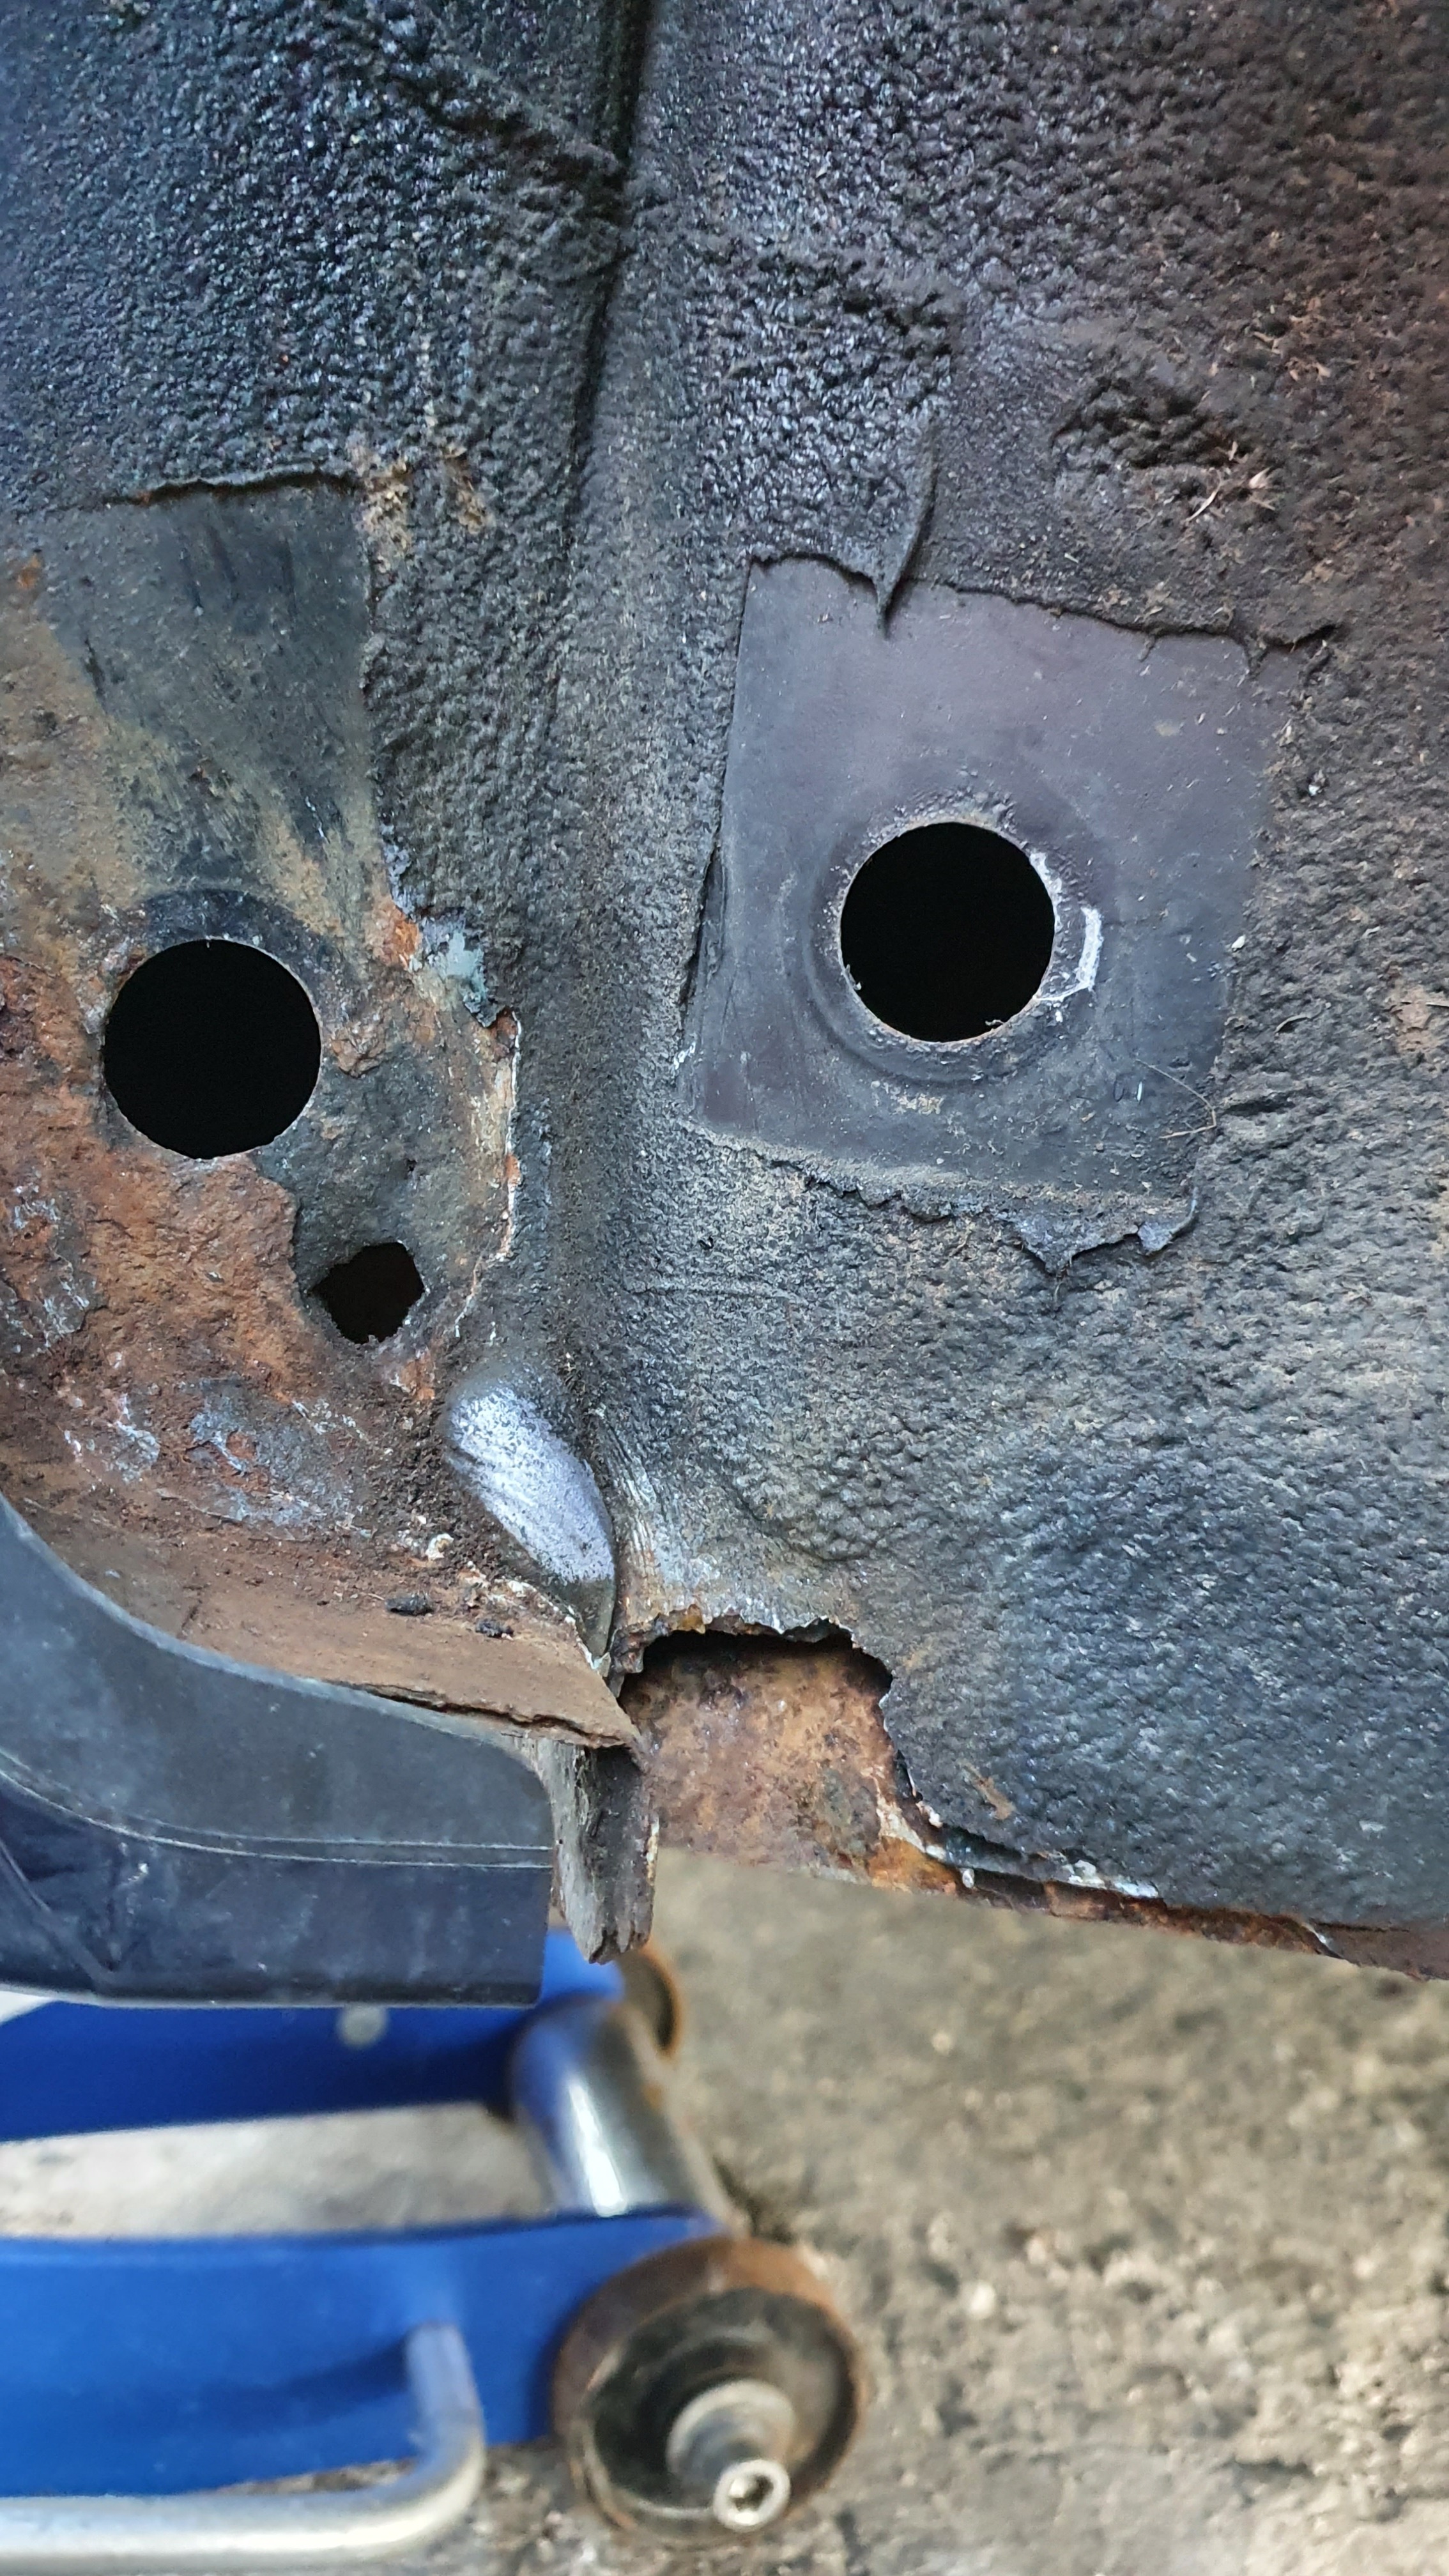
I decided to investigate, surface rust had penetrated up to a couple of centimetres under the under seal.
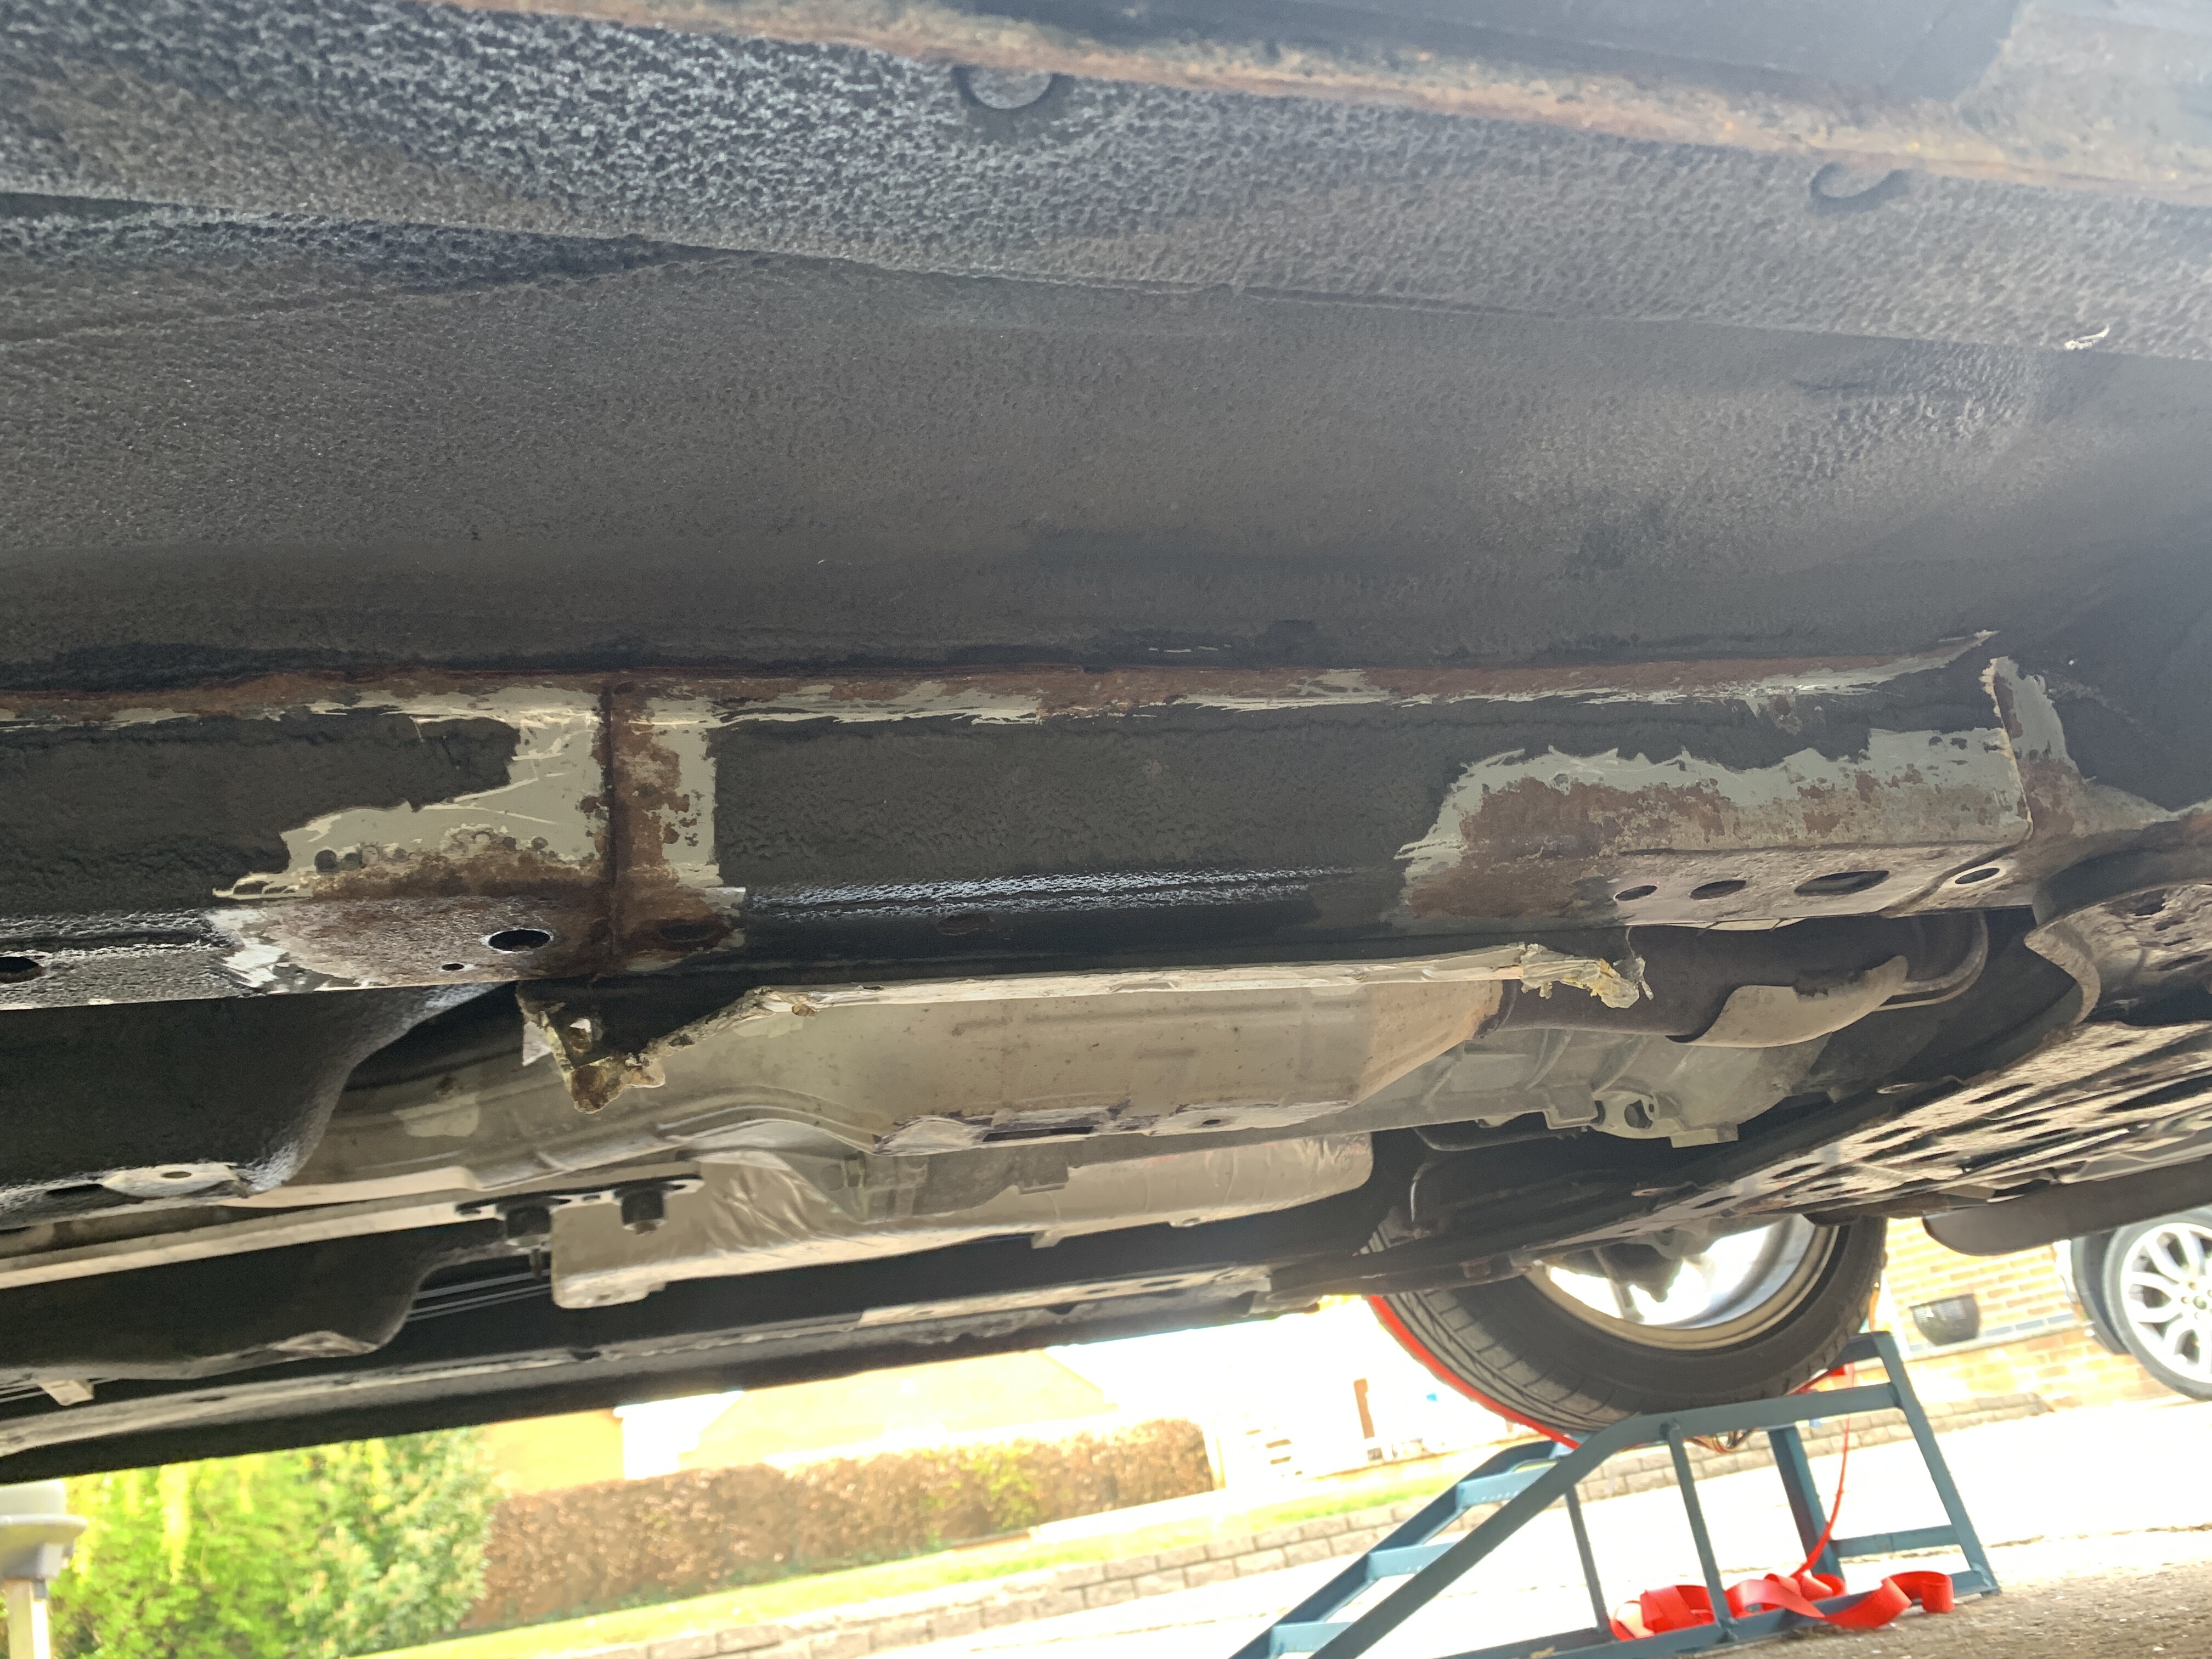
Well it’s removed now ready for treating, painting them a coat of lanoguard as I do not want thick under seal masking issues.
Fortunately everything is solid but these pictures are what I could see initially and what I found when setting to with the scraper
.
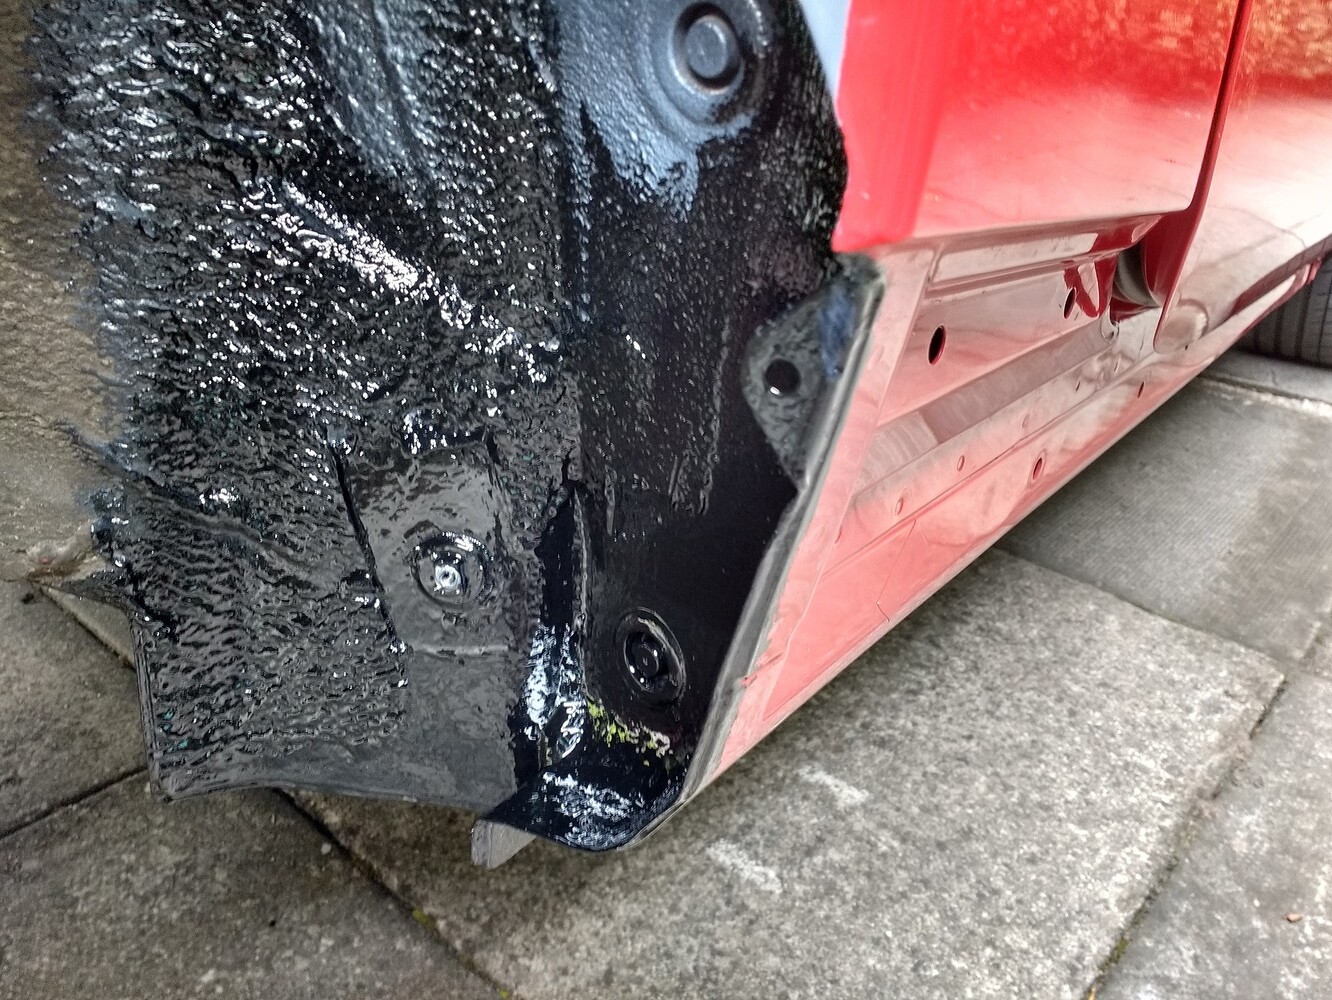
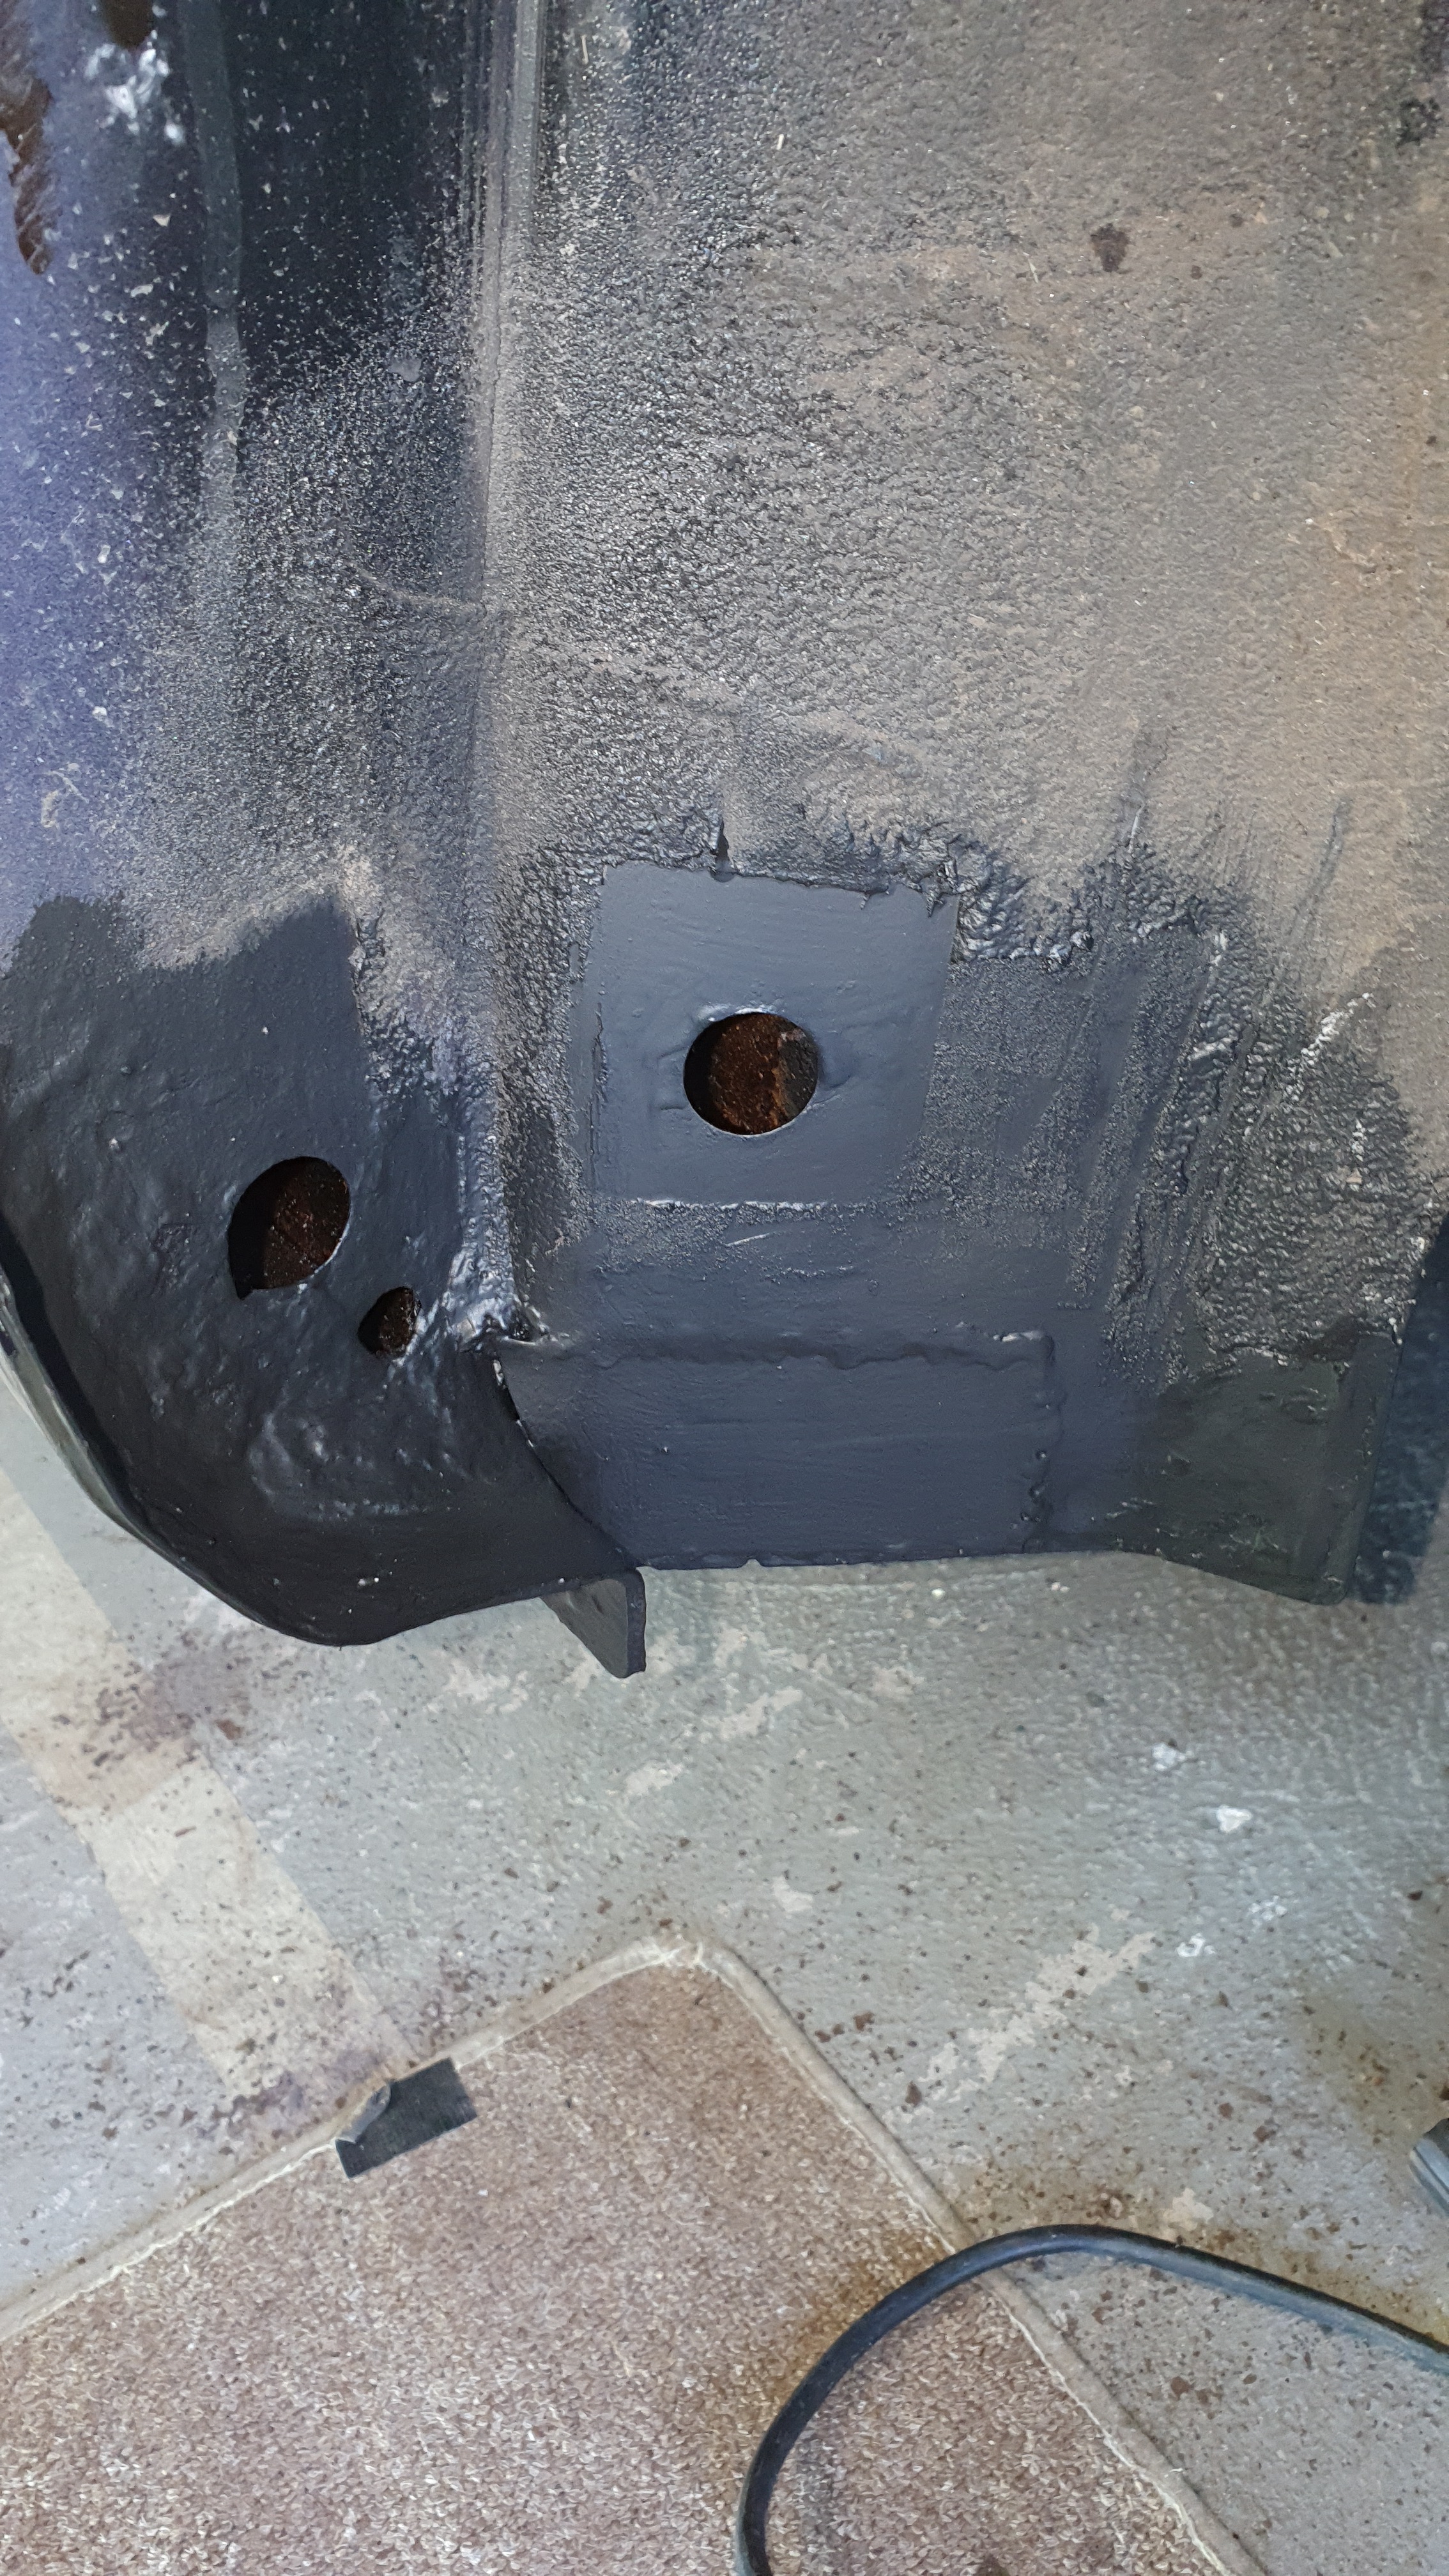
As I said in my post above the rear wheel arches need attention/inspection, a common spot for the crud to accumulate.
I’ve pulled some pictures off a post I did about mine over 12 months ago, another to watch for are the rear chassis legs, where the exhaust back box hangs off.
Behind the plastic sill cover too.