Good morning all.
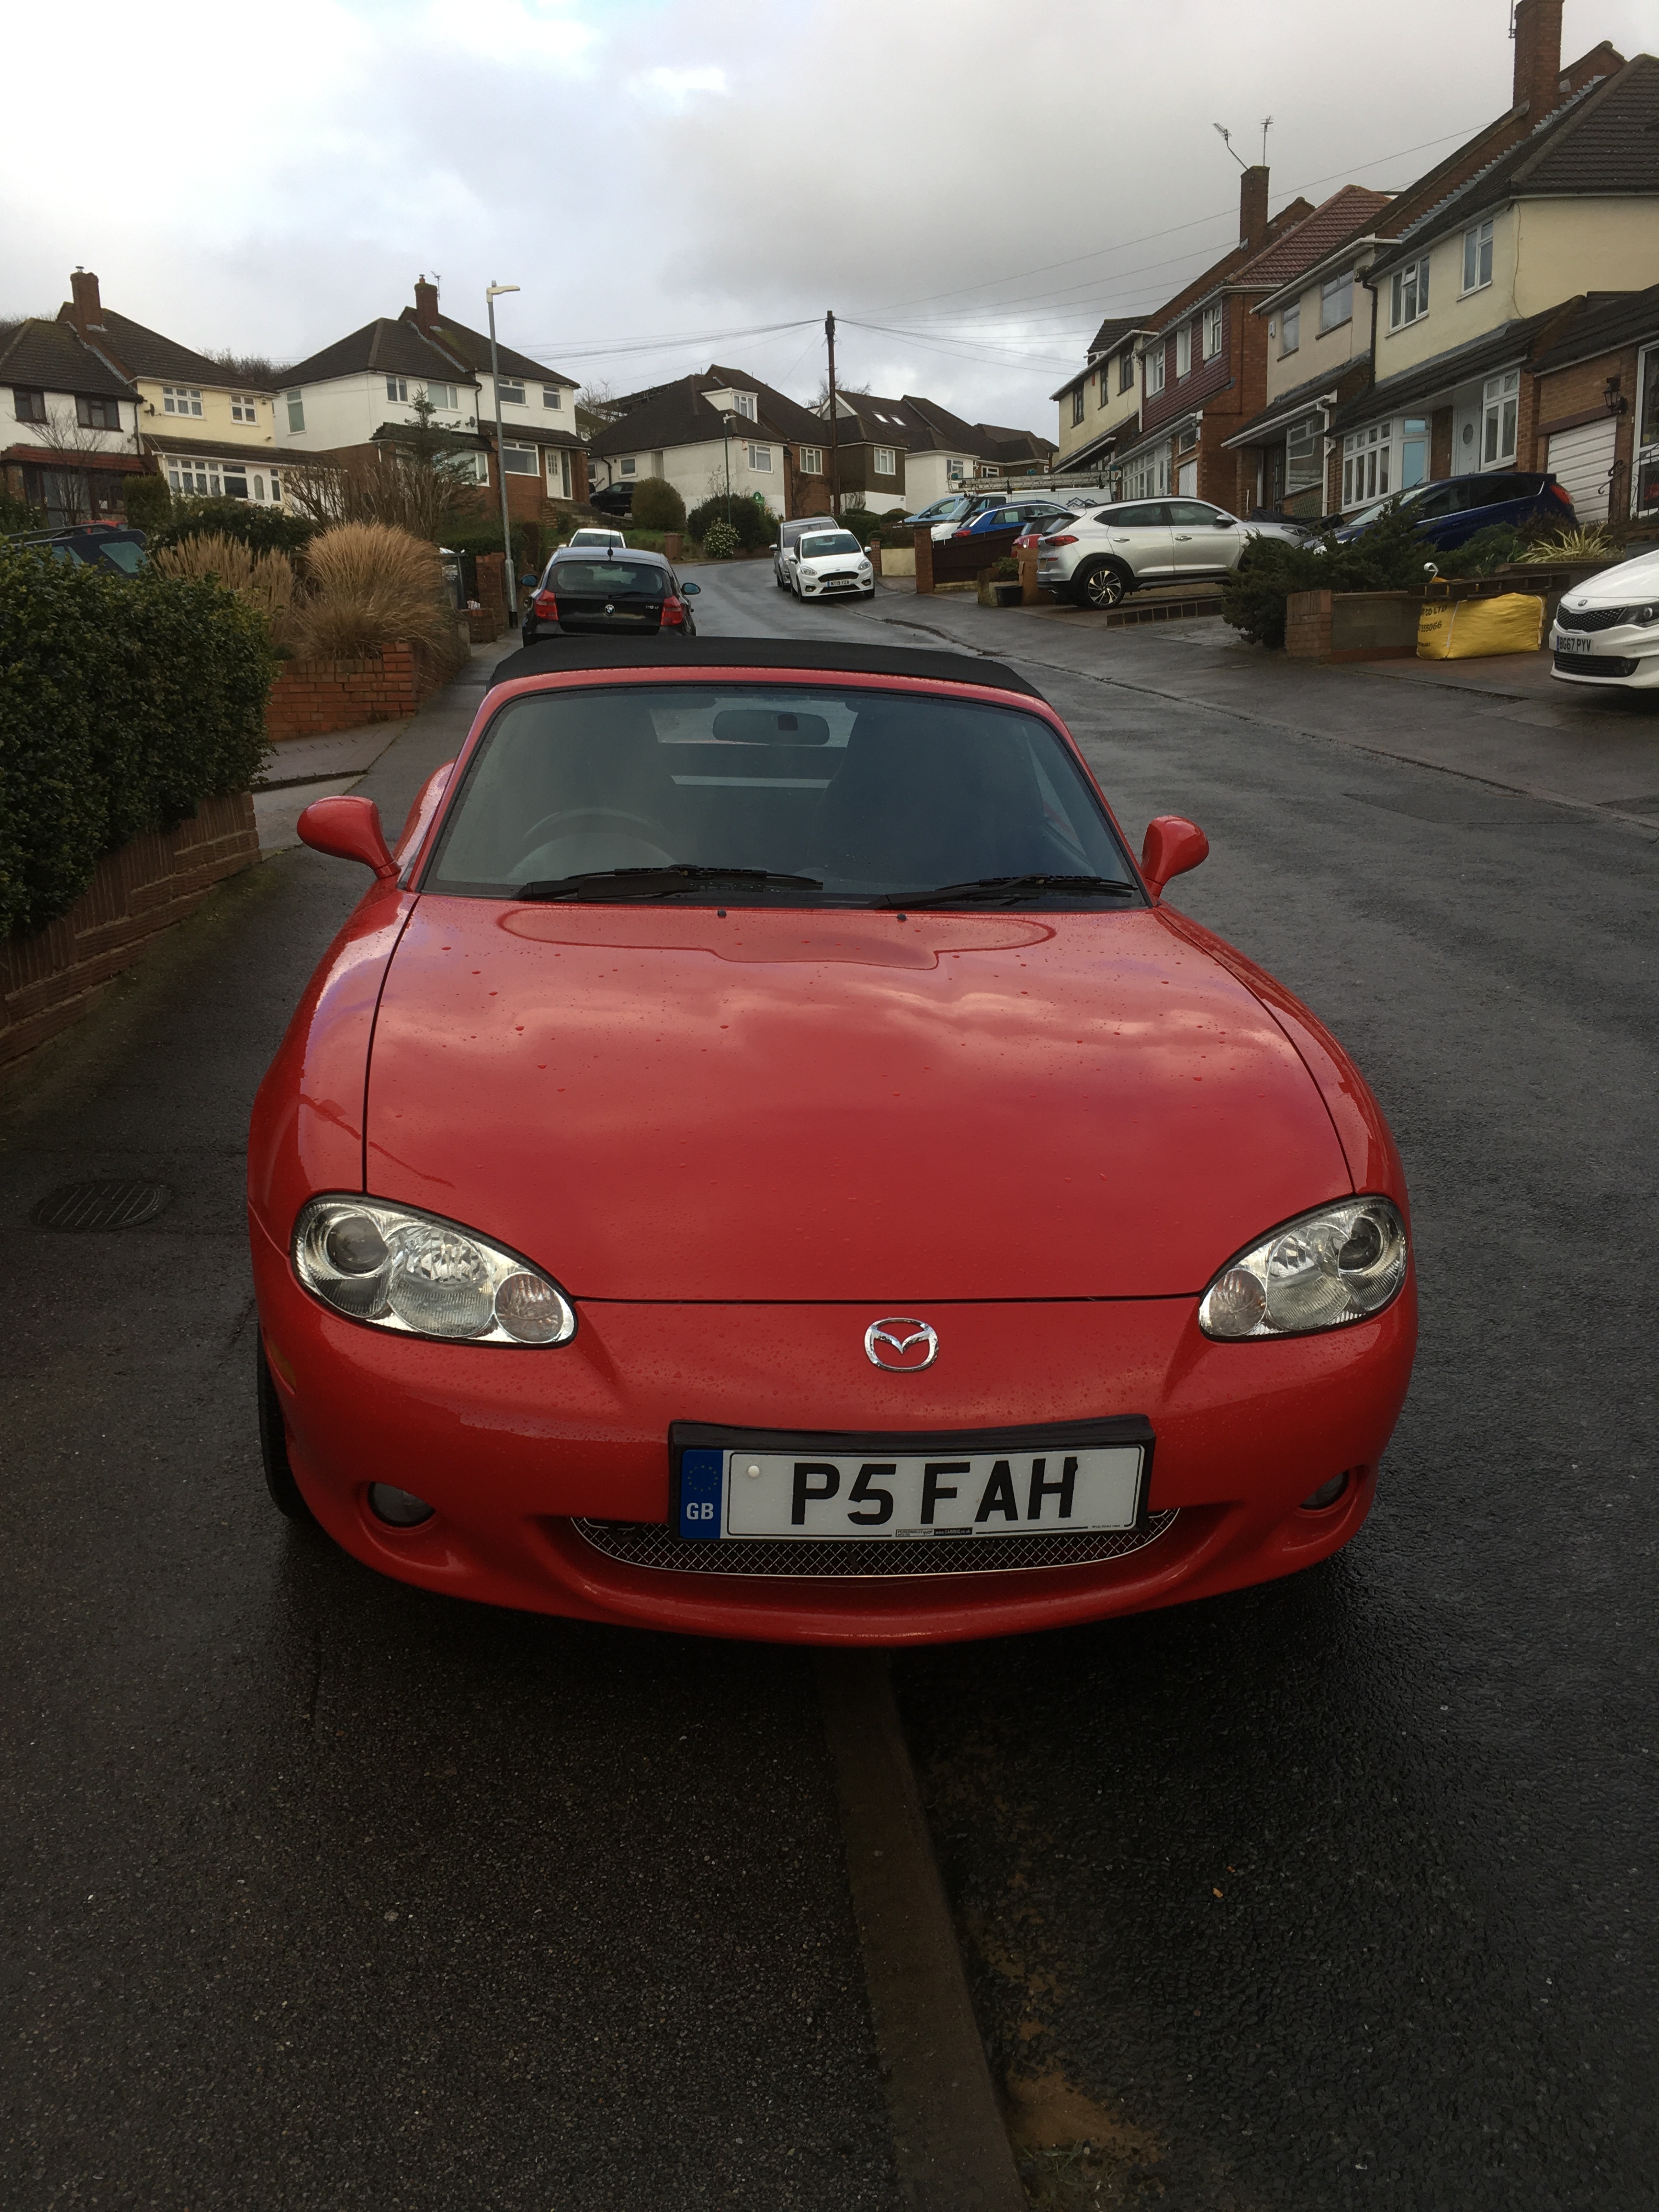
After looking at mx5’s for about a year i finally decided to go and get one.
What an absolute gem of a car, it makes my old fwd citroen feel like a bouncy castle.
I’d like to get to some meets, dip my toes into motorsport and maybe help out with some of the 3d printing projects on the forum, my printer could do with printing other stuff than upgrades for itself anyway.
Thanks for letting me join this forum.
Adam
1 Like
Hey Adam,
The 5 looks great! Came across your post and was wondering if you managed to find any 3D printing projects? I fired up my printer at the start of the lockdown after a long time but as always, I’ve run out of ideas of things to print! 
Hi Adam, welcome to the forum. Enjoy your new toy !
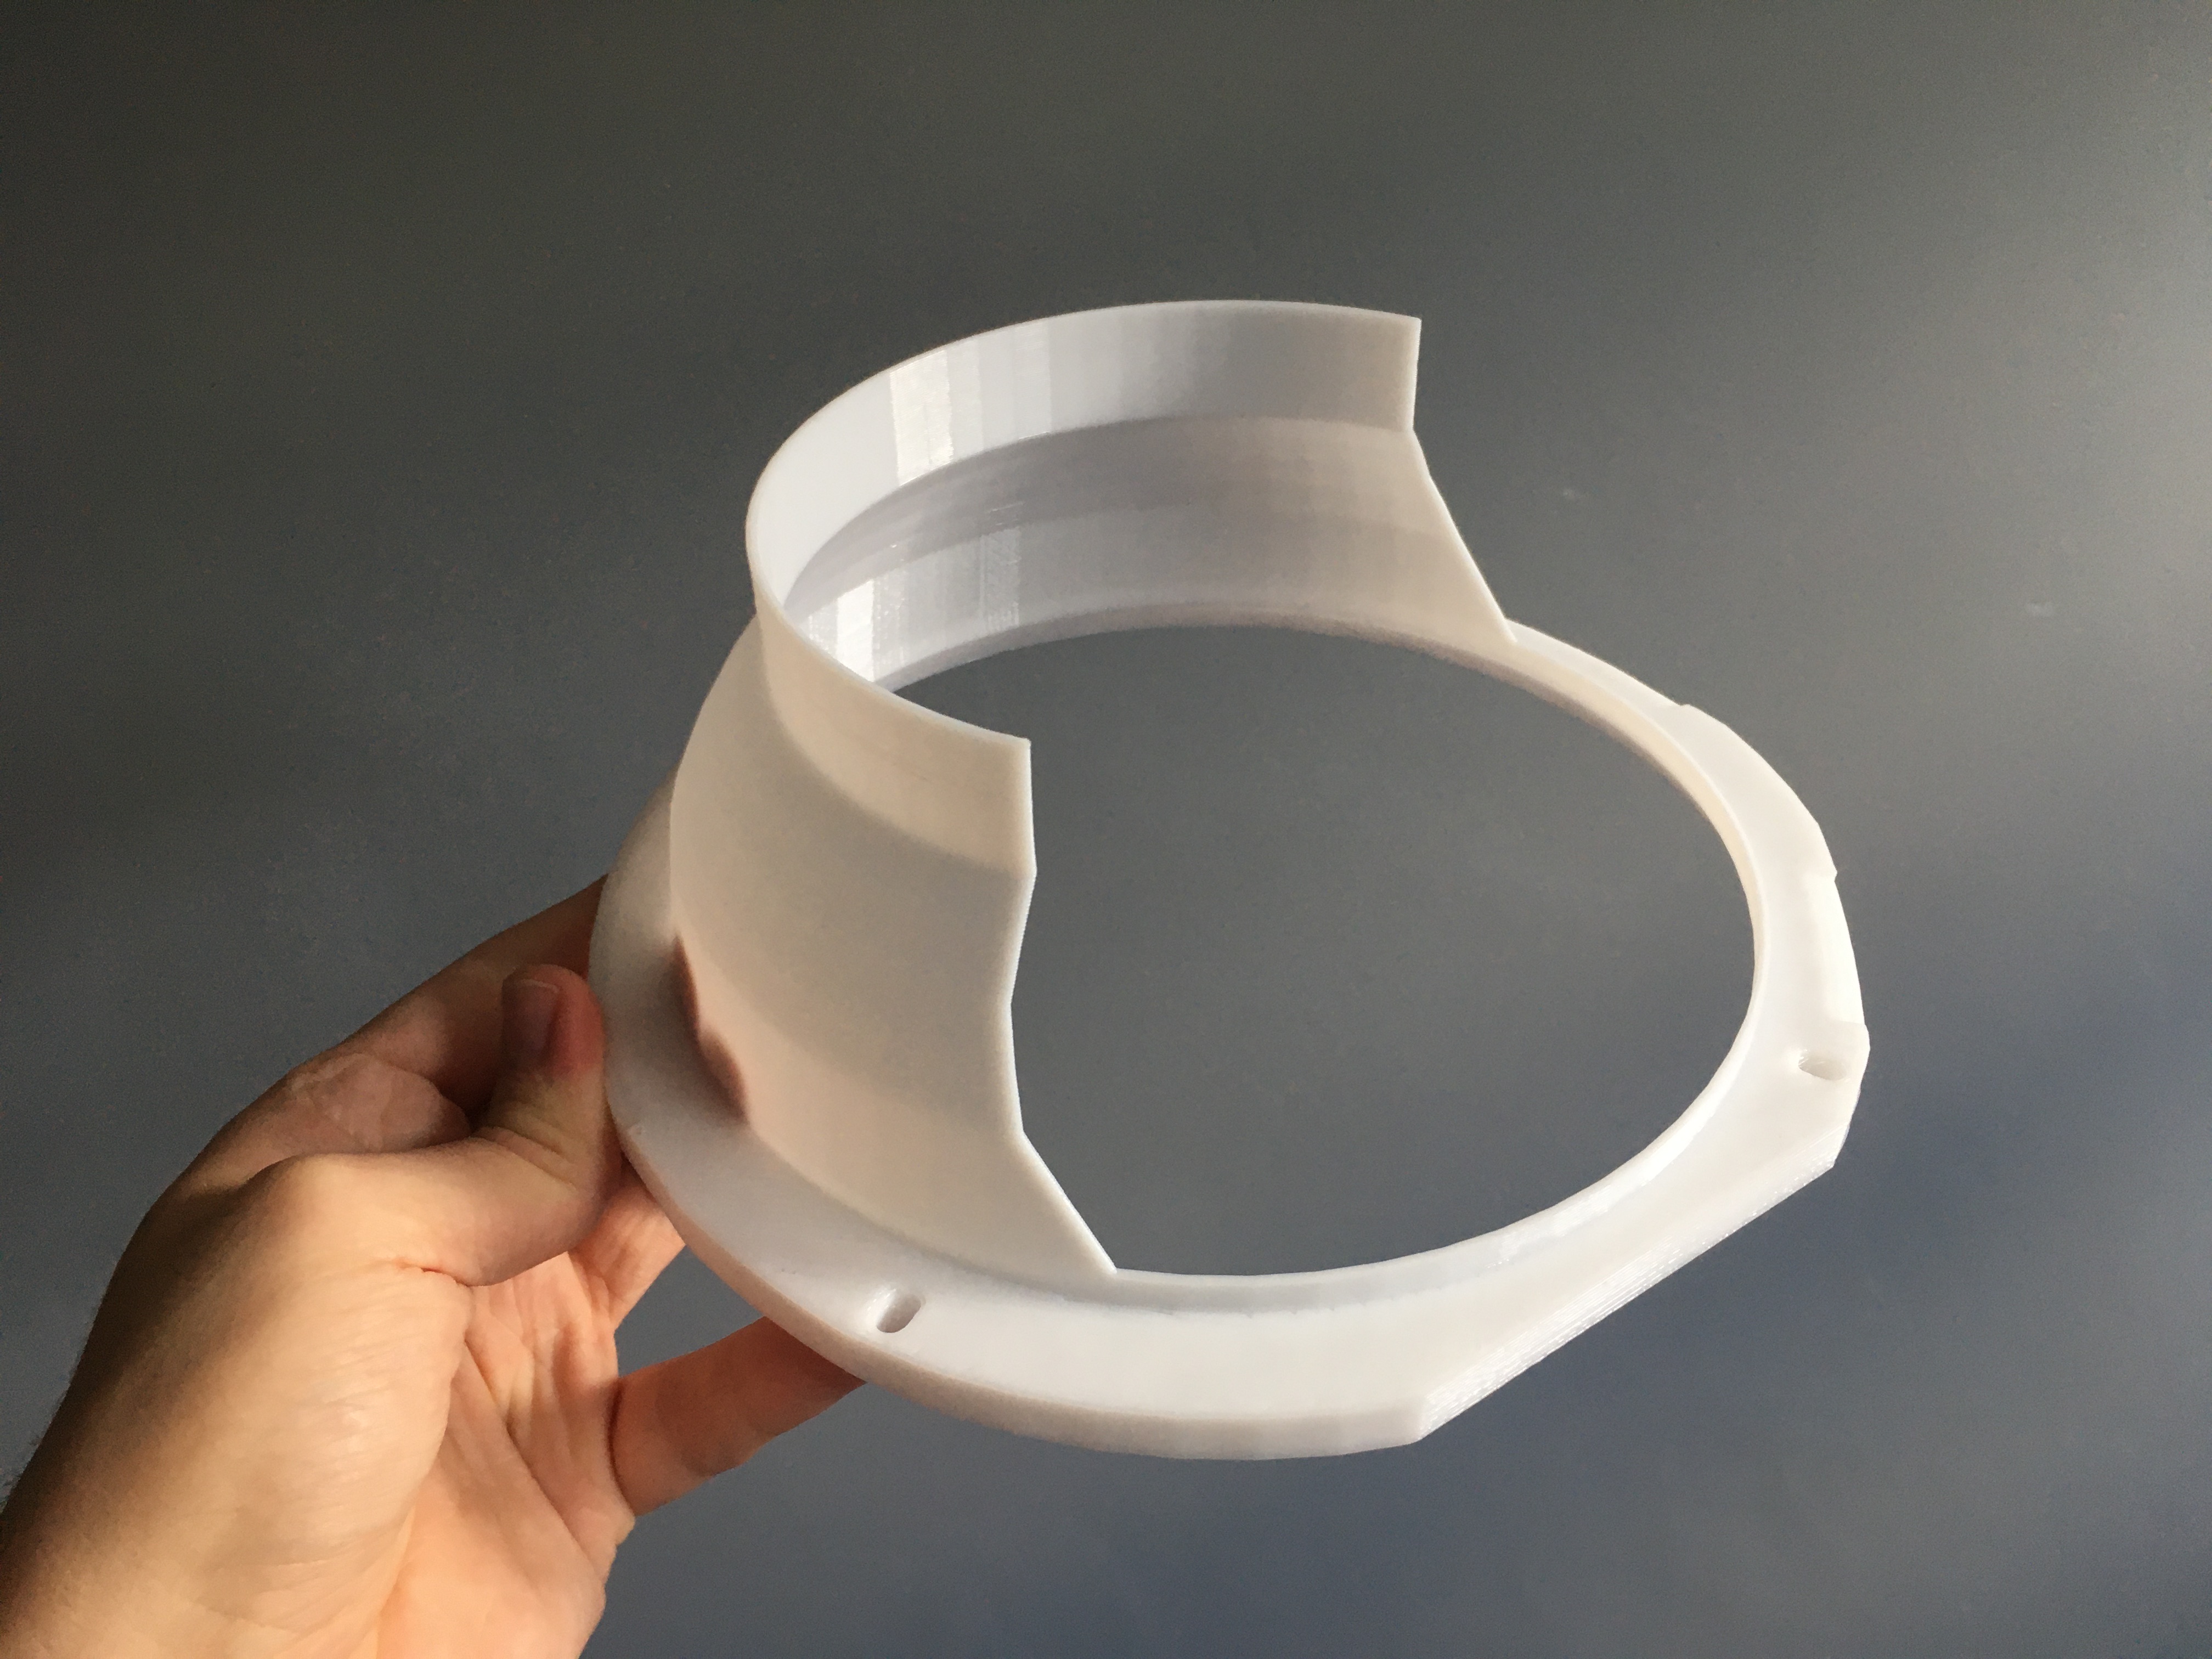
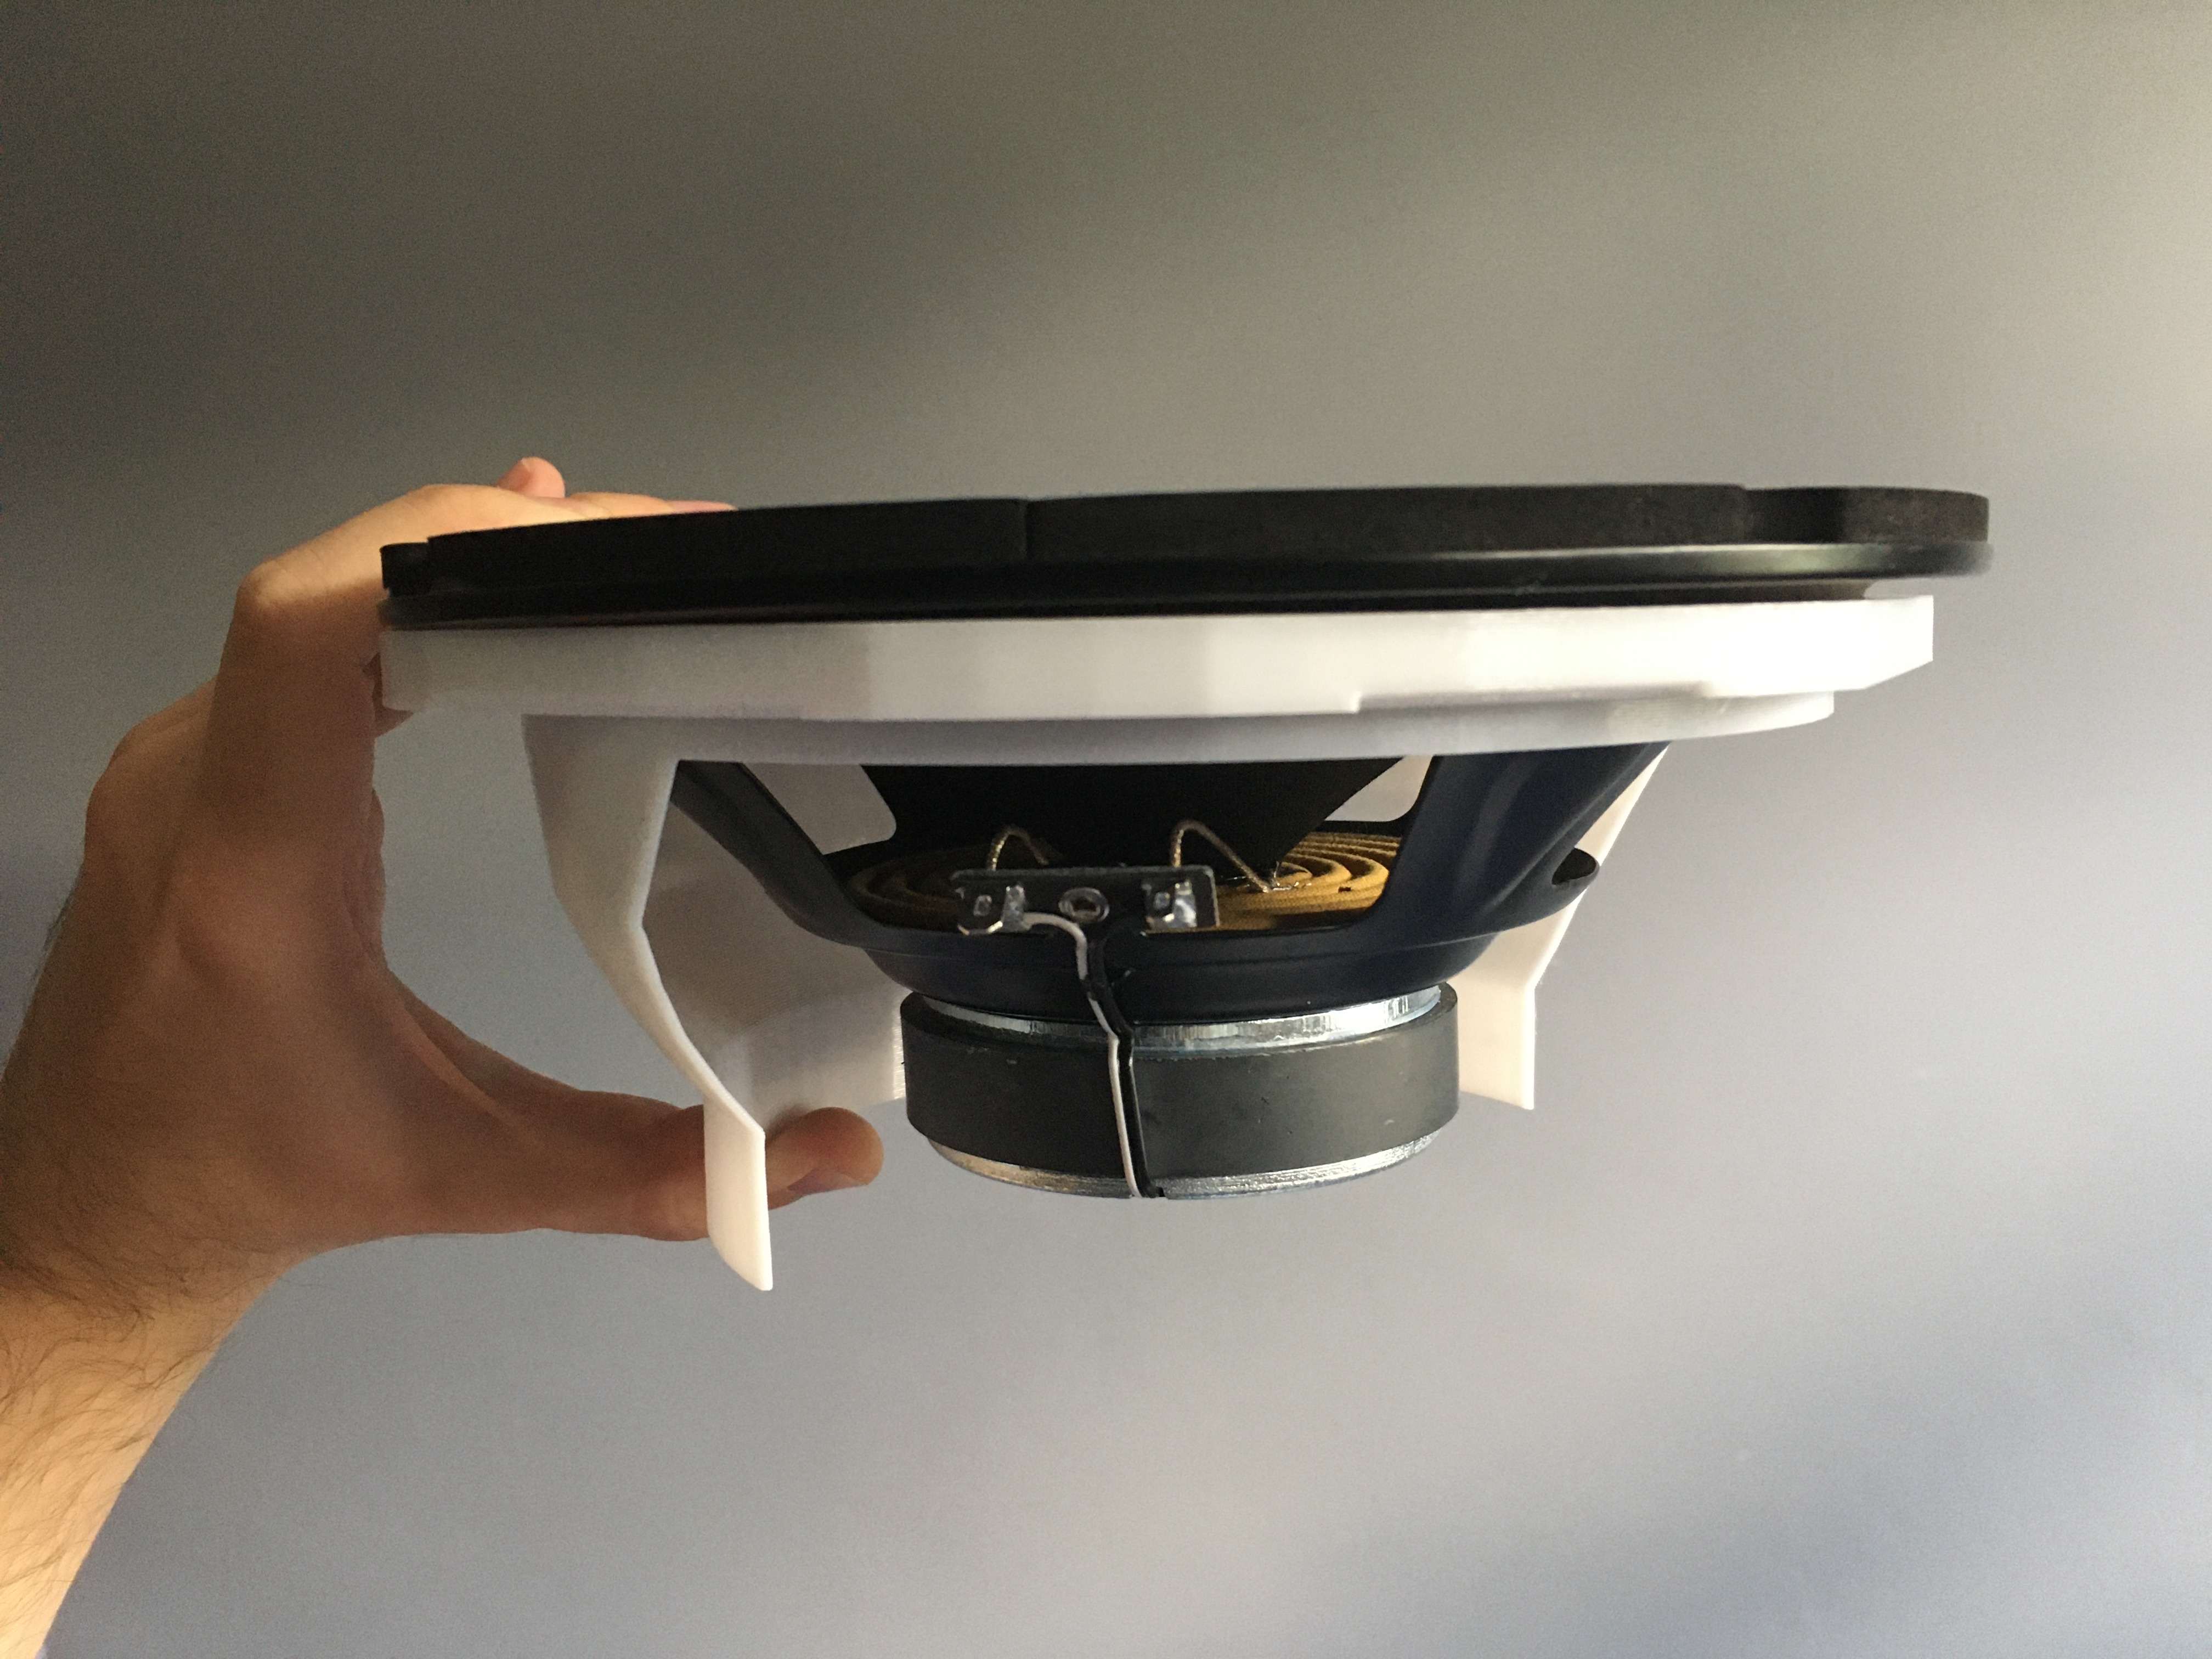
Currently i’m designing a mount for fitting 8” door speakers to the car and give them rain protection as nobody seems to make any.
I’m planning on doing a few batches of them if there is demand for them.
I showed a prototype to the guys at mx5 restorer when i got the sills done and they are very interested.
When it’s had all the kinks worked out i’ll probably upload the STL files here. It will take a lot of bed space and take a long time to print if you have a small nozzle
That is super cool! I’m tempted to go out and buy myself some 8" door speakers now
Do the 8" speakers fit okay behind the original speaker covers? Or would you need to buy/print some new ones? What material are you printing with? And what printer do you use?
So far the only things I’ve printed for my MX5 are various holders (phone holder, cupholder and sunglasses holder)
The only cutting that needs to be done on the current iteration is about 1.5-2cm shaving off the speaker housing on the door card. Everything else is left alone, you don’t even need extra screws as the standard ones fit fine.
The material Used is PETG
Hopefully i can get around to designing one for 6” speakers which would need no cutting or shaving of the car whatsoever.
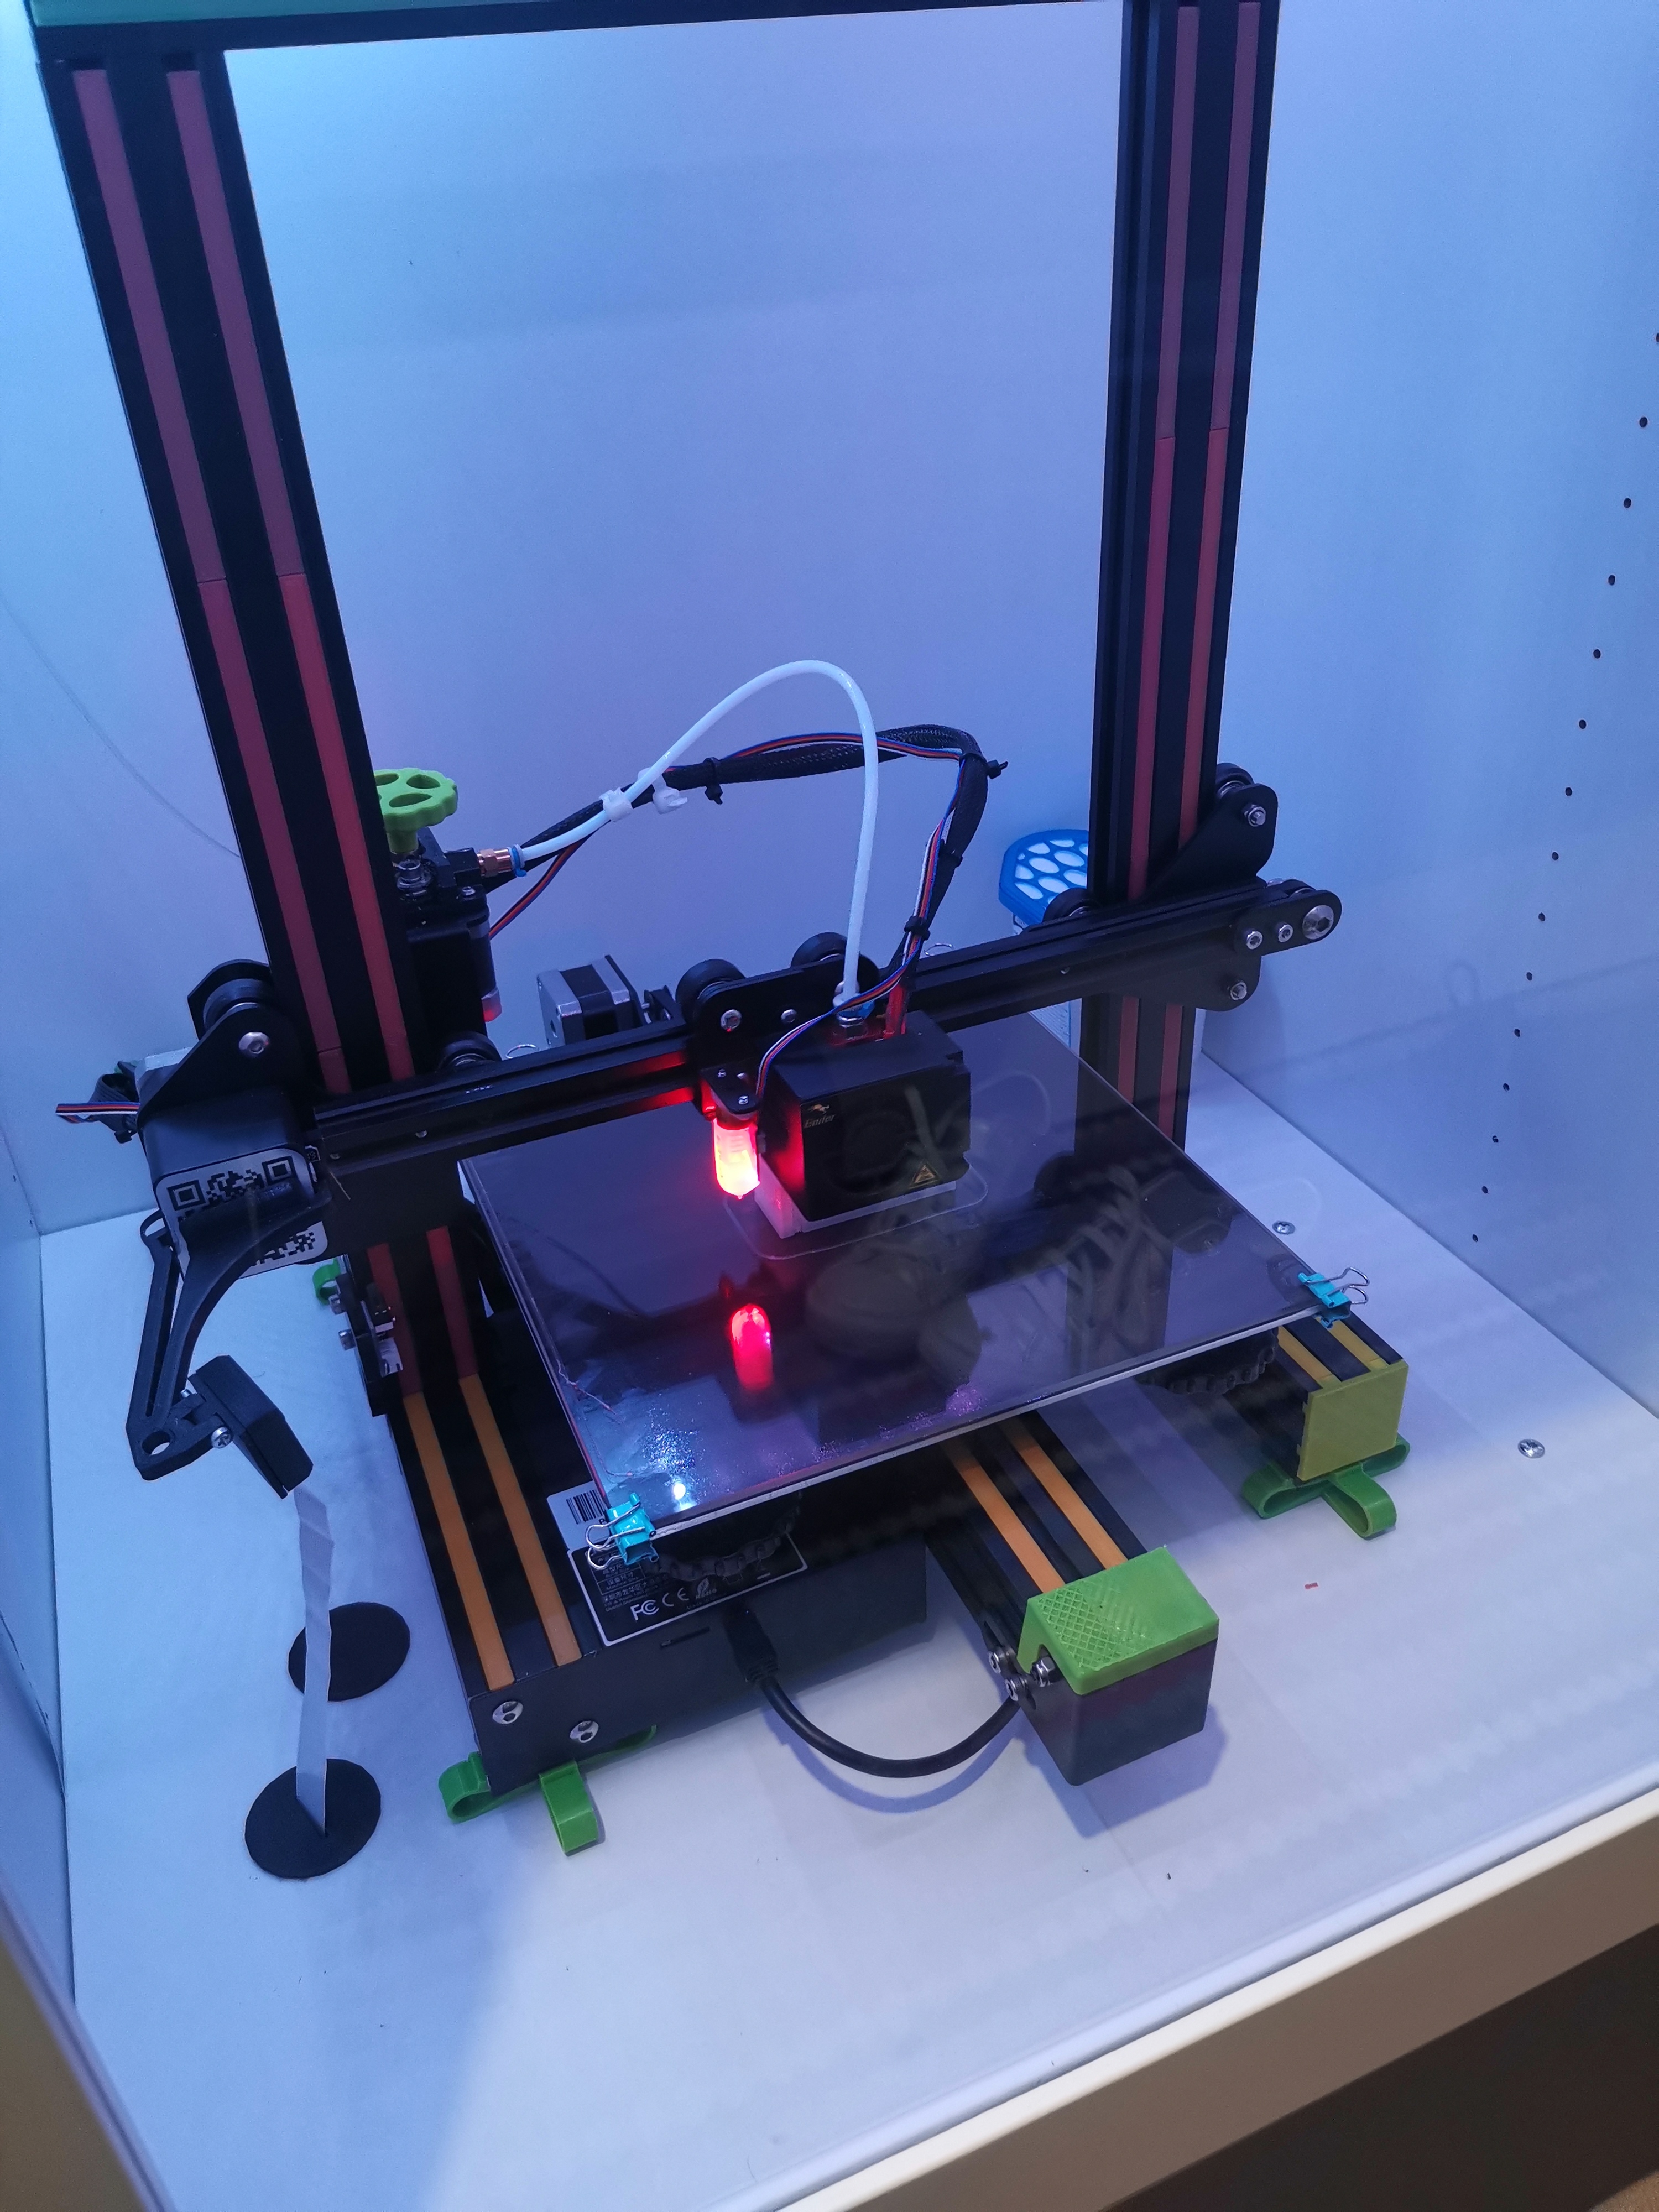
The printer was a Geeetech i3 pro B but very little of the original printer remains these days as it has been heavily upgraded.
It’s had a major rewire since so it looks slightly less thrown together now.
That is very cool! If you do decide to upload the STL here, I’ll have to print it and see if it fits behind the metal speaker cover on my MK1, and if it does, I think I’ll have to get myself some 8" speakers!
Wow! Definitely looks like you’ve done a lot with the printer! Is there any one upgrade you’d say made the biggest difference?
I have an Ender 3 Pro myself
with a few minor upgrades (DIY enclosure, glass bed, auto-bed levelling and Octoprint) and it’s currently printing a prototype sliding magnetic bracket to hold the wind deflector in my 5
I’ve not used PETG before, I’ve always stuck to PLA or ABS but I’ve heard good things about PETG so will definitely have to order some and give it a go
The ender 3 is already a waaaaaay better printer than mine in how it’s constructed. The only things i would probably change is to stick a direct drive extruder on and a single Z motor that mechanically couples both sides.
Probably the most effective upgrade is the single motor Z axis mod. The leadscrews used to bind constantly as the motors got out of sync very easily. I’ve heavily modified the original single motor upgrade to allow a cable chain to be run as well as an XT30 plus DB25 connector to disconnect the head.
If you set up the klipper firmware you can get silly speeds out of the printer without ruined prints. I’ve been able to print at more than double the speed that i could with marlin with all these mods.
PETG is a very finicky material to get the settings right with. If the print has a matte sheen, temperatures are too low, if it’s too high you’ll get stringing all over the place. It also picks up moisture at a rapid pace but you can put the spool in a food dehydrator for a few hours at 65 - 70C to remove the water. If you leave a spool out for a few days it’ll absorb enough moisture to ooze and ruin prints.
Temperature and retraction are the most annoying settings to get right with this plastic.
From what i can find, the mk1 speakers have 3 screws rather than the 4 of the mk2.5 as well as the area being differently shaped.
I’d like to design an adapter for the MK1 but that would require access to a MK1 door and door card as it’s all designed around the contours in the door.
Even some rotten or dented door would work, so long as the speaker area is intact.
I have some of my printer mods on thingiverse if you want to take a closer look.
https://www.thingiverse.com/peppered/designs
I was actually just looking at the direct drive extruder upgrade since my PTFE tube is pretty knackered and got clogged the other day. I’ll definitely have to look into a single Z motor to couple both sides. I know that you can get dual stepper motor kits for the Z-axis but it seems expensive and a bit of an overkill really.
Ooh, thanks for pointing me towards Klipper, it seems like a worthy upgrade! And apparently it’s fairly easy to set up with a raspberry pi.
Thanks for the advice, when I order my next batch of filament, I think some PETG, and a cheap food dehydrator will be on the list!
Yes, the MK1 speakers are 3 screws. I’ll try taking the speaker cover of mine tomorrow and seeing how much clearance there is. If I can find myself a cheap 8" speaker, I may try to attempt to mock up a quick design for a mount
There’s a few things that the klipper dev did a bit weirdly. For instance when i set up my BLtouch, marlin had the offset between the height of the nozzle and where it triggers. Klipper does it from the bed instead. That had me scratching my head for hours trying to figure that out.
There are pinout templates that klipper has, if your printer is fairly stock it should be much more painless than mine was.
I use Alpine SXE-2035s speakers, they are a pretty common choice and quite cheap too. Not many people do 8" speakers for cars.
I was debating whether to use home HiFi drivers as there is enough space in the MK2.5 door to acommodate.
It took more than 13 different prototypes to get the adapter right, i wouldn’t have been able to develop this adapter easily without being off of work.