Hoodedreeper's NC1 Sport

Hello! It’s certainly been awhile since I left MX5 ownership. I’ve previously owned 3 NAs, my biggest project being The Purple Monster

I stripped the car for parts in 2018 to fund my R34 GTT. I’ve built a couple of daily driver’s in the mean time and as yesterday (24th August 2022) I’m now back as an MX5 owner.

The car is a 2006 Sport model which includes 17" alloys,LSD diff, Bilstein suspension, 6 speed gearbox, heated leather seats and rear parking sensors.

Overall the car is in fairly good condition considering its 16 years old.

The biggest thing that lets it down is the paint damage on the front bumper

There’s abit of oxidation on the headlights which seems to be common the earlier NC models

The dull overcast UK weather wasn’t helping with the photos, but in direct sunlight the Galaxy Grey paint really shines well and has a gorgeous gold pearl

The roof is in great condition, no visible tears or damage. Luckily it hasn’t started to bubble along the front edge like some do.

The interior is in decent condition, it could do with a good clean though

57k miles on the clock (almost 92k km) was another thing that drew to purchasing the car

Not much to say about the engine bay, except it needs a good clean too

4 Likes

Viewing the car on a drive way is more trickier, some owners are happy to get it on a ramp or even jack the car up. But I didn’t want to be a nuisance or be cheeky so I did the best I could.

The inner sills looked in good condition from what I could see. Obviously I couldn’t remove the side skirts to inspect it properly.

There’s a few areas that look bad ‘should’ just be surface corrosion.

Talking of surface corrosion…

It looks much worse than it is (I hope!) Luckily this can all be removed and either cleaned up & painted or replaced for new.

I’ve always gone head first into builds and getting stuck in straight away, but unfortunately my bank account needs some time to breathe from all of the spending as of late. Plus life has changed quite alot since the purple NA as I now have 2 daughters. So the updates may be abit slower than normal.

With the last project I decided to restart my Youtube channel and documented everything as a guide/how to (its abit of a neiche car,so guides were limited). I plan on doing the same but perhaps more of a blog rather than guides.

I’d really appreciate it if you could head over and gave the channel a subscribe https://www.youtube.com/c/hoodedreeper/featured

I look forward to making a start

2 Likes

Welcome back! Loved reading your previous exploits - can’t wait to see what you end up doing :+1::+1:

1 Like

Welcome back. It’s good to be able to see the before and be onboard at the beginning of this adventure.

Good luck.

Guy

1 Like

Welcome back to MX5’s I look forward to seeing your car’s progress…

1 Like

Thank you for the welcome back, its good to be back :slight_smile:

I’m happy to be able to finally piece together the first update, unfortunately it’s not too exciting.

I wanted to give the car a good clean inside and out, mainly because its cheap to do and I can’t do much else at the moment cries

I started with the engine bay and a dry clean with a vacuum. I then started a wet clean using a diluted citrus pre-wash, detailing brush,some mircofibres and finishing with a plastic trim dressing.

[video=https://www.youtube.com/watch?v=6gIjGg9VBGE[/video]

[img[https://live.staticflickr.com/65535/52359529152_1cb75b039b_c.jpg[/img]

Next was to tackle the interior. I used the same steps as the engine bay starting with a dry clean with a vacuum followed by an interior cleaner and detailing brush. The plastics received a coat of the same trim dressing.

The leather seats and door card inserts were cleaned with some Dr Leather wipes and sealed with GTechniq L1 Leather Guard

https://www.youtube.com/watch?v=Enc3-6DpT3k

1 Like

I held off washing the exterior till this week (mainly because I’m on annual leave). With the british skies filling with dark clouds, I could only hope it stayed dry long enough for me to complete this extensive job.

The last time I had polished a car was 2014,not long after my purple MX5 got resprayed. Apart from that I very rarely do more than a routine 2 bucket wash and dress the tyres/trim.

So please forgive any incorrect information or techniques, this is still new to me. I have a range of products I’ve collected over the years and it was great to finally put some to good use.

I go into more detail in the Youtube video

The only photo I have during the process was of the clay barring. Before I started this stage the paint looked fine, it’s not until I saw the 50/50 I realised how contaminated the paint is (or should I say, was)

3 Likes

Ill be keeping an eye on this thread as im tempted to get one if my rsltd goes

1 Like

Looking awsome dude… Cant wait to see where you take this one :smiling_face_with_three_hearts:

1 Like

Looks great :+1:

1 Like

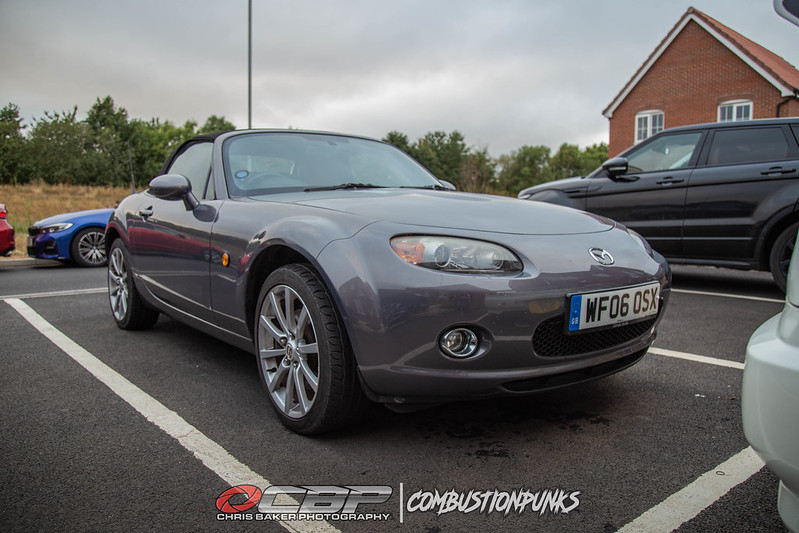
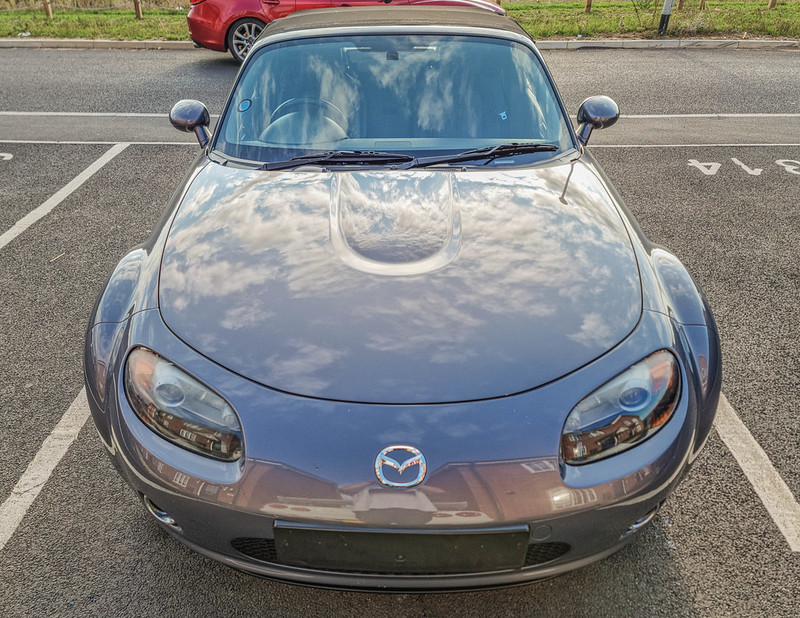
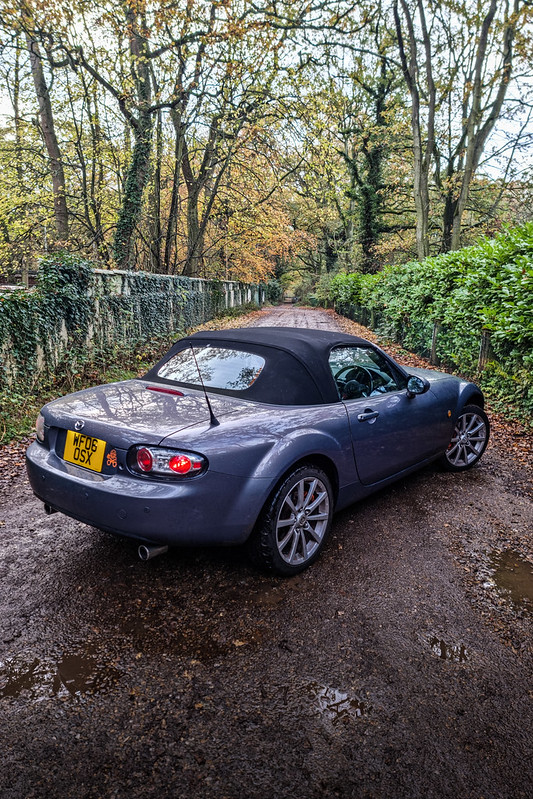
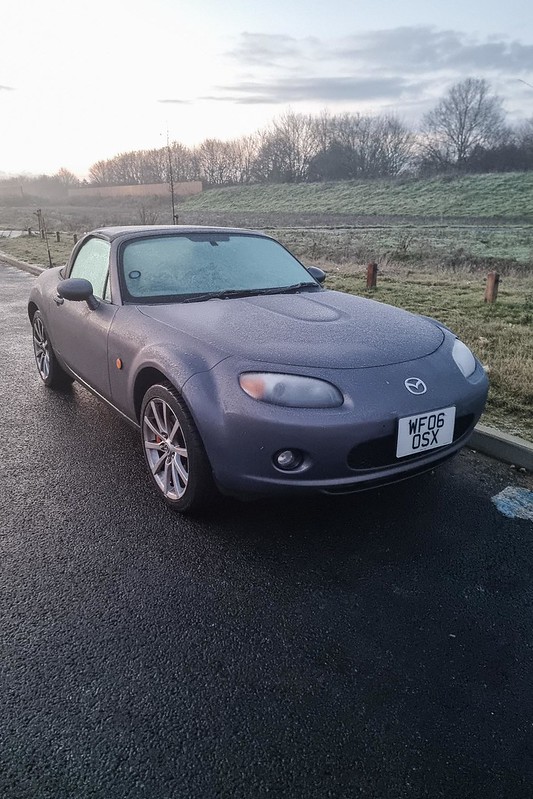
Its been a very busy few days

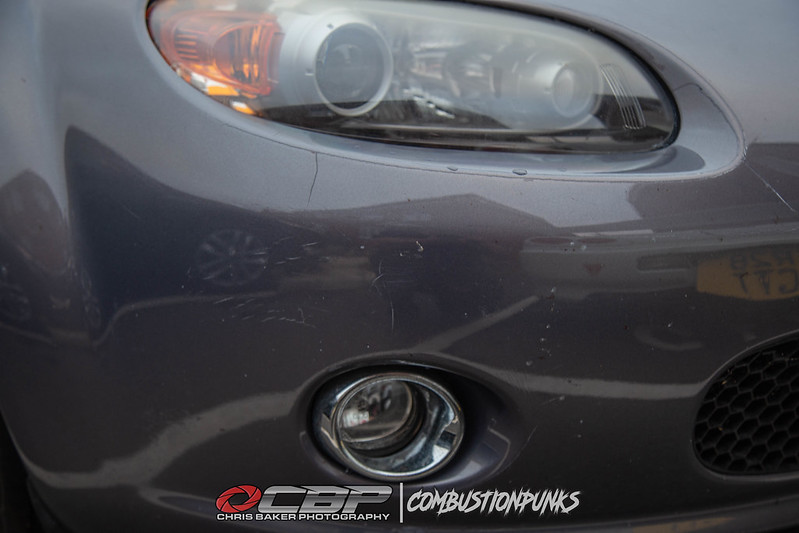
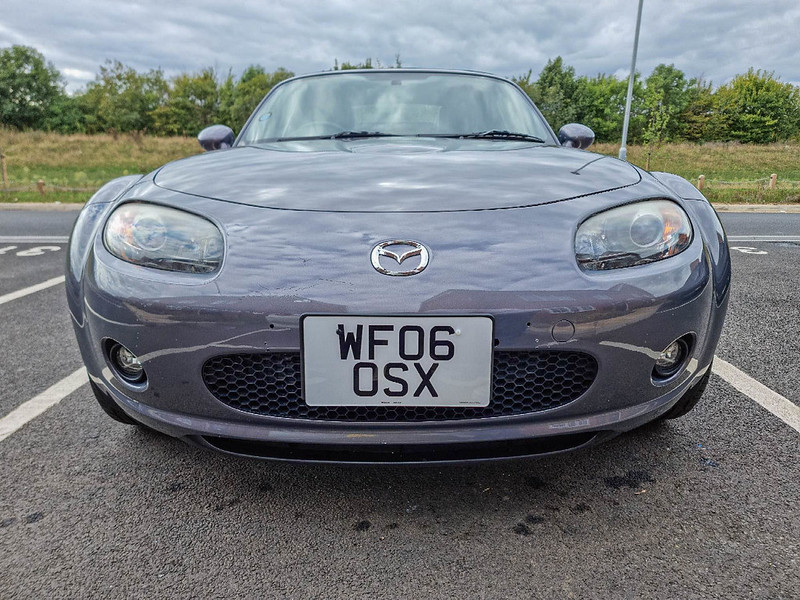
The first job was to remove the front bumper to remove the original oblong number plate plinth. Once the bumper was cleaned up and the uncovered area coated with polish and wax to match the rest of the bumper, it was time to fit the OEM import plinth supplied by Autolink

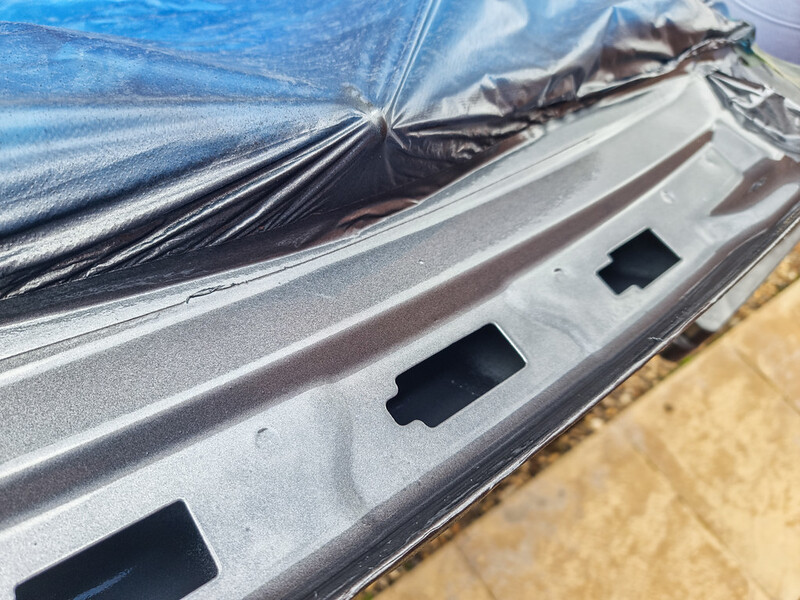
It left some holes but these will get filled and smoothed when the bumper gets resprayed

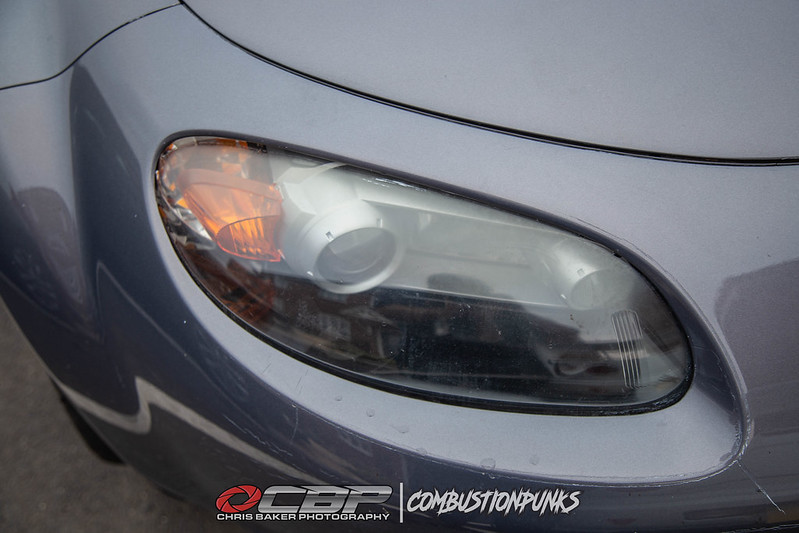
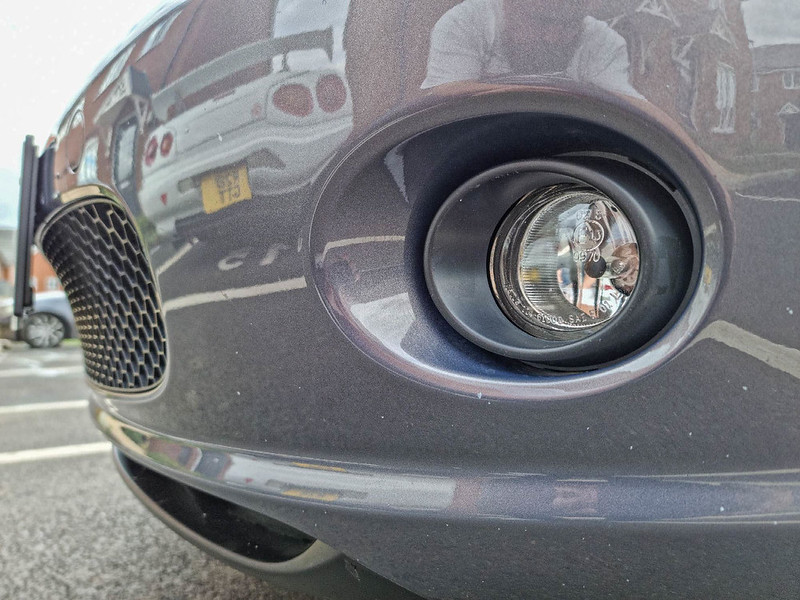
I also removed the front fog lights to spray the chrome, but it turns out the chrome was a stuck on trim

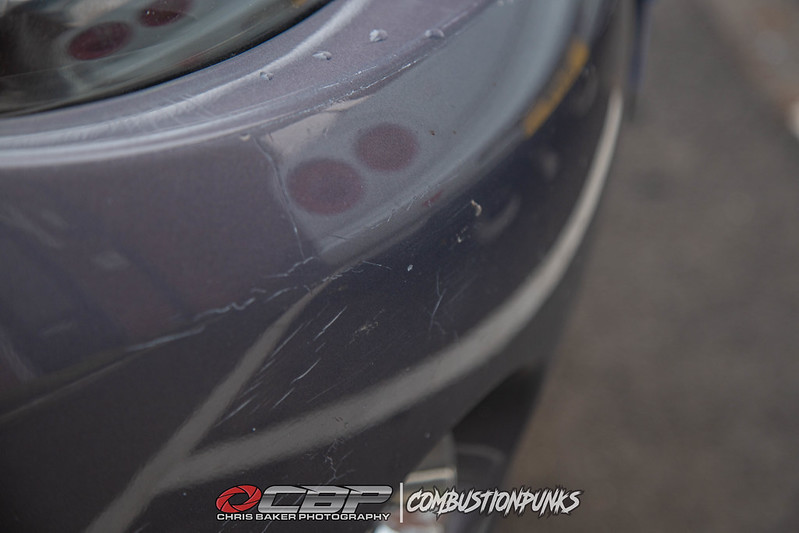
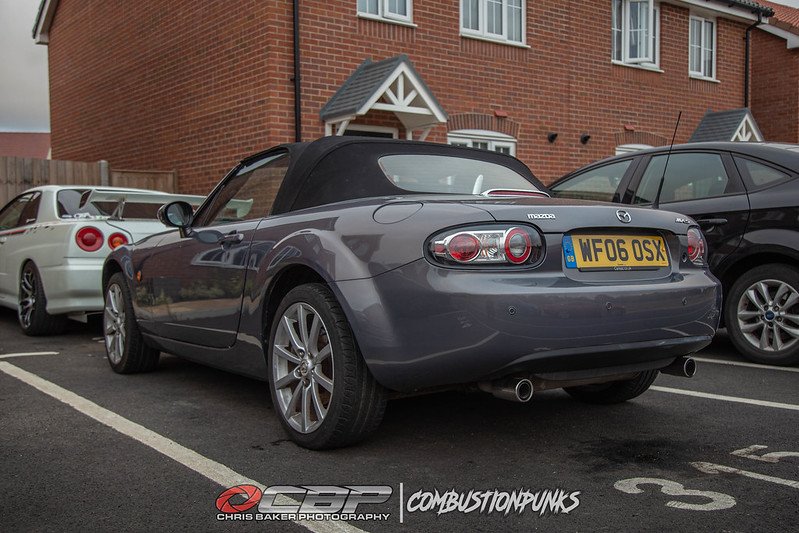
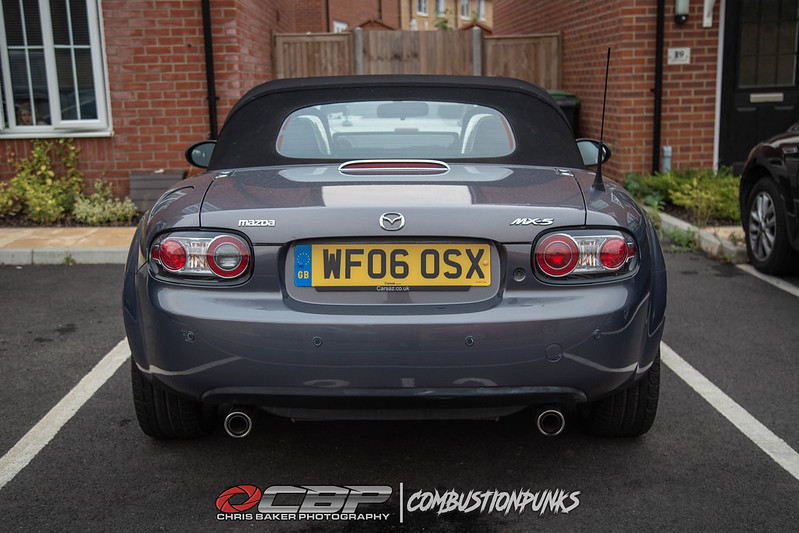
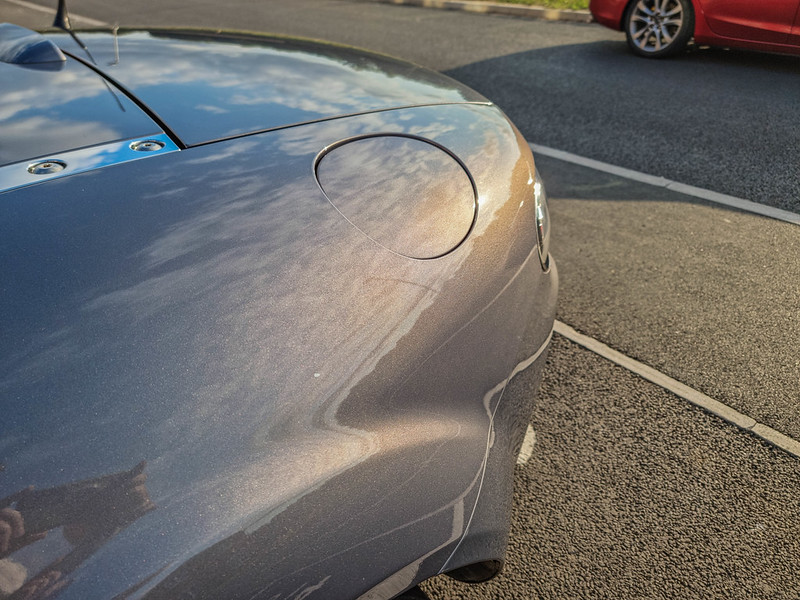
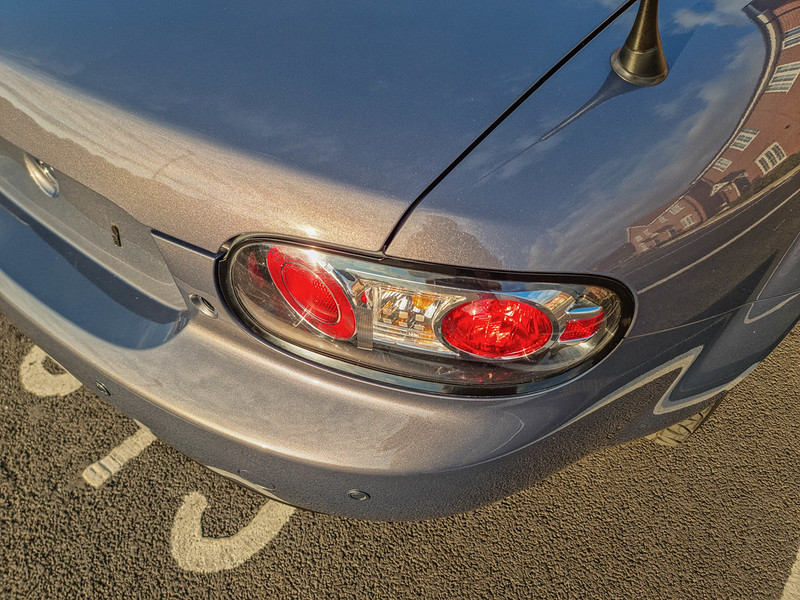
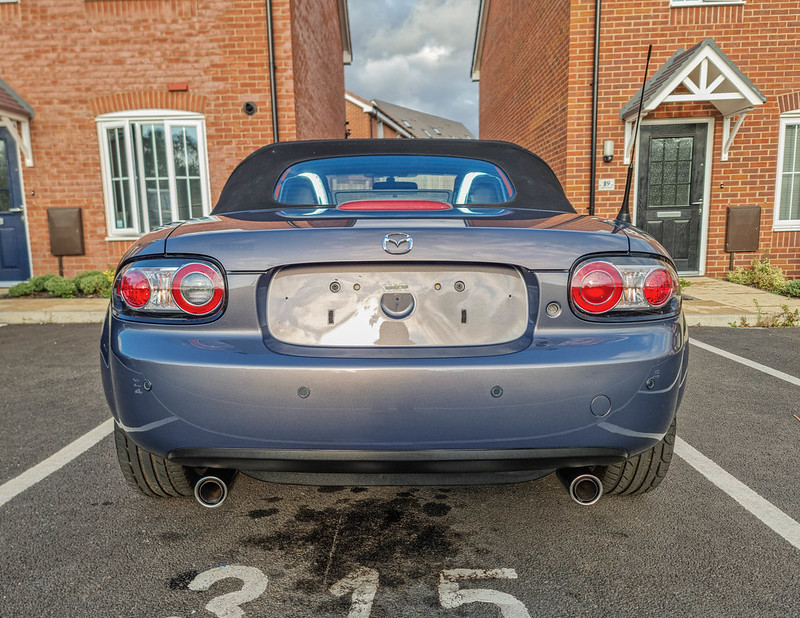
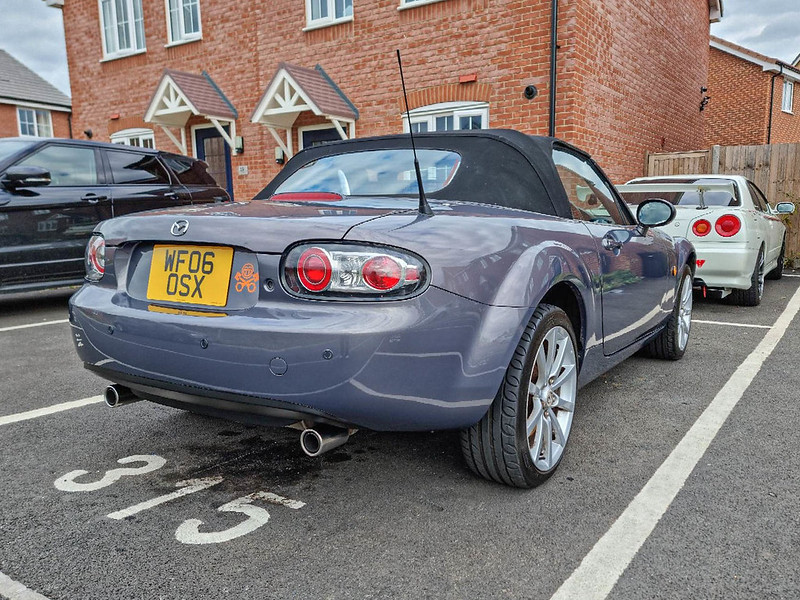
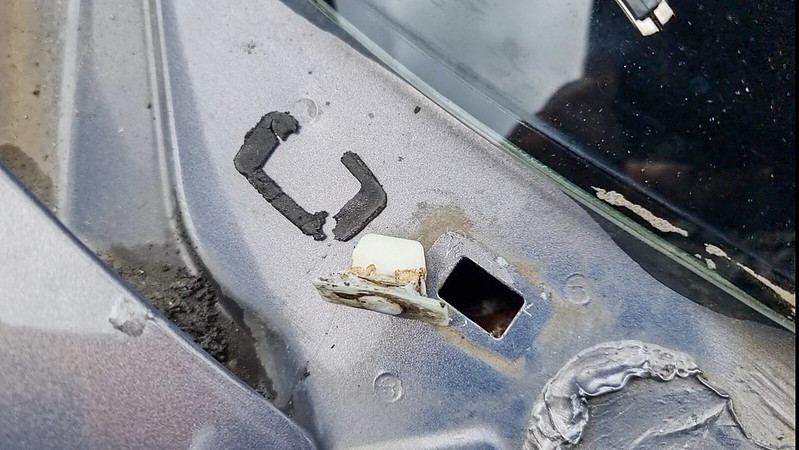
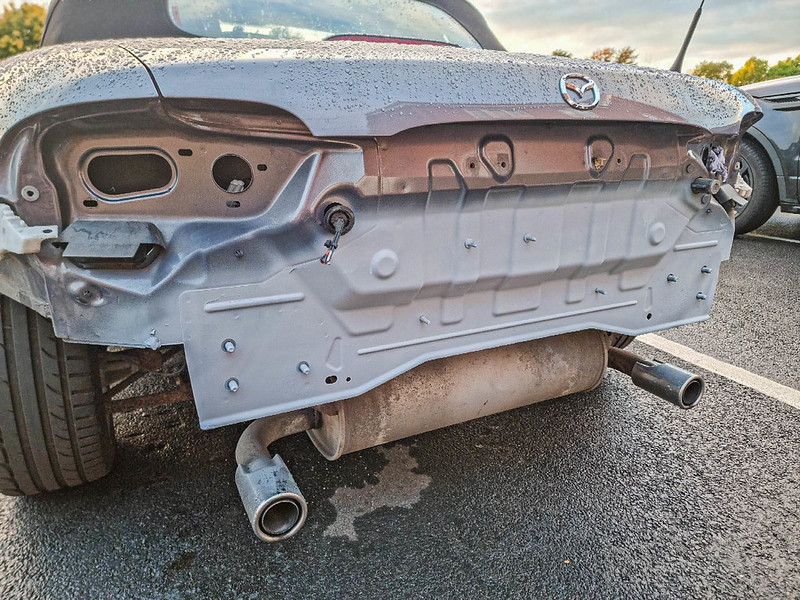
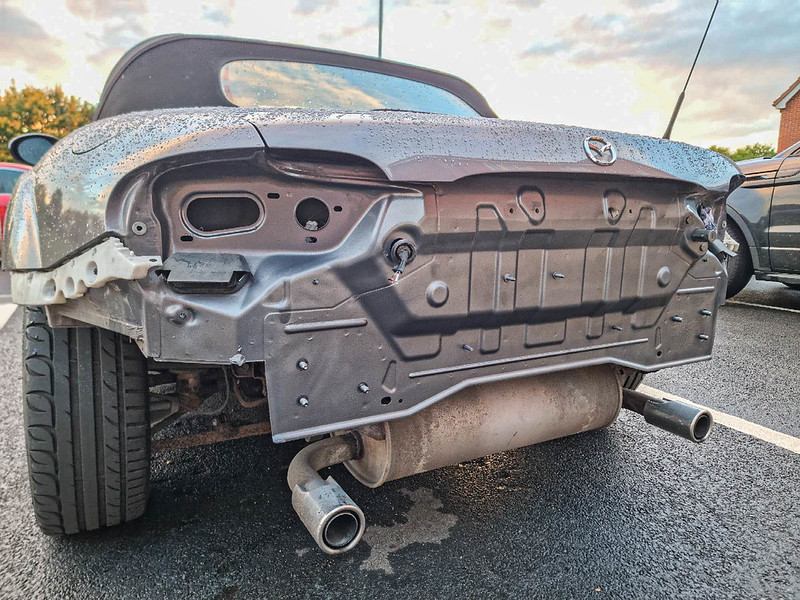
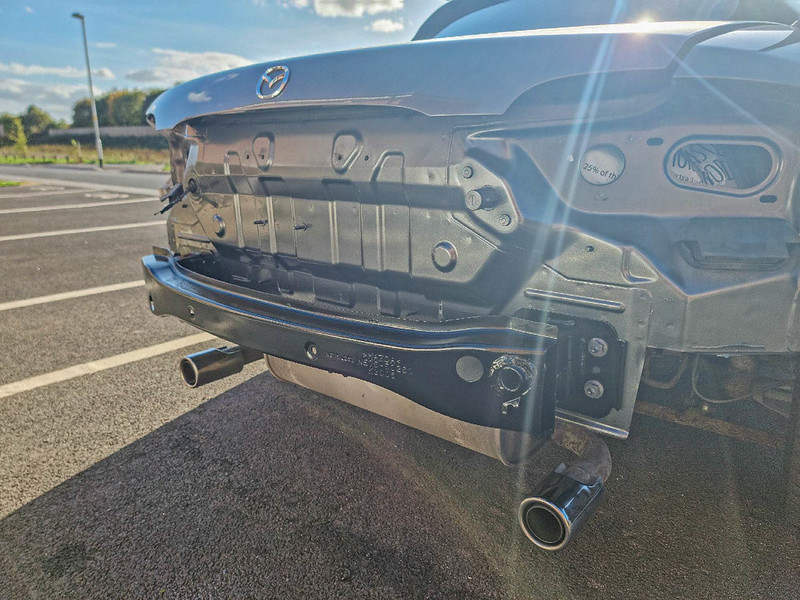
The rear number plate left a hole either side, I’ve tried to hide one with a Pistonheads sticker

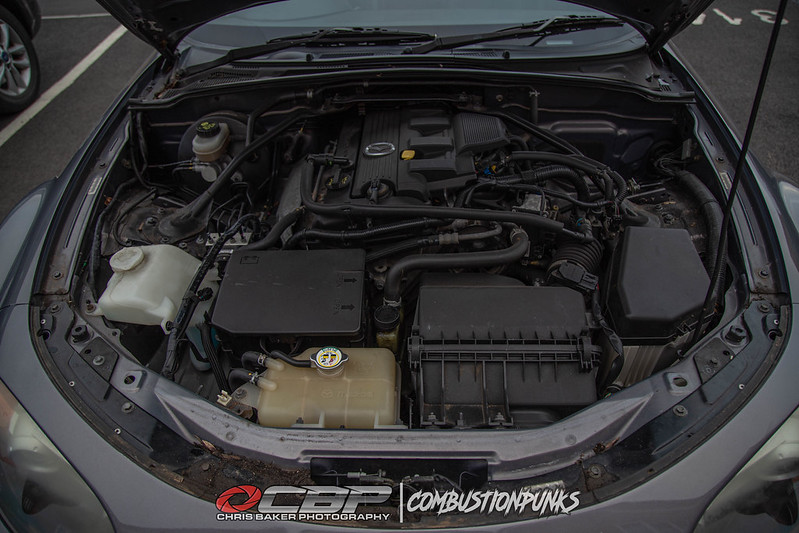
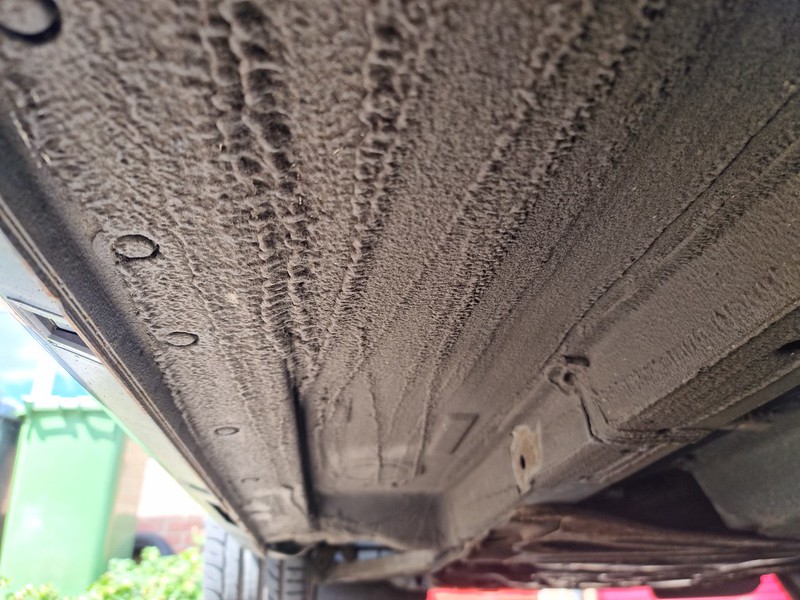
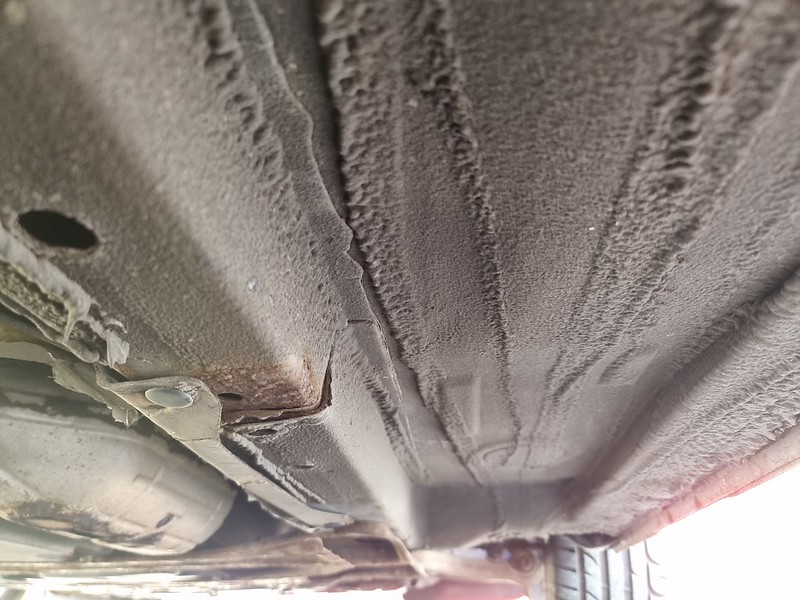
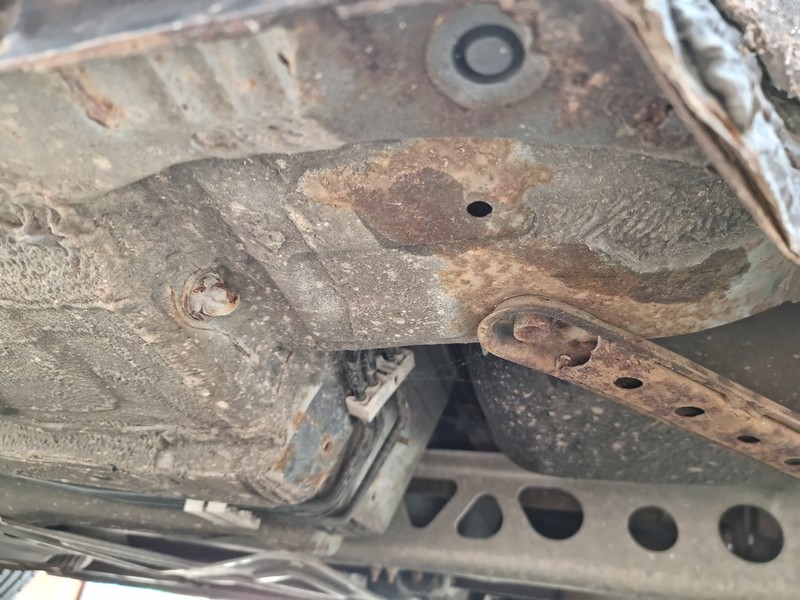
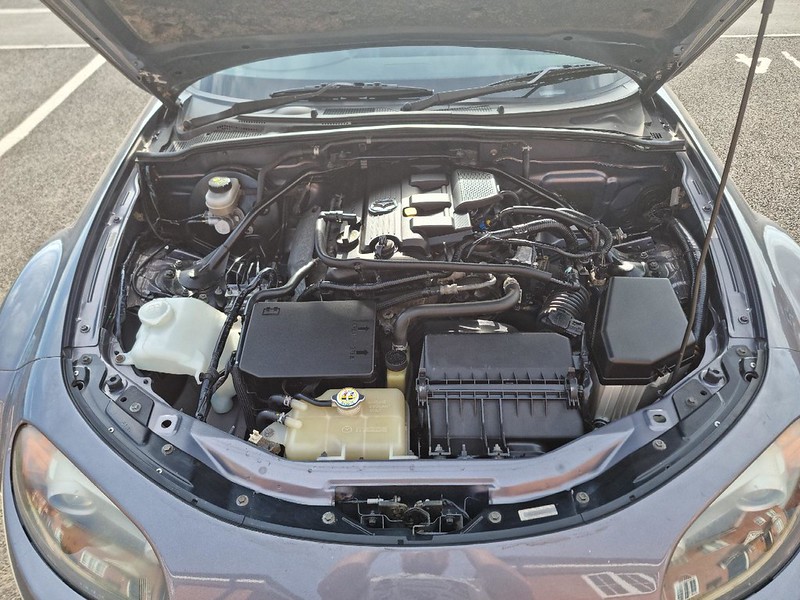
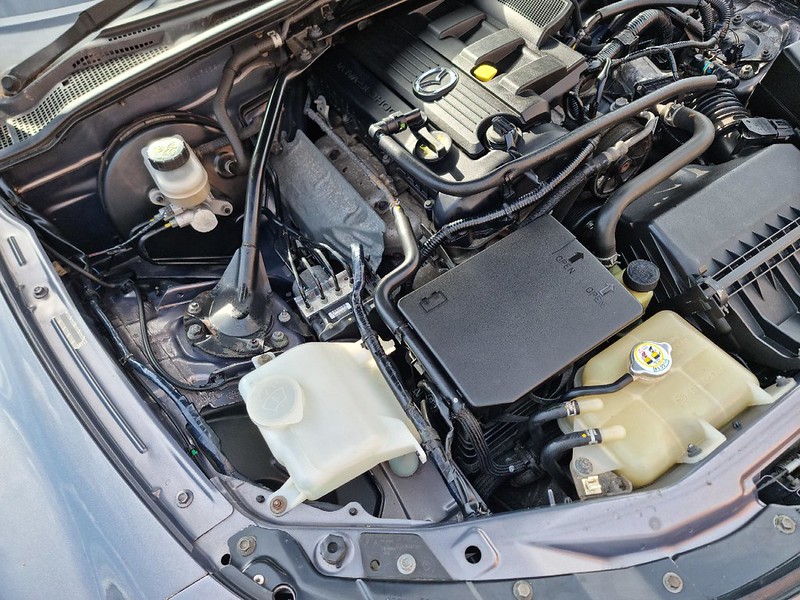
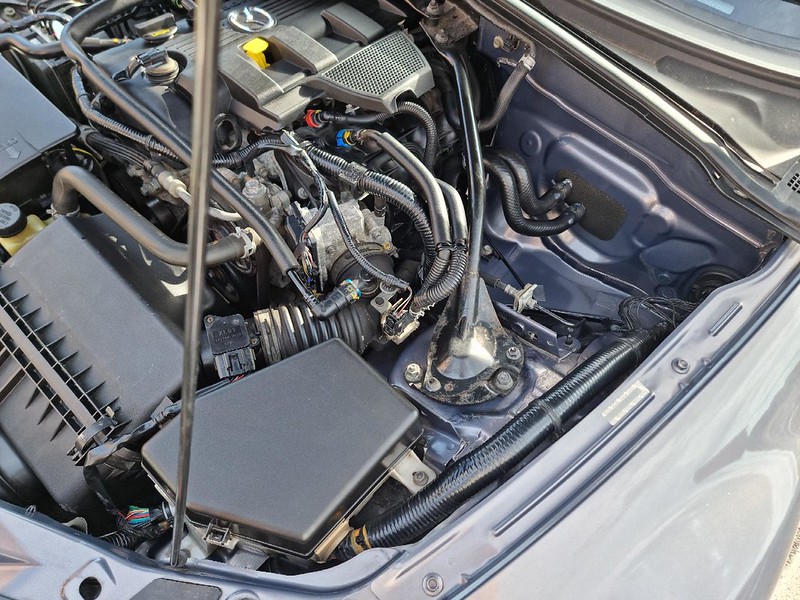
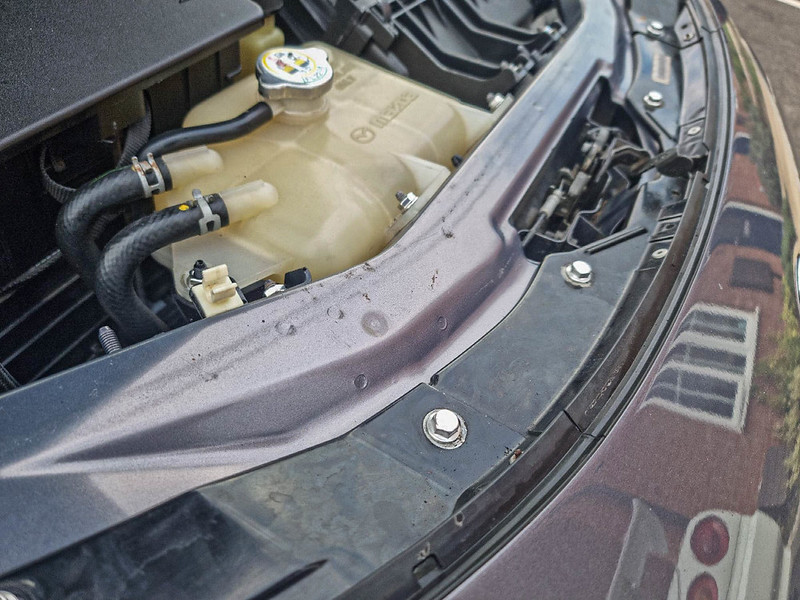
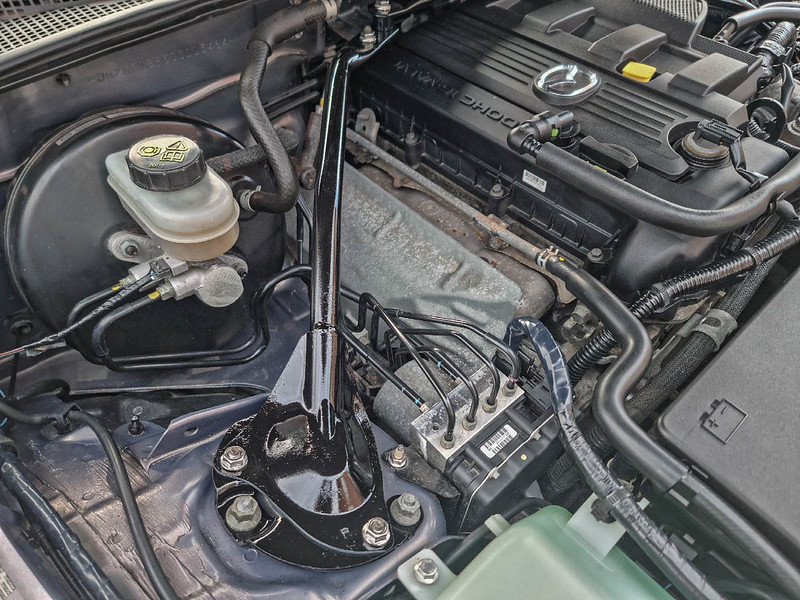
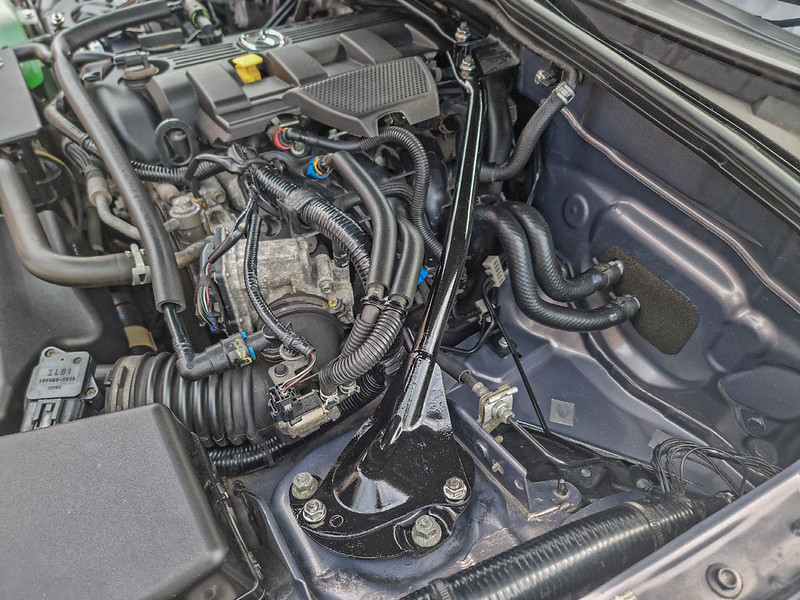
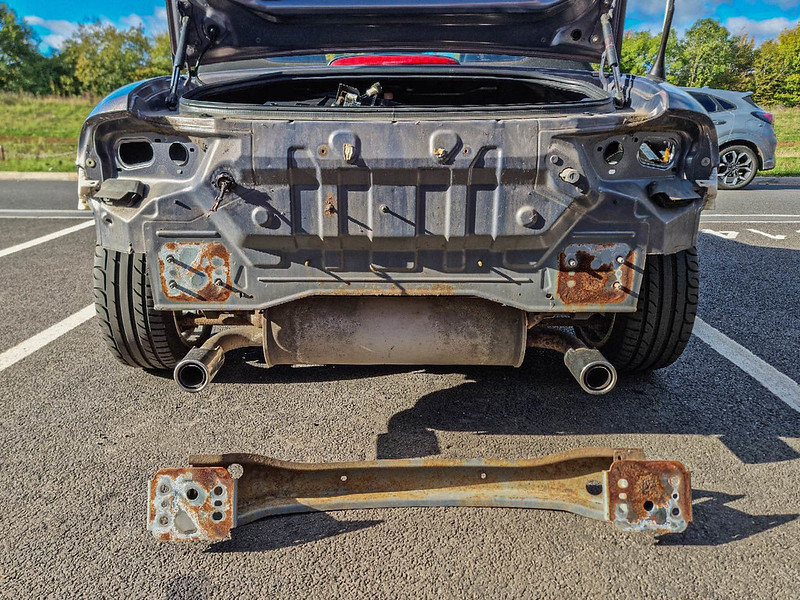
When I was cleaning the engine bay last week I noticed the strut brace was starting to loose bad. I cleaned it up with a wire brush and gave it a coat of etch primer and gloss black. The corrosion has pitted the surface so ideally it needs blasting and powder coating in the future

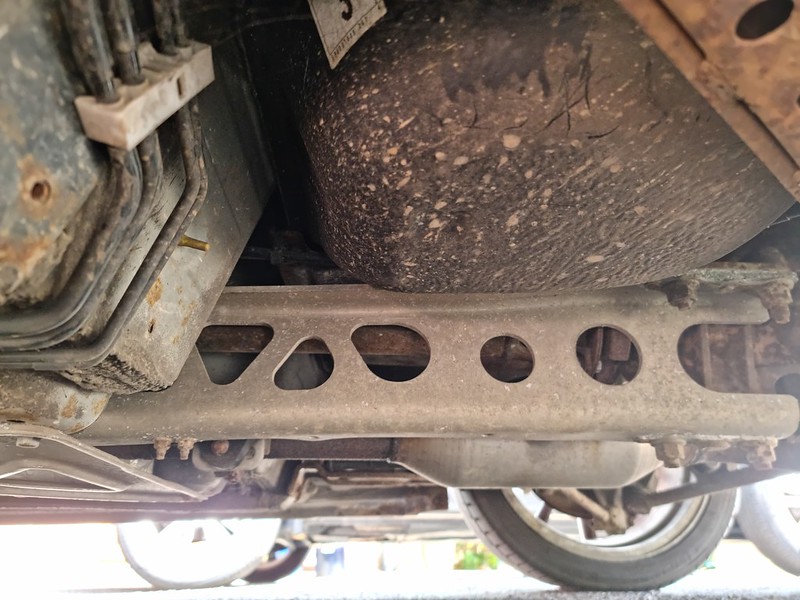
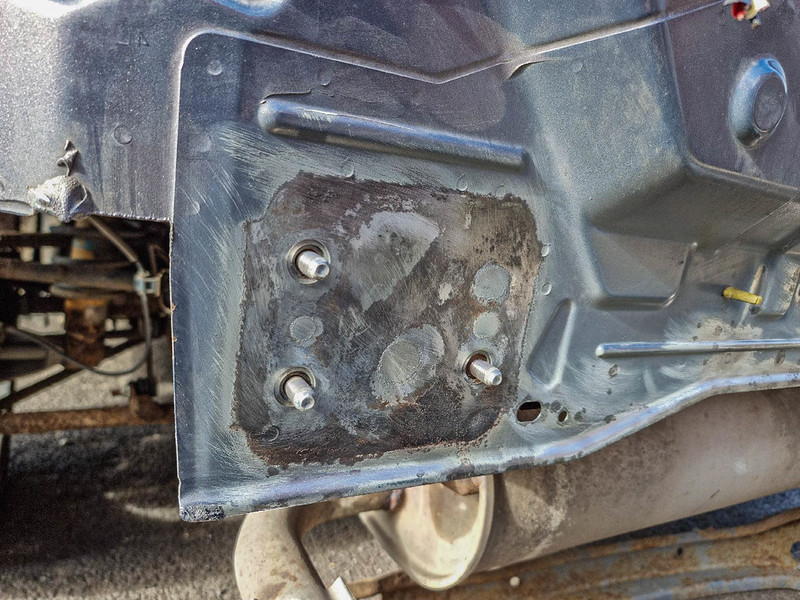
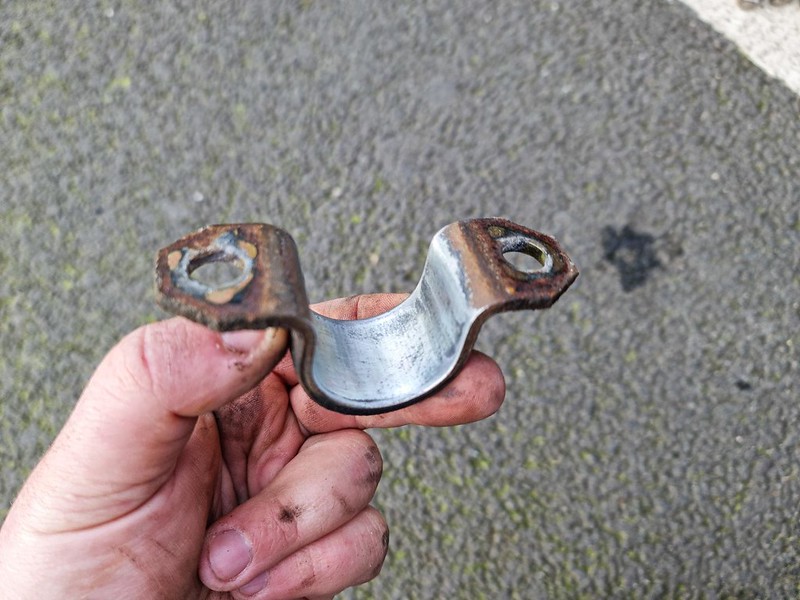
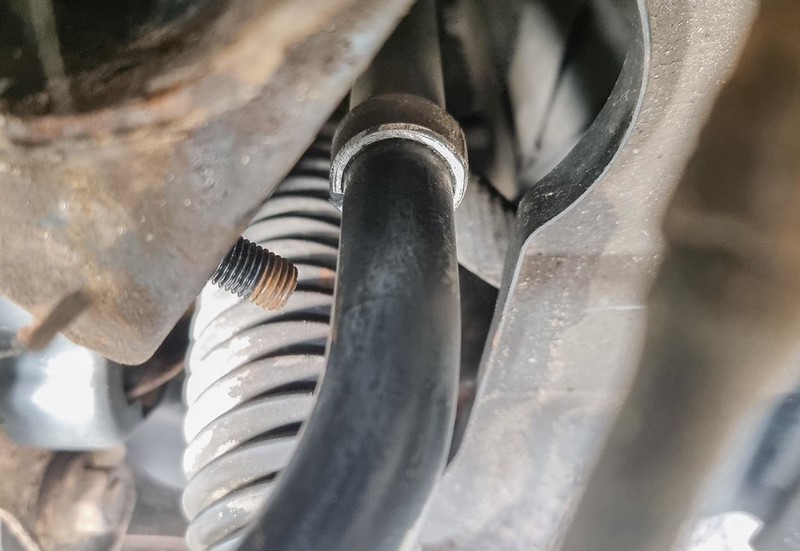
I also took the chance to change some of the hardware to stainless including the top of the bumper, coolant expansion tank, windscreen washer bottle, ABS pump bracket, fuse box, brake pipe bracket and some bolts along the bulk head.

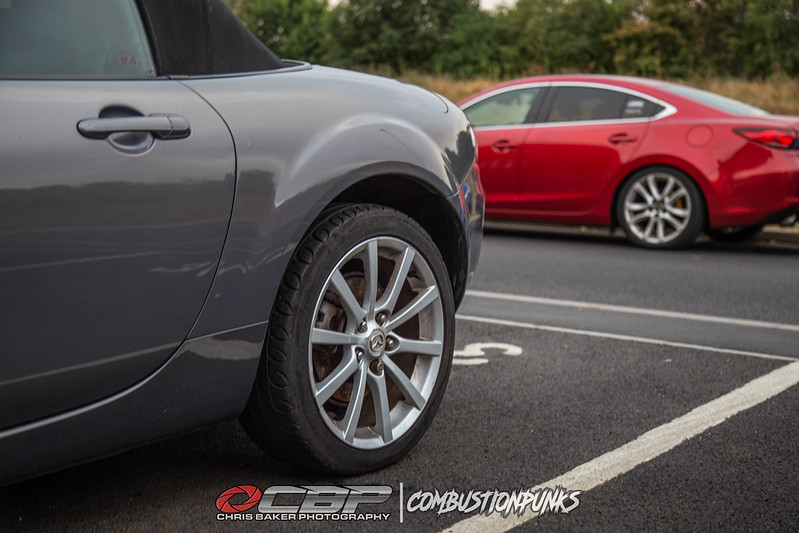
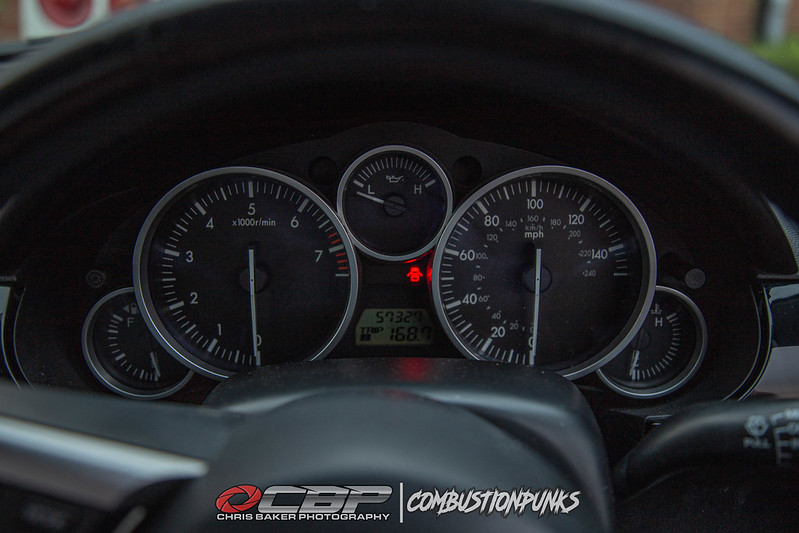
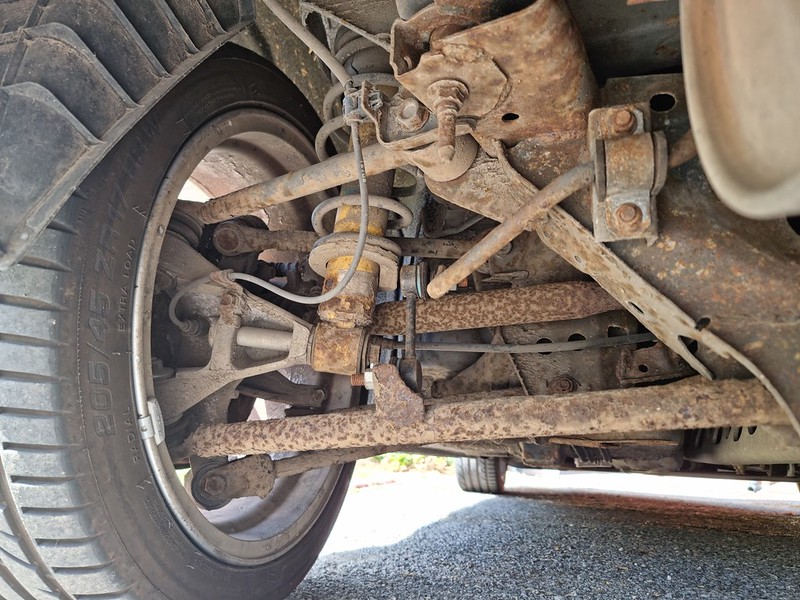
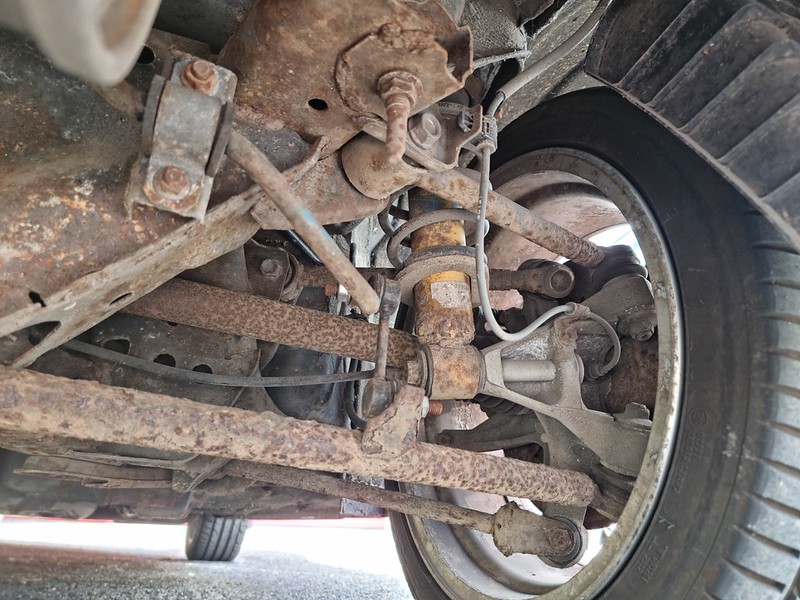
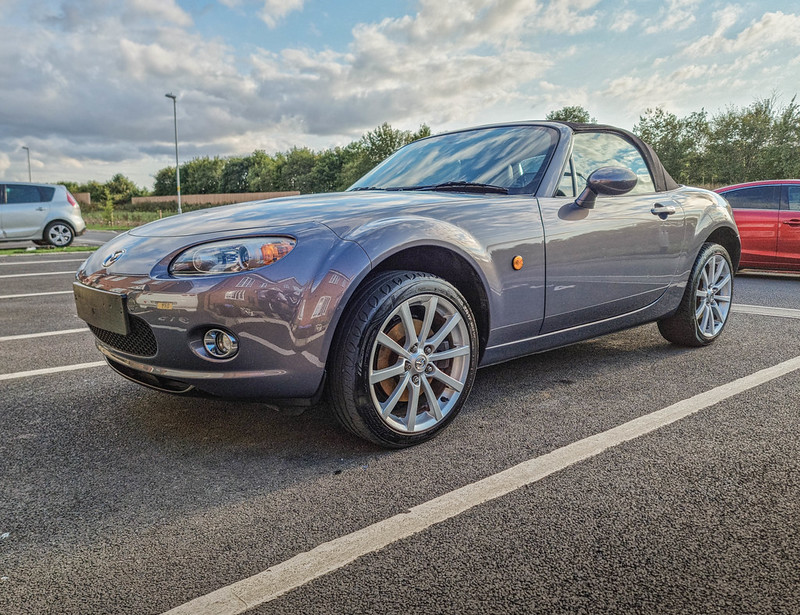
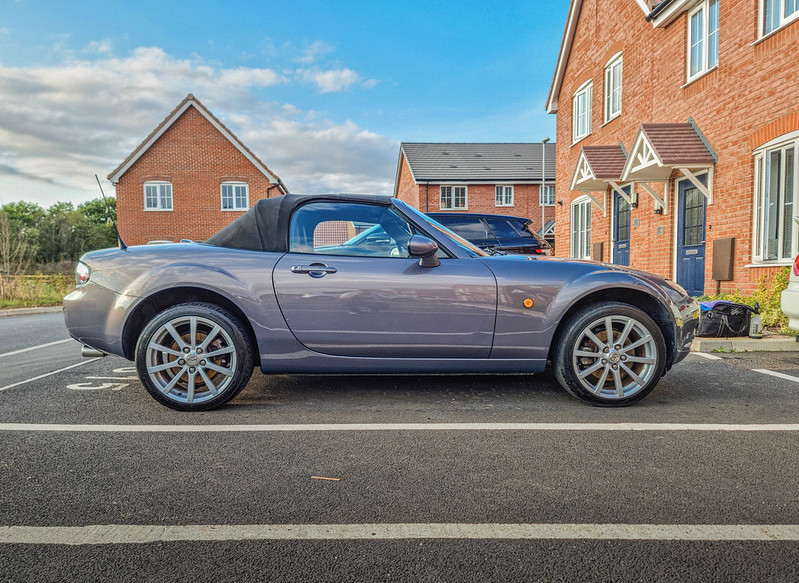
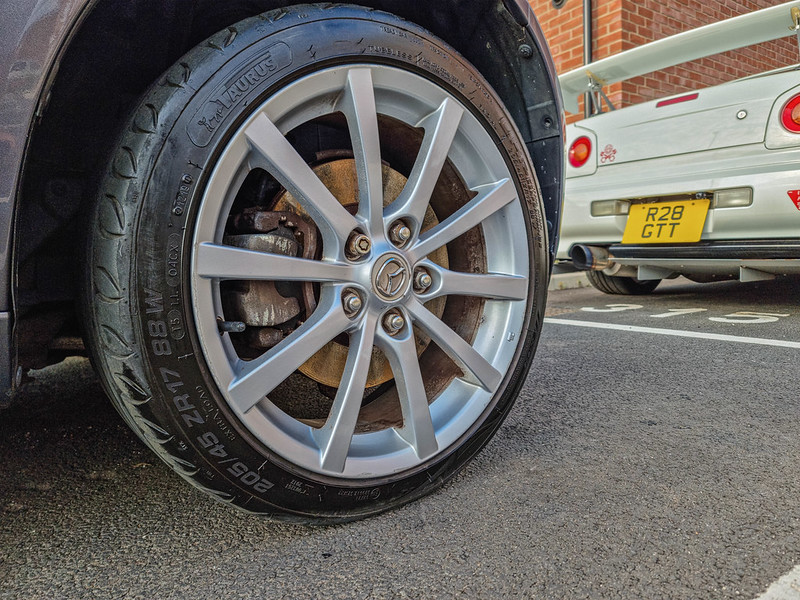
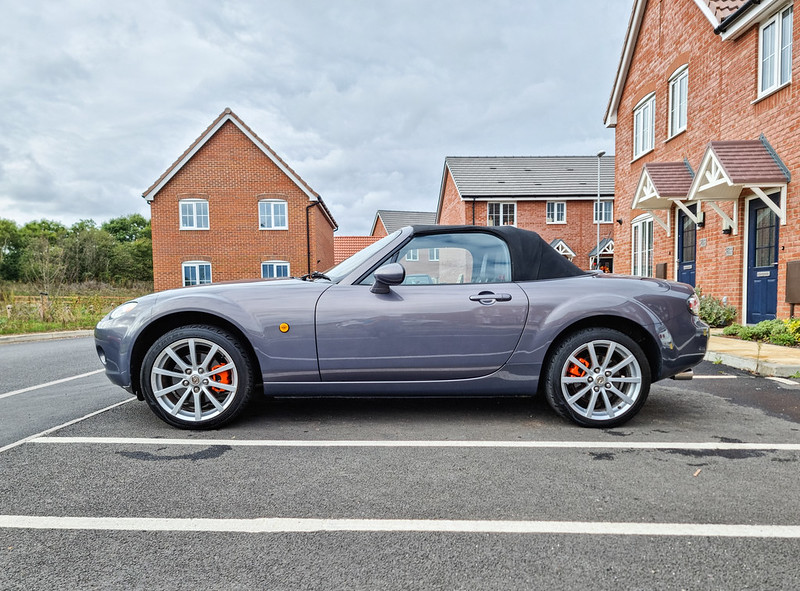
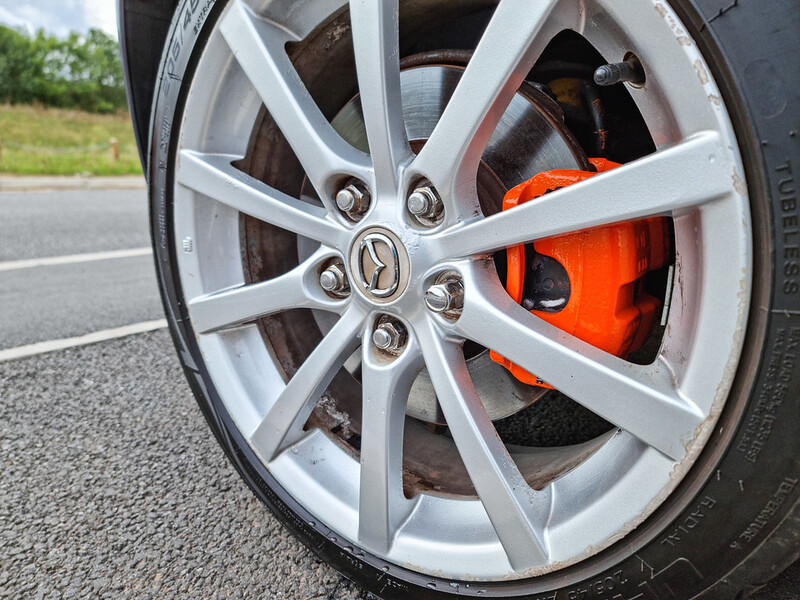
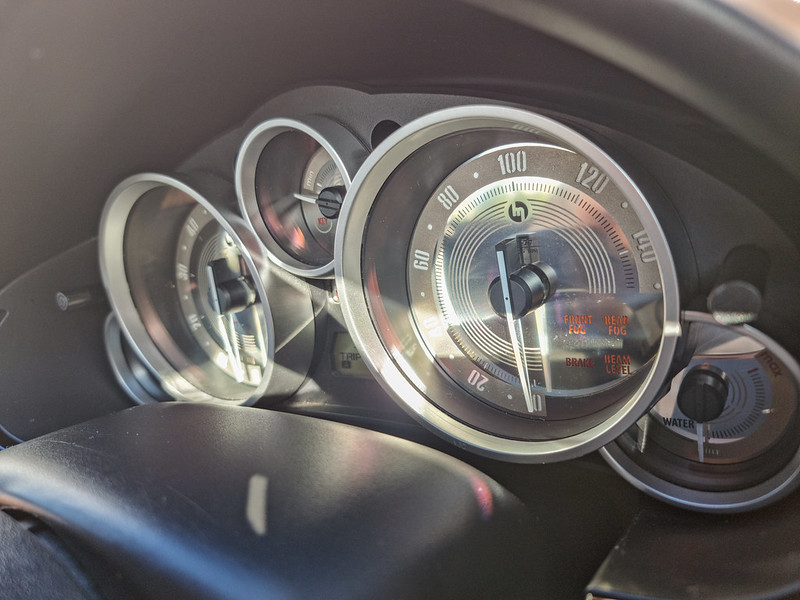
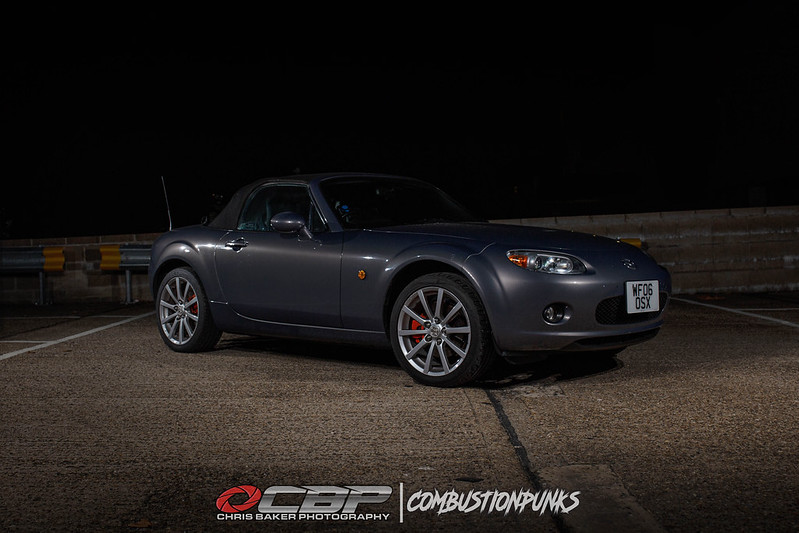
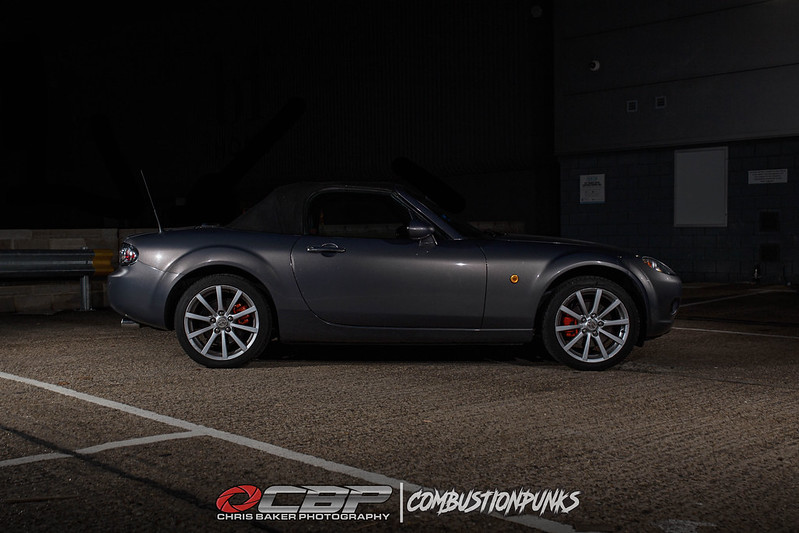
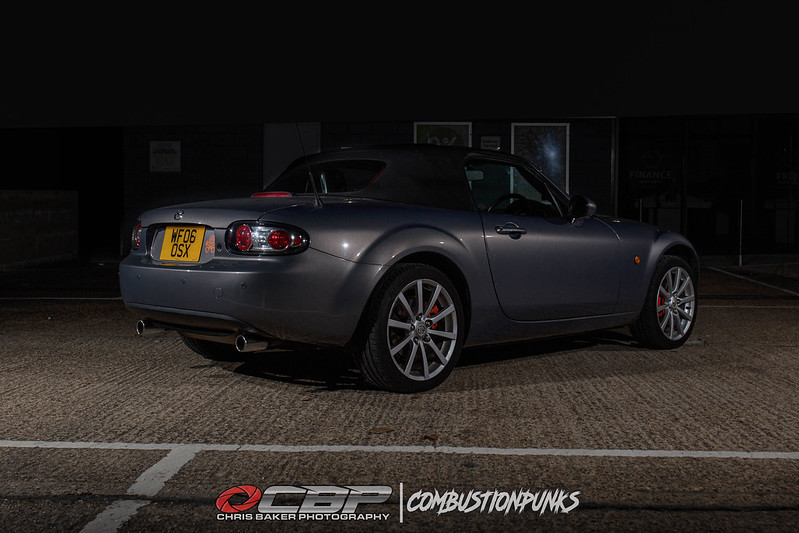
One of the first things I do when I purchase a replacement car is to paint the calipers. I’ve done red,black,blue and yellow so thinking of a different colour to go with the grey was abit tricky. In the end I went for orange (a bonus being the dash illumination is orange so it saves having to replace all of those bulbs lol)

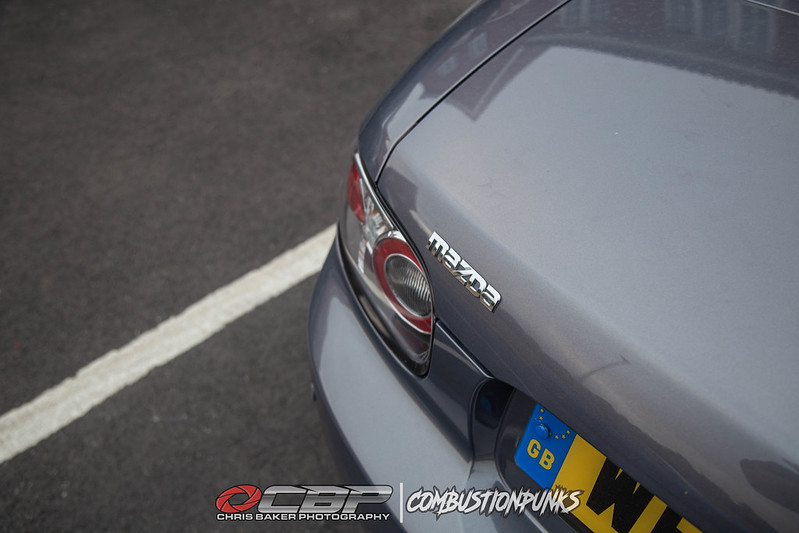
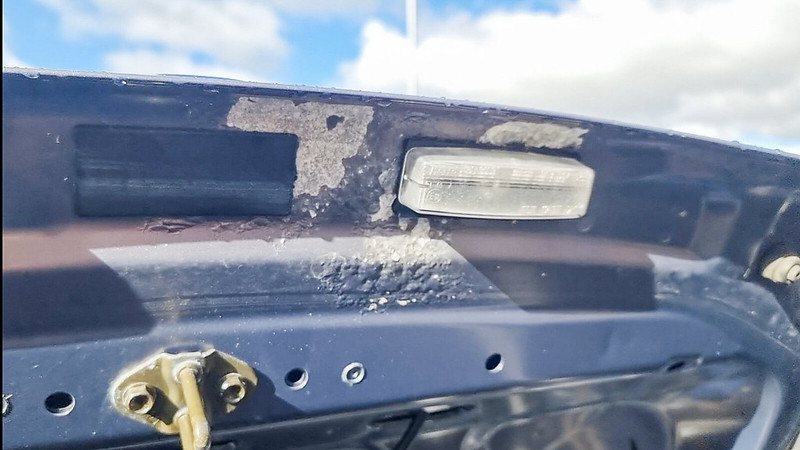
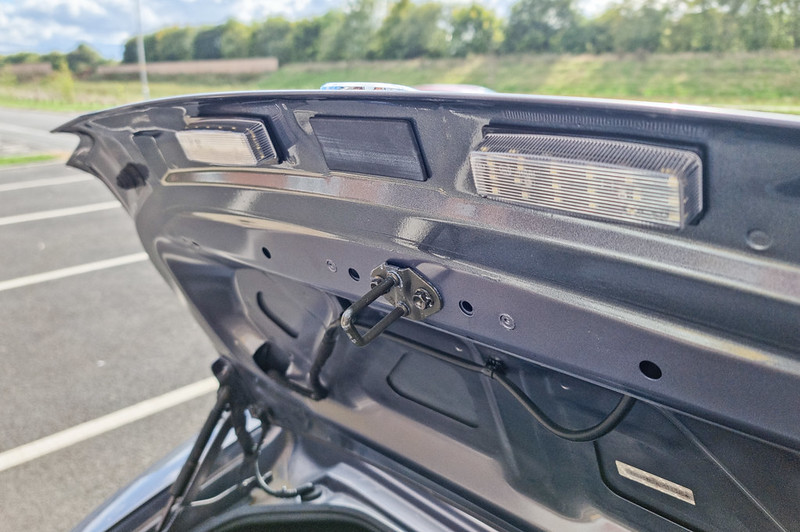
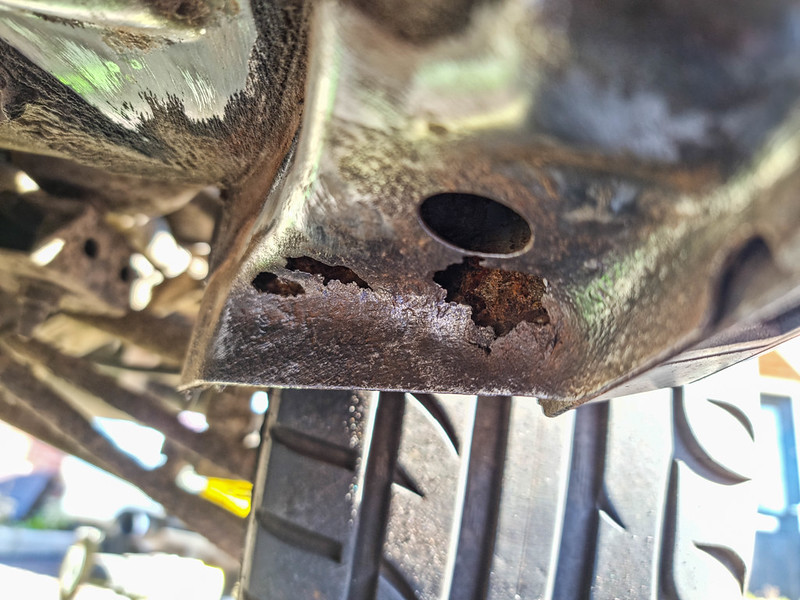
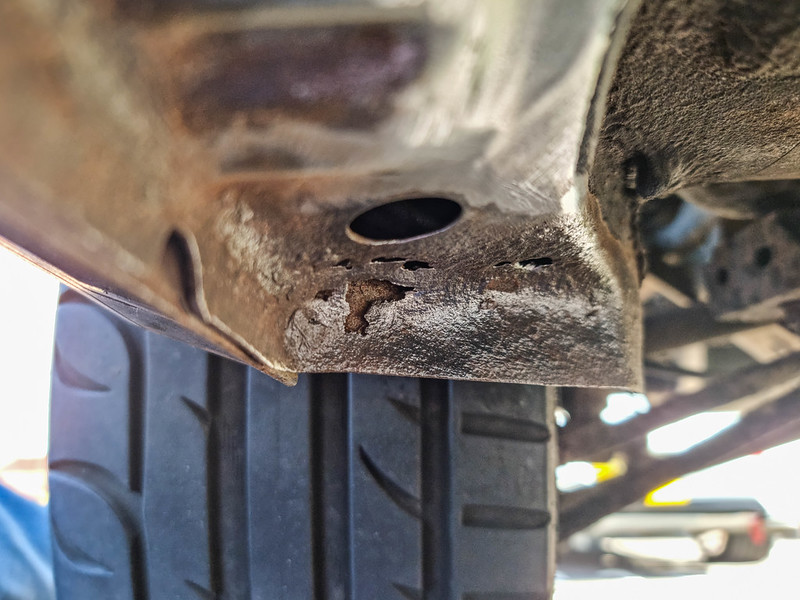
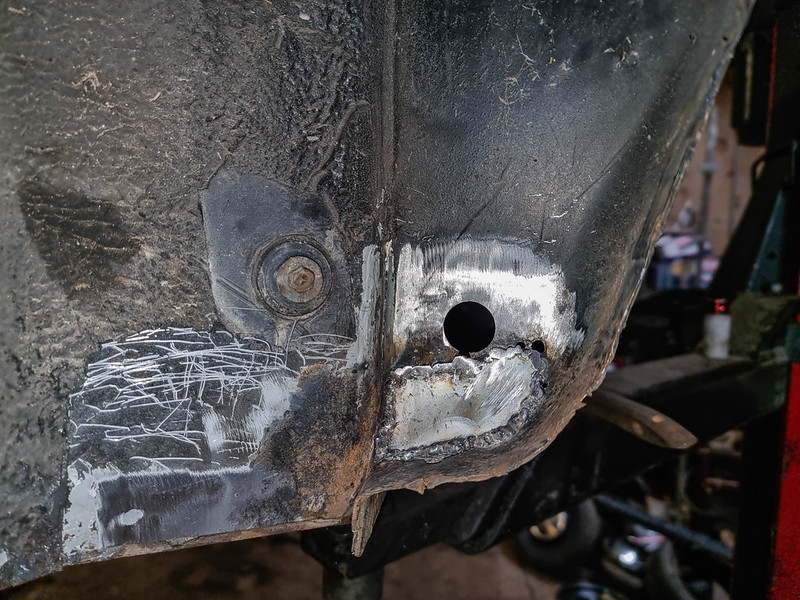
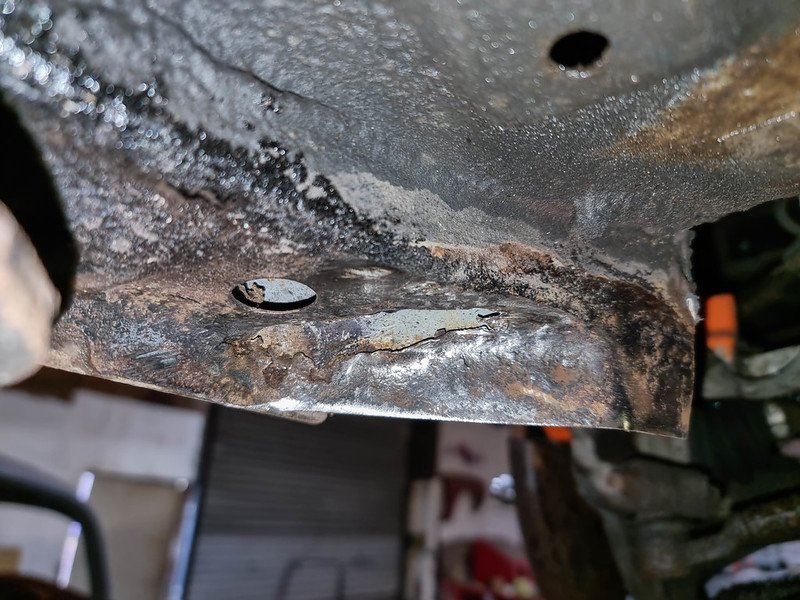
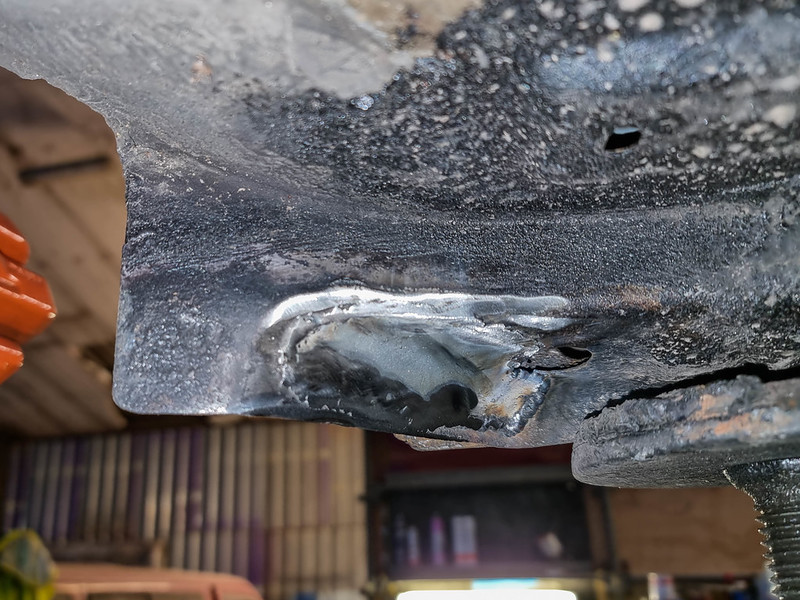
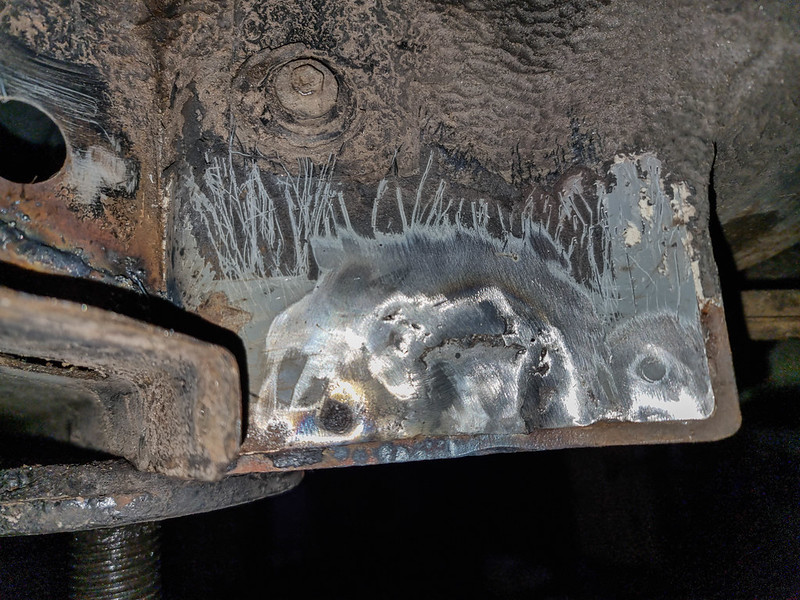
Every car has its minor issues and we all know these cars suffer from corrosion. One area is the bootlid where the number plate lights are. Softtop models have an aluminium bootlid where as the power folding hard top has a steel one.

Mine looked pretty bad but it was easy enough to sort

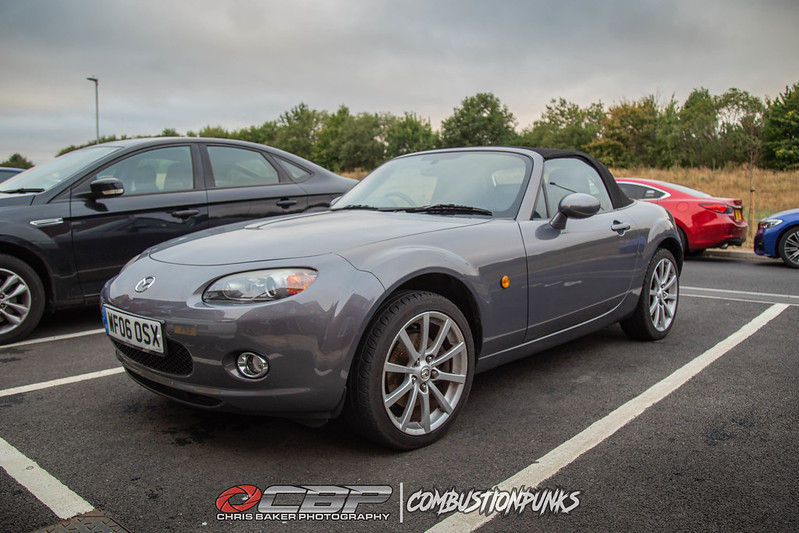
It seems most Galaxy Grey owners struggle with a paint colour match. I know the previous owners of the car have because of the various touch up repairs over the body work. Working in the automotive industry I have access to paint mixing at work. I mixed up an aerosol to use, turns out its wrong too :frowning: Luckily its on the inside so you won’t see it

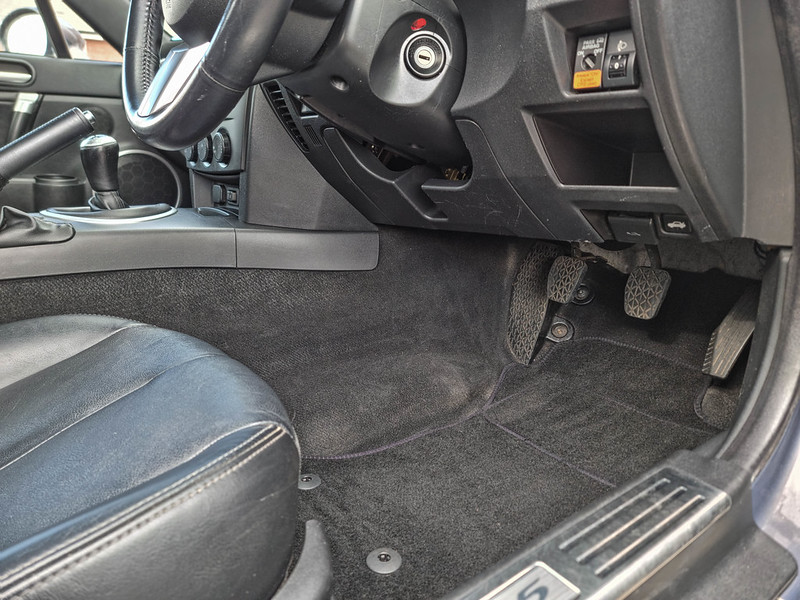
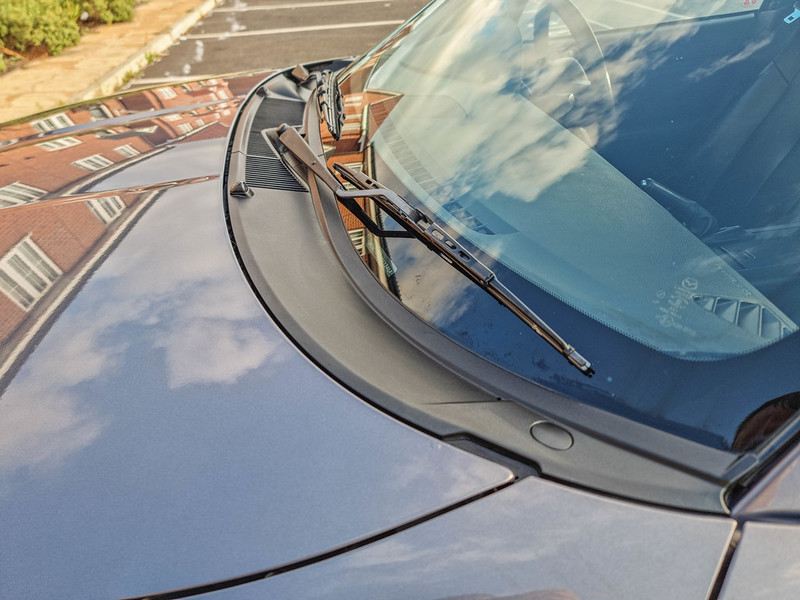
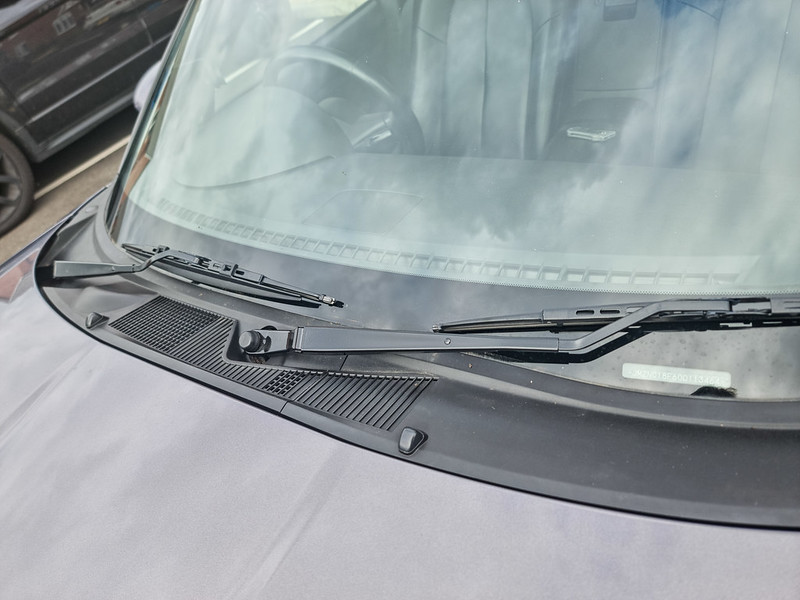
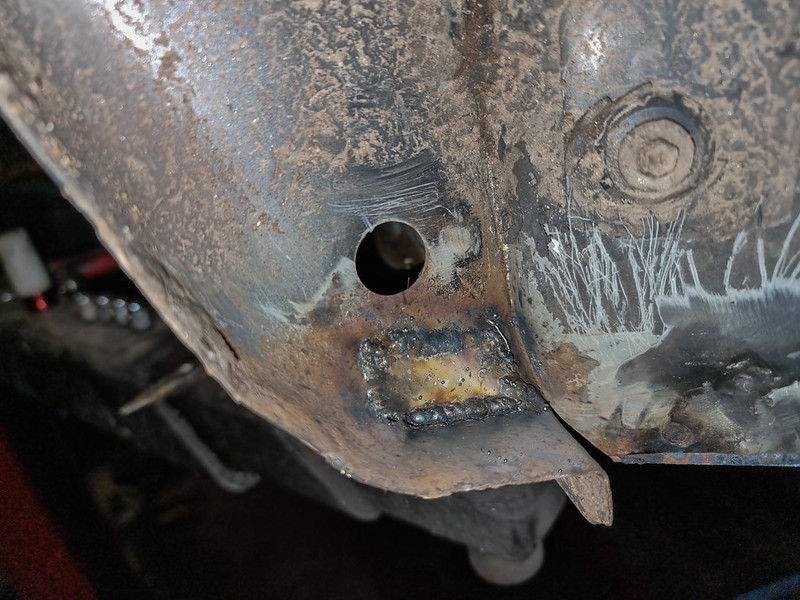
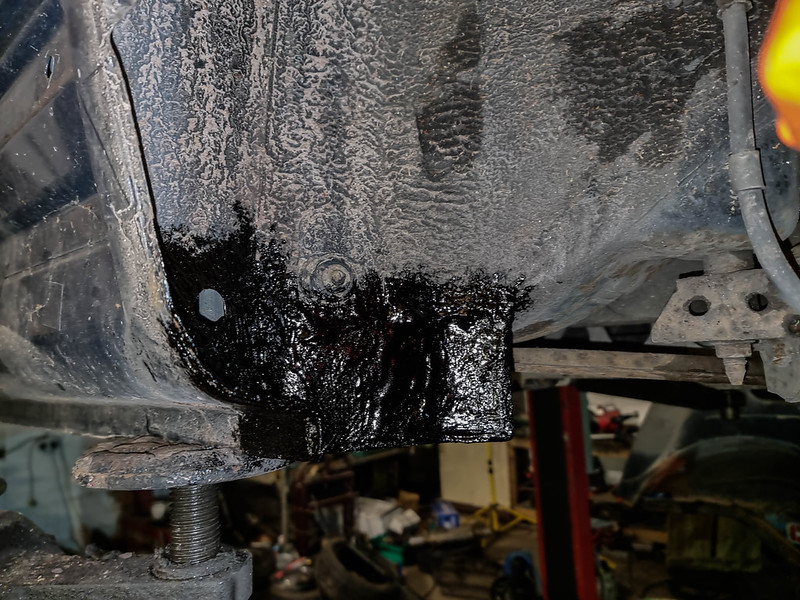
While the bootlid was drying I made a start on ANOTHER common issue. The passenger footwell builds up with water due to a grommet under the wiper cowl. MX5Parts sell a replacement grommets including new caps. I smeared some silicone sealant around the new grommet just as an extra safety measure, that way it’s leak free for many many years

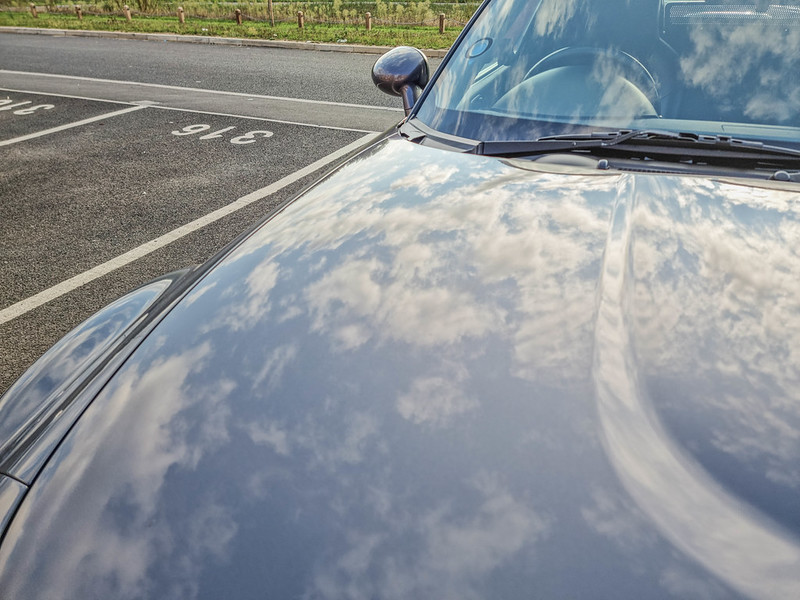
While the wiper arms were off, they too received a coat of paint to tidy them up

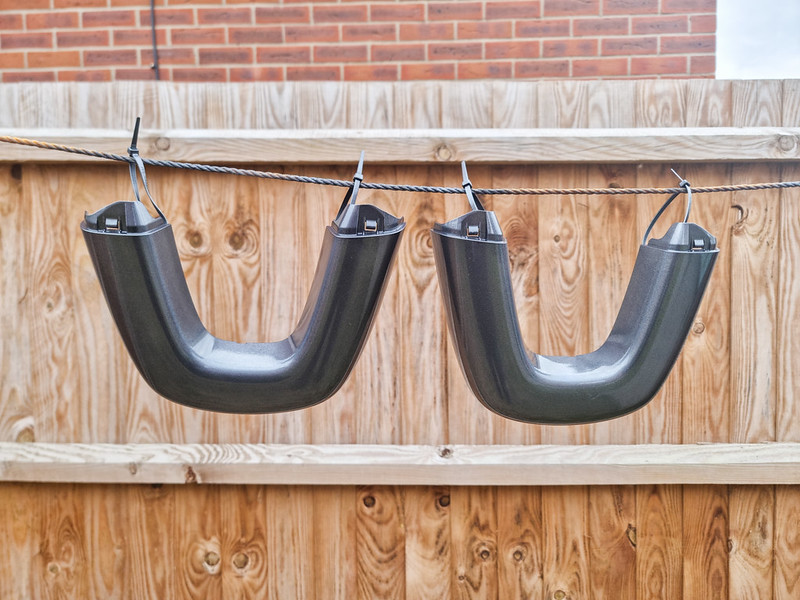
The last job was to spray the chrome roll bar hoops. Luckily it was the same outcome as the foglights where it’s just a stick on trim. With the OEM silver trims keyed up it was ready to spray them Galaxy Grey. These are lacquered and are currently drying

A very productive few days off work. There’s still plenty to do :slight_smile:

4 Likes

Once the bootlid was repaired, one of the number plate lights broke upon fitting. I was searching for a replacement when I found Jass Performance sold LED units.

Vlad at Jass Performance helped and supported my previous Purple MX5 Project and he was excited to hear that I was back in MX5 ownership. I placed an order for some interior parts including a pair of the LED number plate units,they arrived next day.

The number plate lights are a direct fit. The only issue I found was the bulb holders turn freely rather than clicking in place like OEM

Next up were a brushed handbrake sleeve and a matching gear knob. These are available in 4 different finishes and the gear knobs have 3 variants.

The last piece to fit was a stainless gauge face. This has transformed the dull cluster and really added character. These were quite involved in fitting, luckily I found a couple of other videos to use as a guide.

Since fitting them and looking at them at night something isn’t quite right. I ‘think’ the original gauge face needs to be removed as the illumination is restricted. I’ve emailed Jass Performance to get some clarification.

2 Likes

Just found the online instructions for the gauge faces, I should have removed the OEM gauge faces before installing the new one. :person_facepalming:

It wouldn’t be an MX5 without a copious amount of rust repair rolls eyes

Unfortunately another mundane update, but I guess it’s one of those job’s that needs doing regardless.

So I started with removing the tail lights and bumper.

With the support/crash bar removed I was met with the corrosion that gets spoken of. It was surprising how much was behind the bar itself.

A new wire wheel drill attachement made easy work of the surface corrosion

I gave the rusty areas a coating of Hammerite Kurust, followed by etch and zinc primer.

Once that was dry and ready I applied 2 coats of Galaxy Grey and 2 coats of clear lacquer.

The support bar received the same treatment, but instead of the body colour grey I used Simoniz tough paint

It’s a shame its hidden behind the bumper, but at least it’s done and I shouldn’t have to worry for quite some time.

6 Likes

The NC looks great! I’m a huge fan of those mundane updates, they’re the ones that really make a clean car, that MK1 is (was) absolutely glorious! Im positive I’ve seen photos of it before

Excited to see how the Nc goes, I’ve been watching the price of them recently , seems to be plenty of options for shiny bits aswell!

Top work!

1 Like

I dusted the camera and flash guns off and spent an evening practicing some photography

On the way to work one morning the car developed a slight misfire. I removed the spark plugs to have a look and they look ok with cylinder 1 and 3 having oil on the threads. I had a look through the service history and remembered the car hadn’t been serviced since 2020 (only covered 4k miles since then) probably due to Covid.

The car is currently on 58,228 miles and the plugs are due to be changed at 62k so not too far off

So it was a good time to do a service and changed the rocker cover gasket. Working at a local motor factors helps with sourcing (most) parts and it certainly helps the bank balance

The rocker cover gasket was straight forward to change, surprisingly.

(YT video is scheduled for 22/10/22 1:00pm BST)

I recently started a throw back series on my Youtube, keeping it MX5 related the first 2 NA projects are online

7 Likes

Updates are few and far between, especially with Christmas around the corner. The build has pretty much came to a hault until next year, something I knew would happen eventually.

I did manage to carry on with some more rust repairs. Awhile ago when the calipers got a lick of paint, I removed the rear arch liners to check the pockets where the inner arch met the sill.

I found this (no surprise being a common fault/area)

I noticed a couple of areas underneath that needed some underseal, while I was under the car I cleaned up the areas the other side of the arch/sill pocket and found this

My friend Barry had visited my work and we got chatting about our cars. I mentioned about the rust and he offered to help out if I covered the cost of the gas, happy days!

With the car on his ramp, the first job was to remove the side skirts. I knew the clips break, but Mazda decided to mould the side skirt clips in opposite directions, leaving you no choice BUT to break them (thanks Mazda!).

The outer sills are in fantastic condition. This was one area I was dreading to check, looks like I’m pretty lucky (for now). I had a look down into the inner sills and although there is a tinge of brown, I don’t think its a major concern. I will get this looked at again, I do plan on applying a rust treatment and cavity wax in the Spring/Summer time next year.

With new clips to hand it was no issue. I found a seller on eBay that sold replacements for the Mazda 3 and 6 which are indentical. Bare in mind the very first clip underneath the skirt is smaller than the others, so that was re-used.

The corrosion was cut out ready for a repair plate, followed by Hammerite Kurust, seam sealer and 2 coats of underbody seal.

The areas behind the pocket received the same process, this time I took a few more photos

An an autumn/winter snap (I need to start taking more random photos)

5 Likes

What a fantastic thread, loving the way it has transformed, I wish I was brave enough to attempt some of this!!! Nice one, look forward to more posts, Happy Christmas :+1:

1 Like

It’s been a loooooong wait for the day I can start doing modifications to this. The reason is because in April I’m getting married (this is now the 4th date due to Covid). Once that was done I could finally get the ball rolling.

Unfortunately this has now changed and I’ll no longer be able to carry out any plans. My R34 is now in need of some money thrown at it and thats my main priority when it comes to the cars in the fleet.

Its a huge shame, but financially there isn’t a way to keep the NC and do the work on the Skyline.

Anyway… onto a small update

We’ve seen numerous cold mornings and it does make for some nice photos

I’ve had a mysterious squeeky knock for a couple of weeks and today I went to investigate.

I started off with replacing the drop links. Looking through the car history they were advised in 2019 and all 4 had been replaced. With the new ones fitted I took it for a test drive but the noise was still there.

The next area to check was the anti roll bar bushes. I sprayed some WD40 into the bush and took it for another test drive, quiet as a mouse.

I got the car on axle stands again and begun to remove the x2 14mm nuts that hold the bush bracket on. I gave the bracket and the roll bar a sand with some 400 grade wet and dry. The anti roll bar didn’t have any corrosion which was a surprise

The new bushes were installed and everything put back on/together. Once the wheel nuts were torqued up I took it around the block and the noise had disappeared, happy days!

Its not an exciting update, but its a good feeling to sort a small issue out for a low cost.

4 Likes