So, my last MX5 and my current both suffered from the infamous problem of having enough deceased wildlife in them to film an episode of planet earth.
Today, I have FINALLY found a way to get them out without completely disassembling the entire light cluster!!
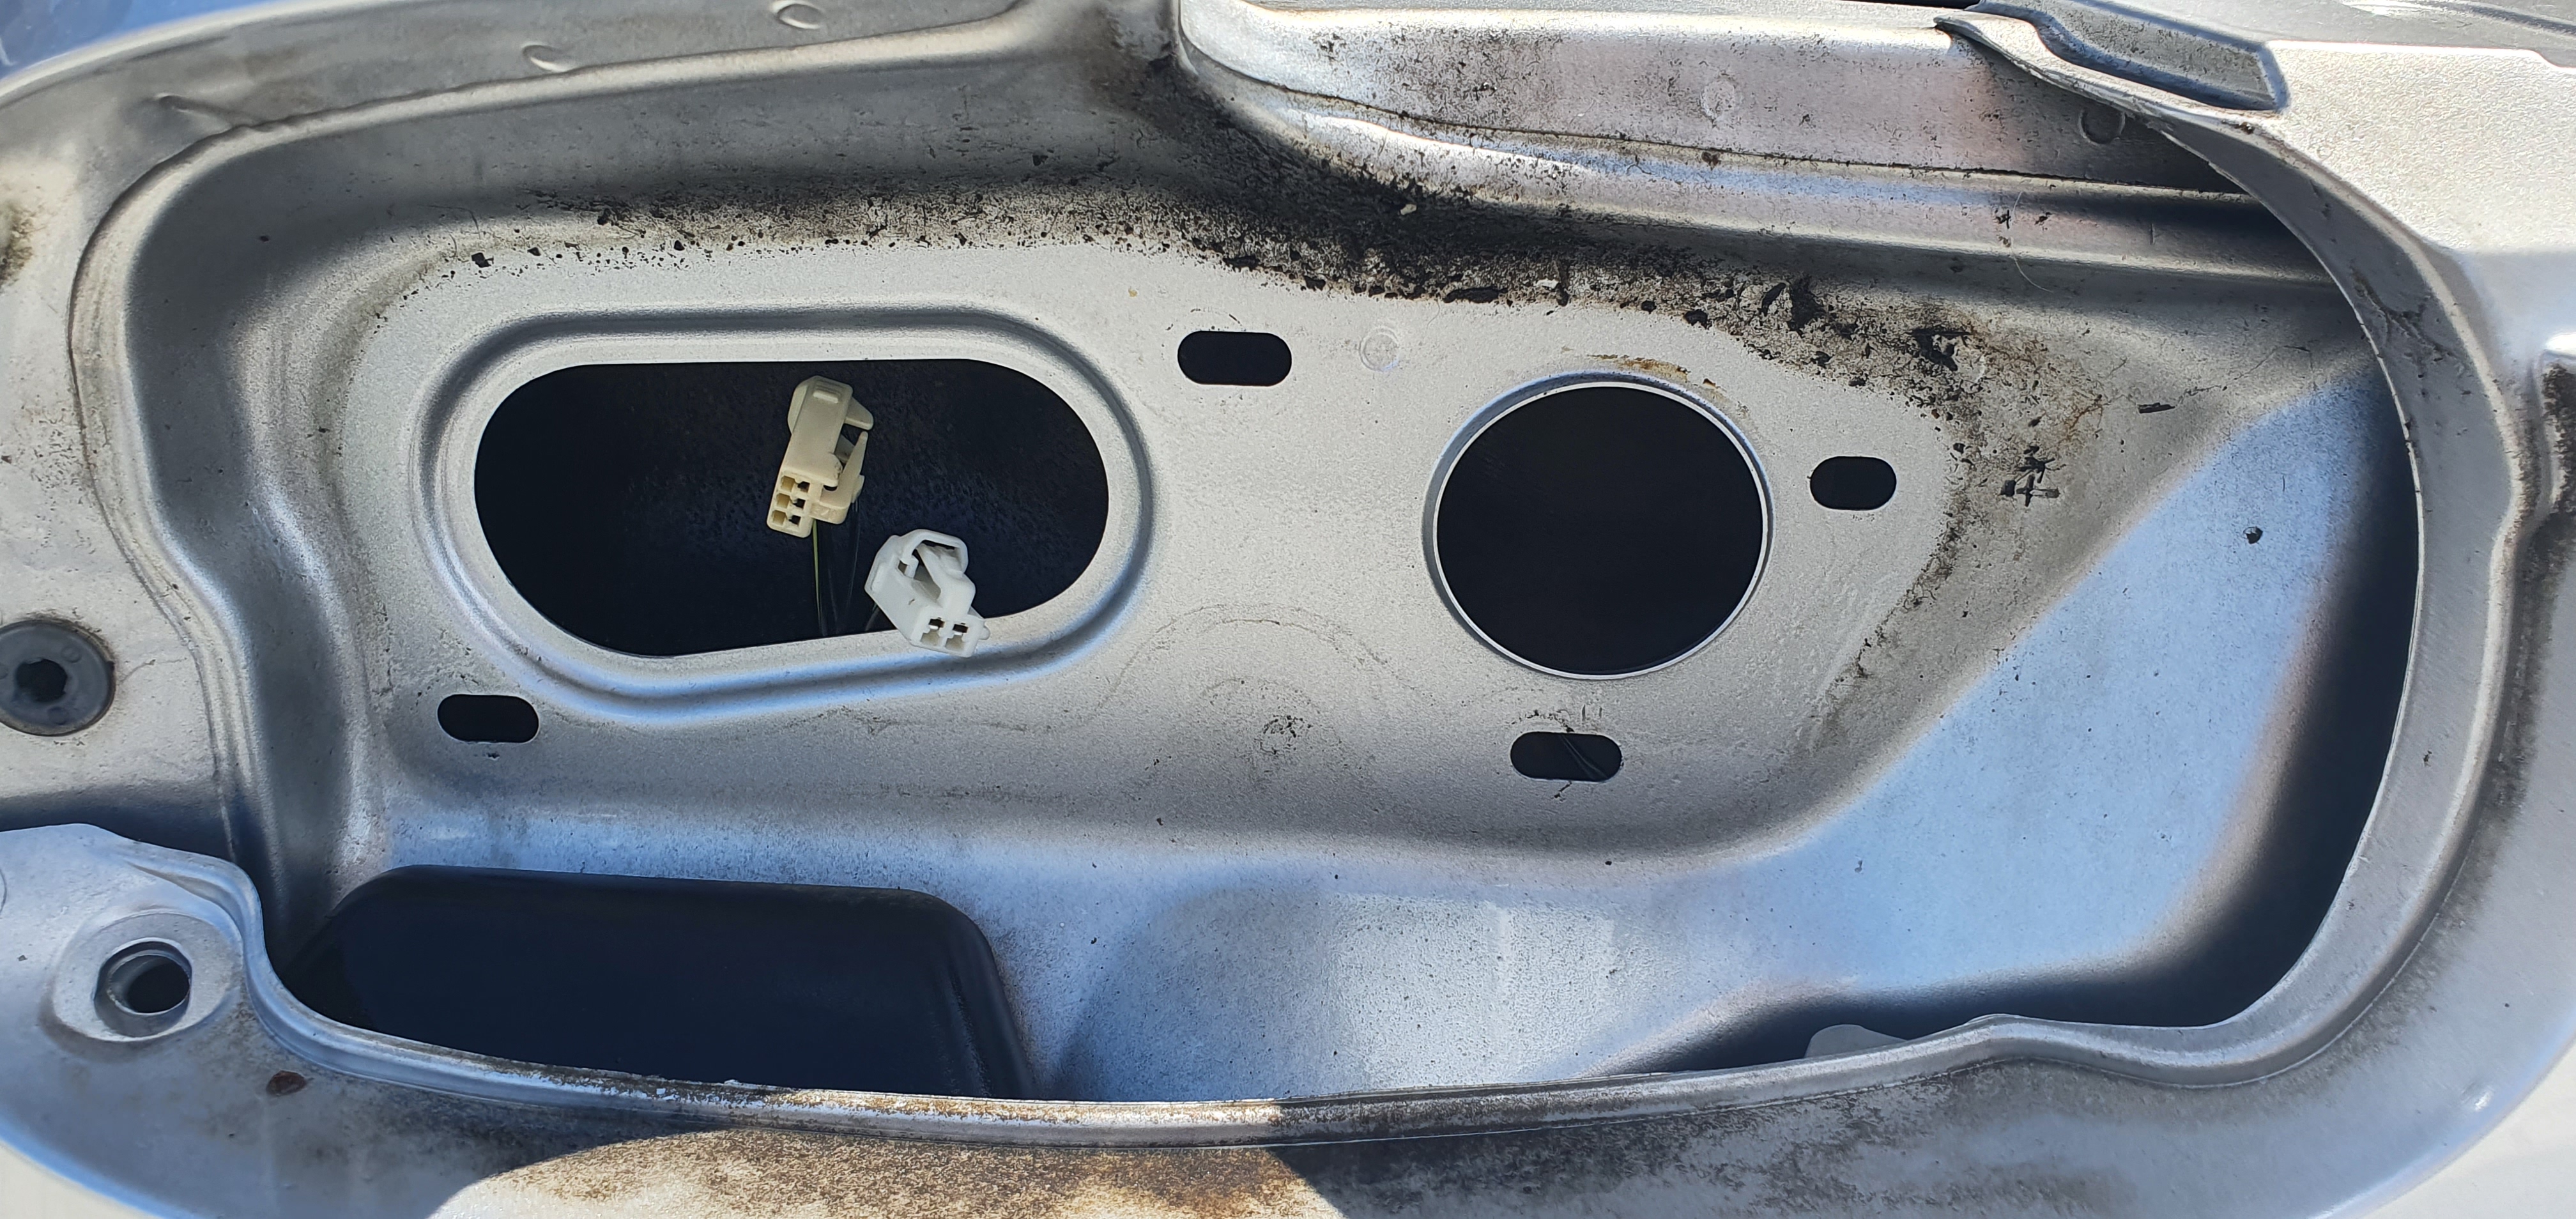
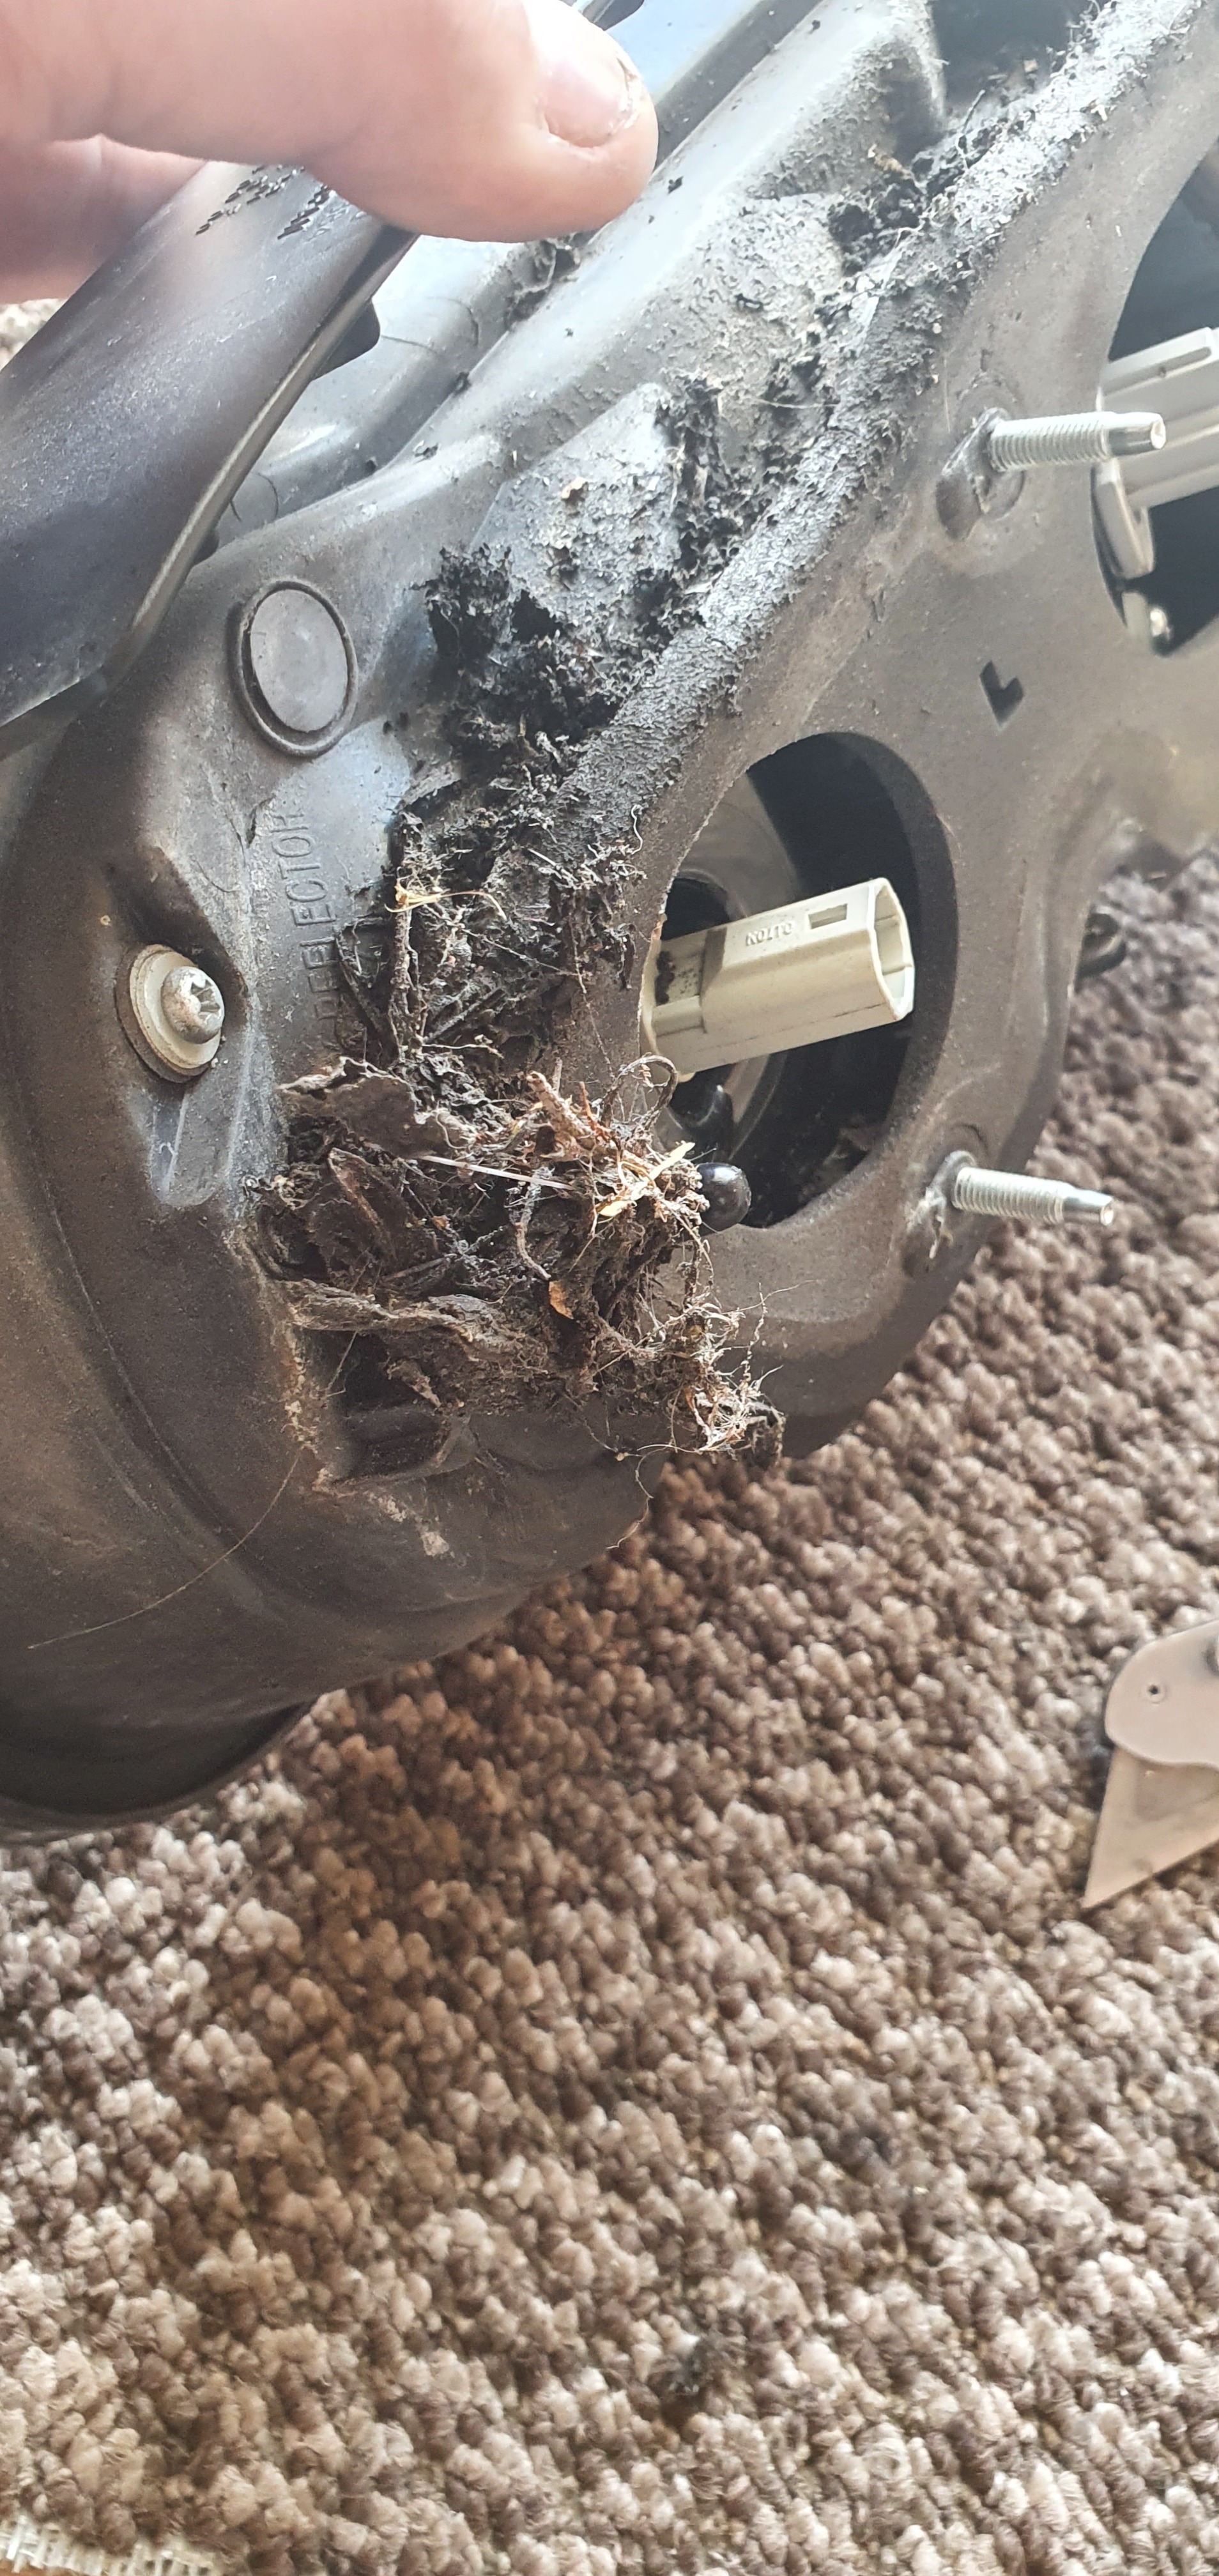
Step 1 - remove the light cluster. If you’re careful when you pop the trim clips from the inside of the boot liner, they won’t break. You only need to remove the ones at either side and then the panels are flexible enough that you’ll be able to get your hand in to remove the 3 plugs, and the three 10mm bolts that hold the cluster in.
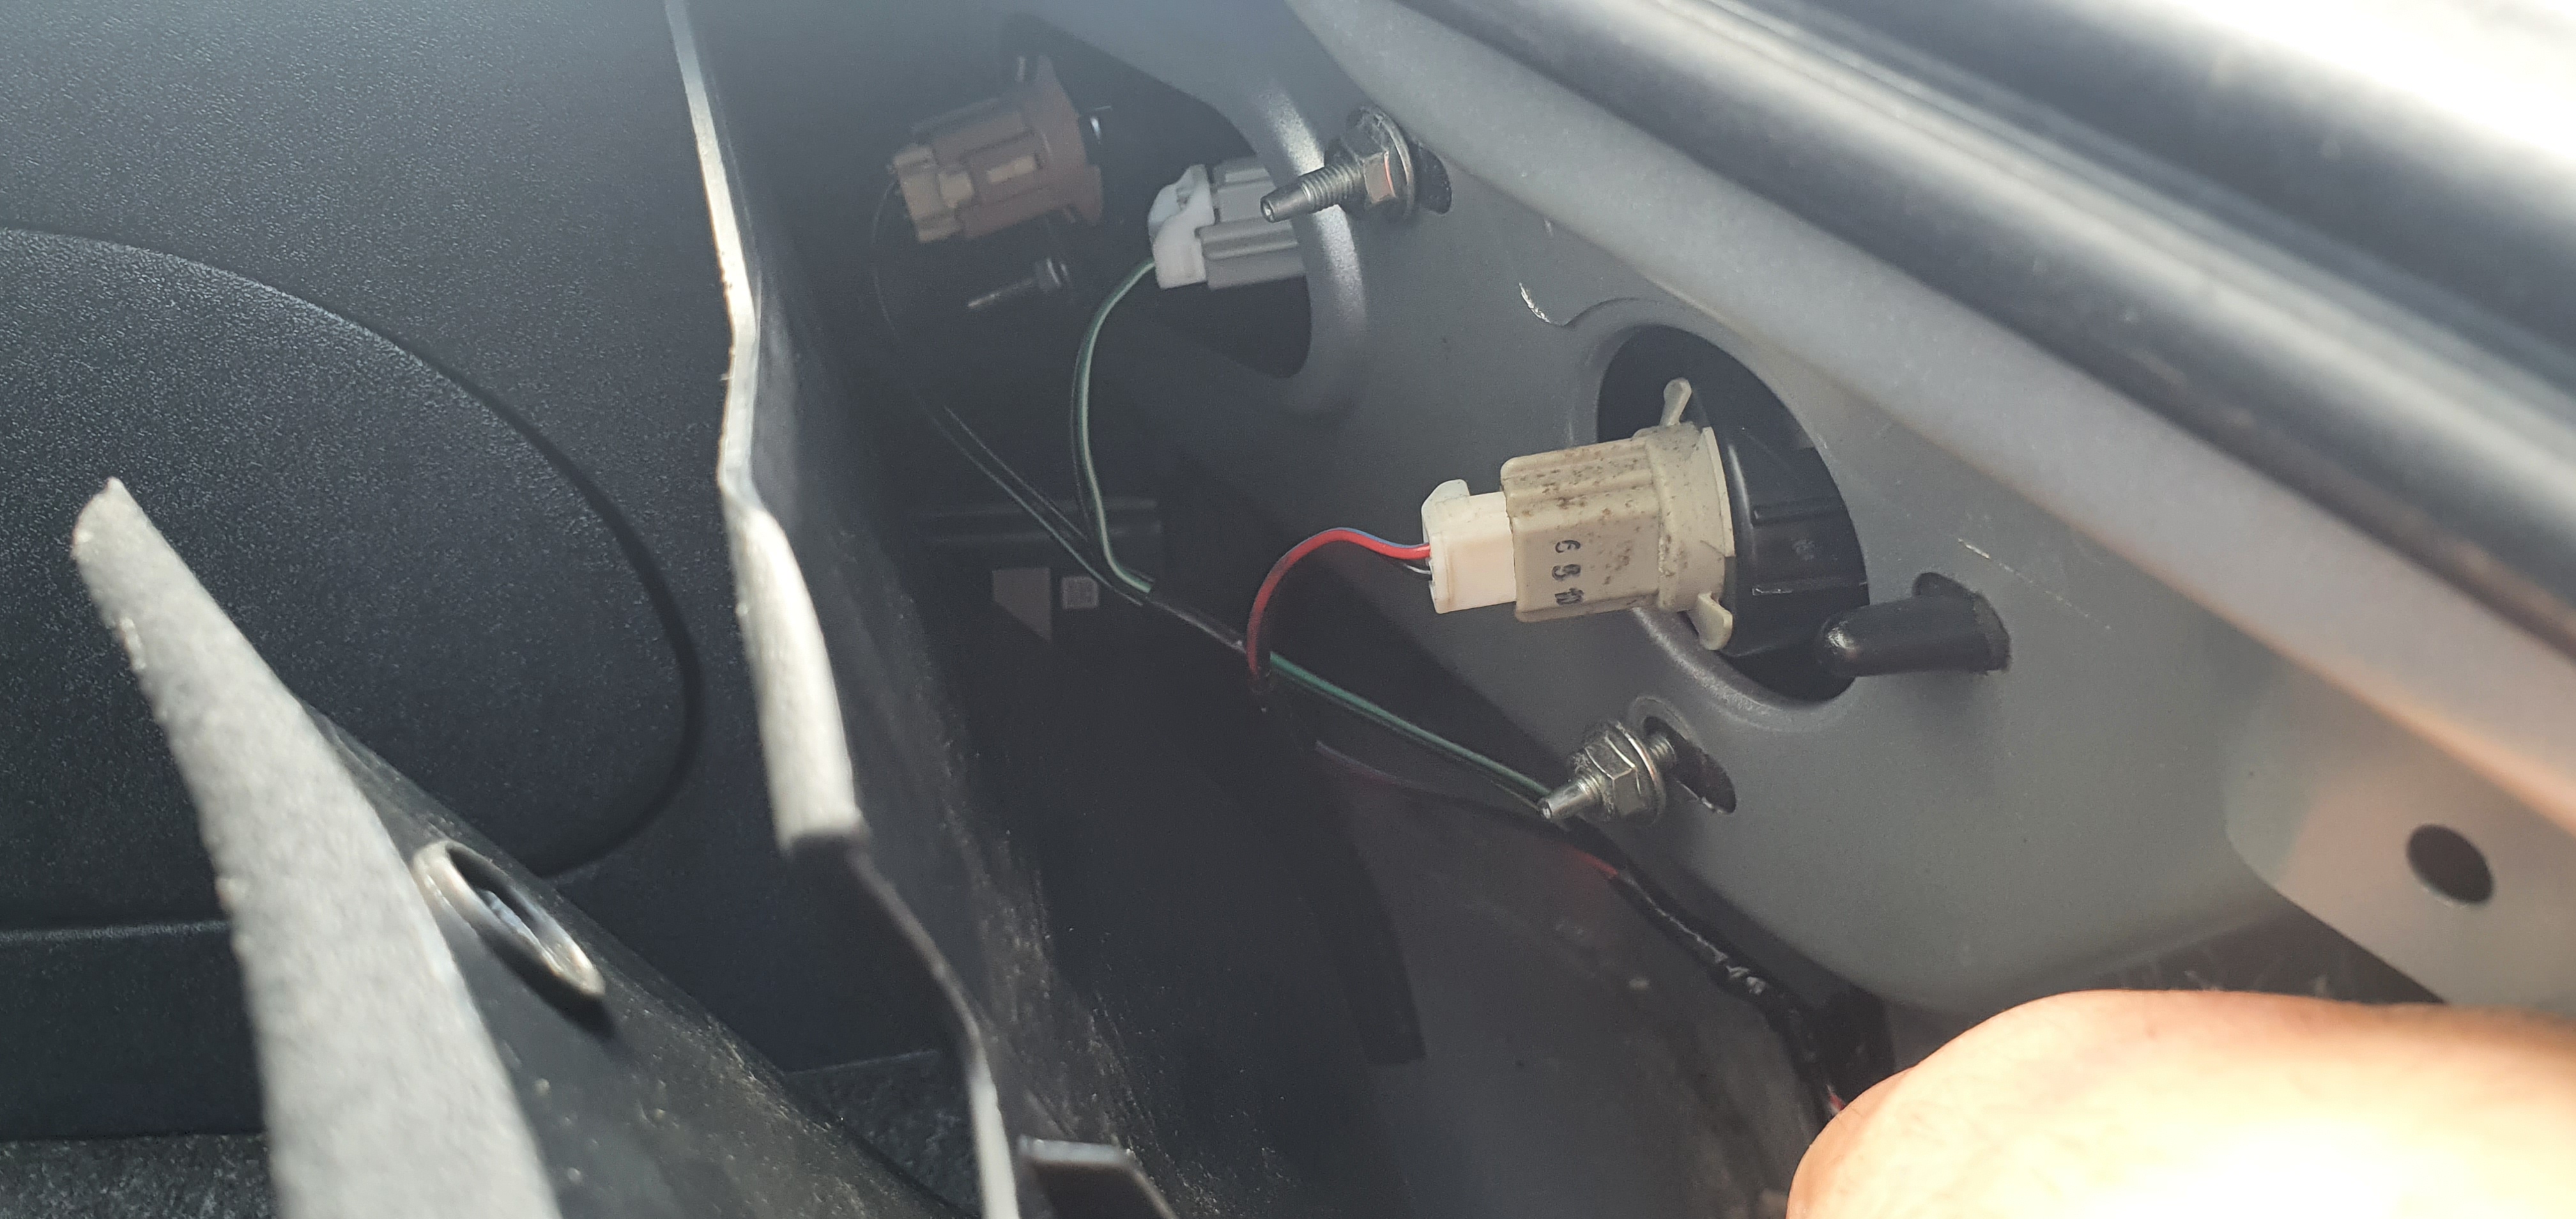
WARNING  : loosen the bolts off as far as possible but don’t take them off completely until you’ve dislodged the light cluster… There’s a foam gasket that will likely have bonded to the bodywork somewhat so when you’ve got the bolts nearly off make sure the cluster will come away from the body easily… If you take them all the way off you might find that the light will need a bit of force to dislodge the seal and if you’re heavy handed, it will obviously pop out and smash on the floor.
Step 2 - you should now have the light cluster in hand, completely removed from the vehicle.
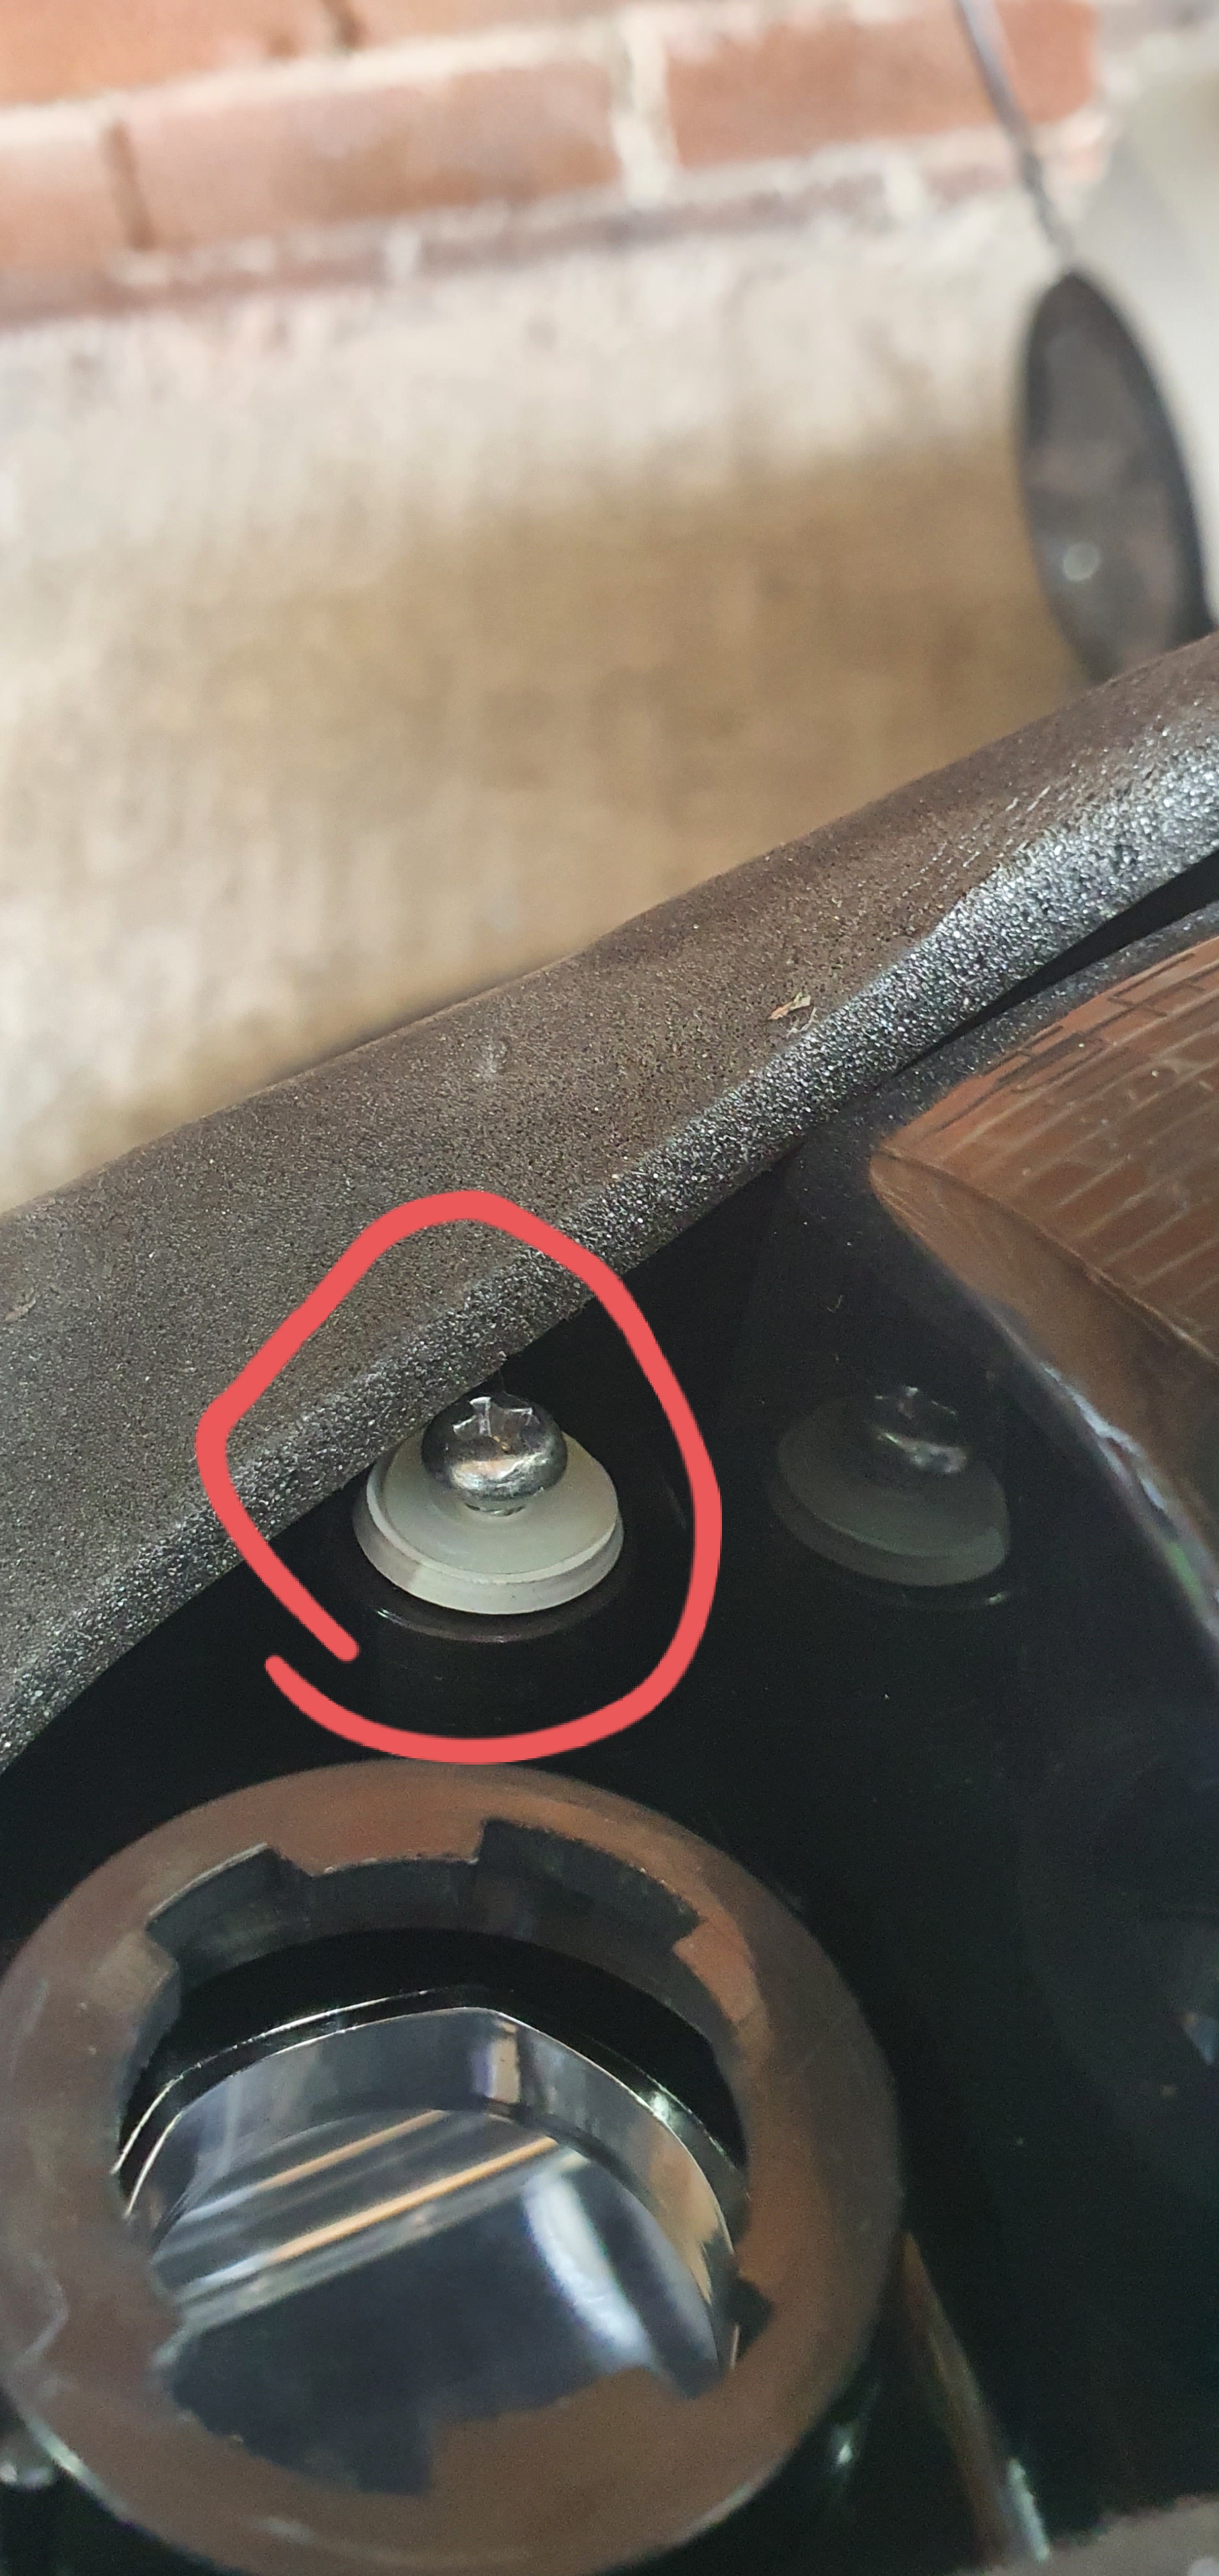
Locate the small Philips screw to the left on the back of the cluster as circled below, and remove it completely.

At the same time, there’s an identical screw in the middle of the cluster… Loosen this one off half way ONLY… If you remove it completely you may run into issues later so ensure its out about half way and still has a good grip on the threads. See below image.
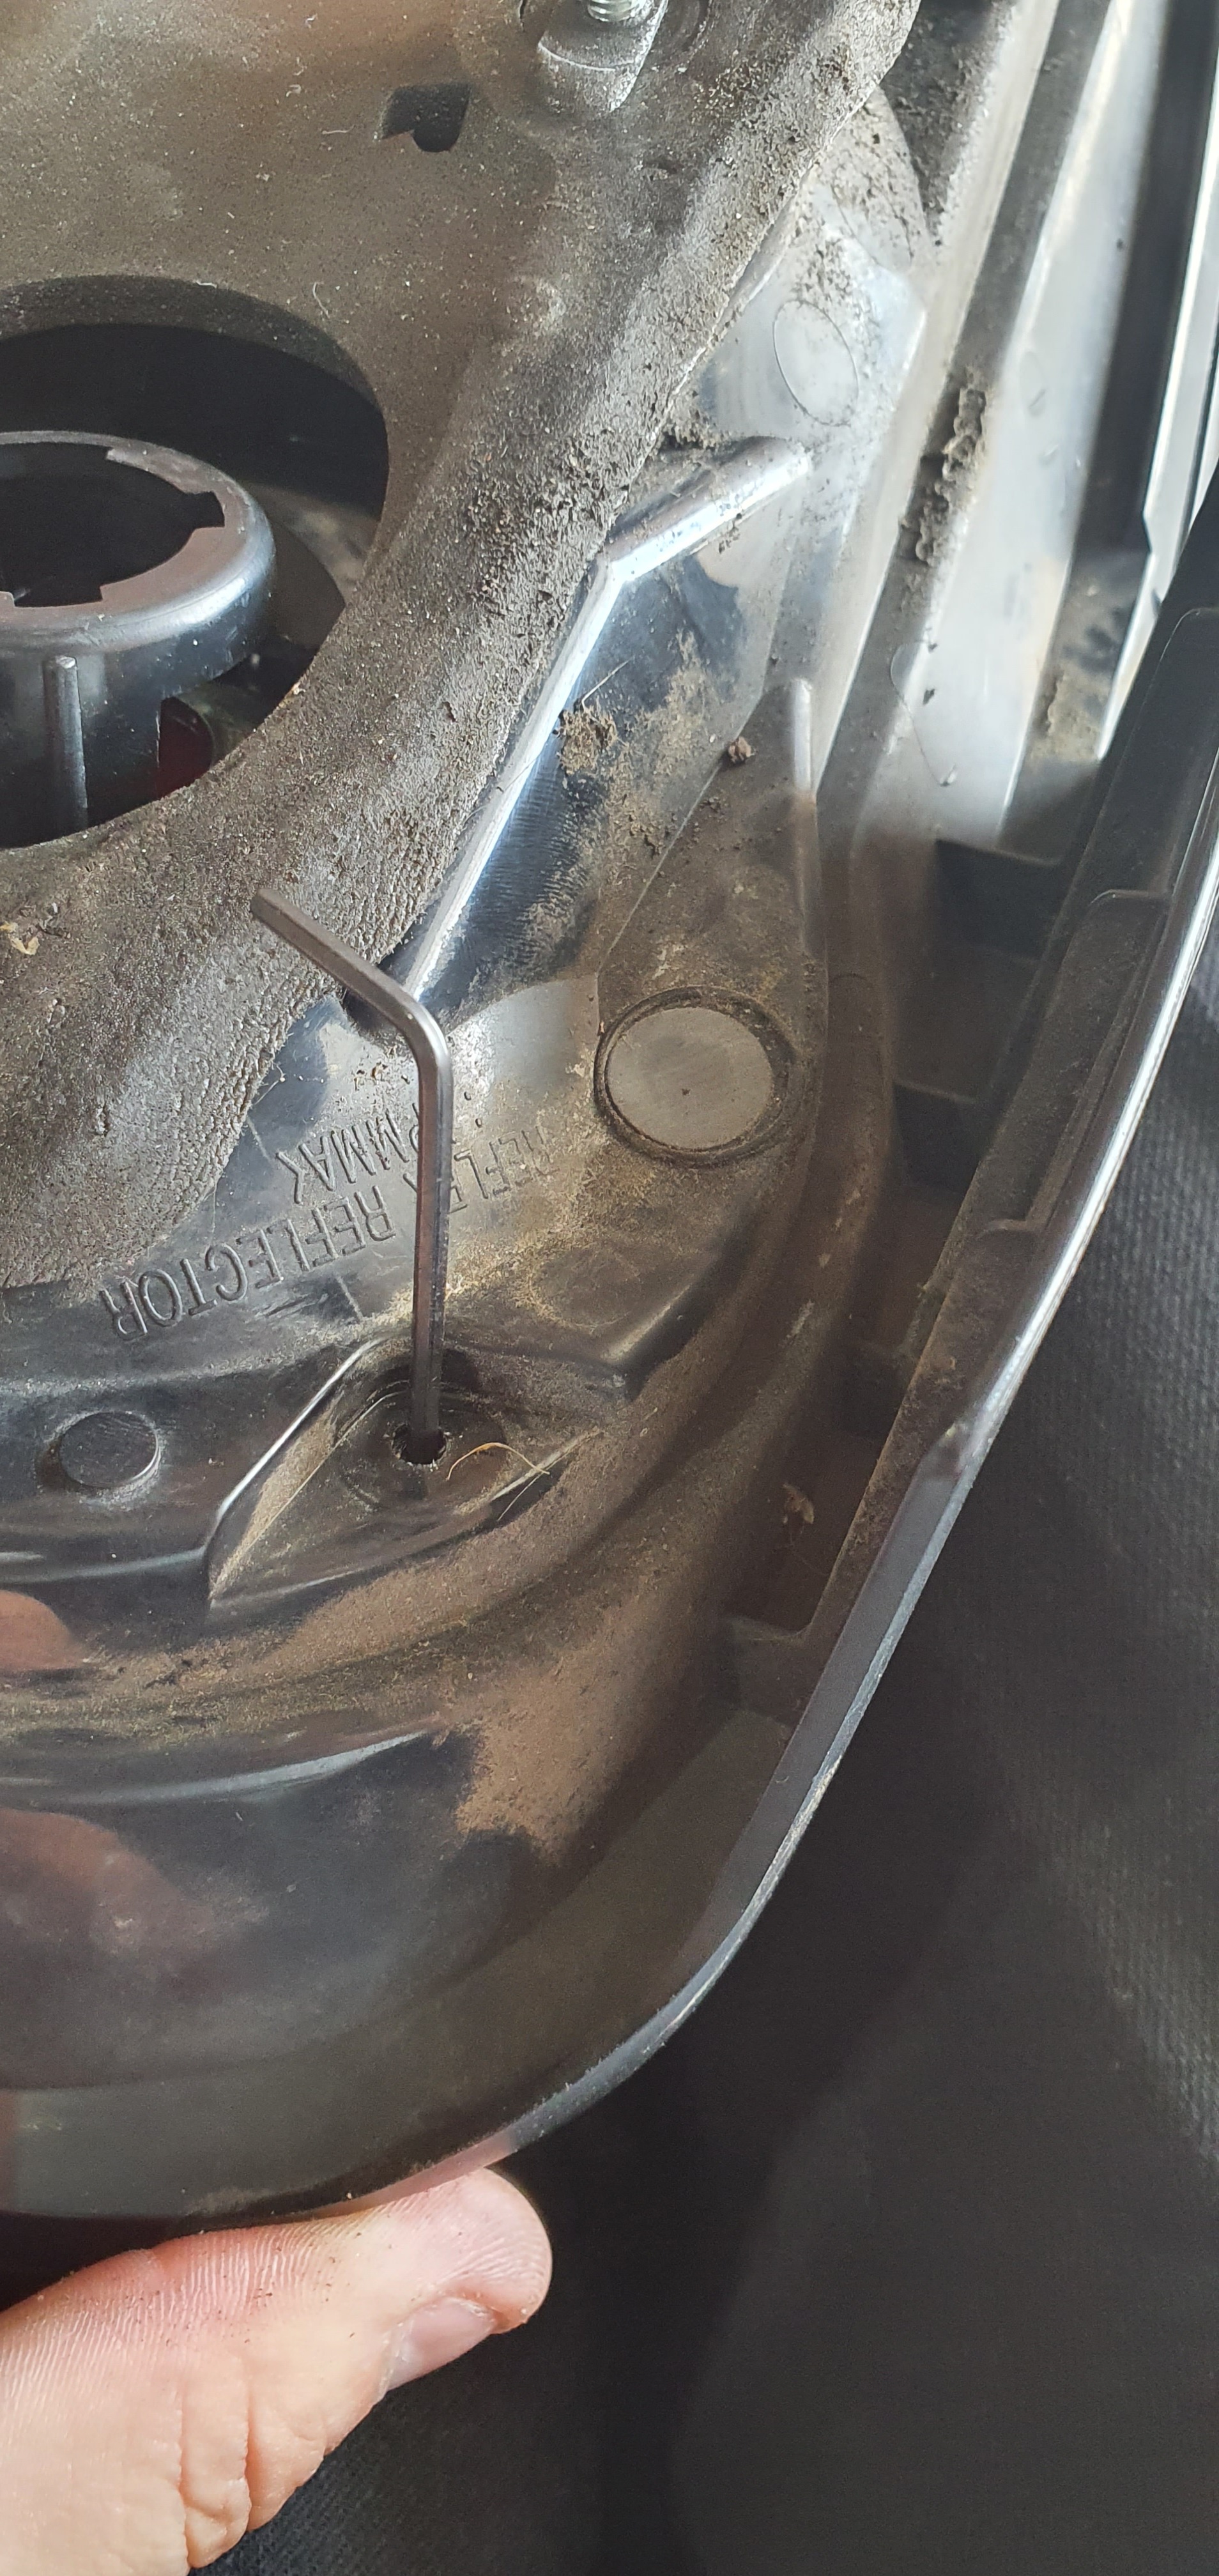
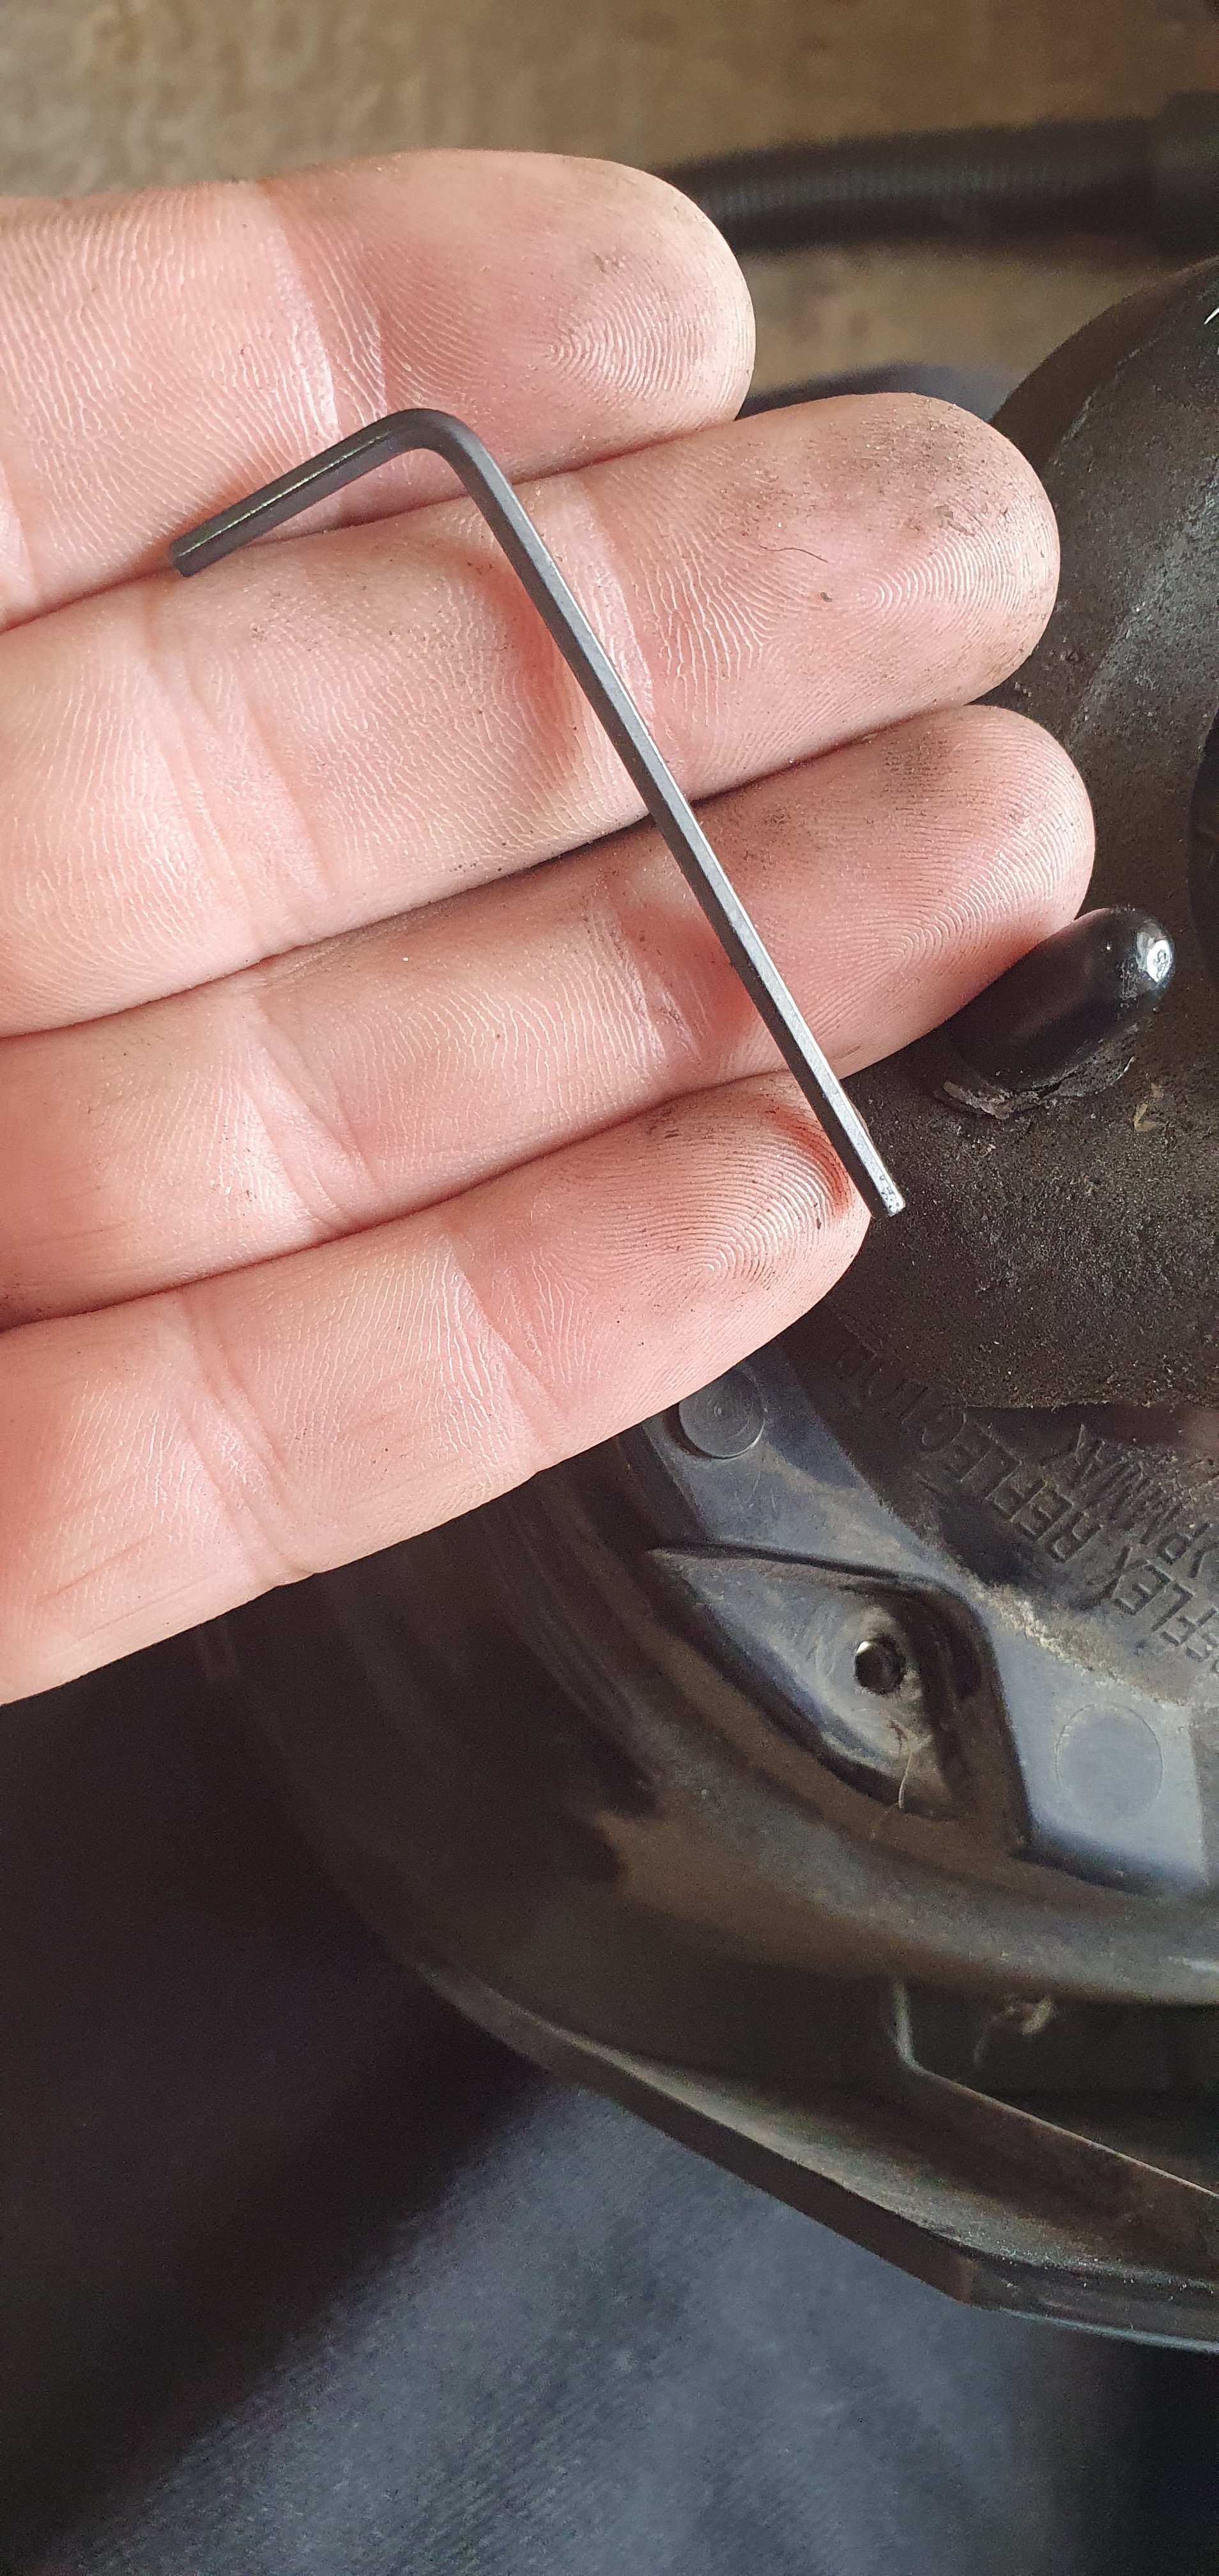
Step 3 - find a small Allen Key… It needs to be small enough to fit into the hole left by the screw you removed in step 2, but big enough that it won’t go into the threads where the screw belongs. If you look into the hole you’ll see that the screw holds the inner reflectors against the outside of the light housing… The Allen key should be able to sit on top of the hole of the reflector without actually going in, so as to not damage the plastic threads;
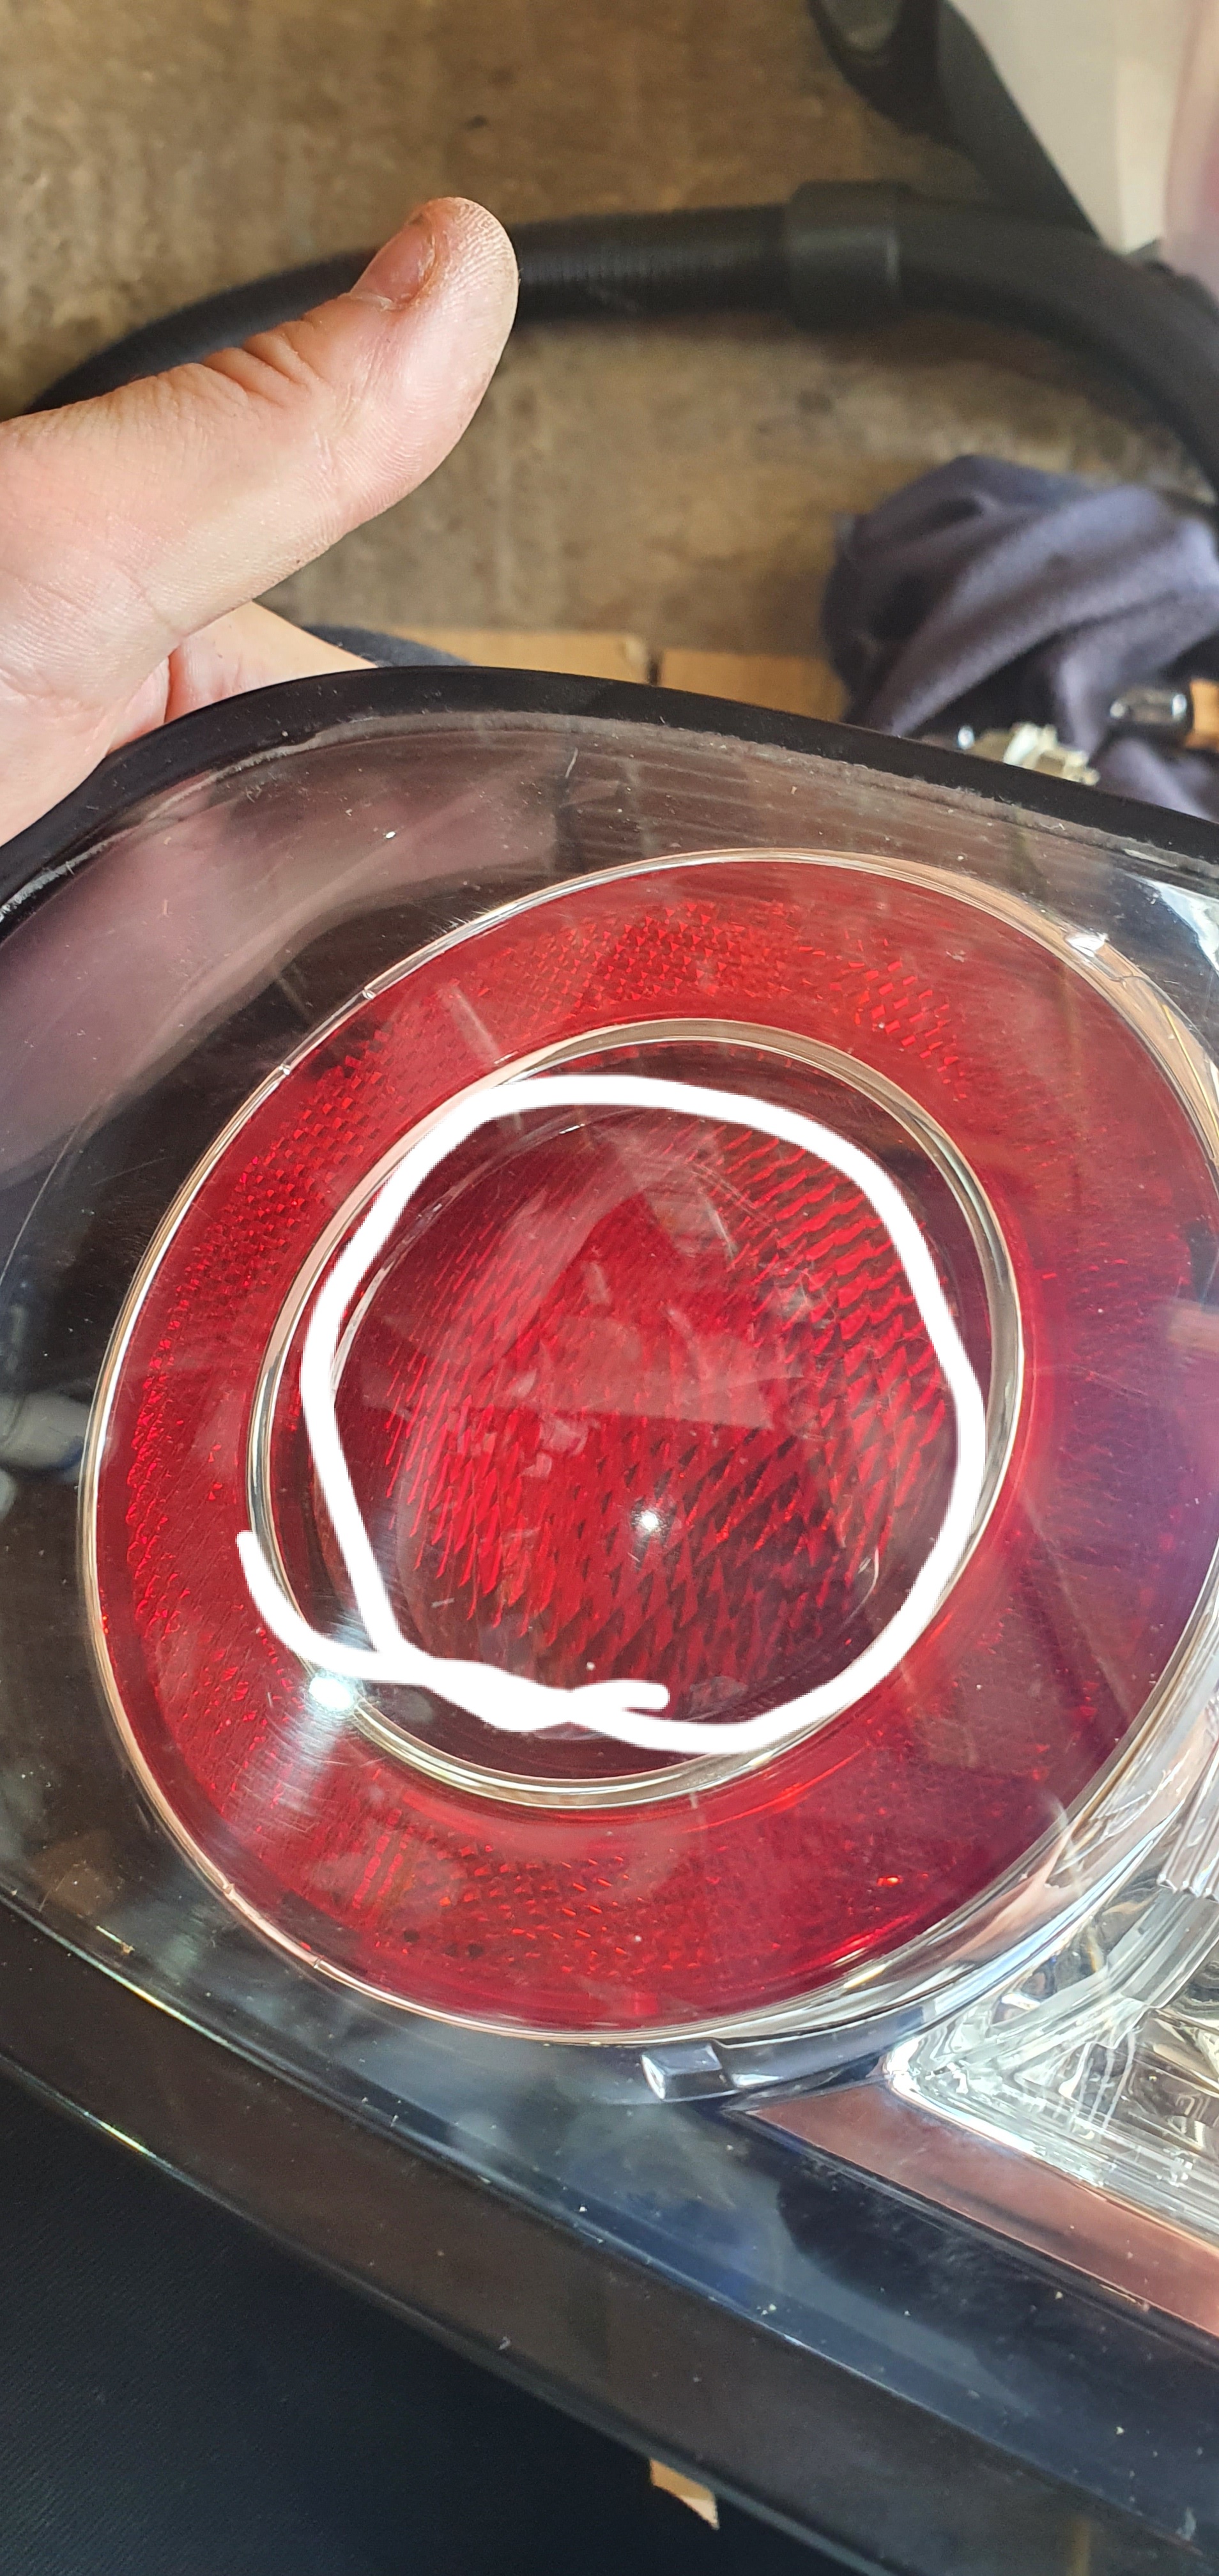
Step 4 - locate your target 
If your lights are like mine were, the dead insects will be rattling around loose inside the light. You’ll need to rotate the light around to such a degree that you manage to make the foreign item(s) land on top of the brake light lens, dead in the center of it… It needs to land in the middle of where I’ve circled in white below;
Once you’ve done this (it may take some time and persistence), keep the light in that position and with the Allen key placed in the screw hole as mentioned before, gently push the Allen key…
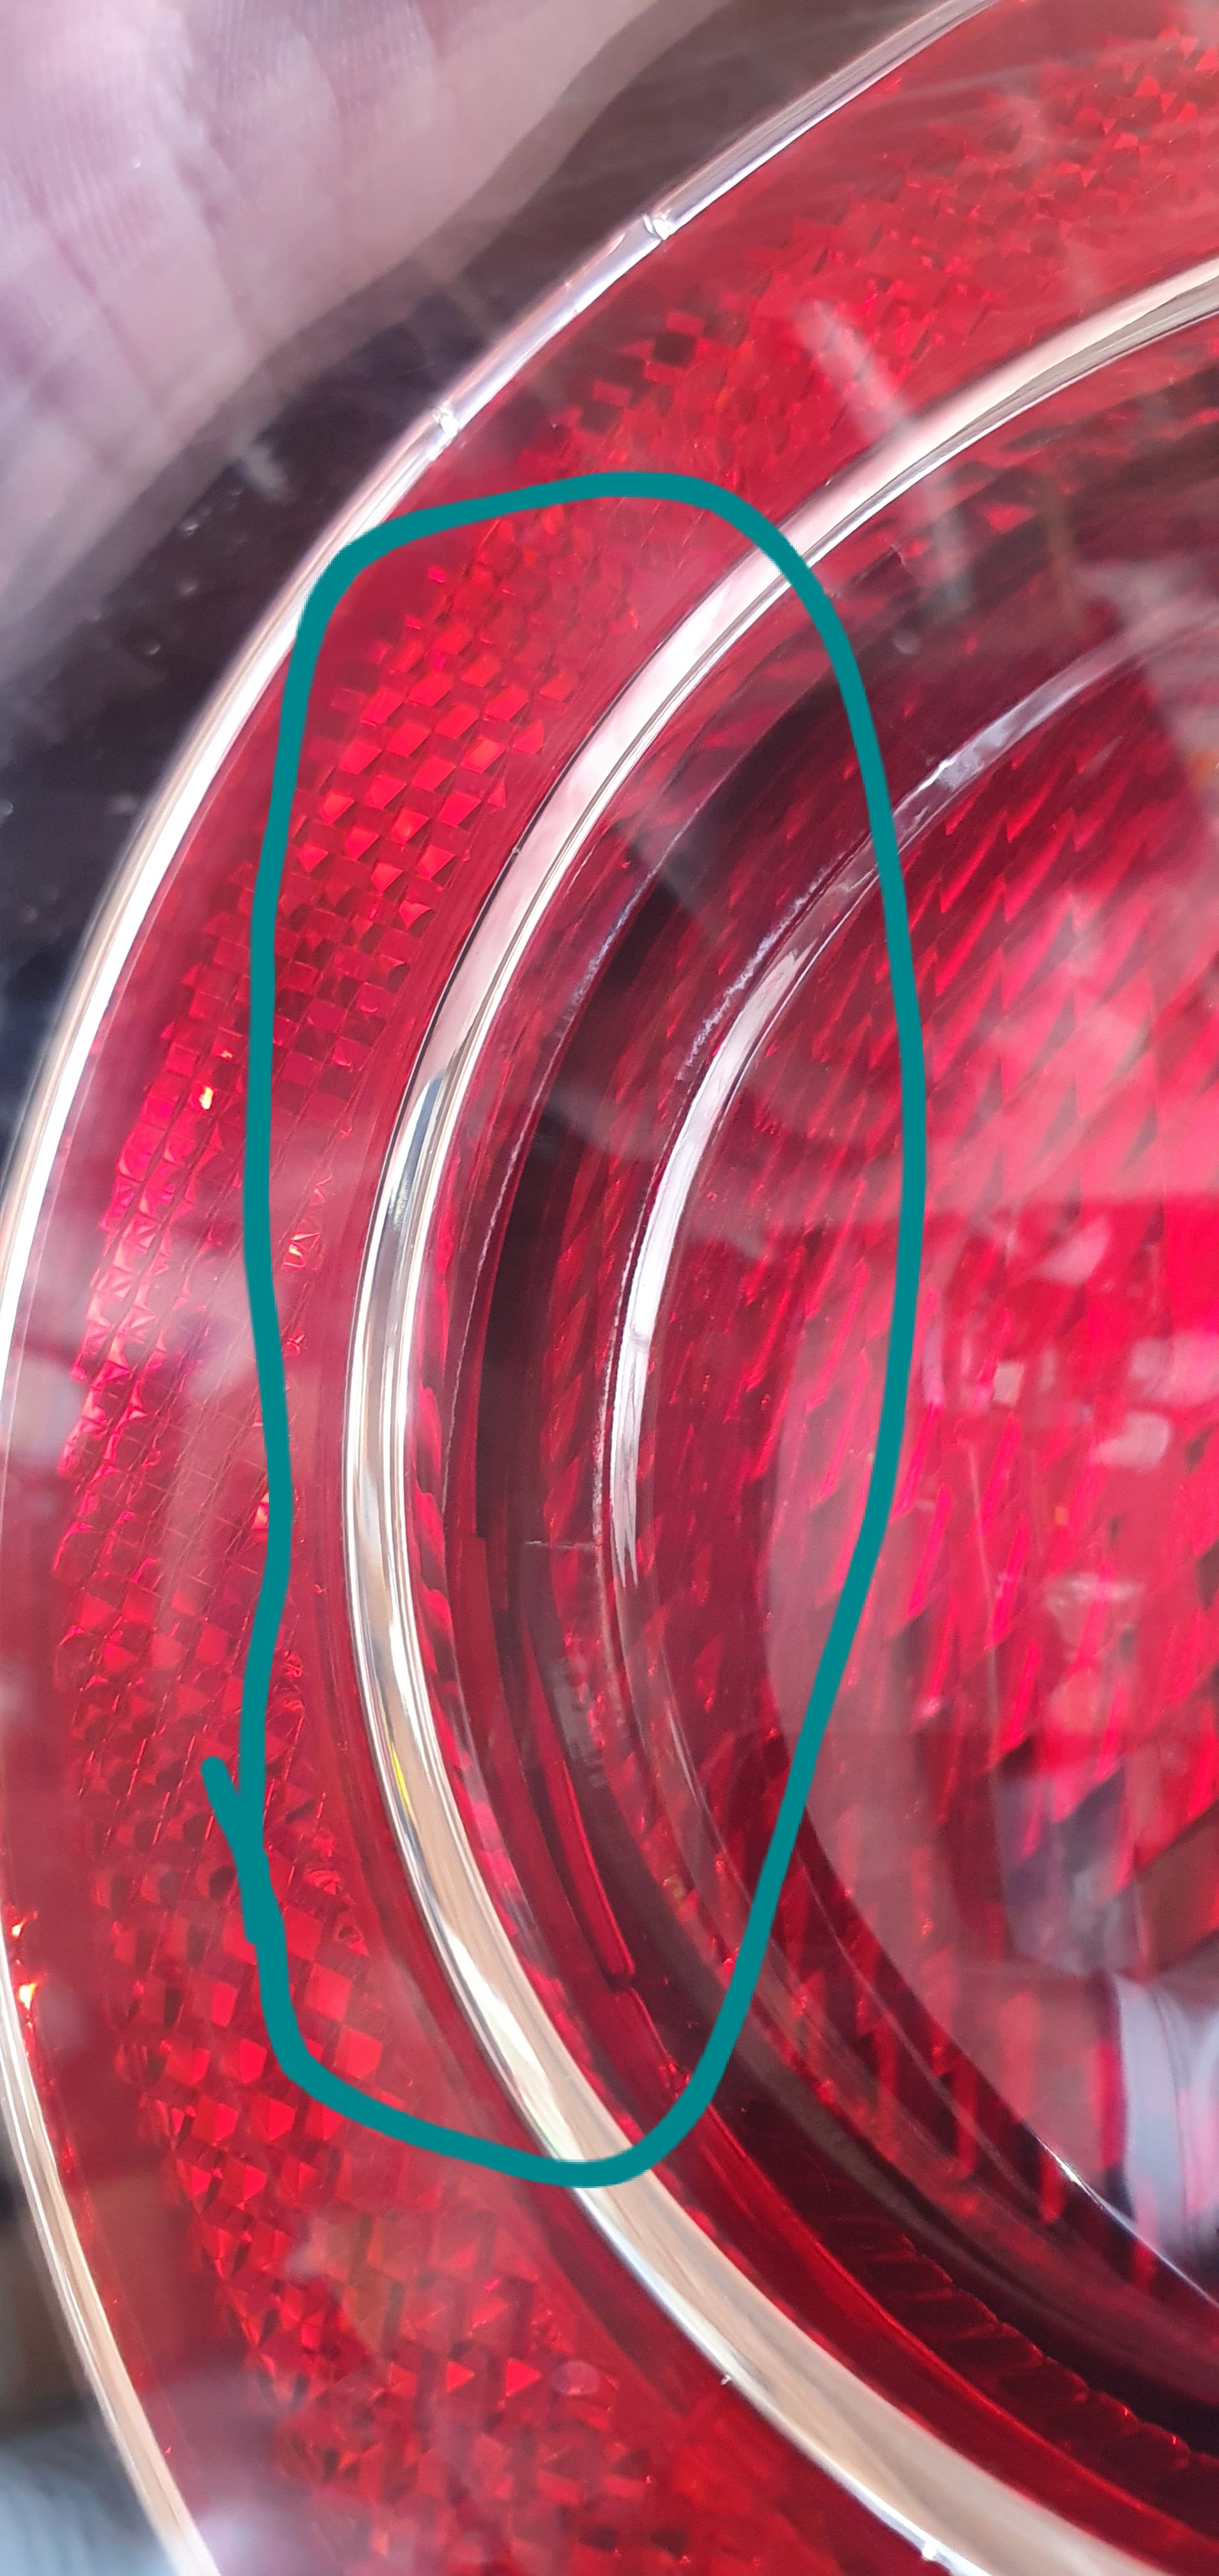
When you do this, you’ll notice that the outer of the reflector will move away from the center of the lens, leaving a very small gap… See the two images below; the image circled in yellow is before you’ve applied pressure to your Allen key to make the reflector move, and the image circled in blue is the gap that will appear when you apply gentle pressure to it.
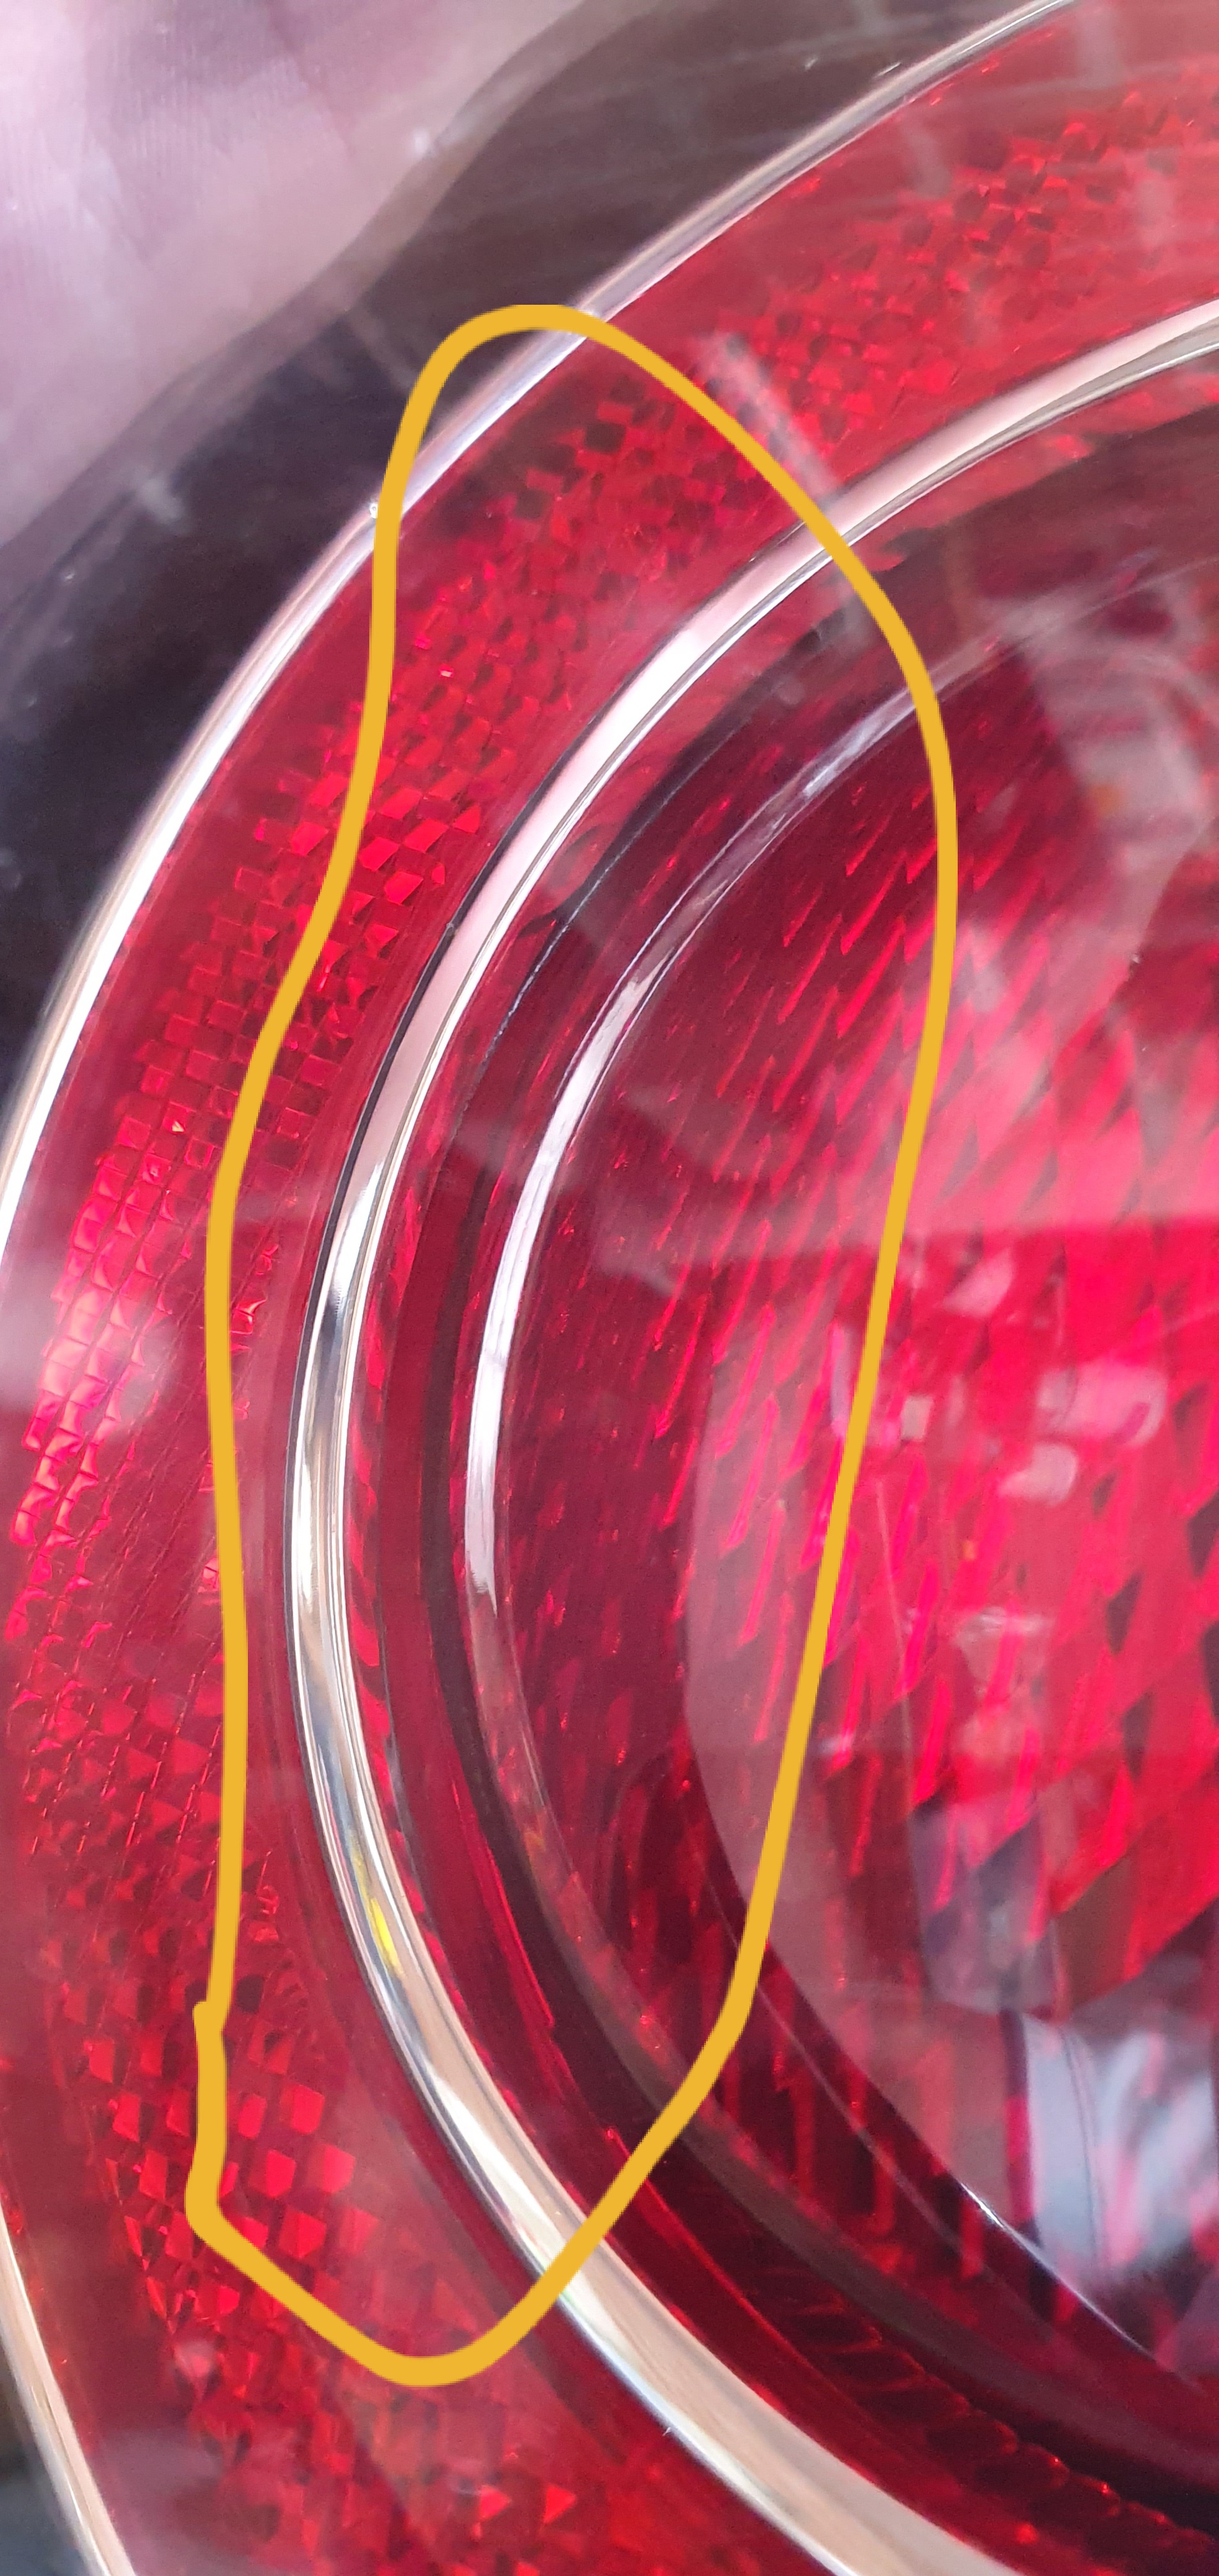
The gap that appears is where your insect friend is going to escape from!
So, get the insect in the middle of the lens and push the outer of the reflector in and out until the insect eventually falls through it…
Once you’ve done that, you’re done!!
A can of compressed air really helps to ensure everything that shouldn’t be there gets dislodged and will escape through the aforementioned hole. At the same time, I also put a vacuum cleaner hose snugly on the bulb holes, this also removed some, but not all, of the junk in there.
While you’re in there, it’s likely that the light itself and its hole on the boot will be full of mud and crap… Take the opportunity to give everything a good clean!
I hope this helps someone, worked a treat for me!!


 and verges on corrugated

