Hi all,
I am in the process of fitting this kit from Right Click and thought i’d update you all on my progress. Hopefully it will be of some help to others trying to fit central locking to a Mk2 as I couldn’t find a guide.
The first step was to open up the doors and have a look at a mounting space.
I removed the cross brace with a polystyrene block in order to create a space to mount the actuator in between the two control rods. (Does anyone know if this block has any serious purpose? The brown glue was where I had to stop it rattling before!)
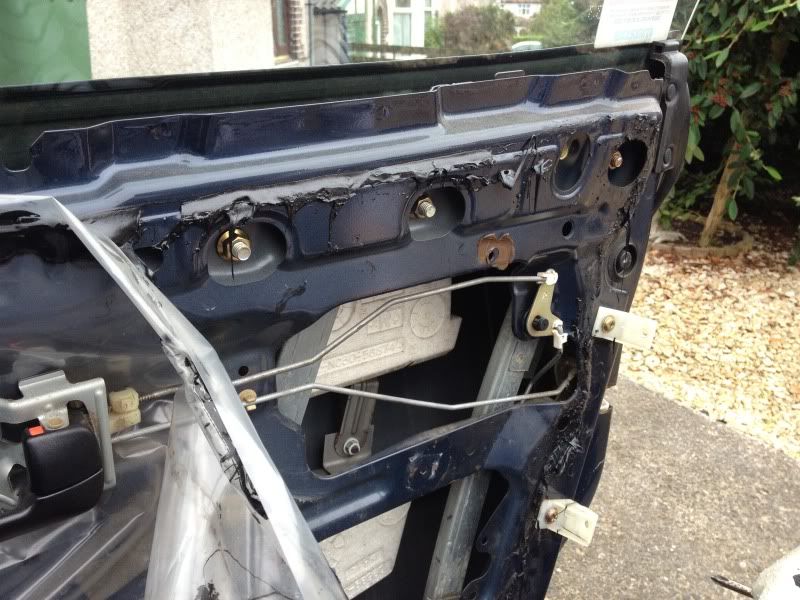
I then used the mounting hardware supplied to add the actuator and link it to the locking control rod. This only required me to drill one hole at the rear of the door as I used the hole left over from the polystyrene cross brace.

To begin the wiring of the door I removed and disconnected the speaker giving me access to the rubber tunnel that allows the wires to travel into the cabin. I was expecting it to be an open tunnel as the MK1 guides suggest it should be, however on the MK2 it is a plug connector with with wires either side meaning that no wires can be pushed through without drilling holes into this connector and ruining it. I consulted the worshop manual and after plenty of swaering was able to pry the connector loose to examine the wiring.
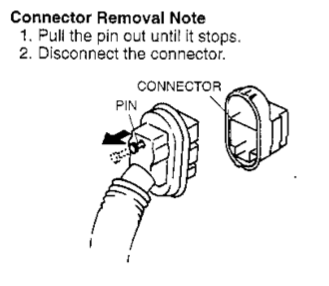
As my car does not already feature power windows, locks or mirrors there are plenty of surplus wires already inside the door and wired into this plug. I decided to make use of them rather than destroy the plug and risk damaging the useful conections such as the speaker cables. I spent most of my time today working out the colour of the wires I needed to use inside the cabin as they are different colours on the cabin side of the plug.
Door wiring reference (Drivers door):
Here is a diagram of how the plug lays out the pins

| Cabin Wires | Door Wires | Function (If known) |
| Blue | Blue | Power Locking |
| Red | Red | Power Locking |
| Green | Yellow/Black | Speaker |
| Yellow/Green | Yellow/Red | Speaker |
| Red/Black | Red/Black | Power Mirror? |
| Olive/Red | Olive | Power Mirror? |
| Brown/Black | Yellow/Brown | Power Mirror? |
| Brown | Brown | Power Mirror? |
| White/Red | Green | Power windows |
| Green/Red | Green/Red | Power windows |
| Black | Black | Ground |
I hope this information is of use to someone!
I wired up my actuator using the door’s red, green, blue, green/red and black wires. I shall draw a wiring diagram fully tomorrow after I have wired the control box into the system.
I cut the correct wires on the other end of the plug (taping up the unused cables from the loom) and connected a 9v battery to the actuator’s motor connections to test the connection was correct. With that working I replaced the speaker and re-assembled the door. Once the door card was replaced I noticed that the actuator was ever so slightly being bumped by the window stopper as the window was moved up and down it was too dark to continue but my plan is to shave some material off of the stopper to give it clearance (making sure not to remove too much and allowing the window to move too high in it’s tracks).