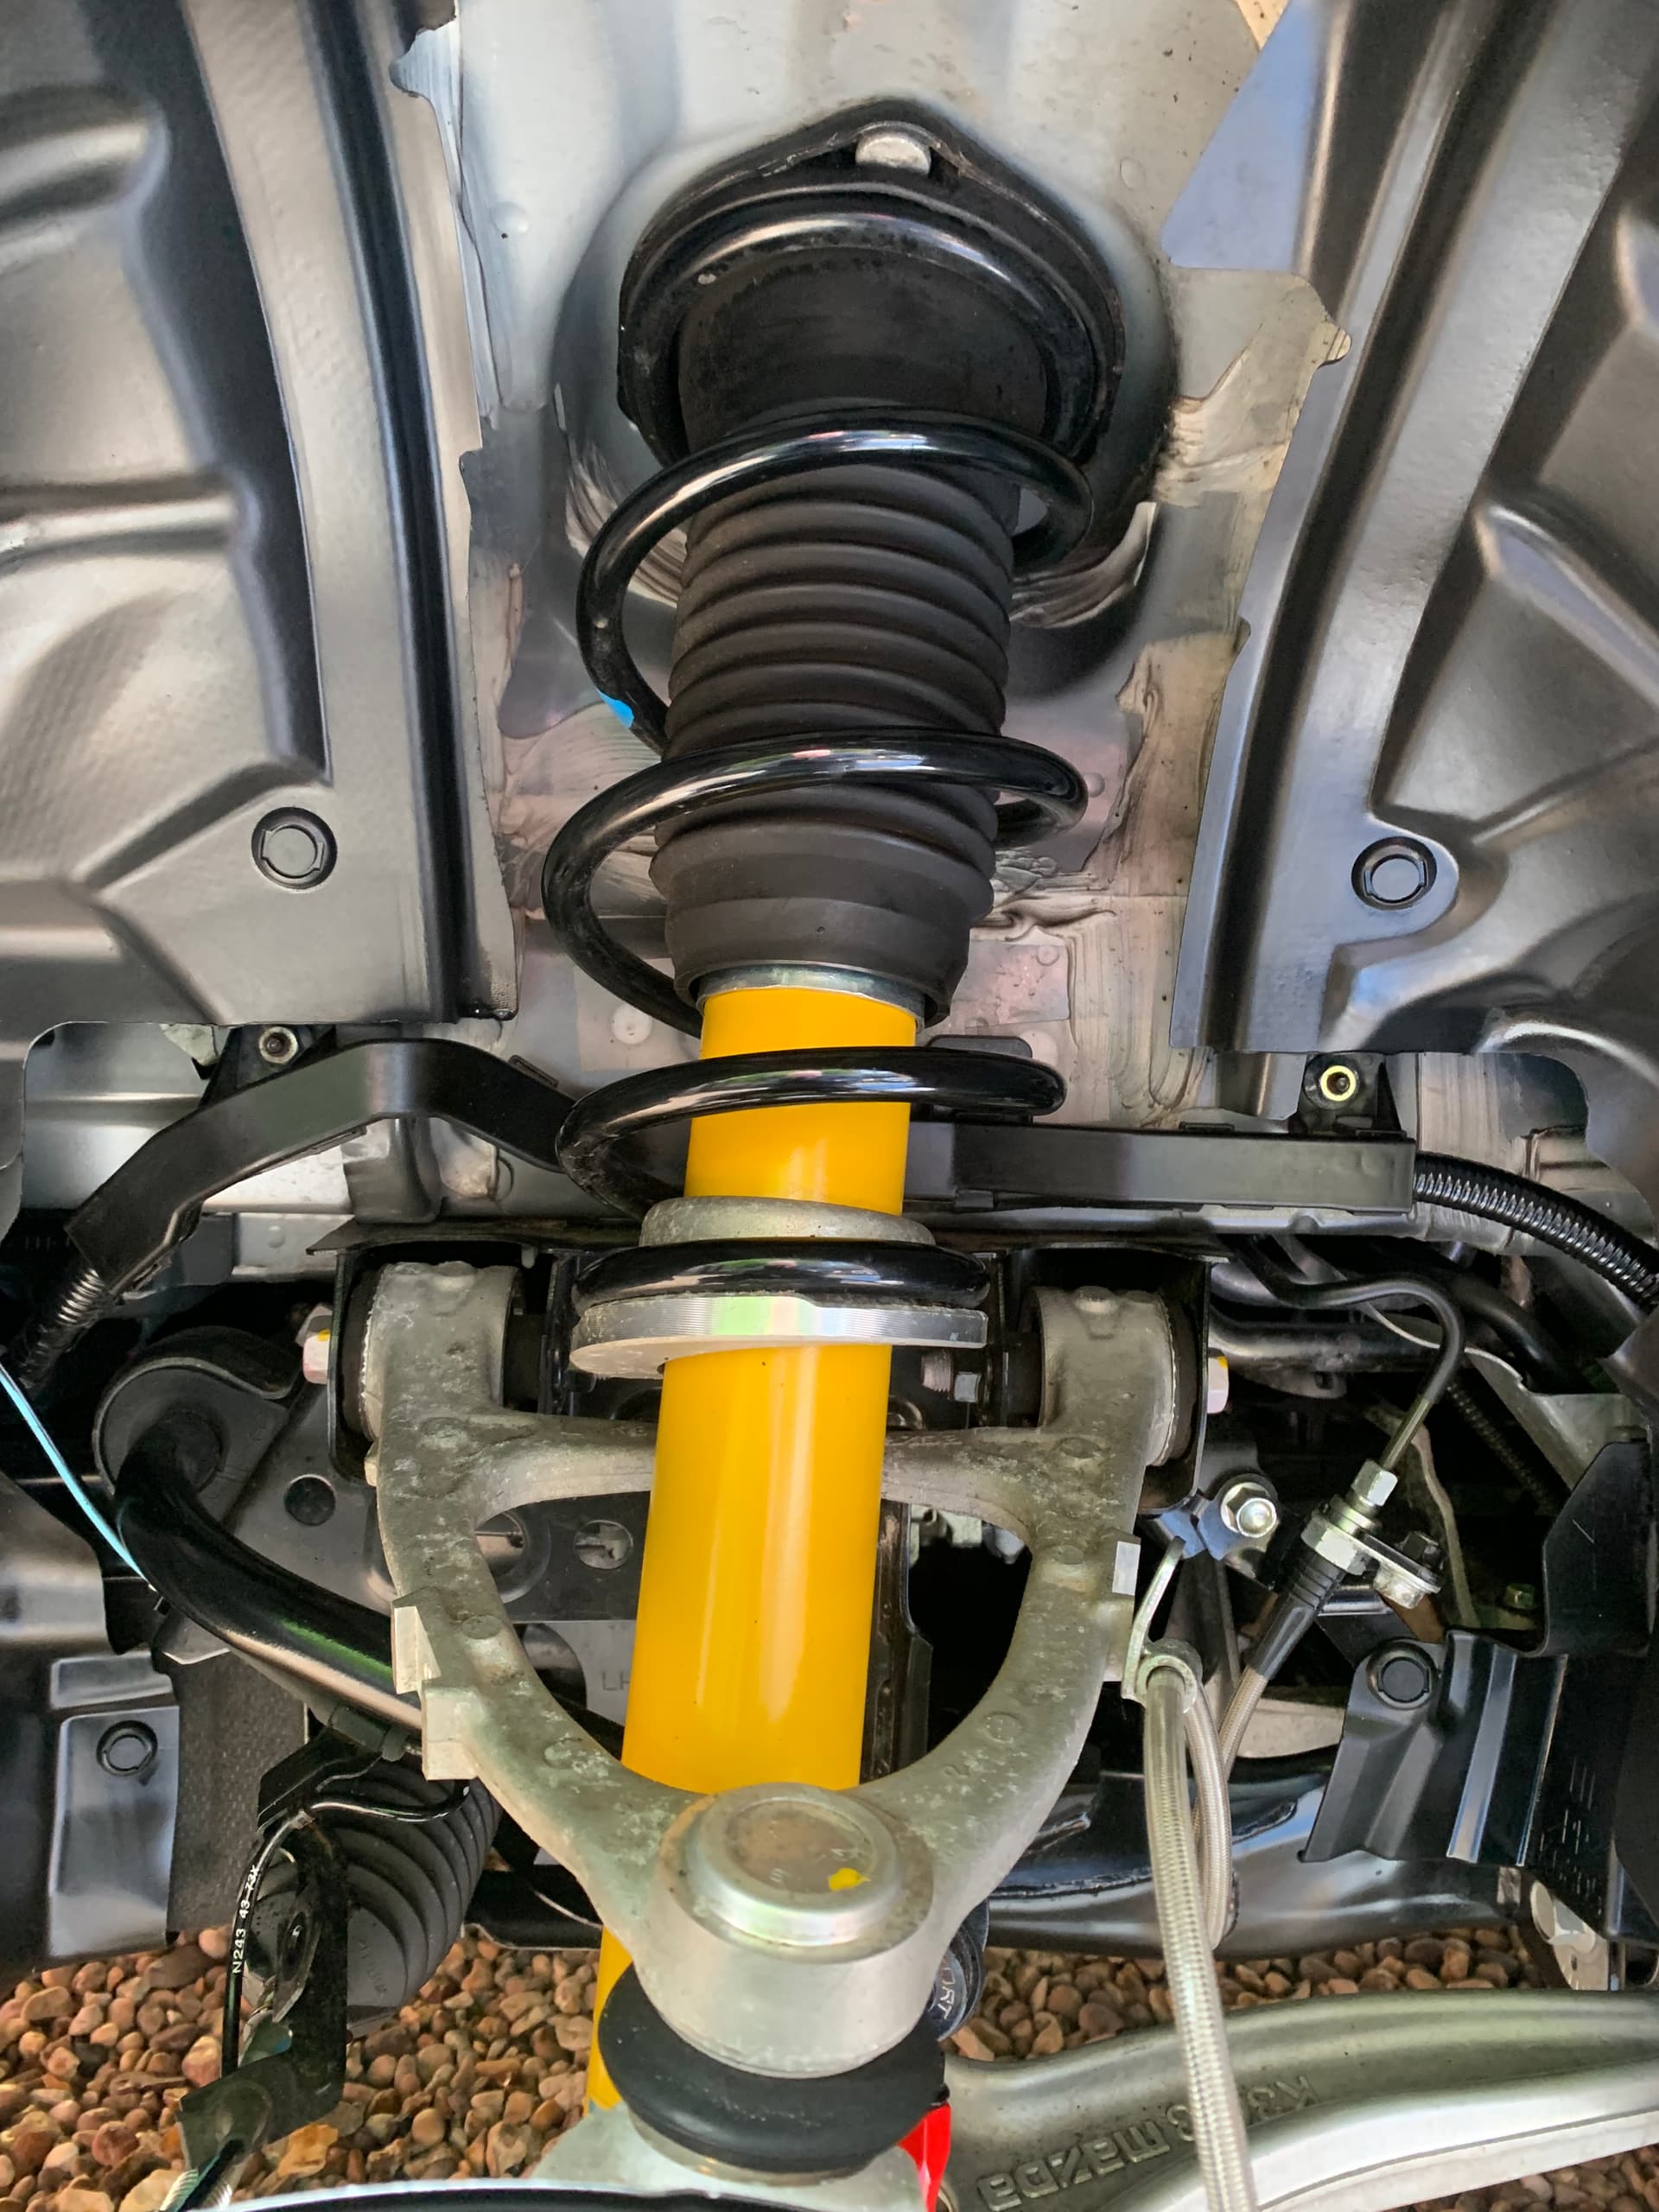
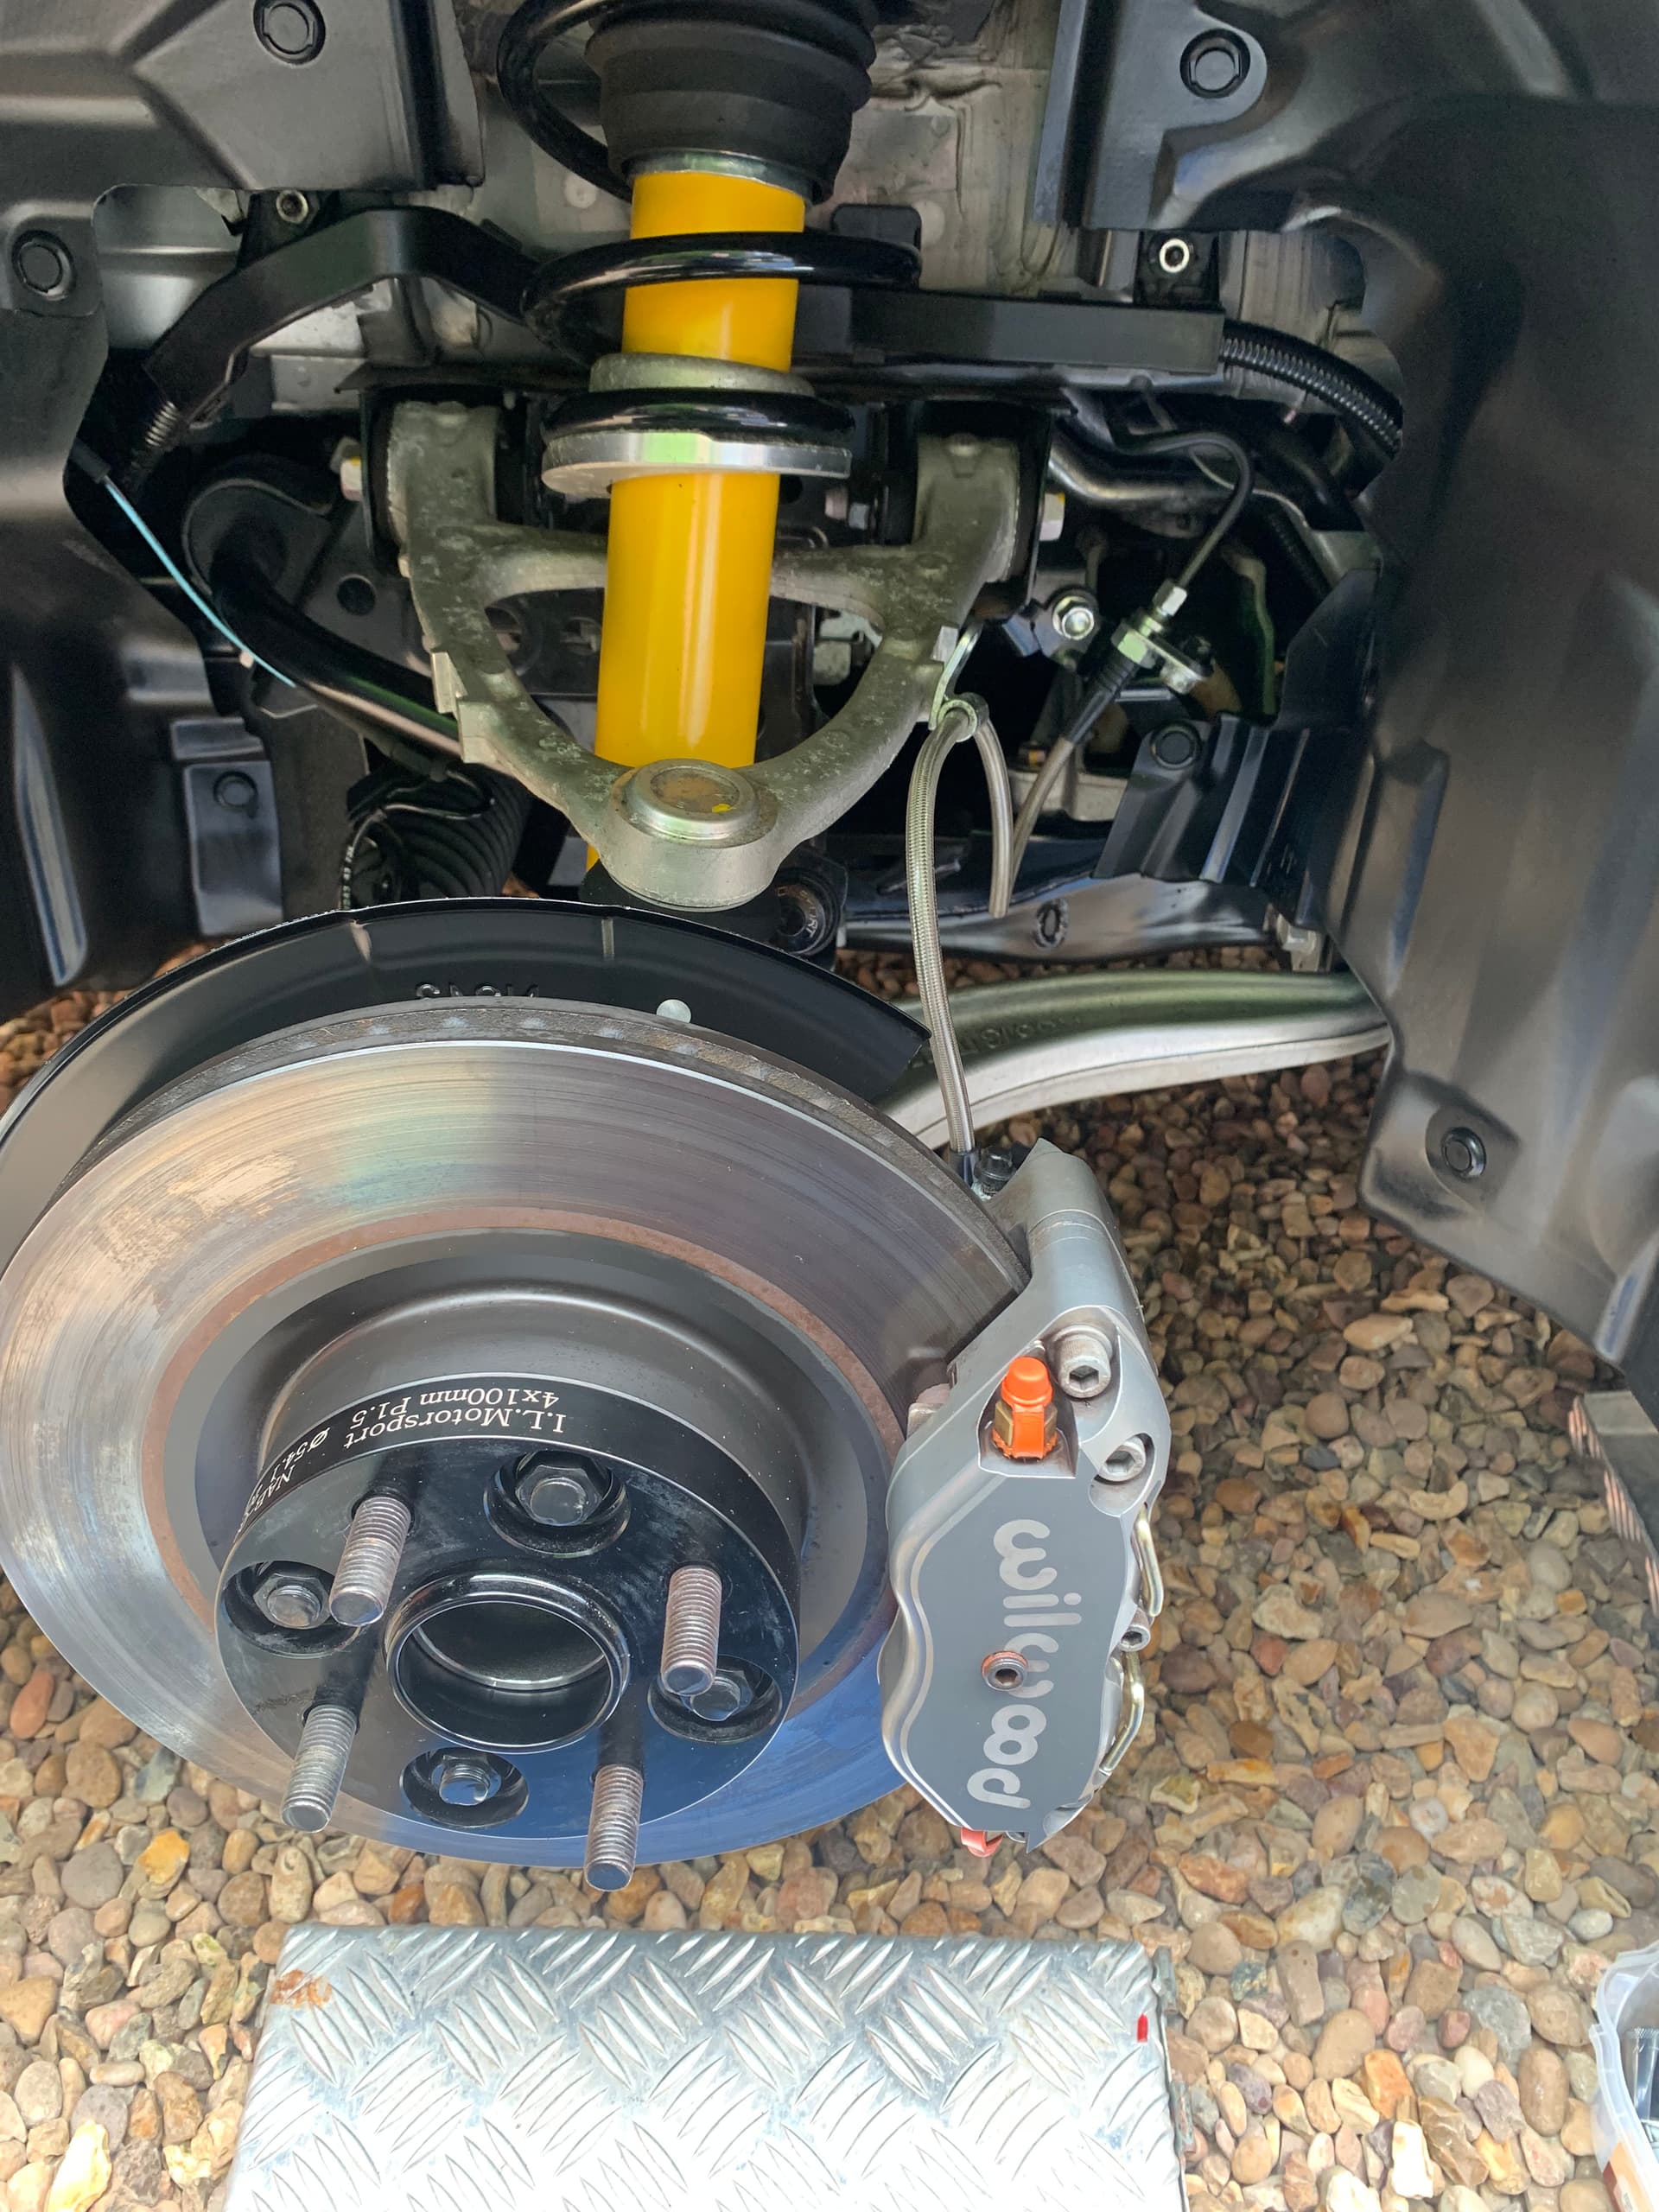
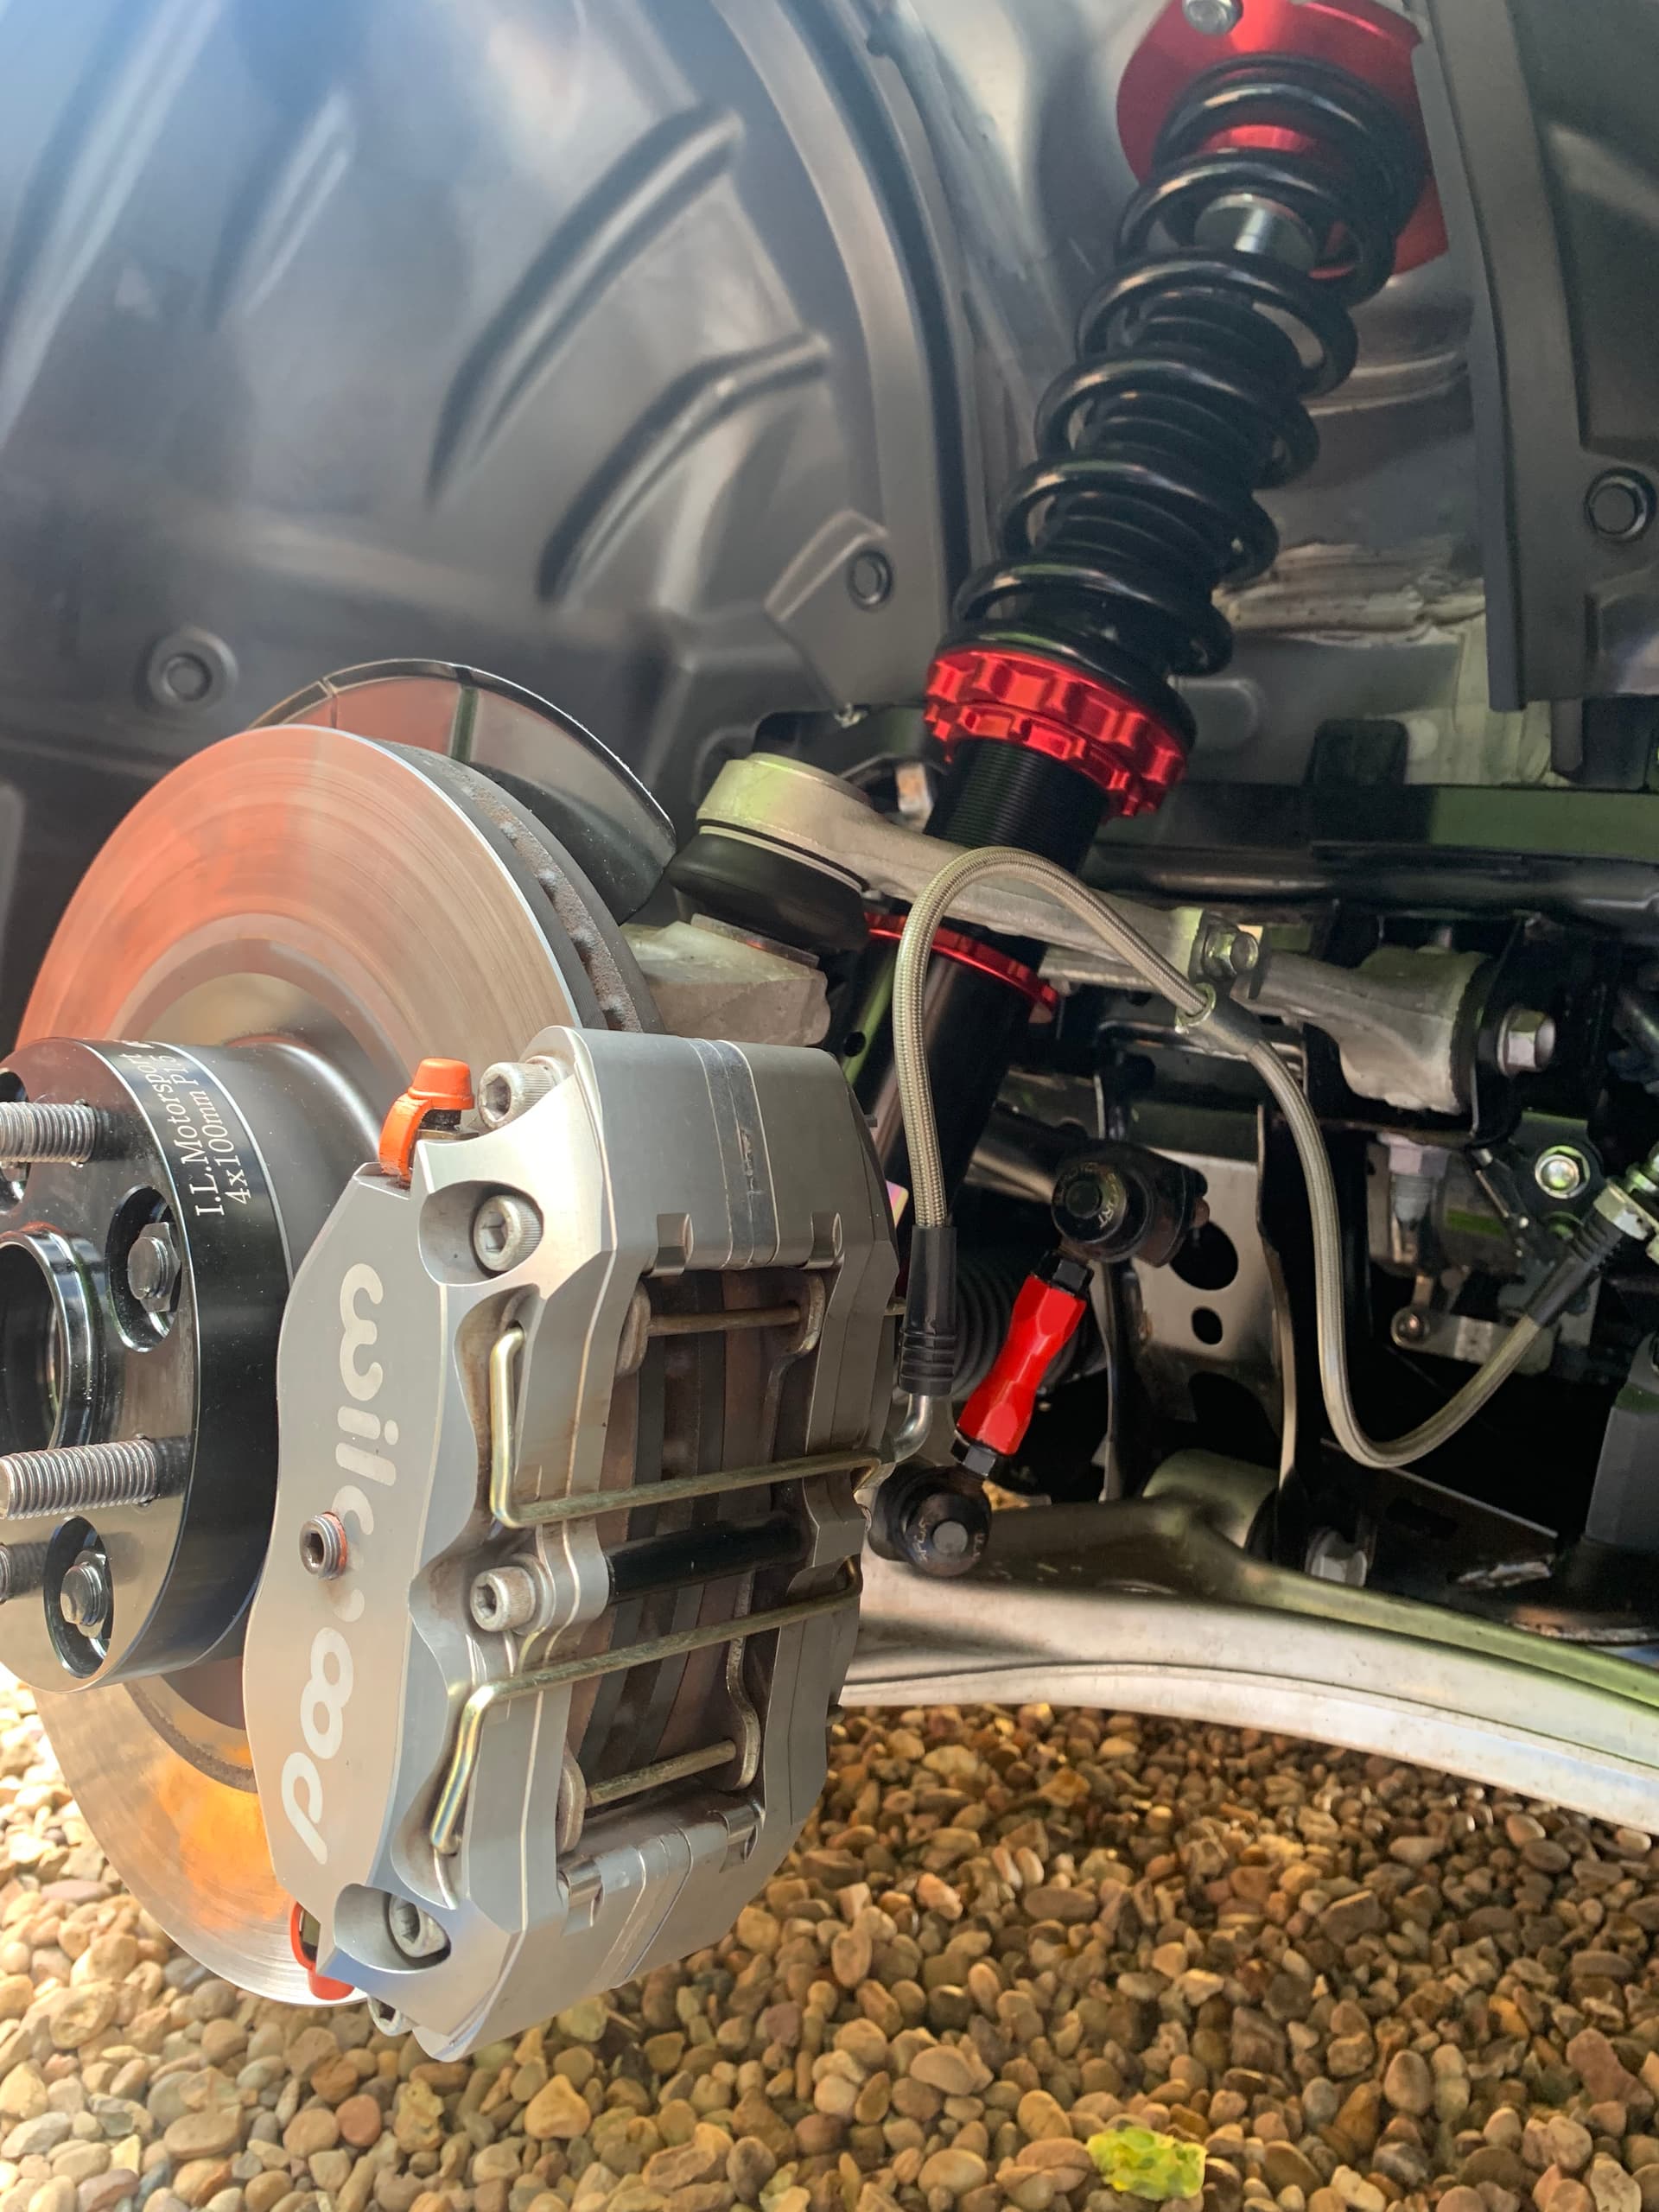
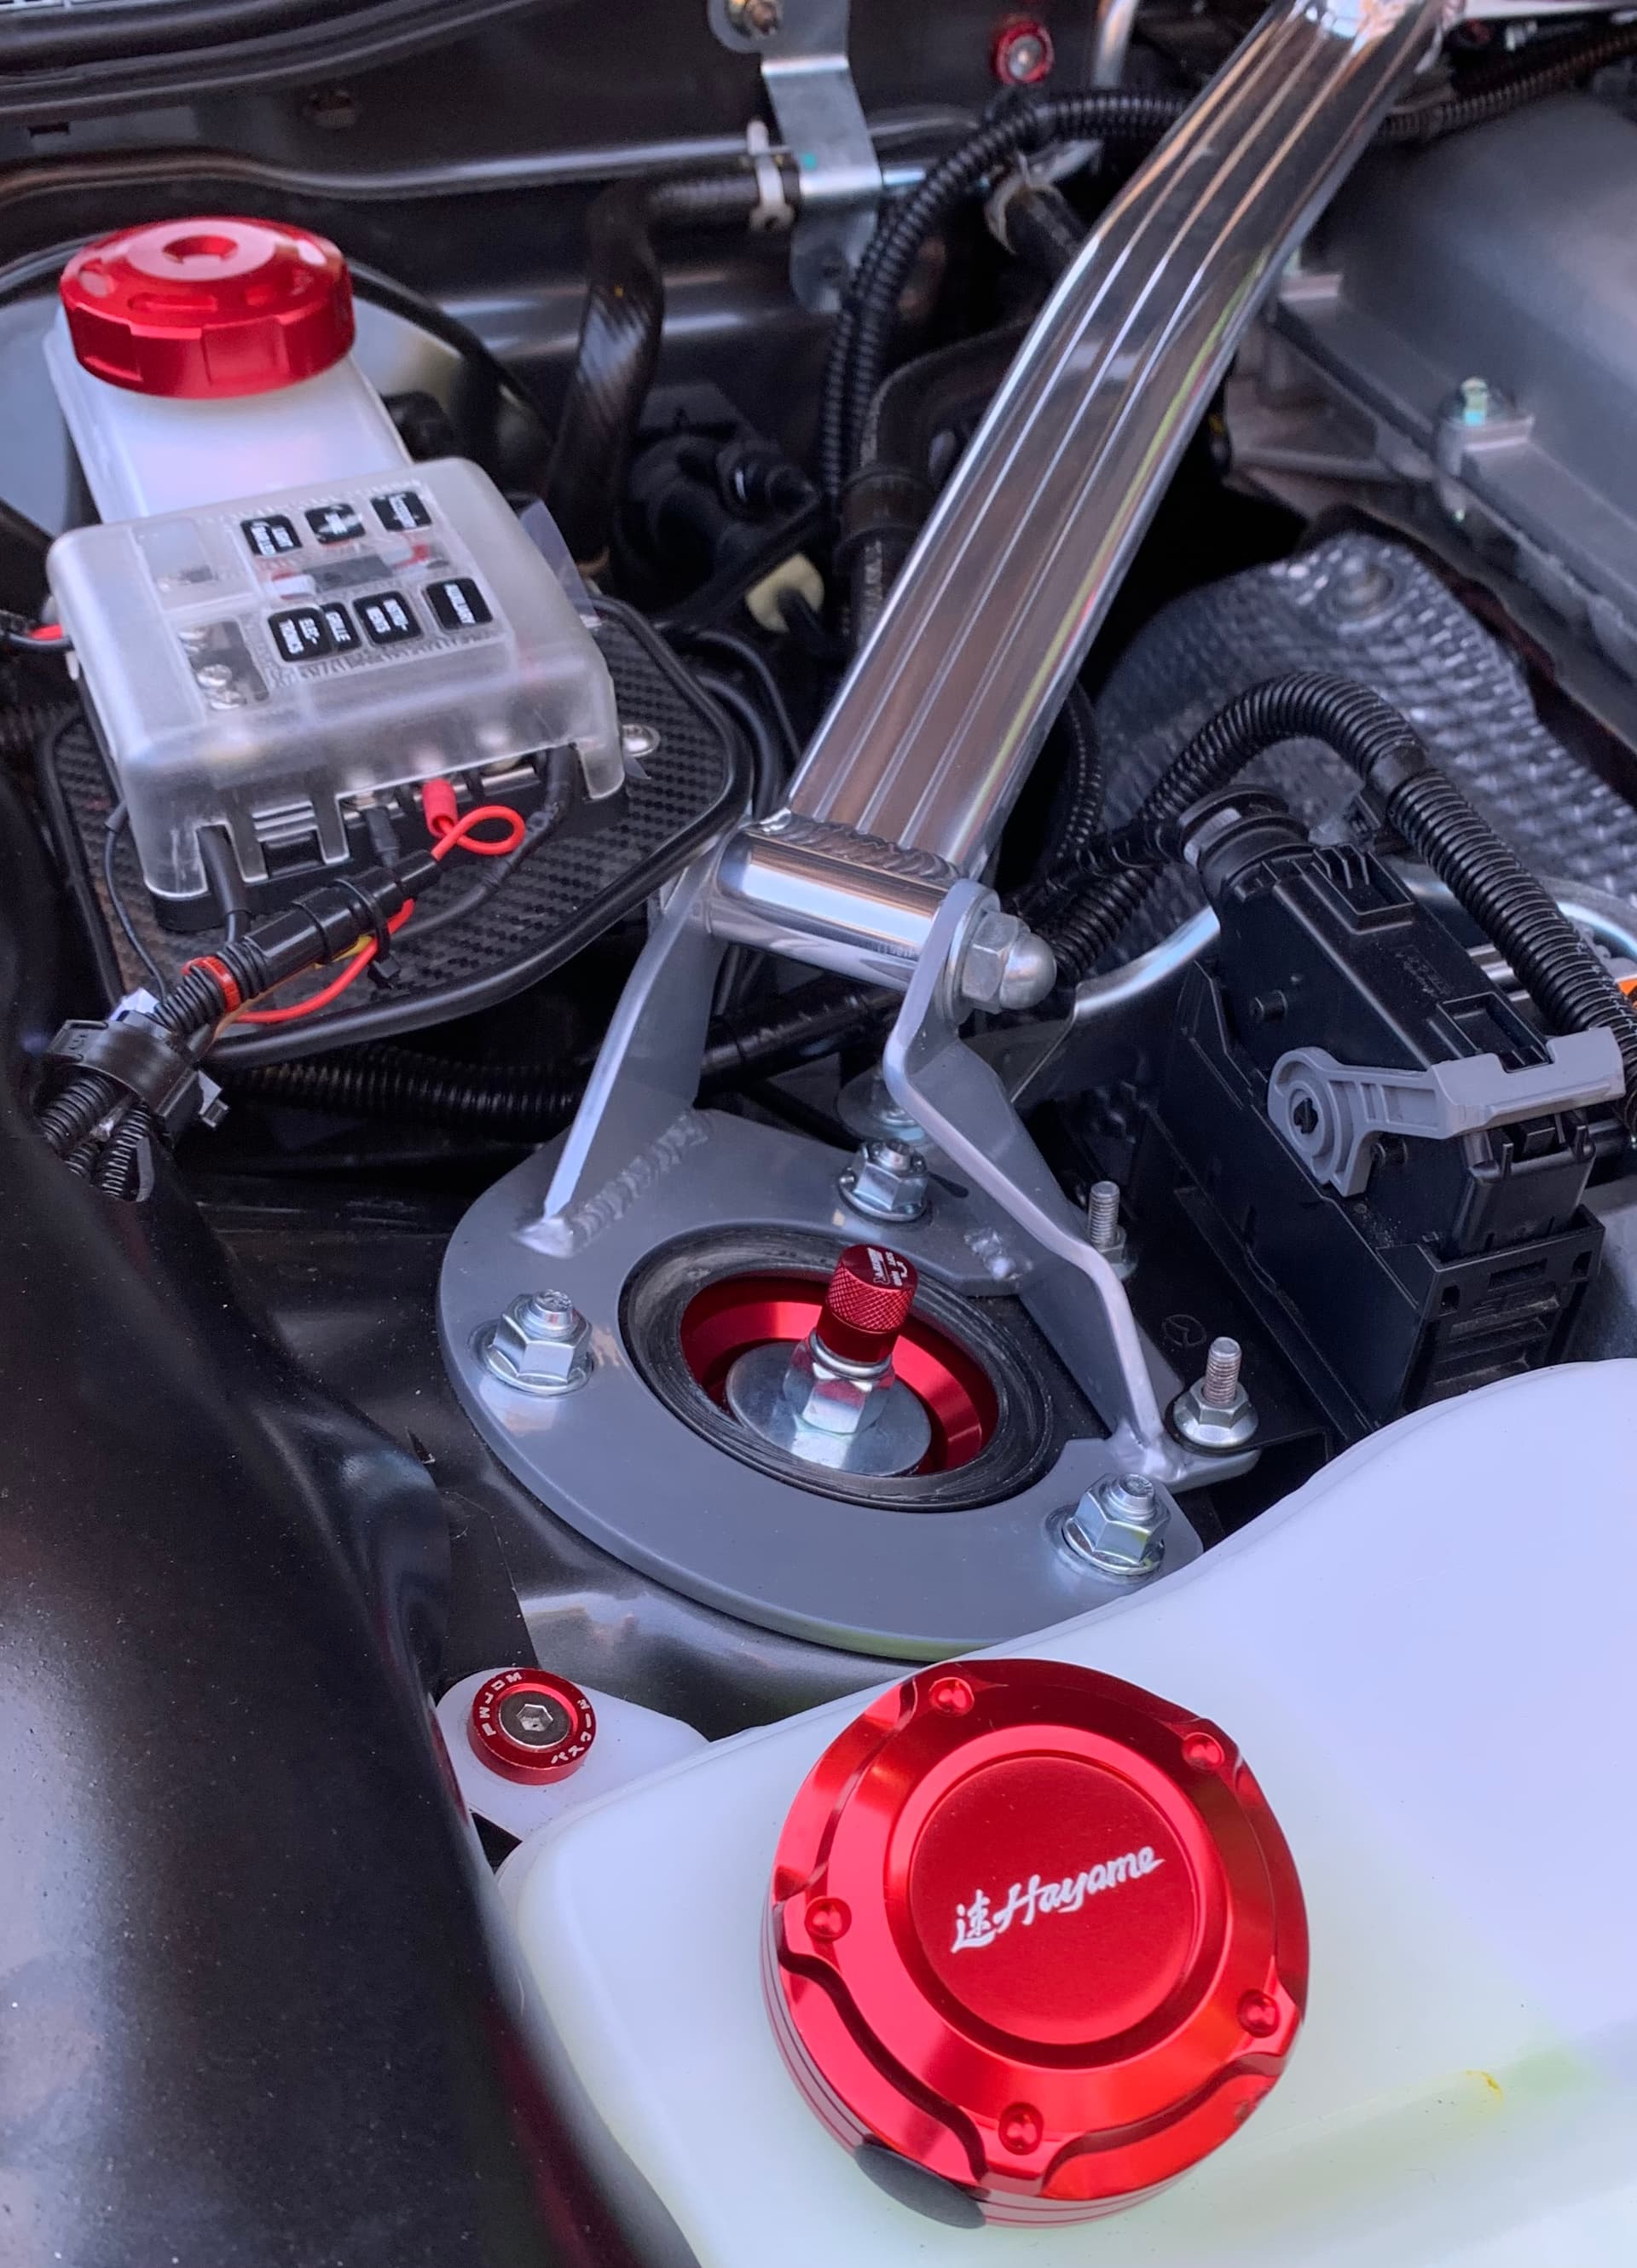
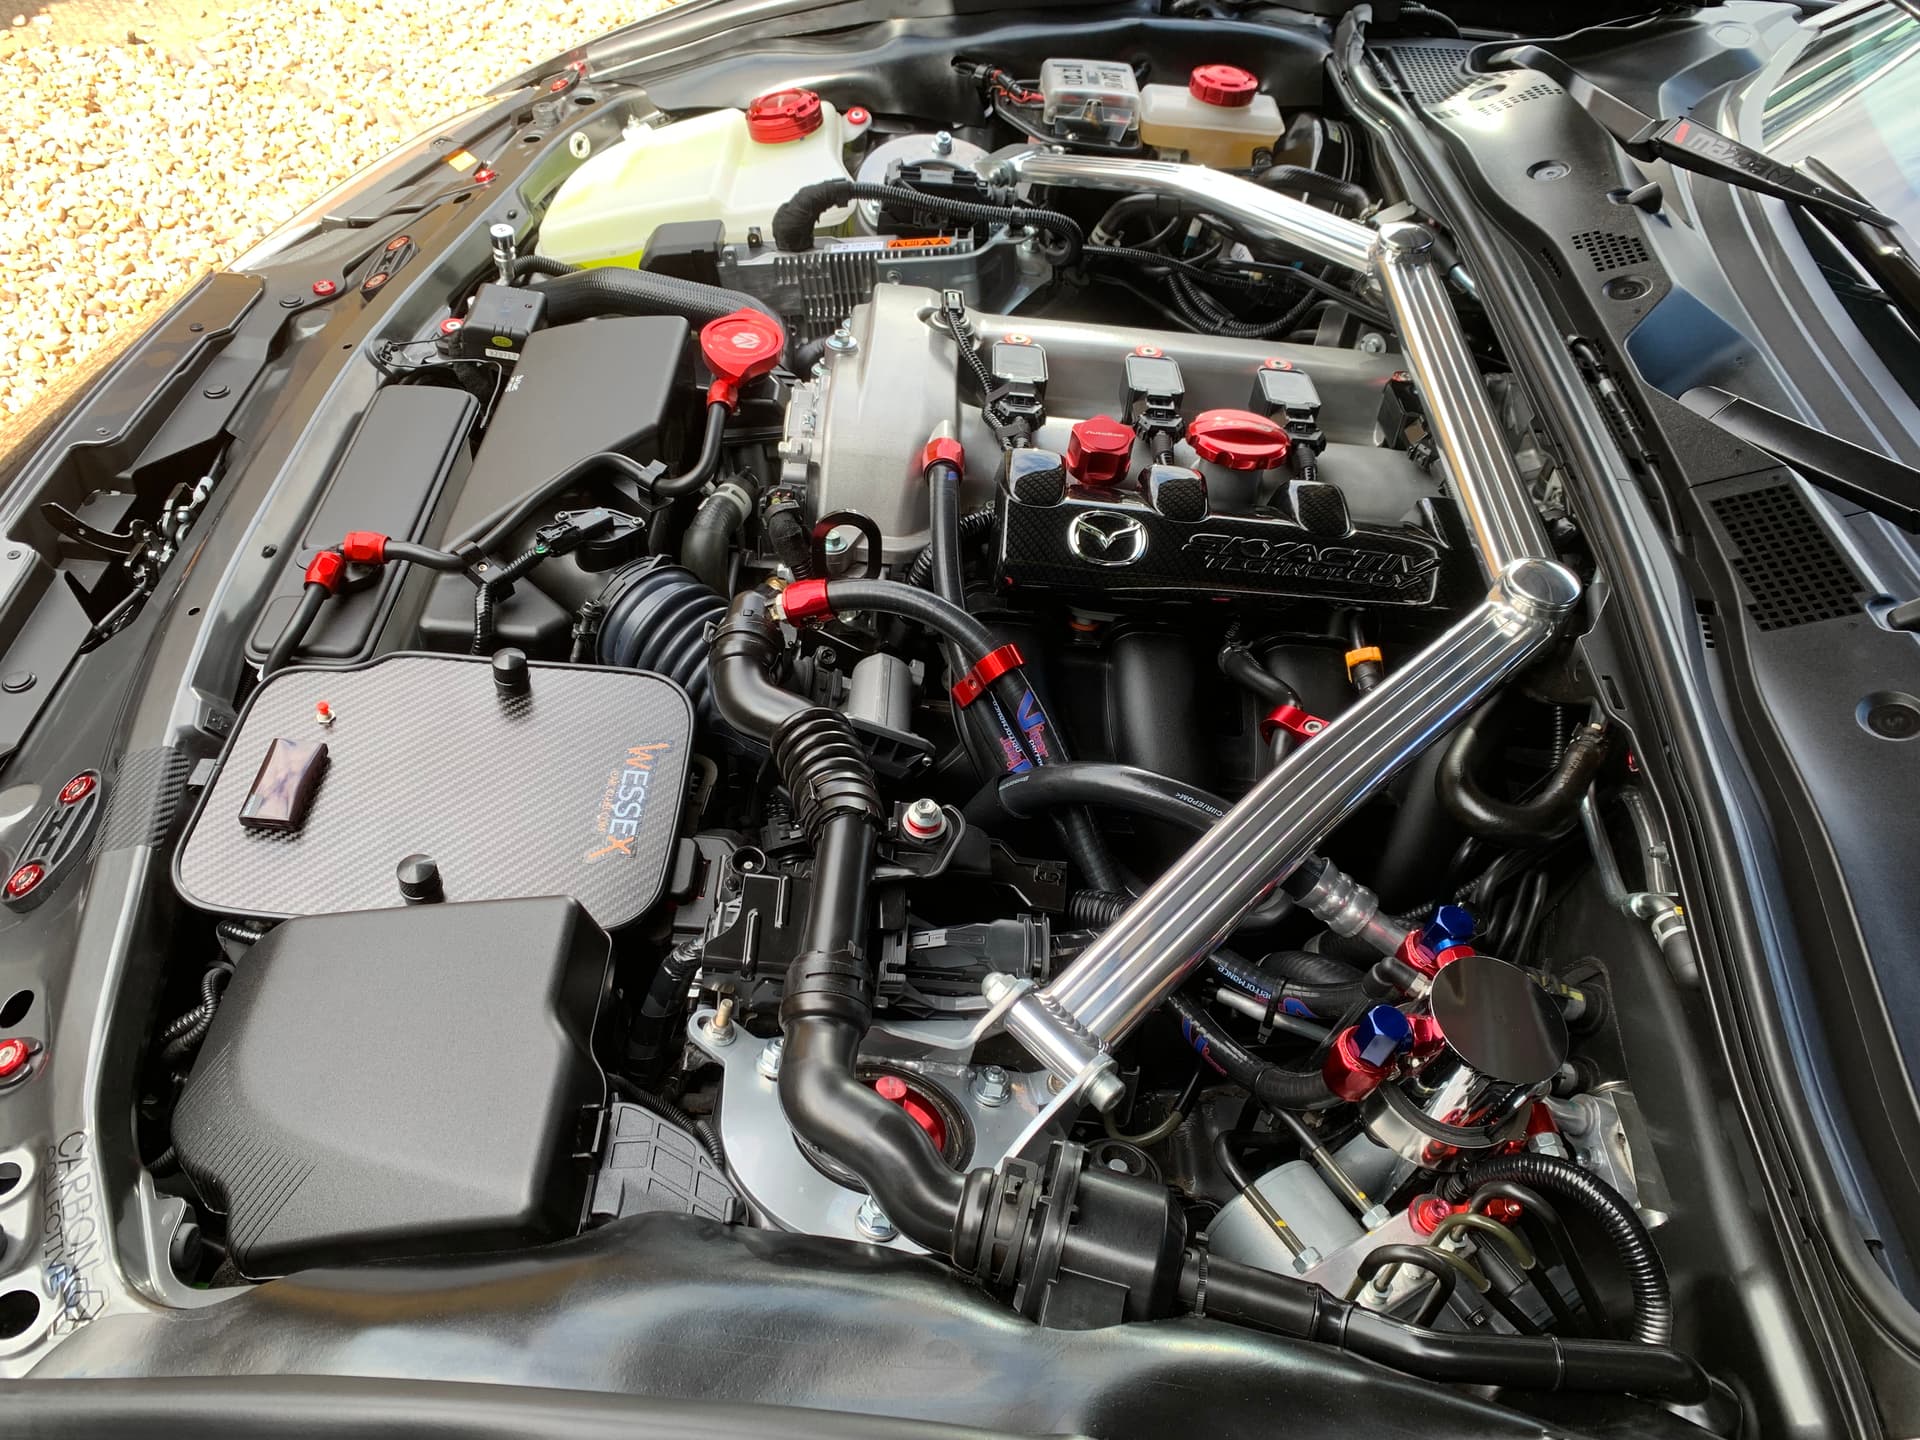
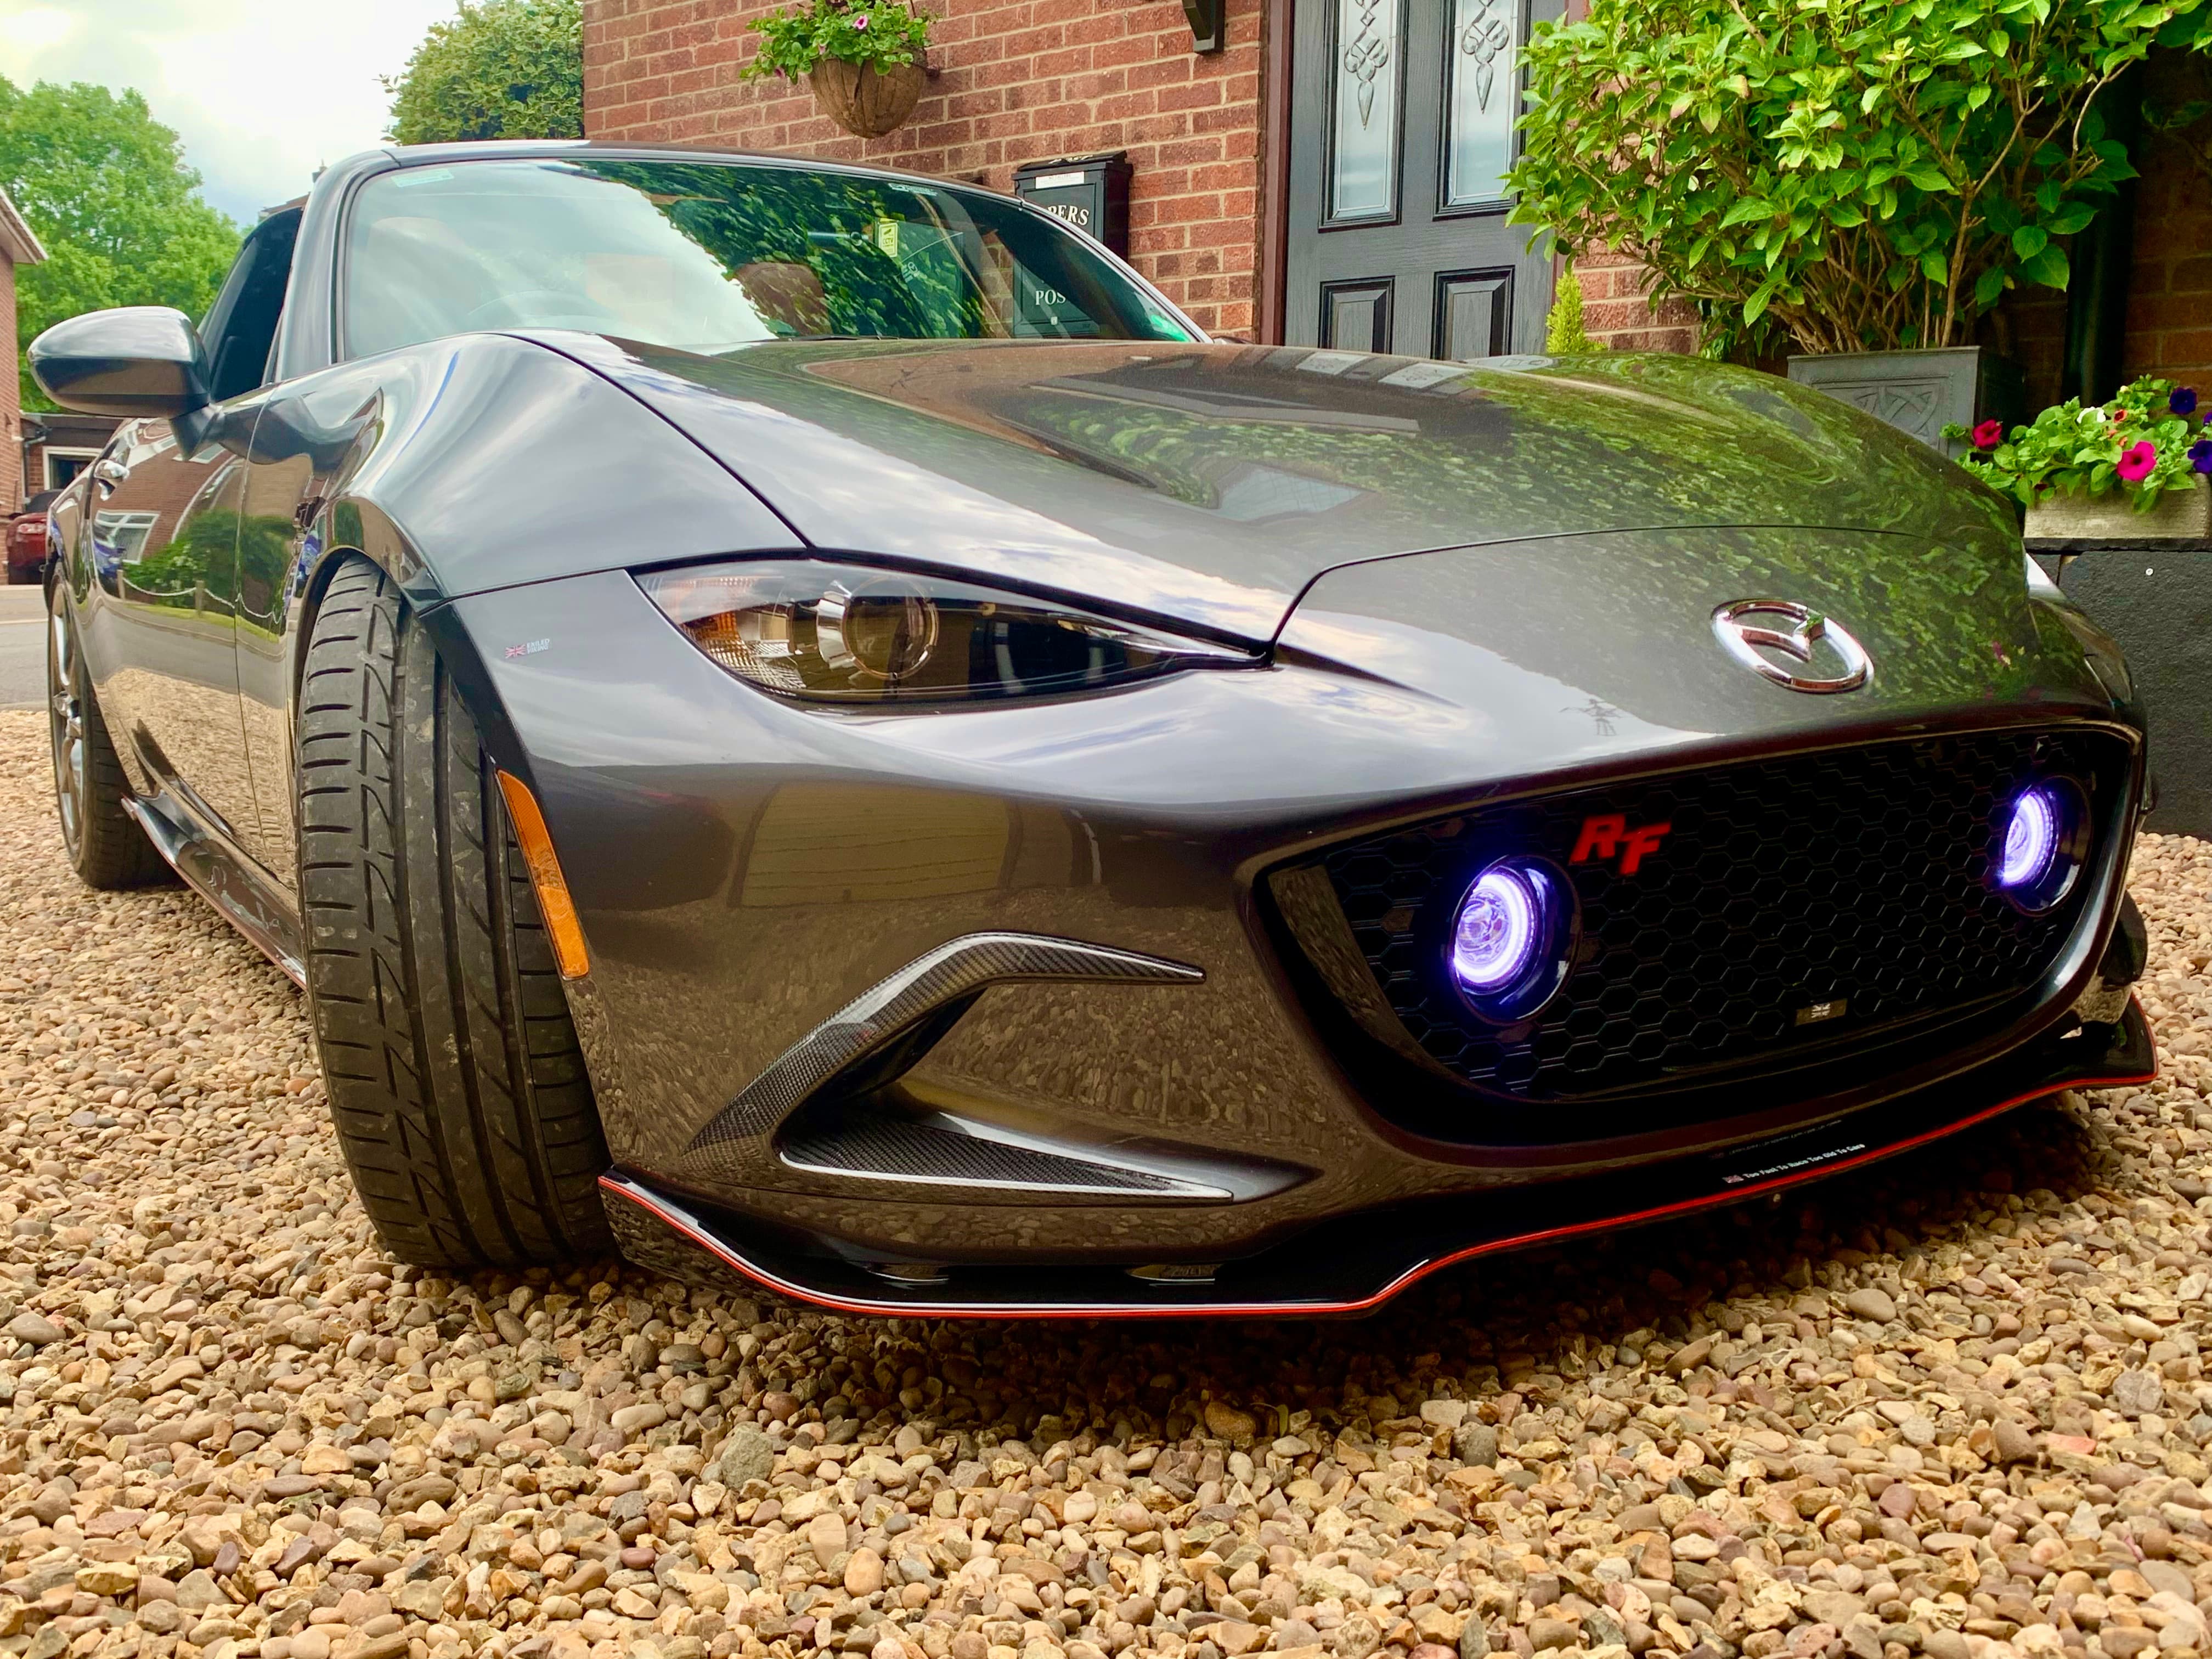
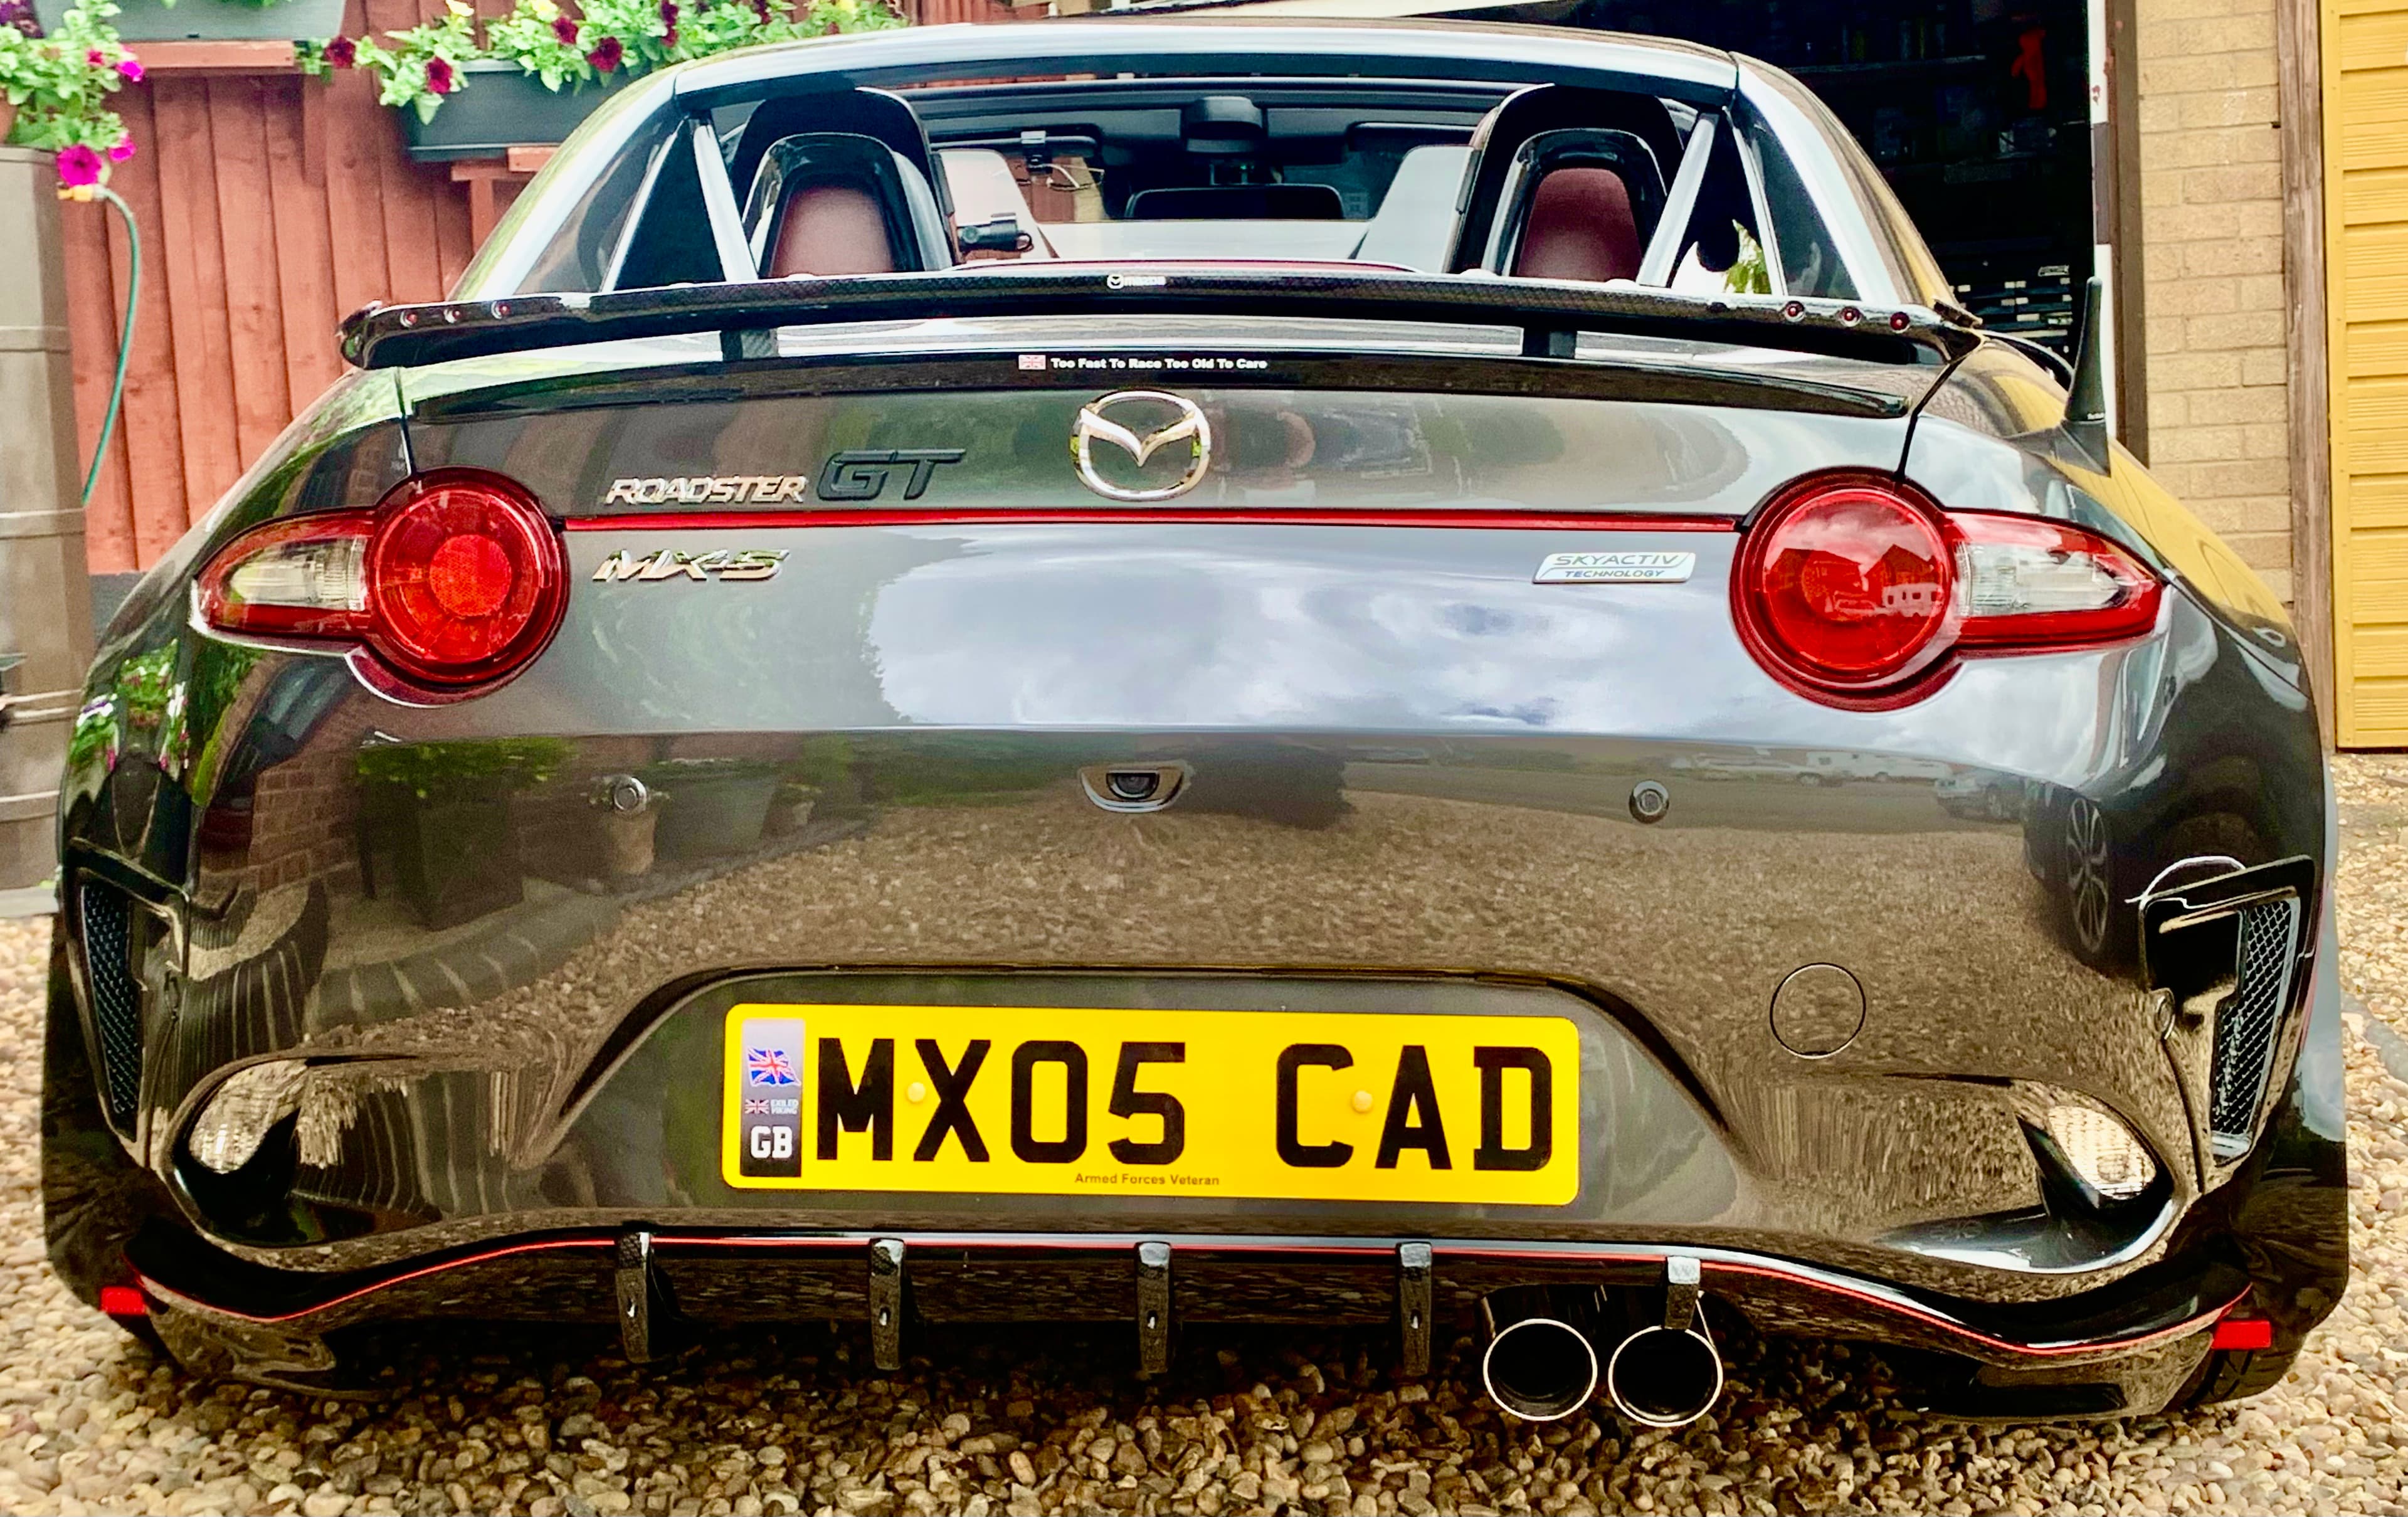
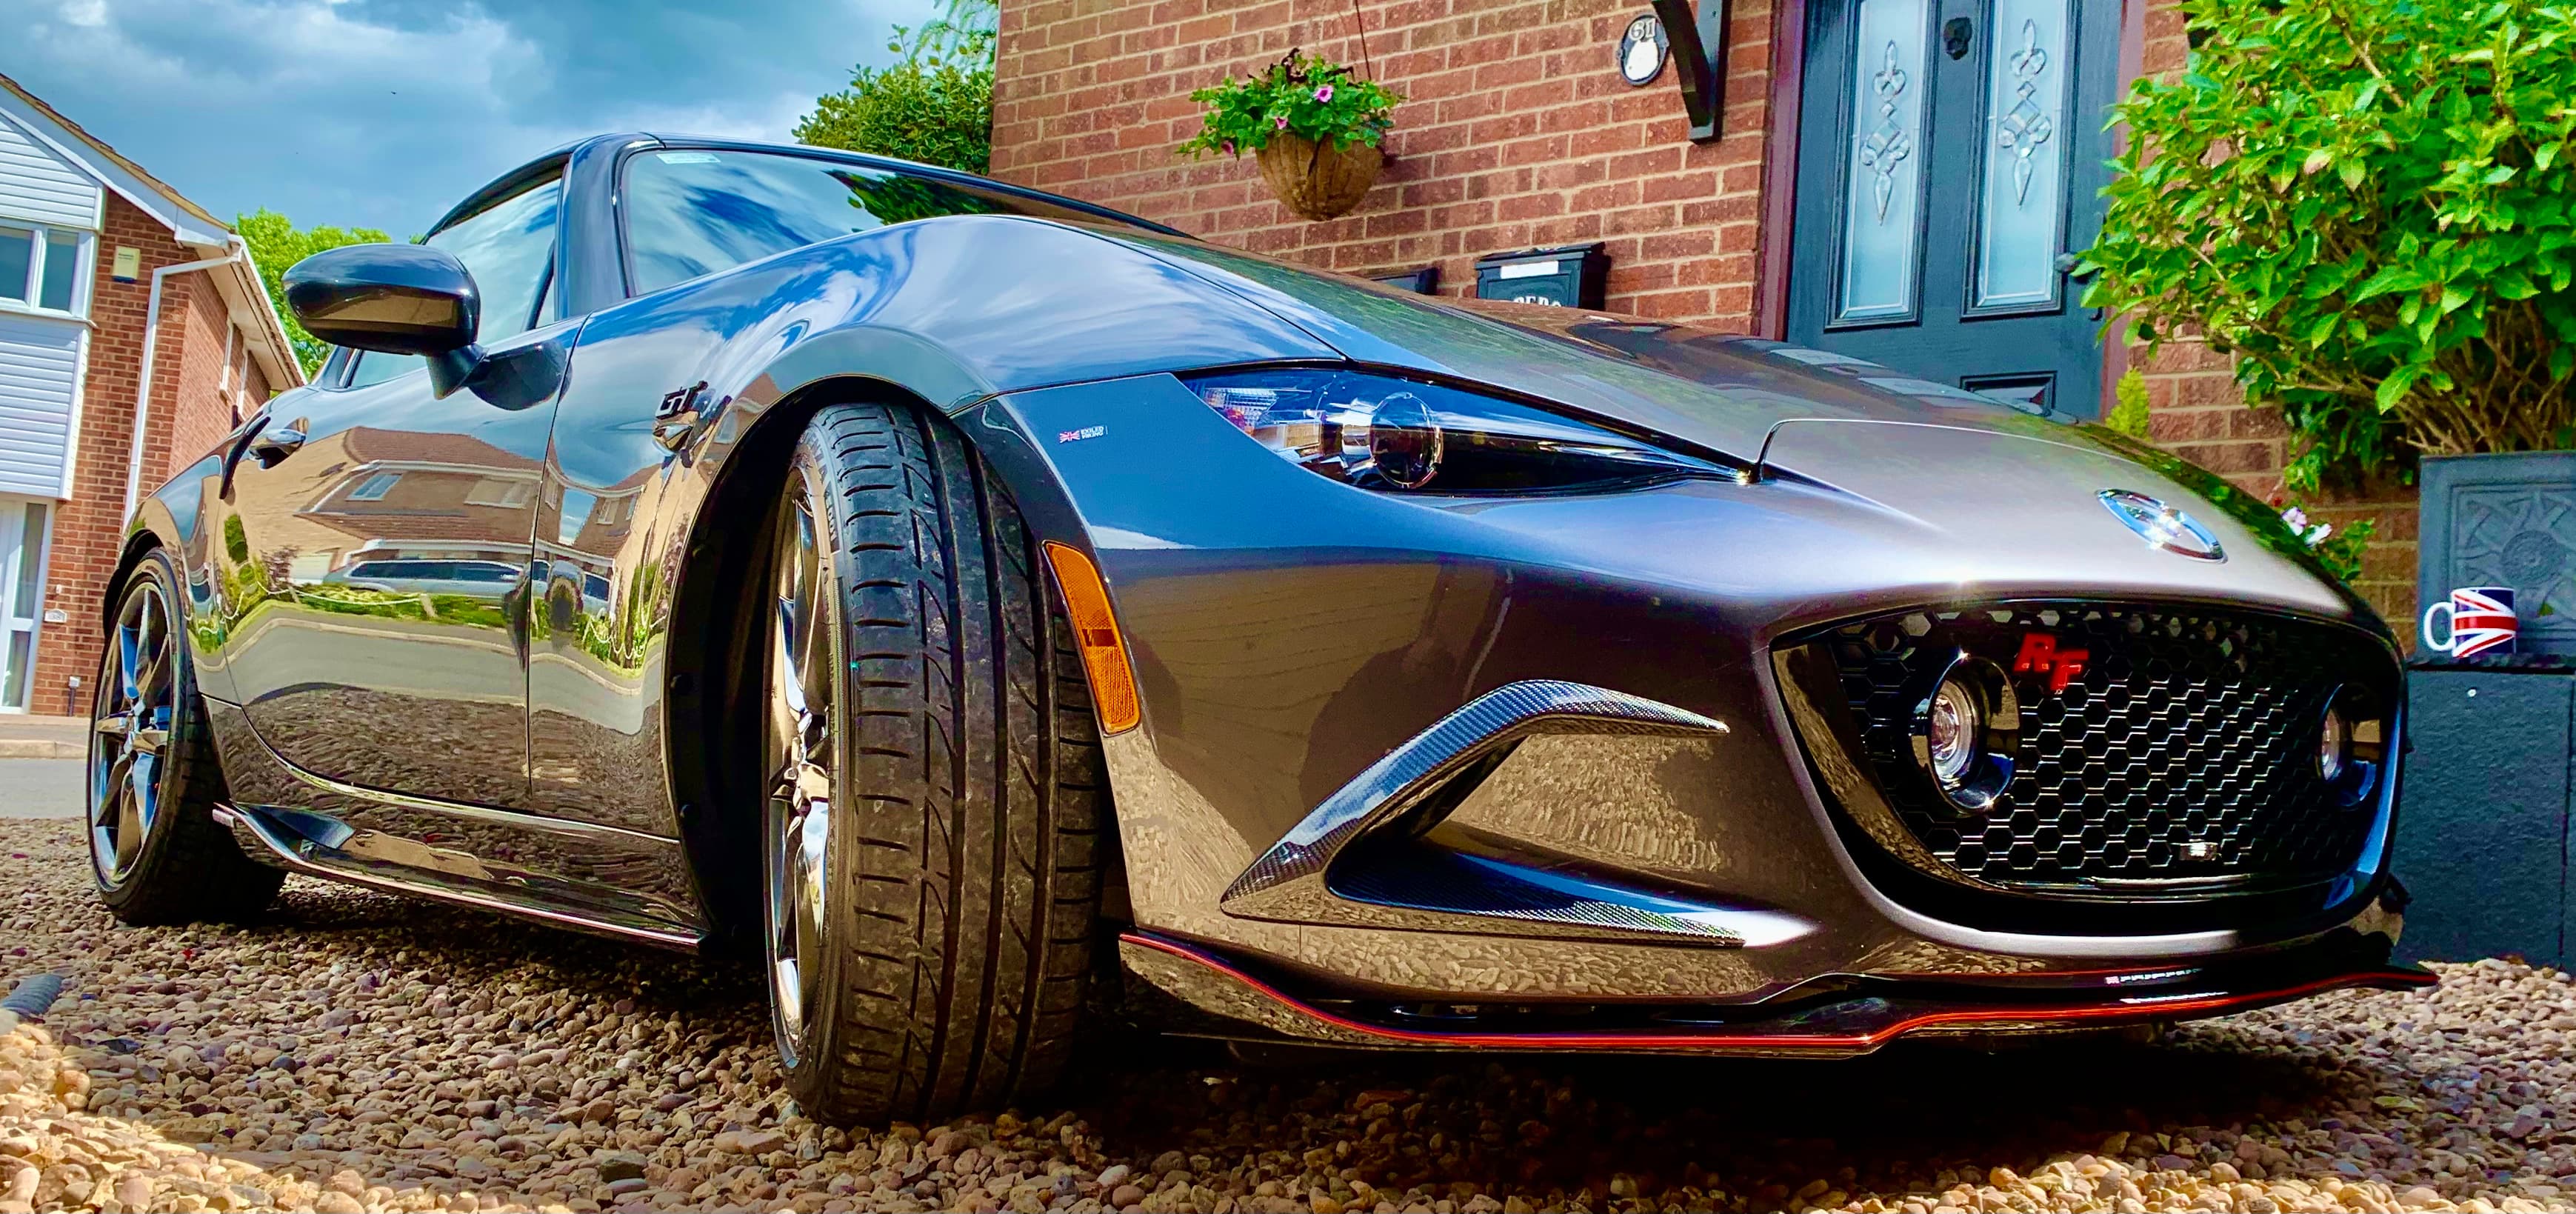
Well Did the last part of setting up My Coil overs Today and took it for a small run out, Now happy with the ground clearance & …Ready for the wheel alignment on Tuesday …
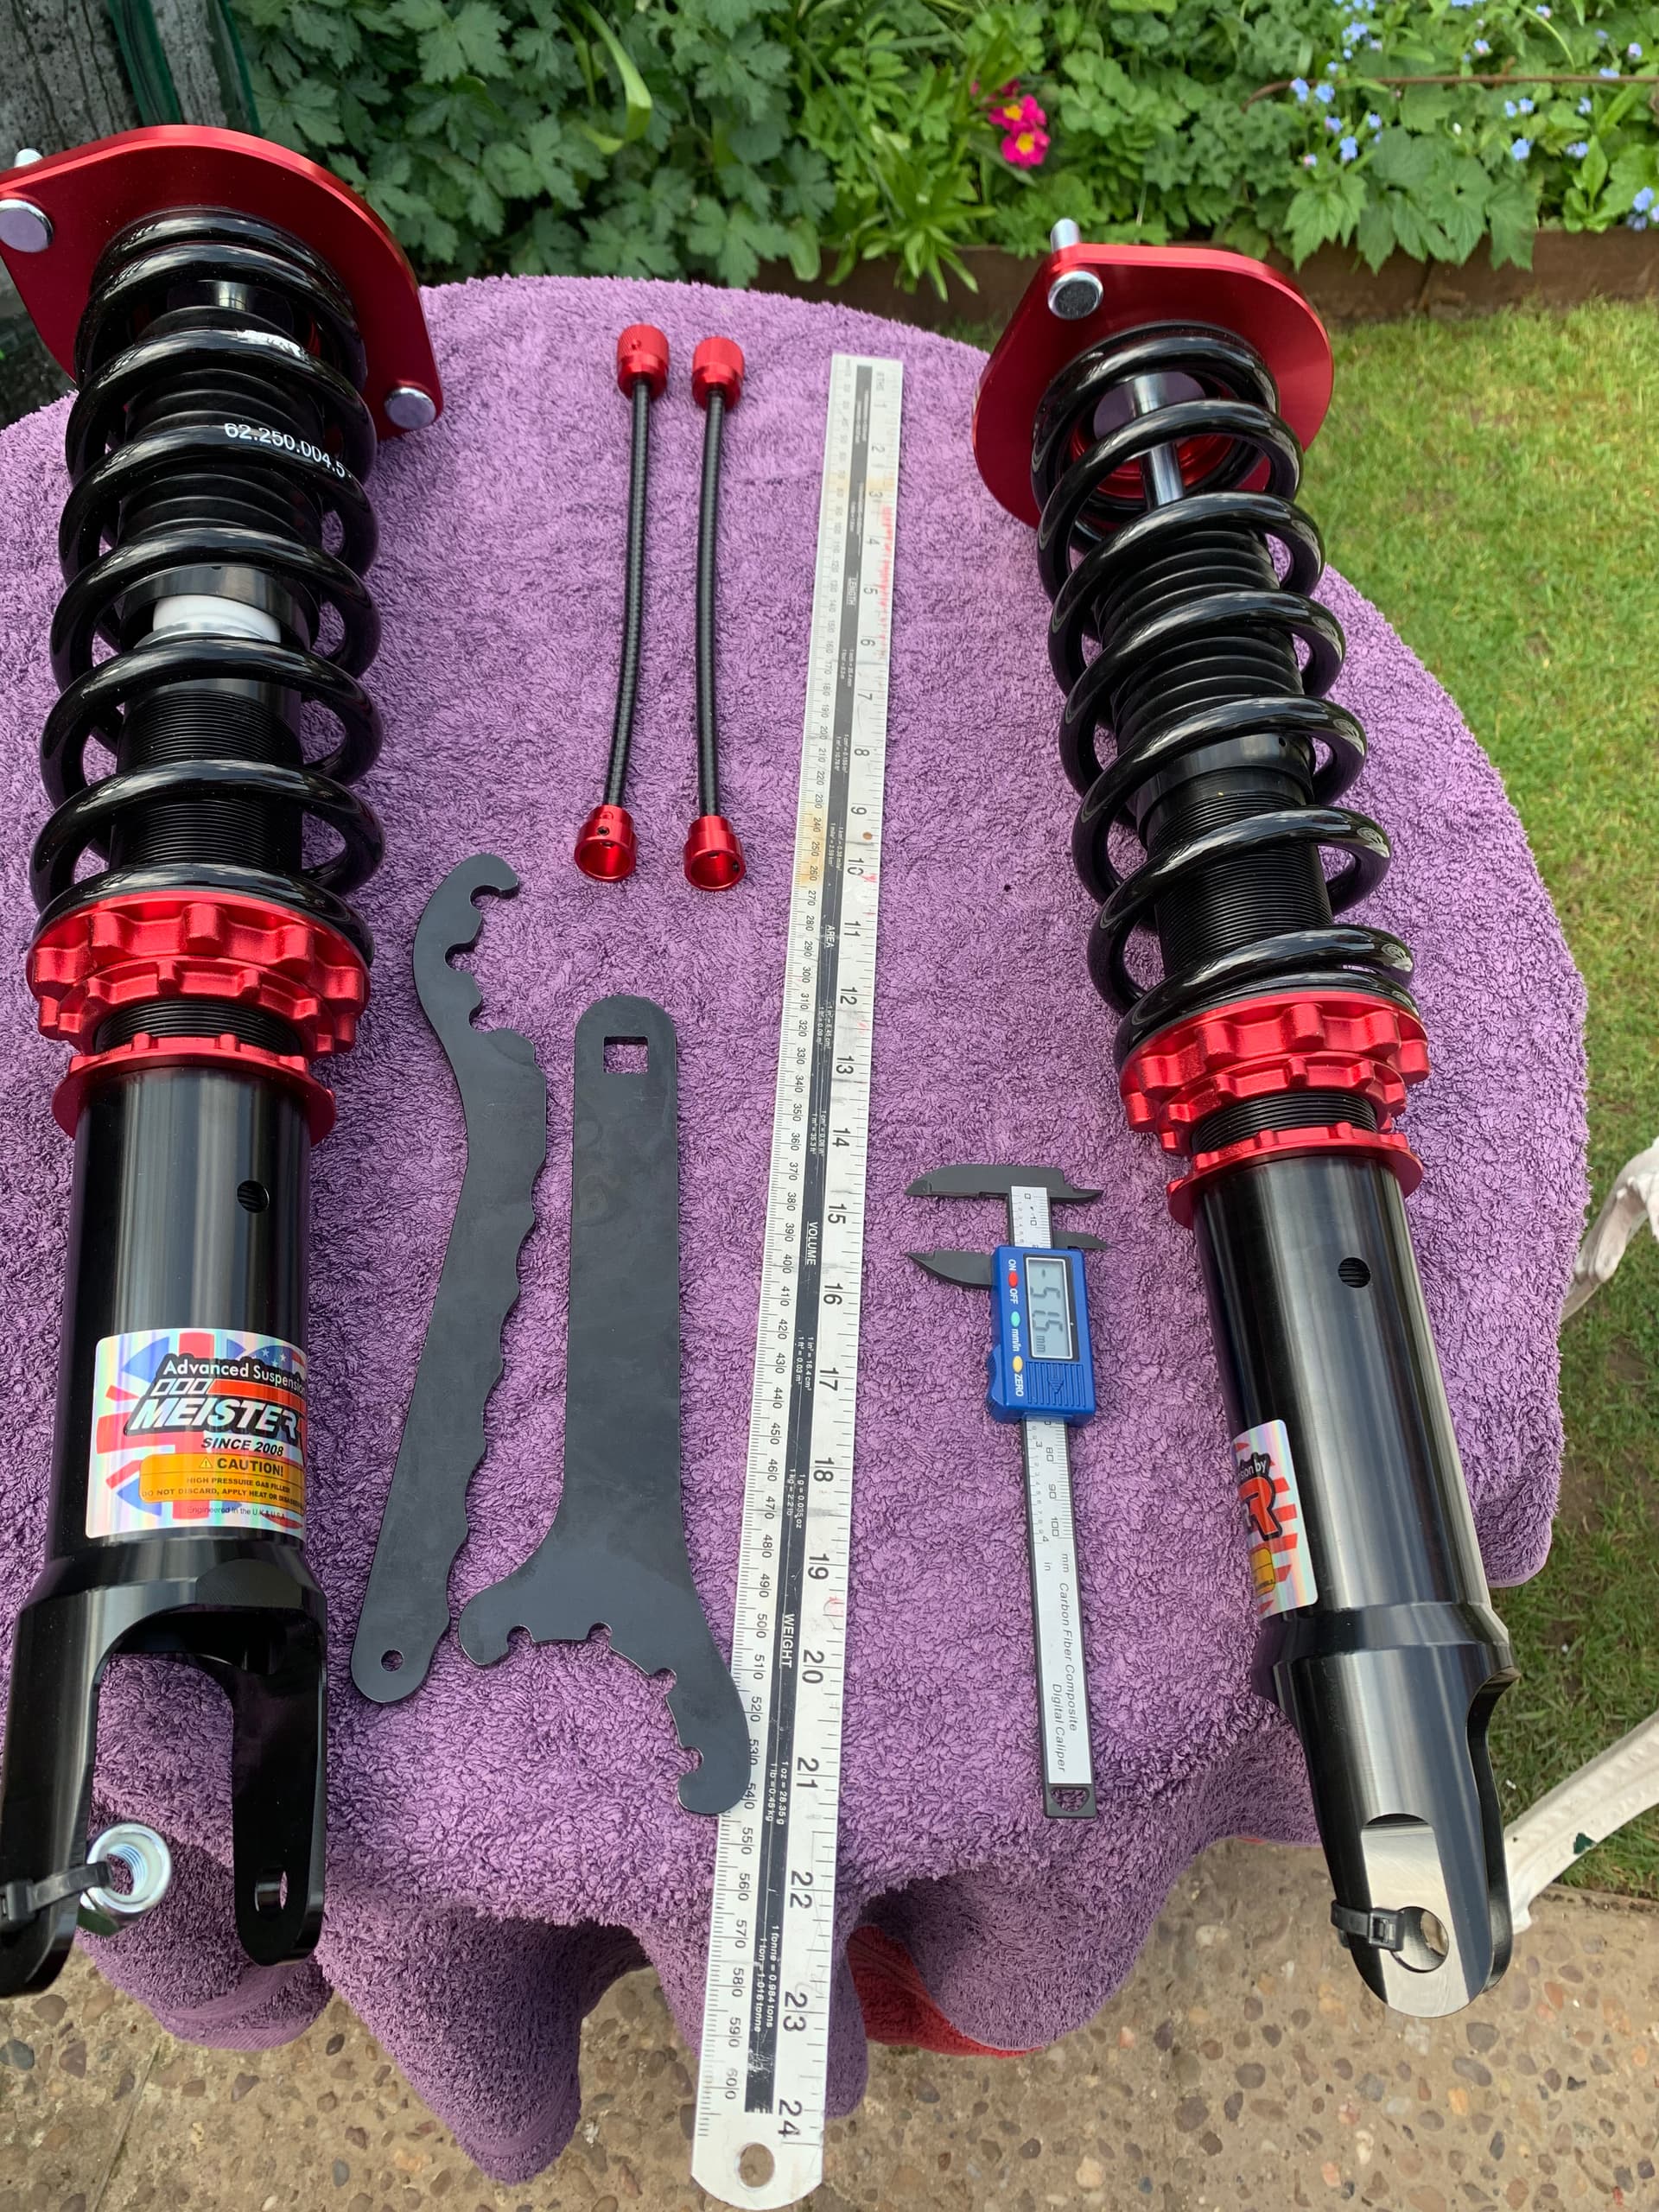
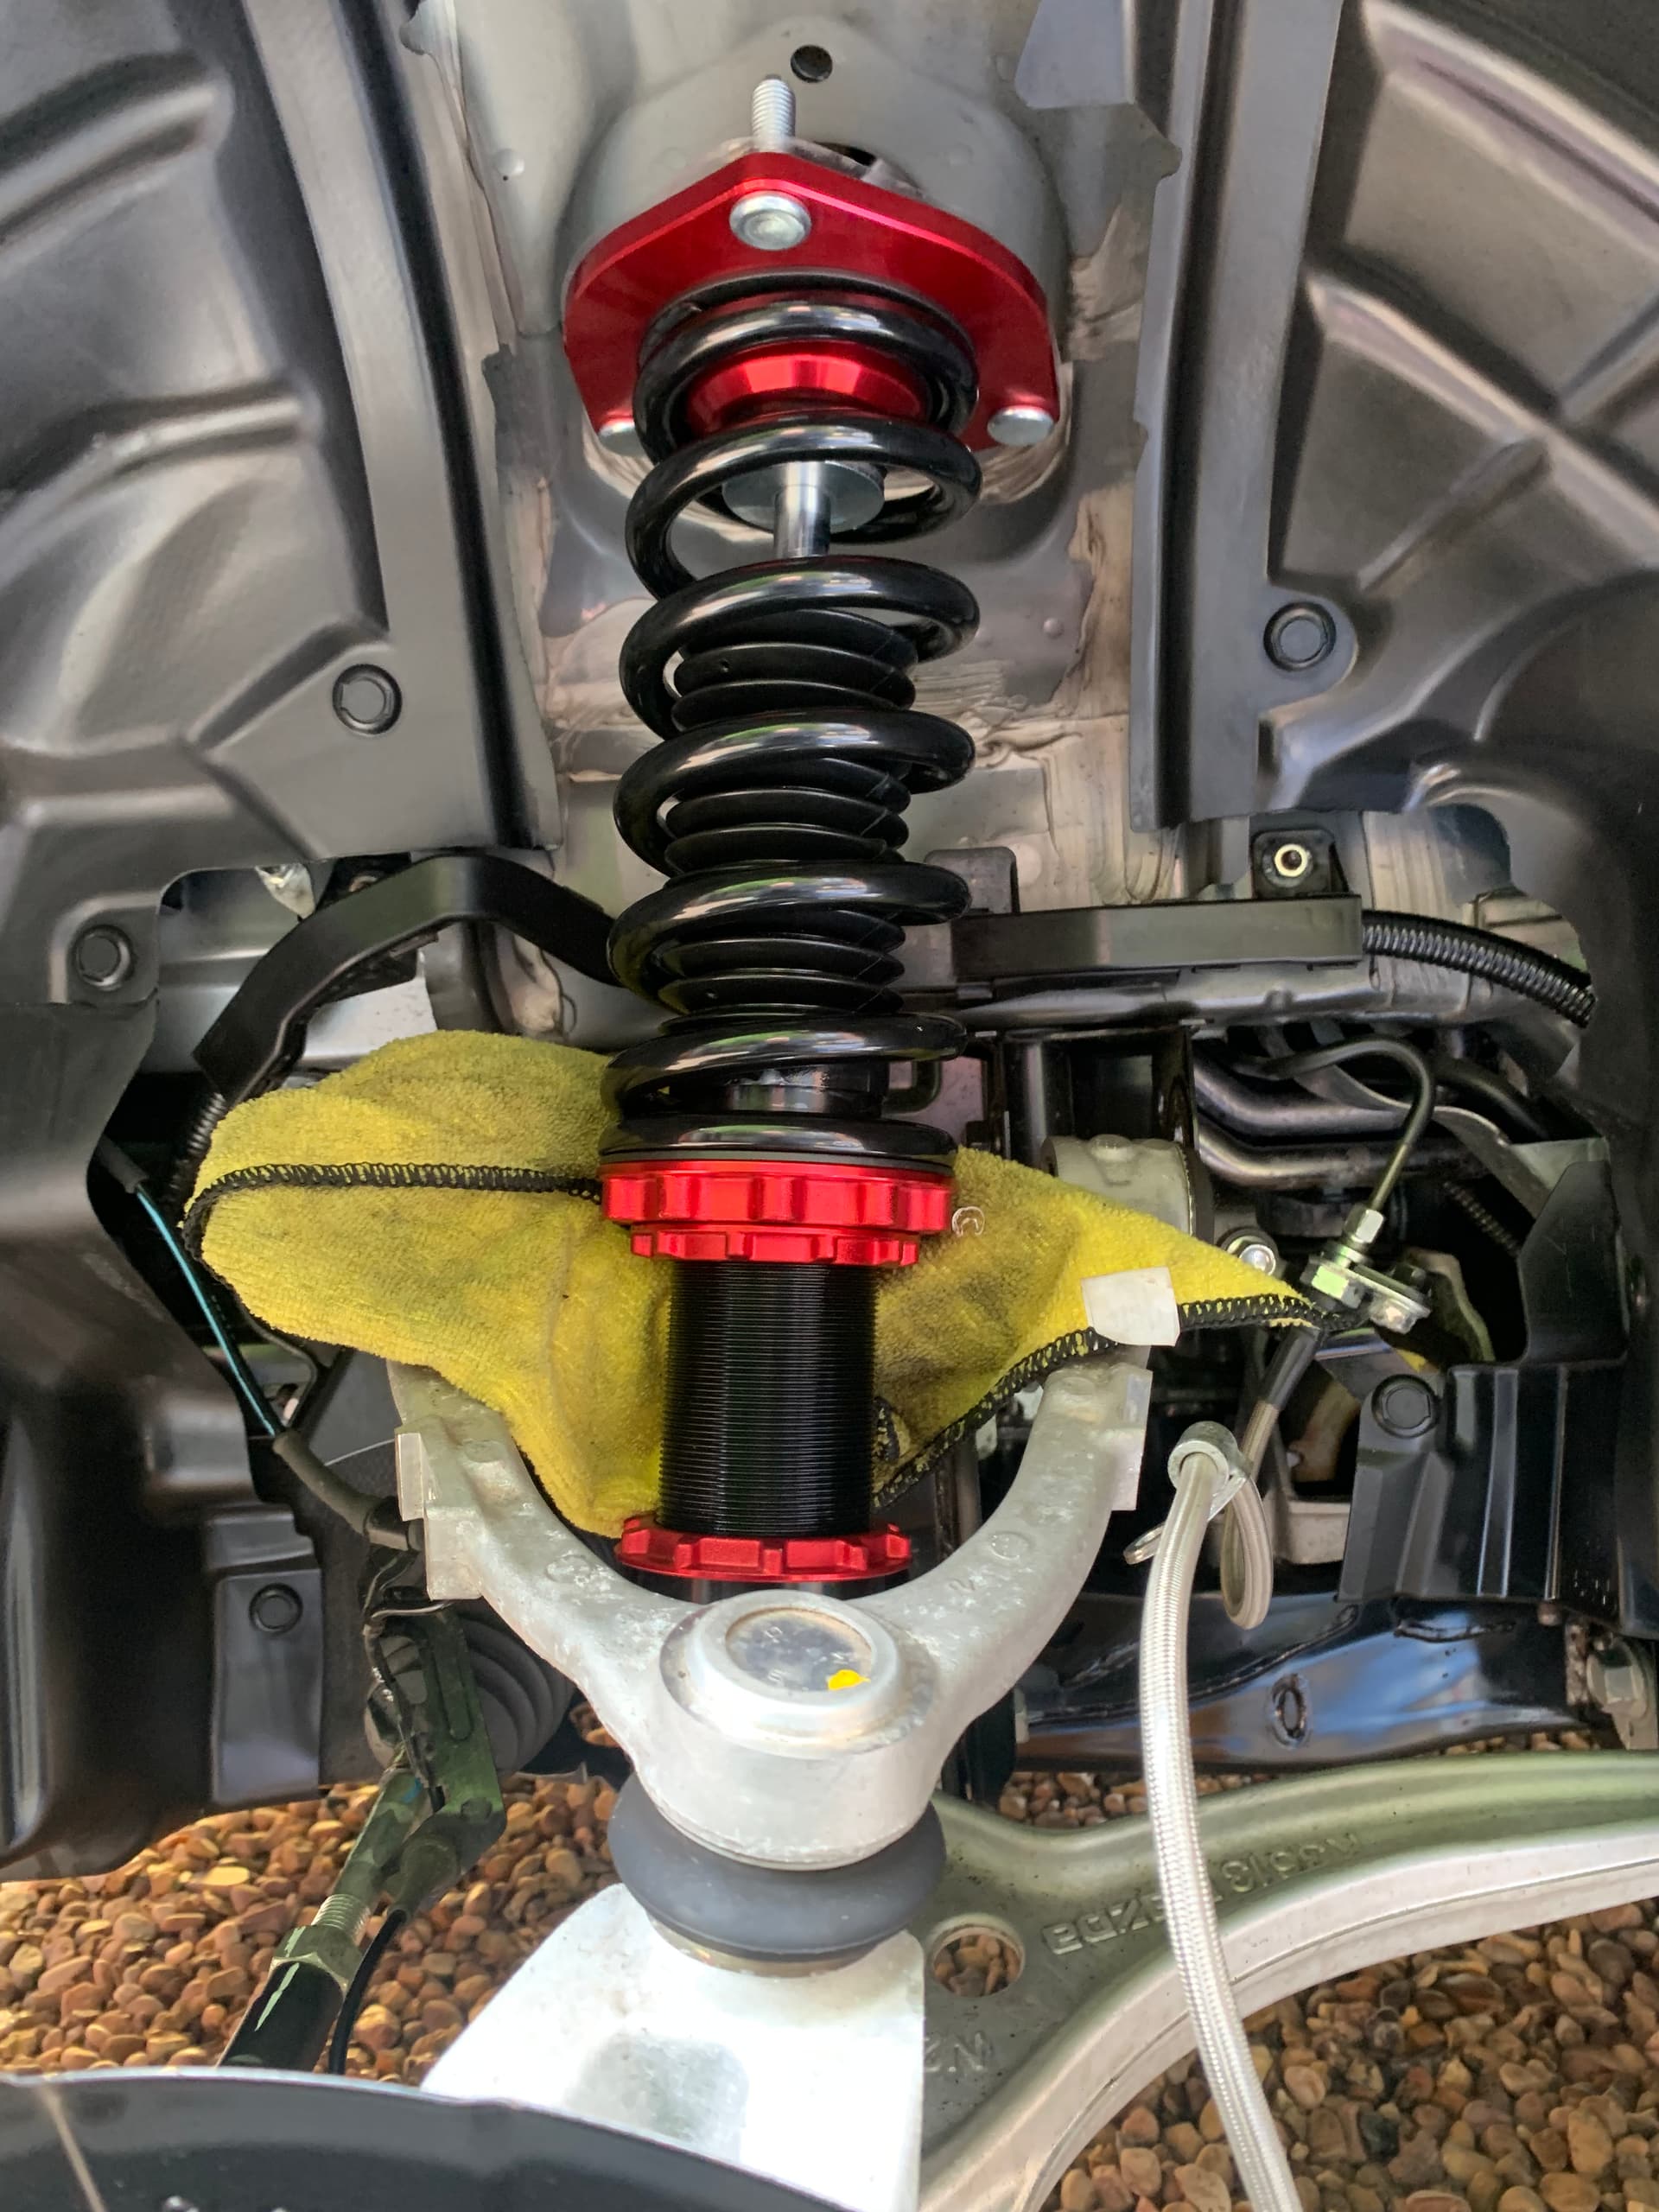
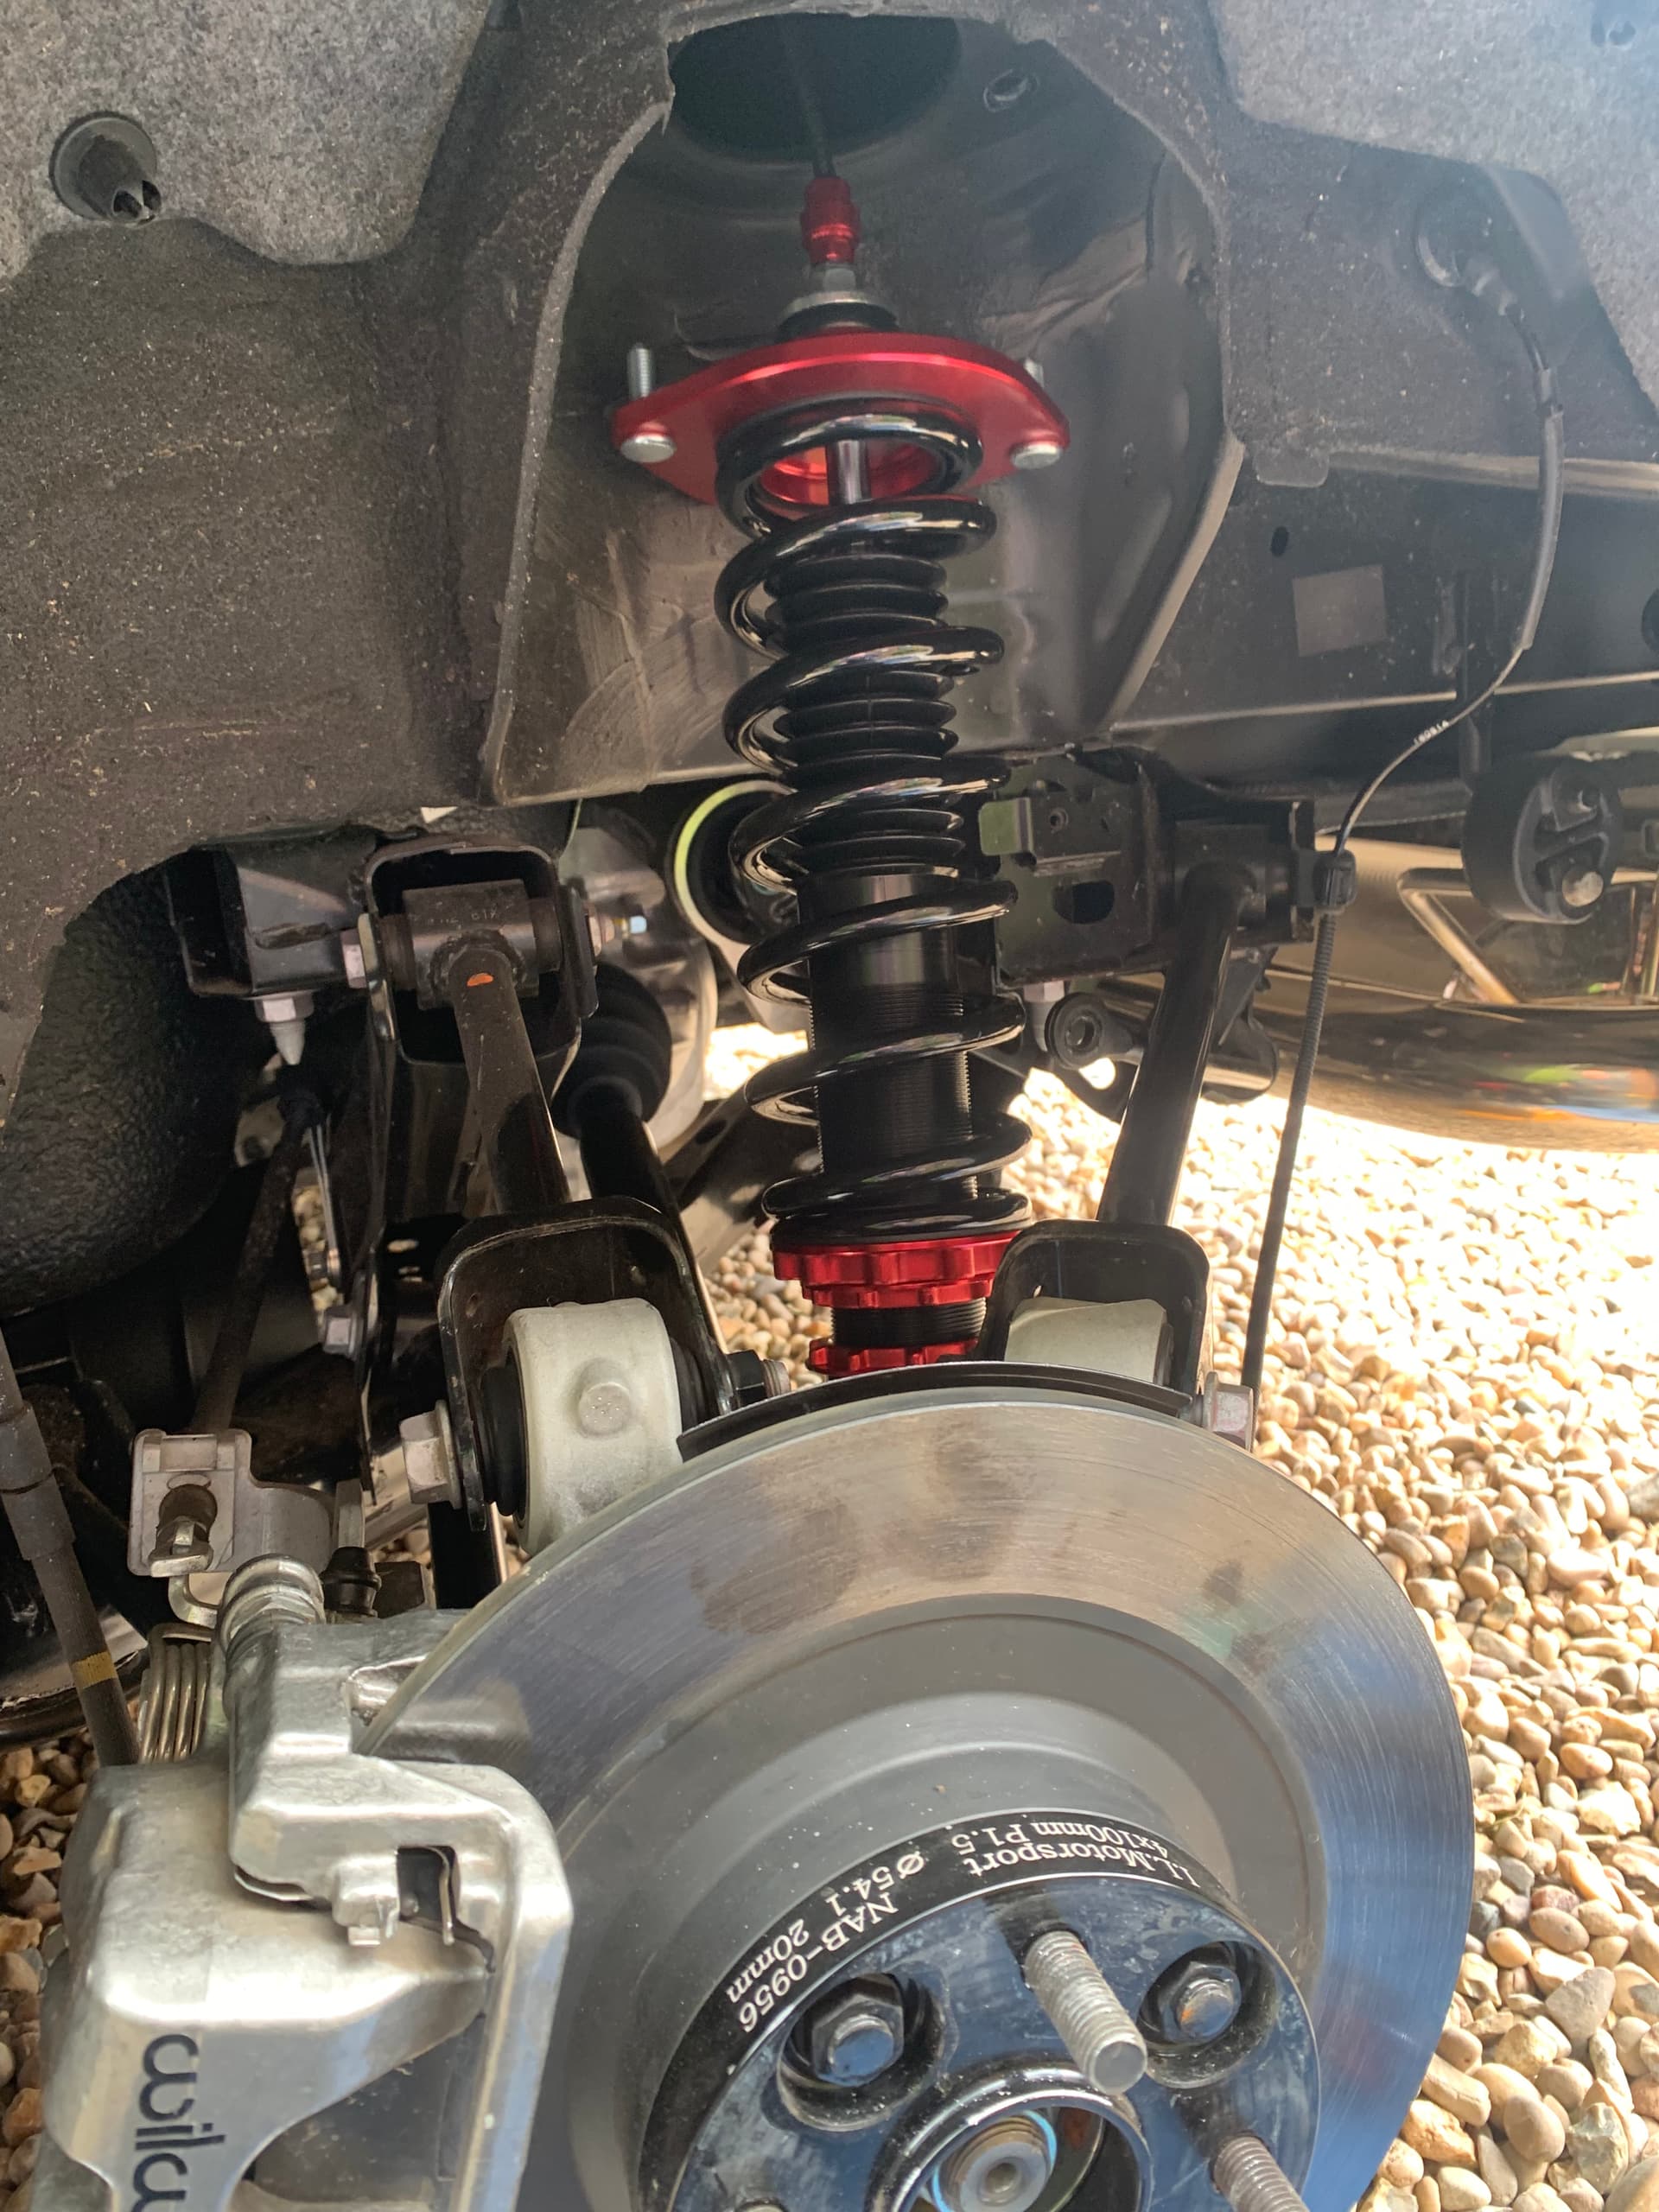
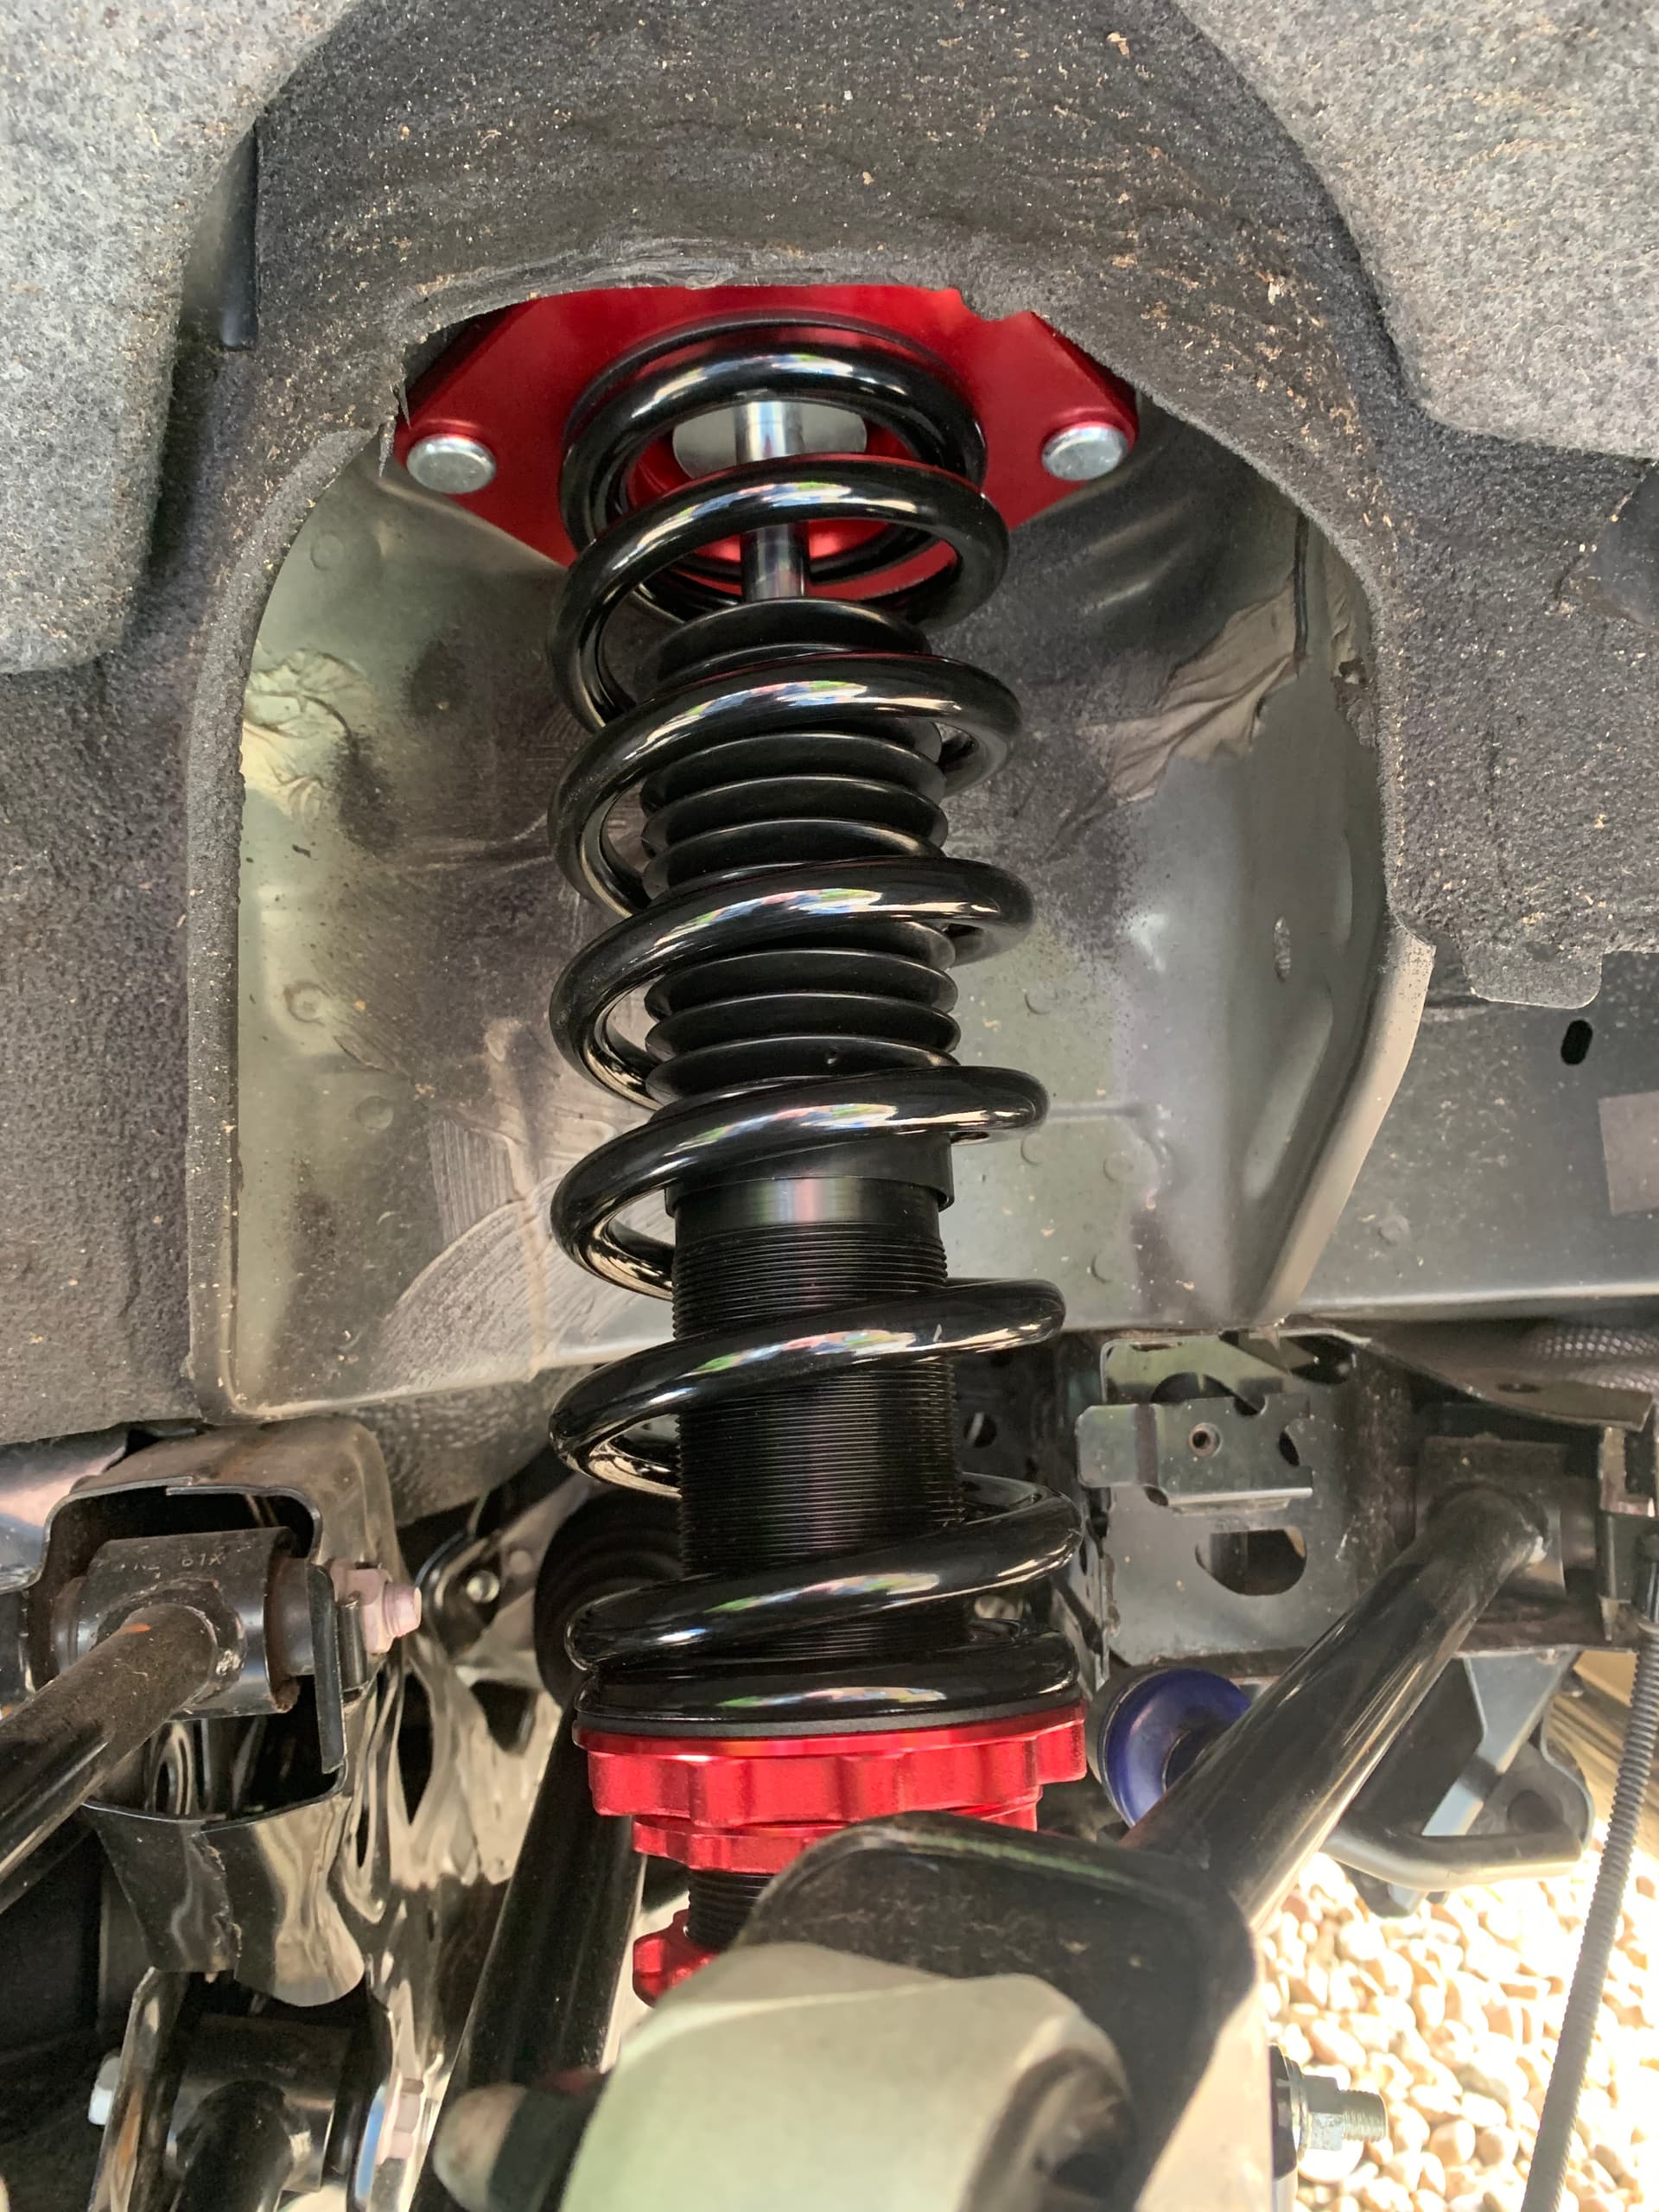
MeisterR coil over fitted
I also found these three videos very Helpful with the set up …

 Mazda Miata COILOVER Install (REAR) // MeisterR Zeta CRD Coilover Install")
 Mazda Miata COILOVER Install (FRONT) // MeisterR Zeta CRD Coilover Install")
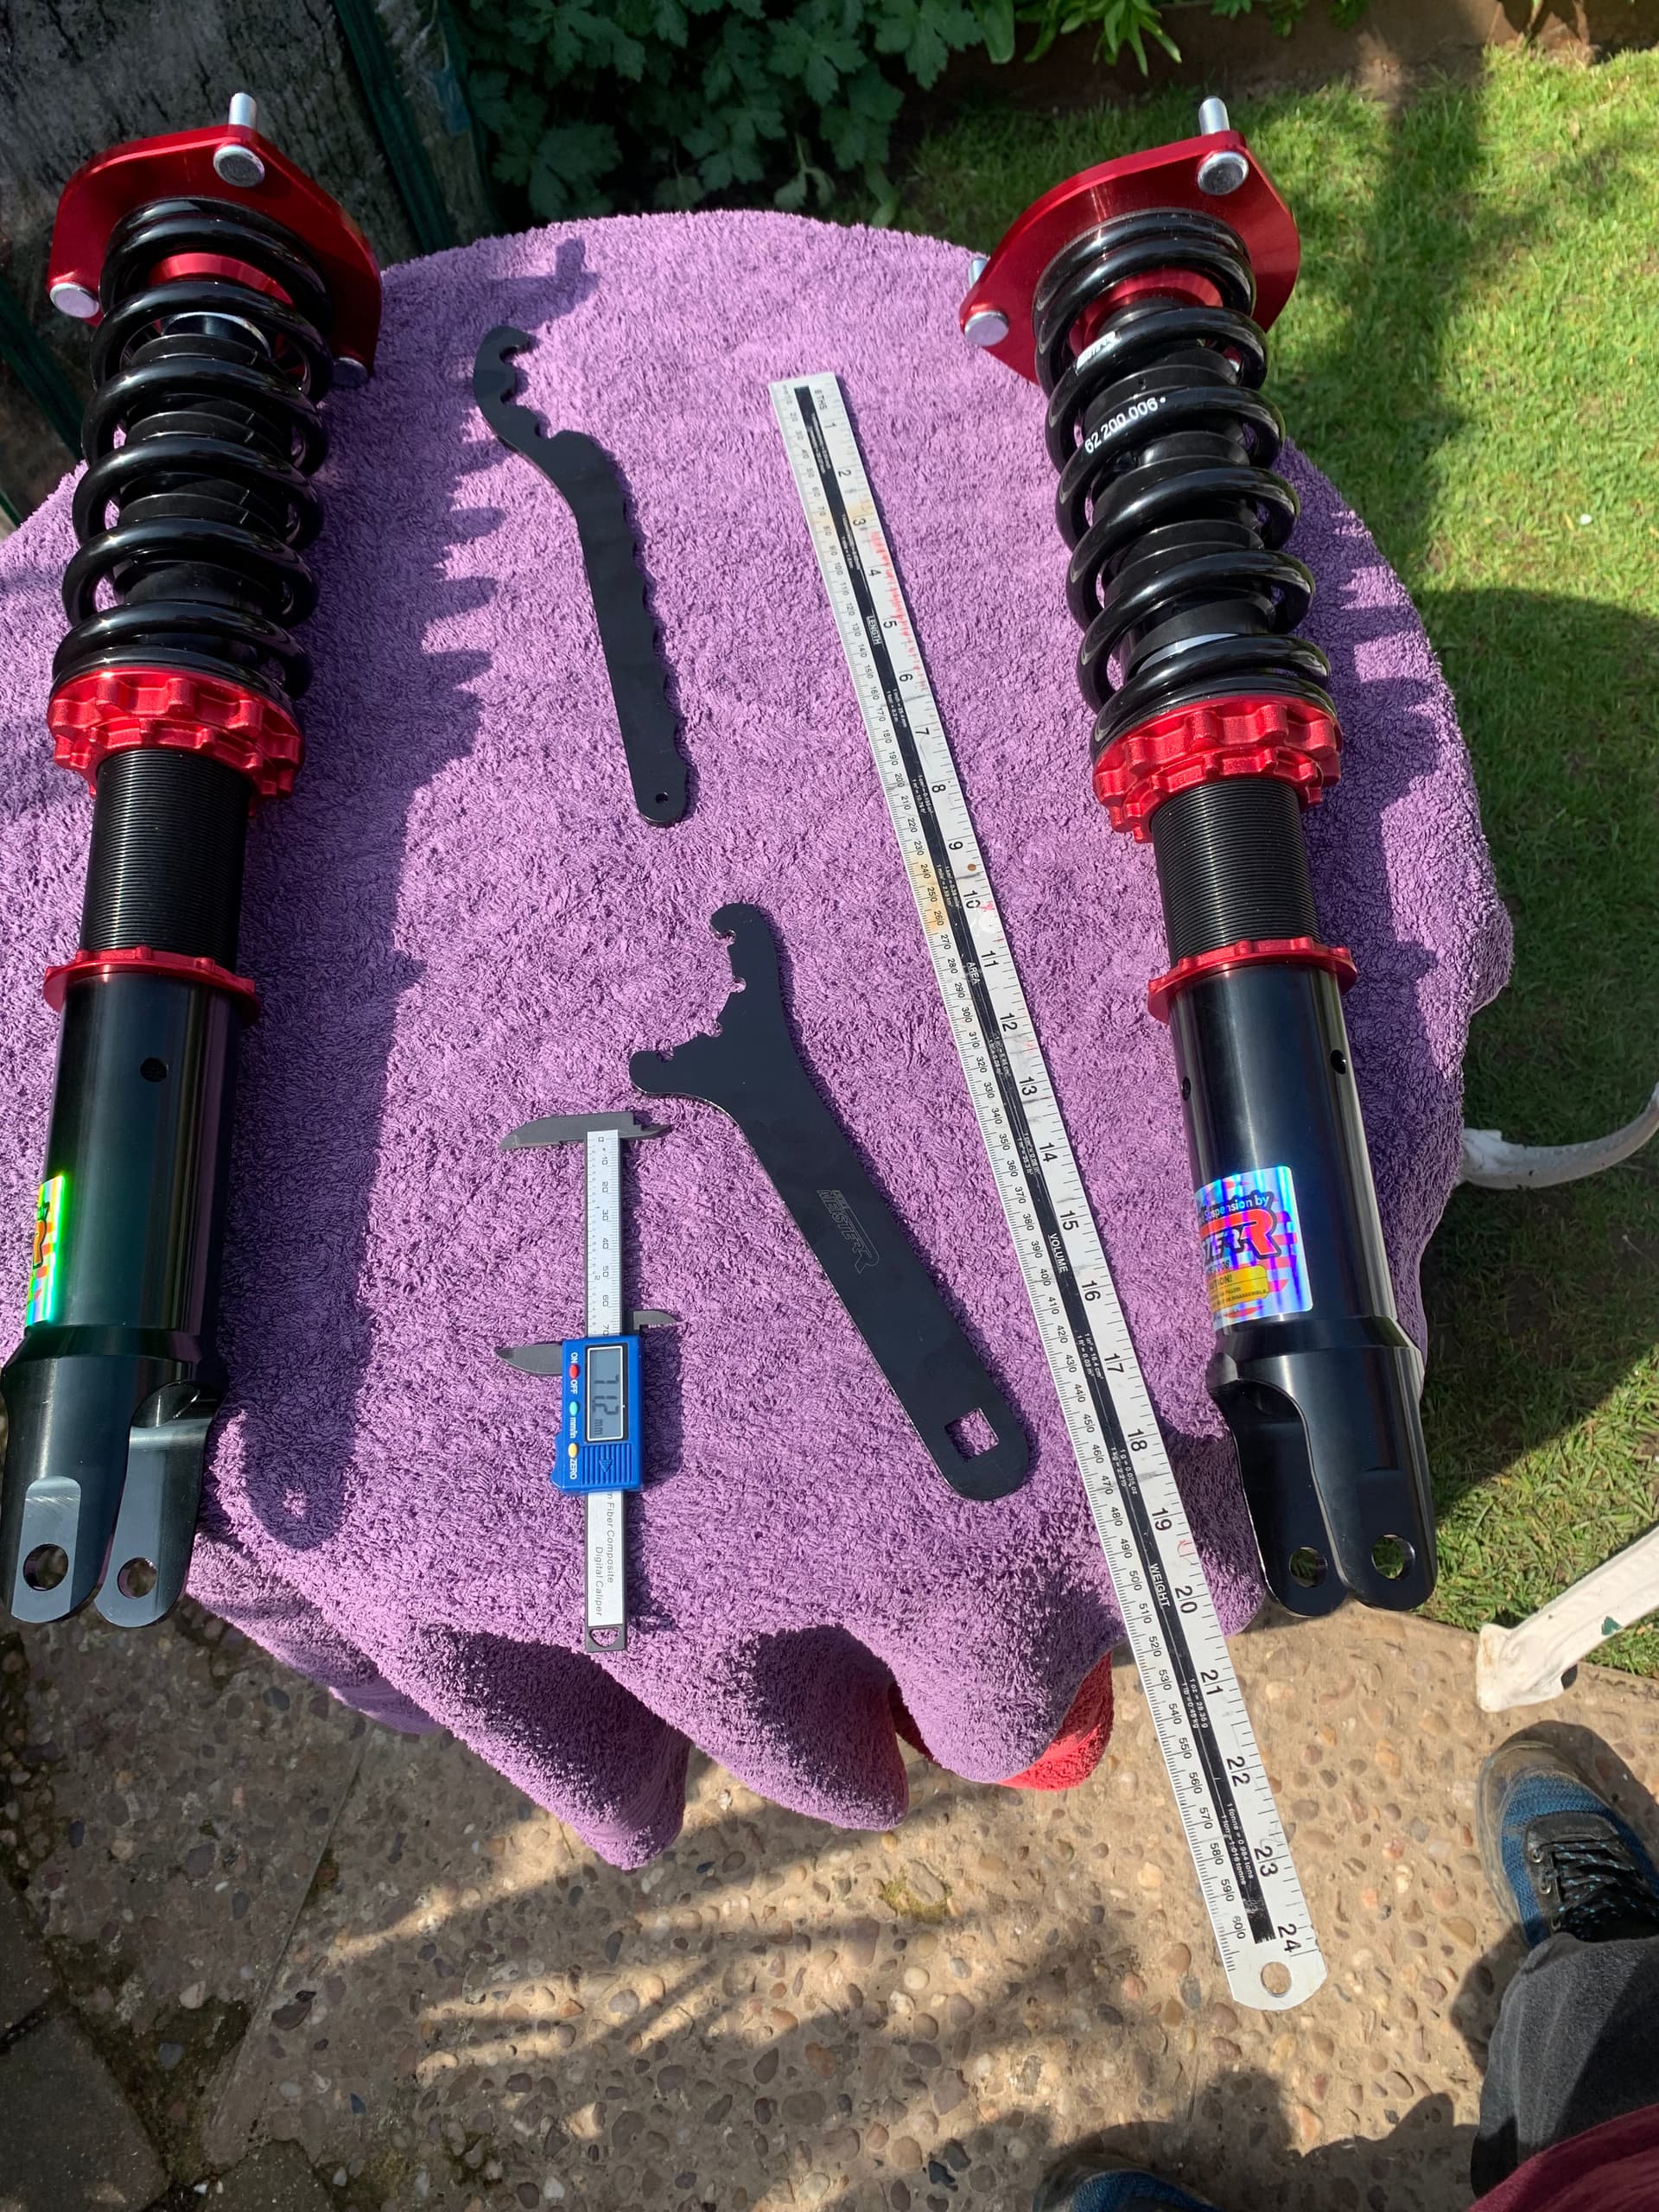
Out with the Old…??? ( they still look Brand new so will get around to selling them at some stage)
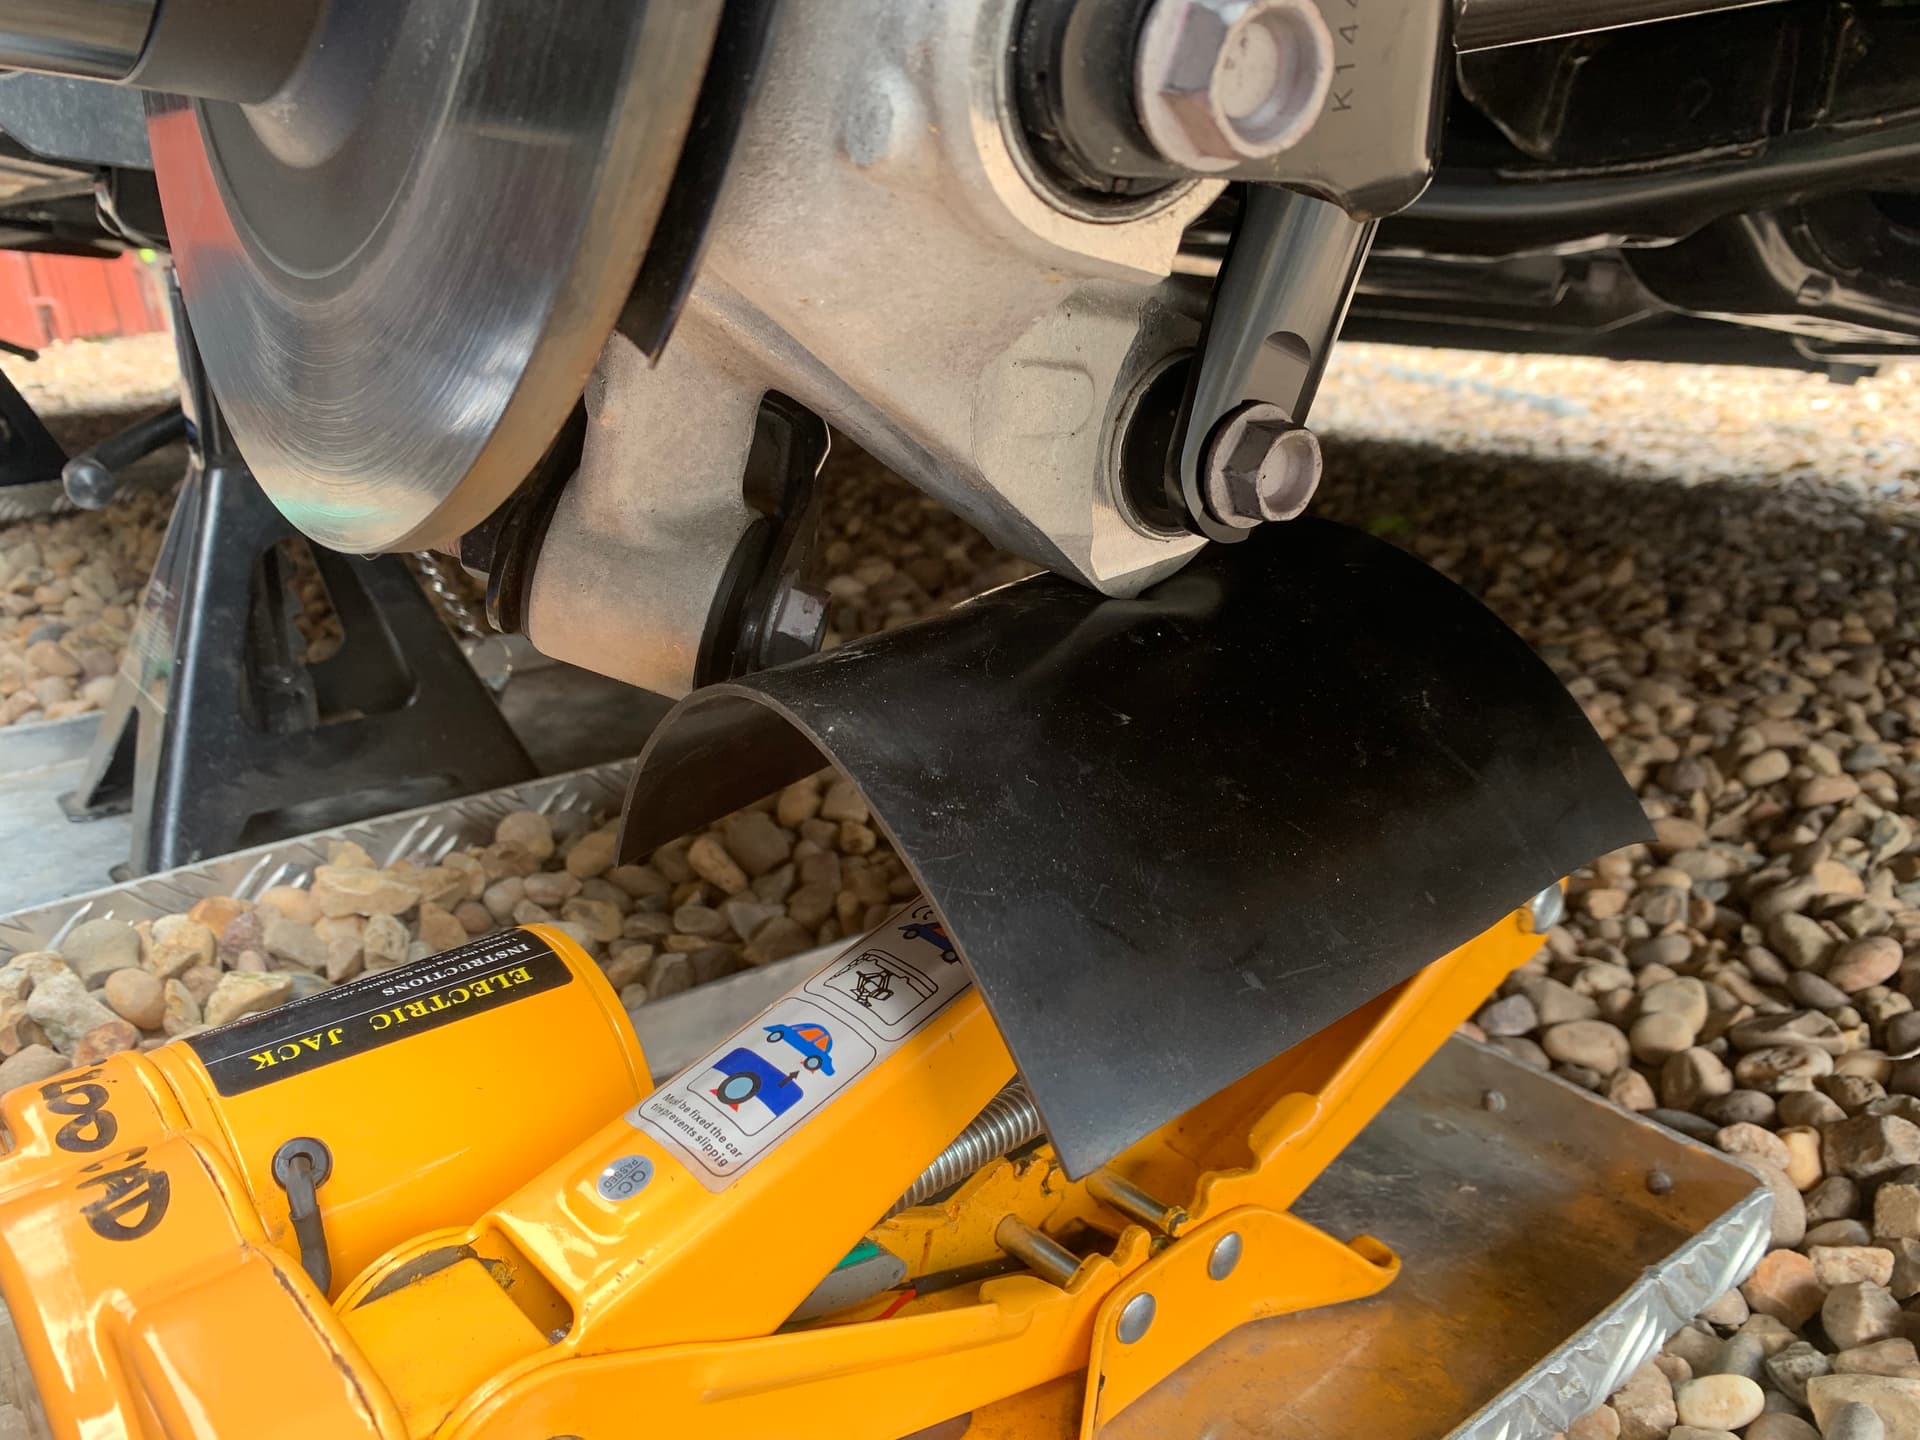
some Pre set up has been done to make things easier my driveway is gravel so I need to set things up as this is not an I deal work platform to work on …
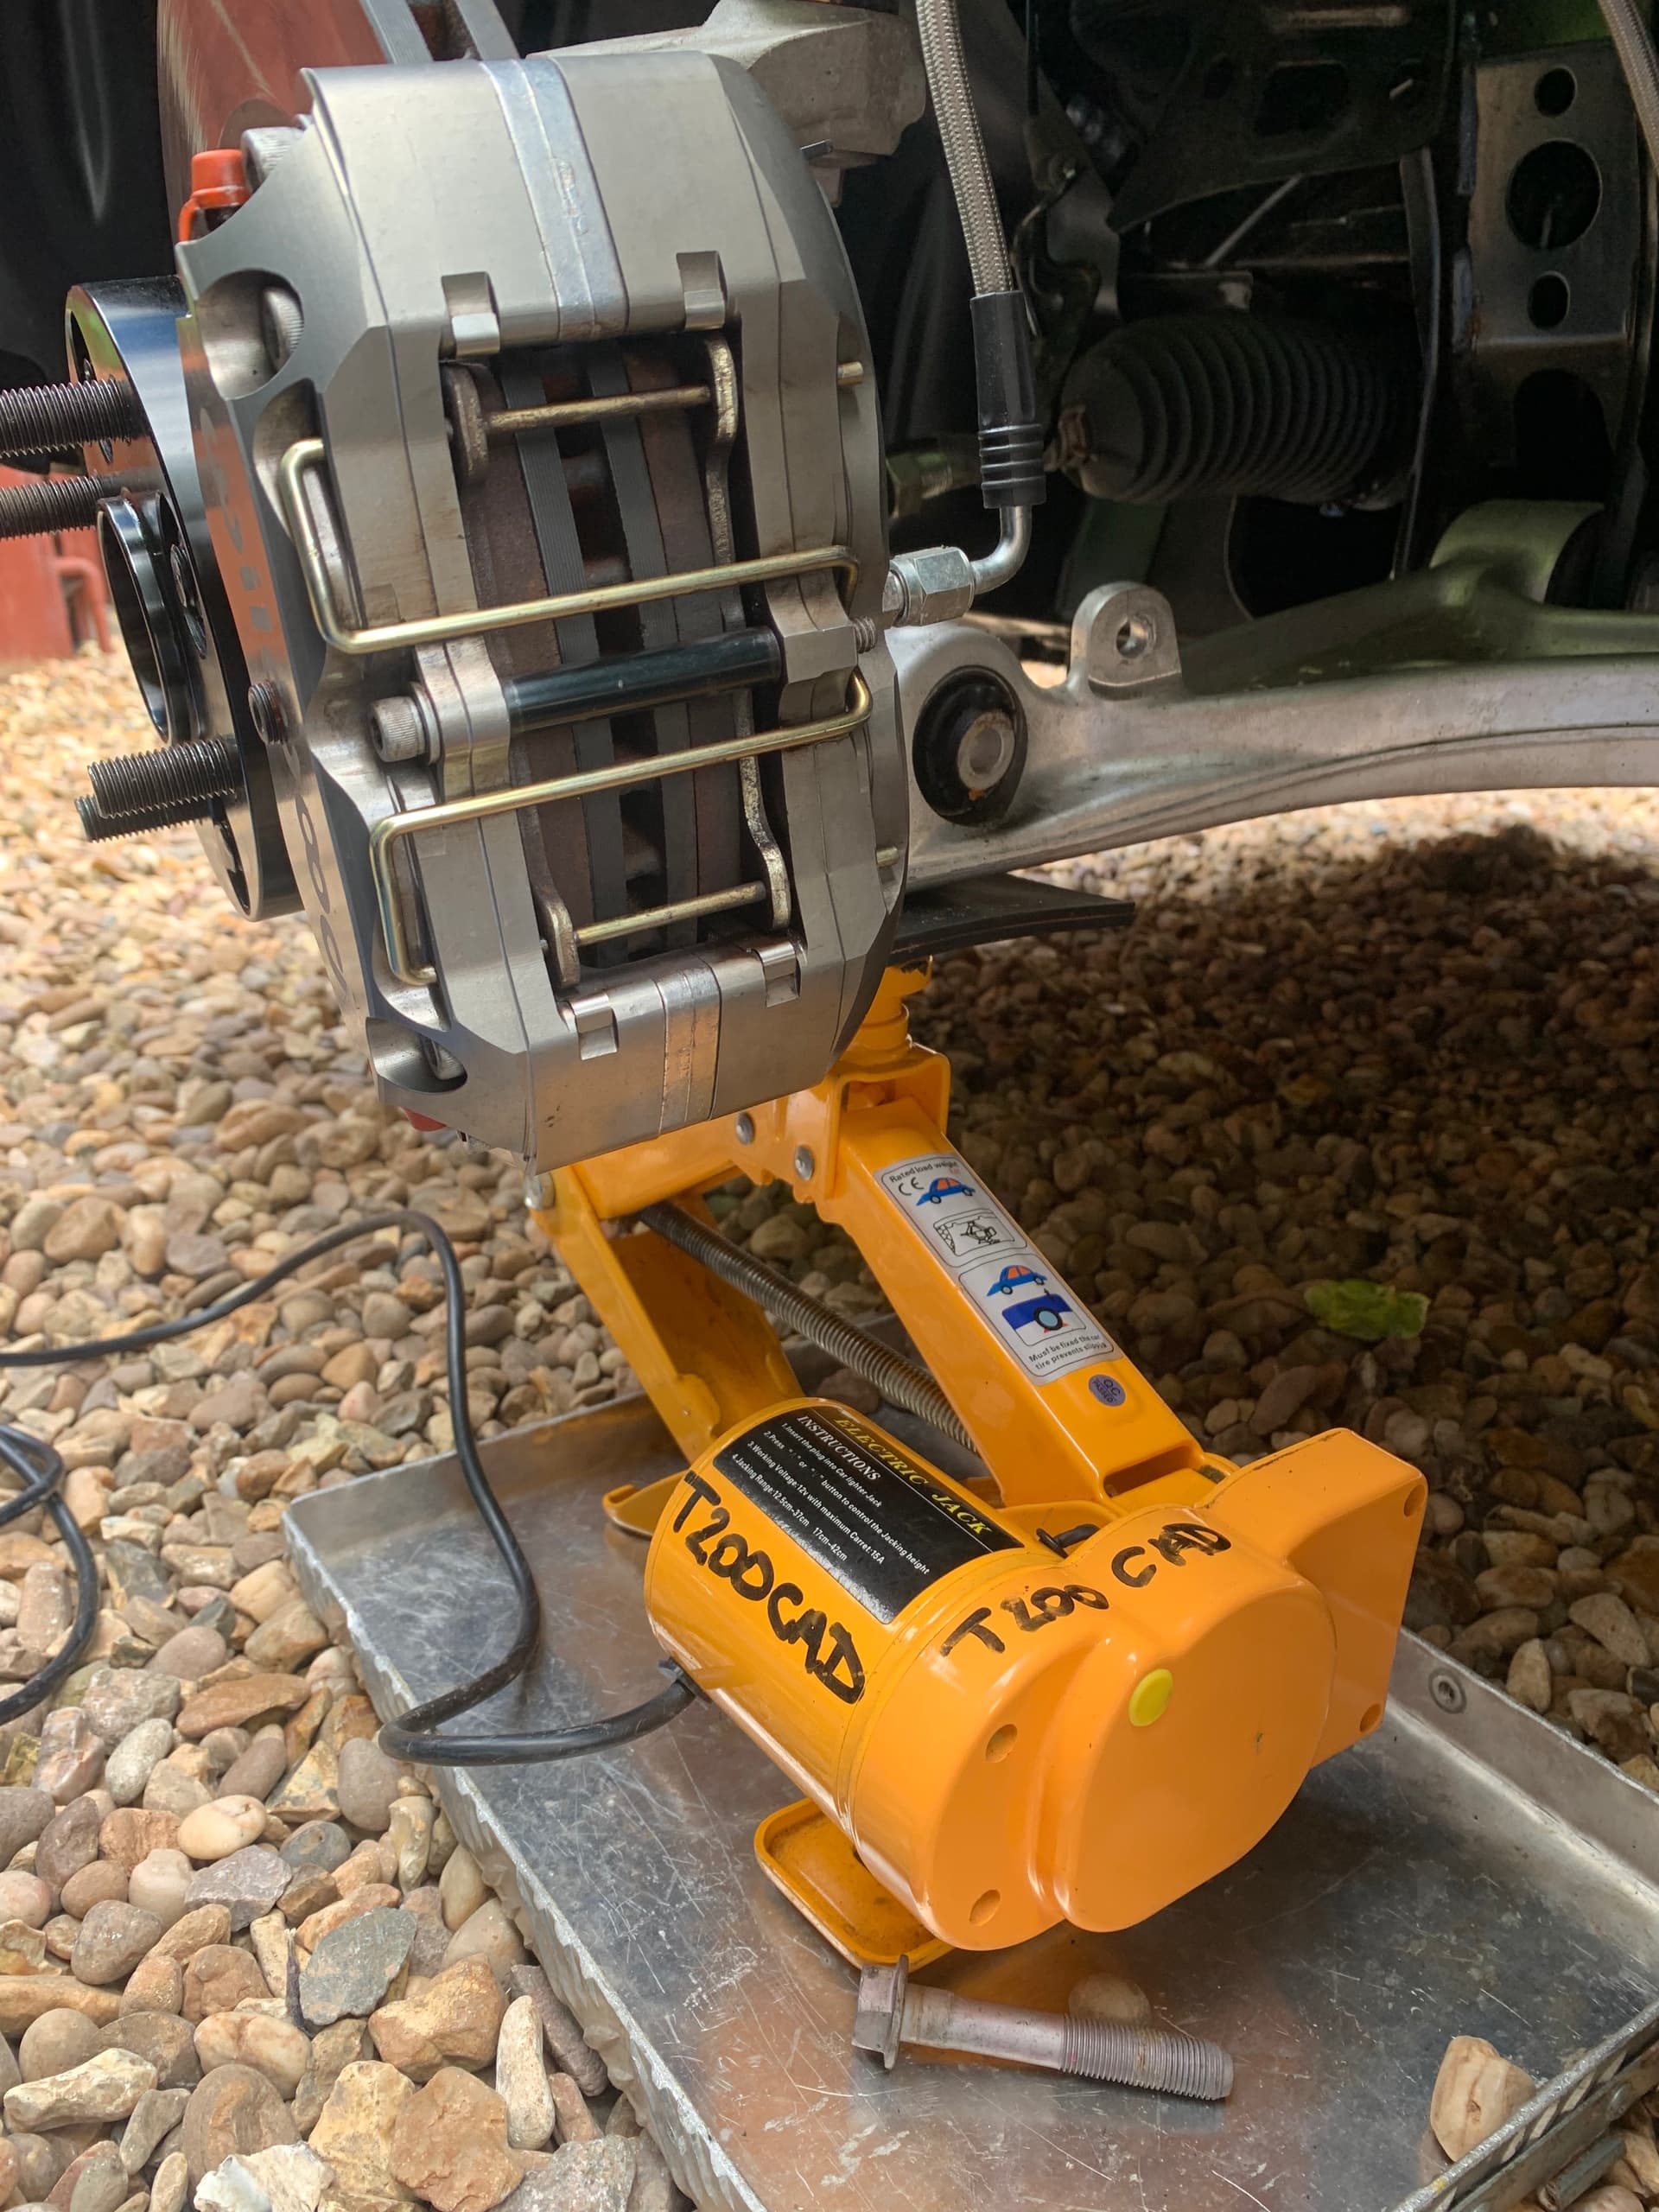
So I used My 3 ton 12 volt electric Jack to raise & lower the suspension arms this made fitting a breeze
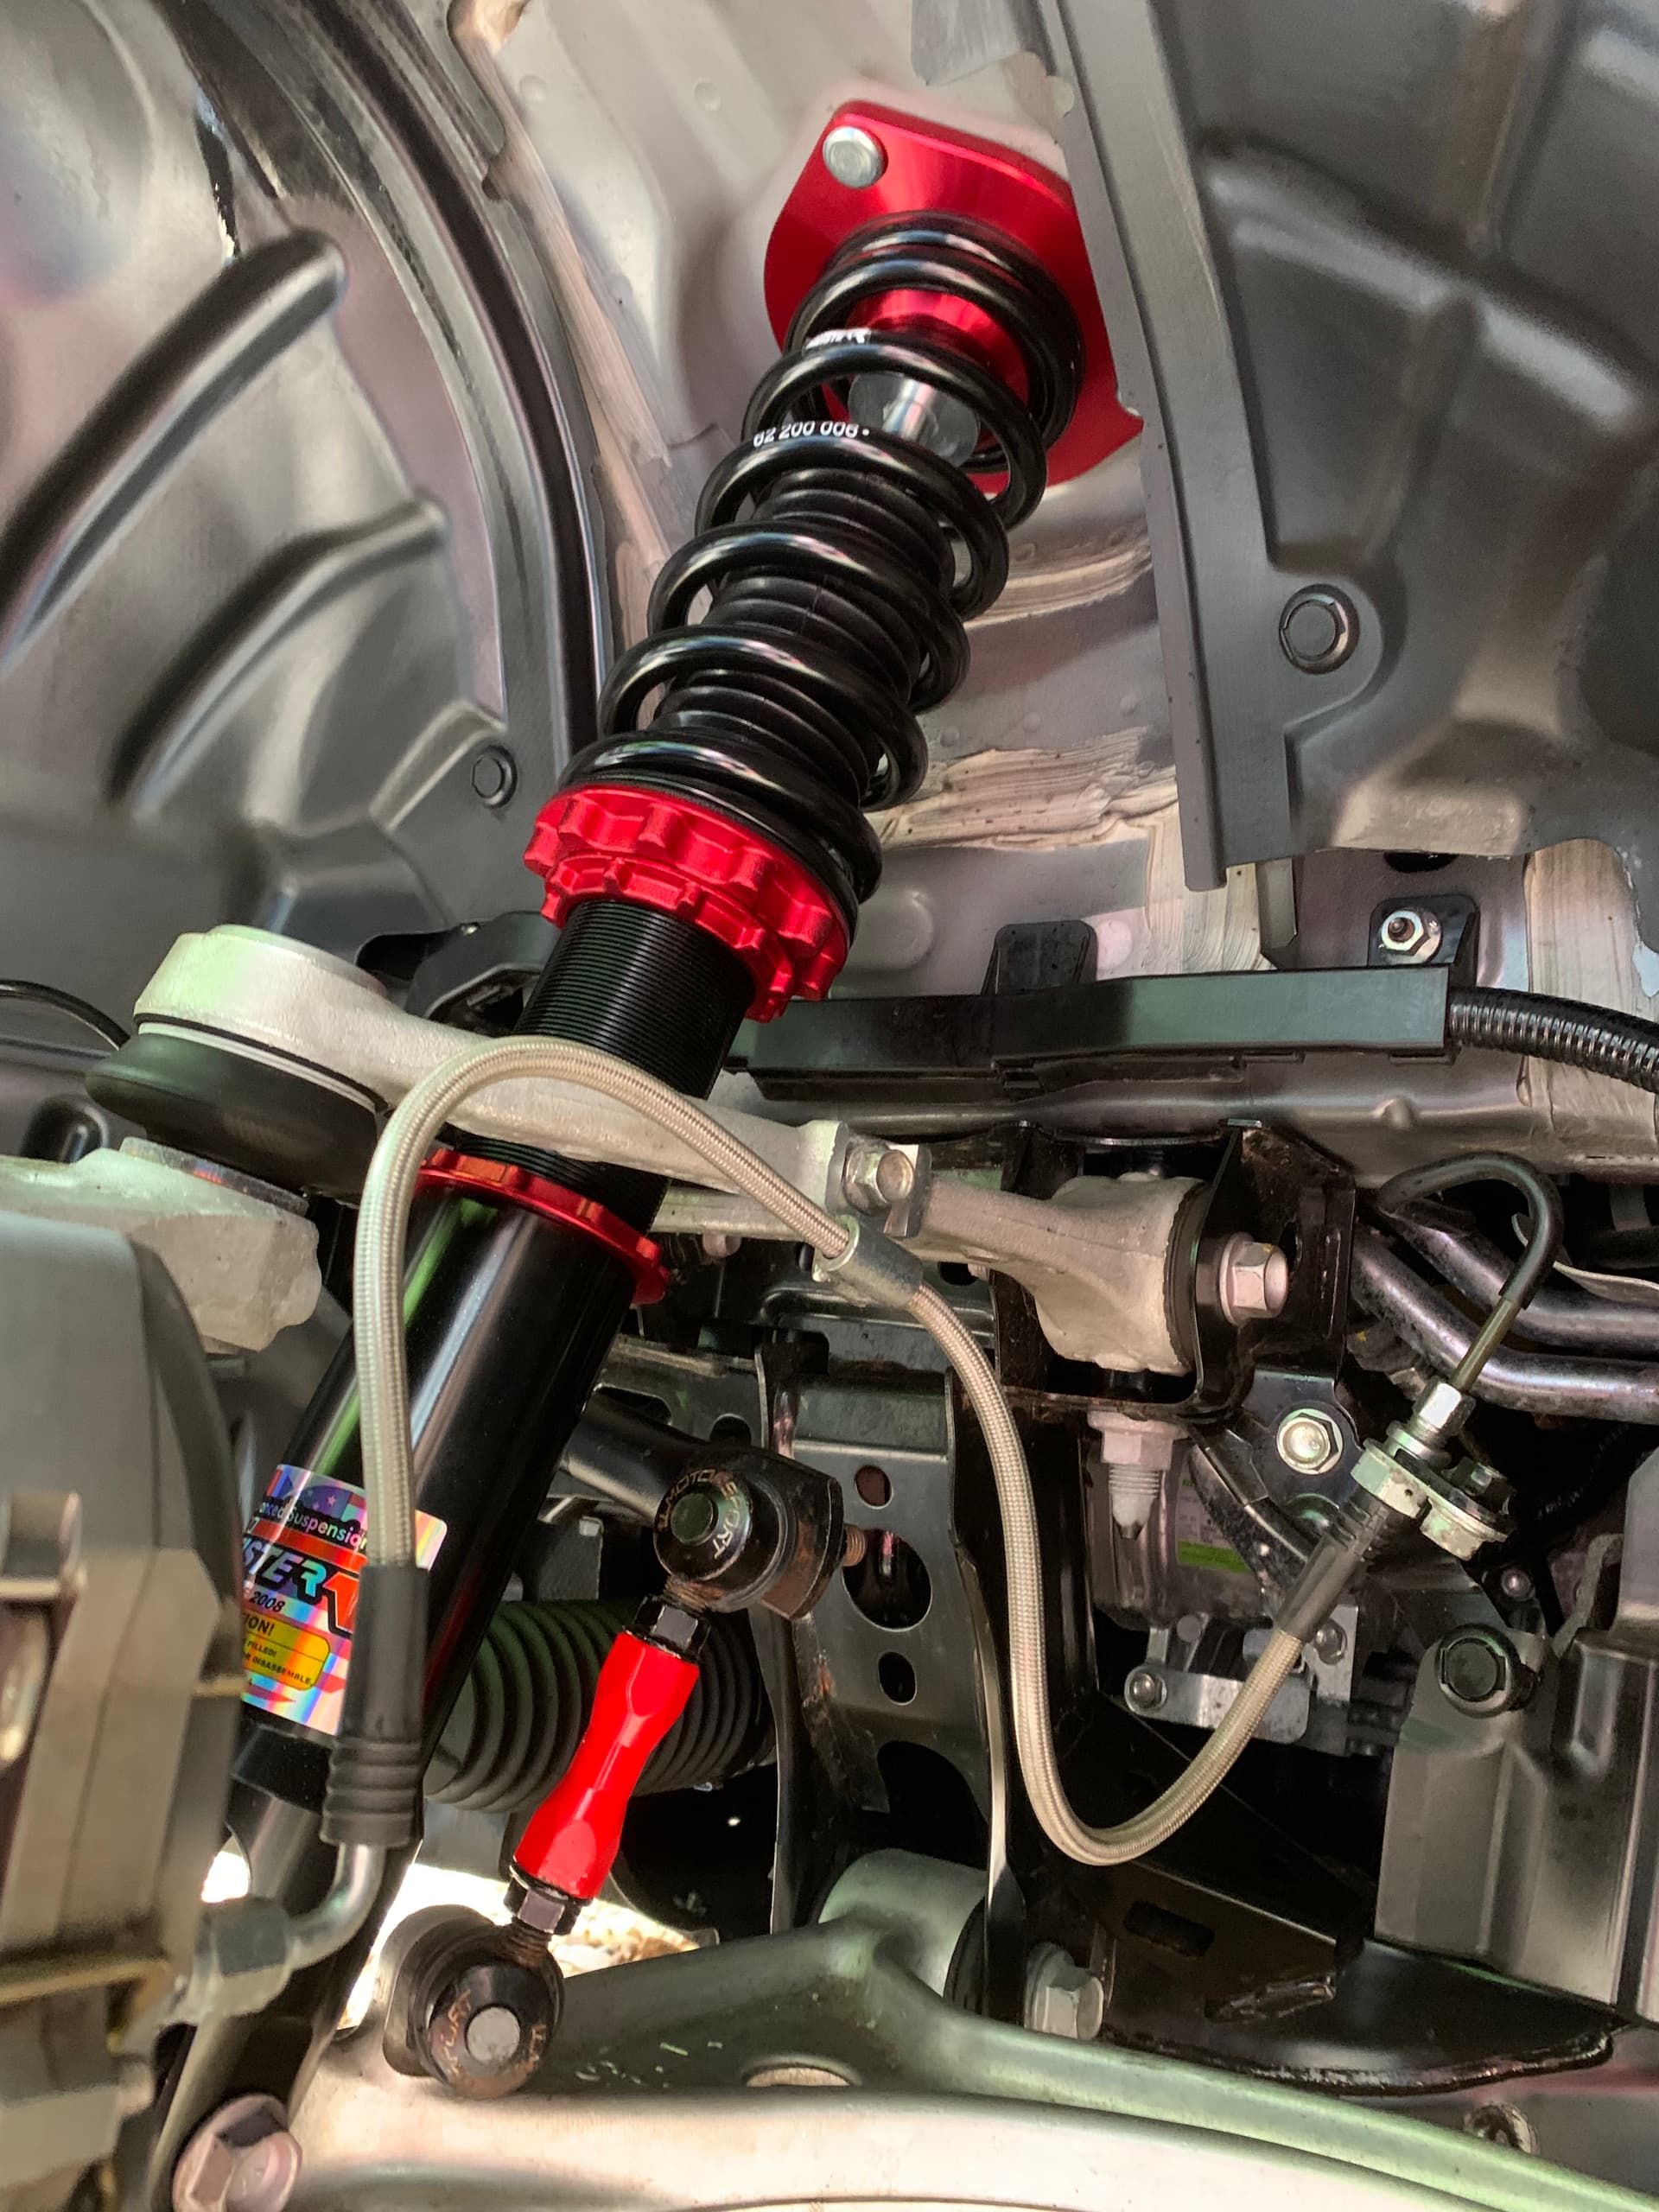
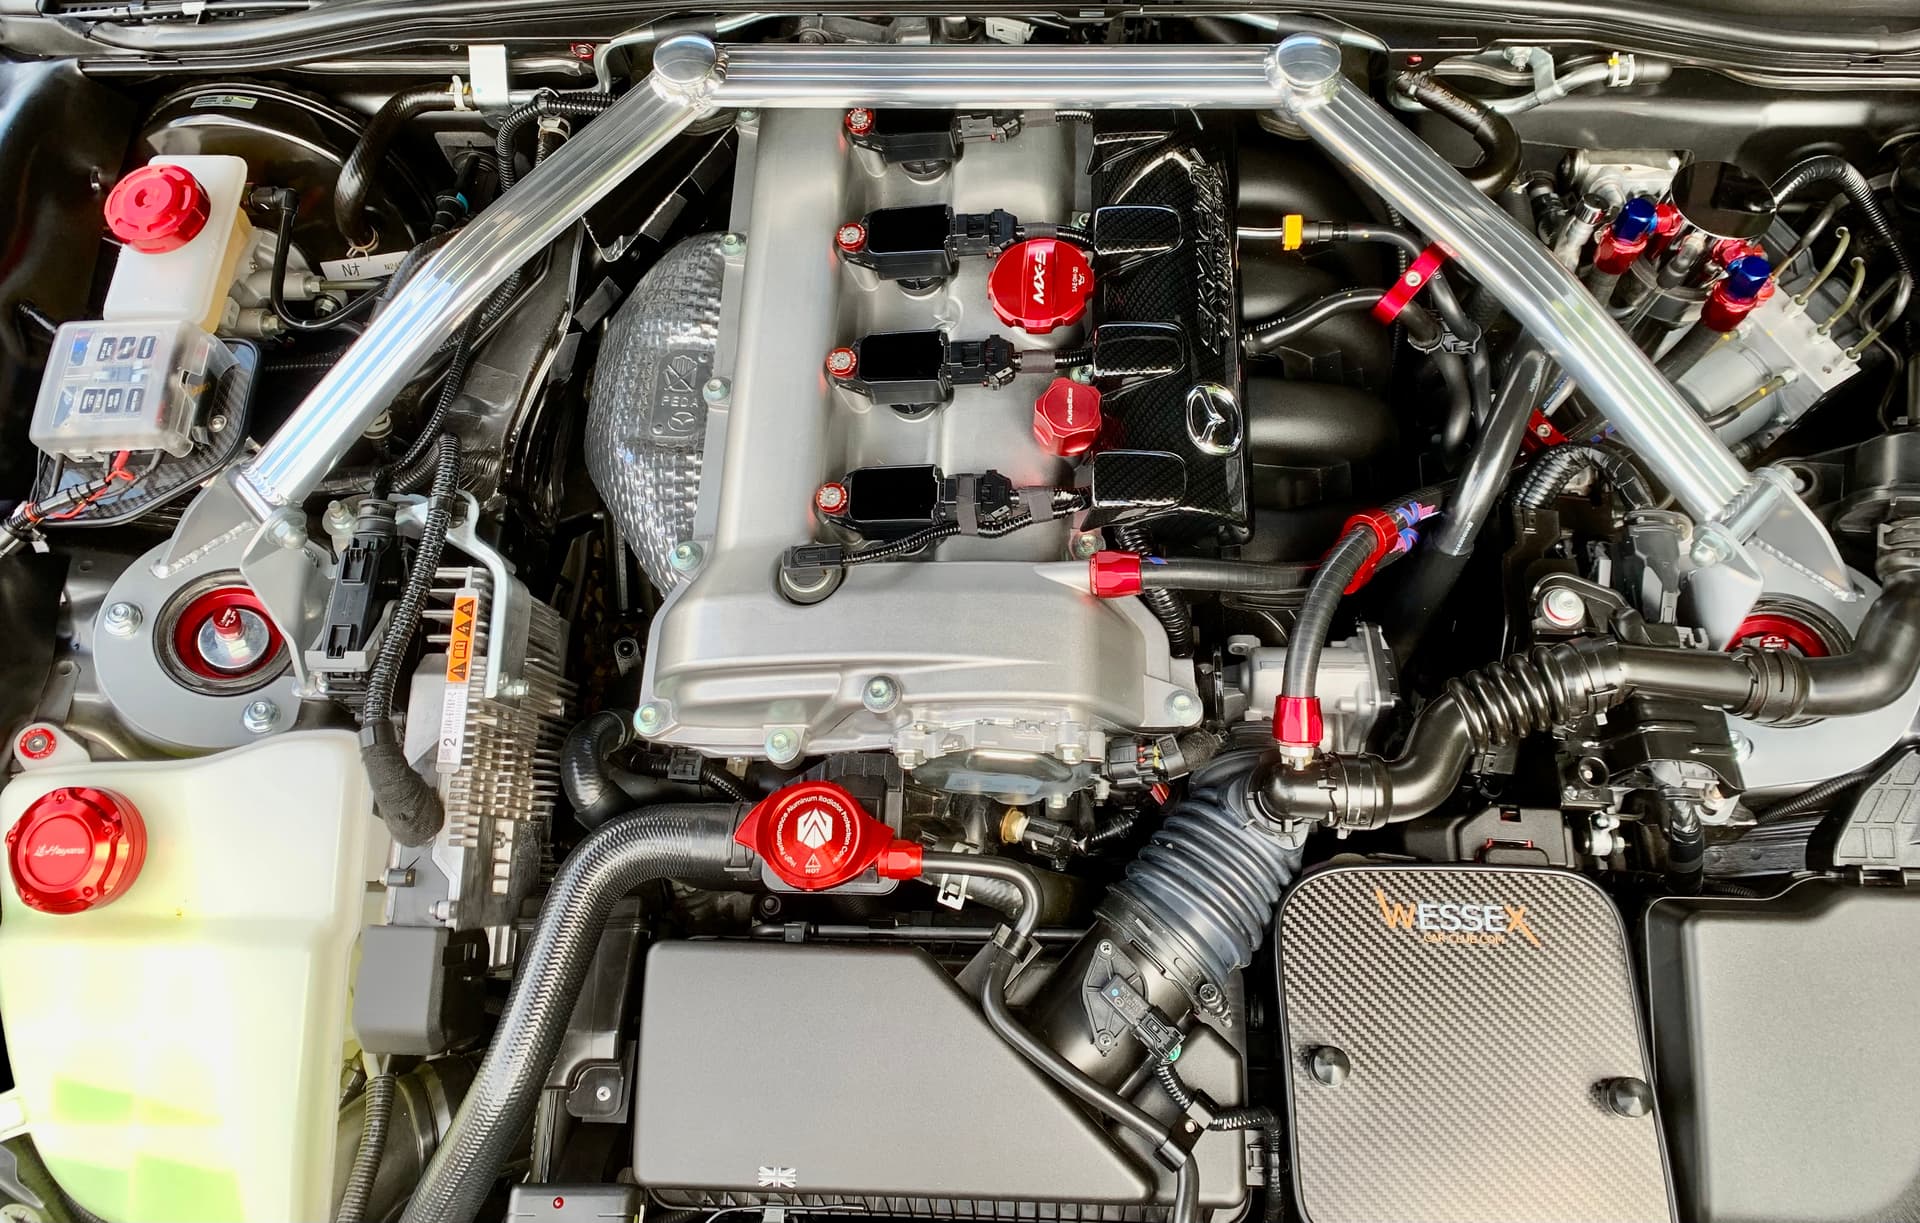
Before any one says anything about the sound tube …mine is still in place but there are two bungs in the tube so it not operational & I like it there…!
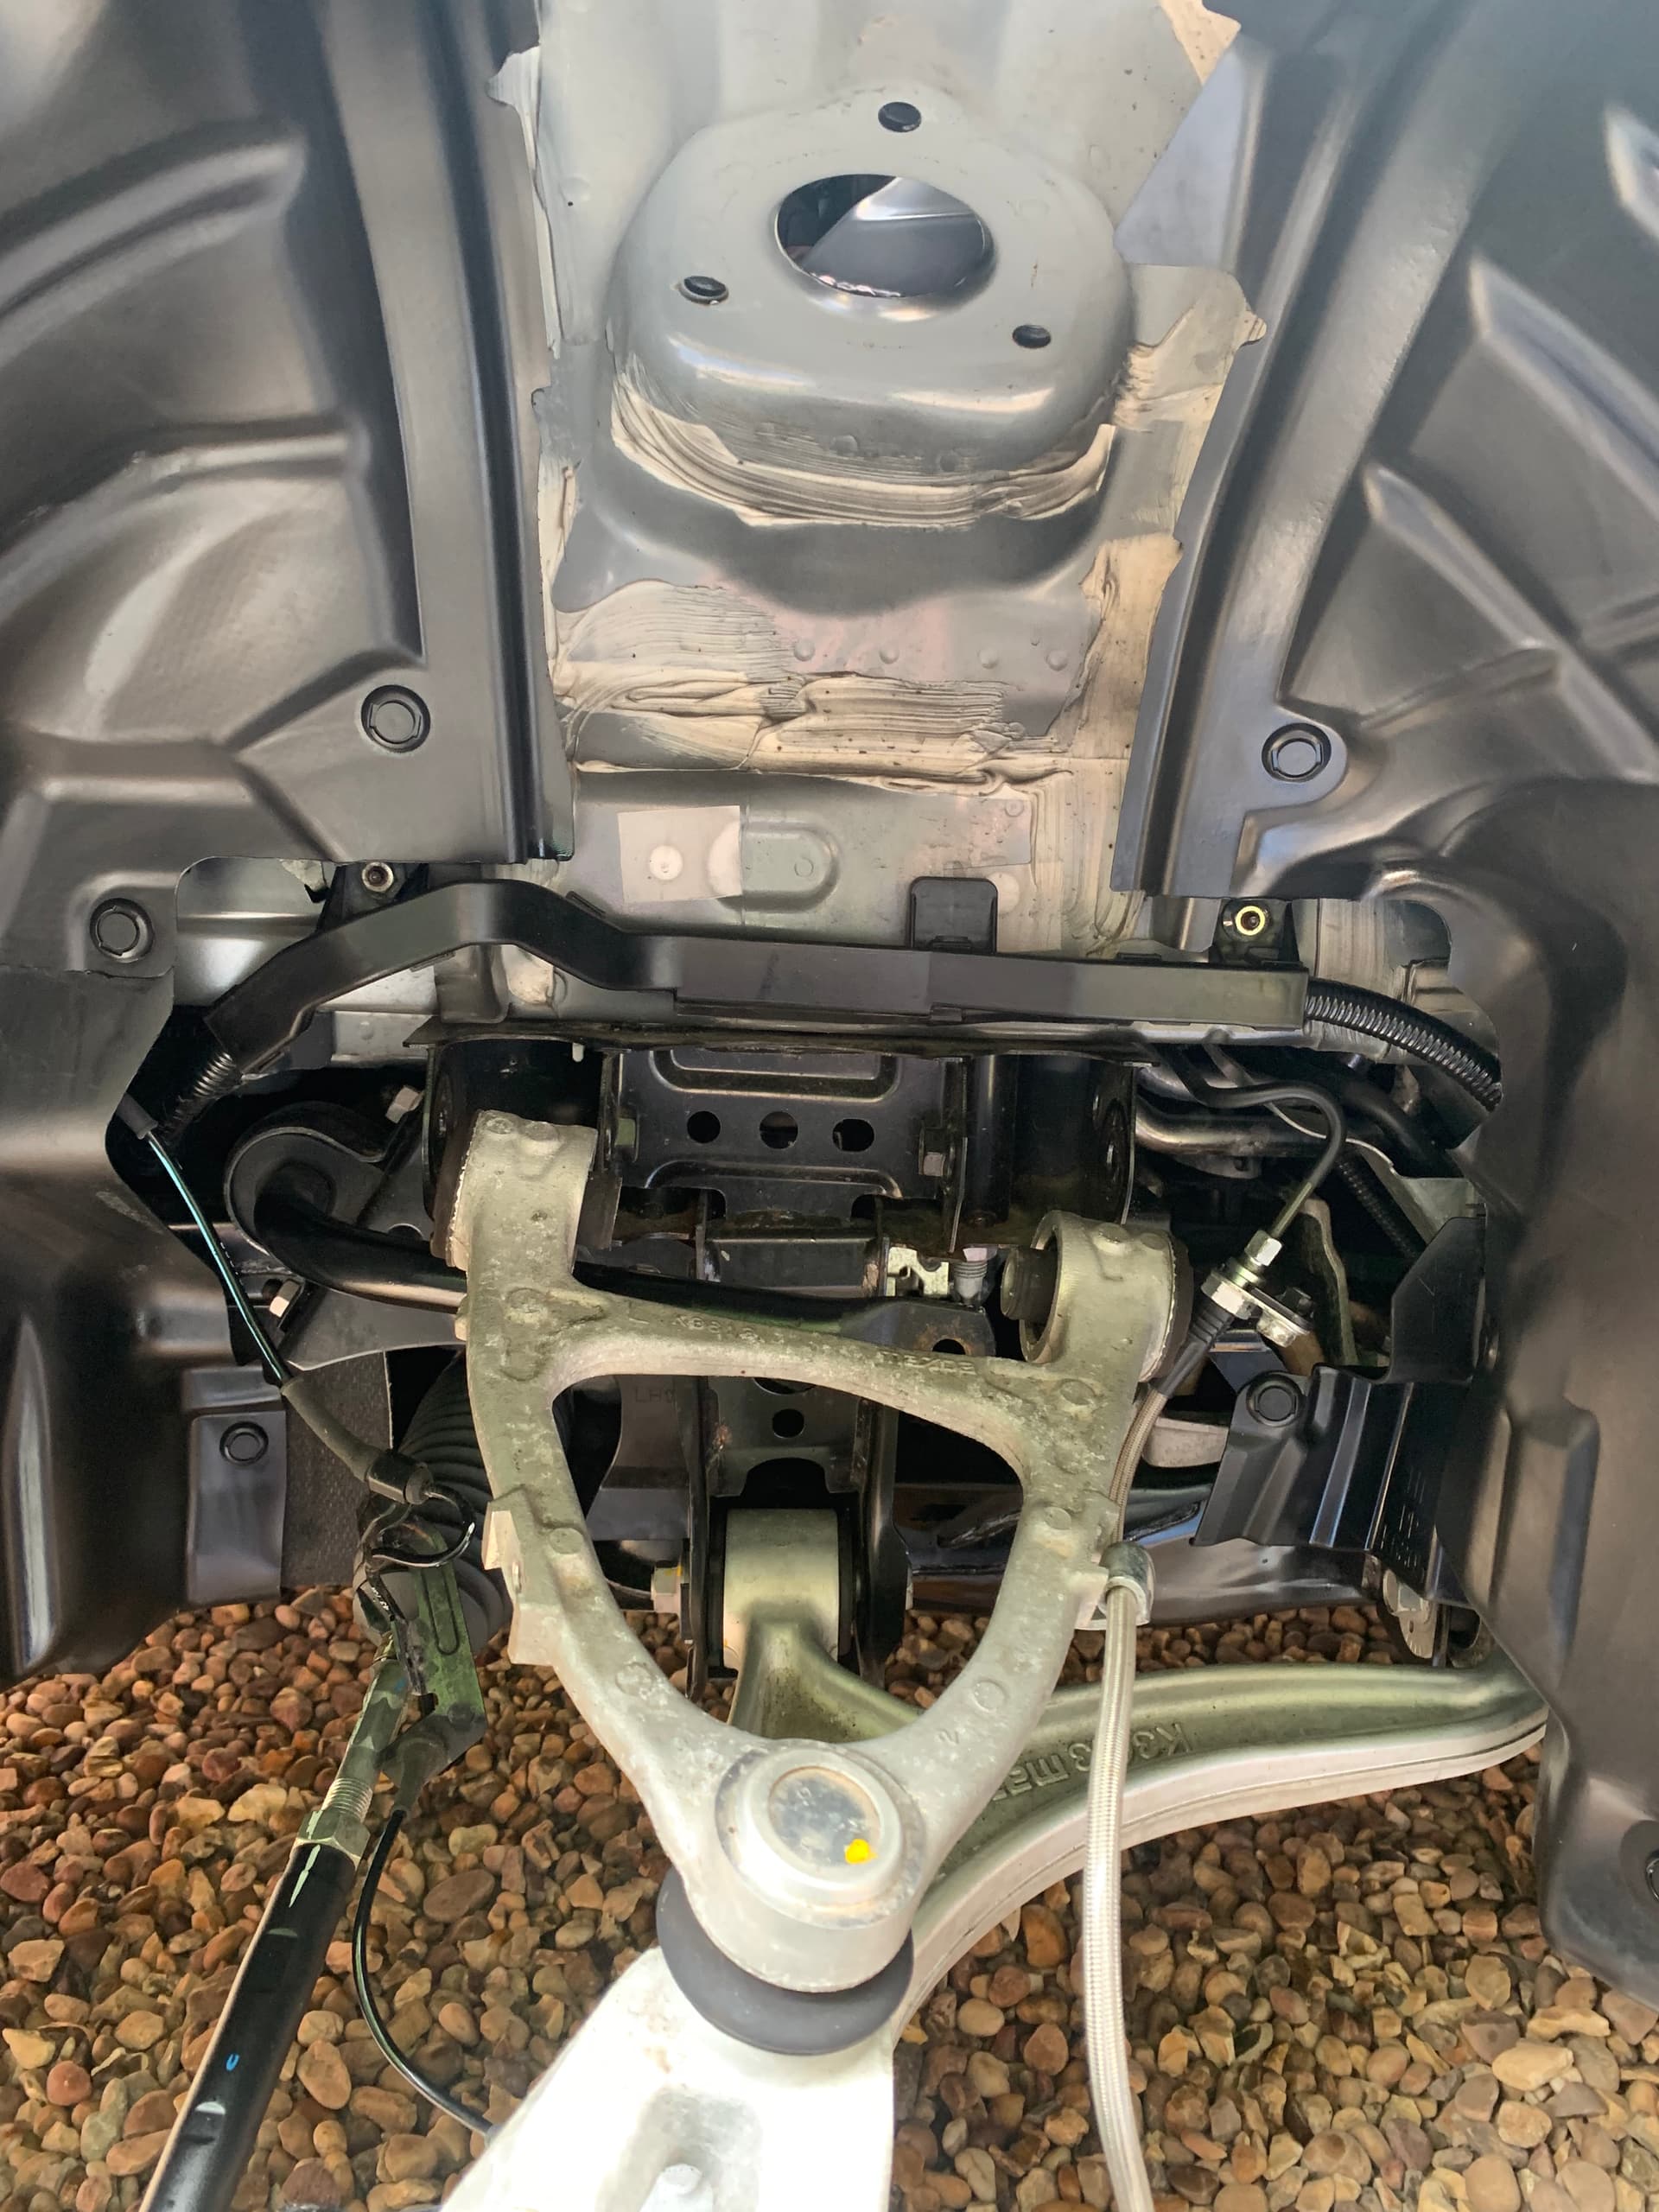
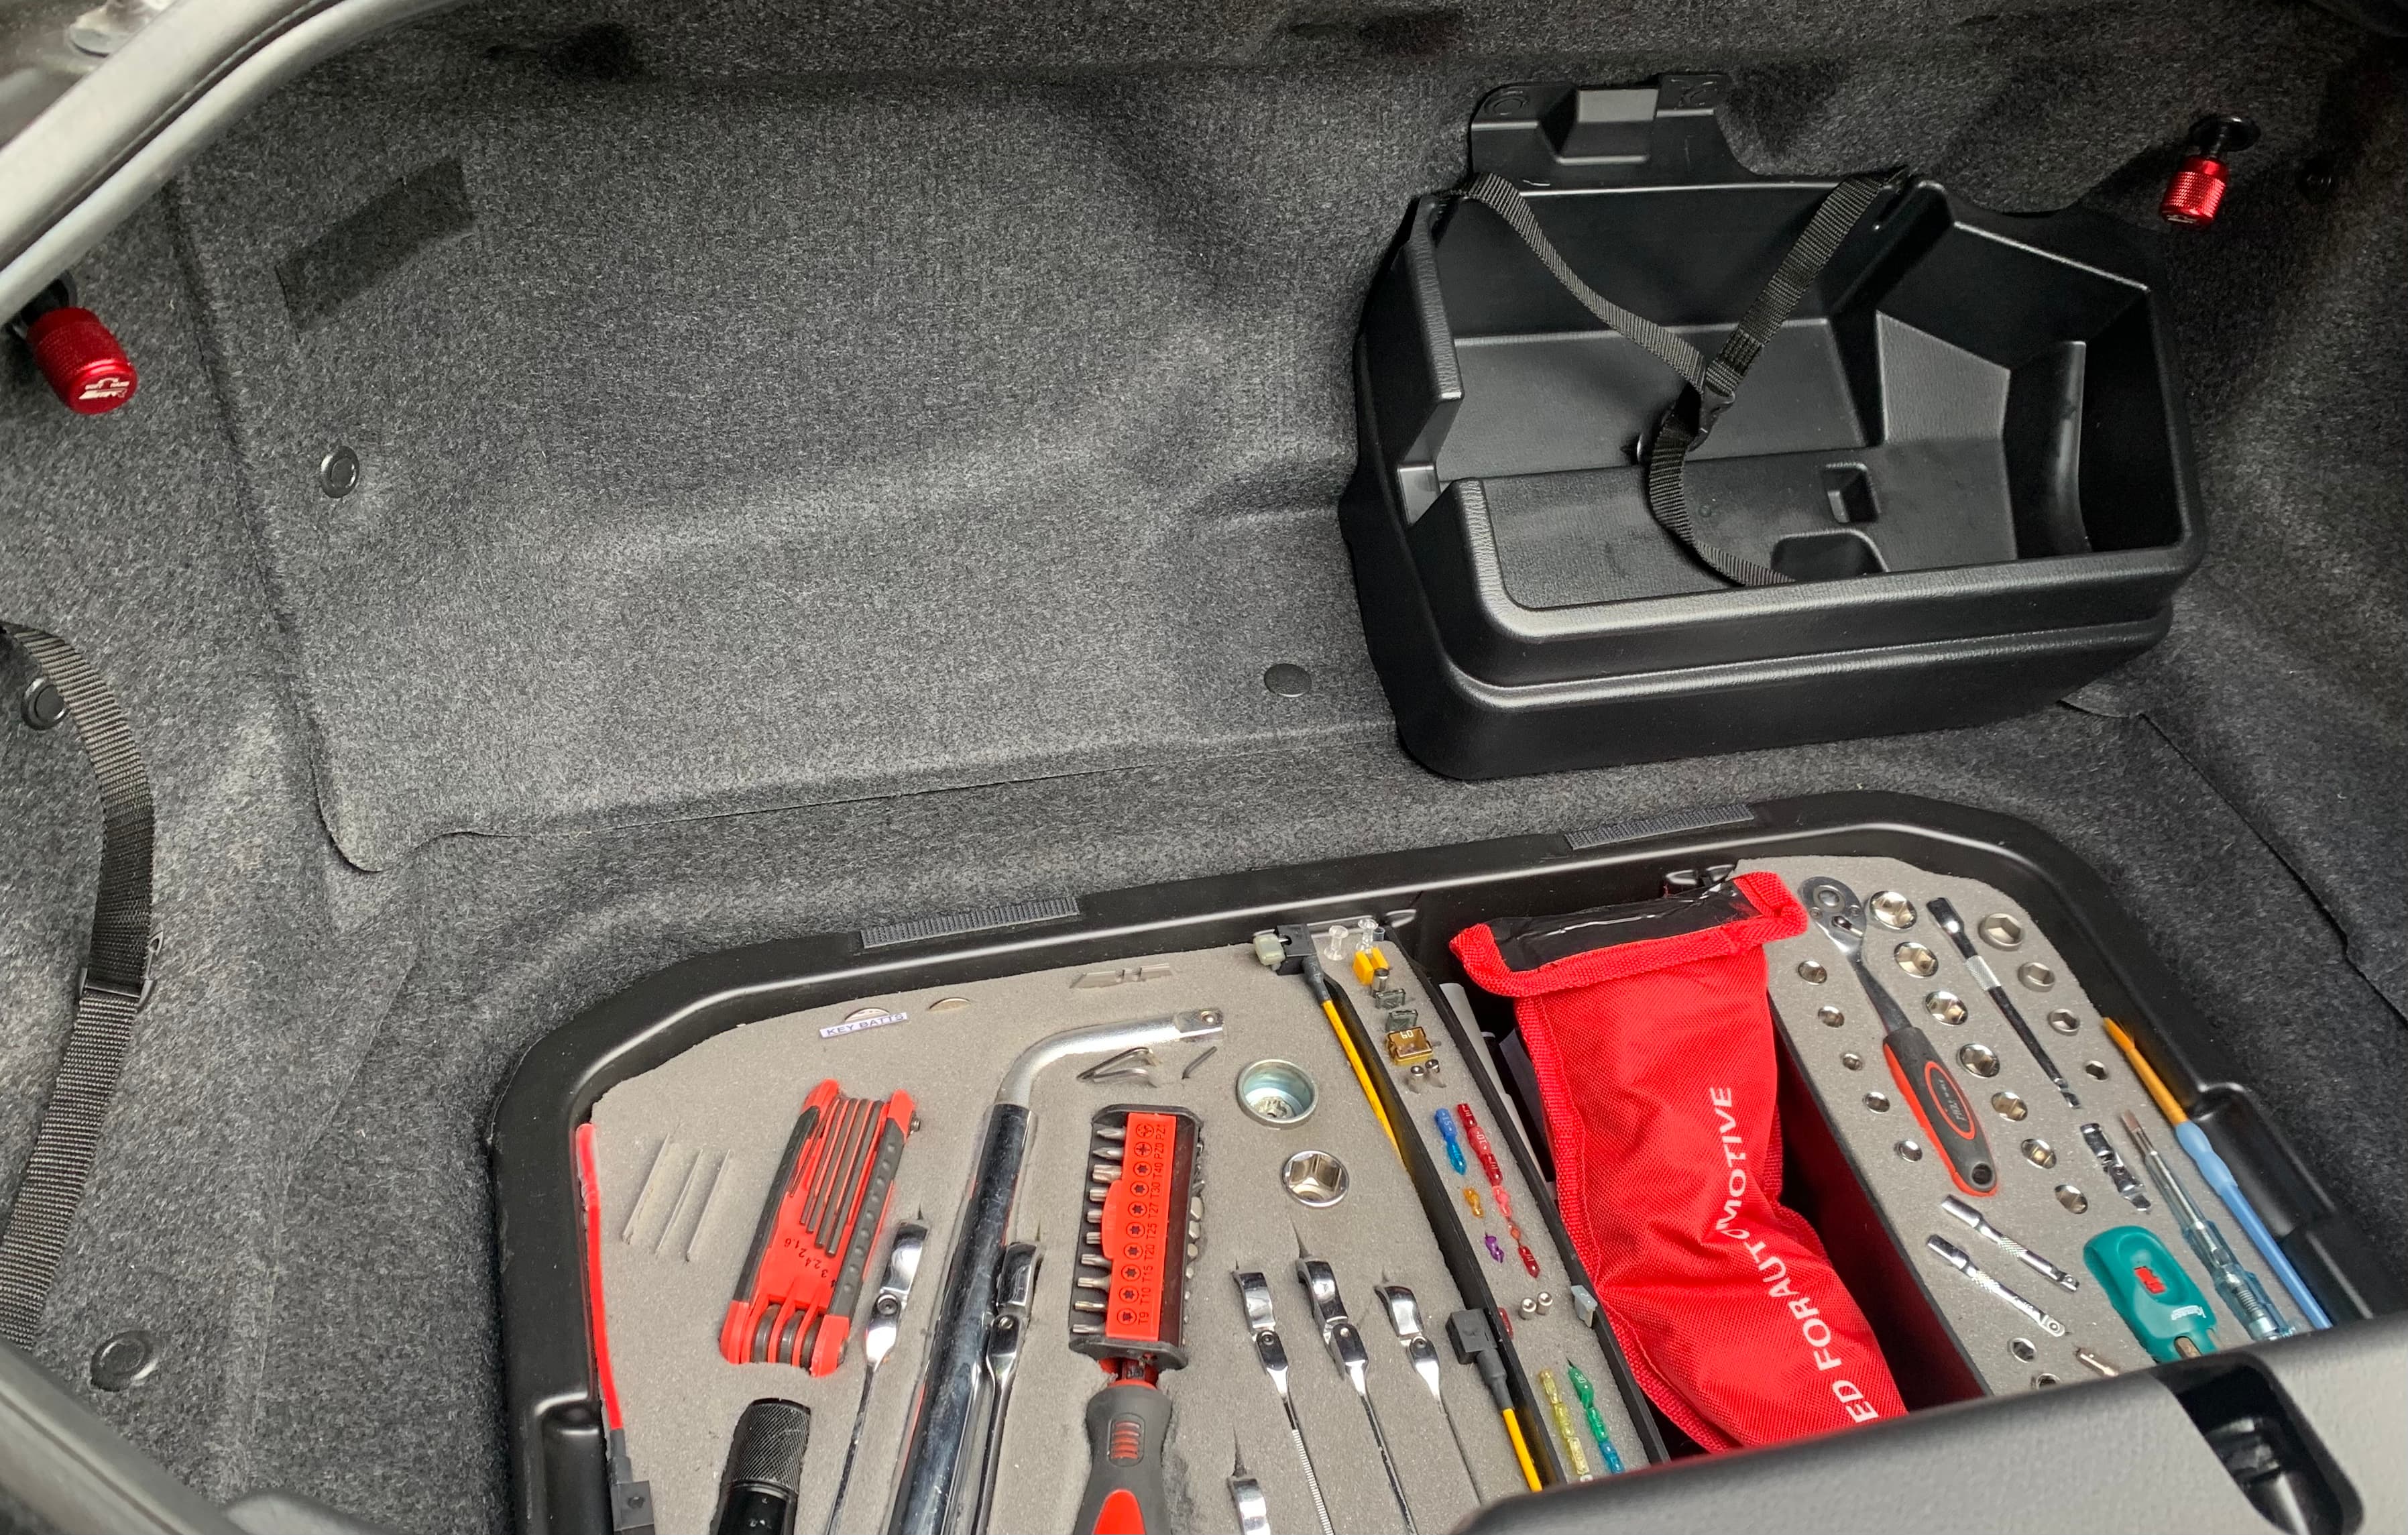
So thats the Fronts Done,… Now the Rears some of the Prep work needed is to strip out some of the Boot/trunk cosmetic lining and a fuel protection plate Out this gives you the access th the two stud nuts either side…
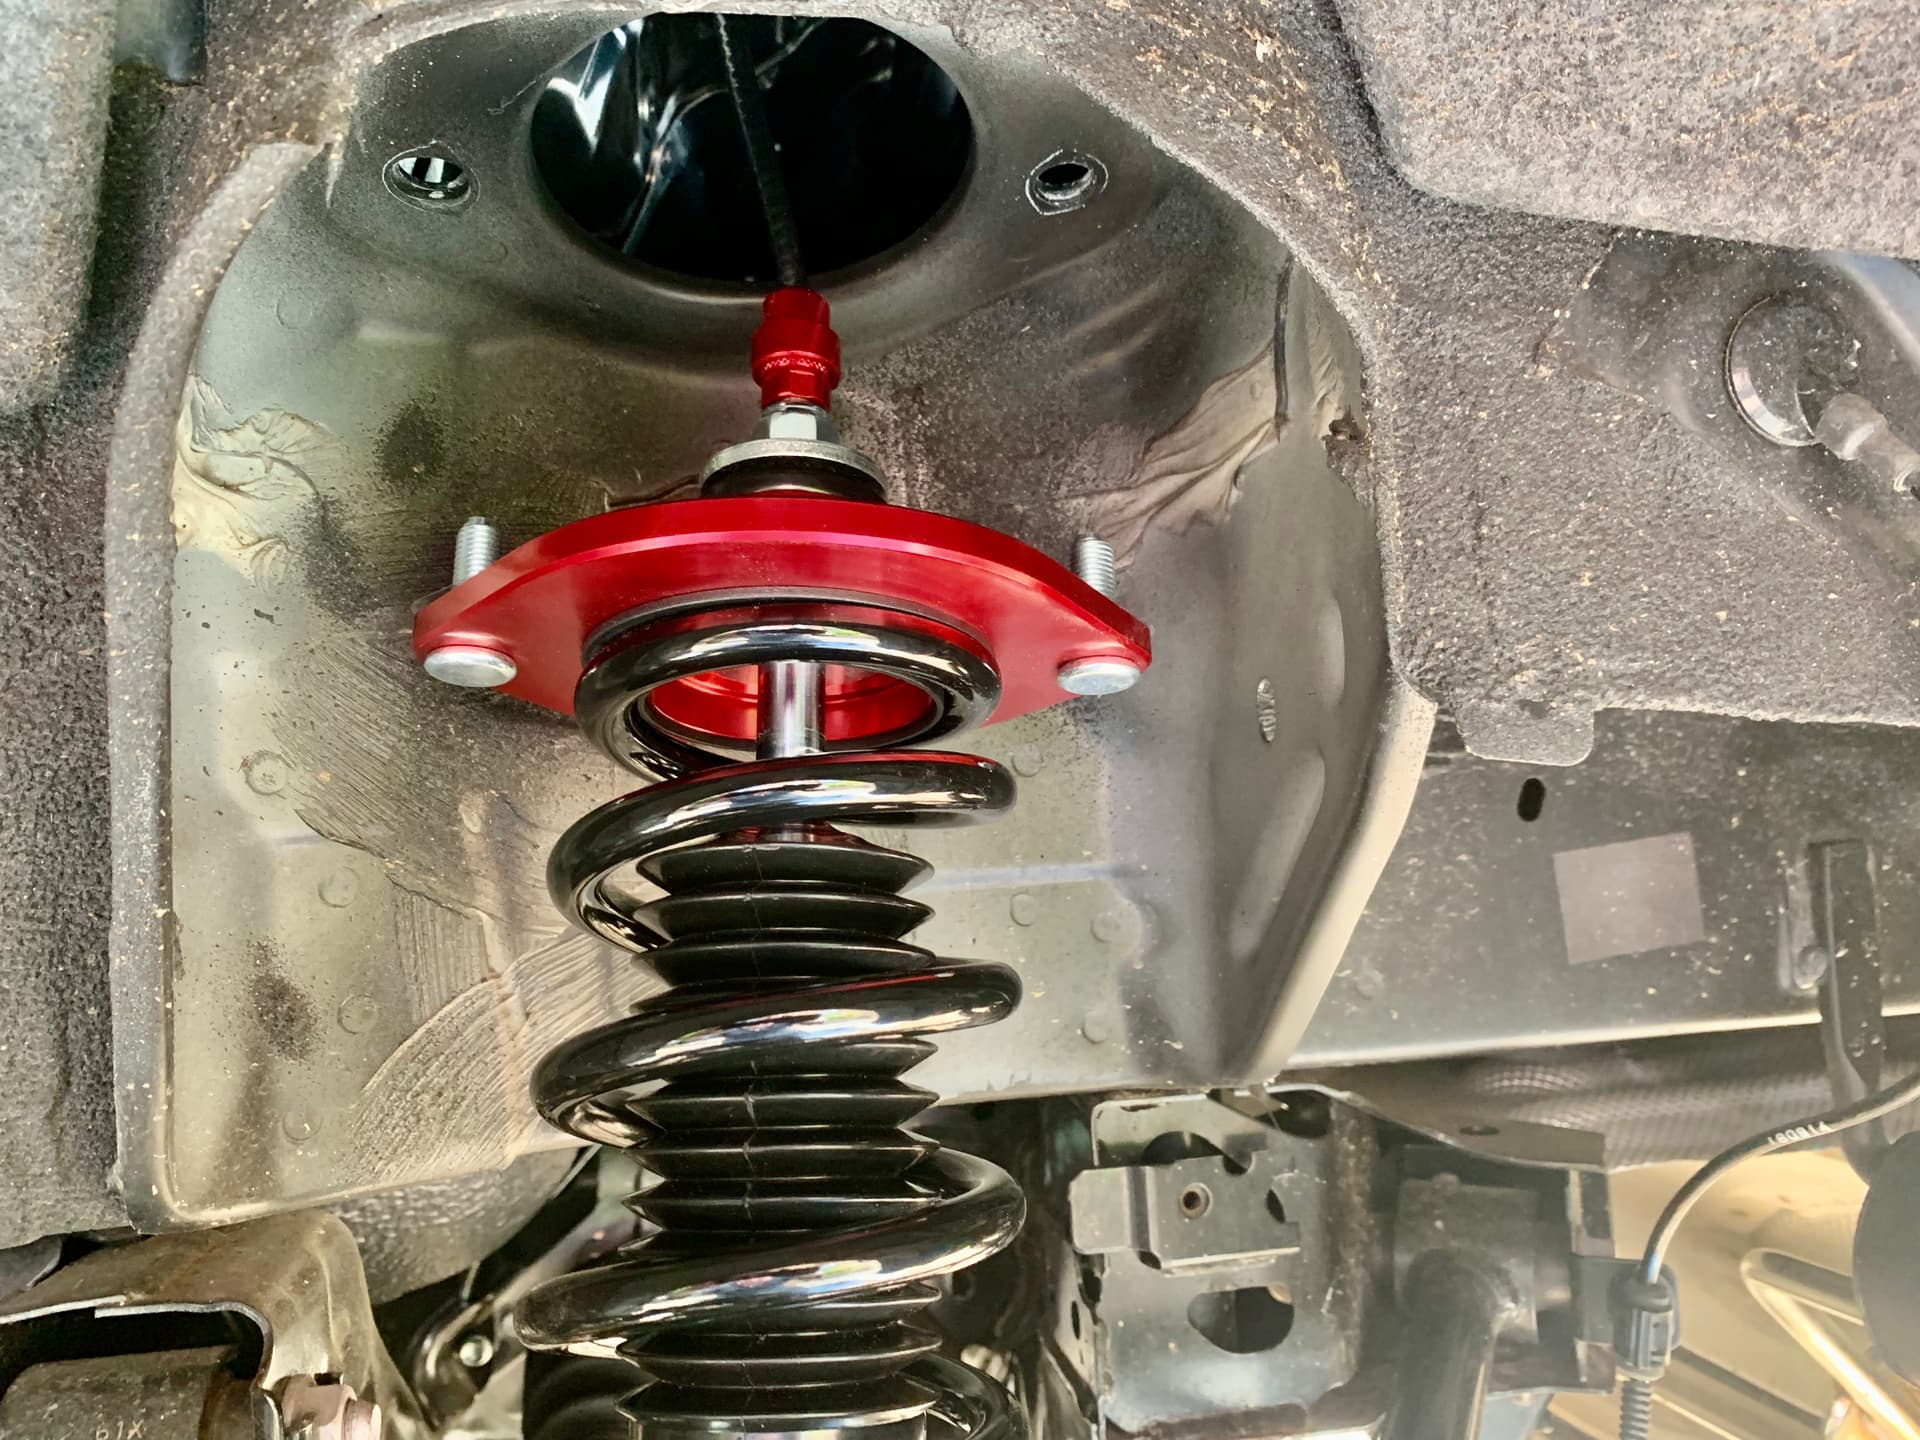
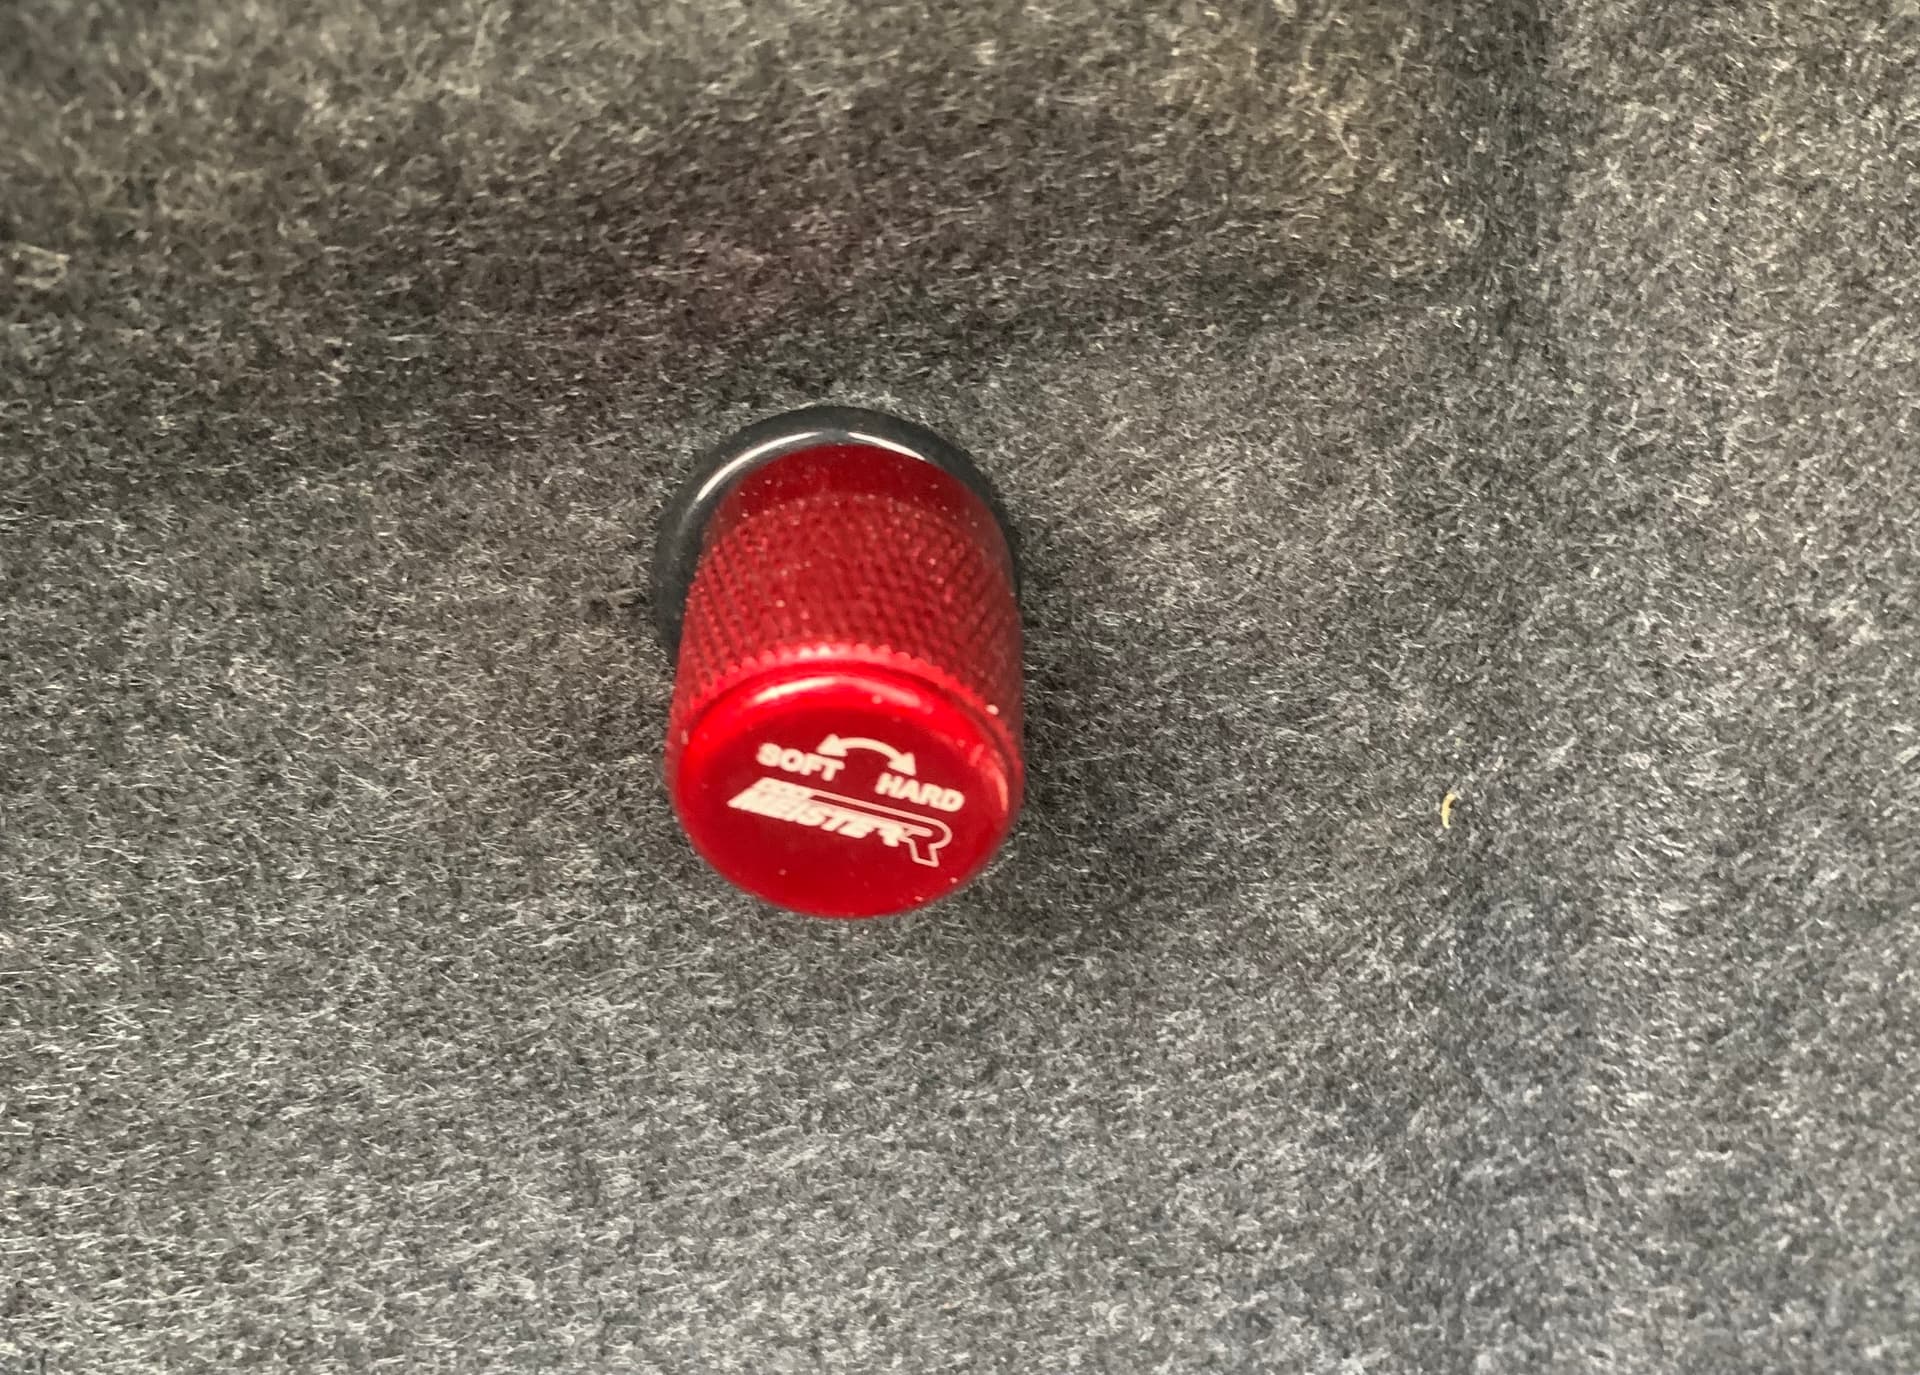
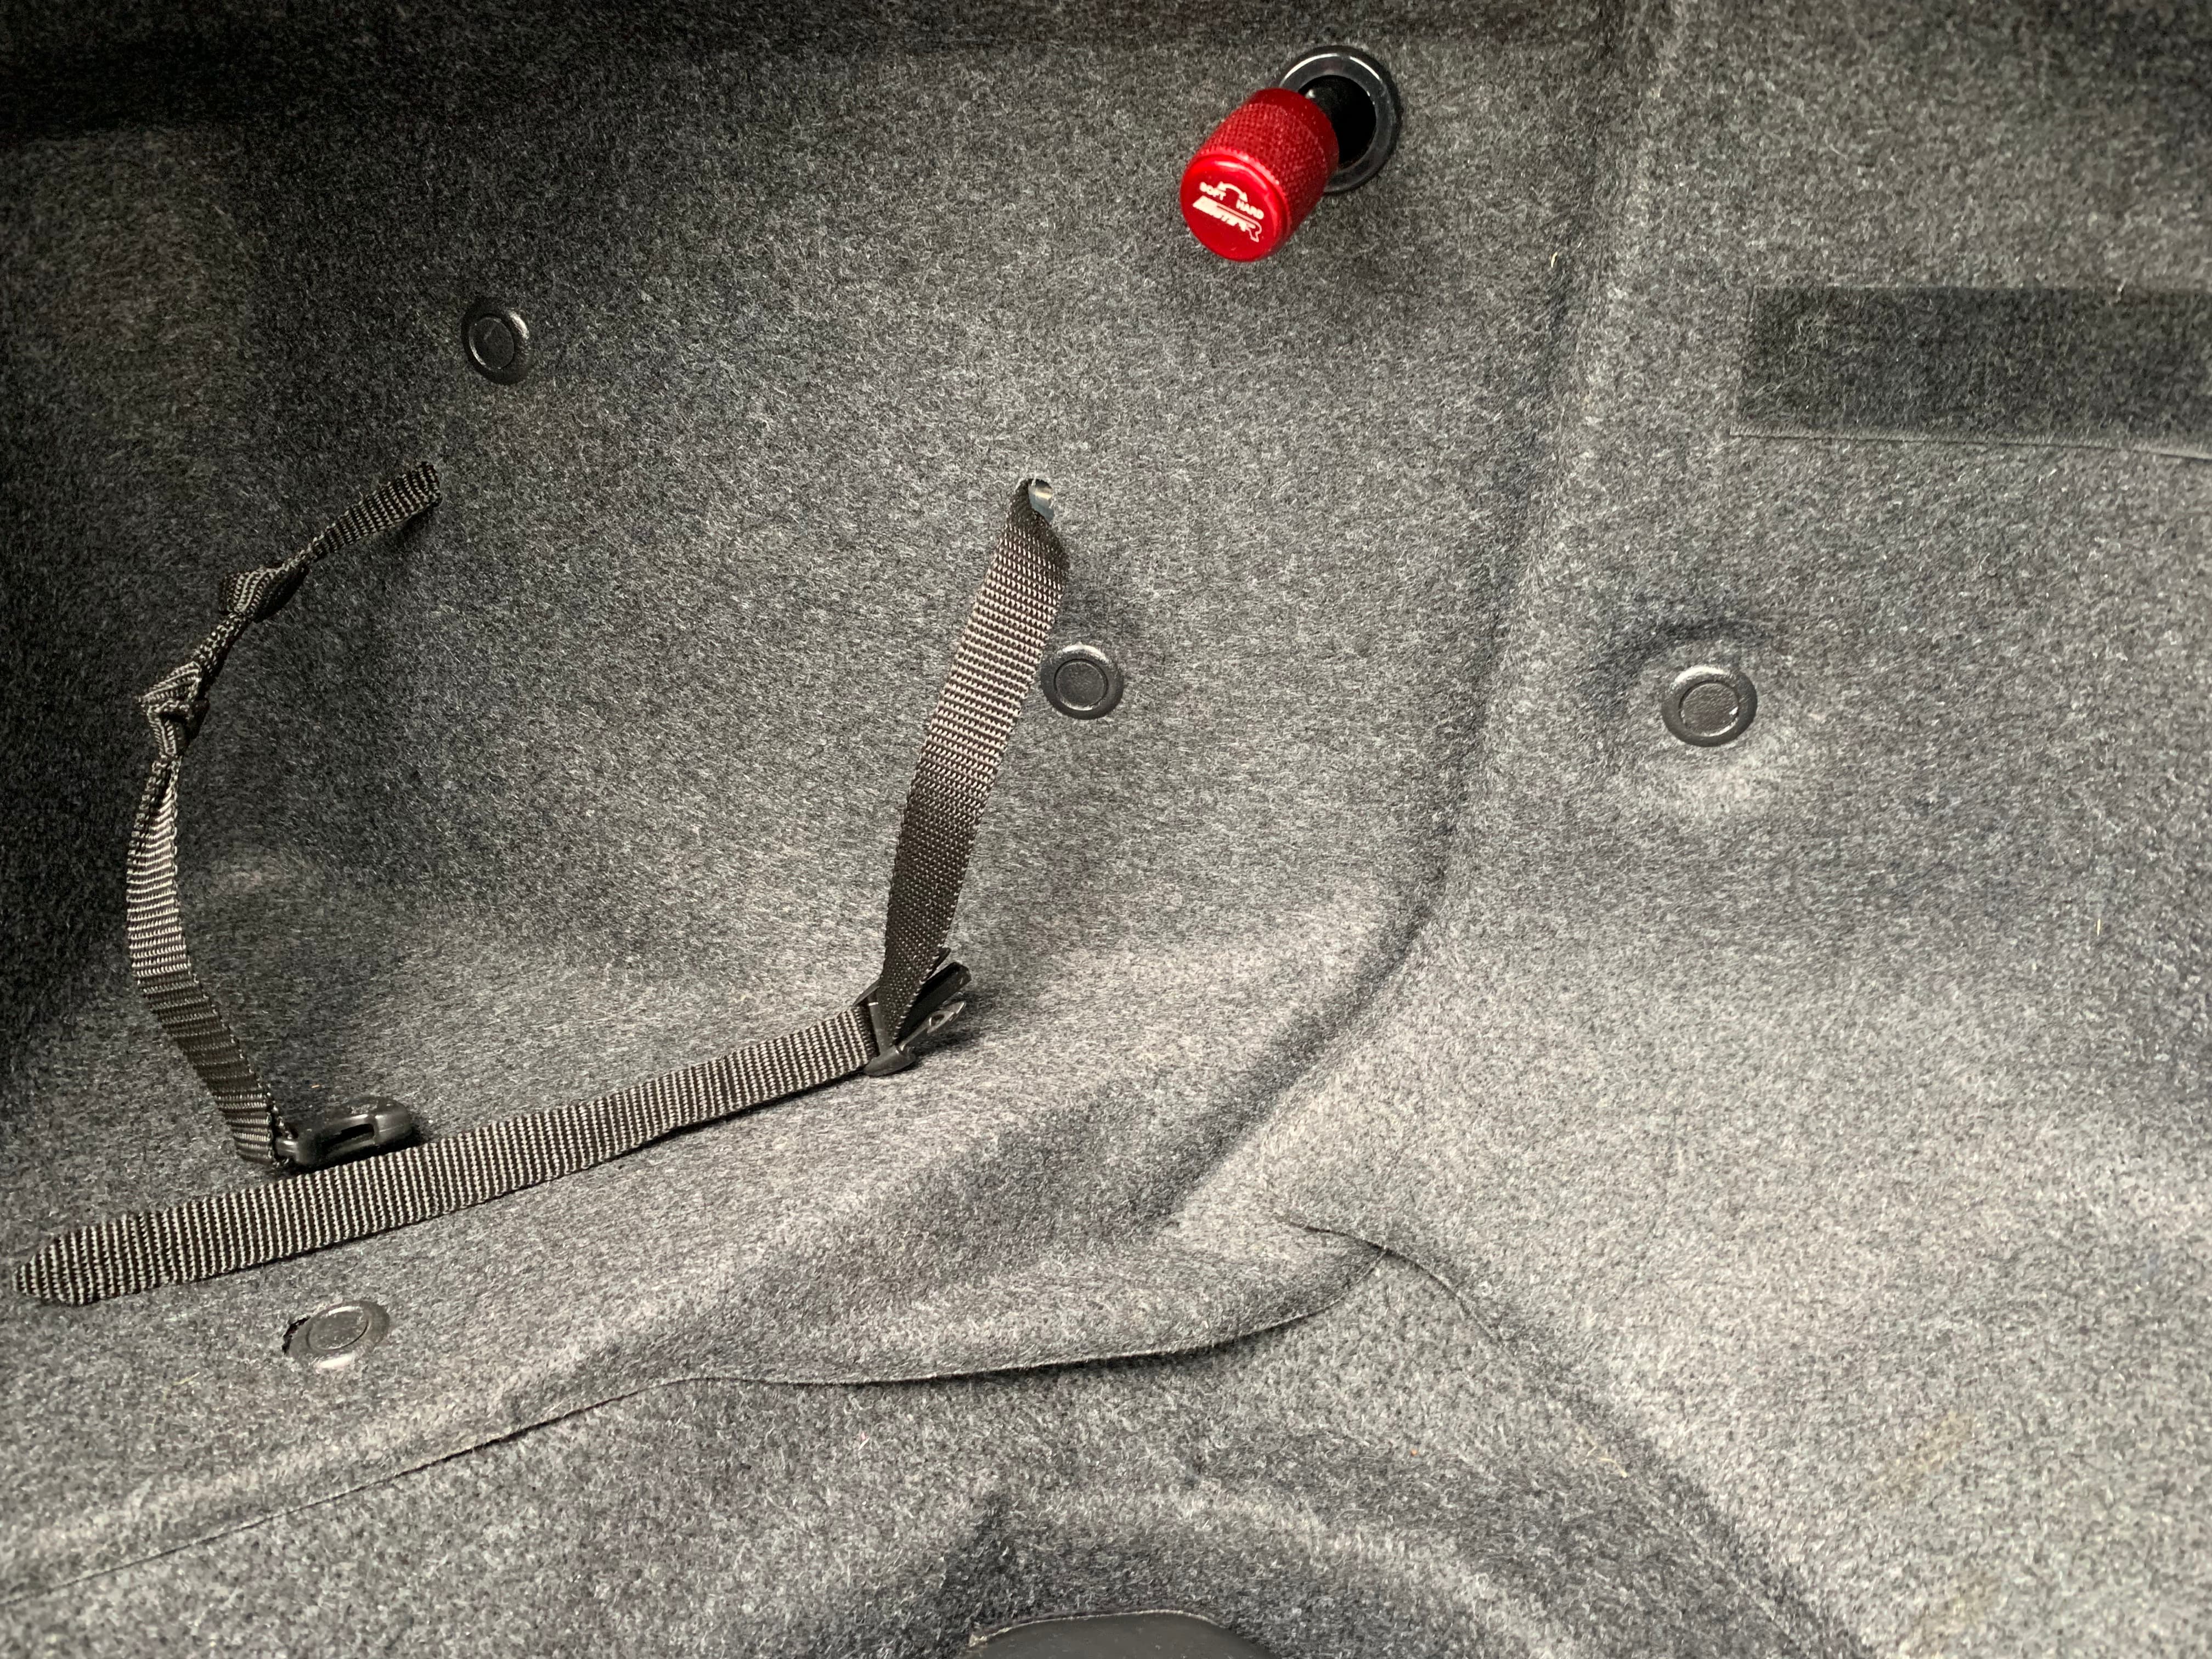
I would go with the Adjustment cable extenders for the rear fitment and fit them before you pop the coil over in makes life a lot easier …also I fitted two
rubber Grommets in the rear trim which keeps things tidy


all Back together I have not dropped the car to Low as things need to settle in I do the final hight adjustment after the cars got some milage on it and everything has bedded in …
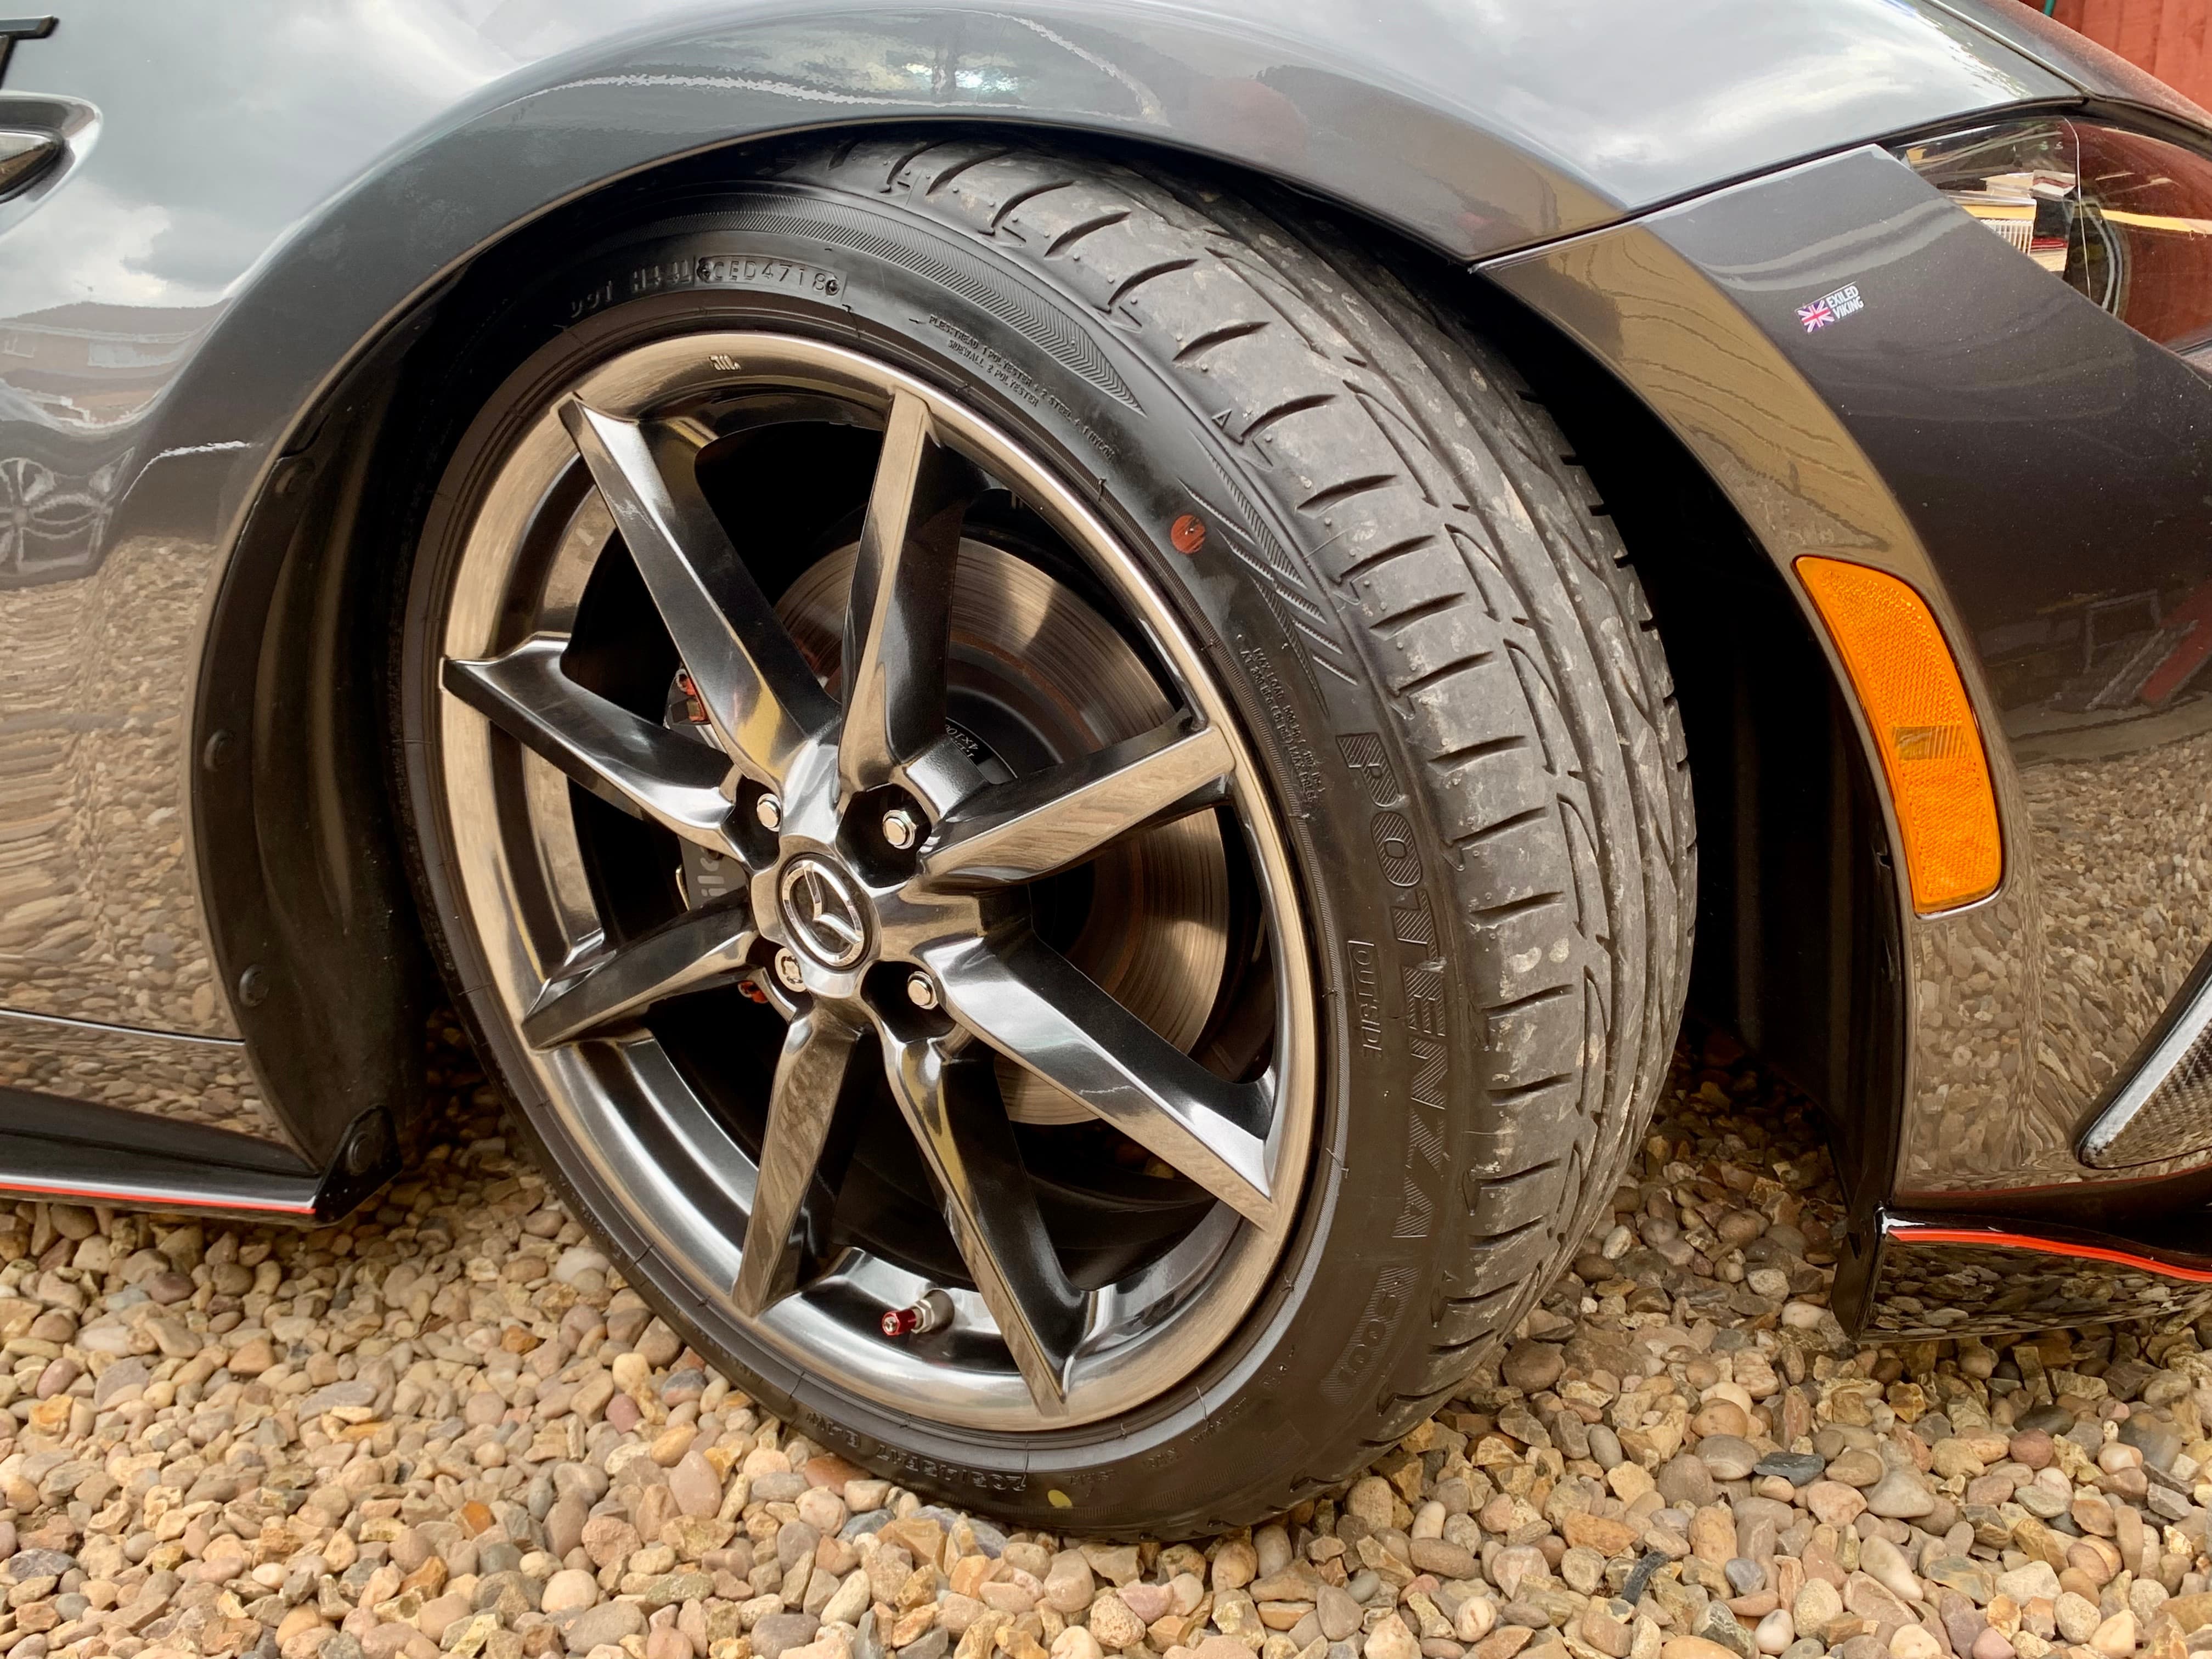
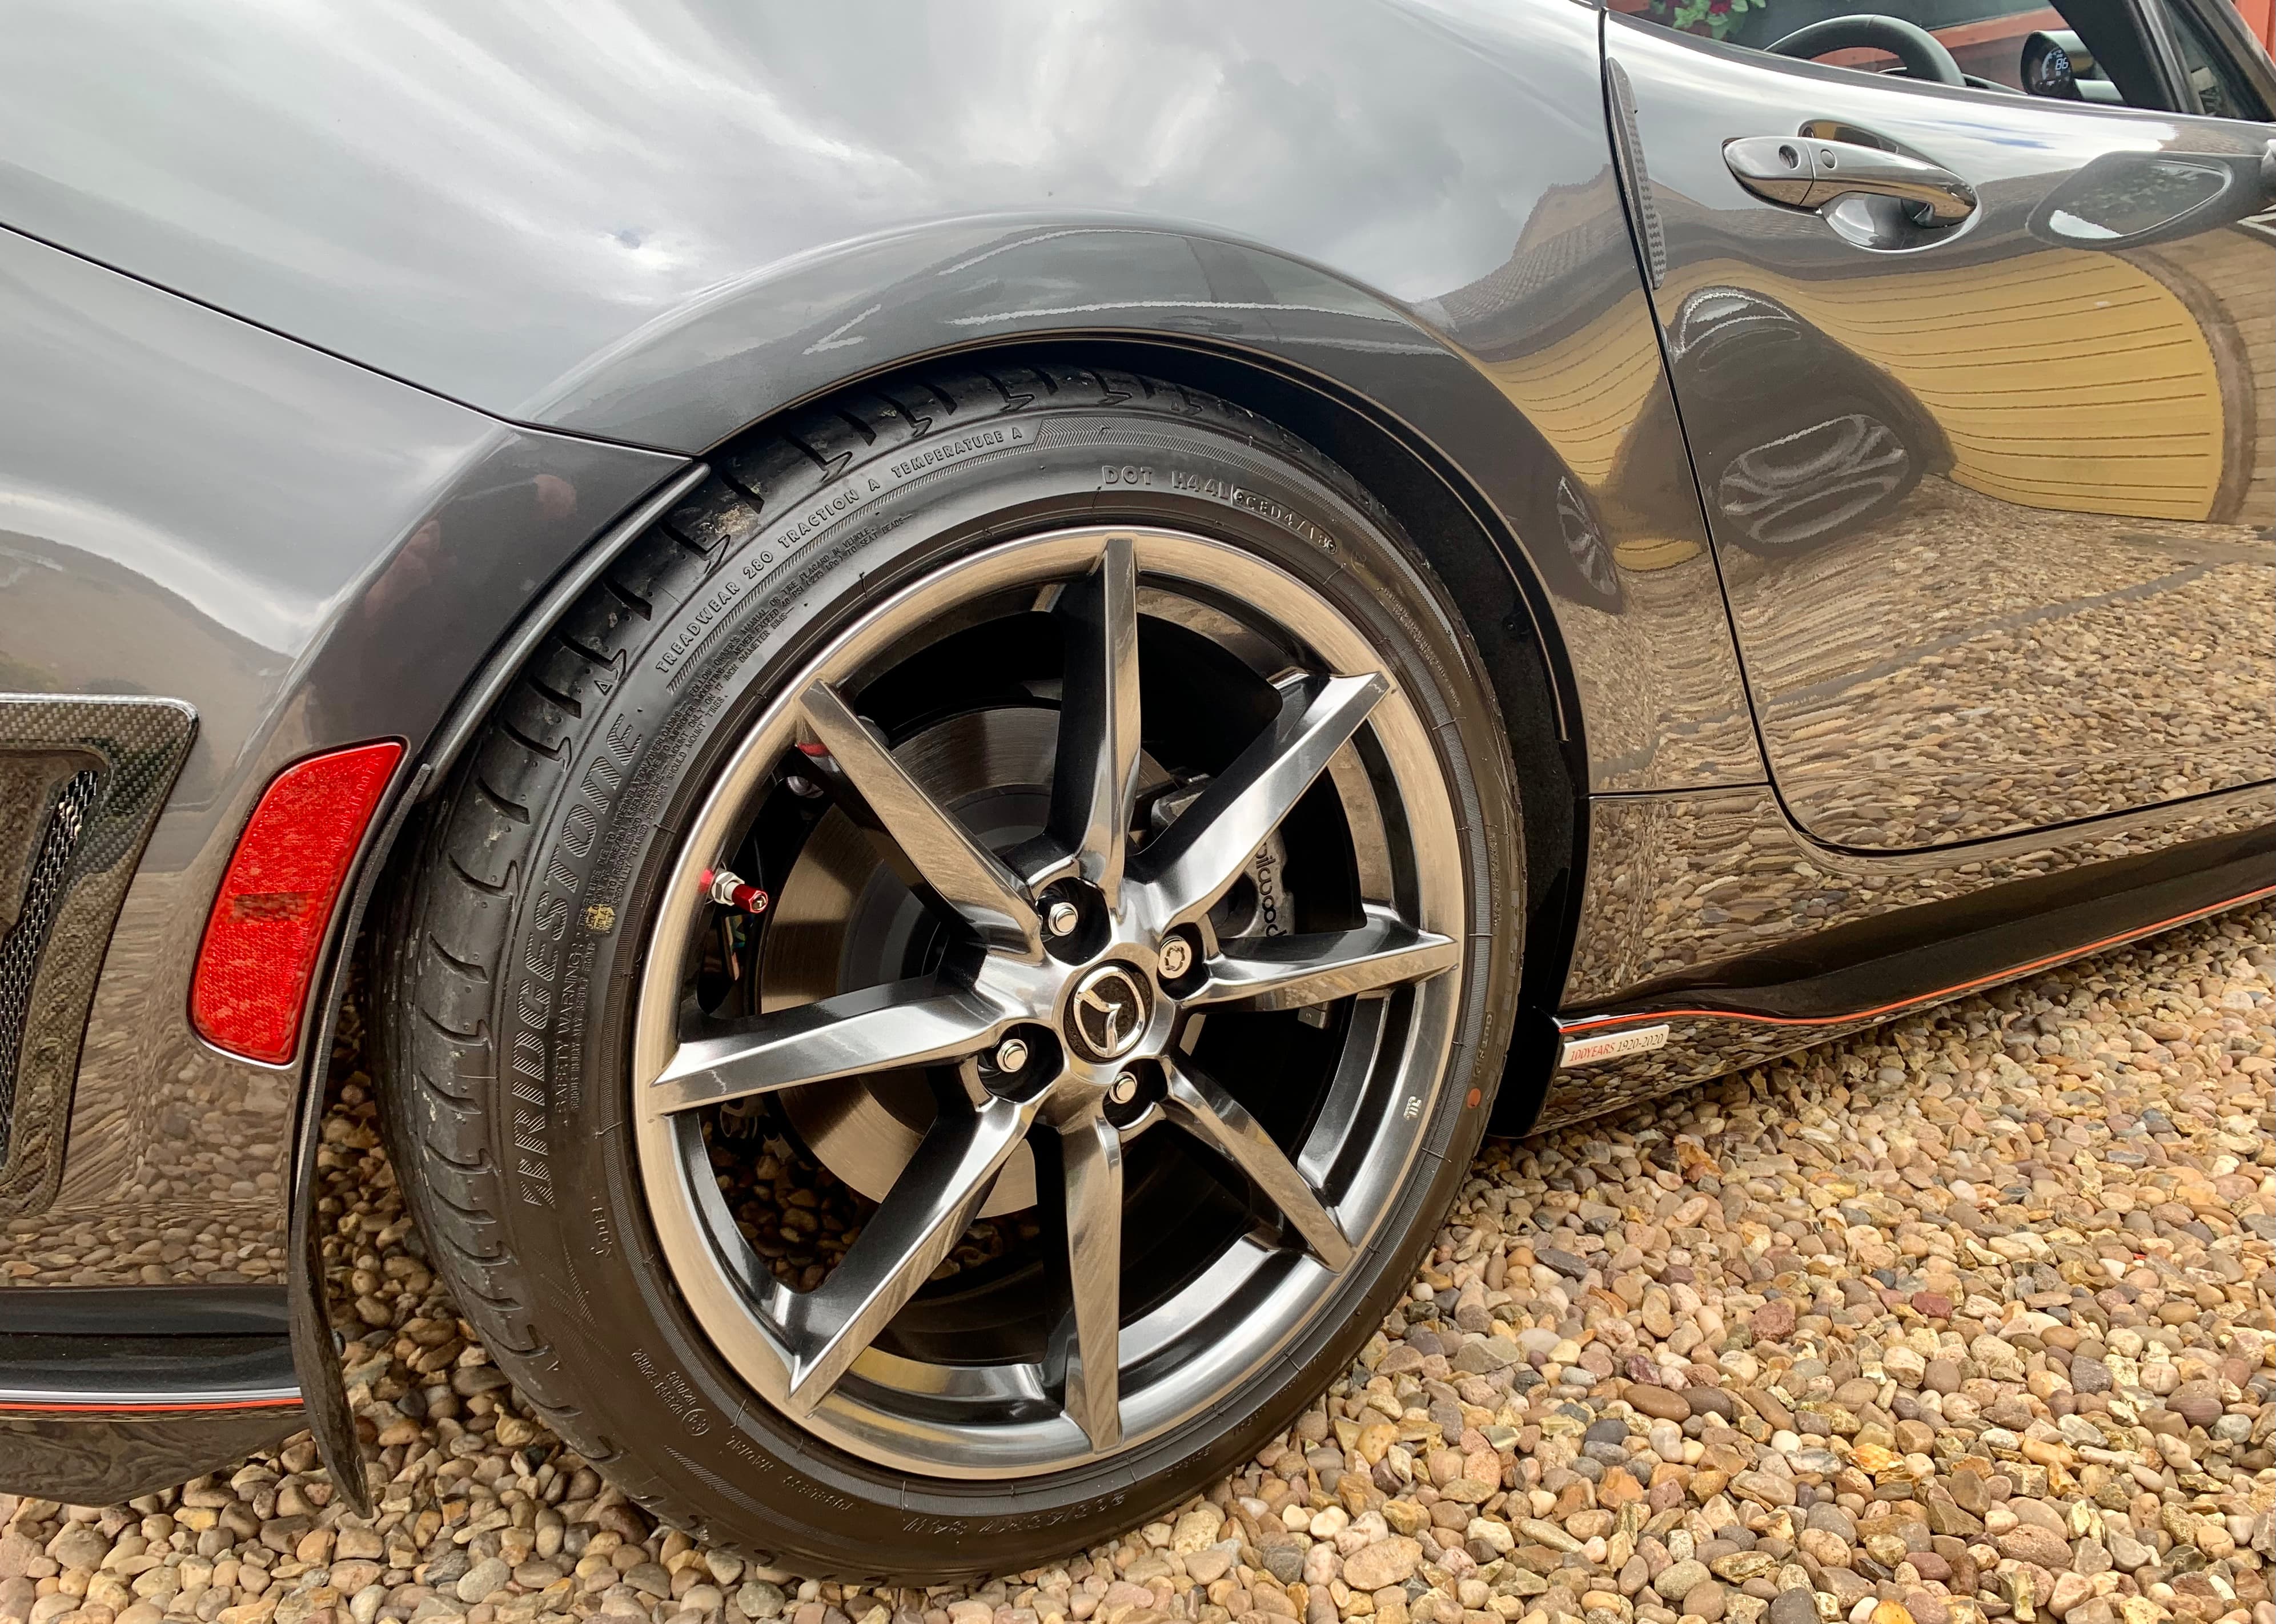
some more adjustments have been made after these pictures where taken with a little more clearance given between wheel and wheel liner…

Spanners/ sockets tools Needed
10mm socket + spanner need for all I used 3/4 drive sockets, and ratchet spanners
12mm
14mm
17mm
19mm
Ratchet 3/4 drive
sliding Bar 3/4 drive
touque wrench
MeisterR adjustment spanners
trolly Jack …I used my 12 volt 3 ton jack
lots of tea… ![]()
So thanks for Taking the time to Look ![]()
- List item