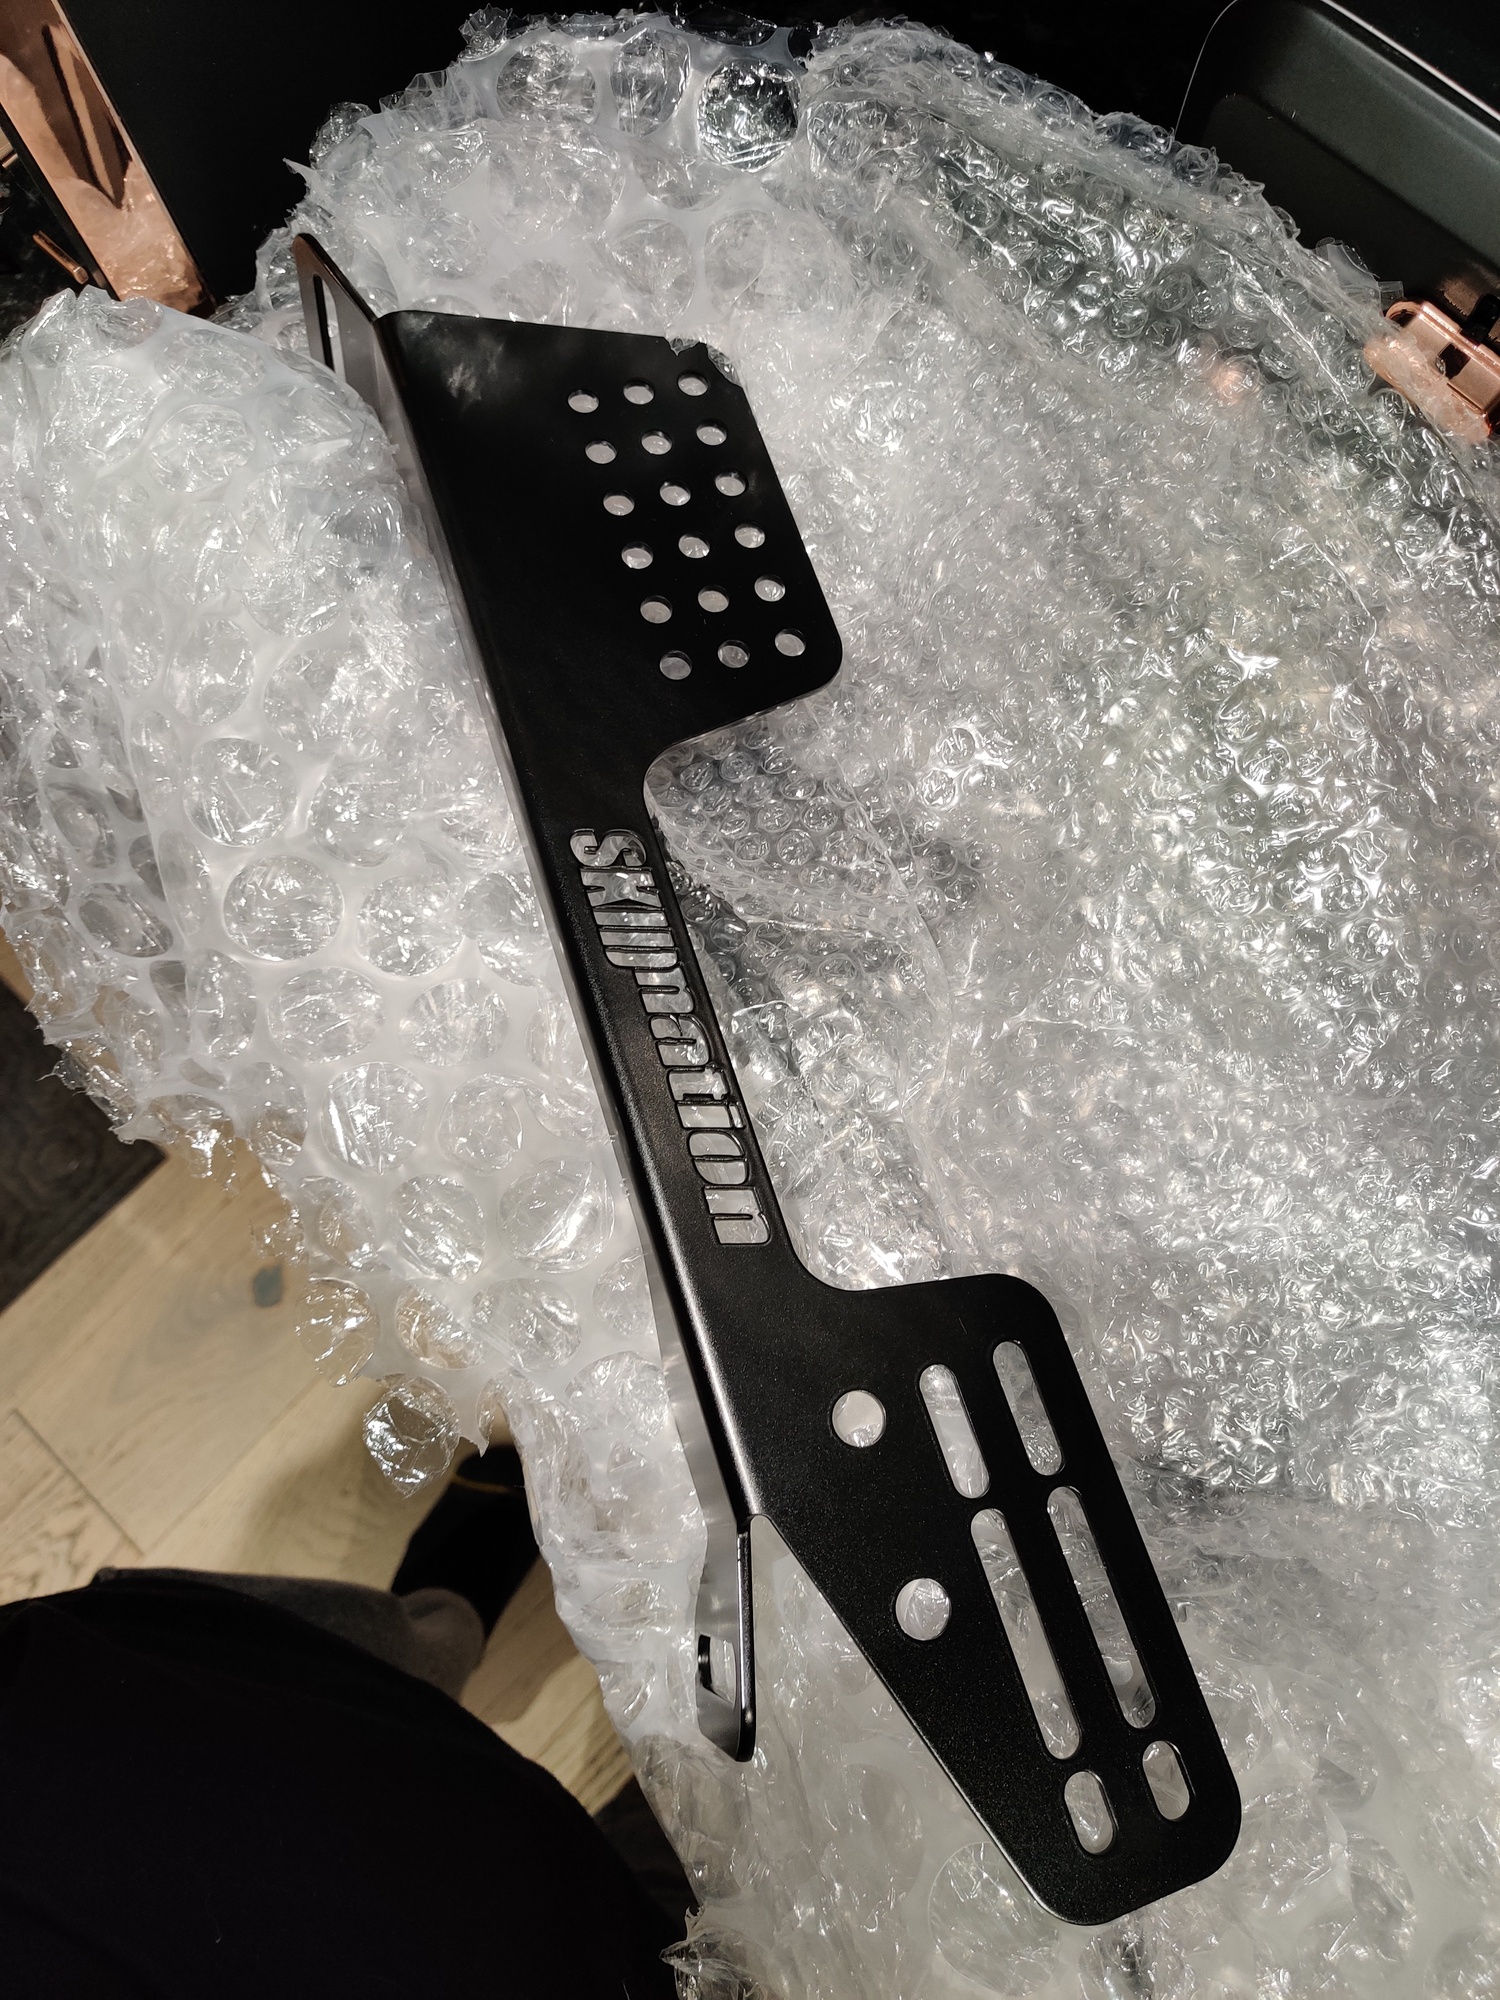
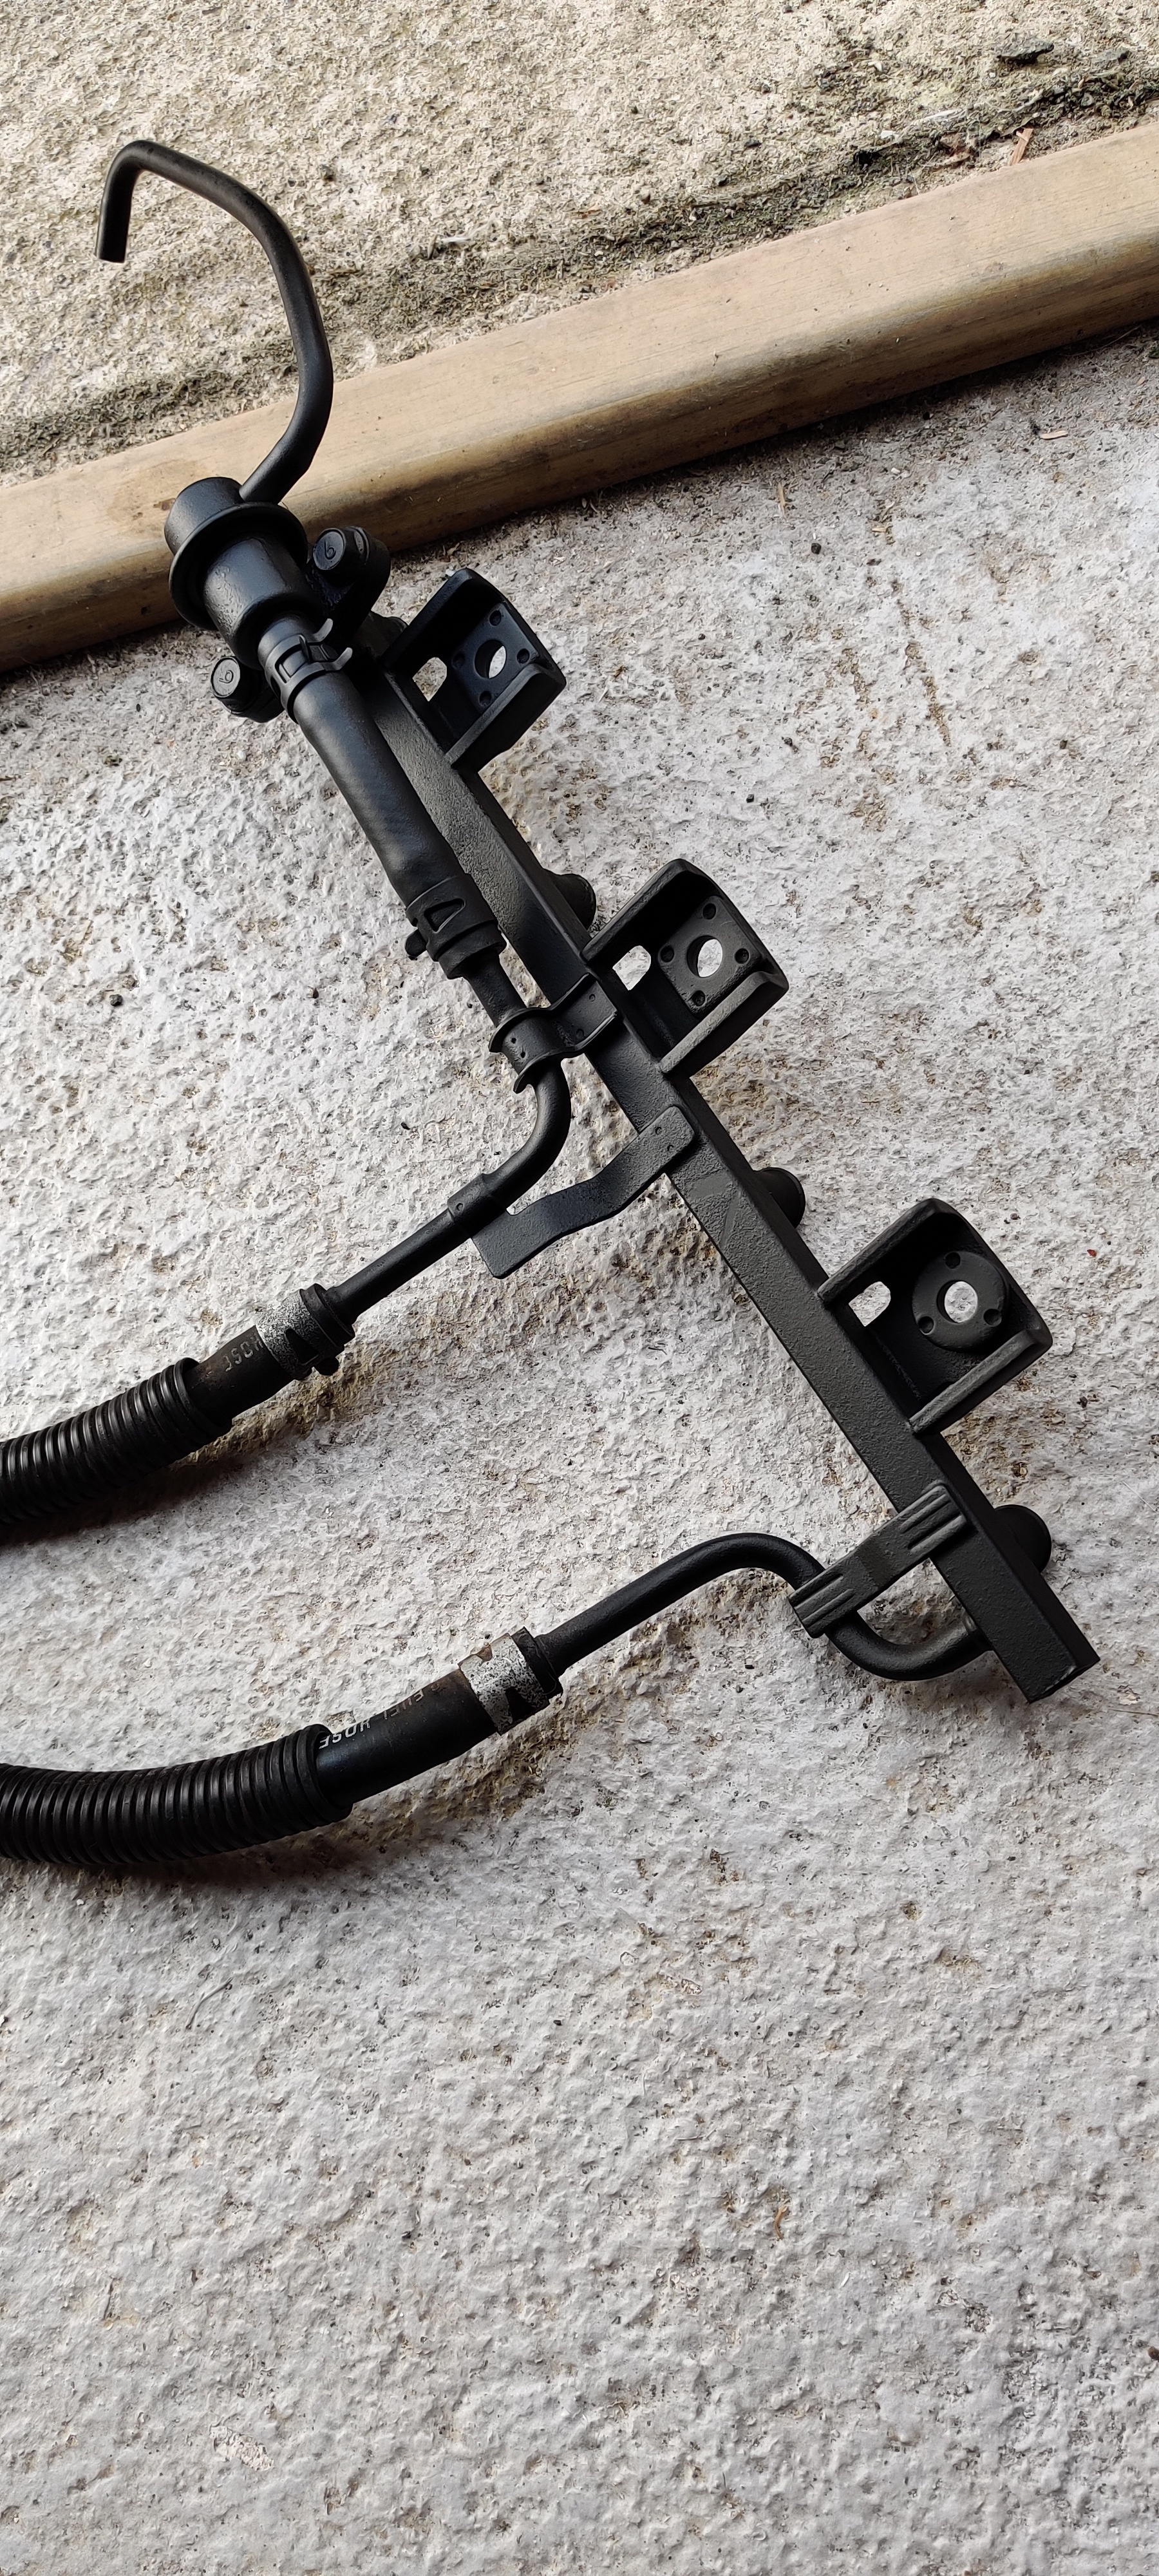
Rails look braw
Messed around with it again last night to try and sort the 1100 rpm idle, found out it’s not the clutch switch, mad and I’m positive it’s not a vac leak, so next I’ll try the neutral switch on the gearbox and if that doesn’t fix it I’ll fire the laptop on it and see if I’ve accidentally set it to always closed/open loop fueling, whichever makes it rev at 1100, I can’t remember 
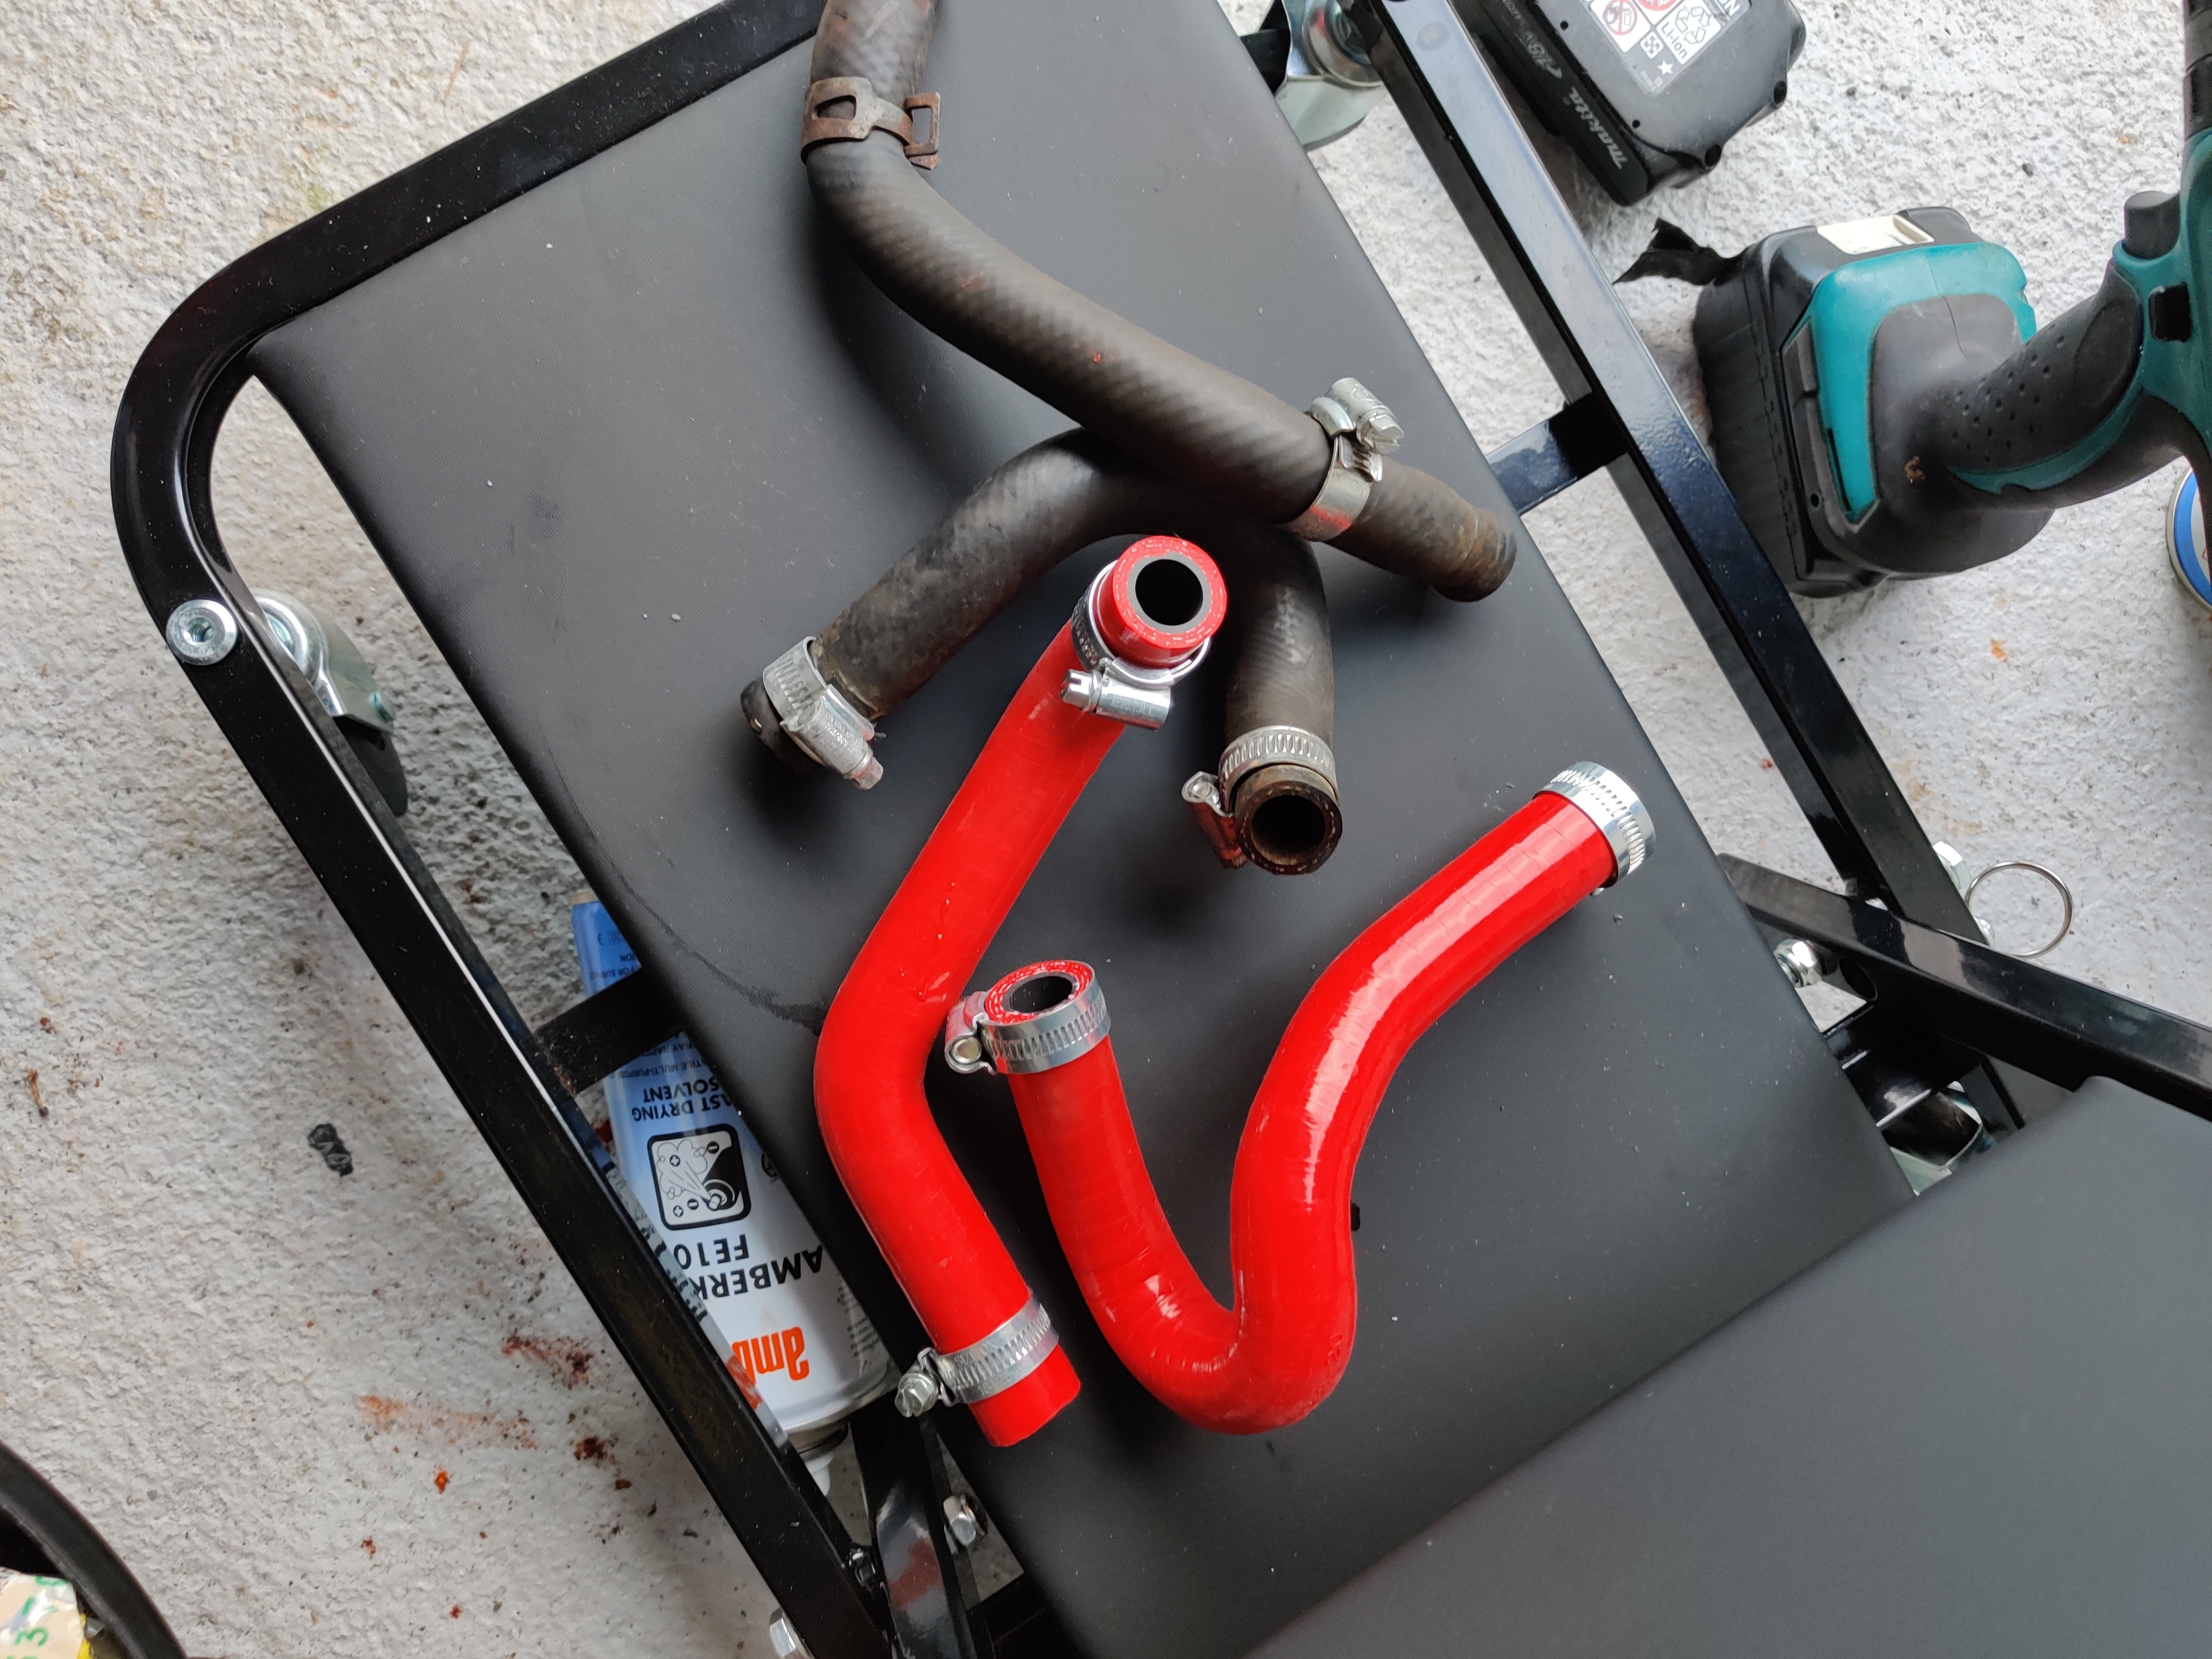
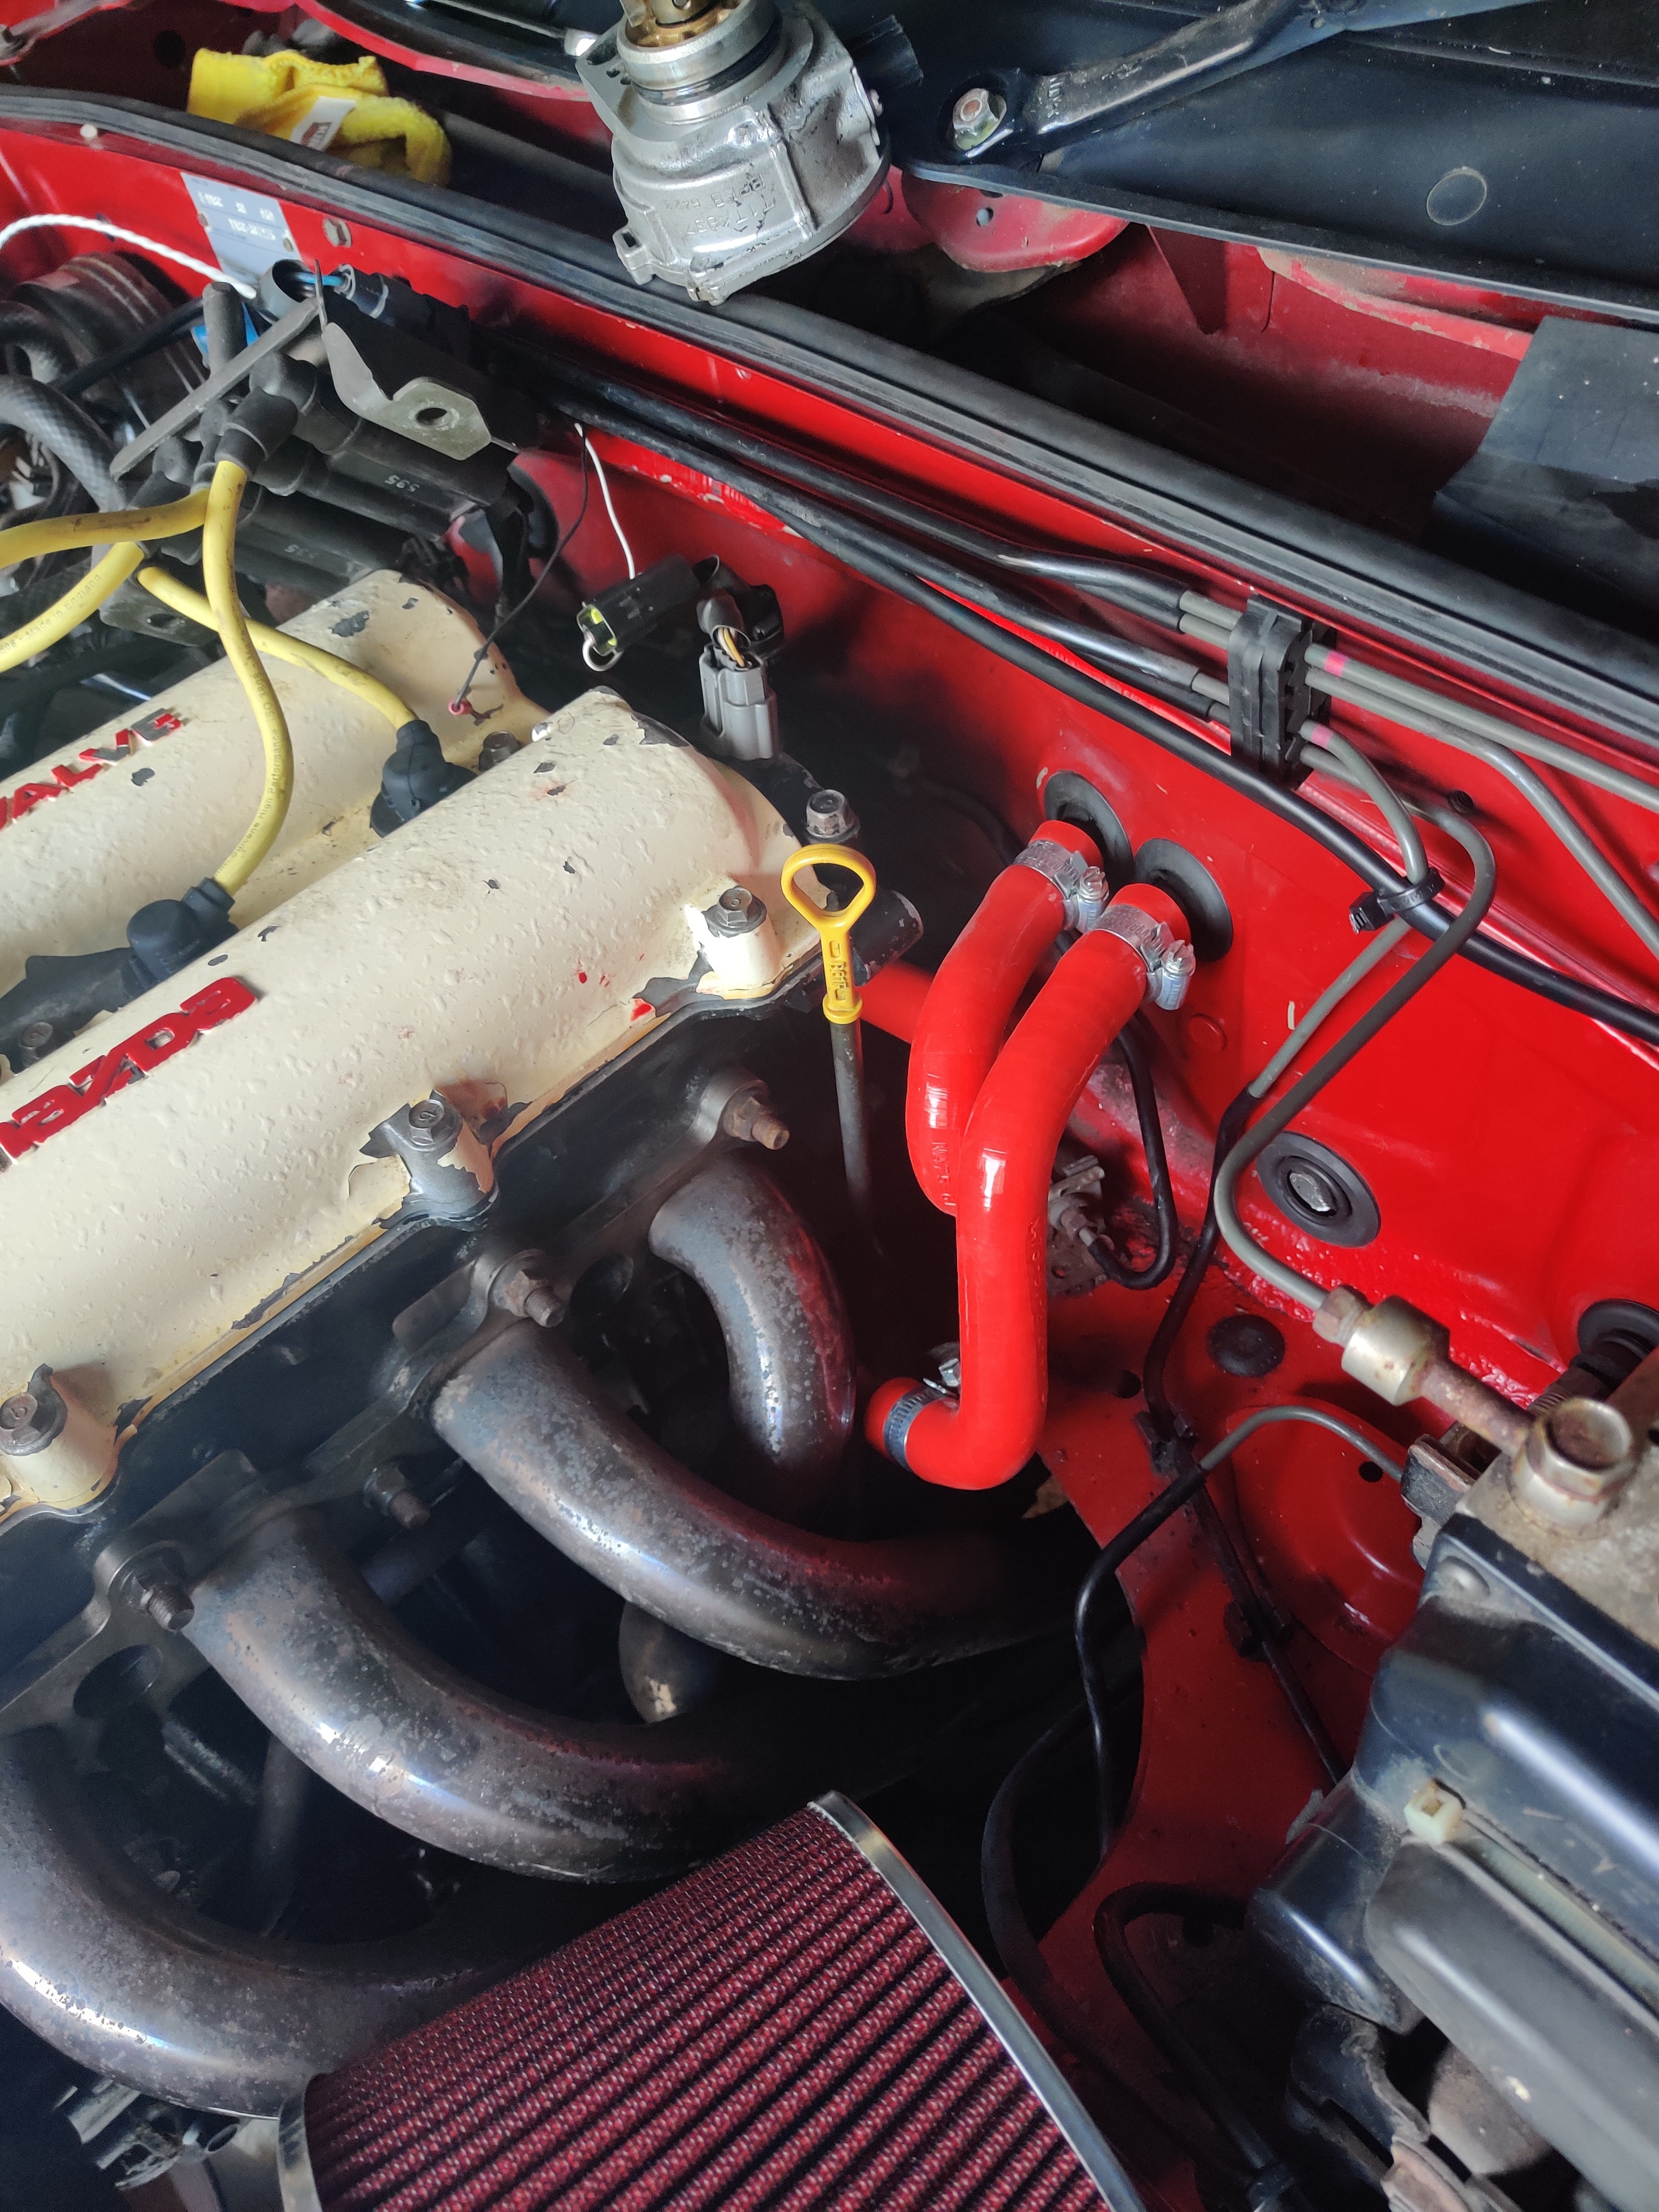
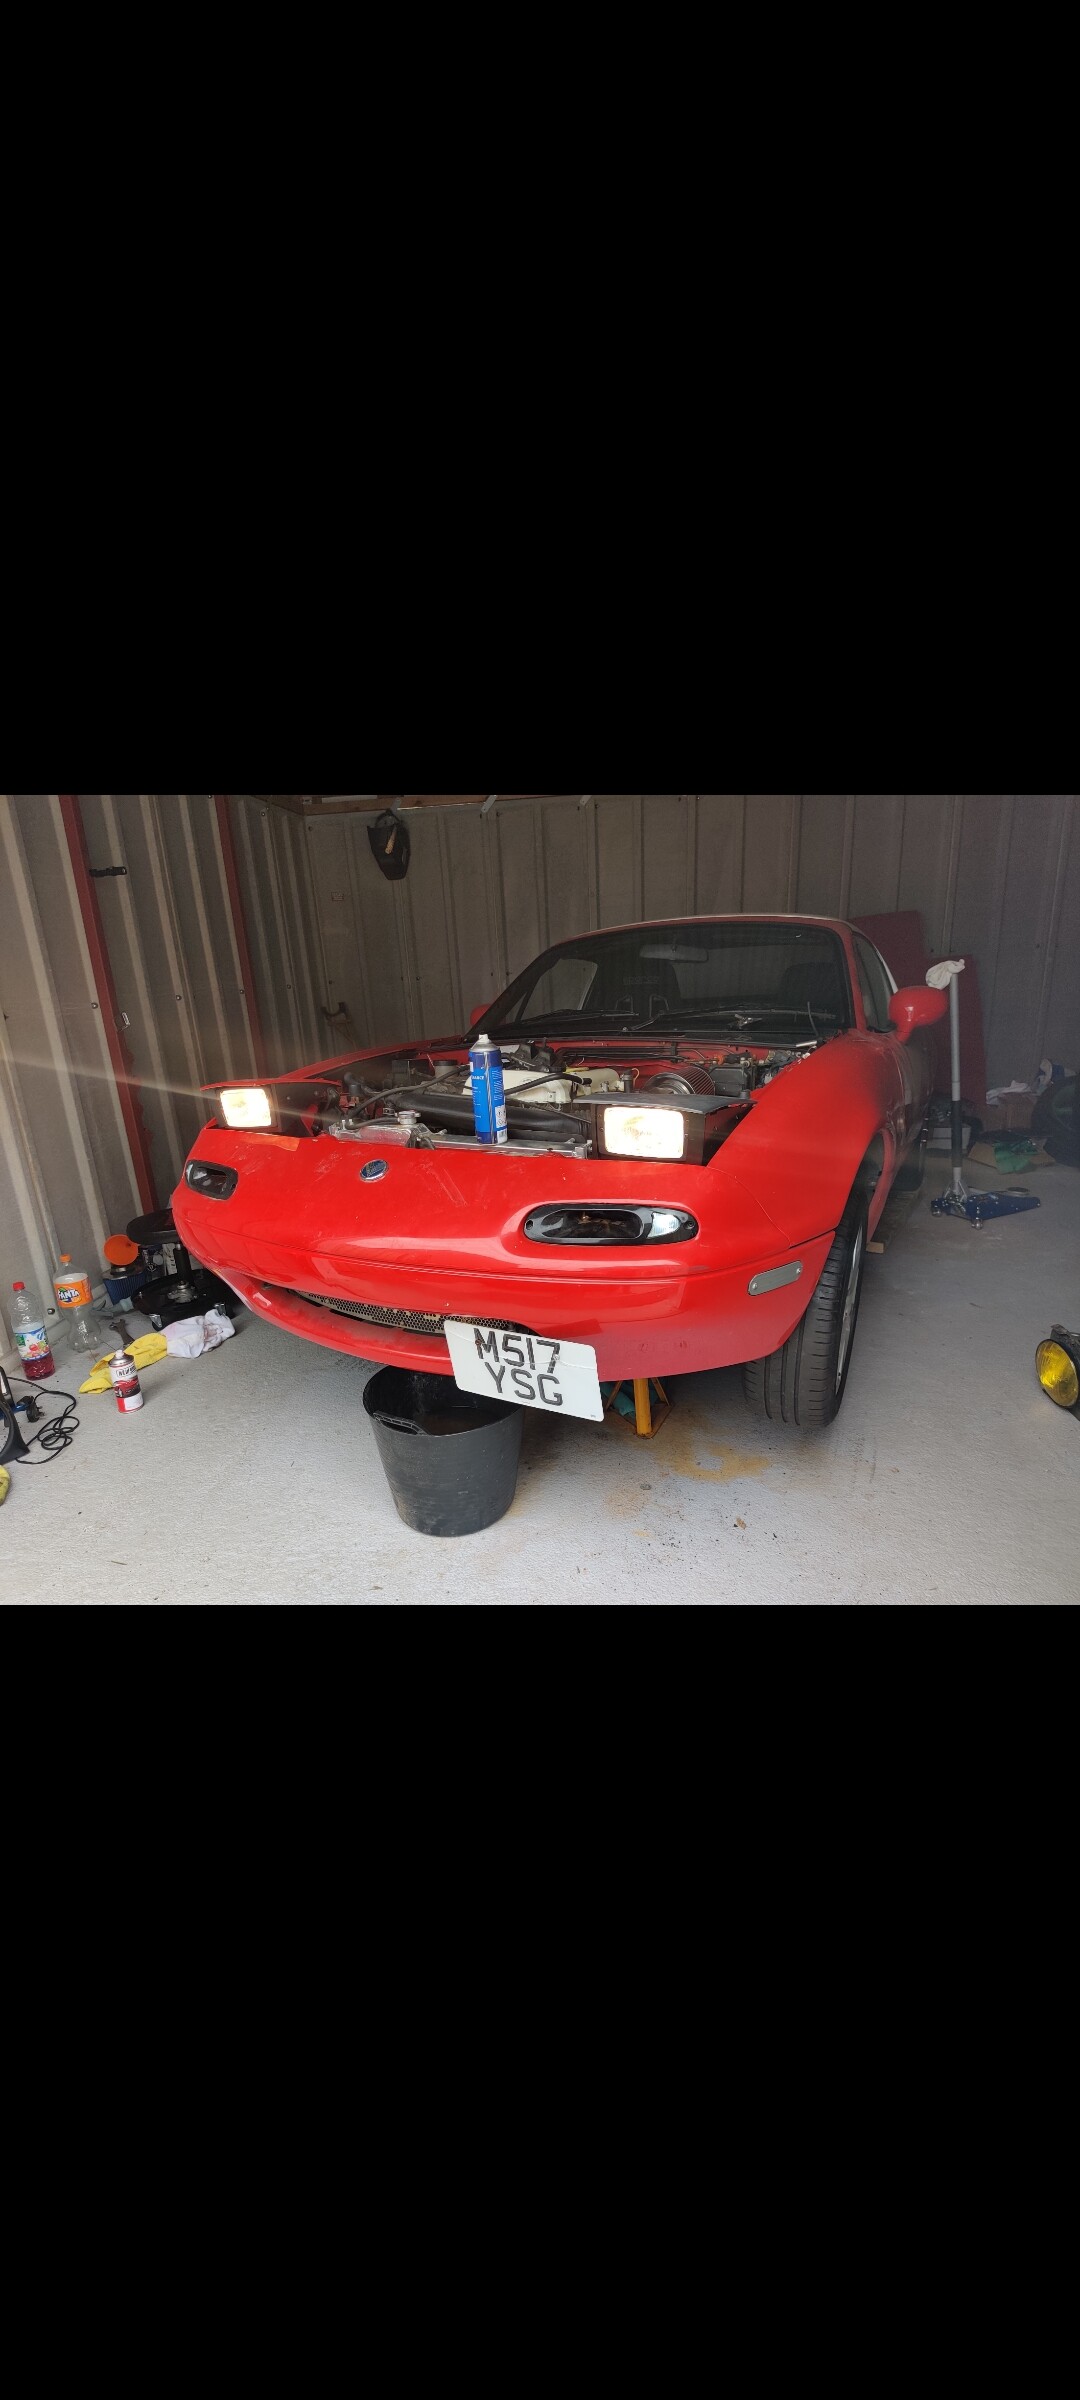
Not played with the mx5 for a bit now but since the new heater matrix hoses finally came I thought I’d have a tinker tonight, new hoses on but it now idles back up at 1800, guessing my cas isn’t quite back where it was, although I marked it and it looks bang on, so I’ll get the timing gun out again
Managed to go out for a play for a while, had to keep busy since it was -2  concluded that the idling at 1050/1100 is down to the map, double checked timing today and it was slightly off since taking the cas out, sorted that, tested the gearbox neutral and gave it a vac leak to compare but everything seems fine (unless it’s the fact I have a cone instead of an airbox but I had tested someone’s the other week with their maf and no change) and I’ve already tested the clutch switch. SO, gunna reload the basemap fresh since all the messing around I did was when it was at tdc (also may have played around with the open/closed loop setting which could be the problem) however I’ll start fresh and hope for the best
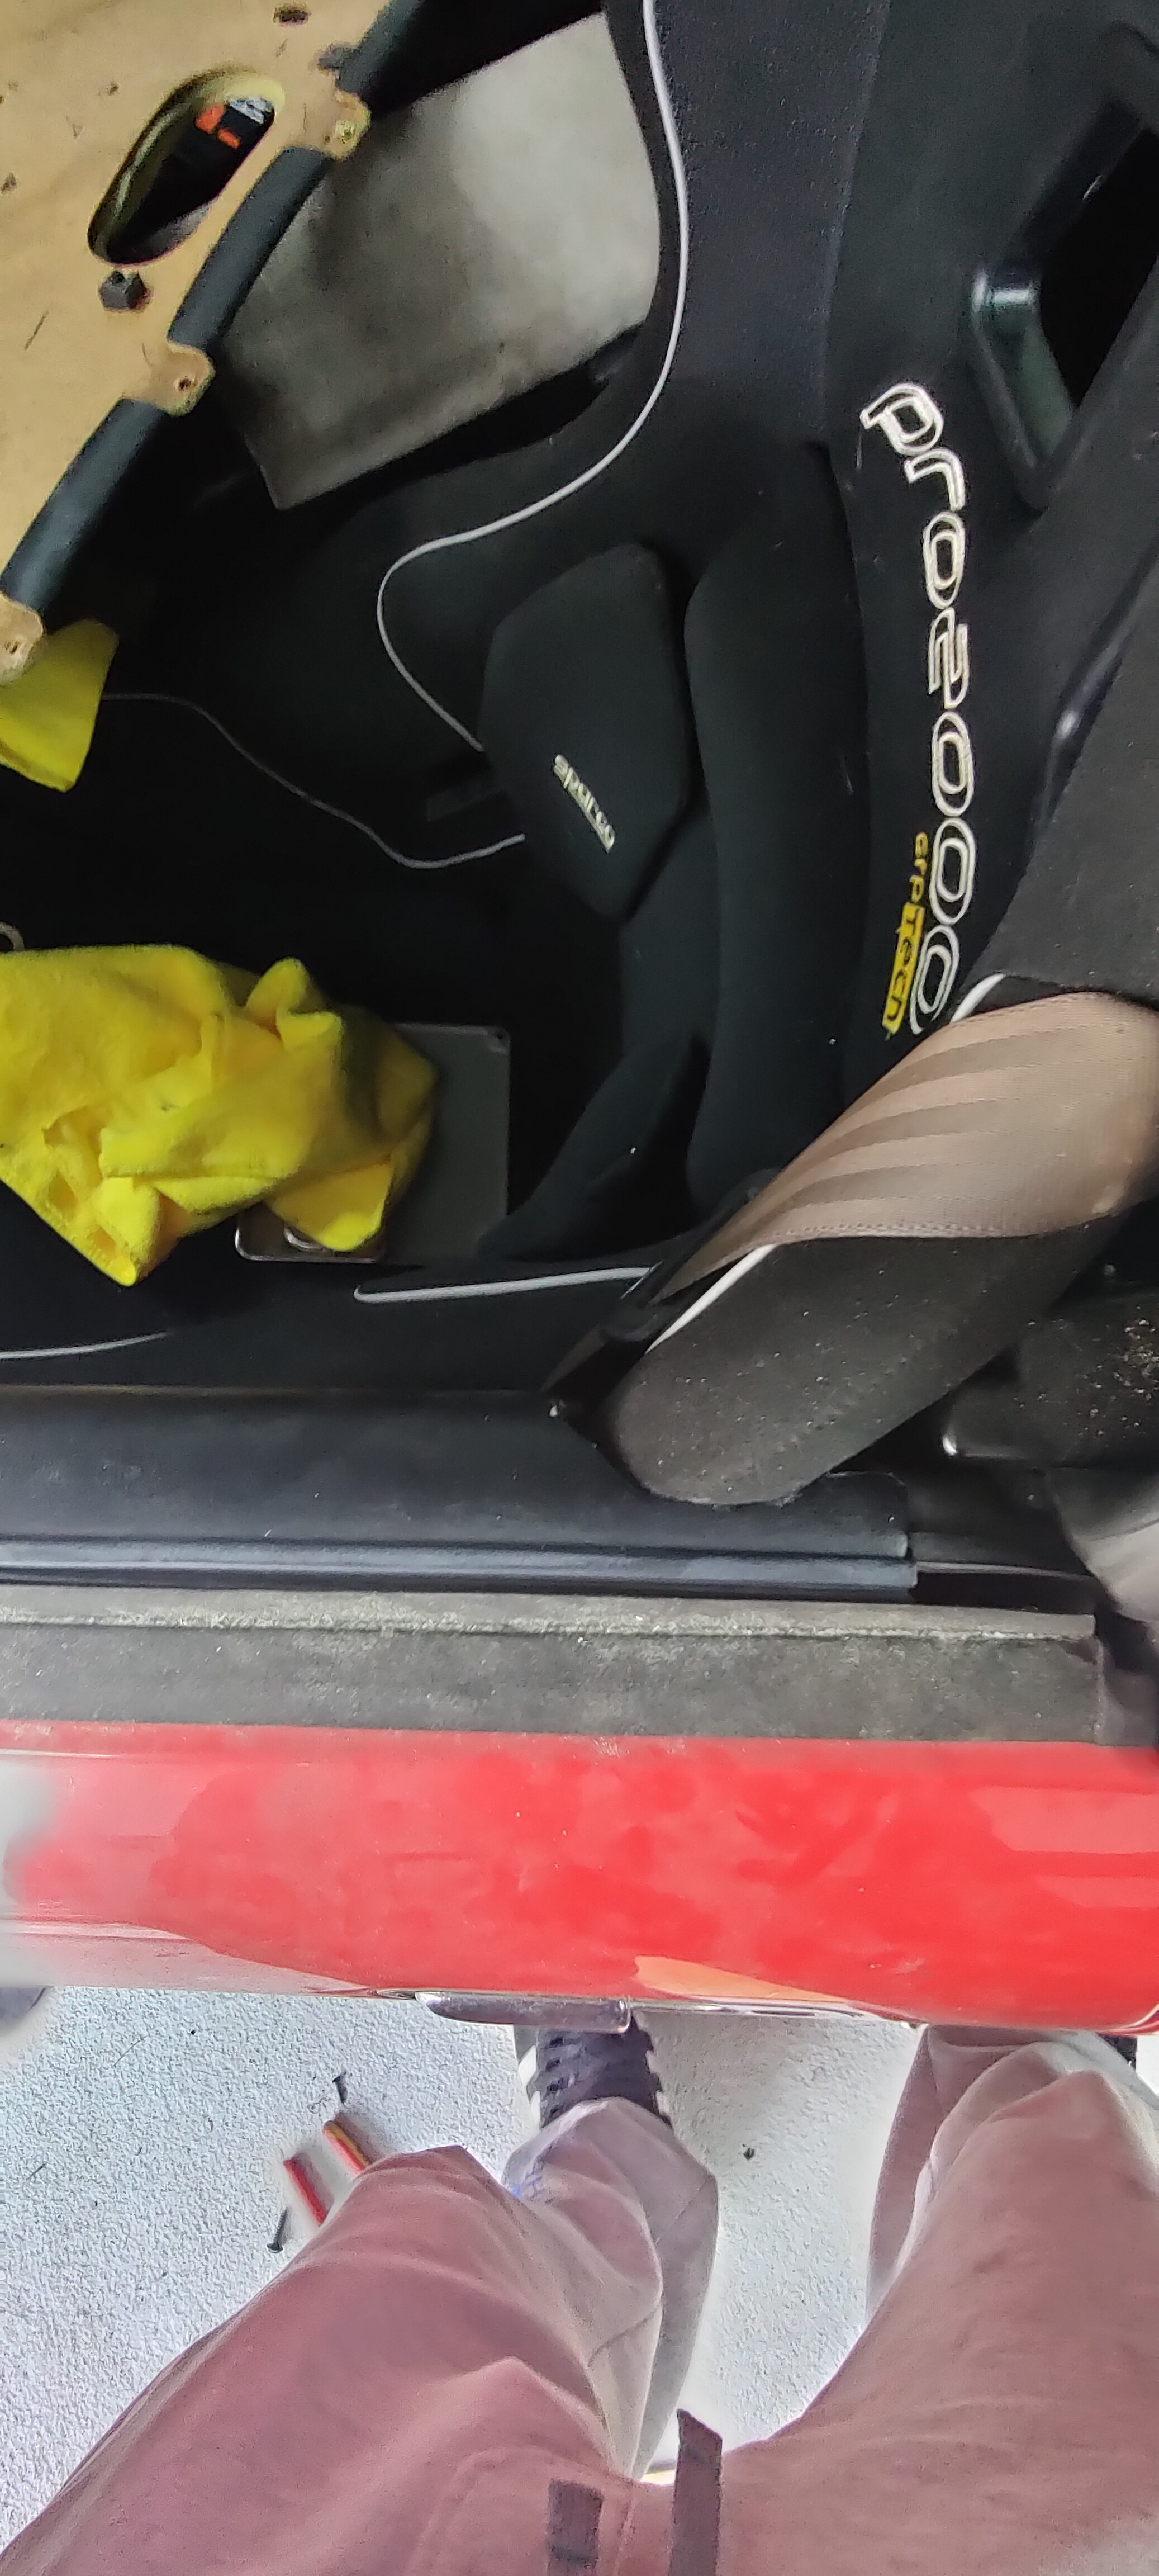
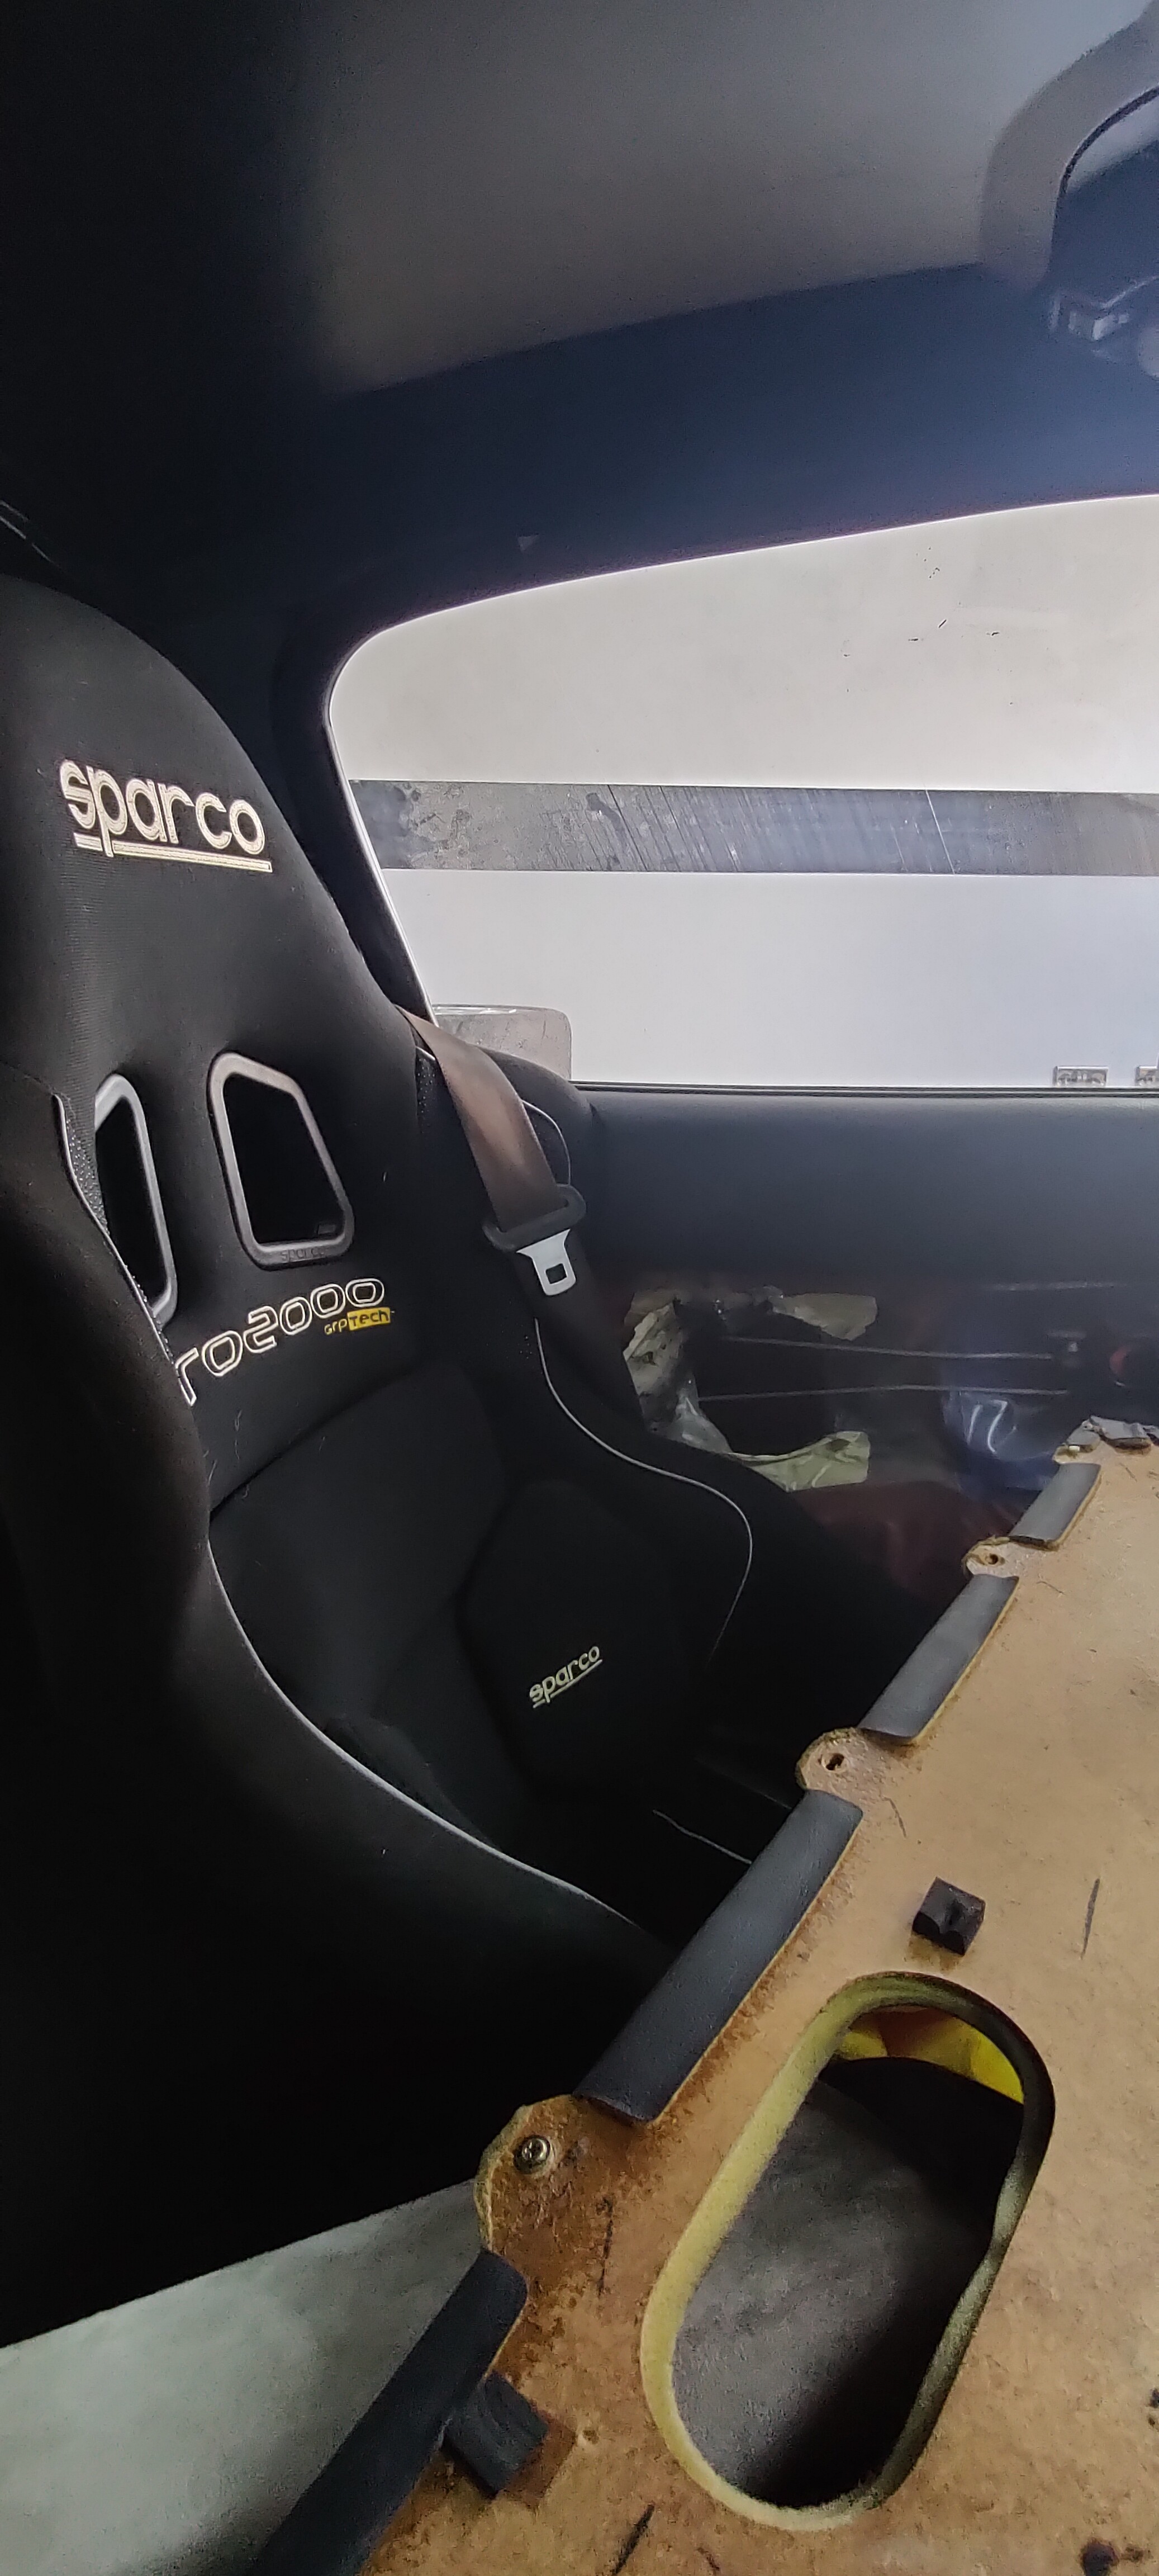
The new (used) seat bolts came today aswell so managed to get a pro2000 fitted
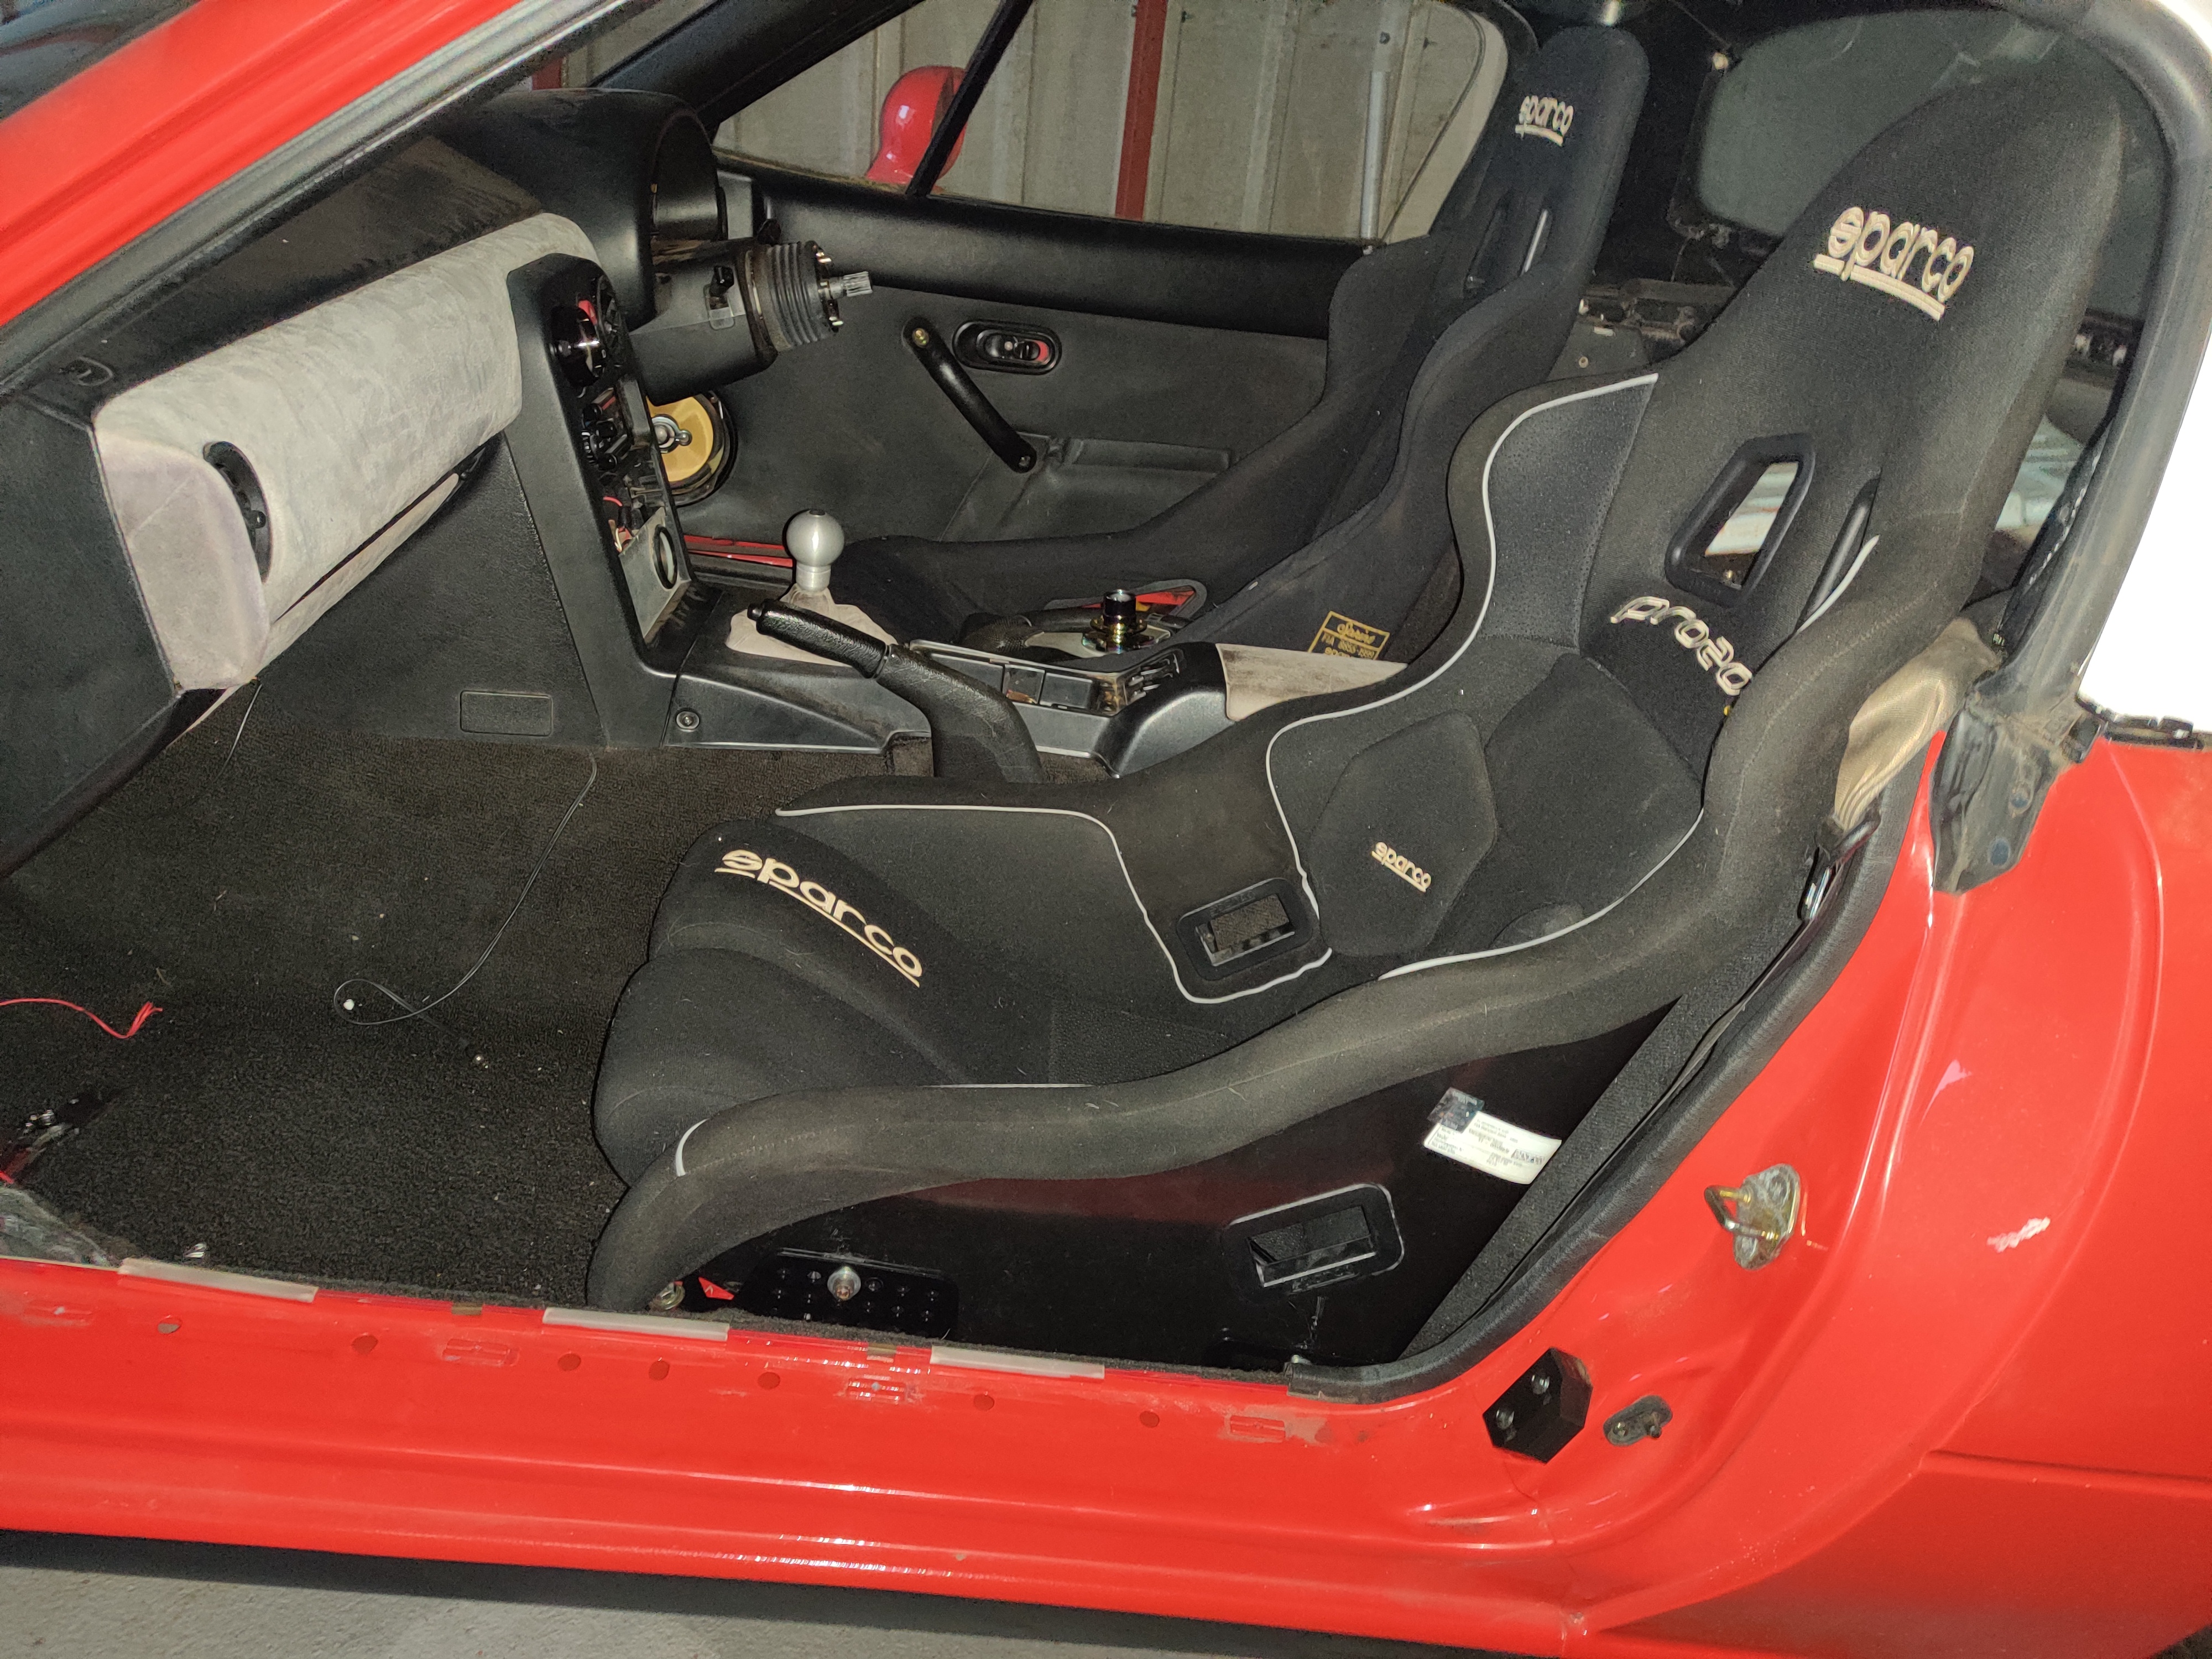
Need to get the other one out of the passenger side of my 182 then I’ll stick that in, it almost fits fine but I’m gunna have to notch the doors and trim which is fine, it’s an excuse to buy a new grinder (hello Mr Makita take my P’s)
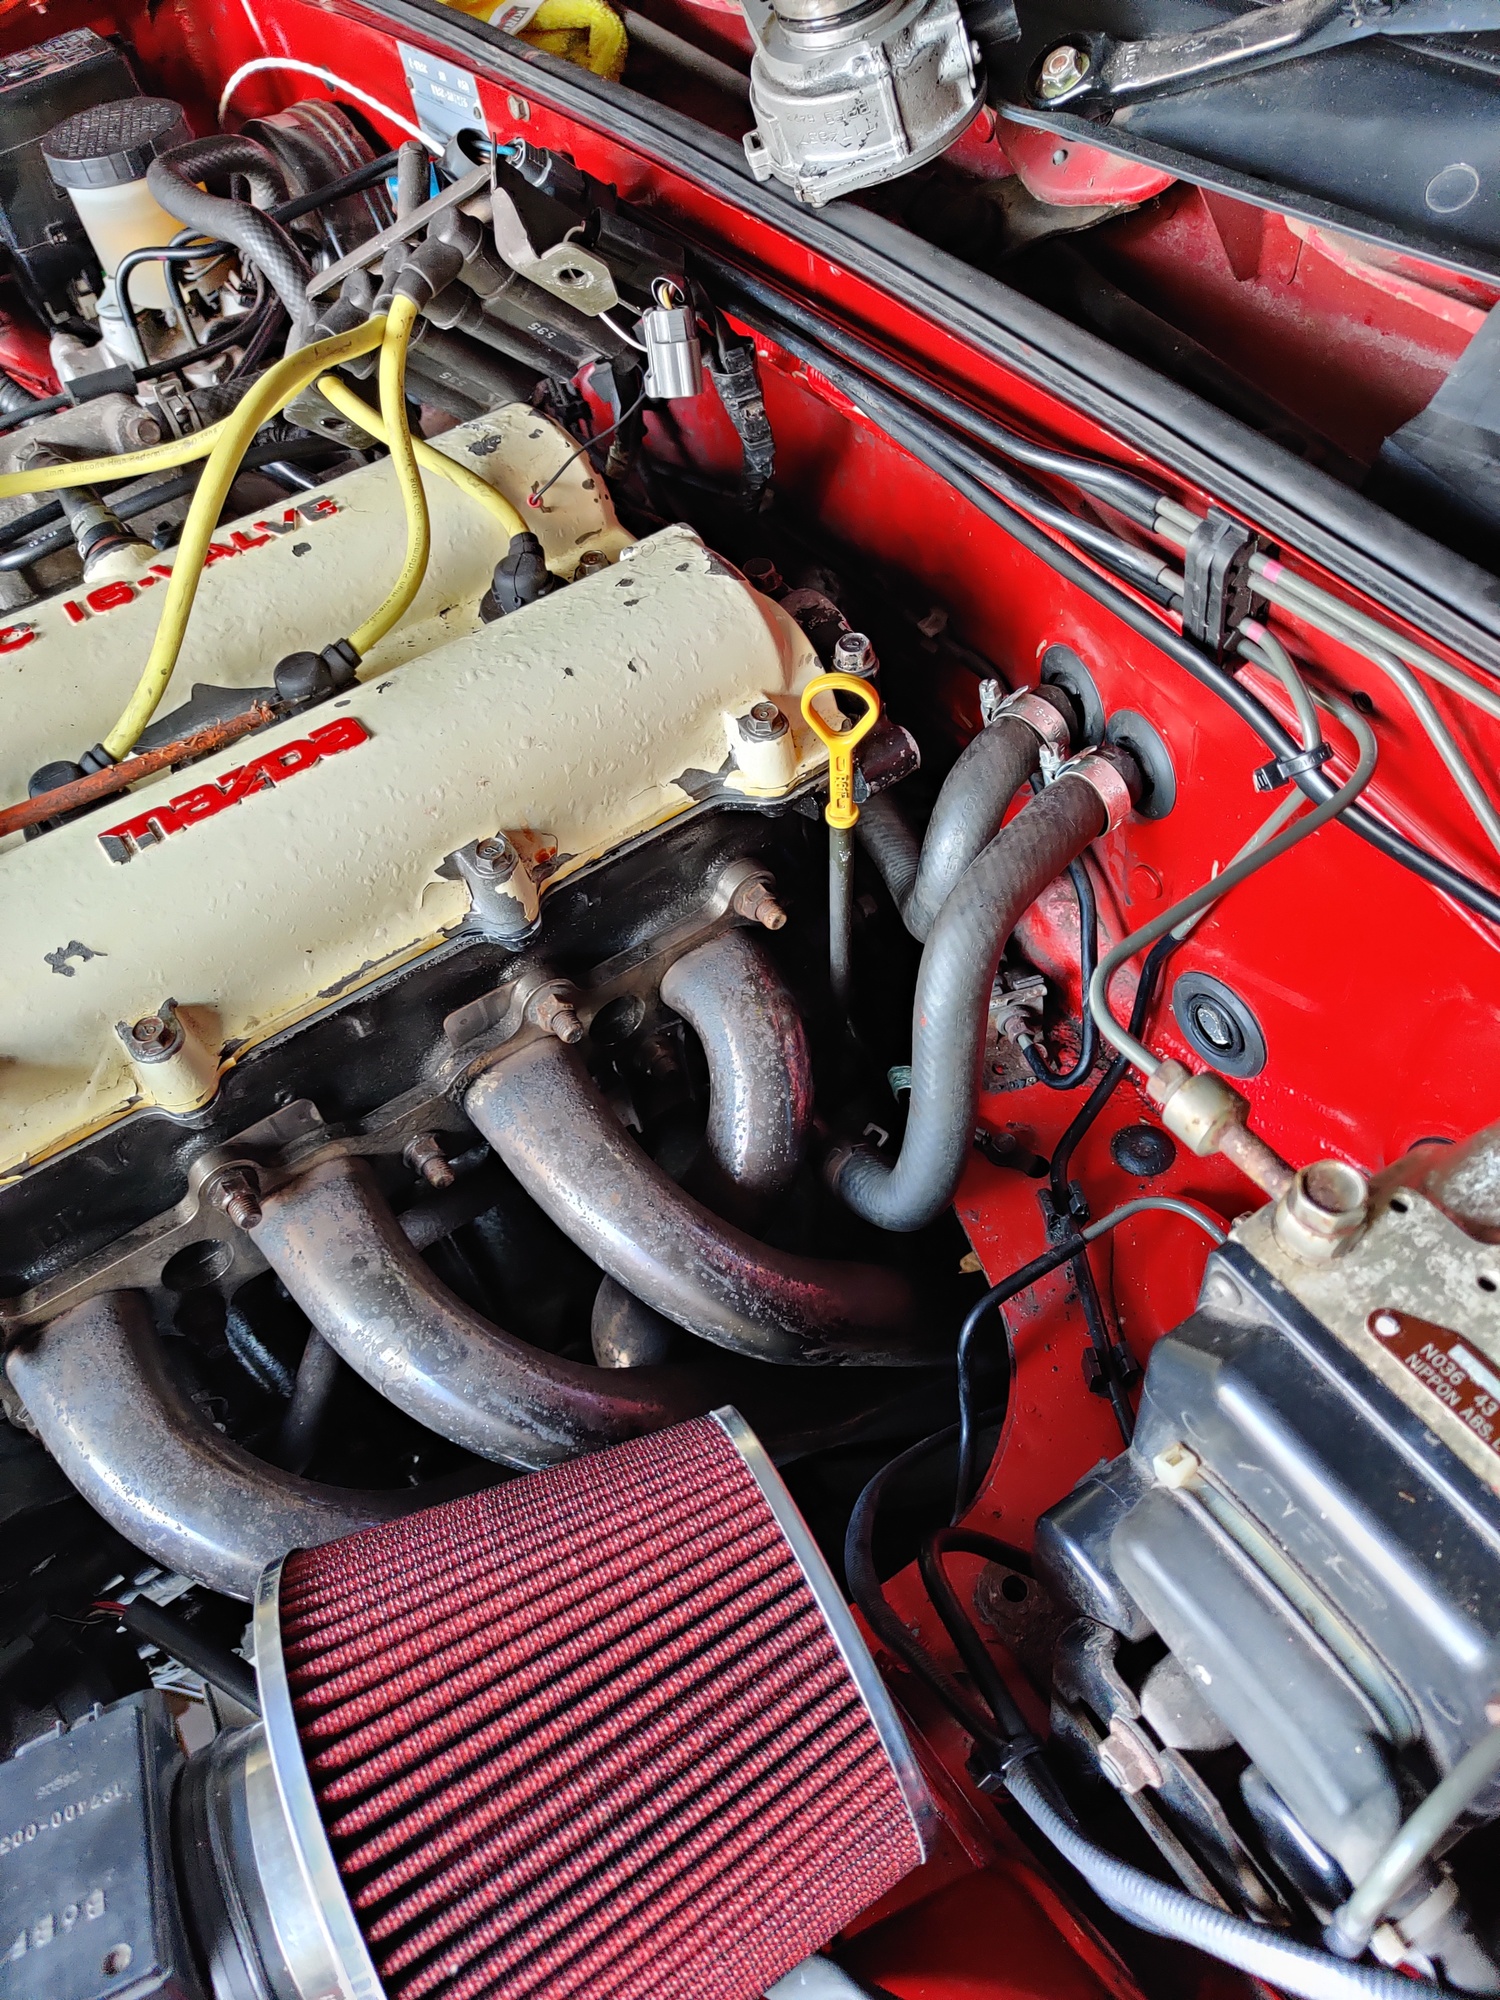
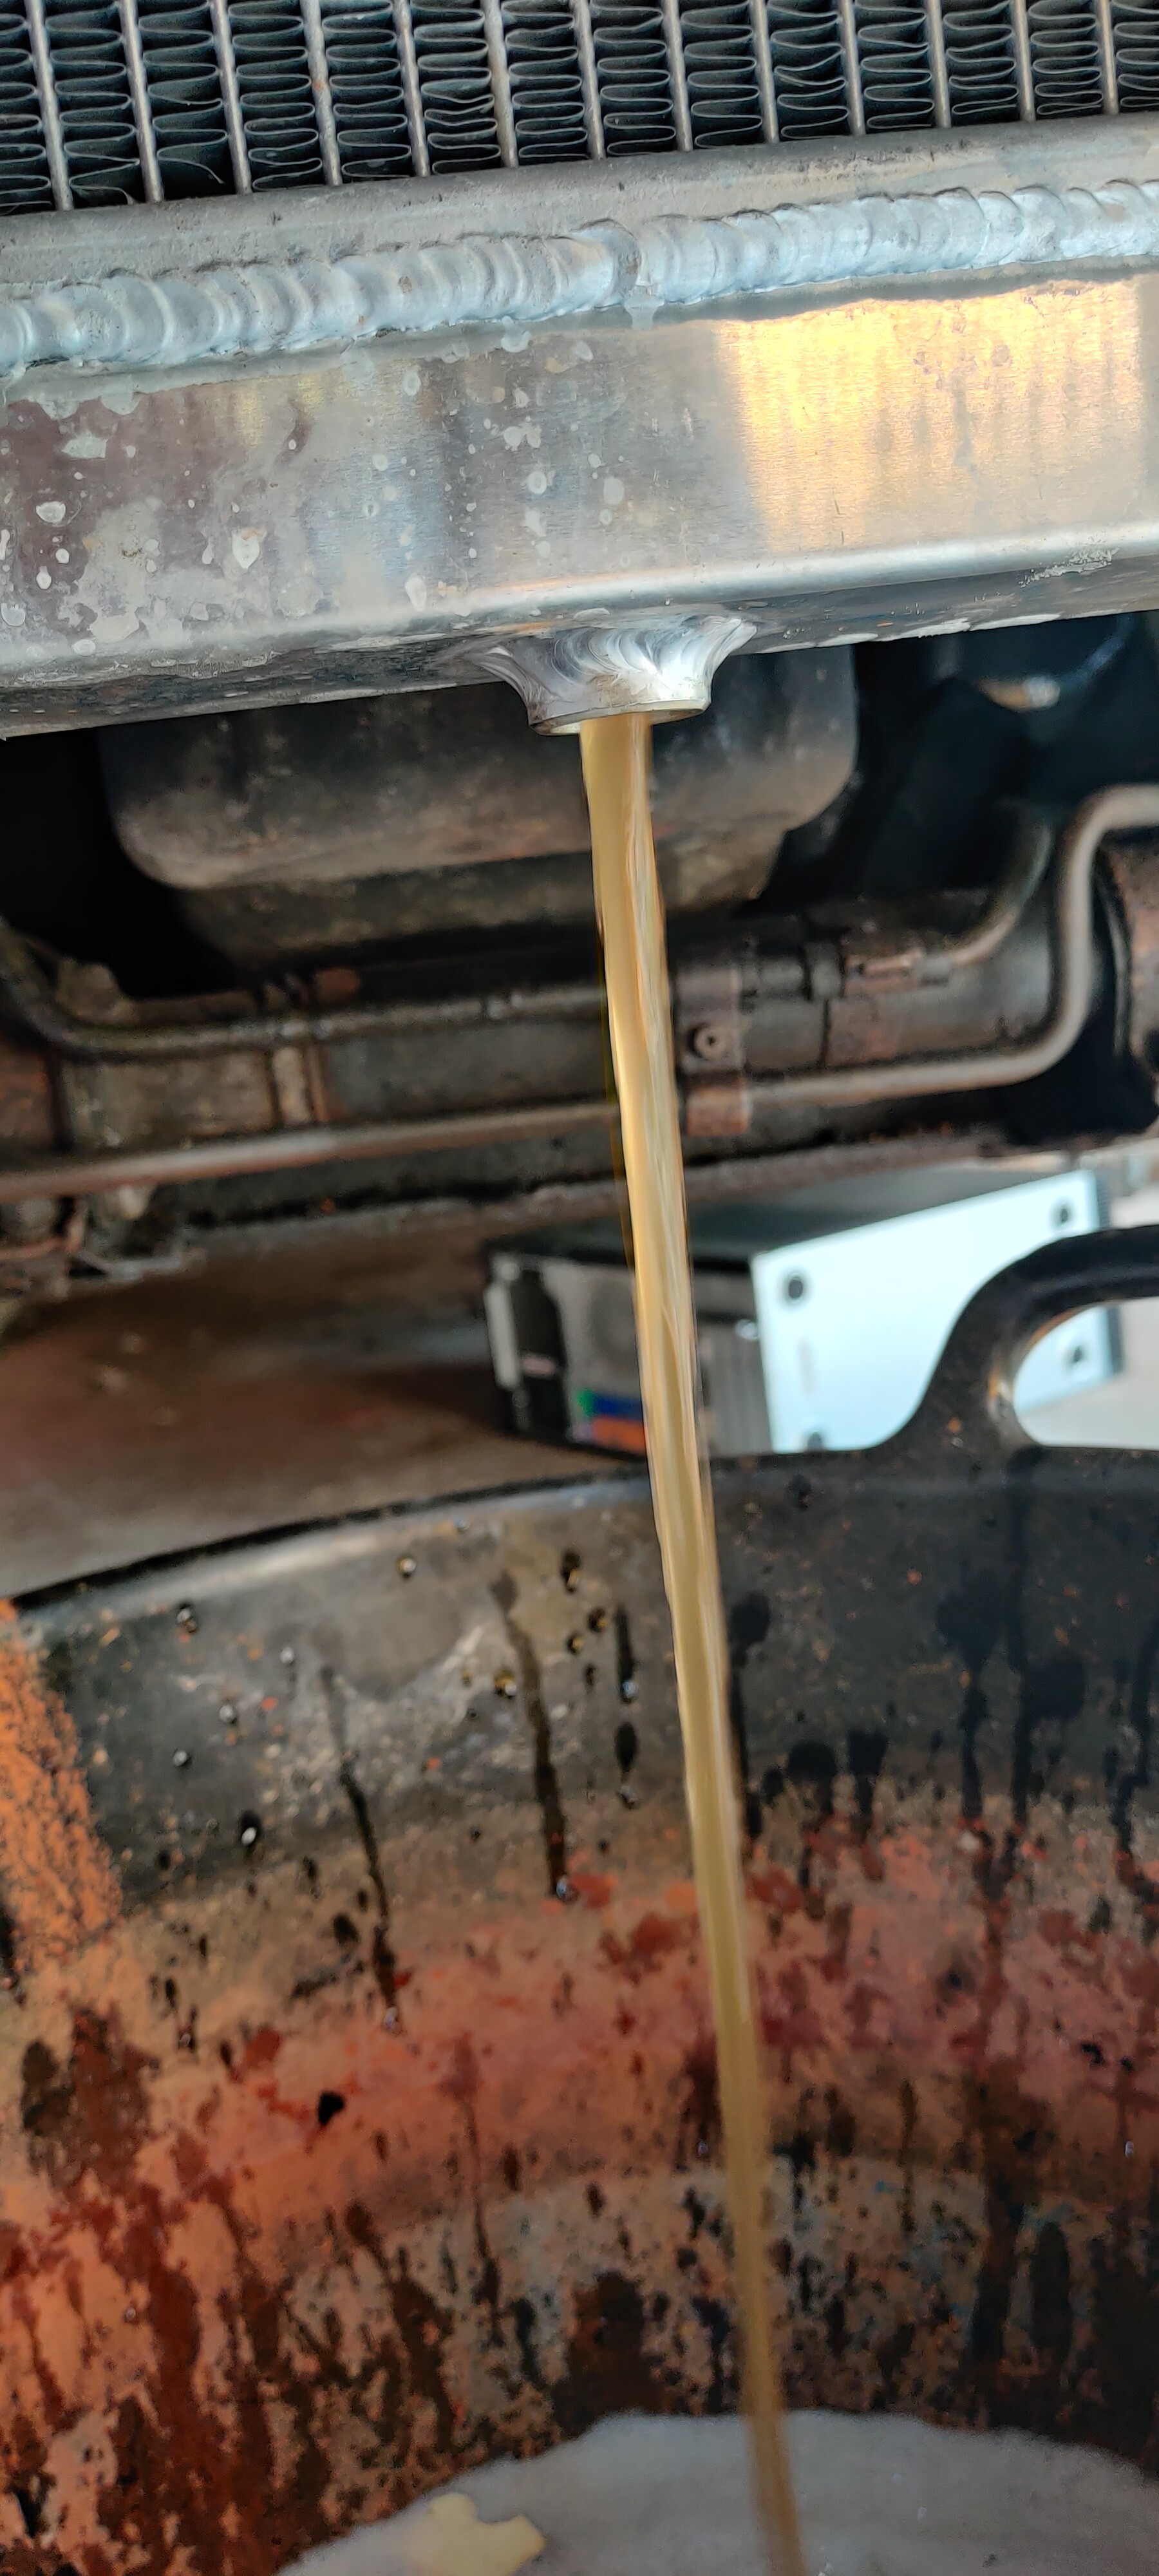
Coolant hoses seem to be holding up well aswell, no leaking or hissing so gunna tick that off the list for now too 
1 Like
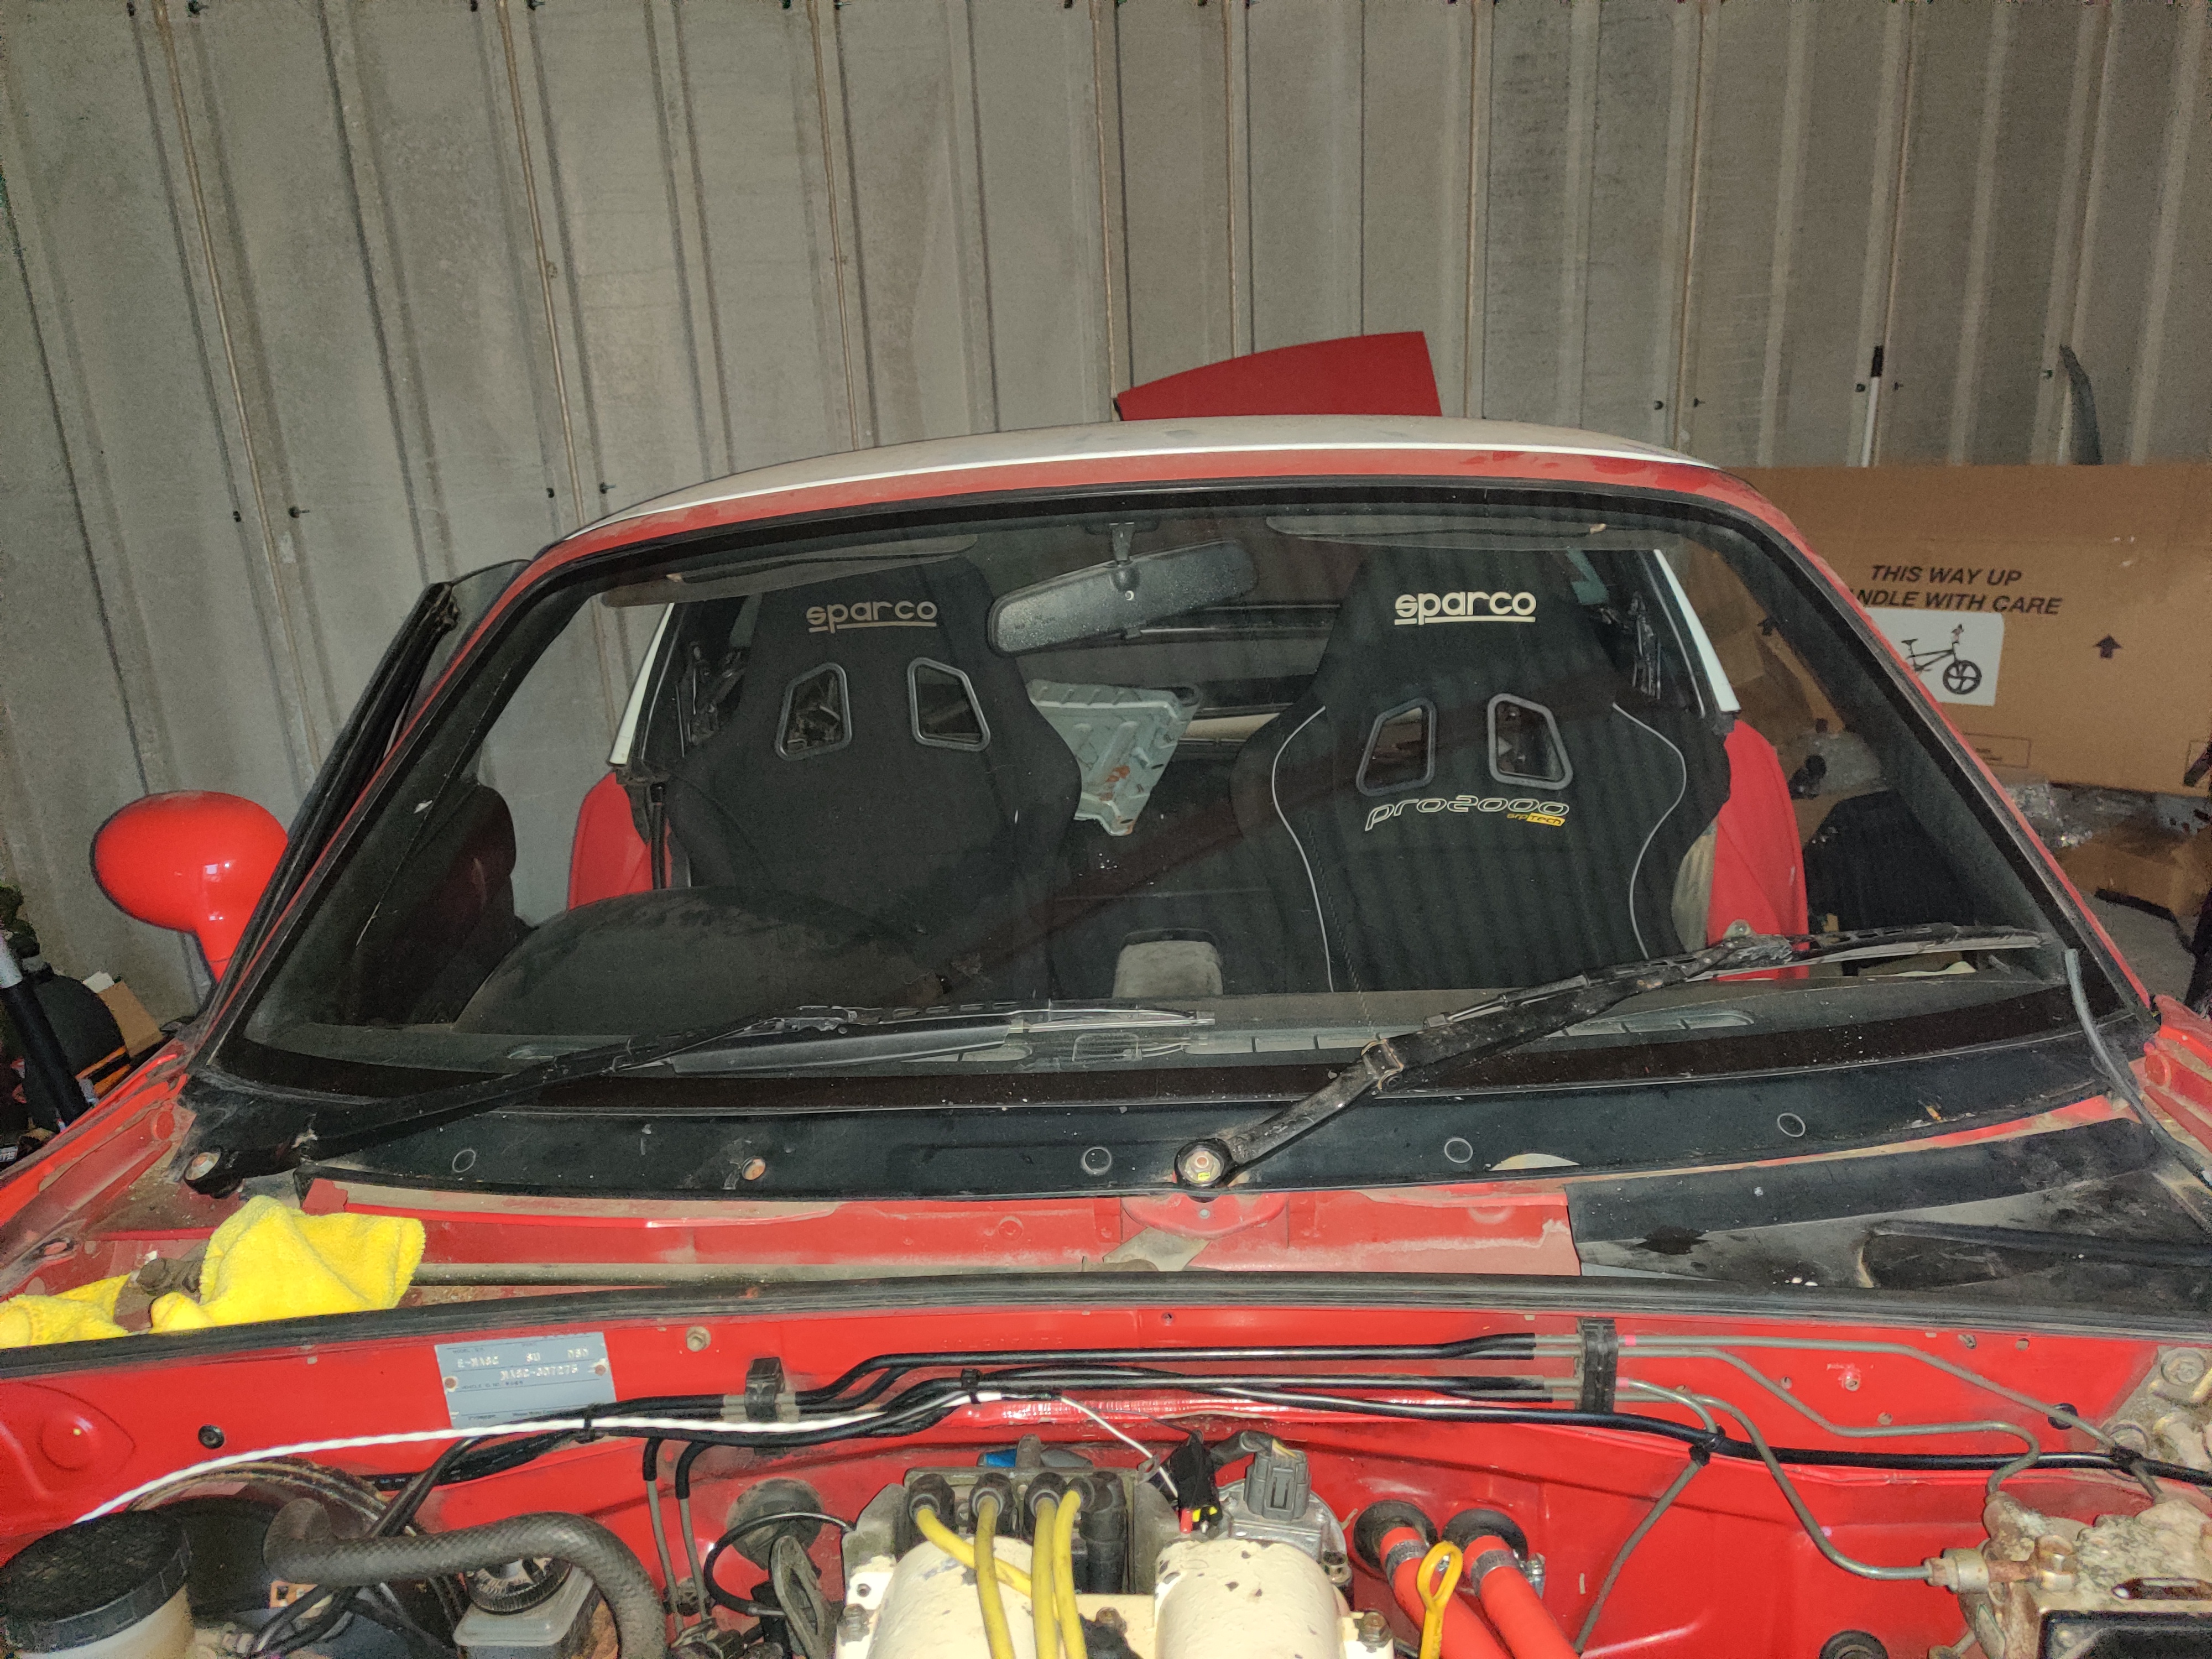
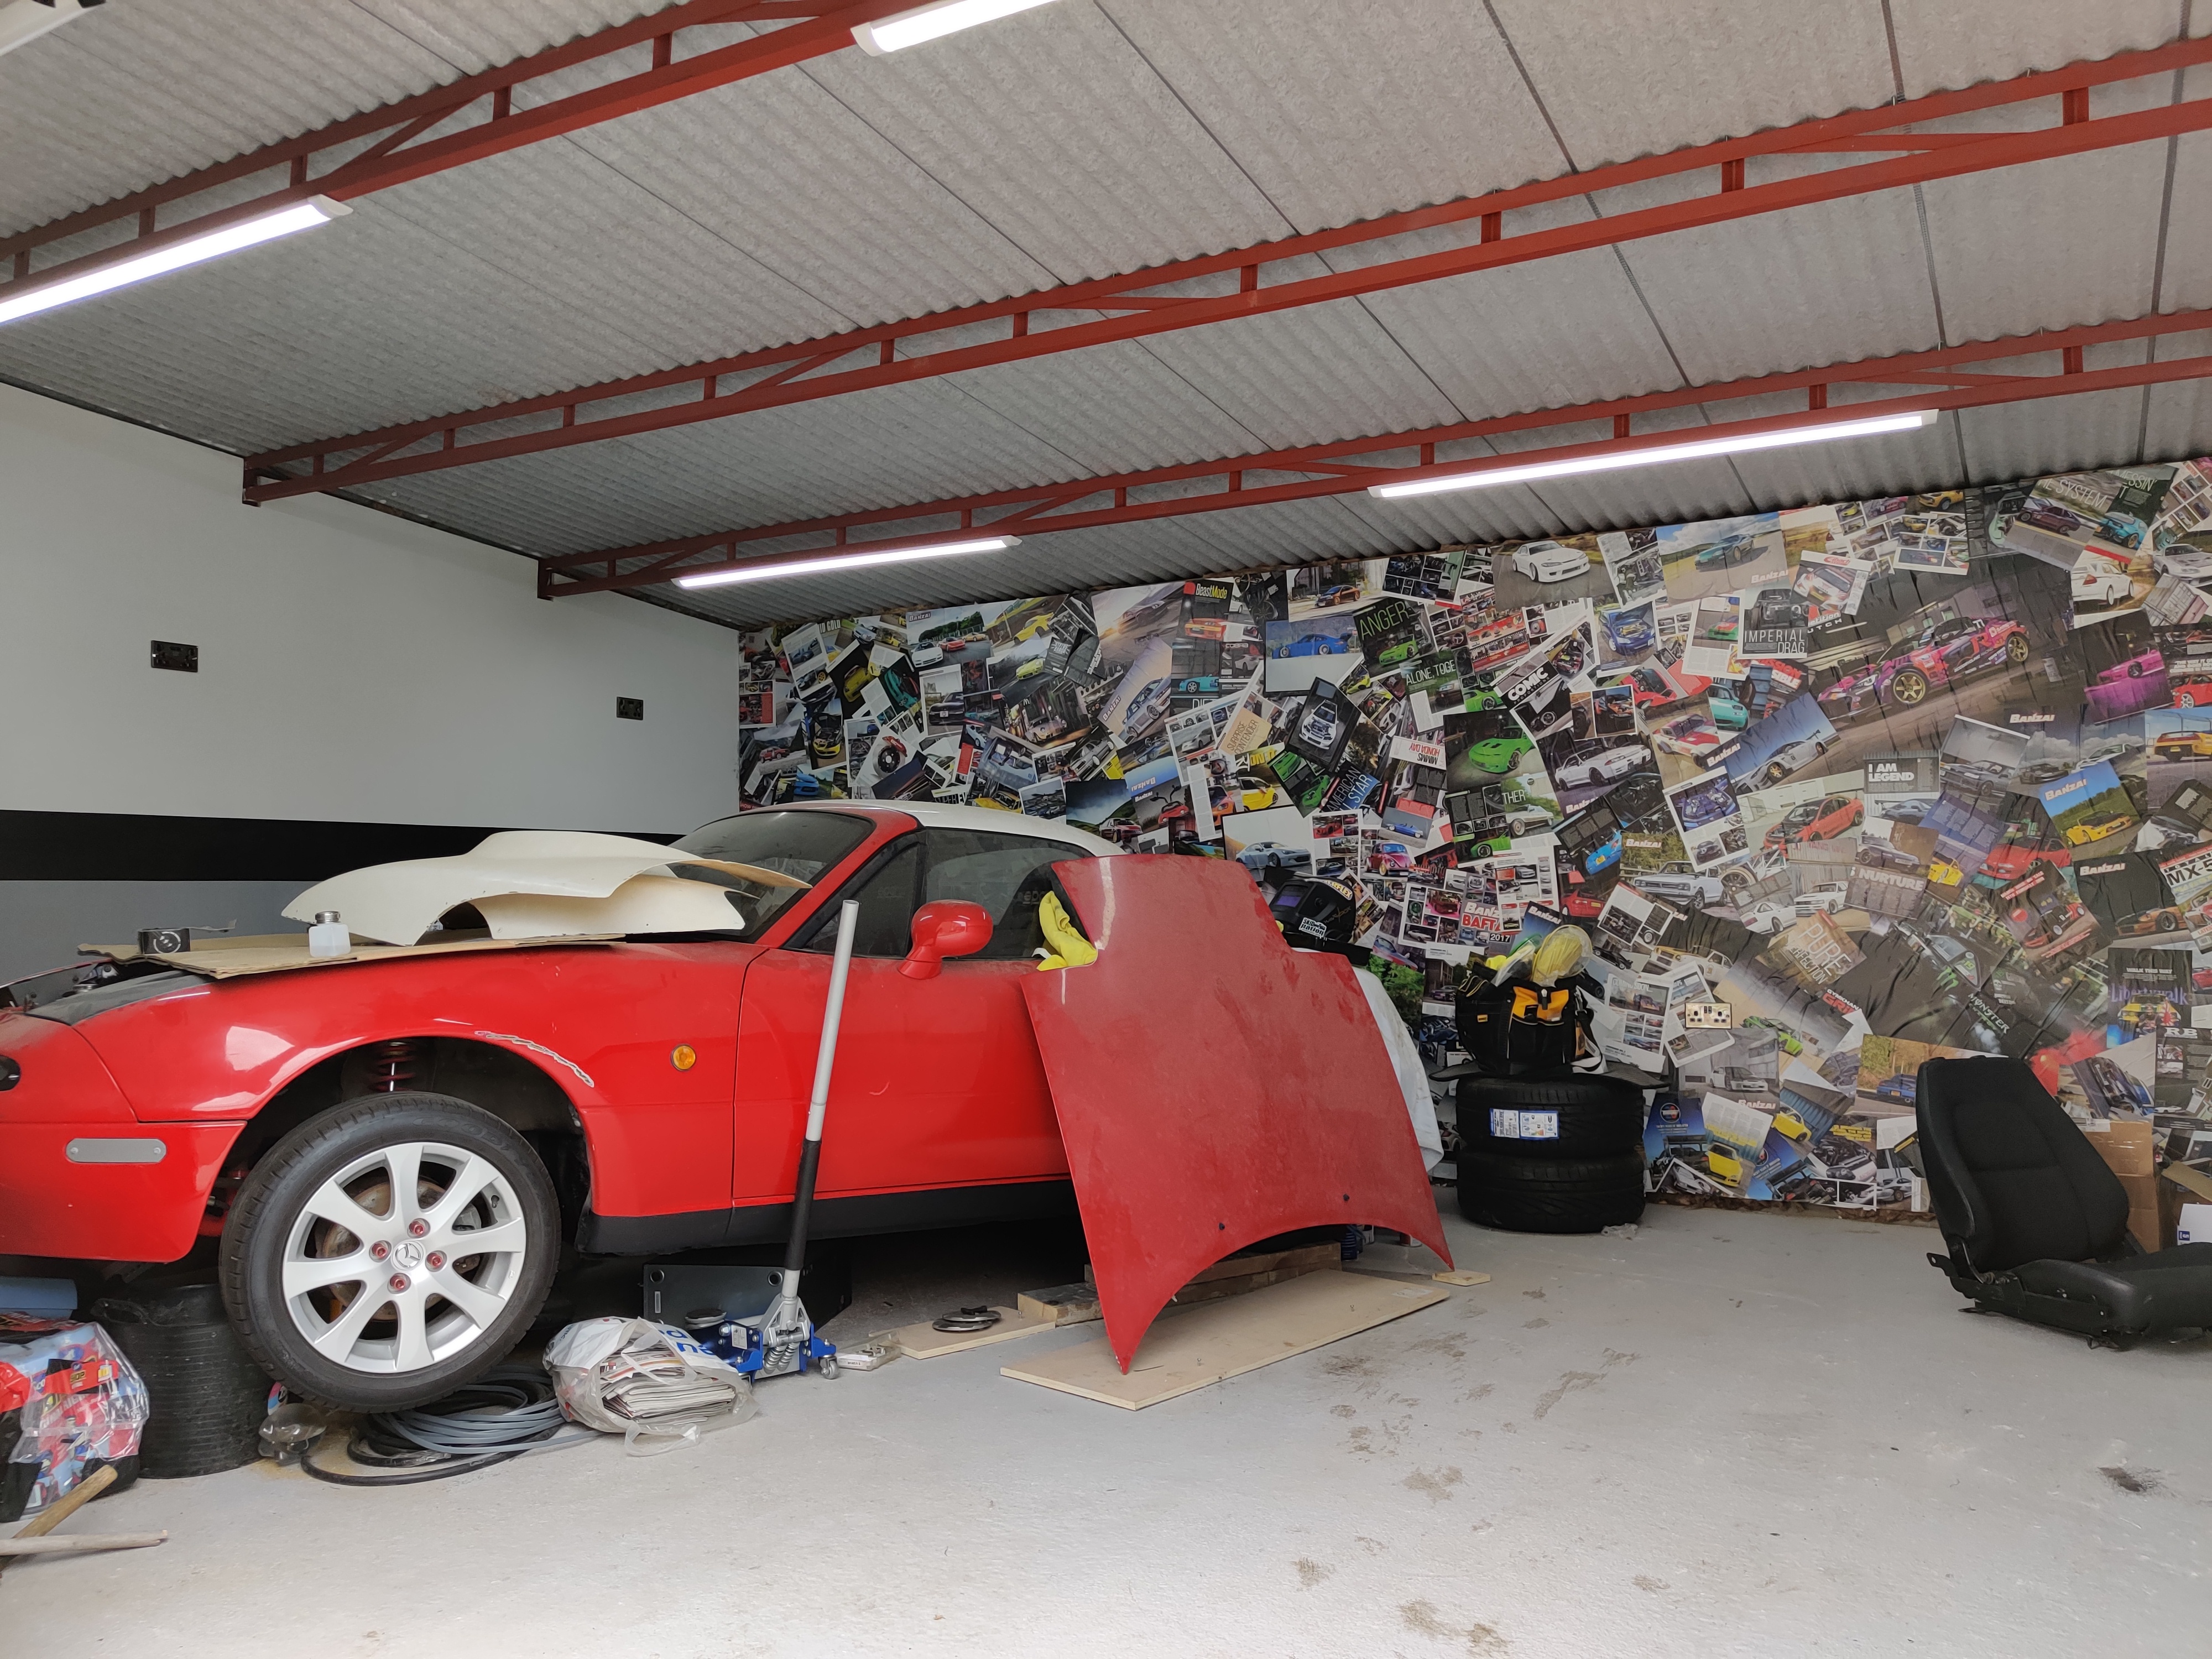
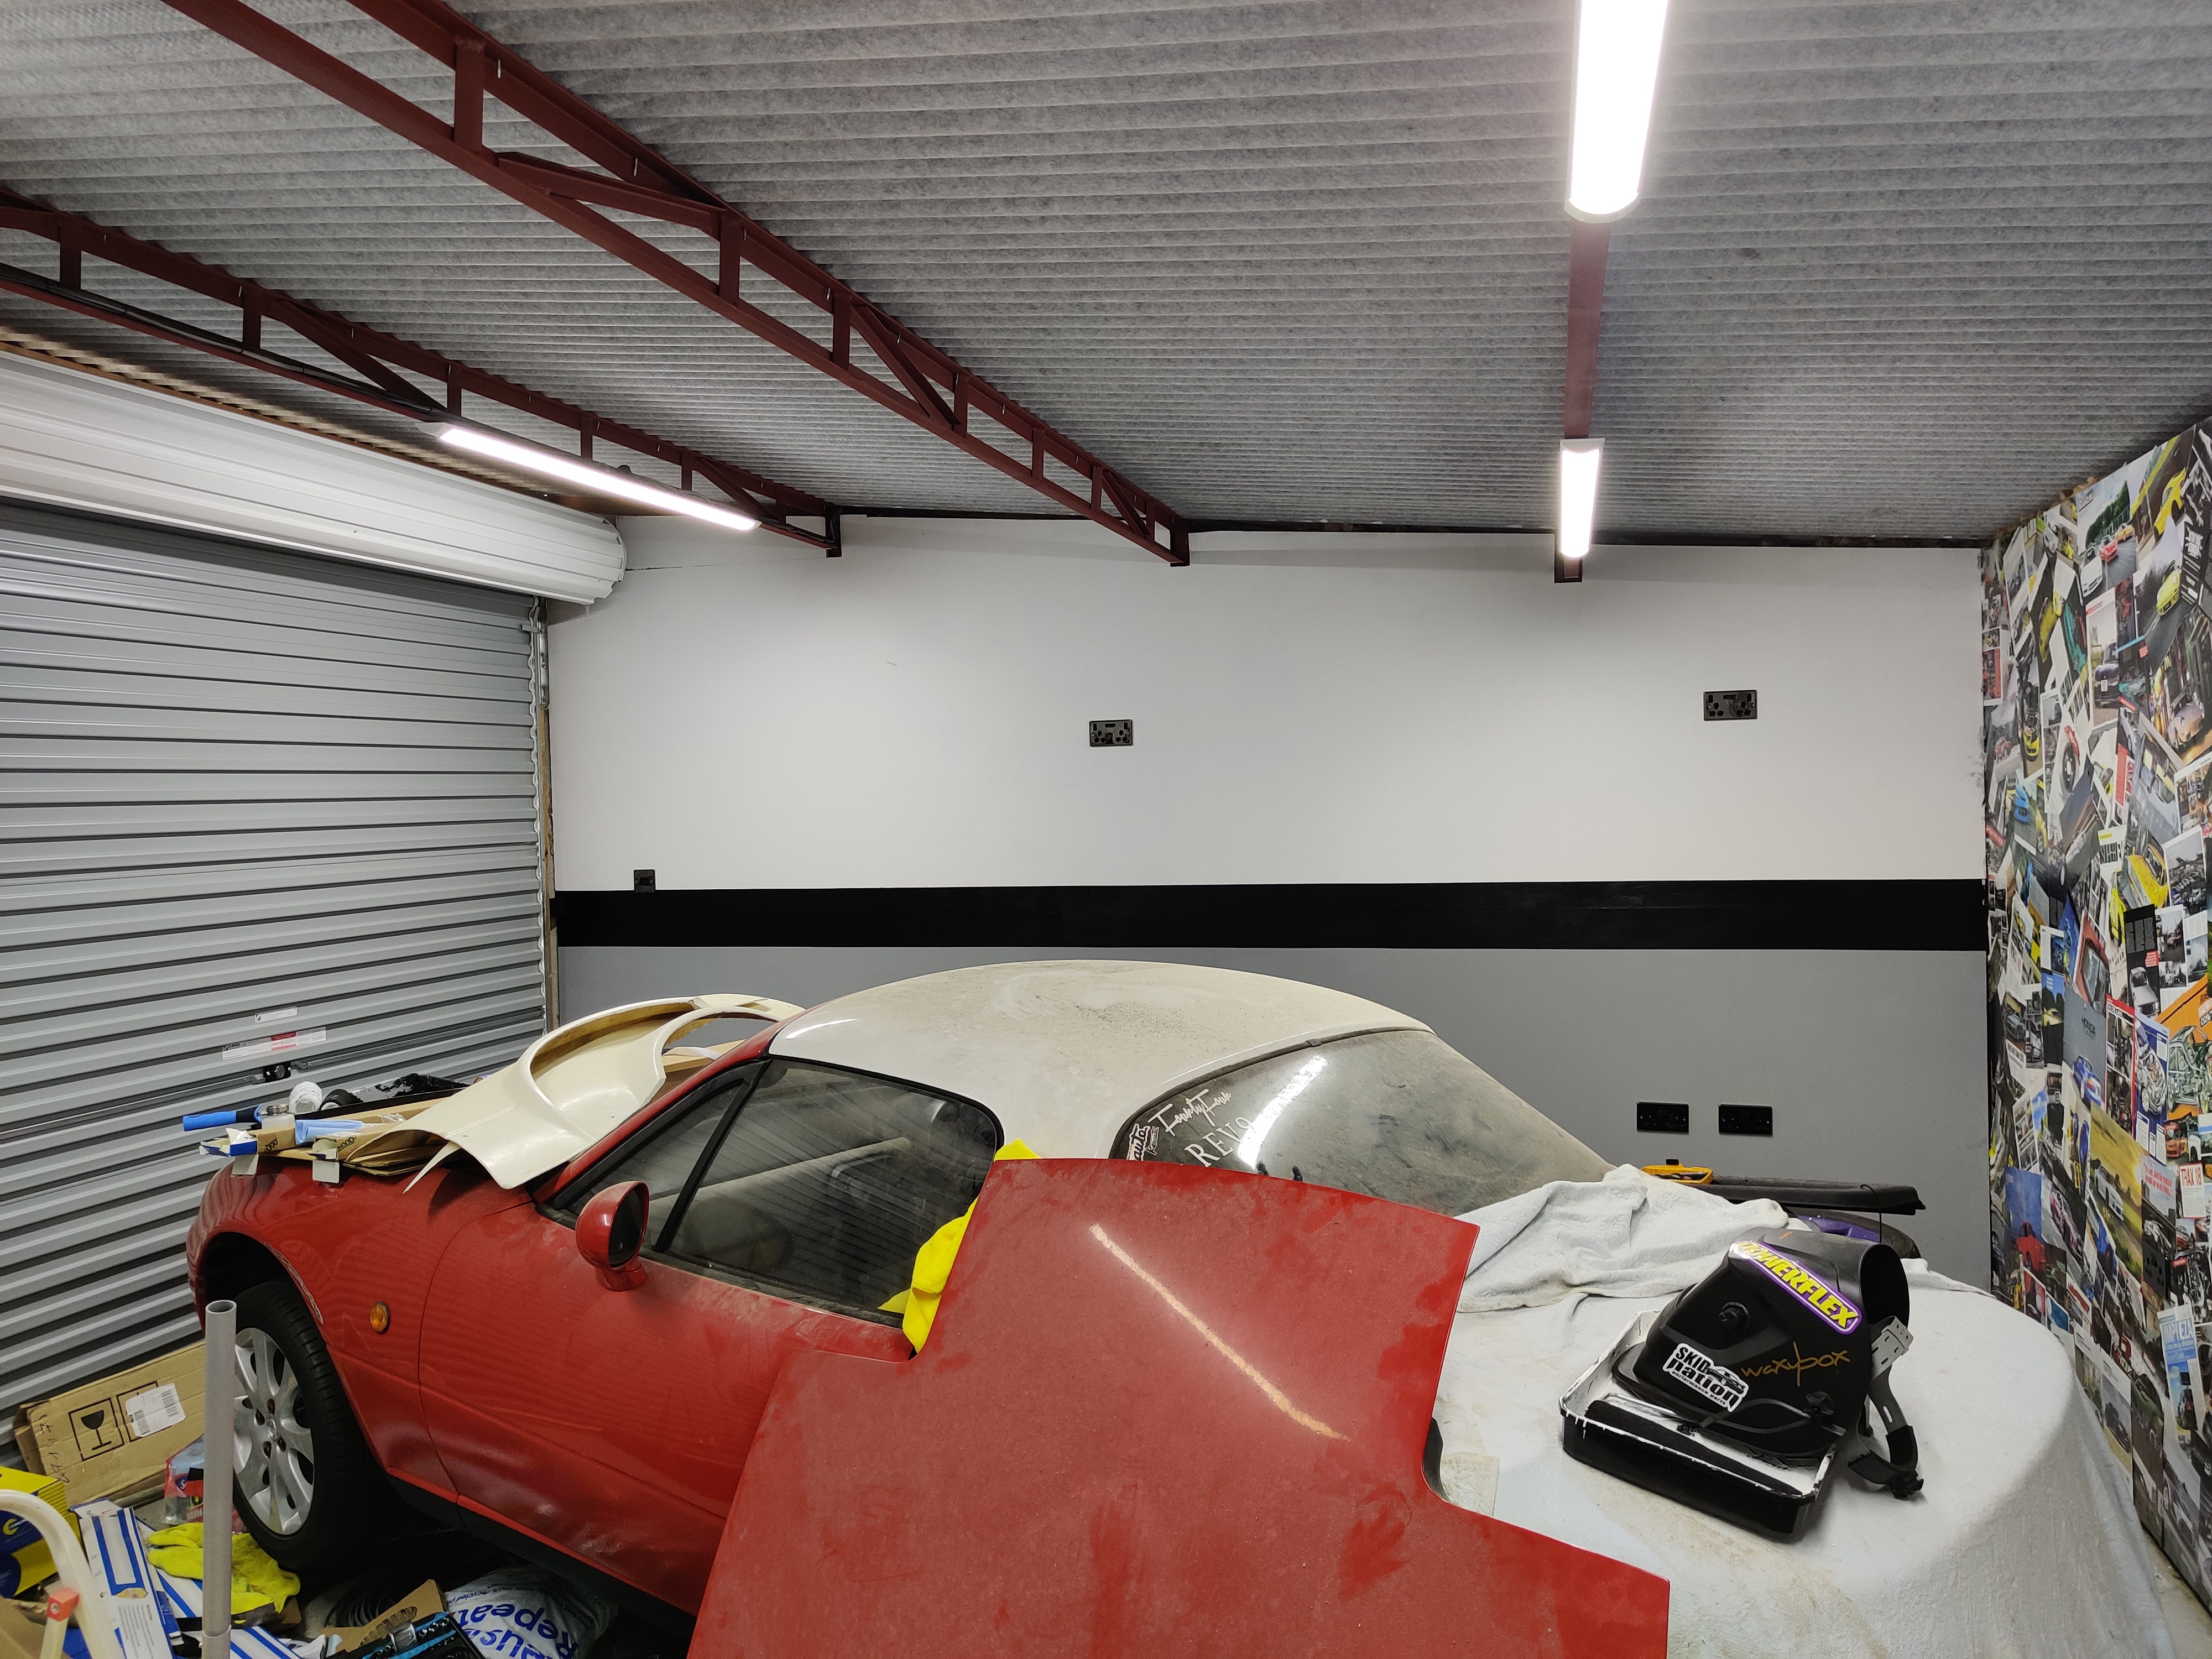
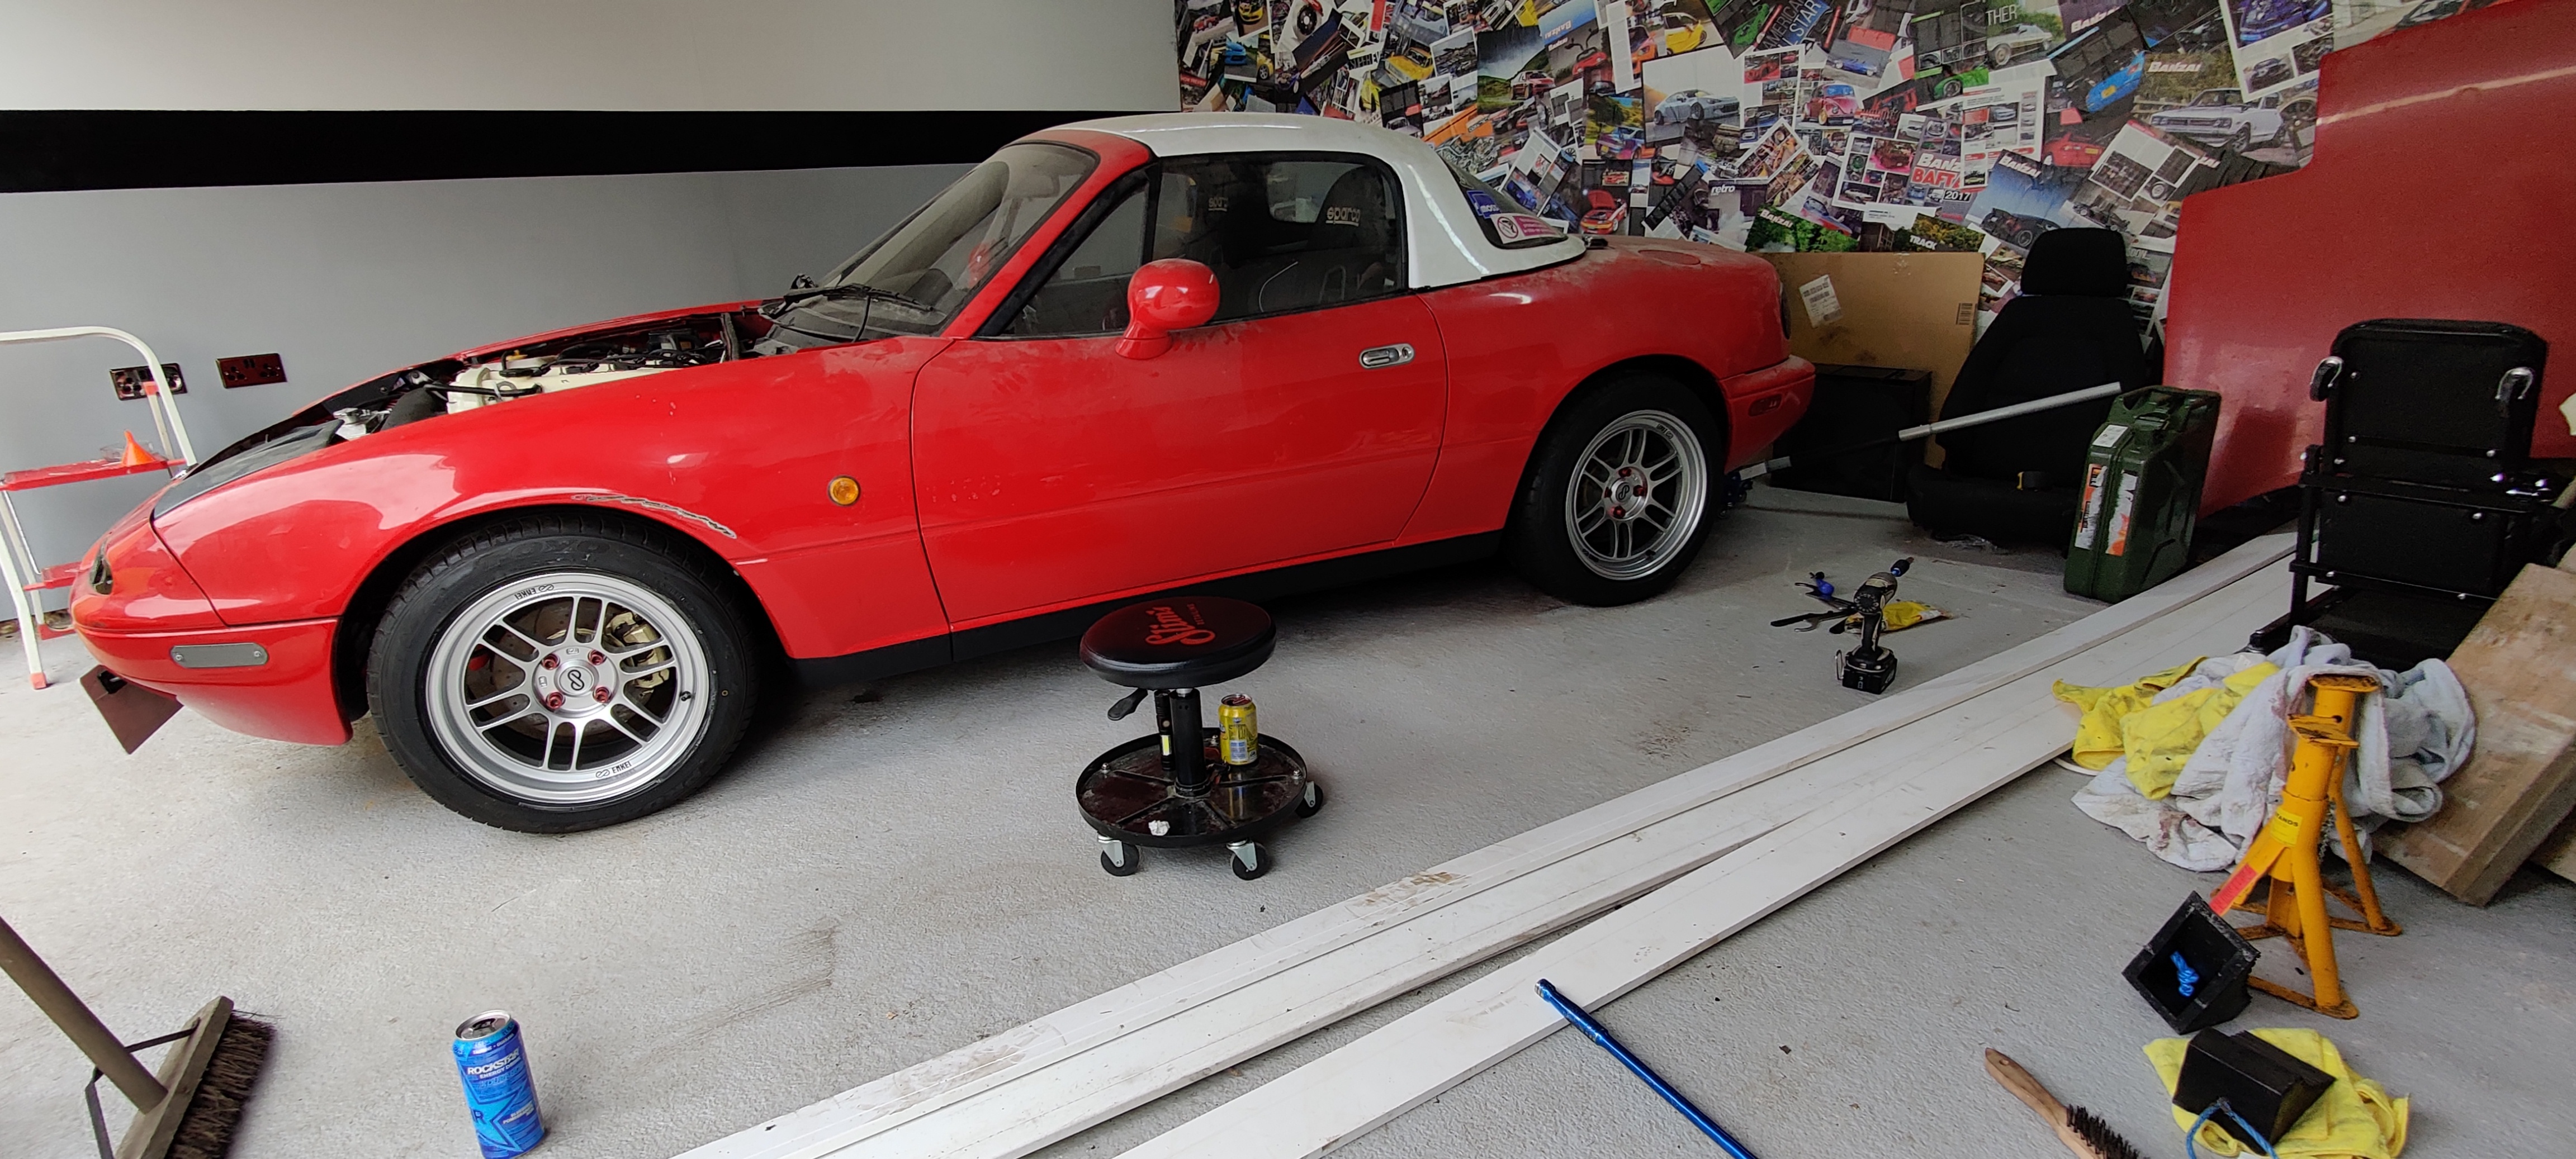
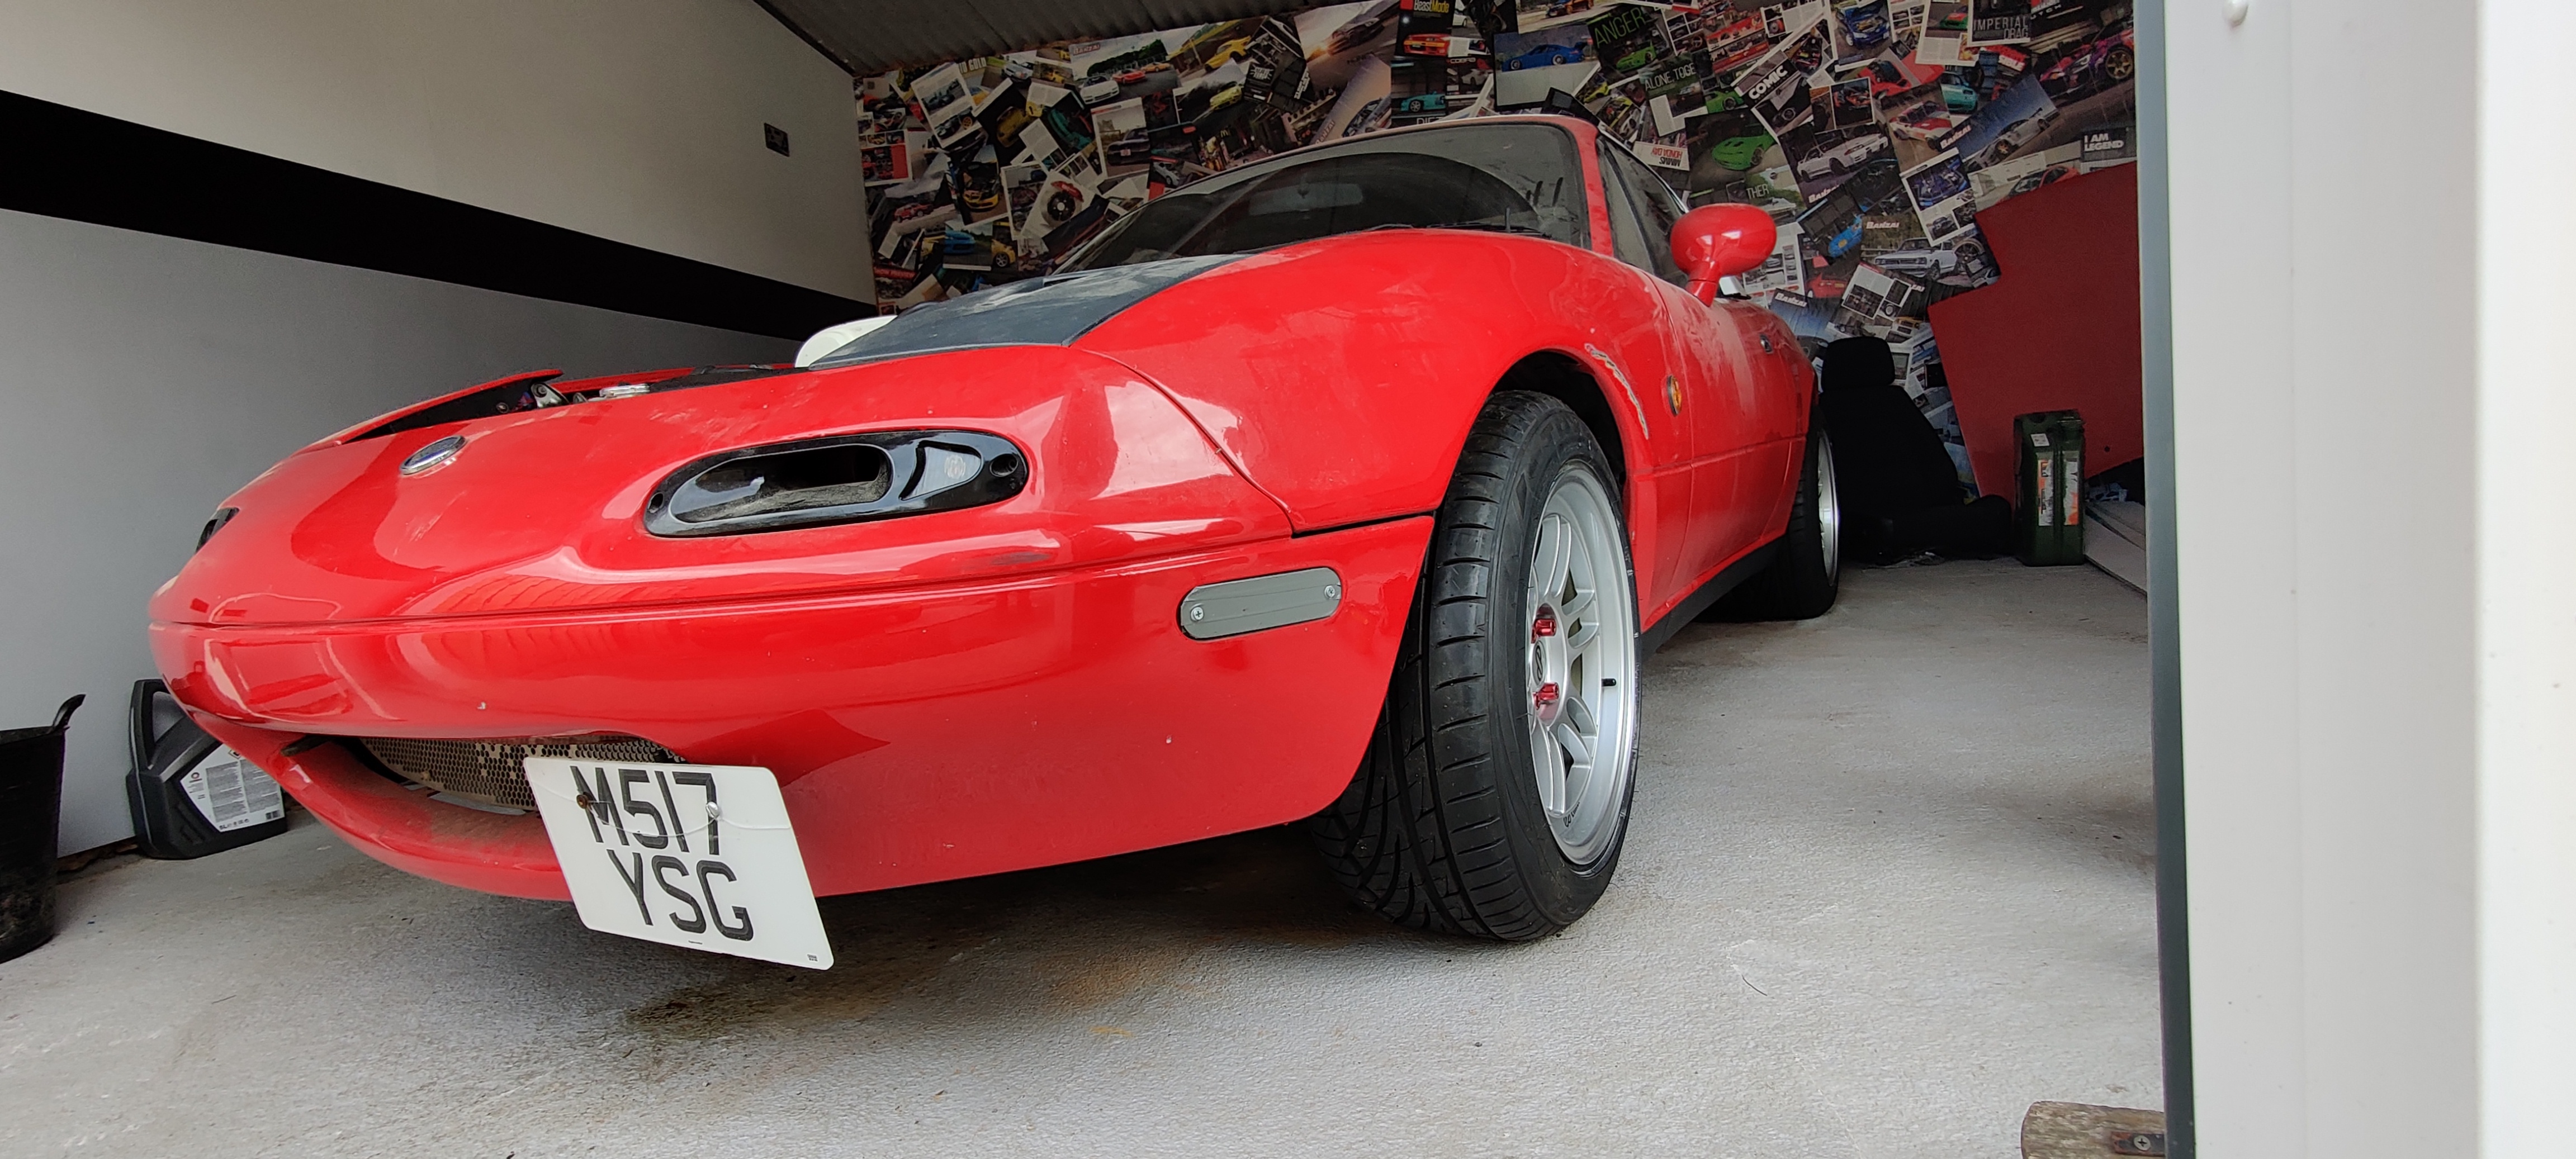
It’s been a while! I’ve spent the last while fitting out and decorating my garage and now I’m happy with it it’s back to the mx5 (which is very dusty now)
However starting to tick small things off,
seats are fitted properly
power steering belts back on and not whining it’s hole off
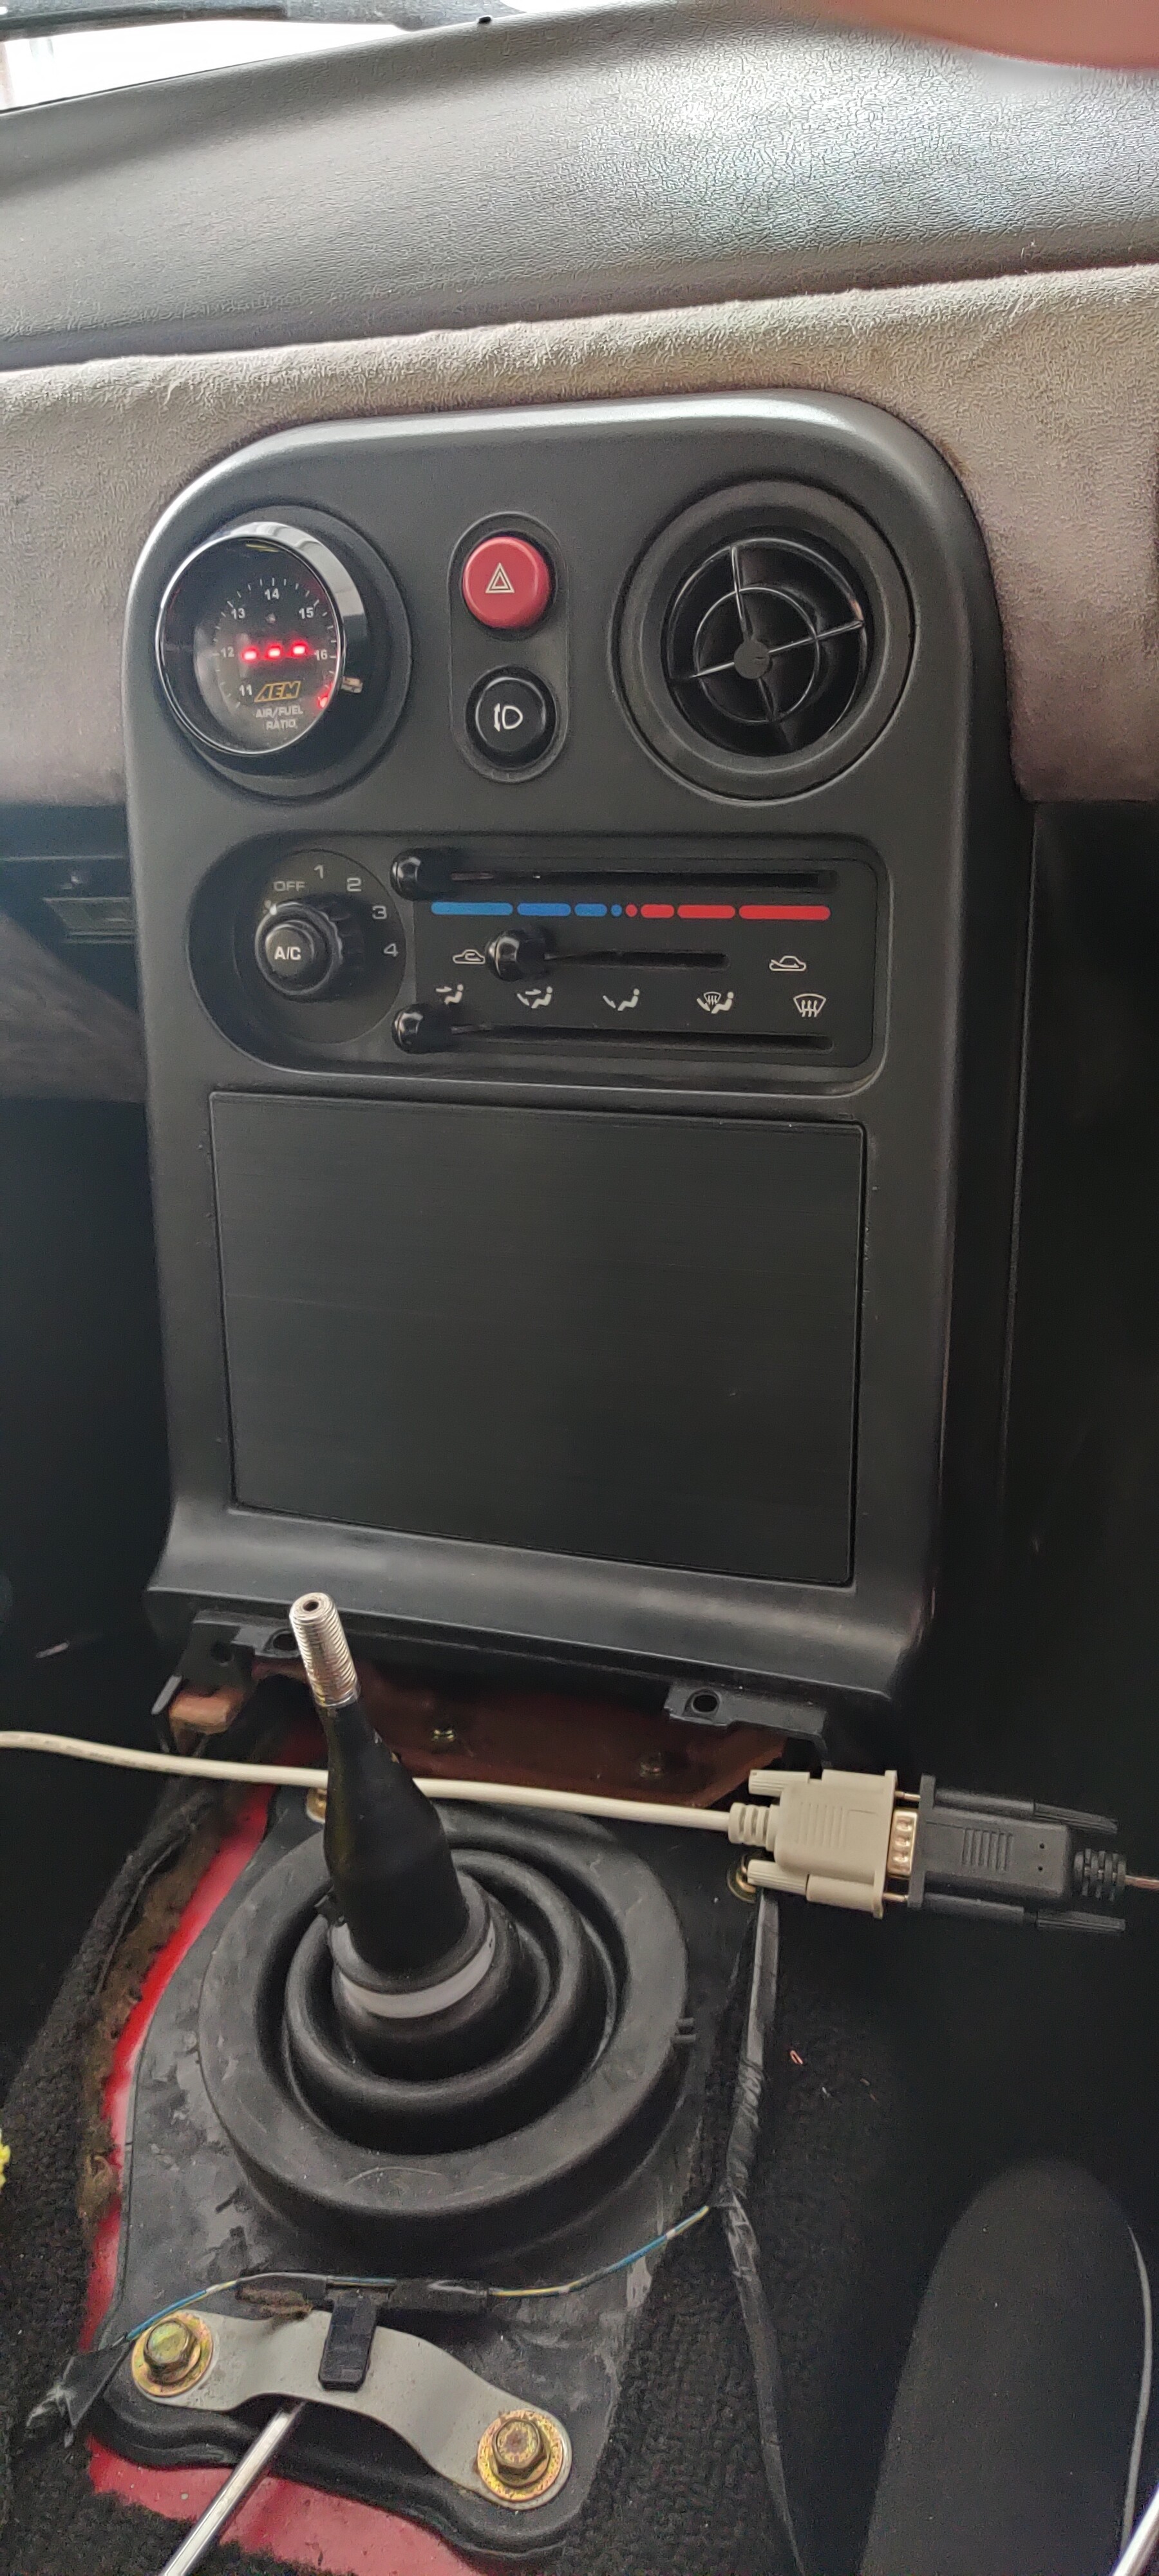
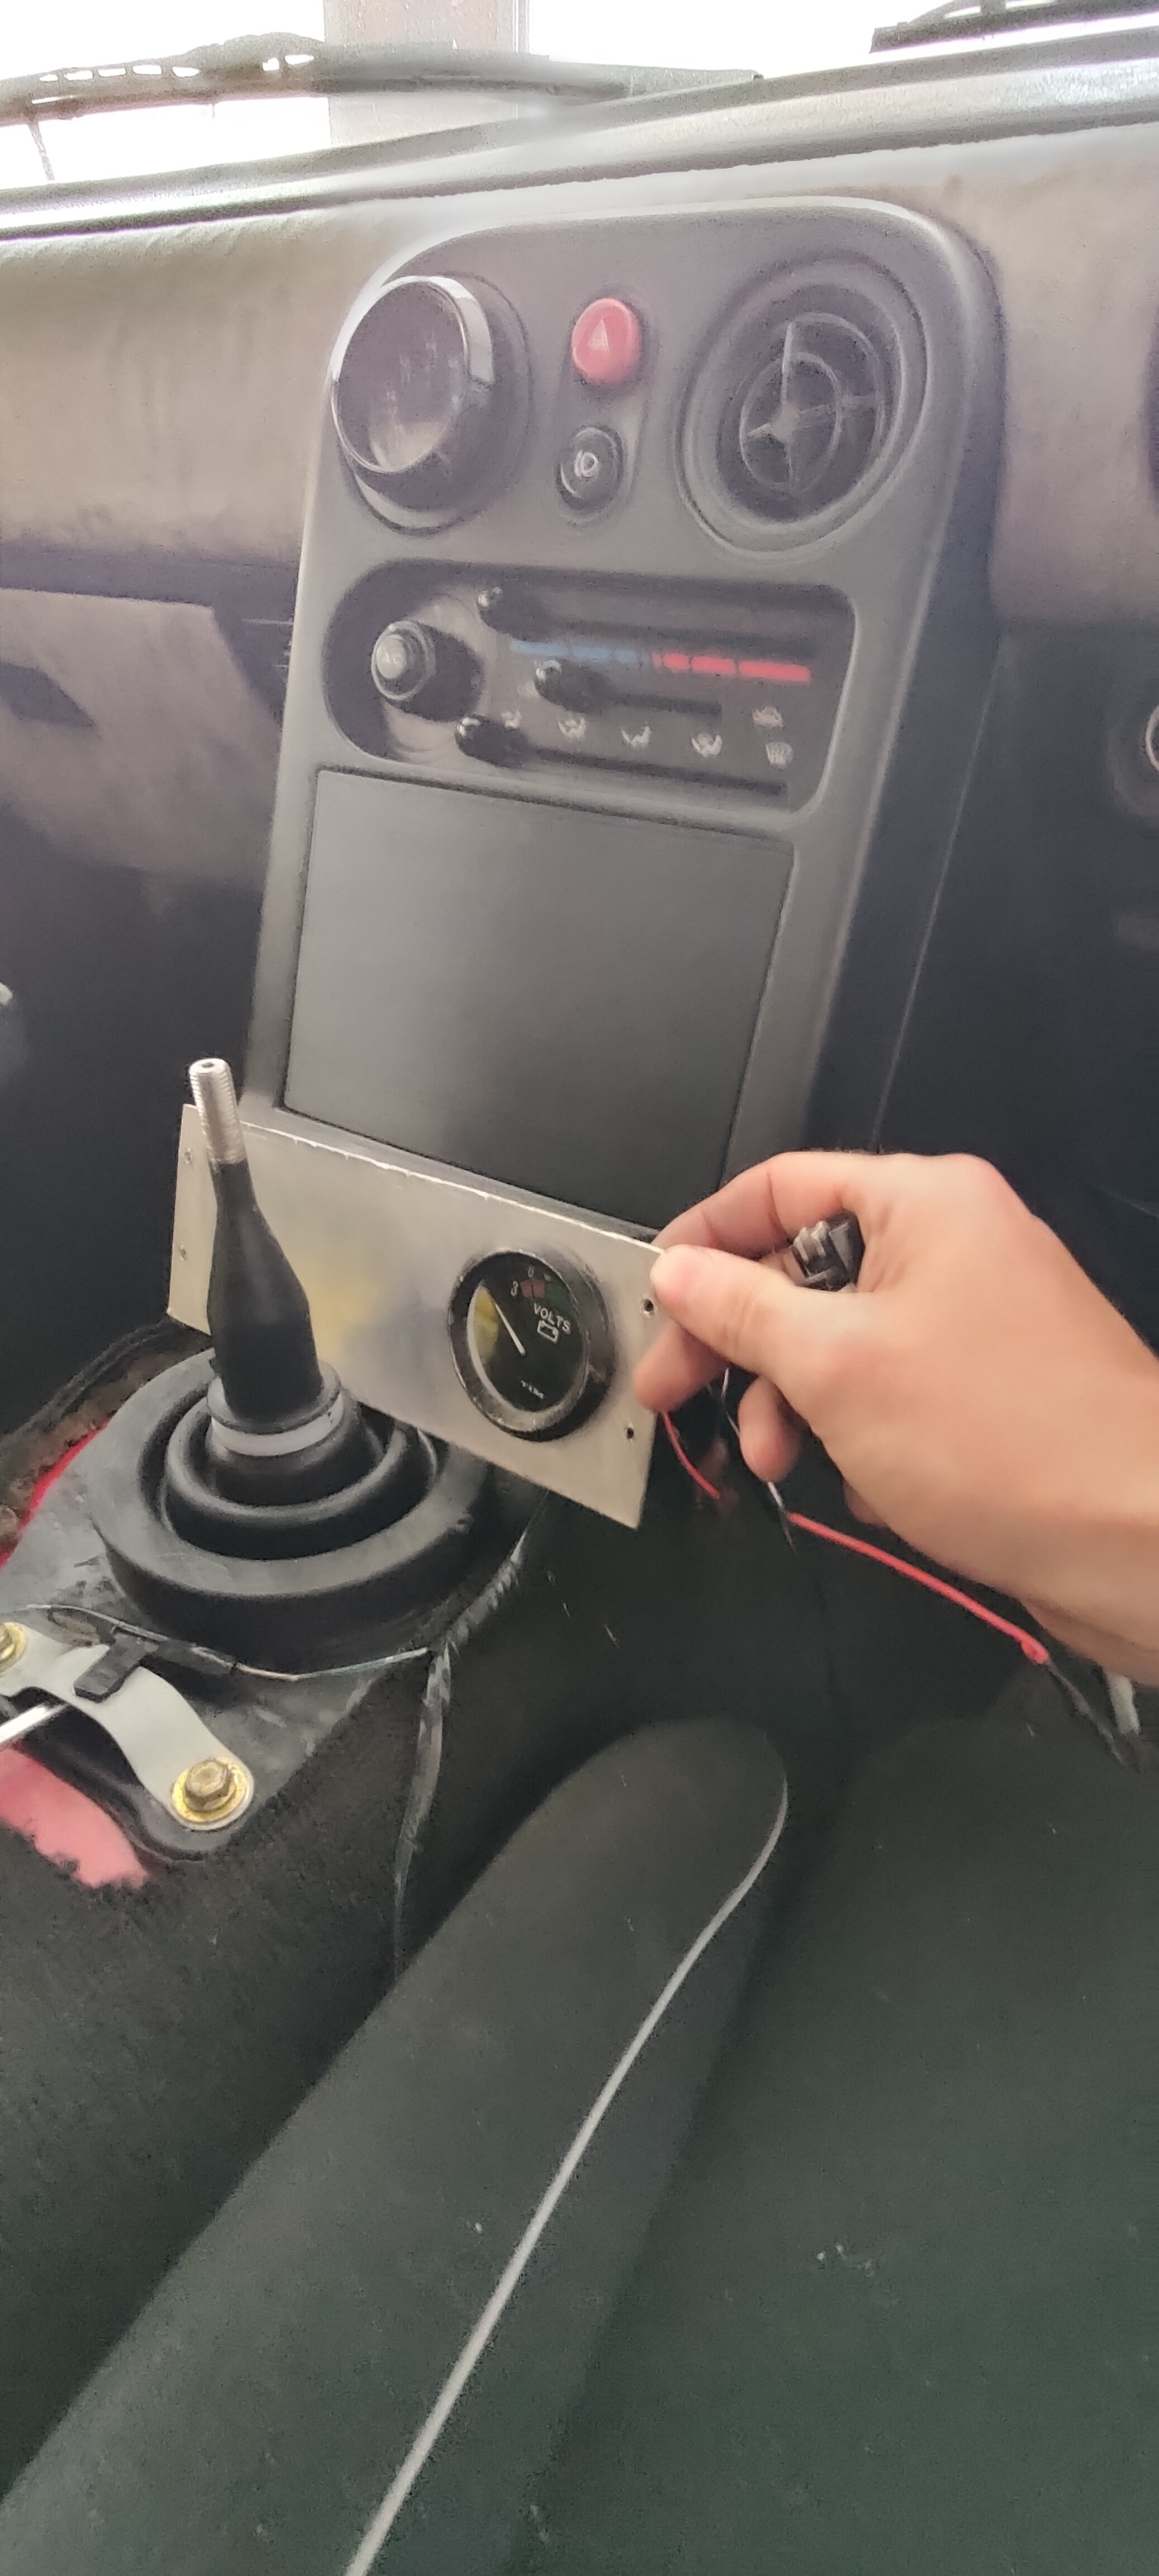
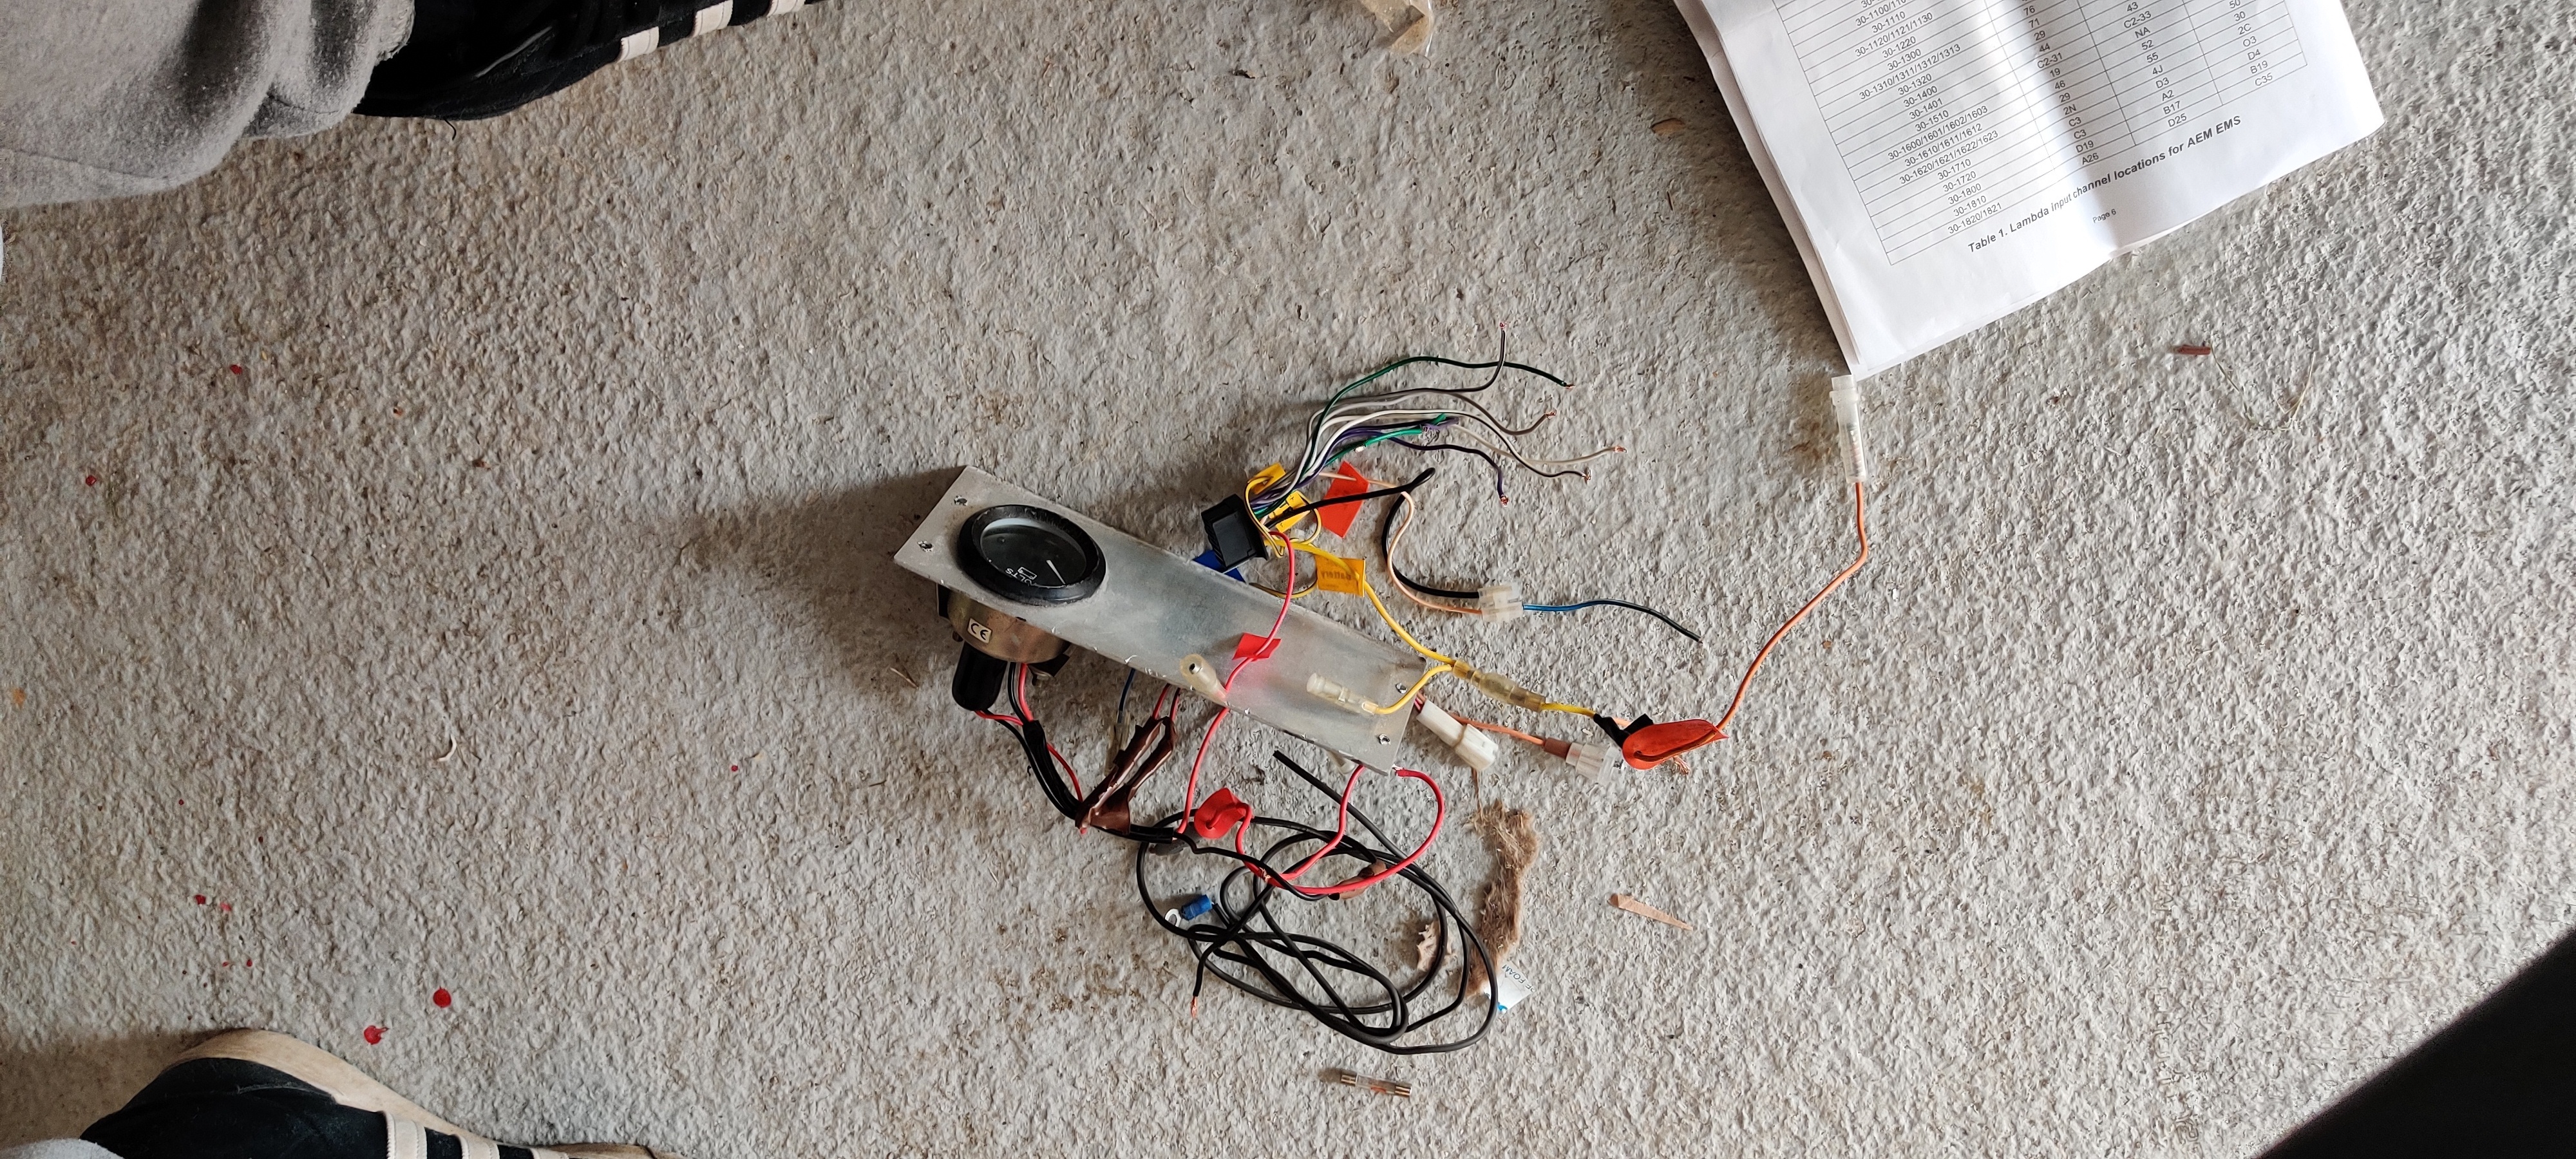
Ripped out a whole bunch of skanky wiring that was an abomination to say the least, however it’s all choppy chopped in a pile now and everything (that’s being kept)is powered as it should and I also got to fit my 3d printed radio blank
LOOKING NIFTY
Cars idling and revving slowly well, seen a few things about TPS Delta deadband settings I’m gunna mess with at the weekend to hopefully sort out the bogging on sharp throttle
Cooling fan isn’t coming on at temp and the fuse hasn’t blown so I’m assuming the la10 has died, got one of those kicking around so I’ll swap that out and then it’s really not far from going for an MOT
1 Like
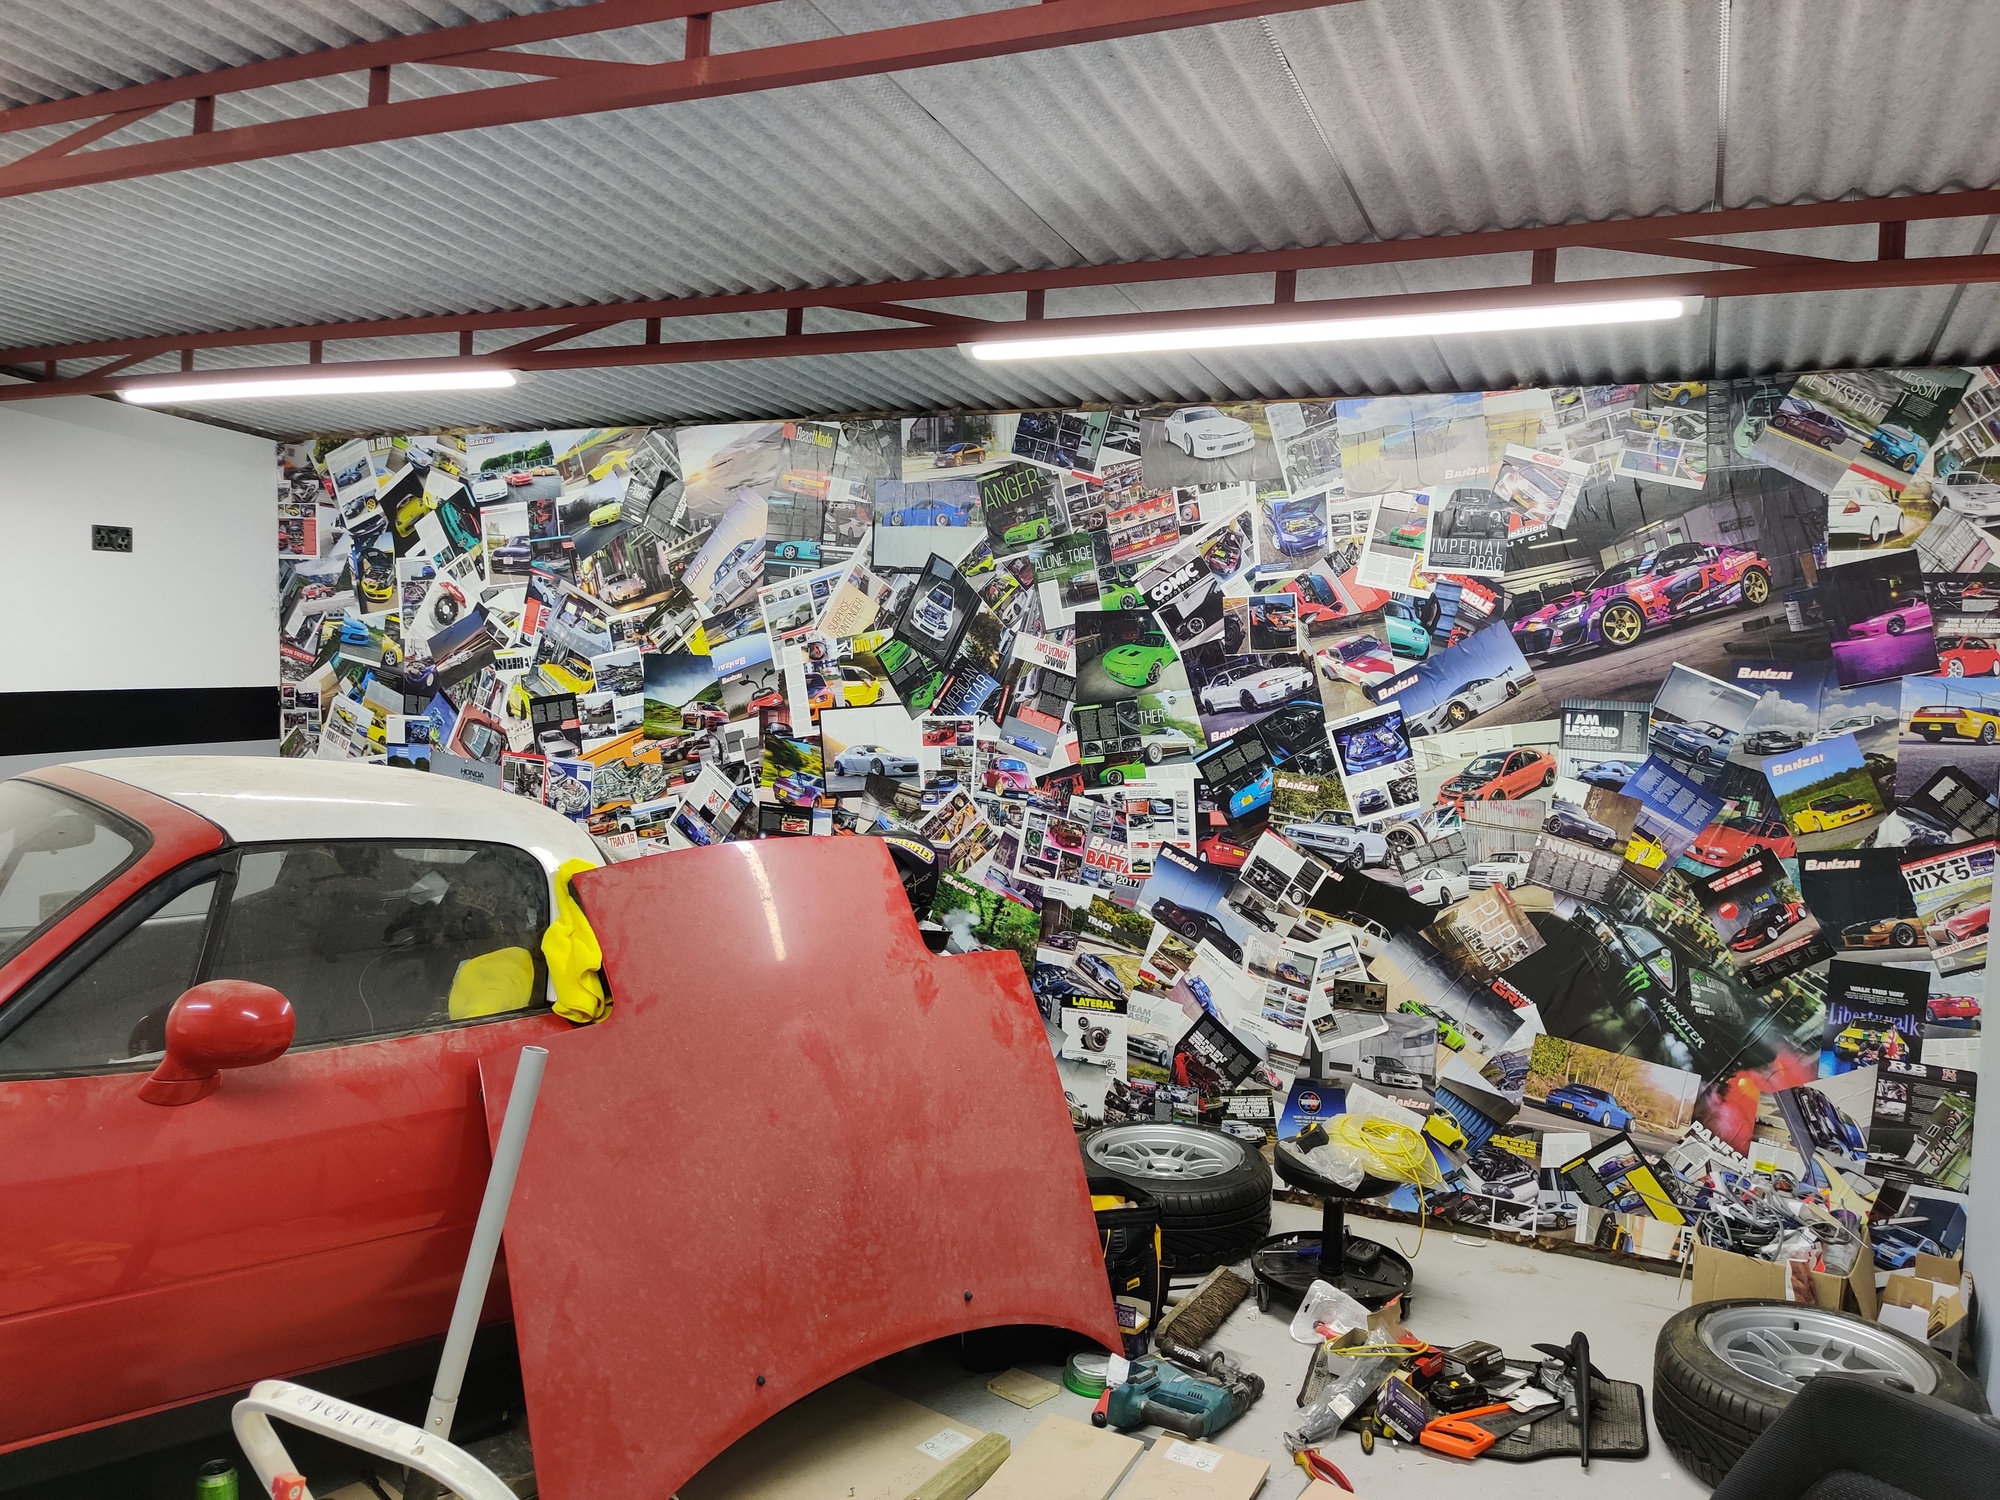
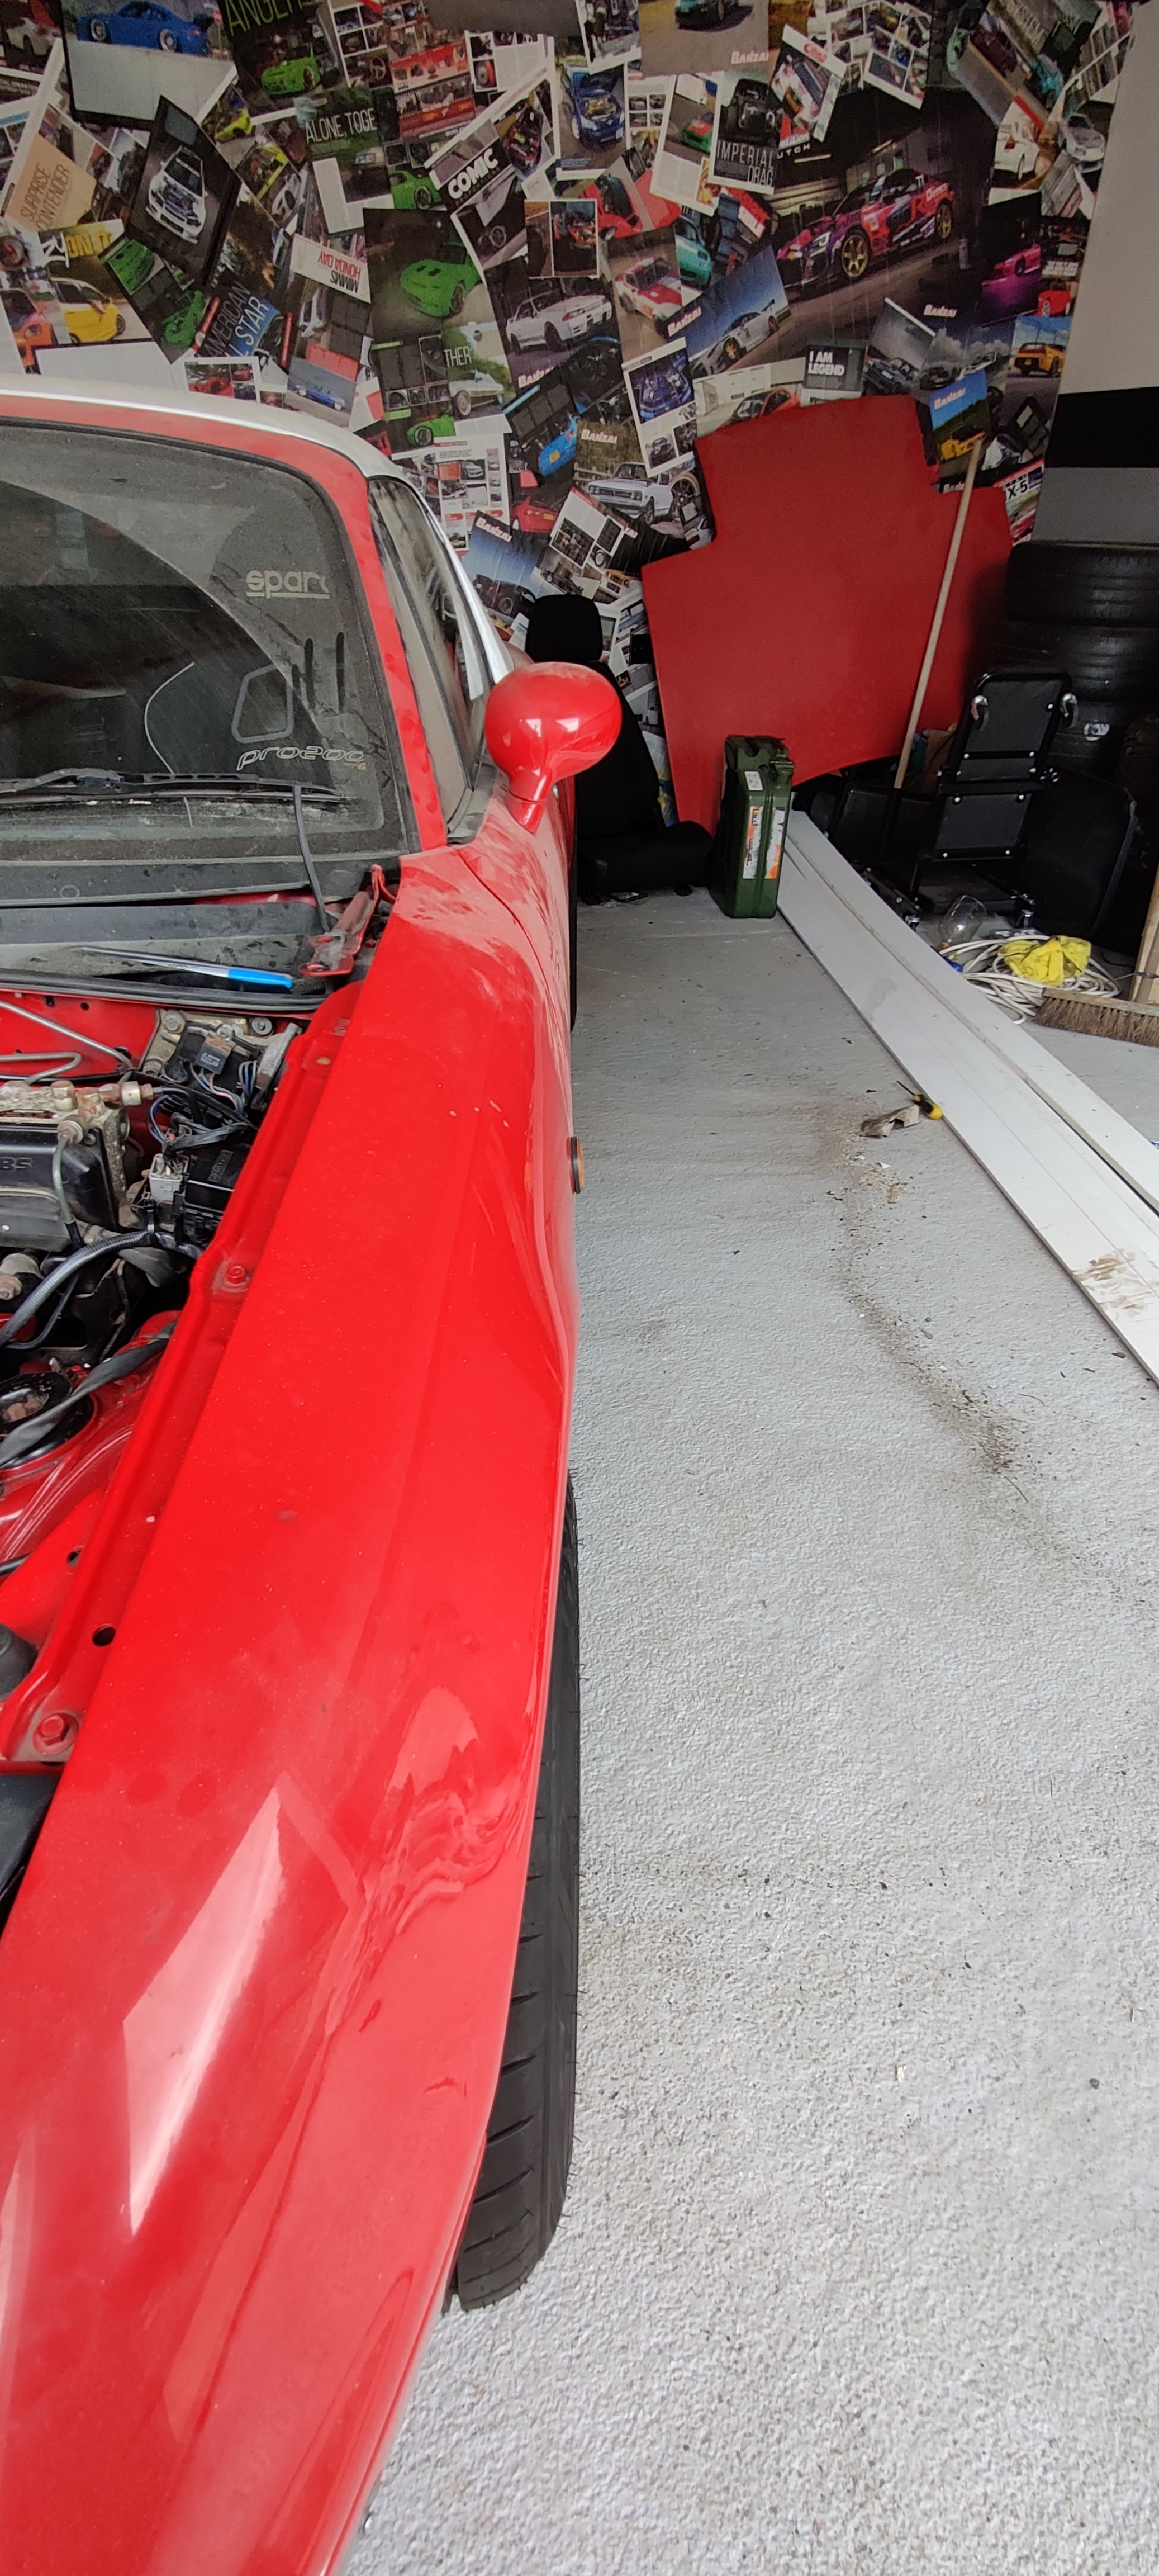
Also this is the garage now, got some decorations to go on the back wall but the next step is a big toolbox/workbench from sgs engineering and a floor, been looking at bigdug and ones like that
2 Likes
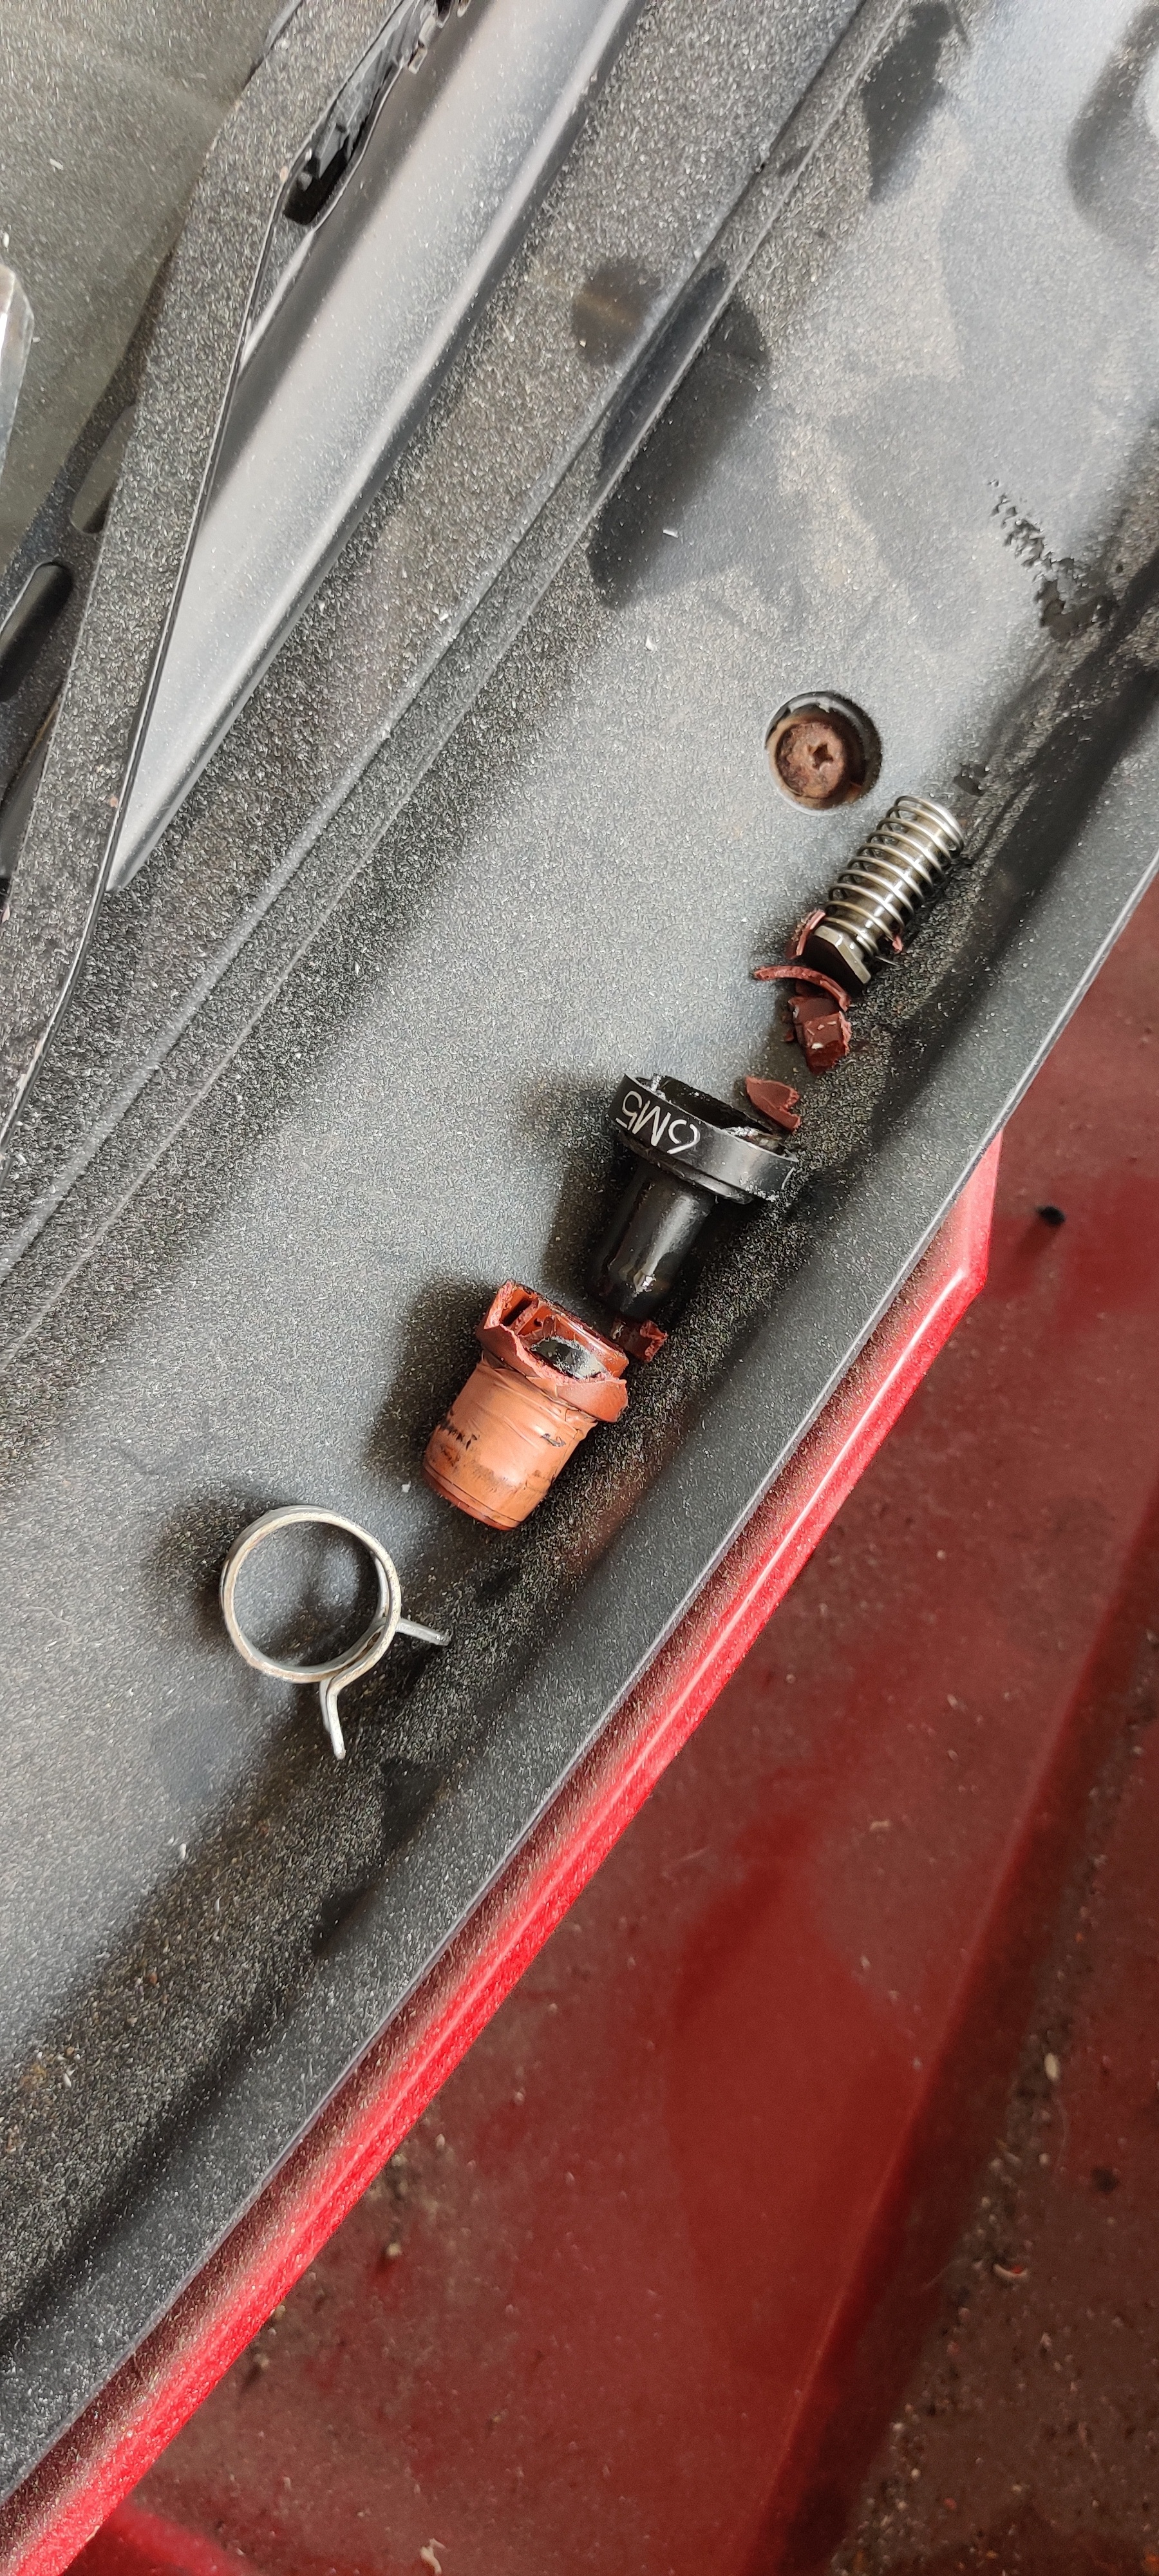
May have found the reason it bogs under sharp Accel, took the pcv valve off and it just disintegrated in my hand, that was one of the many parts to check, luckily I ordered one yesterday cause it was only a fiver so thatl be here next week
Fuel filter next since I’ve got one laying around, got it fresh fuel aswell which is a shame since it won’t run until at least Wednesday at this point 
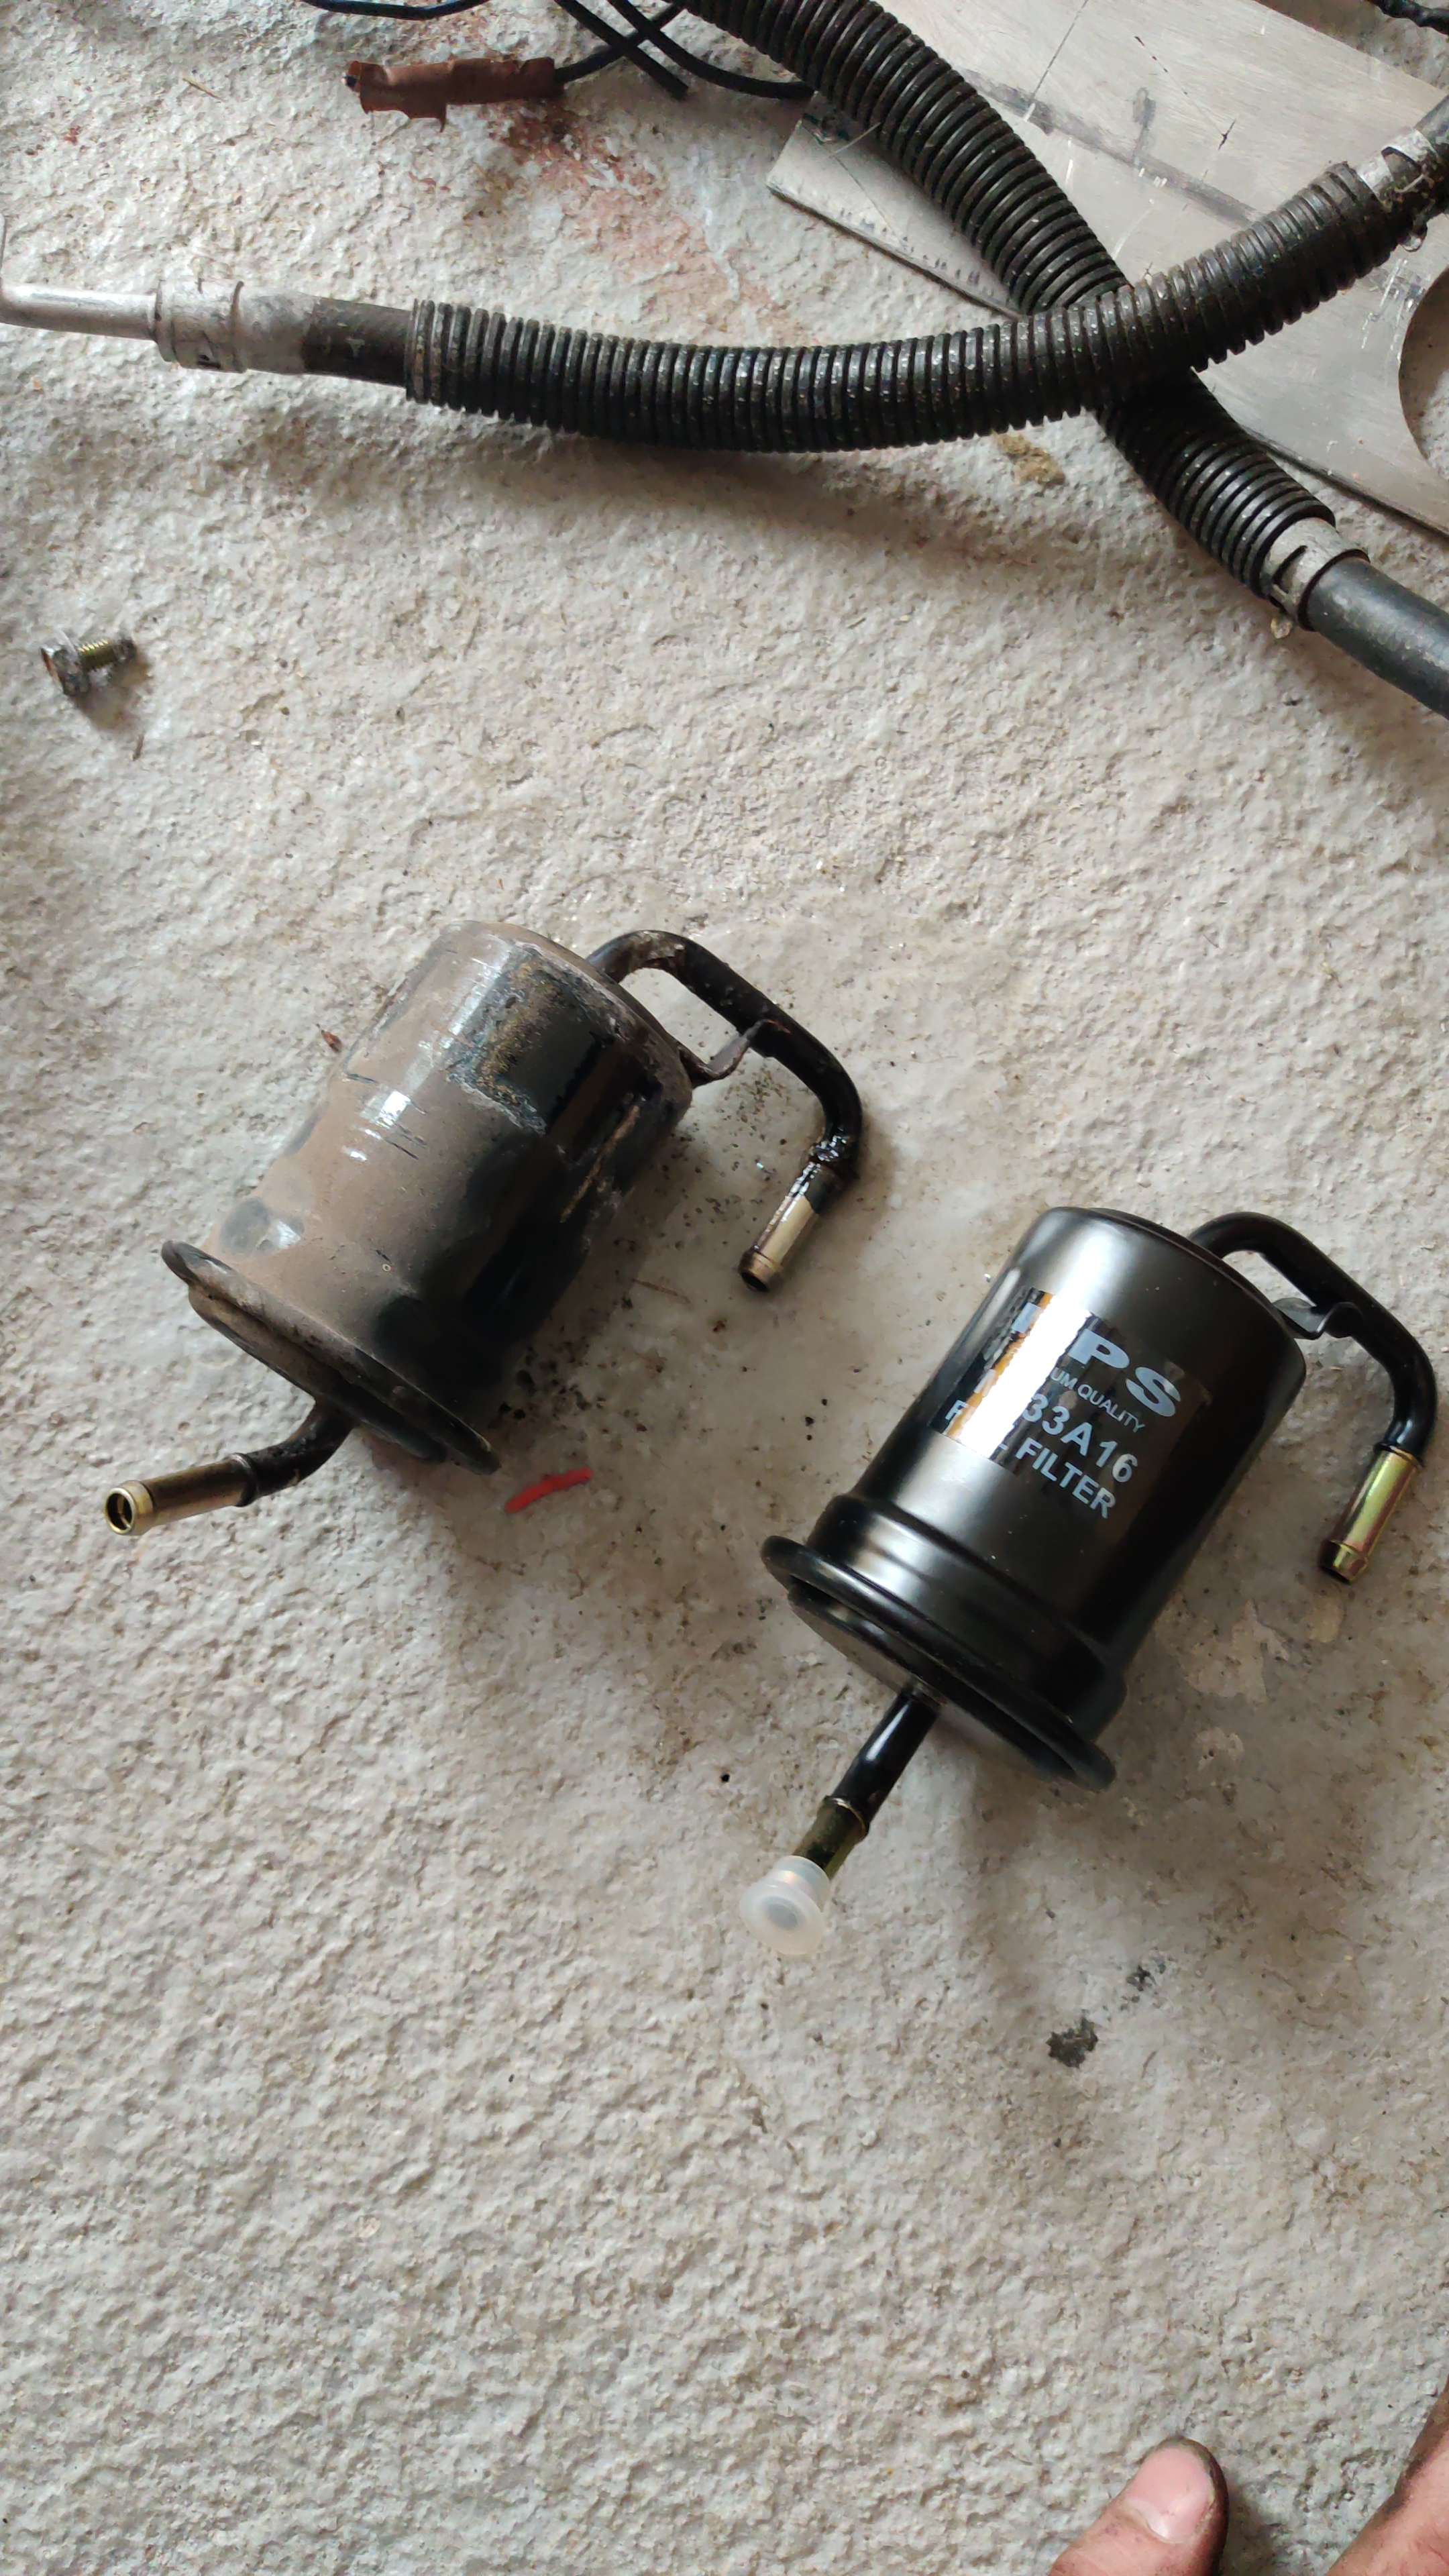
Old fuel filter looked like it had seen some sh*t so well worth changing, plenty of poobrown fuel came out it when I poured it out so quite happy at that
Also changed the fuel pressure regulator with one I had on a spare rail just incase, not sure if it’s any better but it’s a minute tops to change it back if it’s any worse
I don’t have a fuel pressure tester so I might go have a look at them just now, and my pcv valve doesn’t come until midweek so we’re almost out of small jobs to do, will stick the interior back together and see what else I can do without it running
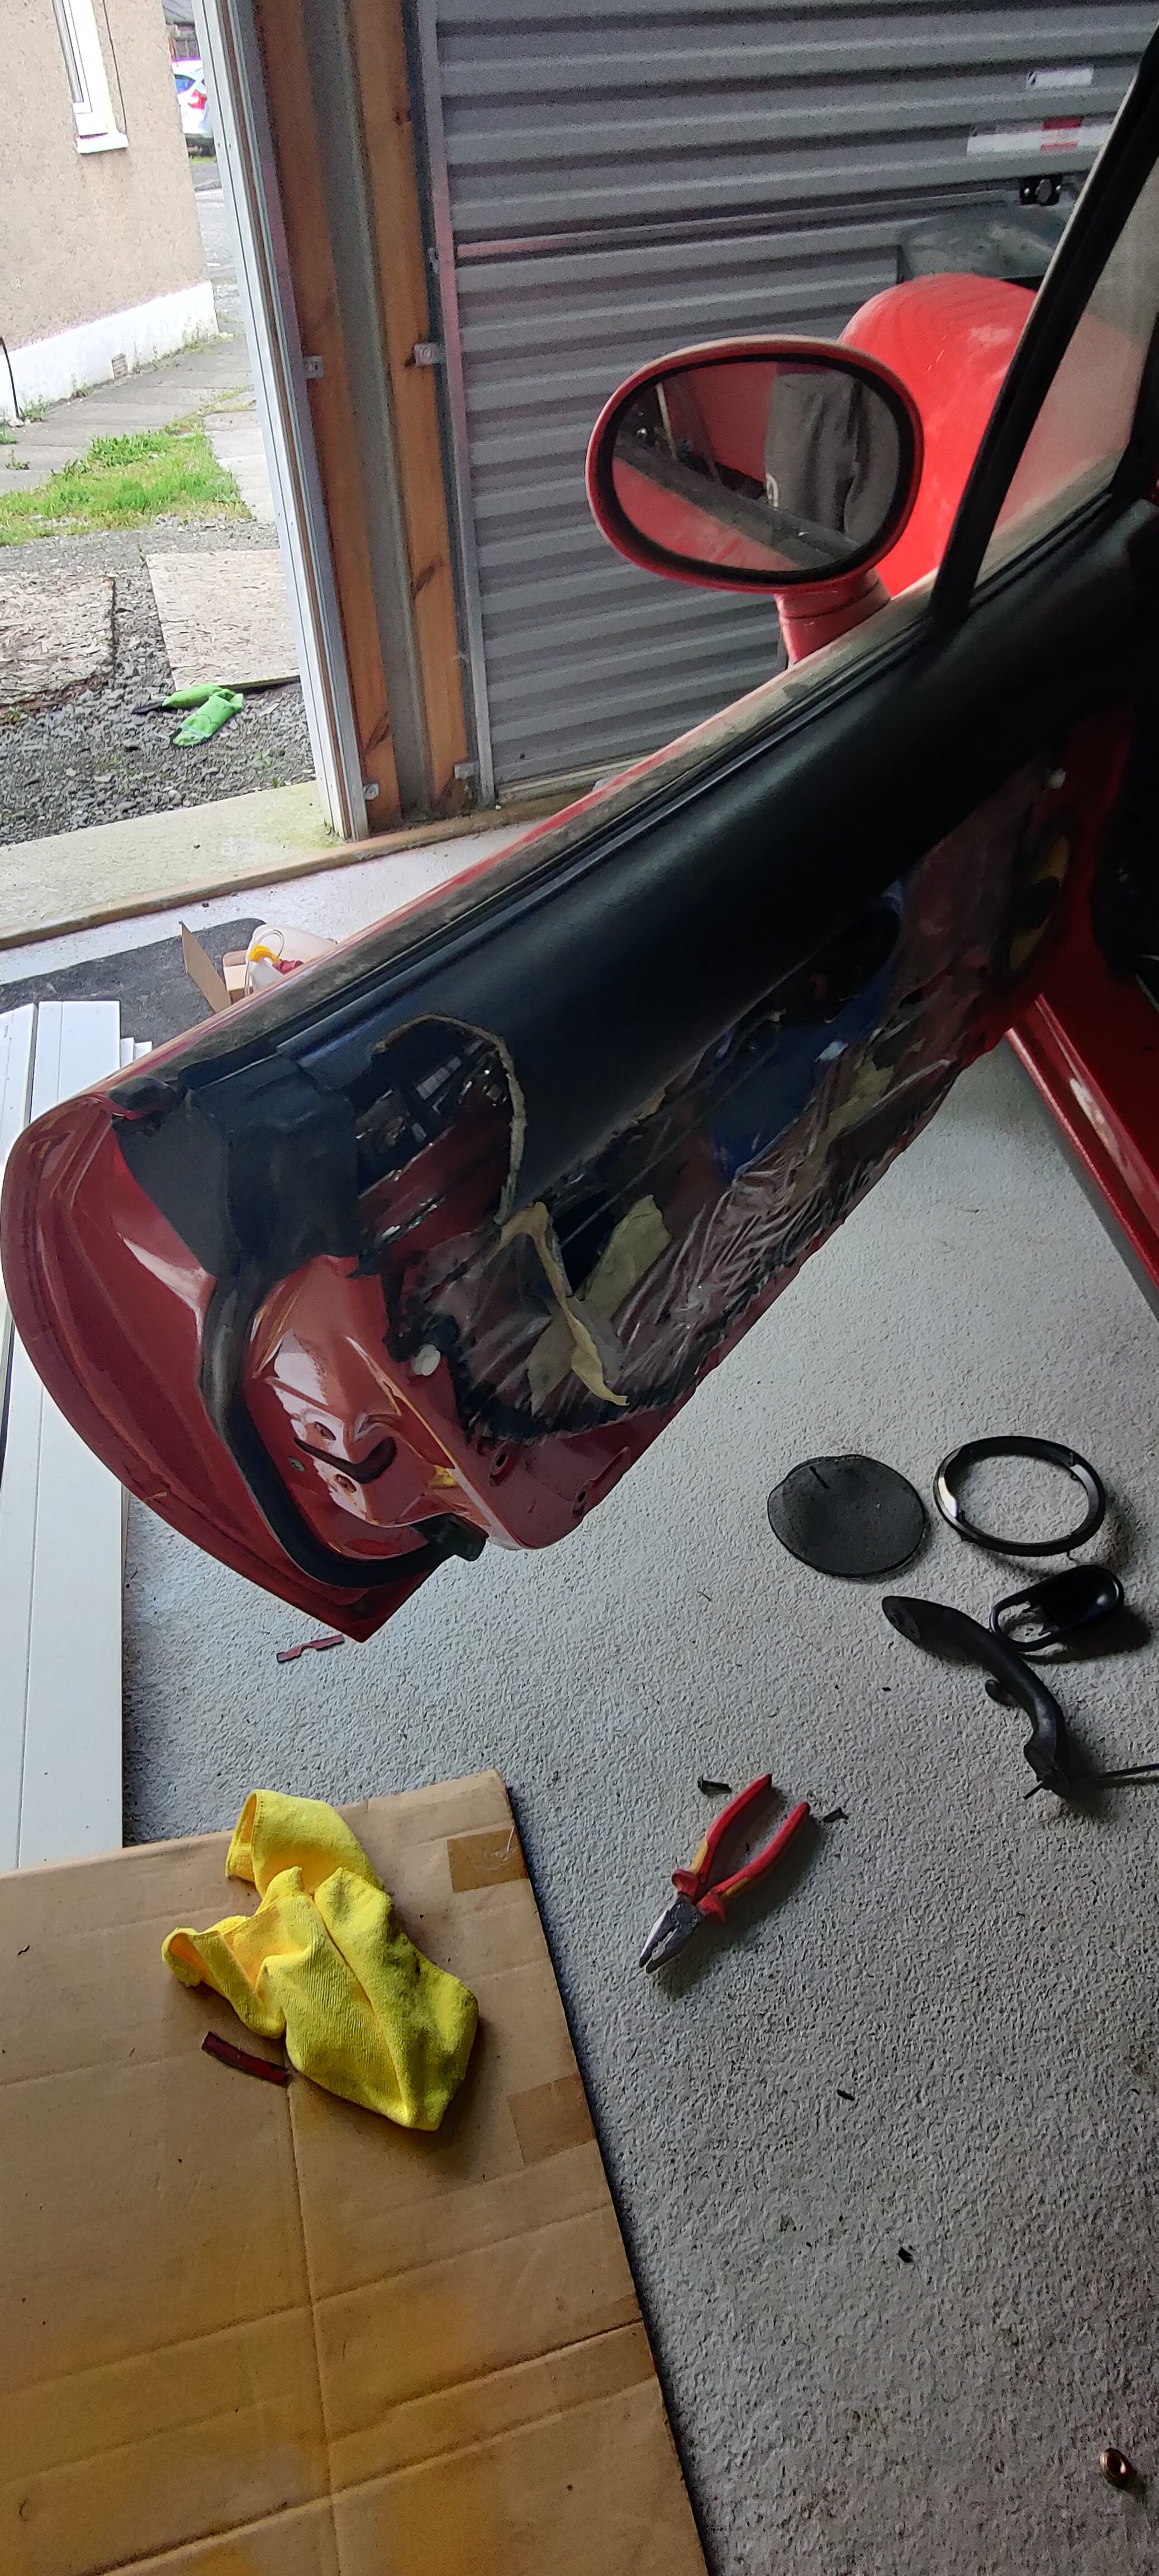
Still need to chop more out the passenger door to get it to close but I need thinner cutting discs for the grinder (and also to trim the door pads so it looks a bit nicer)
But it’s lookin good!
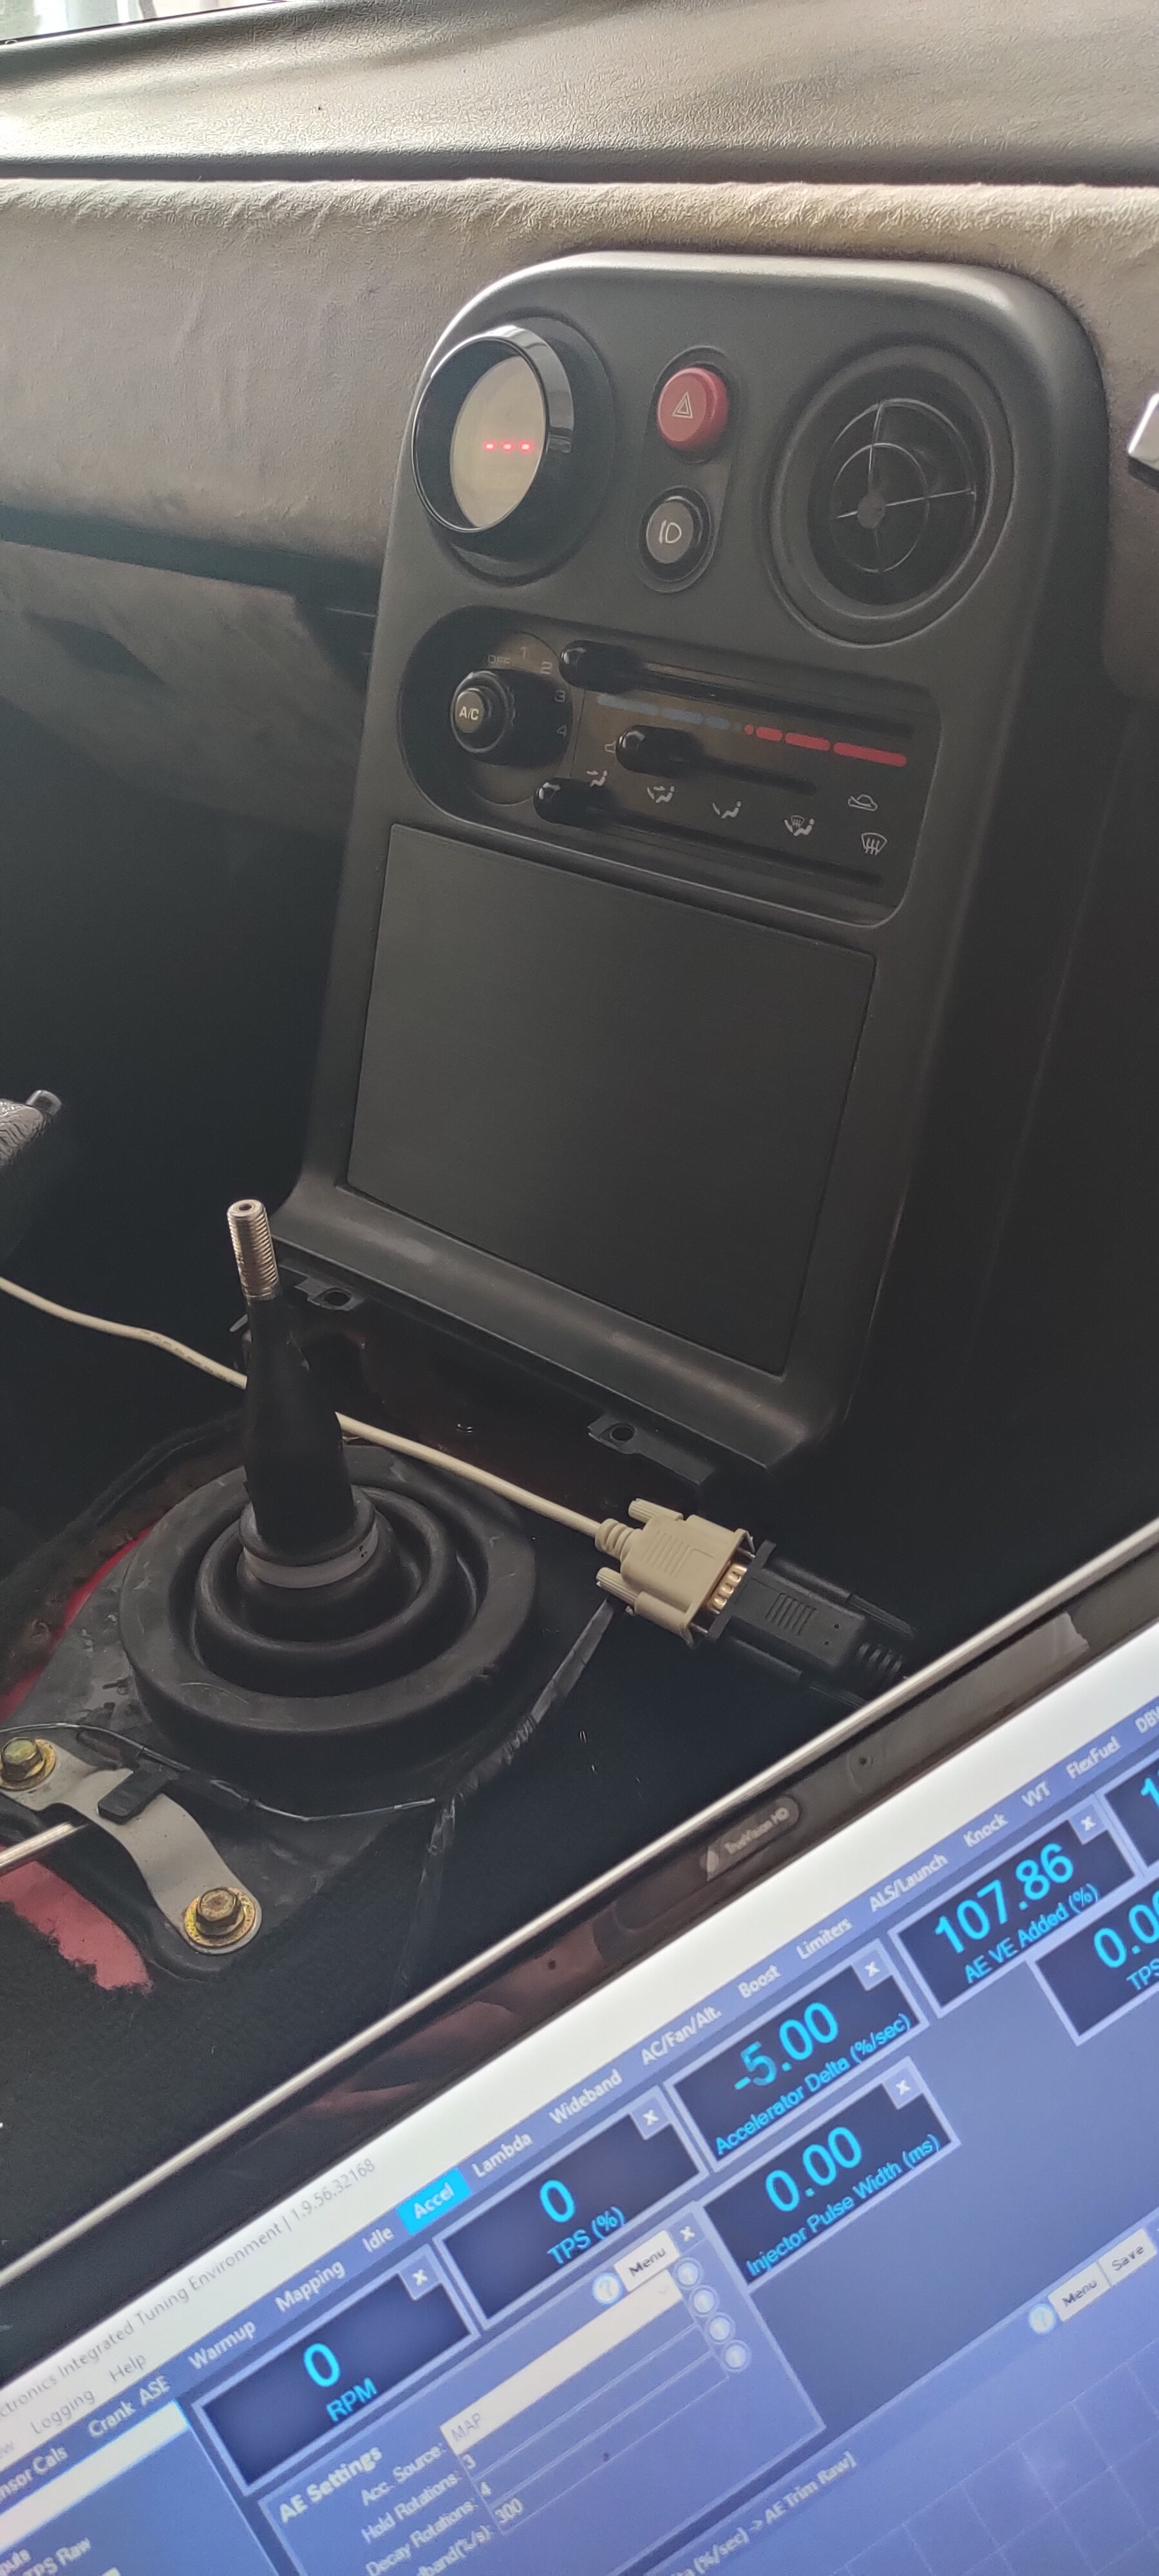
The afr readings on the guage seemed a lot more stable than before I had ripped out the ■■■■ wiring (and also earthed it to the engine earth strap instead of a bolt on the cas sensor) which is absolutely ideal because it was all over the place before
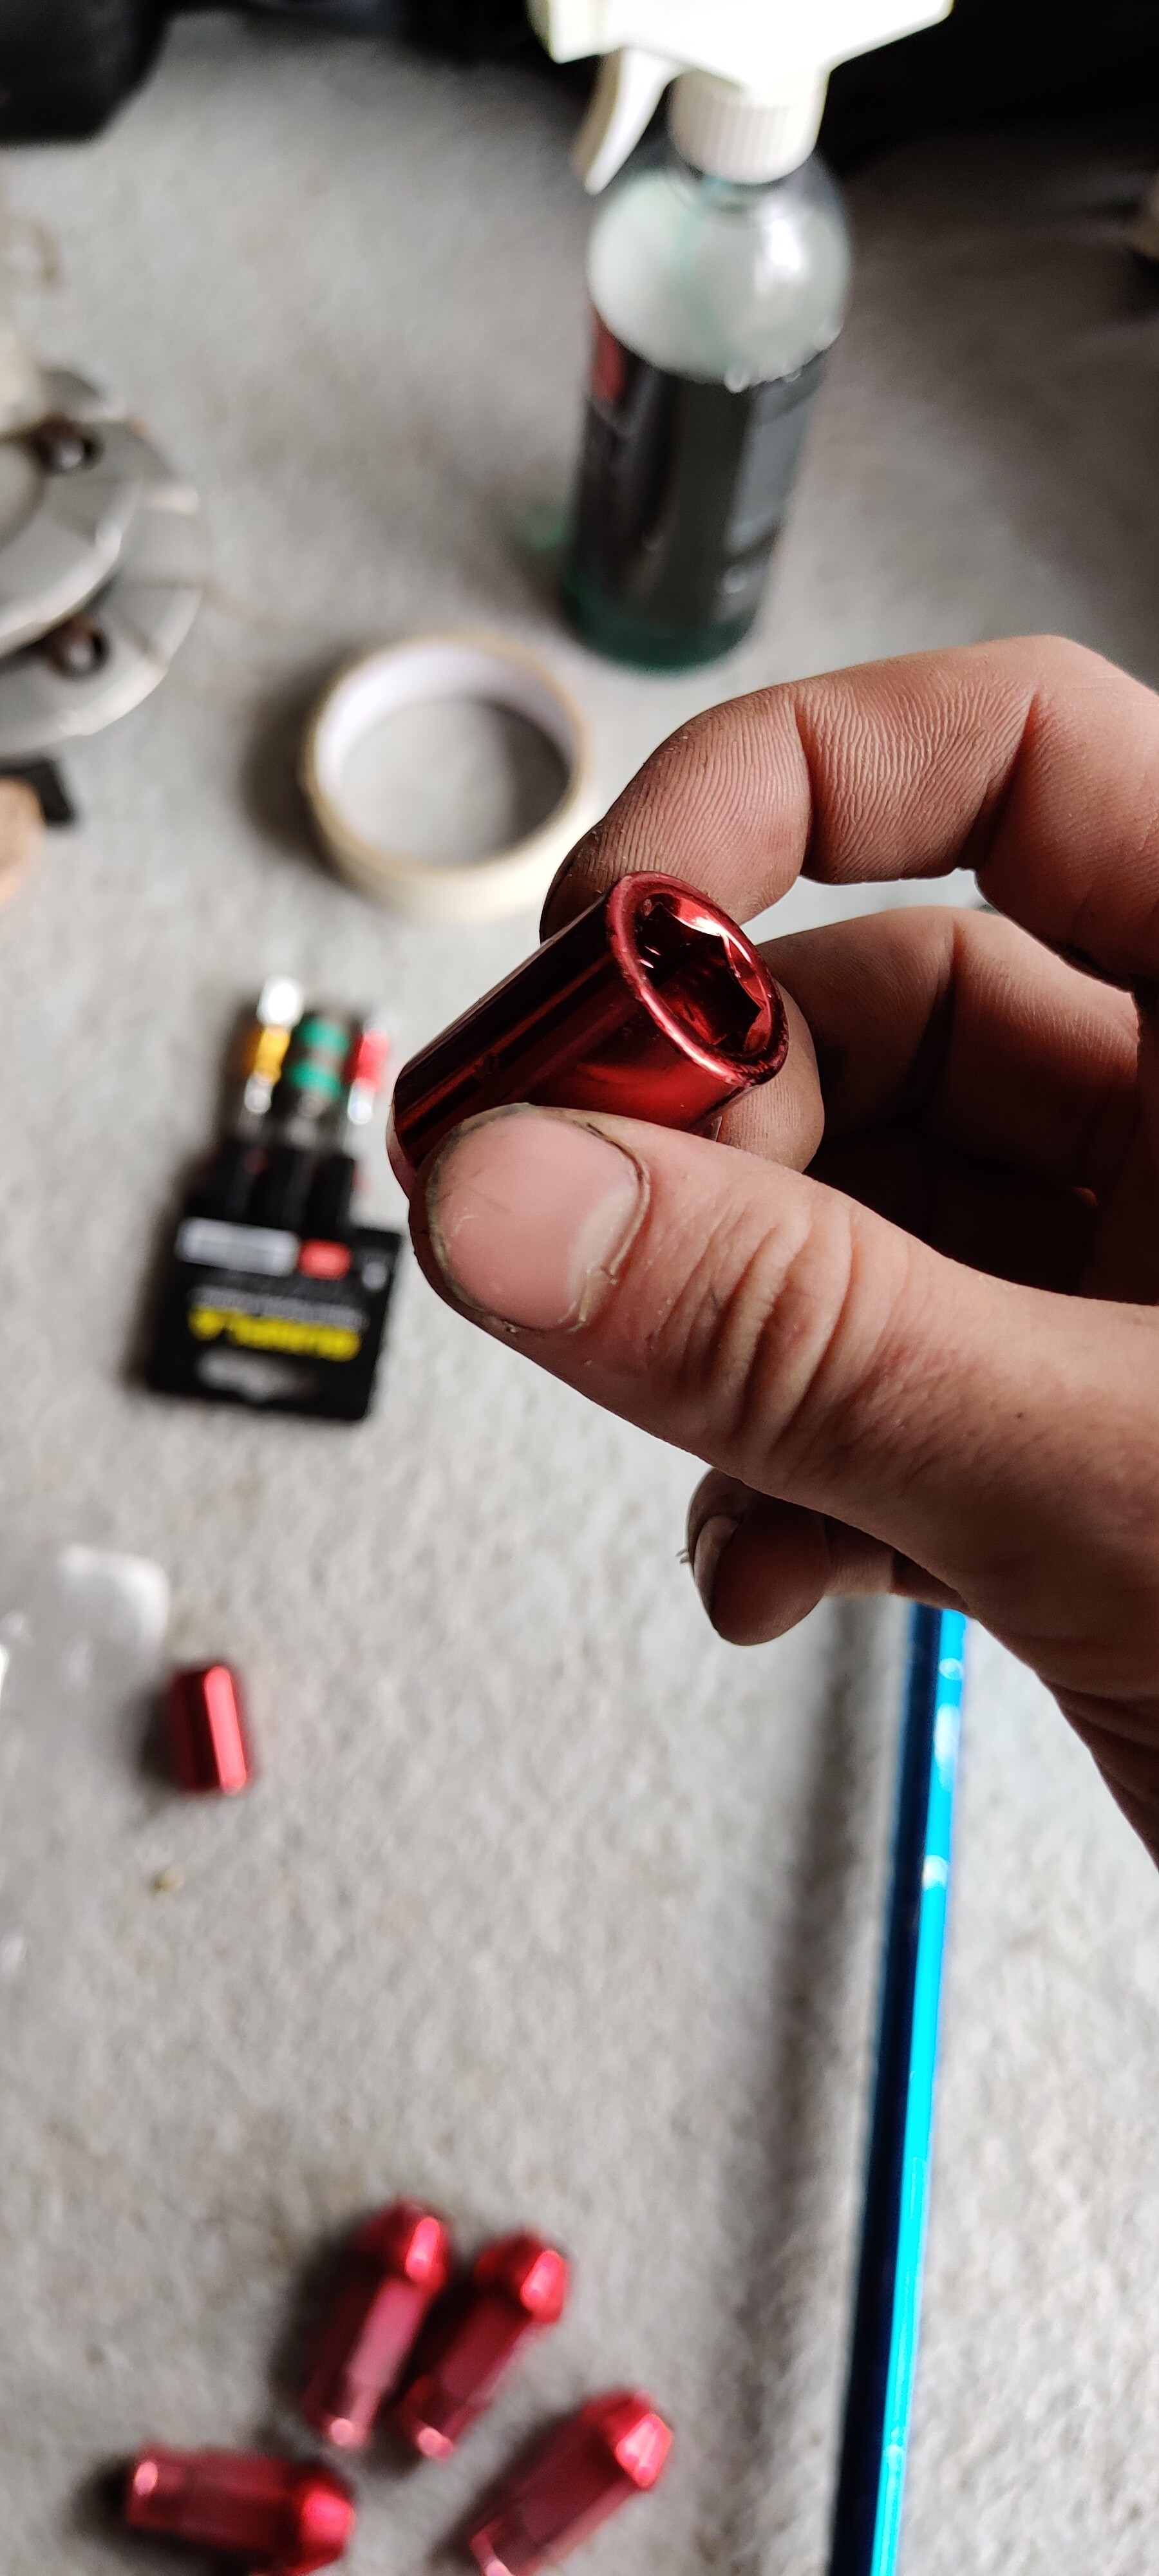
So the pcv valve came, braw, fitted 2 second job, also stuck the other la10 relay in, also 2 second job
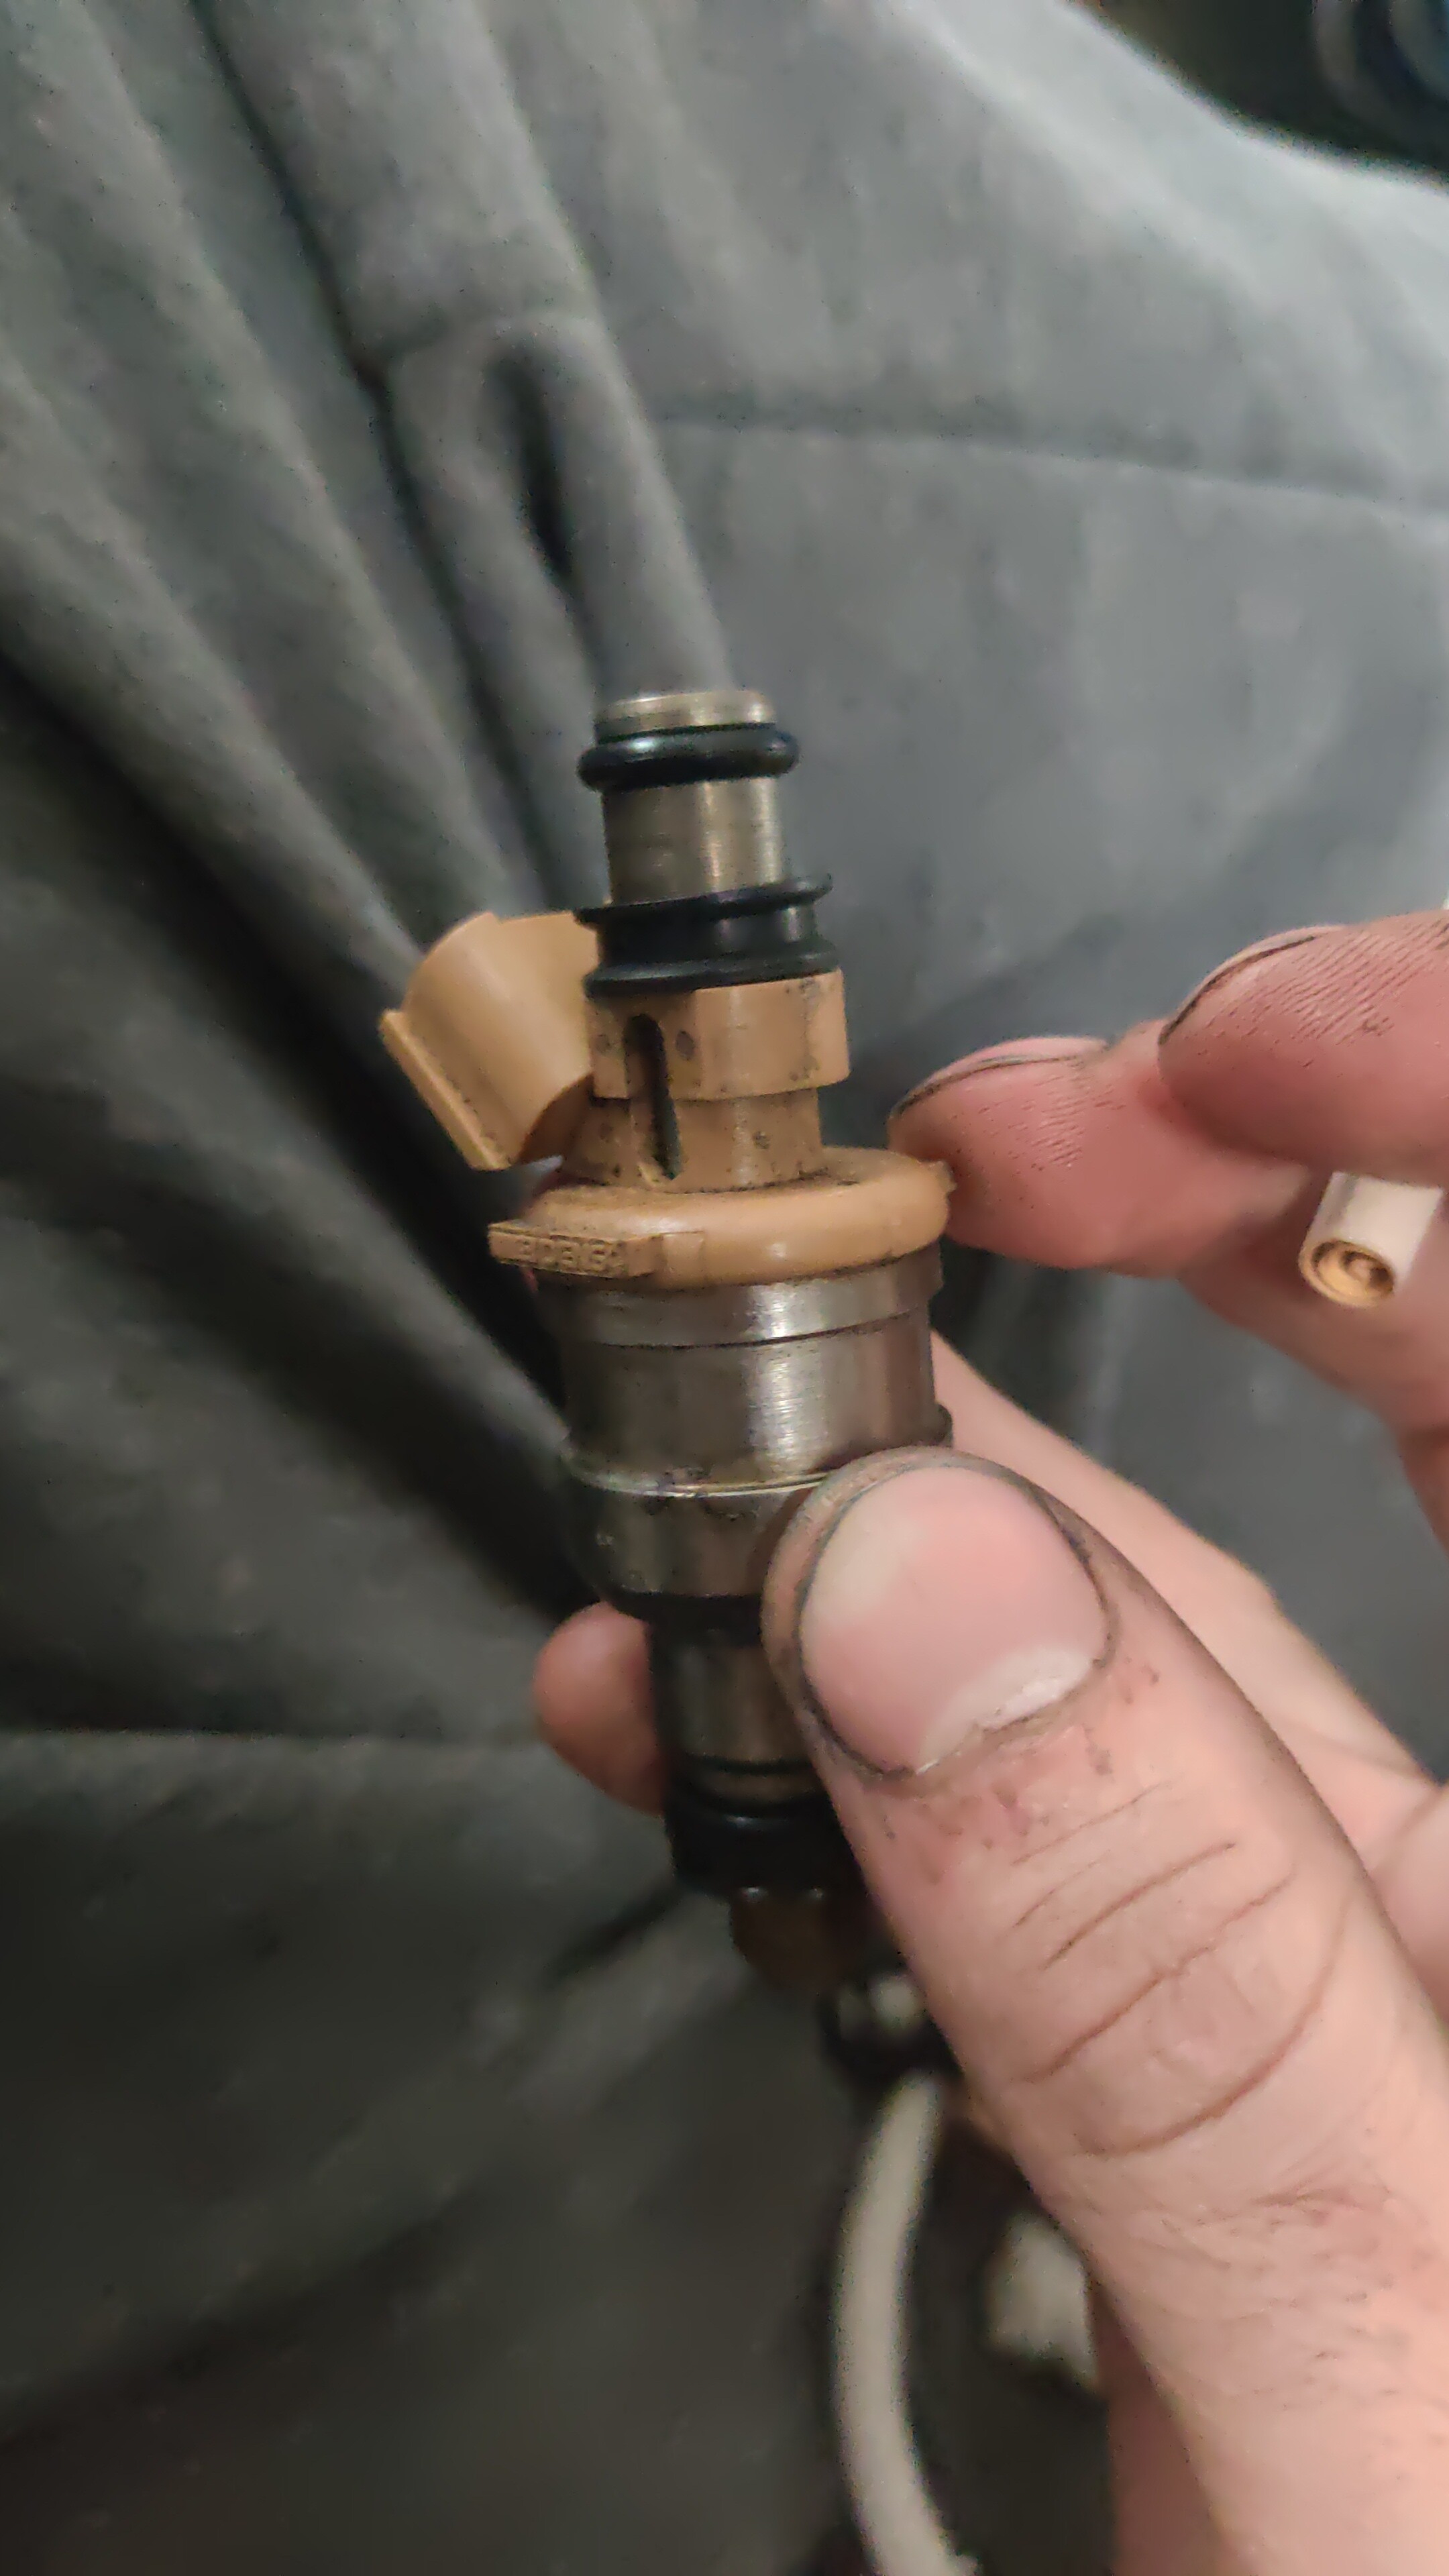
Filled it with 20 litres of momentum and it spat fuel out of one of the injectors, bokin. Ripped it all apart to find that the injector that had slipped out of place has half the size of orings that all the others had.
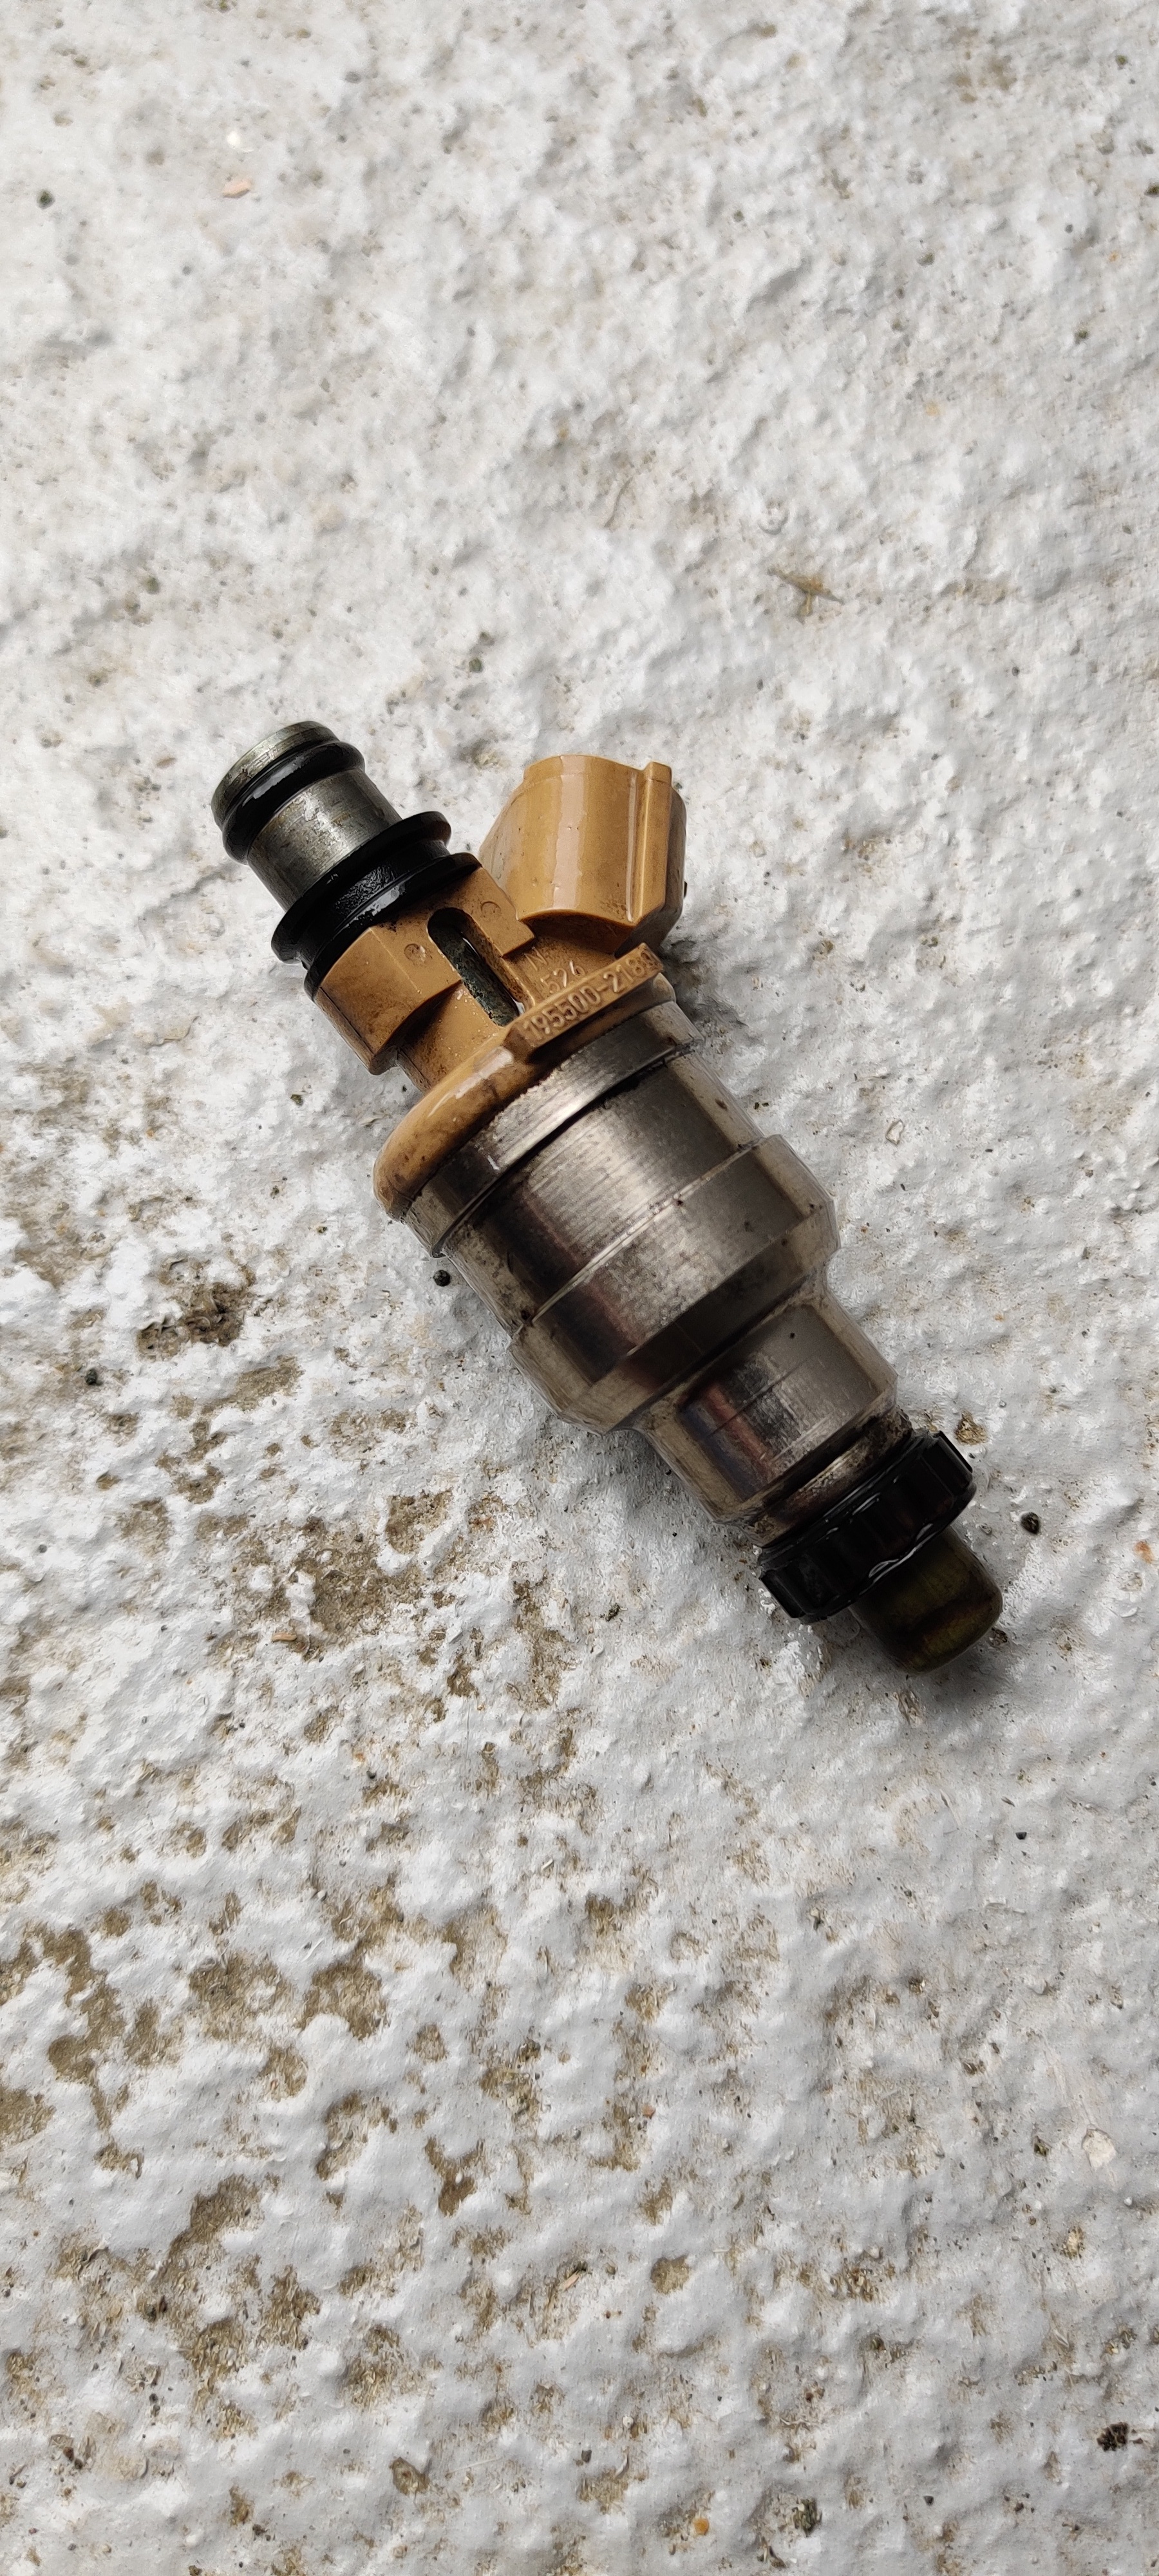
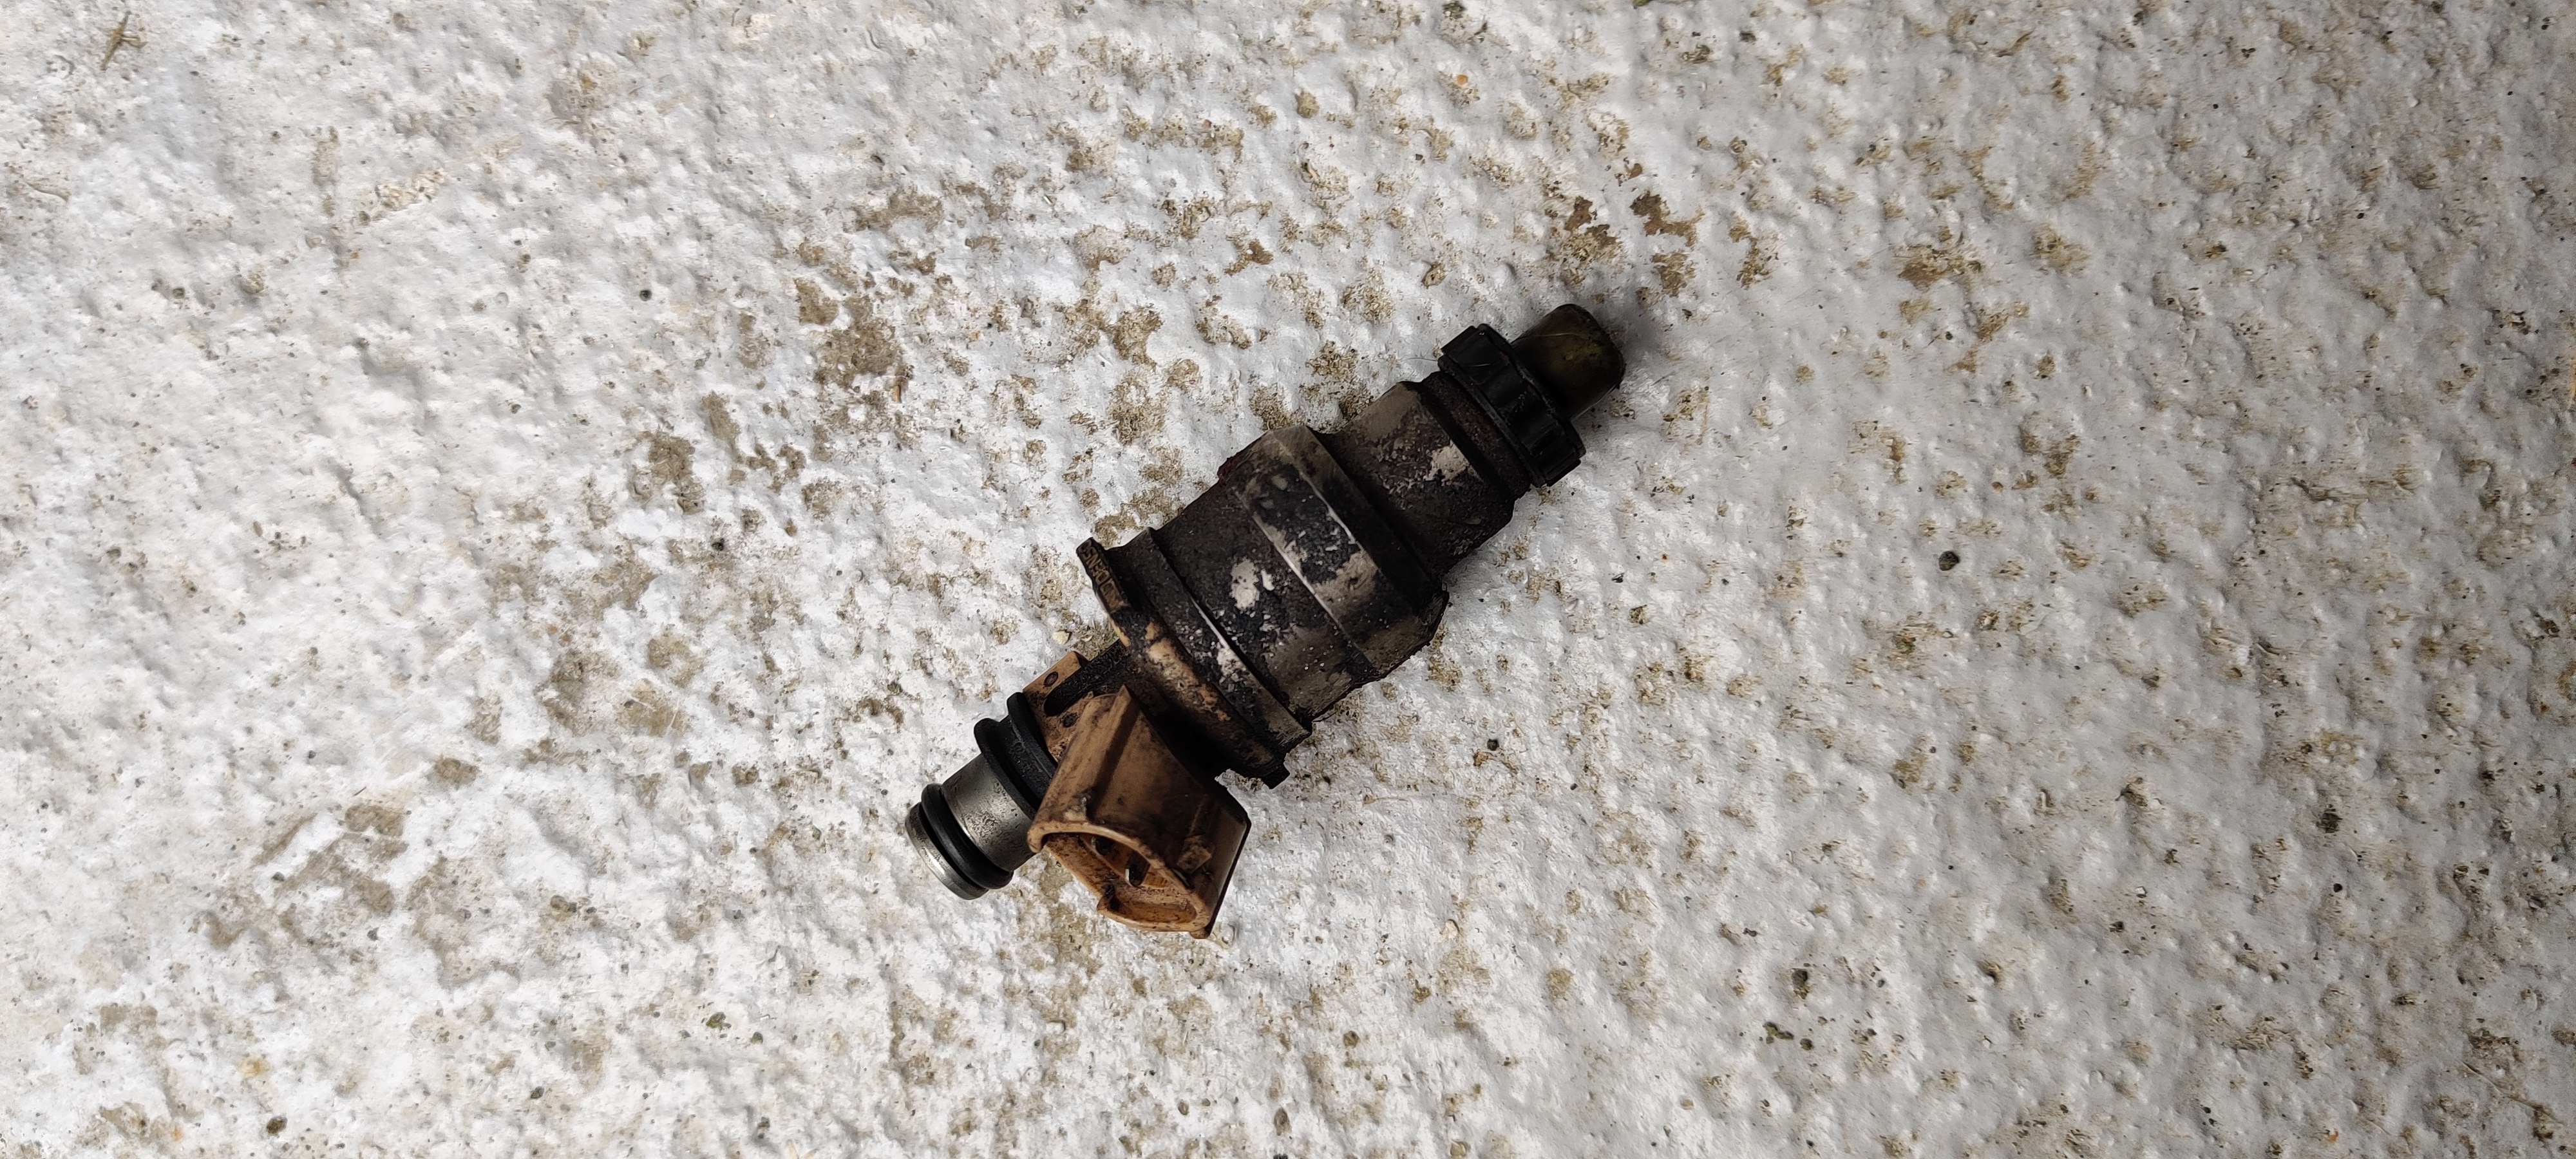
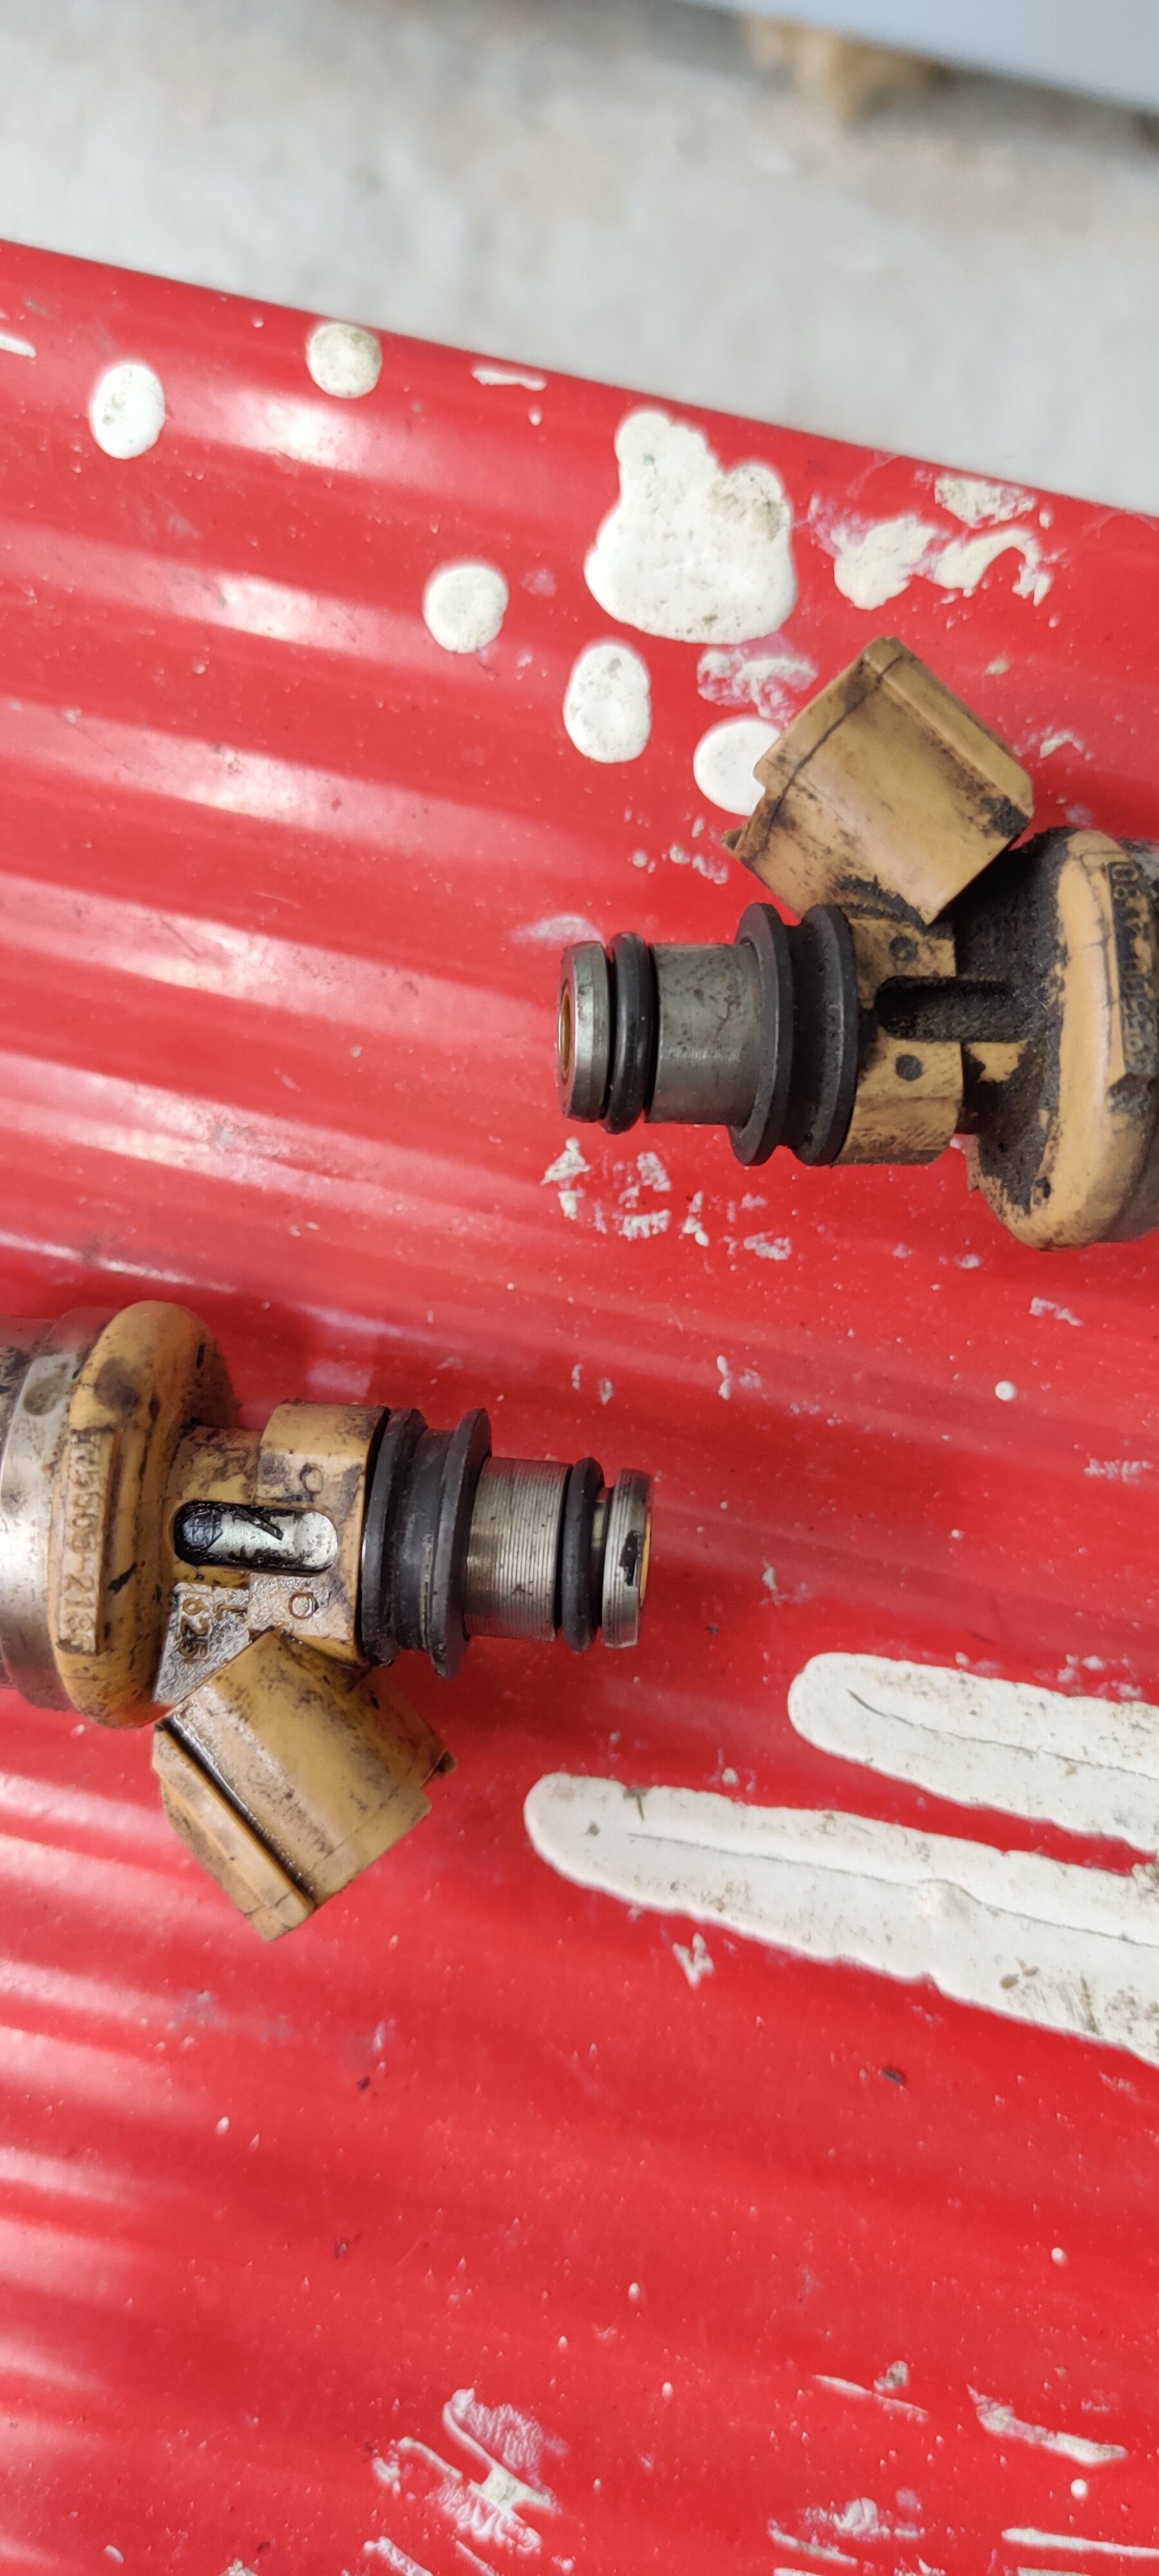
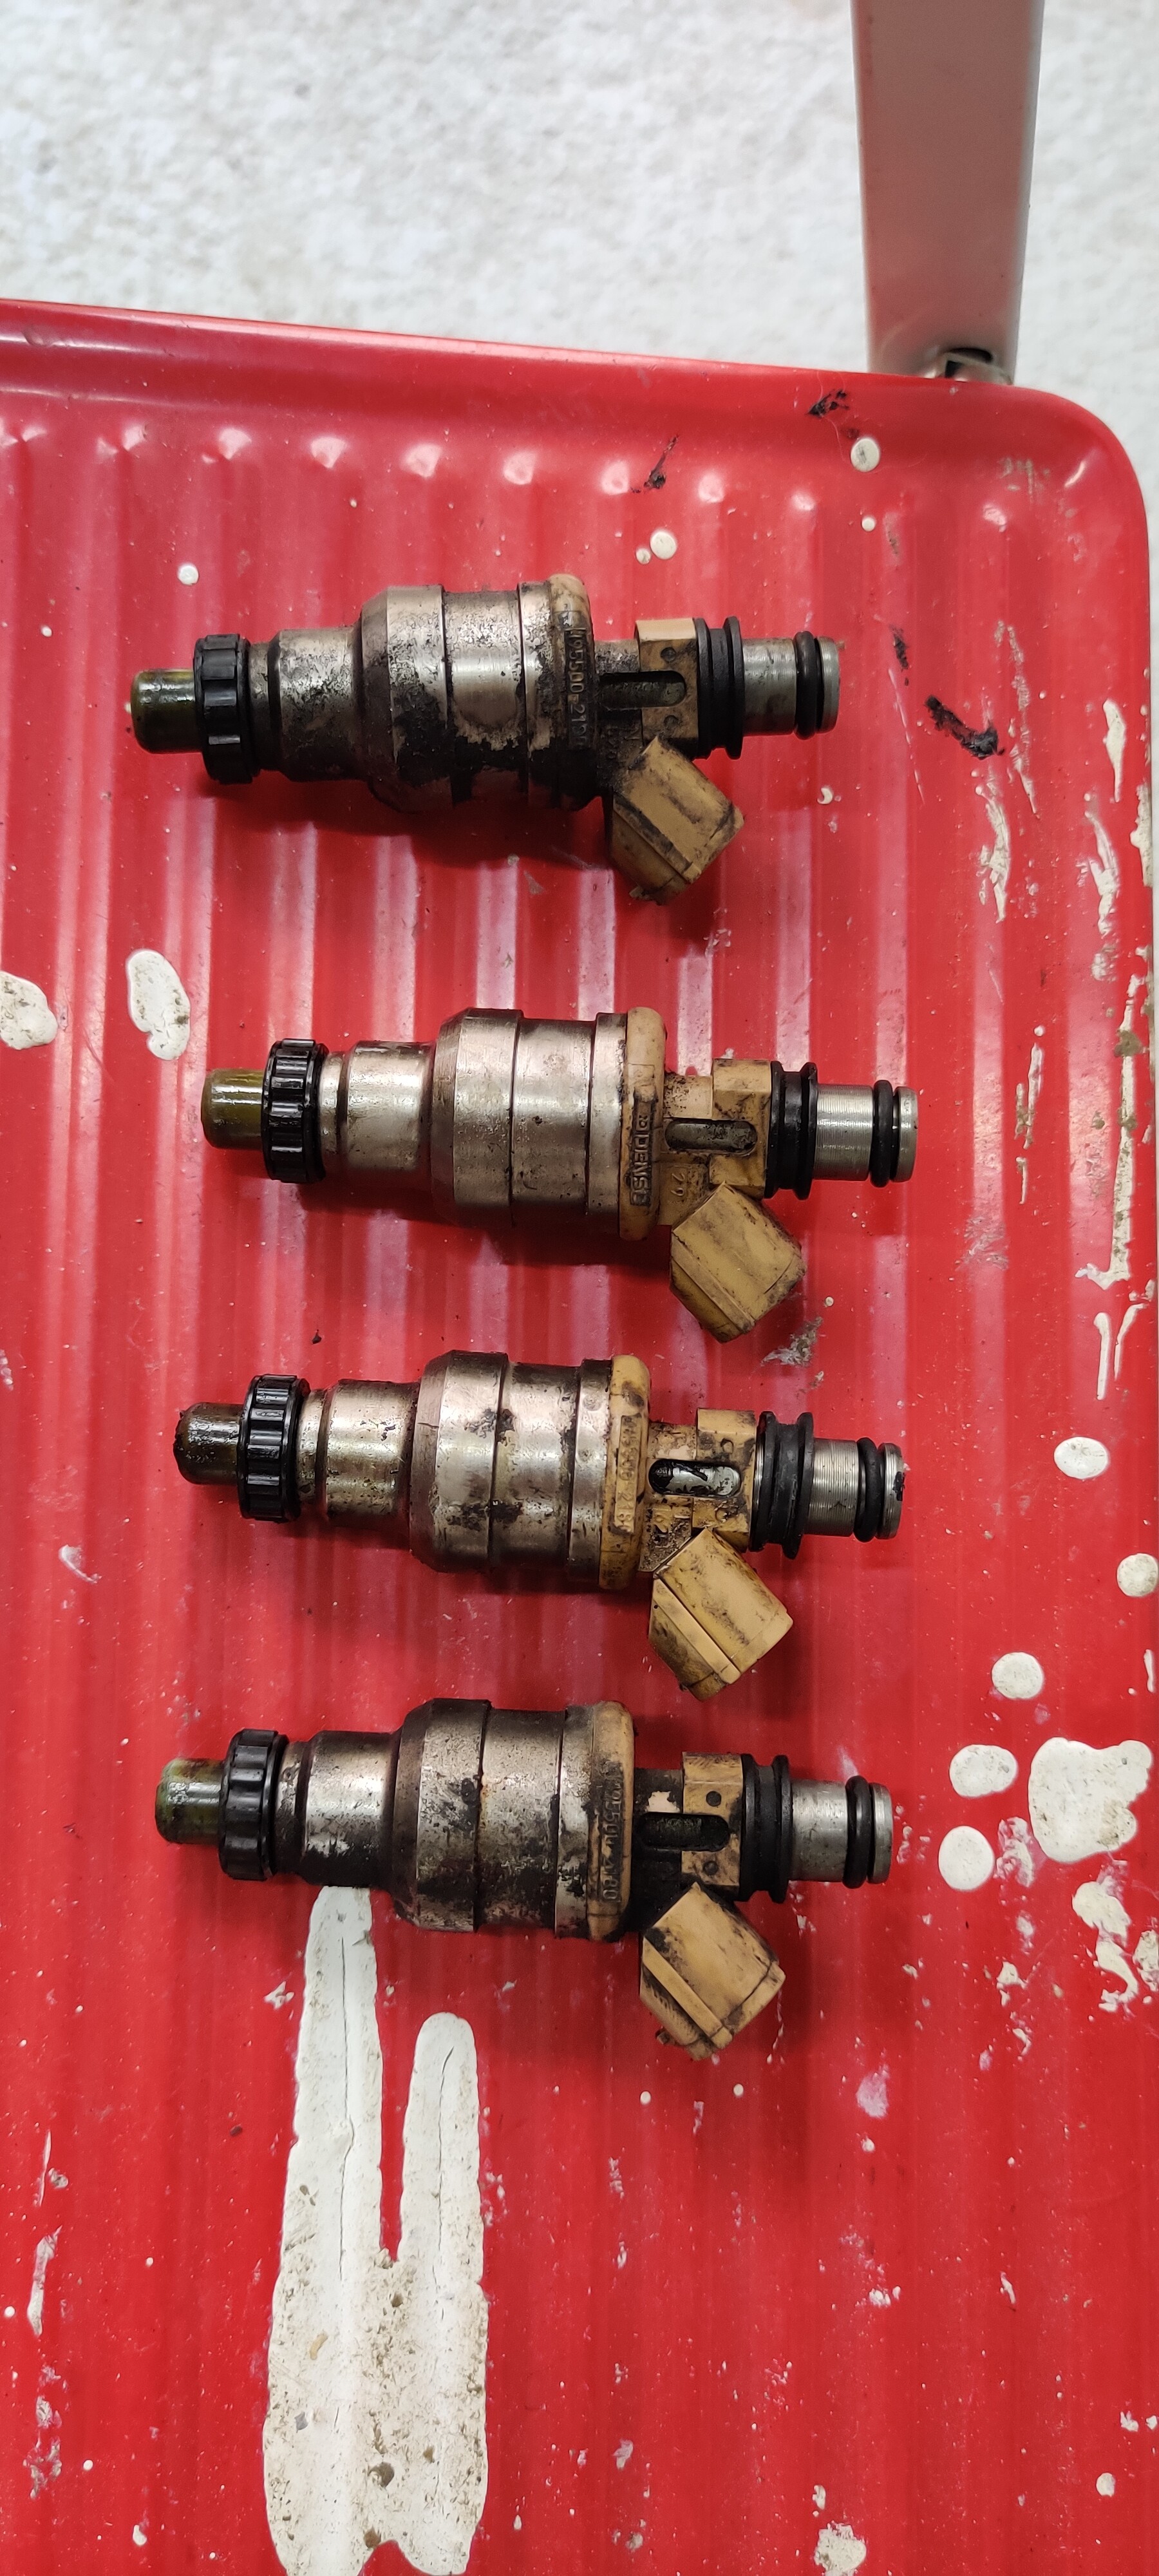
So I cleaned them all up, some have spots of rust on them but they’ll be replaced soon with ev15s anyway so as long as they work for now, I’ll find some orings at work tomorrow but failing that I’ve primed a multipack thing and there should be something in that to suit.
Also hit the rail quickly with some stonechip paint for the sake of tidying it up slightly
Strange it never blew out before, fuel system must not have been able to handle the full 35psi after changing the fuel filter  I let the pump run for a while to check for leaks everywhere and saw nothing aswell, oh well! I’ll try again tomorrow
That’s a bit meatier!!

Hopefully be alright when I fire it all back together and try again
I’ve got loads of orings now so prepared for next time, will most likely just change all those top seals since they’re out
Bogging if way better now when the cars warmed up, it’s still present but very slight
So I thought I’d have a go at playing with the coil on plug setup tonight
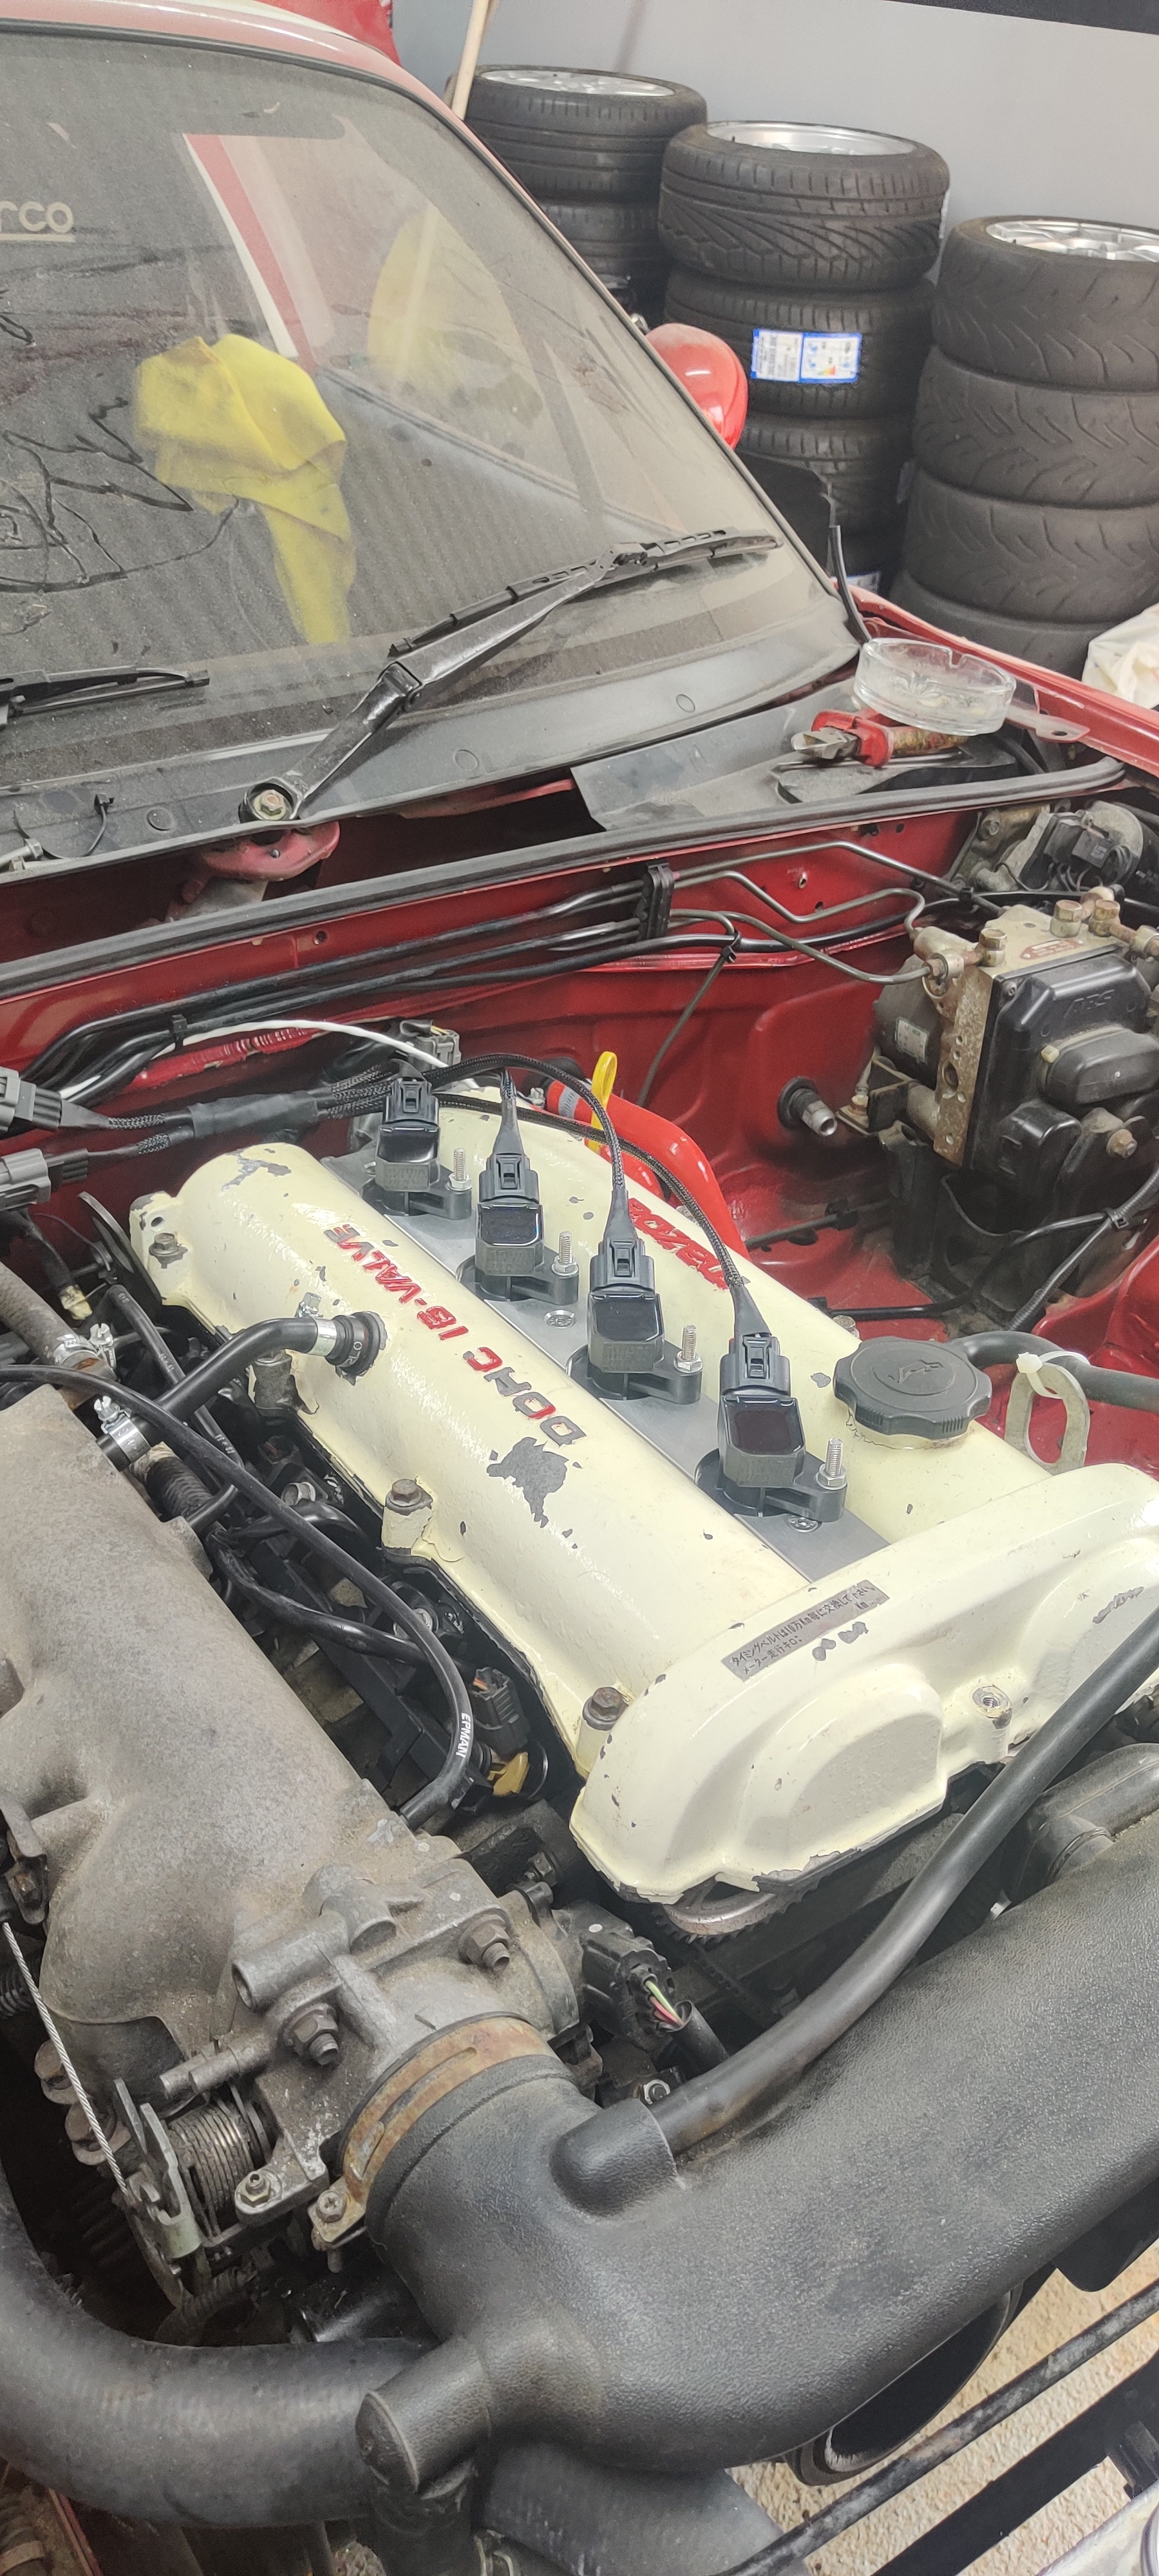
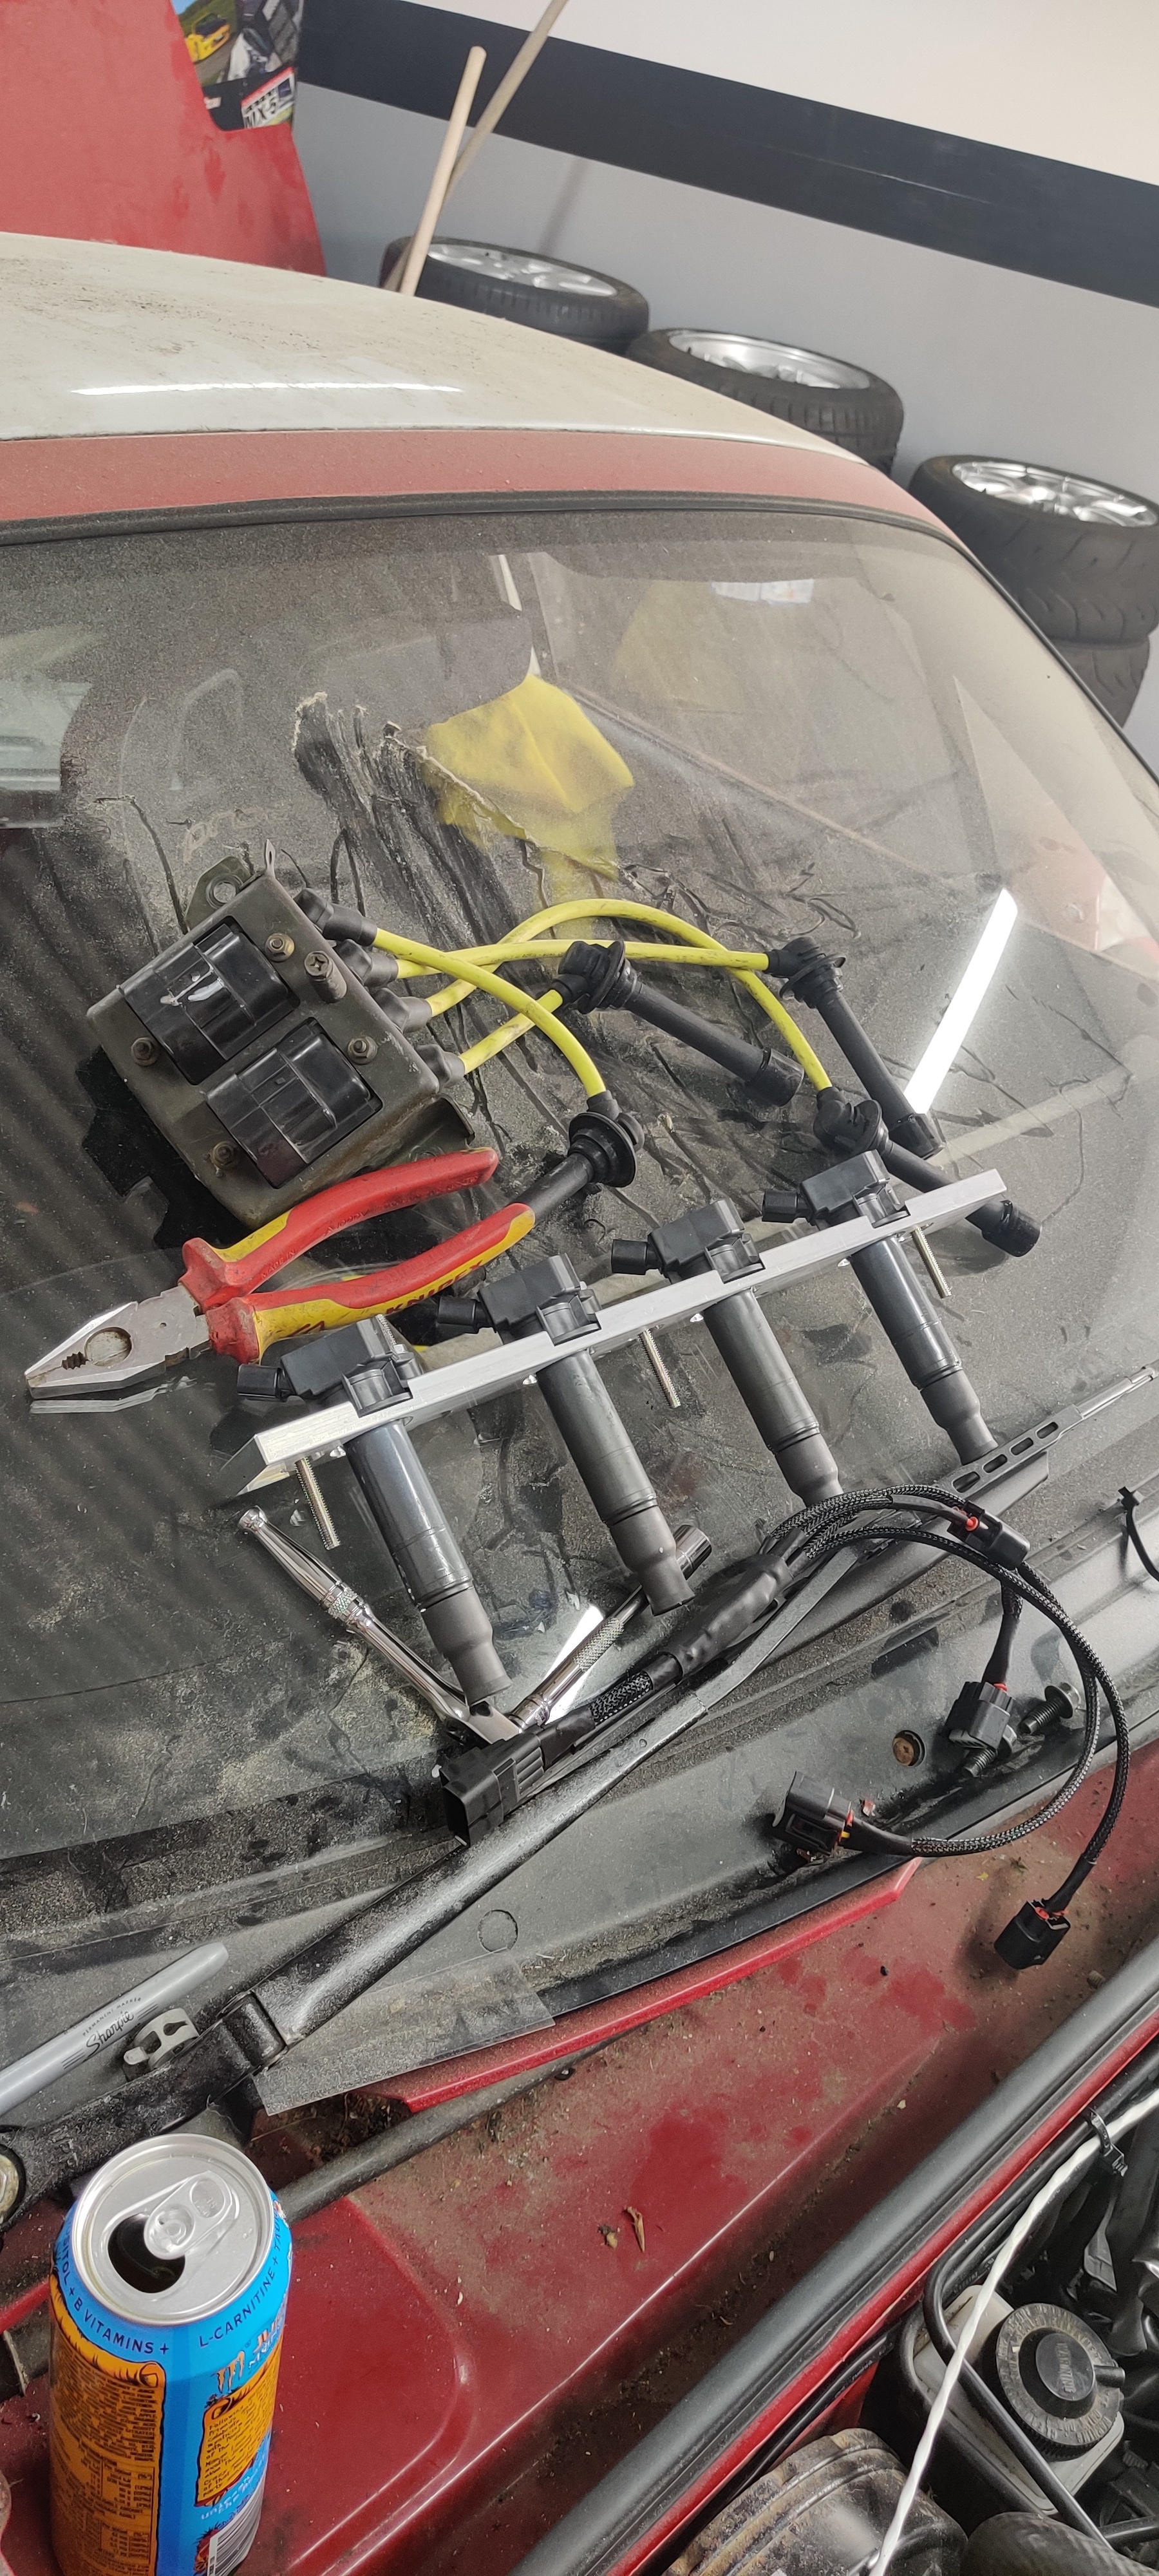
Reduced the dwell time on the me221, already set to wasted spark and it nearly works! Coil A is only firing cylinder 1 instead of 1+4 and coil B fires only 2 instead of 2+3 so after swapping plugs around all over the place trying to diagnose the problem without my multimeter I’ve given up and am now going to return tomorrow to see if cylinders 3 + 4 get a voltage at all when fired, we shall see
But they’re beaut <3 and also if I get em to work it means I can fire the properly chopped cam cover on after I tidy it up since it doesn’t have coil pack mounting points (or lettering or a timing belt cover)
1 Like
I got it running sweet on the cops! I am over the moon, it’s all coming together now!
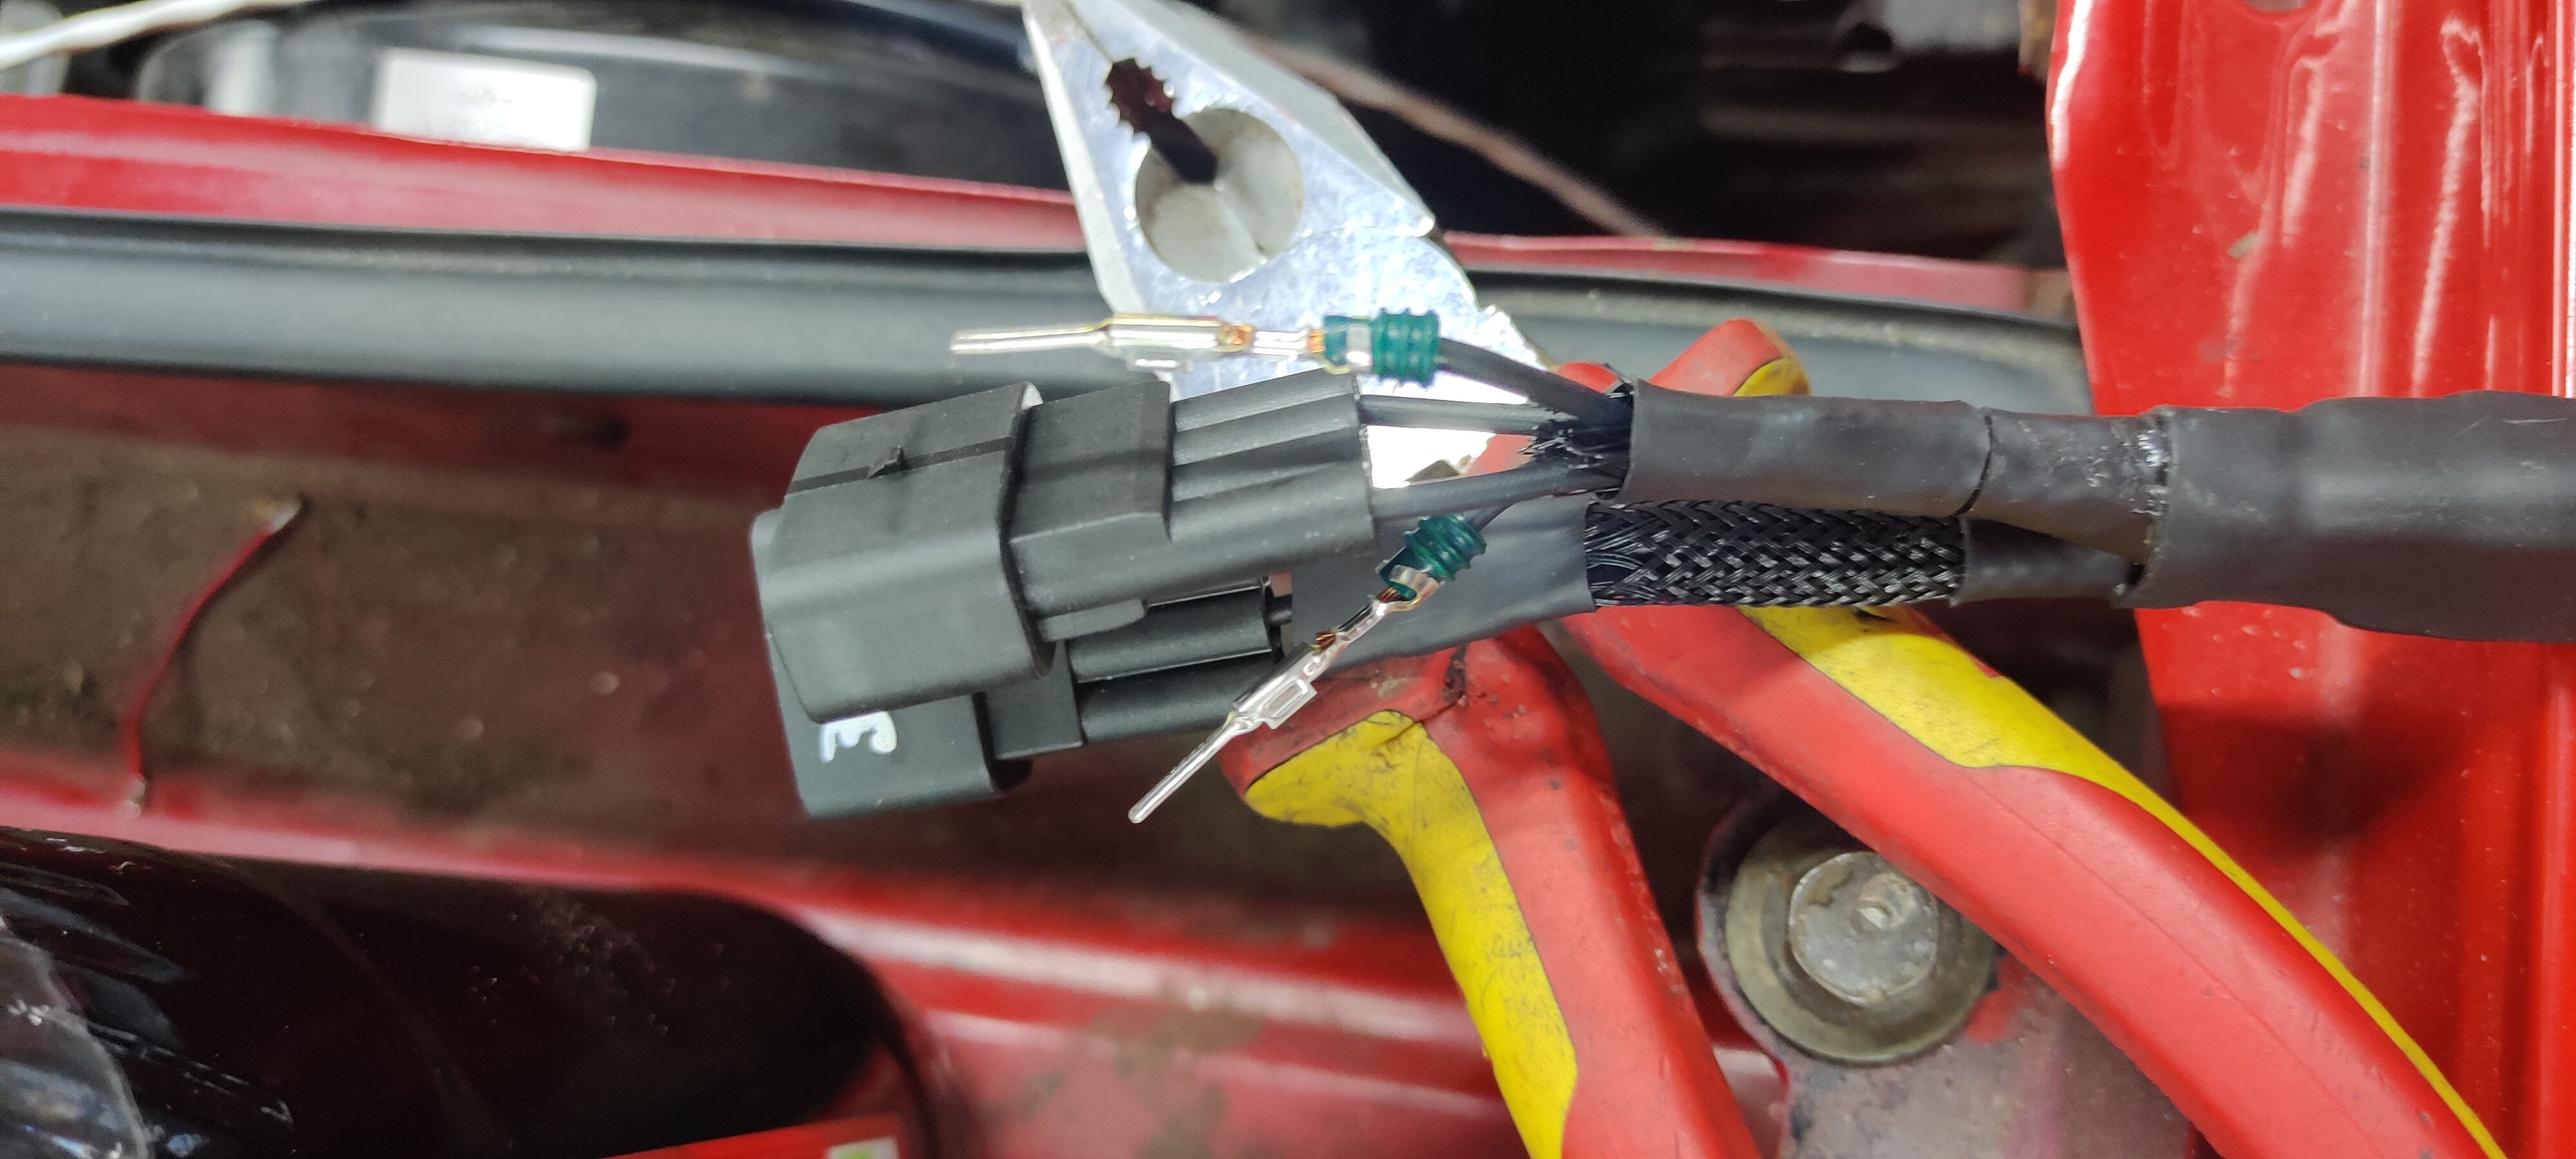
The problem causing it not to run was one of the coil pack pins was pinned into the empty connector slot on the OEM loom, an easy fix once sussed so pleases that it fired up after that
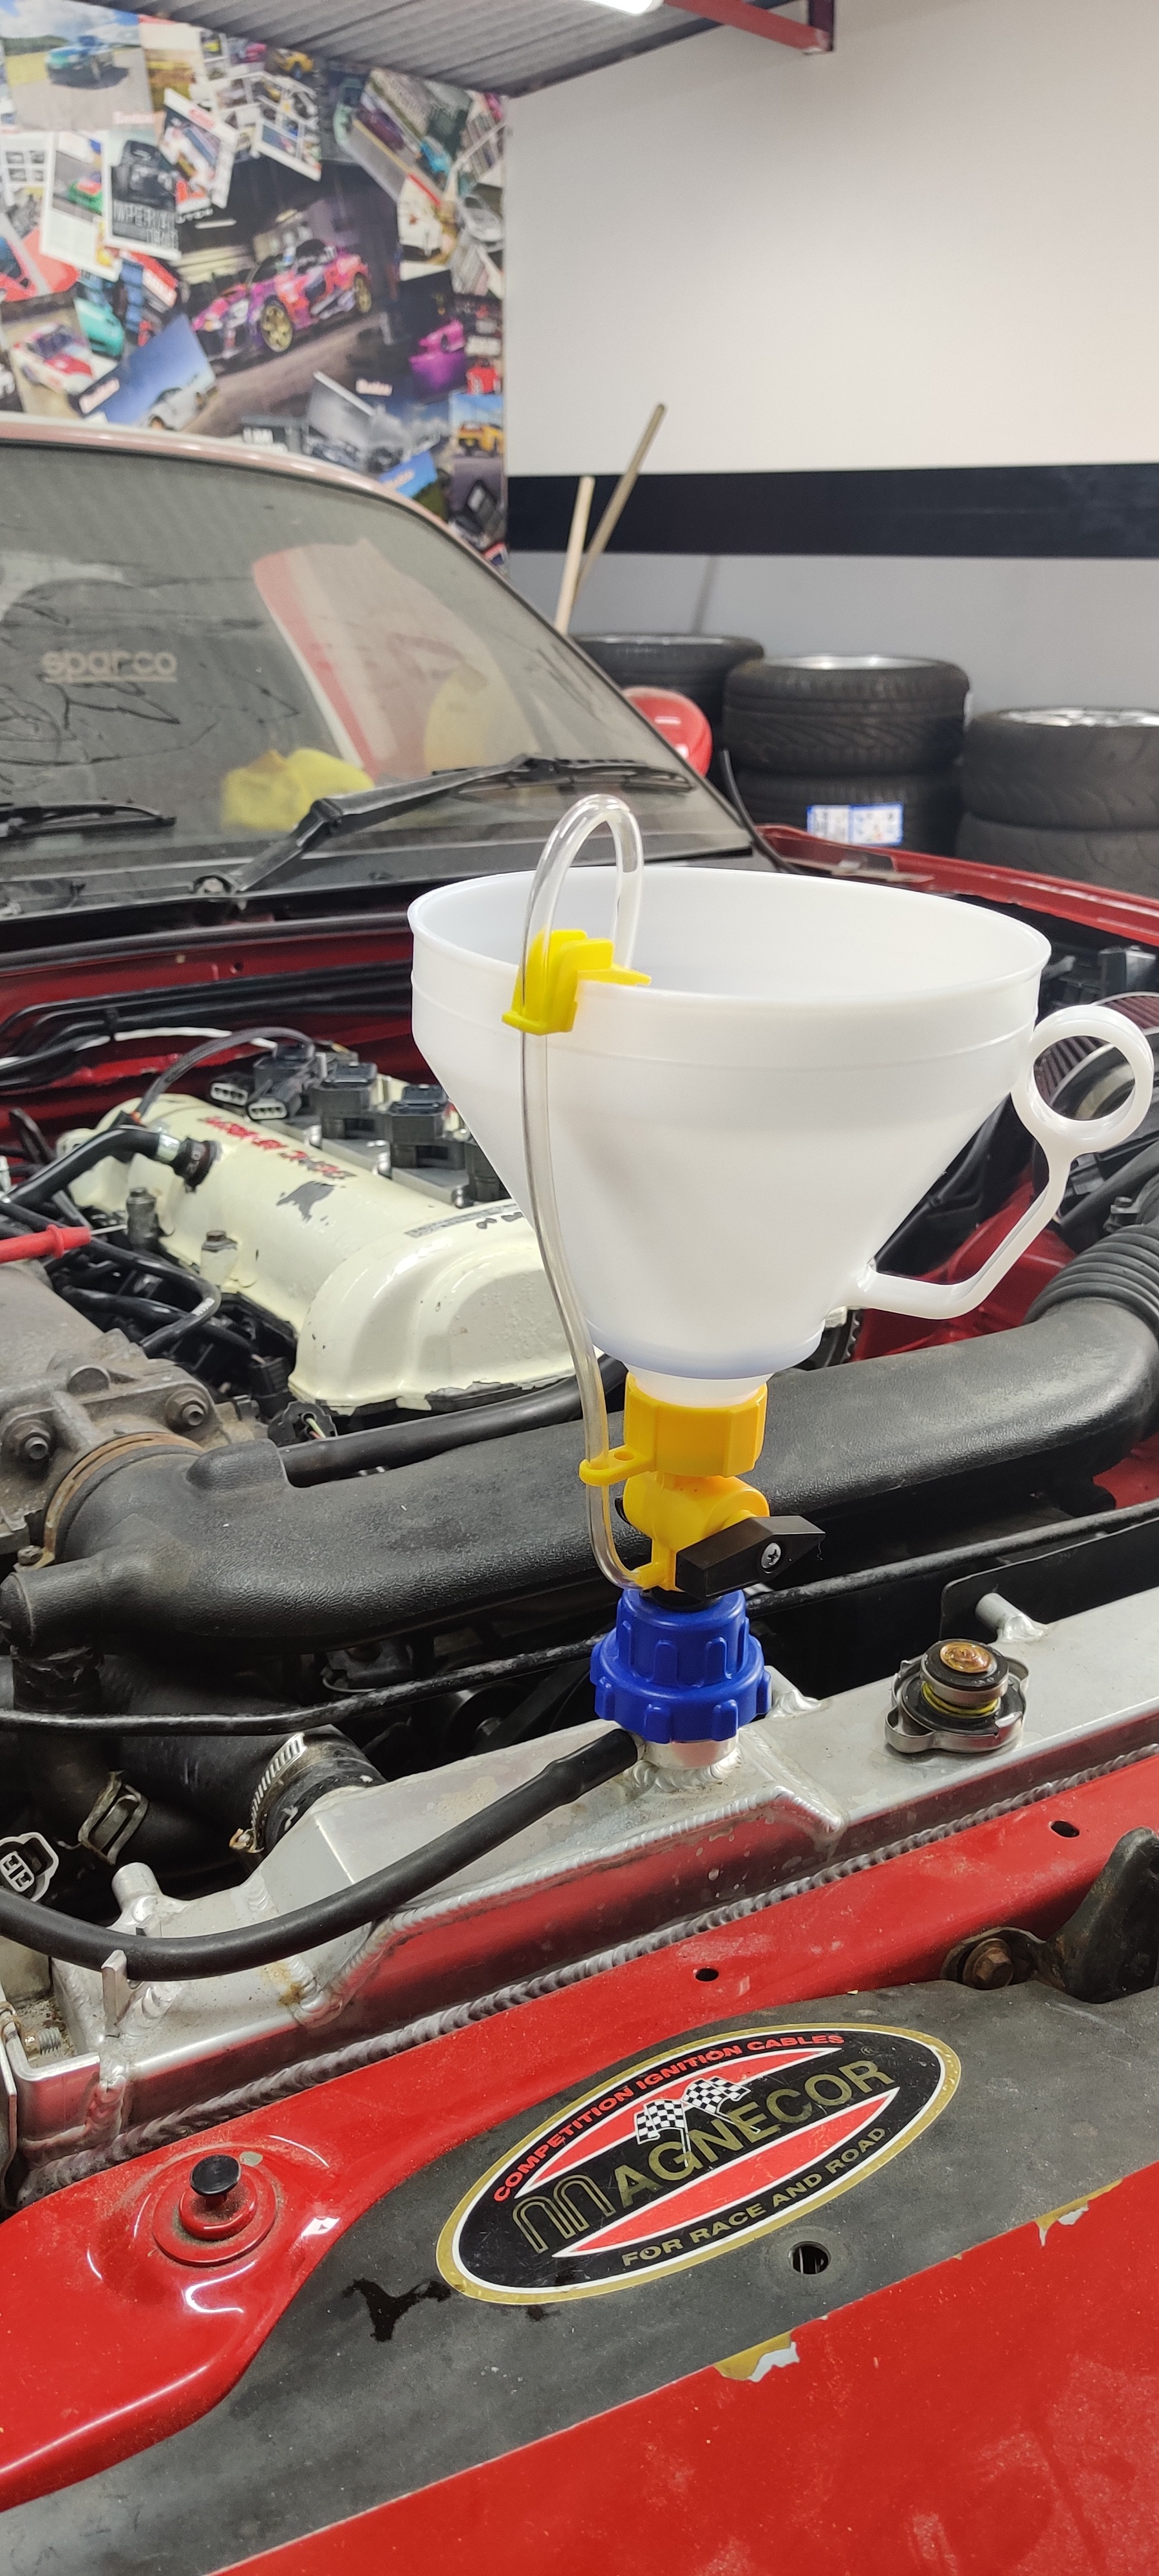
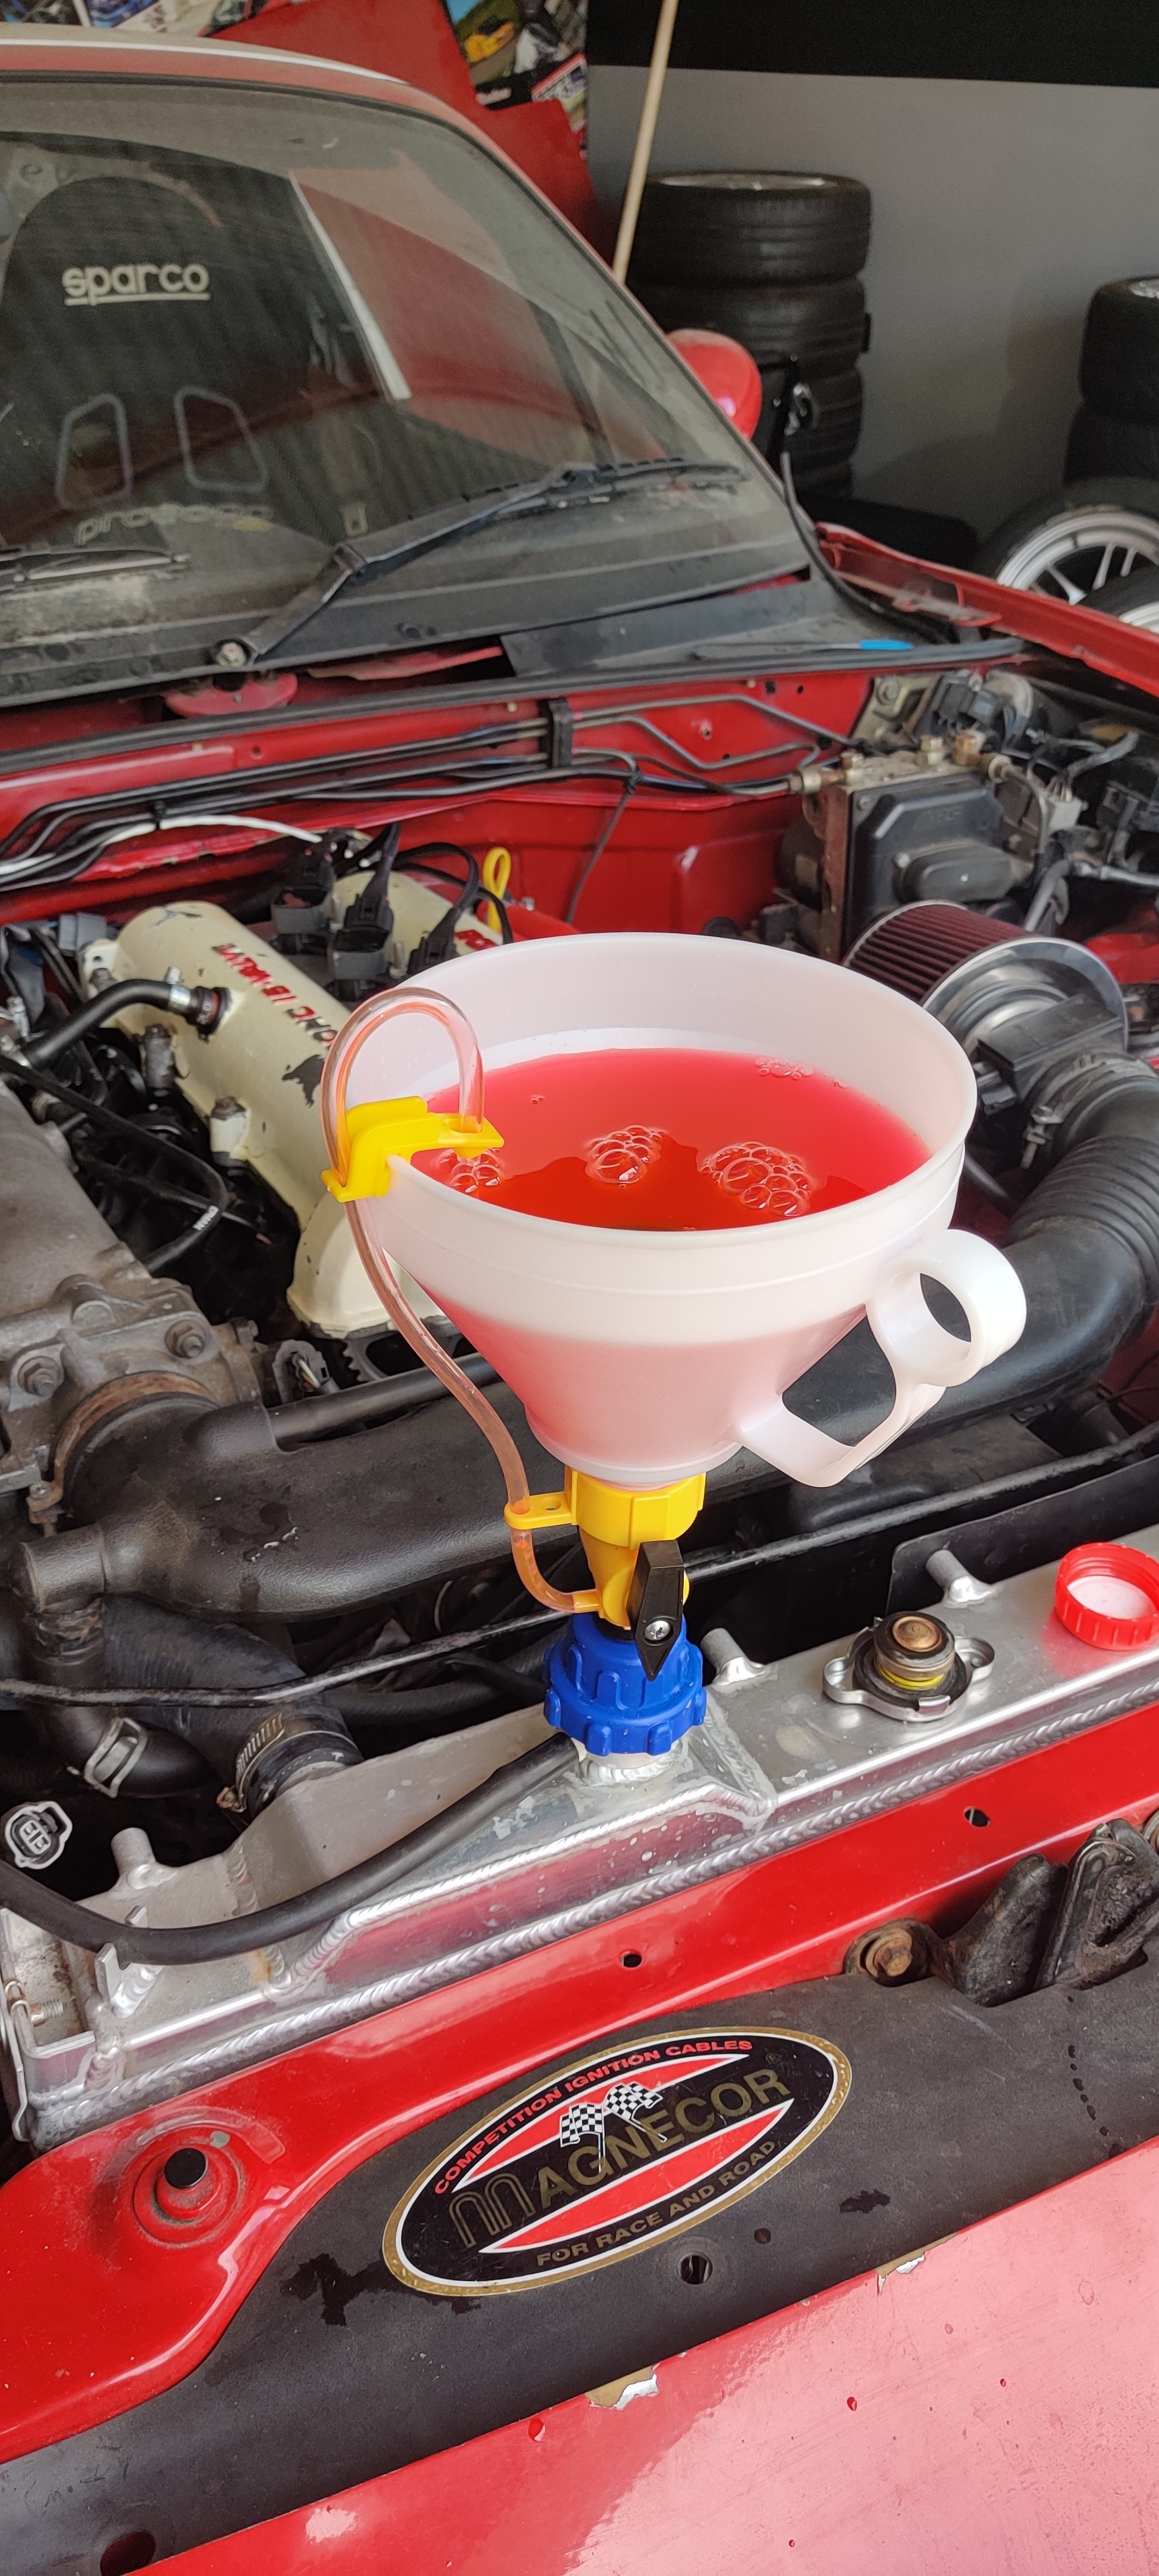
I’m gettin real excited now as it’s coming close to being roadworthy, ordered a coolant flush and some coolant to replace my water (lol) and a new funnel which I’m way more excited about than I should be
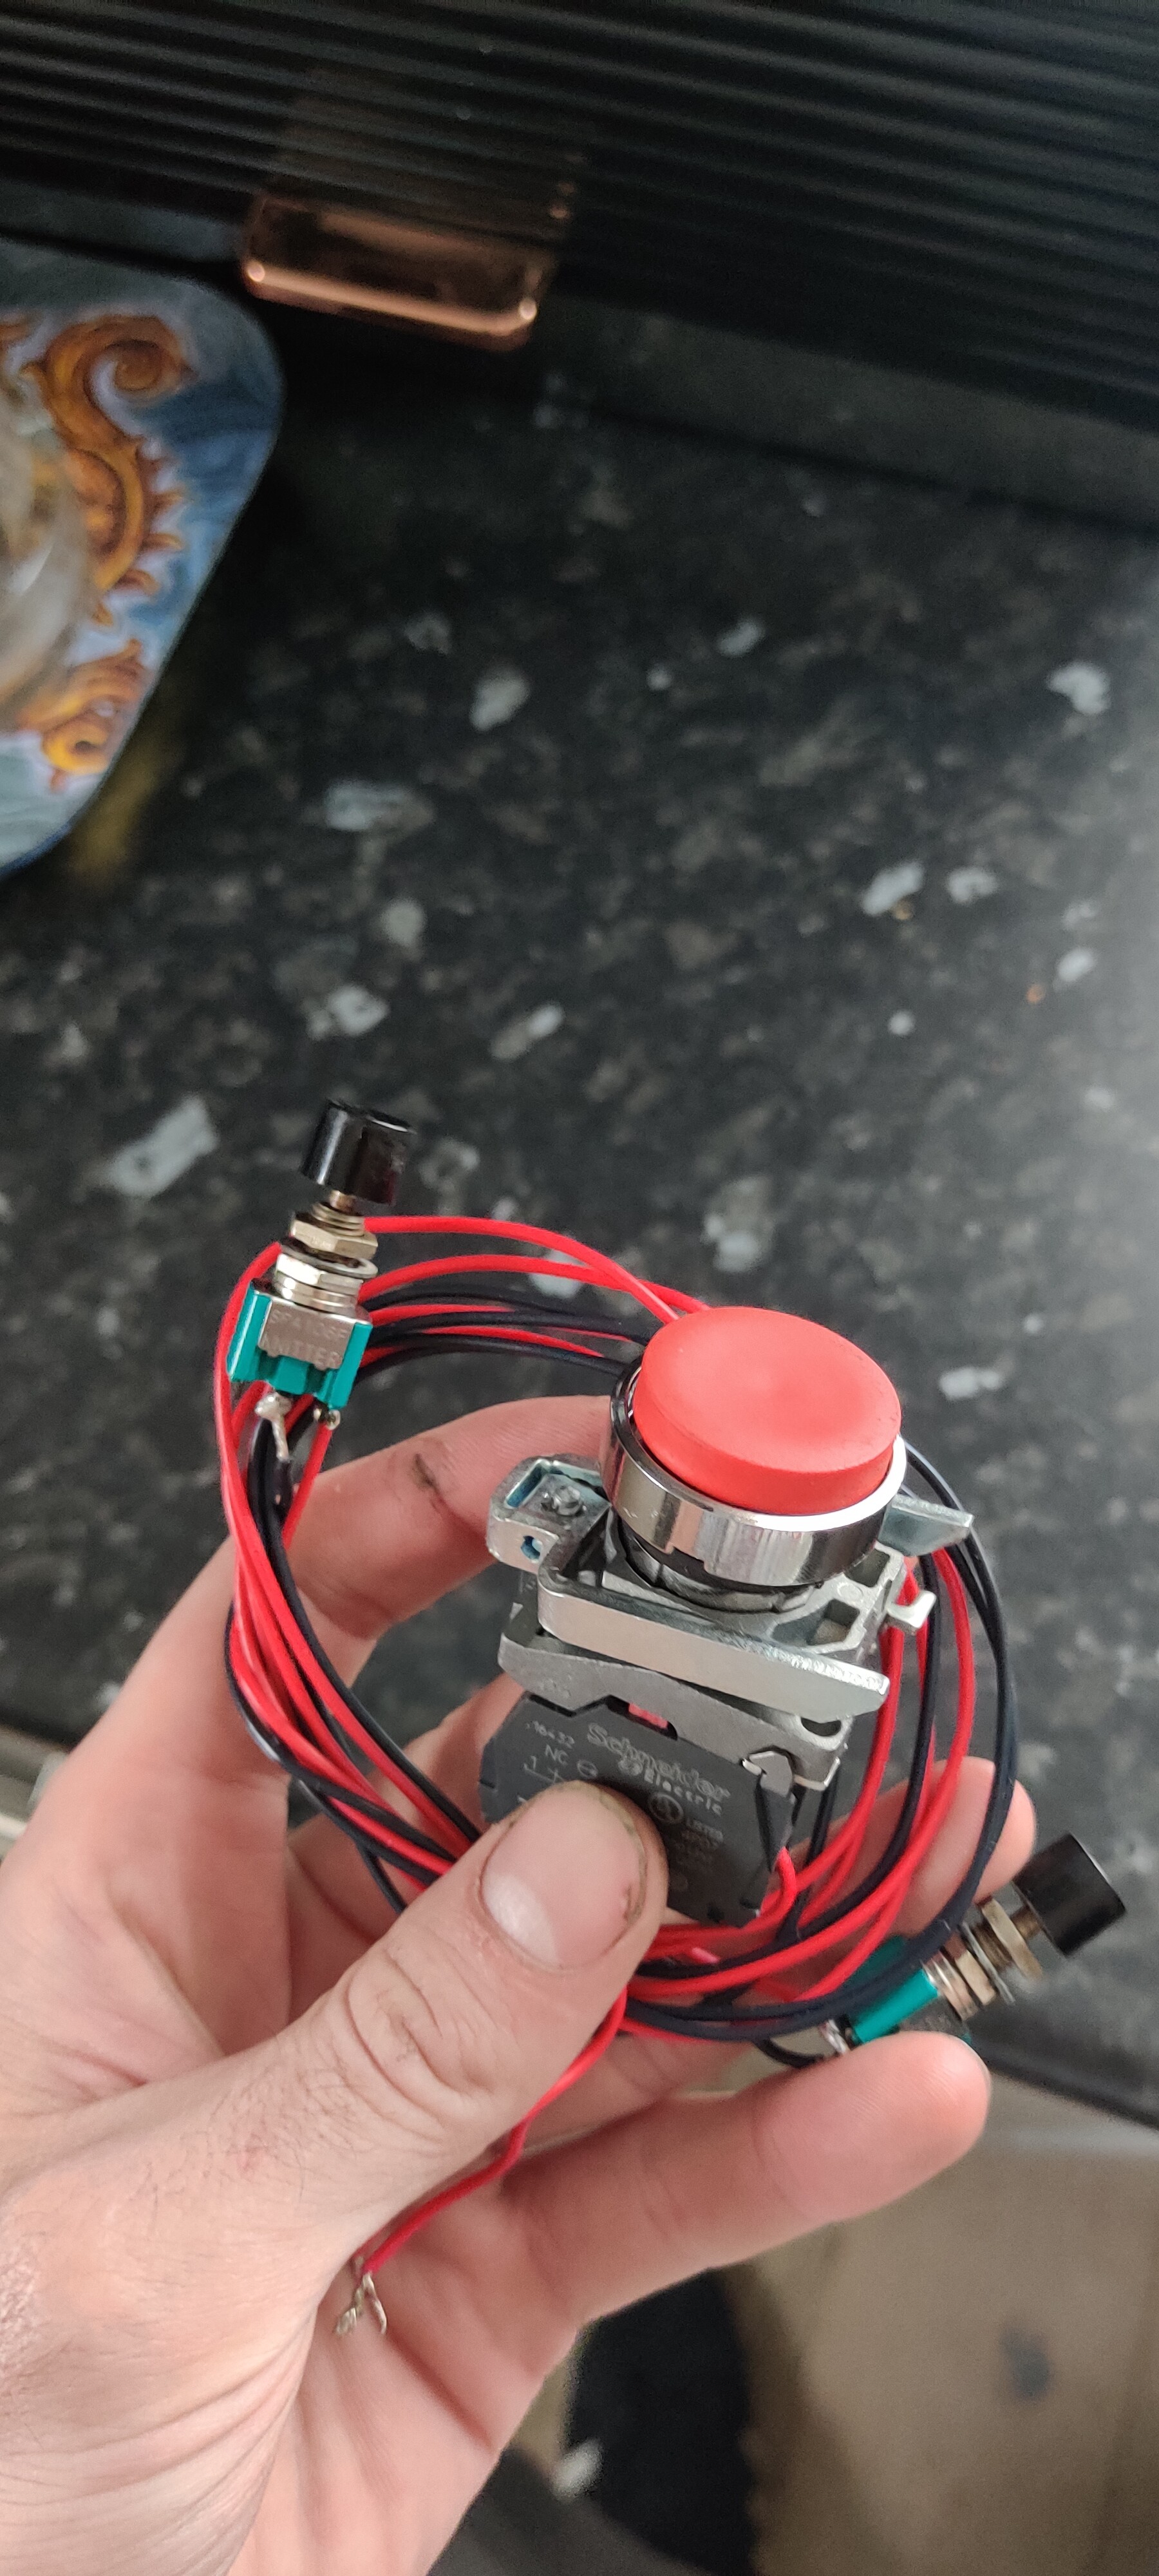
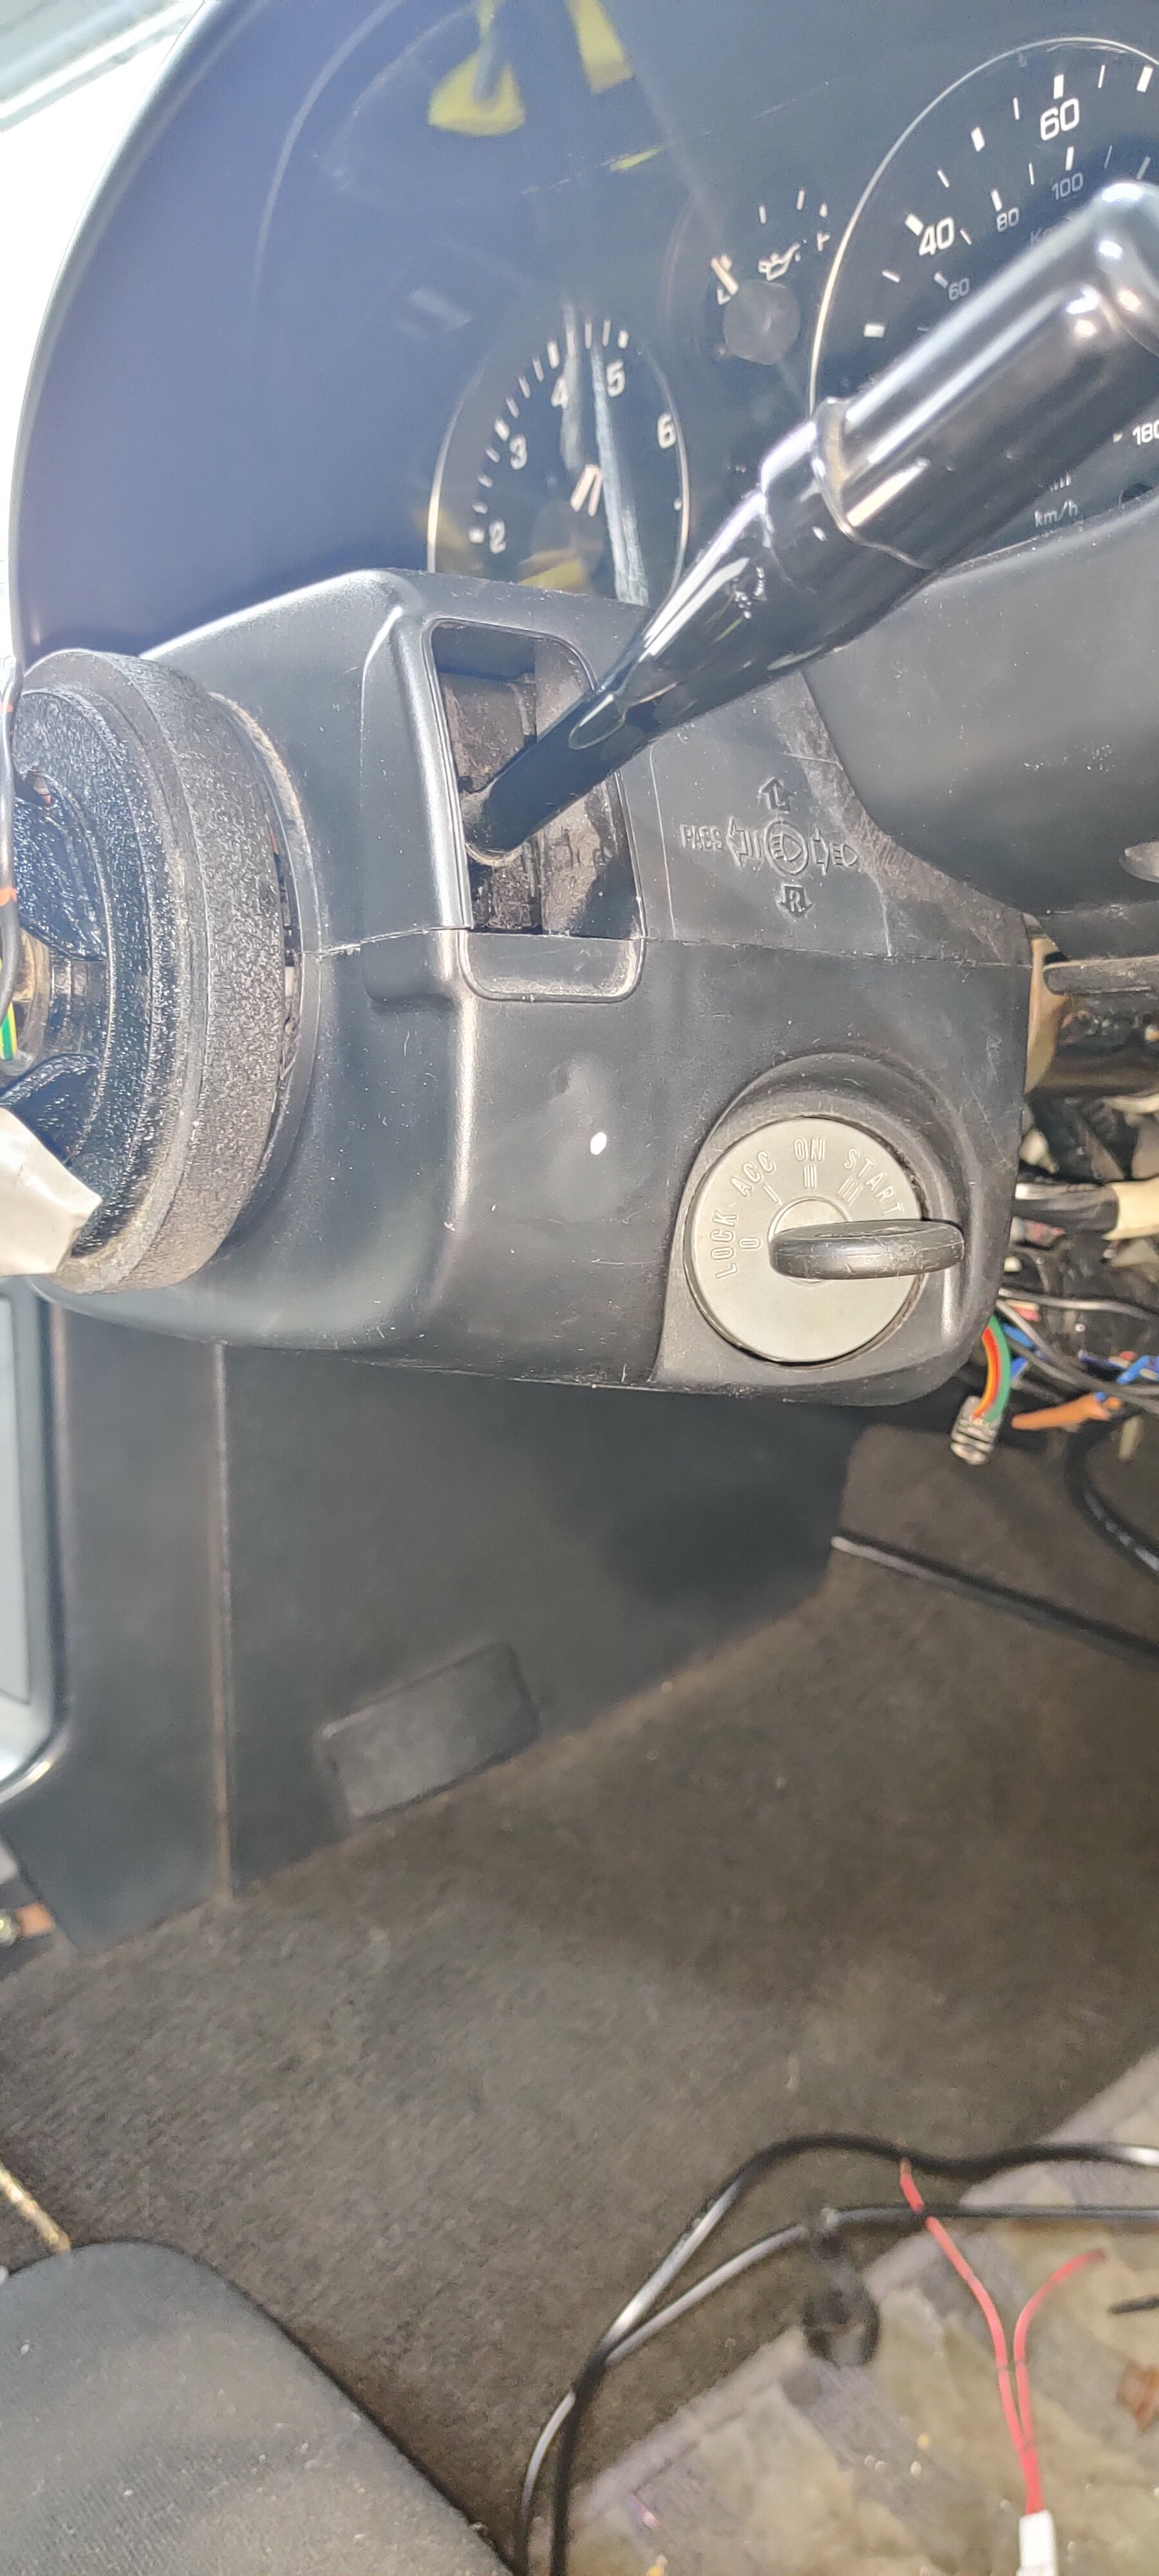
I brought a button home from work to use for the horn but it’s quite big so I’d rather not, gunna have another hunt tomorrow for something smaller
It’s getting awfully close to being ready for it’s mot now
Need to get it remotely tuned so it’s not so rich and tidy up the bogging
Get the fan coming on from the ECU (got the pins sent to me tonight so I’ll check the jumpers on the ECU tomorrow as it works with the diagnostic port)
Get 1mm cutting discs for the grinder and finish chopping the door out to fit the passenger side sparco, then trim door trims to suit
Take nasty assed quick release off as the wheels way to close to you with it on, will buy a nice quick release later
Fire in the horn button somewhere
Change out and flush coolant
Put interior back together
Bonnet on
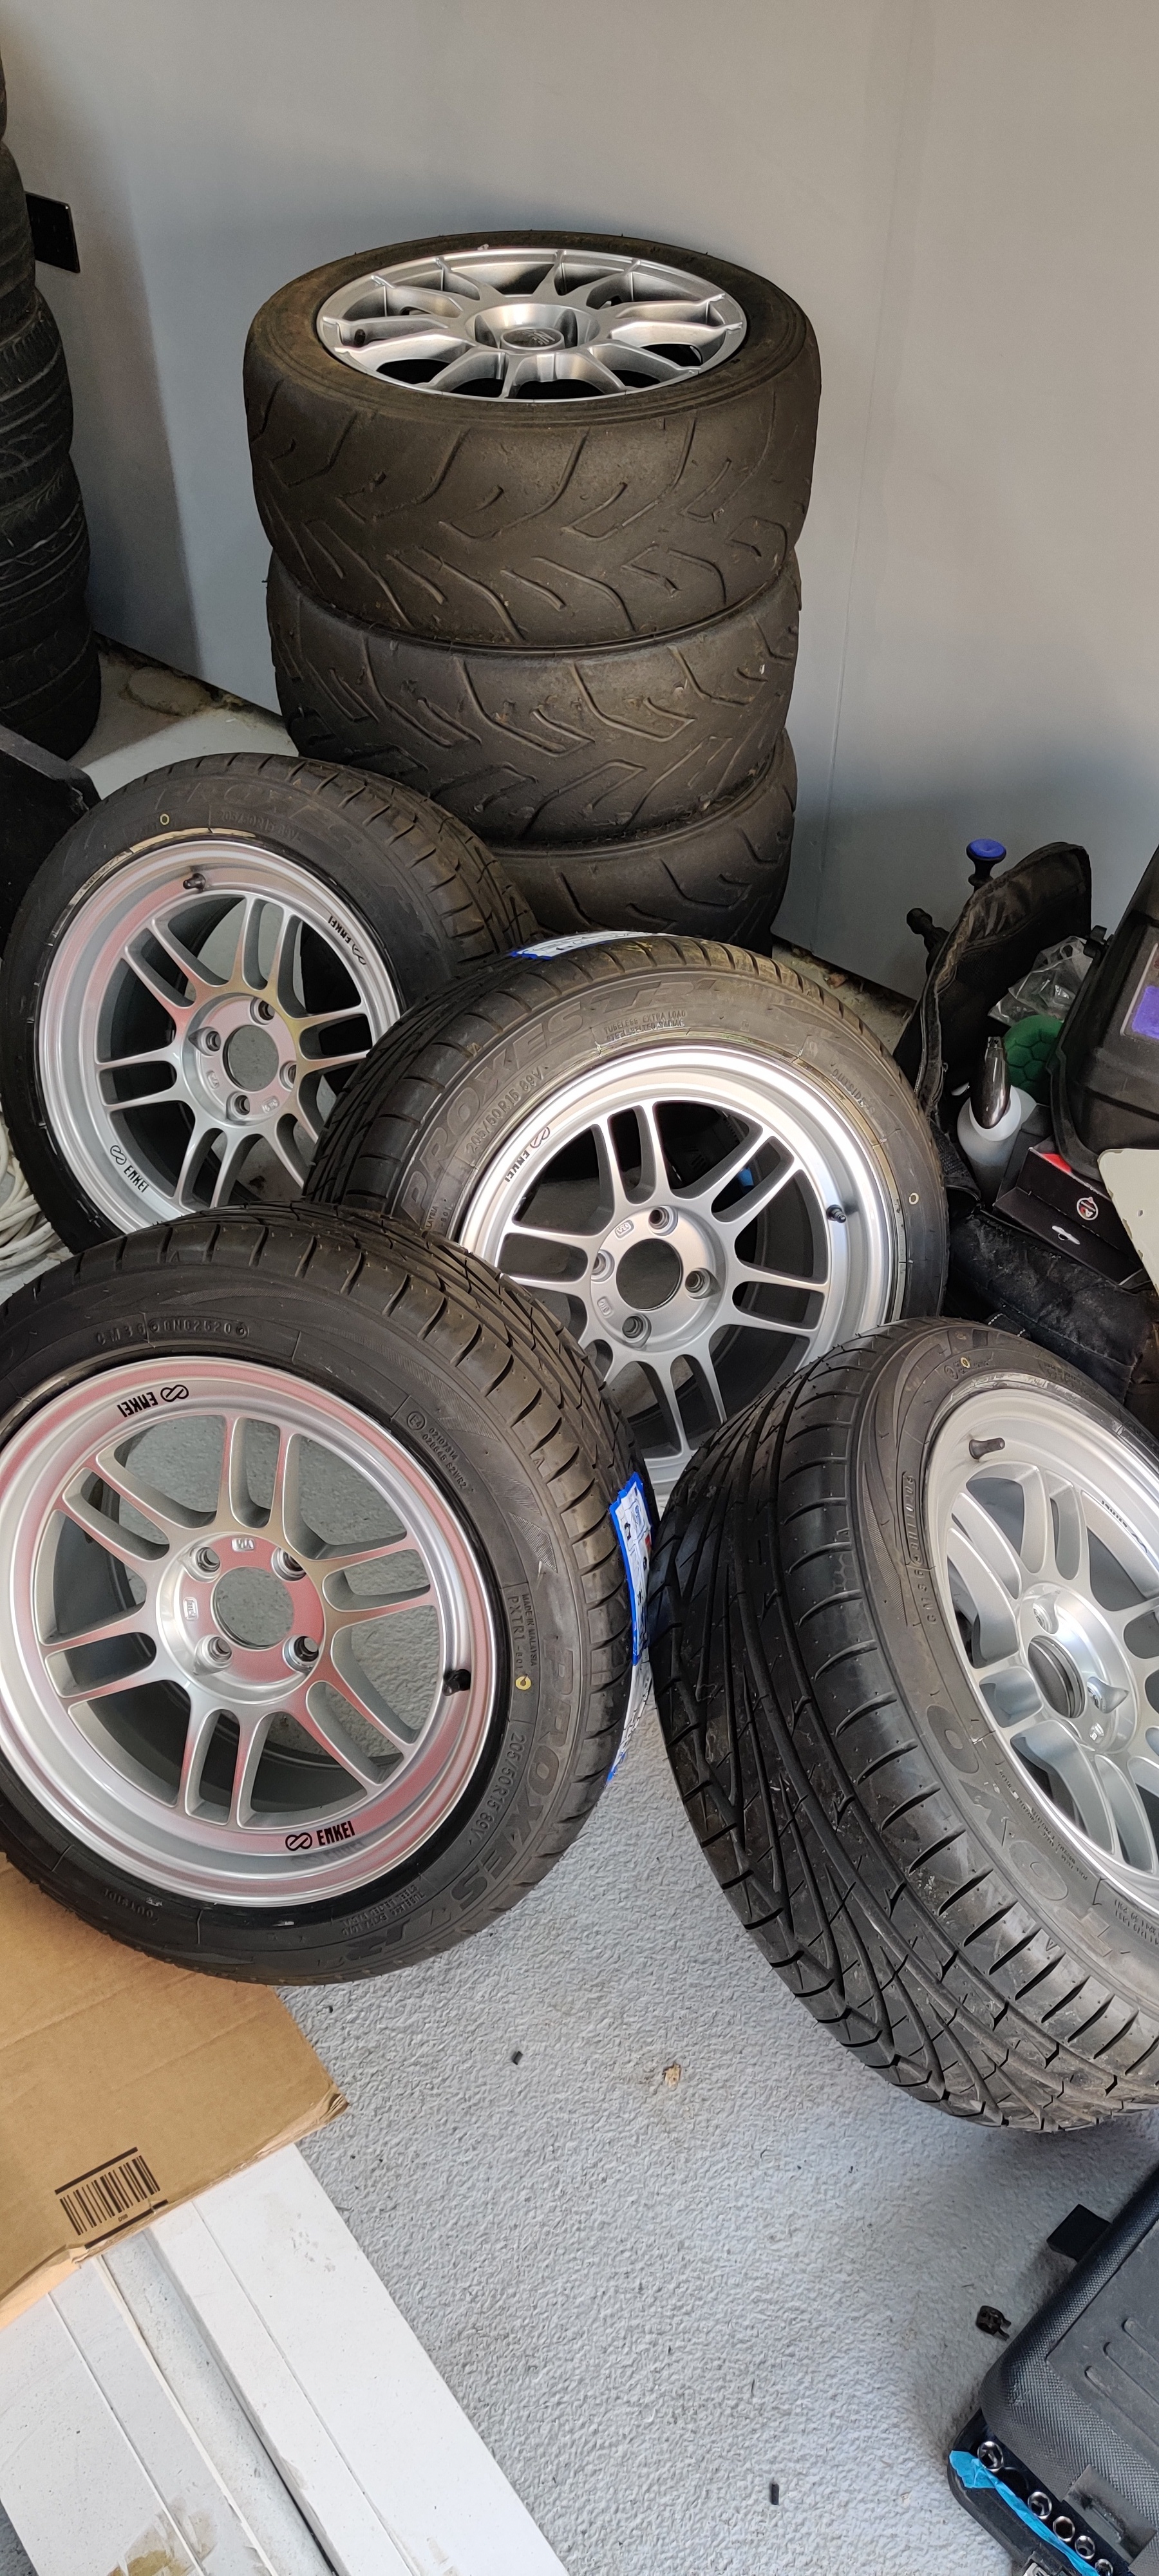
Ceramic coat and fit rpf1’s
Wash
MOT
Got the fan working tonight after some tips
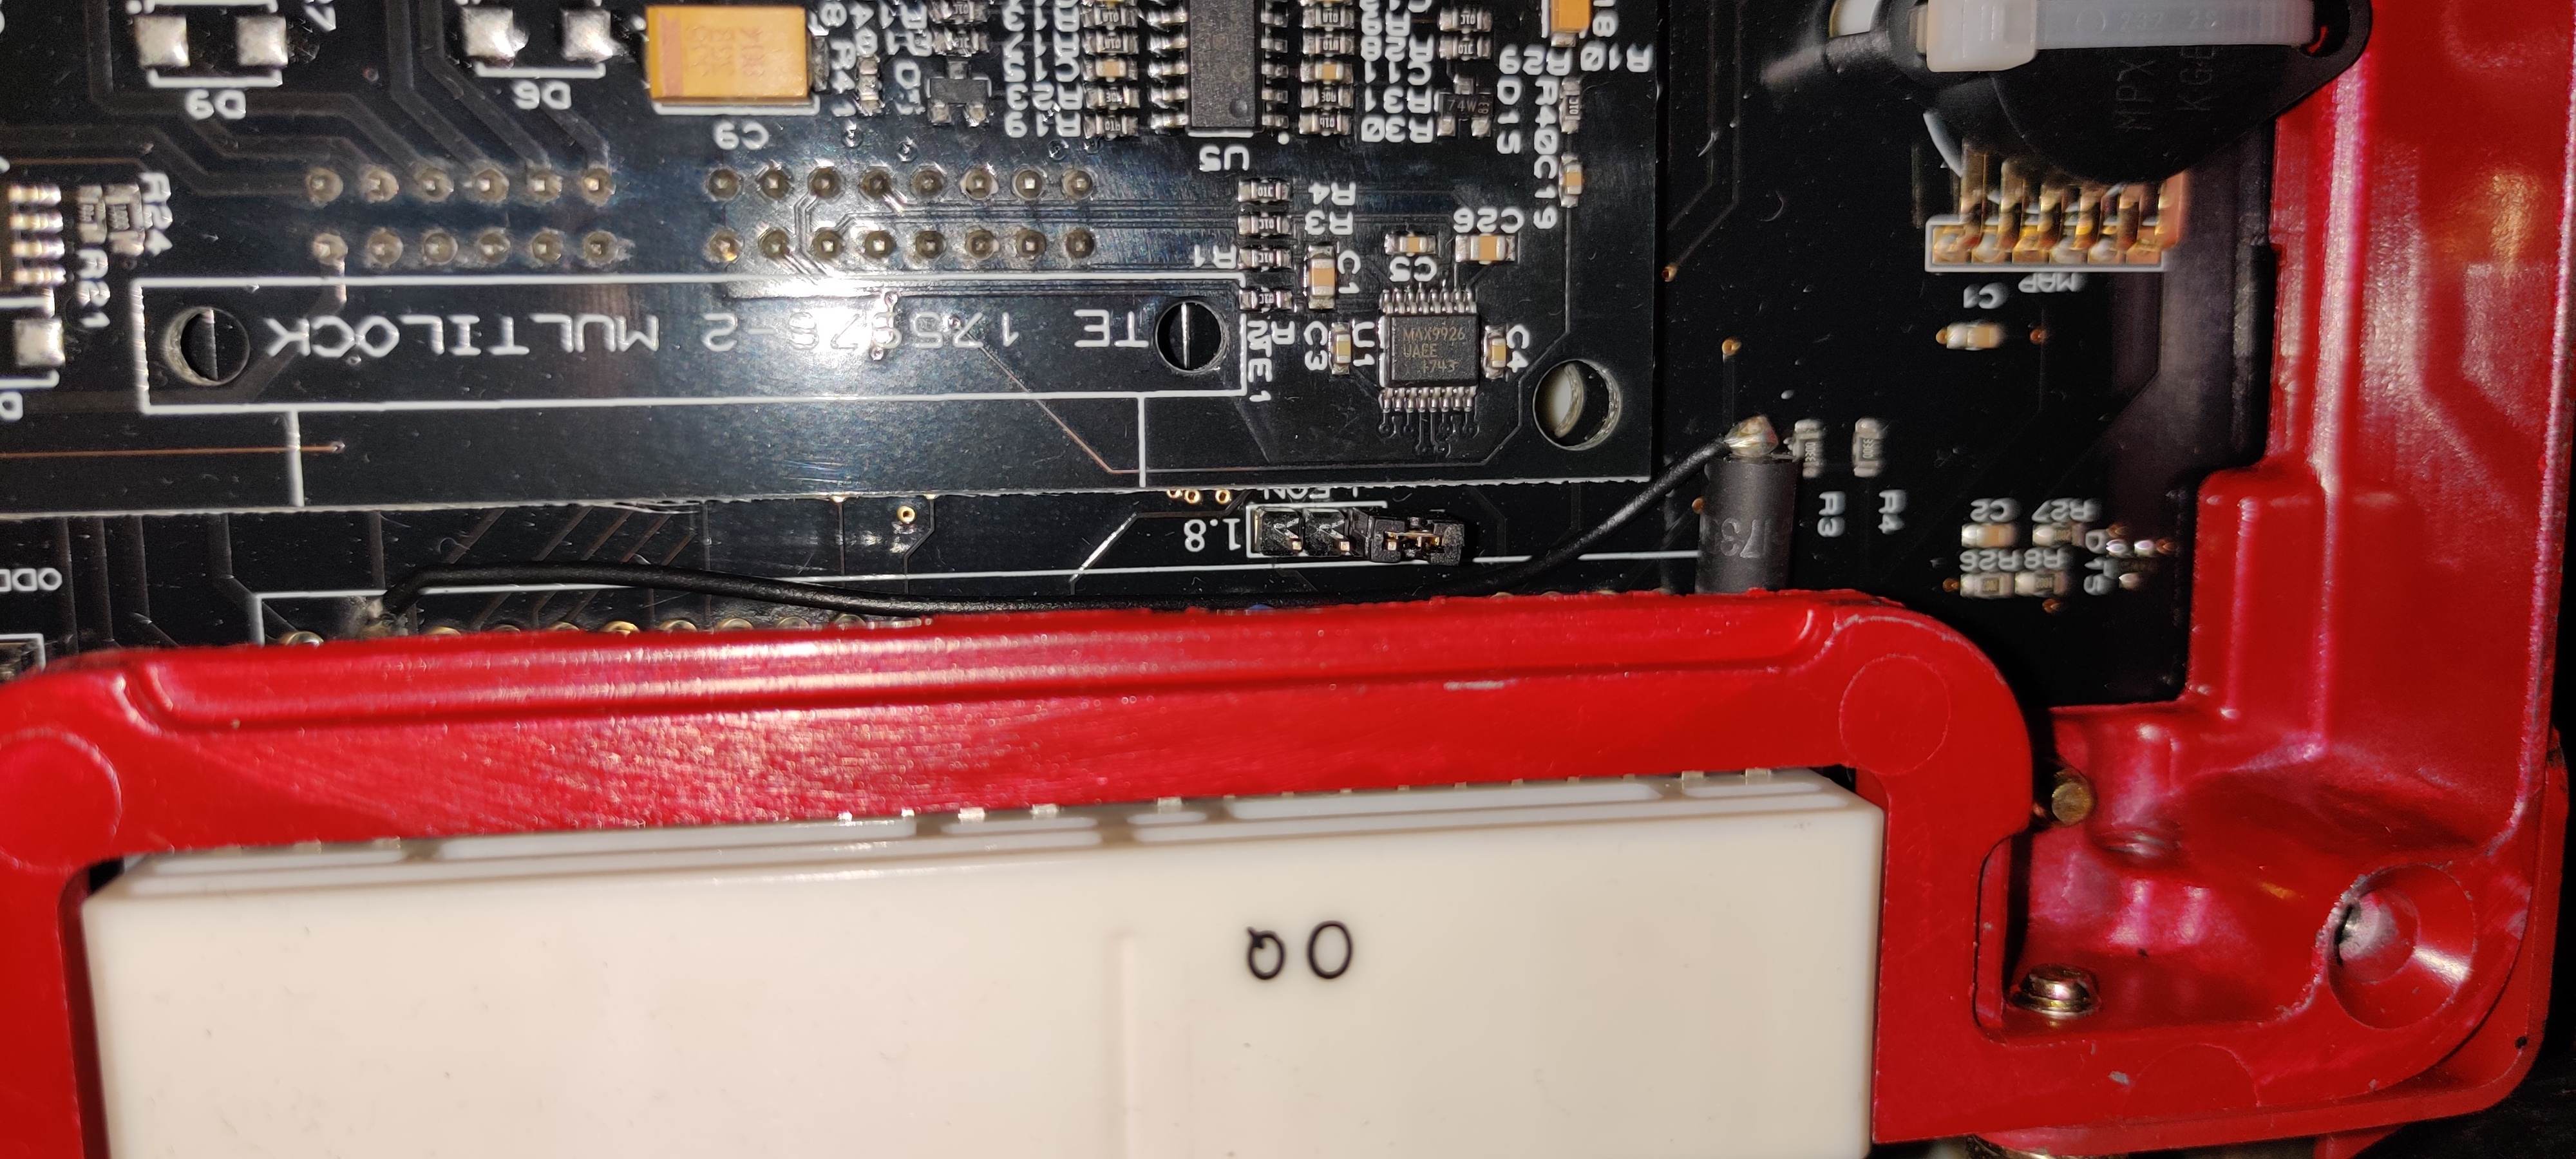
Apparently there’s a jumper for it on the ECU and mines was set to 1.6, SORTED also osorted the air con power jumper aswell
Edit 2 - it’s directly above the upside down q0 on the white plug in the photo to save you searching if you haven’t already had this problem
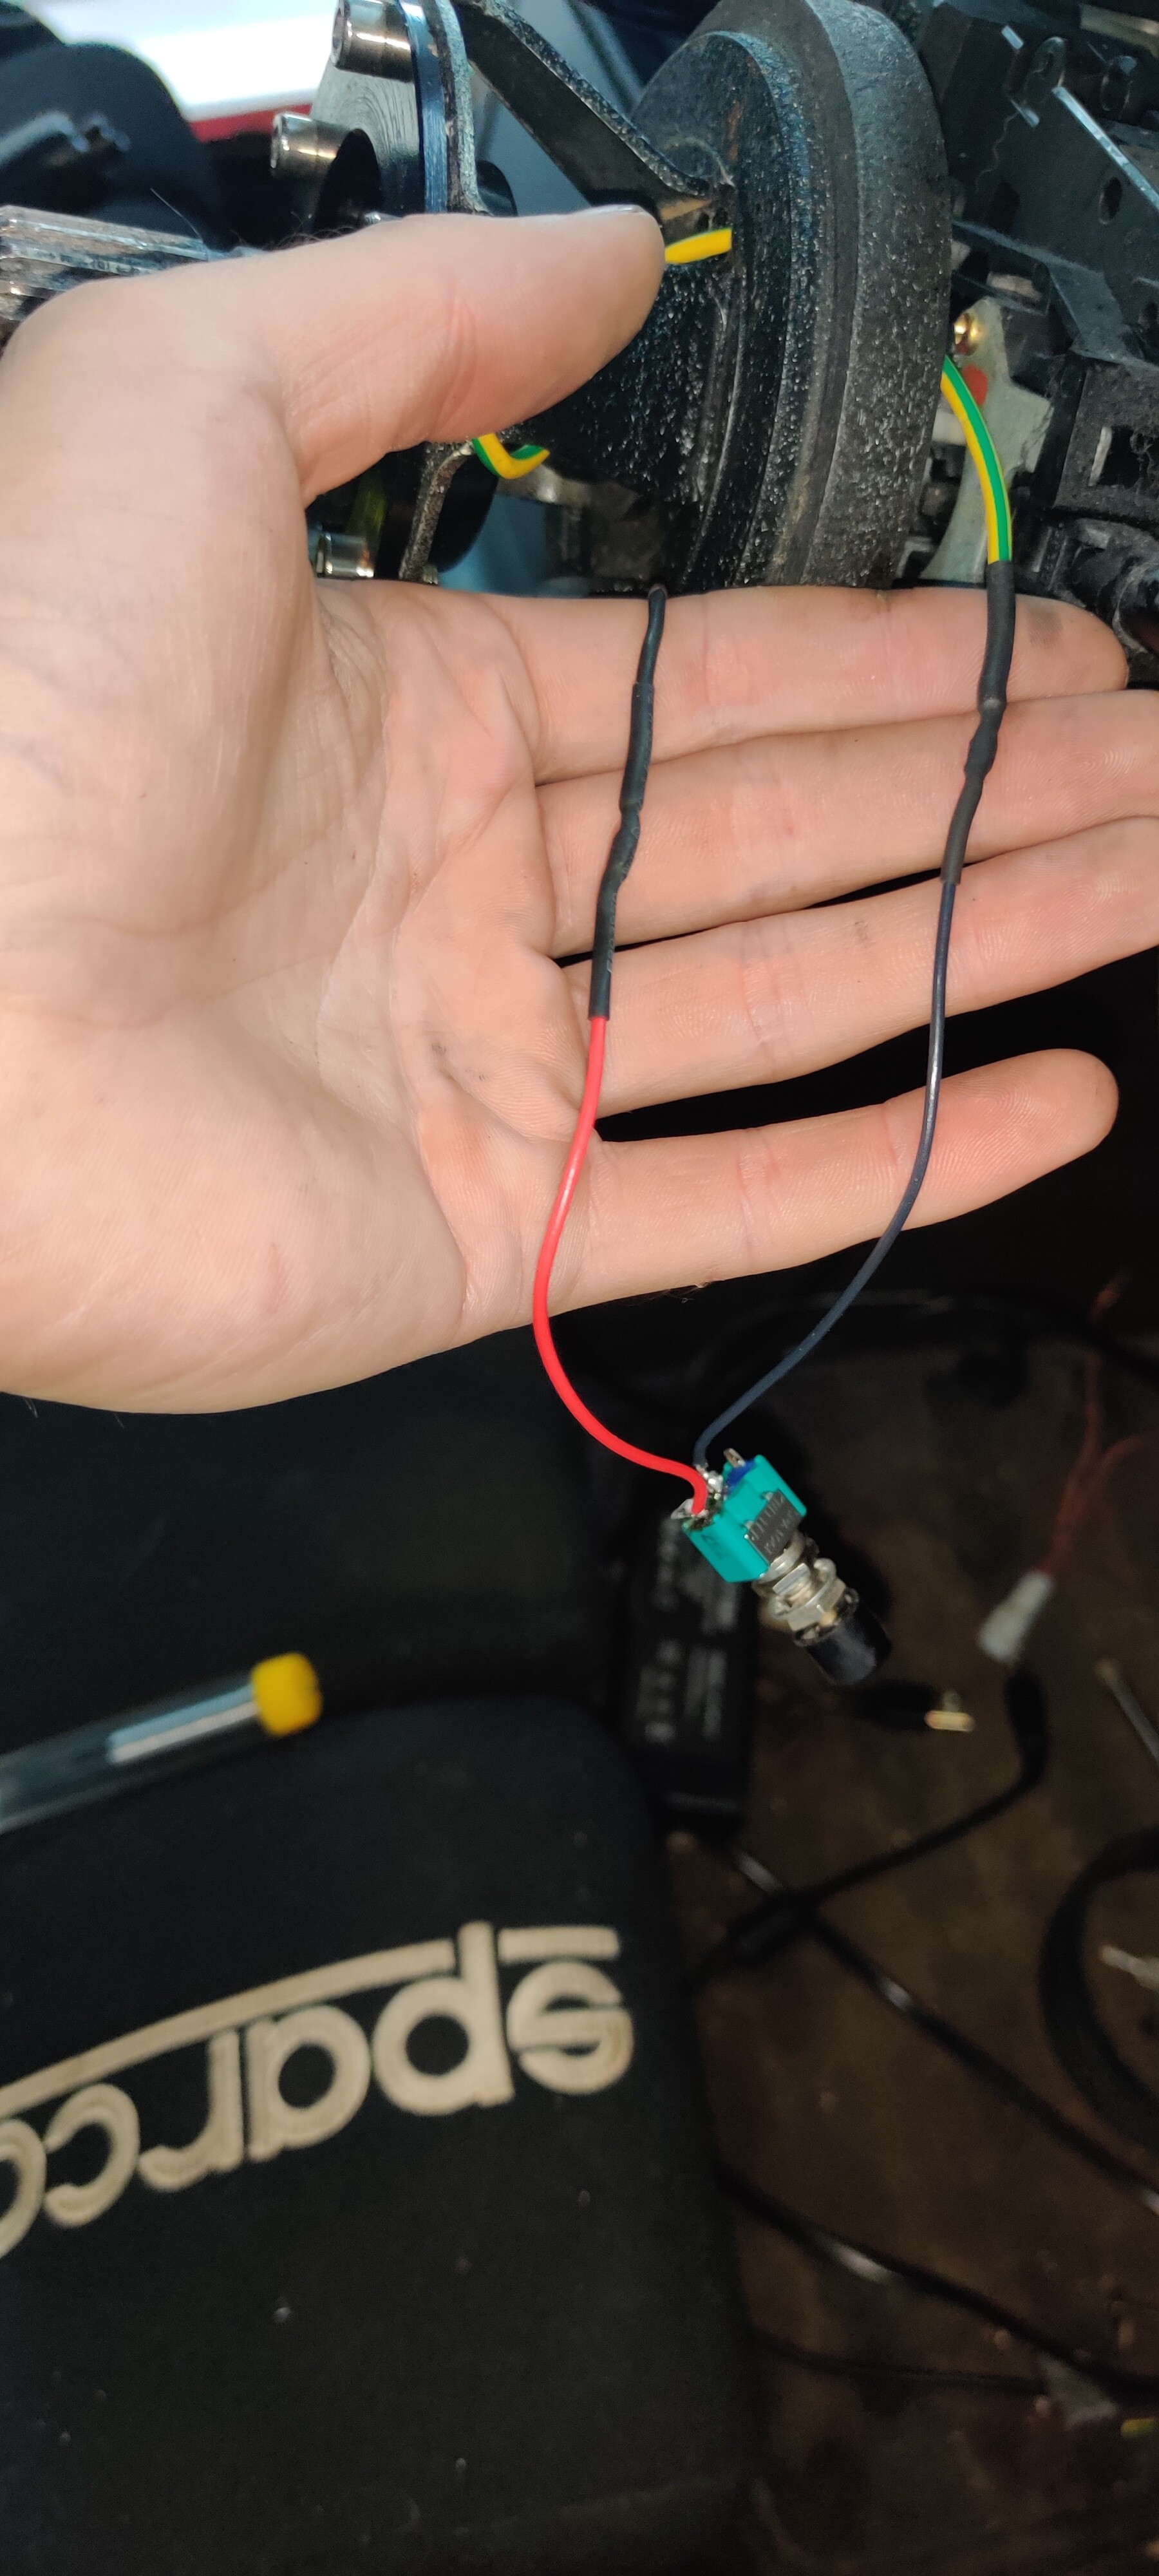
Then I sorted the horn with a nicer button I found at work so I didn’t have to use the big red badboy
Butane soldering iron puting a shift in
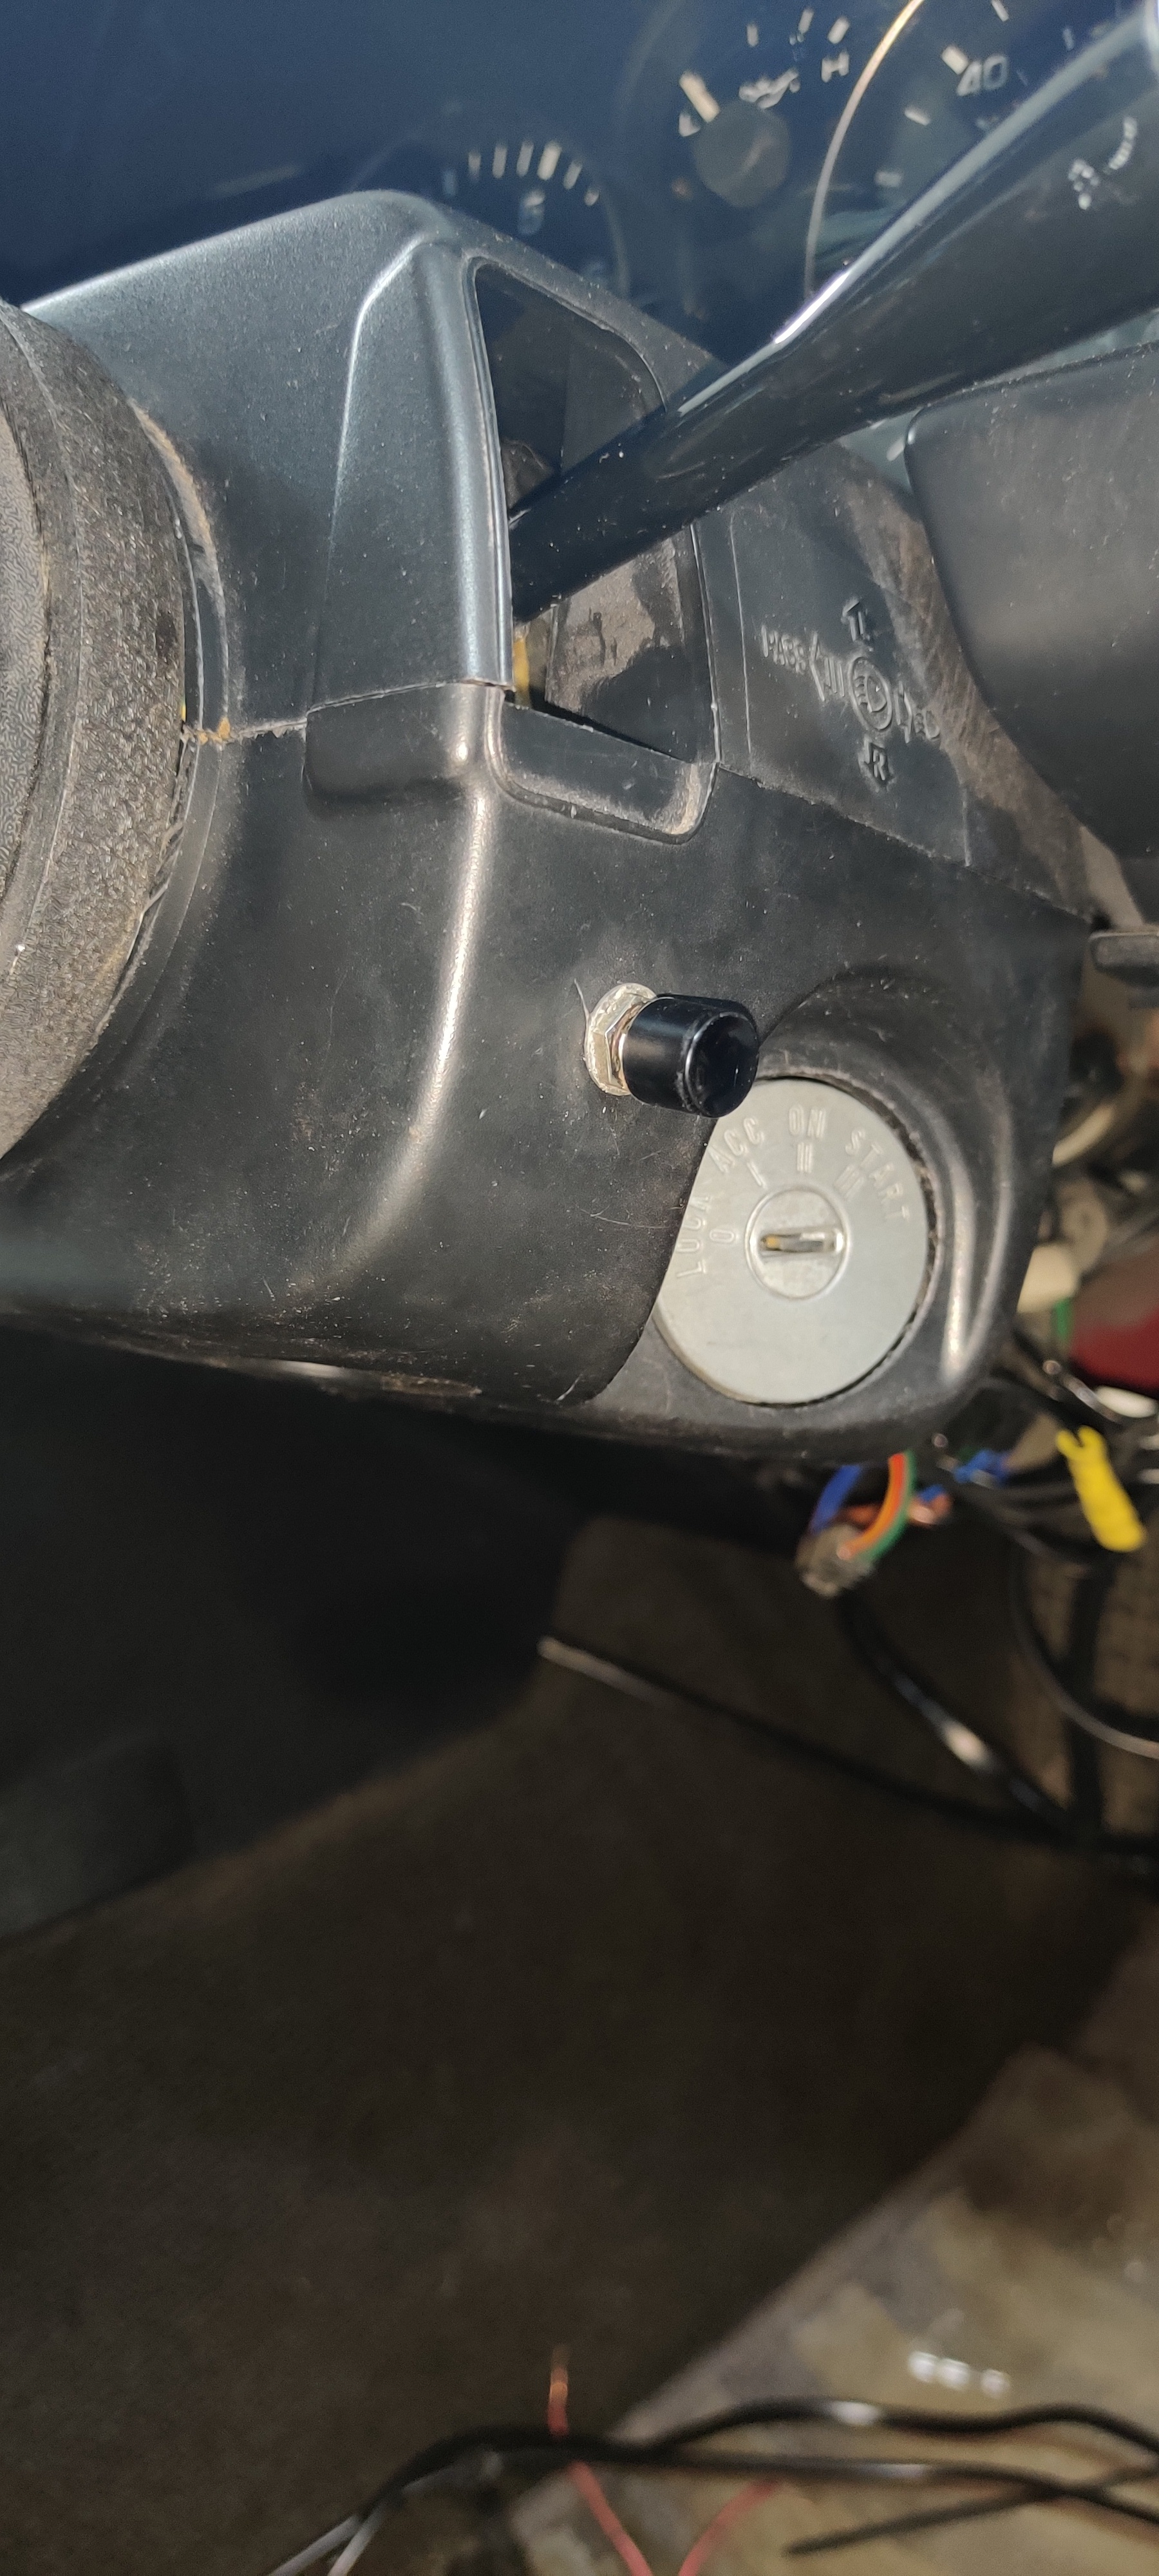
Horn jobbed. Beep beep Richie.
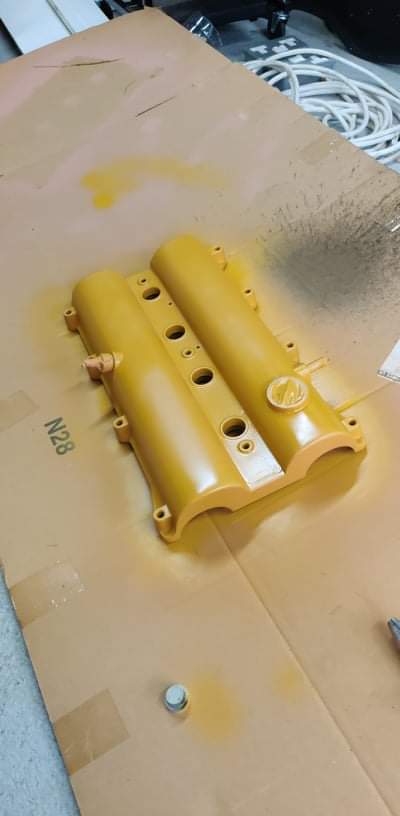
Looking for things to do I masked up the spare chopped rocker cover that originally came on this engine
Now that the cops are fitted and working I don’t need the mounting bolts so they appear to have been flattened off on this one, along with the lettering and a chop job to the timing cover
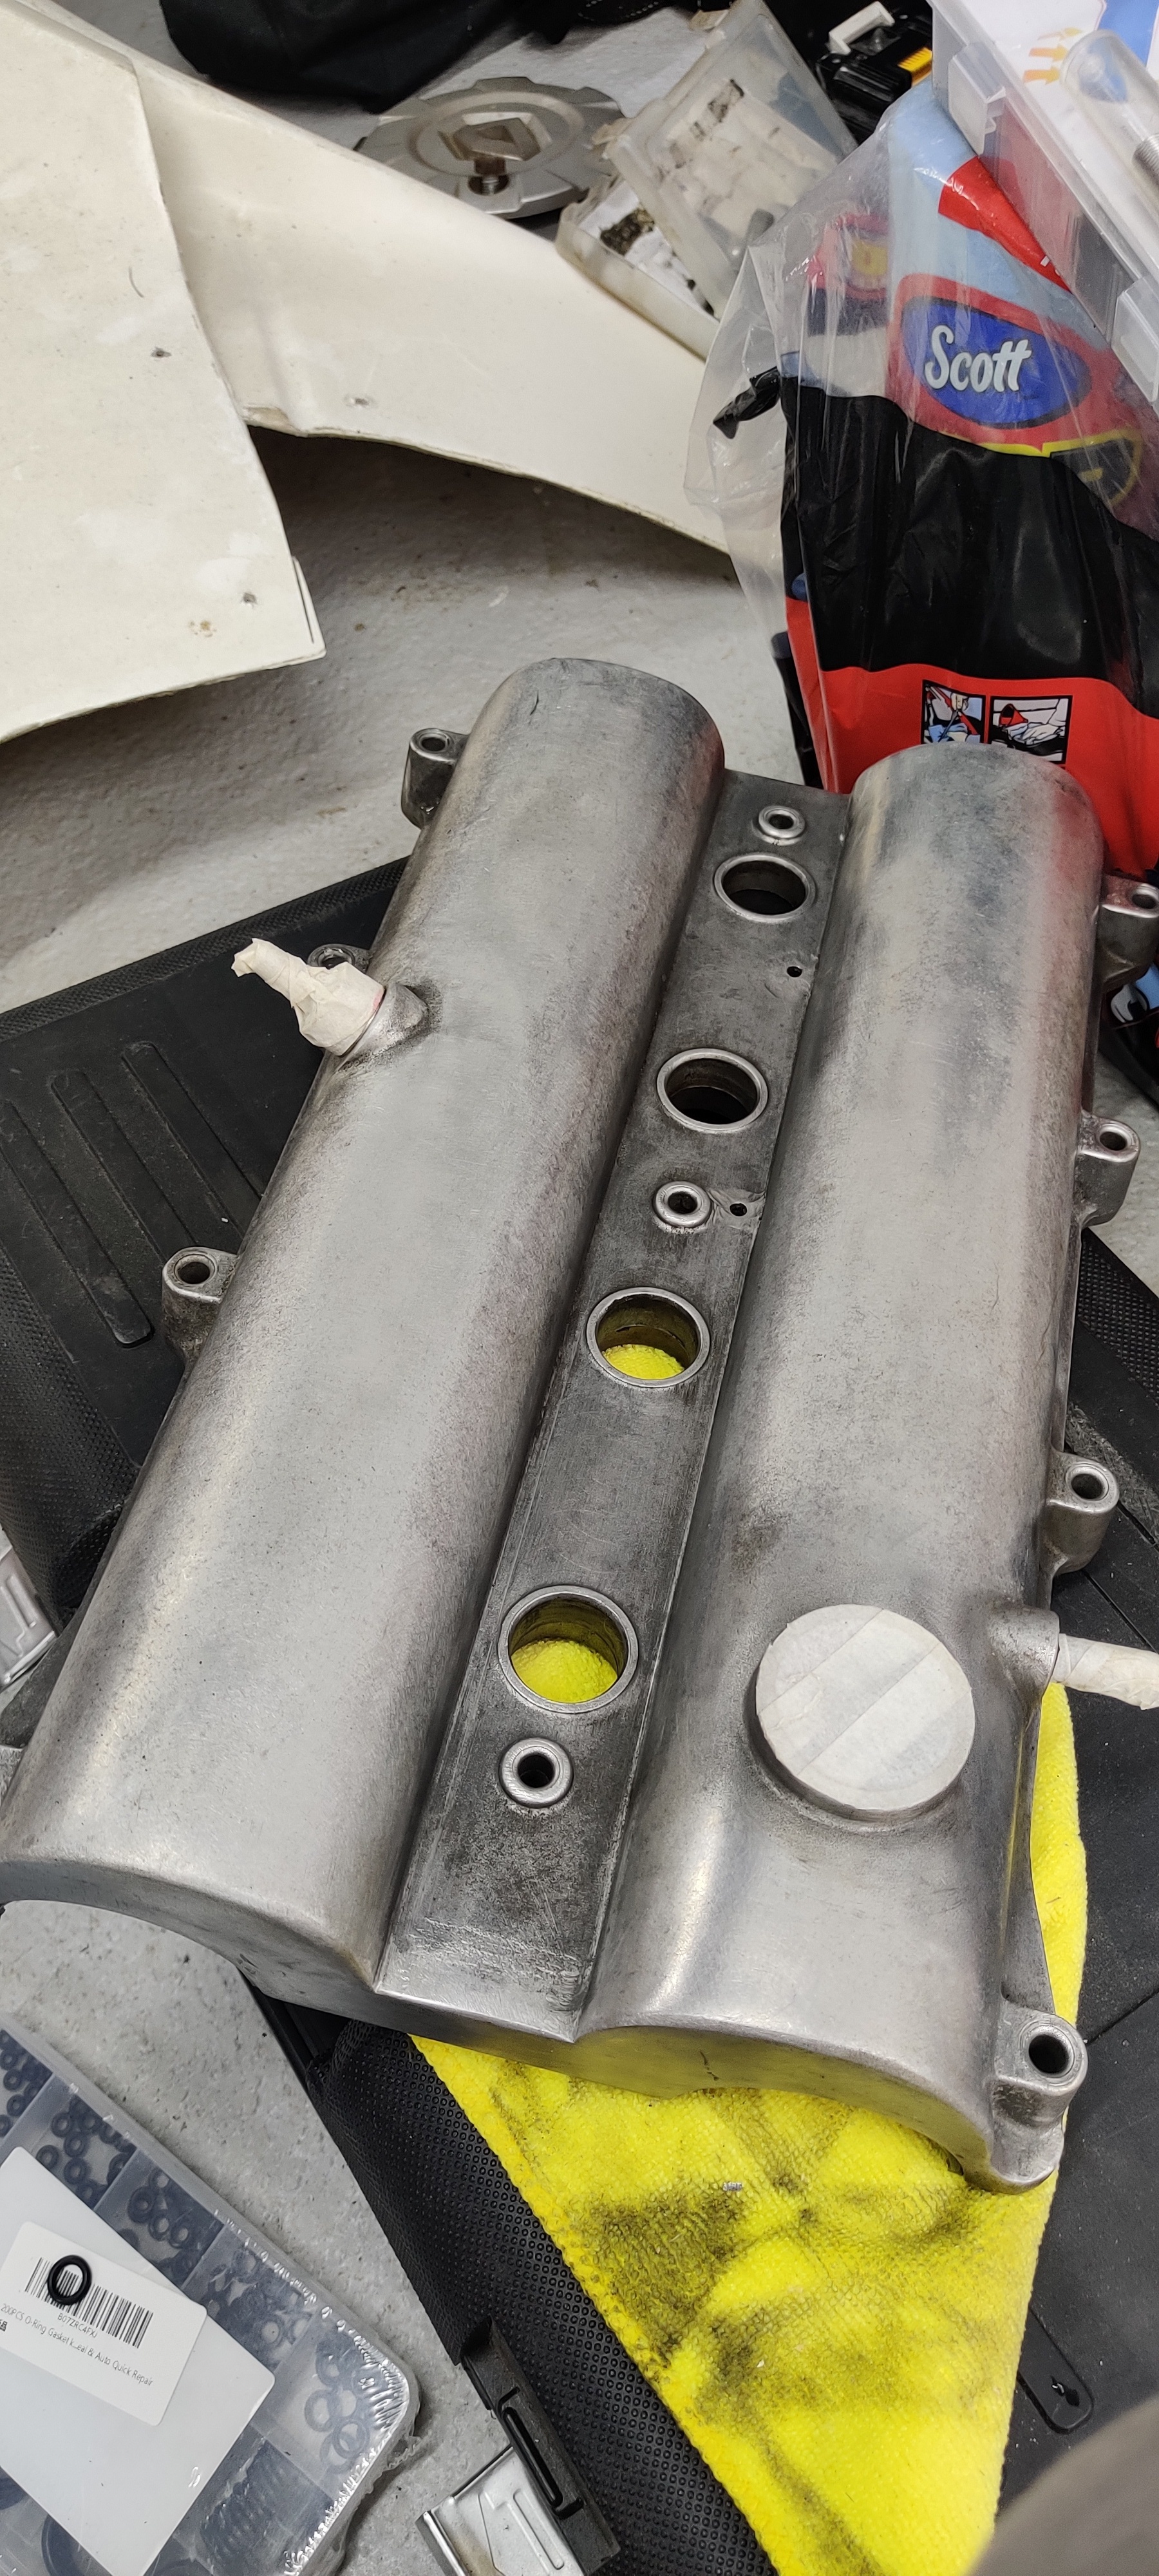
After much cleaning I’ve primed it and left it for the night going to order some wrinkle red for it and do the cops mounting bar gold
So we’re winning!
A friend at works bringing me 1mm cutting discs tomorrow so I an finish the door, so I’ll crack that tomorrow night and then get the door pads trims trimmed to suit and I can fire the interior back together happily EDIT - and give it its first good clean in at least 8 years of my ownership
Hopefully ceramic coat the rpf1s tomorrow aswell
I also realised that I am in need of a scuttle pannel
Bit more progress tonight, trimmed the last of the doors to suit the seats and butchered the door trim to suit aswell, looks not half bad with the doors closed
Door cards back in now aswell but apparently not in any of the photos
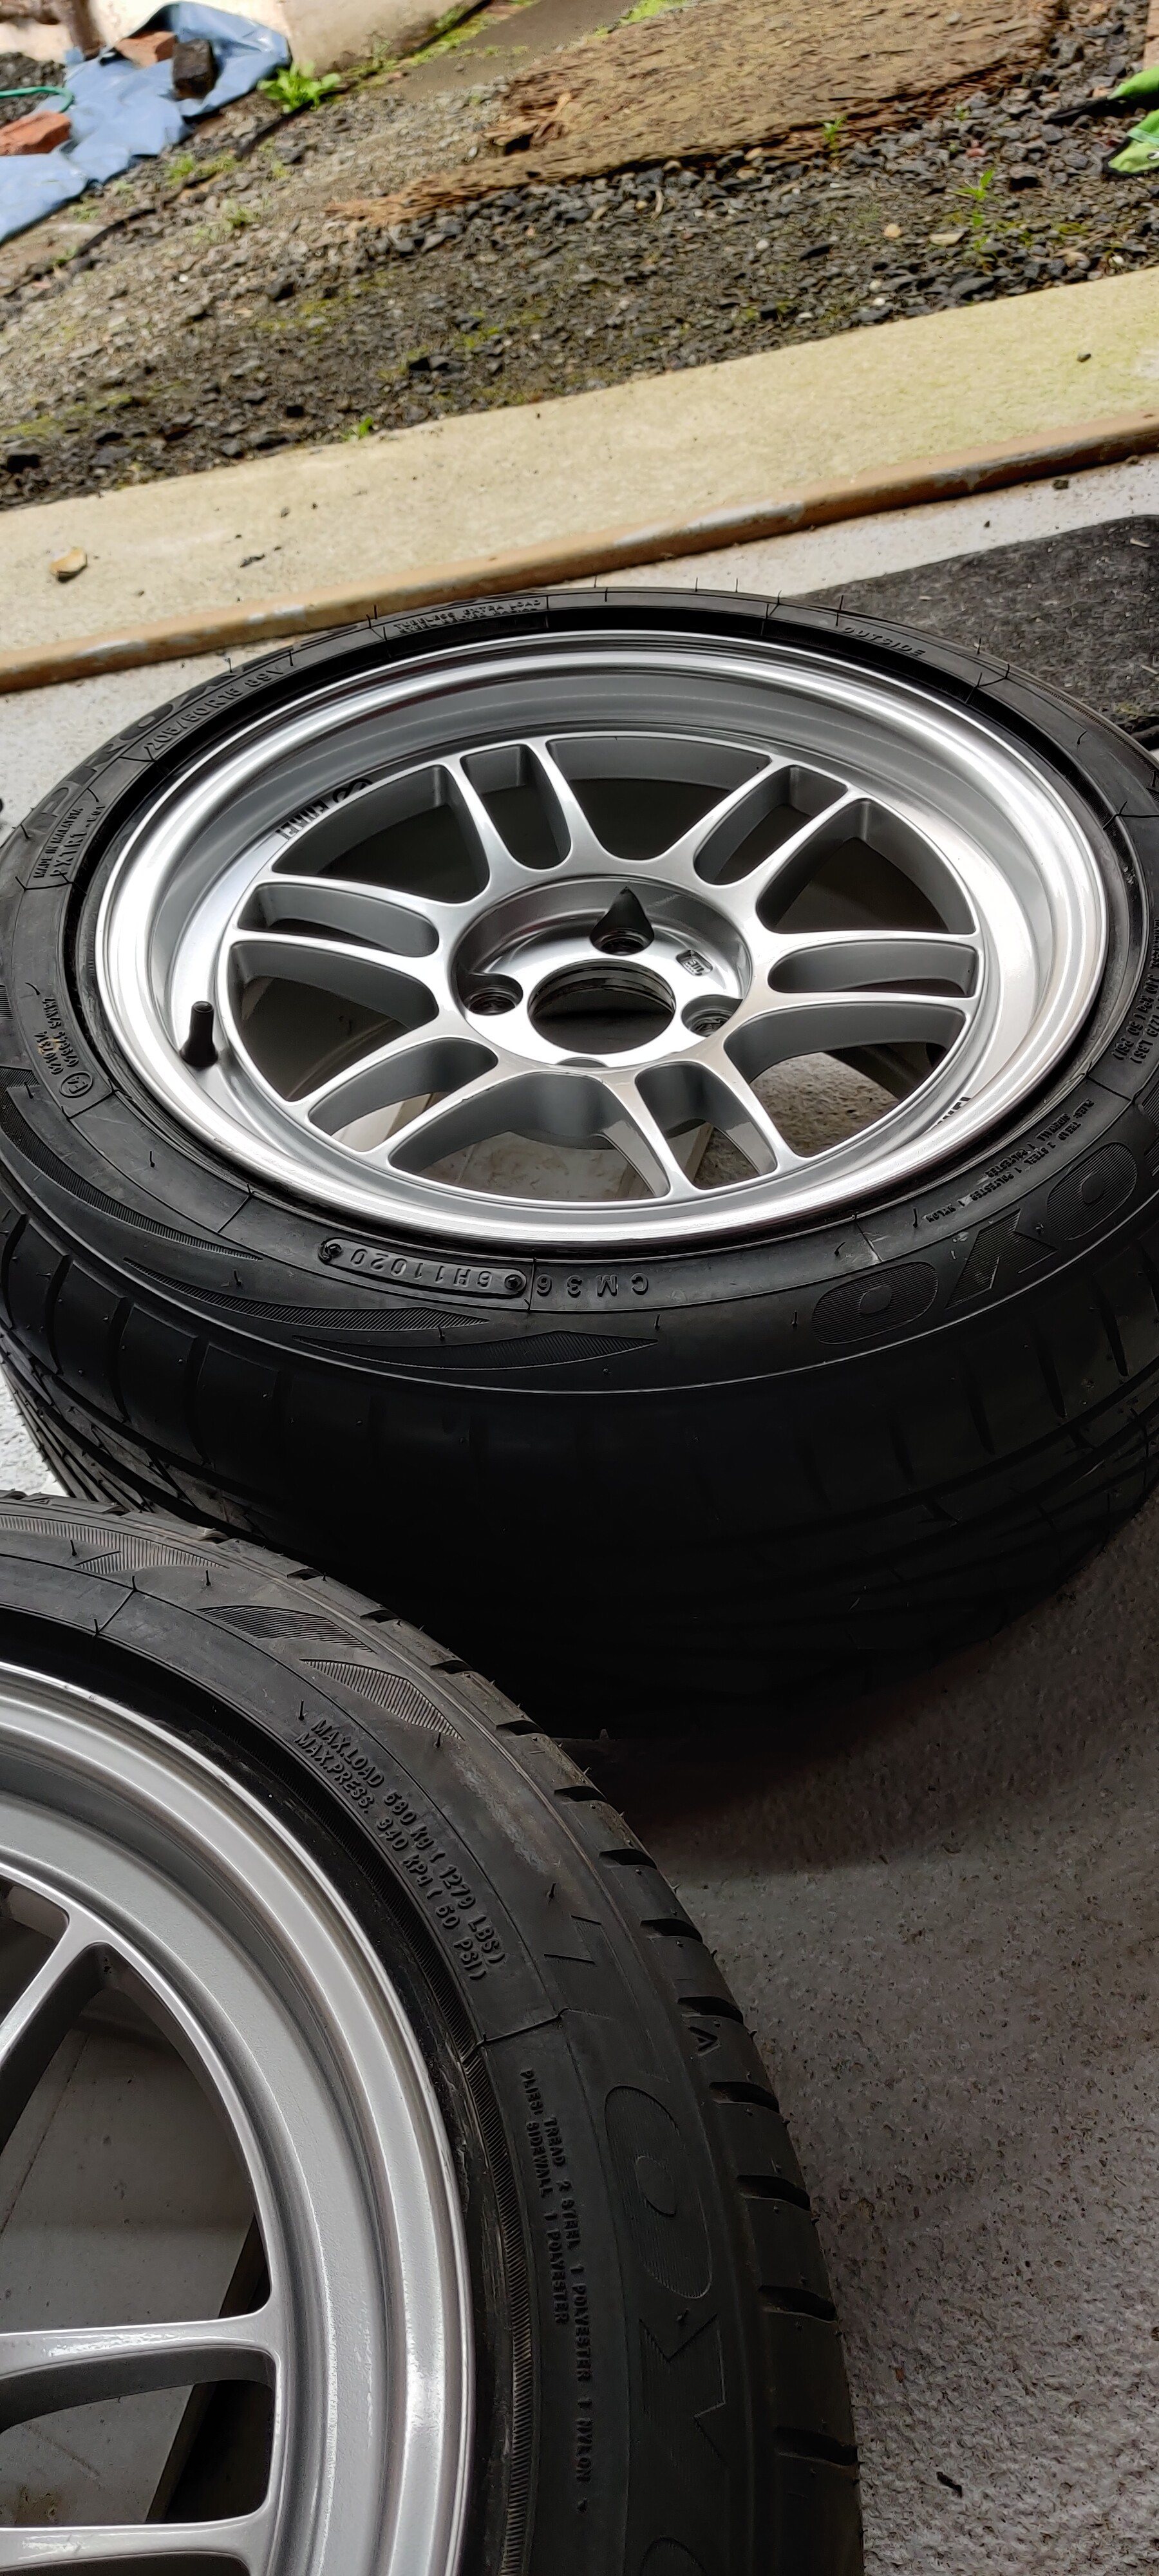
I also finally ceramic coated my rpf1s and the custom centre caps for them, I’ll let them cure over night and maybe get it back on the ground tomorrow!

And put a bunch of the interior back together
Made a couple purchases on bofi aswell so some shiny bits incoming
1 Like
Coming along well
Flushed the coolant out today, got to use my fanc new funnel, was absolutely ideal
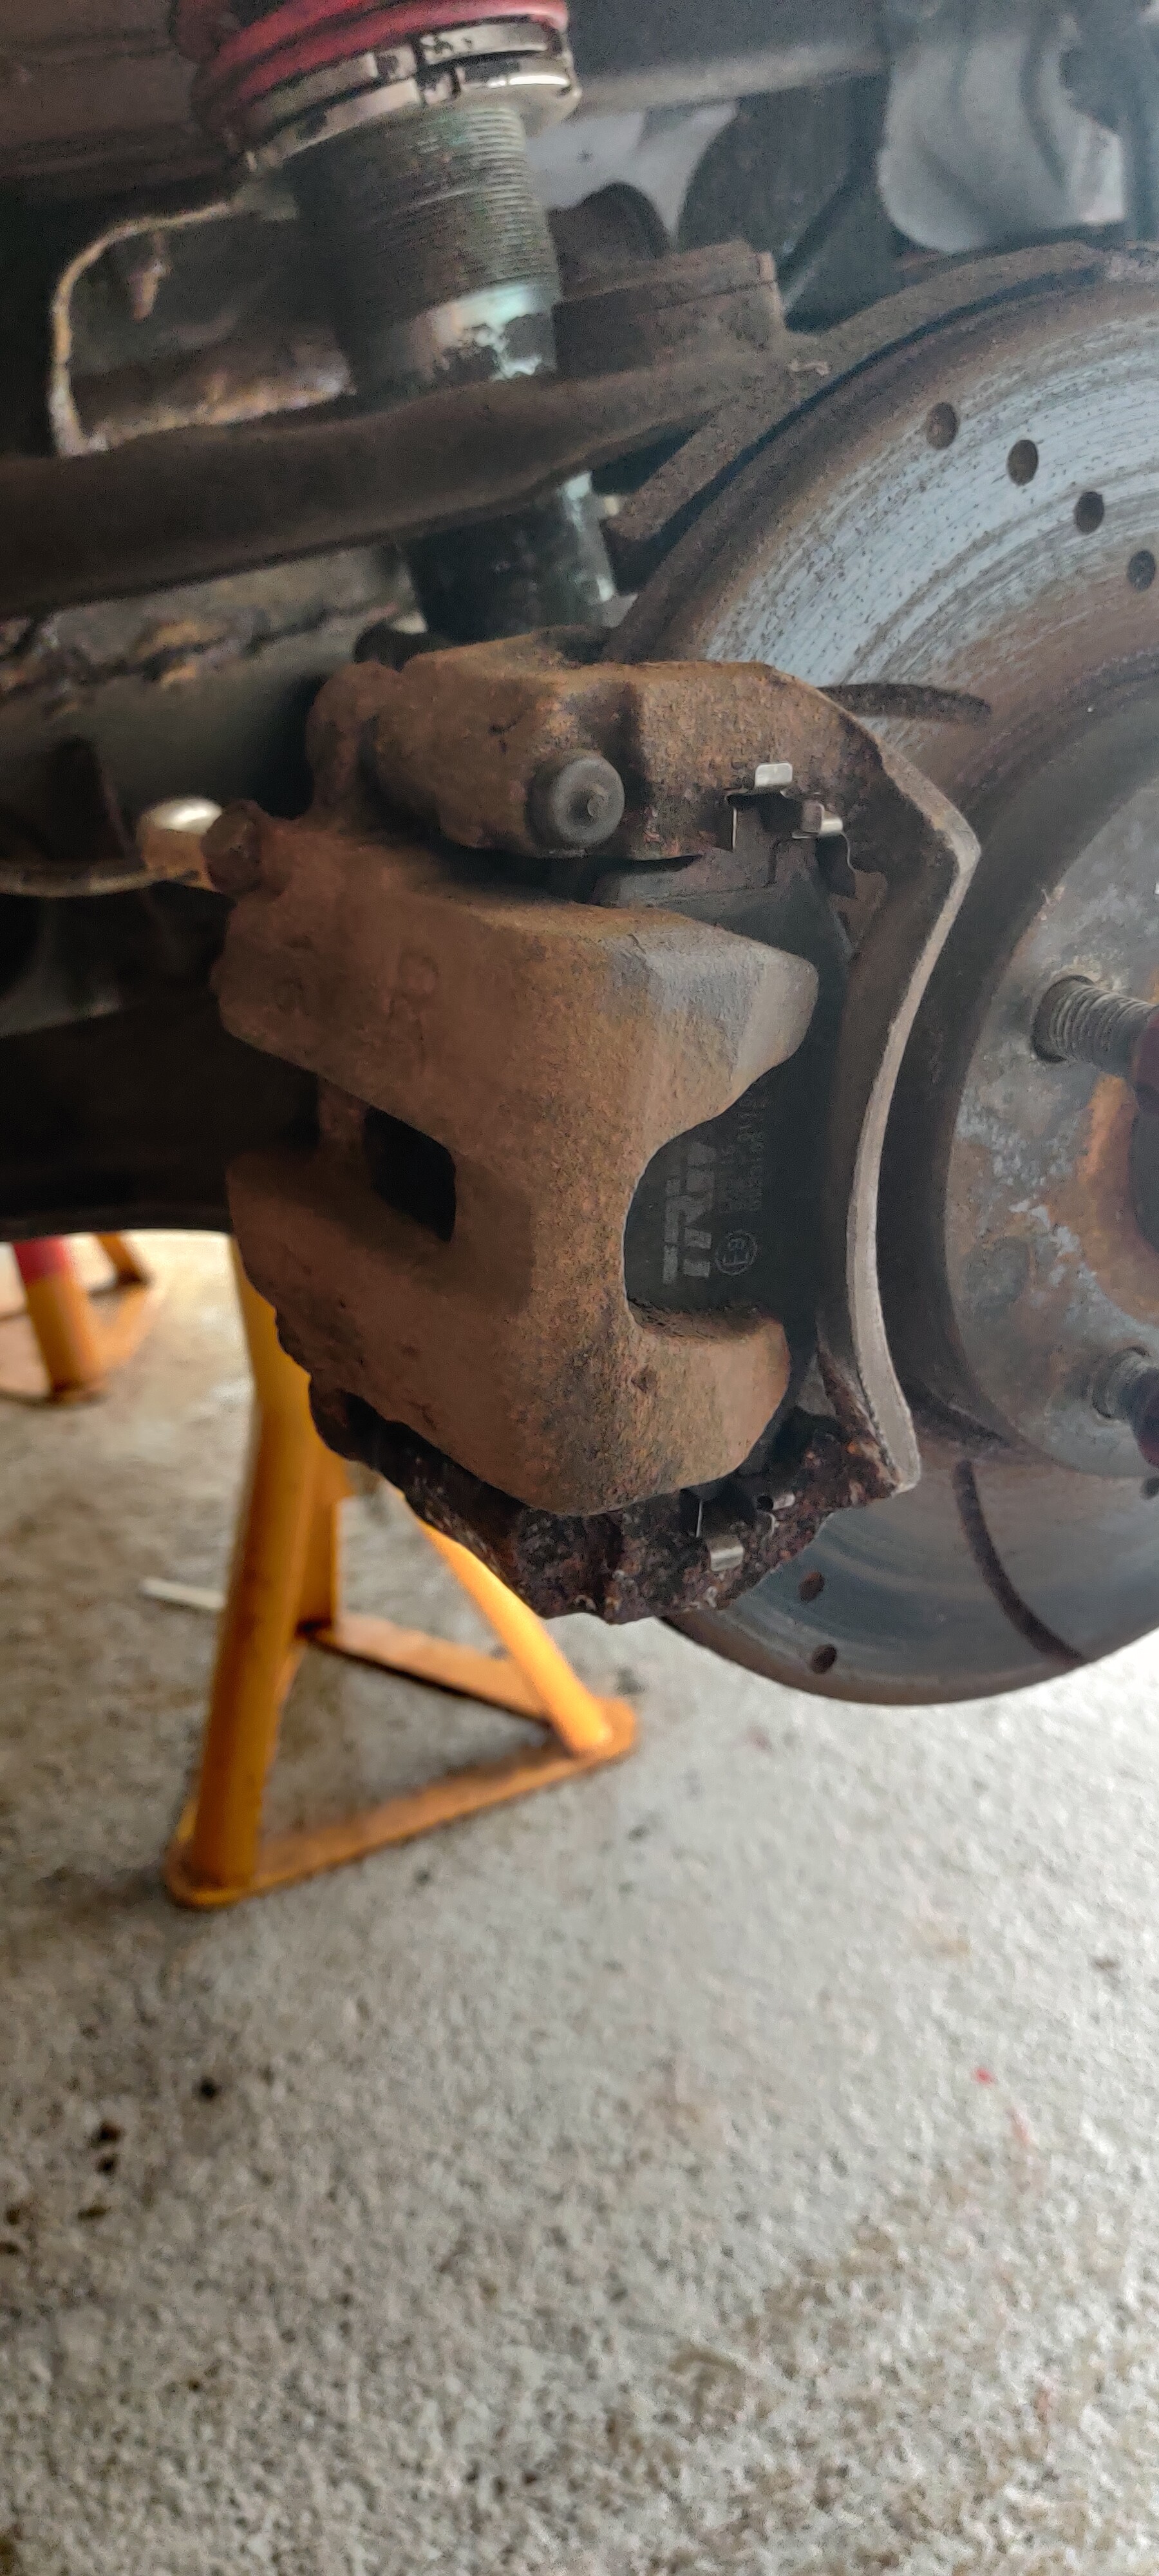
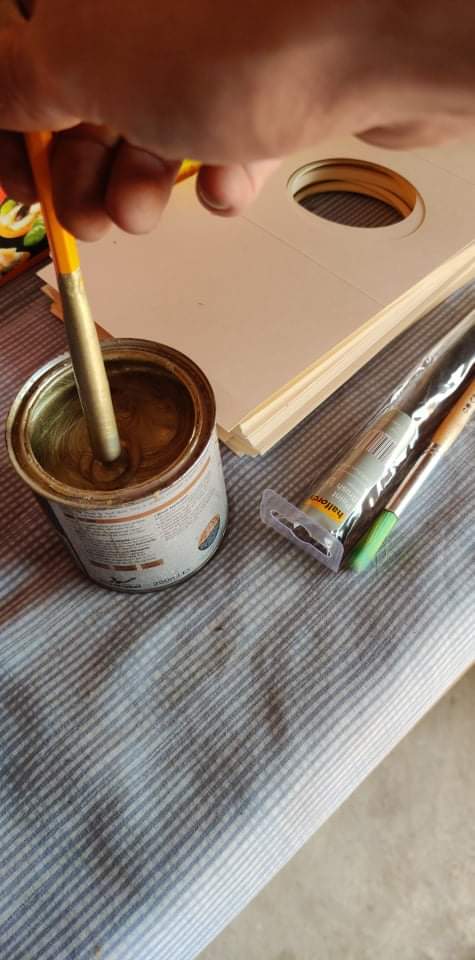
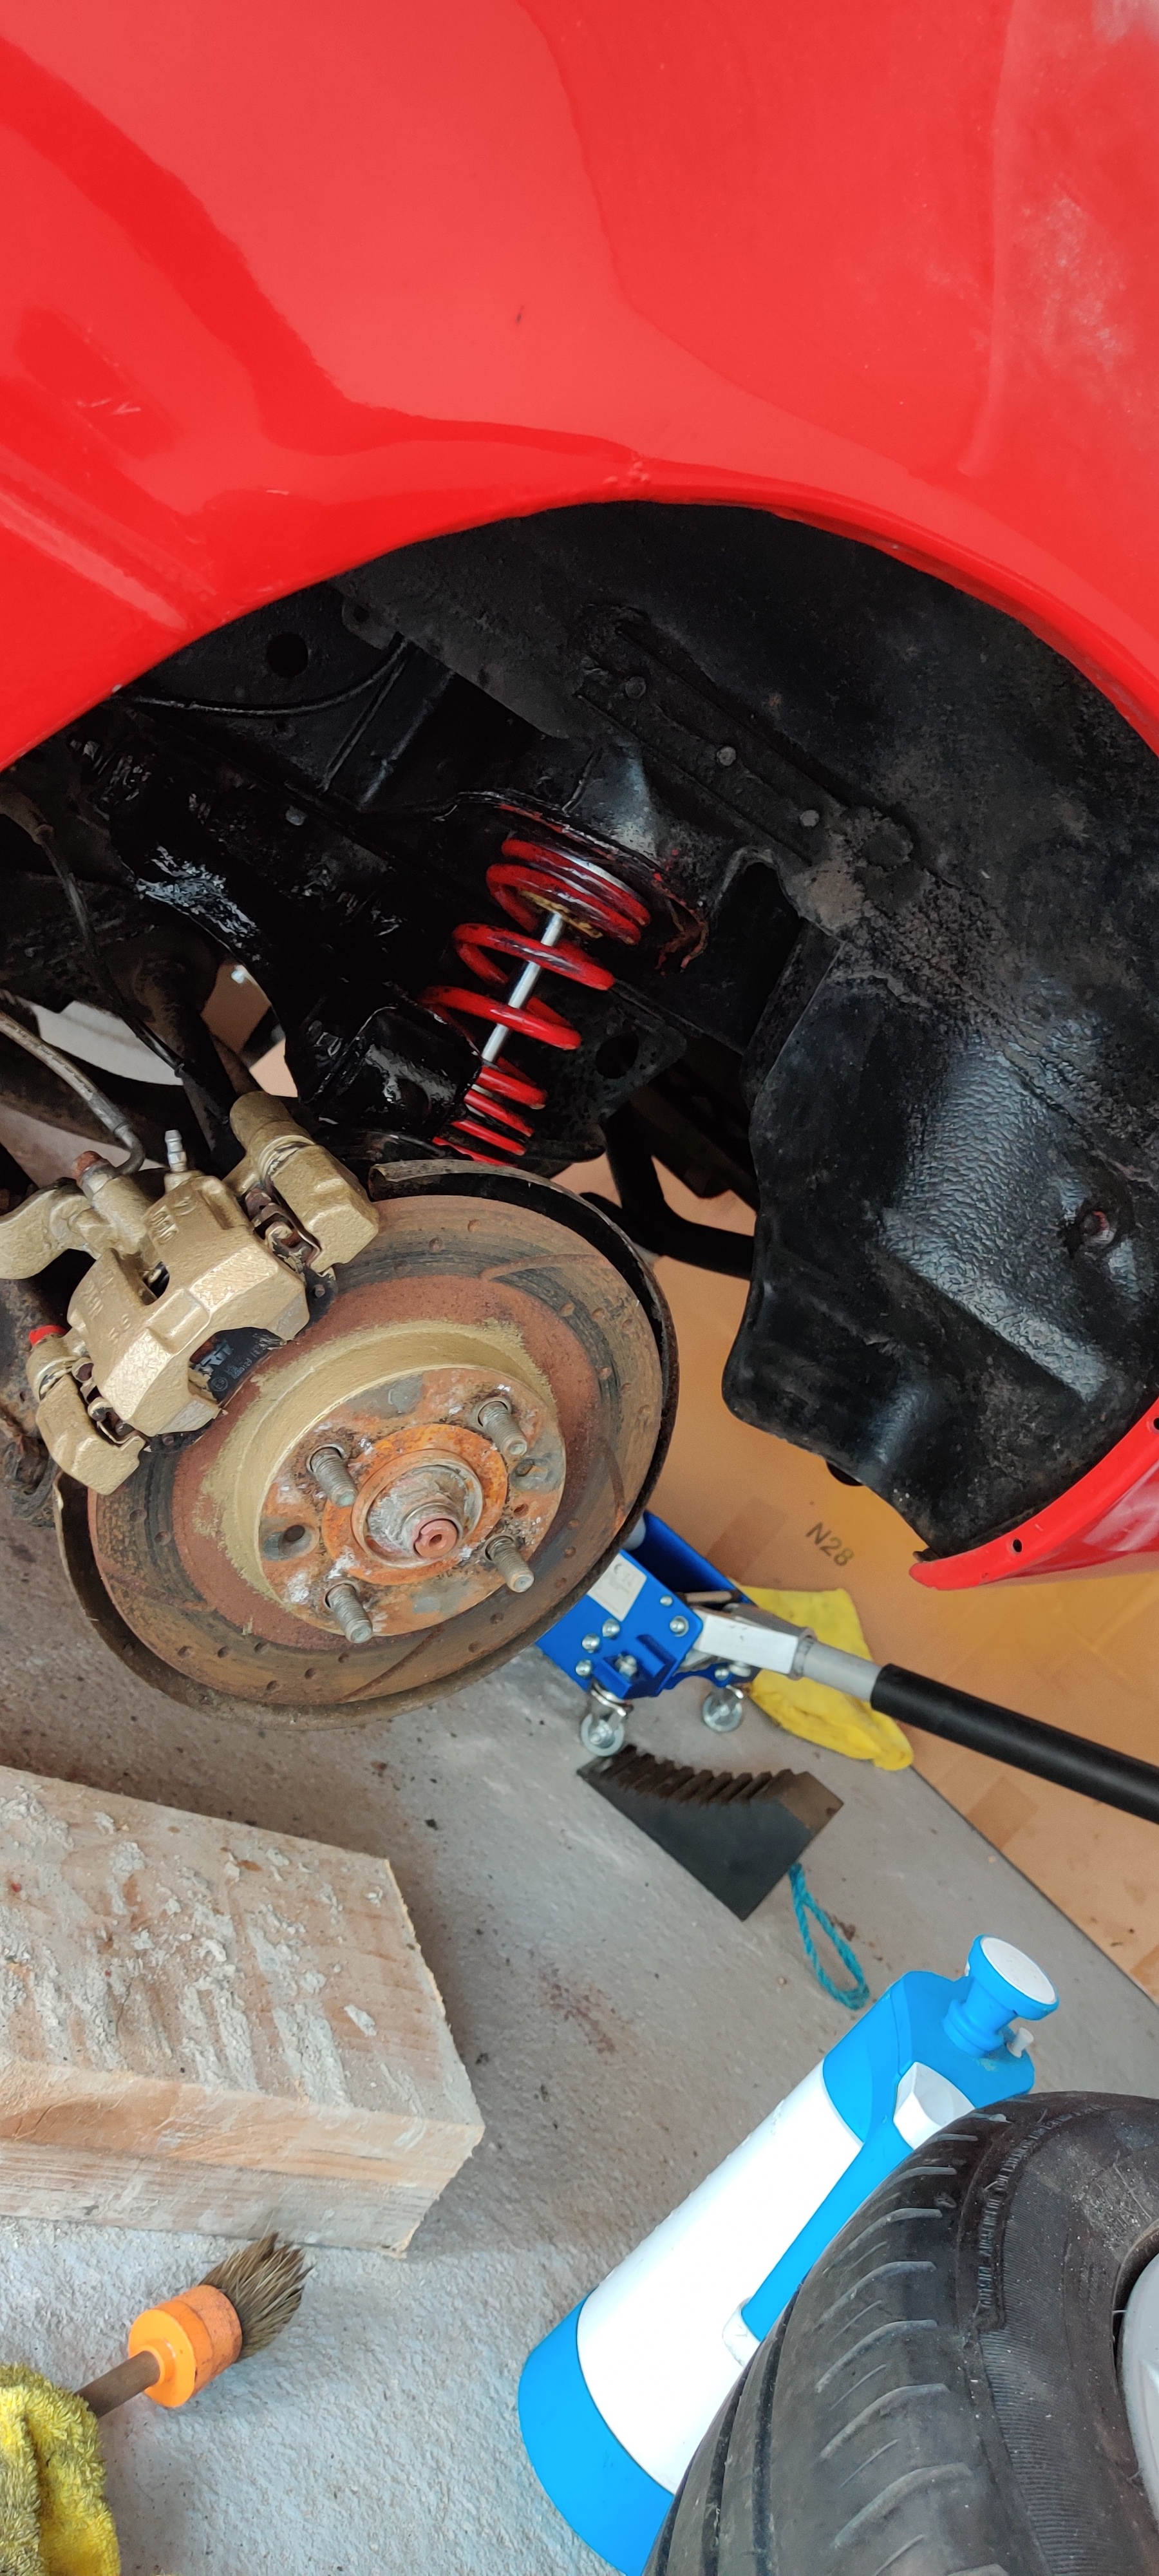
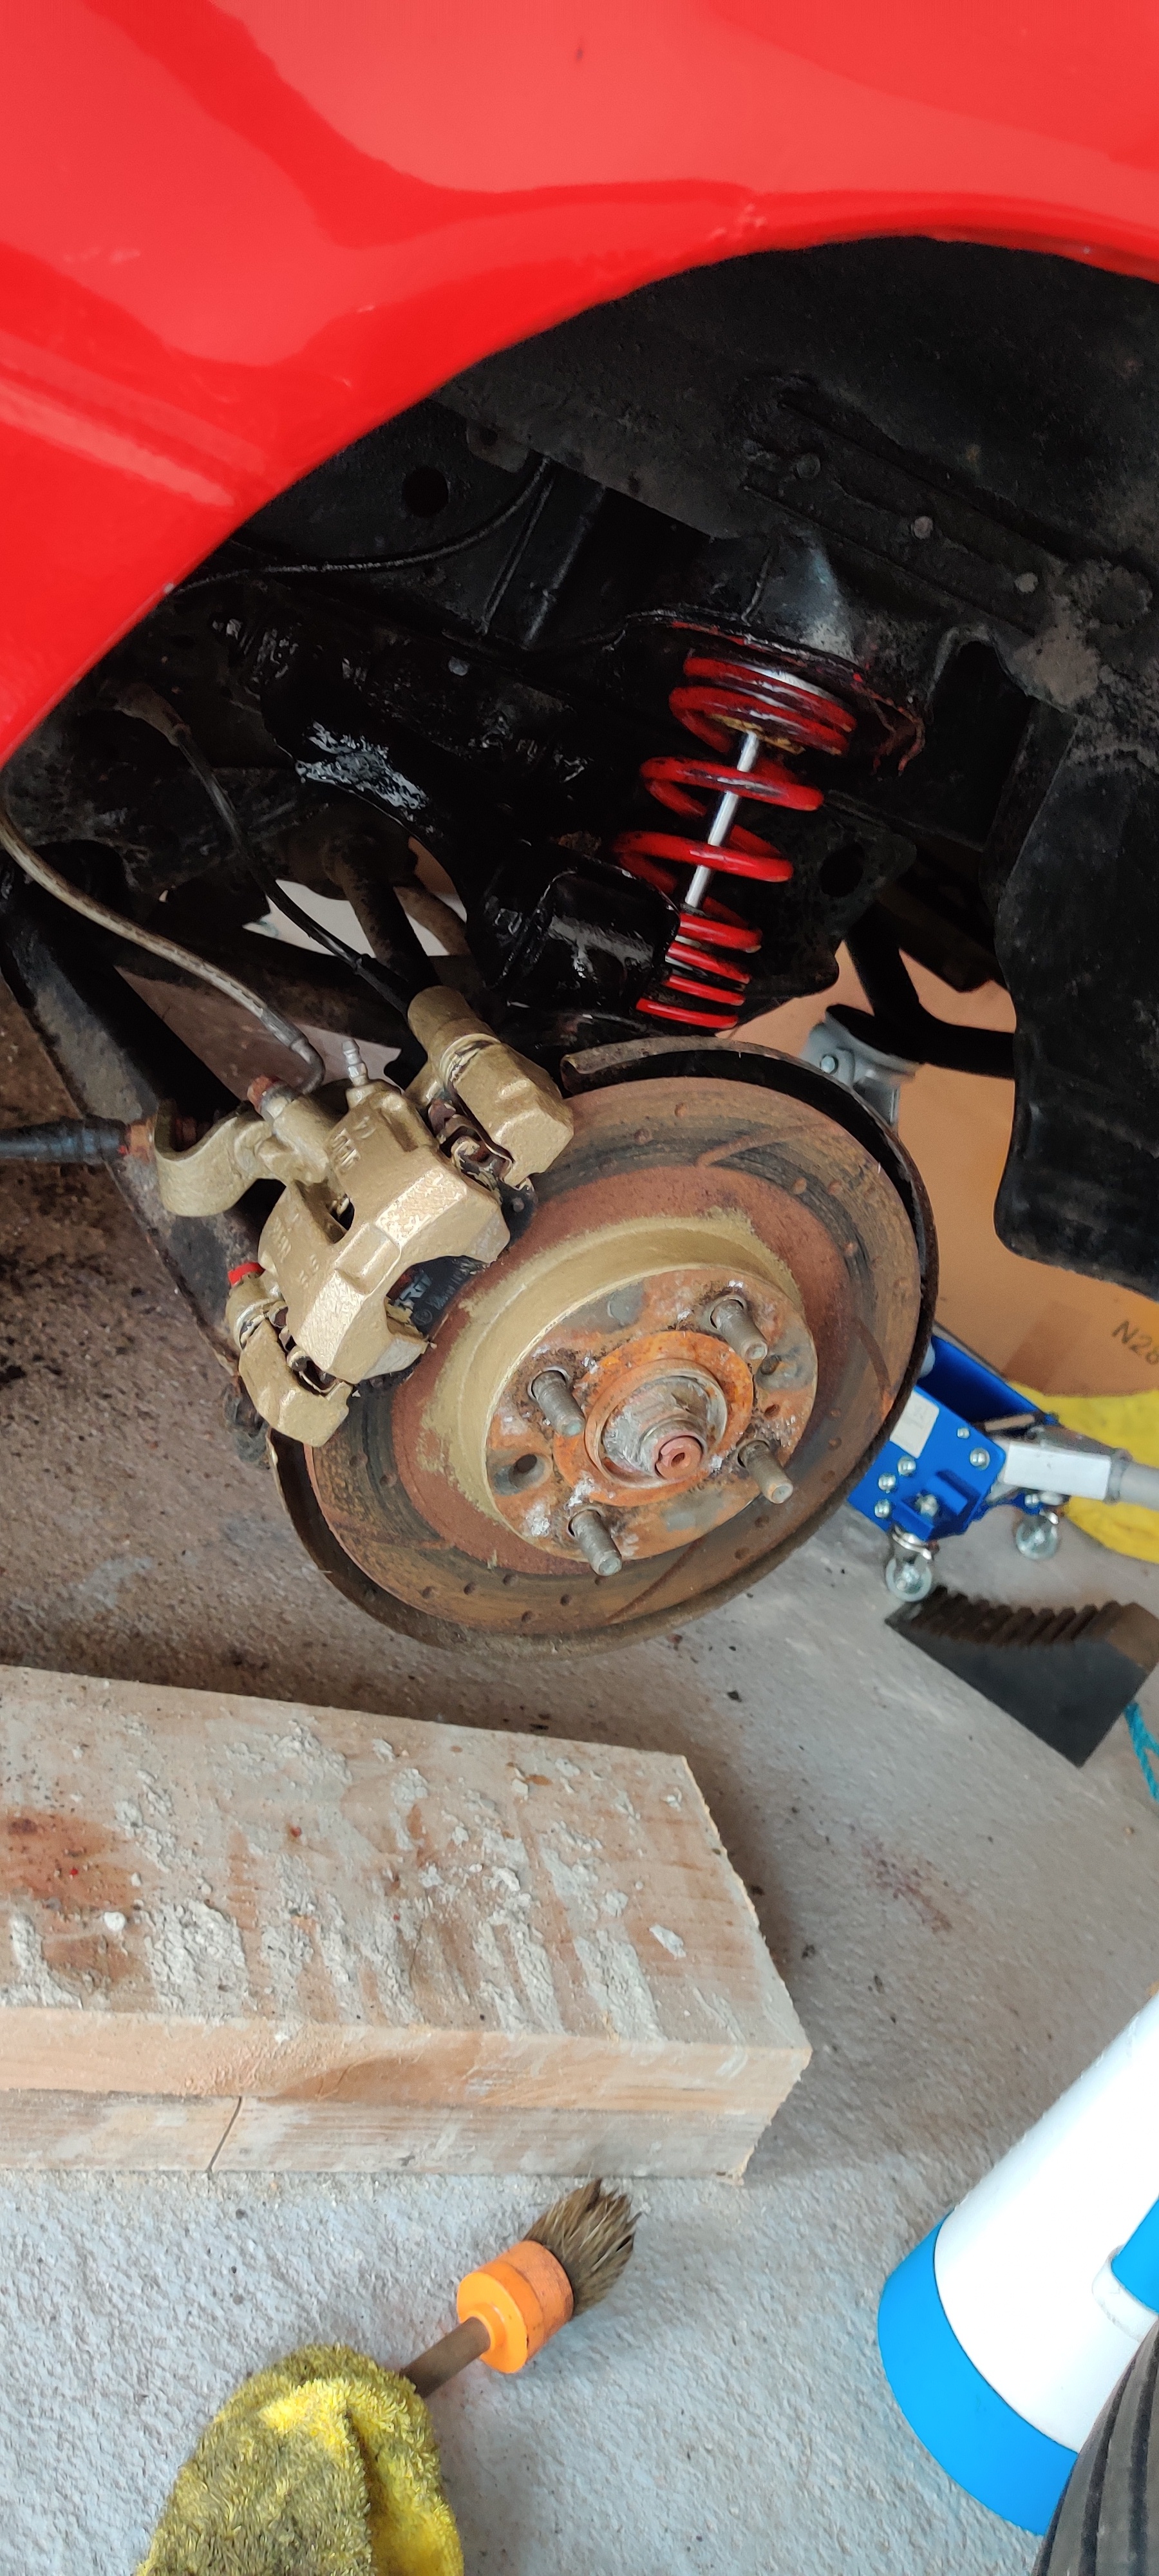
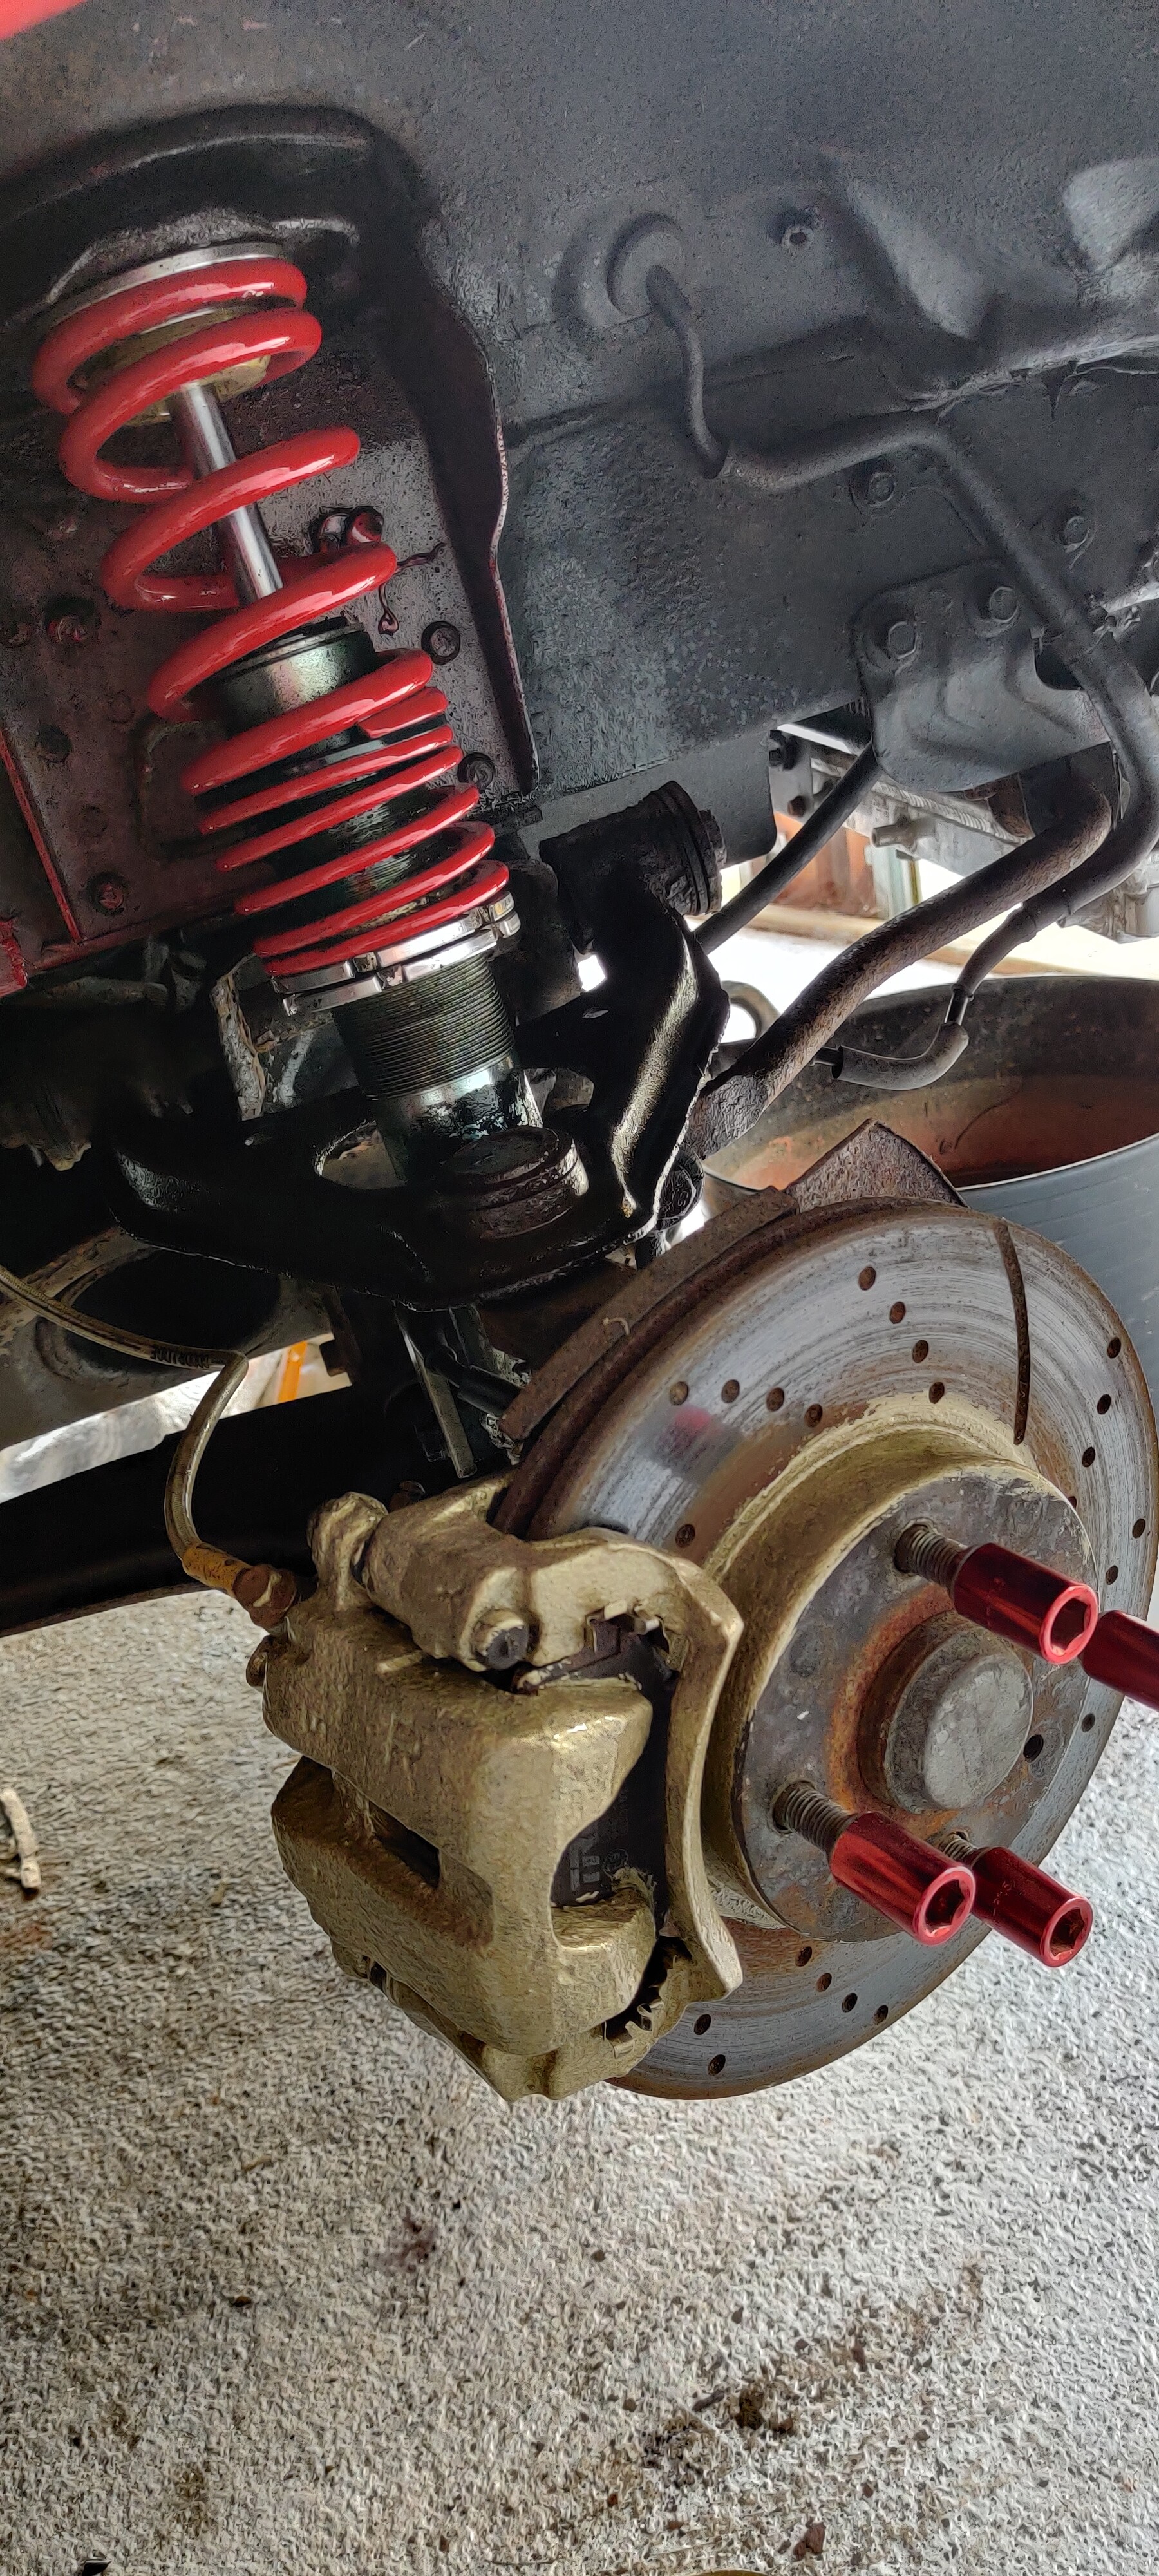
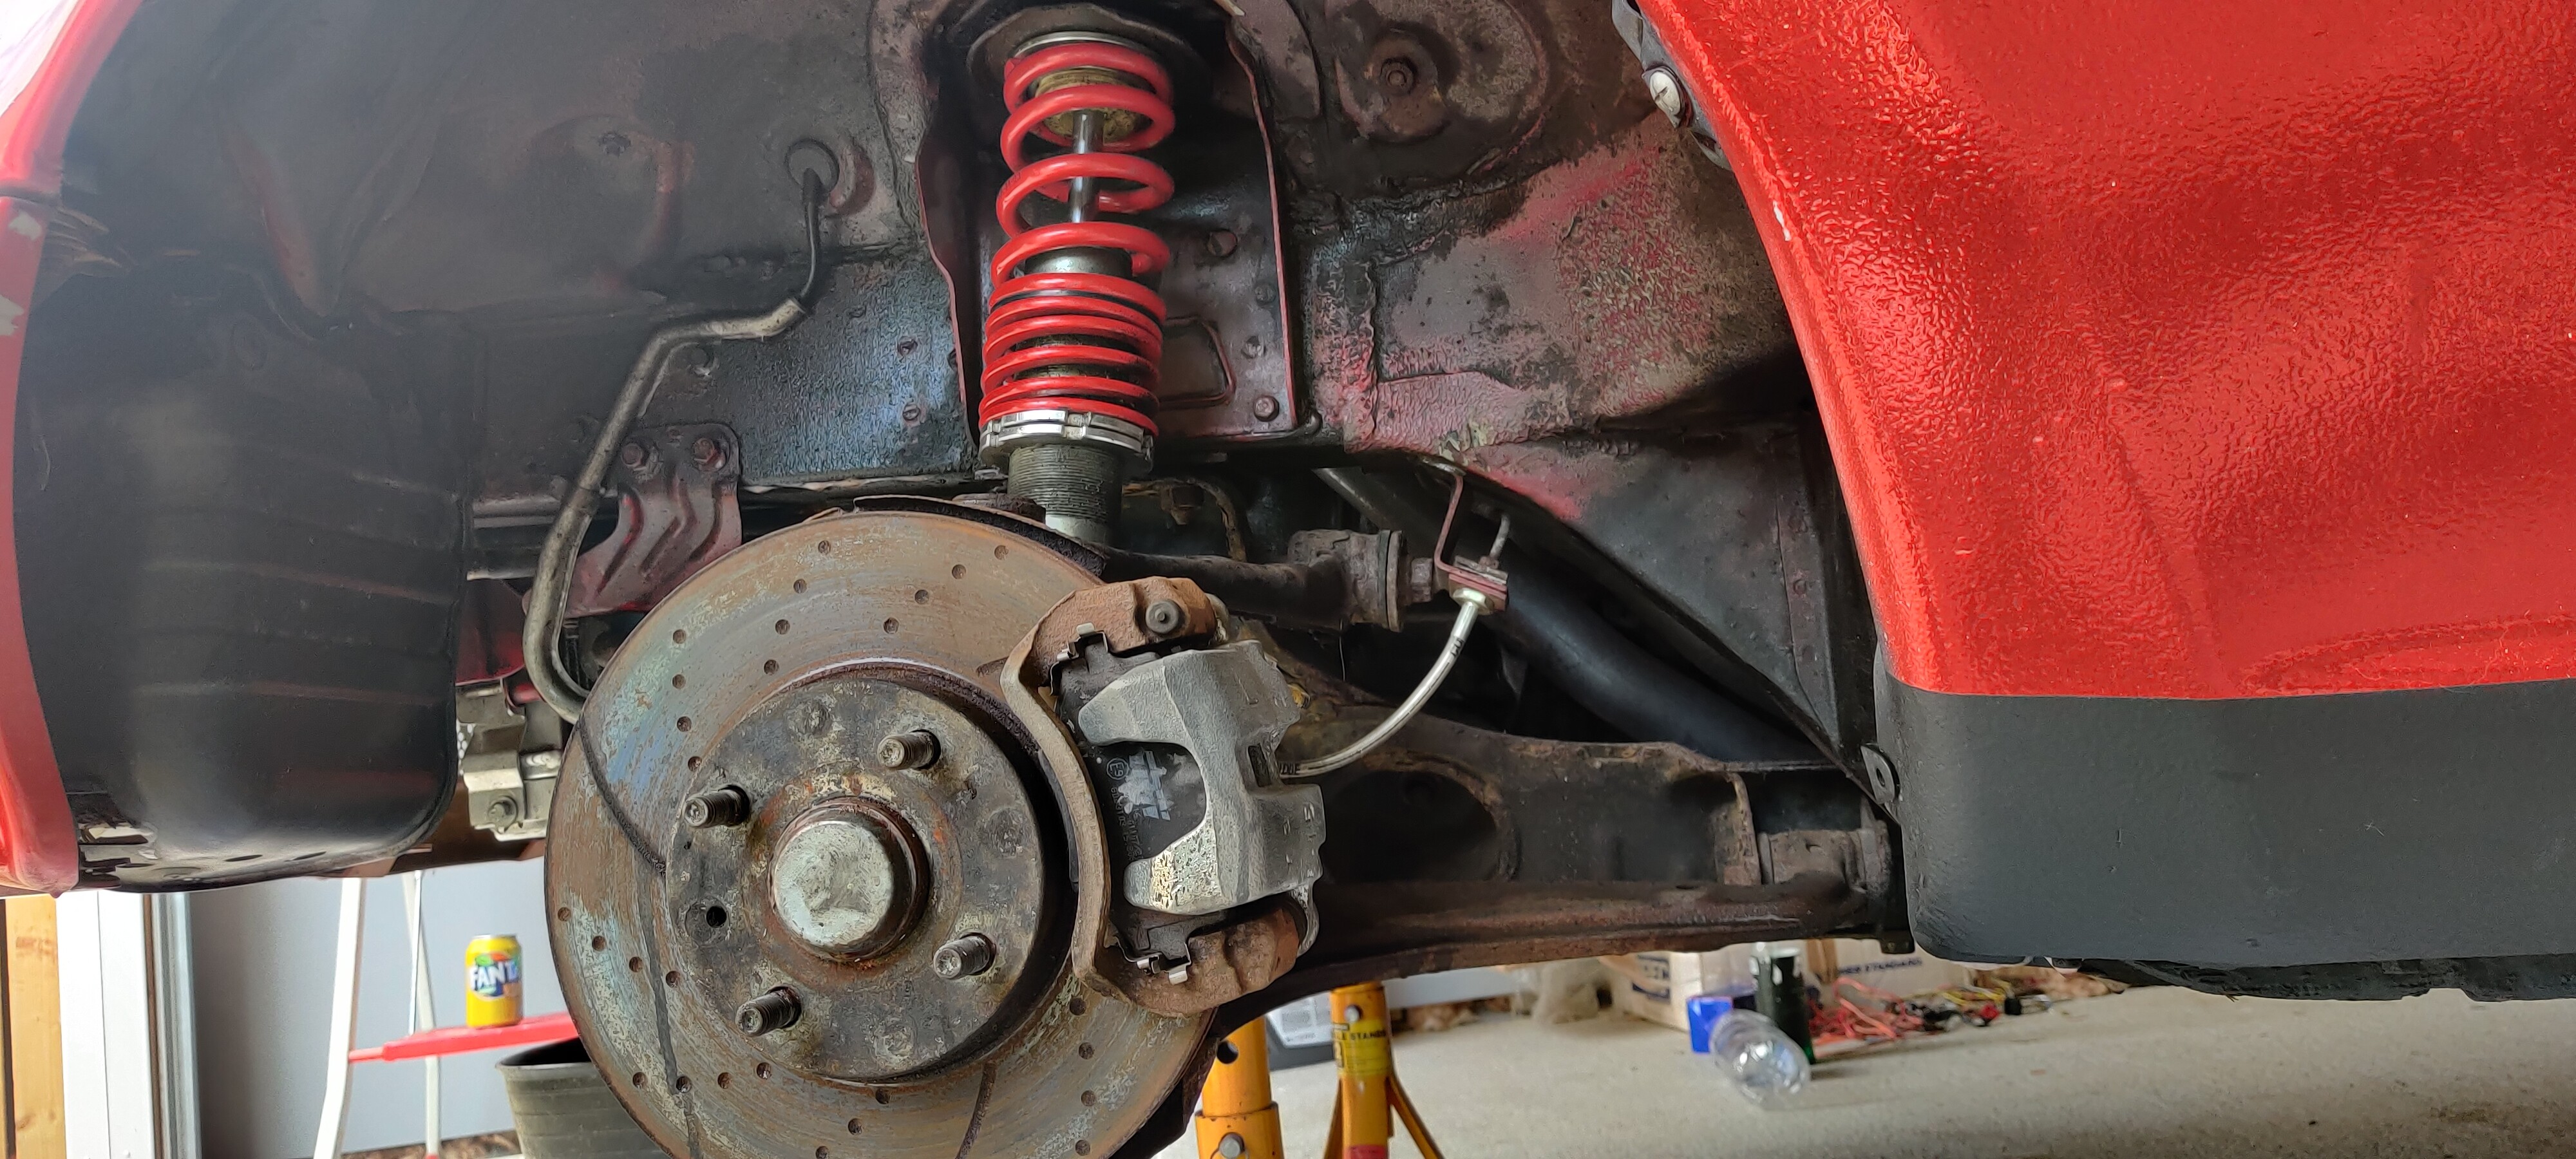
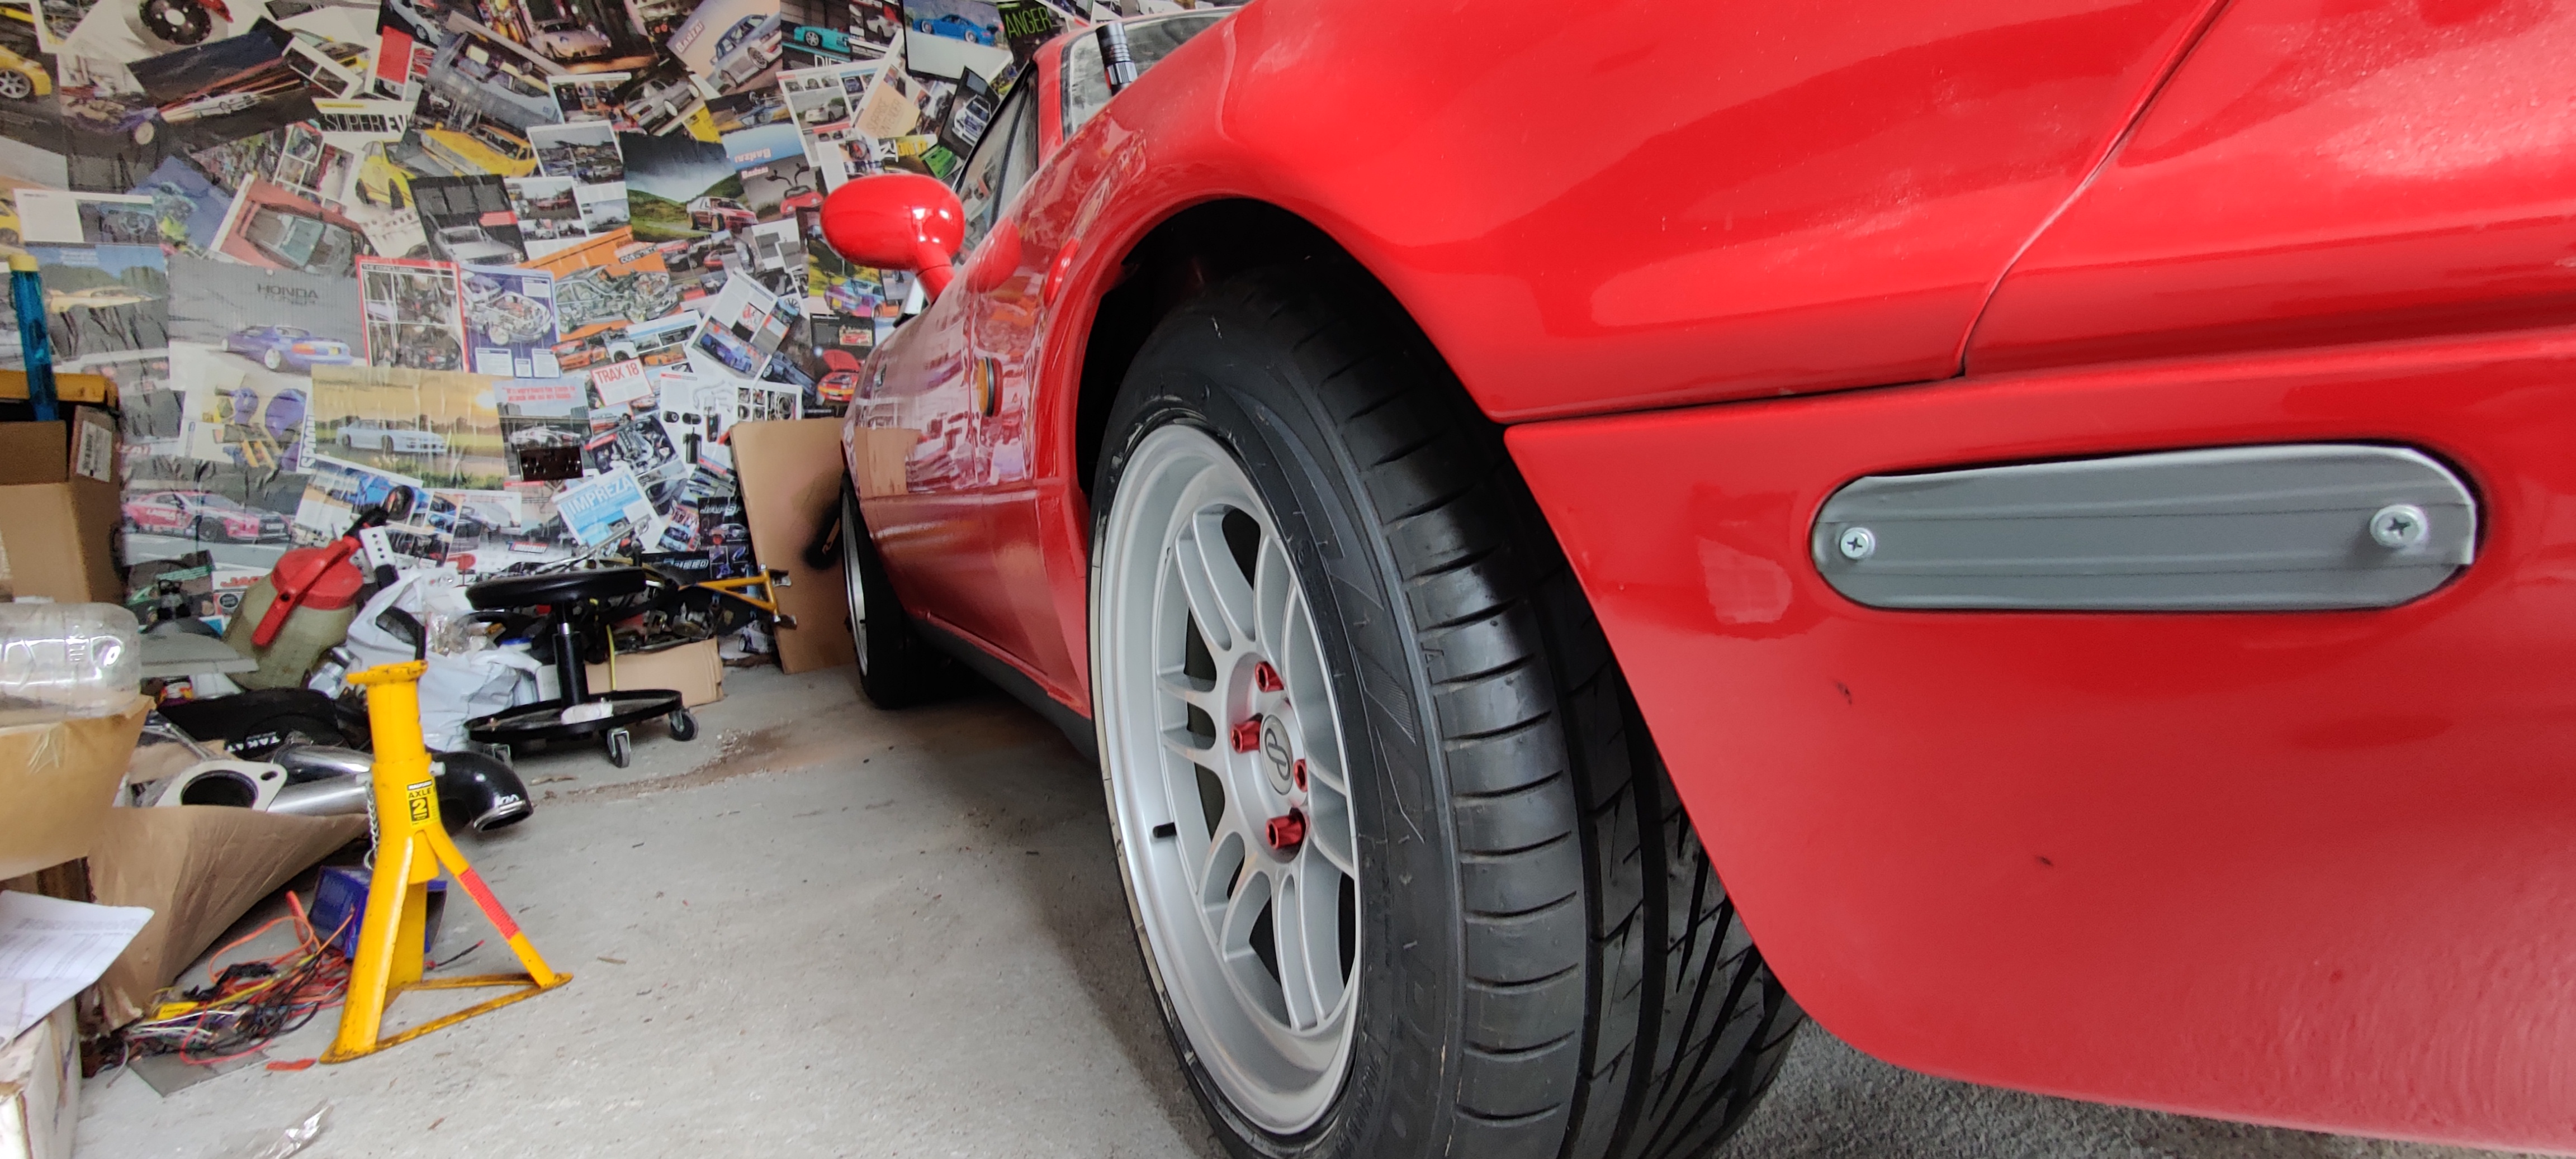
I decided it’d be unfair to out the rpf1s on which were so nice and clean to be greeted by shitty horrible callipers, luckily enough I found a tub of gold calliper paint and fired in after a quick clean of each arch and some acf-50 on the cheap coilies
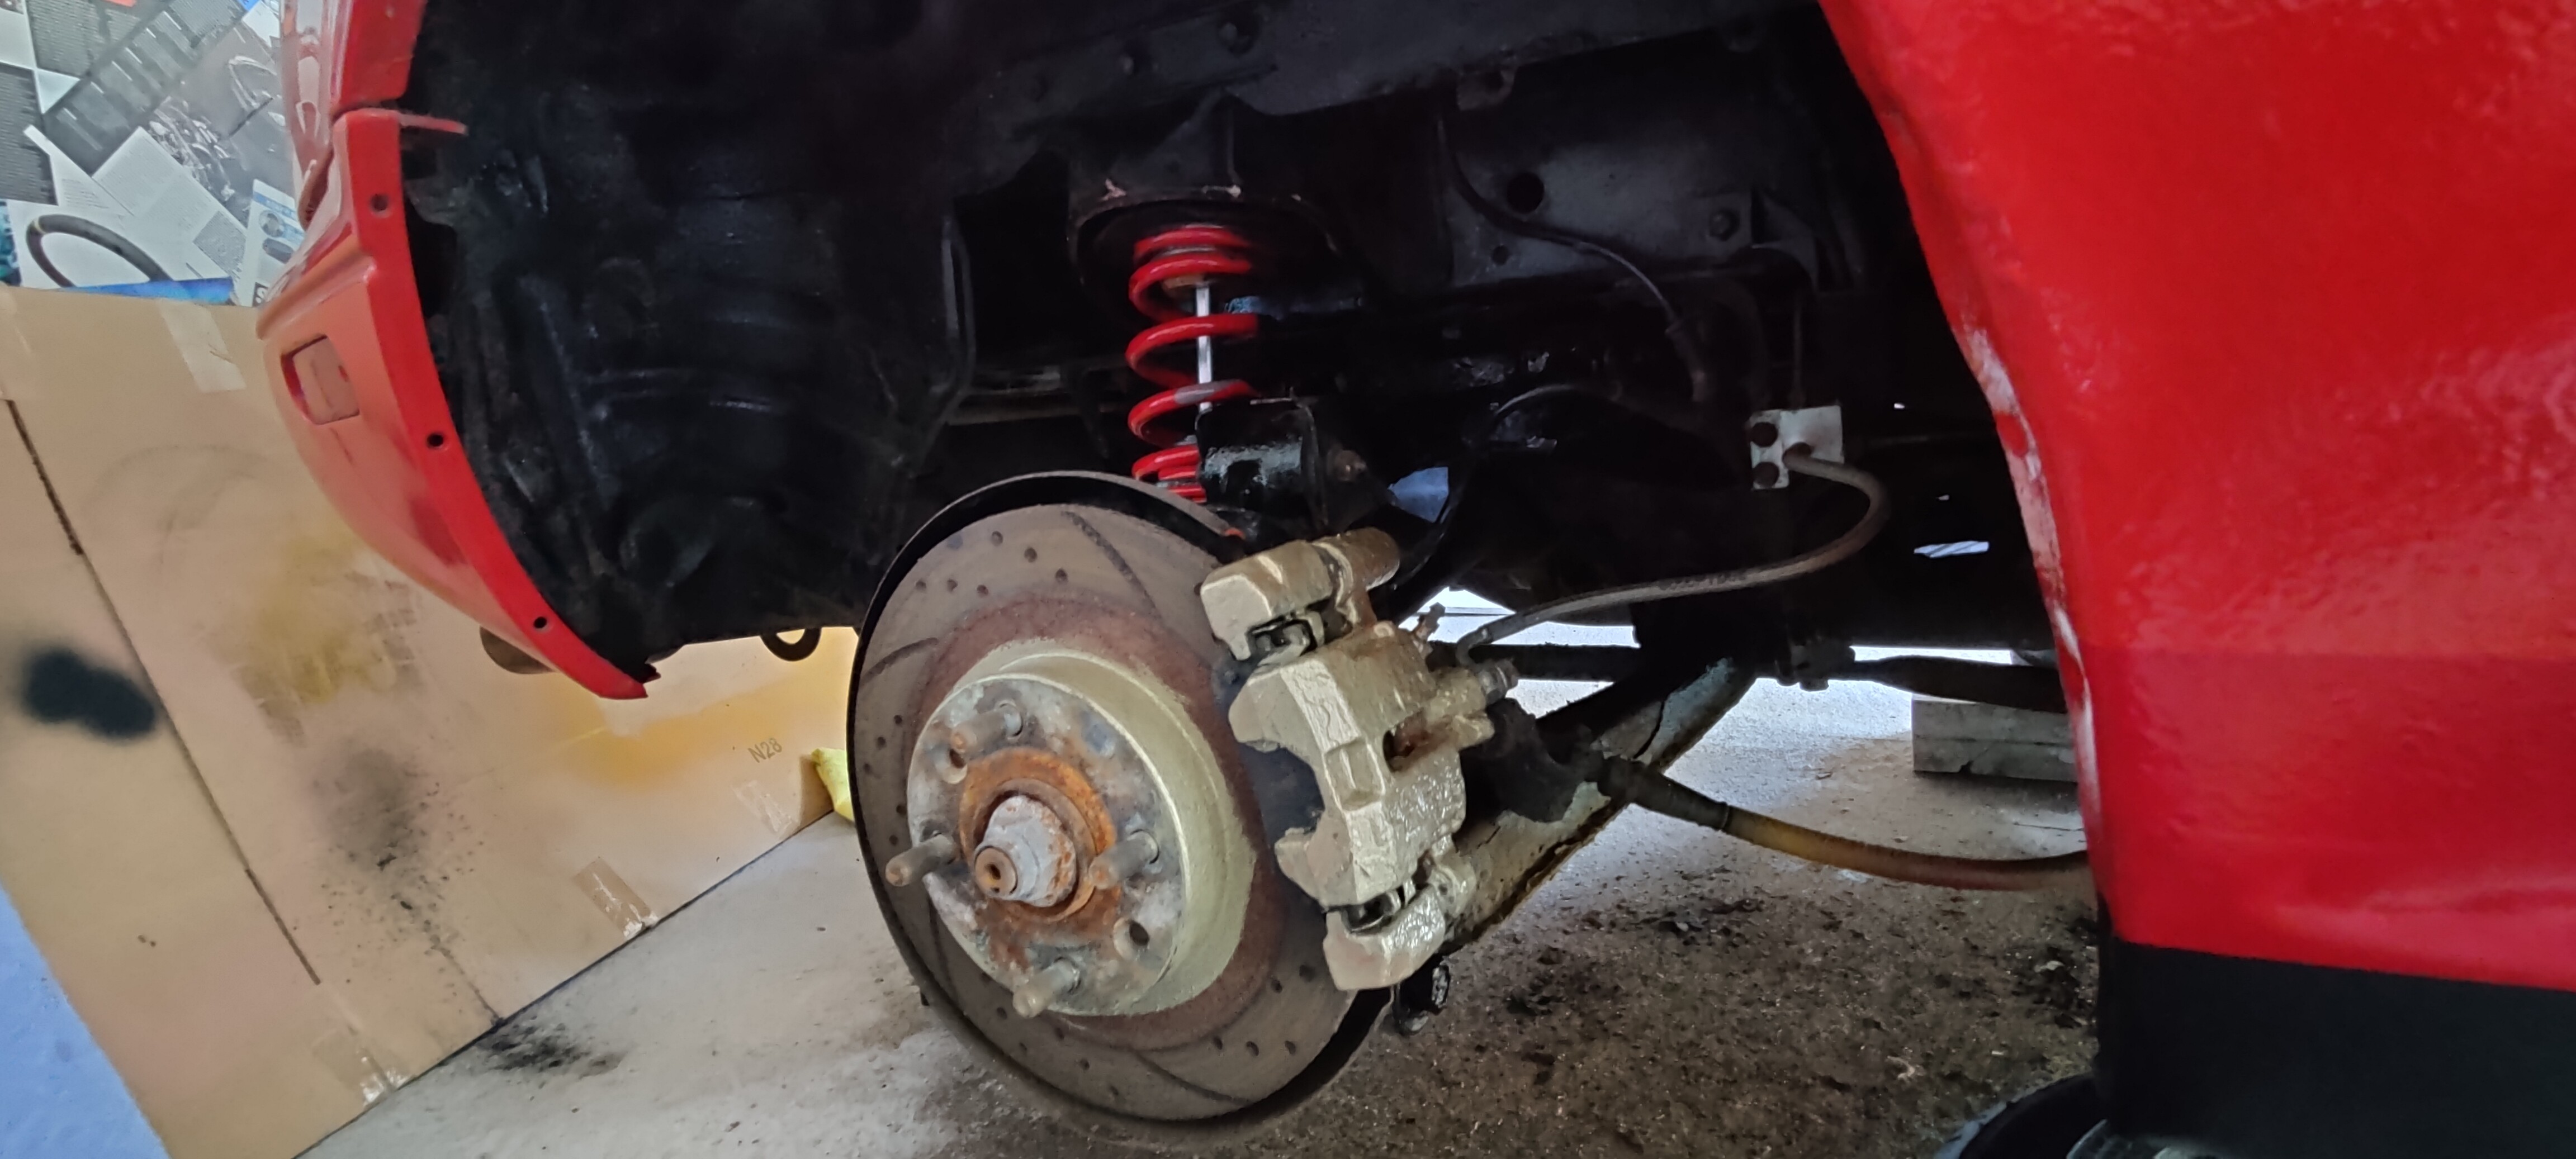

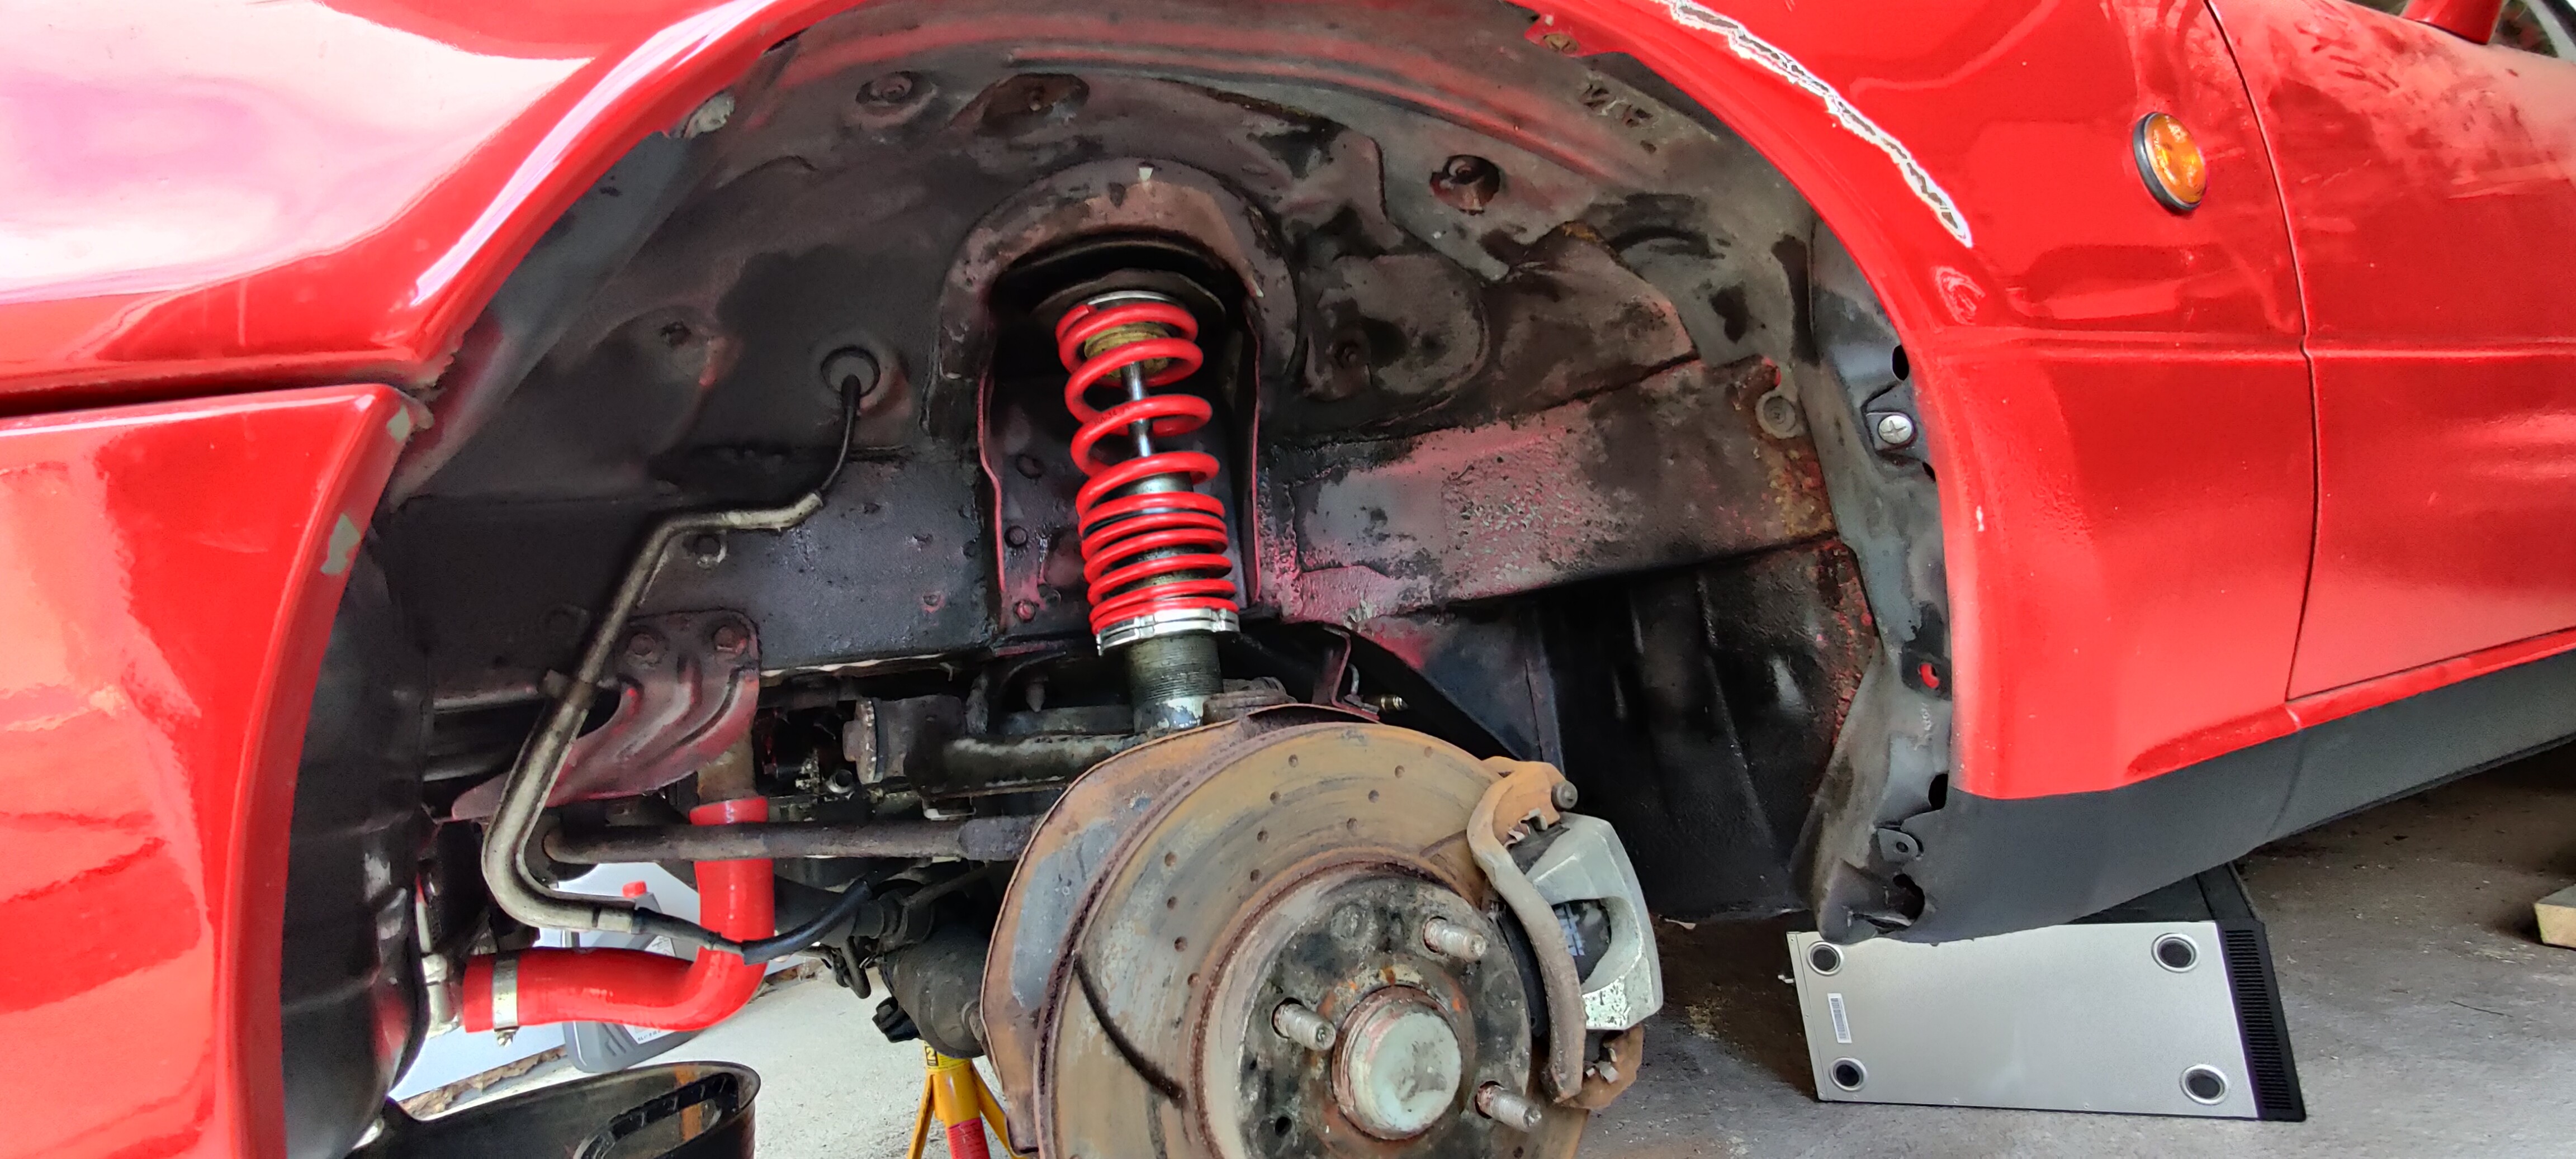
Then came the rpf1s and get it back on the ground for the first time in about 9 months, a glorious moment
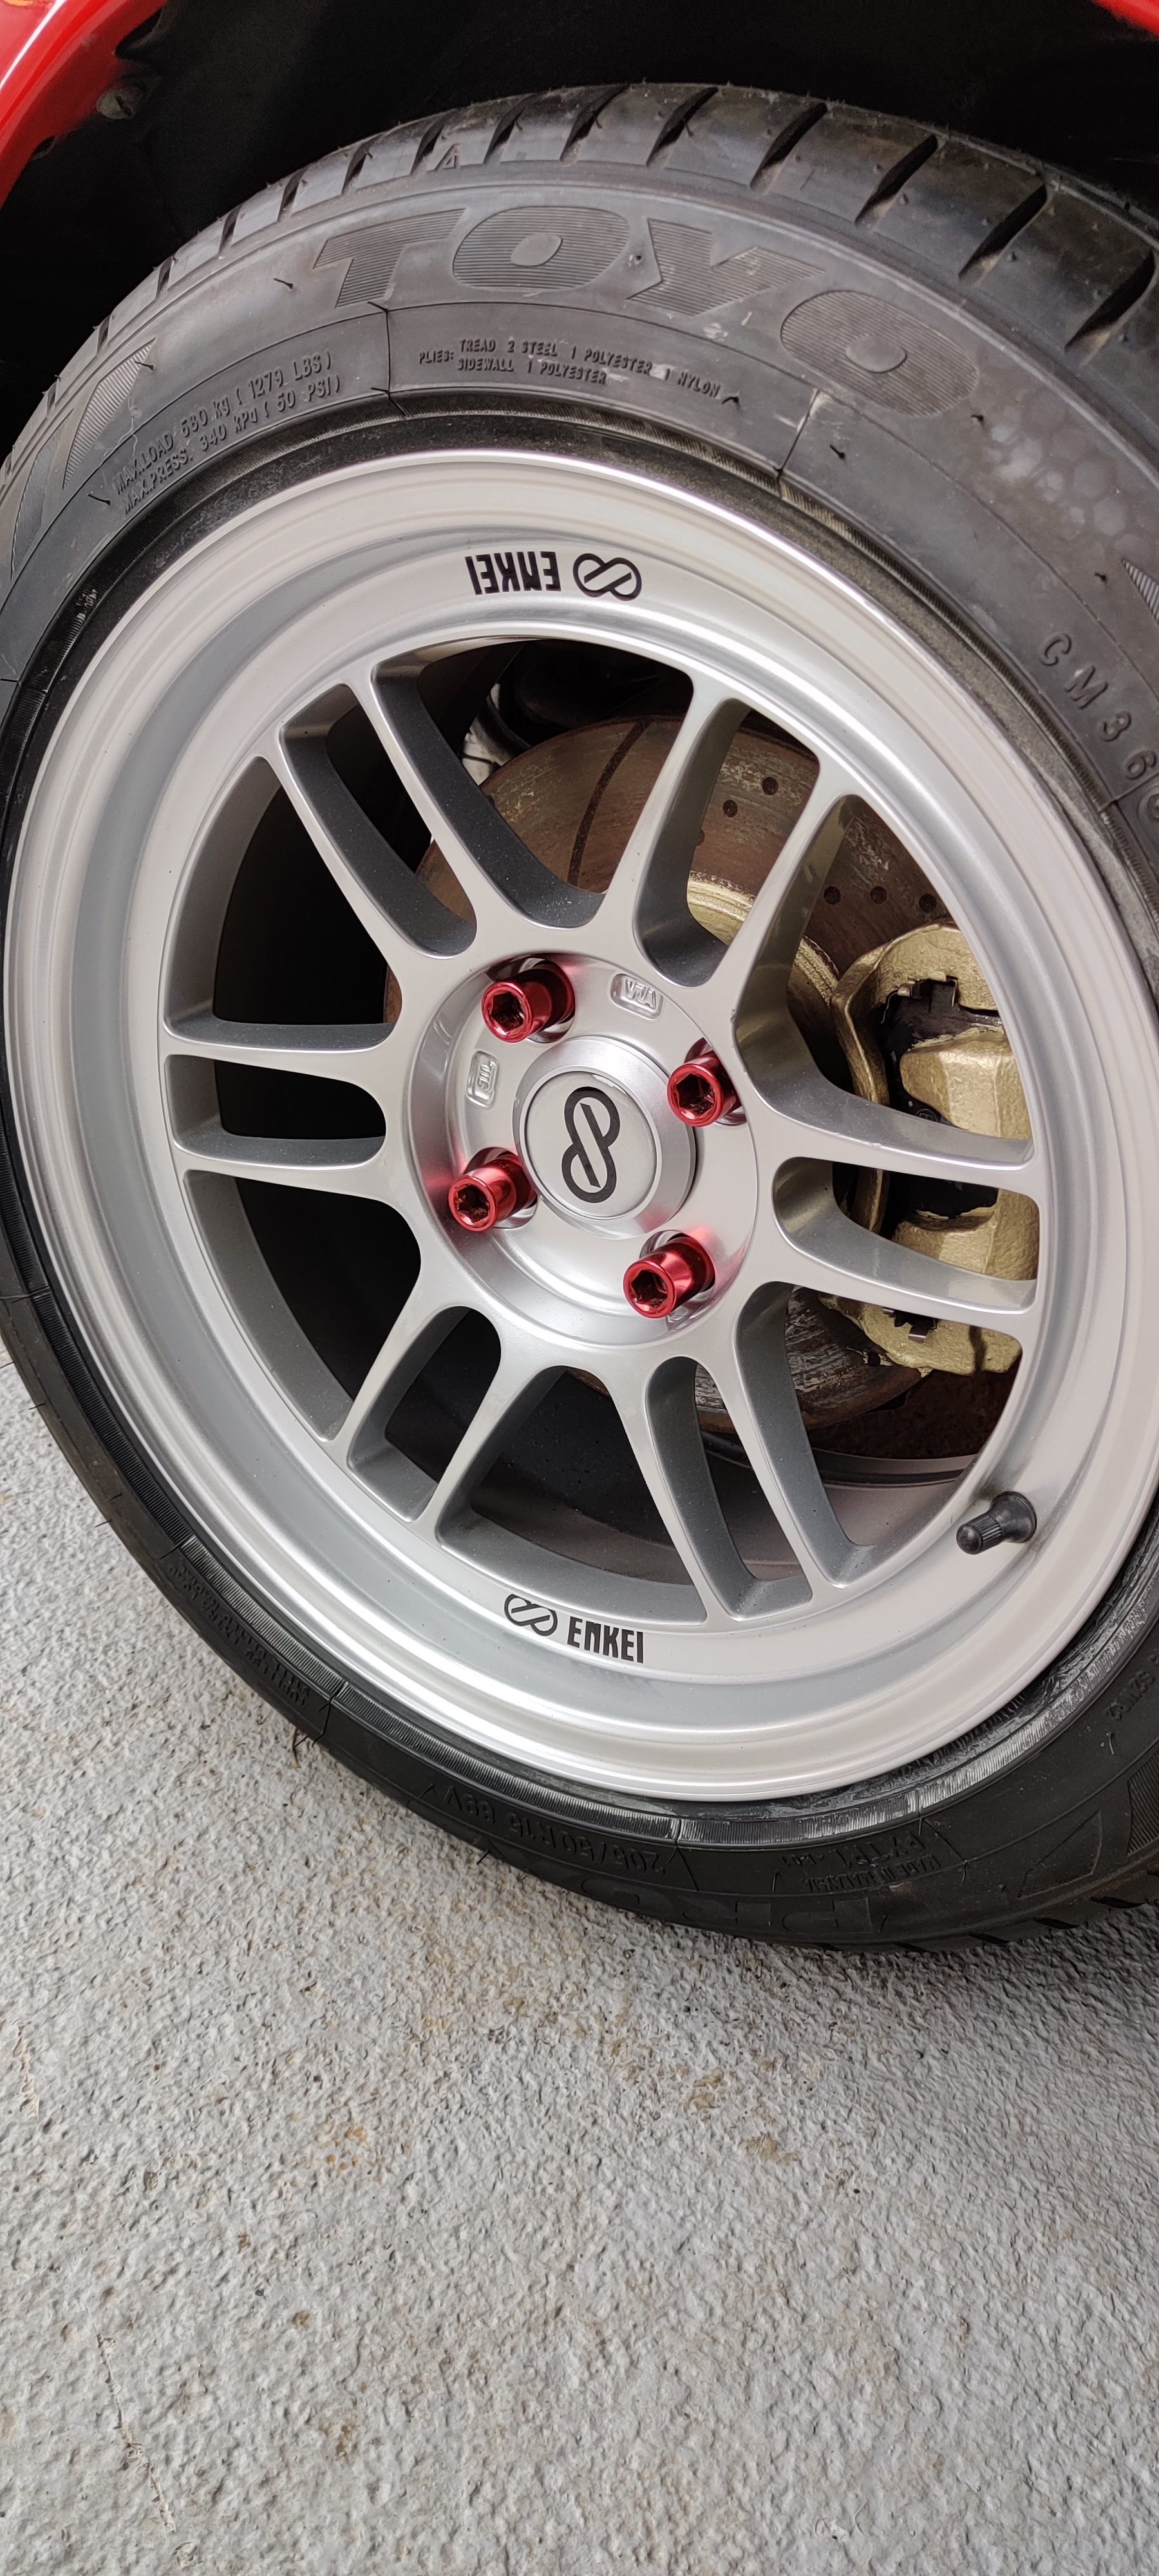
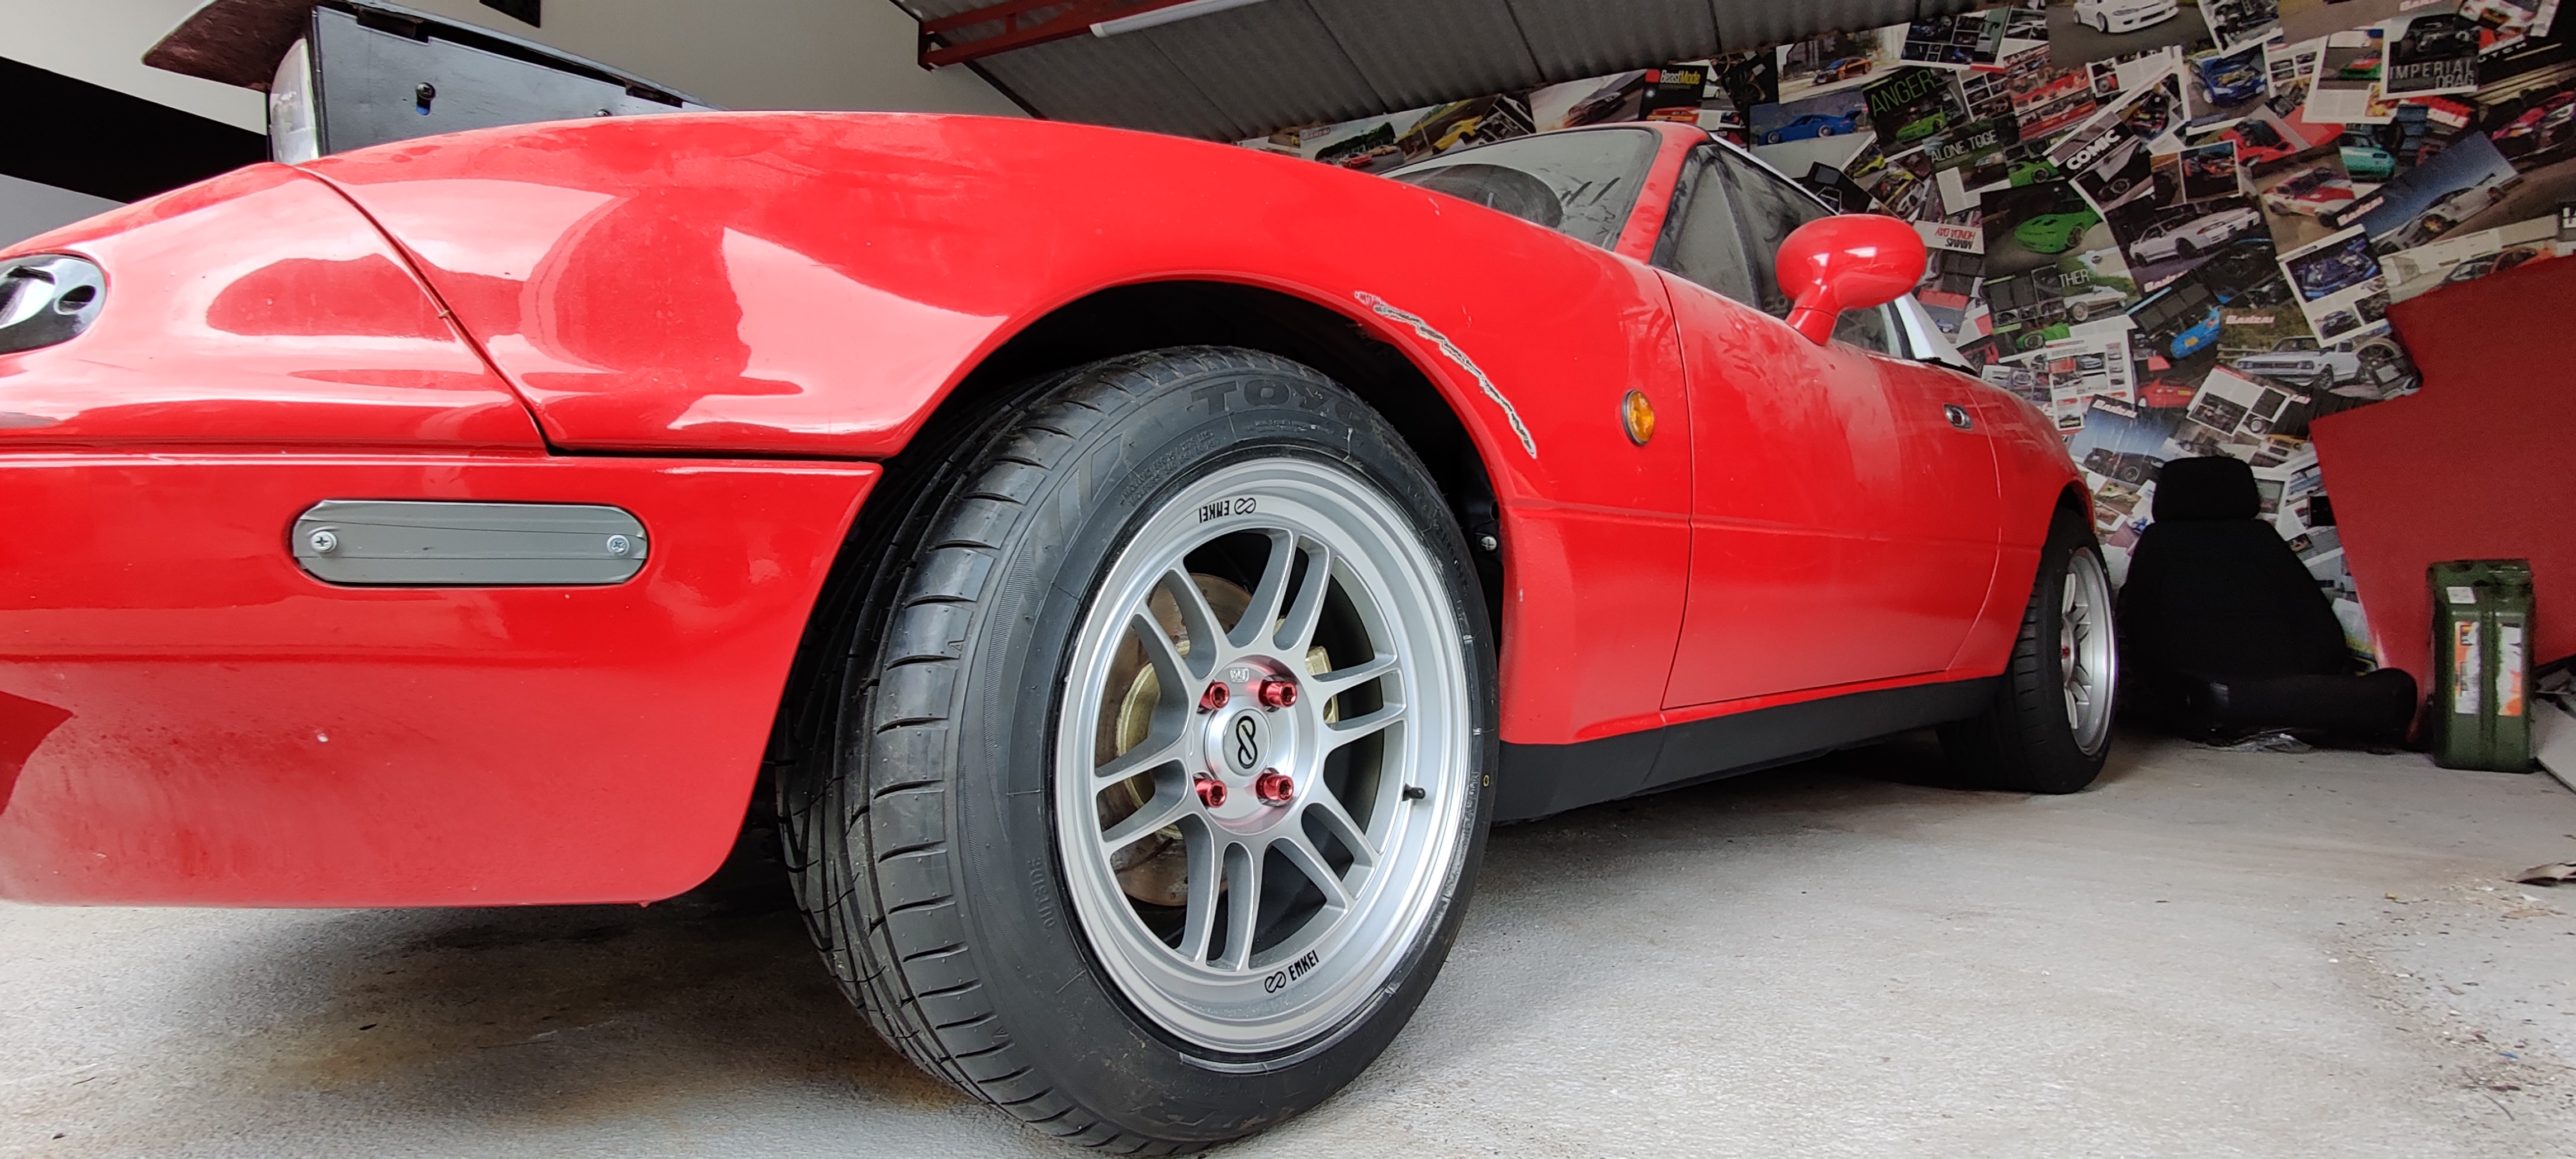
Chuffed to bits with how it looks, once it gets an MOT I’ll probably drop the hight a bit more
Also took the crappy steering wheel quick release off but the bolts aren’t long enough to go through the boss from the wheel so I’ll get some from work on Monday
Once the parts come from bofi I’ll get them fitted then all the engine work for now is complete so I’ll get the bonnet on and get it outside for a wash! The butthole quivers with excitement at the thought of it moving under its own steam for the first time
3 Likes
All very nice, well done.
However, pooch photos please.
We need pooch pics with the car.
1 Like
He’s actually got quite lazy of late and just wants to stay inside when I come out to tinker , however I will find some dog spam to add


Some more messing around last night in prep for the map
Adjusted the wb02 hrt values on the laptop so that meite reads the same number as the guage and what a difference it’s made, the bogging is pretty much gone and it revs brilliantly, I’m gunna need to download a video converter app as the forum doesn’t let me upload my file type
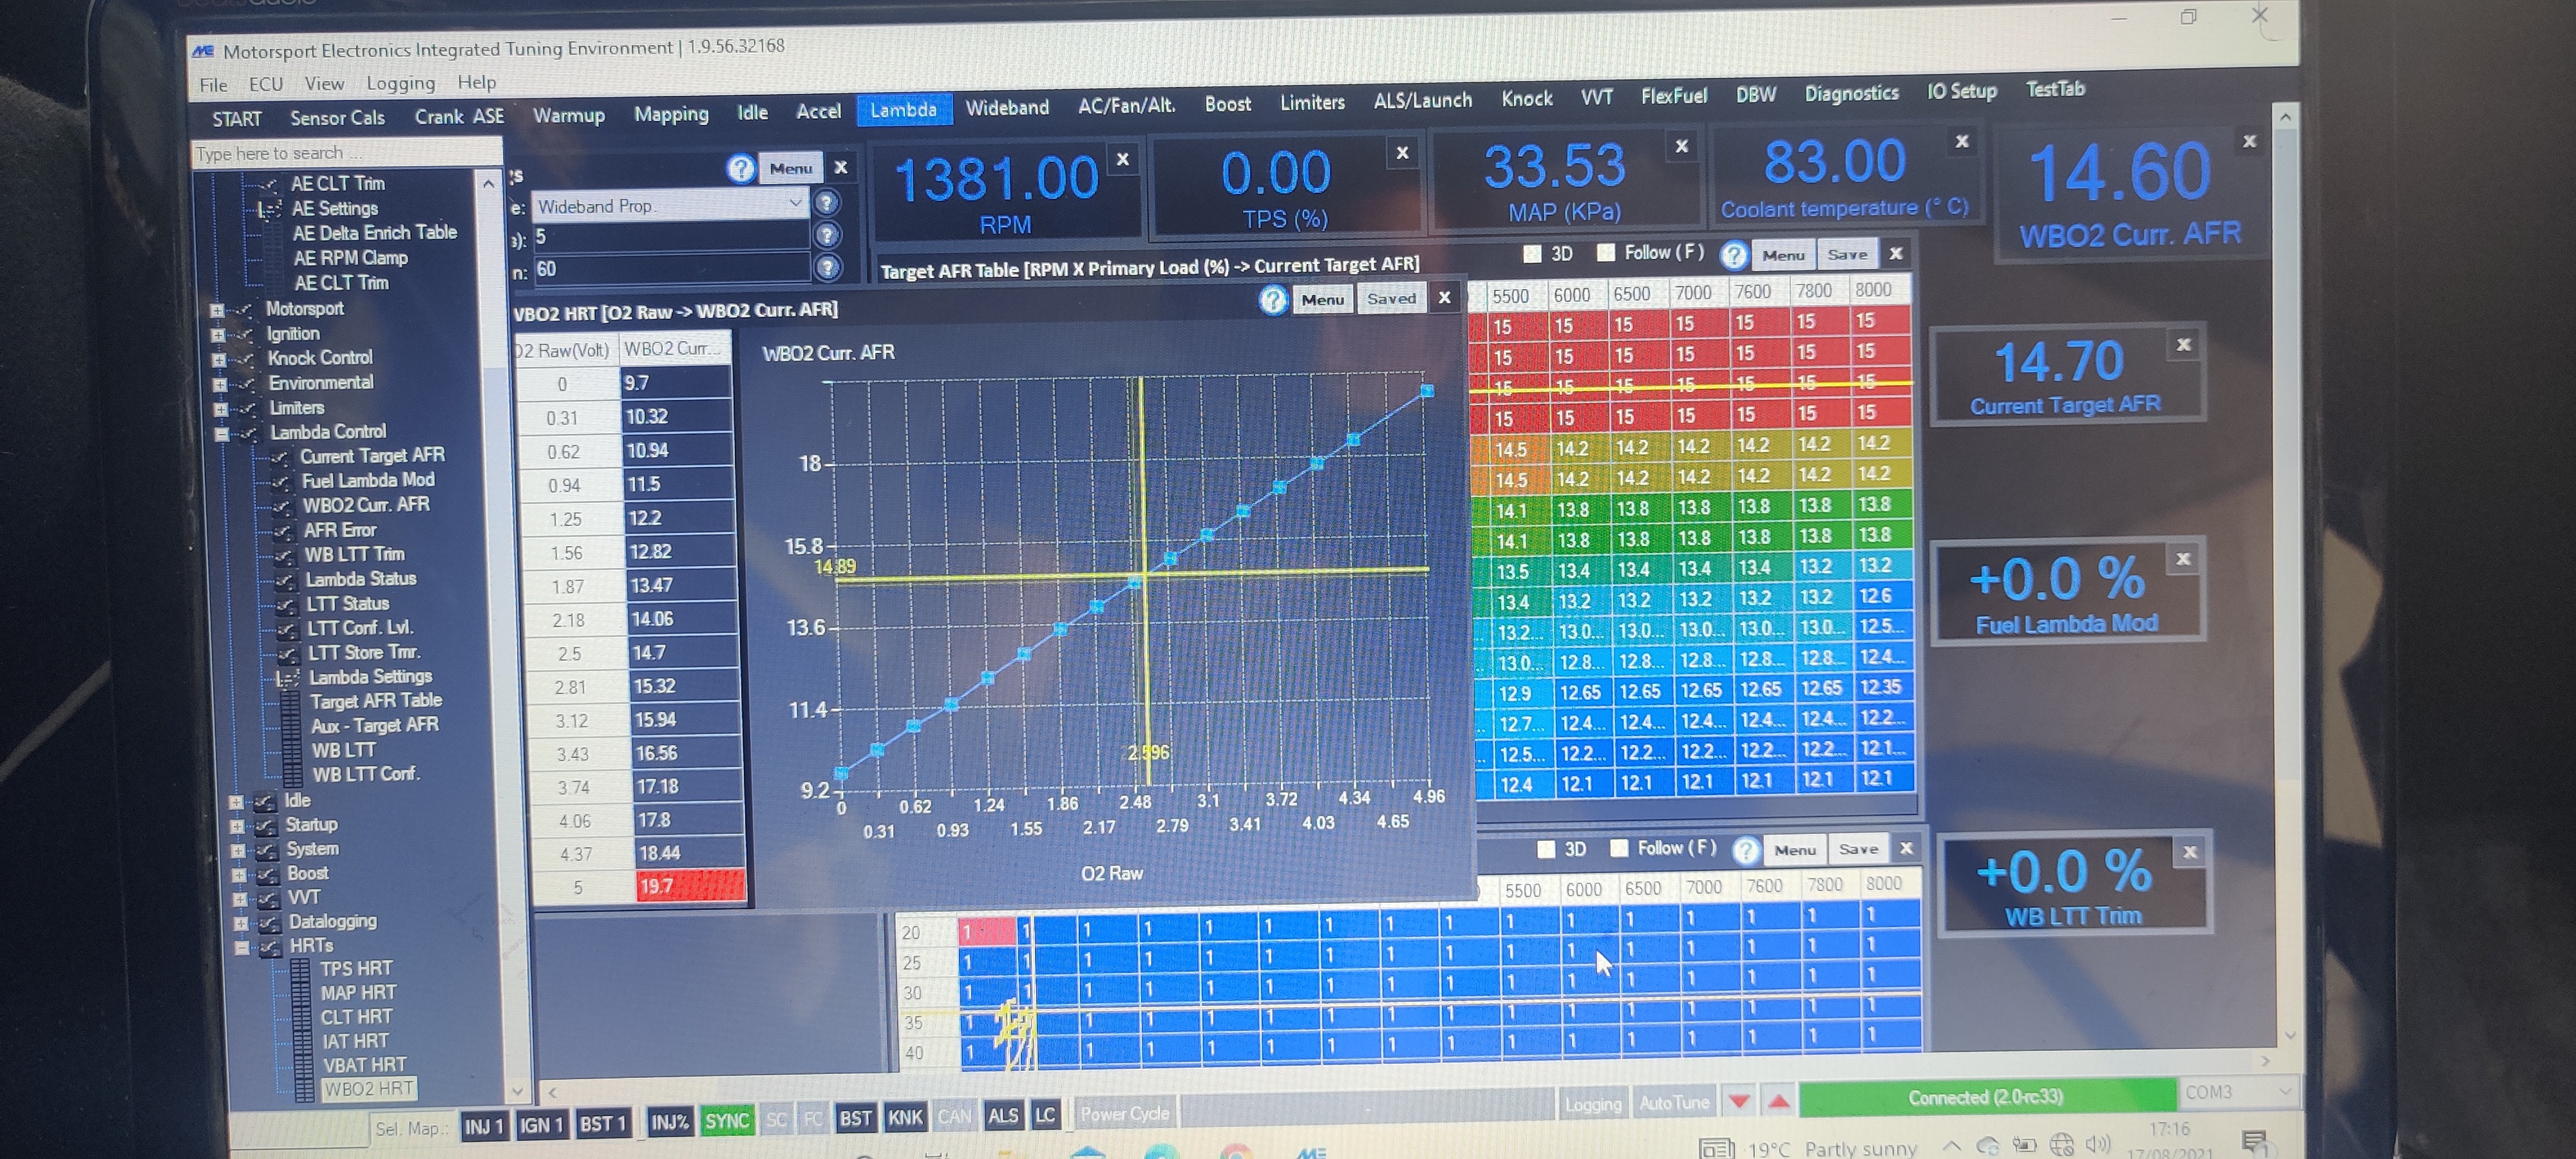
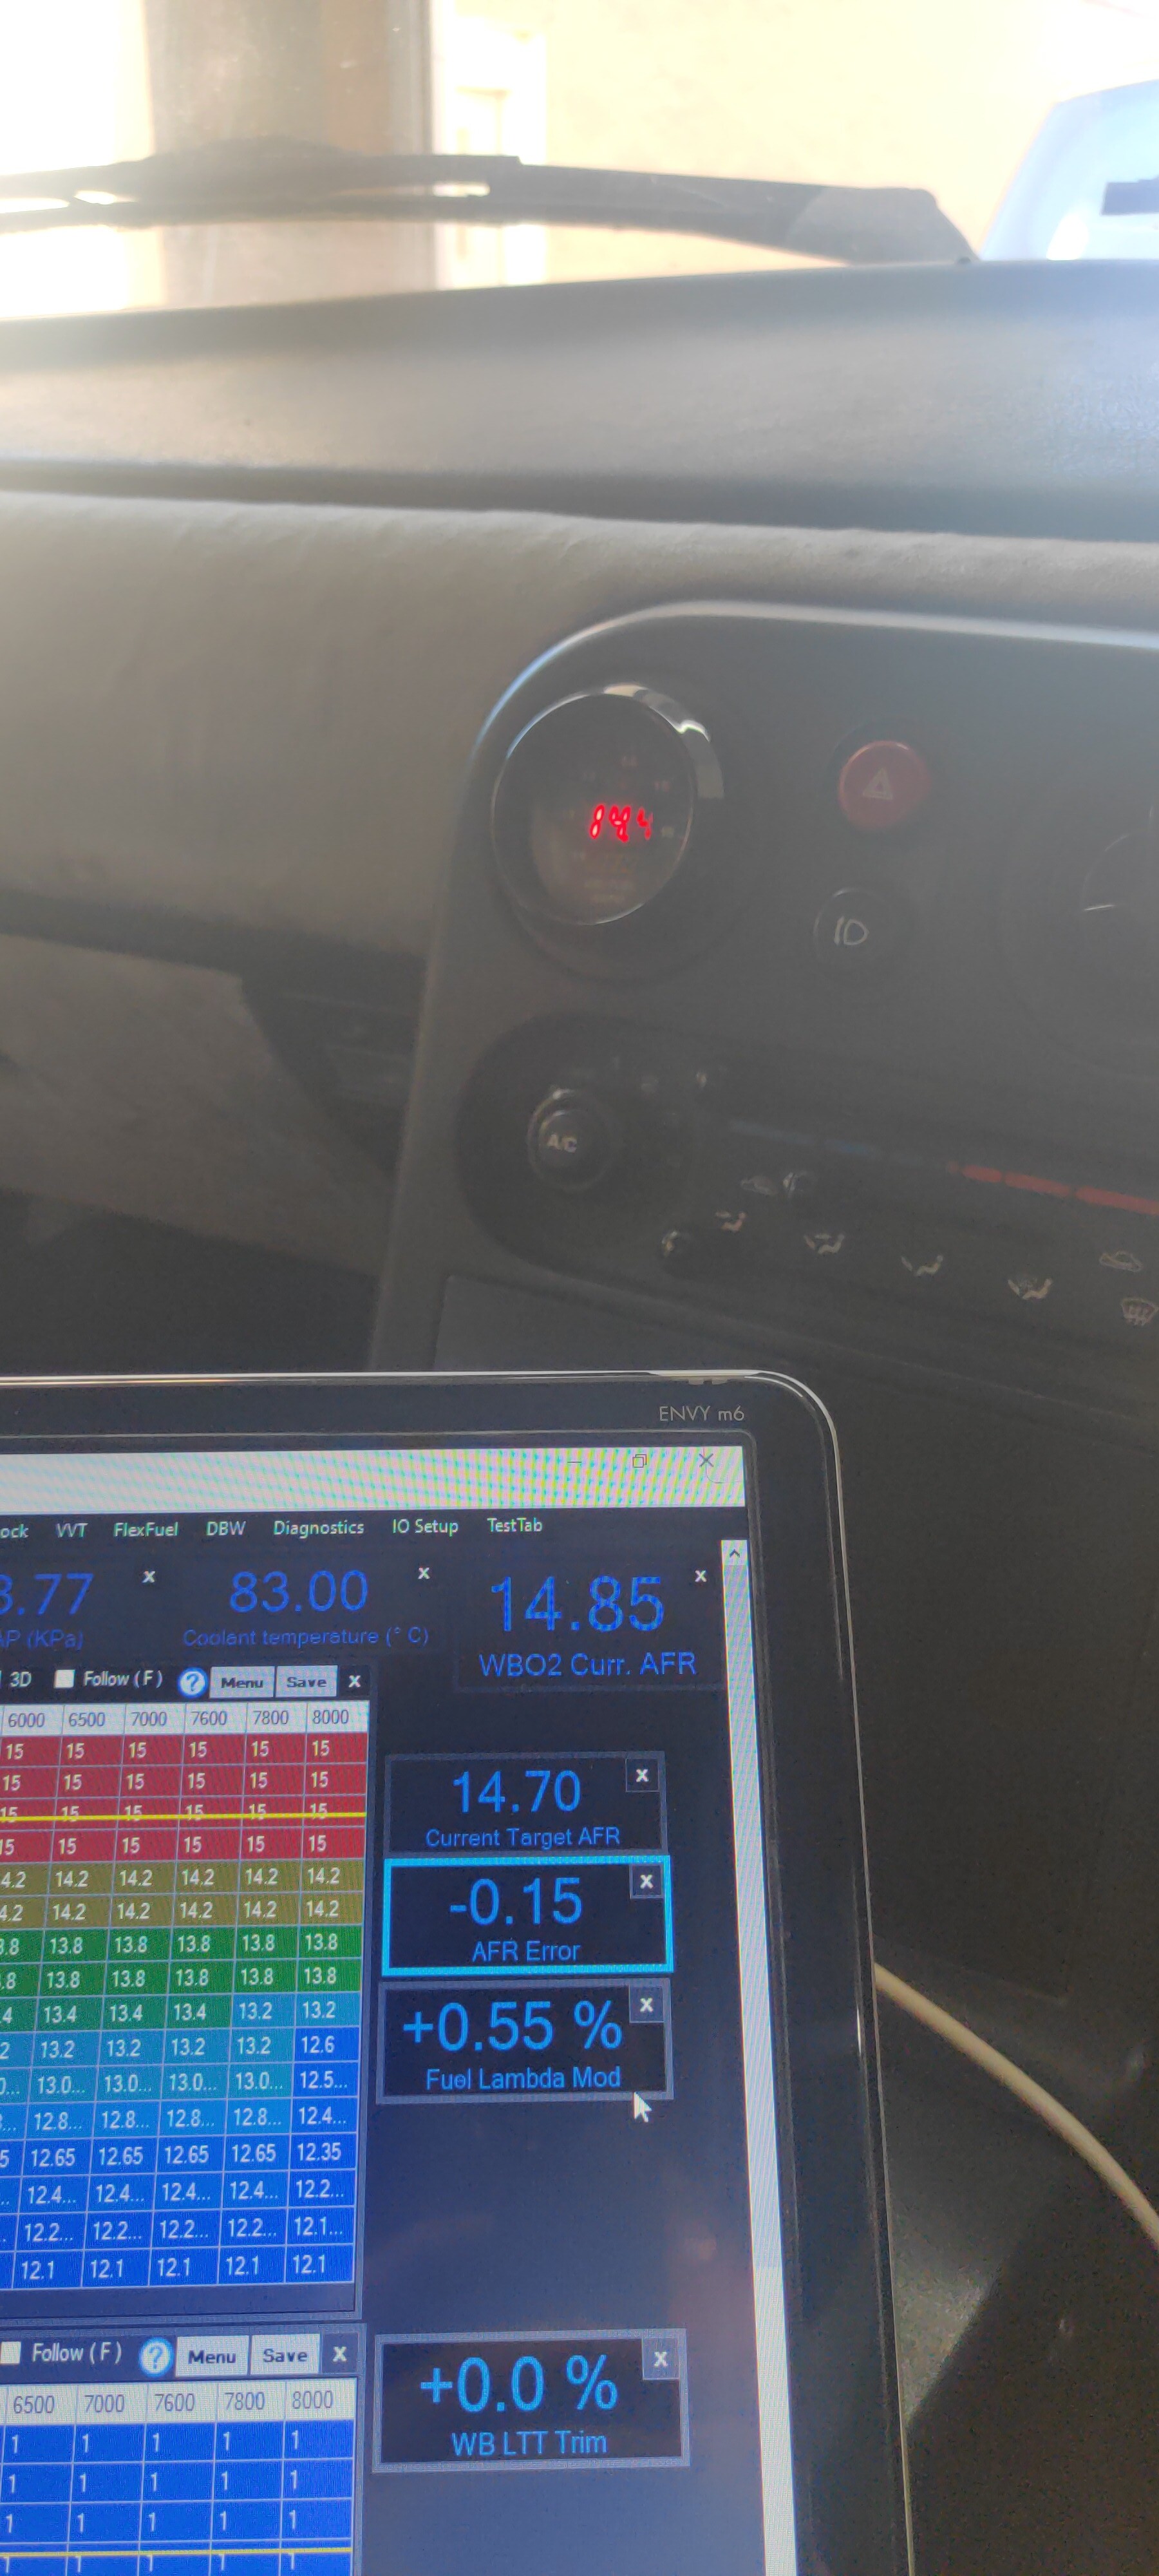
You can see a roughly 0.3/4 difference on the photo of the guage and laptop, so I took 0.3 off the whole column and it’s far far better
So the plan was to warm it up, make those changes, let it cool down all the way and get a datalog of it starting up and warming up but it took bloody hours to cool down so I needed to keep myself busy
It turned into a mighty car mods appreciation night
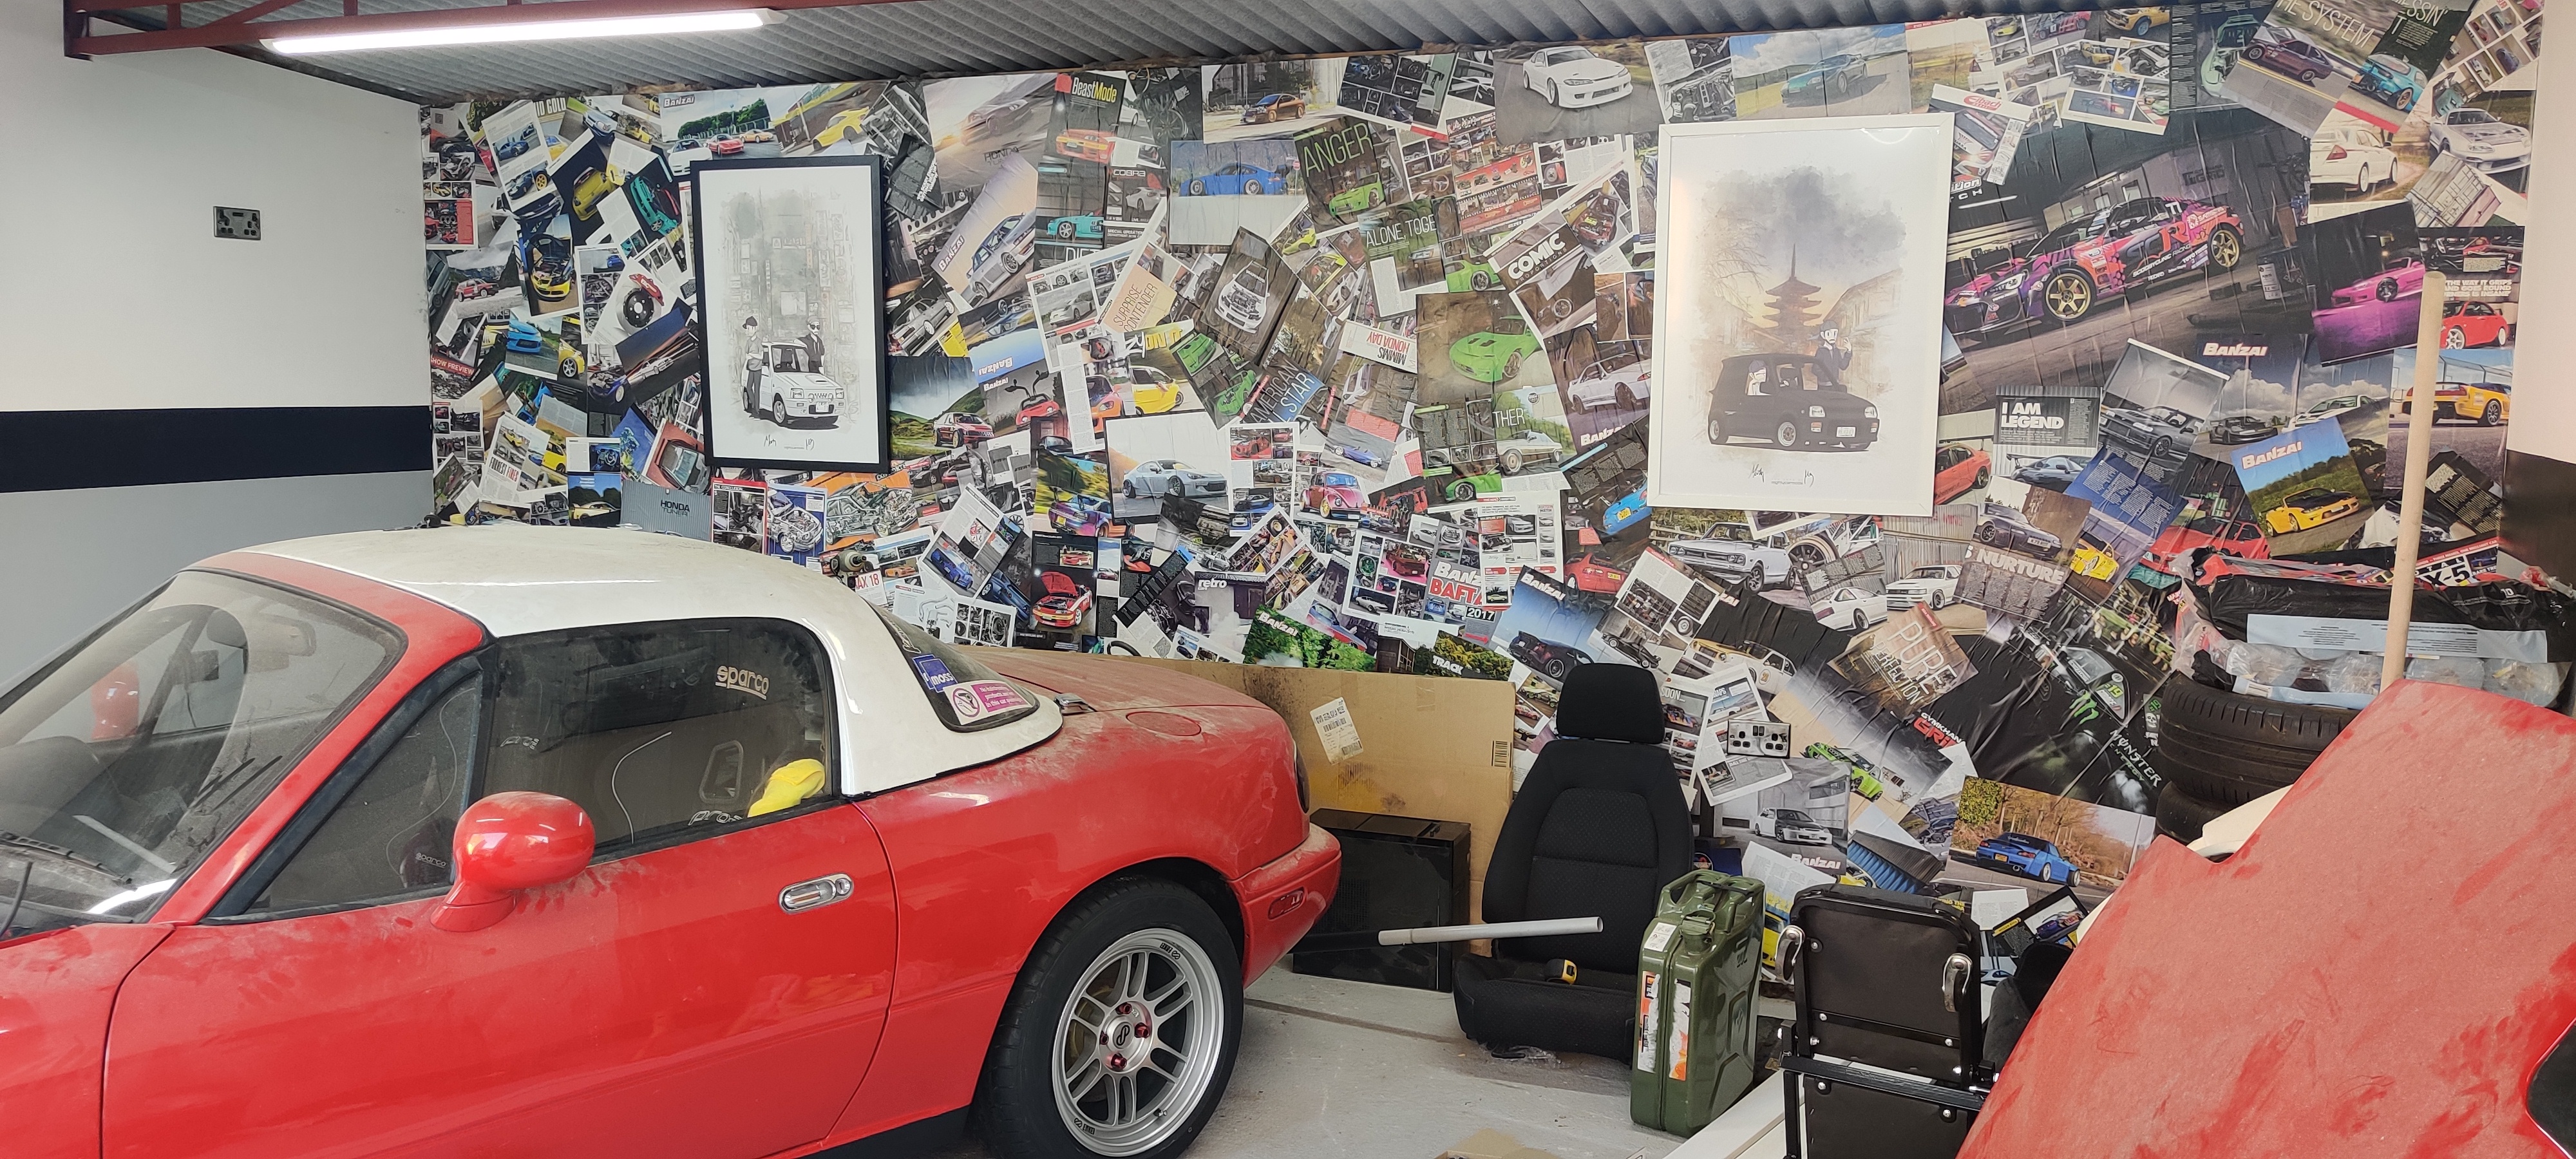
Signed posters on the wall and valve caps on
I found I had a roll of chopped duct tape in the Cheryl’s box (MCM mystery box) I got a long time ago so put it to appropriate use and tidies up the doors that’s been bastardised
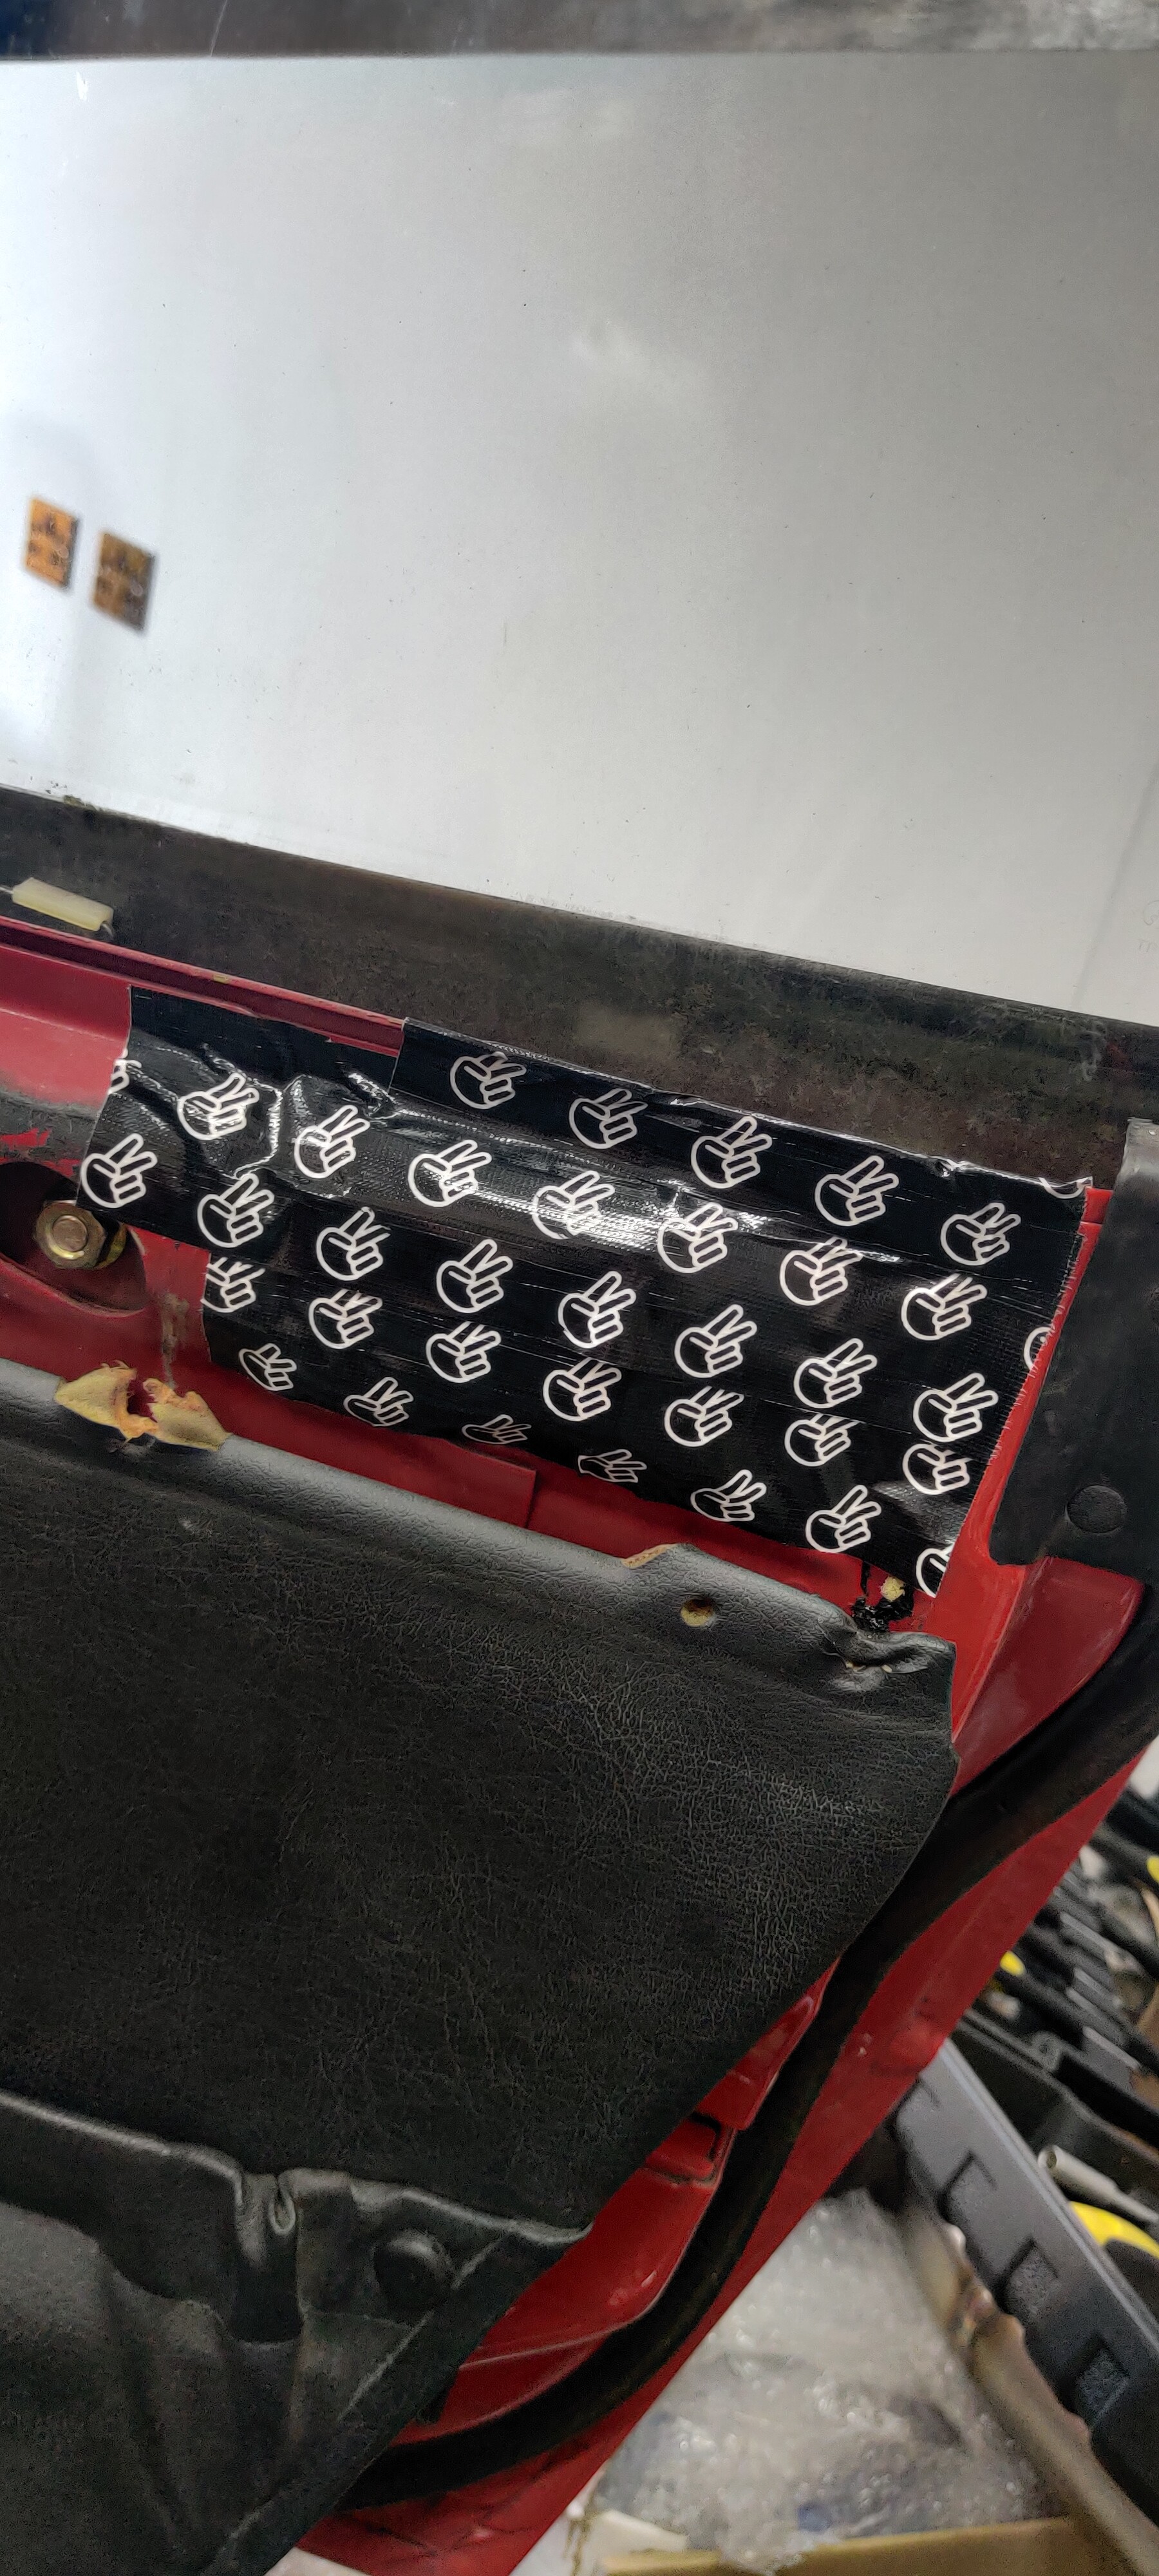
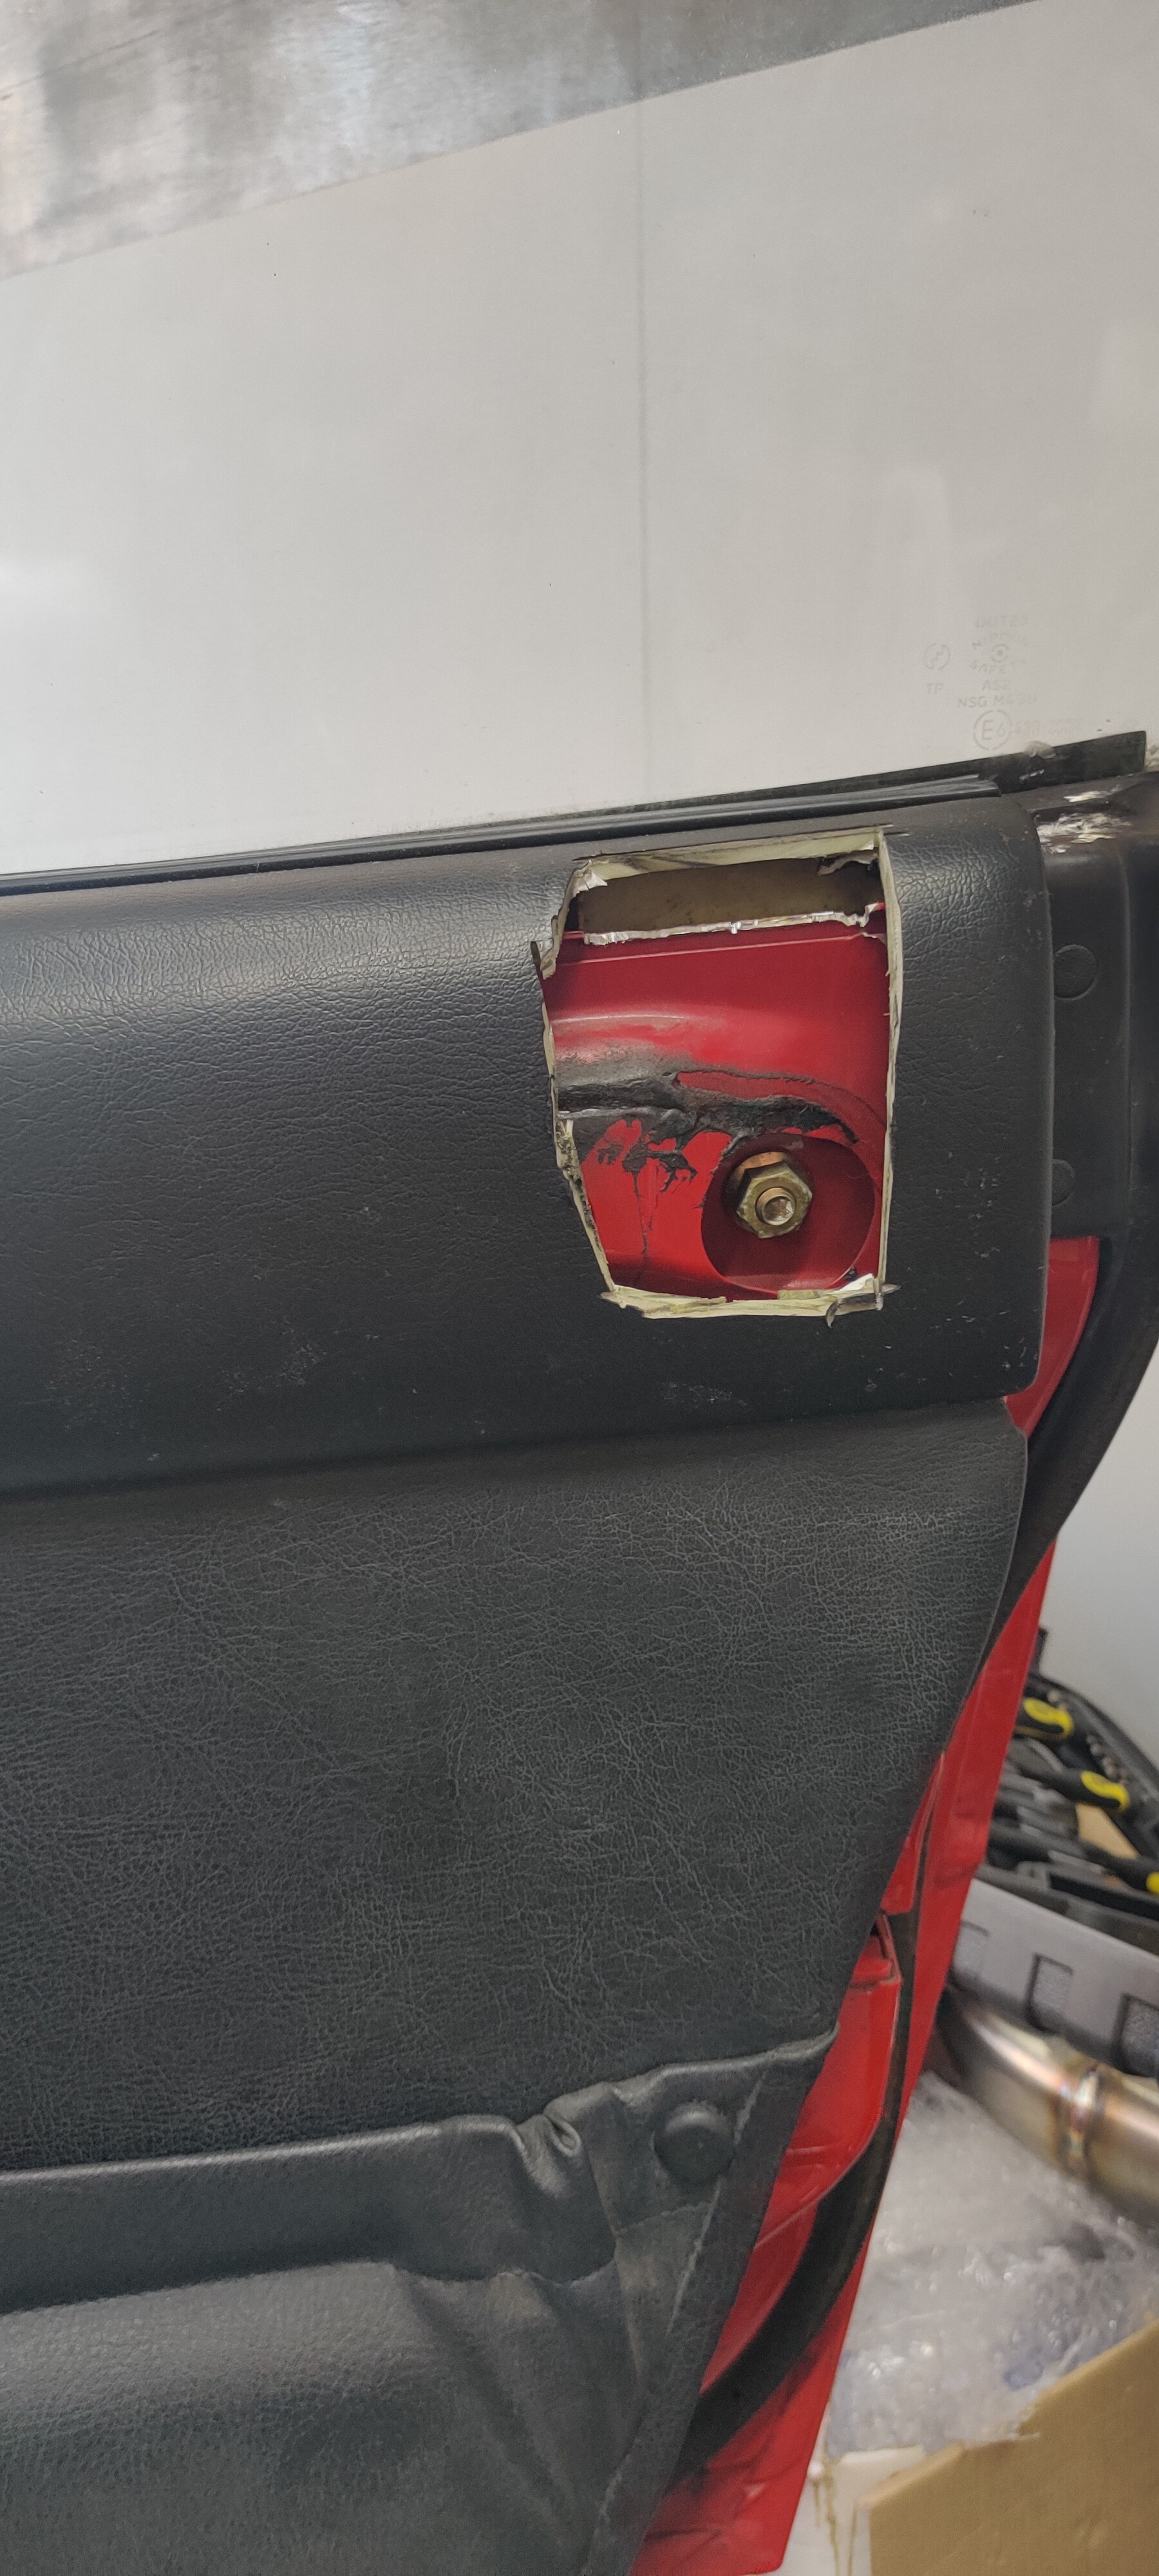
Drivers side before, during and after, there wasn’t much chopping on the actually door on this side, more just a courtesy trim of the lip
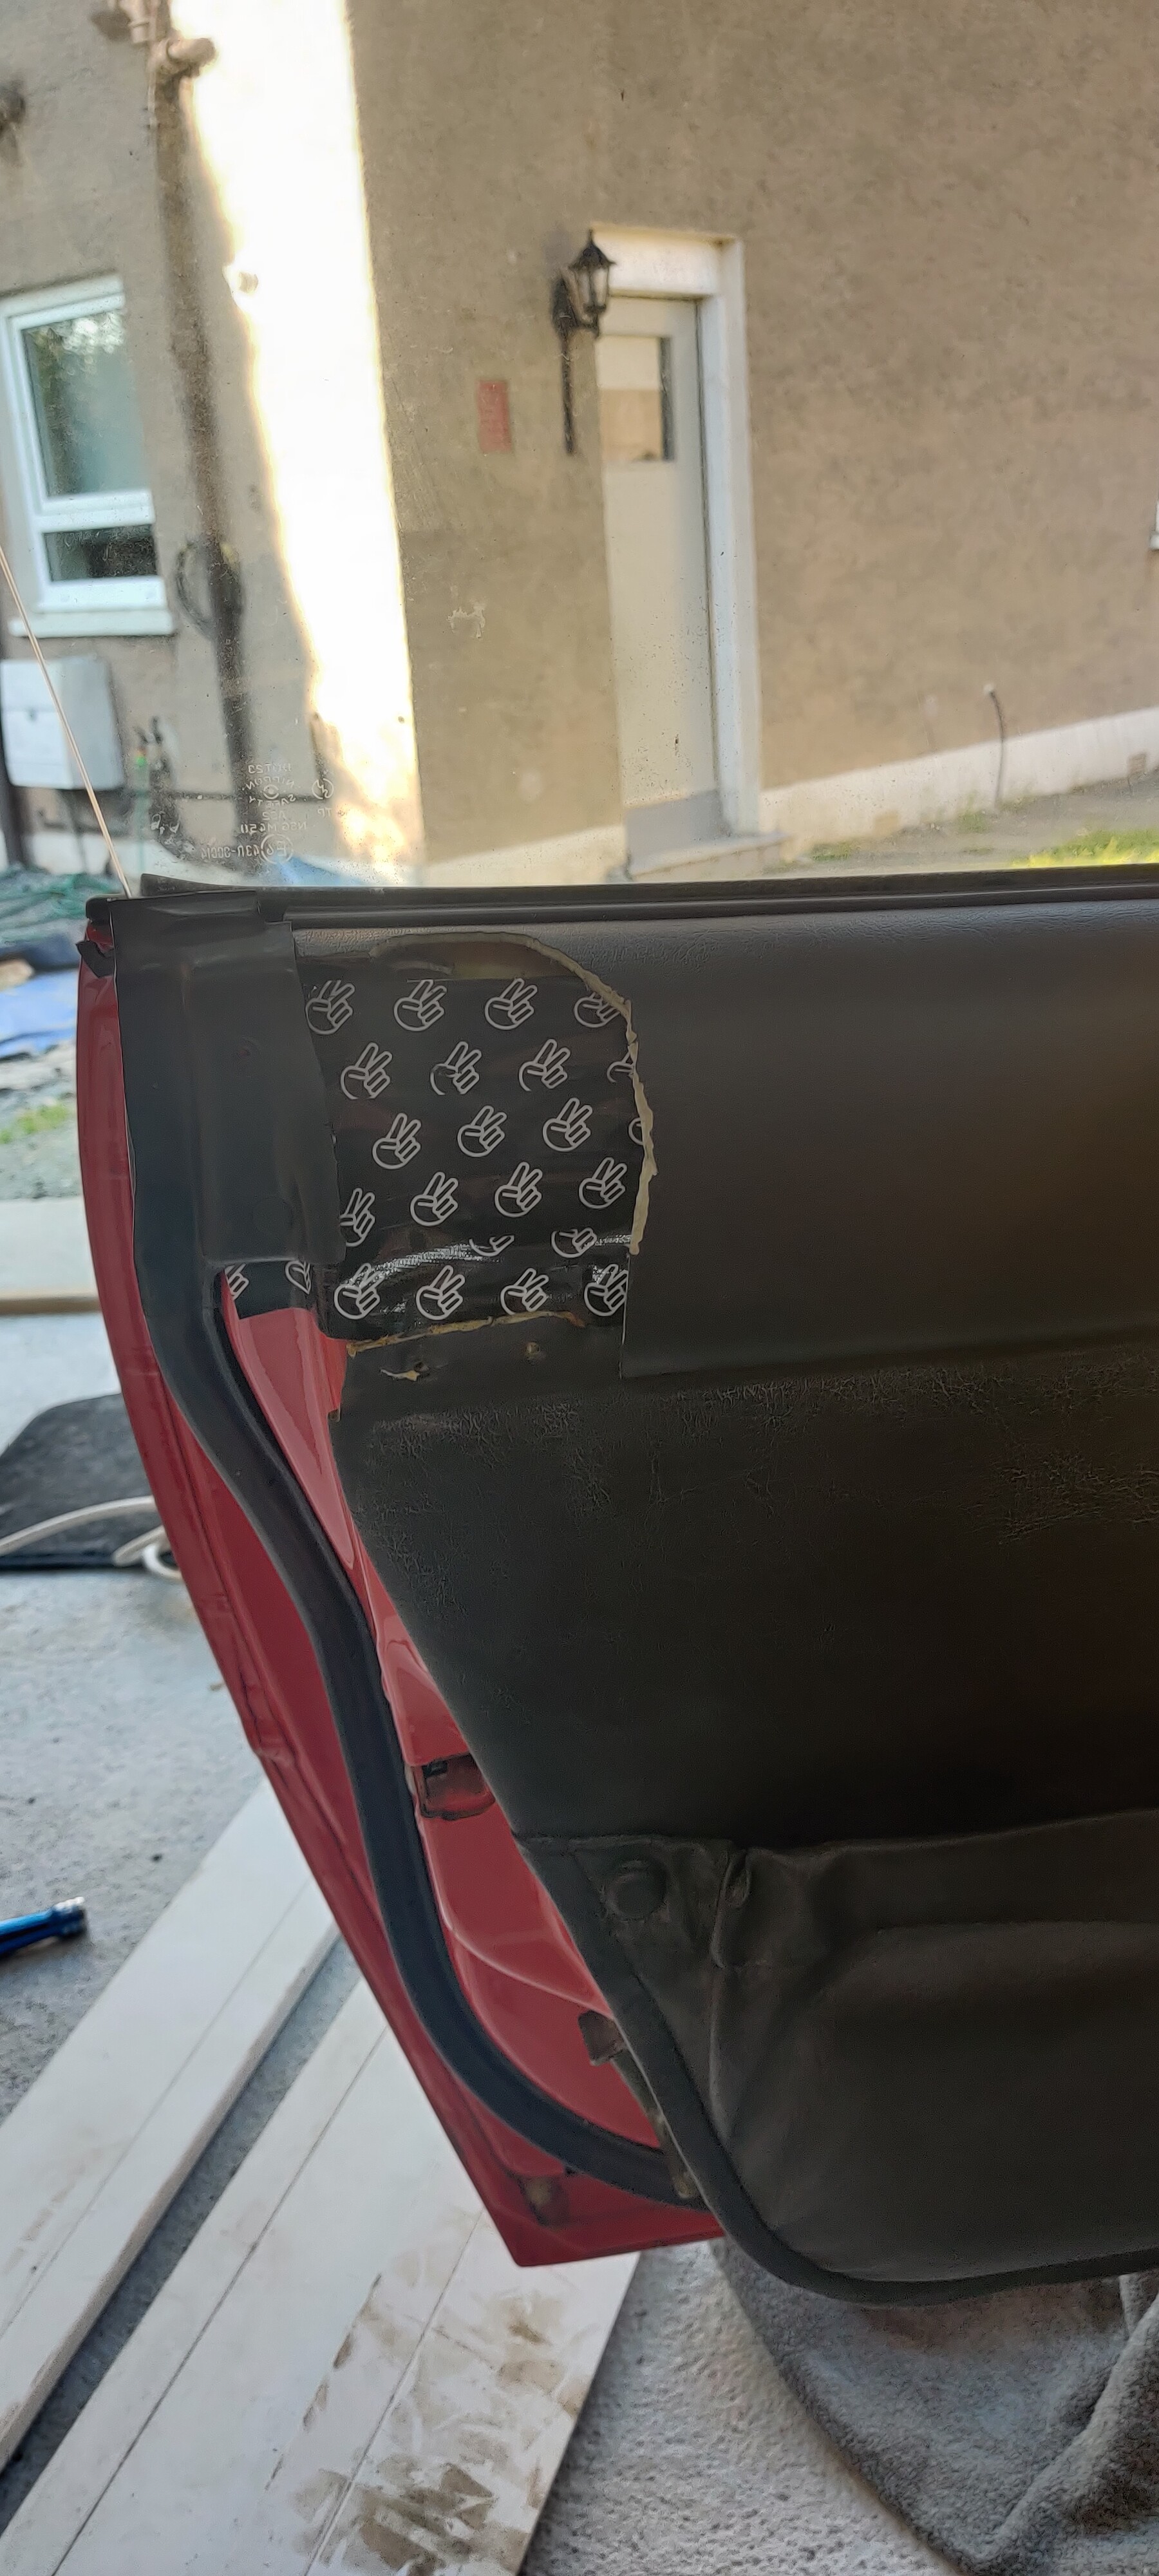
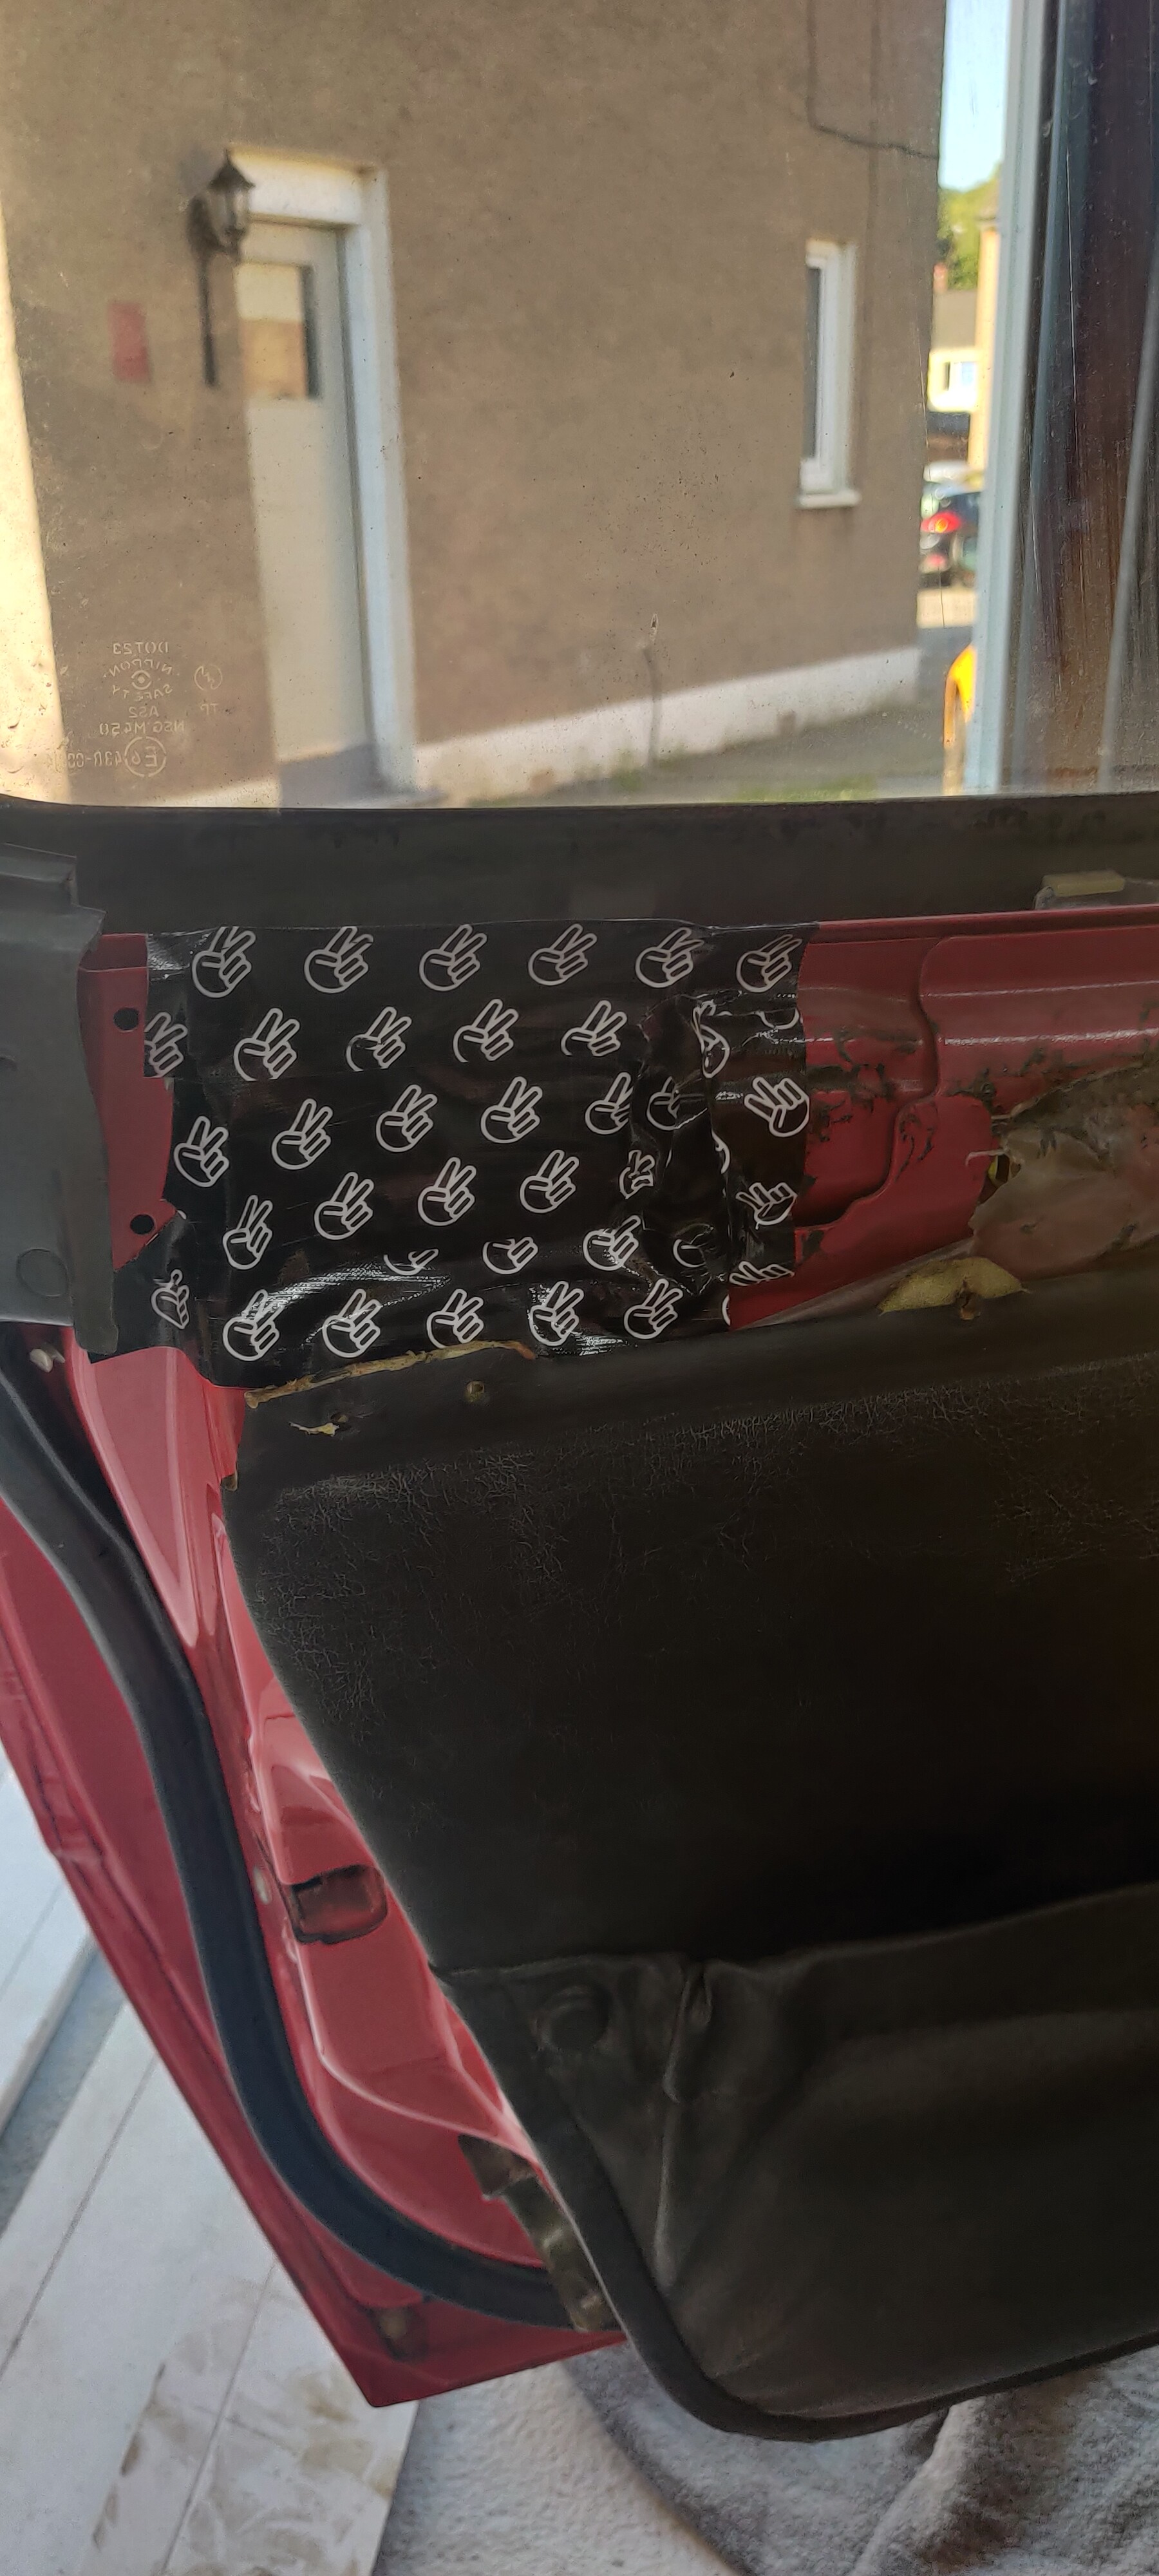

I’ll get some rubber edging strip off the Amazonz for 12 quid and thatl tidy up the edge of the trimmed door pad and finish it off nicely (as nice as a grindered hole in a door could be)
Passenger side needed lots more grinding as the seats a 36-38" waist instead of the 32 driver side to accommodate the heavier passenger
It was about half 8 last night by the time it was stone cold to make a datalog so it got patched for the plan of doing it tonight, however tonight I’m gunna warm it up and try adjust the base idle as it sits quite high sometimes and the ECU thinks it’s sitting at 950ish when it’s warm, so I’ll end up waiting hours on it cooling down again and patching the datalog until tomorrow