My new precious is a 25th Anniversary - part 2

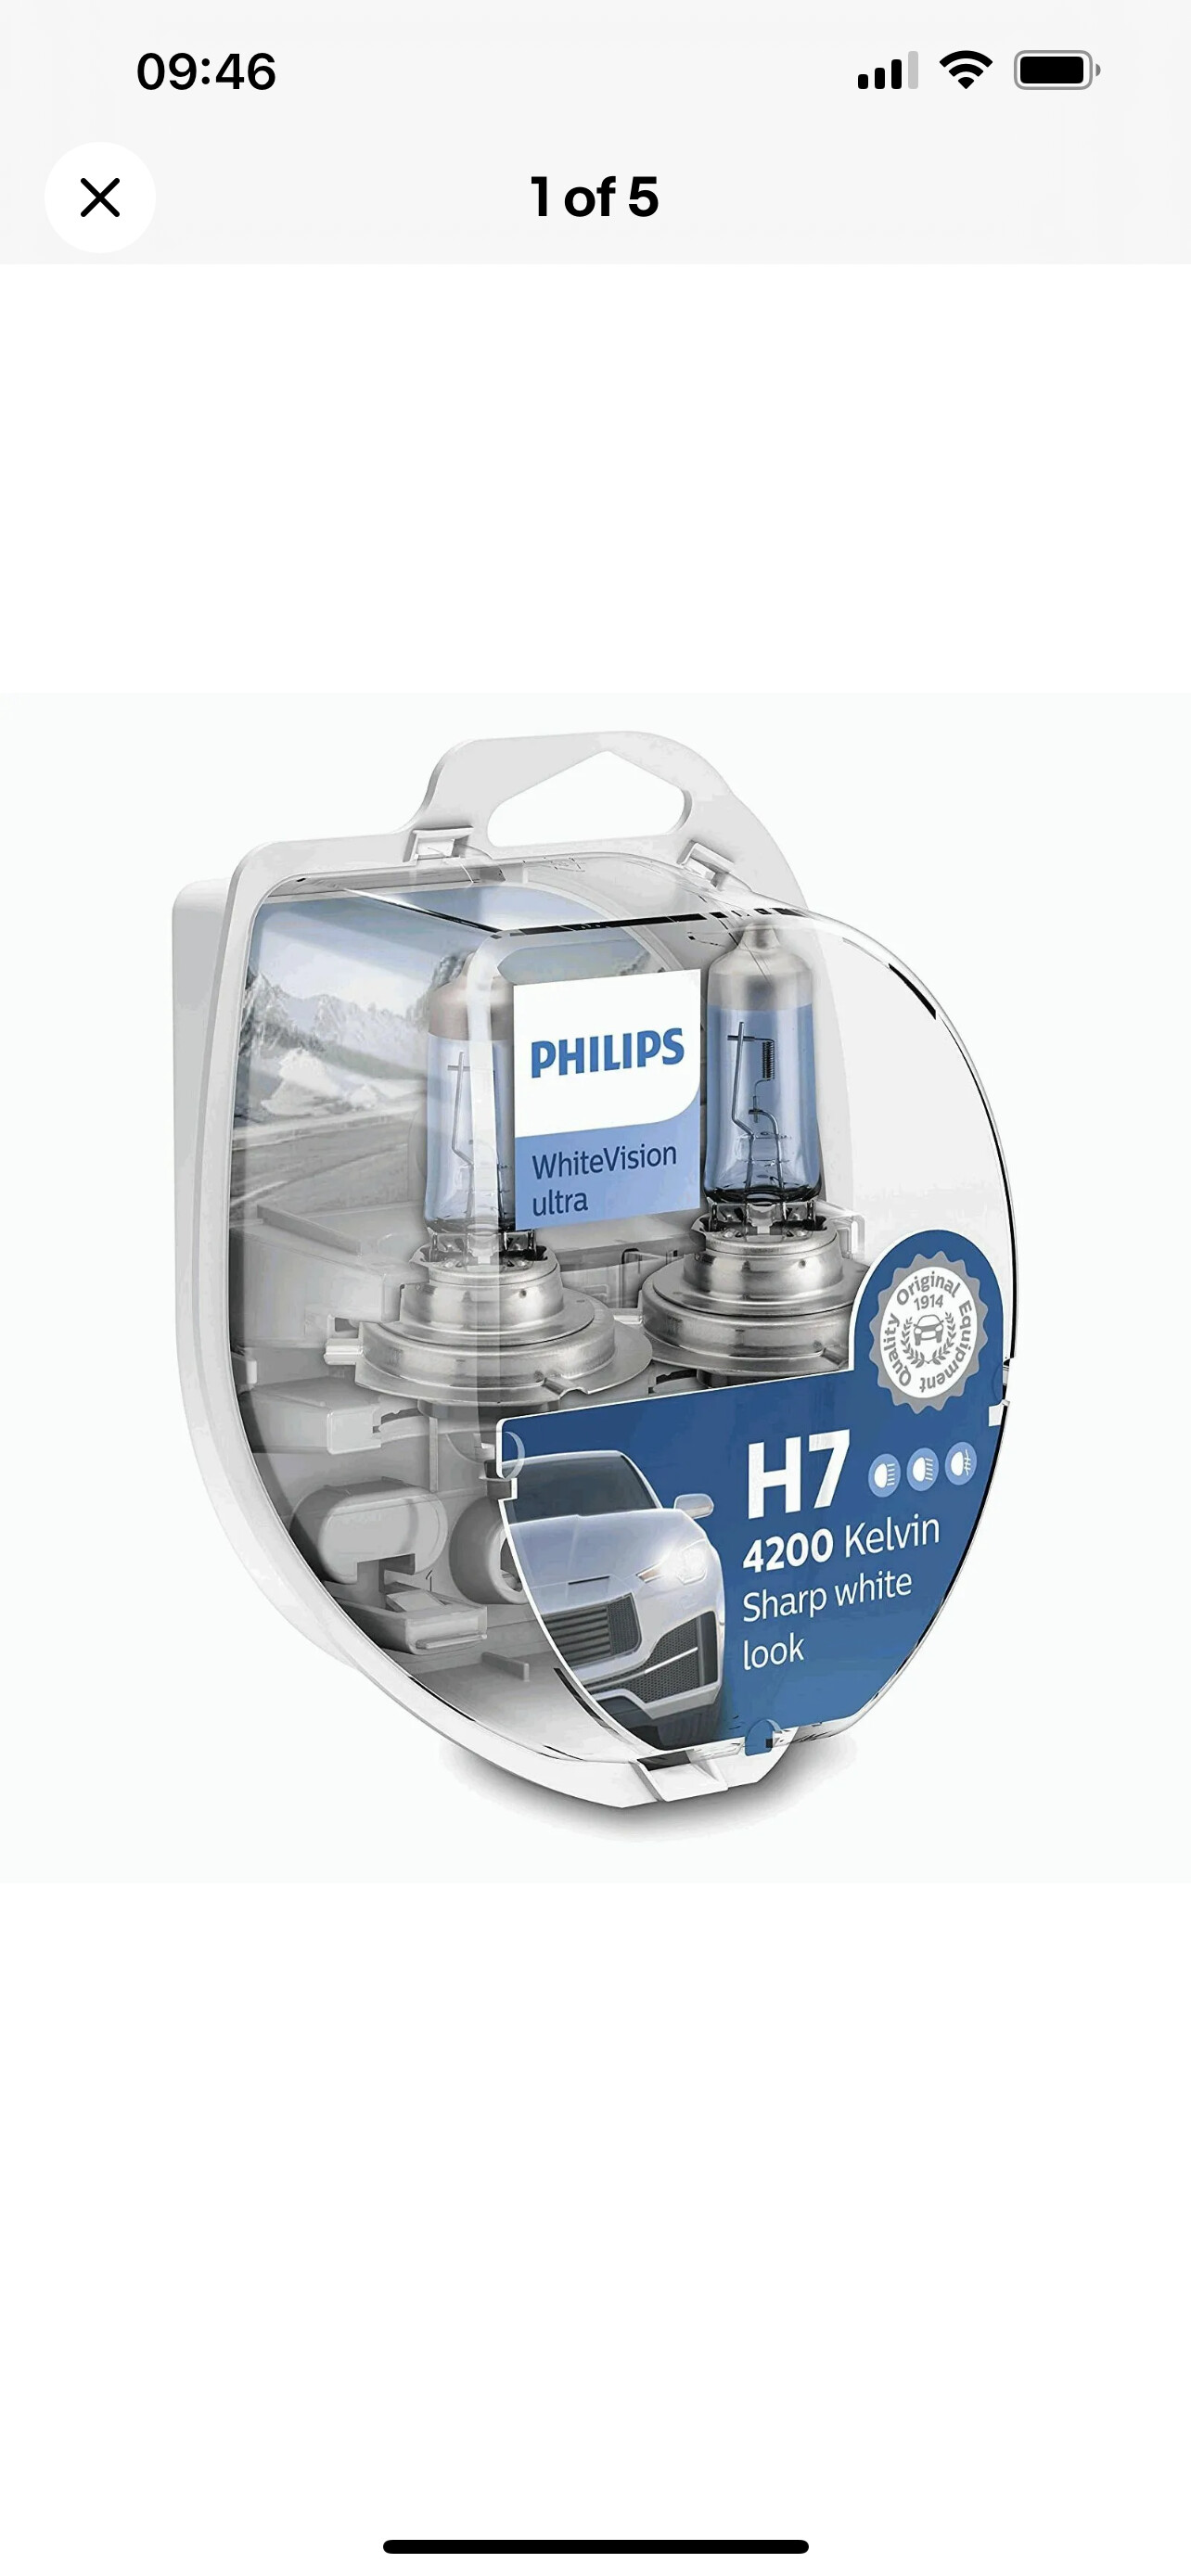
At long last I got around to changing the weedy headlight bulbs for some a little bit brighter. Compared with the Niseko’s NC1 lights or my Mazda3’s these 25AE NC3.75 headlights are almost useless especially on the dip beam.

Main beam on both sides is a five minute job for each bulb, access is tight for big hands but perfectly manageable from inside the engine bay.

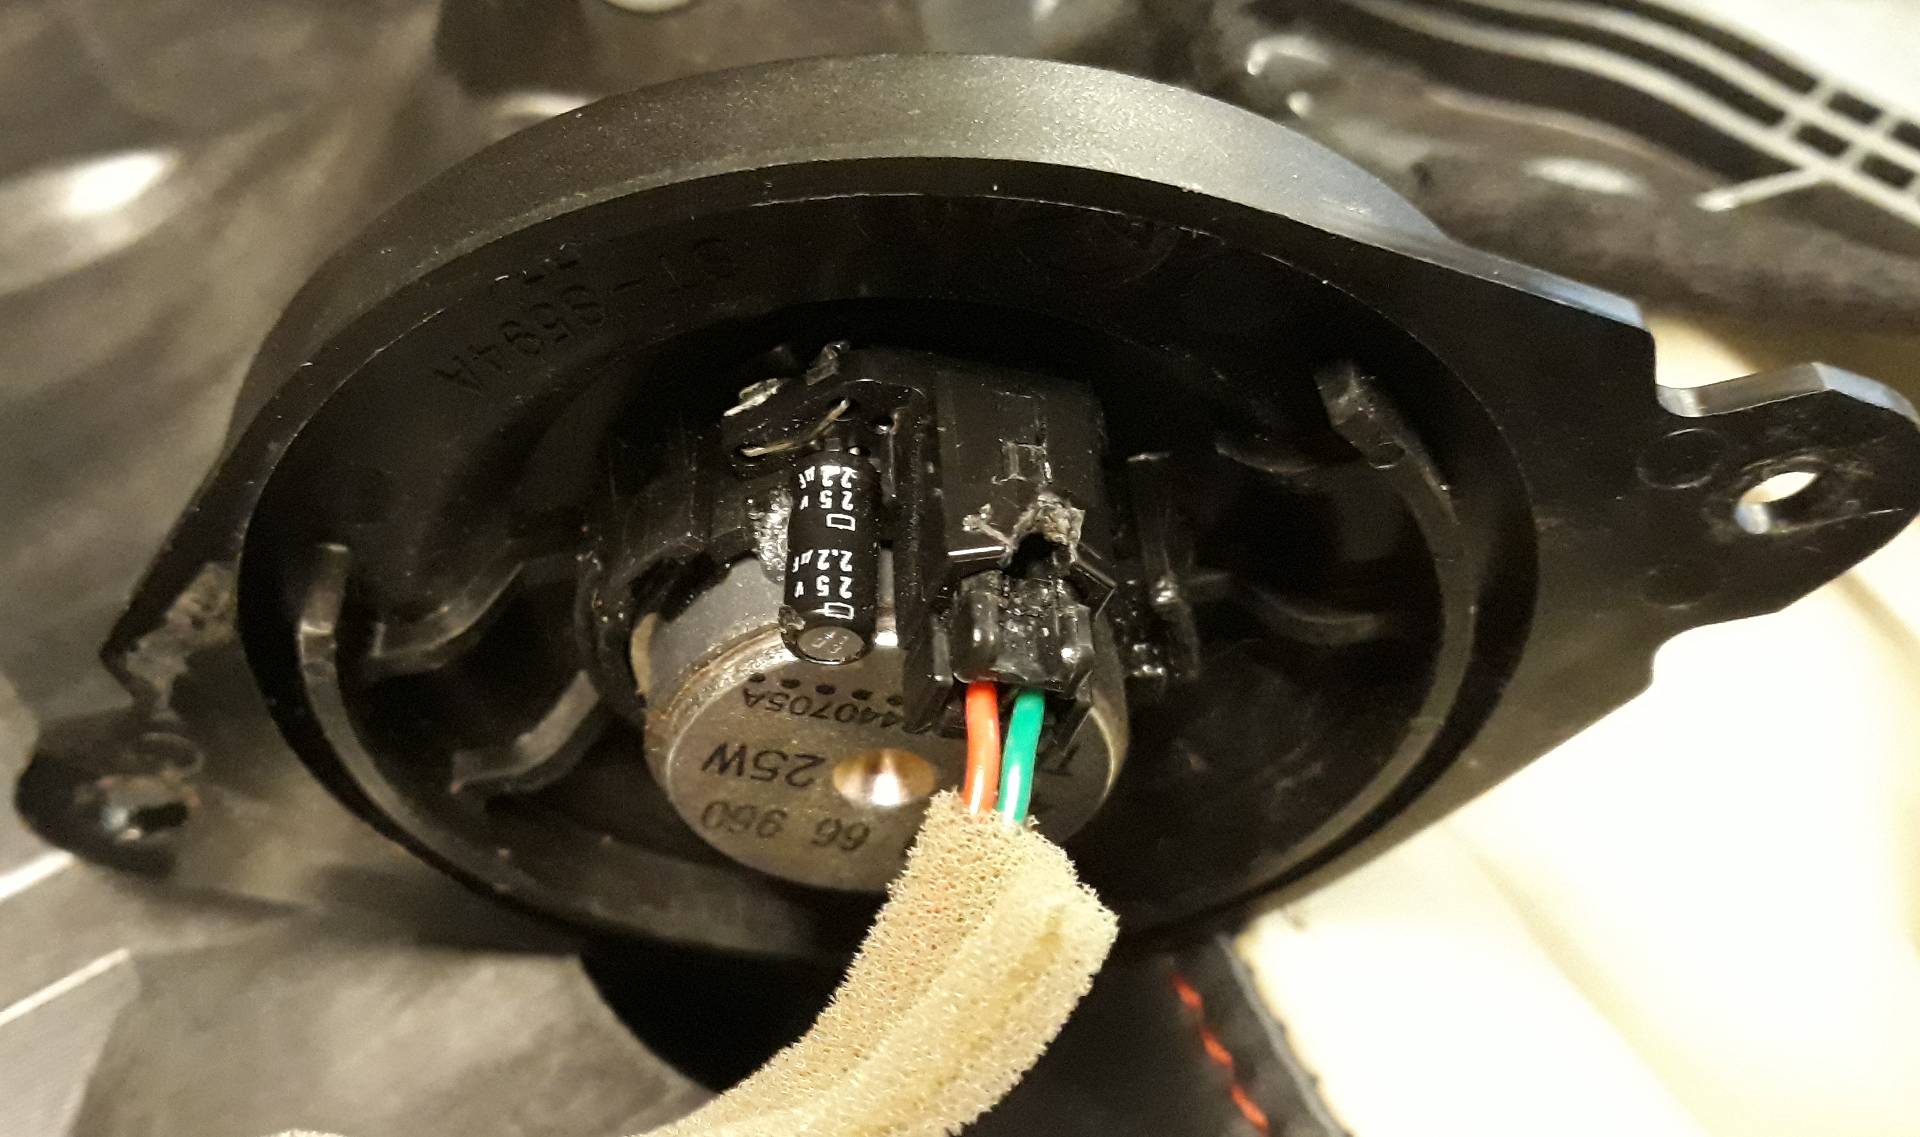
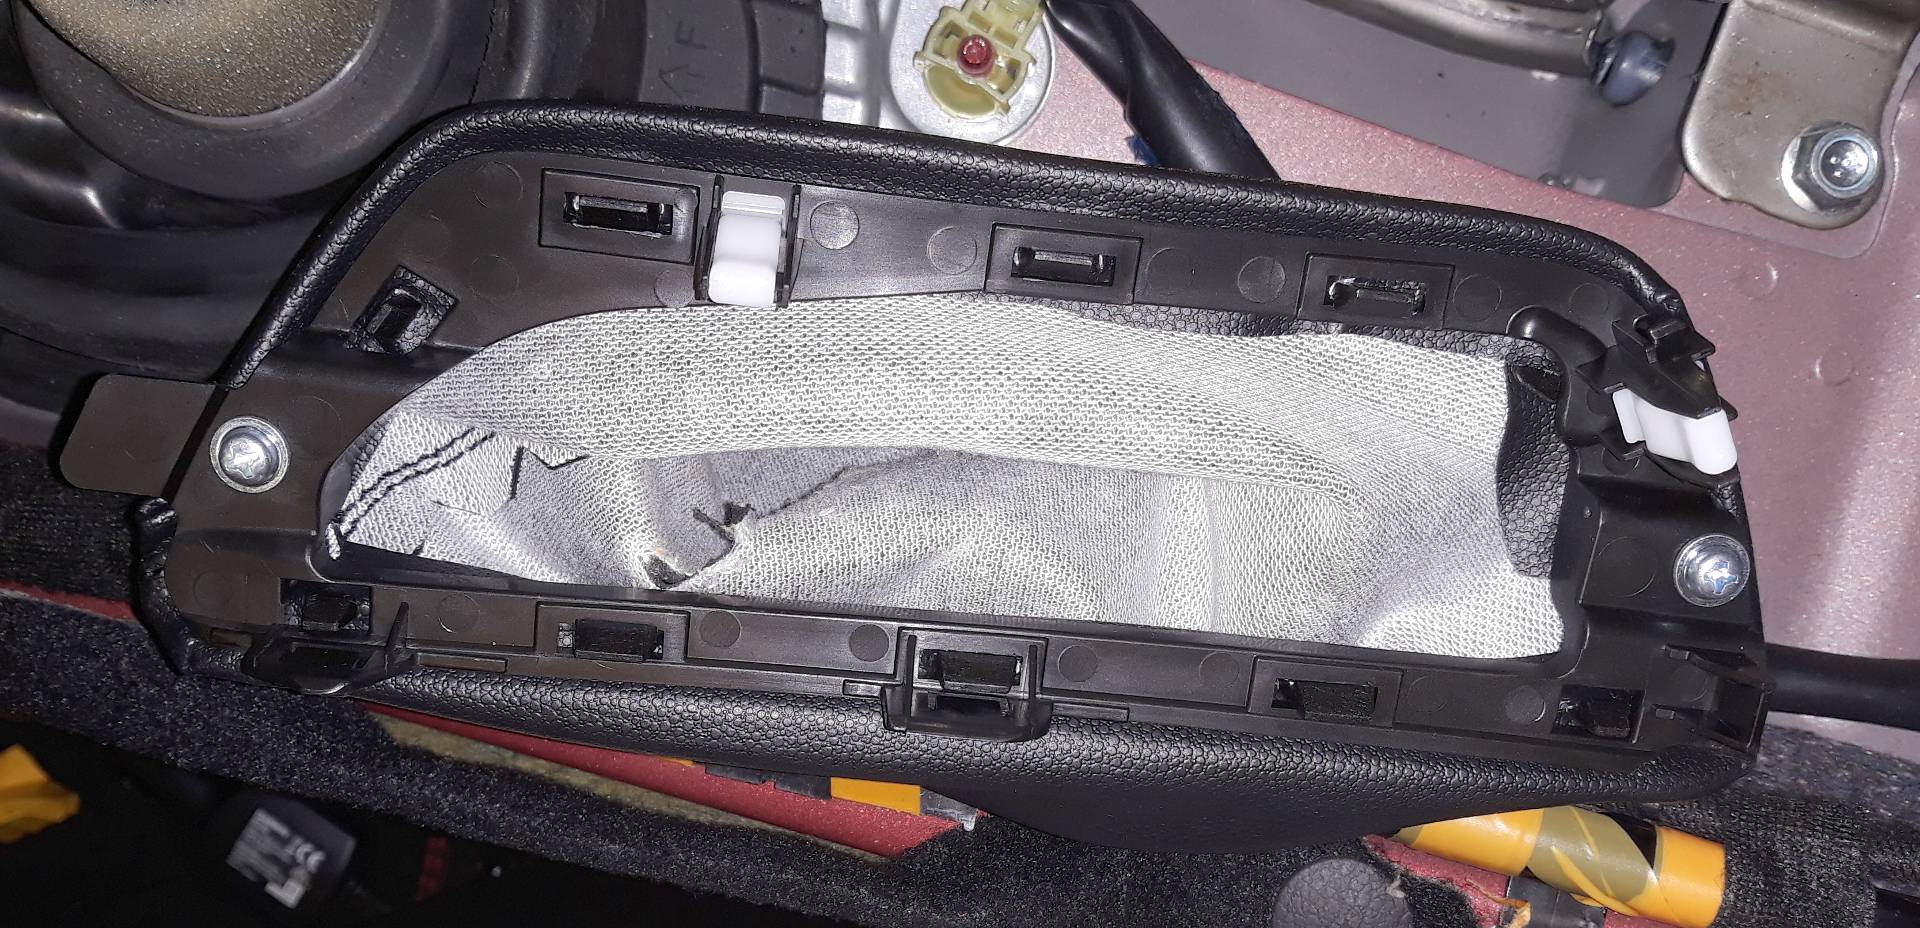
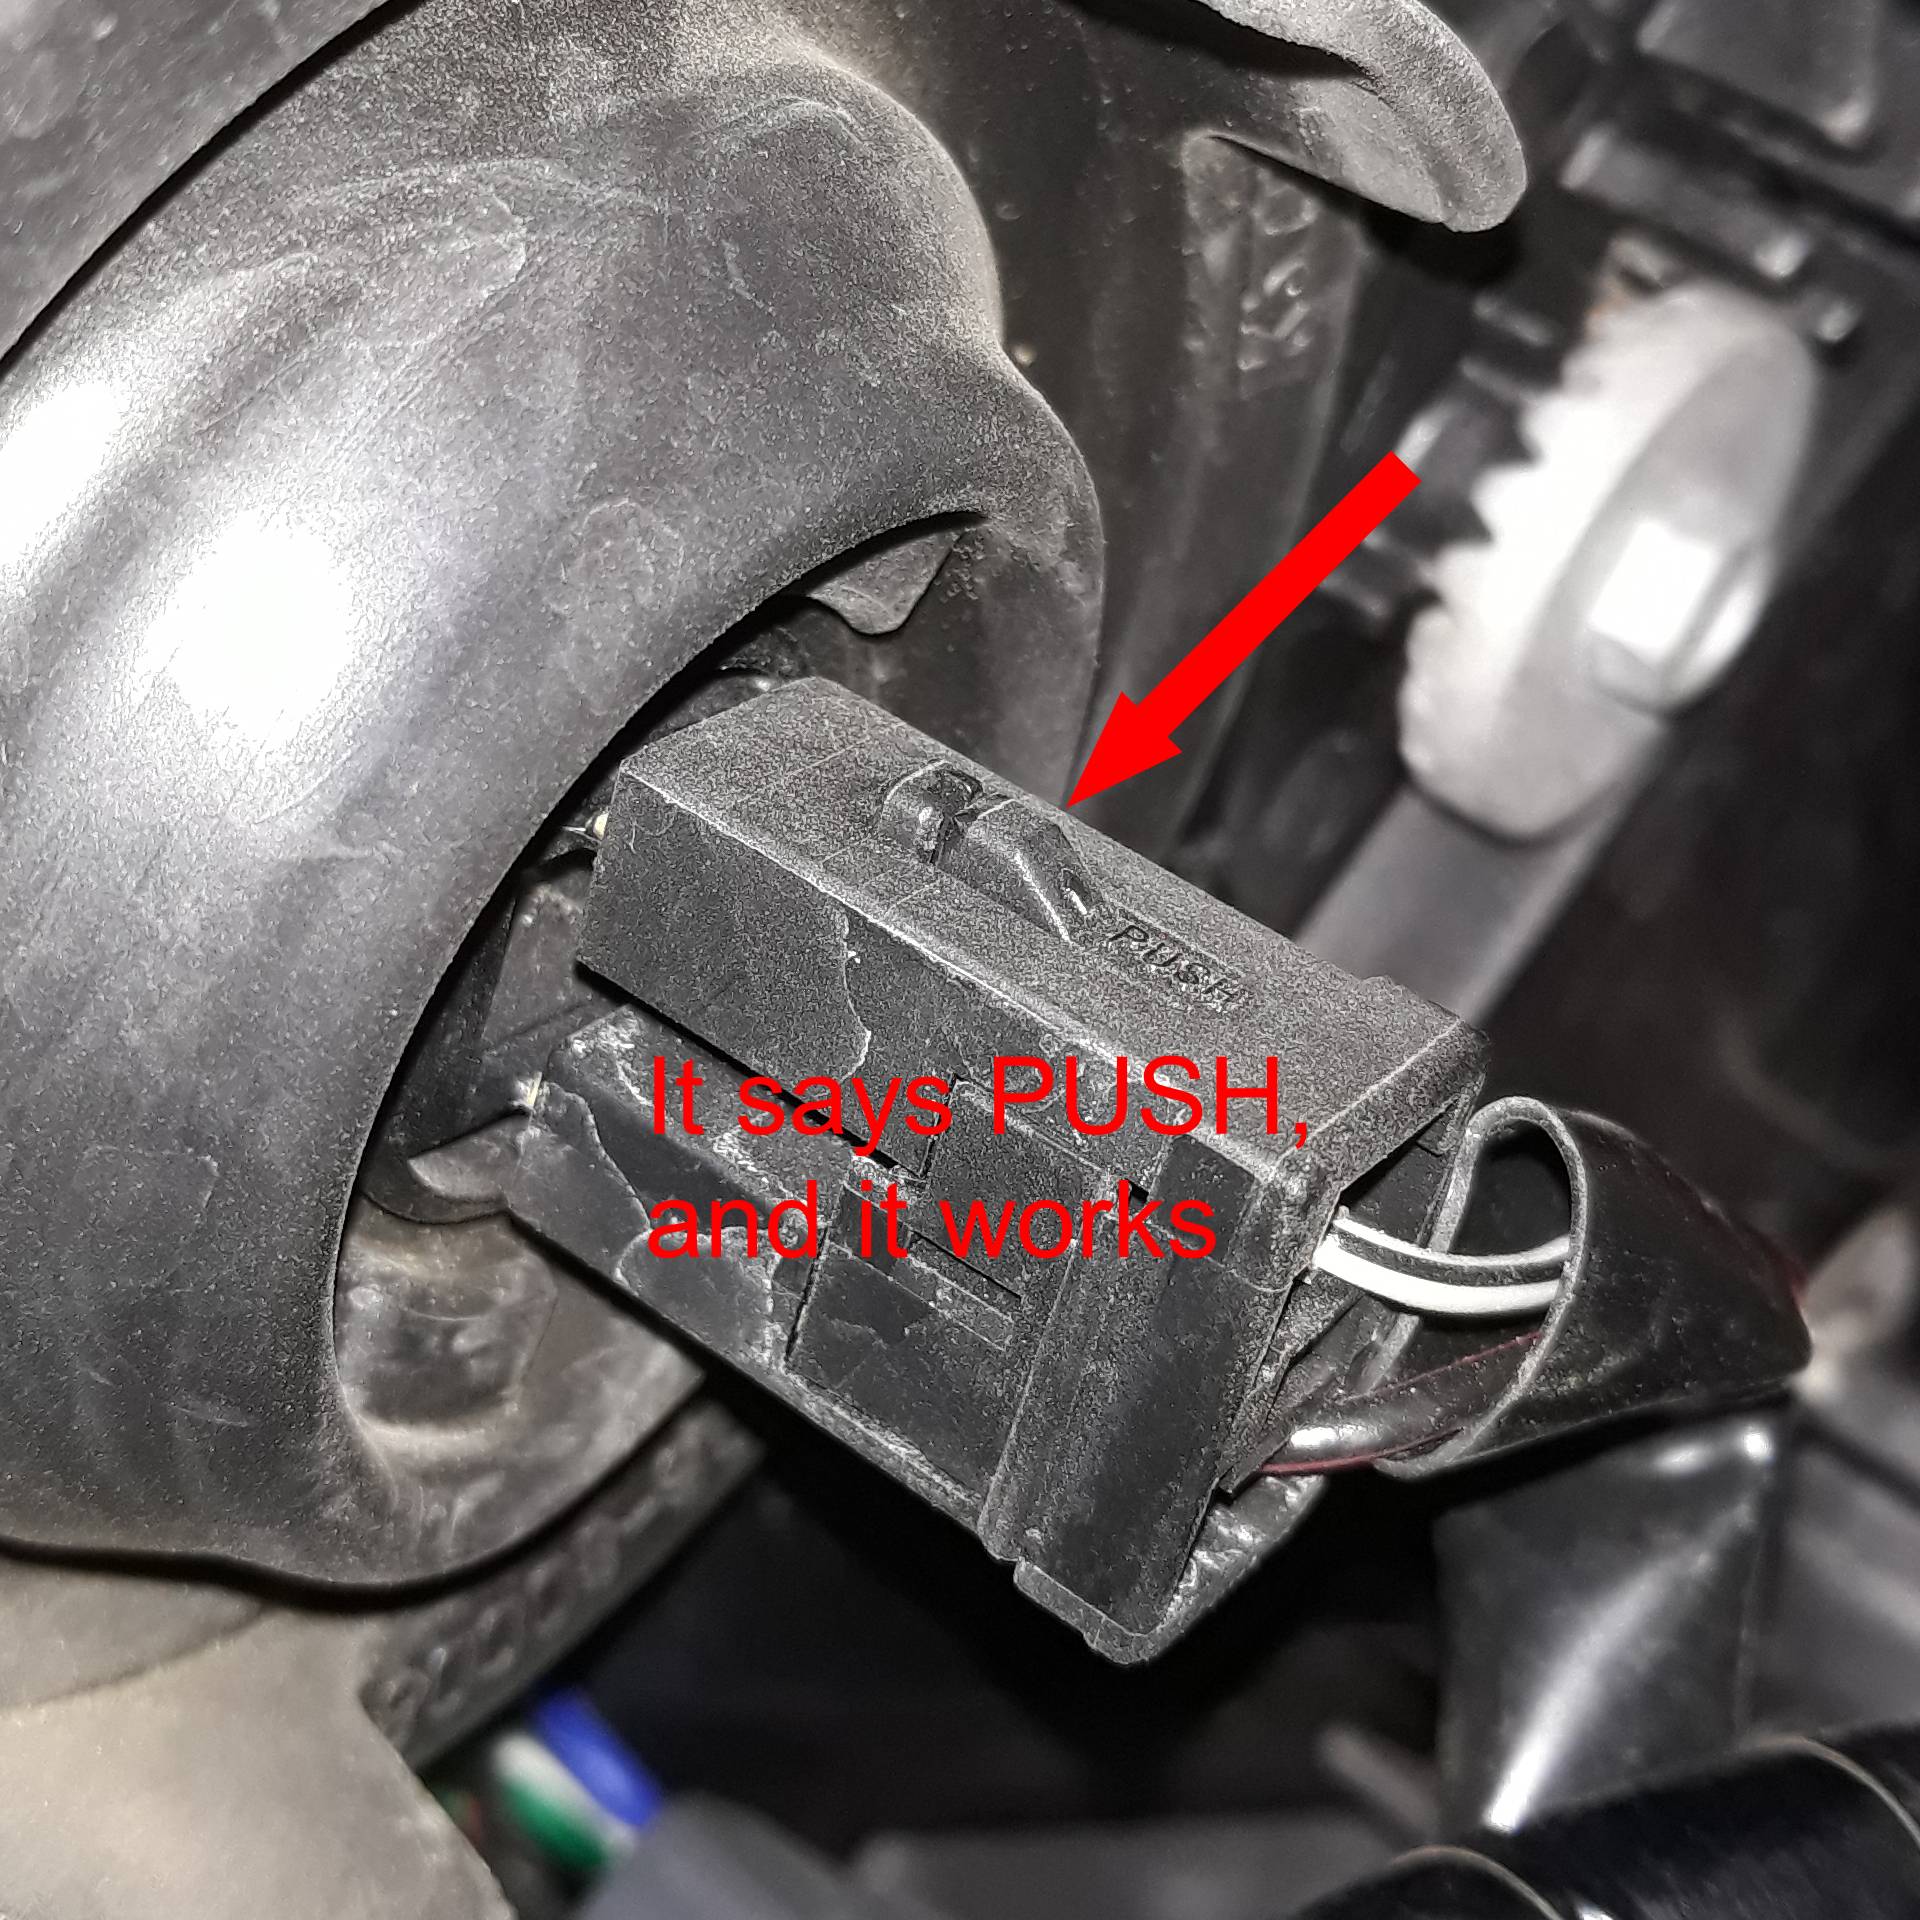
The owner’s manual shows where to squeeze the Dip beam plug to release the connection.

I studied the problem of the dip beams for a couple of days and did some research.
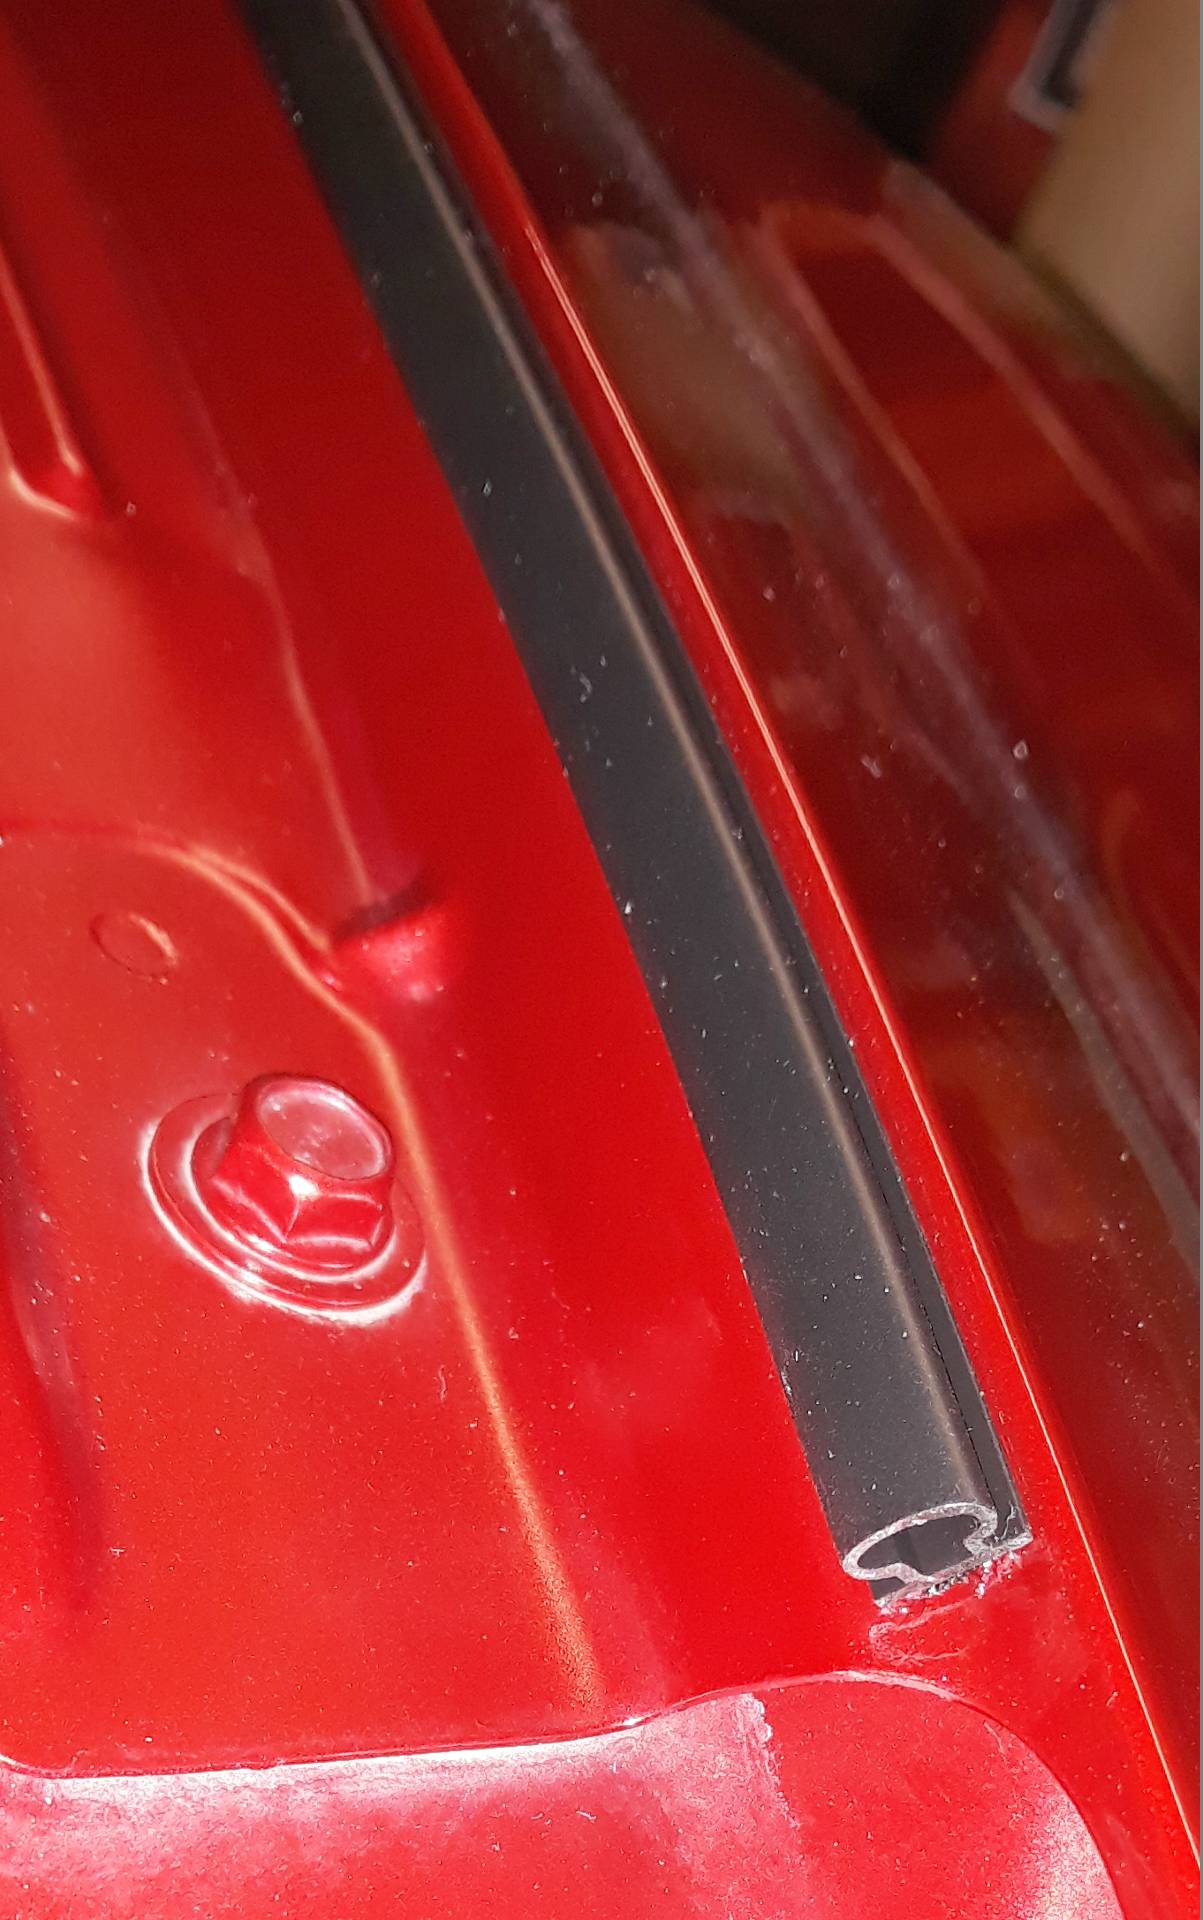
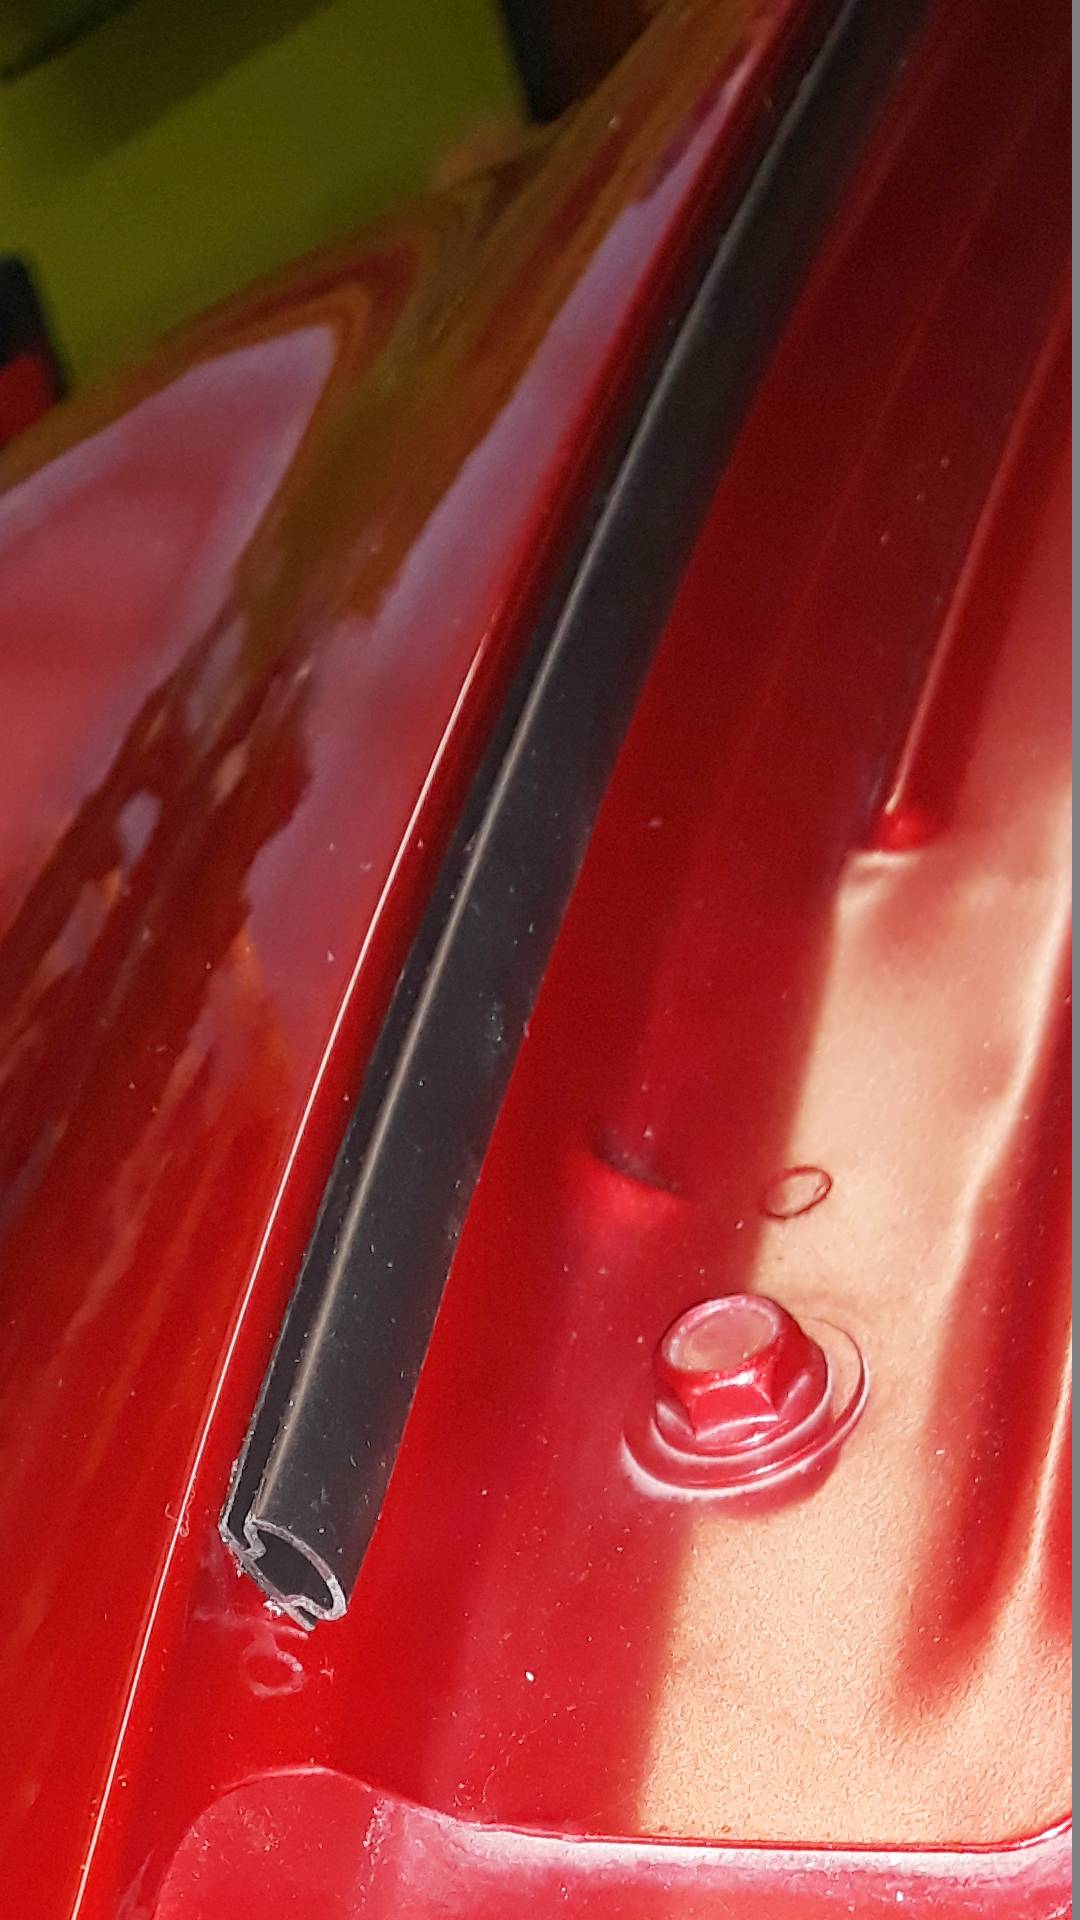
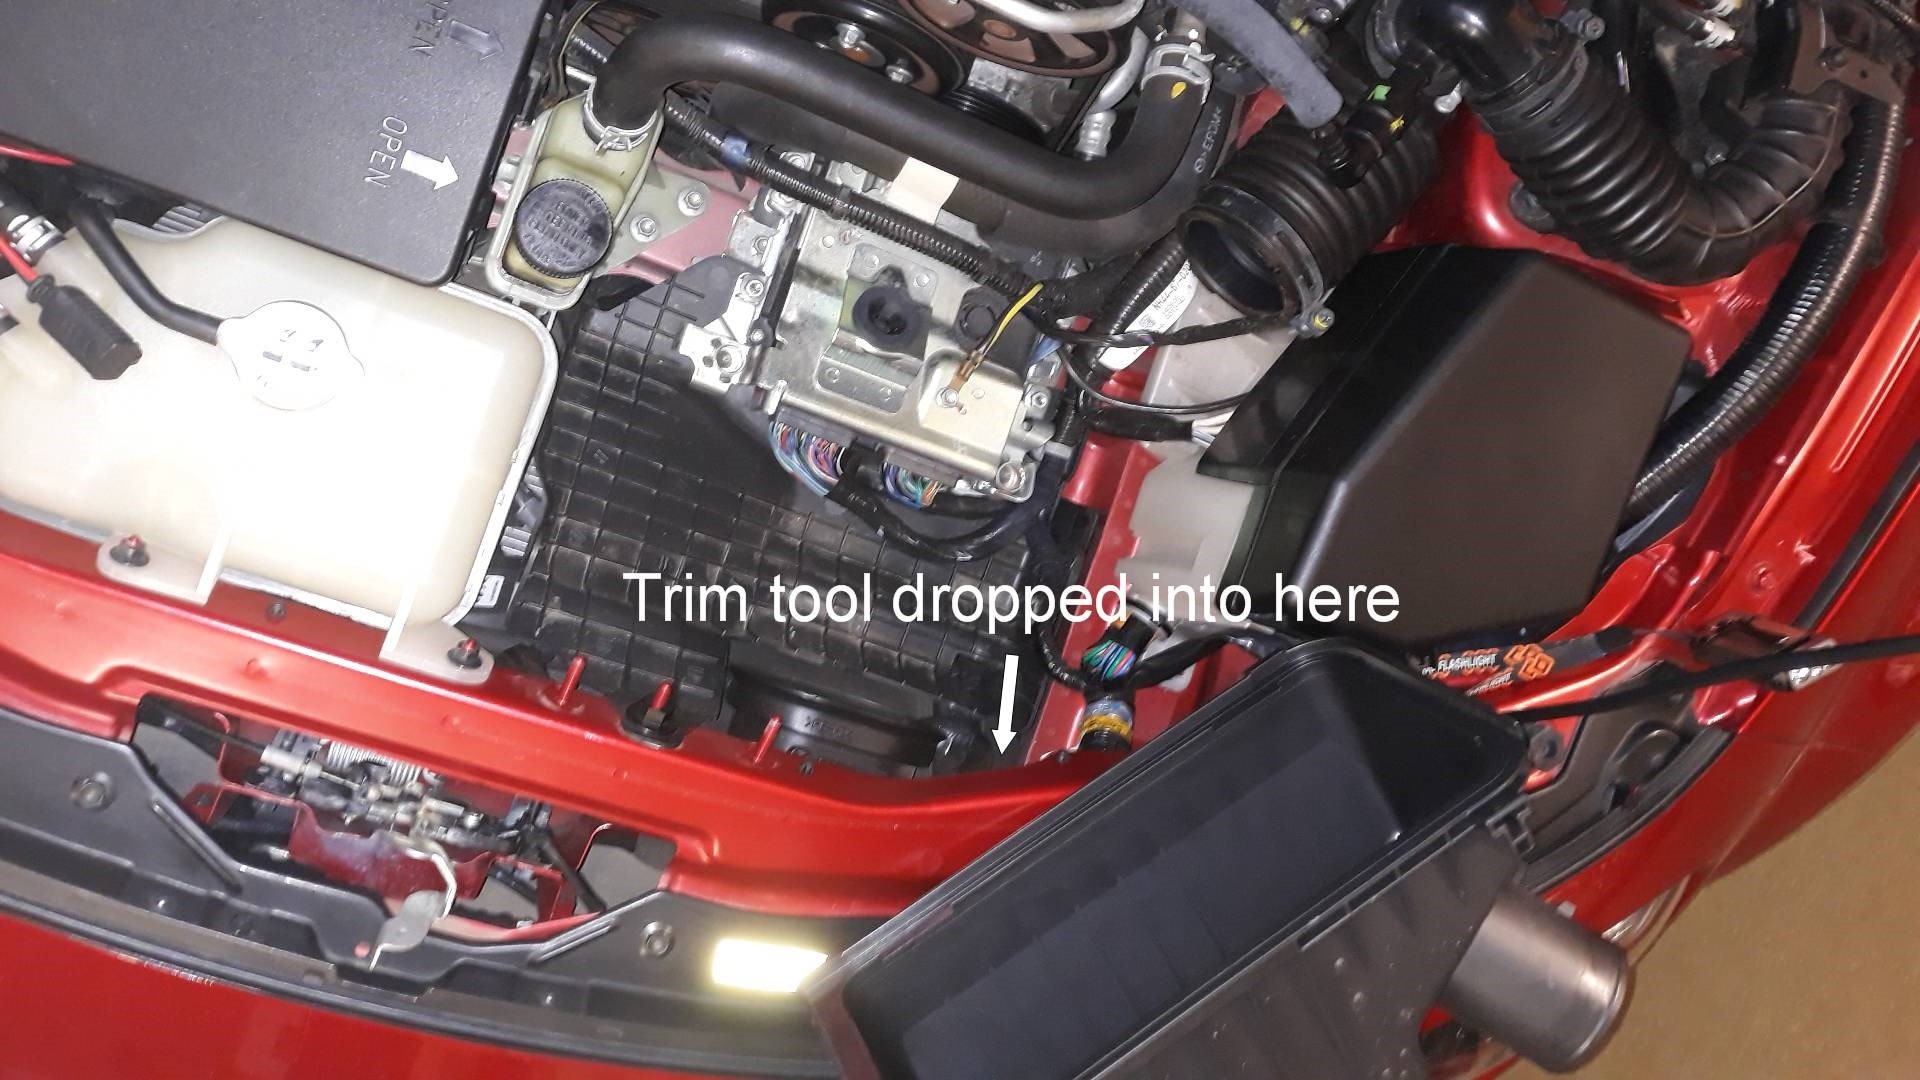
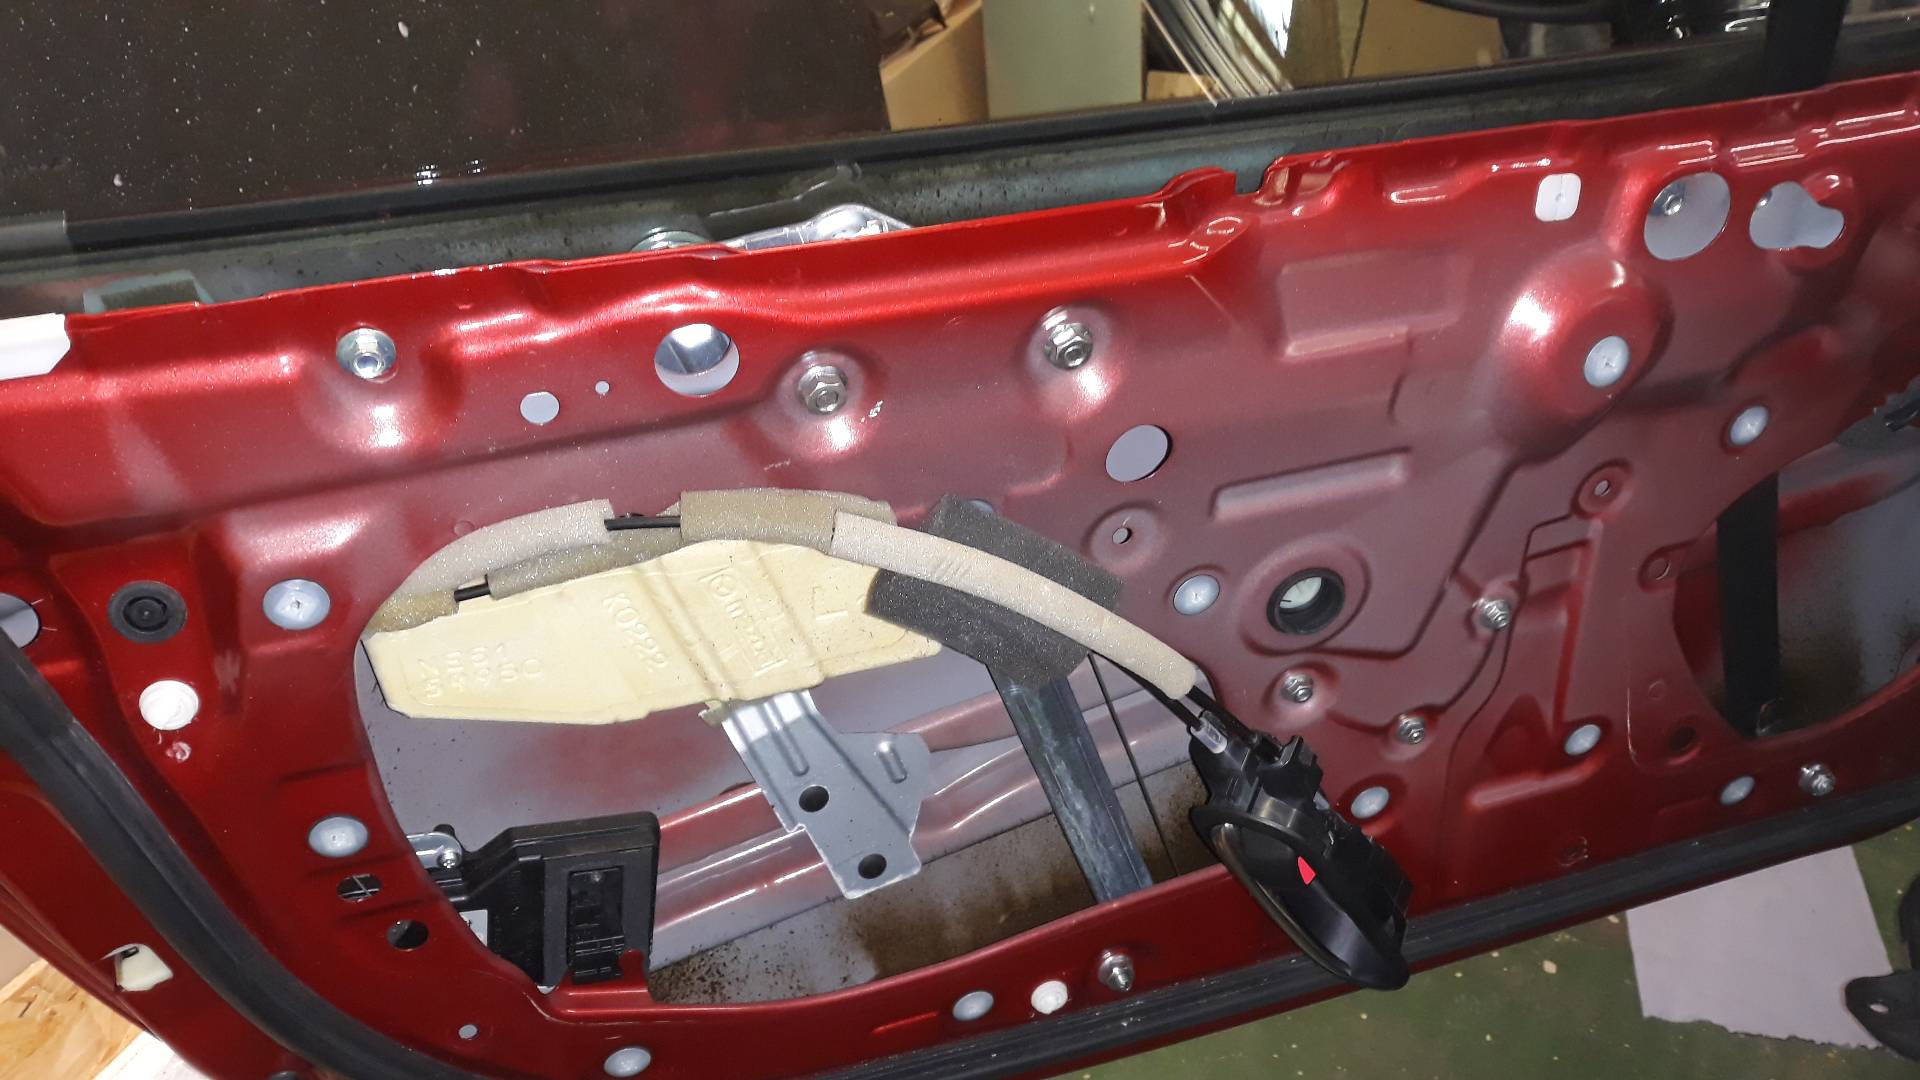
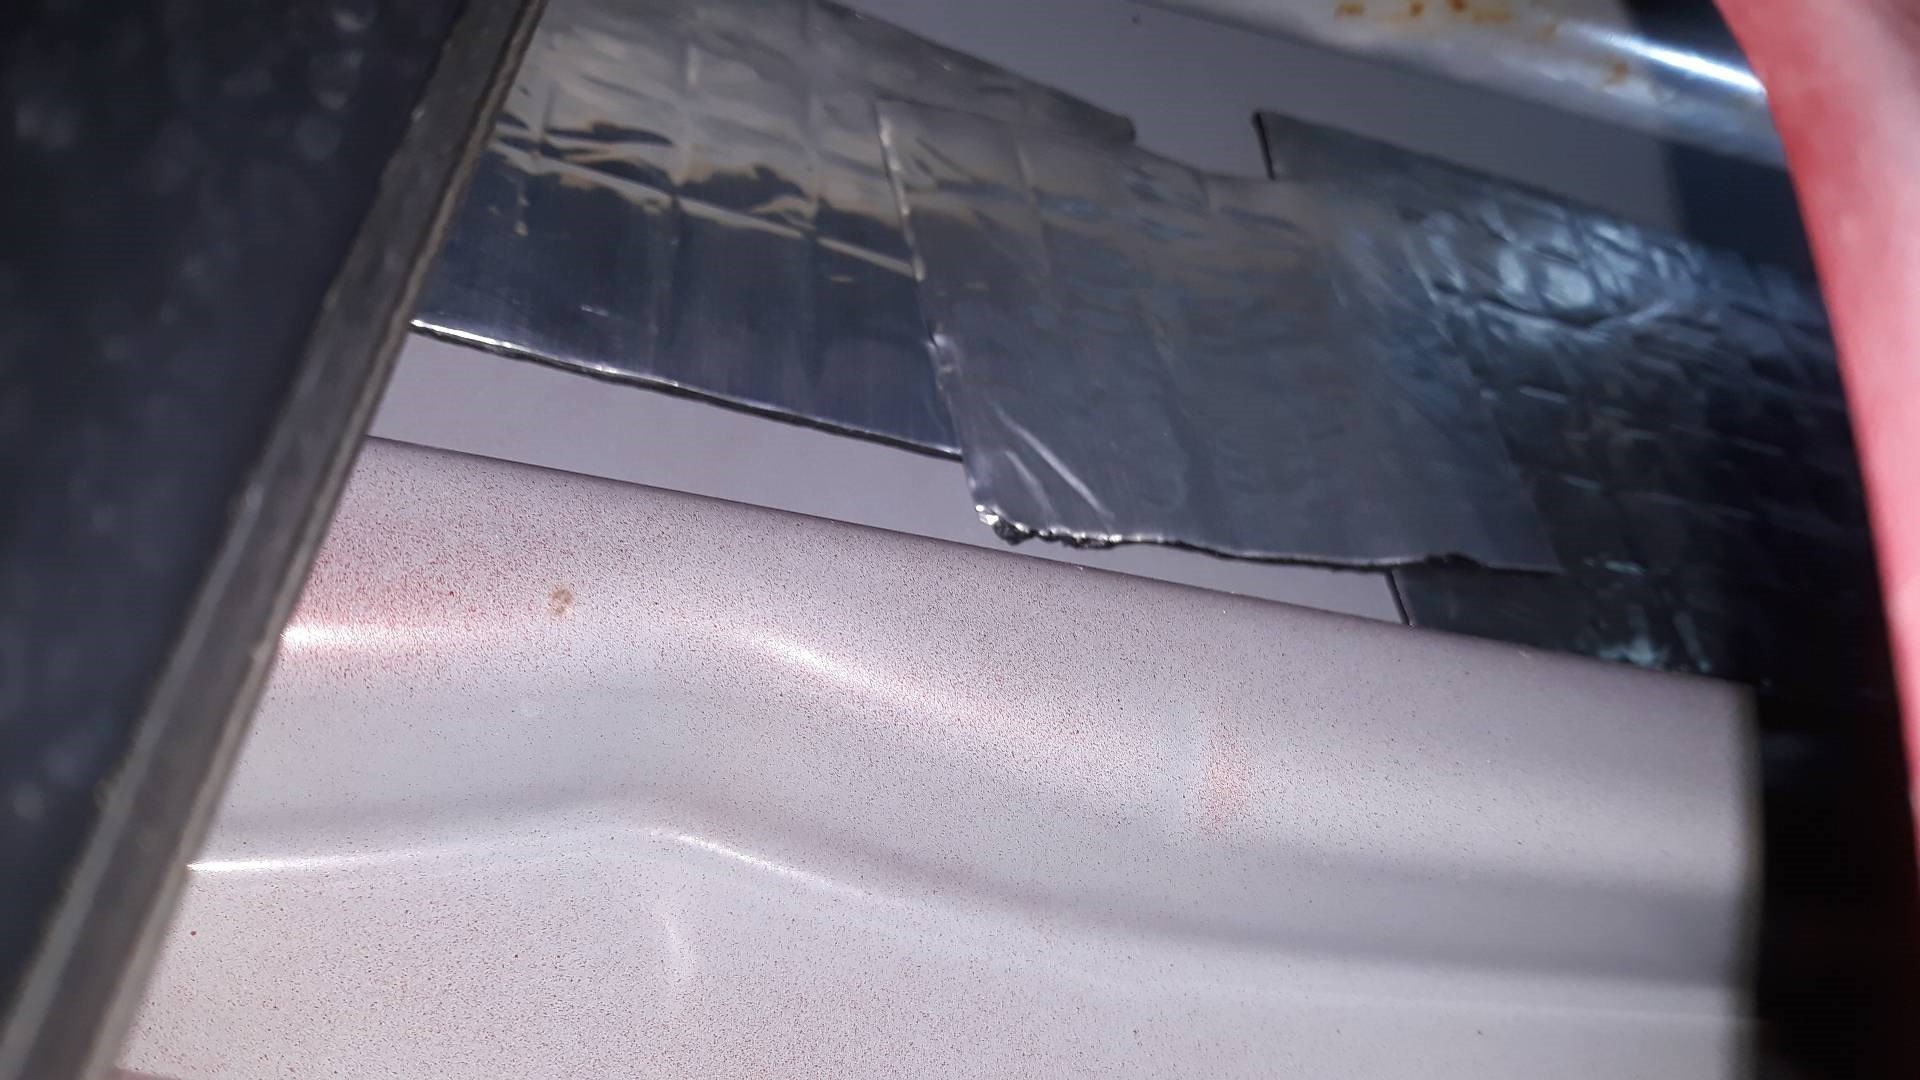
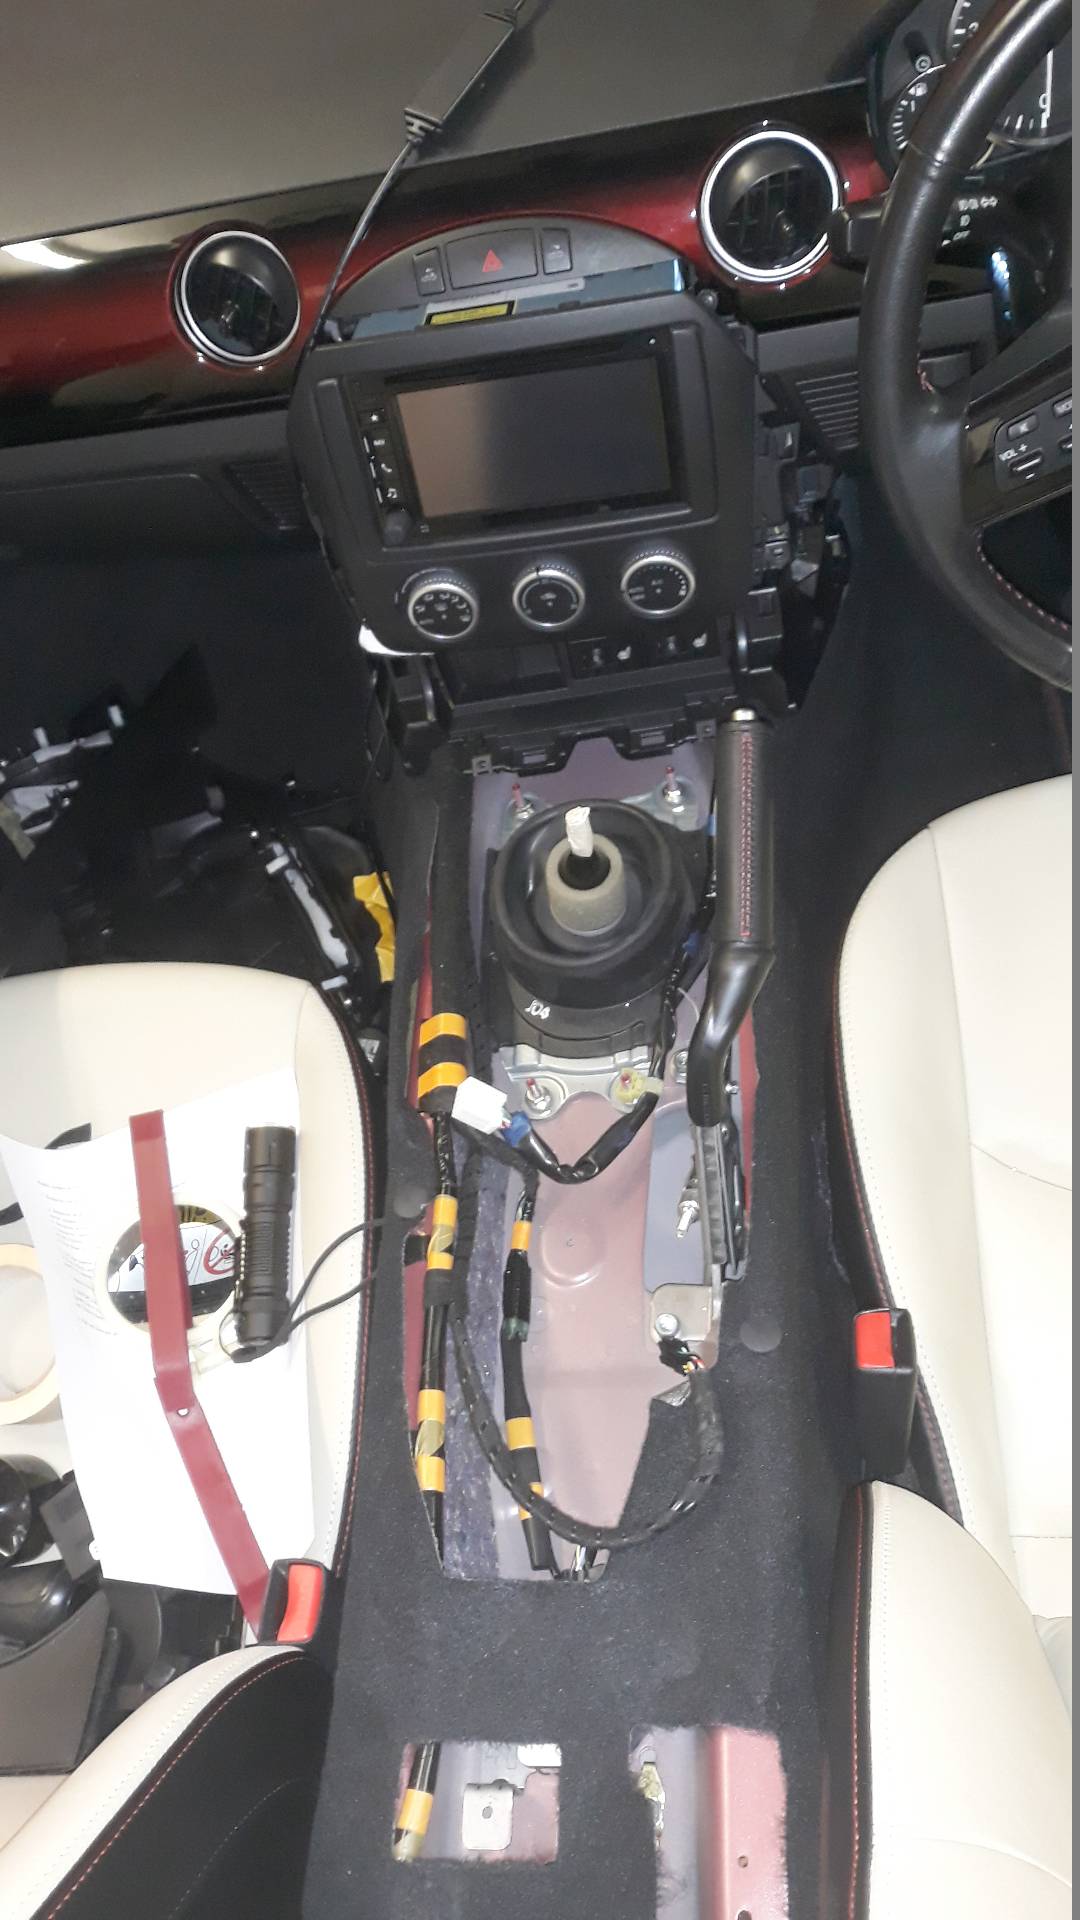
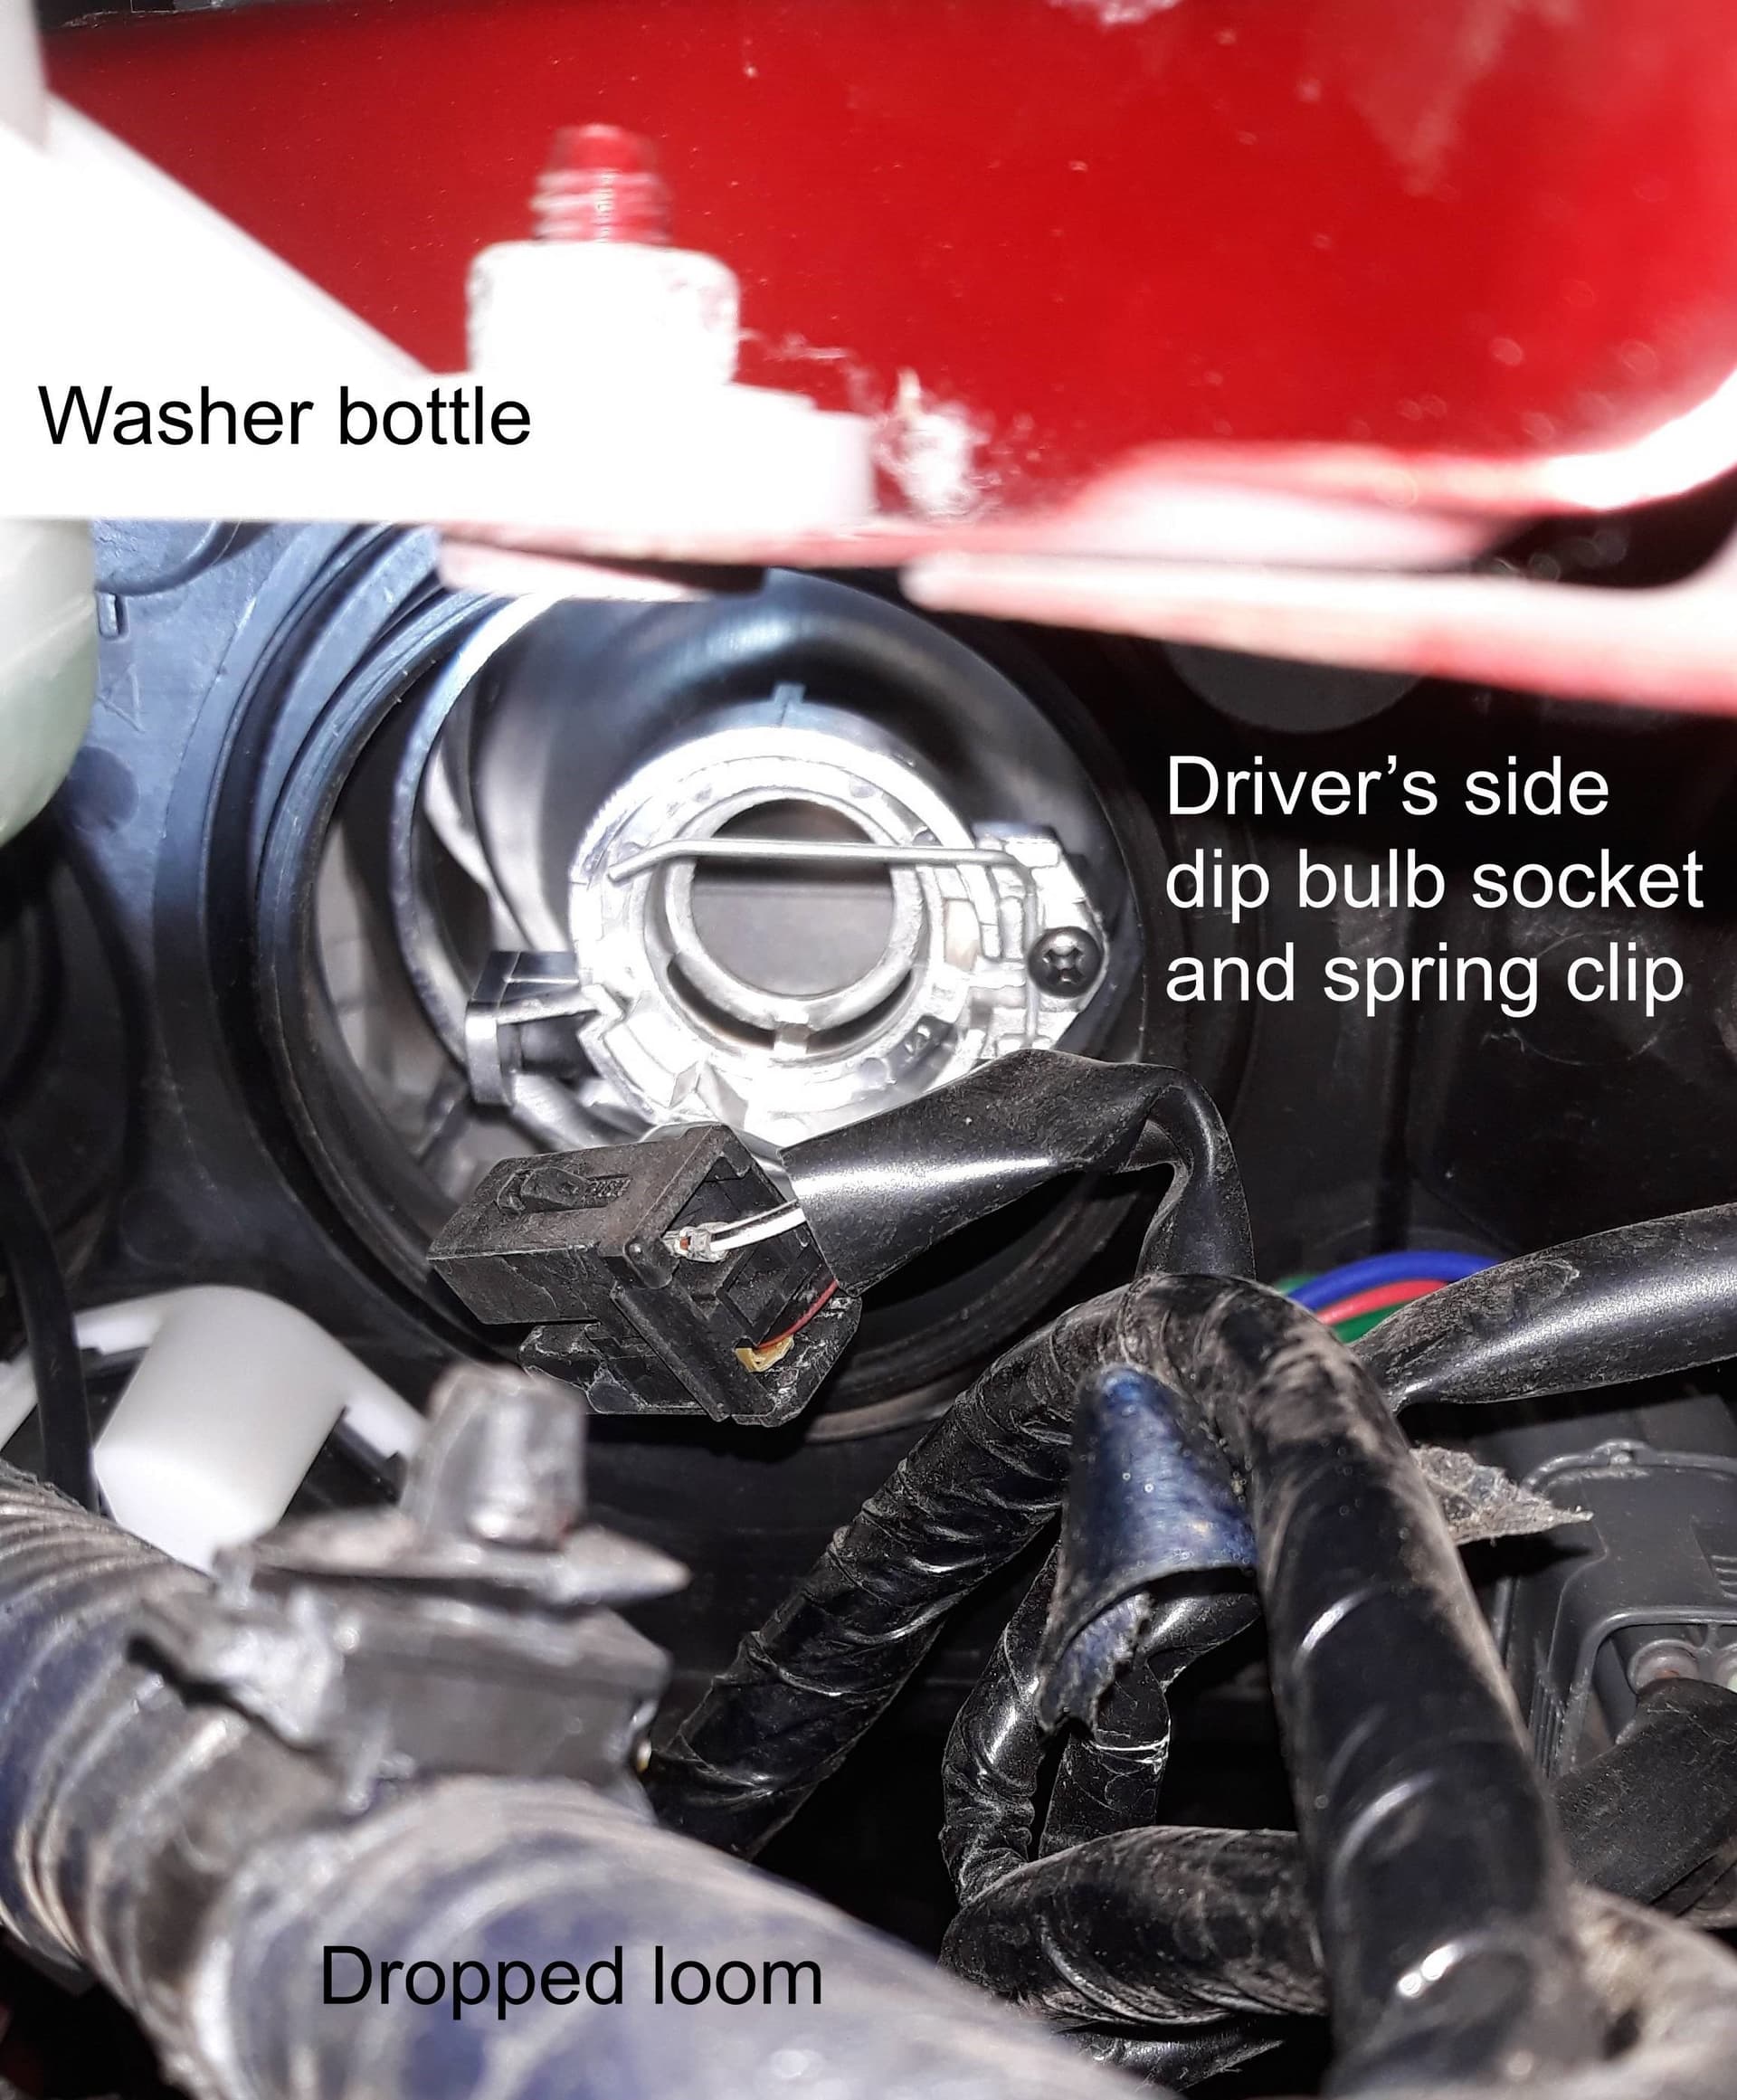
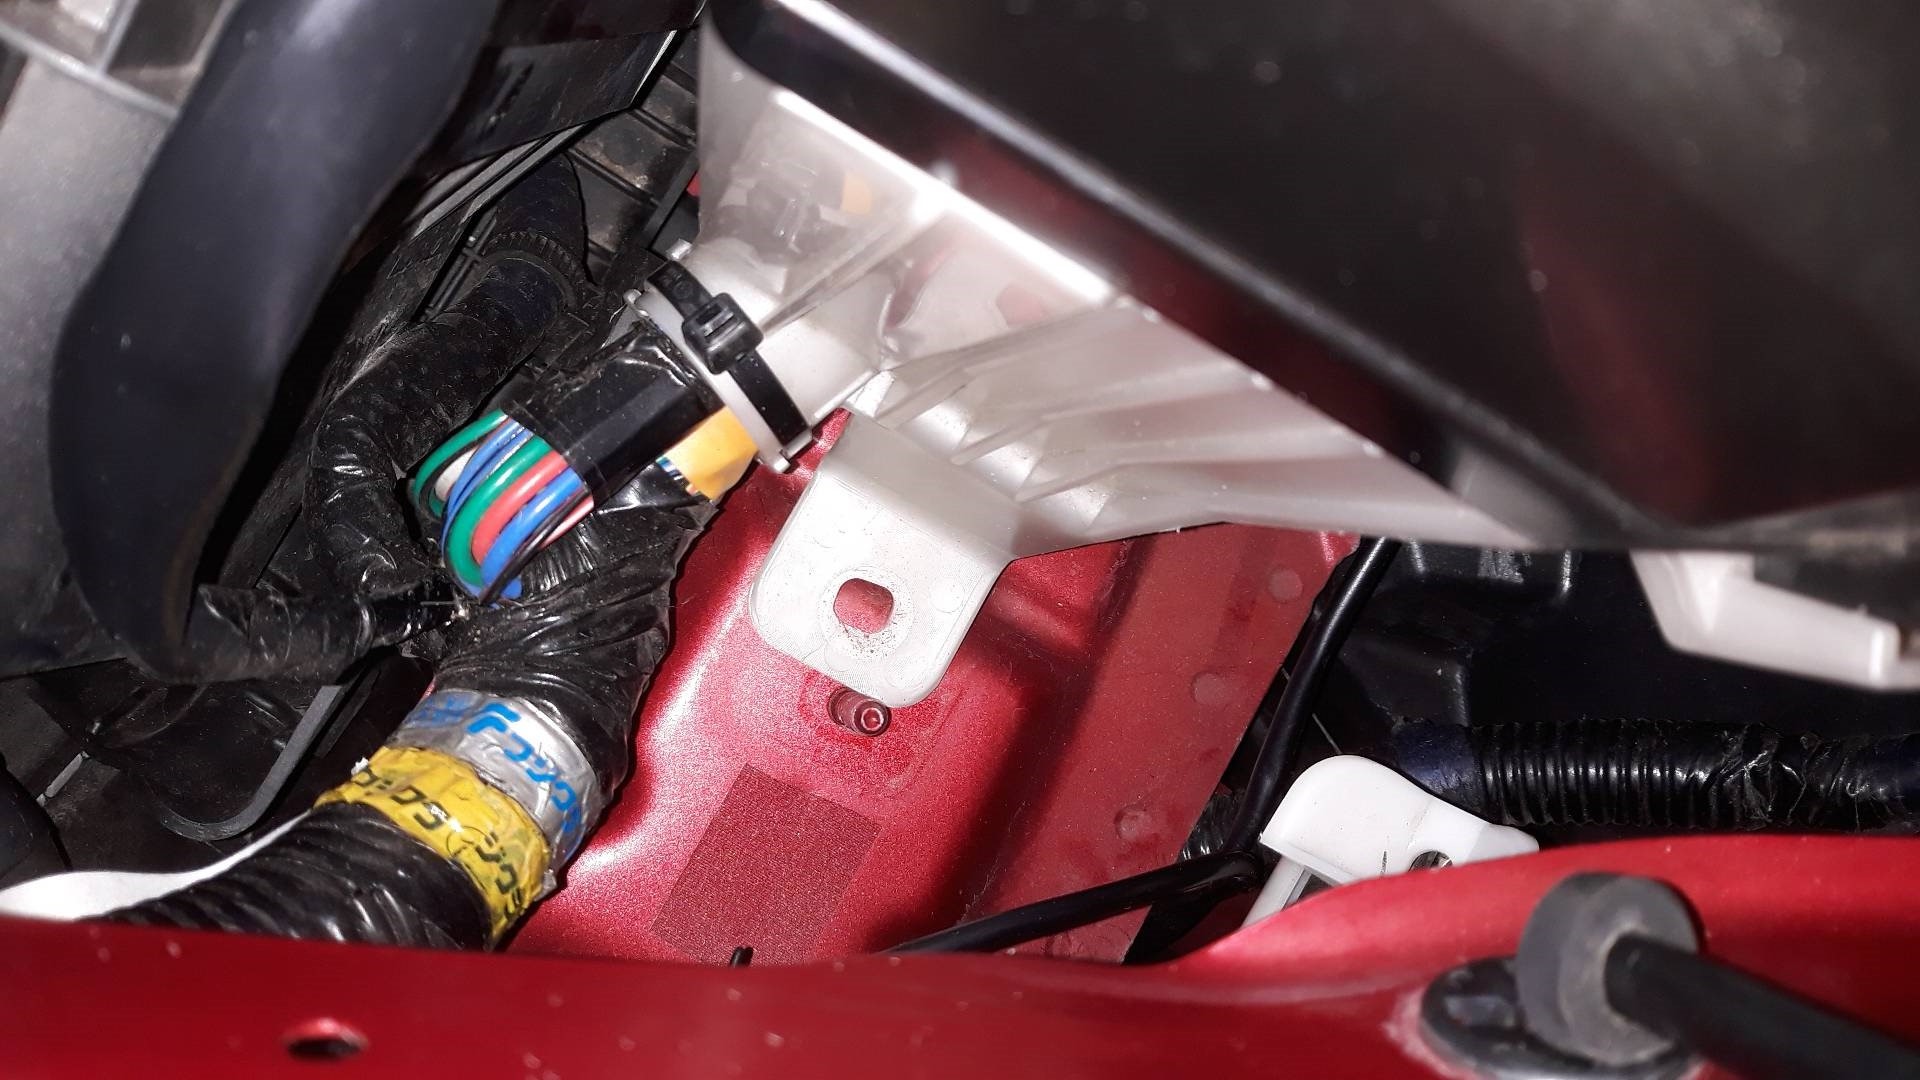
Initially I thought access on the driver’s side can be helped by bending back the wheel arch liner until I realised dropping the fat loom under the slam panel above the light cluster made it quite easy, well, almost easy, and I did not need to move the washer bottle.

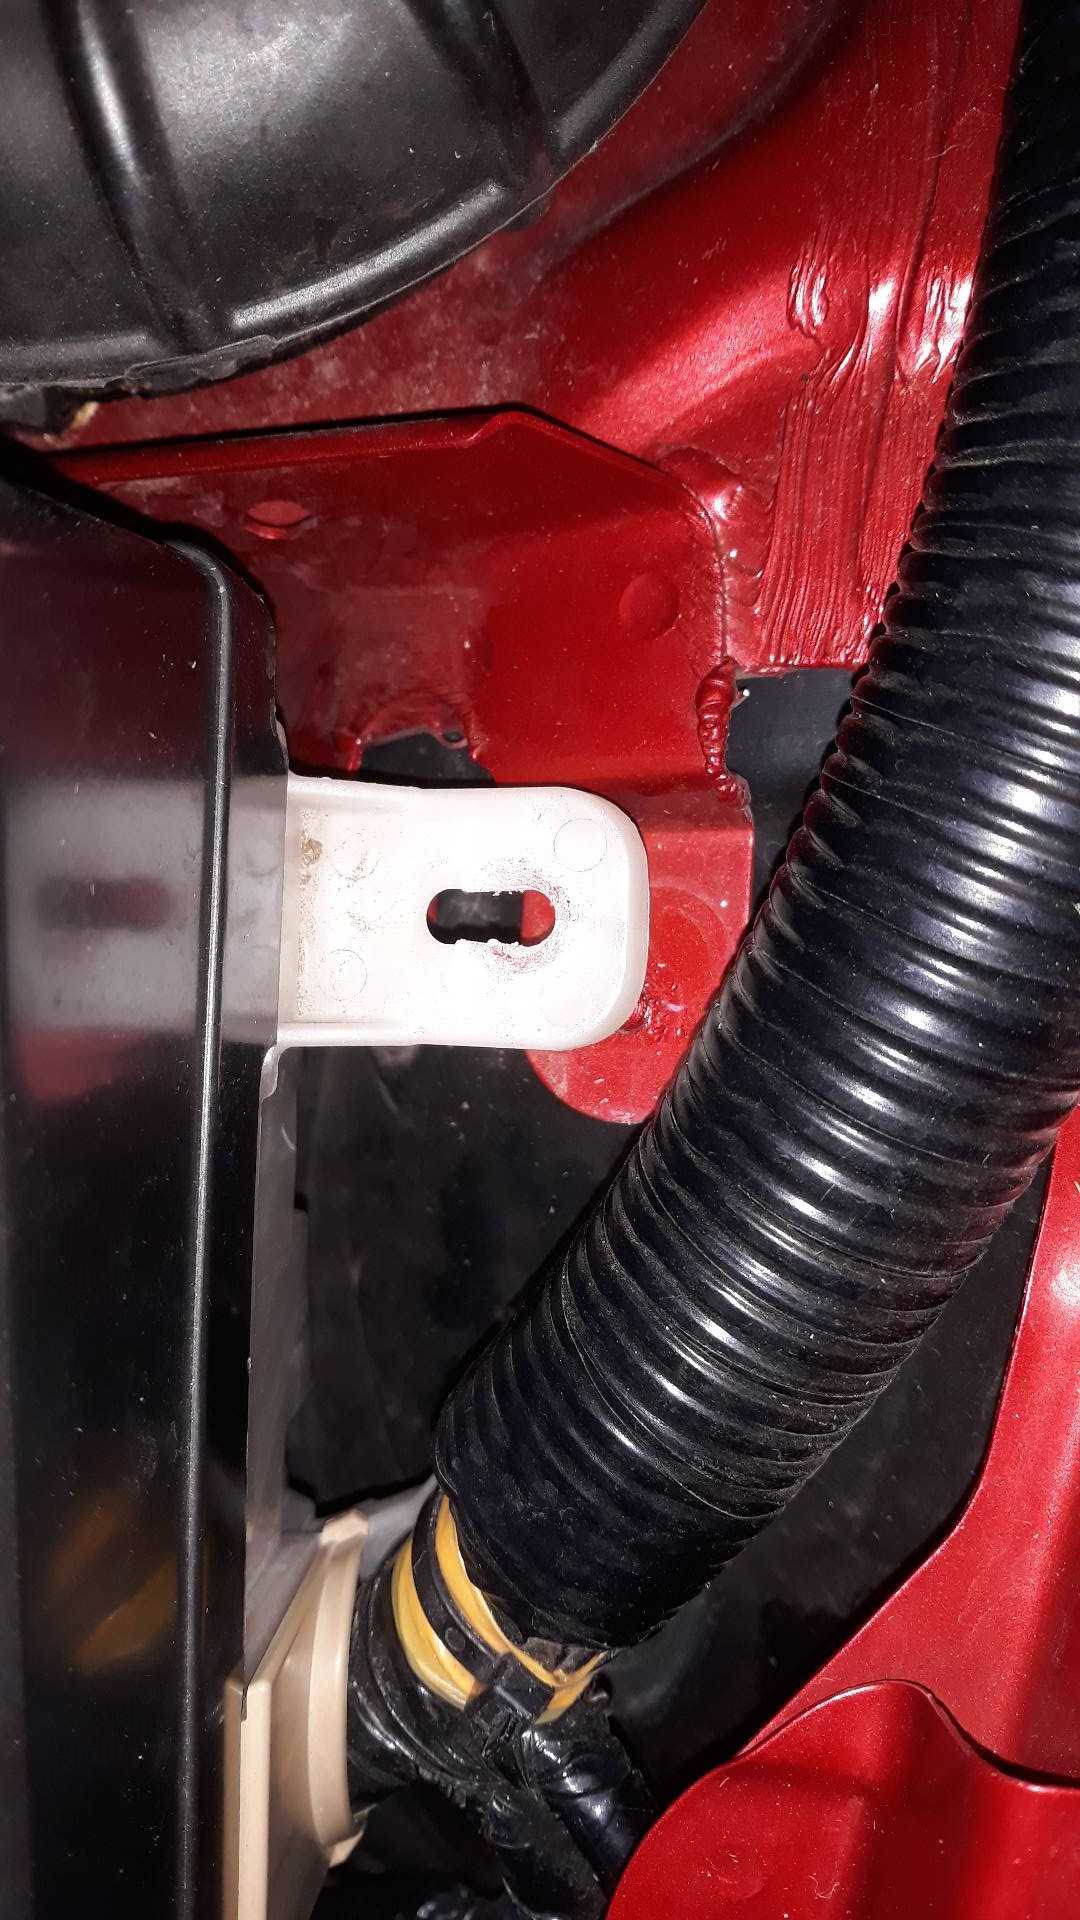
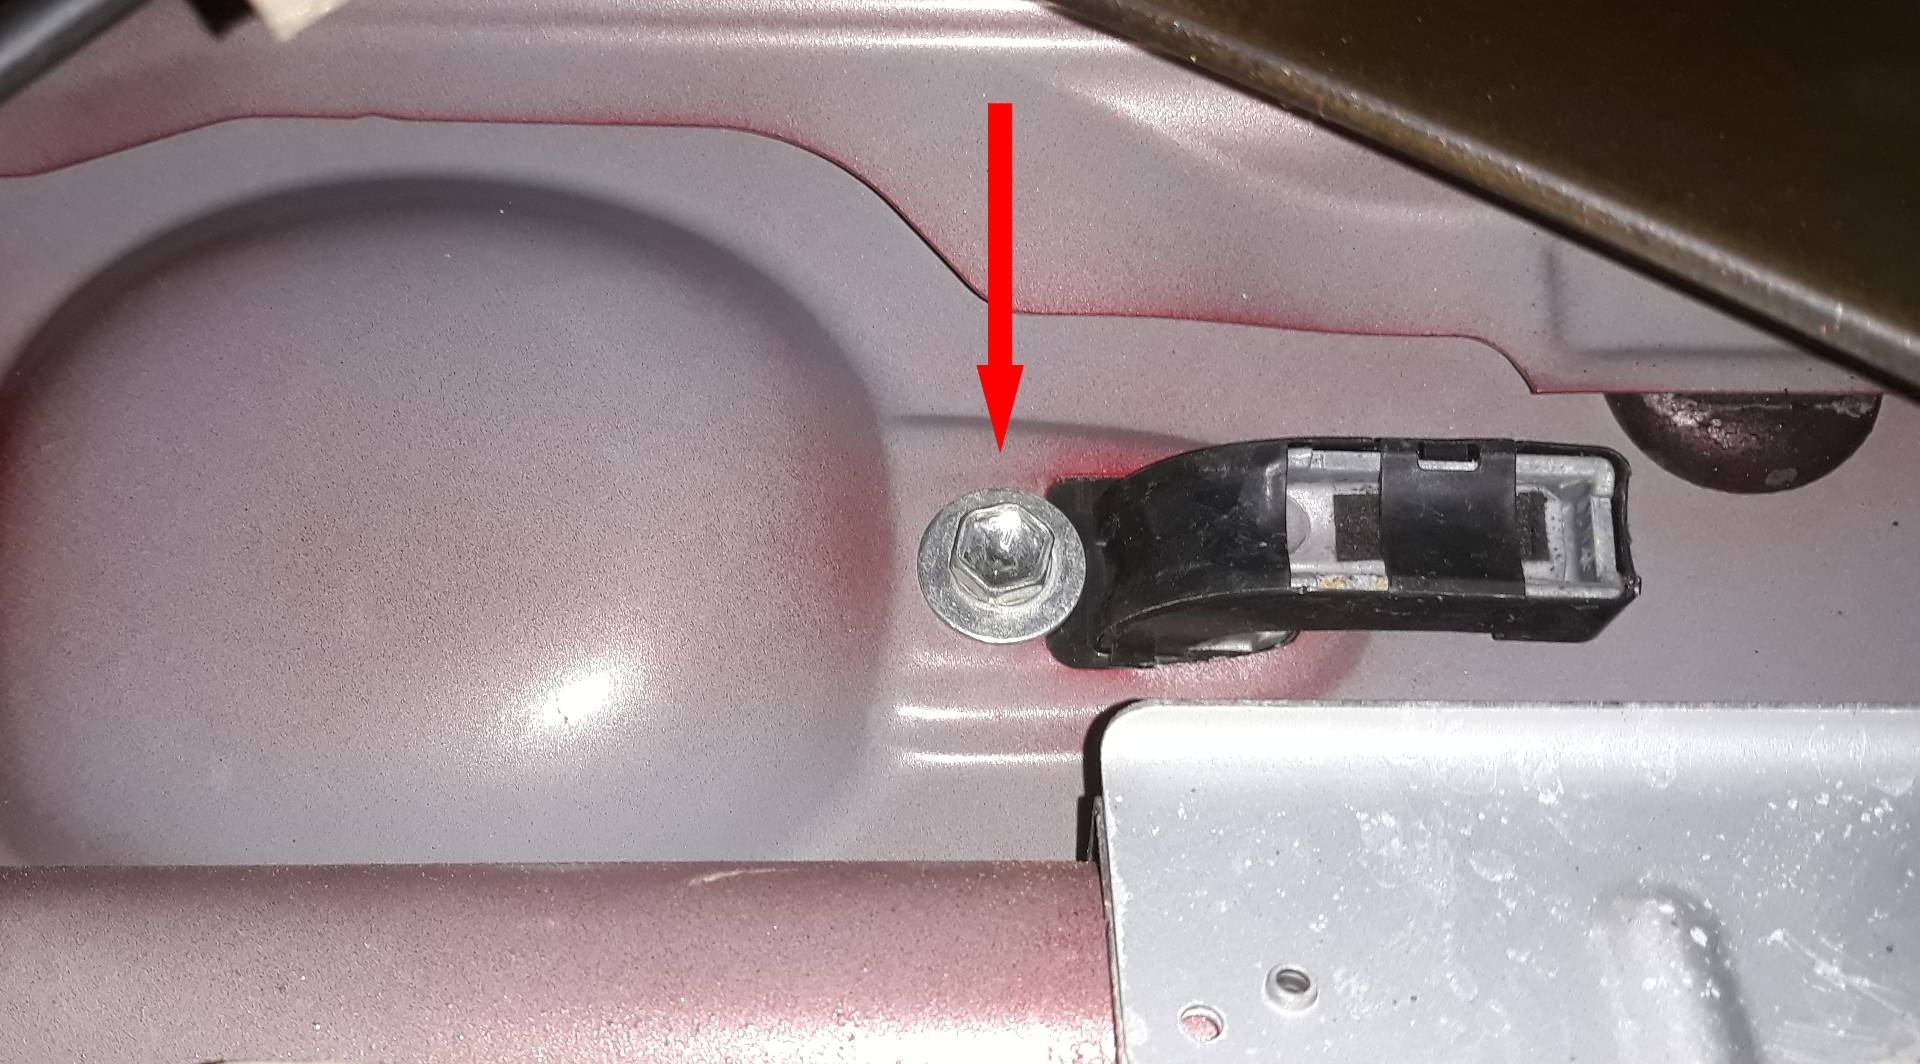
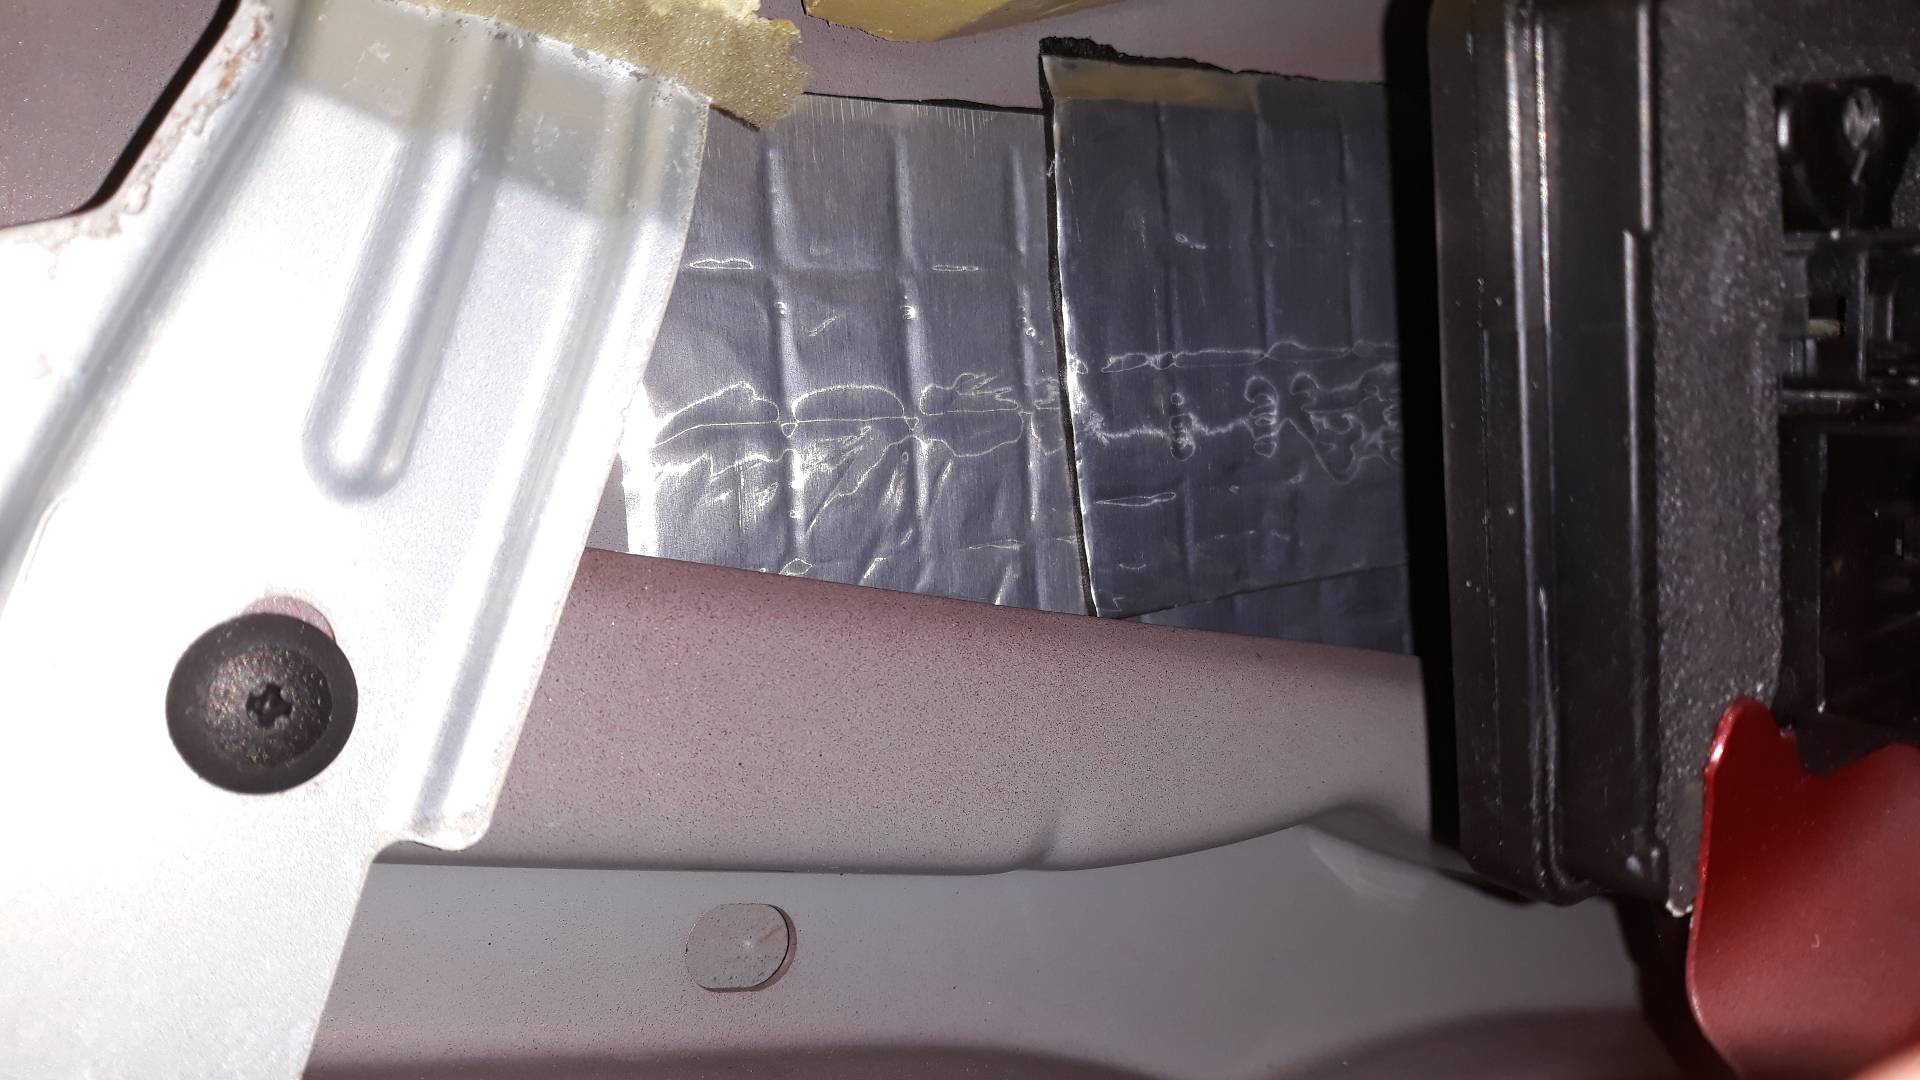
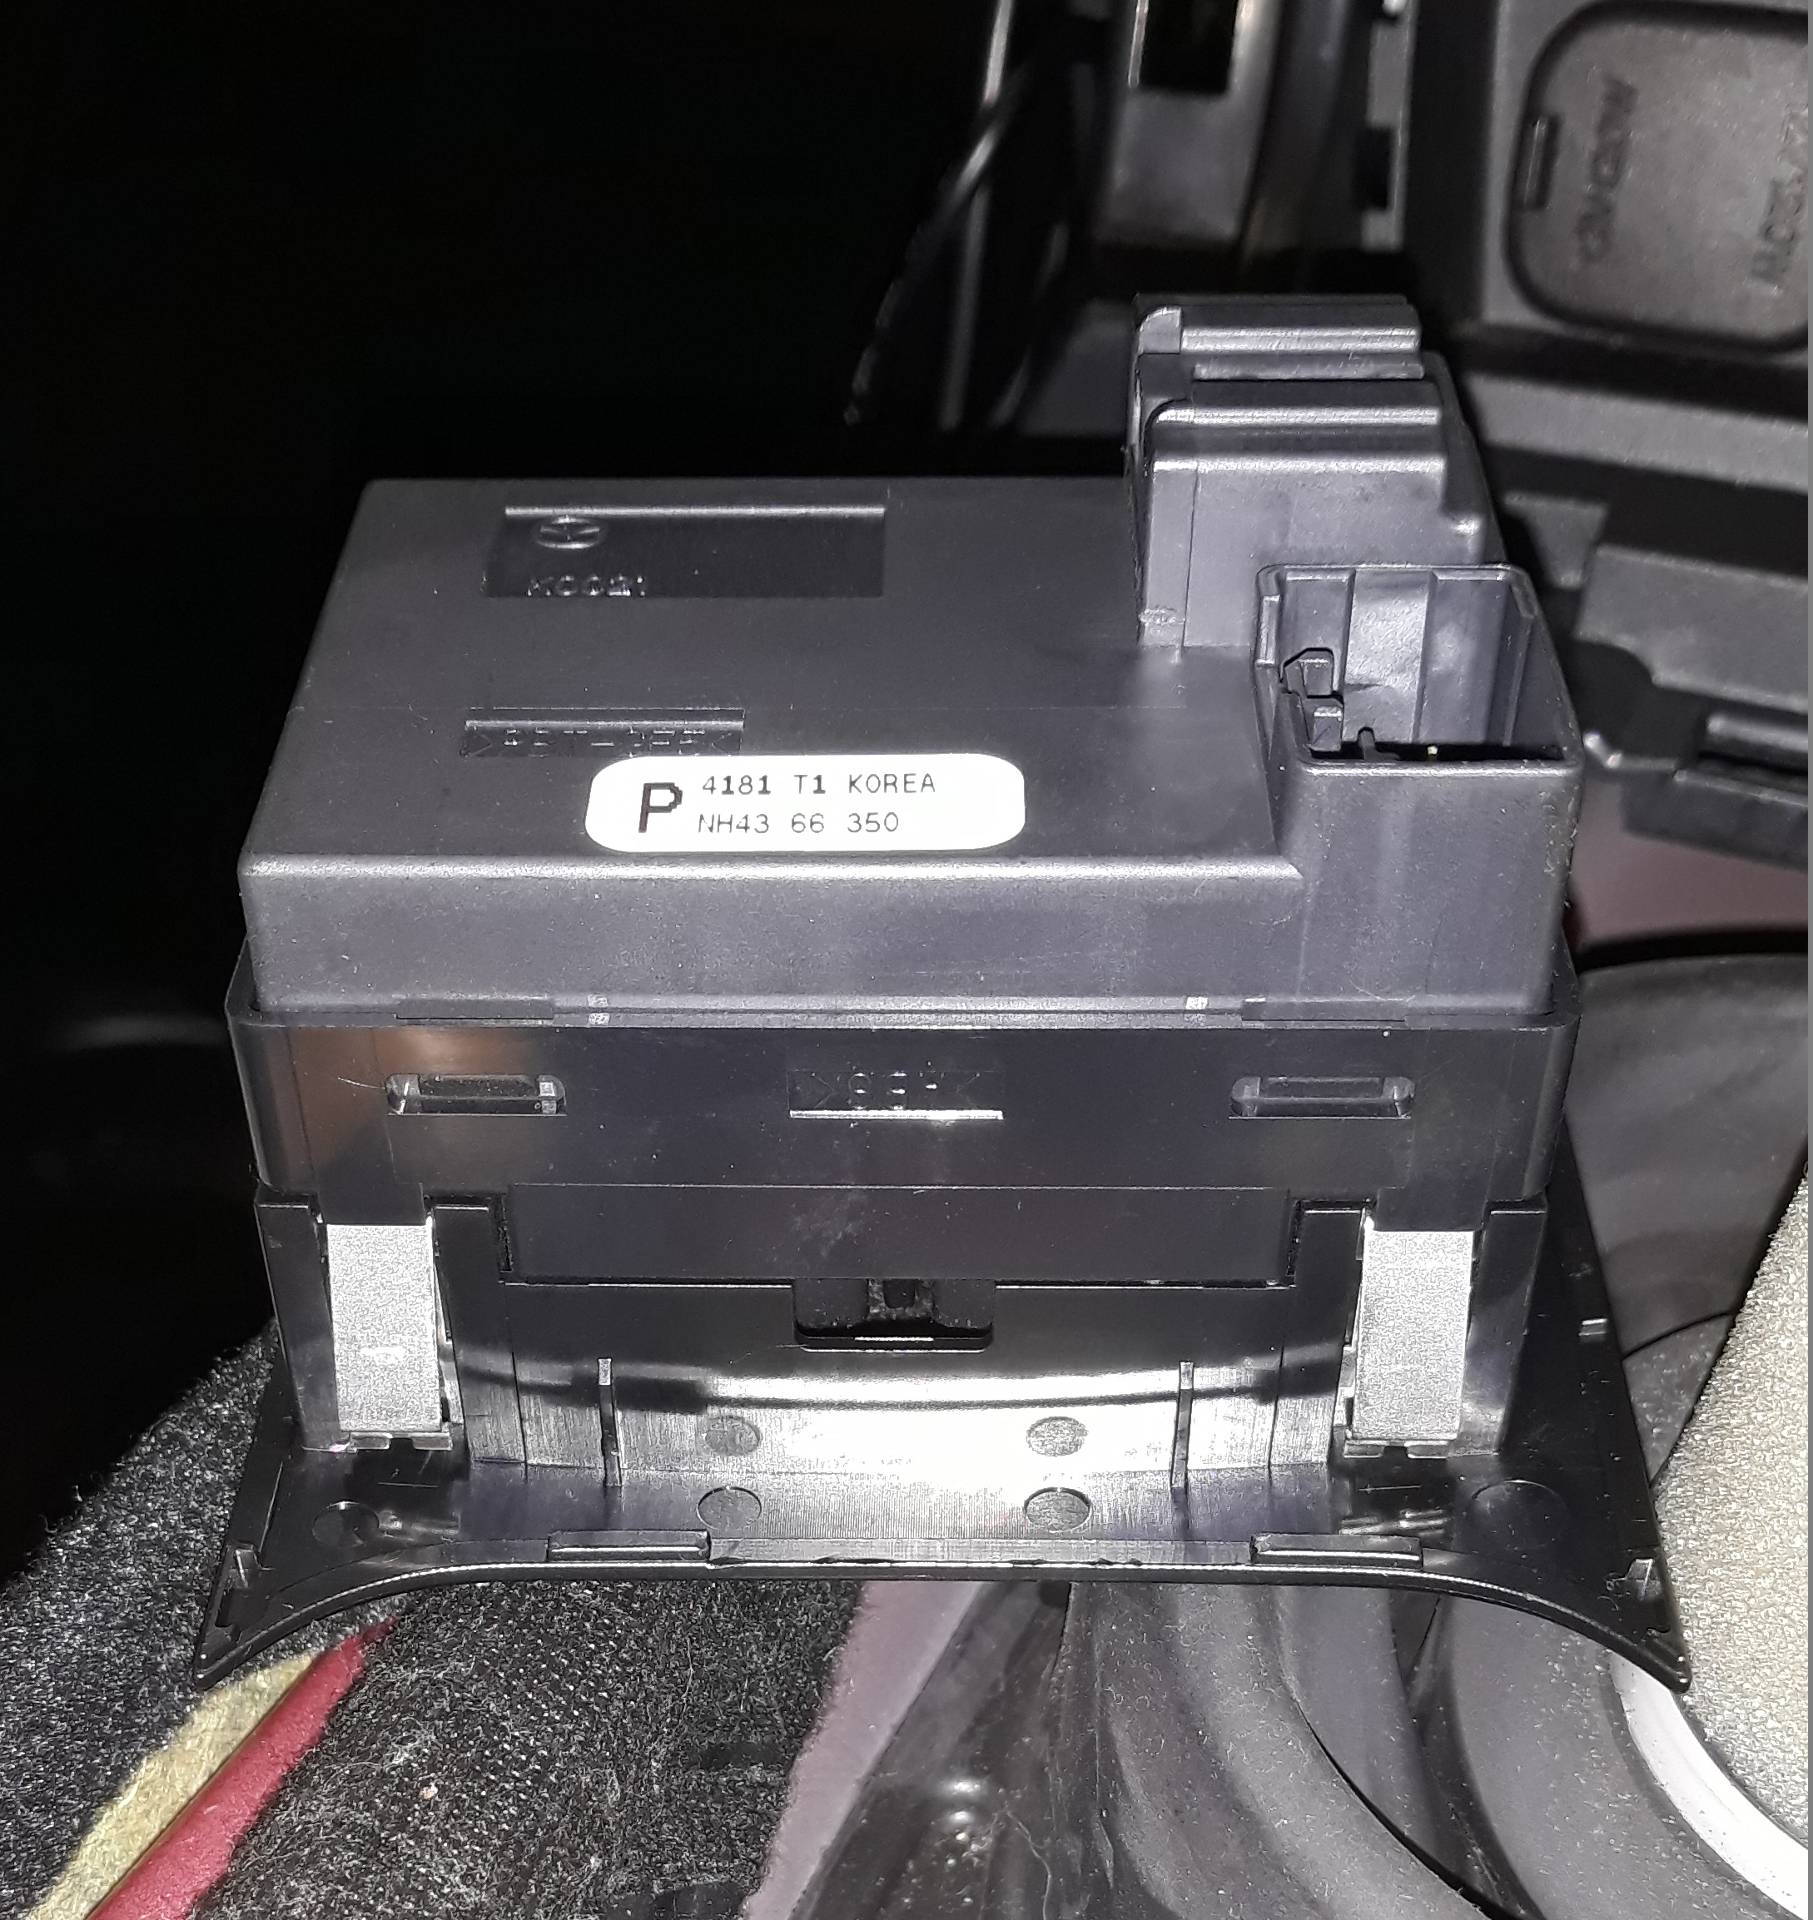
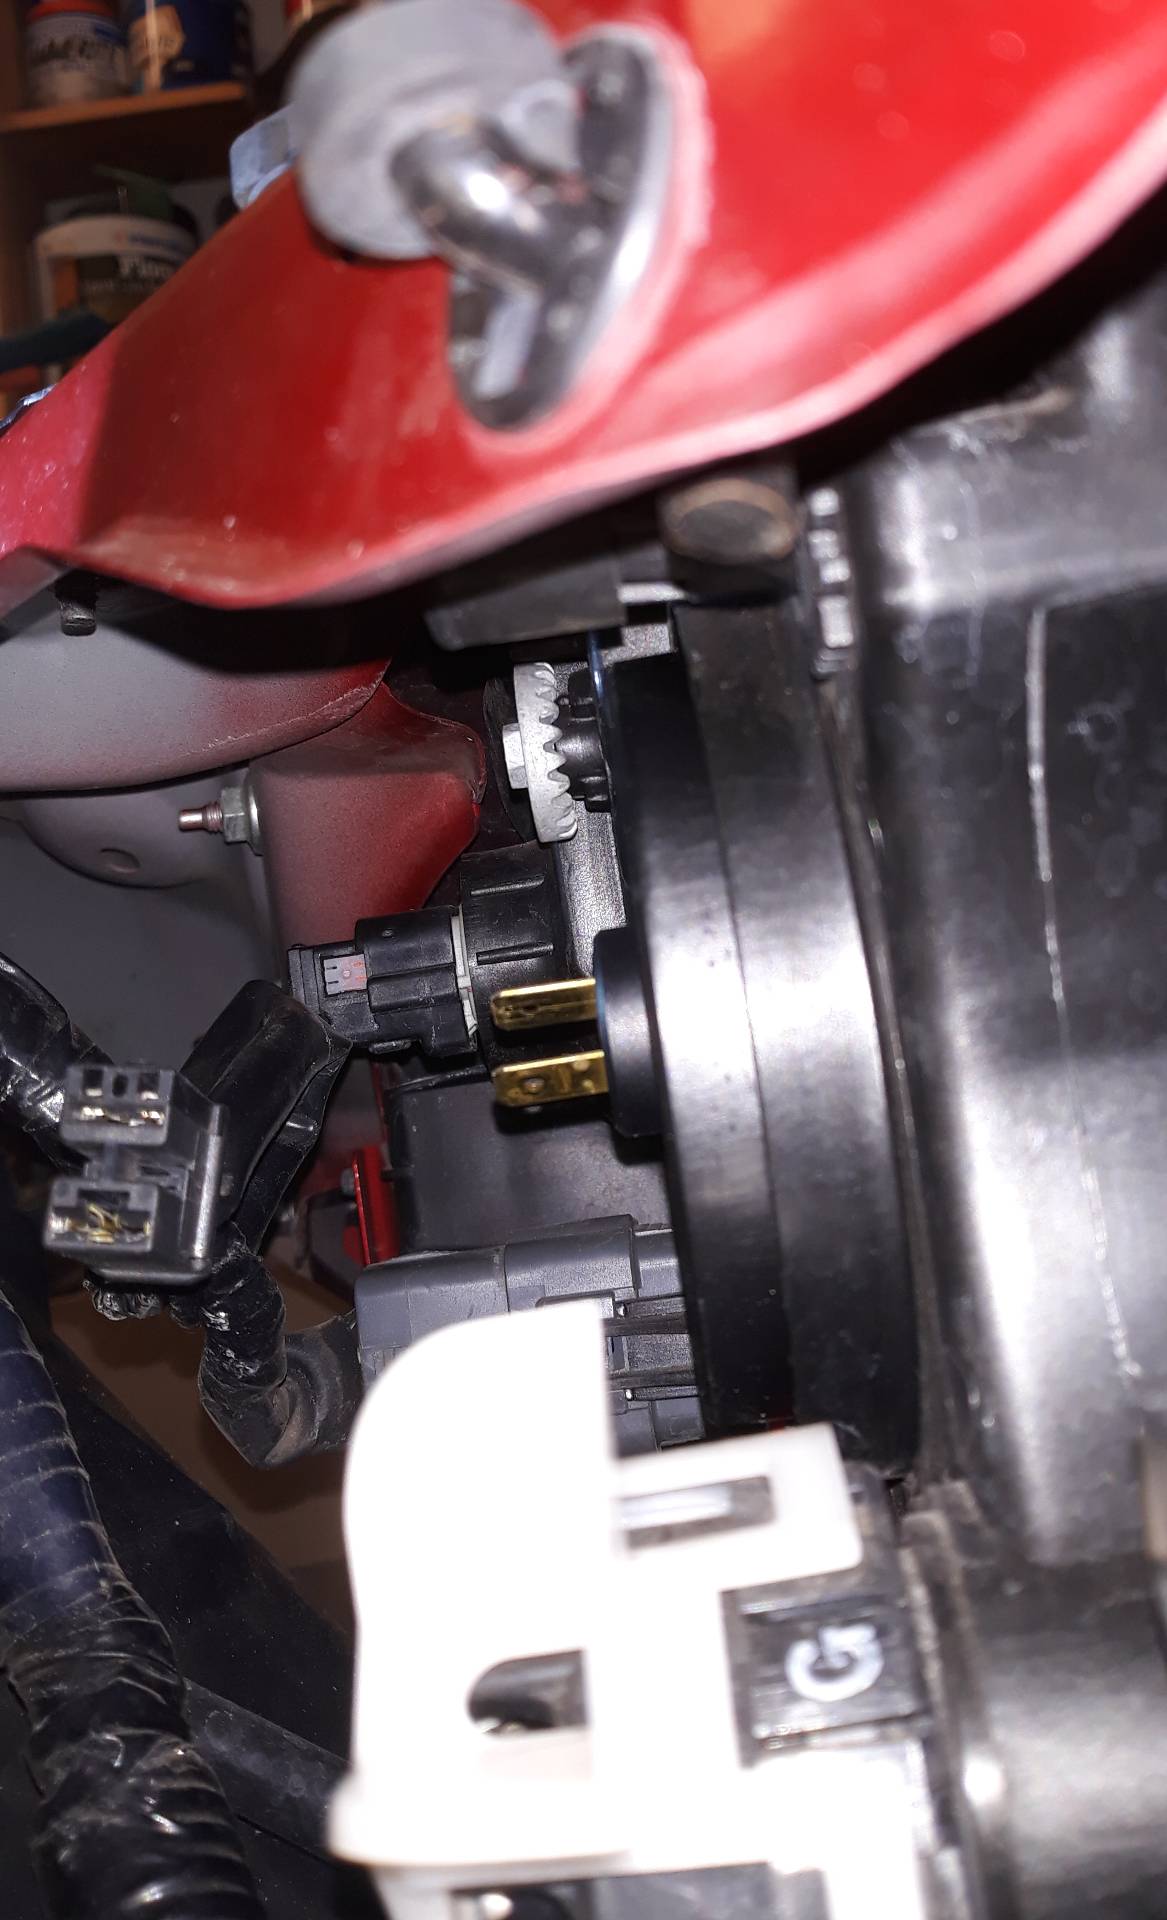
But on the passenger side, branches of the loom are well in the way from the wheel arch and the only solution is to move the fuse box back an inch, again helped by releasing the fat loom running from across under the slam panel.

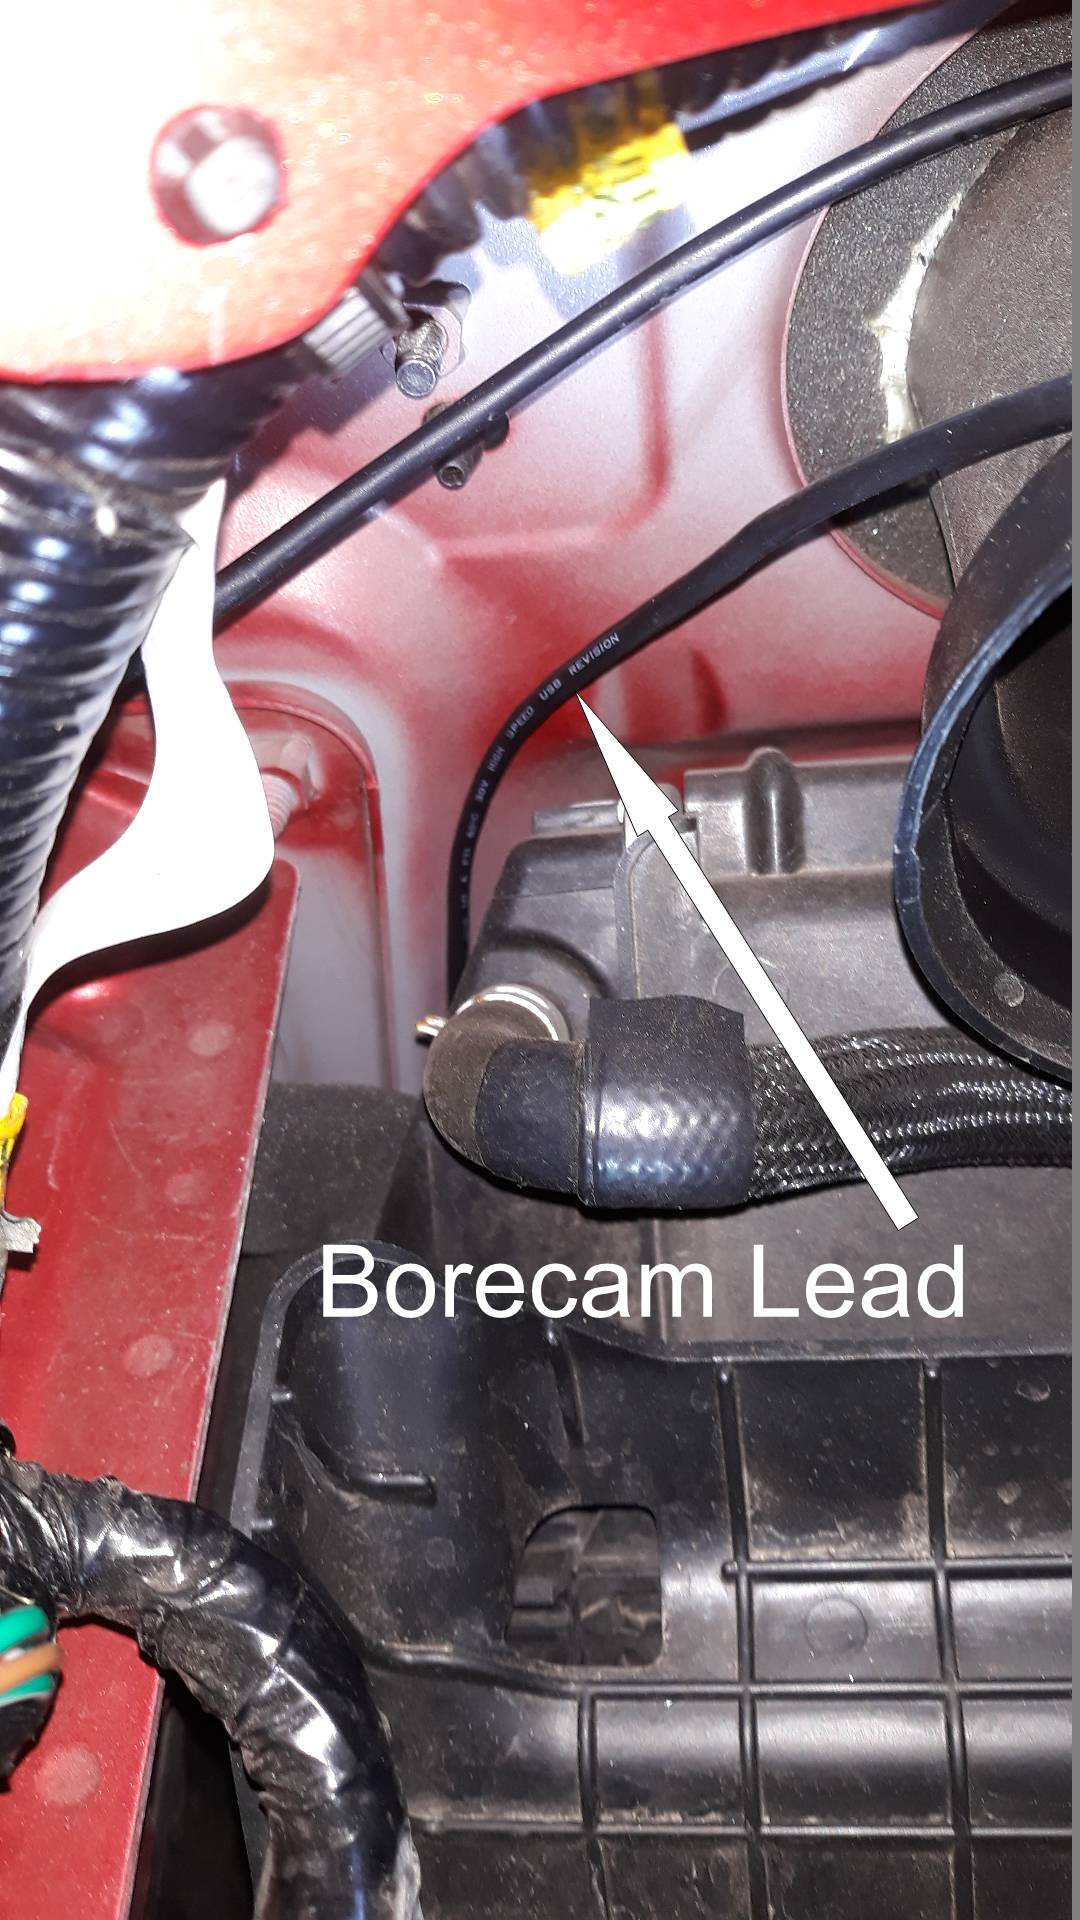
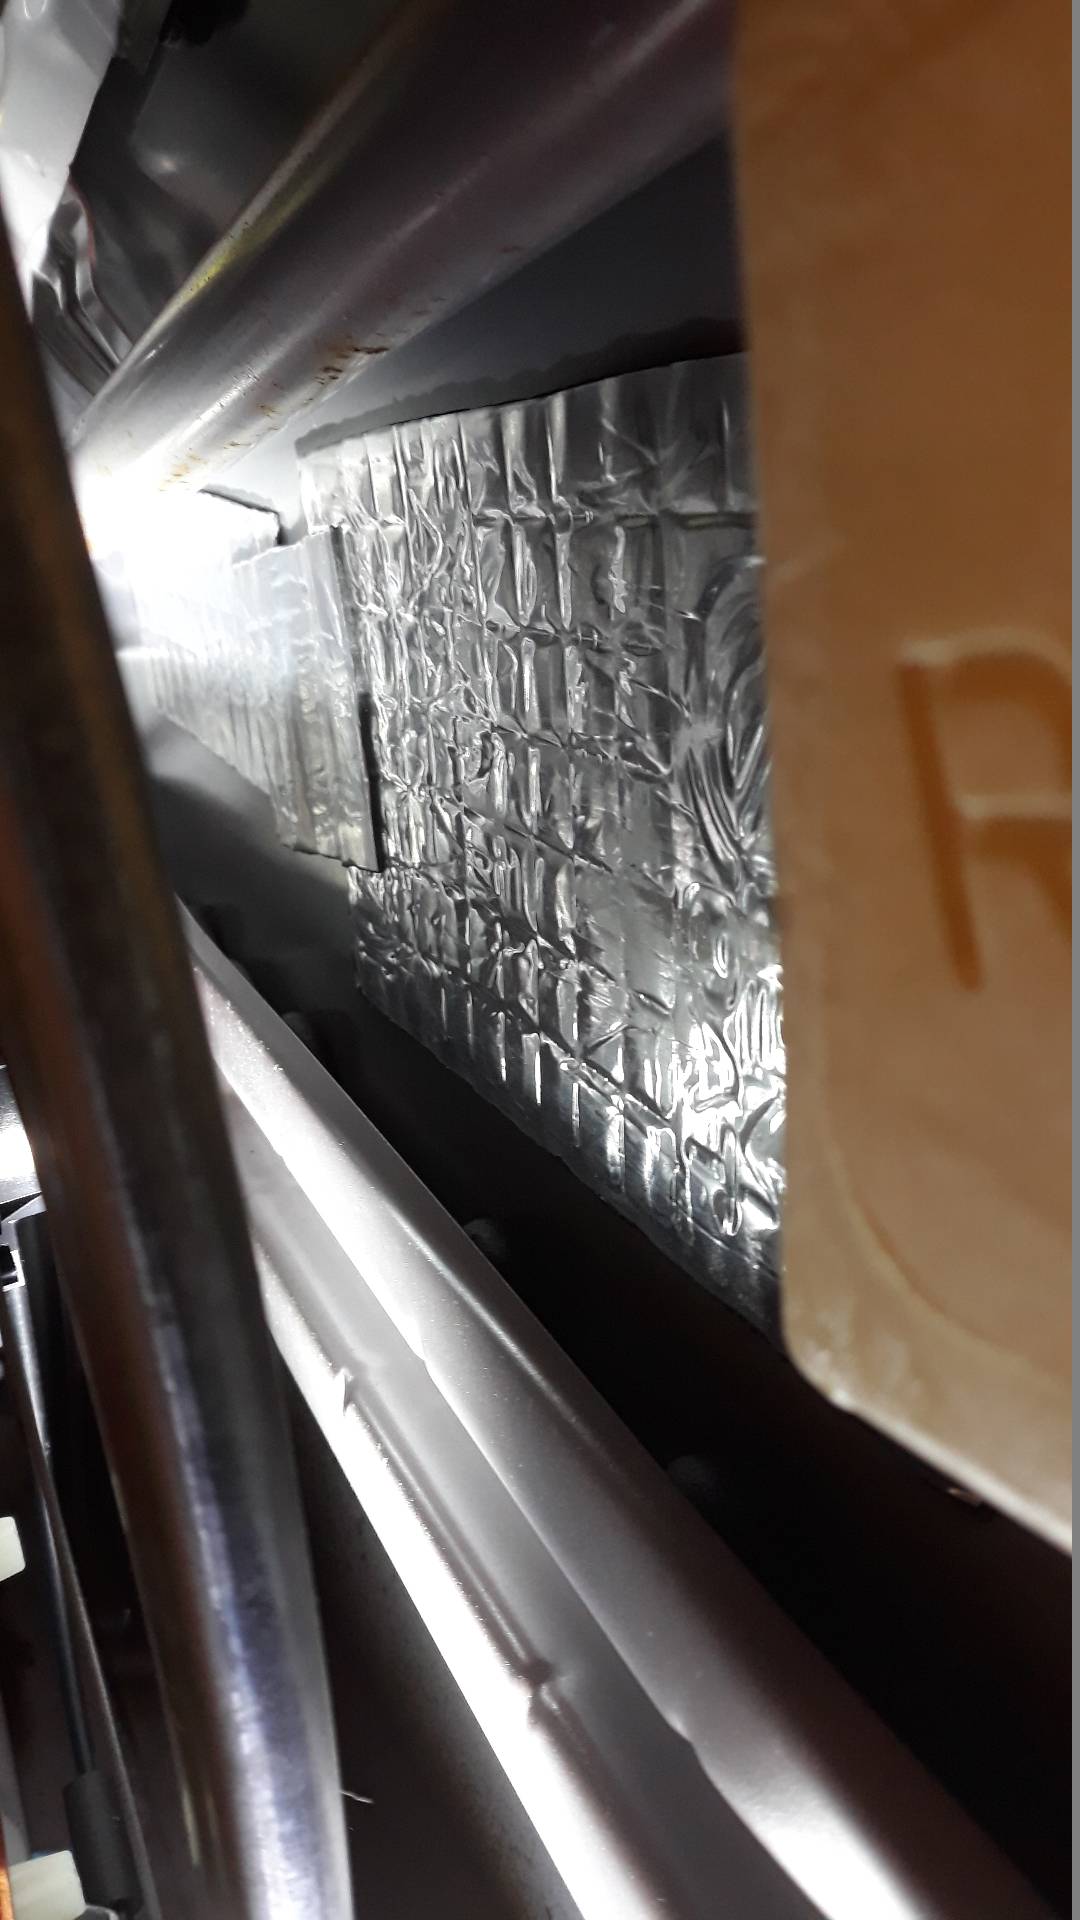
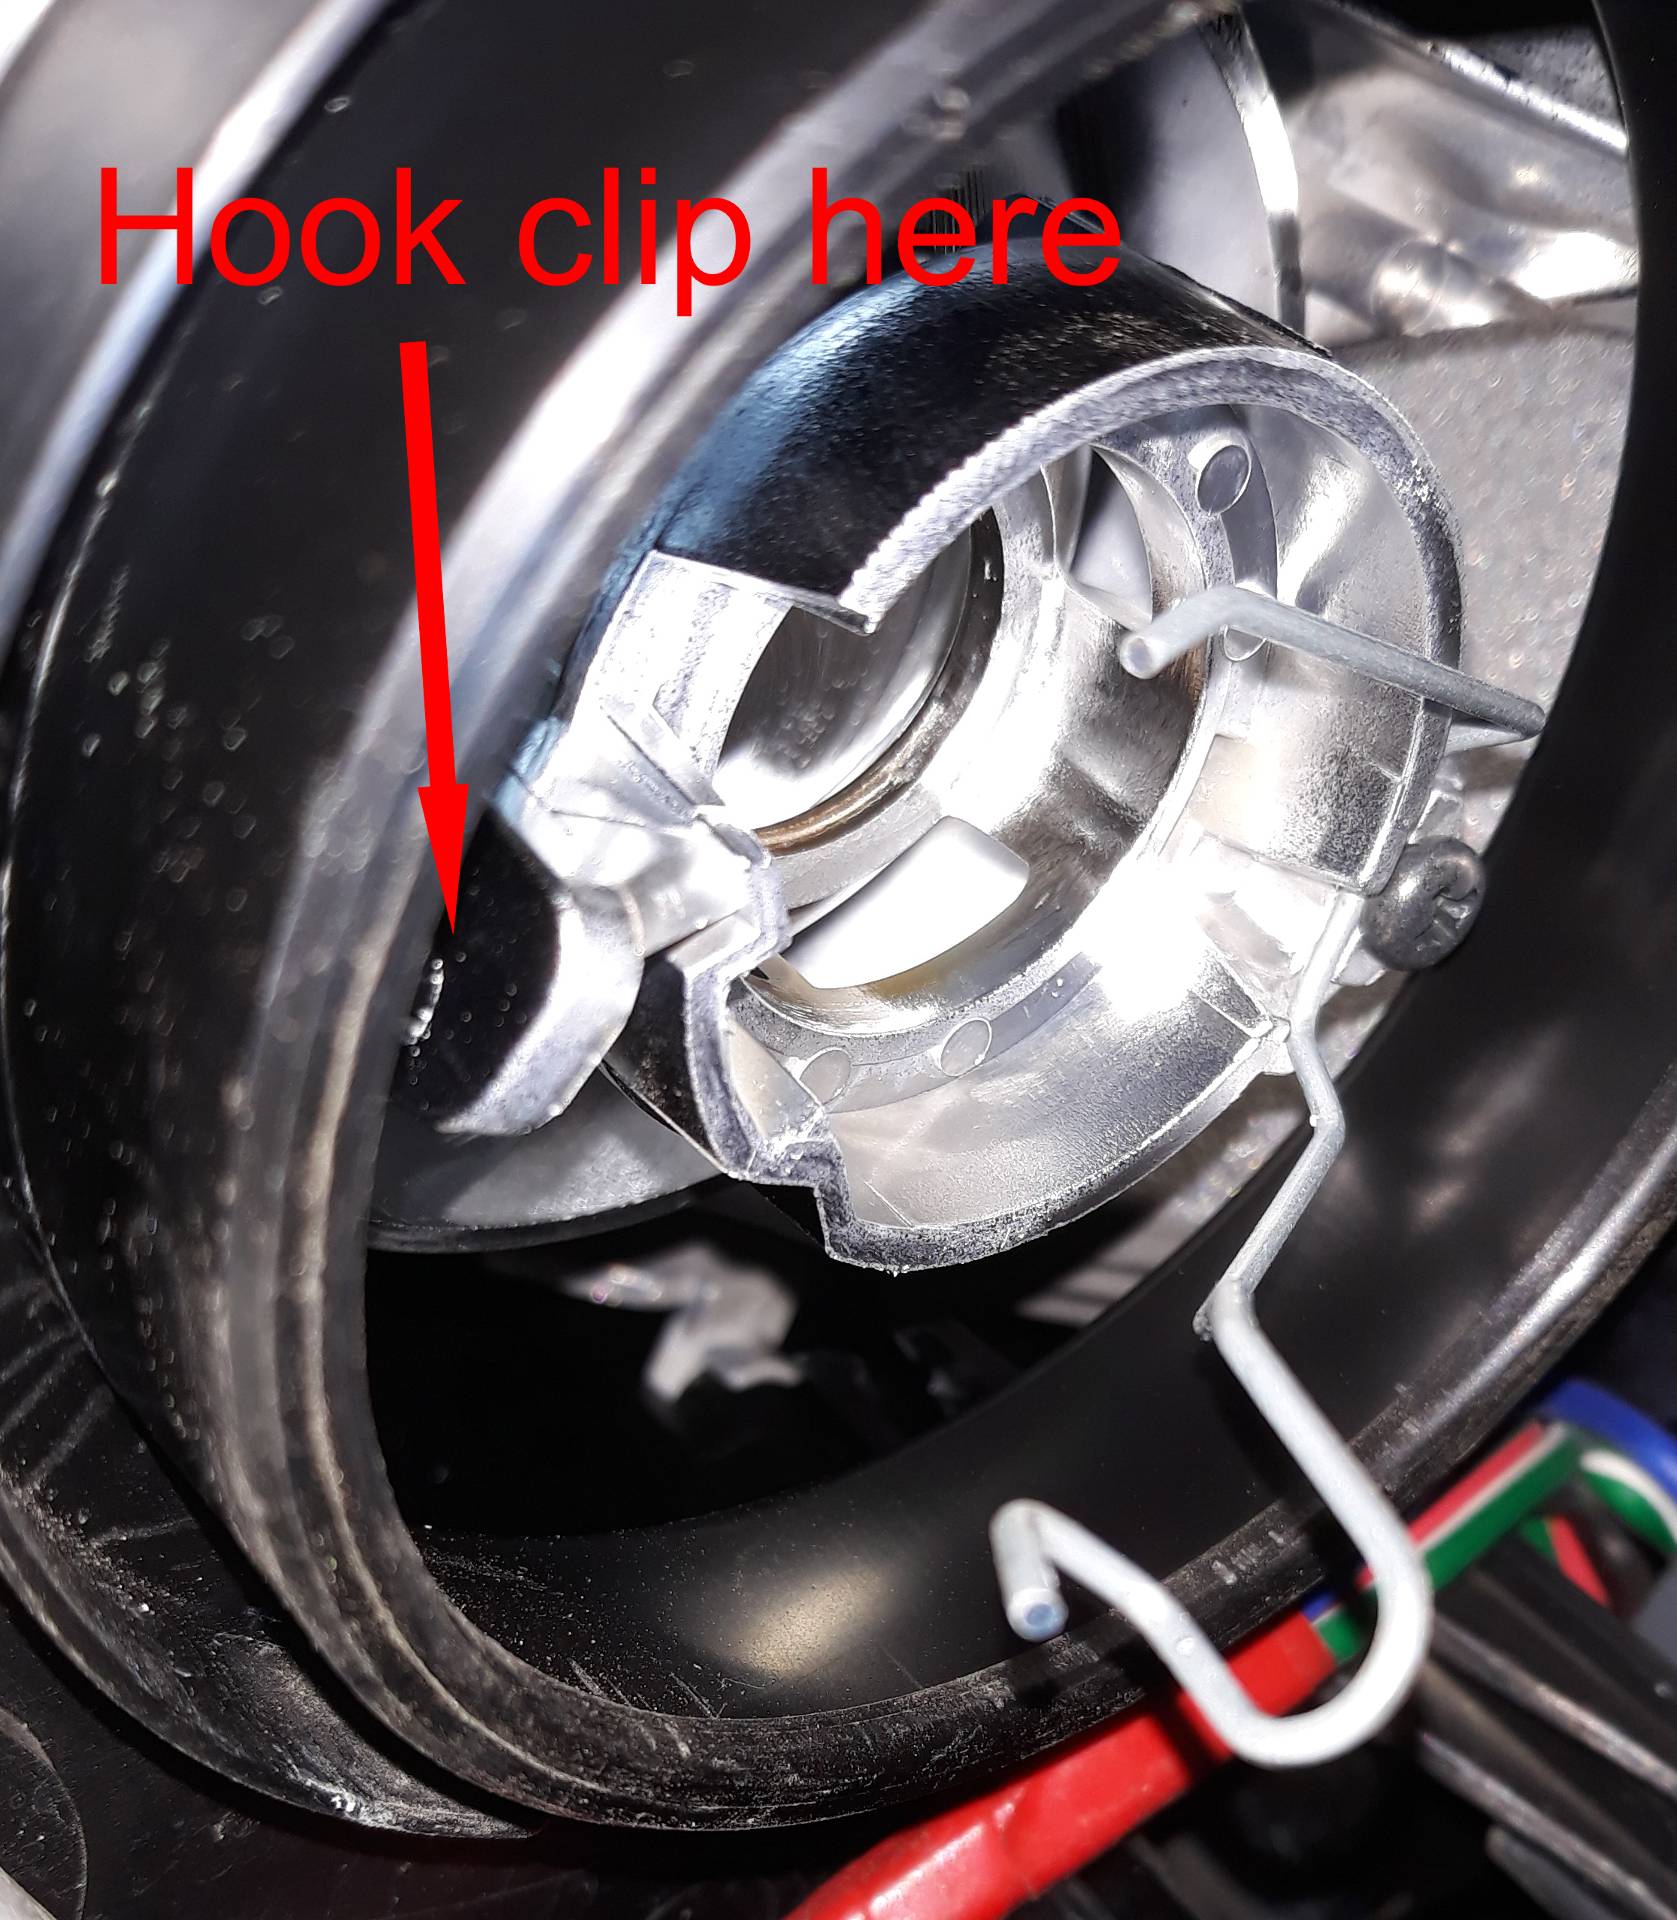
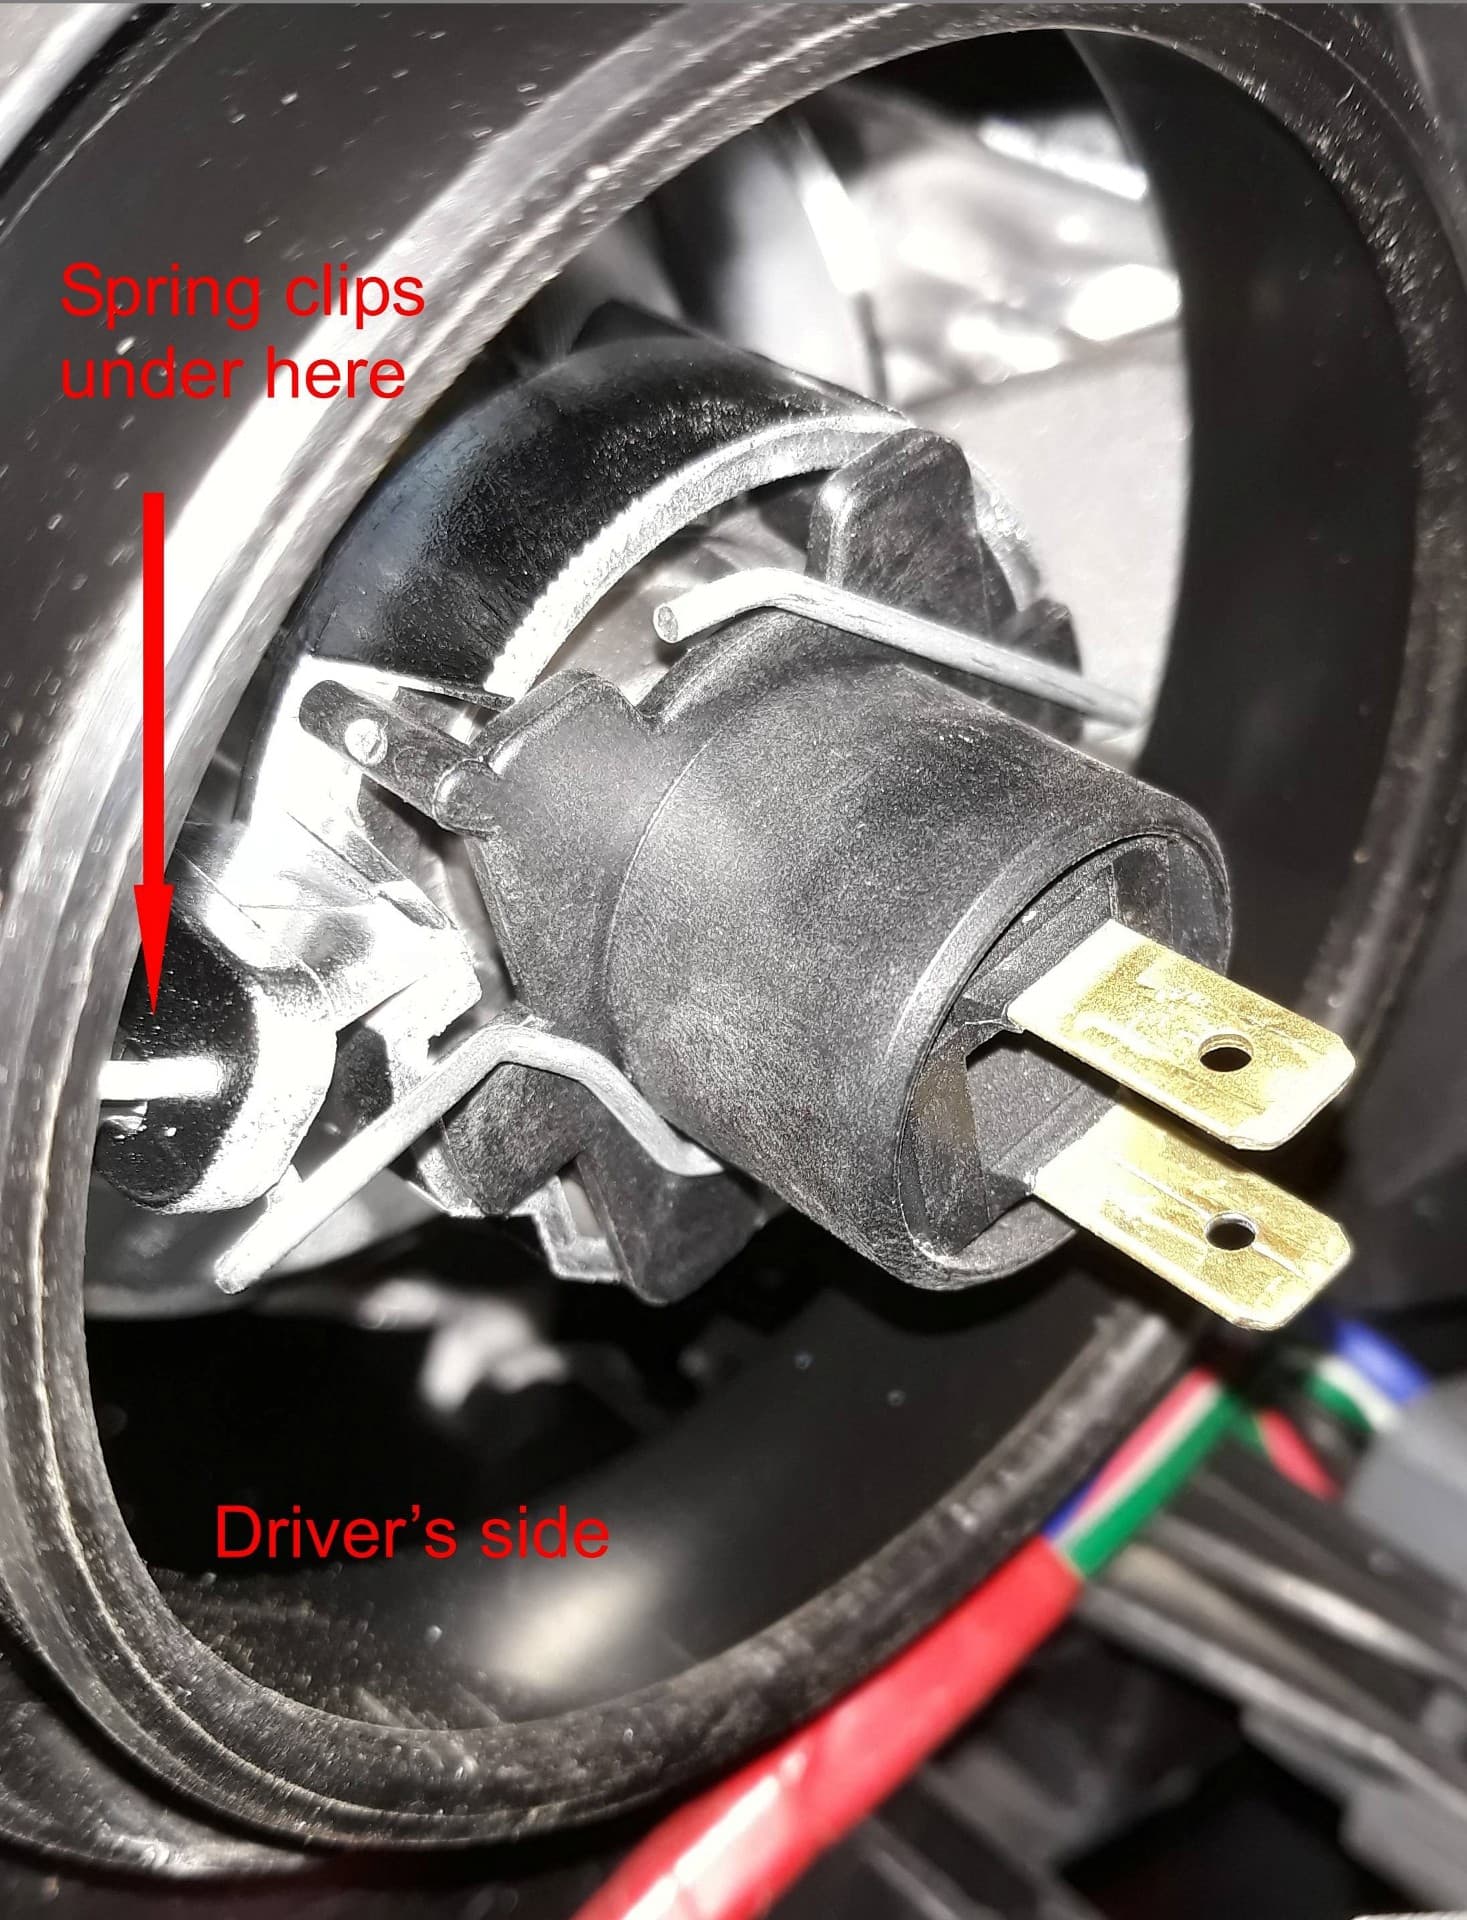
Then left hand only access through here.

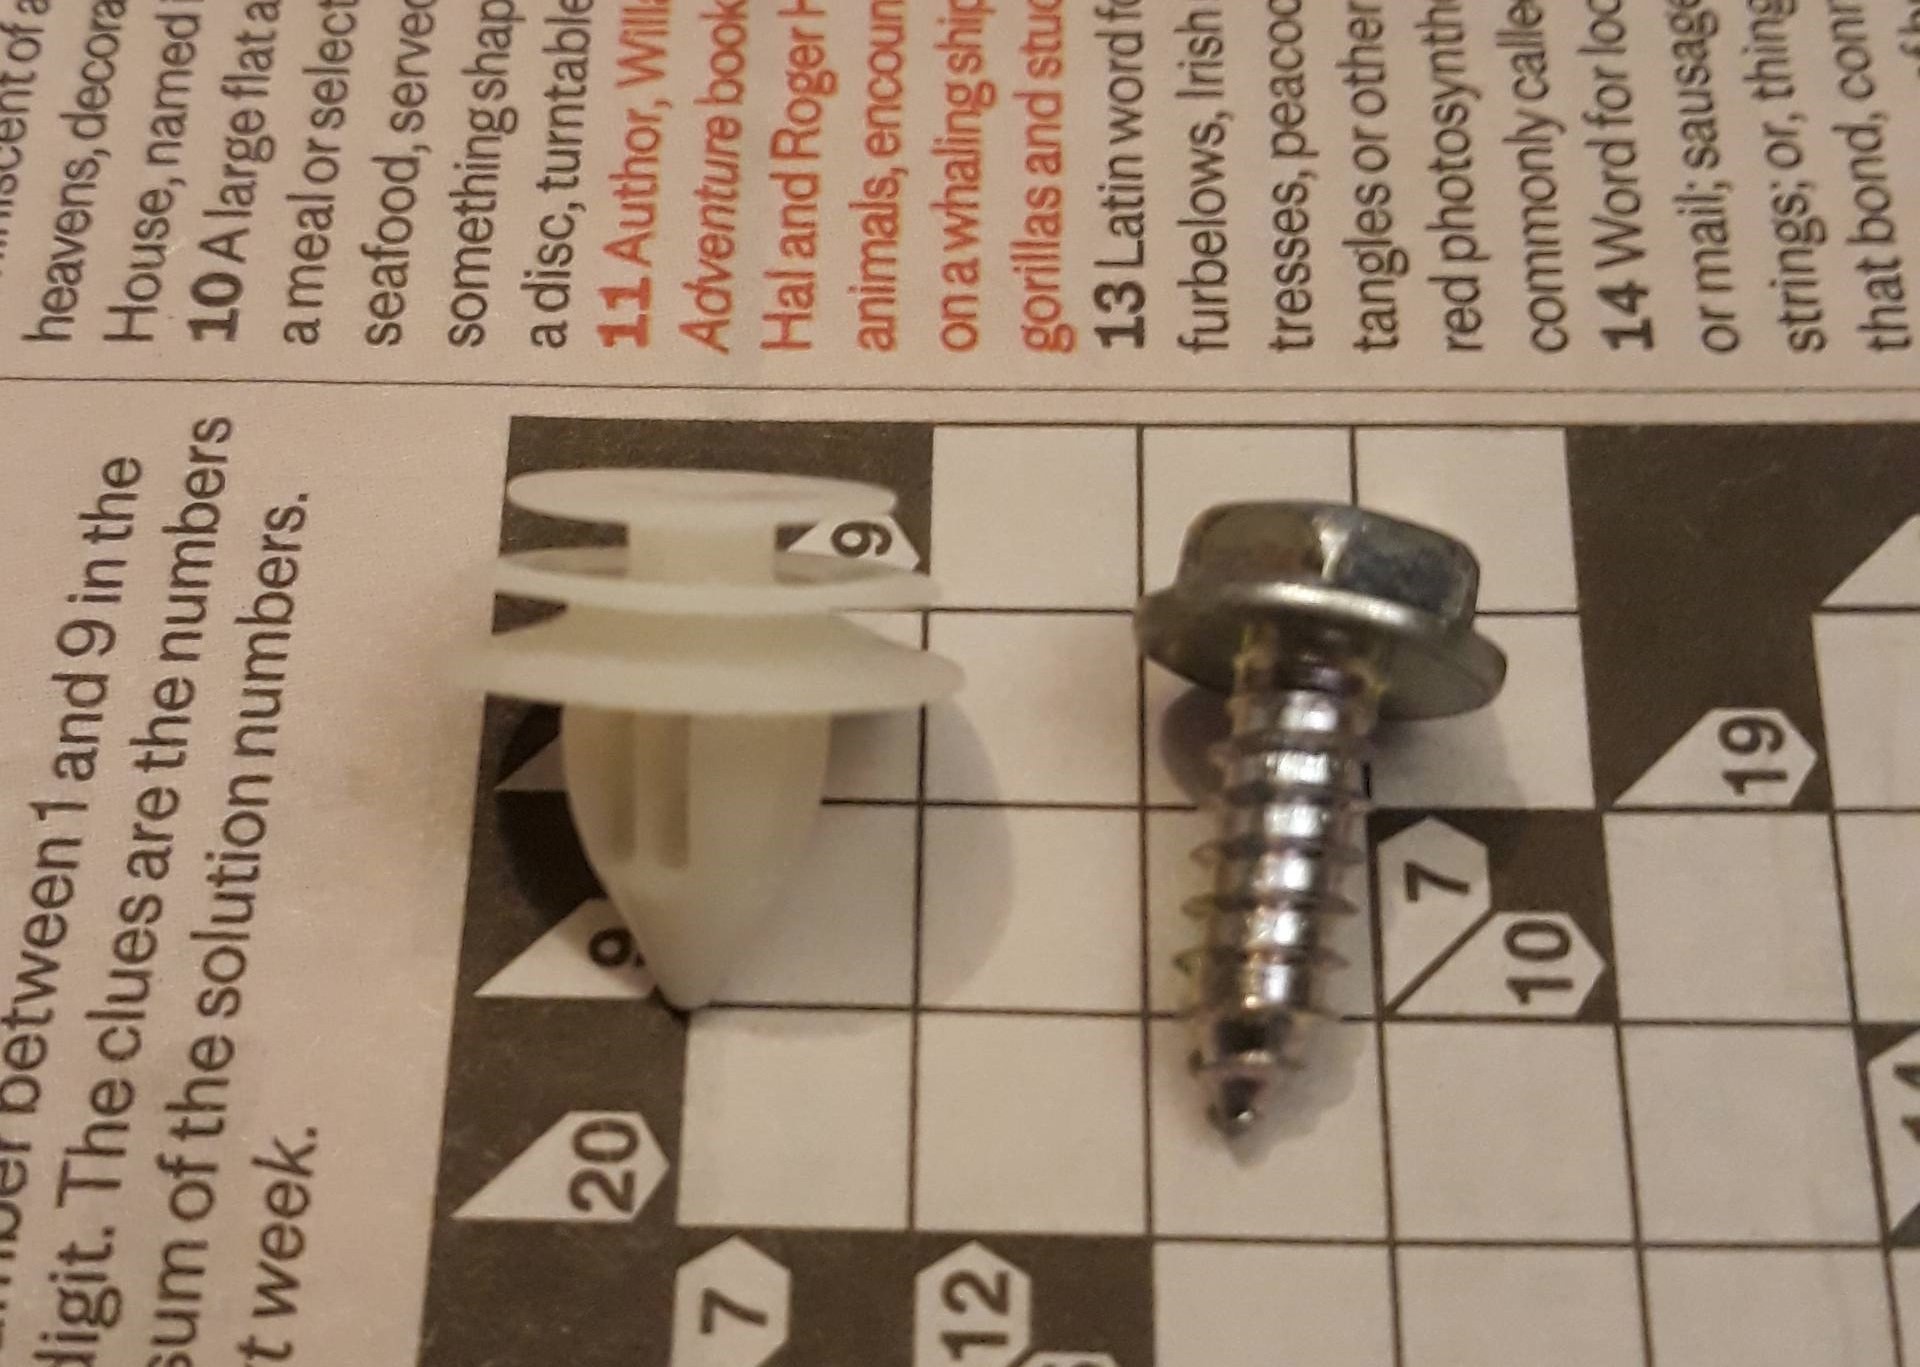
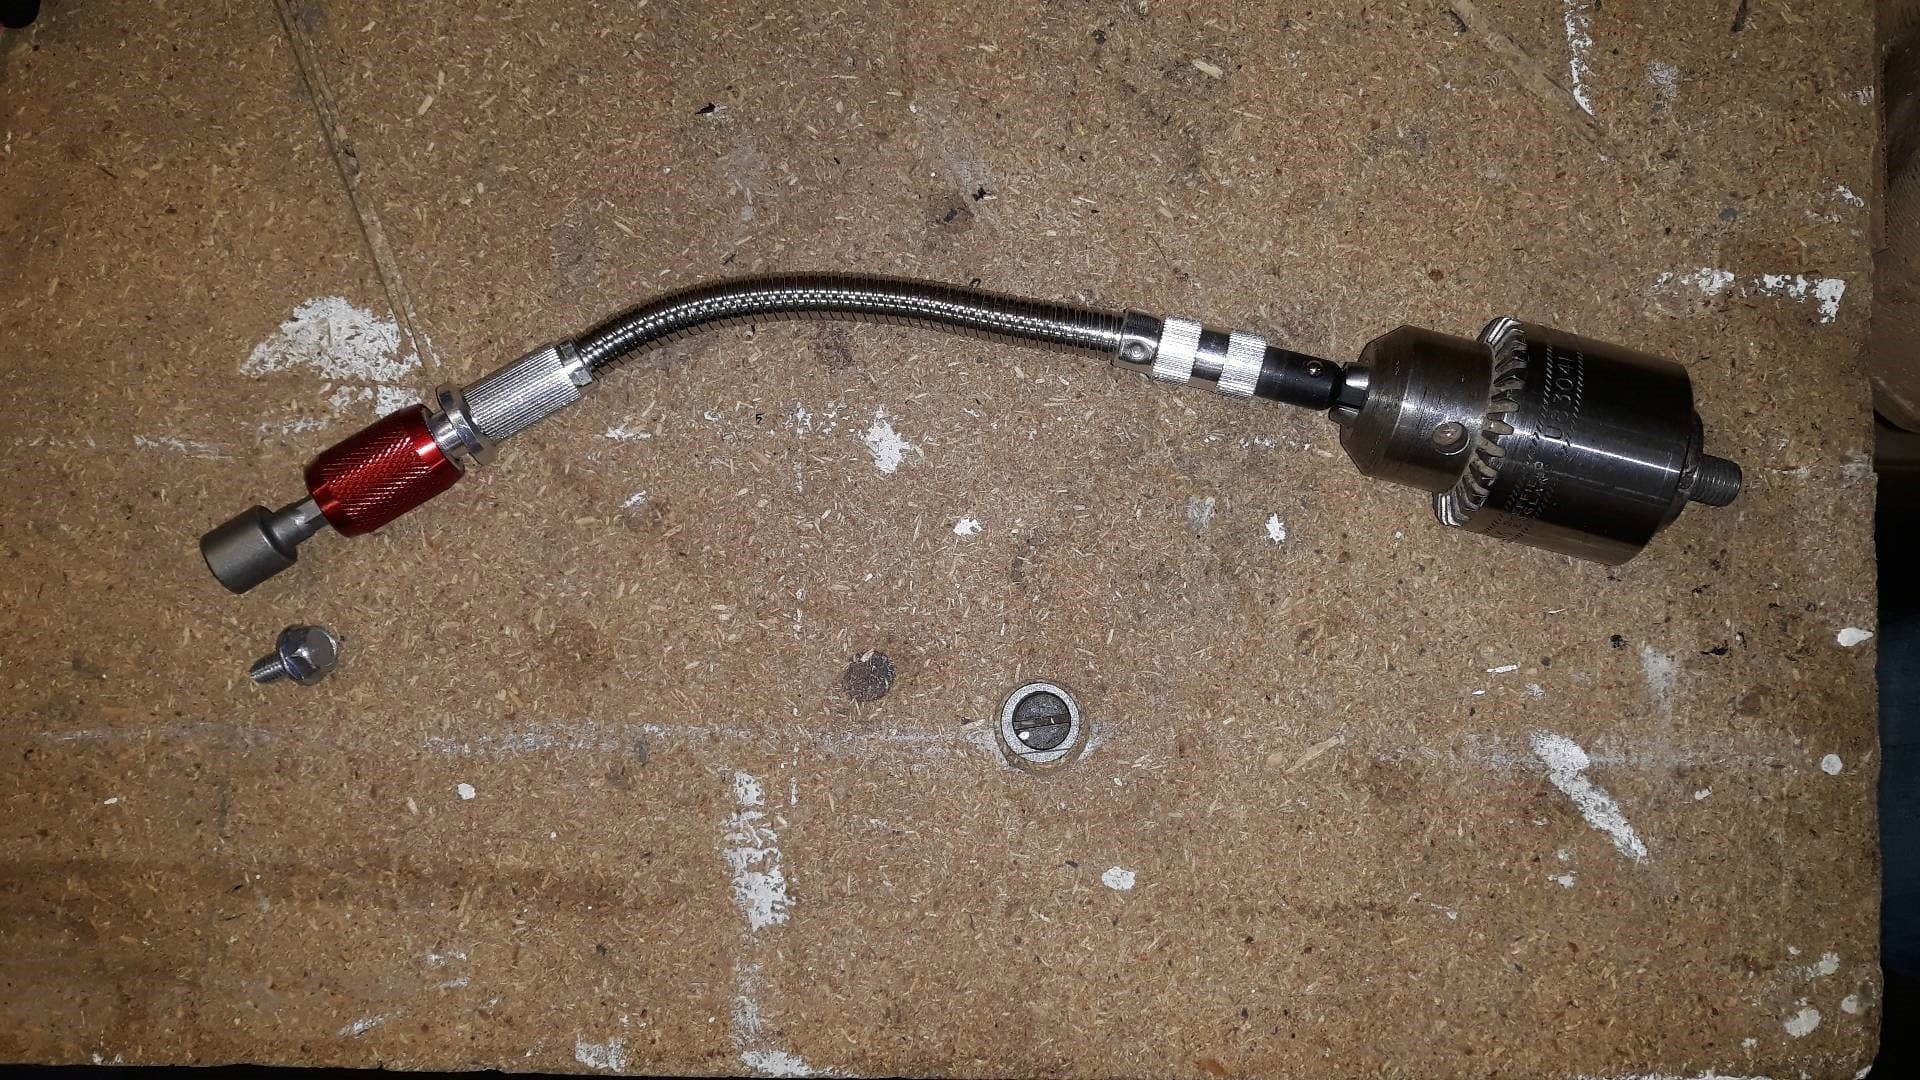
I needed to assemble a fork-tool to push the spring clip because my fingertips were not strong enough at the awkward angle.

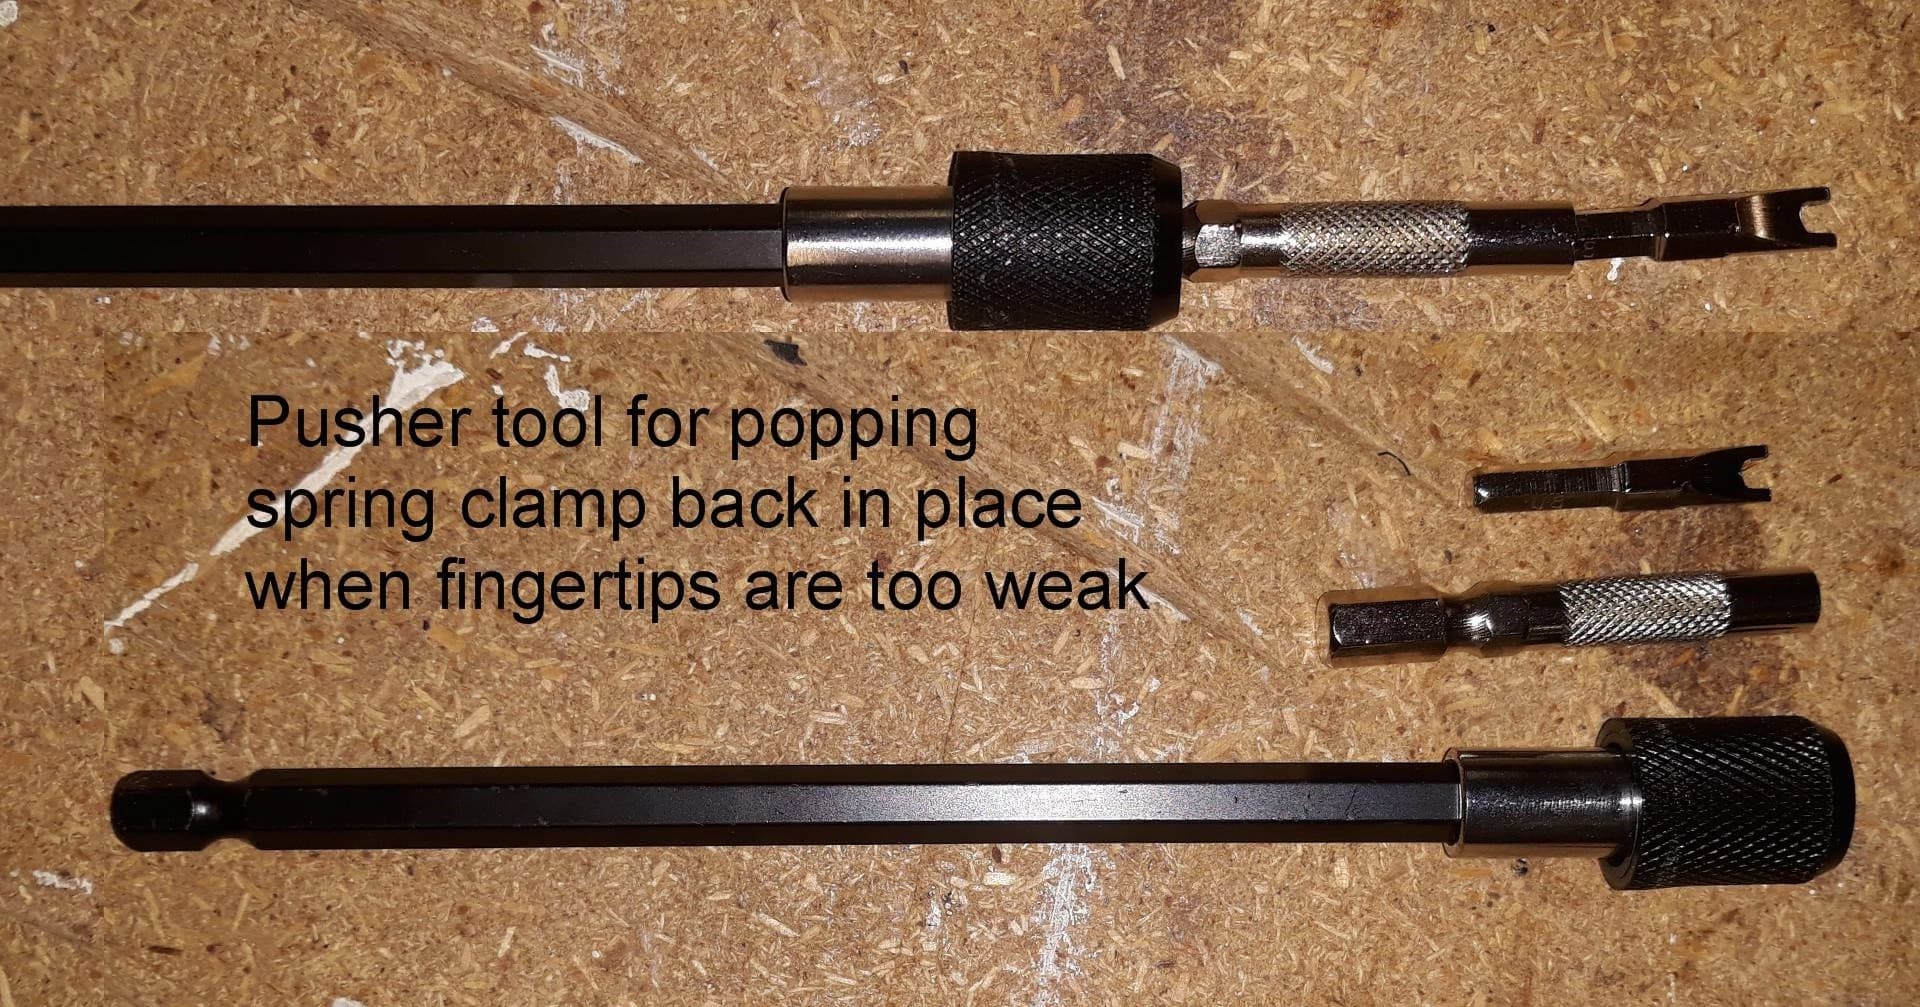
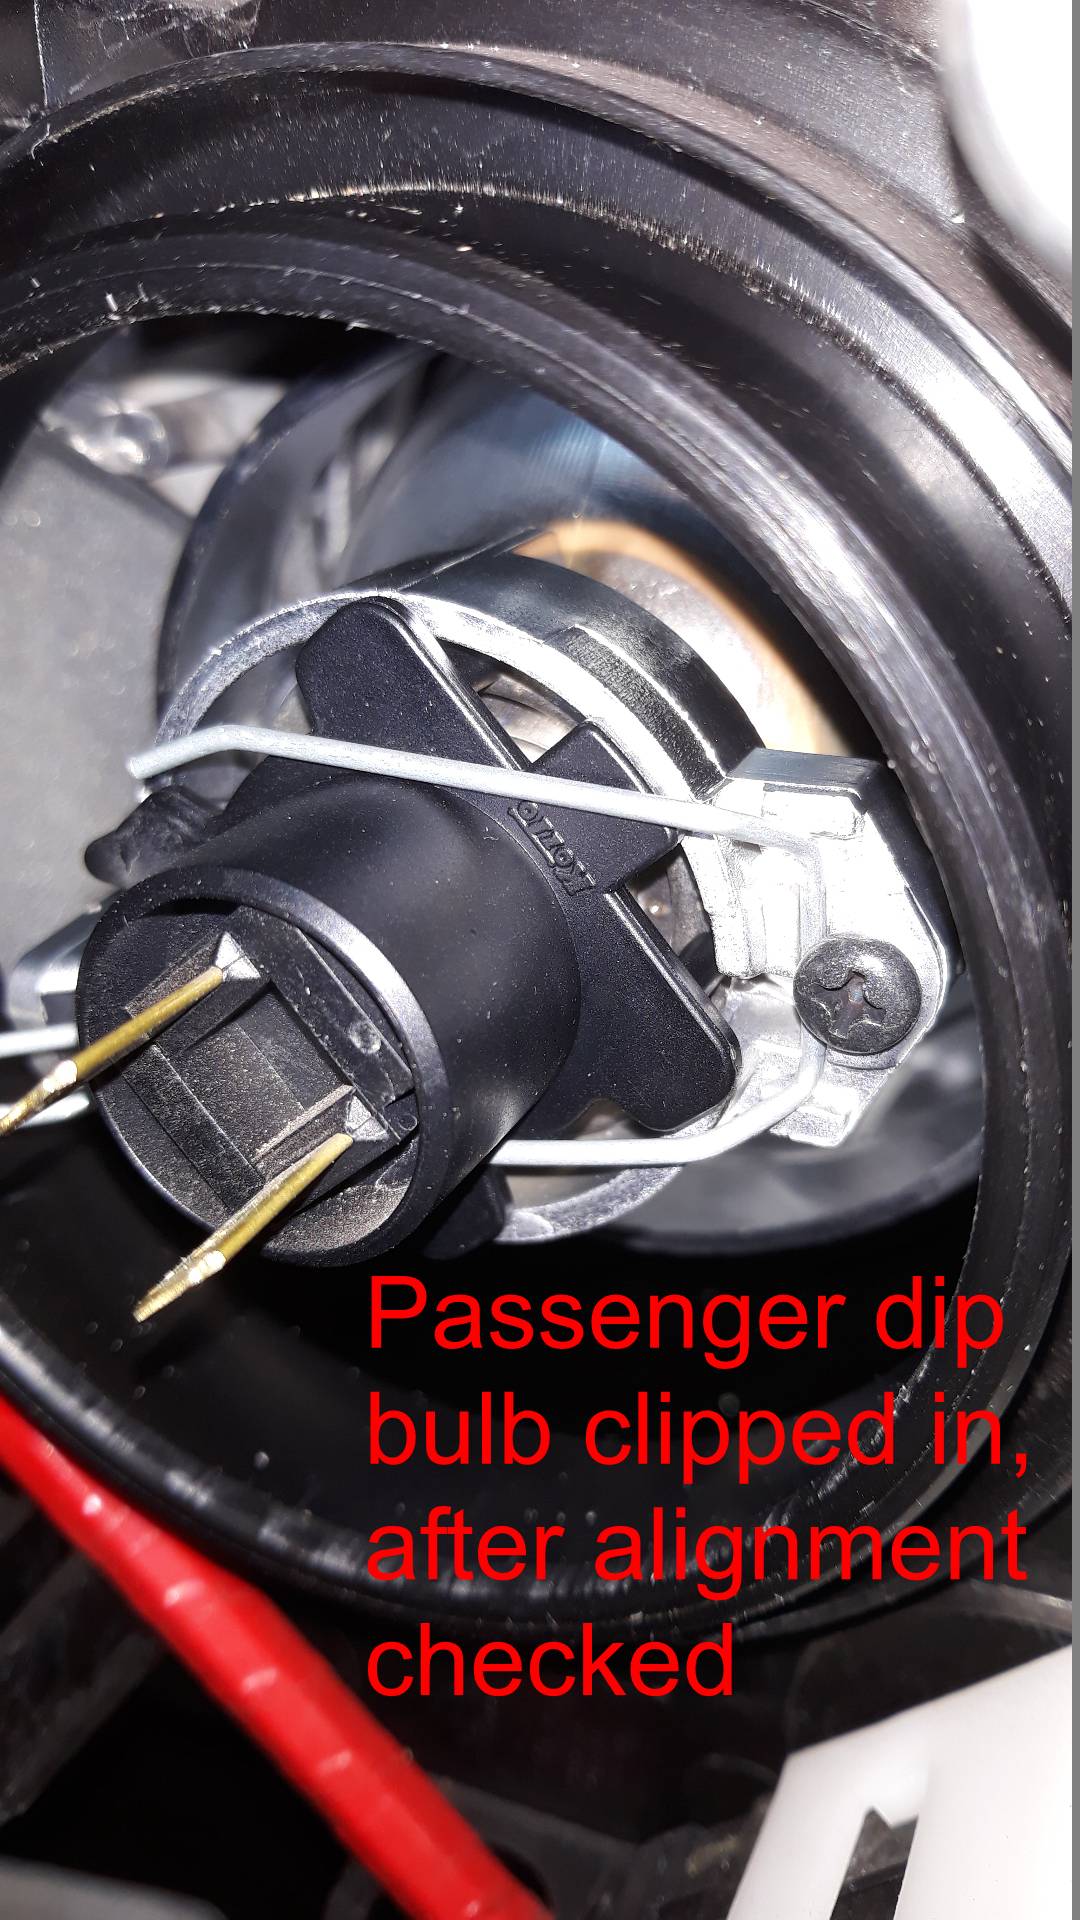
Now all they needed to do was hold it in place while the right hand pushed from beside the fat loom going back from the fuse box, suddenly it’s easy, almost no effort .

3 Likes

A couple of days ago I added some “edge seals” for the bonnet along the wings. Similar ones seemed to keep the Niseko a lot cleaner under the bonnet, so it is worth trying here.
However these are poorer quality than those seven years ago, and I expect these might peel off in hot sun. Never mind, it was very cheap.

1 Like

Just being curious, what dipped bulbs did you use?
I put these in and seem better.

HB3/9005 high beam and H7 Low beam

Nothing extreme, I don’t like a blue light, but the dull yellow on the originals was no good either, positively scary coming back down the M1 in the damp of rush hour from Weedon last year.

I took it round the block last night after the change and the improvement was very noticeable for such a small nominal increase in output.

These oriental cheapos from Az each claim 2500 lumen and 3800K. The halogen bulb part of the lamps looks identical across both HB3 and H7, just differing on the relevant mounting to exactly match the originals.

Supposedly they have more output and are “whiter” than the values as found on websites like Osram, but they are never going to upset an MOT examiner.

And changing all four bulbs for the same manufacturer means they are all the same colour, and also have the best uniform effect.

Osram pdf specifications for info.

Osram HB3/9005 Original Euro-spec 1700lm

Osram H7 Original Euro-spec 1500lm

Thanks for that. :+1:

I finally found time to update the Alpine’s firmware, having taken note from successes gained by others in previous adventures recorded on the Forum.

It was on the factory original 1.1 version

The first small, old USB2 1GB Stick I tried formatted OK and passed H2TestW with no errors, but turned out to be so old it was too slow for the Alpine! A much faster USB3 32GB chip worked a treat and loaded version 1.3.

This allowed me to see the parametric equaliser, and the bass end looked like the Alps! No wonder it sounded awful. I forgot to take a pic because I saw the magic word “Flat” …

I set it Flat and instantly the sound was so much cleaner and better balanced. Result!

I might not need to change the drive units after all, only add a bit of dampening .

I’ll sleep well tonight.

2 Likes

This morning I listened to the Ray of Light CD from Madonna, with its superb audio quality especially in the smooth low bass.

The Alpine is doing OK, not yet hifi, but a lot closer. Still some speaker/cabinet/door resonances that might need damping down.

Next job, possibly this afternoon, I’ll make some acoustic measurements using the Aux socket and my rudimentary test gear and try to find out what the Alpine speakers are actually giving me.

Then the PE might allow me to set the system audio response truly flat without having to take off the door cards.

I’ll do it both lid-up and lid-hid, since the PE offers a couple of settings options to be stored.

I enjoyed a couple of hours with tone source and noise meter this afternoon measuring the “Entertainment system”, one door a t a time. It brought back happy memories of speaker design in 1970s/1980s.

I concentrated on the driver’s door. Passenger door sounds much the same, so I didn’t do any detail testing on it.

I found the main resonance in the system is the outer skin of the car doors, the old cushion test dropped the 50Hz (approx +/-2Hz) audio inside the car by a few dB, curing the peak. But I cannot expect any glamorous assistant to agree to run alongside the car holding a cushion against it.

The PE setting I ended up with saved in a preset is with all the other pre-programmed enhancements and options turned off. This Parametric Equaliser is quite a nice beast and it allows one to shift centre frequency of each band, adjust gain between +7dB and -7dB, and its Q (sharpness of the peak/dip). The graph looks coarser than the actual effect.

Tweeters are both about twice as loud as the main drive units, and there is too much overlap at cross-over, so the PE result might look a bit odd but reflects this.

Next task will be to take off the door cards, add sufficient Silent Coat inside the outer skins to minimise the resonance, and try to cure a buzz that happens sometimes with the window open.

While it’s off I also hope to measure the free air resonance (Fs) of the drive units if I can extract them without damage. This is because speaker output at 41Hz (Bass guitar E string), while audible, is about a tenth of that at 50Hz, and the 30Hz needed for the B of a 5 string bass is there, but very faint at about a hundredth.

New drive units with lower Fs might be useful in the absence of a Sub-woofer. With Sub cross-over filter turned off the amplifier sends the speaker the whole spectrum.

The tone source + signal level meter I used are a small portable pair in the first decent prototype I built back then, mostly for audio equipment testing. It’s still reliable and accurate! The short production run had a lighter, prettier box with proper legend etc.

The noise level meter I used is a cheap modern thingy but it’s accurate enough on relative levels for ad hoc testing like this.

1 Like

A brilliant write-up of your audio improvements, thank you. It’s food for thought for the rest of our community who have that stock Mazda/Alpine unit.

1 Like

Much cursing two days ago when I dropped a small trim tool into the impenetrable depths of the front of the engine bay. I finally thought it through last night, and today dug out the old bore-cam and laptop.

The tool was not visible from the top with normal eyes and torch or with bore-cam so I took out the air-box for better access and found the tool, not in the cooling fan as I feared, but all the way down in the front under tray.

The hole it went though is only about an inch square!

Bore-cam lead fits easily,.

And after a bit of wiggling around it gave me this indistinct but reassuring picture of the offending item all the way down on the under-tray.

I’ll take the under-tray off later when I’ve finished varnishing the oak shelves I machined yesterday

I mentioned shelves, but things have been so busy the last couple of weeks I’ve not done anything to the 25AE except re-secure the front number plate.
I’m still not happy with how the plinth fits to the nose cone, some surgery is needed to prevent it rocking.

In the meantime, these are the shelves

1 Like

Applied Dinitrol inside the front chassis rails and down-links to sills.

Passenger side shown, the plastic arch liner clips provide excellent access holes, spray in the direction of the arrows. Something inside the rail prevents access past behind the springs, but spray from each side and the long-wand reaches far enough for full coverage.

I took off the lower front liner, but this is not necessary because there is no access big enough to aim the wand, and the clip holes are ample. So I didn’t bother dropping the driver’s side or taking the wheel off, much quicker that way while still on the axle stands, and no pics because I was in a hurry to be done before a visitor arrived.

And I retrieved the trim tool.