- My model of MX-5 is: NA6
- I’m based near: London
- I’m looking for technical help or recommendations on: Heated Seat Wiring
HI all, first post regarding my newly acquired Eunos roadster 1.6. Decided it would benefit from heated seats and bought a kit from MX5 City … seats are all done but now getting on to the wiring phase
where’s the best place to pick up a switched ignition feed? … fusebox seems a bit sparse and nothing looks switched there? also there are the electric windows which could be a possibility ? thoughts ?
You could use a fuse doubler and take it from one of the higher fuse positions from the fuse block up under the steering column (behind the bonnet pull). It’s easier to drop the panel under the steering column (2 screws). You can then run a wire over the column zip tying it to keep it out of the way. Don’t know where your seat switches have been positioned, but you can bring the wire out under the tombstone to where you need it to be.
Fuse box position (US car) so reverse it!
Fuse doubler can be bought cheaply from eBay or Amazon or expensively from Halfords 
Radio and windows are switched so depending which way around you fit the doubler it should be switched on the feed out from the doubler. Try it each way around and check.
thanks Jeff … i presume you mean use an “add a fuse”? - i have those in my kit bag.
my concern was the total demand i could be putting on the circuit… so for example if I use the radio as the switched live, there would be a 10amp fuse already for the radio plus 15amp for the heated seats … would that not “fry” the cables coming into the fuse box at that fuse location or do you think it would be ok ?
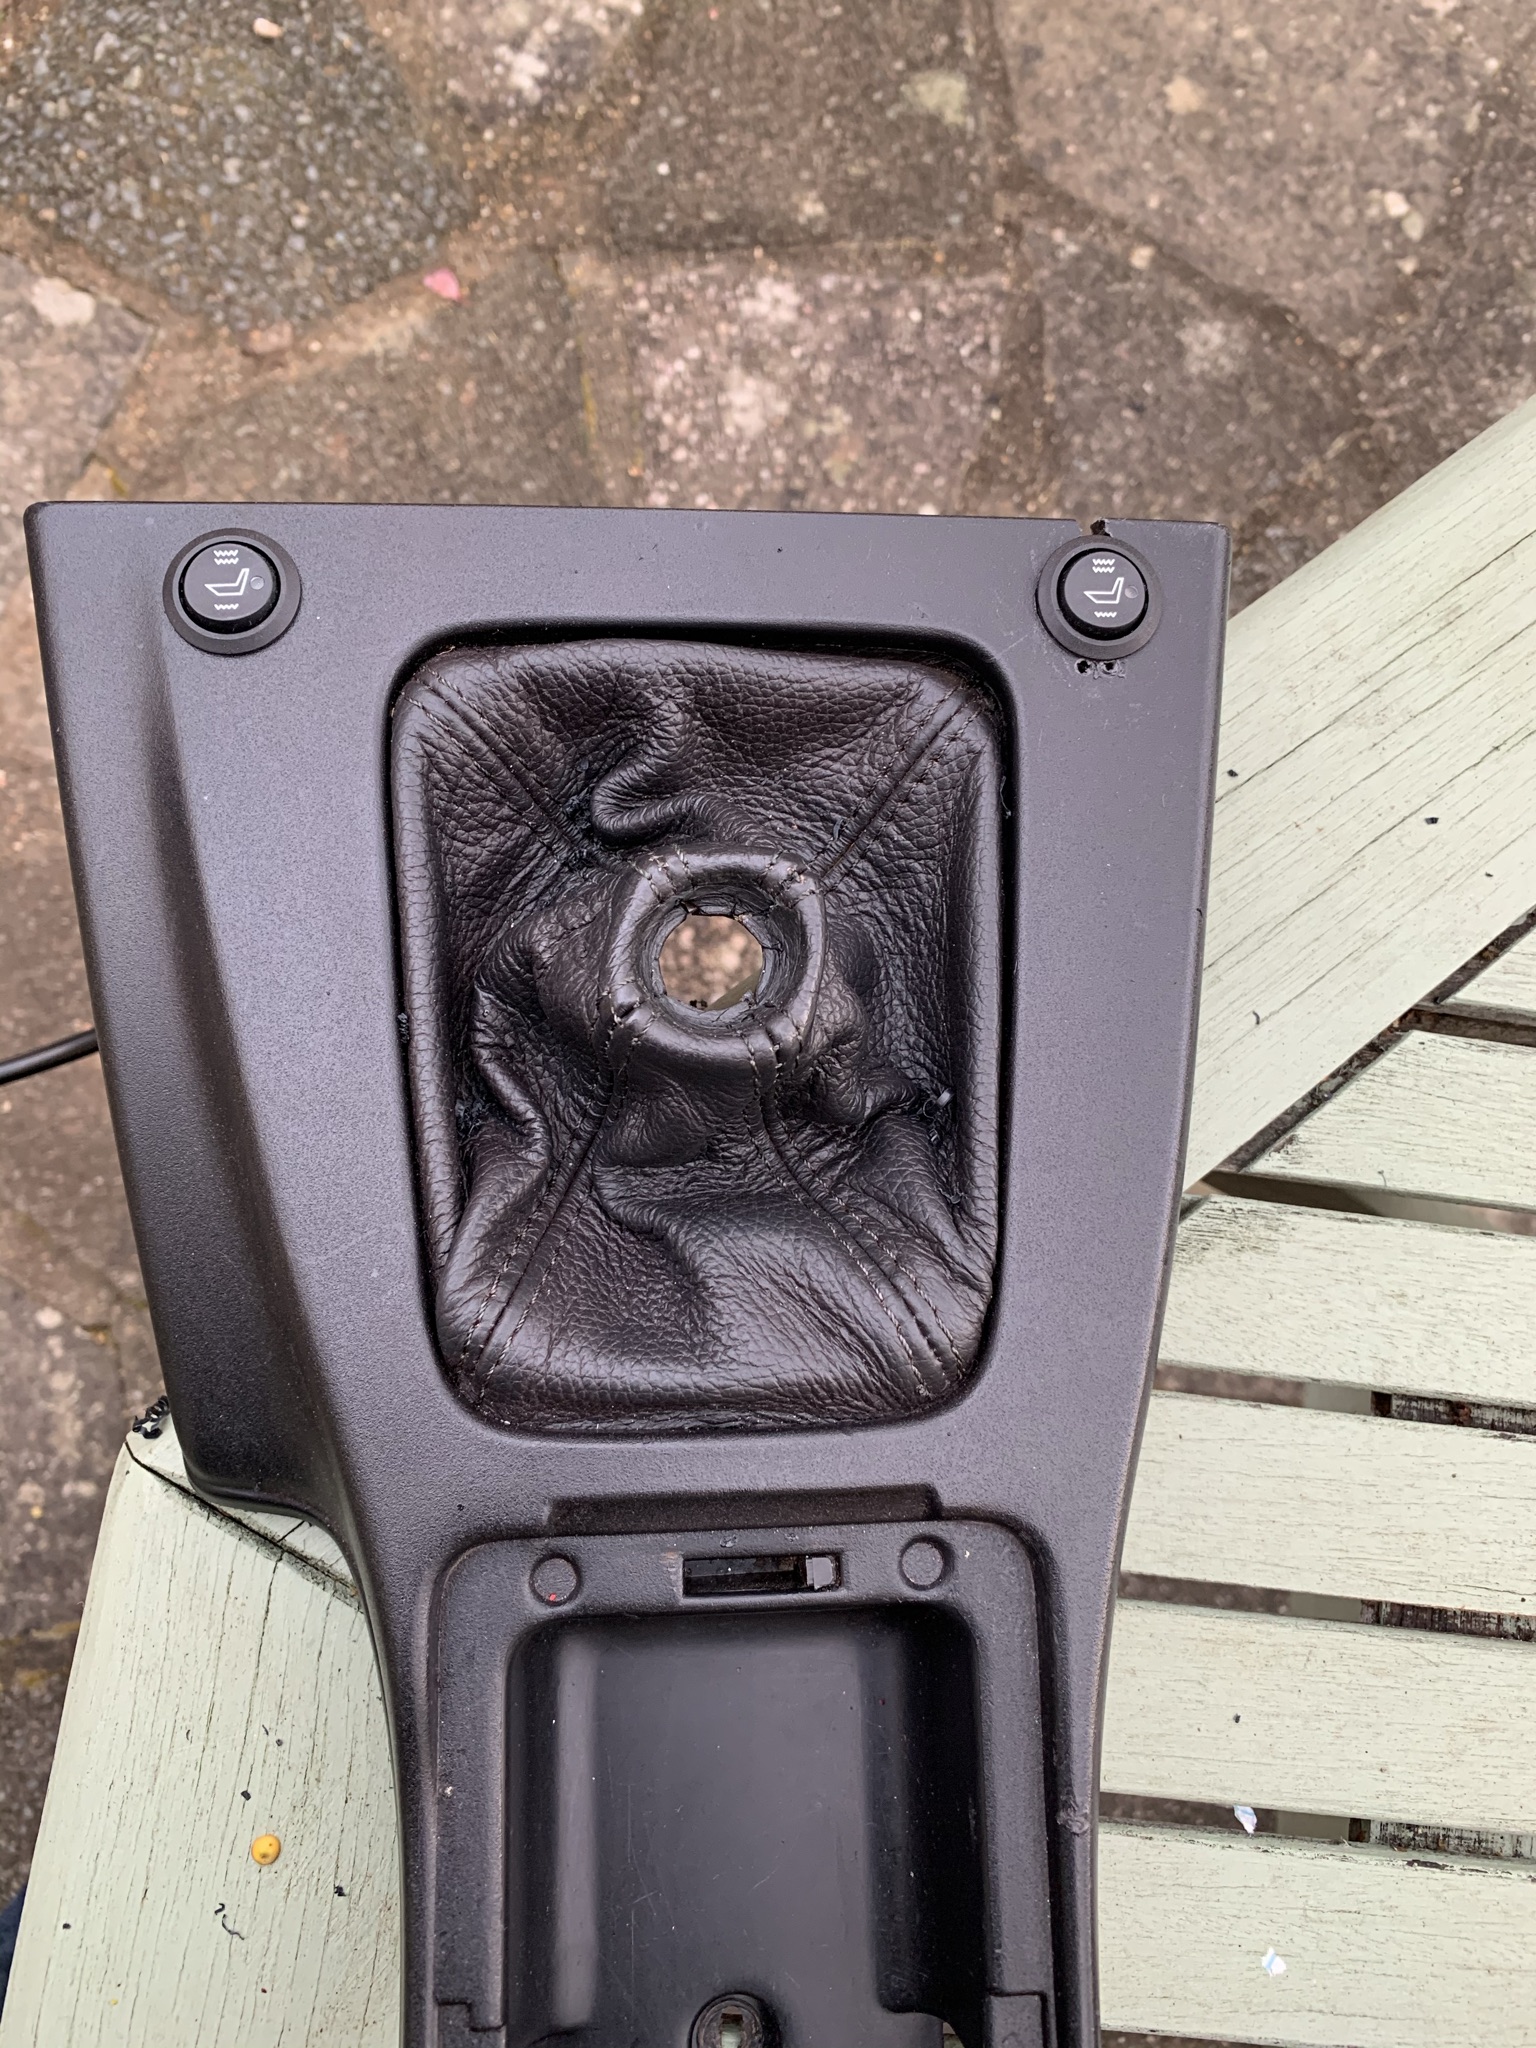
and i have not positioned the switches yet but was thinking on the centre console either side of the gear lever … i was planning on screwing the relays to the underside of the seat so they can slide back and forth easily.
Don’t know what seat heater specs are, but doubt that they would exceed 10amp. Are they just seat or are they seat and backrest? Do they have just one on position or on low, on medium, on high?
Have you got a link to what you bought?
Might be an idea to feed off the Cigar at 15amp
well the heated seat kit is the Waeco magicomfort… each seat (2 pads) is 90 watts so 180 watts total … using P=IxV that means the current is 180/12 = 15 amps max (incidentally each inline fuse ( 1 per seat) is 7.5 amps… so 15 amps total … so i guess the question is if you had both seats on full power and you used the cigarette lighter, would you melt the cars wiring loom … my dad (who is an ex sparky but not on cars) says probably not but he doesn’t know how thick the wires actually are … thoughts ?
1 Like
I don’t think it would overload the wiring and the wire would be rated higher than the fuse. If there would be an issue, then the fuse would blow first in any event (or at least that’s how it’s designed to work).
Just don’t smoke and heat the seat at the same time
haha … i was thinking more of having a dashcam on and a phone charging whilst the seats were on … i think it will be ok … and theres only one way to find out … will crack open the multi meter and will report back
BTW - does the fuse box have a cover with the fuse listing ? mine certainly doesnt
There is a clip on cover but it is often missing. It has a pic of the fuses and the little tool for pulling fuses. No hardship if missing.
I would use “cigar” for your seats and maybe one of the others for dash cam and phone so as to spread the load, albeit it’s tiny.
Maybe
add-a-fuse for seats on the “cigar” fuse and
add-a-fuse for dash cam and phone charger on the “room” or “stop” fuse
Should spread any extra load nicely.
1 Like
Fitted the Waeco kits to both of my NAs many years ago. There is a permanent live feed which is the high current one and a switched feed which just operates the relay so very low current. Both are fused with inline fuses. I teed on to the permanent live feed and the accessory feed on the wiring for the ignition switch. stripped off a small amount of insulation from the wires, twisted, soldered and insulated. Disconnect the battery first as you don’t want to be shorting either of those wires to earth.
Kits were really effective and although a universal kit both base and back pads were a perfect size for the NA seats.
1 Like
Thank you guys
@Roadie - the kit mx5 city sent me cannot be the waeco kit then … I bought it expecting the wiring to be the way you said… this kit only has a switched live and an earth … not to worry though as it looks decent quality
@Jeff_jthspace - thanks for your replies … I agree about splitting the load and will figure something out and will post back how I did it in the end
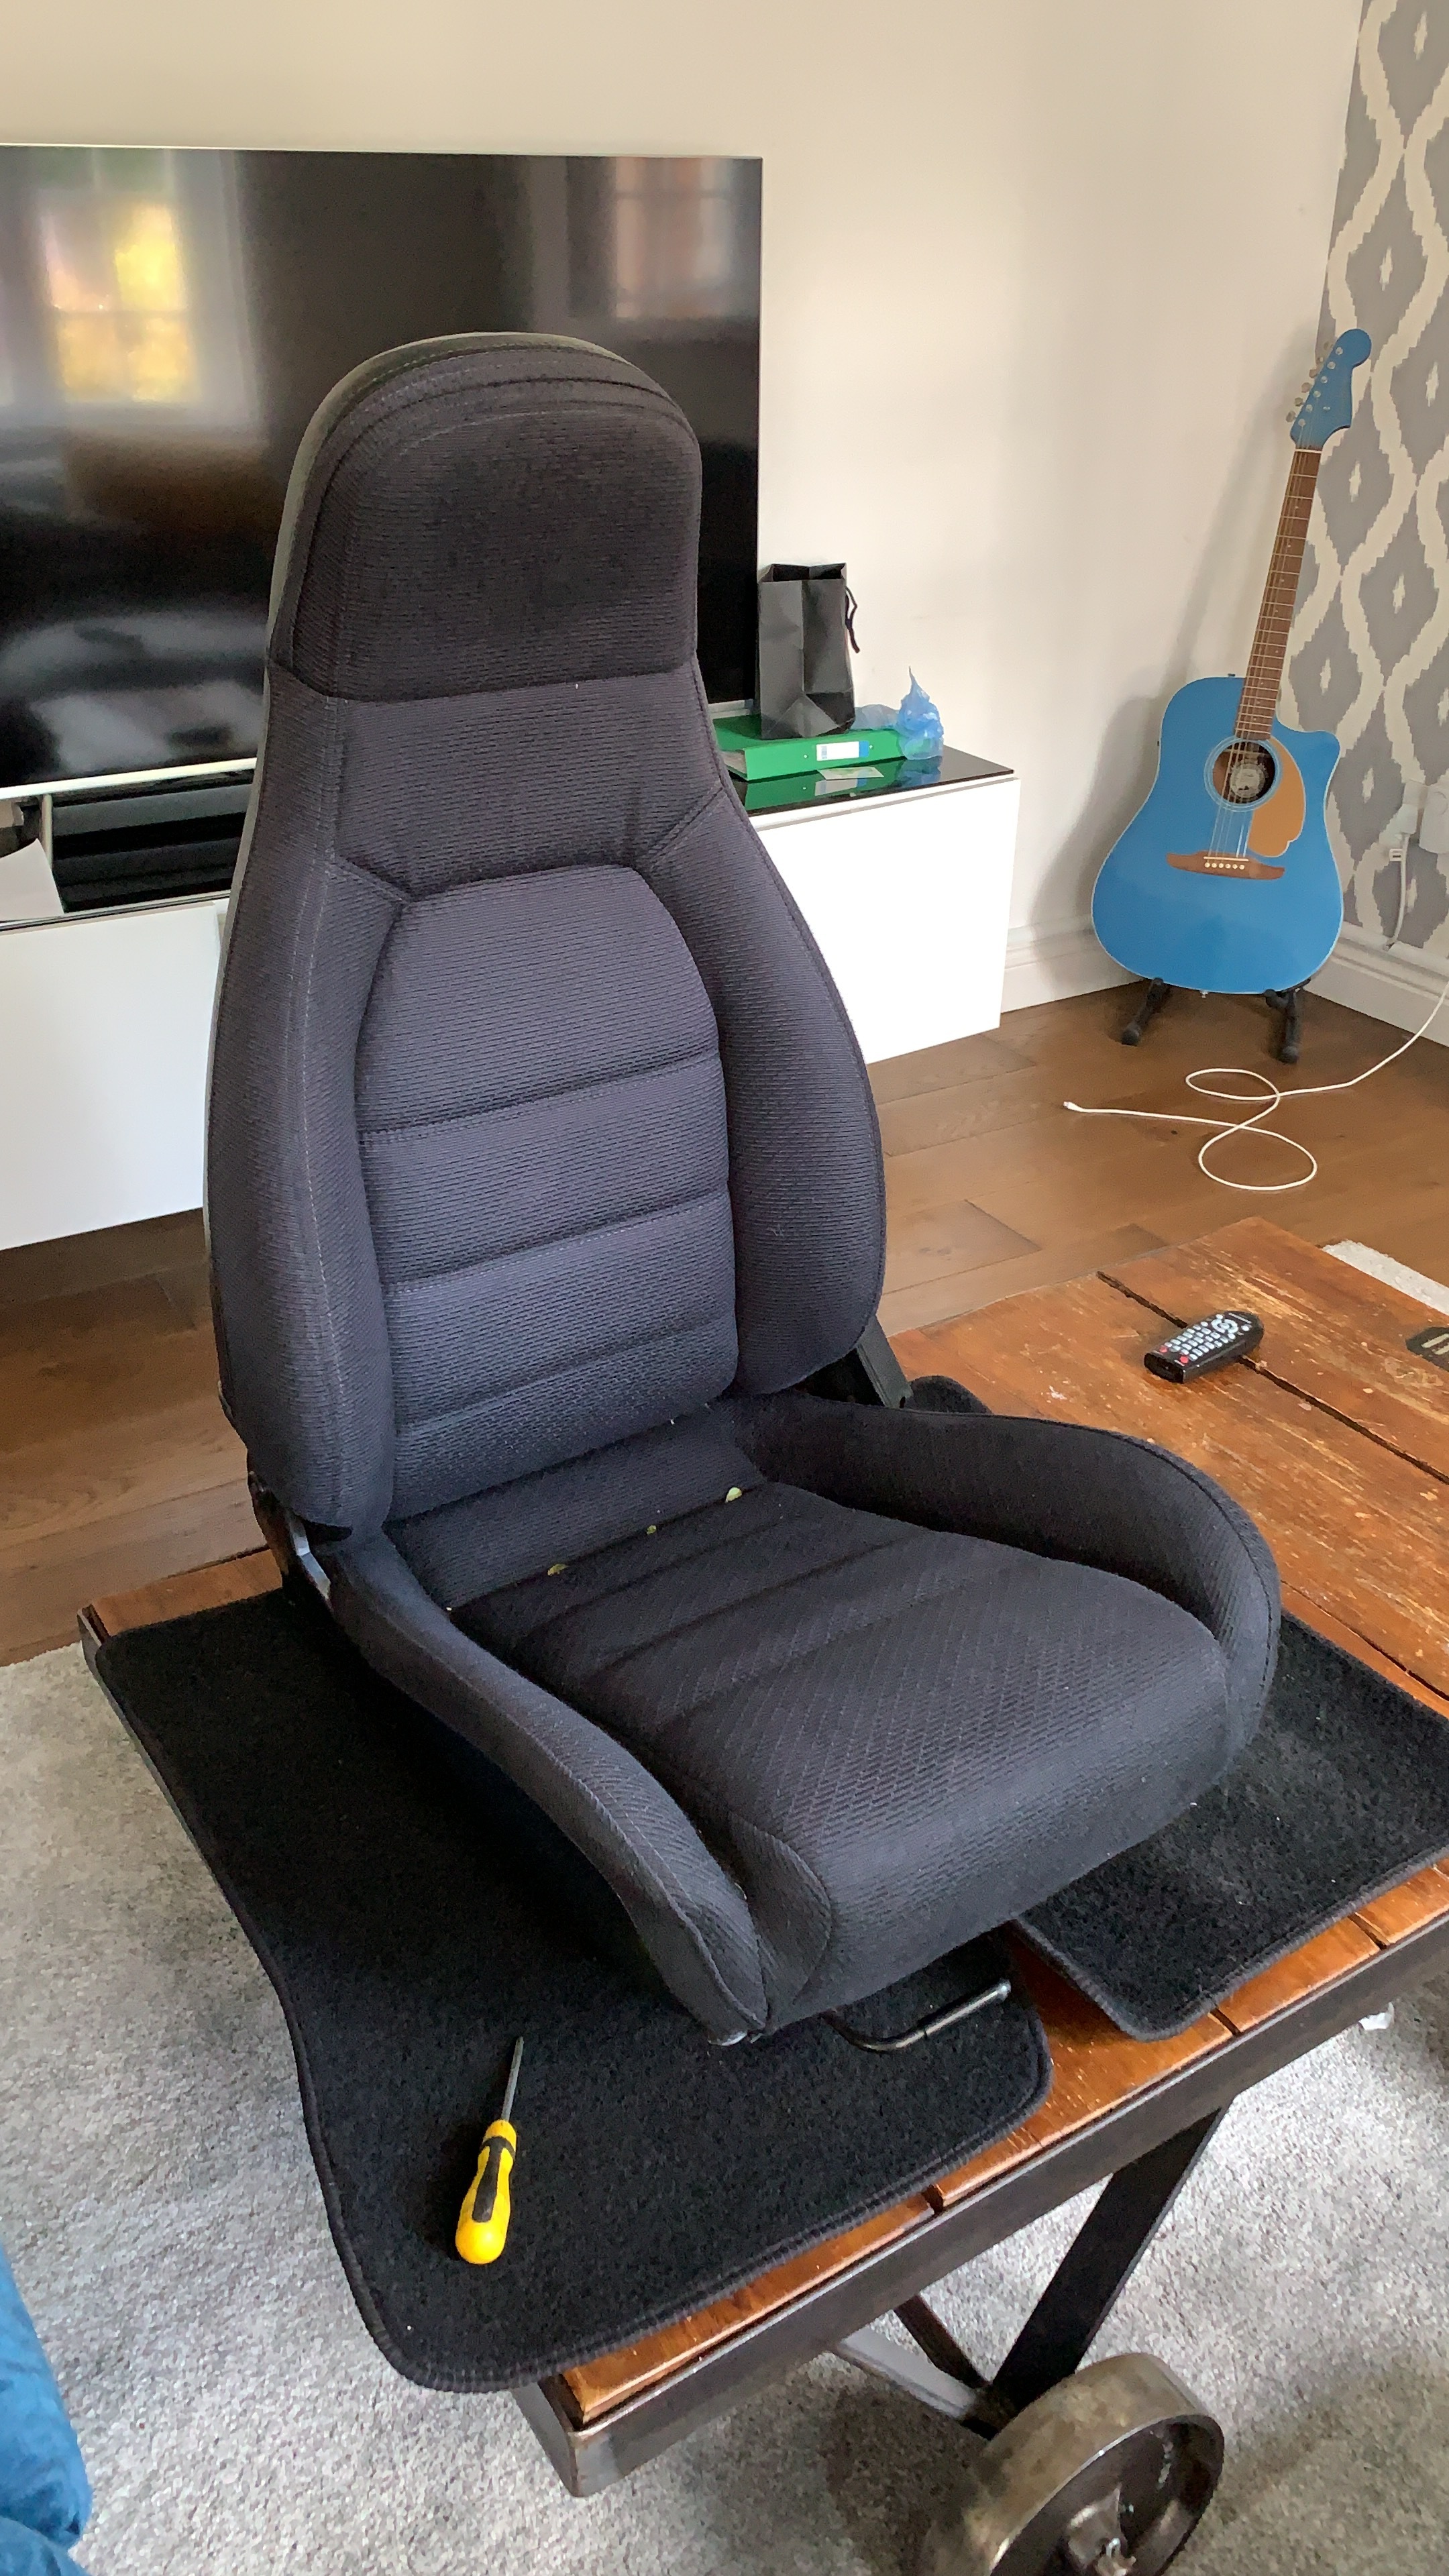
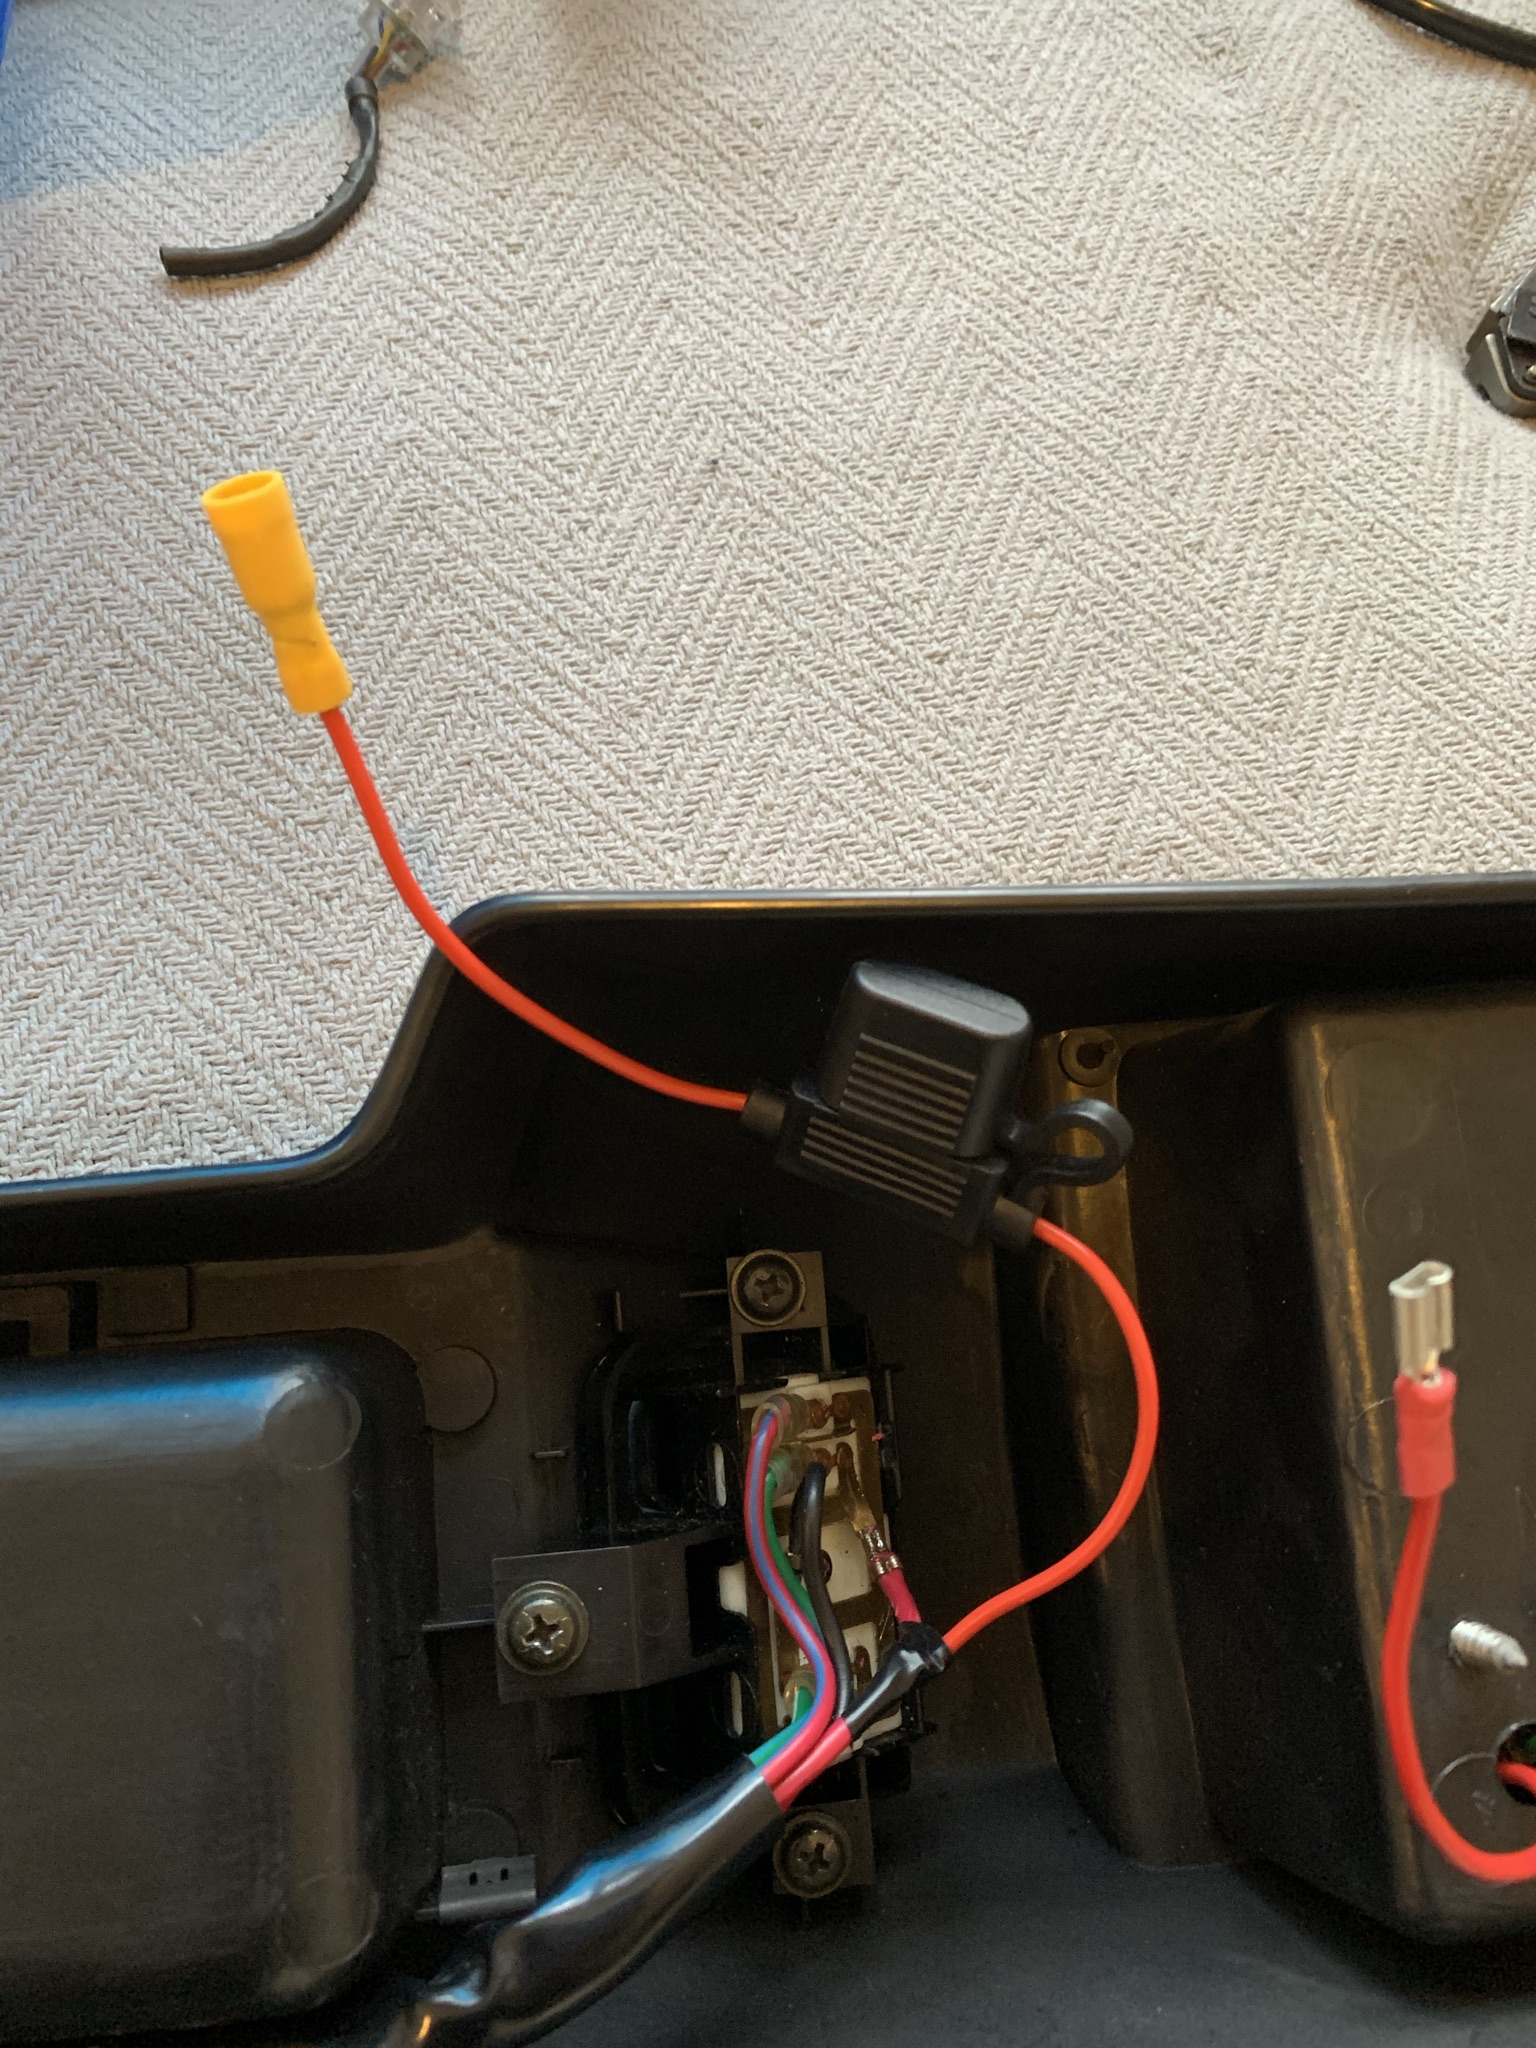
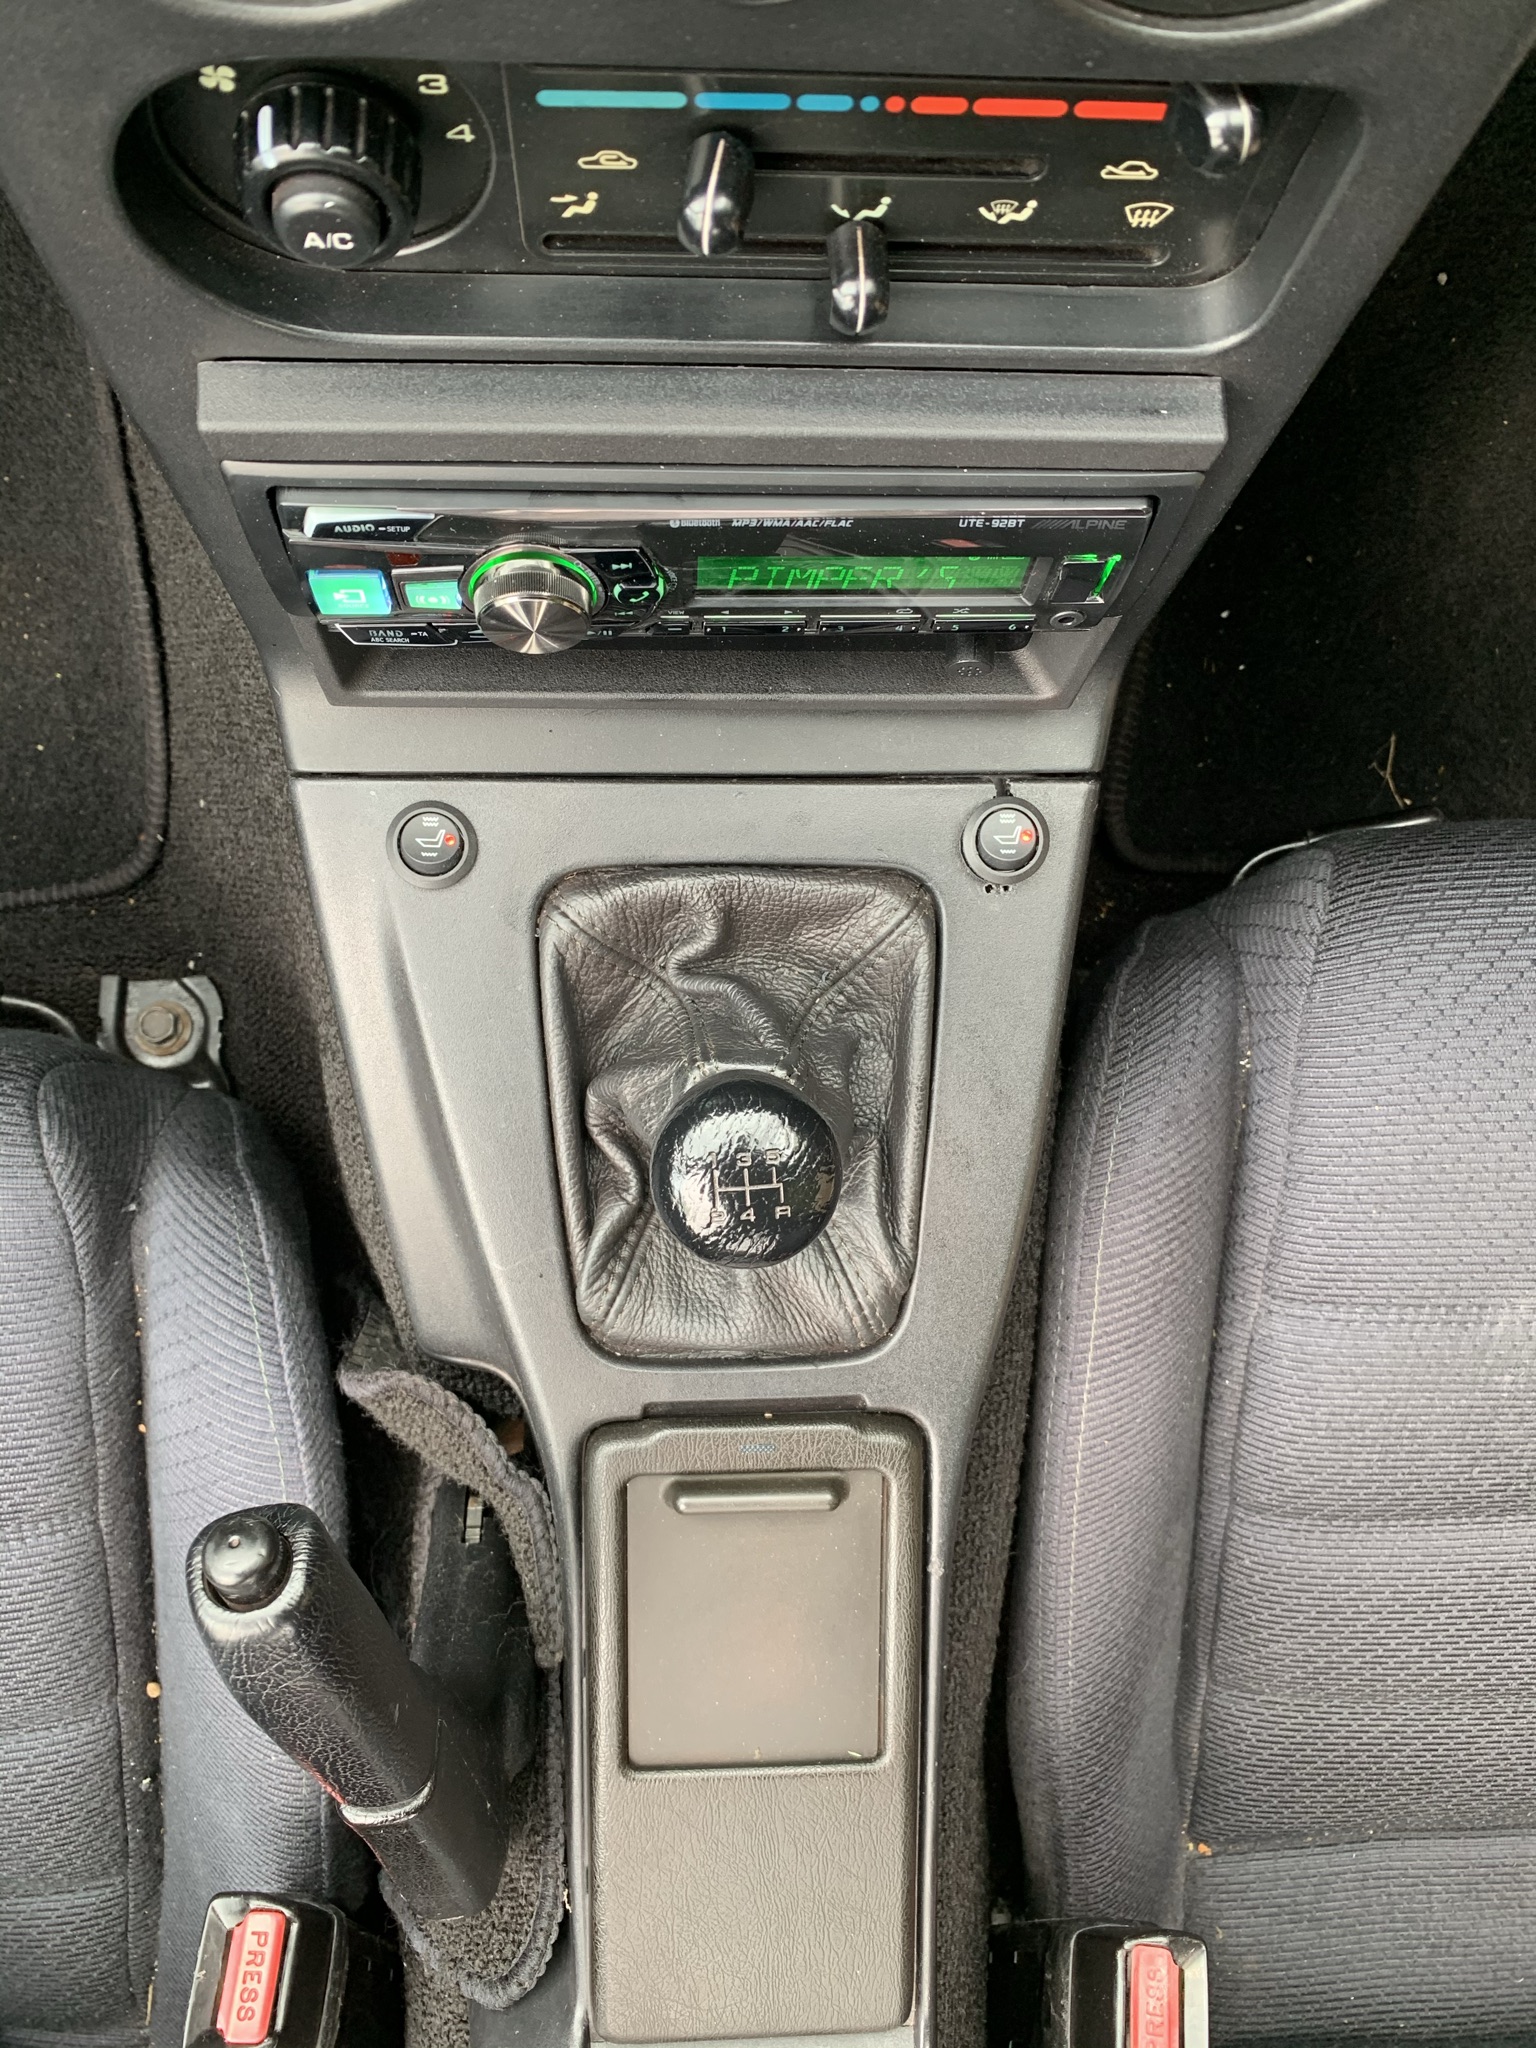
just an update on this … its done and working! … in the end i used the electric window wiring … i took the section from the window switch to the connector that attaches to the main vehicle wiring loom (its pretty beefy) … i learnt so much doing it and am really satisfied with the results … the seats have 2 settings and get nice and toasty without being ridiculously hot!
Some pics
-
seat out
-
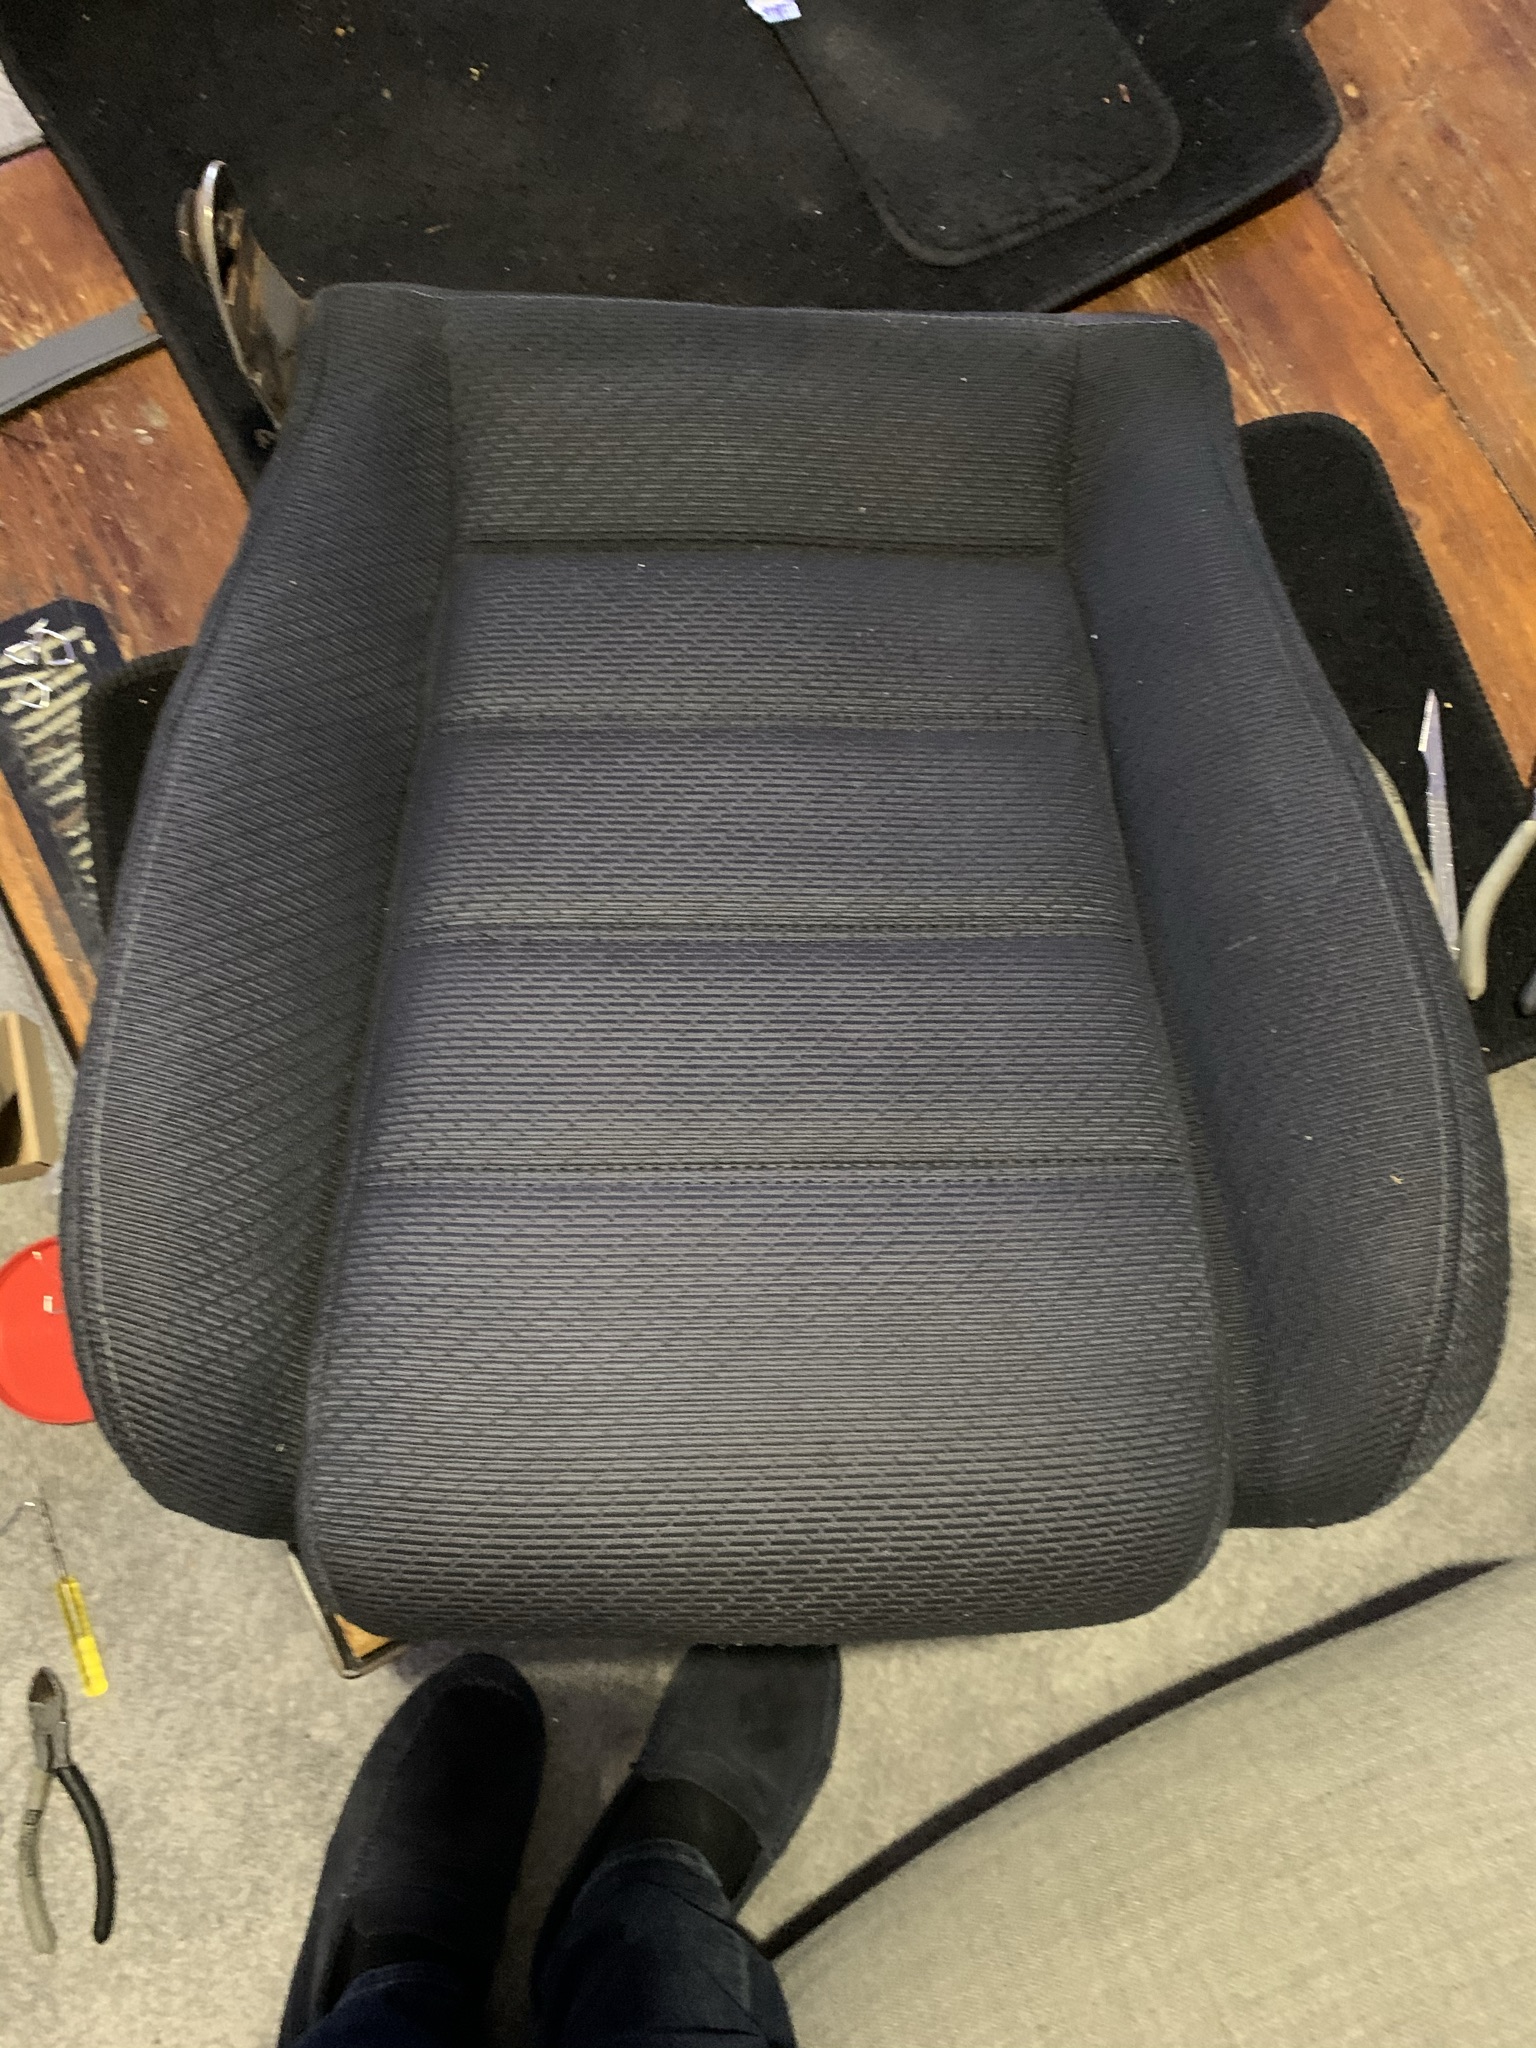
Backrest separated
-
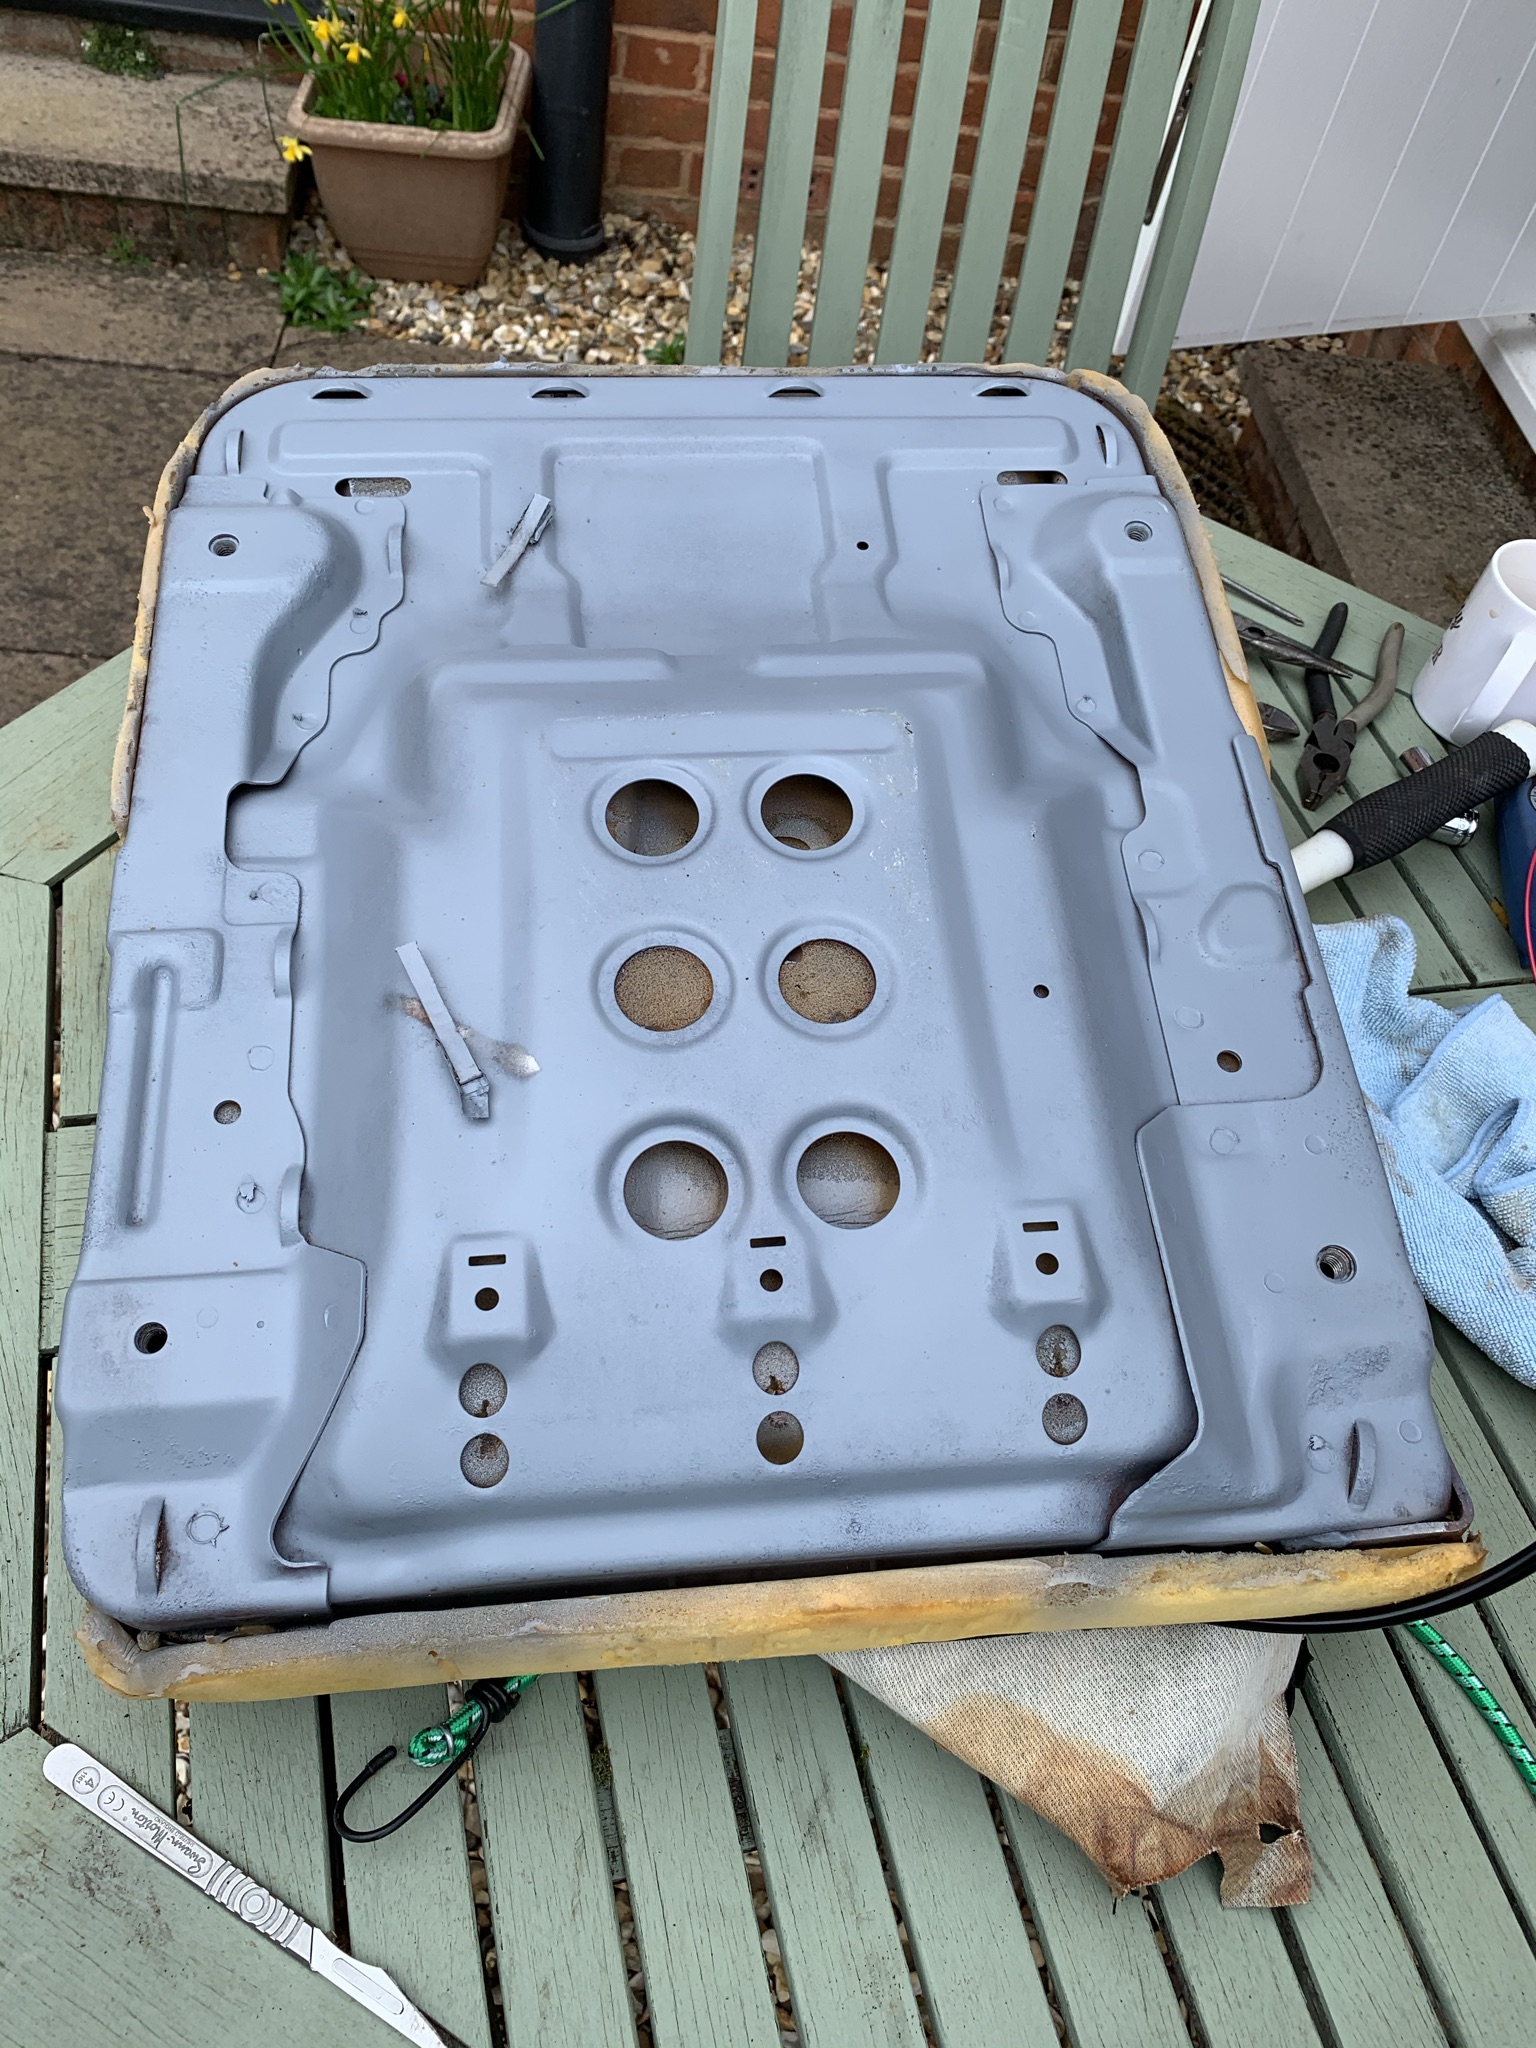
really rusty crust seat base… this is it after a good wire brushing
-
etch & rust primer
-
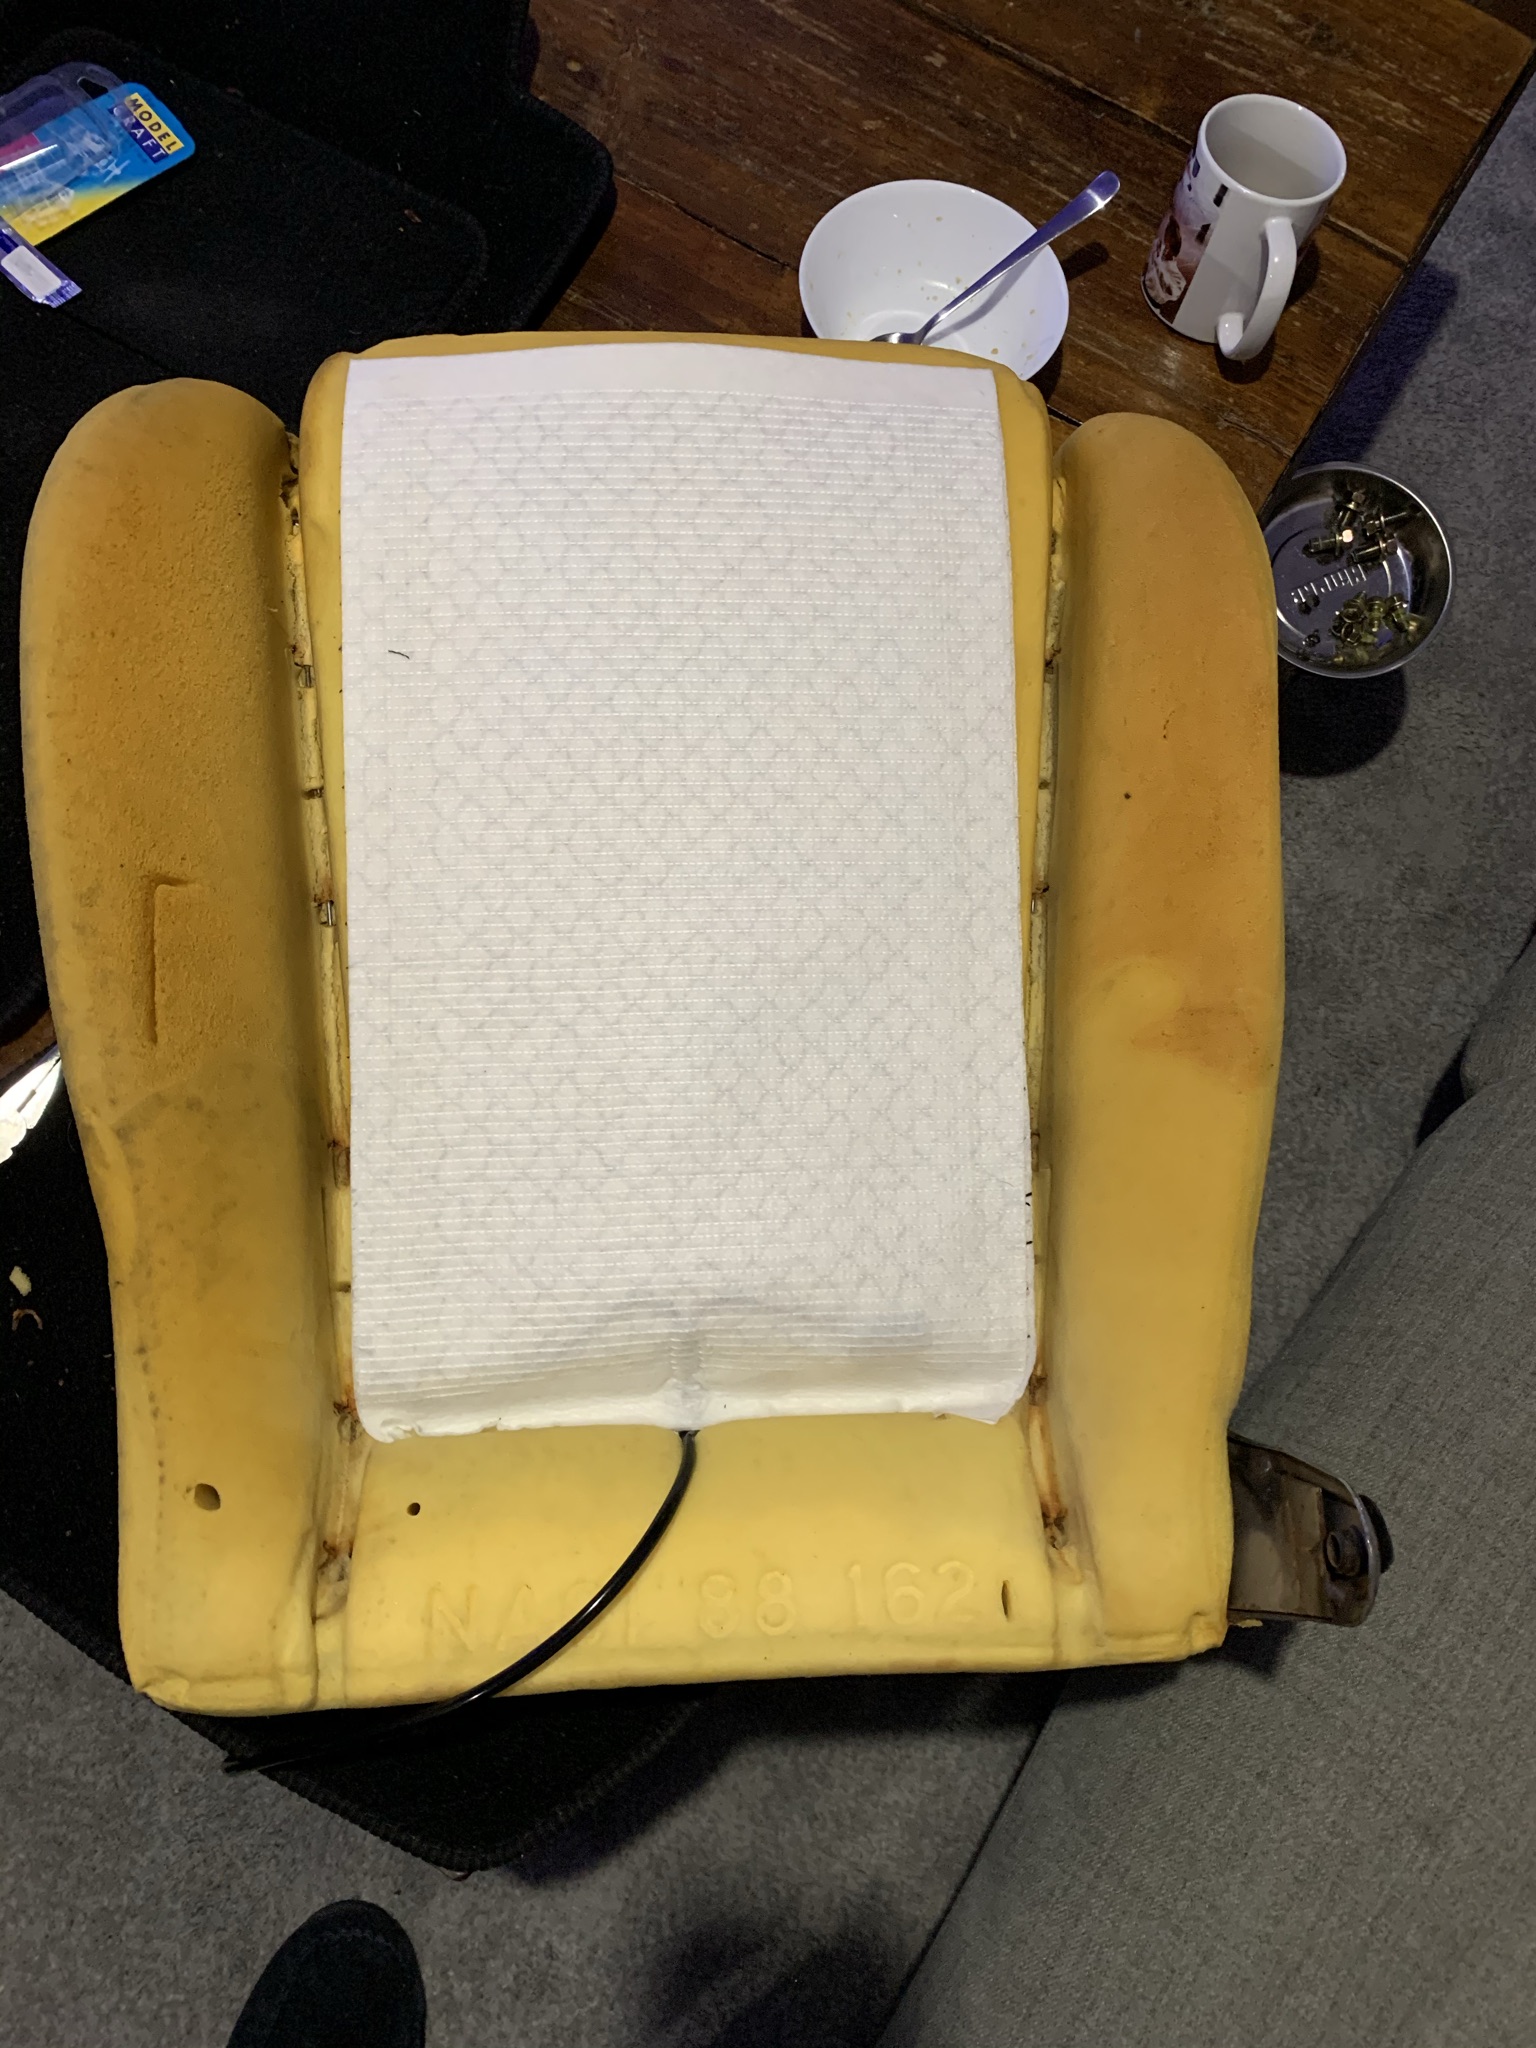
Heating element laid out
-
Seat back finished
-
wiring diagram (one per seat)
-
Switches installed
-
Wiring sorted
-
Finished result
2 Likes
Too late to pass on this tip for you now but I’ll throw it in anyway. Don’t use the metal rings to attach the seat covers. Use small cable ties. You can attach them all loosely first and them tighten from the middle and cut off the excess. Not so much wrestling to get the cover in place when one side is attached and you are fighting with the other. I used this method when fitting these kits to both of my NAs and everything stayed where it should.
i used a mixture of both to be honest … i actually found the hog ring tool and hog rings gave a really secure fastening but they are fiddly to get into tight spaces … so i did as follows
- all fittings to the metal frame = Hog rings
- Back rest centre section = cable ties
- Inside of seat base = cable ties
worked out well… if i did it again i would get circular hog rings rather that the triangle ones that came with the hog ring pliers.
another top tip, rather than save the old hog rings, just cut them off as they will be rust anyway… that saves a heck of a lot of time !
I removed the old hog rings with two pairs of pliers. Take some cutting as they are quite thick and in limited access locations didn’t want to nick any fabric. Still managed to get a few cuts and bruises on my hands but that’s normal for me with most jobs. Final task on DIY jobs is removing traces of blood. 
Looks like you were lucky with the seat foams. They can split and degrade. I repaired a few splits on mine with a hot melt glue gun. There was one split in a seat base that had caused the metal bar for attaching the hog rings to come away from the foam. The hot melt glue repair was 100% successful in getting it back in place.