Hello fine members of this forum.
May I share with you a recent project that I’ve completed on my NB?
First, a little background.
I have always craved an older sportscar. Something from the 50’s, 60’s or 70’s sort of era would have suited me to a tee. However, with nowhere dry to keep a car of that era, it would have simply melted before my eyes. Additionally, I want to be able to jump in it when the sun shines and go for a run. One of the potential pitfalls of a much older car is it’s reluctance to start when one wants it to. Consequently the largely reliable MX-5 fits the bill perfectly.
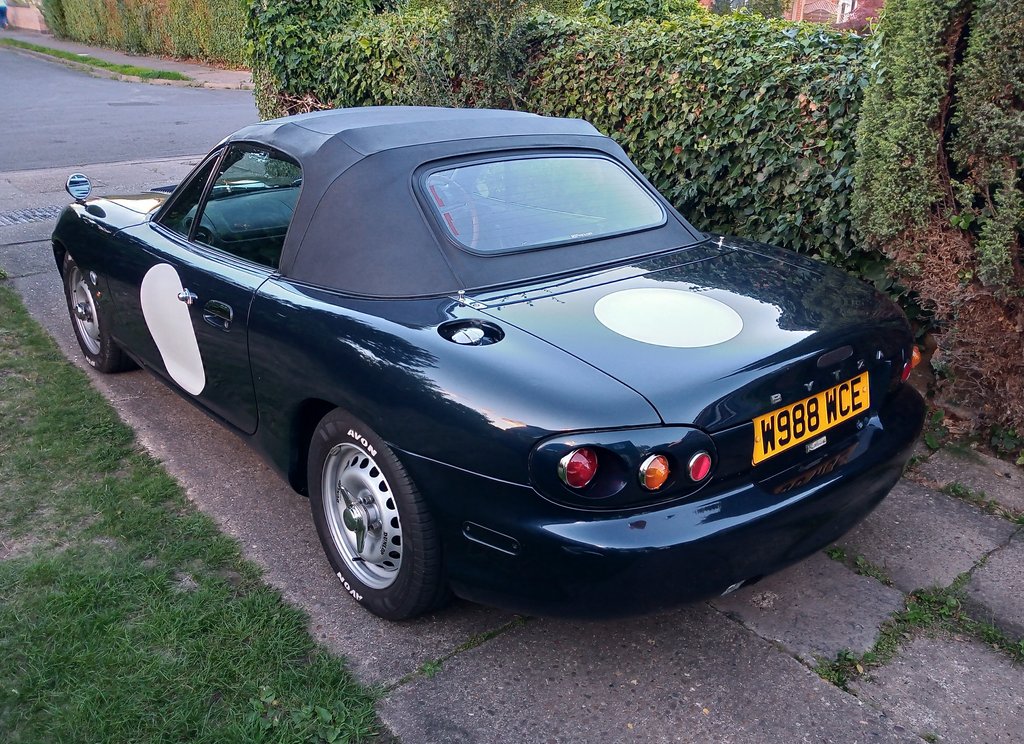
It might seem to many that I ought to have treated myself to an NA which is, afterall, inspired by many cars of the era I enjoy. However, the slightly more curvaceous body shape of the NB appealed more even if it meant foregoing the pop-ups.
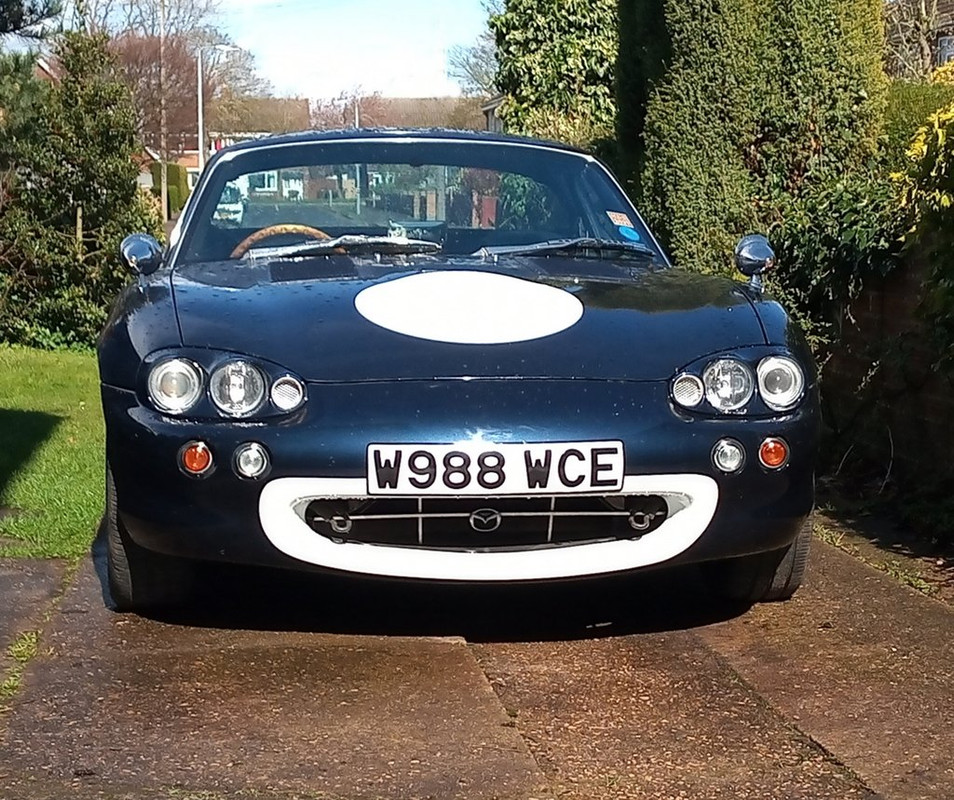
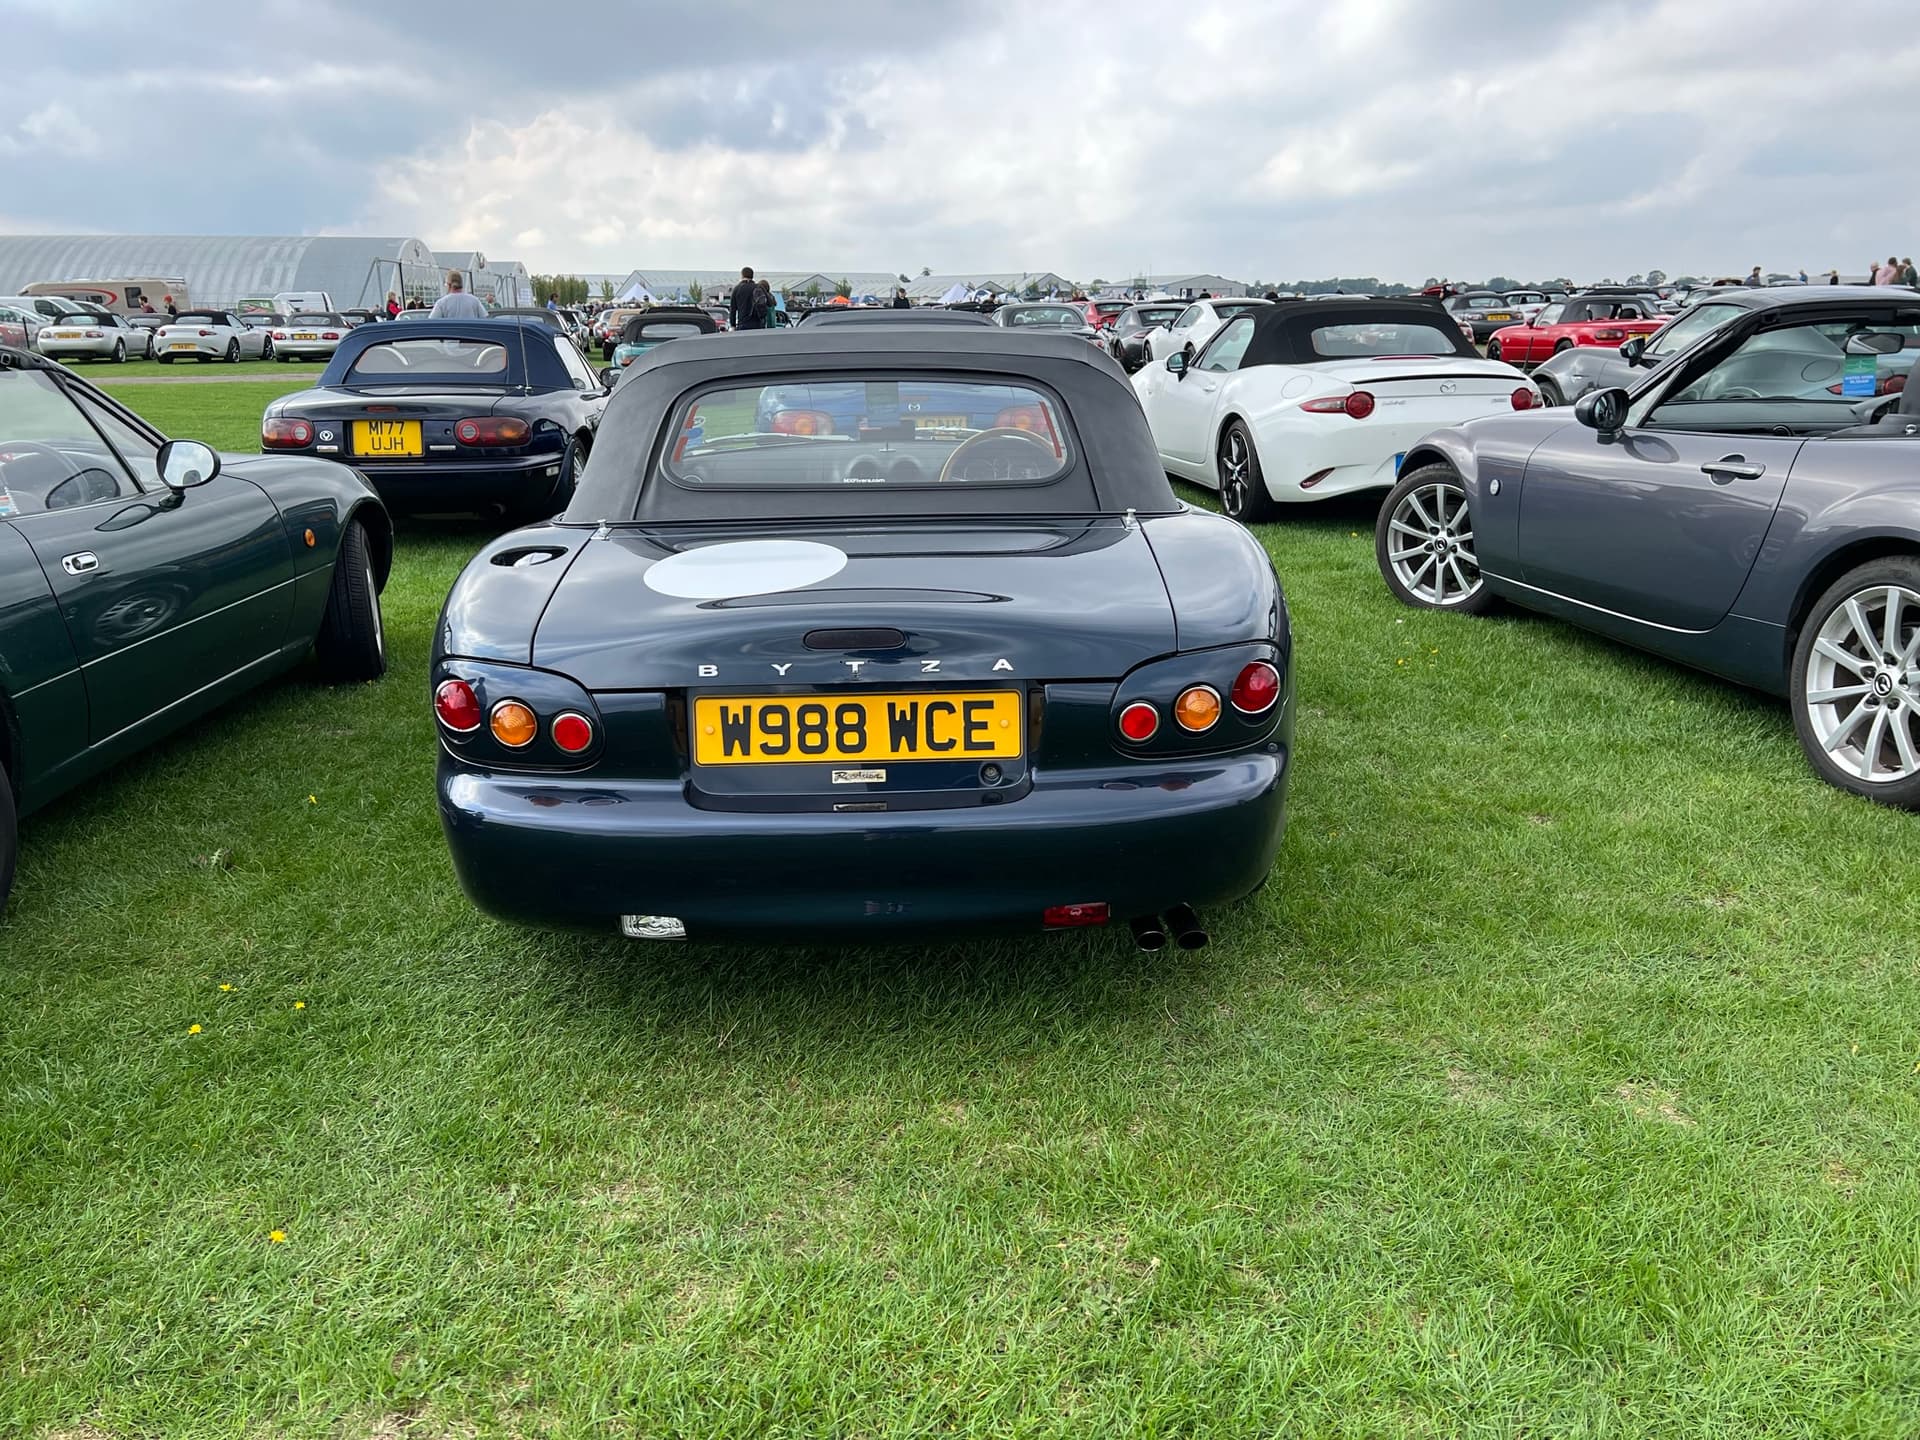
Since I bought TOG (The Old Girl) back in 2016 I have been gently steering her towards the look of an older car (at least in my eyes). This leads me to this current modification.
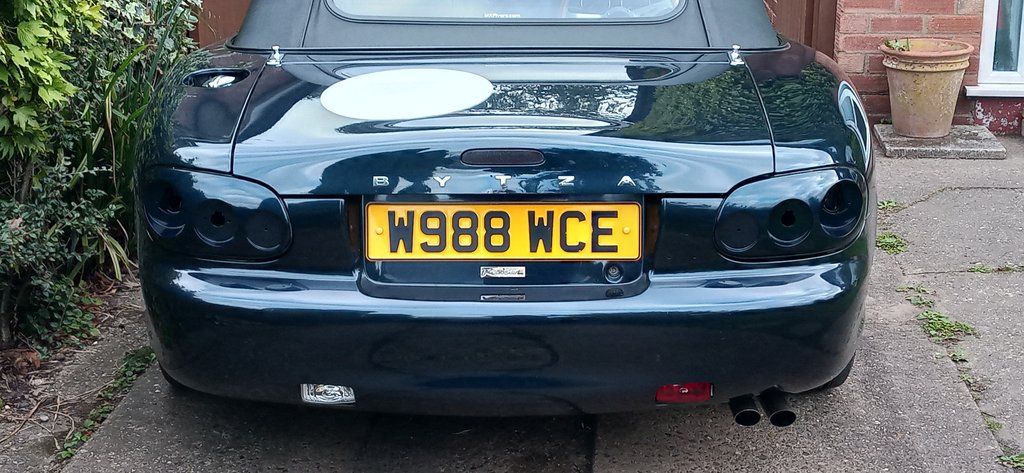
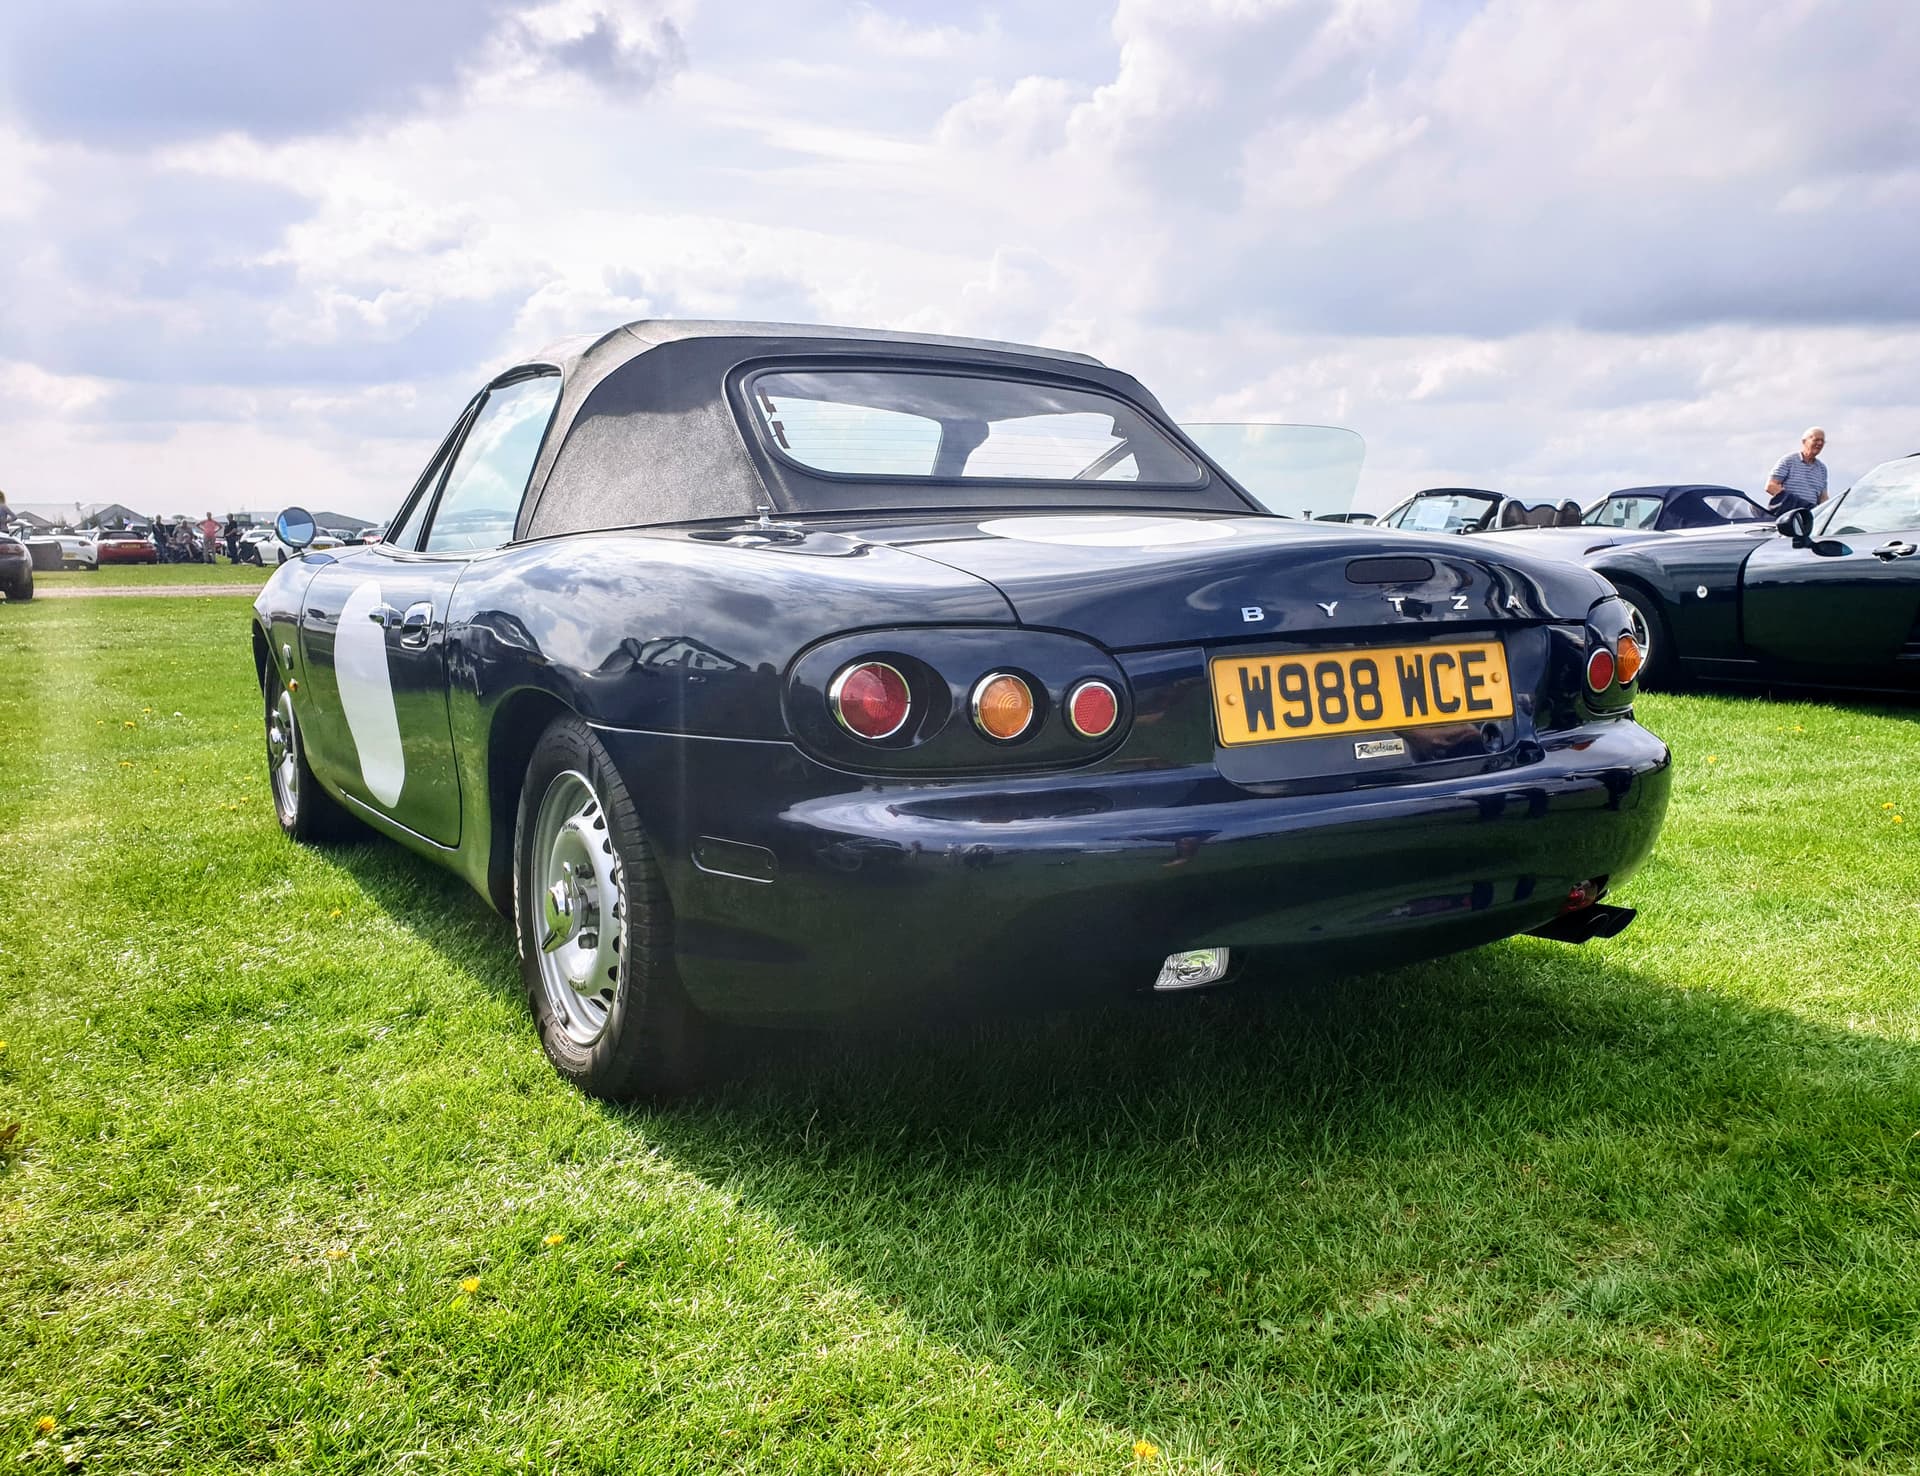
One big difference between older and newer cars is the lighting. Modern technology allows manufacturers to create complex acrylic clusters including all of the necessary illumination in one convenient pod. Going back a few years that was more difficult and car manufacturers utilised lamps from various sources that they fitted around their bodywork.
This is what inspired my custom lamps.
I treated myself to some Lucas products from Holden’s and set about fitting them into the existing units.
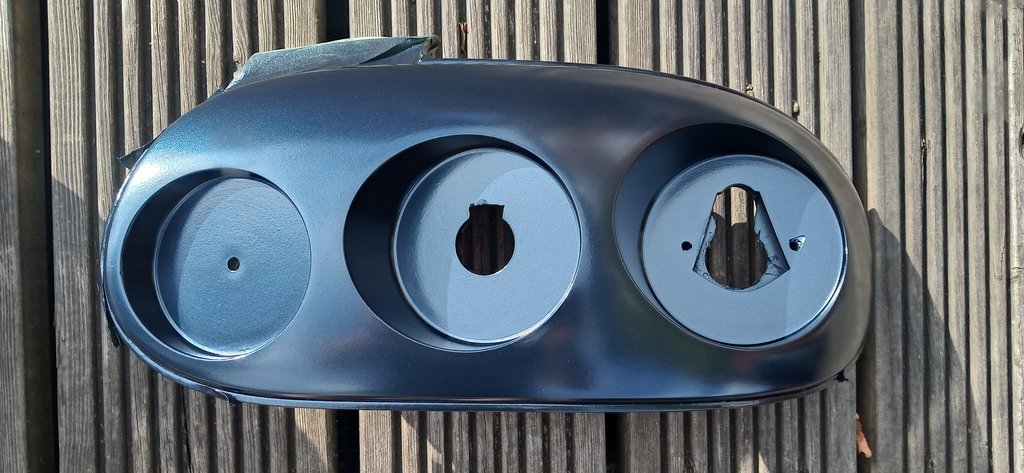
With the help of Luke at Formotiv I designed a set of 3D printed cups to accept the new lamps and reflectors. Luke was extremely patient as well as being very talented and after a little back and forth we arrived at a set of suitable components.
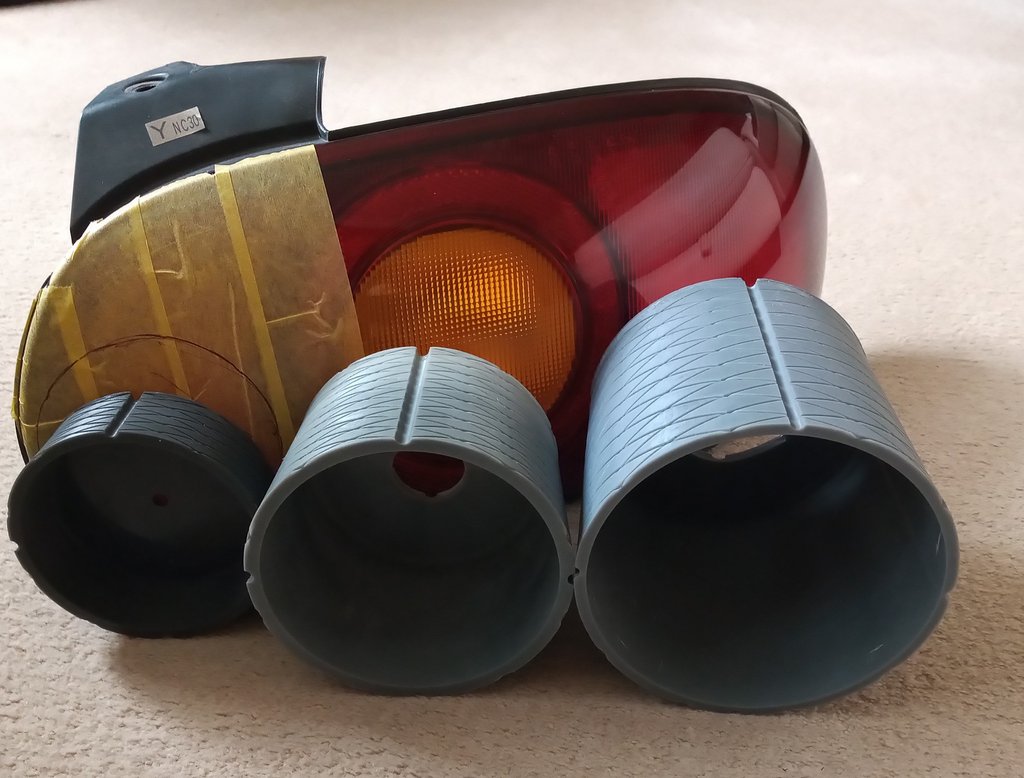
Each of these cups would be mounted into the existing acrylic in turn.
I had asked Luke to include reference marks in the plastic to allow easier orientation with the thrust line of the car.
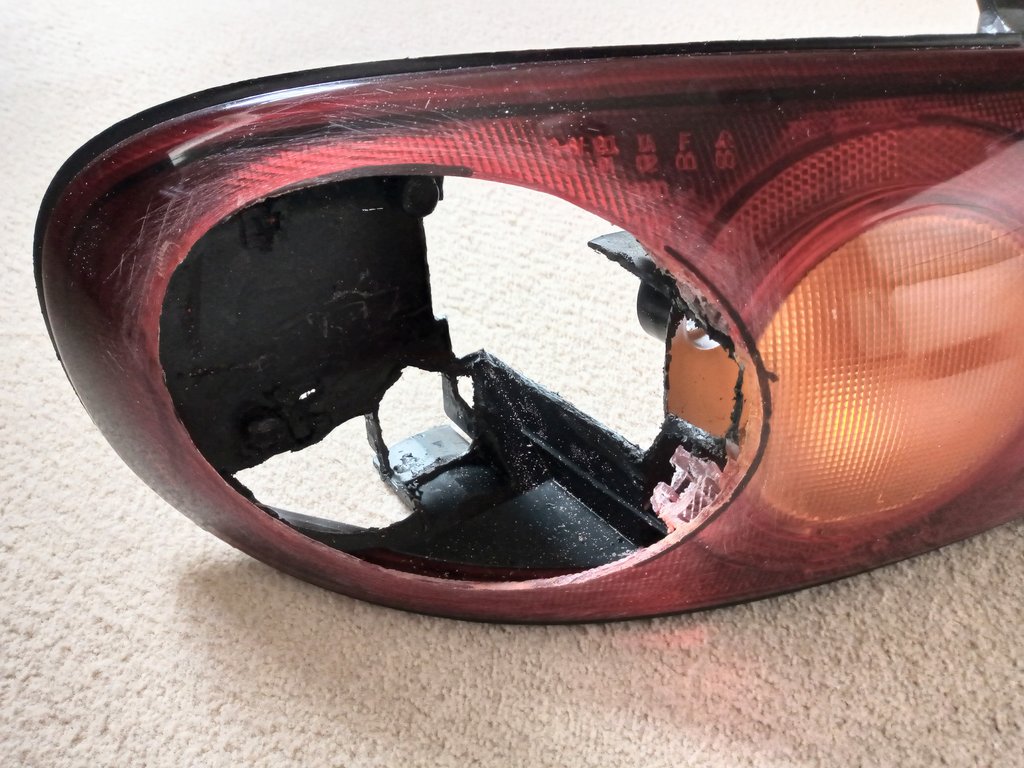
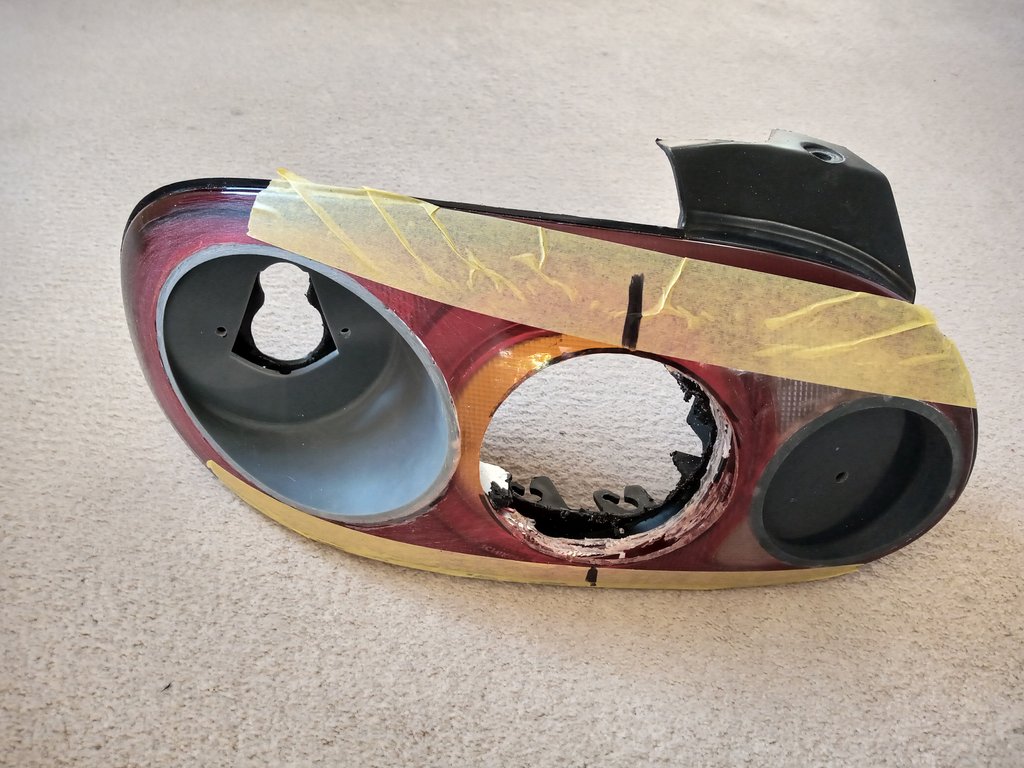
Using a dremel style tool I carefully cut out a hole in the OE lens and removed unwanted reflector material from the interior of the unit.
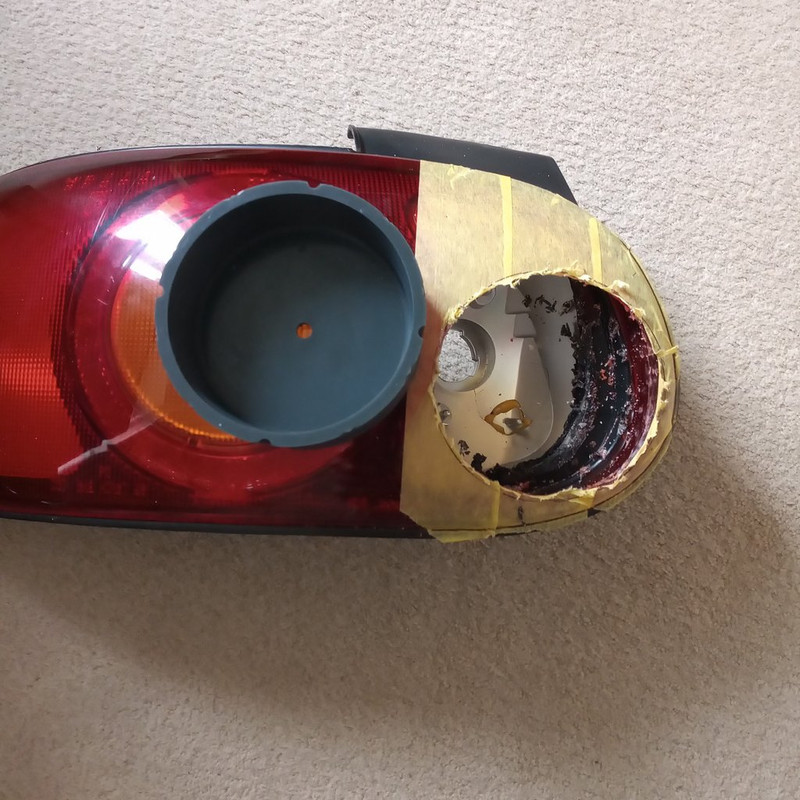
I used two pack epoxy to adhere the cups in place and fibreglass reinforced filler to support the structure internally.
The stop/tail light lamp is the largest of the three and required quite alot of the OE unit to be removed.
Although Luke was happy and quite capable of designing the rim of the cup to fit the complex compound curves of the light unit I asked him to leave the cups whole to allow me a little wiggle room. Designing the parts as a perfect fit meant I would also have to fit them in precisely the correct location, not something that I was confident I could do. ![]()
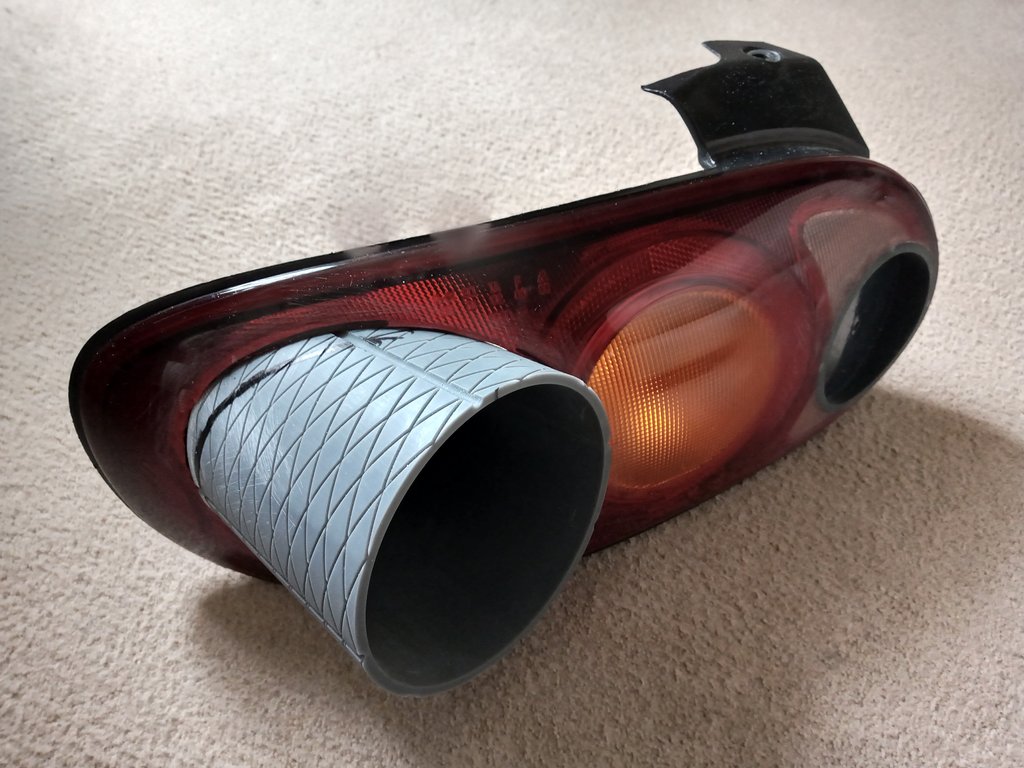
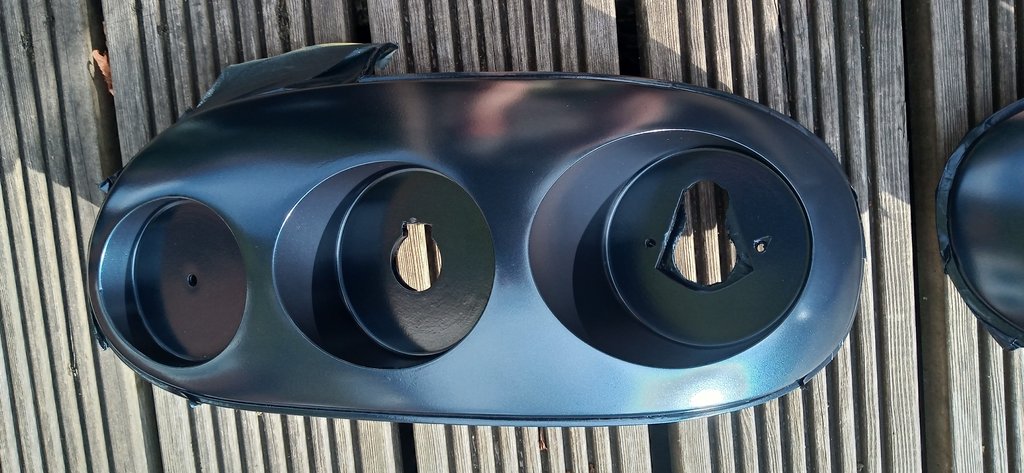
Once the glue hardened I was left to trim off the excess making it easier to follow the profile of the OE lens.
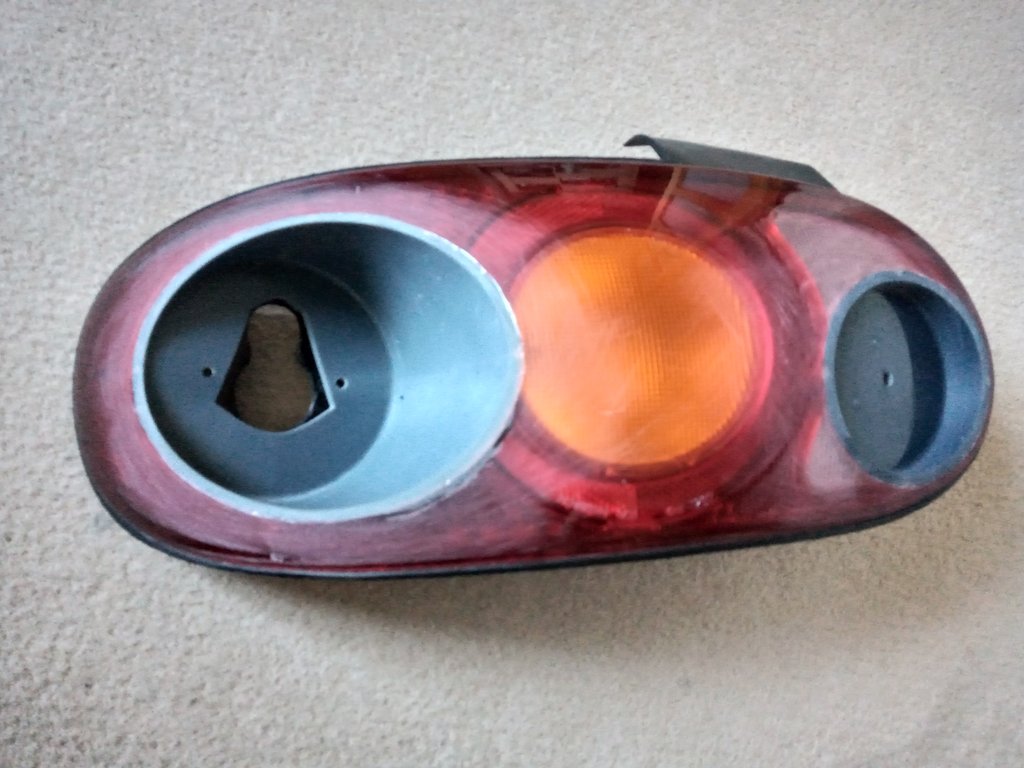
By coincidence the three Lucas products that I had chosen decreased in diameter in almost equal steps. This meant that by fitting the two outermost cups first, the central cup was quite easy to position.

As you can see from the photos, Luke had thoughtfully incorporated openings for the bulb holders of the Lucas units which made fitting the new lights easier.
The next steps involved prepping the parts and painting them. My local motor factors mixed some spray cans in the (almost) correct shade. On their advice I first used plastic adhesion promoter followed by high build plastic primer before the colour coat and clear.

Next…