Hello fine folk of MX5land.
May I share a recent mod with you?
Some may be aware of Laserdash
Bede and Dawn create a variety of dash and other components for NA and NBs.
I’ve been saving up for the NB version and finally pulled the trigger on one recently.
If you go to their website you’ll see that there is a virtually unlimited catalogue of finishes but I chose matt black to complement my car’s interior.
Before I detail how I fitted the component a quick disclaimer. Any issues along the way were created by my desire to alter the design for my own specs. The off the shelf product would take only a few minutes to install and is completely plug and play. Kudos Laserdash.
When I bought my car I began to tweak it’s look. One of those mods was the addition of a set of polished rims for the dials.
This is how it looked with the chrome rings installed.
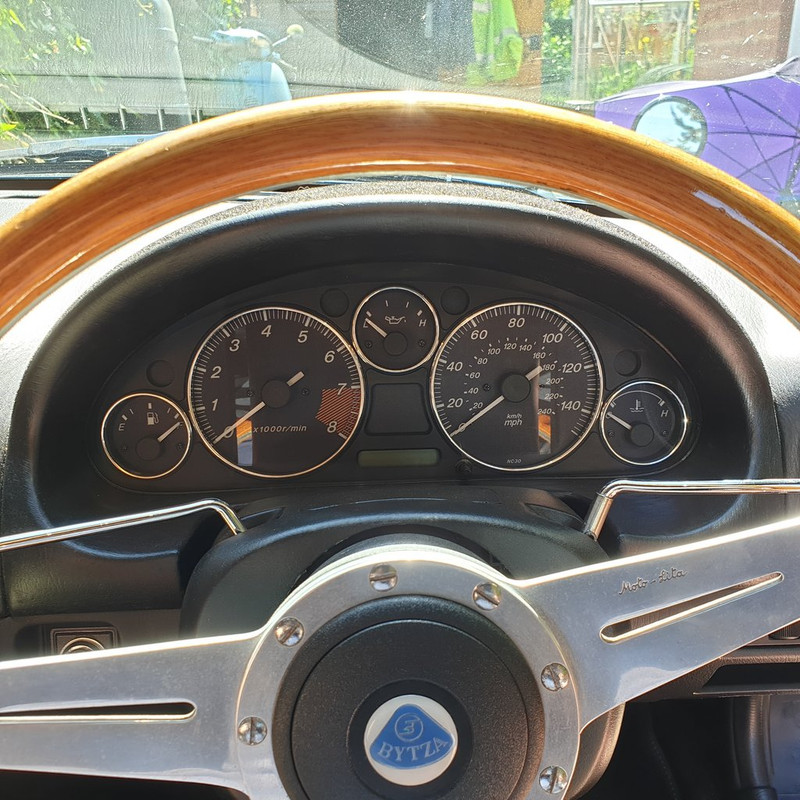
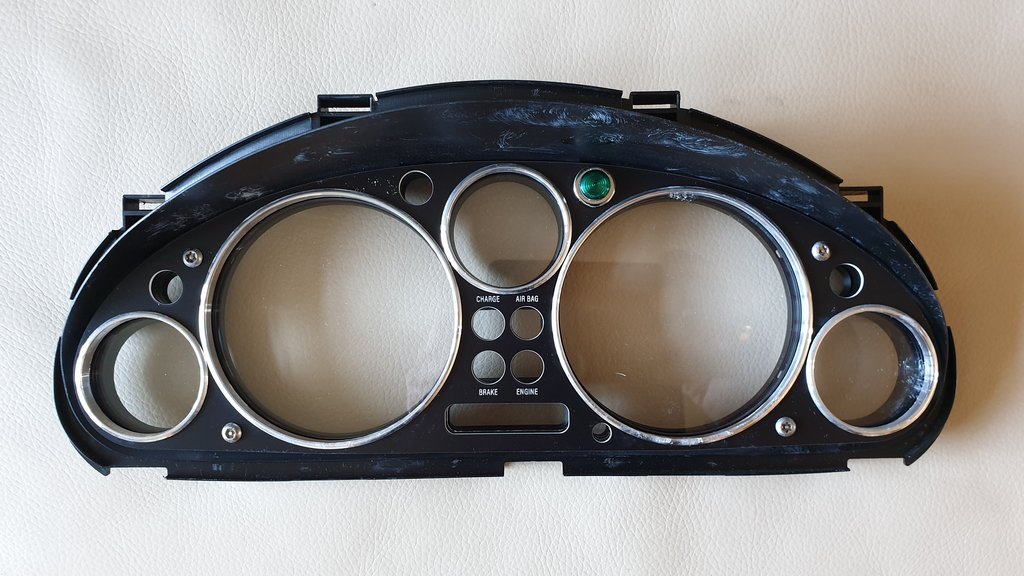
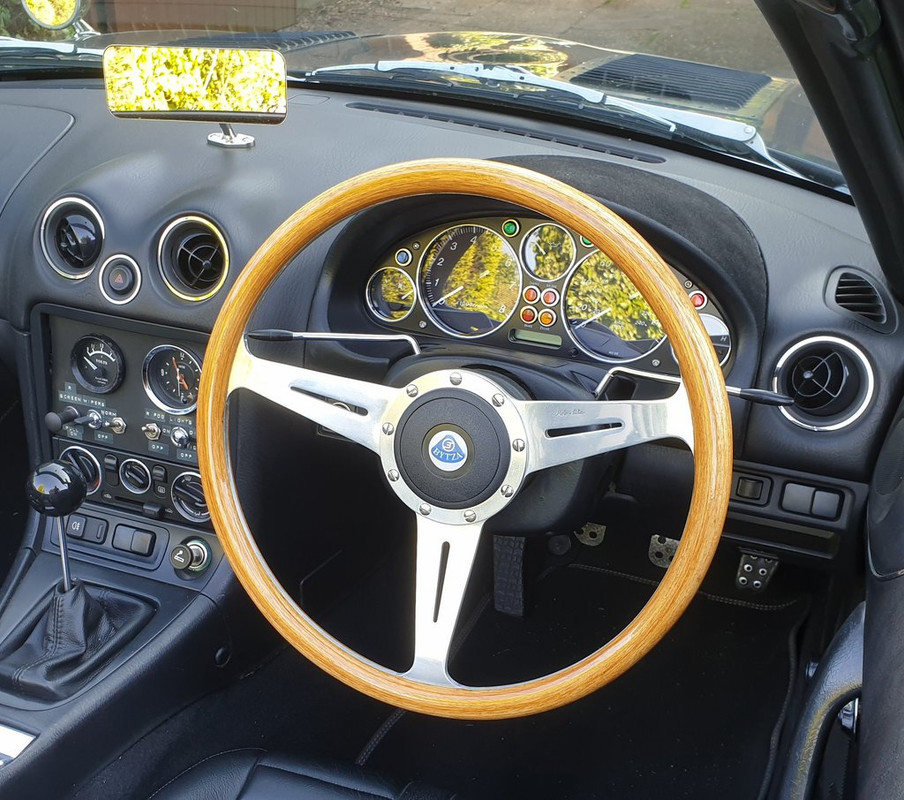
The Laserdash part uses similar rings but cleverly adds individual telltales for the OE warning lamps.
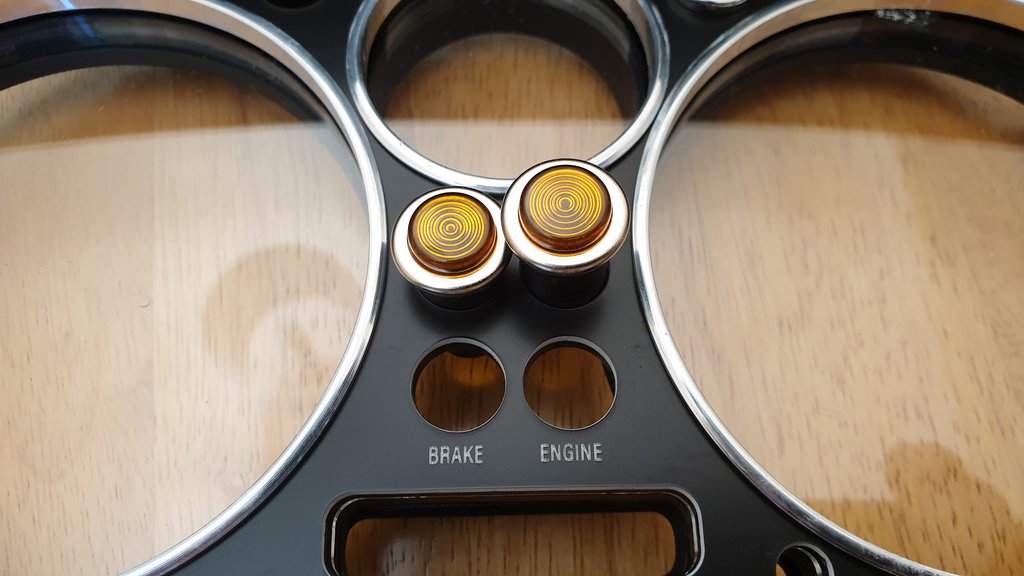
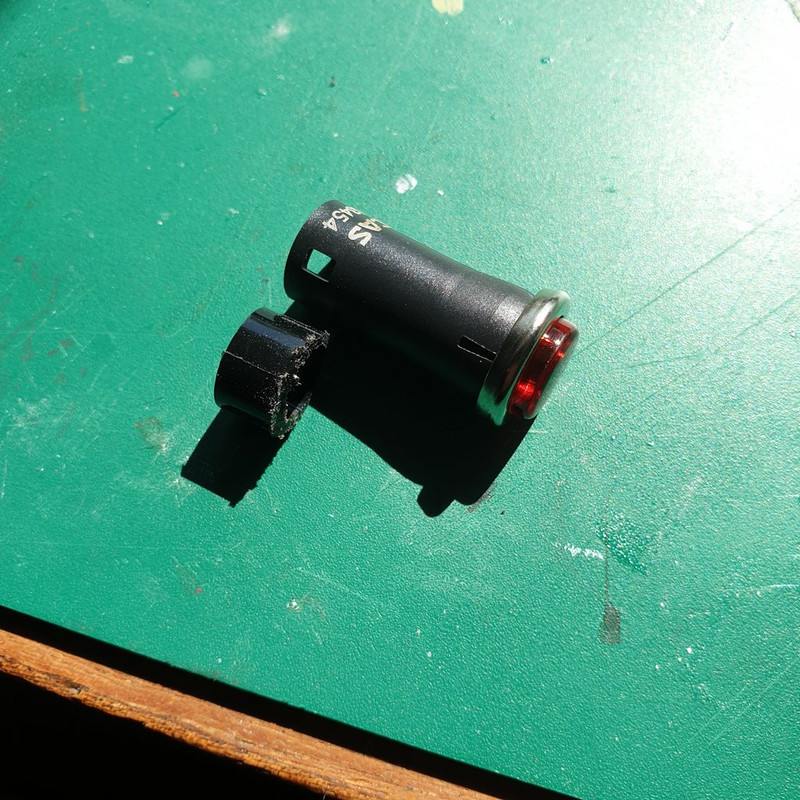
Two telltale lamp options are offered by Laserdash but in typical fashion I felt the need to alter things a smidge. I am using Lucas telltales elsewhere so wanted to match them on the dash. After a conversation with Bede he kindly designed a dash that accomodated the Lucas lamps. You can make out an indicator lamp top left in the above image.
This involved enlarging the mounting holes but by doing so created a small challenge. With space at a premium the modifications made the chrome rims of the lamps overlap.
The solution was to elongate the holes a little
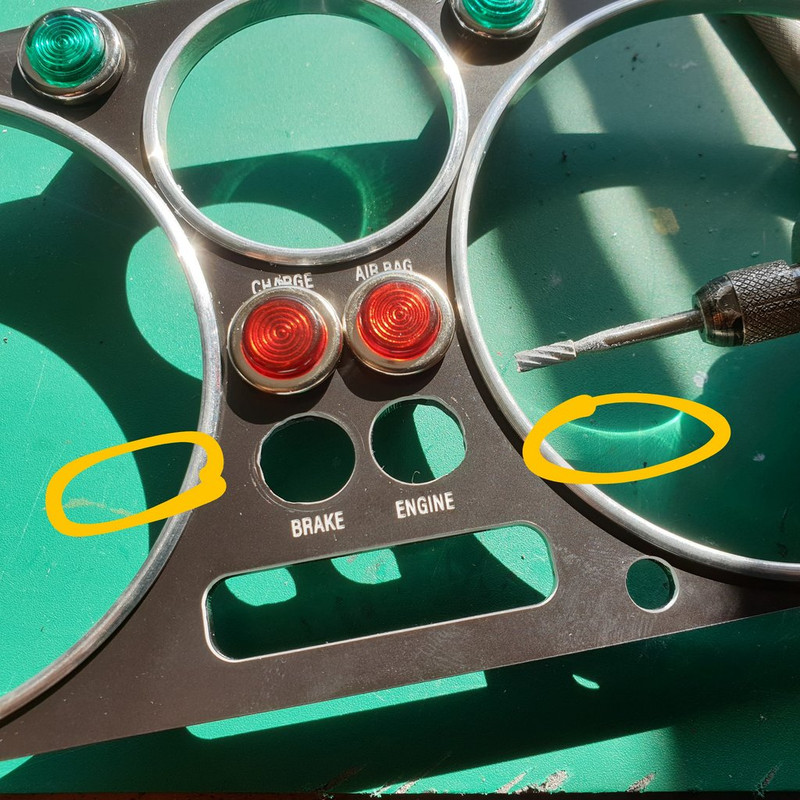
Another self inflicted issue came from the length of the Lucas lamps. These required trimming to fit.
With all of the preparation taken care of I could set about fitting the assembly.
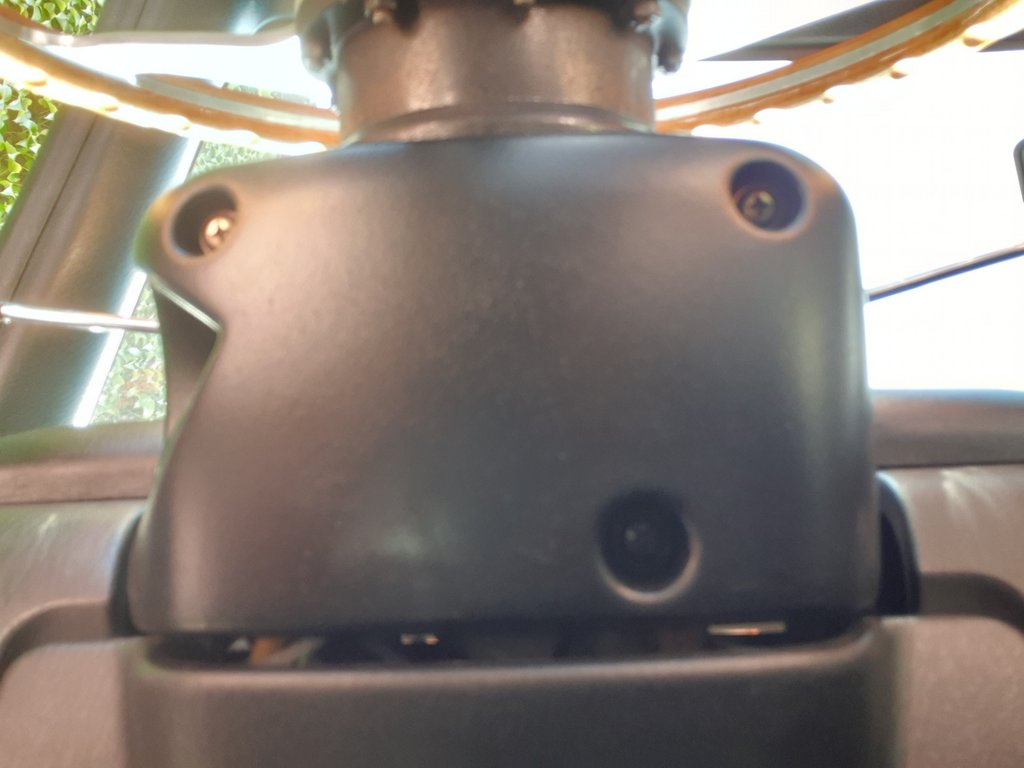
First up, remove the steering column shroud. These three screws release the lower part that can then be split away from the top part.
With the shroud out f the way I removed the instrument binnacle by easing it rearward.
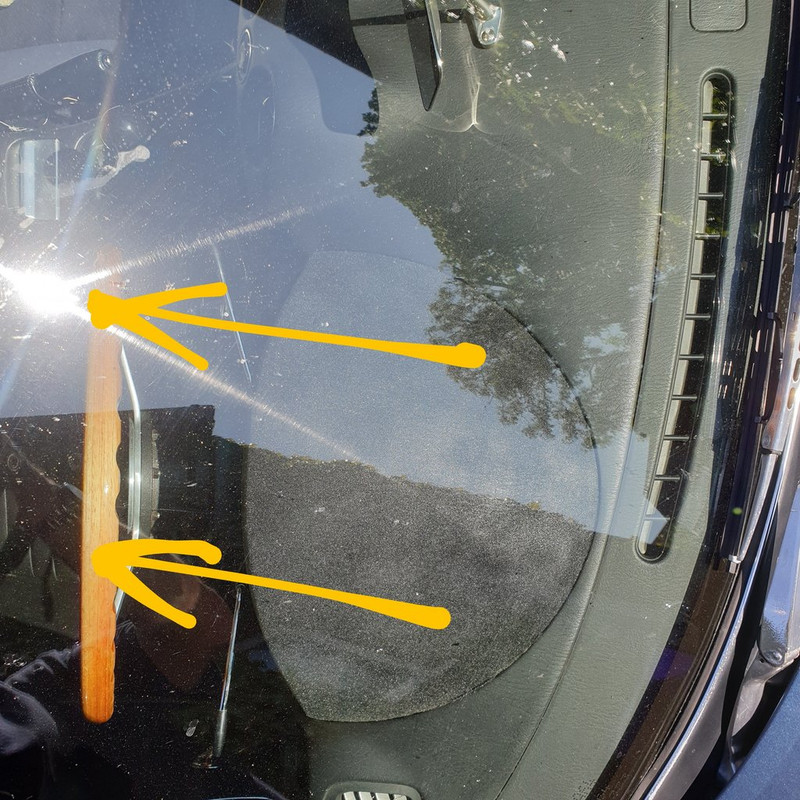
This takes gentle yet firm pressure to release the plastic clips without breaking them.
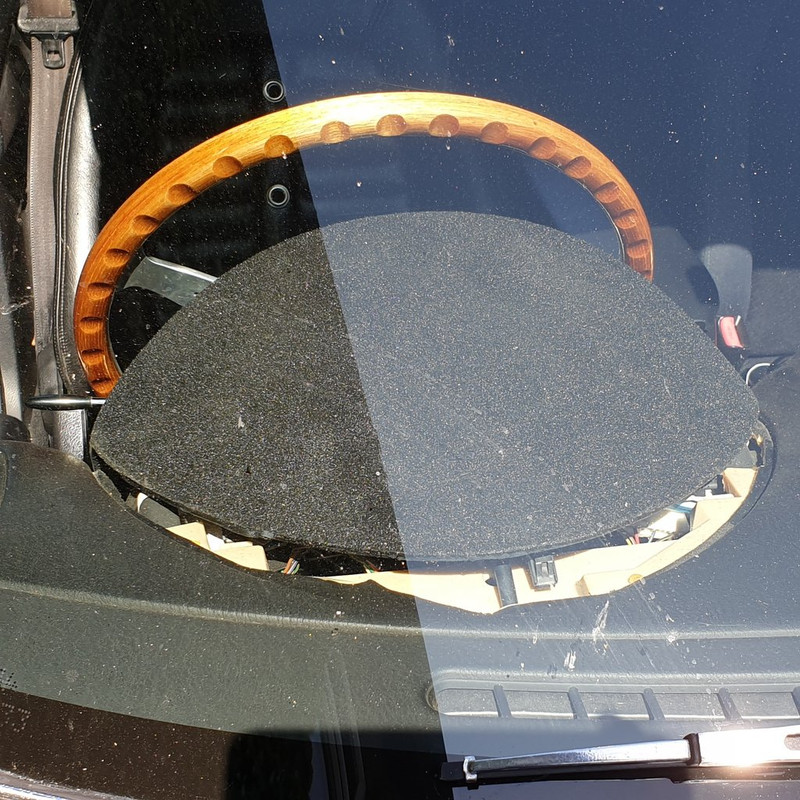
Removing the binnacle gives access to the four screws holding the instrument cluster in place
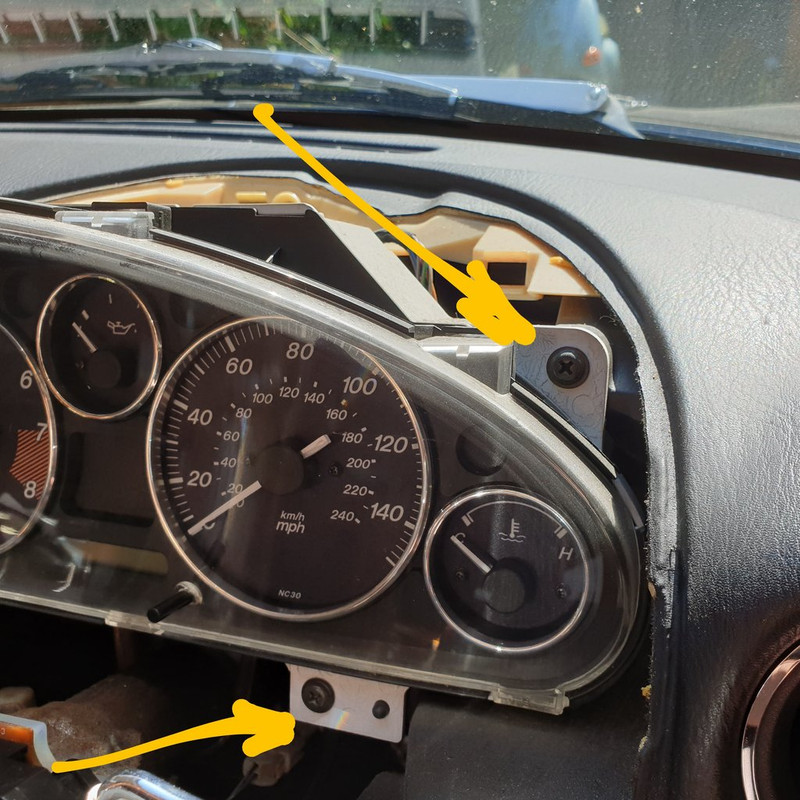

Once the instruments were free I could release the three electrical connections on the rear of the cluster
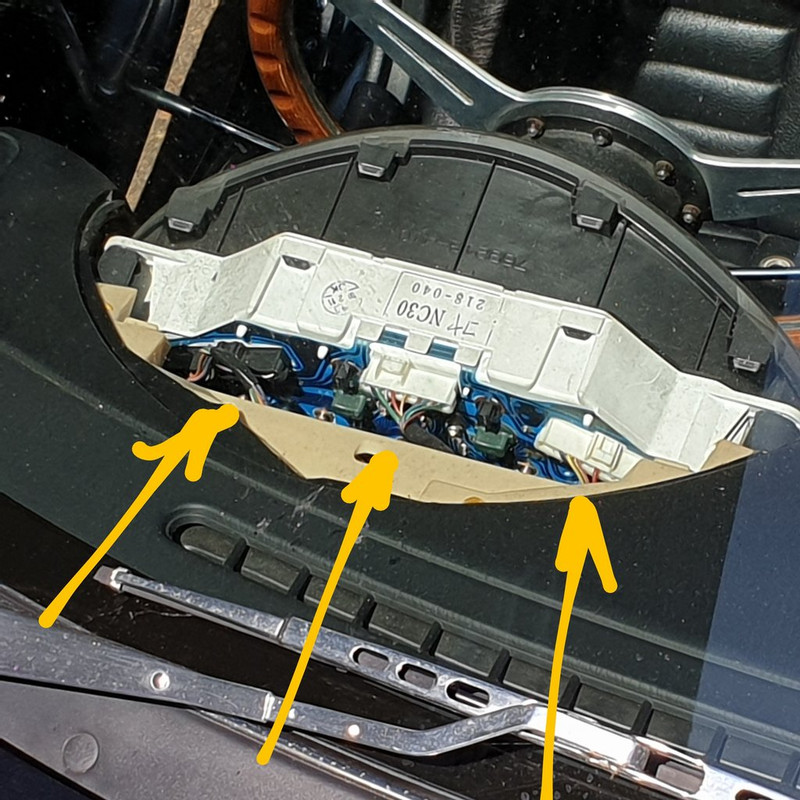
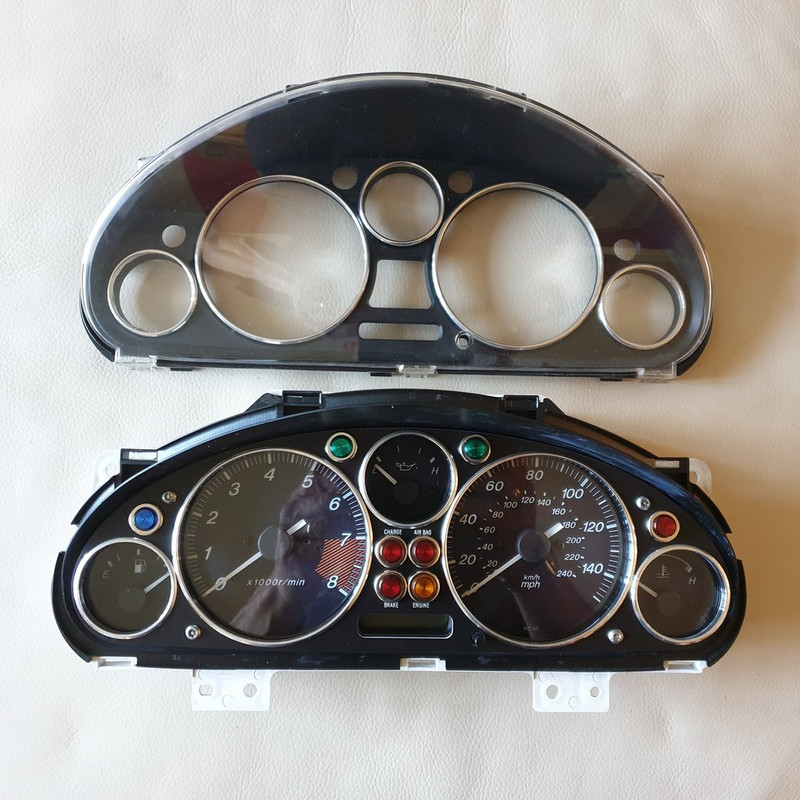
The cluster unclips easily and falls into three components. The instrument pack, surround and screen
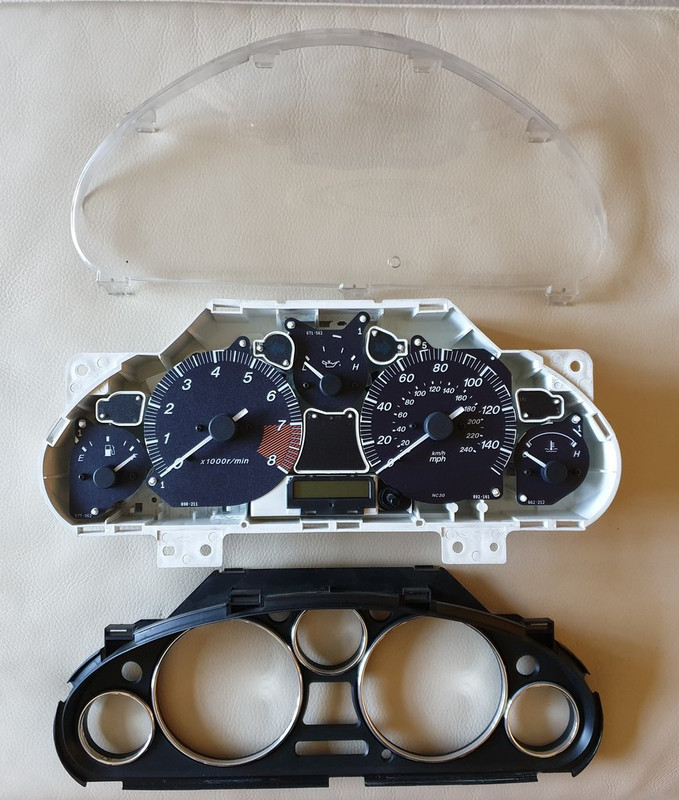
The Laserdash part replaces the surround and curved screen with a combined sandwich of surround and screen simulating individual instruments.
All that was required to complete the installation was reversing the disassembly procedure.
Attach the electrical connections, screw the instruments in, refit the binnacle and reattach the steering column shroud.
The Laserdash part uses the OE lights to illuminate the telltales.

Here’s a better look at how it turned out…
I’m very happy with how it looks in my car. The retro appearance works well.
A couple of quick thoughts after a few miles.
It’s easy to see why Mazda designed the curved acrylic dash insert as there are more reflections than before. Not a real issue.
The telltales are difficult to see in strong sunlight. Roadie has given me a good suggestion to possibly help with that by using chrome inserts in the tubes of the lamp holders. If it becomes an issue I’ll try them. For now I can see the telltales on dull days or with the top up. This is more than likely a result of using the Lucas components rather than those recommended and supplied as standard by Laserdash.
Other than that everything is excellent and I’m very happy.
Dealing with Bede at Laserdash has been a great experience with good communication and a smashing, easy to fit product.
Highly recommended.
Cheers,
Guy