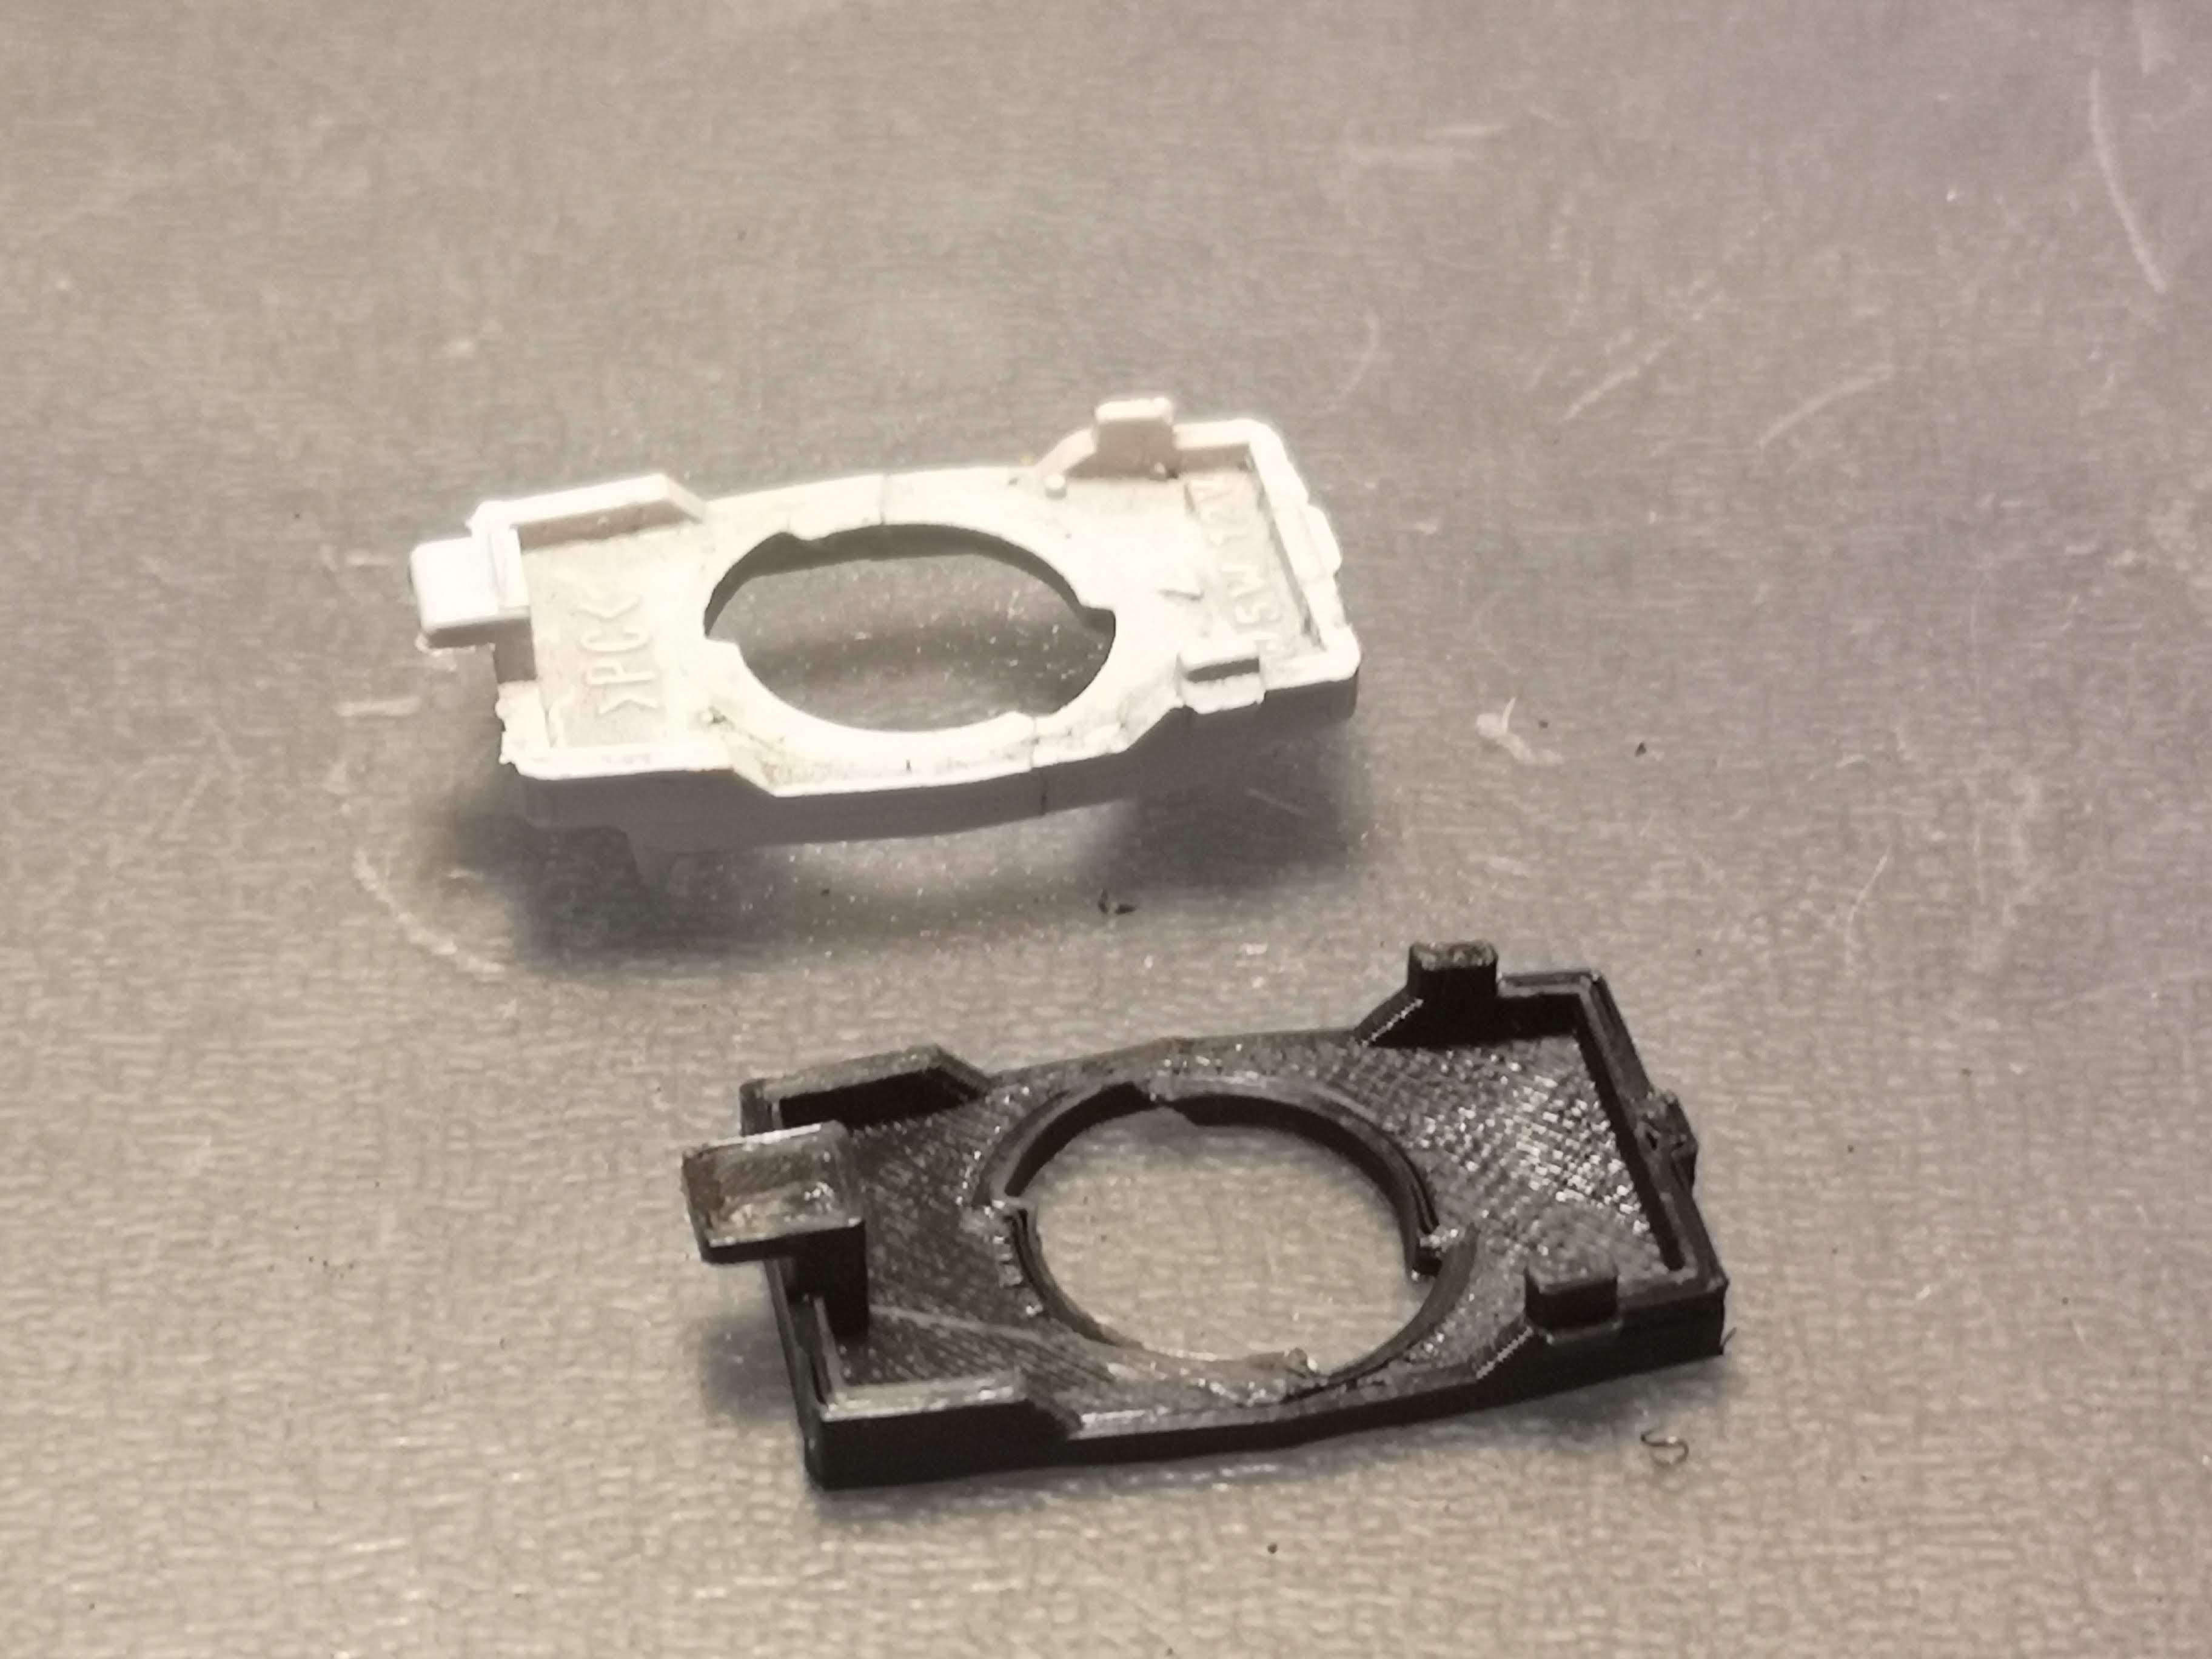
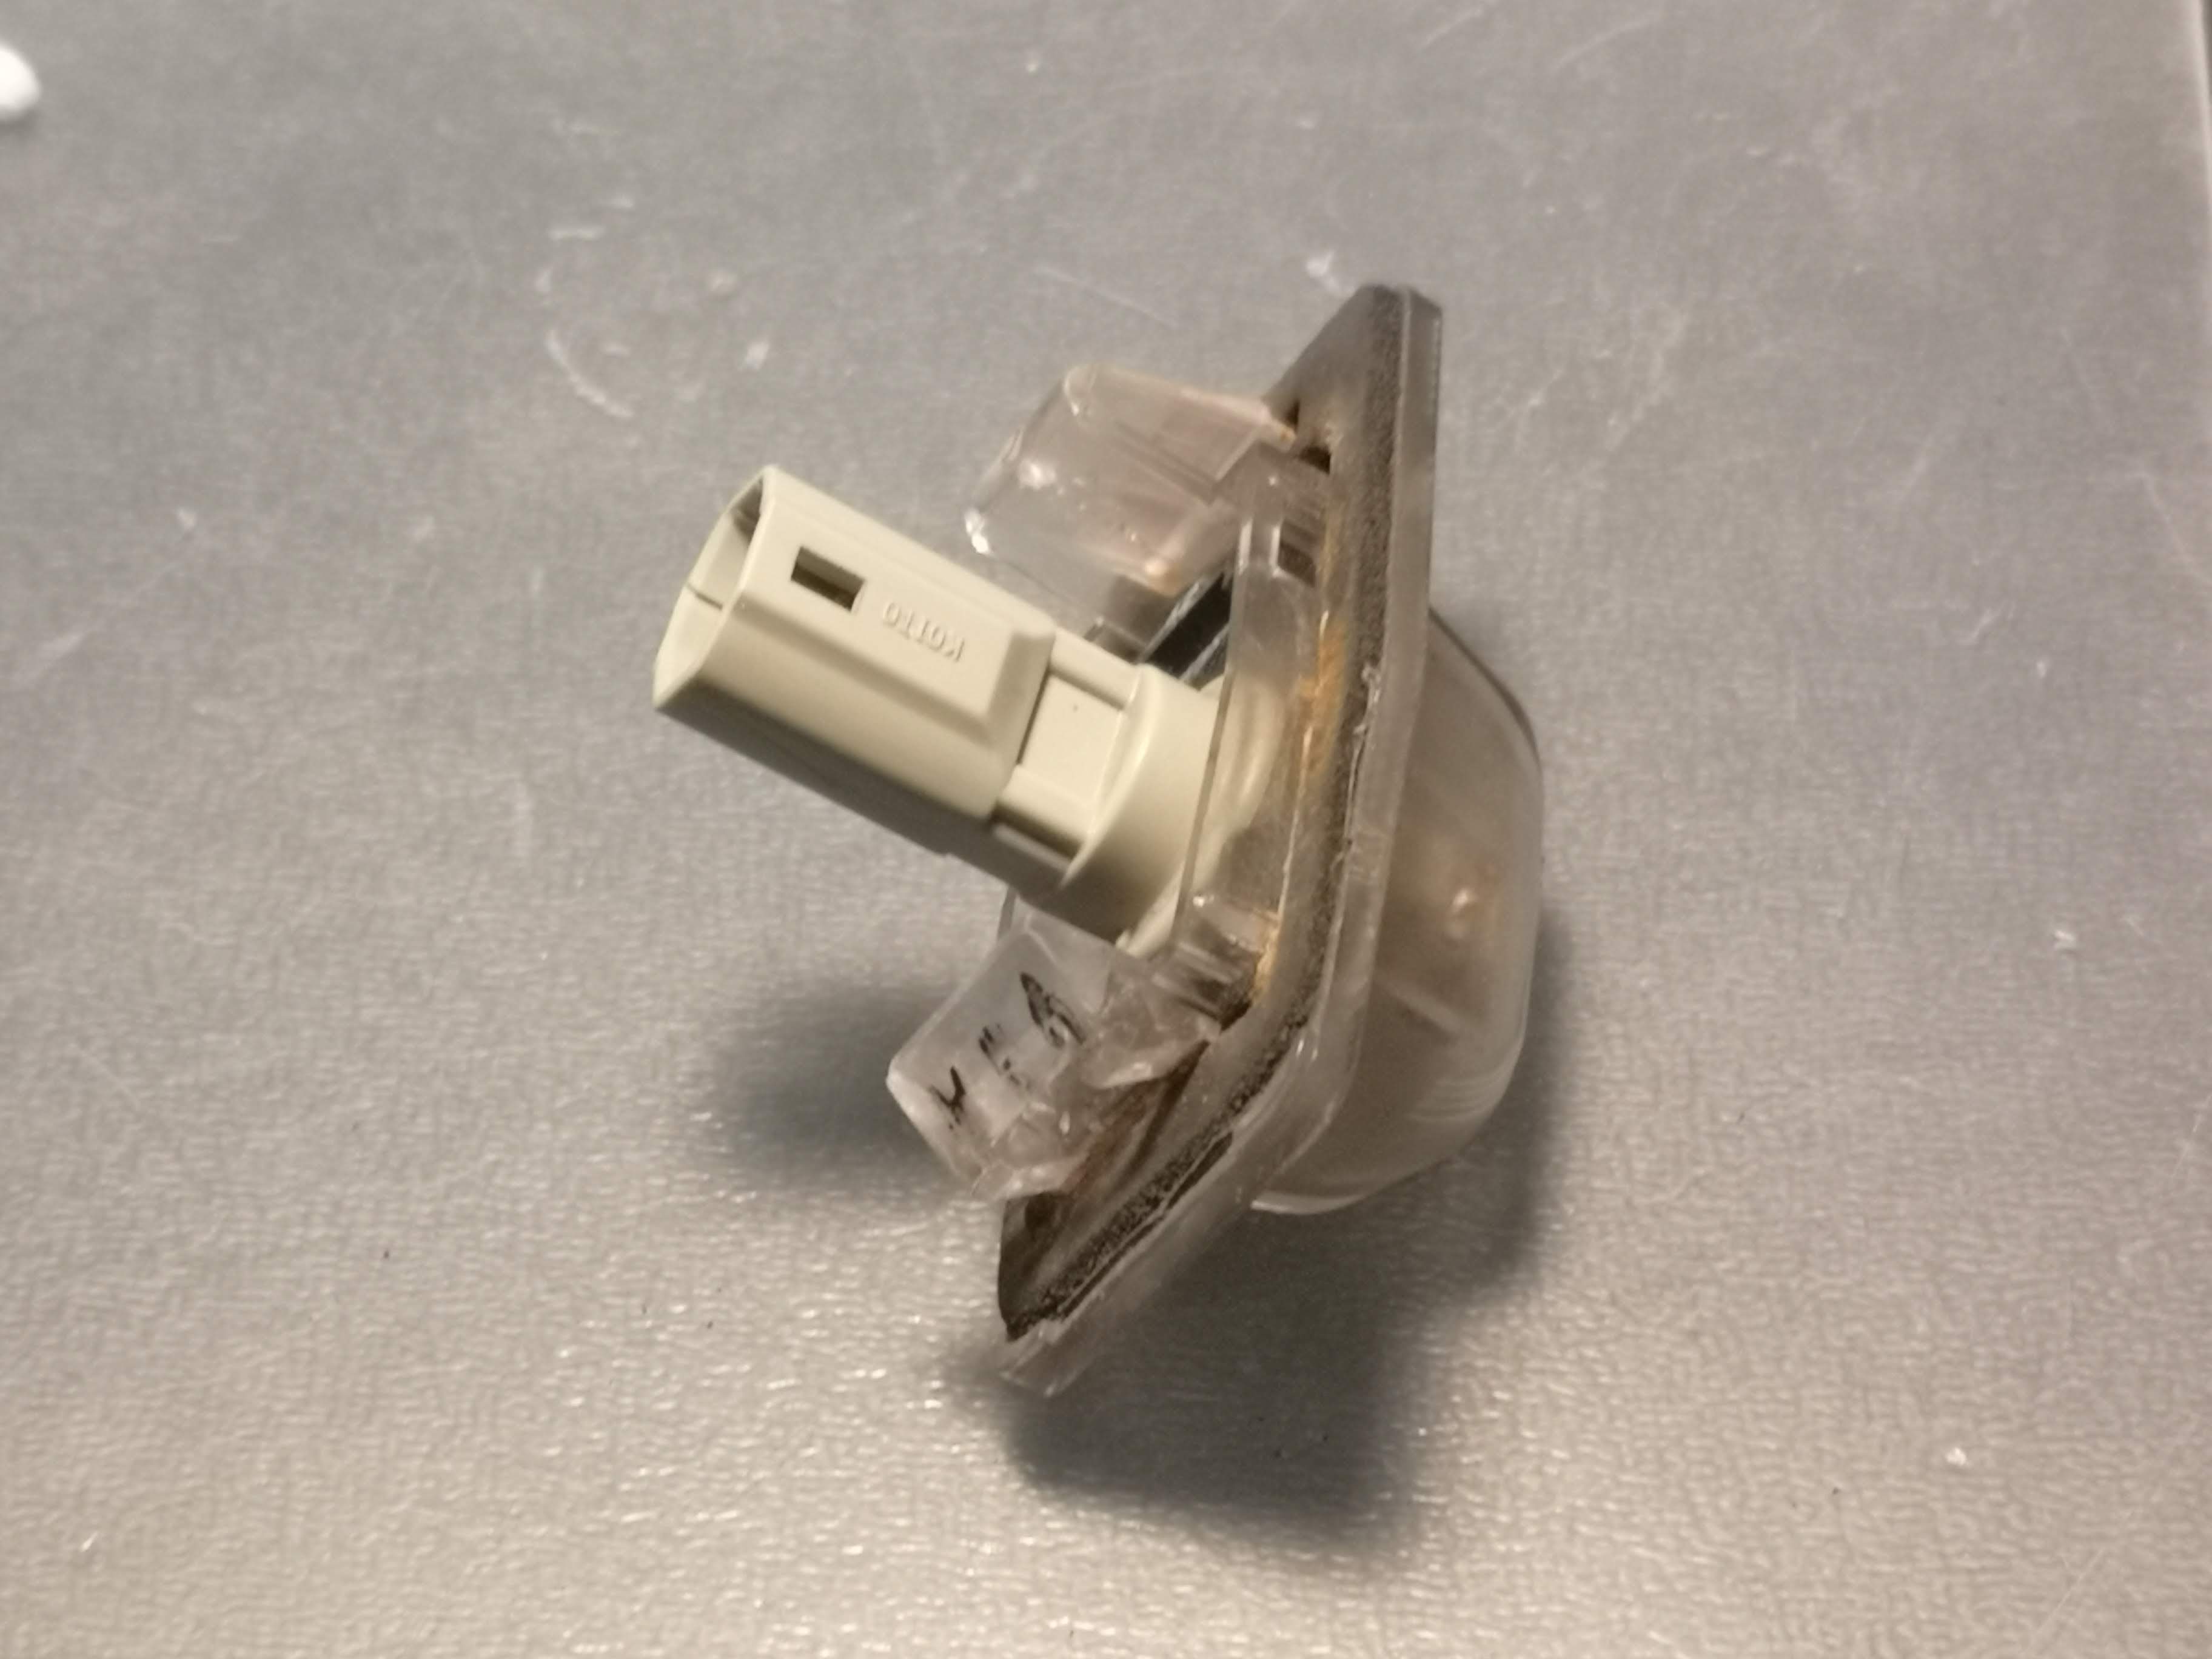
Here’s a quick one i made up last night to repair my reg plate lights as i didnt want to fork out over €20 for replacements, hopefully somebody else can save themselves a few quid (permitting they have access to a 3D Printer)… This part can be easily printed in under 10 mins and is a direct fit for the NB lights.
Both of mine were broken and no amount of glue was holding them together.
Do be careful if printing it in PLA as the temperature of the bulbs will be higher than what it can withstand, I opted to change out my W5W bulbs with LEDs so there is no longer that issue.
1 Like
I’ve been told they are the same as a Mazda 323
You may be better off using PETG filament
Sadly PETG is a royal pain to get dialled in correctly.
Didn’t seem nessisary at the time as the LEDs don’t go above about 30°C which is below PLA glass transition temp. if I ever go back to halogens I’ll probably reprint in ASA or PA6. It is a bit stringy alright but I’ve come across filaments that are a lot more challenging to work with. What printer do you have?
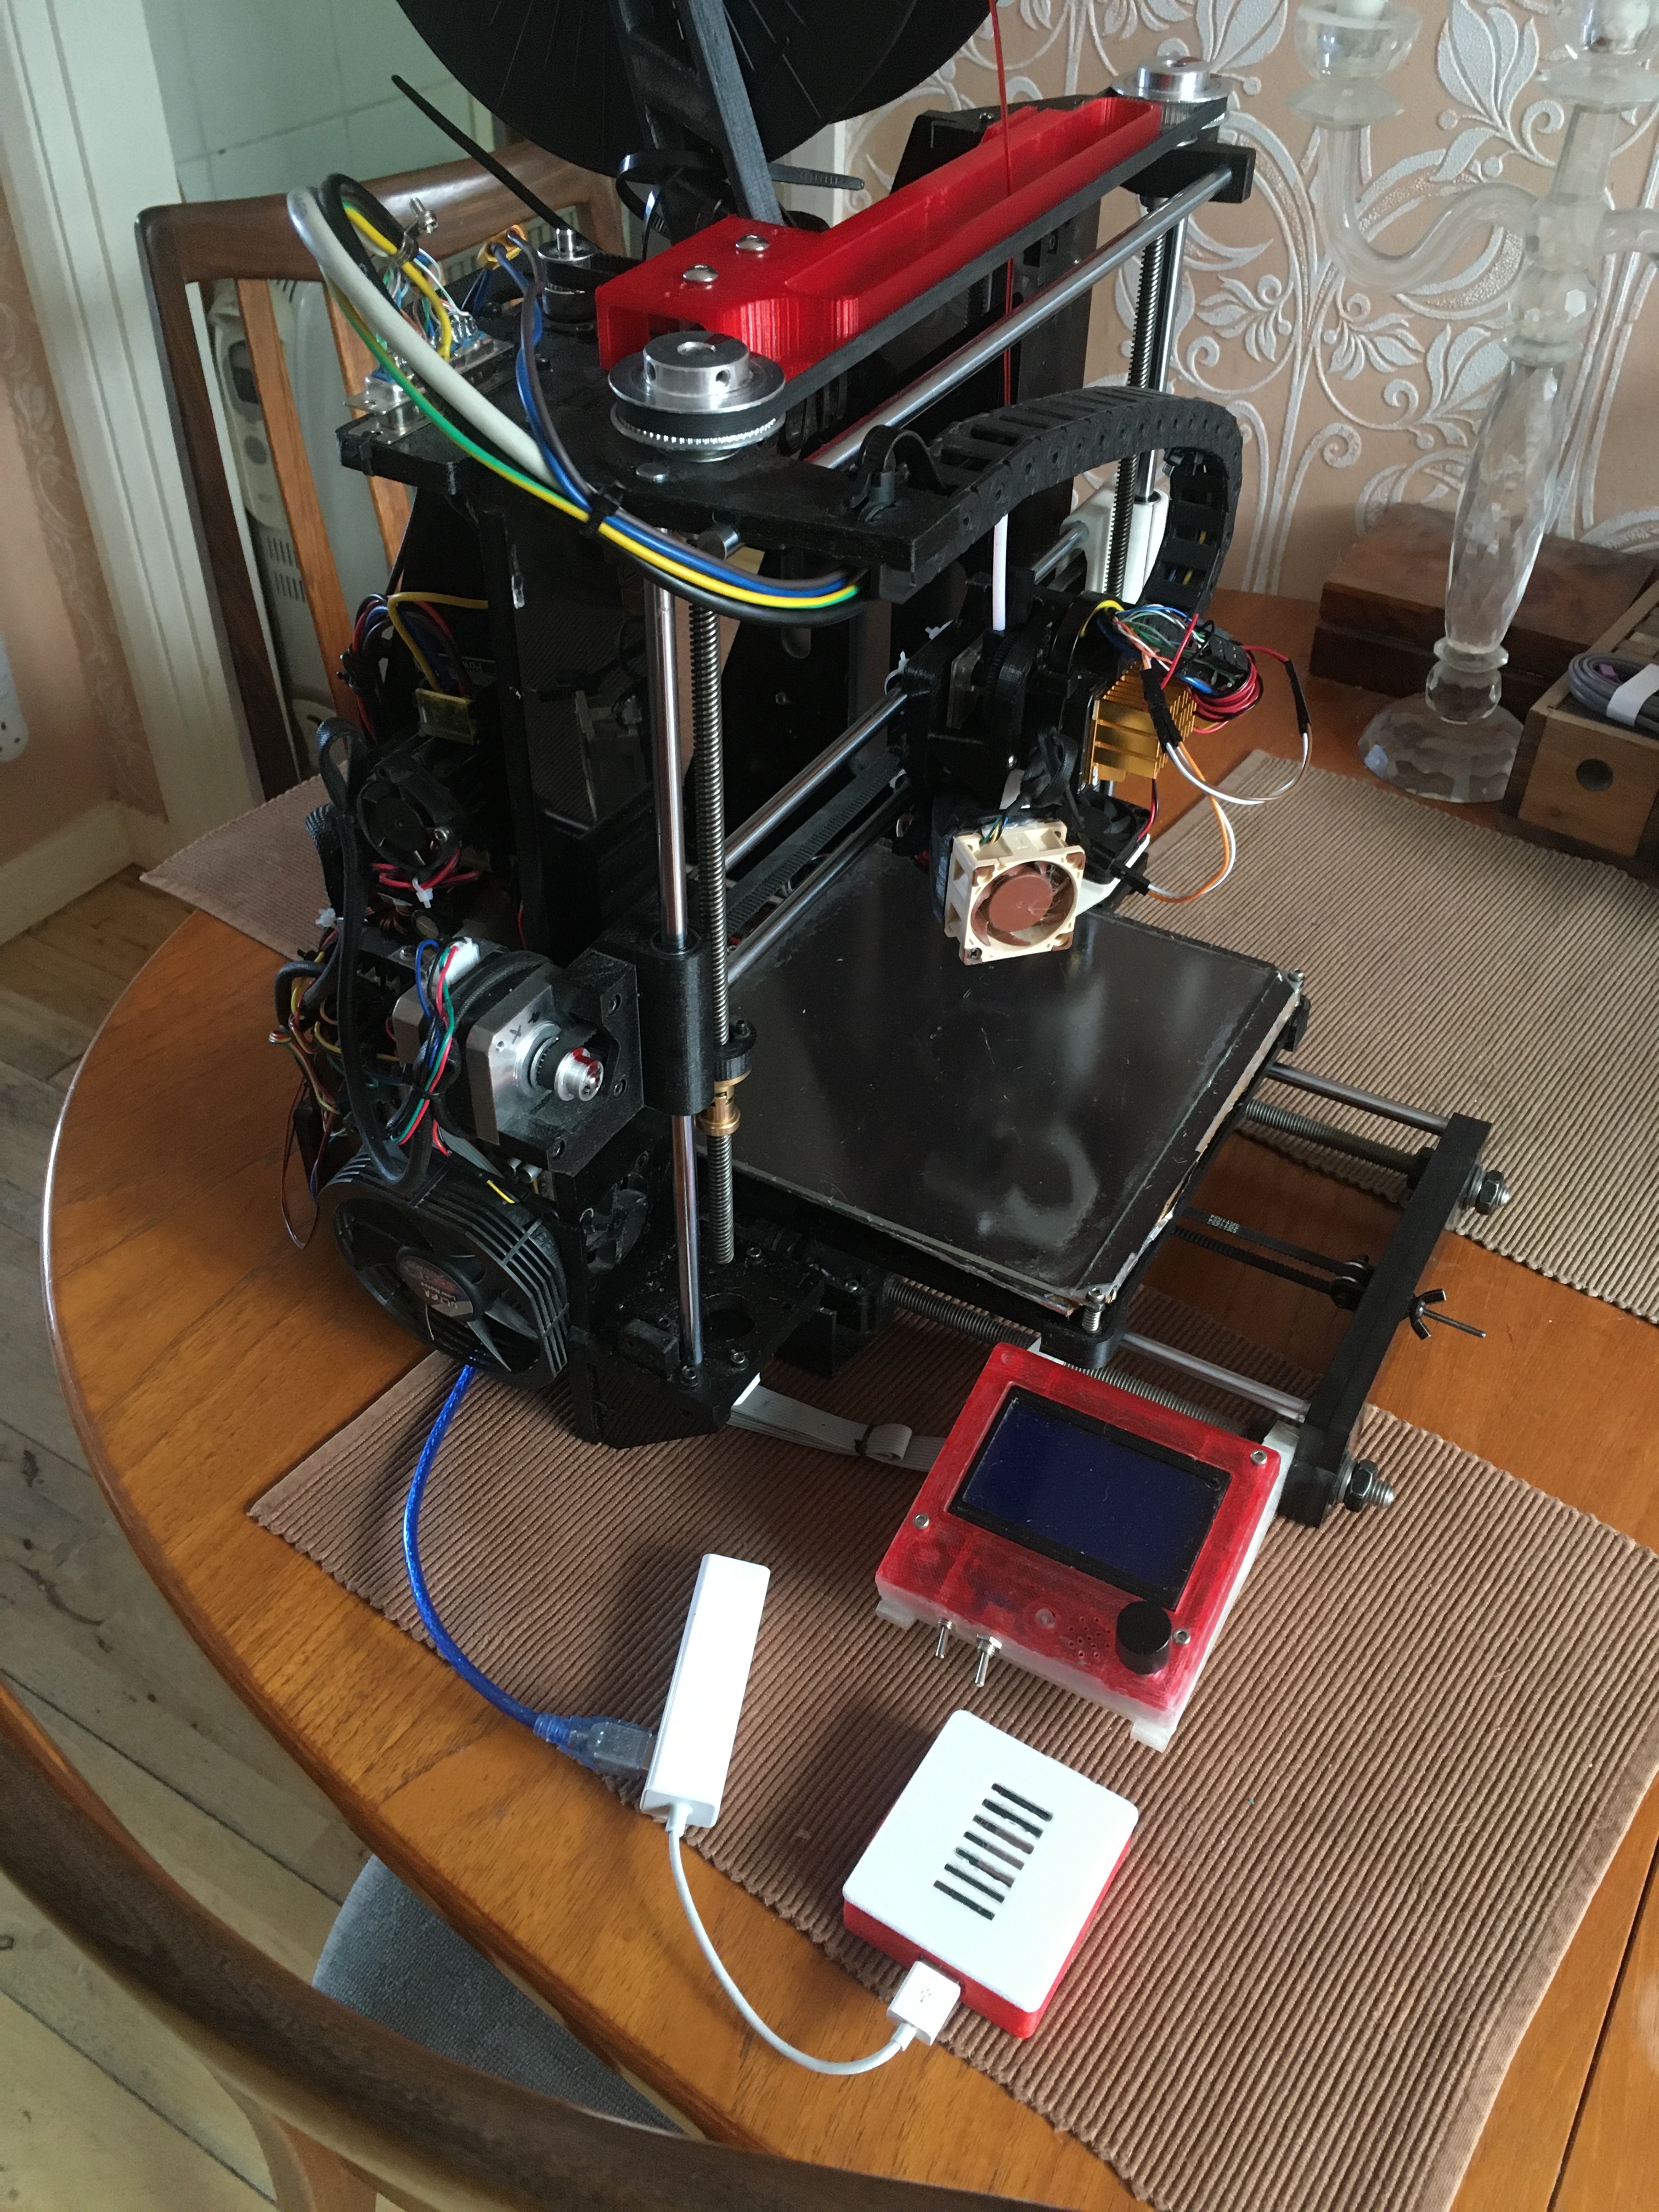
Originally it was a geeetech i3 pro B but very little of the original printer remains.
Almost everything has been upgraded.
That’s after a rewire, it looked much more slapped together before the lockdown.
2 Likes
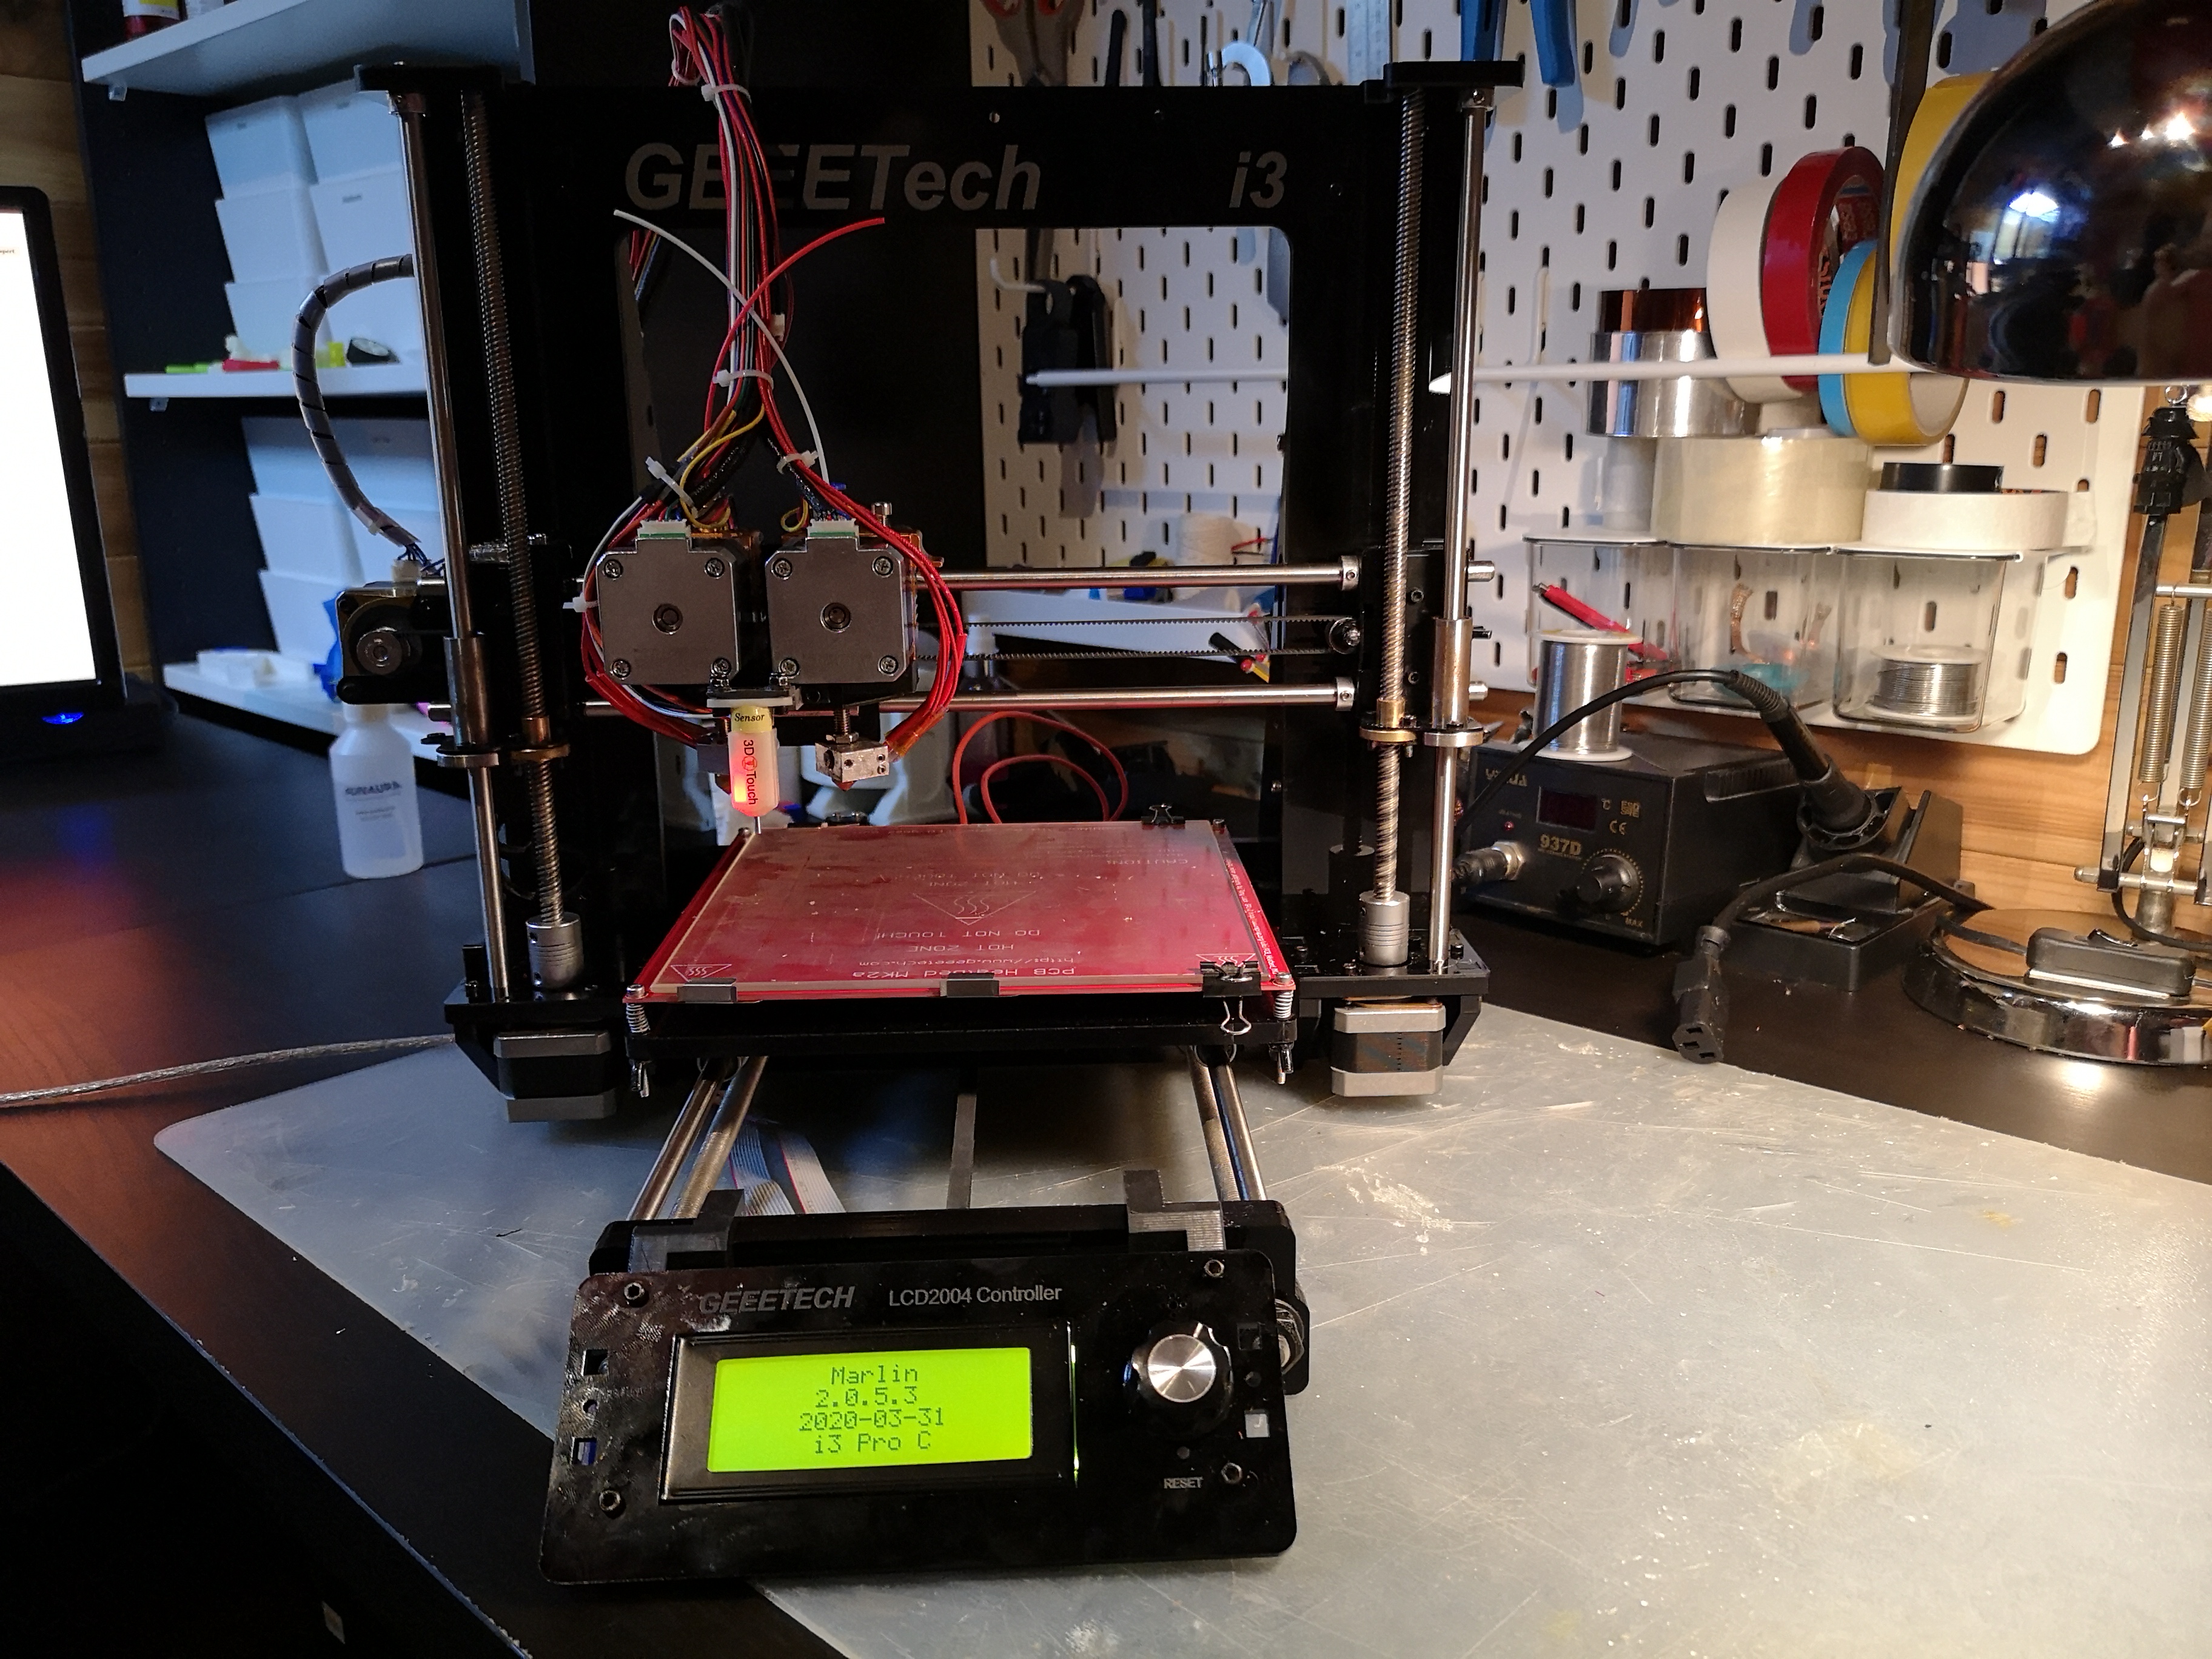
Ha, have just blown the dust off my old pro B with this lockdown.
Few bits done since that photo but it’s running marlin 2.0 and dual extruder but unfortunately none of my parts are being shipped at the moment so I’m limited to PLA as it doesn’t have the upgraded hotends I’m waiting on.
Also run a Wanhao i3 plus mk2 now as my workhorse and recently an Anycubic Photon S resin machine which pumps out some incredible prints.
Great hobby for times like these especially if your willing to put time into upgrading a cheaper printer.
Definitely, it’s amazing when you upgrade a crap machine so far that it can go toe to toe with some of the more upmarket printers.
Mine is able to push 100MM/s with 160MM/s travel speed. The limiting factor is the hot end not being able to keep up with the flow of plastic.
I bet getting those dual extruders took some fiddling to get right, they should be capable of higher temperature filaments with a silicone sock though.
Have you checked the power supply doesn’t need the trim adjusting? There should be a small pot to adjust it, you’ll want a multimeter on the wires as they go into the control board rather on the PSU. you want between 12 and 13 volts.
I can upload the files for the upgrades i have done if you’d like. I had to modify a bunch of them to fit my machine in sketchup but so long as your geeeeetech uses the 8mm acrylic frame then they’ll fit.
Yeah I’m actually currently designing a full overhaul for it to run e3d v6 direct hotends (thats the parts I’m waiting on) I have also upgraded the power supply so it’s not really a limitation of the machine more just not wanting to push higher temp materials through the geeetech hotends… I found they don’t have a sufficient heat break and with the dual gantry there’s no active cooling fan at the extruder unfortunately.
100mm/s is an impressive speed for a geeetech I’d be surprised with the weight of the carriage if the dual extruder could push 80mm/s on a good day with frame mods. Getting it all working was actually a bigger pain than you might think, the marlin build is completely custom as the pro C build from geeetech was a mess and any stable versions were very outdated. So it’s running everything you might see in a new printer; linear advance, PID tuning, mesh bed leveling, junction deviation and with the tmc2209 stepper drivers its silent and has skip step detection soon I’ll implement sensor less end-stops, as far as modifying the build I think it will be minimal but that said I would like to see what parts you have done, it’s always nice to have them instead of needing them  such is the same with cars I suppose just harder to keep a collection of physical parts than it is to keep some files.
You might be interested in the Klipper firmware, you’ll need to do a lot of homework and get a raspberry Pi but the acceleration and pressure advance features on their own are worth it in my opinion.
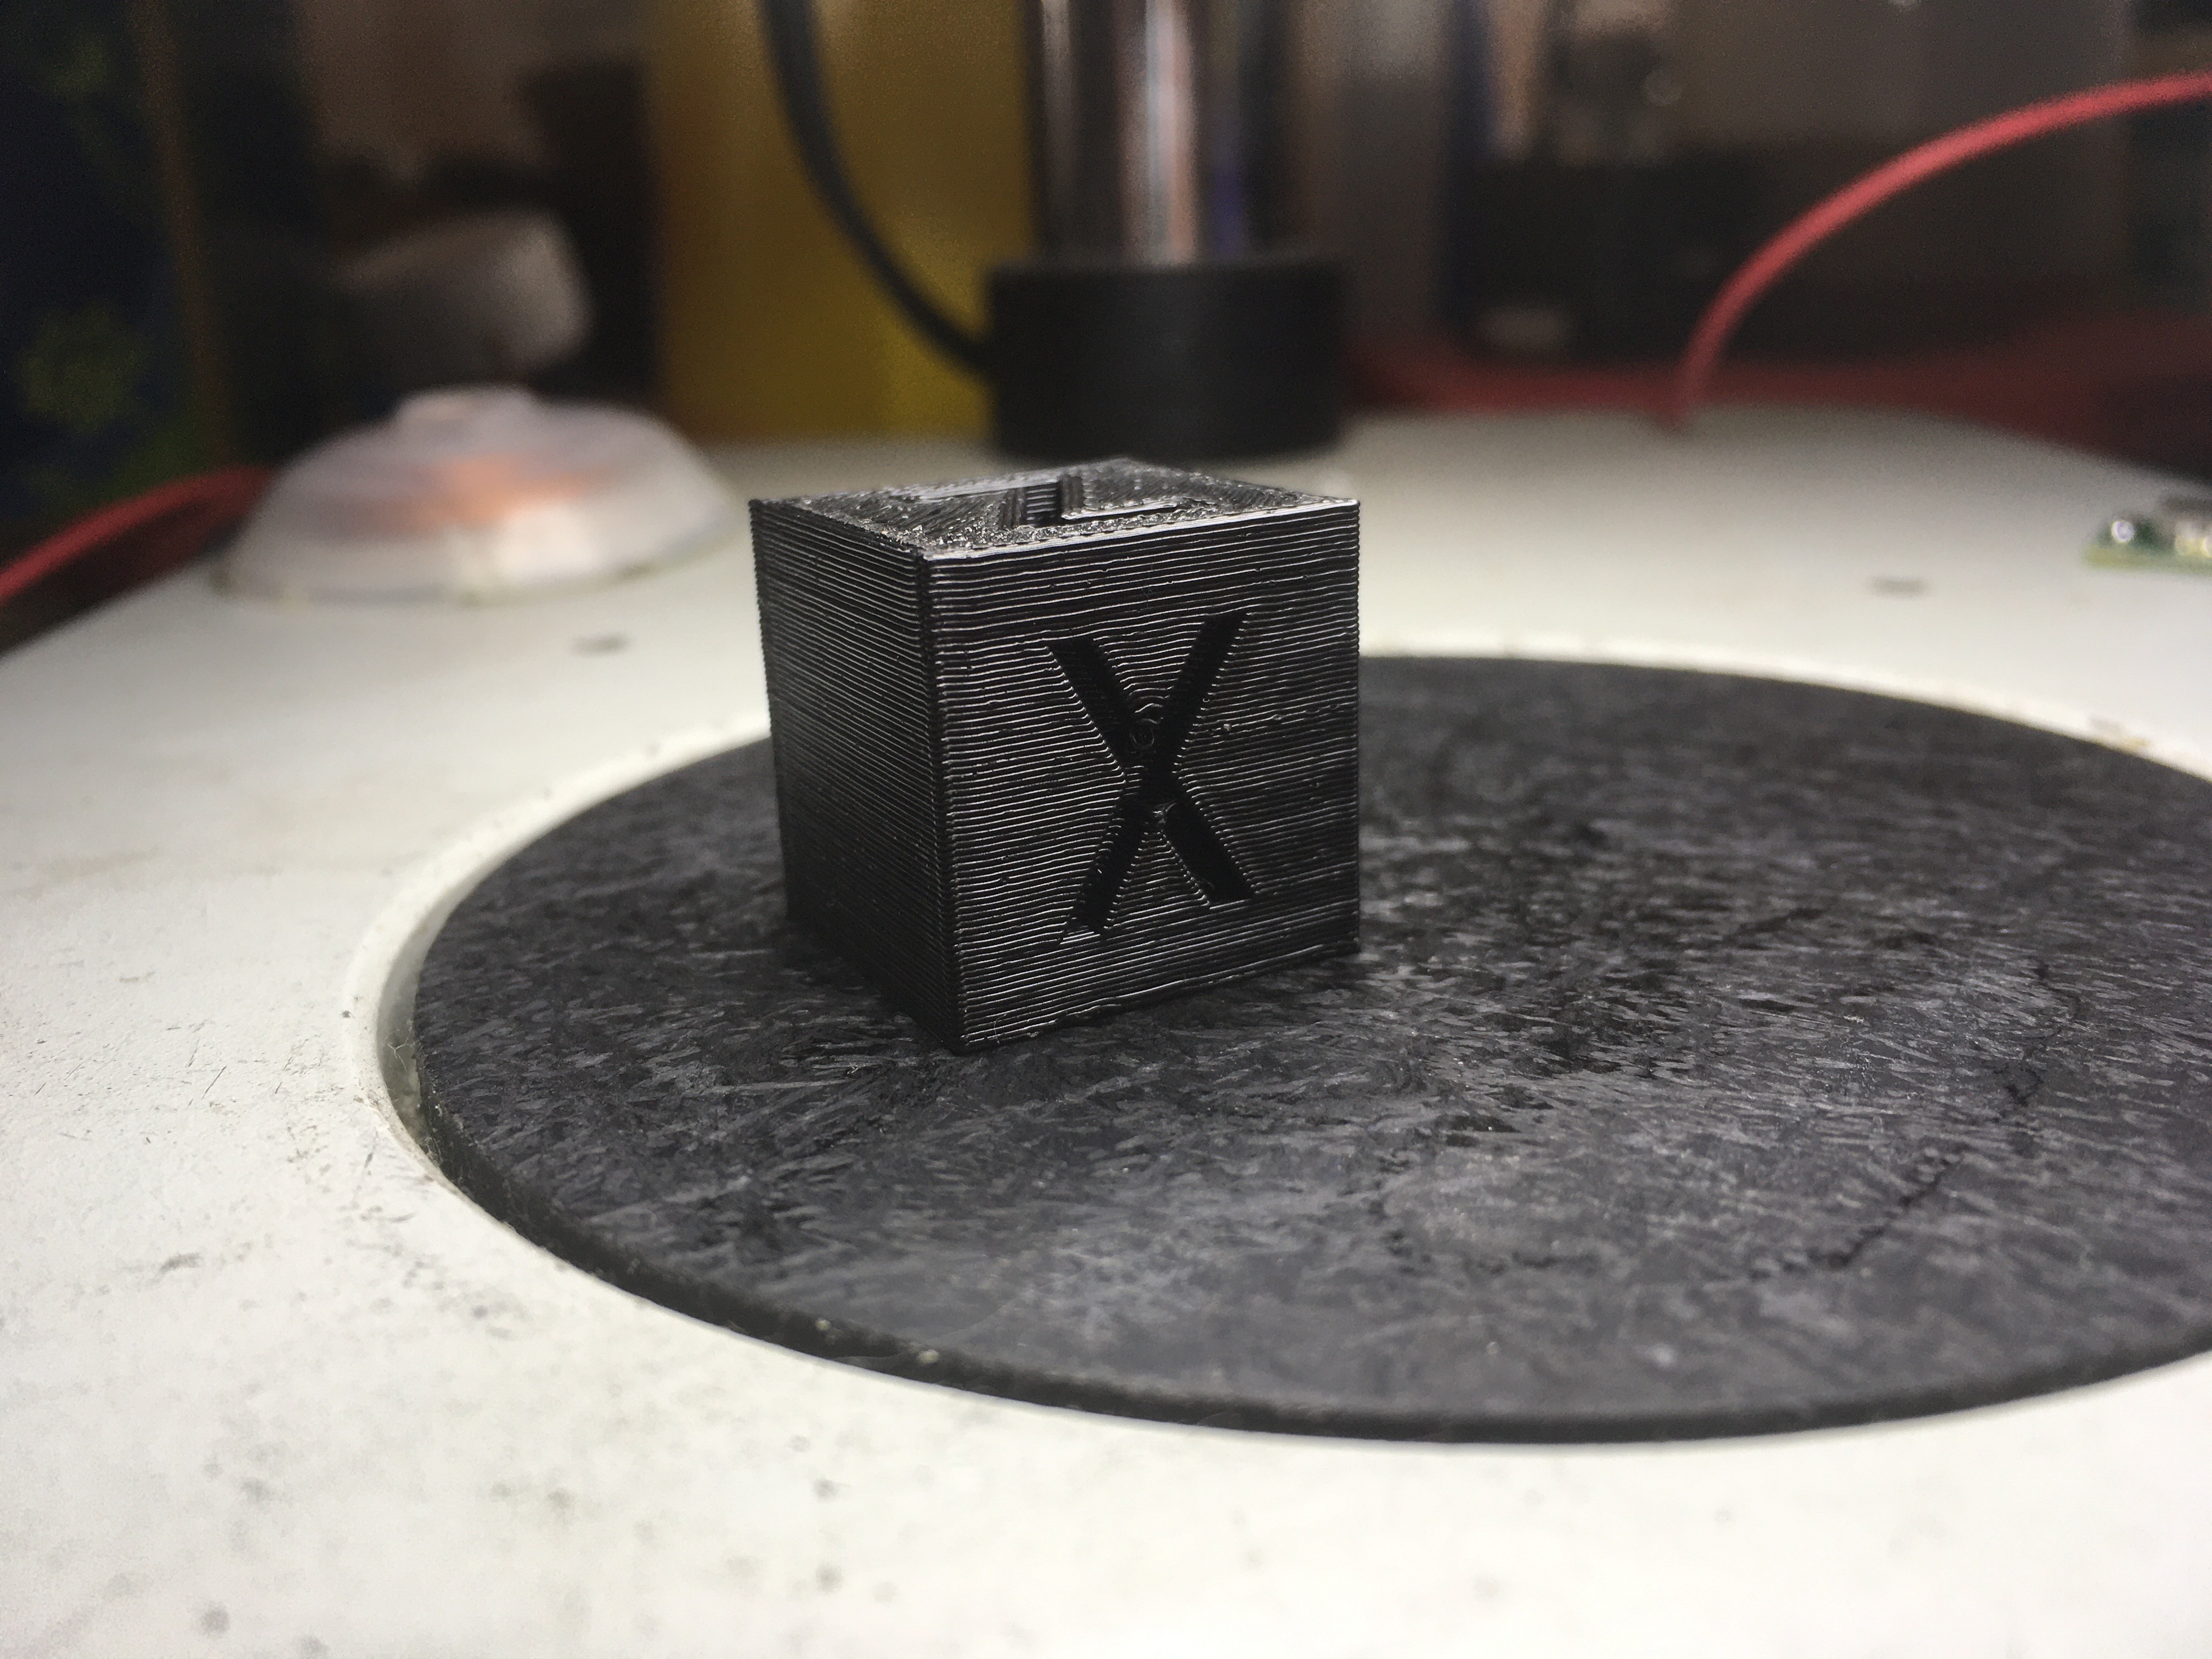
This was the first test print after setting up pressure advance at 100mm/s.
Under all the mess of wires and fans on my carriage is a V6, they’re a brilliant hotend and work well with a titan extruder and pancake stepper.
I’ll gather all the files together and link them here. I’ve had to make some changes to the original files to get it all to fit and keep the same build volume.
Another upgrade i found more by accident was getting hairspray under the glass plate and glueing it to the heatbed. No more crashing into clips after that.
My solution was to replace the glass with a newer superplate from geeetech, was sick of farting around with hairspray and clips after moving over to magnetic buildtak on the wanhao