OK,
So after lots of interest in this subject, I did a conversion yesterday and decided to take some pictures and do a write up. Hope this helps others in the future.
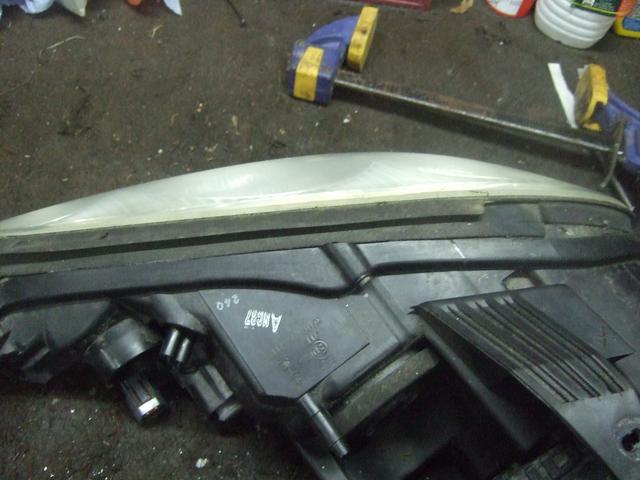
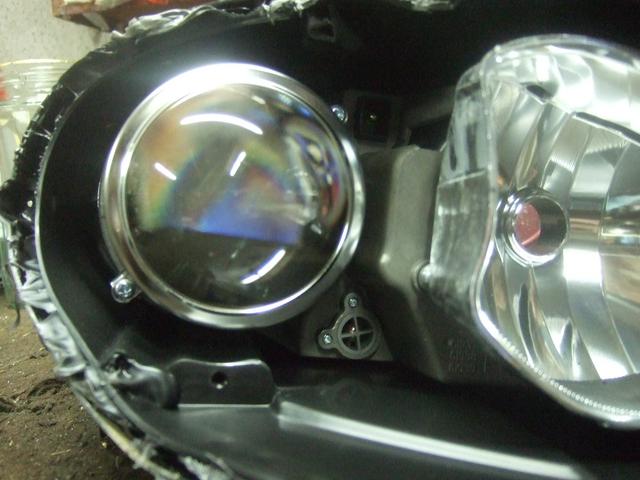
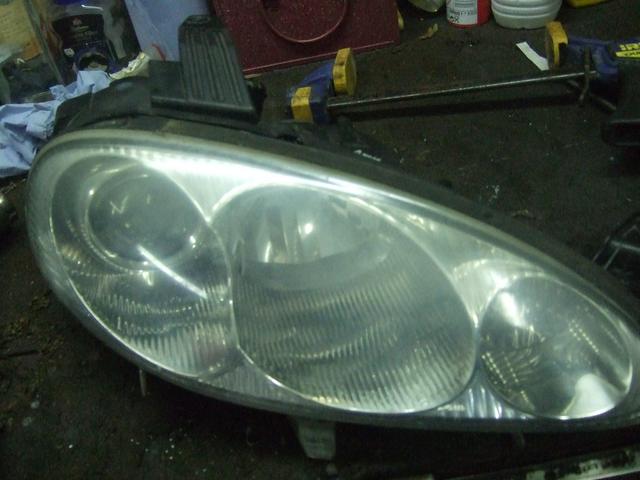
After removing the headlights from the car, get yourself a work space and try to keep it clean.
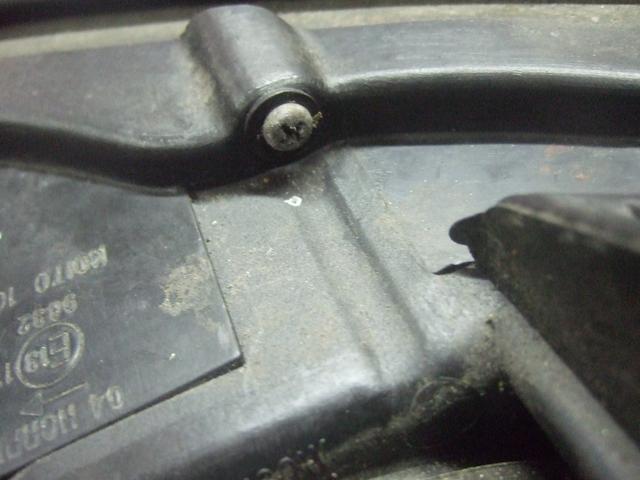
Remove the two posi screws which help to hold the lens to the body of the headlight
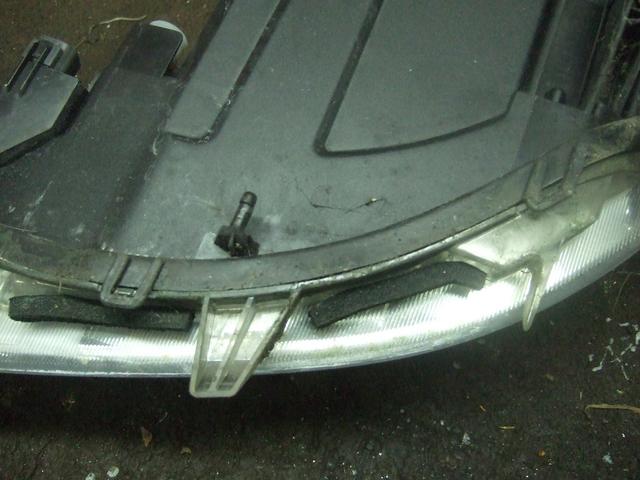
There are three plastic clips on the body of the headlight, use a heat gun and soften the clips and fold back gently.
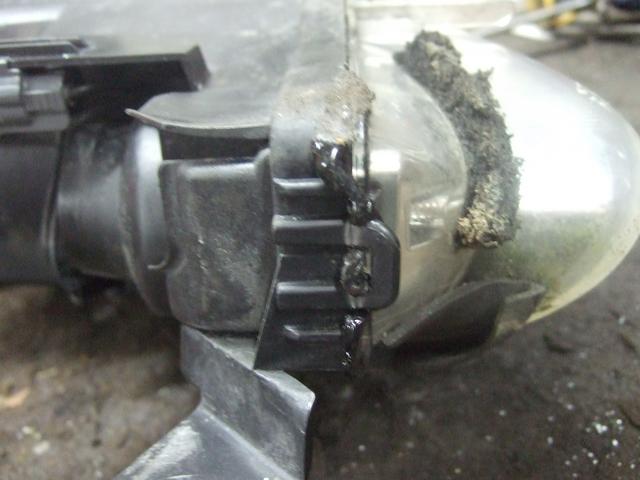
Working around the headlight with the heat gun, heat the mastic which holds the two halves of the headlight together, body and lens, and gently pry the two halves apart. I normally start at the “square” end of the headlight as there is some purchase to be gained by inserting a wide bladed screwdriver between the two halves. Other people who have performed this operation have put the whole headlight in the oven to heat the mastic, but I have found the heat gun gives you more control of the procedure. Be careful with the black mastic. Its horrible stuff. You do not want to contaminate the inside of the headlights or you hands if possible !
Once you have separated the two halves, place the lens in a safe place. The dipped beam part of the headlight is obvious, as it is the part of the headlight which is covered by the “projector” lens. Remove the two screws which secure the lens holder and remove the holder, lens and gasket. Place these somewhere safe and clean. You can now see the “beam plate”. This is the part that needs modifying.
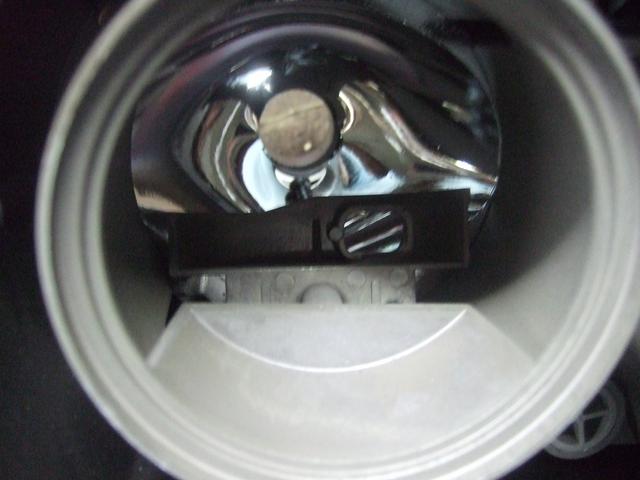
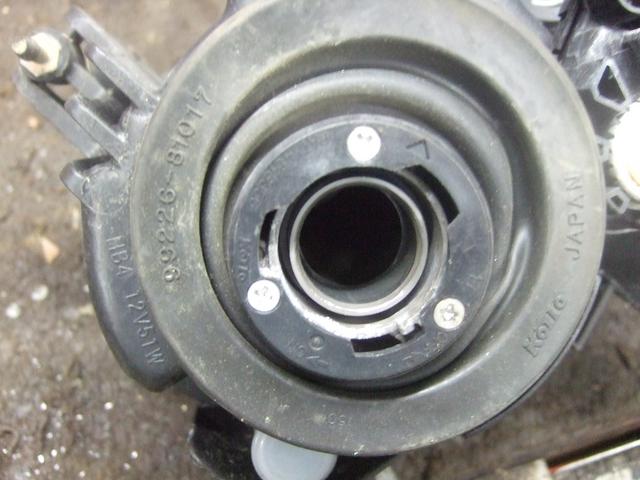
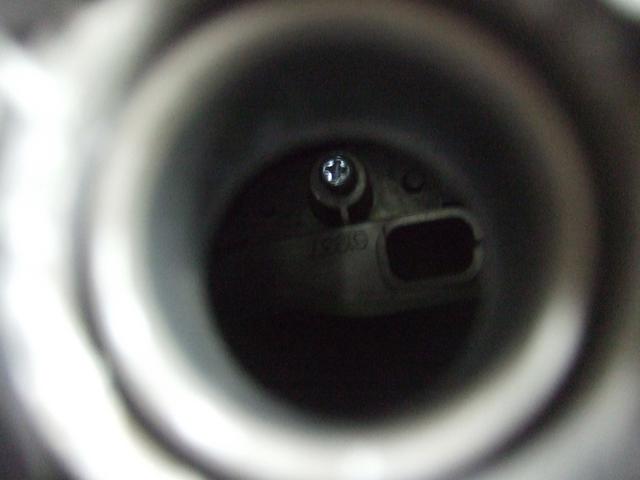
Turn the headlight over. If you look closely through the bulb aperture of the dipped beam, you will see the posi screw which holds the “beam plate” in place. This in my opinion is the hardest part of the whole operation. You do not want to damage the screw head. If necessary use the headlight beam adjusting screws ( left to right and up and down ) to adjust the position of the screw holding the beam plate within the body of the headlight to obtain the straightest angle possible on the screw head. Use a quality posi screwdriver with a clean undamaged head. Apply lost of pressure to the driver, and remove the screw. It will be tight. It is a self tapper in to a plastic molded hole. Once it "cracks it is pretty easy to remove. You can now remove the “beam plate” from the oposite side of the headlight body.
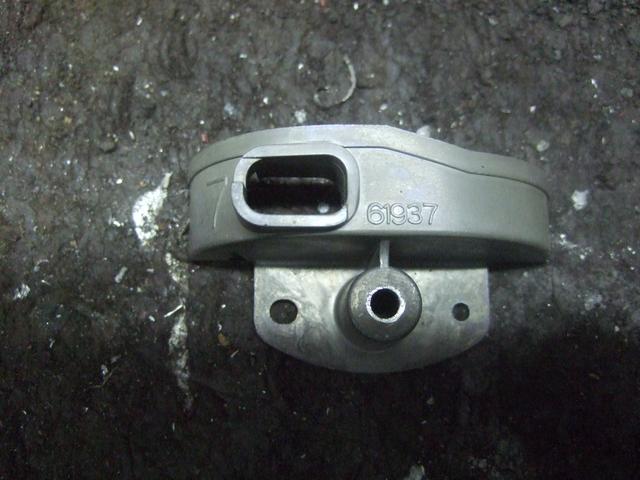
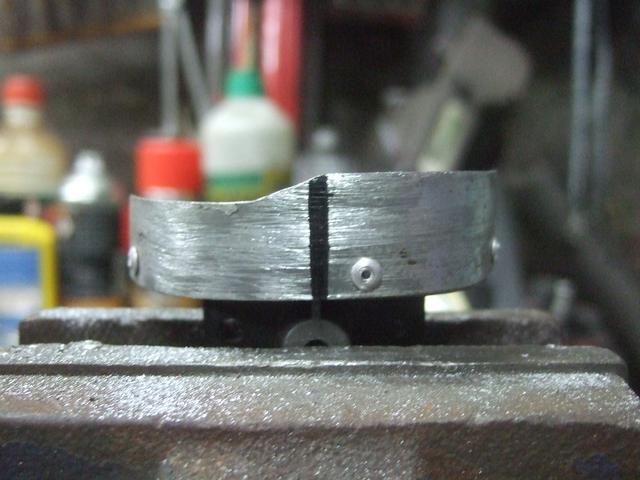
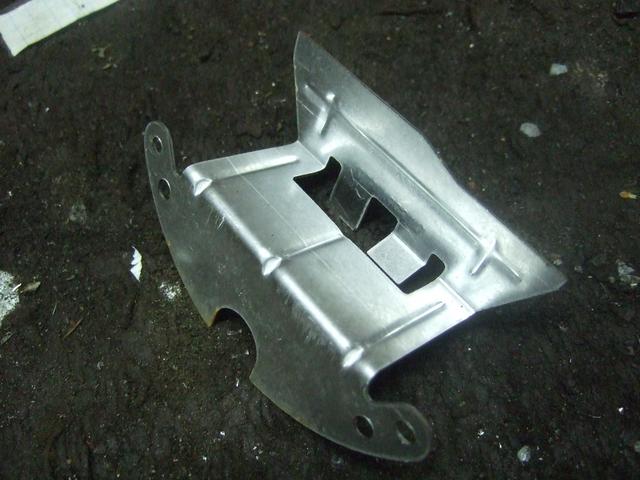
You can see from the image the shape of the beam plate.
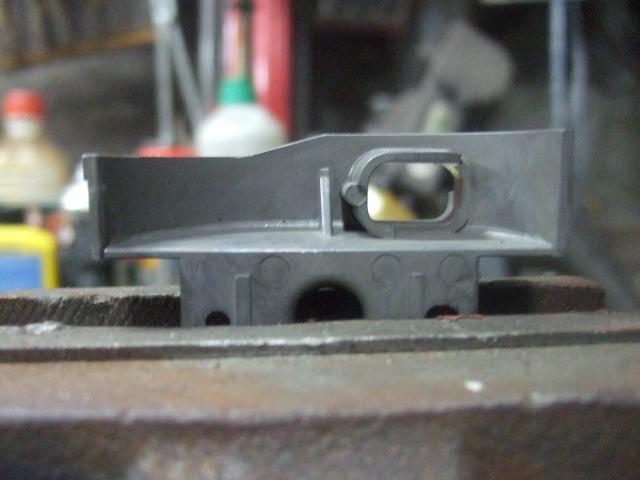
This shape needs to be reversed to change the dipped beam from RHD to LHD ( __ to __/ )
To do this you first need to make a paper template using the “beam plate” to do so.
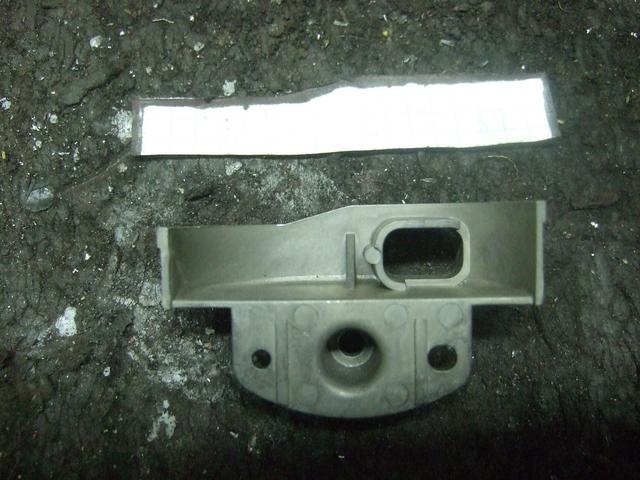
Once you have a paper template, transfer this to a piece of tin plate, and cut out accurately with a grinder, or dremmel. Mark the center line on your new beam plate.
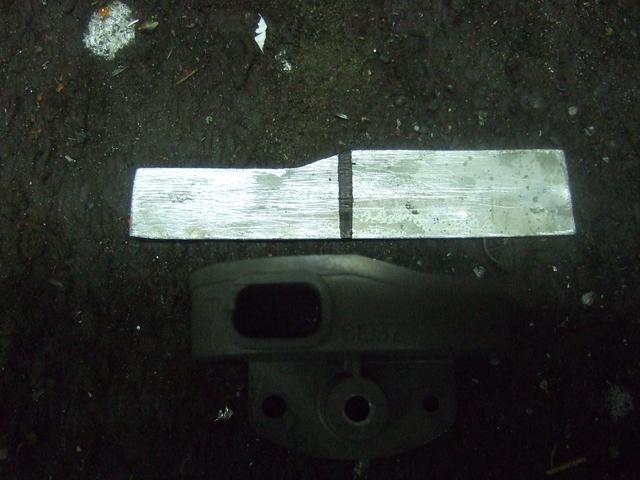
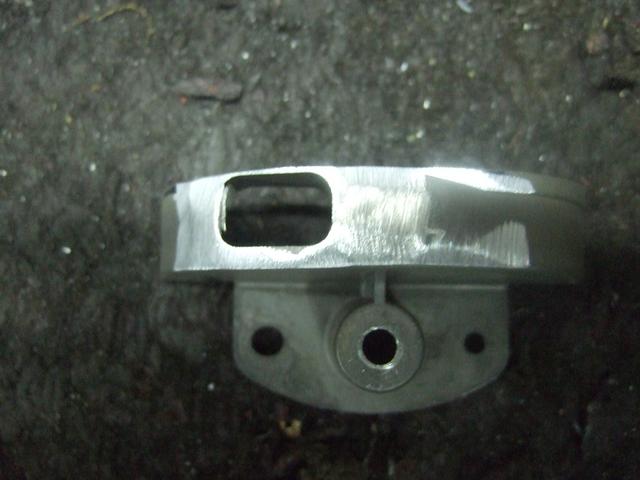
Next, grind your old beam plate flat, both horizontally, and also around the aperture on the back.
Affix the new beam plate to the old using pop rivets ( I use 2.5mm ). Make sure the center line you have previously marked runs through the fixing screw of the old beam plate. and that the new beam plate is fixed exactly parallel with the old. Make sure that you have the new beam plate in the right sense, in so much as the new high end is over the old low end and vice versa! If the new beam plate is not exactly right once affixed to the old beam plate, you can modify it with a file. The " high" part should be around 18mm, the “low part” 14mm, both being parallel with the base of the old beam plate.
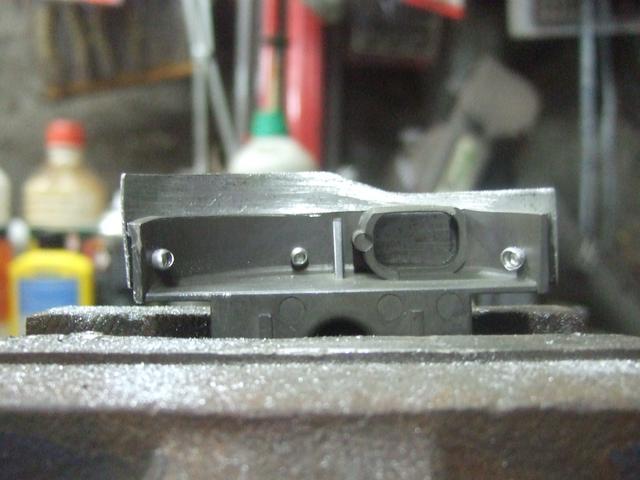
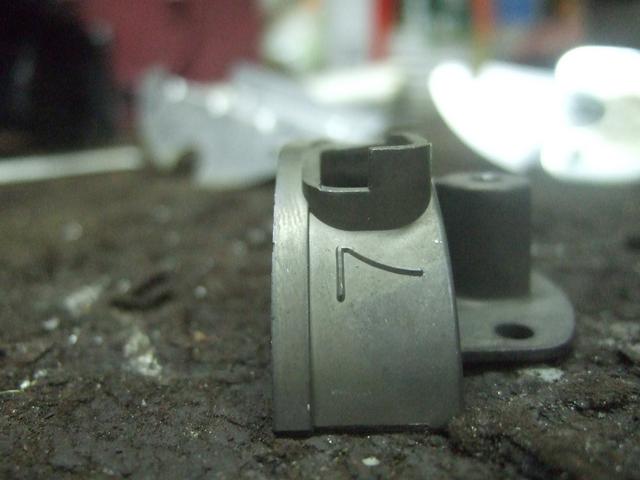
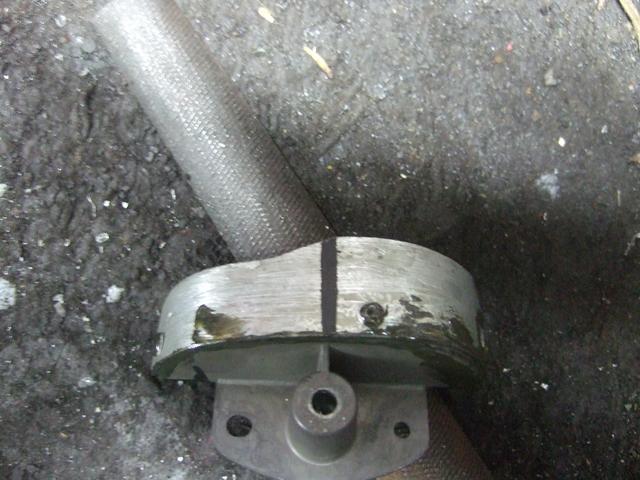
Fill the join and rivet heads with a bit of gasket seal or high temp silicone to stop any light spatter. I spray the new assembly with stone chip, as the original is a matt finish. I have not noticed any diminished performance in the modified headlights. Blocking off the aperture doesn’t seem to have an adverse effect. I have modified over 15 sets of projector style headlights, and all have passed the French CT ( MOT ) with no issues. Both my XKR and X Type do not have an aperture in the beam plast, as you can see in the photo.
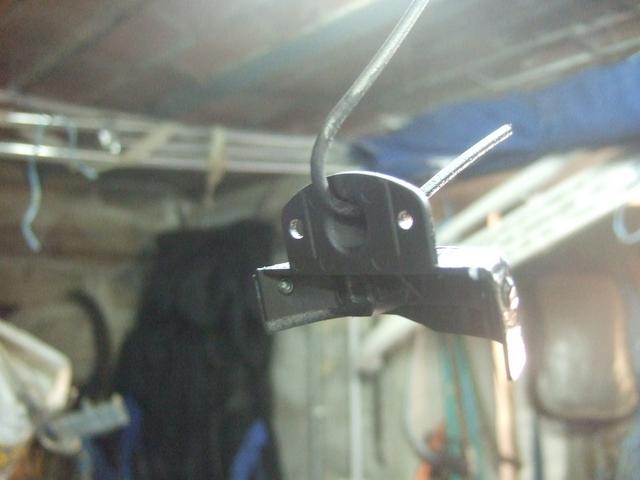
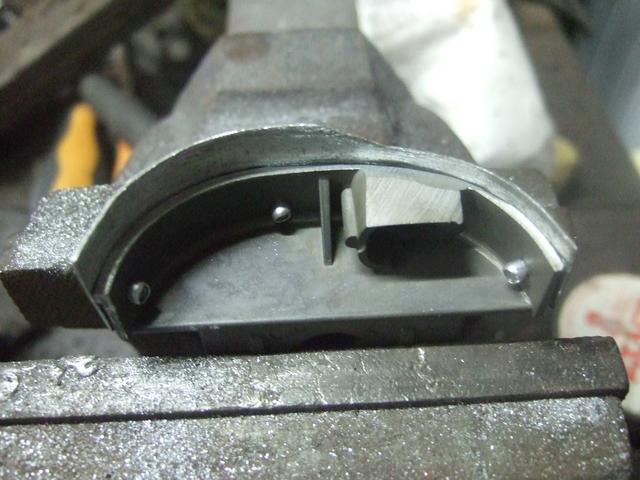
I am not sure if this is necessary, as the commercially available beam plates for my Jaguar XKR are a galvanized finish as shown in this photo.
Reassembly is simply a reversal of disassembly.
Fit the beam plate. If the screw for the beam plate is difficult to install, and you start to chew the head of the screw, stop. Remove the screw and use one of the ones from the lens holder, they are all the same, but the lens holder screws are much easier to install. I find small turns of the screwdriver and frequent checking of the “angle of the dangle” helps when installing the beam plate screw. Do not just continue trying to install the screw if it starts to chew the head. You will get to a point where it impossible to tighten or loosen…and the you are truly stuffed !

Give the whole headlight interior a good clean before reassembly. Fit the dipped beam gasket, lens and lens holder.
Use the heat gun to soften the mastic as you reassemble the two halves, and press the three clip holders back in place. Don’t forget to reinstall the two screws holding the two halves together. I find the surreptitious use of an " Irwin Quick Cramp " helps seat the two halves home.
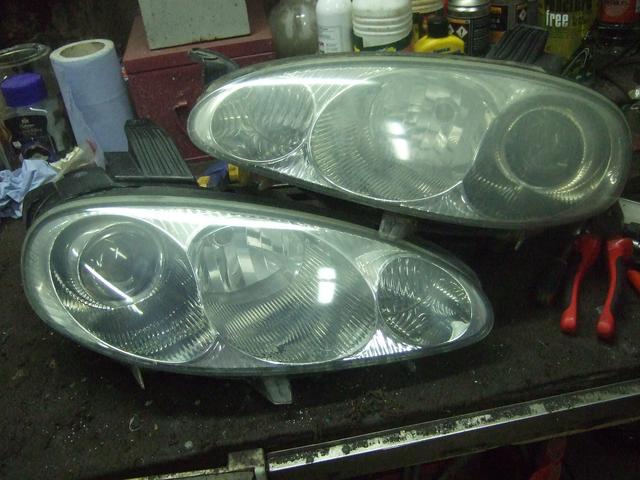
Give the lens a good polish to remove any yellowing and scratches. The Right hand unit has been polished in this photo, but the left hand hasn’t.
All in all, including removing the headlights, the whole procedure should not take you more that 6 hours the first time. I can do it in just over half that now. You will of course have to have the headlight aim adjusted by your local garage. You can get it close by marking the existing beam aim on a wall before you start, and adjust after to the same, ensuring of course that the car is in the same place relative to the wall.
£400 saved, the whole process is reversible if need be.
I used the same procedure to do my Jaguar X Type as well. As far as I understand, any “projector” style headlight can be modified in this way, though some inginuity may be necessary to “fabricate” a replacement beam plate. Some beam plates such as for my Jaguar XKR are comercially available. I could not find a replacement part for the MX5.
Here ar a couple of before and after photos of the light patern. The photos are not brill, and were achieved by shining an LED torch through the bulb aperture, but you can clearly see the " tick" moves from the left ( UK ) in the first shot, to the right ( Europe) in the second.
Bon courage !