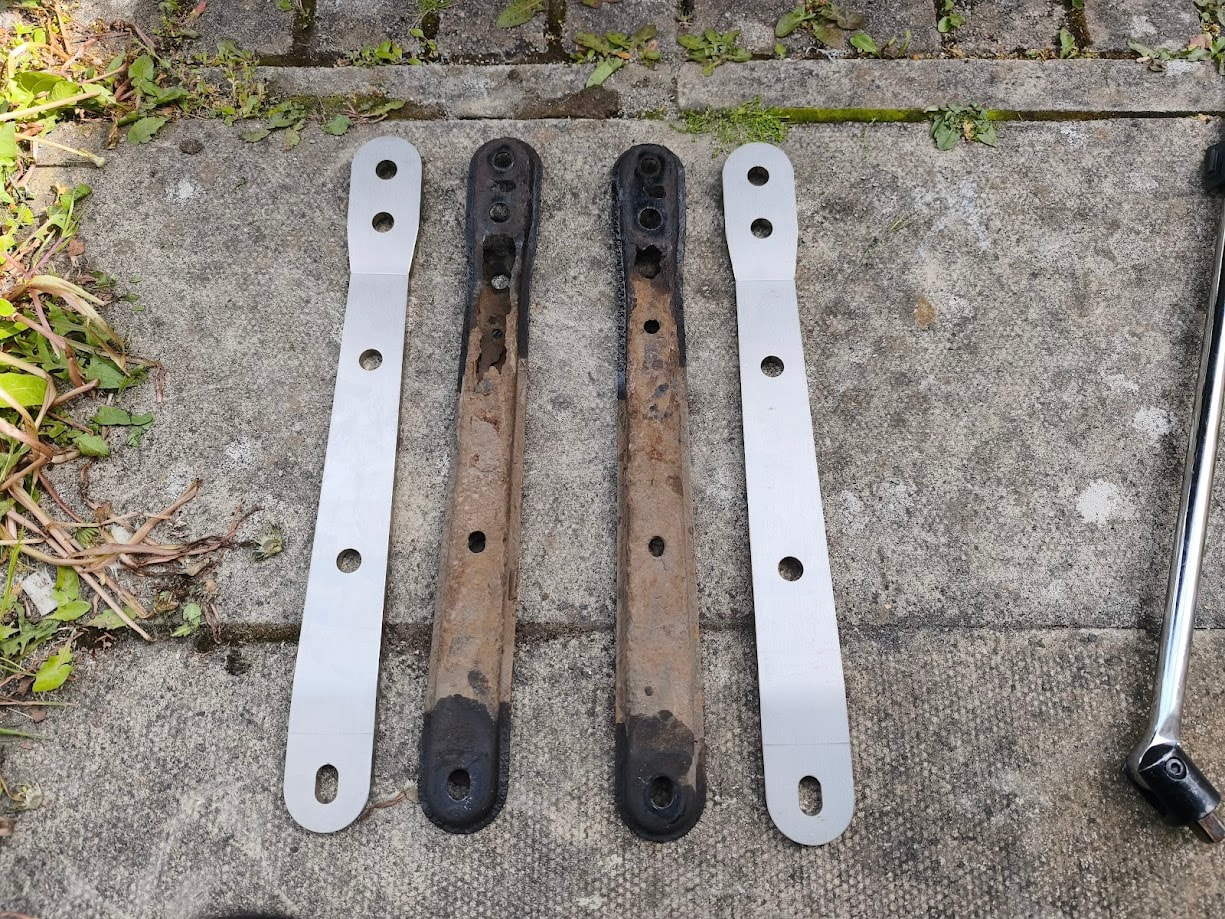
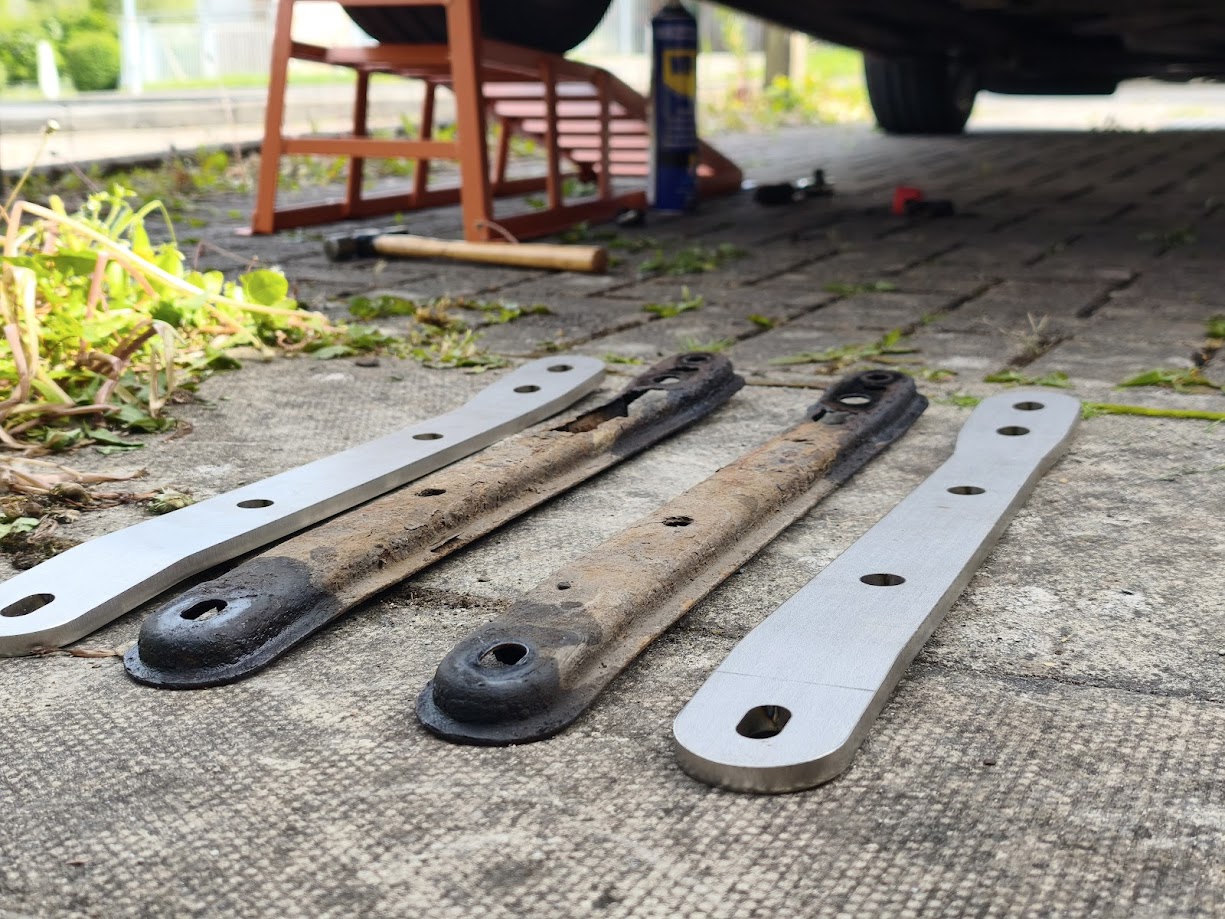
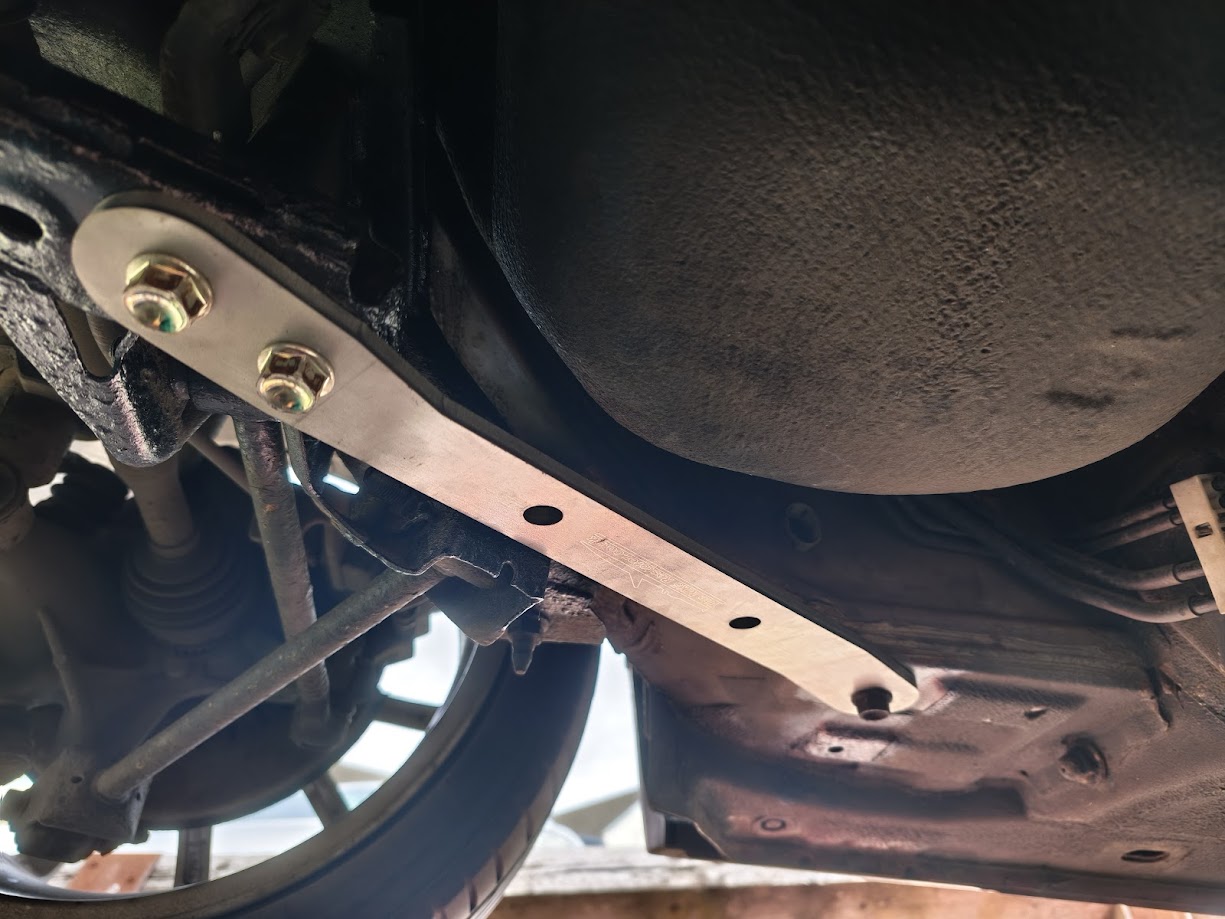
- My model of MX-5 is: NC
- I’m based near: Glasgow
Hi all, this is a quick guide regarding the replacement of the brace bars that connect the rear subframe to the sill. I’ve owned my NC for around half a year and noticed the brace bars on it weren’t in great condition, but couldn’t find a comprehensive guide regarding this, so I hope this helps anyone who needs to replace theirs. Yes, the braces can simply be replaced and forgotten about, but information about bolt access and protecting the box section is scattered and difficult to come by. If anyone has any other advice, please comment as it’ll help more people out!
The Brace Bars -
The original brace bars are made out of relatively thin metal and on daily driven cars they can be a common MOT failure or advisory. Used replacements cost up to £60 and a new pair can be around £100. TheMx5Restorer sell an upgraded stainless steel replacement and this is what I opted for.
Removing the rusty bolts -
For this job I reversed the car onto ramps. I’m pretty sure this can be done on jackstands too, but I had no issues on the ramps. Quite often the 17mm bolts (three per brace) are corroded in place when replacing, which makes them very tricky to remove with a simple tool set. Two bolt into the subframe, and the other into the sill. Each bolt goes into a captive nut which is welded in place.
As you always would when tackling a rusty fastener, you want to wire brush the head & threads, and use penetrating fluid. The bolts going into the subframe aren’t in the best position for access to wirebrush the threads. However for the bolt going into the sill, the threads can be accessed by removing the seatbelt tensioner (after moving the seats forward and removing the plastic trim behind them).
- This video shows the trim removal well. (Can see the bolt at 2:10)
- And this video has great instructions on how to remove the seat belt tensioner and shows the box section well (Can see the bolt below the drain pipe at 1:05).
The access isn’t the best, but after wirebrushing the threads and using penetrating fluid, removing the bolt should be a lot easier. On my car, the sill bolts were surprisingly fine and I found the bolts going into the subframe to be the worst. One of them required a 17mm twist socket as it was too rounded, but every bolt got moving fine with a breaker bar. On cars that have seen more road salt, a torch or induction heater would help a lot. I’d recommend buying a full set of replacement bolts, however they may be tricky to source (if anyone knows the exact bolt specs then please comment!)
Some preventative maintenance (cavity wax) -
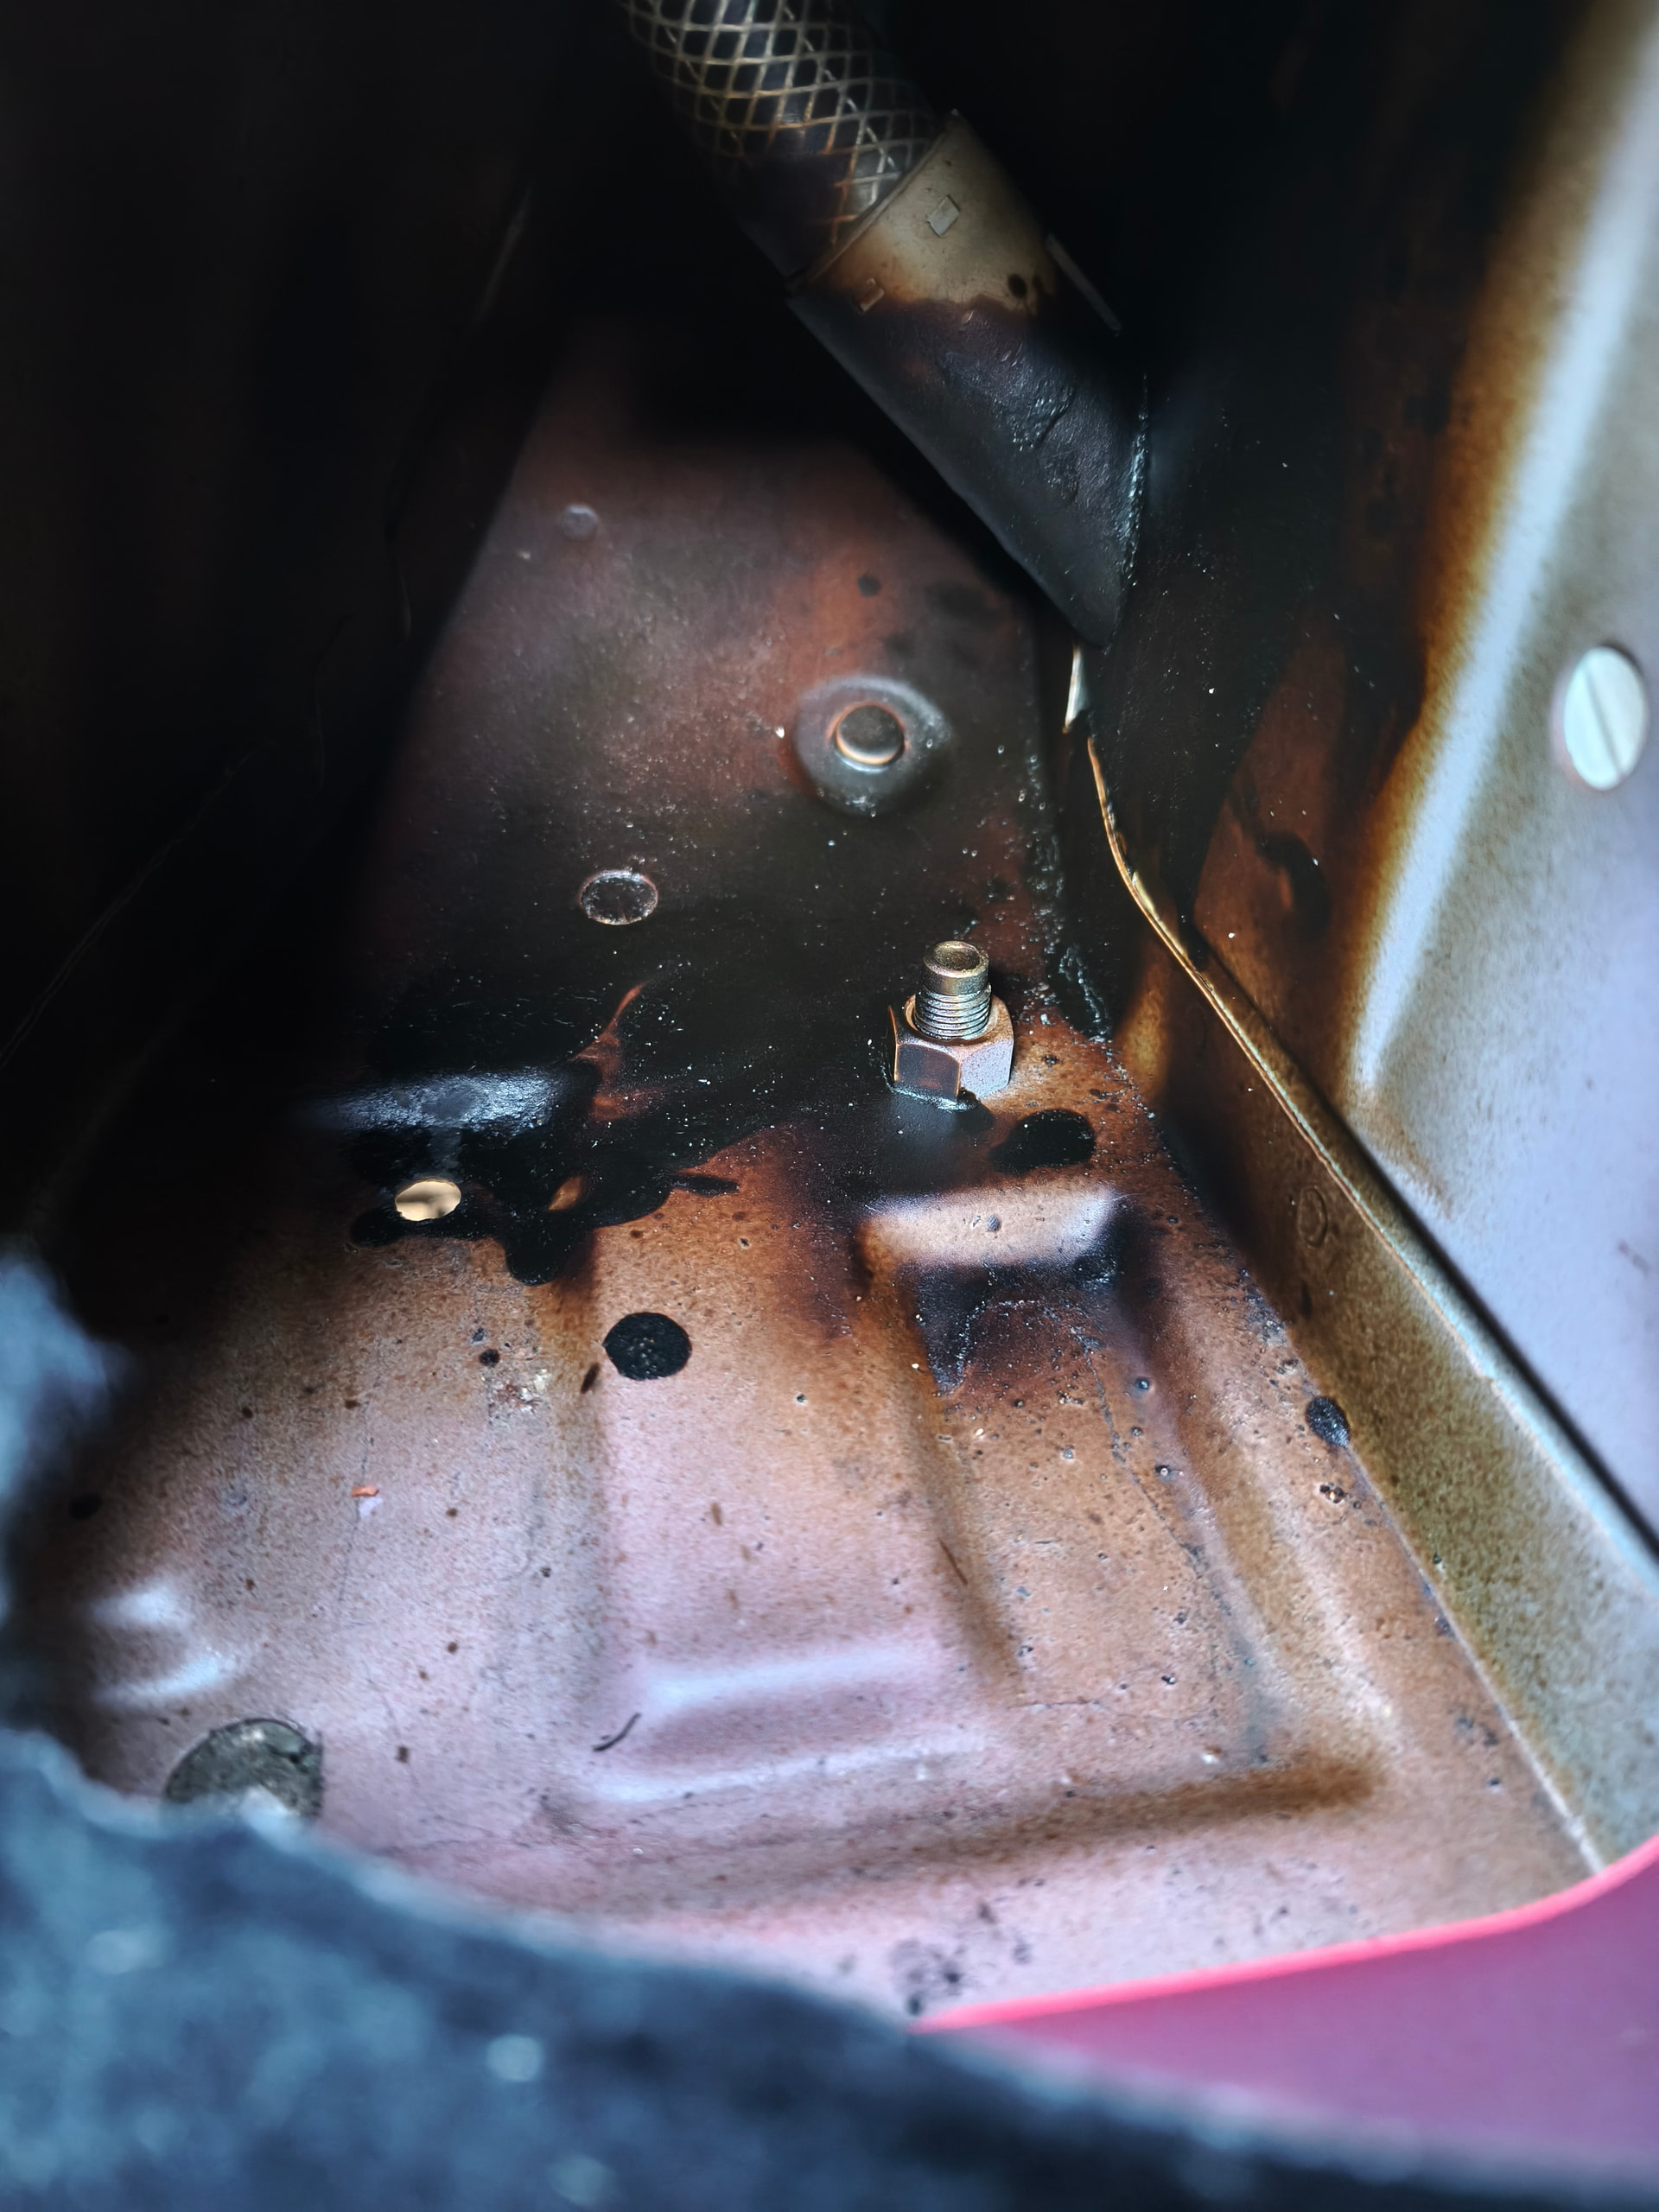
The box section that the brace bar attaches to is very prone to rot (especially if you have a drain related leak). This is one of the advantages of having a look in this area before you do the job.
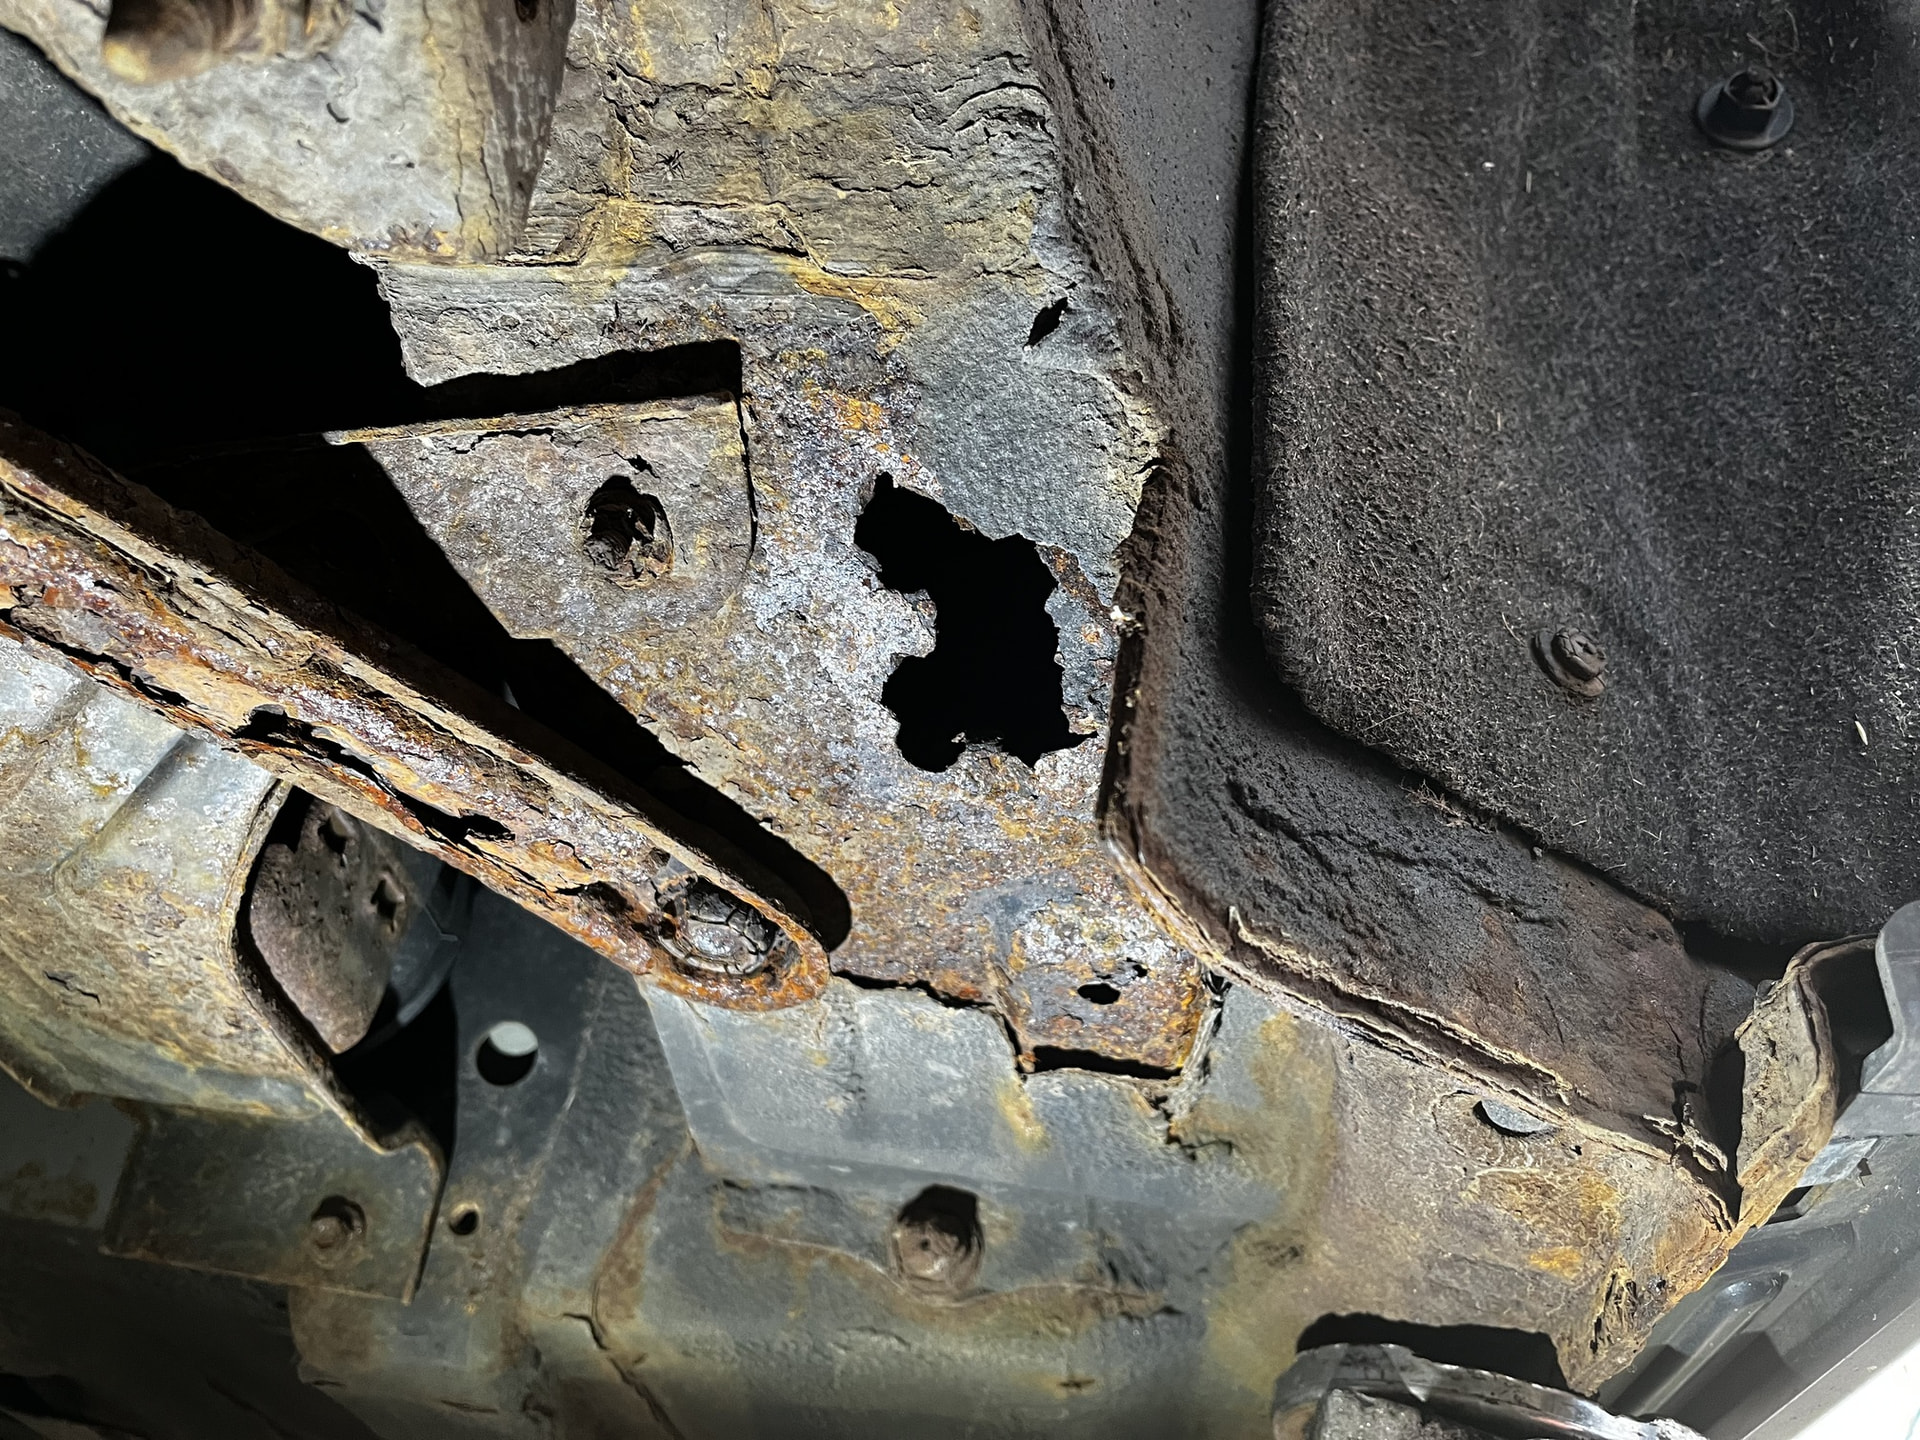
Yikes.
On my car I found that the left side cavity had a bit of corrosion, so I wirebrushed the area down, went over it a couple times with rust converter, then used a cavity wax (my choice was Bilt Hamber Dynax S50). I did this for both cavities and the corrosion should be slowed down significantly, on a car that’s daily driven all year round, this is a very important step in my opinion (just as important as cavity waxing the inner and outer sills). If you do have a leak, the two videos I linked above may help address it. Attached is an image halfway through the the cavity waxing process on my car, it’s a bit messy but worth it.
Final thoughts and install pictures -
The install was a simple process (took around an hour), but this depends on the extent of corrosion on your car. Very happy with the Stainless steel bars from TheMx5Restorer, great quality and cheaper than genuine replacements. Now onto finding more areas to protect from rust!