Good evening, does anyone have, or can point me to the above, (replacing). I have a slow drip after rain from a bolt end underneath the far passenger side of the dashboard. too close to the fuse panel. Photos appreciated. thanks for any help.
Or just reseal the existing ones with silicon or similar
1 Like
Click on the DOWNLOADS link above,
then Technical,
then Soft Top Hardtop How To Guides,
then S:Body, Interior and Styling,
then Water Ingress NC (Mk3). This last link is a pdf with pictures and full info.
1 Like
I waited 6 months to get mine ! In retrospect I should just removed the gaskets and re-sealed them with epoxy resin or silicone sealant.
Did mine at the weekend. Nice easy job, used new grommets but could just as easily re used the old ones on a bed of sealant. Also a good opportunity to give the whole area a good clean out as it was pretty grubby in there. Simplest of jobs with a little patience.
As said, reuse the old ones the foam gaskets on the new ones will deteriorate anyway. Clean off the old gasket and the area where they sit, then apply silicon sealant to the faces. Jobs done! Might, I say might, need new blanking plugs for this as they tend to snap the retaining clips when prising them out. Cheap to buy and if mx5Parts don’t have them, Autolink is a great place to obtain them from.
Barrie
1 Like
Since the forum update, can anyone direct me towards this PDF/ Downloadable guide?
TIA 
I used the guide in order to do mine but, like JDM-Clare I now can’t find it on here.
From memory:-
Remove both wiper arms - gently prise off the rubber cap to access the bolt; if the arm seems stuck on the spline just lift to the “up” position as if washing the car & it’s then easier to wiggle it free.
Gently prise out each black plastic cap at each end of the scuttle panel (suggest you buy these as well as the grommets, because the retaining clips often break.)
Remove the cross-head screws - located under the caps you’ve just removed - which retain the scuttle panel to the grommets.
Open the bonnet & carefully lift off the rubber seal which runs from one side of the car to the other at the front end of the scuttle panels.
Gently lift & pull forward both scuttle panels, at the same time, holding them at the middle where they join - they should pull away quite easily. They’re clipped together at the middle so you need to pull them apart gently while lifting & pulling forward. No need to completely remove them or disconnect the washer piping.
You should now be able to access the grommets - can be a little tricky to prise out, some folk recommend sliding an old credit card underneath to release the plastic tangs. One of mine was especially difficult to remove meaning that I slightly distorted the metal beneath - easily reshaped with a screwdriver through the hole to lever it back then a bit of touch-up paint.
You can then push the new grommets in, most folk on here recommend sealing around them with silicone for good measure which is a sensible idea.
Reassembly is then, as they say, a reversal of the disassembly process. When refitting the wiper arms you should see two small white circular marks within the black area at the base of the windscreen at each side - Mazda helpfully put those there to indicate where the wipers should sit in the “rest” position to aid alignment.
Good luck!
2 Likes


A super helpful walk through with some top pointers, thank you! Though I’ve done it now, glad to know I’ve done the recommended sealing of new grommets… also purchased the new caps, so all fresh and sorted!
Now… onto the rear brake light 
3 Likes
Time for a repost of my original click sequence, edited to suit access from the new Forum.
- Go to the main O/C ‘Home’ page (link at top right of the Forum page)
- Click on the ‘Downloads’ link in the second menu bar,
- then on ‘Member Downloads’ (I guess you need to be a member)
- then on ‘S:Body, Interior and Styling,’
- then ‘Water Ingress NC (Mk3).pdf’ This last link has pictures and full info.
1 Like
Hi First…I have just bought a 2009 Mazda MX5, my only problem is when it rains, I get a small amount of water on the passenger floor. It seems to drop down just above the fuse box. I’ve taken out the glove box compartment & then poured water on the outside & inside of the bonnet…just can’t locate where it’s getting in!
I saw you mentioned a similar problem…any advice. Thanks.
Chrisgmitch
Chris,
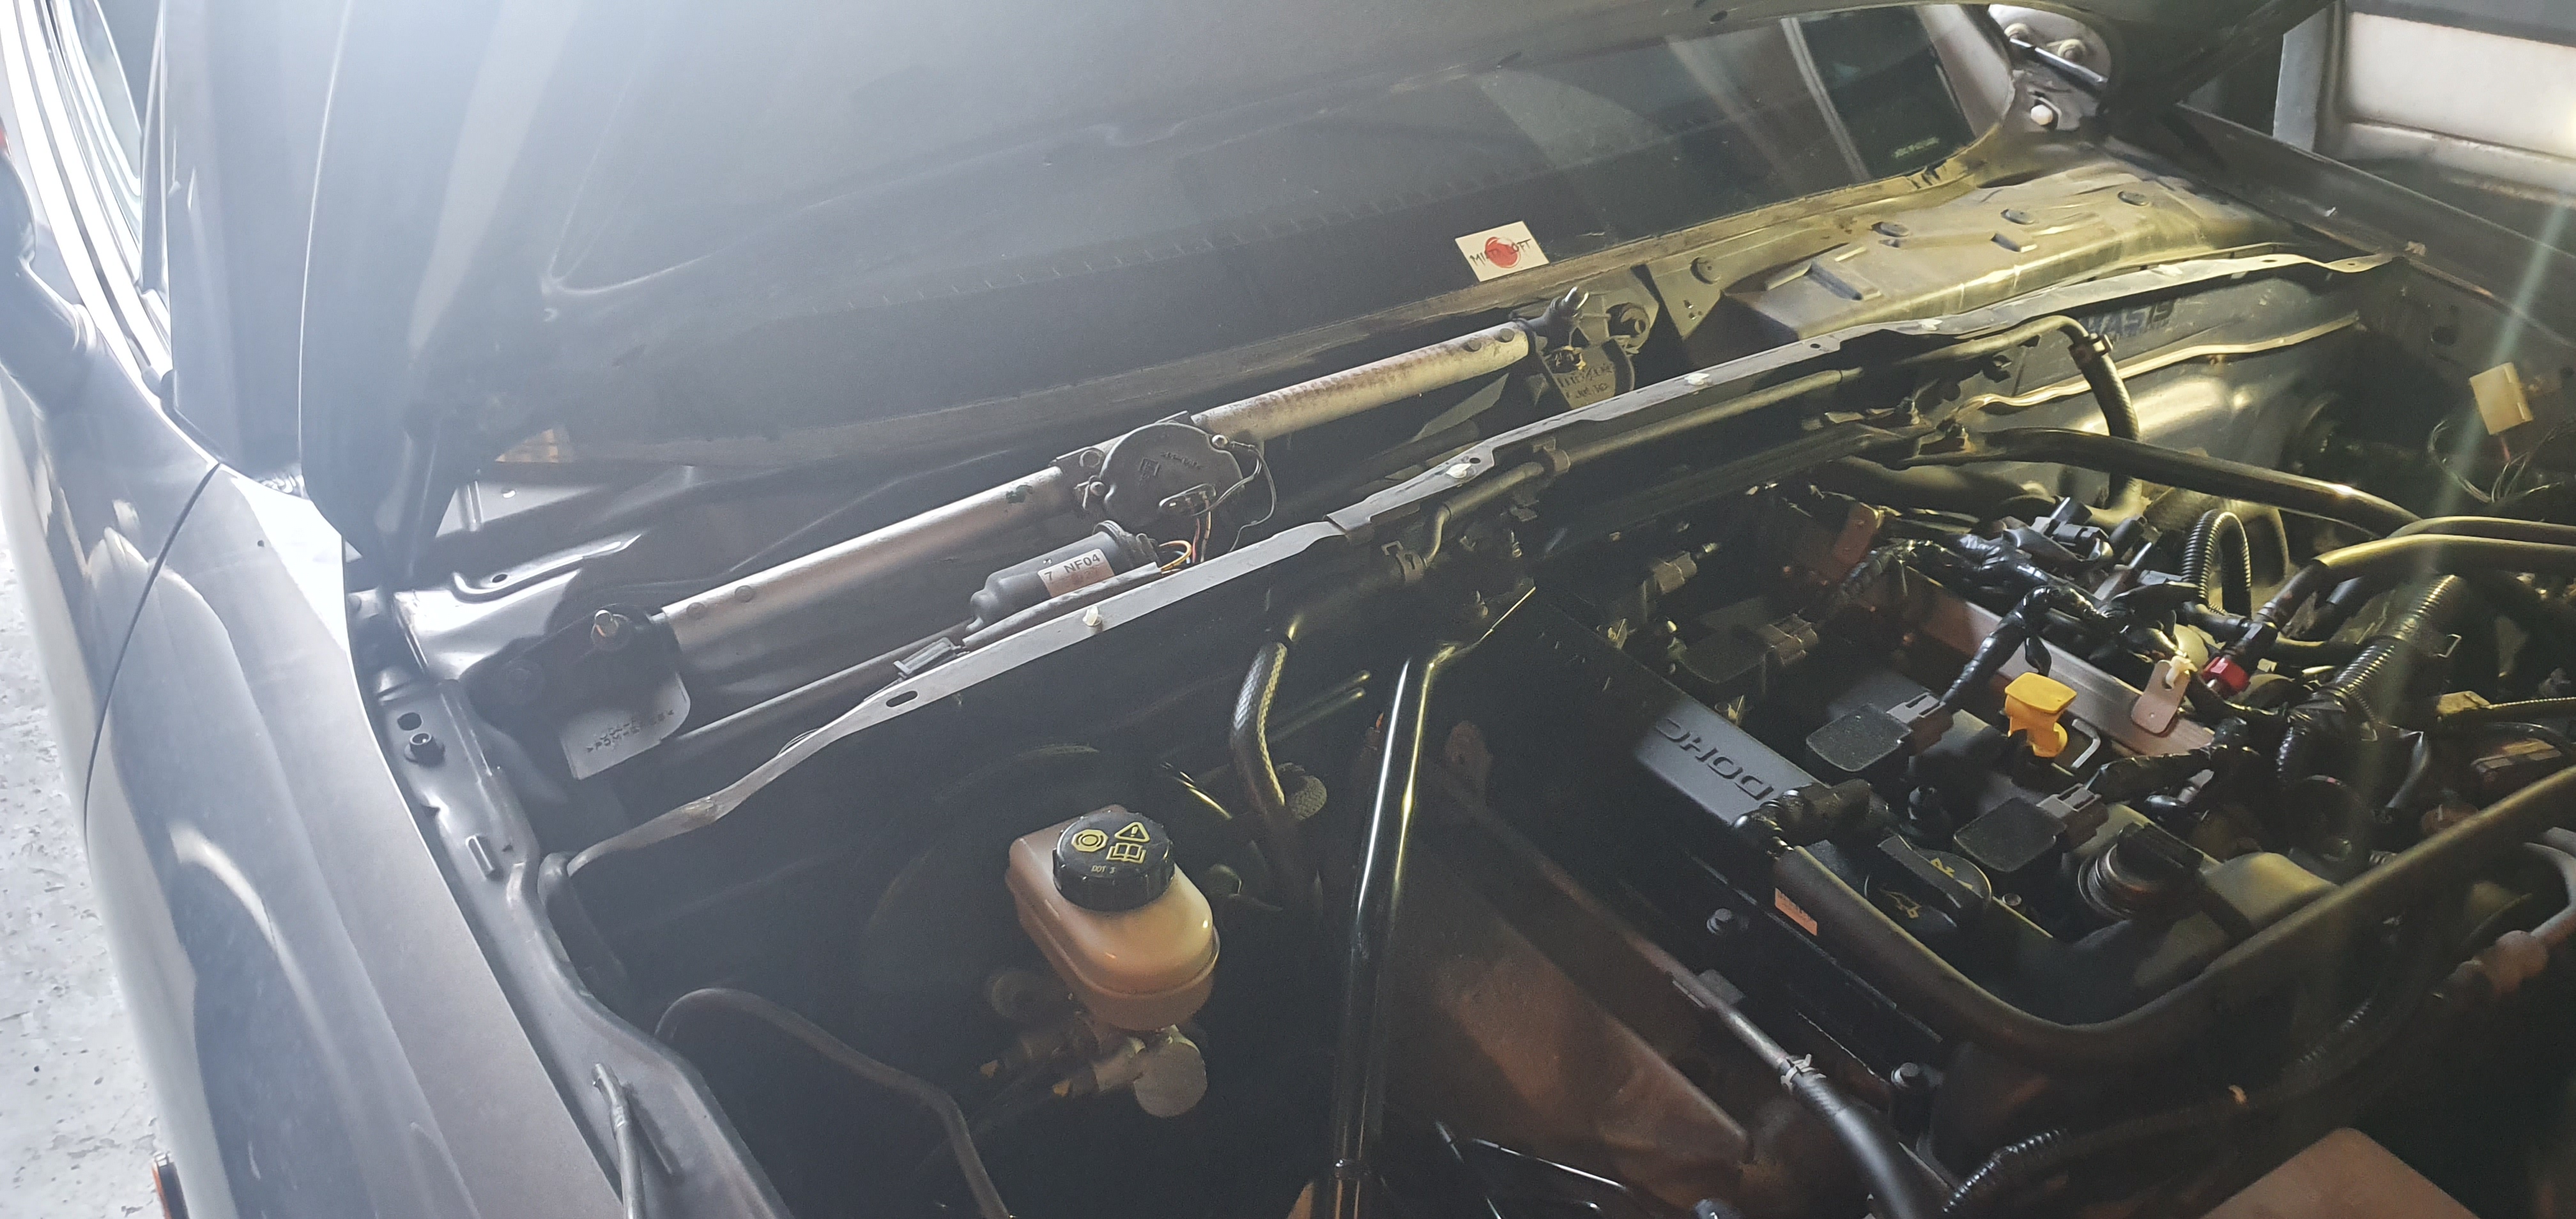
This is a very common problem on the NC which is discussed elsewhere on the Forum. The problem with the NC is that the plastic inserts which are used for the screws holding down the windscreen cowl trim are actually inserted directly into the scuttle metal work. This trims are sealed by a very flimsy foam gasket which often perishes, allowing water to leak into the inside of the car. The water often drips onto a metal brace behind the glovebox and runs down and eventually finds its way into the footwell. Sometimes the water finds its way into the fuse box located on the side of the footwell causing problems there. A temporary fix is to remove the oval plastic blanking plates that cover these fixings (you can see these on the far right of my photo). Be careful as the plastic lugs that hold these in place are easy to break. You can then access the screws and plastic threaded inserts and seal them with silicone sealant or caulking paste. If this doesn’t work the best method is to remove the cowl trim completely and replace the threaded inserts which can be obtained from MX5 Parts at:
Also if you break the little covers these can also be obtained from MX5 Parts at:
Hope this helps.
Thanks so much “First”…after reading your reply, I’ve found a great YouTube video showing what you suggested…starting on it tomorrow!
Hi Chris,
How did you get on with sealing the leak?
Hi ,
I was just reading the info you posted about the window shield cowl and I must gage the same issue , I will replace the inserts.
However the water penetrated my internal fuse box and now my Bose system will not power up.
I have checked the 20 amp fuse thats ok.
The internal light still works as dose the cigar 12 V socket so I am at a loss. Dose the Bose system have a fuse located on the back of it?
I really didn’t want to pull the head unit if need be , any advice on how to get the unit to fire up would be greatly appreciated.
Many Thanks
Hi Juzzy.
I take it you have an NC? I am sorry but I have no idea about fuses on the Bose system on the NC. It’s a long time since I had my NC and it didn’t have the Bose system fitted. It would probably be best if you started a new thread regarding your problem. I am certain a number of owners have removed the Bose head units from their cars and will know the fuse locations etc.
Good luck!
Dry the fuse box out, if need be pop each fuse out to dry the contacts. See how it goes from there.
A few members have reported electrical gremlins from a wet fuse board, some just needed it to dry out and all was well.
There’s a small fuse removing tool under the lid of the main fuse box under the bonnet.
Get the windscreen grommets sealed.
Thanks Mick ,
I will remove them all and run a fan heater out there to check all is dry. Everything else seems to be functioning fine only the head unit not powering up.
Thanks for getting back
Have a great new year
Juzzy👍
1 Like