I finally got around to installing the Nextbase 522GW and its rear camera on our Mazda3. The kit has been sitting in a drawer for months, but then the car has also been sitting doing nothing for months… However SWMBO wants to begin using it again, and it has been a nice day.
So it took me four hours today, including careful study of the manual for how to remove trim without breaking anything. It was actually easier than I expected, once I was prepared to snip one of the ‘must-replace’ clips. The clip is actually to retain the A-pillar trim if the curtain air-bag goes off. I didn’t need to snip the equivalent on the C-pillar.
Front camera is easy, pull off scuff plate, some seaming welt (door rubber), left side trim with fuse door (one plastic ‘nut’), left A-pillar trim, and glove box (its damper is a fiddle) . Headlining has enough flex not to need removal, just tuck the wires behind.
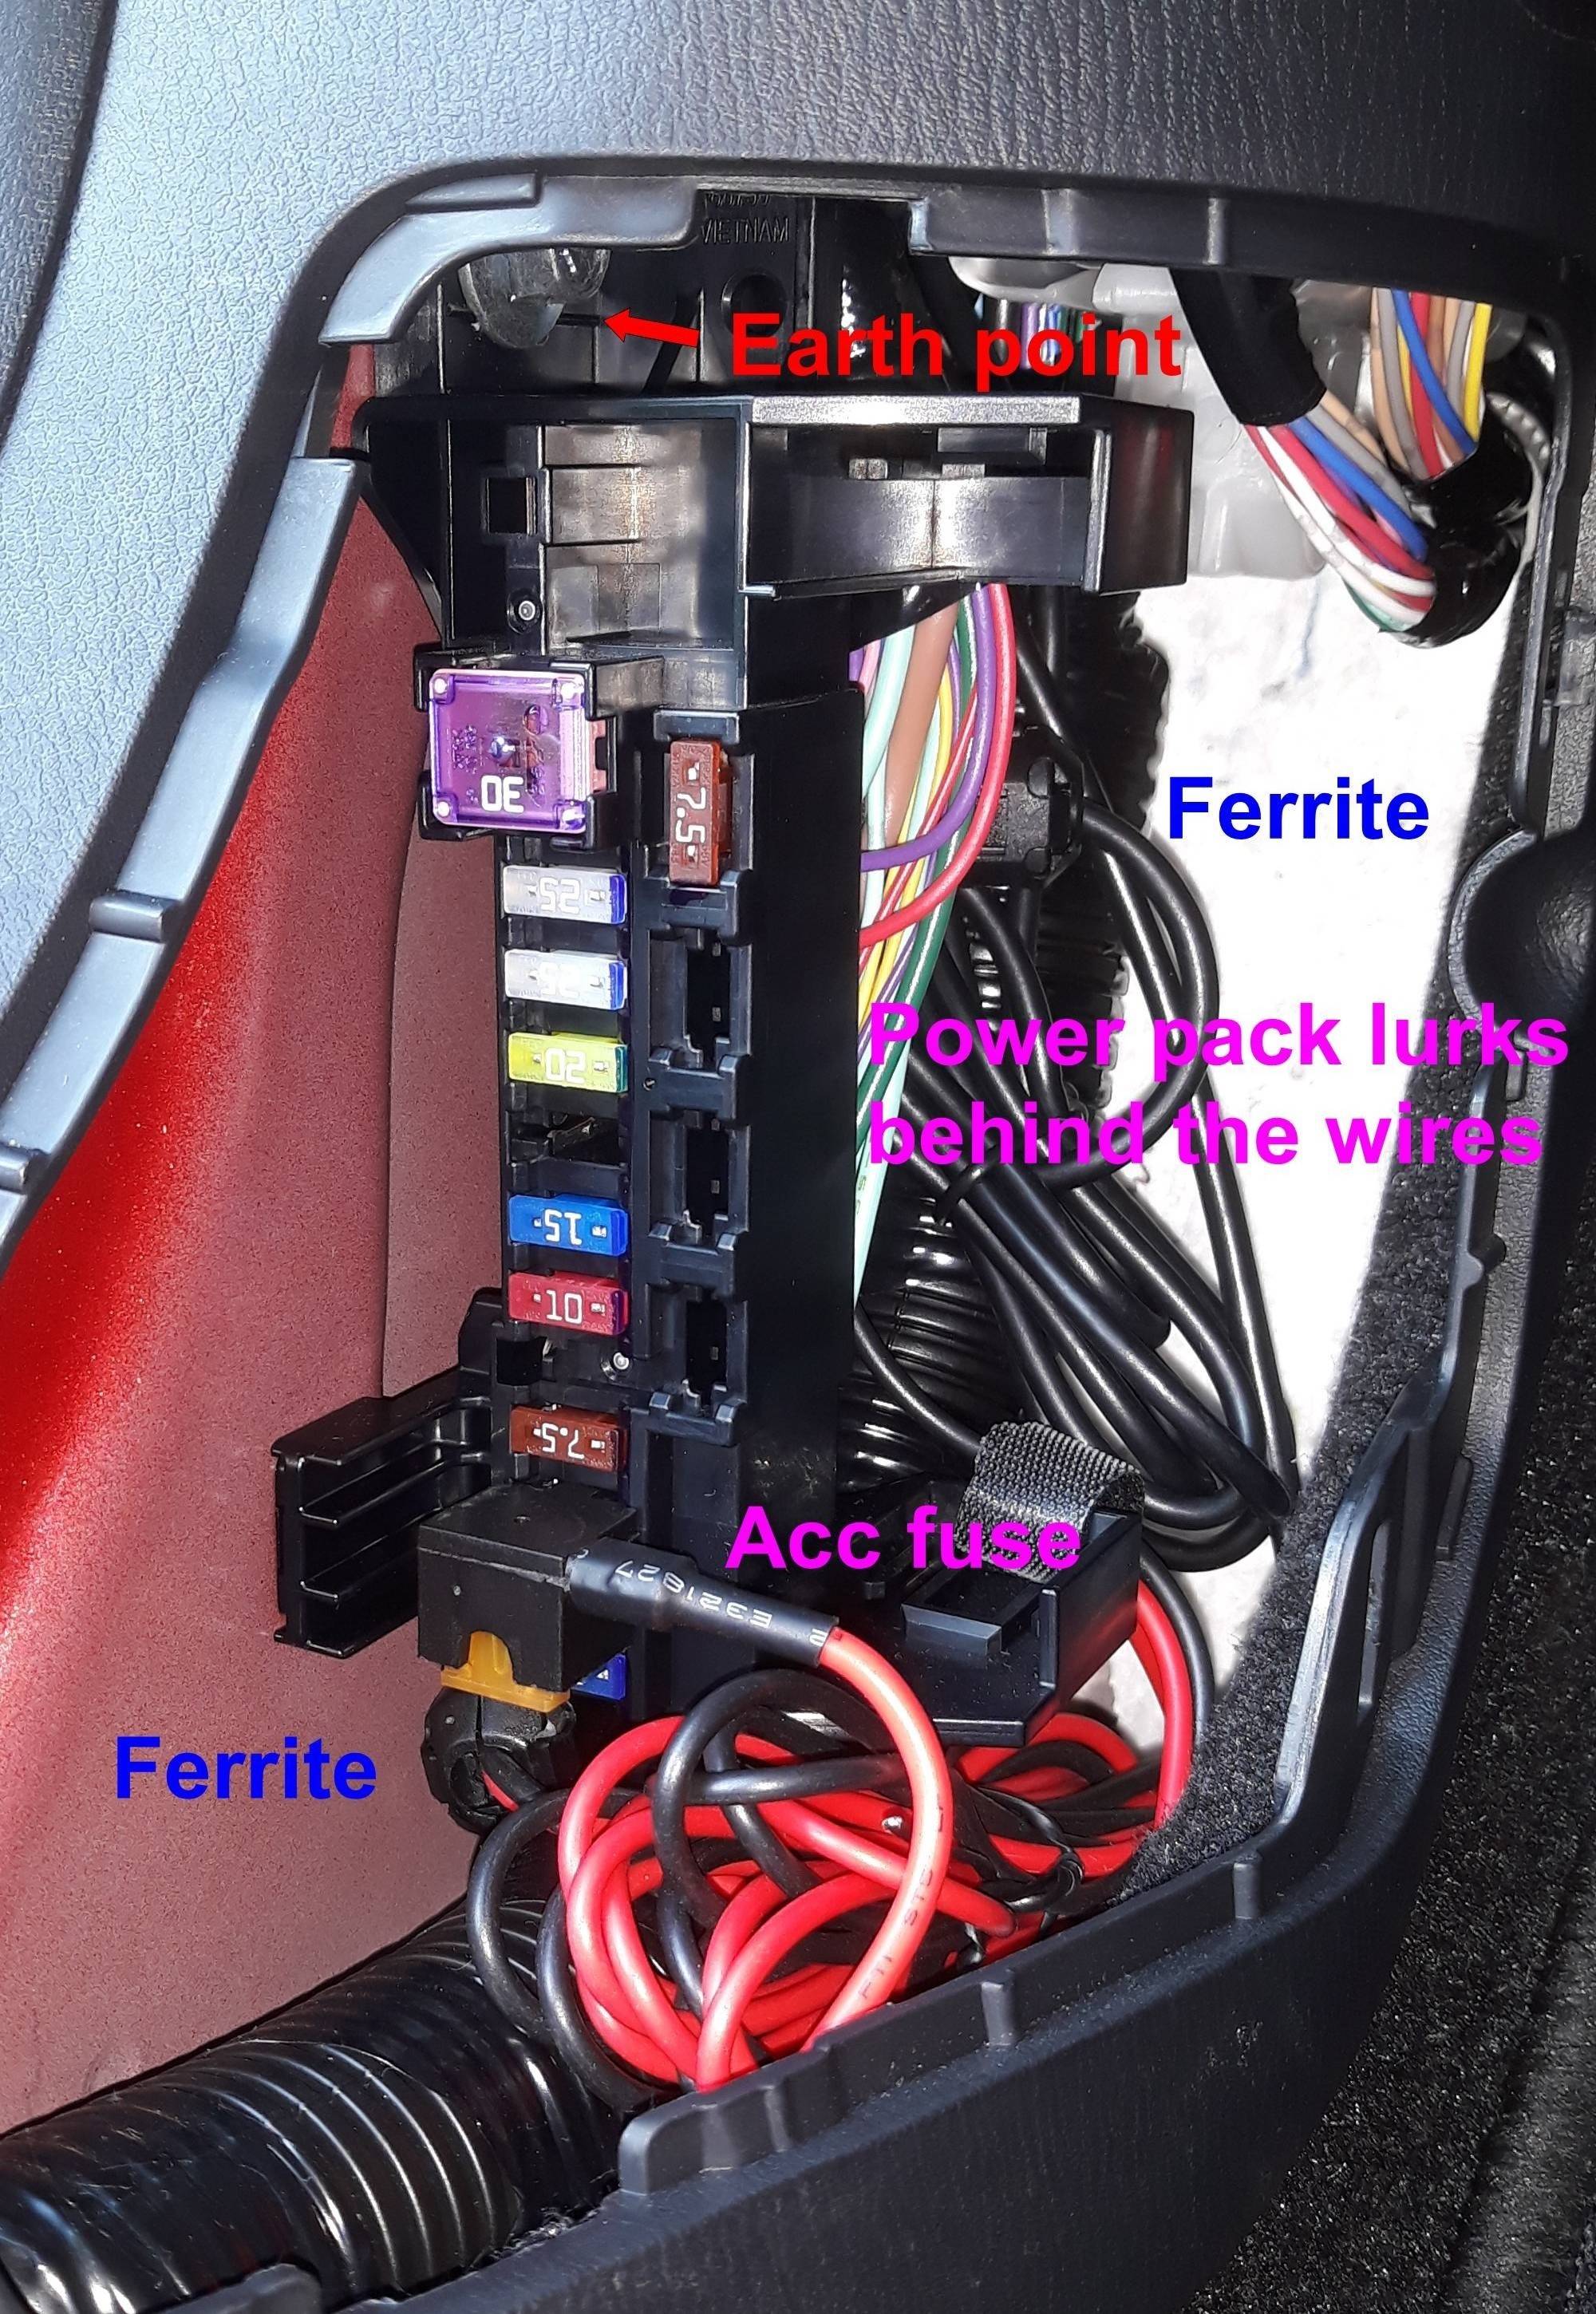
I tied the two wires (power up, feed to rear camera) to existing wiring in the A-pillar and around the fusebox. I added extra ferrites, one up close by the camera, one on the 5V output of the power brick and one on its input pair (12V & 0V). There is a convenient bolt holding the fuse tray, so this was the 0V earth point.
The first annoying wrinkle. The Accessory fuse is carefully placed so that a normal piggyback fuse cannot be fitted for a clean feed to the dash-cam; to allow the lead to be dressed the two fuses will be in series. All the other fuses above have their live feed down the left, the little group of three at the bottom have their live feed on the right (from the Acc relay).
All this and adding the extra lead for the rear camera down as far as the B-pillar only took about an hour, most of which was checking routing and cable-tying stuff out of the way of clips and air-bag.
The real pain was doing the wire for the rear camera, not difficult, just so much fiddly stuff to do.
With aid from a trim-tool and looking for pull-peg fasteners and one screw; pull off rear scuff plate, lower B-pillar trim, lower C-pillar trim (tire house trim) while wrestling with seat, rear package tray, upper C-pillar trim, the trunk end trim, the trunk upper side trim (don’t forget to disconnect the boot light), remove (finagle) the inner panel protecting the seat belt (a screw!), three pull-peg plugs securing the headlining, and the hatch trim.
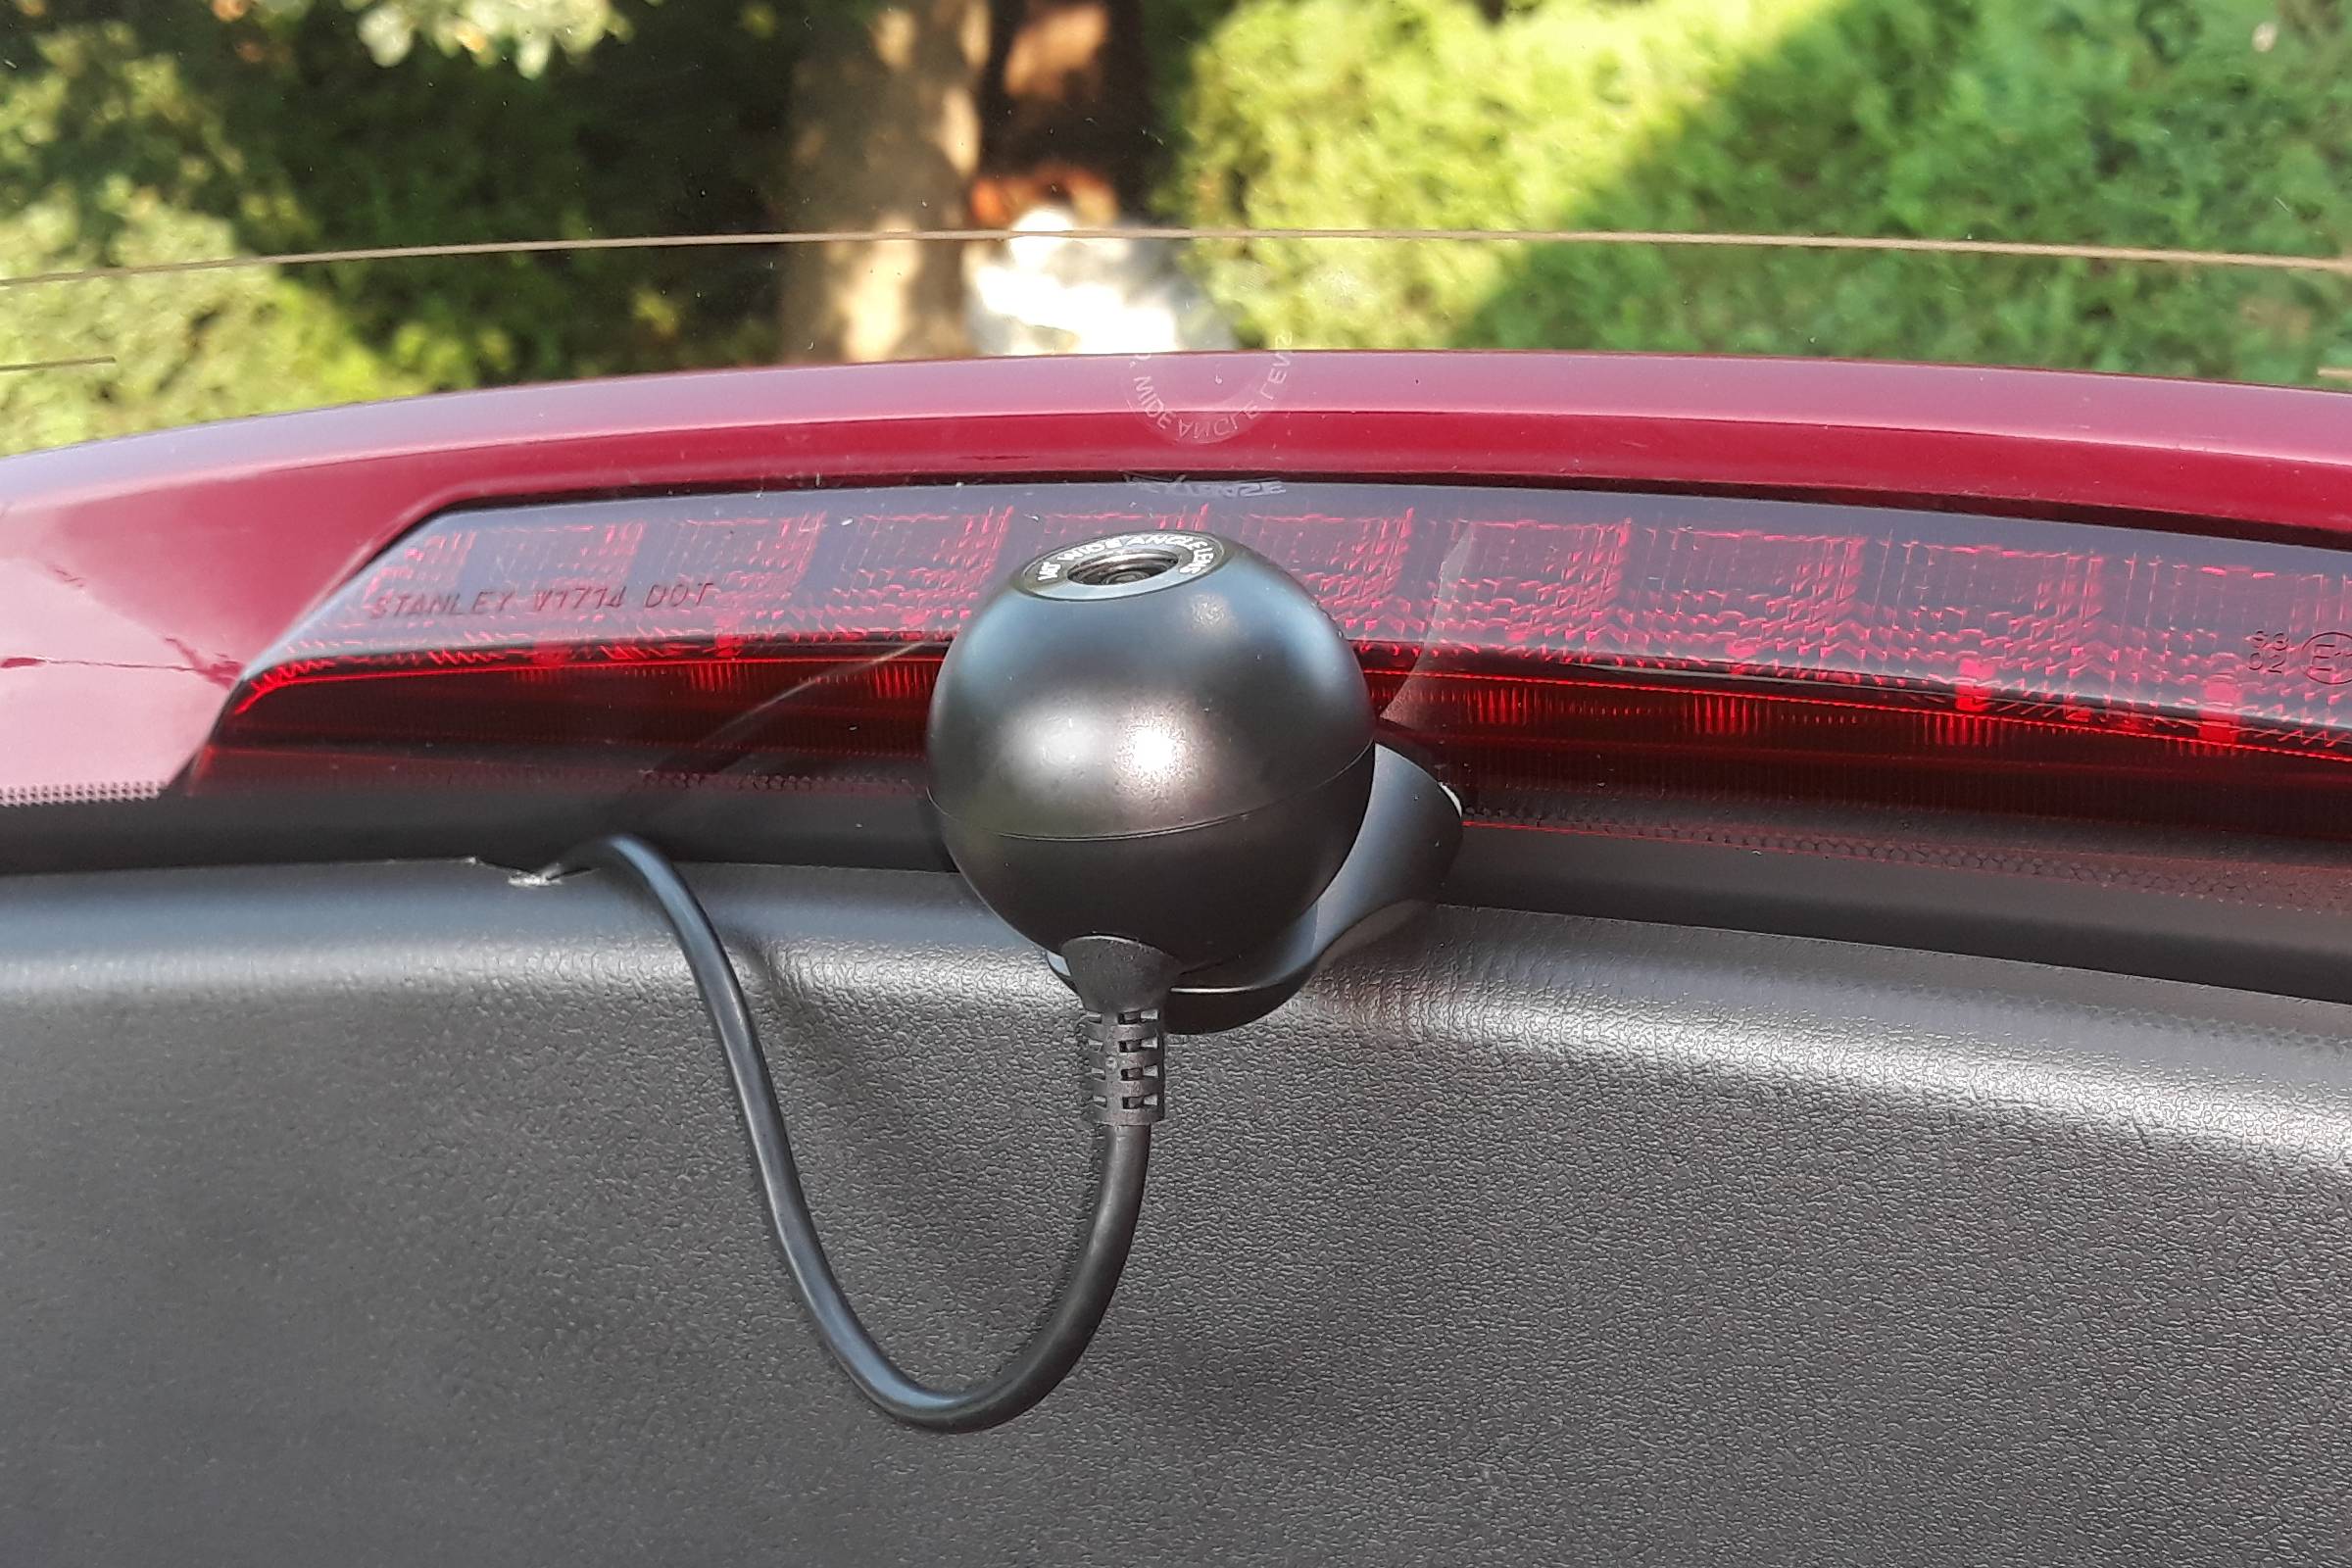
Access at last. The many trims took a lot longer to remove and getting the cable in place up the C-pillar avoiding air-bag and seatbelt (and not snipping the clip) was tricky. I was expecting grief inserting the little jack socket though the flexy trunk between body and hatch, but it only took about five minutes to work it through with the aid of a draw wire.
After an age spent cable-tying the rear install to avoid kinks, clips, sharp edges, seat-belt and air-bags I stuck the mounts in place and tested the cameras. Joy.
It took almost another hour to put back all the trims correctly - including the screw I had forgotten first time round and cutting a suitable notch in the edge of the hatch trim so as not to nip the cable. Seat belts work. Doors and hatch close easy. Test it again. Joy.

Only then did I belatedly remember to take some photos. And that is when I realised the front camera is not quite where I had originally planned it to be a couple of hours earlier. It needs to be half an inch to the left, but just as I was about to stick the mount, I thought ‘make it a bit tidier’ and forgot where it should have been! Oh well, I have a spare stickum.
If I did it again I think I could do it in half the time, now knowing where the awkward bits are and how to get around them. But I hope I’ll not need to, this should be our last daily-driver.
Edit.
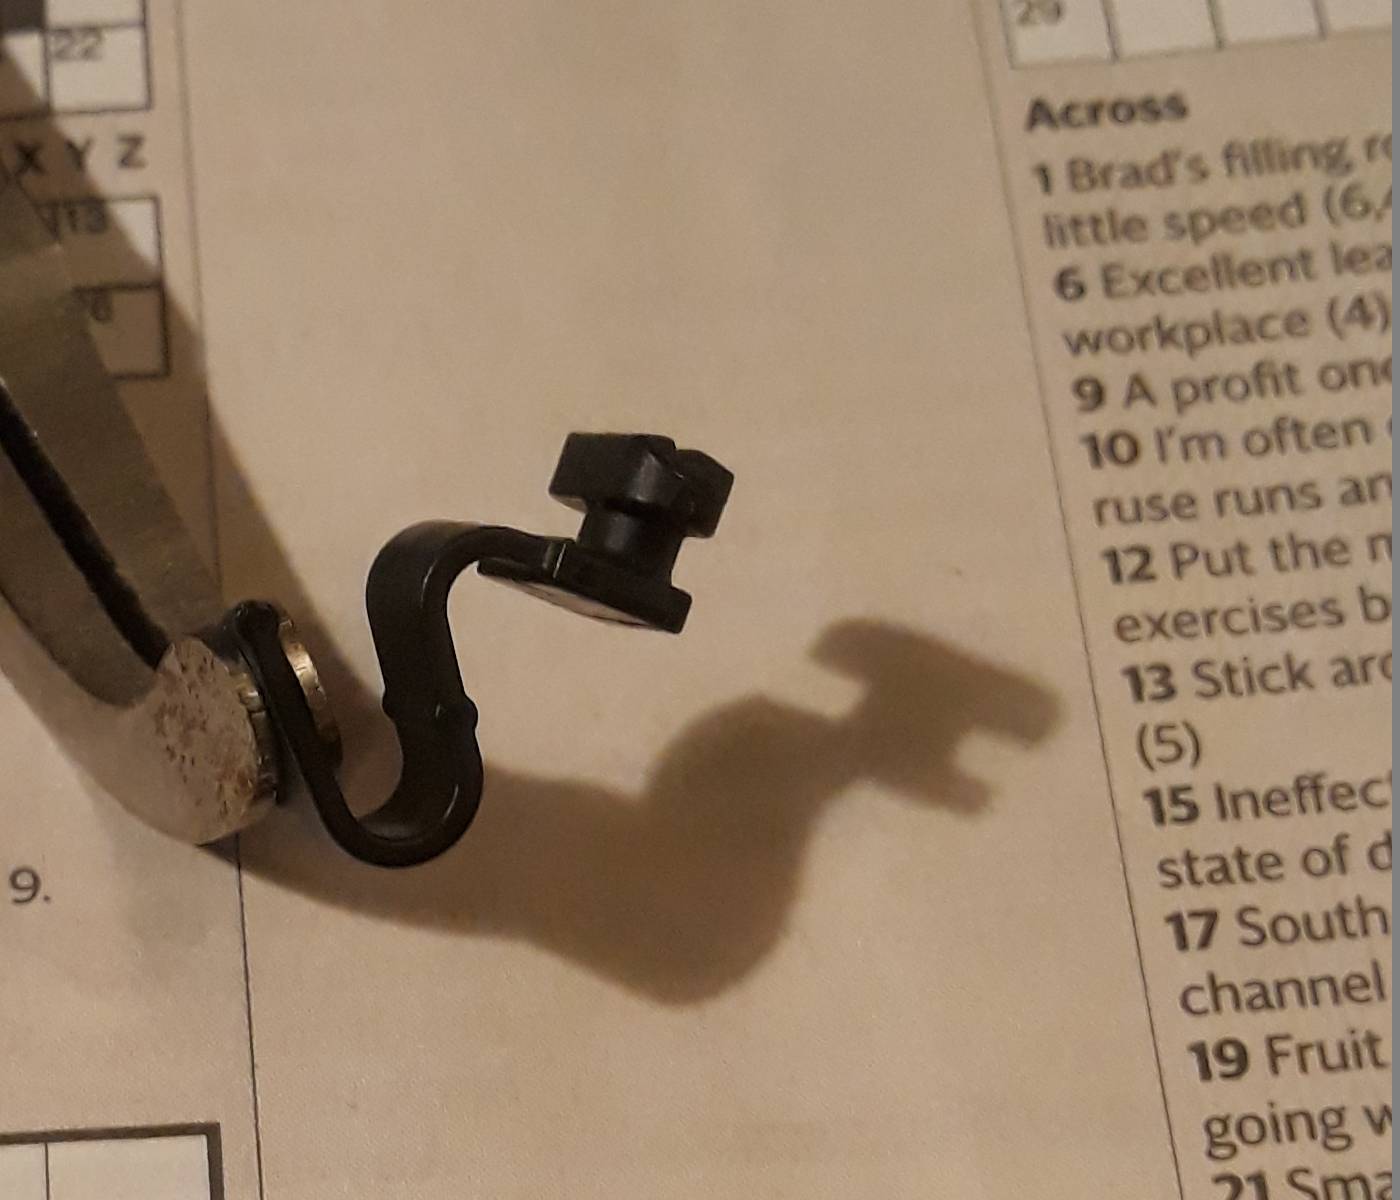
I’ve just found the snipped-off bit of the A-pillar trim - it had fallen off the trim!
It is actually a toggle fit in the latch half of the fastener, so a pair of long-nose pliers could be used to finagle-rotate it 90degrees and release it. No snip needed!
However the receptacle part housed in the pillar still needs to be removed to reunite the assembly for the refit - as per manual.
The snipped-off toggle and half of its ‘spring’ link

 ) for my daughter (after the horse has bolted) as a LGV trashed the offside of the car while she was stationary and didn’t stop!