Hi all,
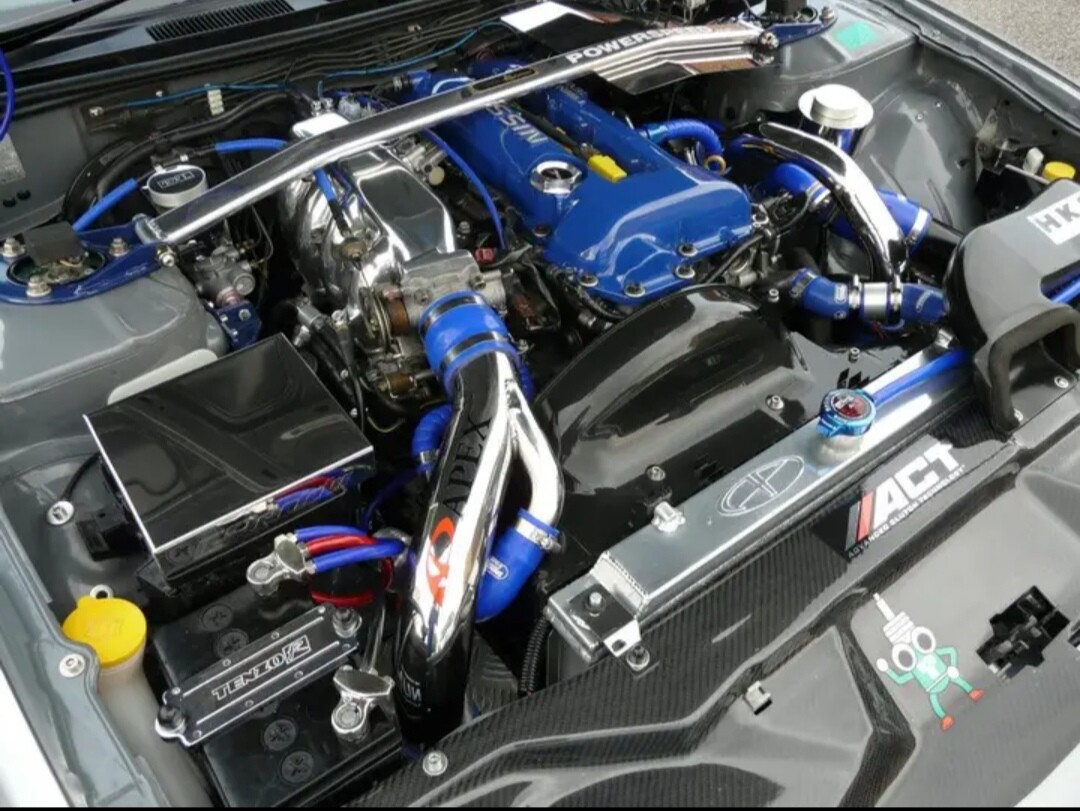
Felt the need to share some pictures of my recently refurbished valve cover, in case anyone is thinking of tarting up their engine bay. I think it turned out great!
I bought a used valve cover from a breakers on Facebook marketplace for £25 a few months ago and finally got around to giving it a lick of paint. I was considering getting it powder coated. However, after doing some research, I really liked the look of wrinkle black and wanted to give it a go.
The process of painting was fairly simple (painting is all in the prep!):
- Jet wash the valve cover
- Grind away the dirt with a wire wheel attached to a drill
- Sand down with various grit sand paper from course → fine
- Jet wash, dry and clean with degreaser
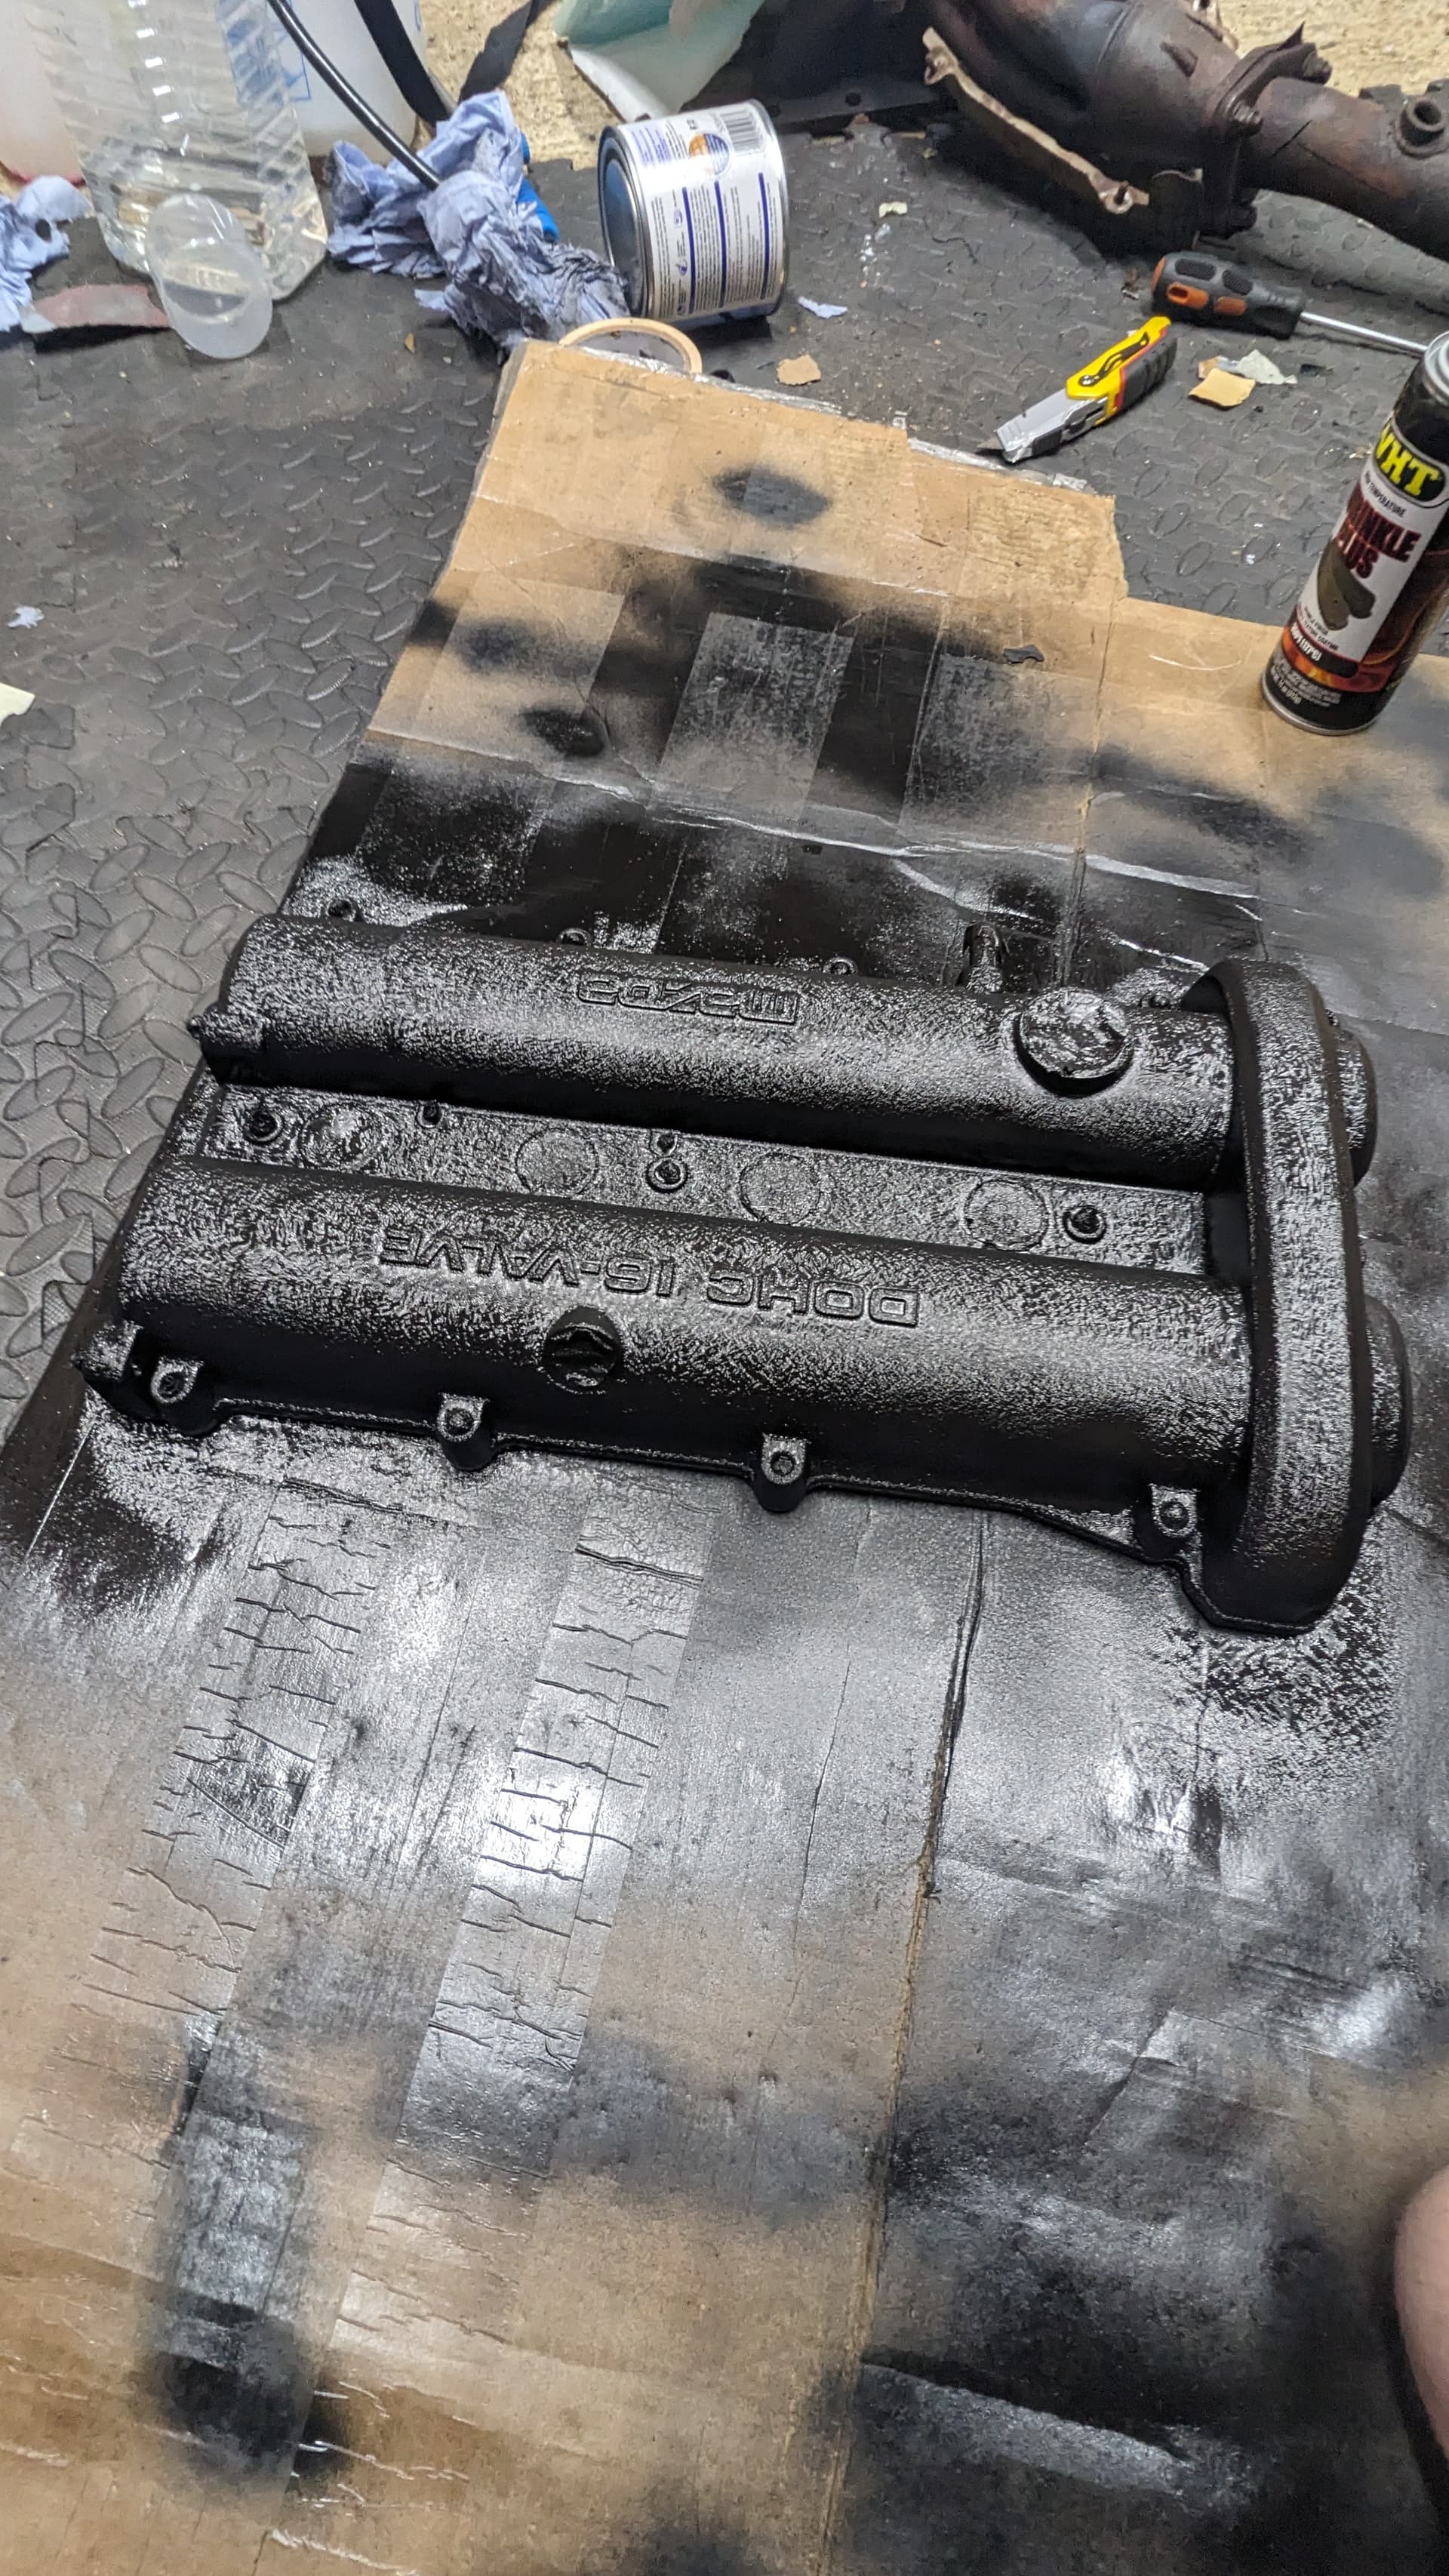
- Mask up areas where we don’t want any paint
- Two coats of primer with high temp primer
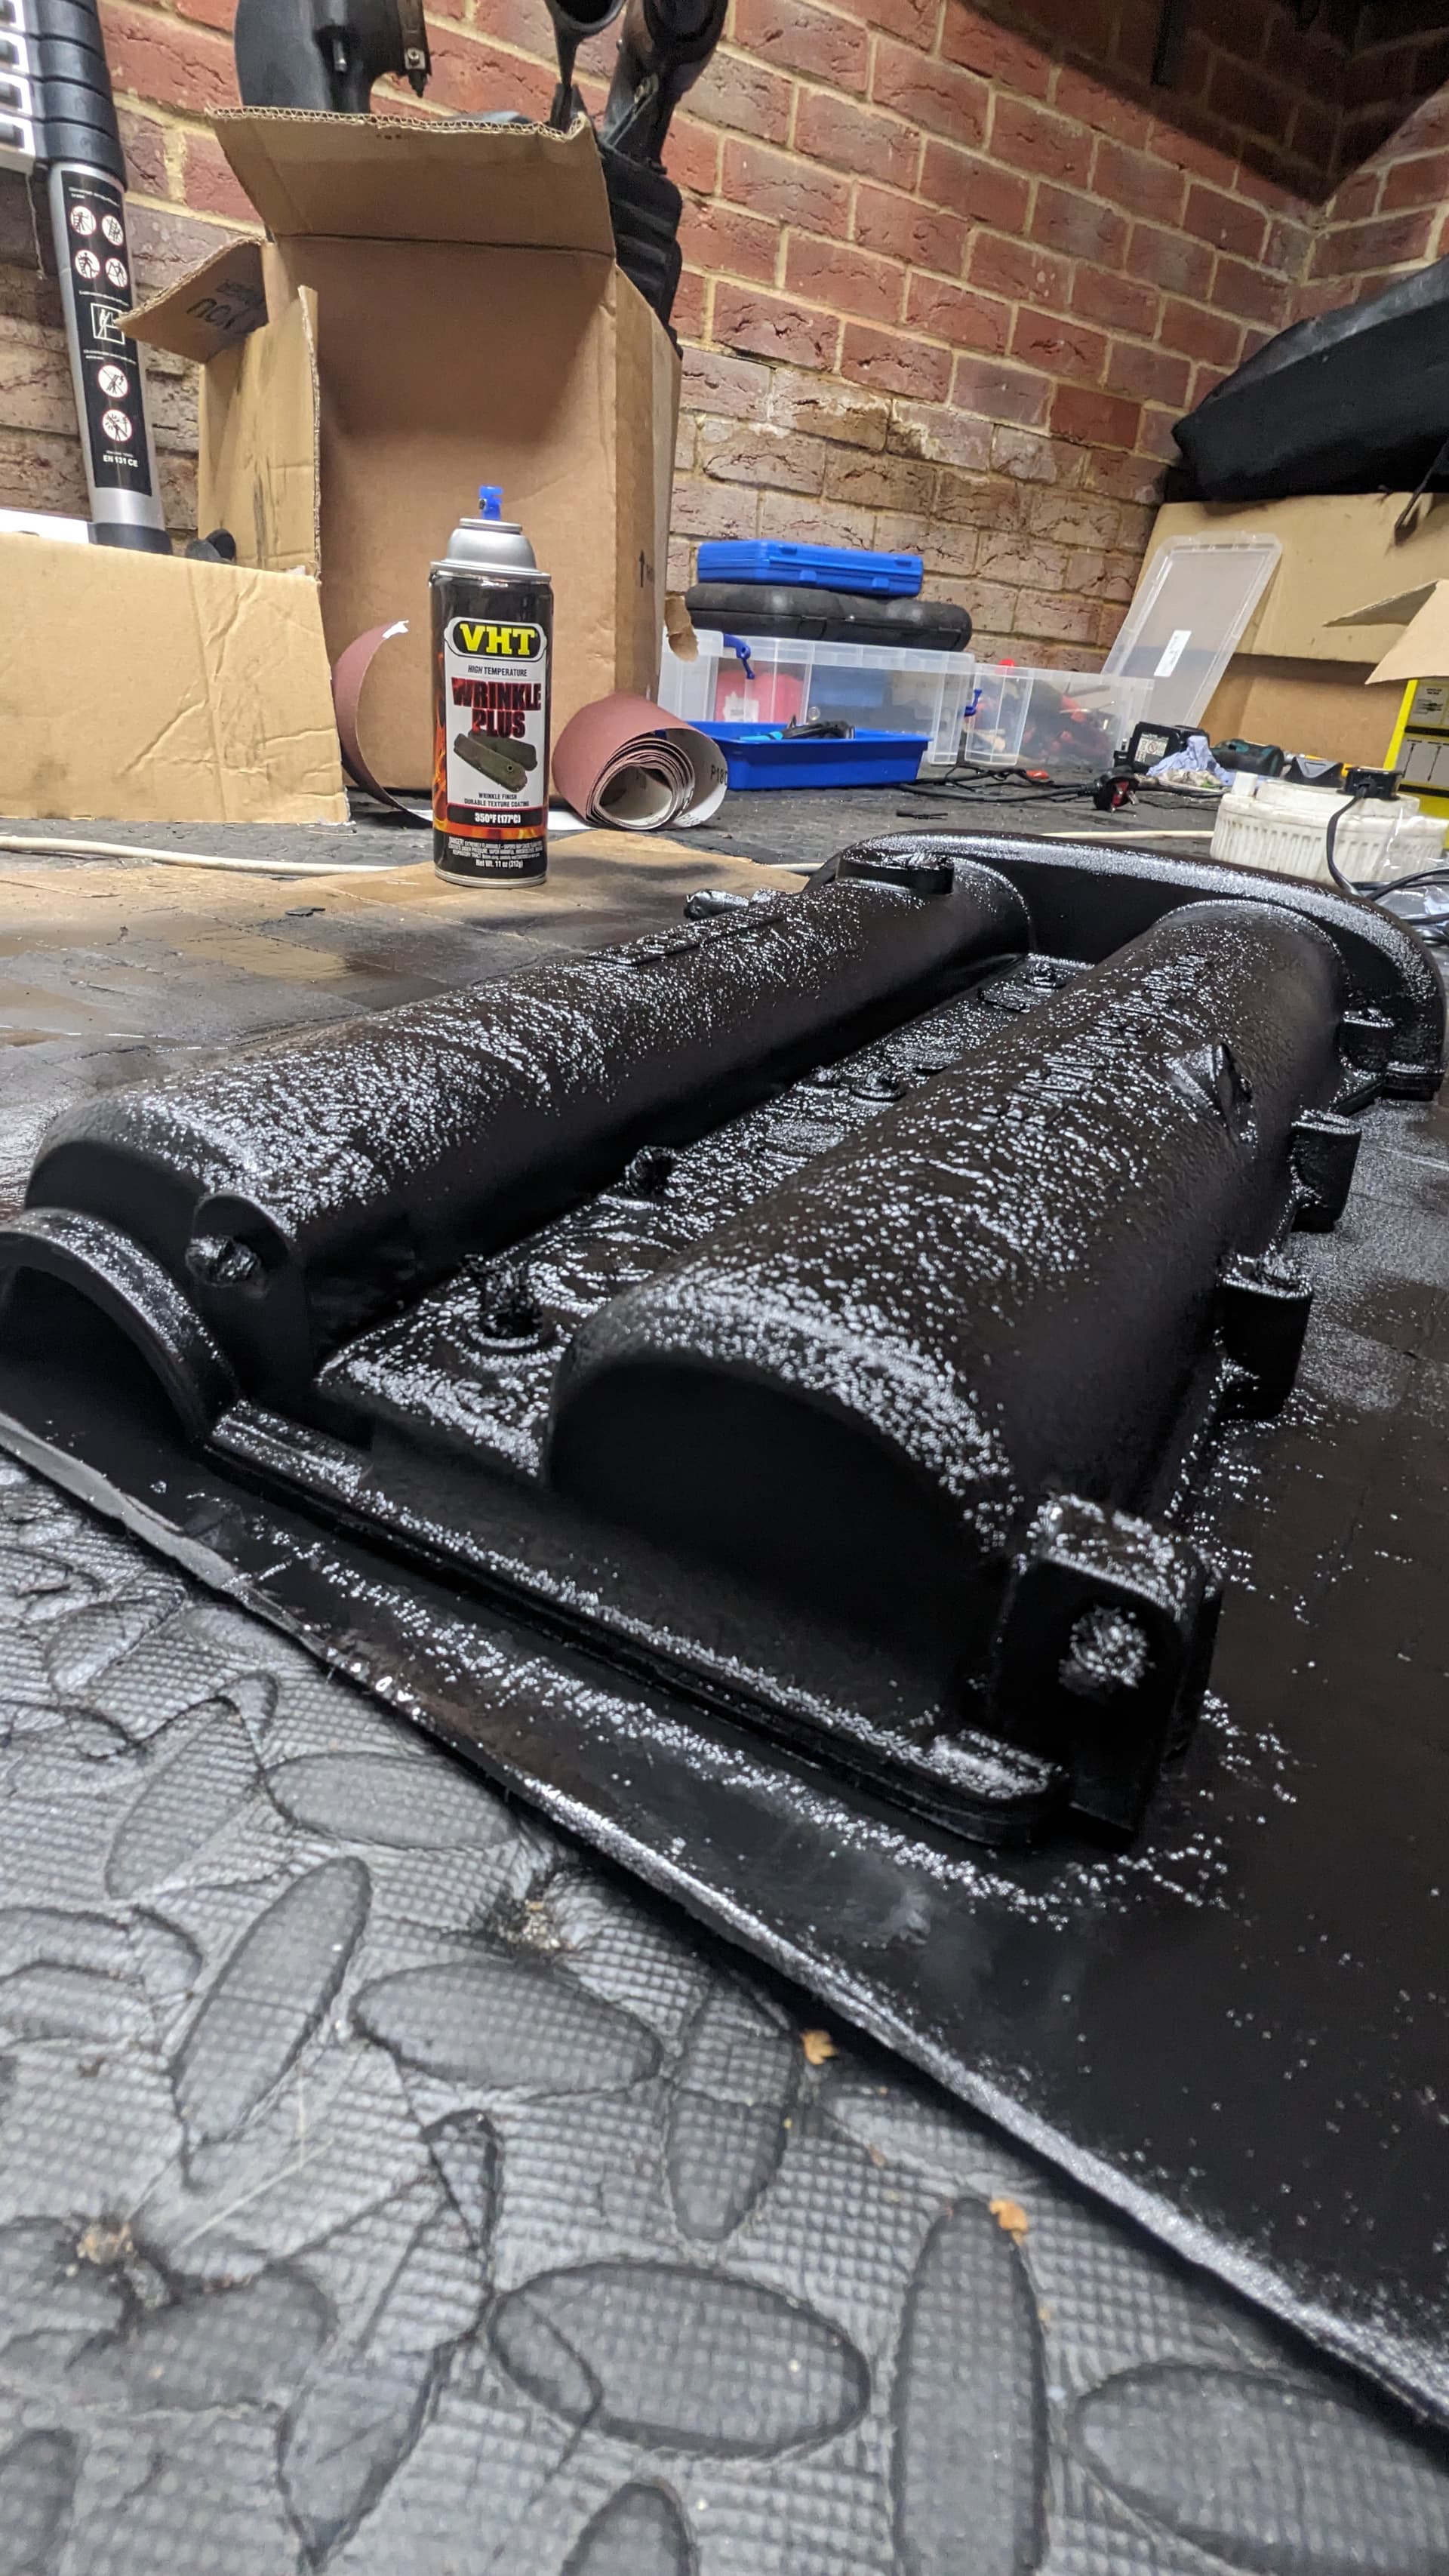
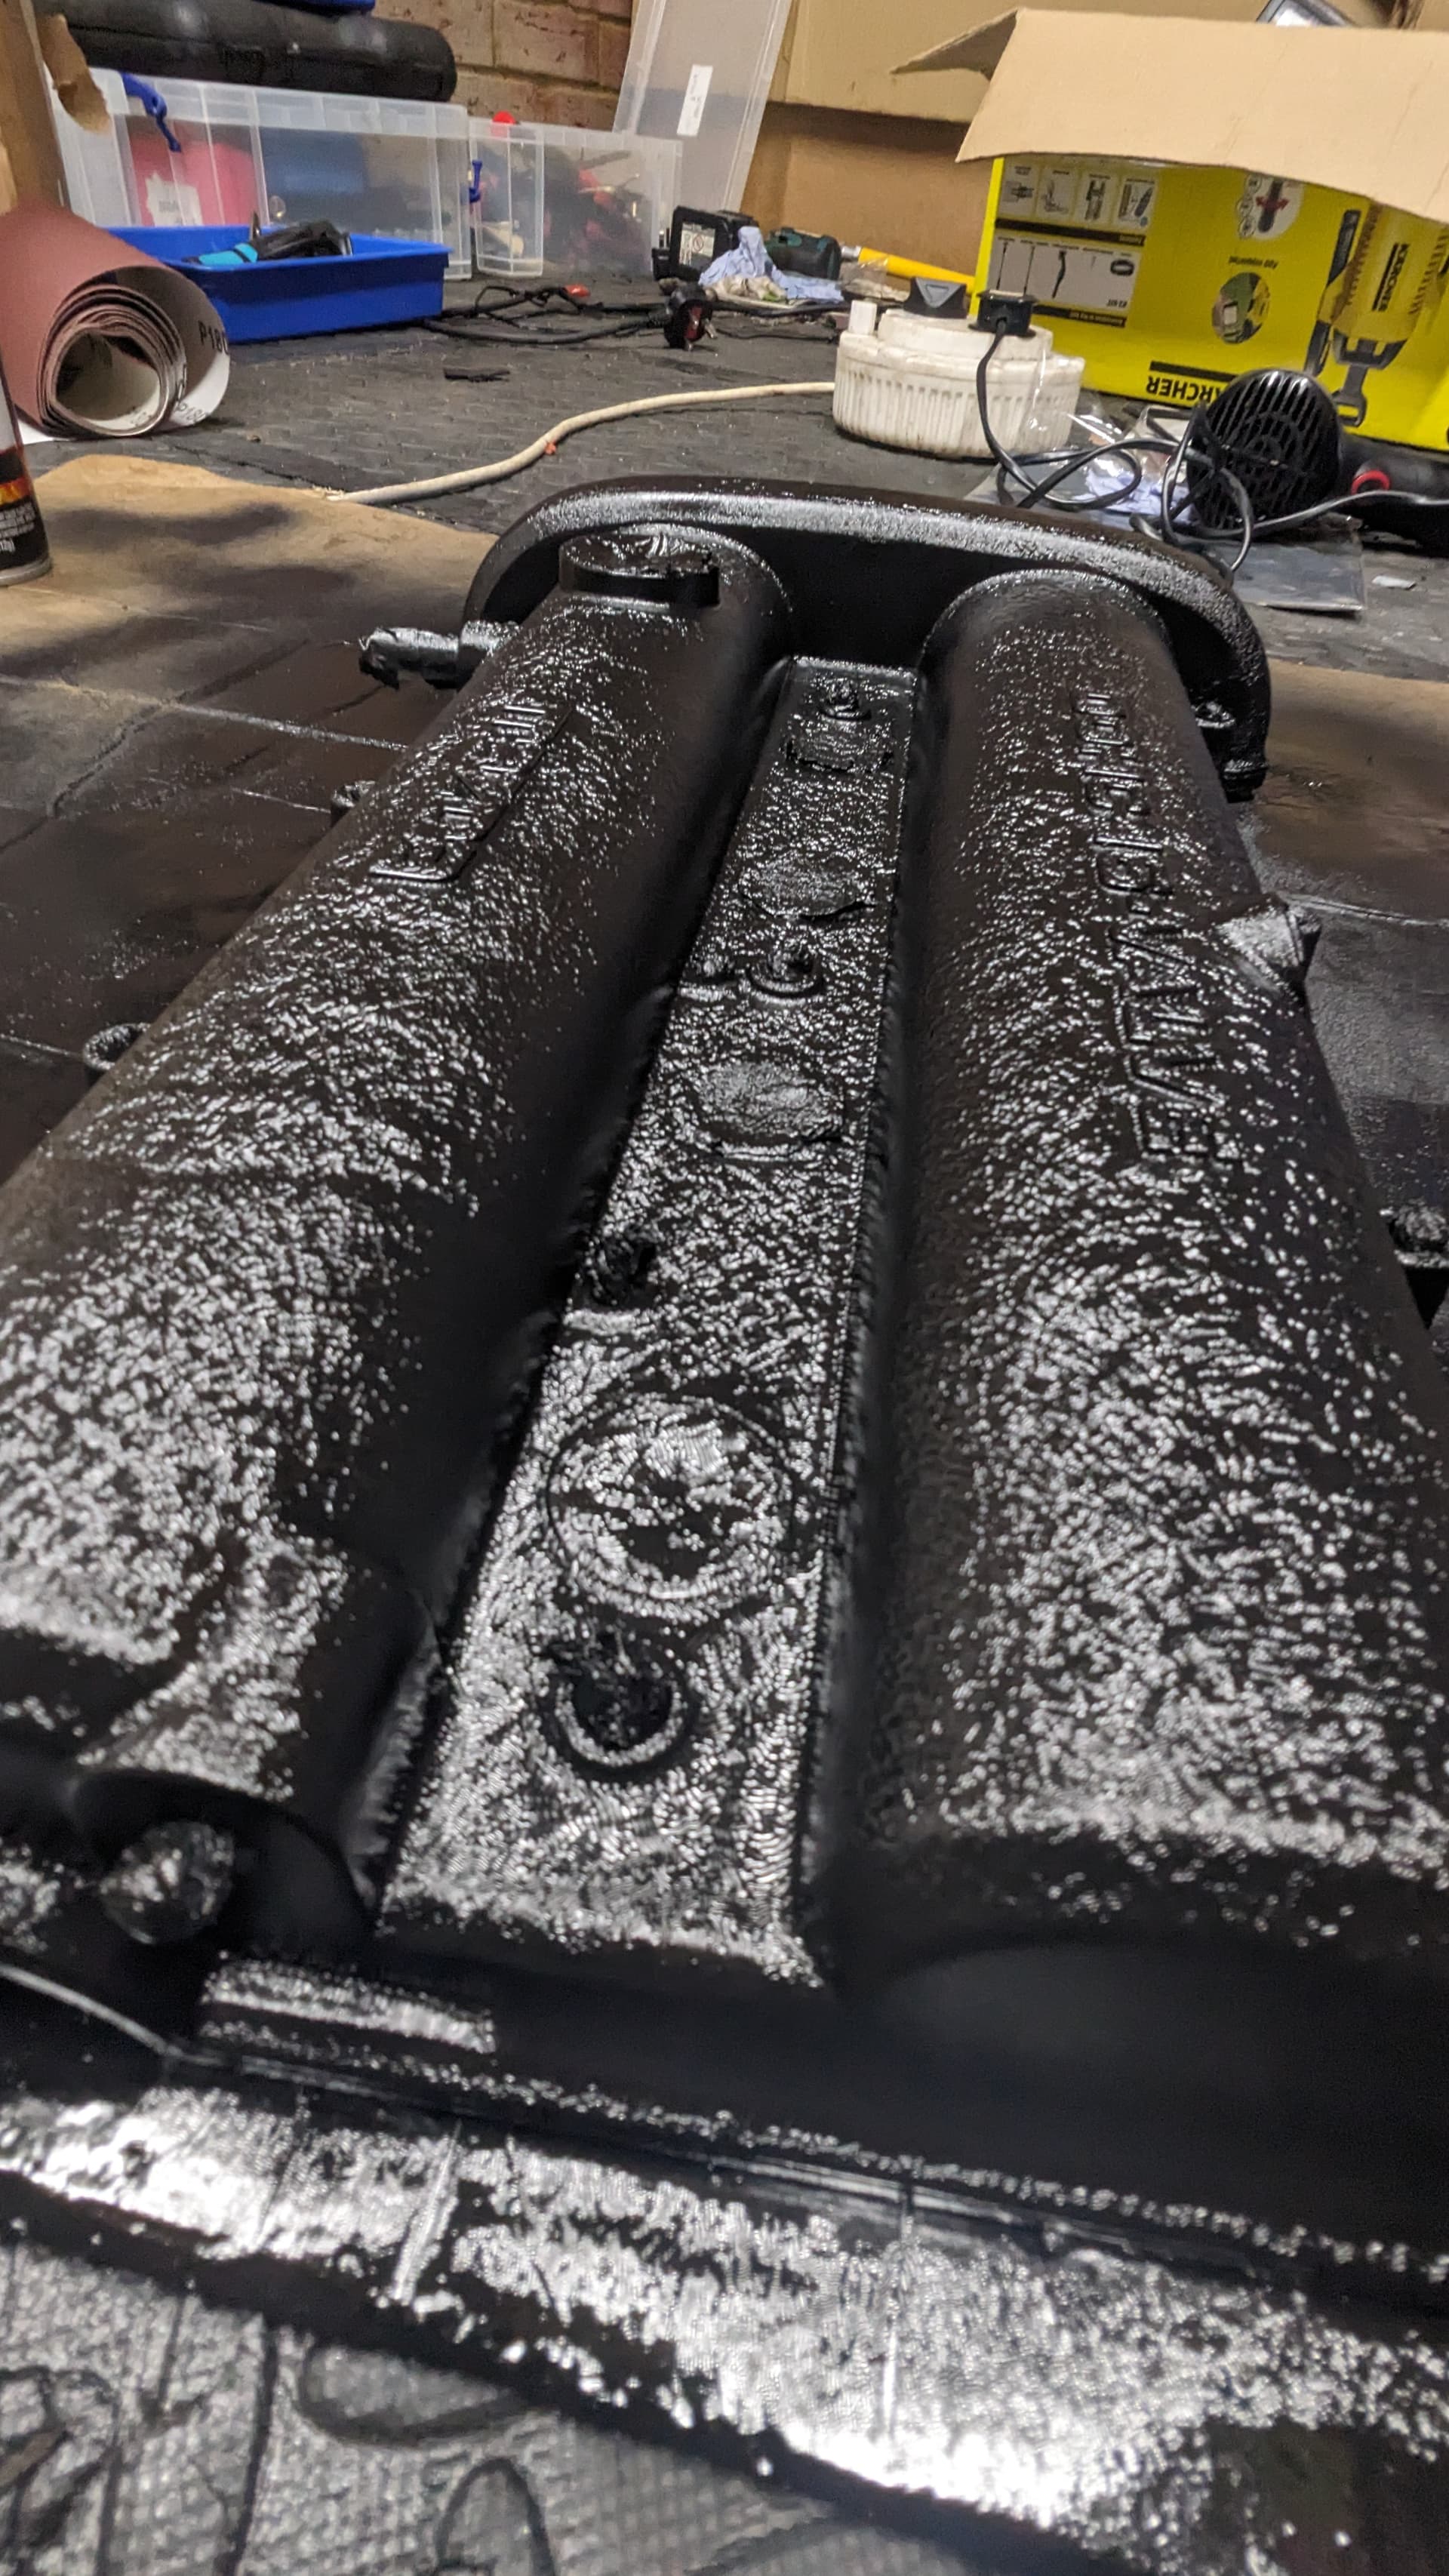
- Four coats of VHT wrinkle black, leaving 10 minutes between coats.
- Leave to dry for two days
- Blast with heat gun for 30 minutes to cure
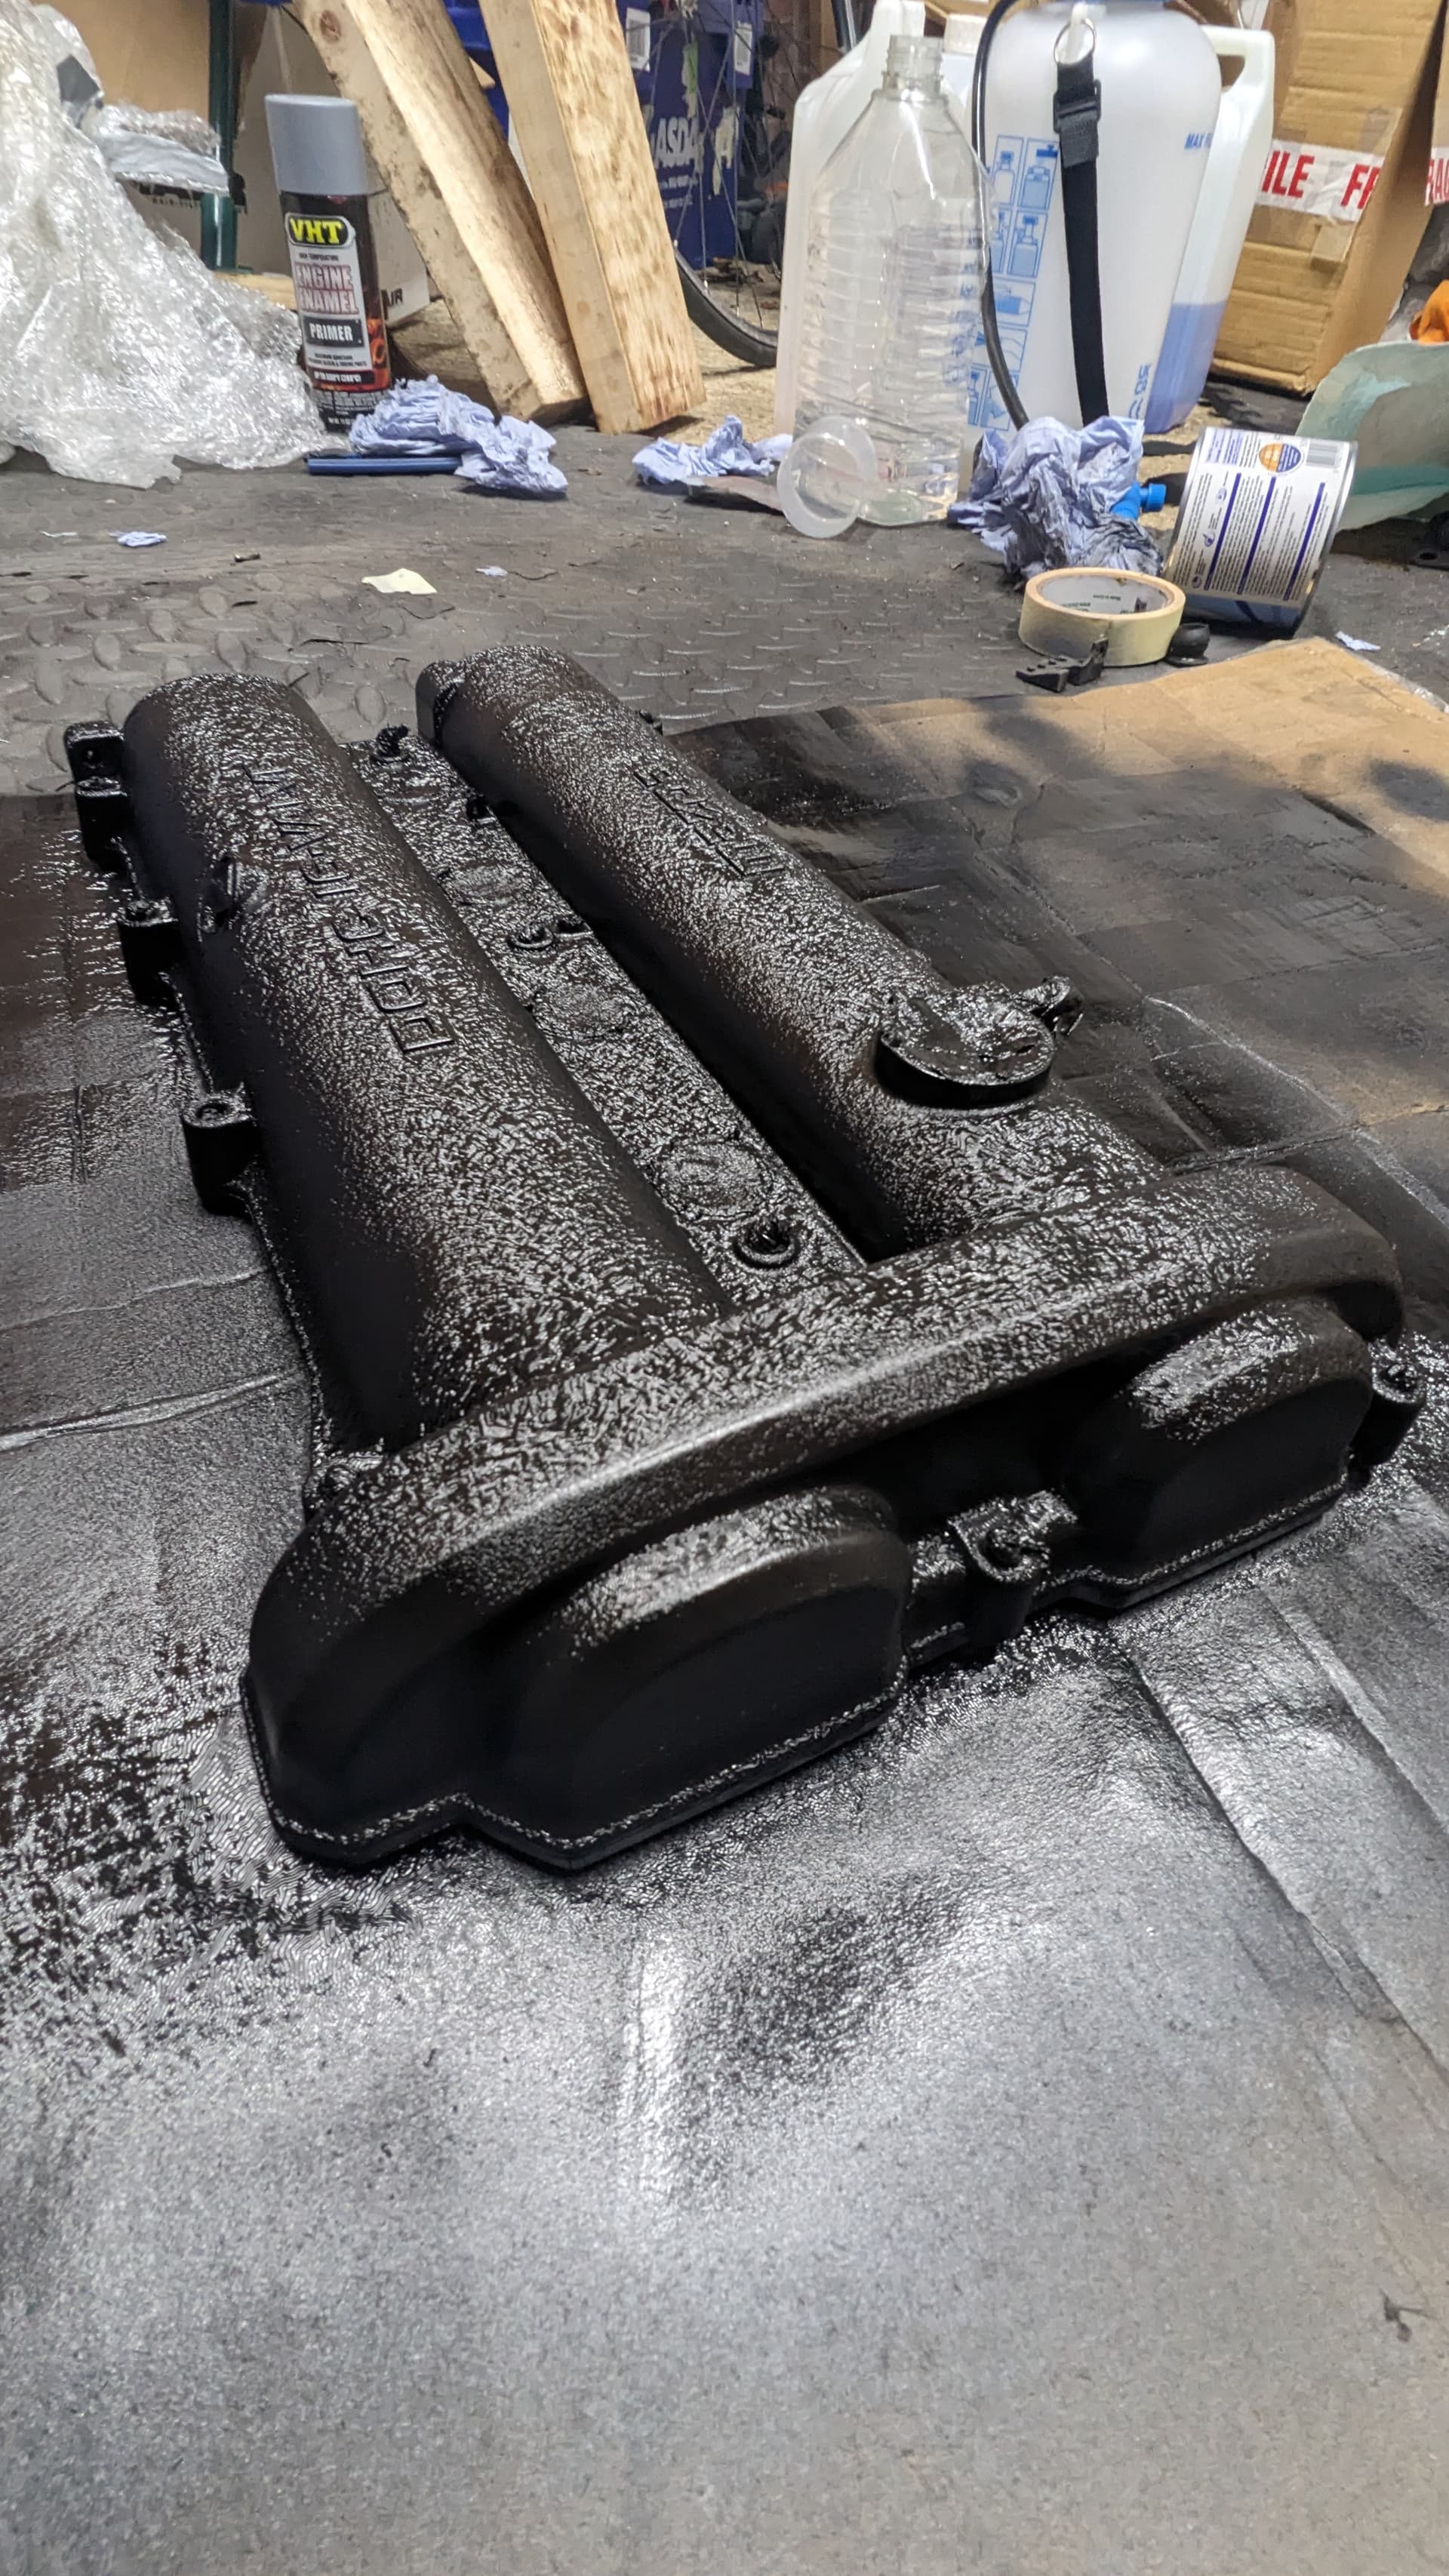
As you can see from the pictures, the finish isn’t perfect, but I’m really happy with the results. I’ve ordered some new gaskets / O-rings for the re-installation.
Tips:
- Be patient, it took a few hours of prep, but I’m very happy I took the time to properly clean and key up the surface.
- Be careful when masking up the holes for the retaining bolts. Be sure to push the blue roll / tissue paper deep into the holes to allow for paint to get into all the hiding spots.
- Don’t apply too much paint at once - there are one or two spots where the primer ran. Not a massive issue as the wrinkle effect has done a good job of hiding the imperfections, but it’s noticeable up close.
Dirty valve cover

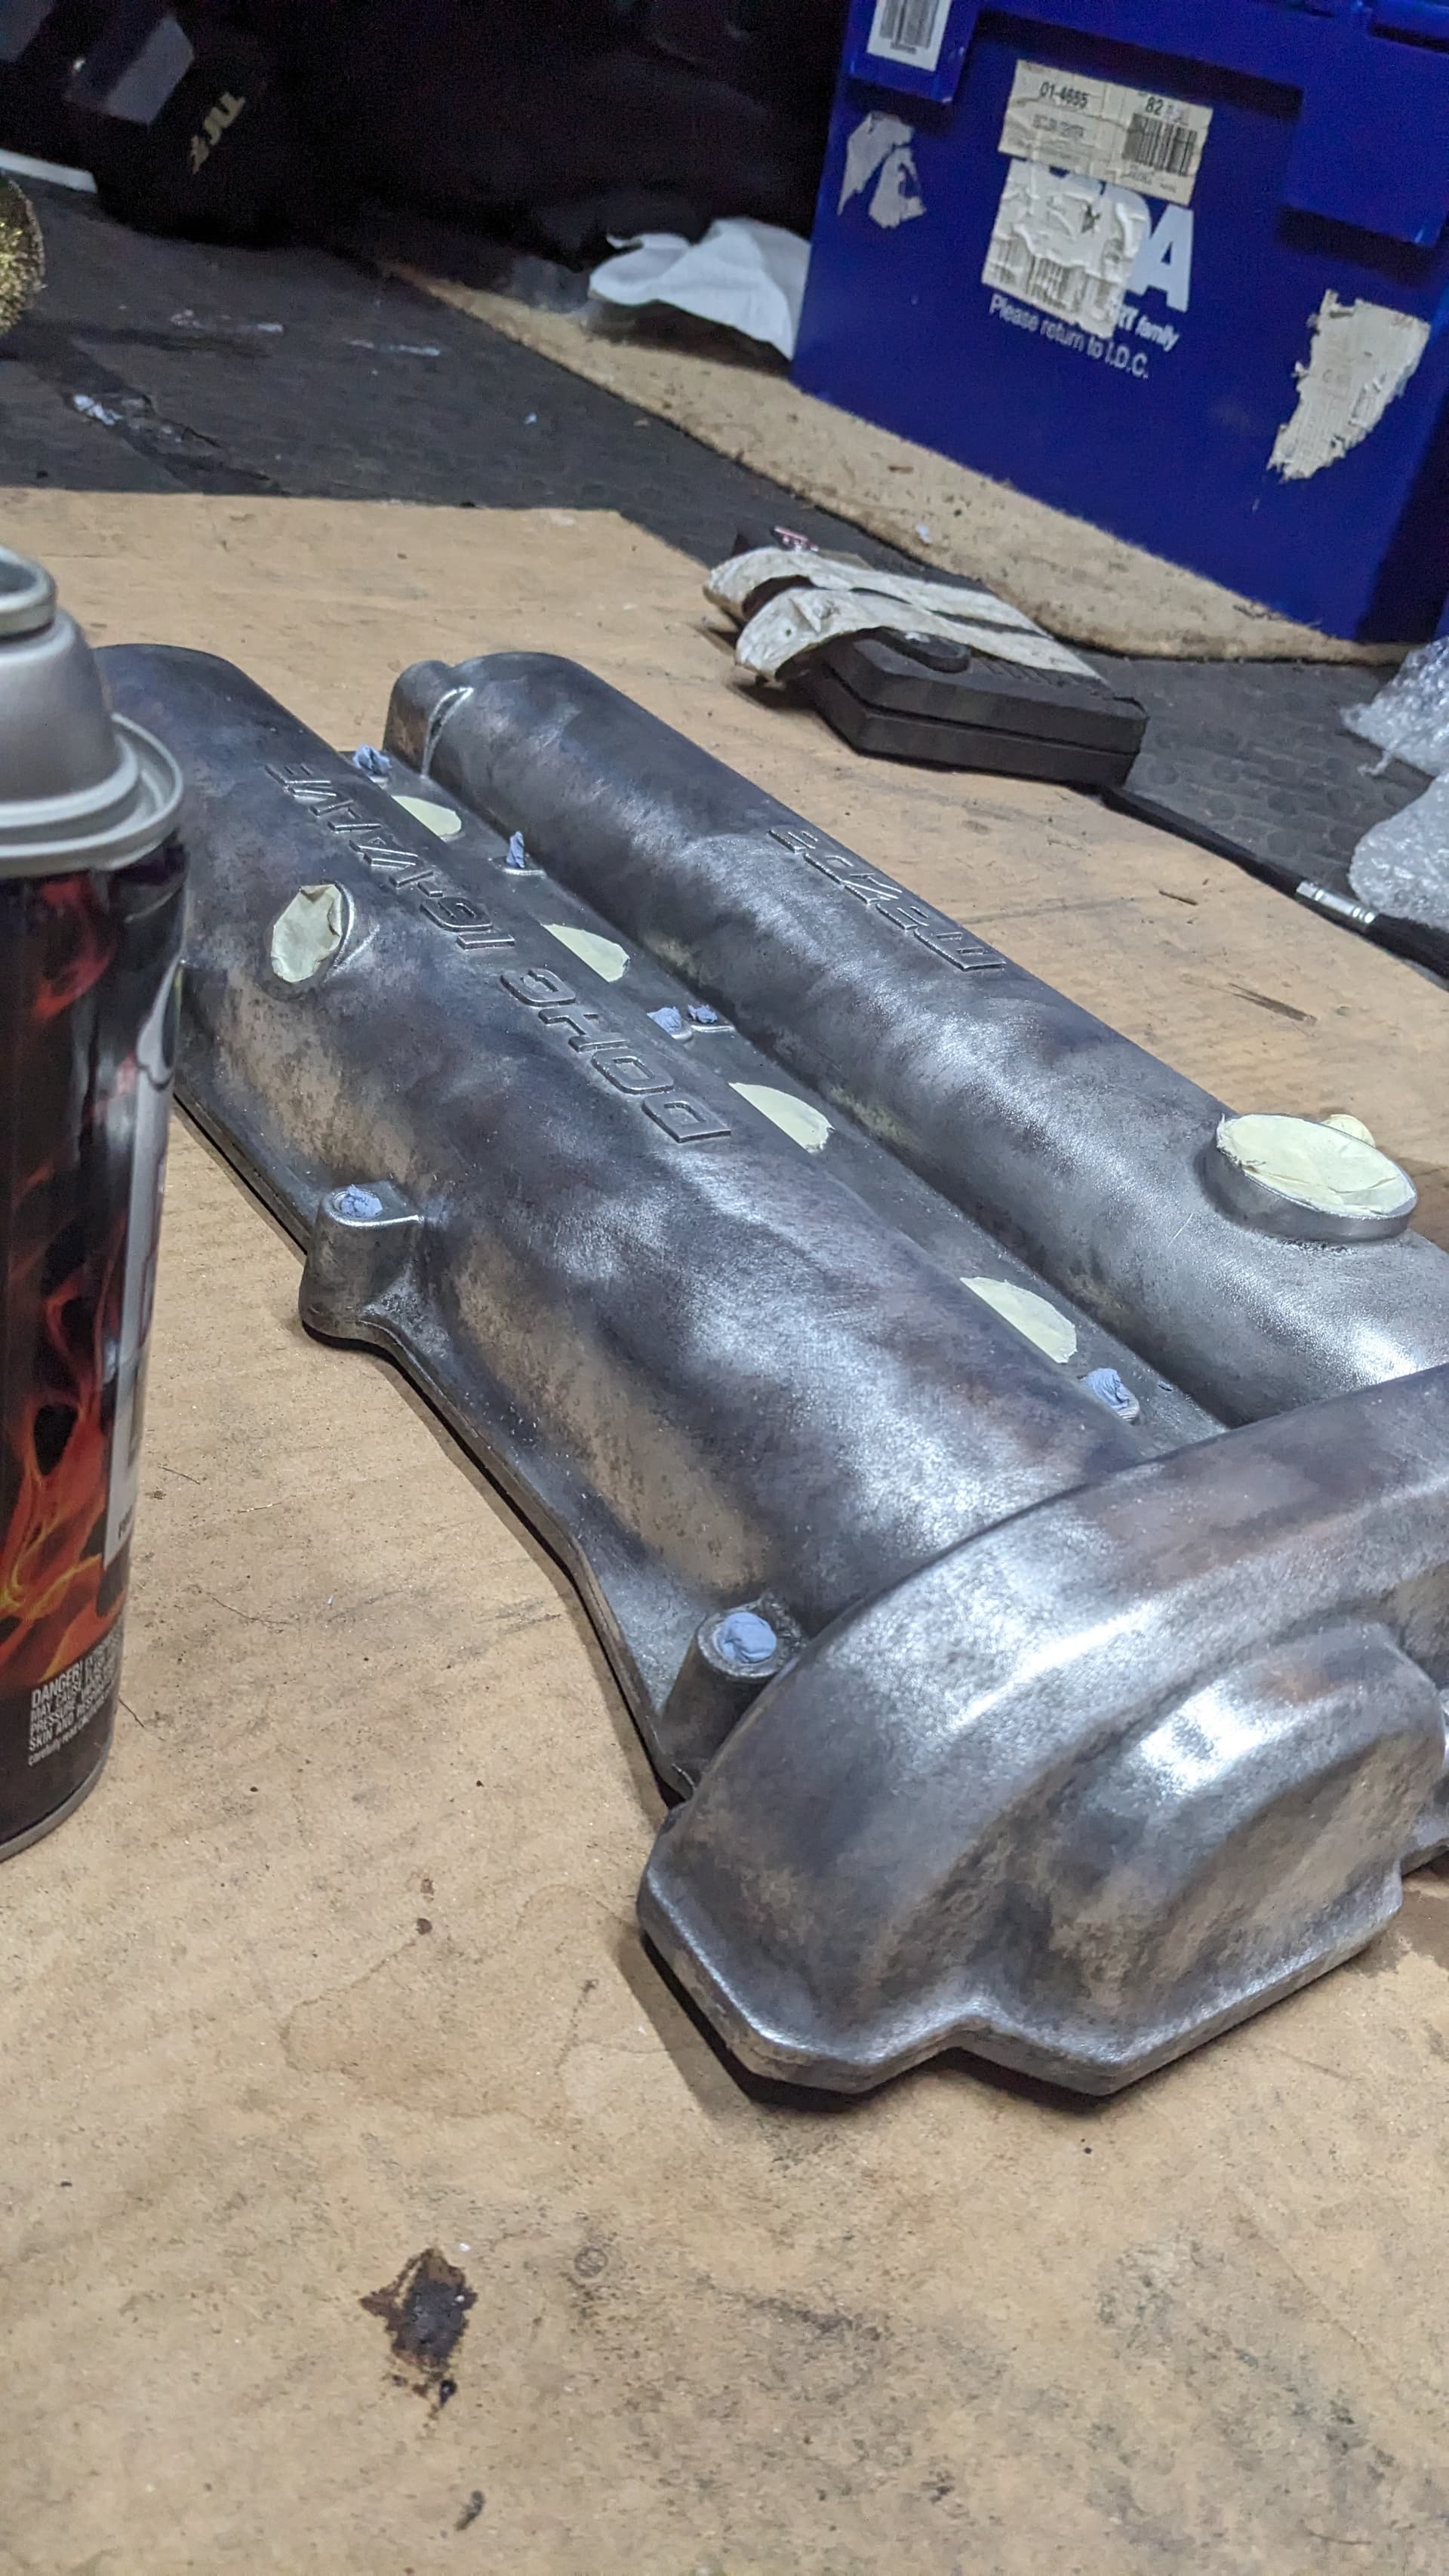
Sanded and masked before painting
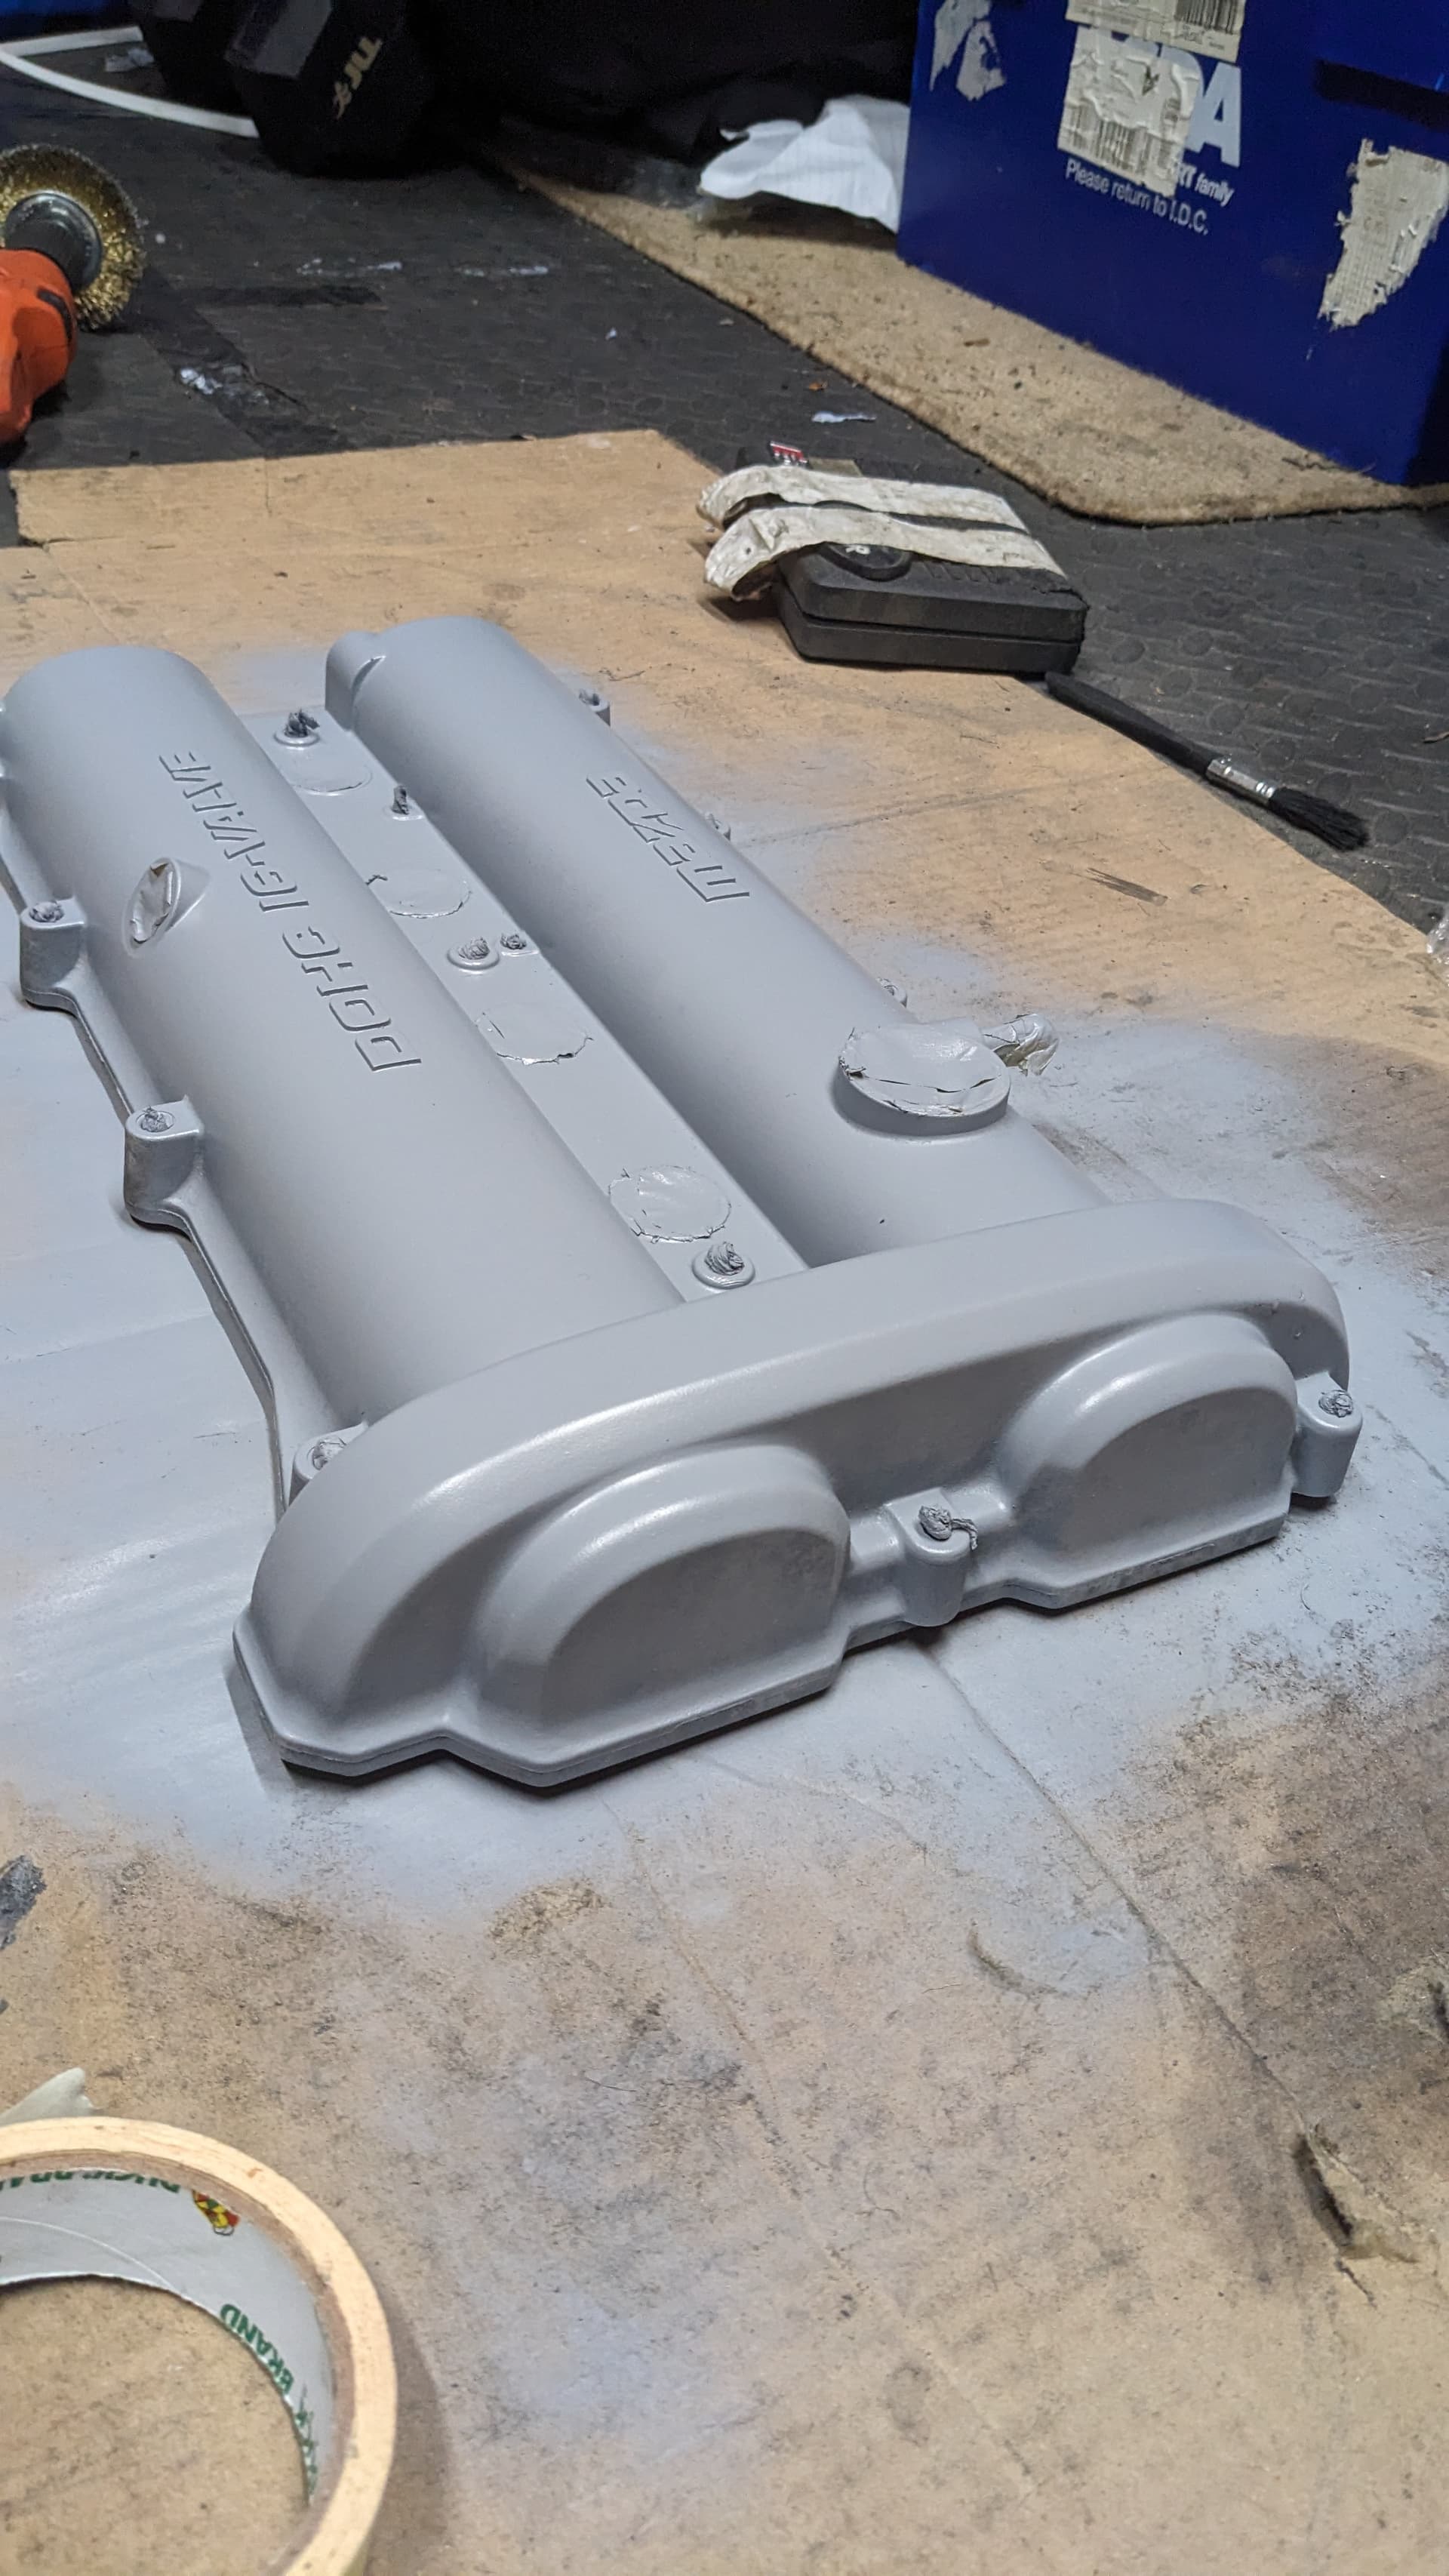
Primed
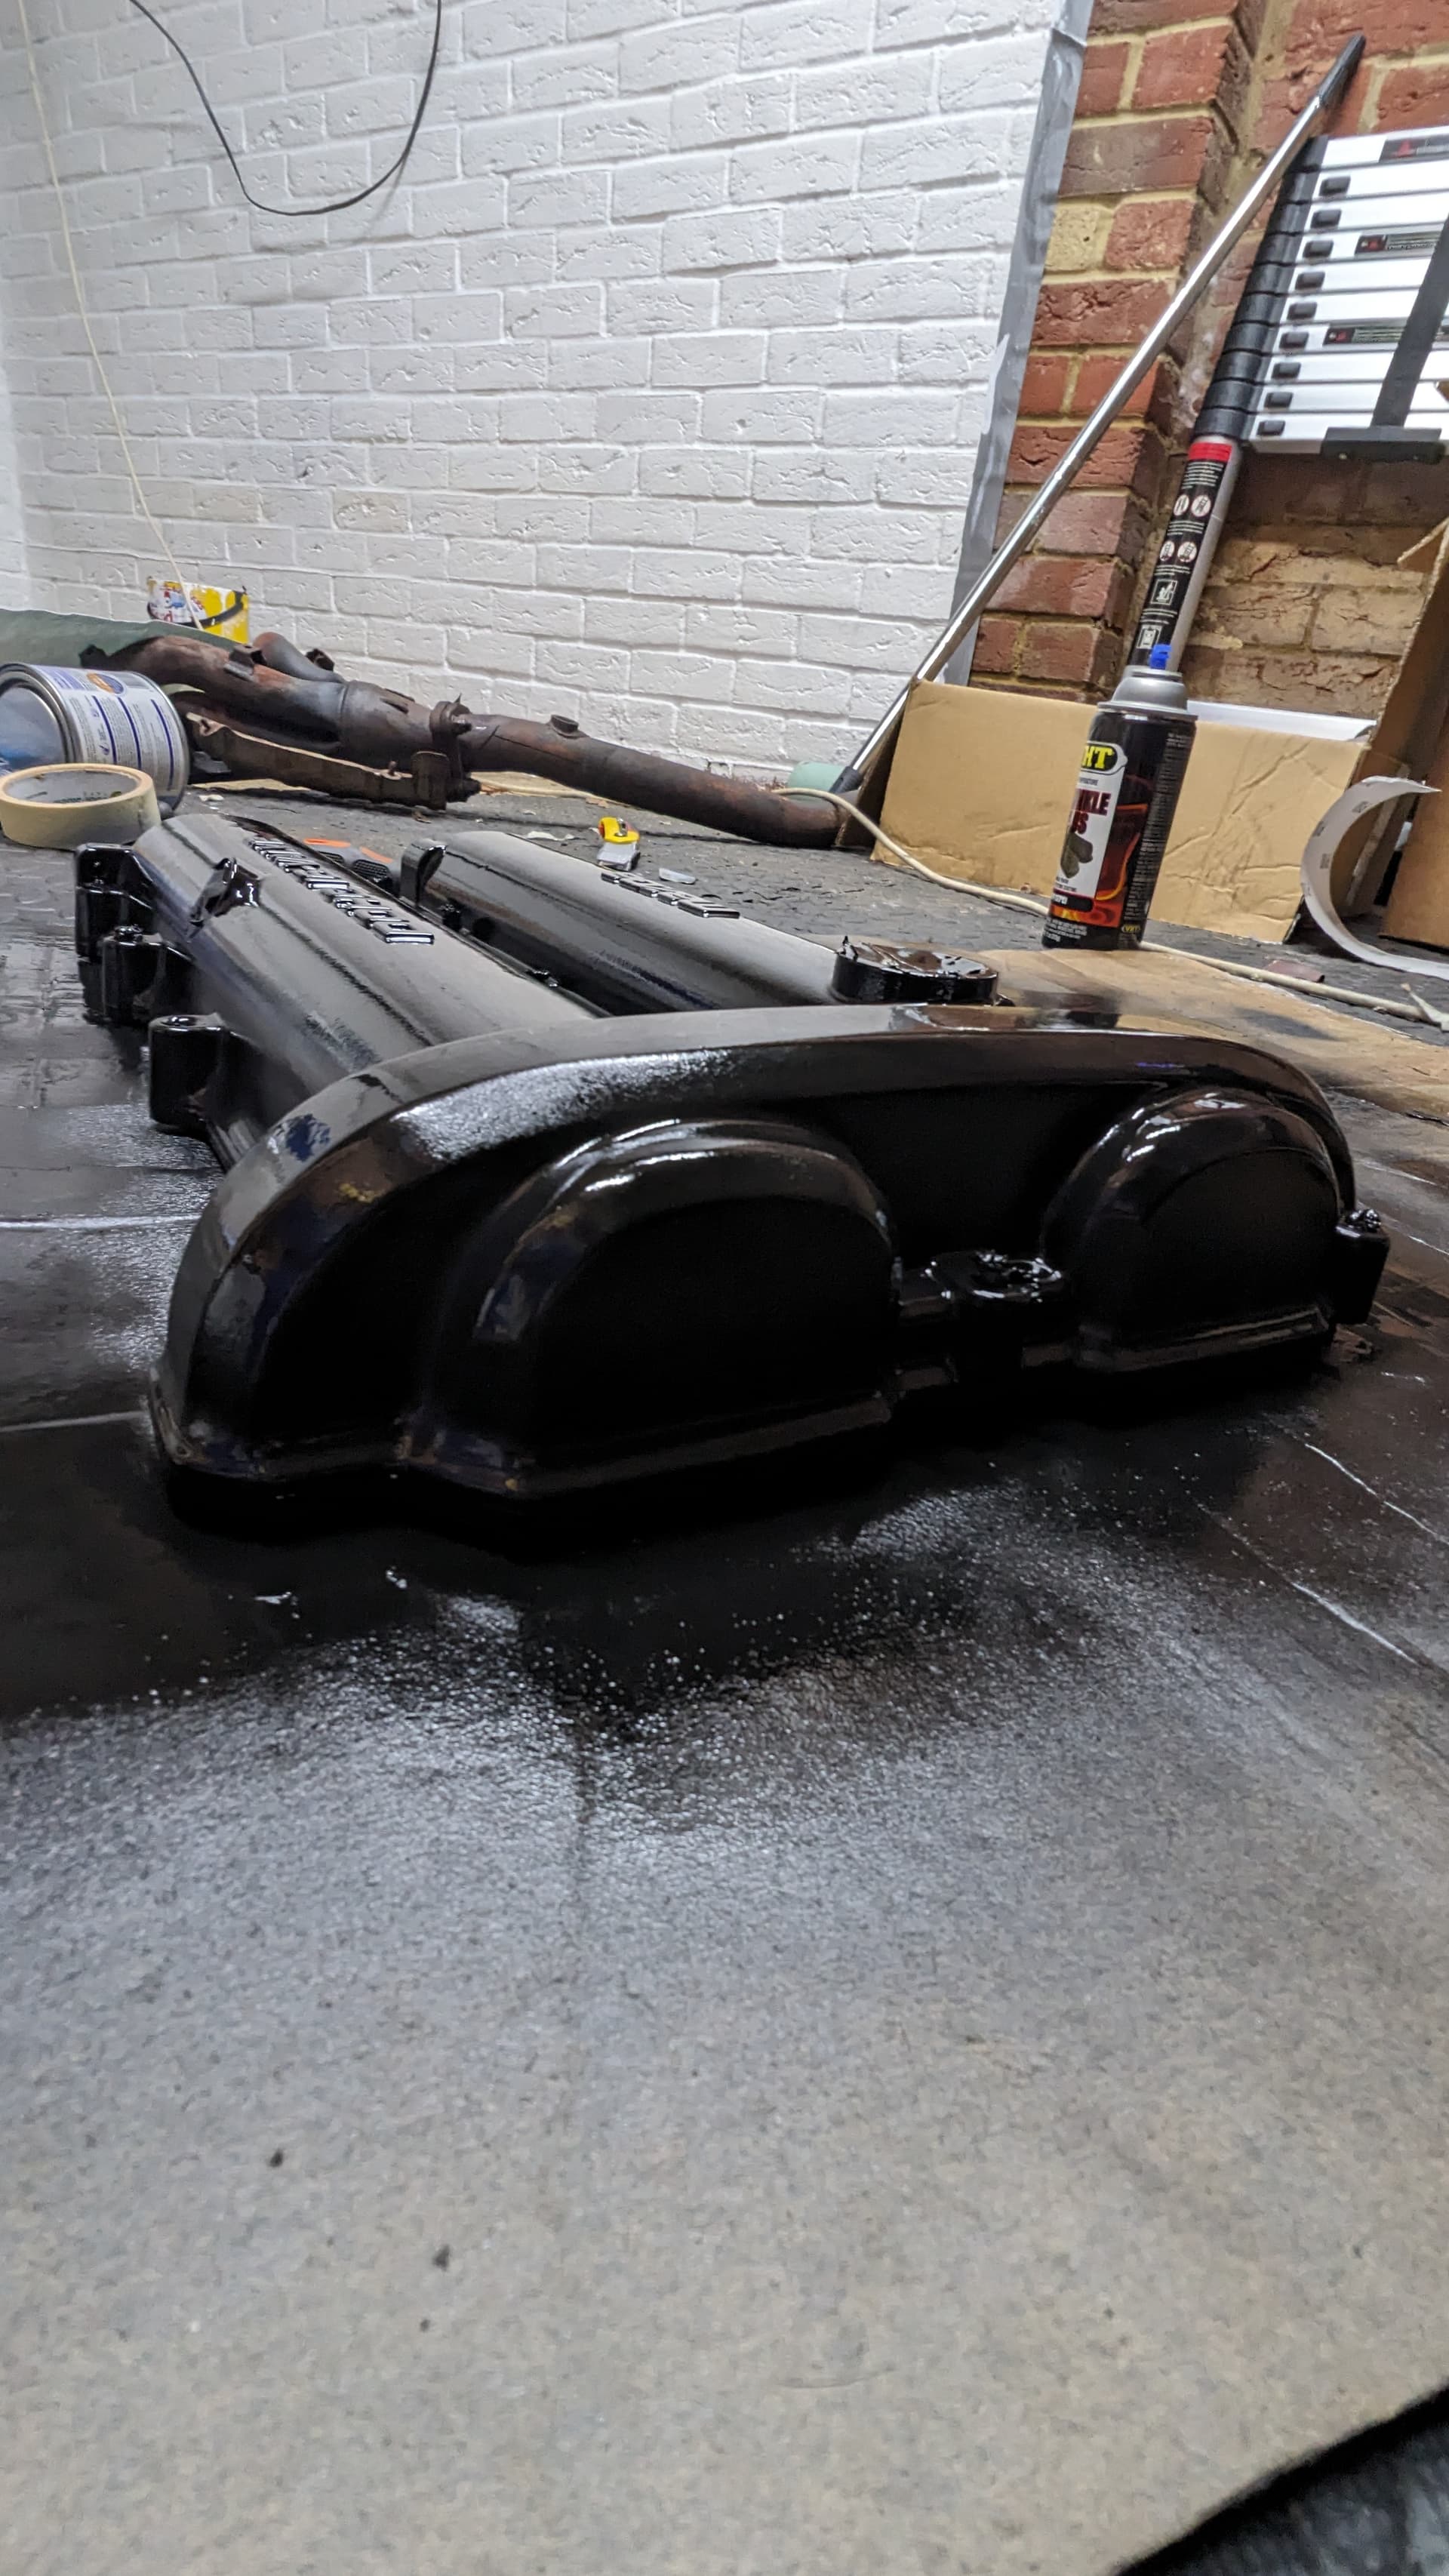
Painted and wet
The finished product