Repair rear brake caliper

One of my rear brake calipers was seized,it wouldn’t adjust with the 4mm allen key and it was binding so I ordered a new piston and seal kit and rebuilt it and took some pics along the way.I thought it may help somebody else. My piston was very rusty but the rest of the caliper was ok.

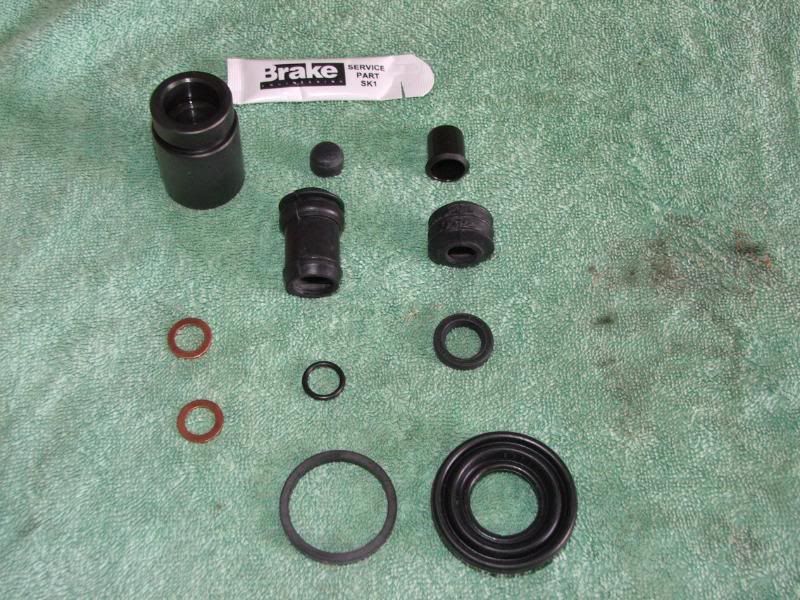
New parts consisting of seal kit/new piston/new copper washers


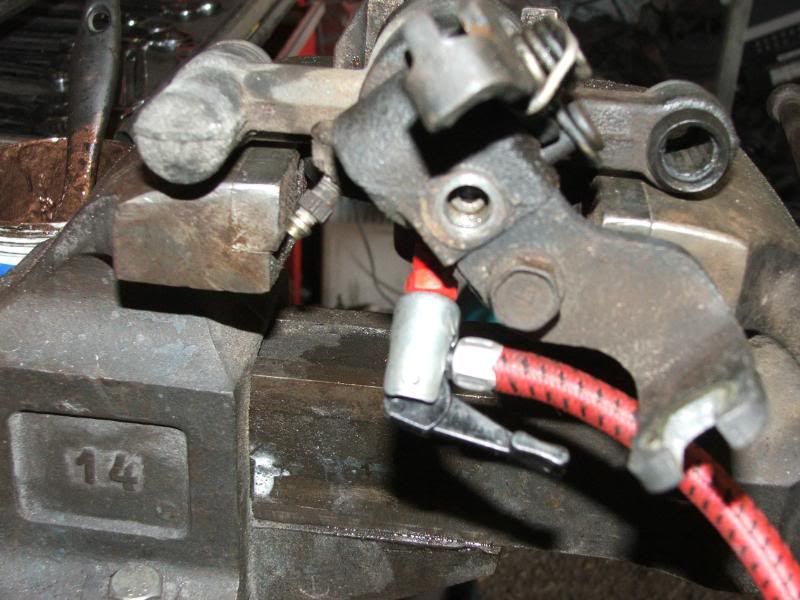
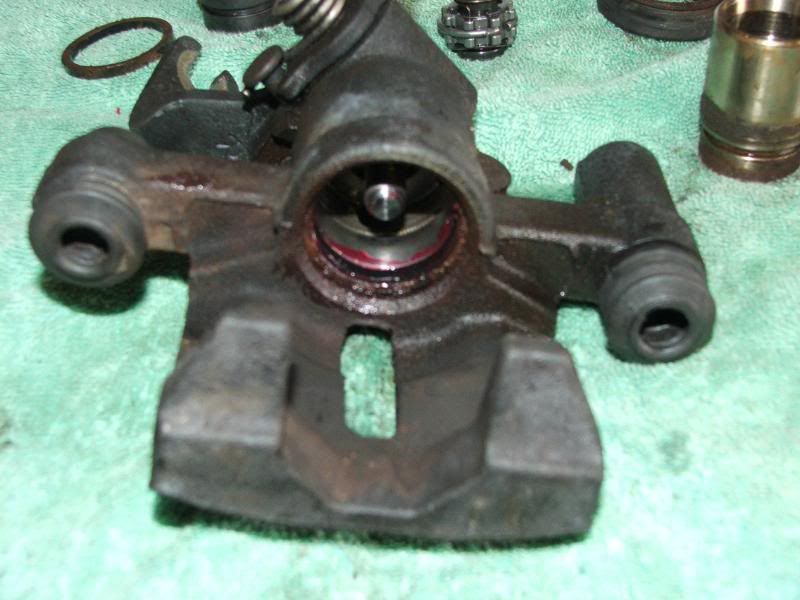
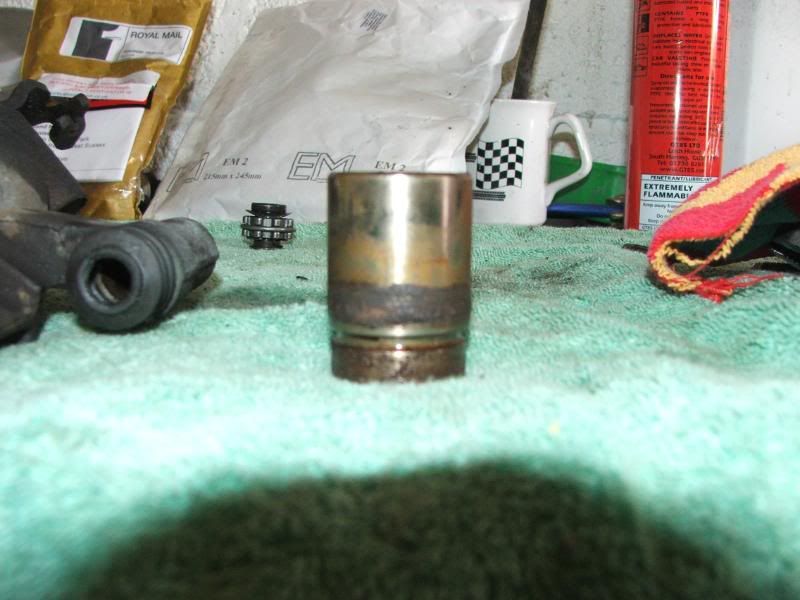
Removed caliper-note very rusty piston


First stage was to remove the piston-this was seized and took a lot of soaking with gt85 and a twisting motion with grips to get moving

Then I used a footpump to gently pump the piston out WARNING go slowly and use a bit of wood and cover with rags to prevent injury

This picture shows using another bleed nipple in but just loose enough to allow air to flow 

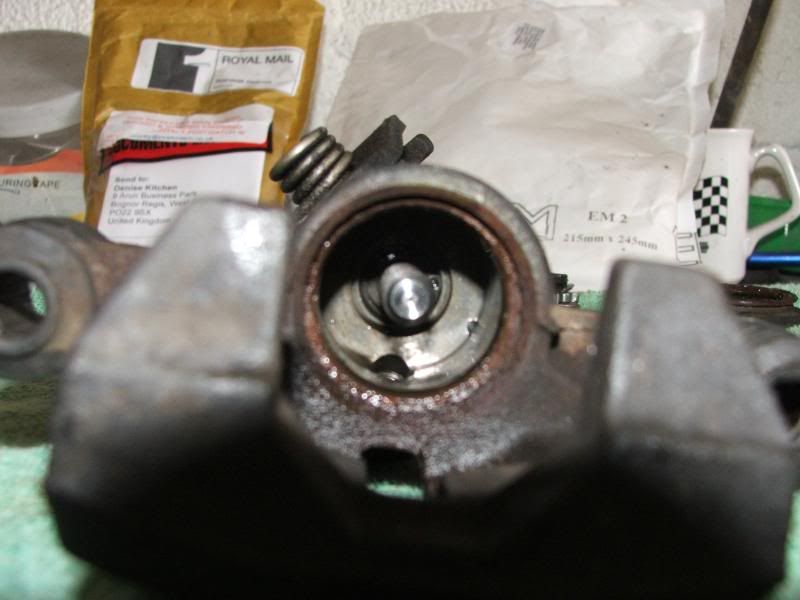
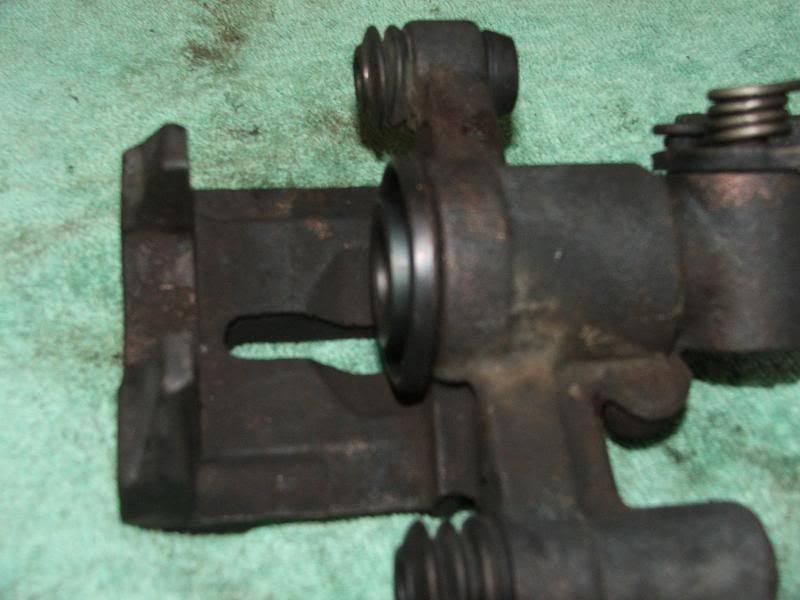
you can now remove the dust seal , piston seal -missing from picture and auto adjuster for the handbrake  (this unscrews)

This is the view inside the caliper,as my handbrake part wasn’t seized and I had no leaks from around the handbrake lever I decided to go no further.

I cleaned out the recess where the caliper seal sits,blew out the inside of the caliper,refitted the adjuster and fitted the new seal and lubricated it with red rubber grease

I obtained the replacement piston from Autolink and there was a difference in the rear of it. The original one had 4 cutouts and the new one did not. Now I initially thought that the auto adjuster sits  in those slots, but it has 8 ribs??

a close up pic of the auto adjuster,picture from http://www.miata.net/garage/ebrake/index.html


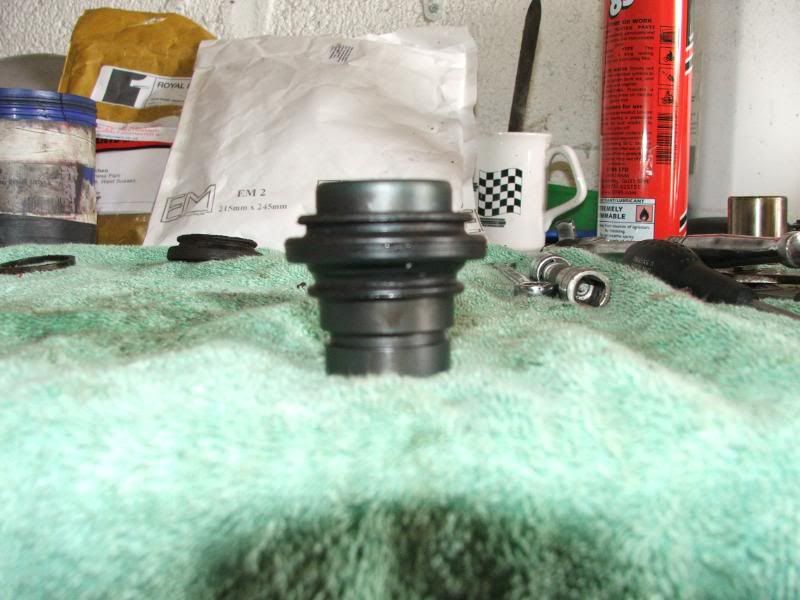
Next the difficult part you have to fit the dust seal and piston,I tried fitting the dust seal to the caliper first and then trying to push the piston through the seal,but in the end I put the seal on the piston and left the ridge that fits inside the caliper just off the end and getting a another pair of hands to hold the piston while I fed the dust seal into the caliper-you need a lot of patience but it will go in eventually.

seal fitted to piston
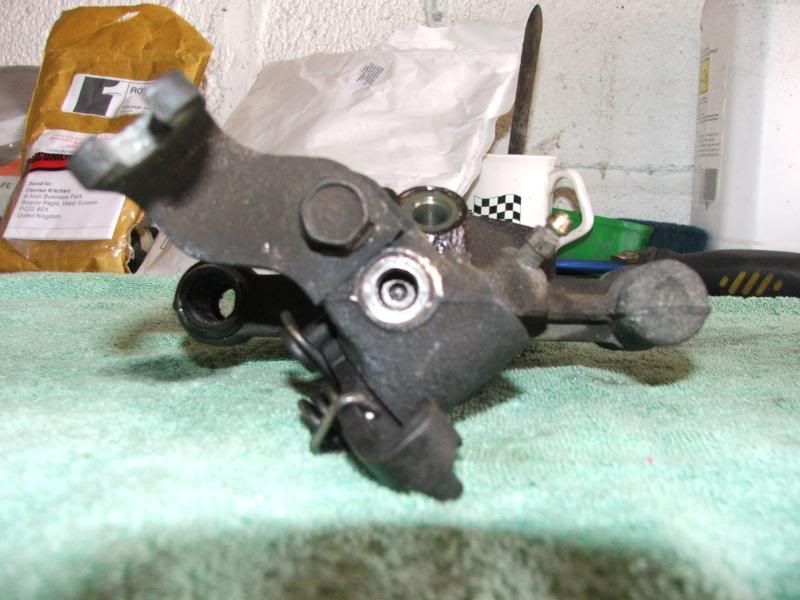
Finally in

Refit to the car using the supplied grease to lubricate the guides adjust the piston in using the 4mm allen adjuster just so the pads touch the disc and back off a 1/3rd of a turn

4mm adjuster

and then bleed out the caliper and pump the pedal a few times BEFORE adjusting the handbrake.

Once I had bled it out and adjusted the the handbrake,it was a success no more binding

Just a couple of pictures to finish off with


Old piston showing corrosion
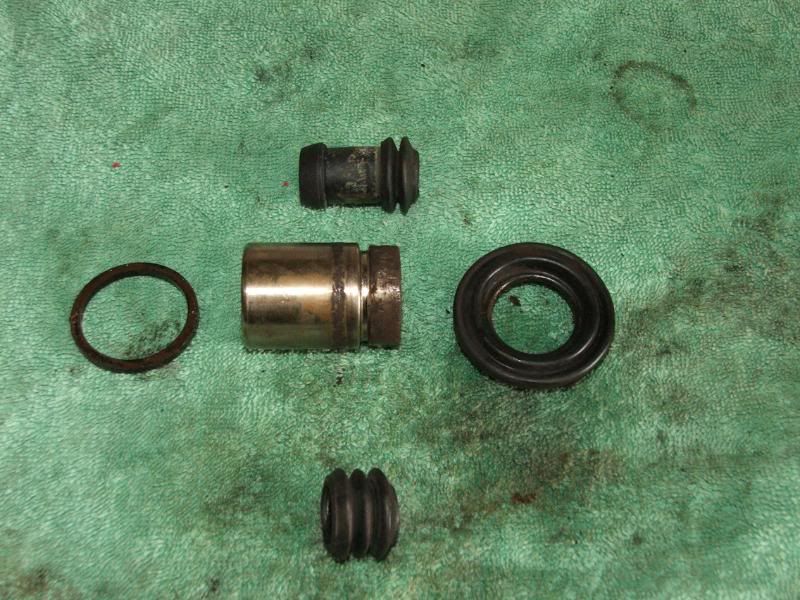
 

Old parts


WOW!

You’ve been a member of this site for less than two weeks and you post something like this !!!

Hat’s off to you mate.

I vote Geoff makes this one a sticky thread, All those in favour say “Aye”.

Scotty B.

Aye!

Excellent write up, now a stickey

Great write up!! And shed loads of money saved!!

I’m about to replace a rear right brake caliper on my 1998 1.6 Mk1 due to recent onset of the the sticky brake problem. Is it advisable to do both sides together, or is doing one side on it’s own fine?

Similarly, is it routinely necessary to replace the pads and discs at the same time if the brakes have been sticking on for a while?

nice write up - definitely gets my vote for a sticky Thumbs up

 What was the cost of the repair kit ?

 Bought two NEW calipers off Ebay last week, 85 quid plus a tenner postage !! Bargain.

 Check out a recent thread on replacing rear calipers, some horror youtube footage of copy part calipers that frankly was as scary as hell. Can’t remember what the thread was caleed, but I’m sure it started in the last week or so. I nearly bought those calipers, but tried the repair kit and it seems to have gone rather well. Don’t mean to be raining on your bargain buy, but it’s something to be aware of in case something feels wrong after you put it all back together and drive your pride and joy. Just found the link…

http://www.mx5oc.co.uk/forum/forums/t/28382.aspx

Just a tip on removing the adjuster mechanism from the old piston and takes less than a minute.

Take the adjuster screw and screw it into the adjuster mechanism in the piston as far as it will go, now wrap the top of the adjuster in rag and grip with pliers and tighten the adjuster. This will push out the mechanism and C clip from the grove, you can now pull the mechanism out the rest of the way by hand.

I hope that helps. 

 Great post. Big Smile

How does the auto adjuster fit into the piston please.

There is a strong ‘C’ clip that sits central on the adjuster and holds it in the piston. The ‘C’ clip sits in a recessed groove in the piston.

From memory I used a bolt screwed into and through the adjuster until it hits the base of the piston and then finally forces the ‘C’ clip out of its groove allowing removal.

Can’t remember how to fit adjuster to new piston but as no memory, it must be easy.  


Looks like rocket science to me.

The main problem I have here is that you buy all the bits and you then strip the caliper and find the bores are scrap and you have to but a recon caliper. The bits will cost between £35 and £50 depending what is worn.

I would only buy all the parts if I had stipped the caliper first to check its condition.

On the other hand if the caliper has done say 120,000 miles, I would buy a remanufactured caliper from a trusted source at £90ish.

Personally I think it most unlikely that the bore would be a problem, as it has no effect on the sealing of the system. The piston and the seals are what do the work, with the bore just acting as a guide (unlike a bore in an engine that is a sealing surface for the piston rings) and not much goes wrong with a casting.

Yes, agree, the main bore has no bearing on anything and from my experience is rarely corroded below the level of the main piston seal. Corrosion to the top of the bore beyond the seal where the gaiter sleeves in or even the top of the groove where the seal sits is a definite possibility though.   


Nonsence Phil H.

If the bores do not come into it what do the pistons and seals then seal against, I assume you have found another magic surface there.

Please advise what exactly comes into play the sealing of the caliper.

I have rebuilt many calipers and find after say rebuilding say 10 or 15 calipers, when I had got near to doing a competent job rebuilding the units, there were still times when new seals started leaking after two or three months.

I have also had new pistons rusting and damaging bores from what I can only assume is poor quality seals or even with me clearing an area to have a clean area to rebuild the calipers that either some grit got in there as I do not have shot blasting kit properly clean the calipers, nor the skill to properly hone the bores or the measuring devices to check bore condition.

I look forward to be enlightened on what surface other than the pistons and seals are key to getting a hydraulic seal on the caliper. As every day is a school day!