- My model of MX-5 is: RF launch edition
- I’m based near: north herts
- I’m looking for technical help or recommendations on: just sharing what I’ve learnt
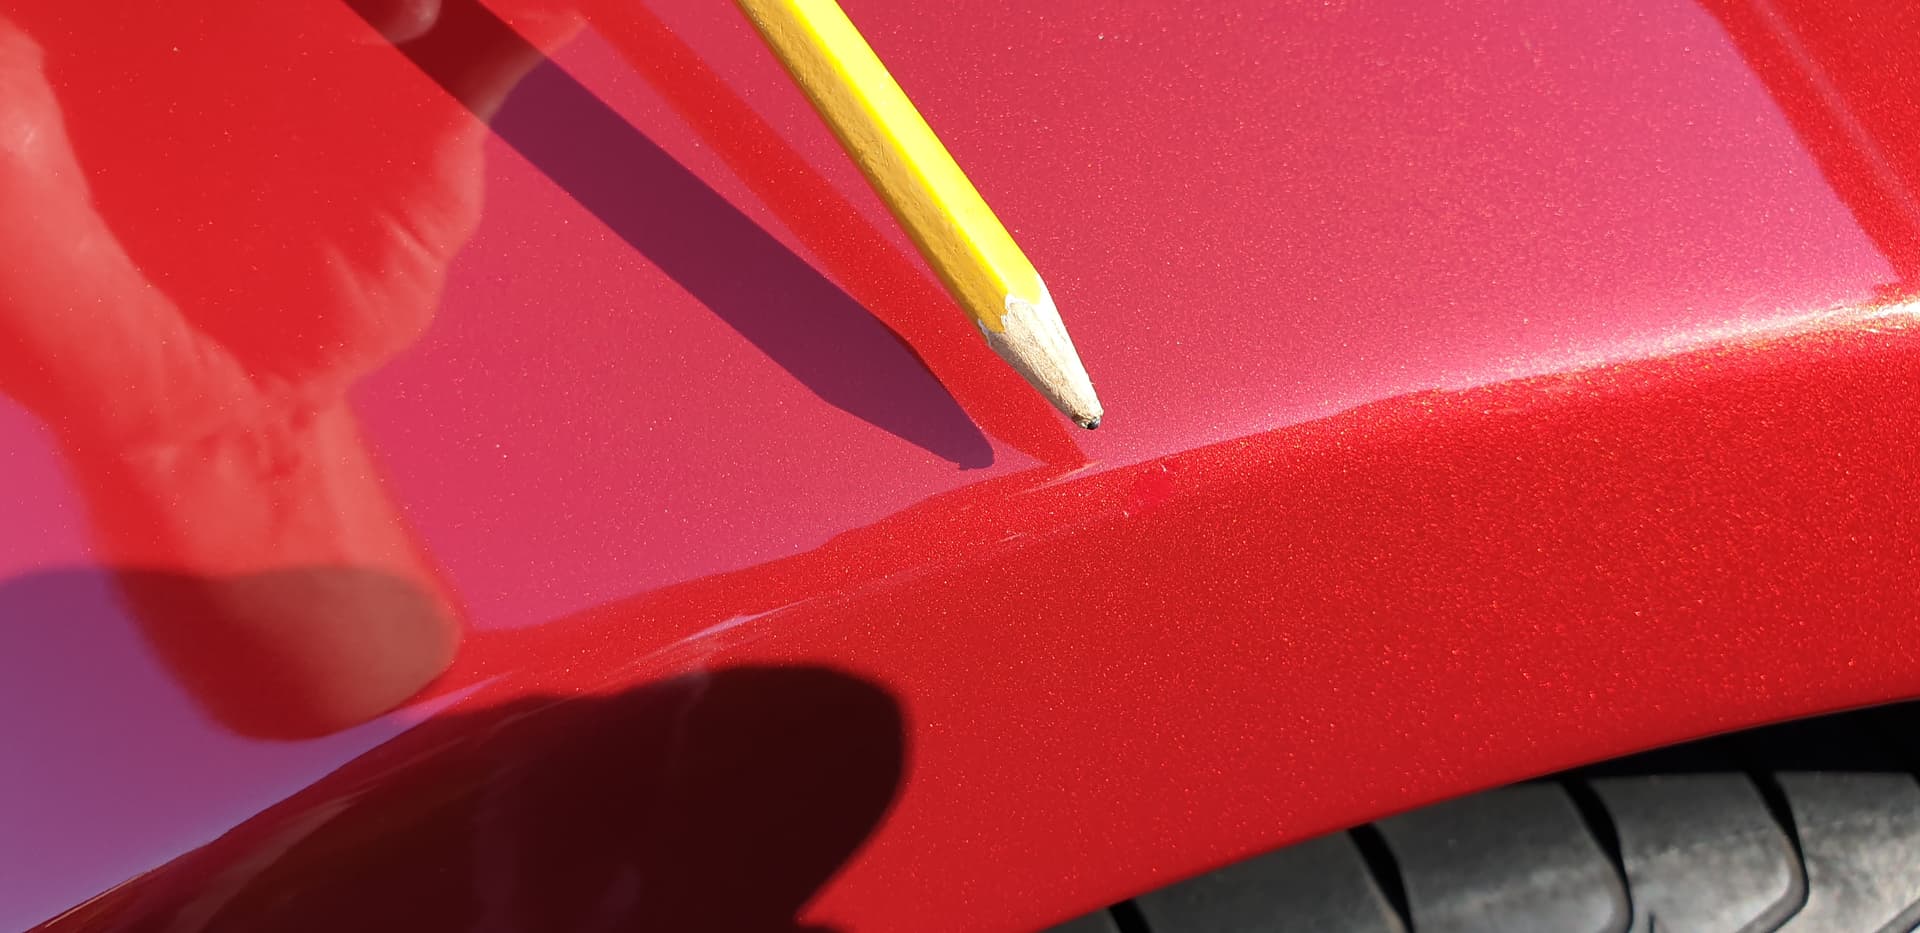
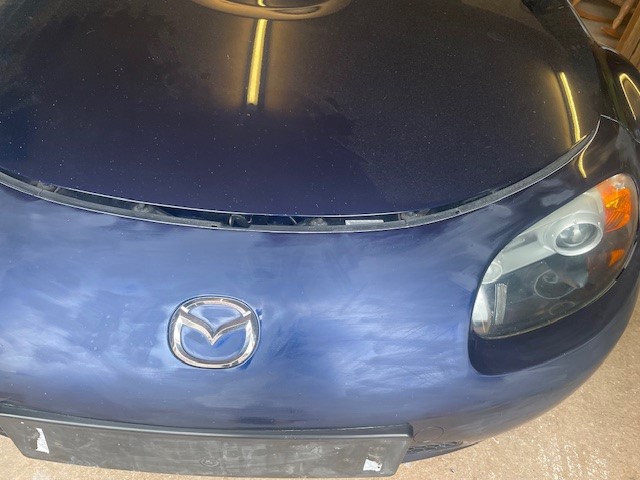
Hi all. I recently touched in a number of minor stone chips on my soul red (41v) ND
To practice and try different techniques I bought a scrap fuel filler cap in soul red on eBay for £10 and the proceeded to Chuck stones at it. The XIII was wax pen that was on there from scrap dealer which I left alone.
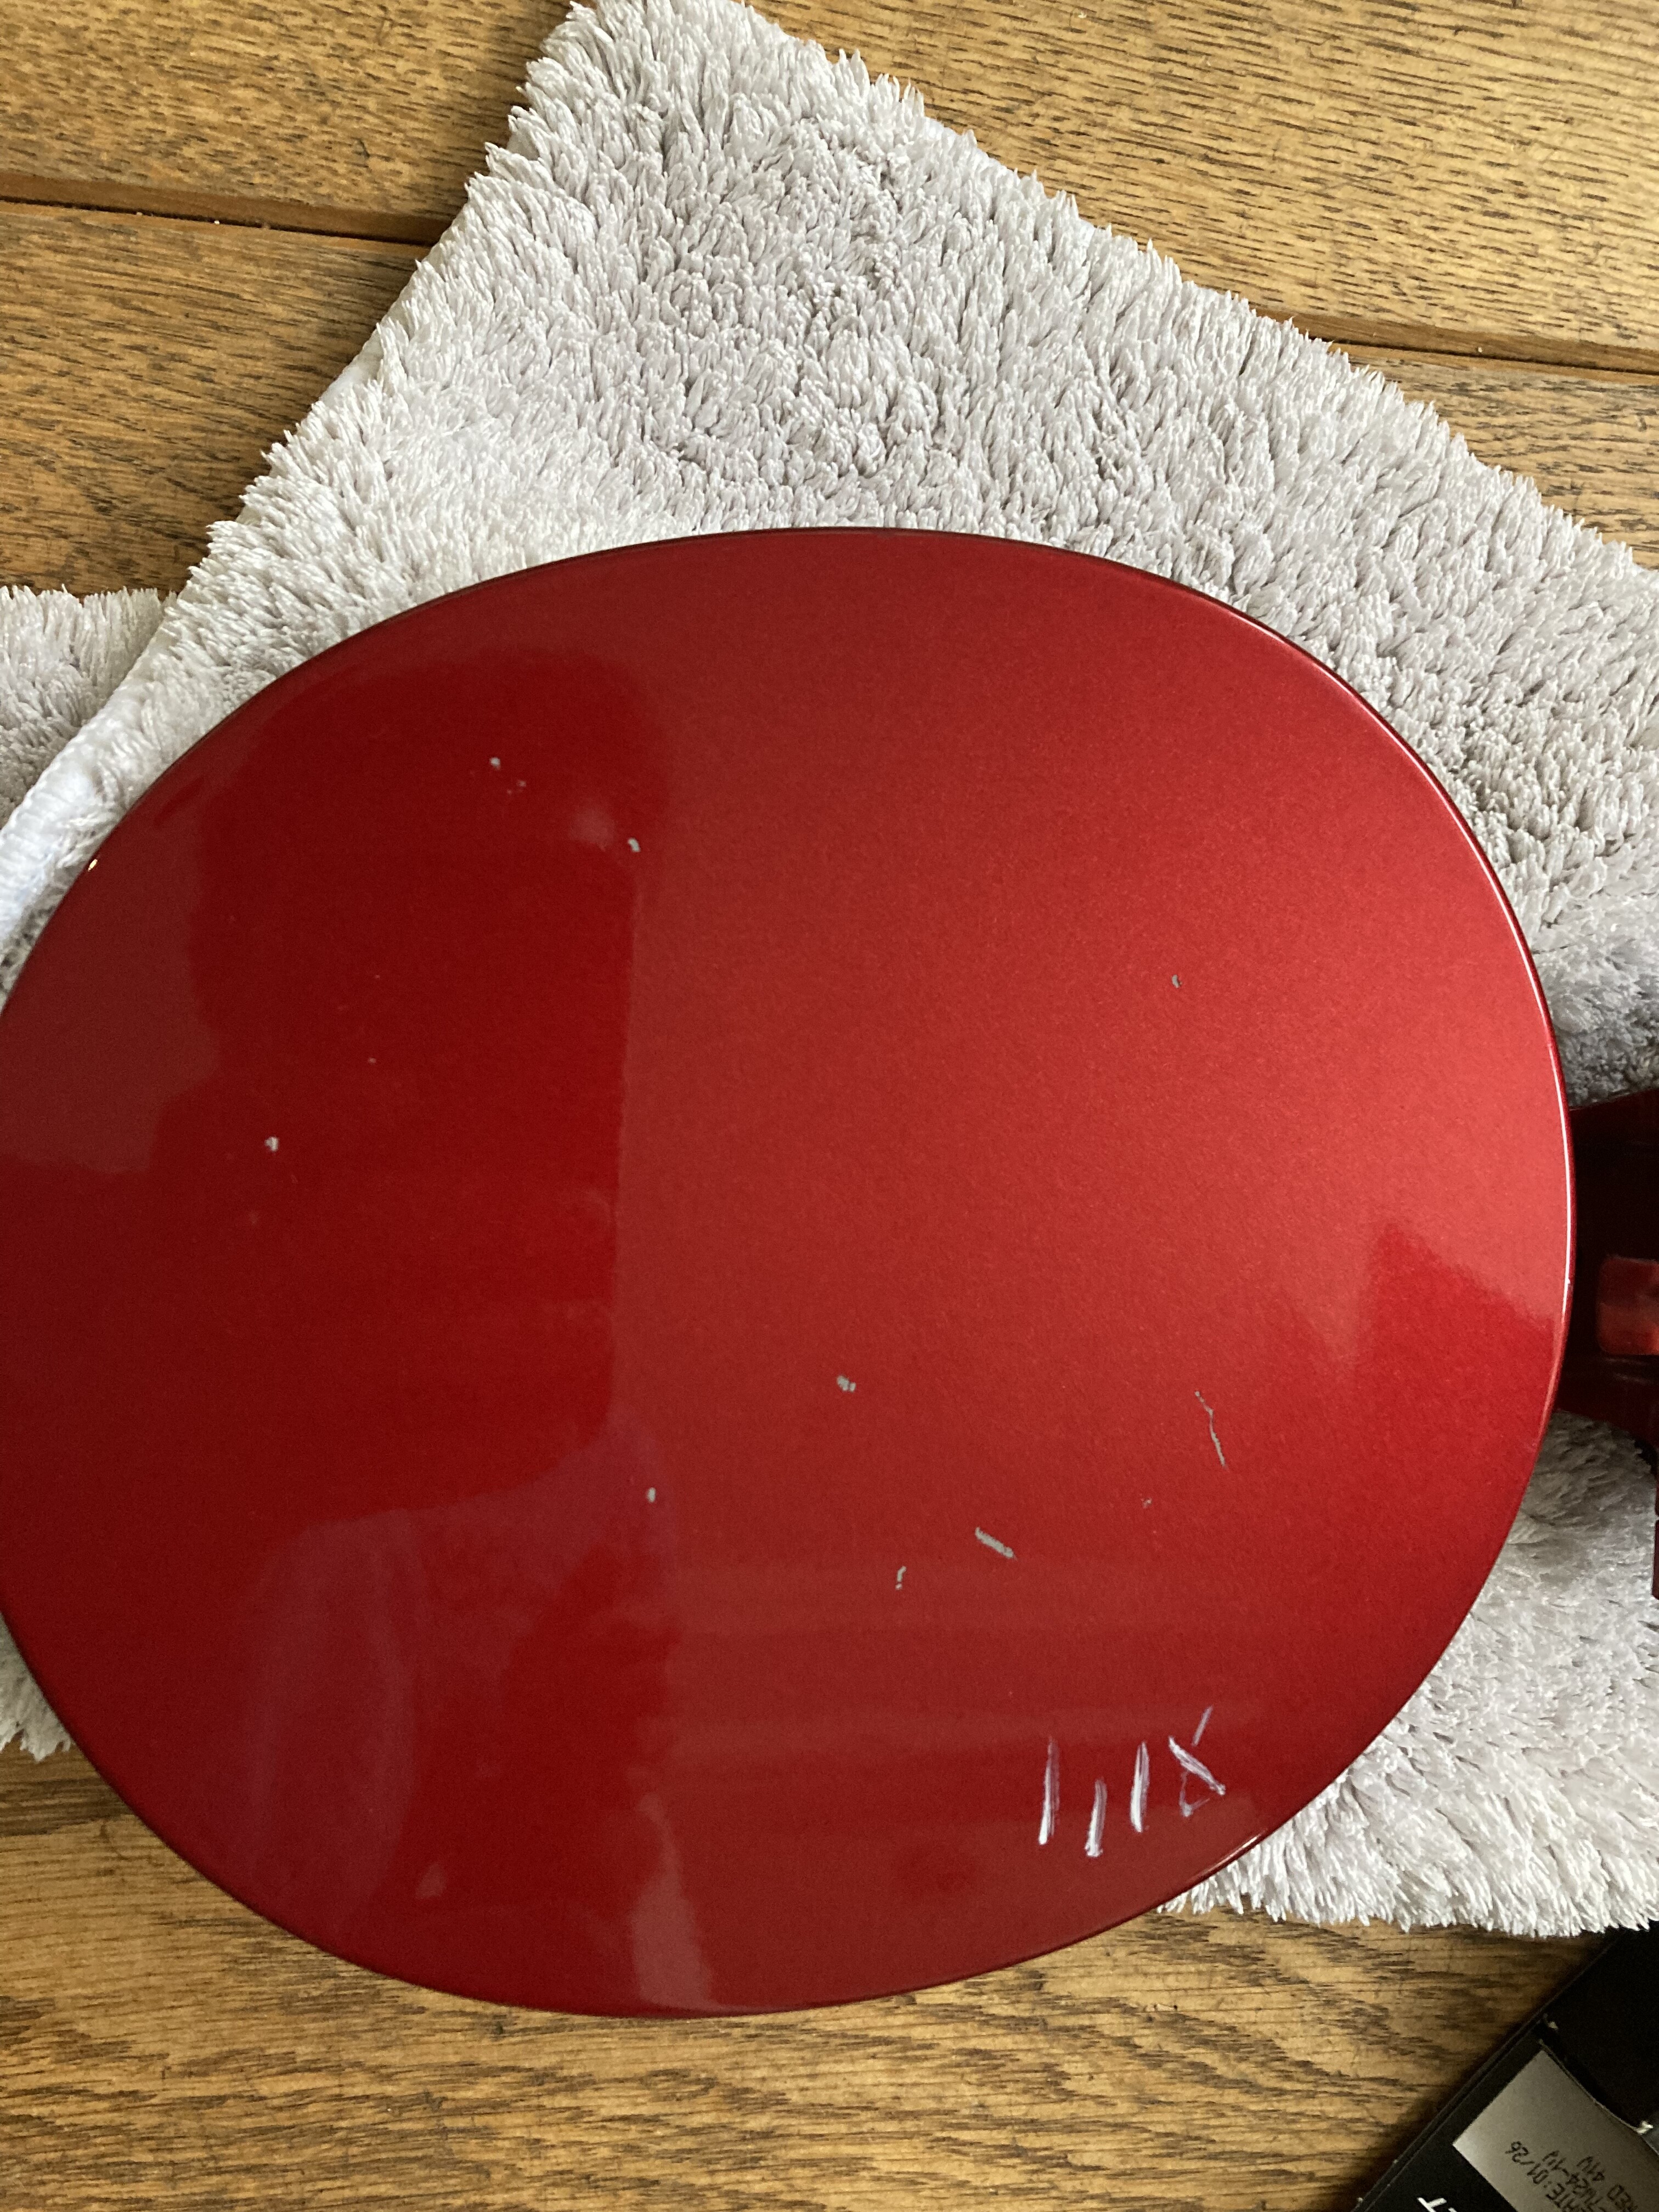
I then tried a bunch of different techniques using the Mazda touch up paint which includes a water based base coat and a tinted laquer, After a lot of trial and error I got the following results.
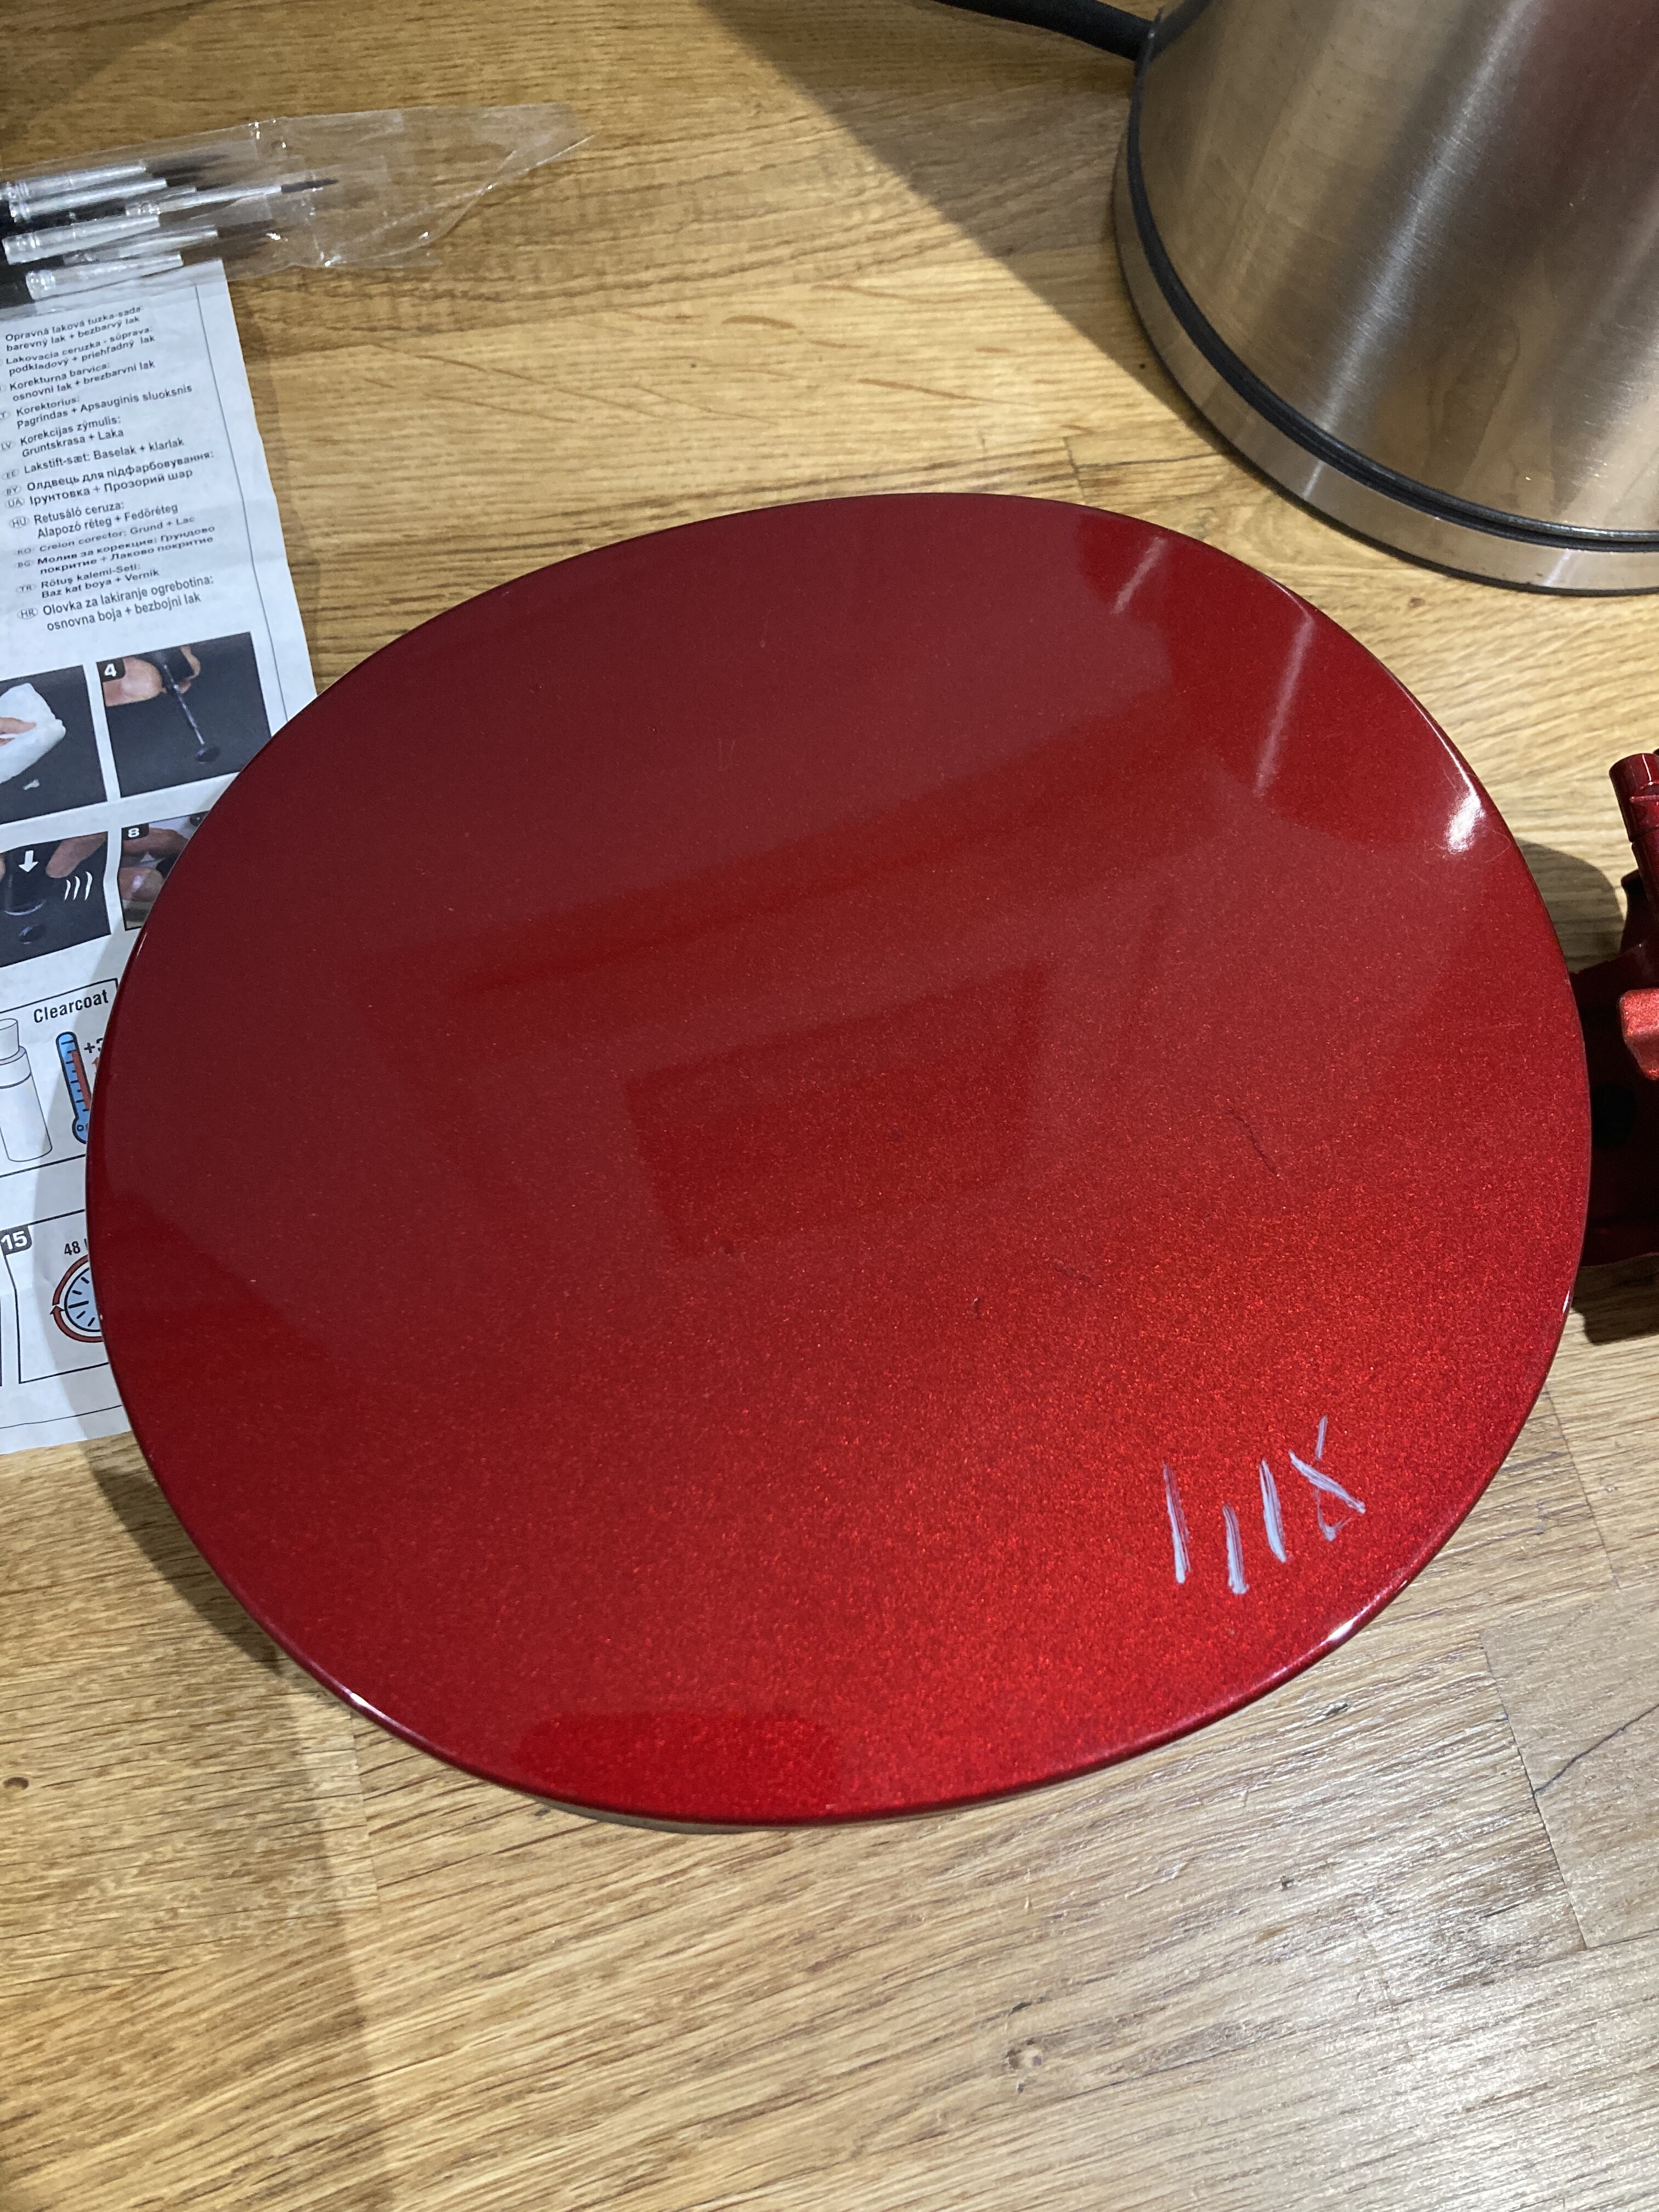
I’d highly recommend getting a bit of scrap in right colour to practice on. But here is what I felt worked best.
-
use a fine paint brush apply little at a time let it dry and use the supplied damp felt pad if you go over the chip edge. Personally I didn’t find it helpful to blob it on above the chip as shown in instructions
-
as it’s water based rubbing off with damp pad can just get you back to square one as it sometimes picks up the paint inside the chip but I found it made a huge difference and was great at removing any paint which went over onto existing paint so would recommend using it
-
do a few layers of base until you feel you are pretty close to the top of the chip. As you apply use fine tip to catch any edges that seems to reflect light at bad angles
-
with the base coat is basically a free hit as it can easily be wiped off with damp felt tip pretty much regardless of drying time as far as I could tell. In terms of drying times I actually found sticking to around 20-30mins or so was fine between coats and for wiping off any paint that went over the edges of chip
-
finally use the tinted top coat. In my experience and from some of the existing repairs by previous owners the tinted top coat has a tendency to go darker than the existing finish and can look rubbish. I found the best way to control this was one thin fine coat. Don’t bubble it. Also I found tipping the tinted pot upside down and holding it upside down for a few seconds before reverting to upright and using made a huge difference to tint colour and brought it more in line with the existing paint.
-
finally allow to dry and polish (i used bilt hamber auto balm )
I found the larger scratches much harder to get the perfect match with top coat and they did come out darker on my scrap piece so I’ll keep practicing and post back if I find any solutions. After watching YouTube videos I did try using fine sandpaper to smooth chips etc but it was in my opinion too hard to control and I got as good if not better results with the approach listed above
Hope this helps if anyone else has any tips : techniques I’d love to hear them.