Project One Complete
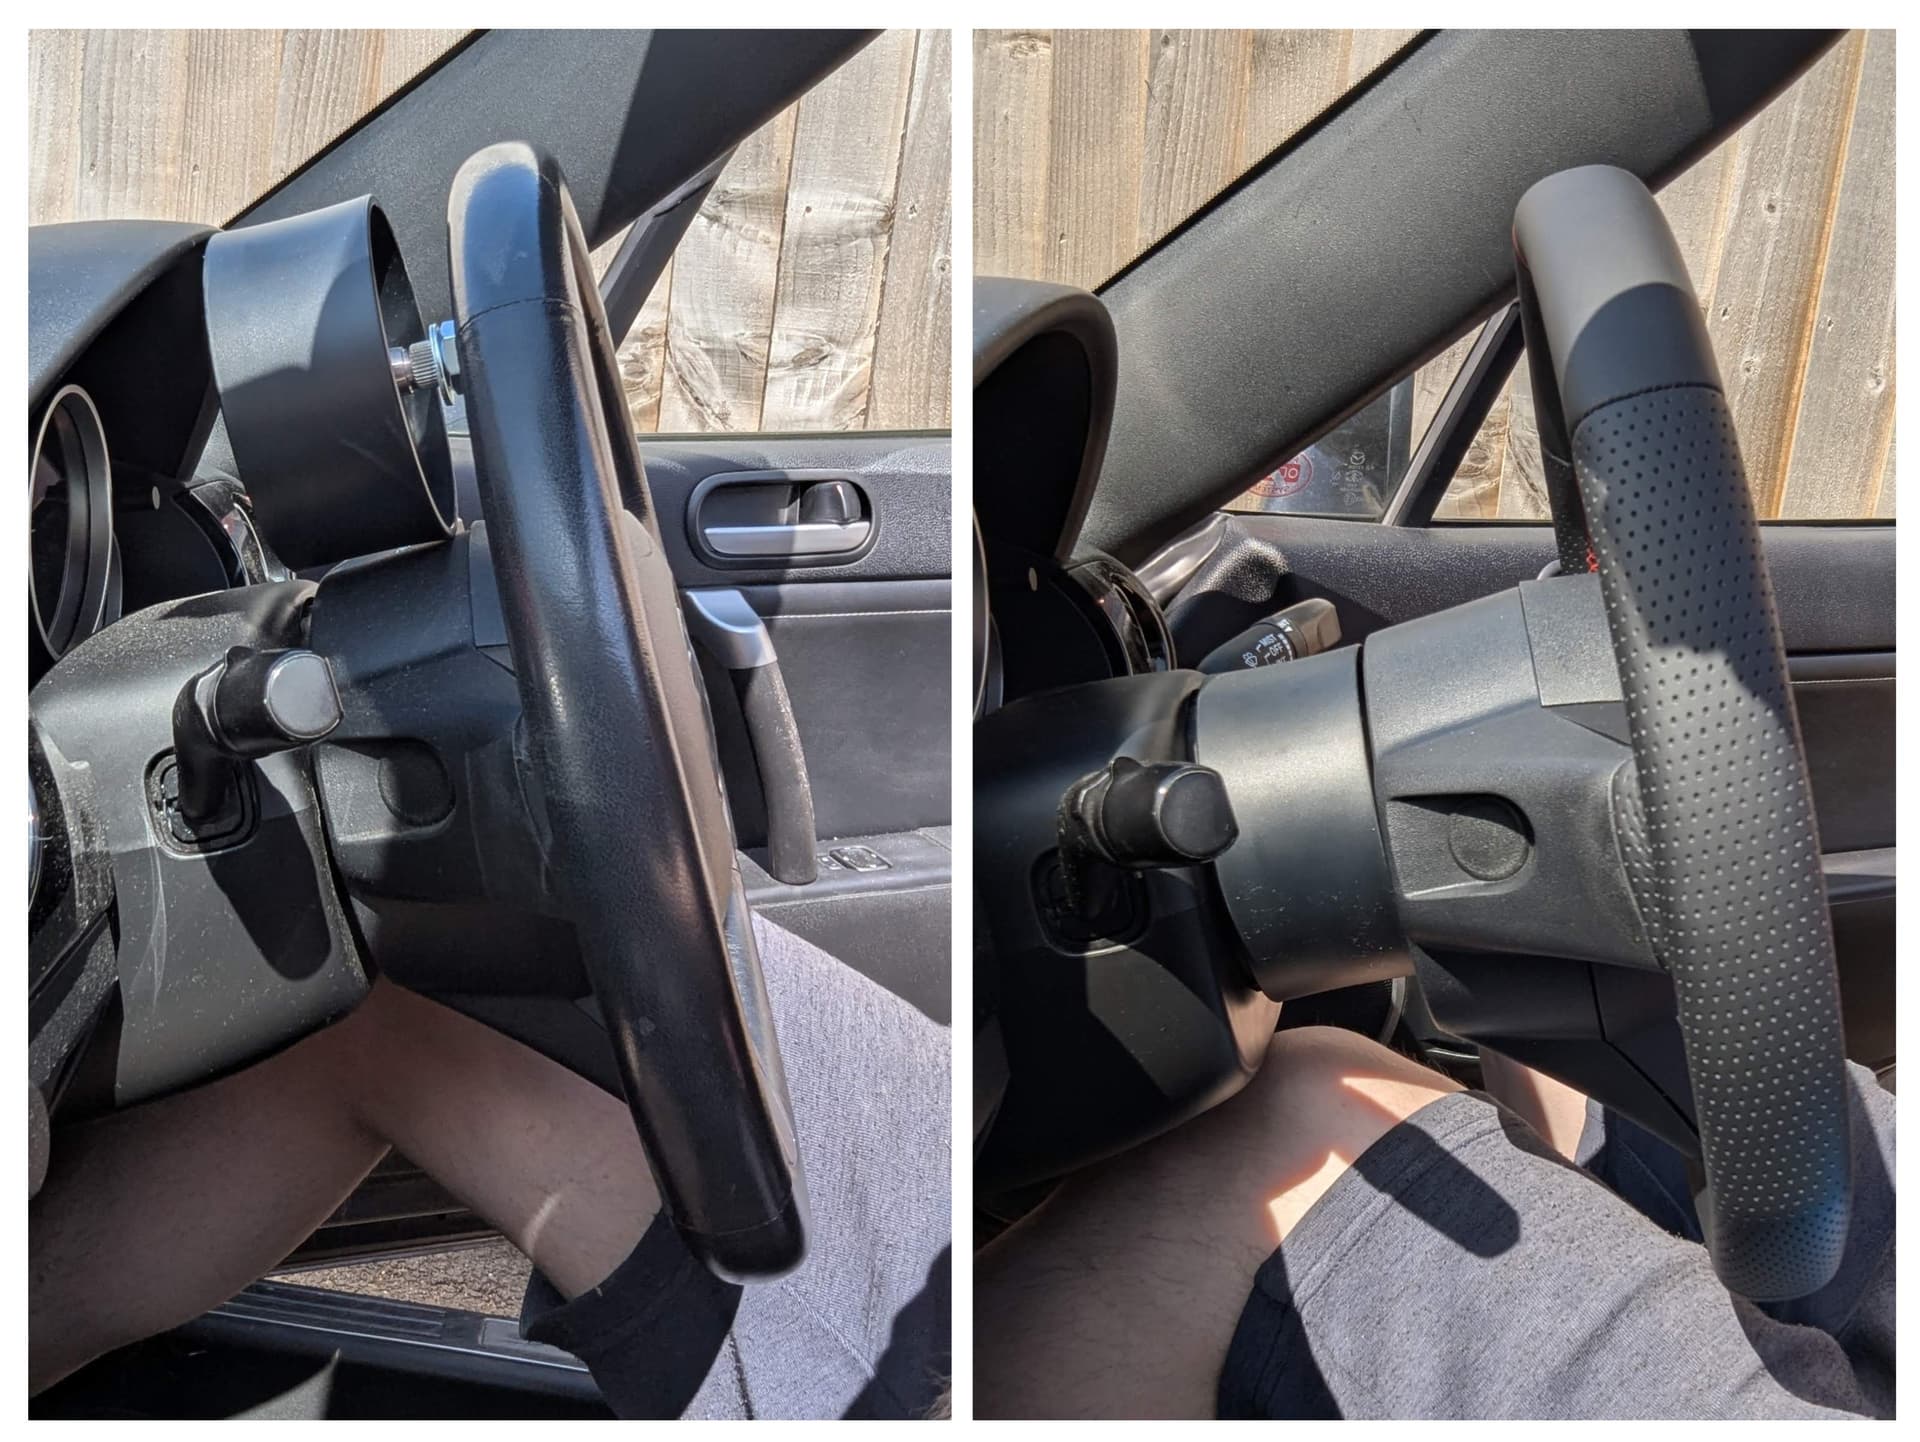
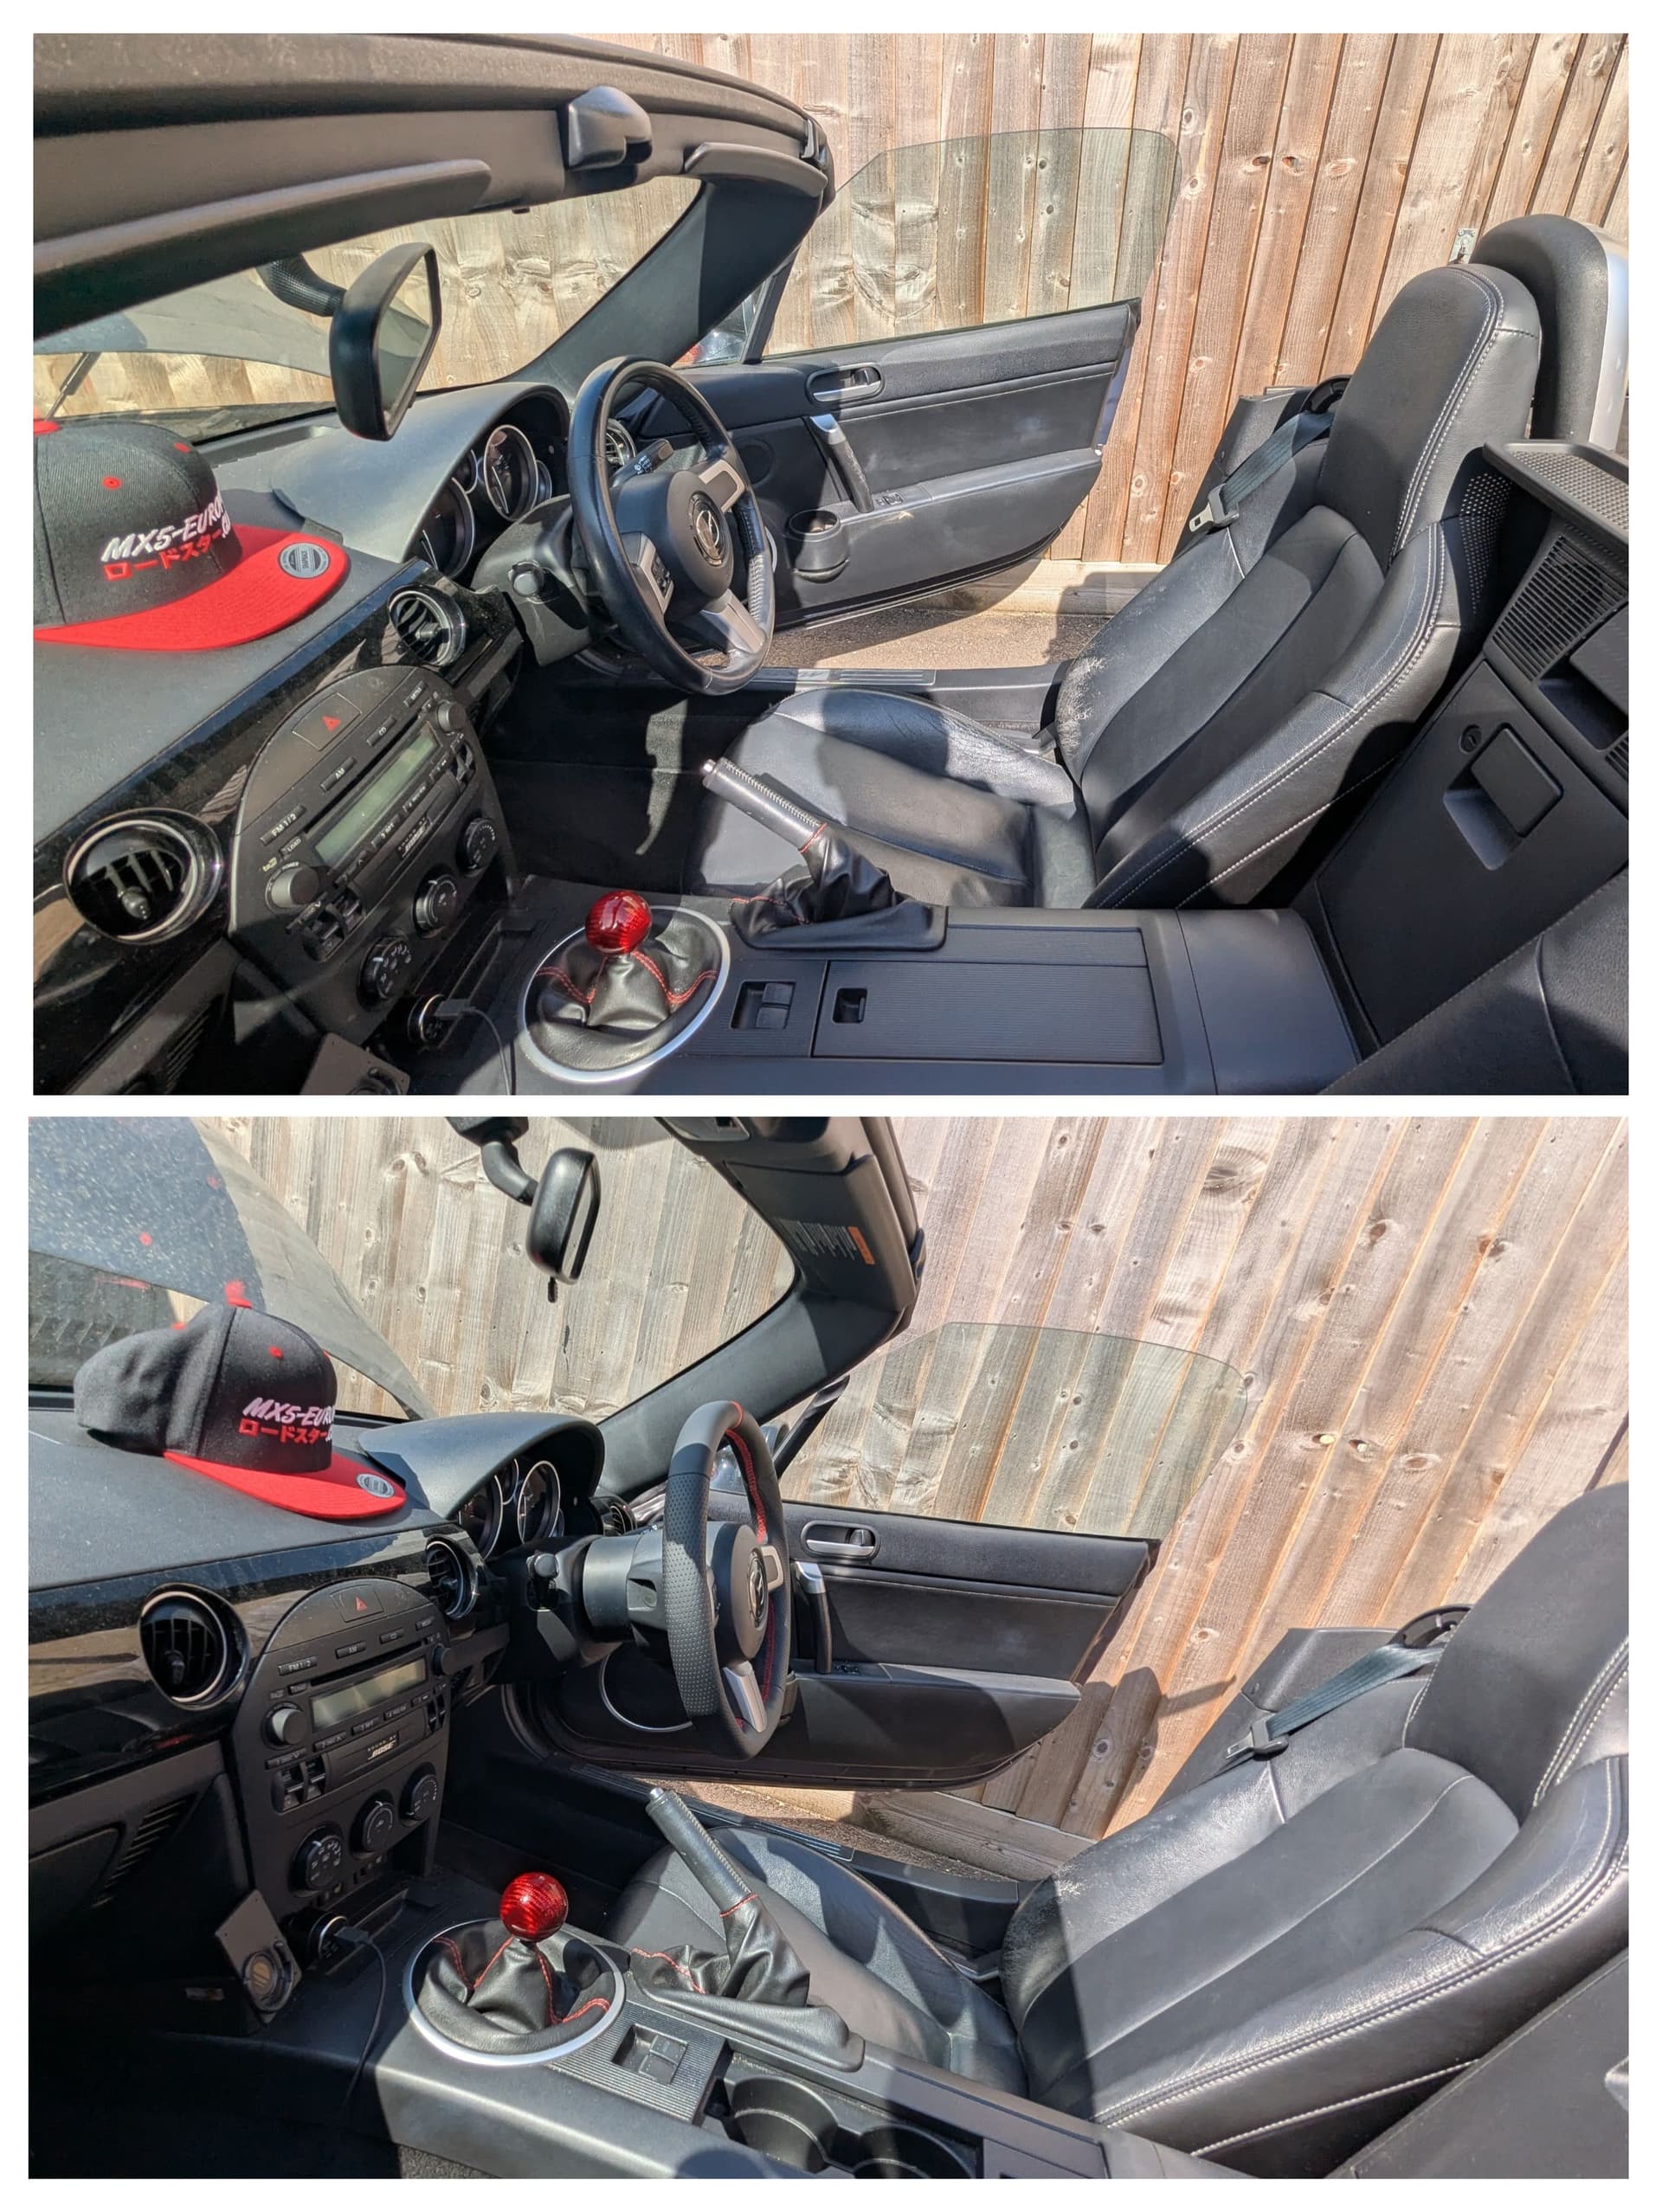
AutoExe Wheel, RX-8 wiper stalk and column spacer are ON. It was surprisingly easy…
Before & After
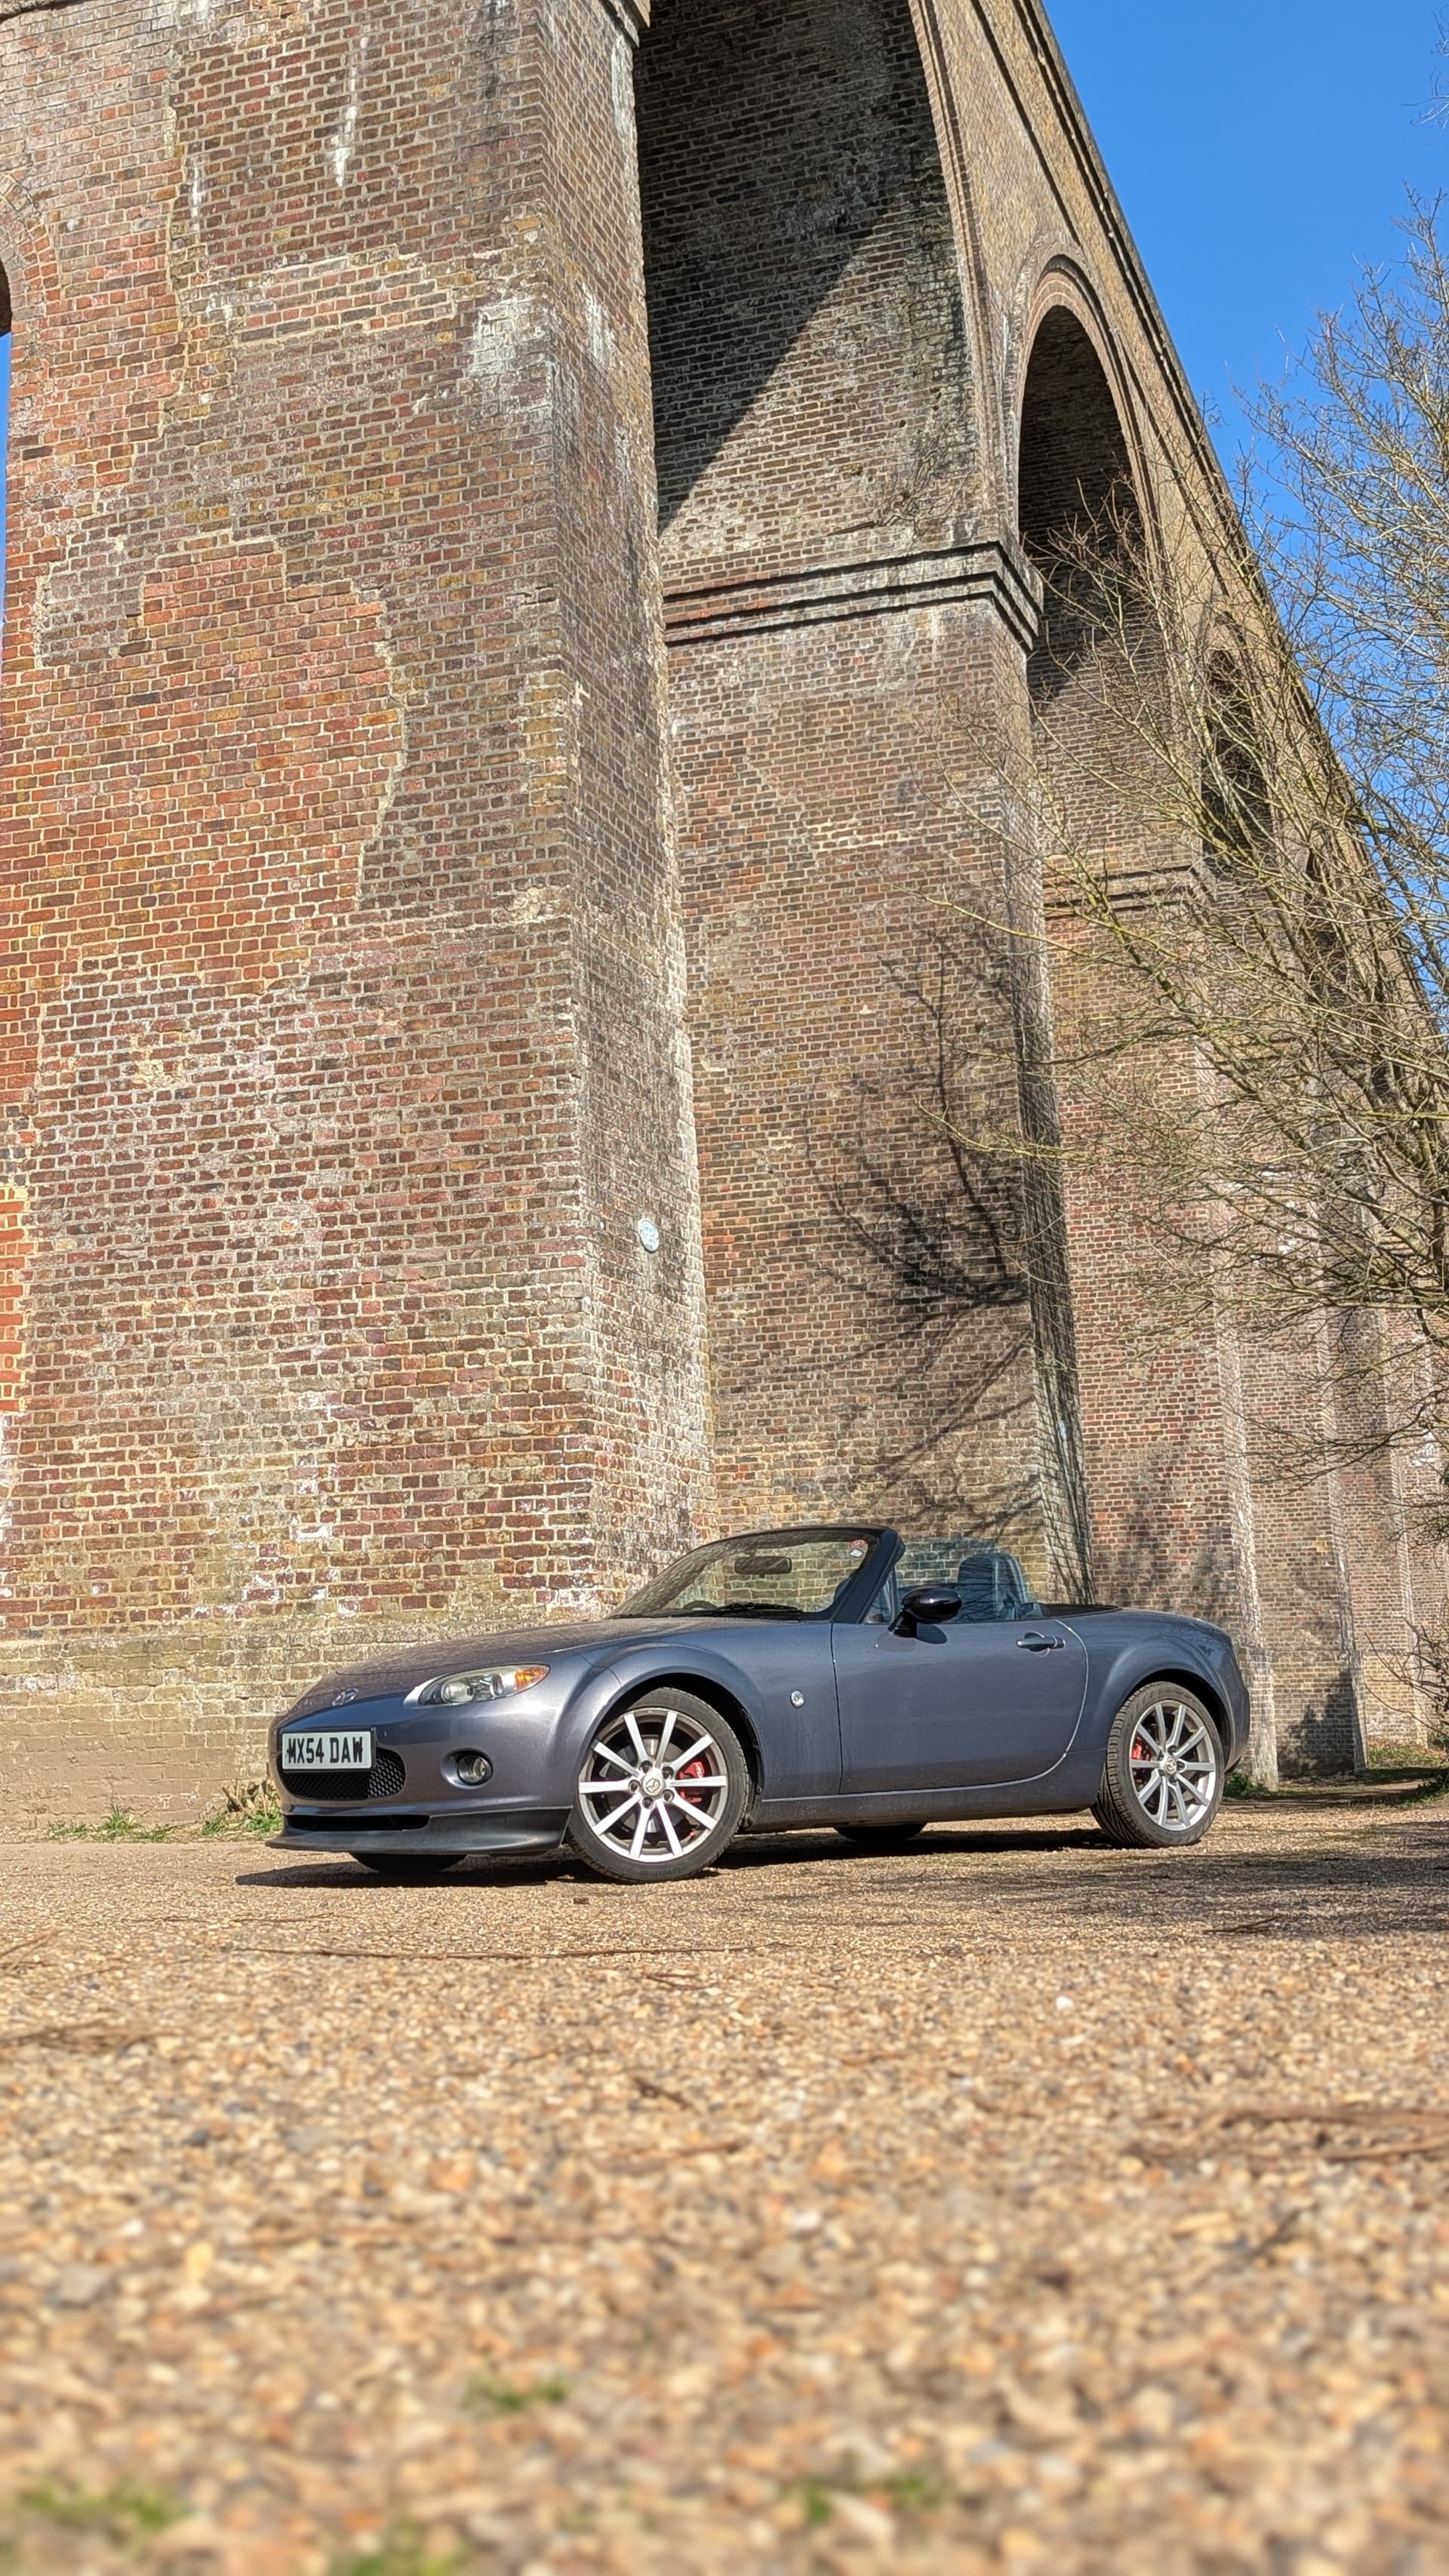
Front face
Profile
Wide angle
The tools I needed:
- 10, 21 & 22mm sockets
- Hex and JIS screwdriver heads
- Trim removal tools
- Long nose pliers
Step by step
- Removing the wheel.
For this, I found this video very helpful:
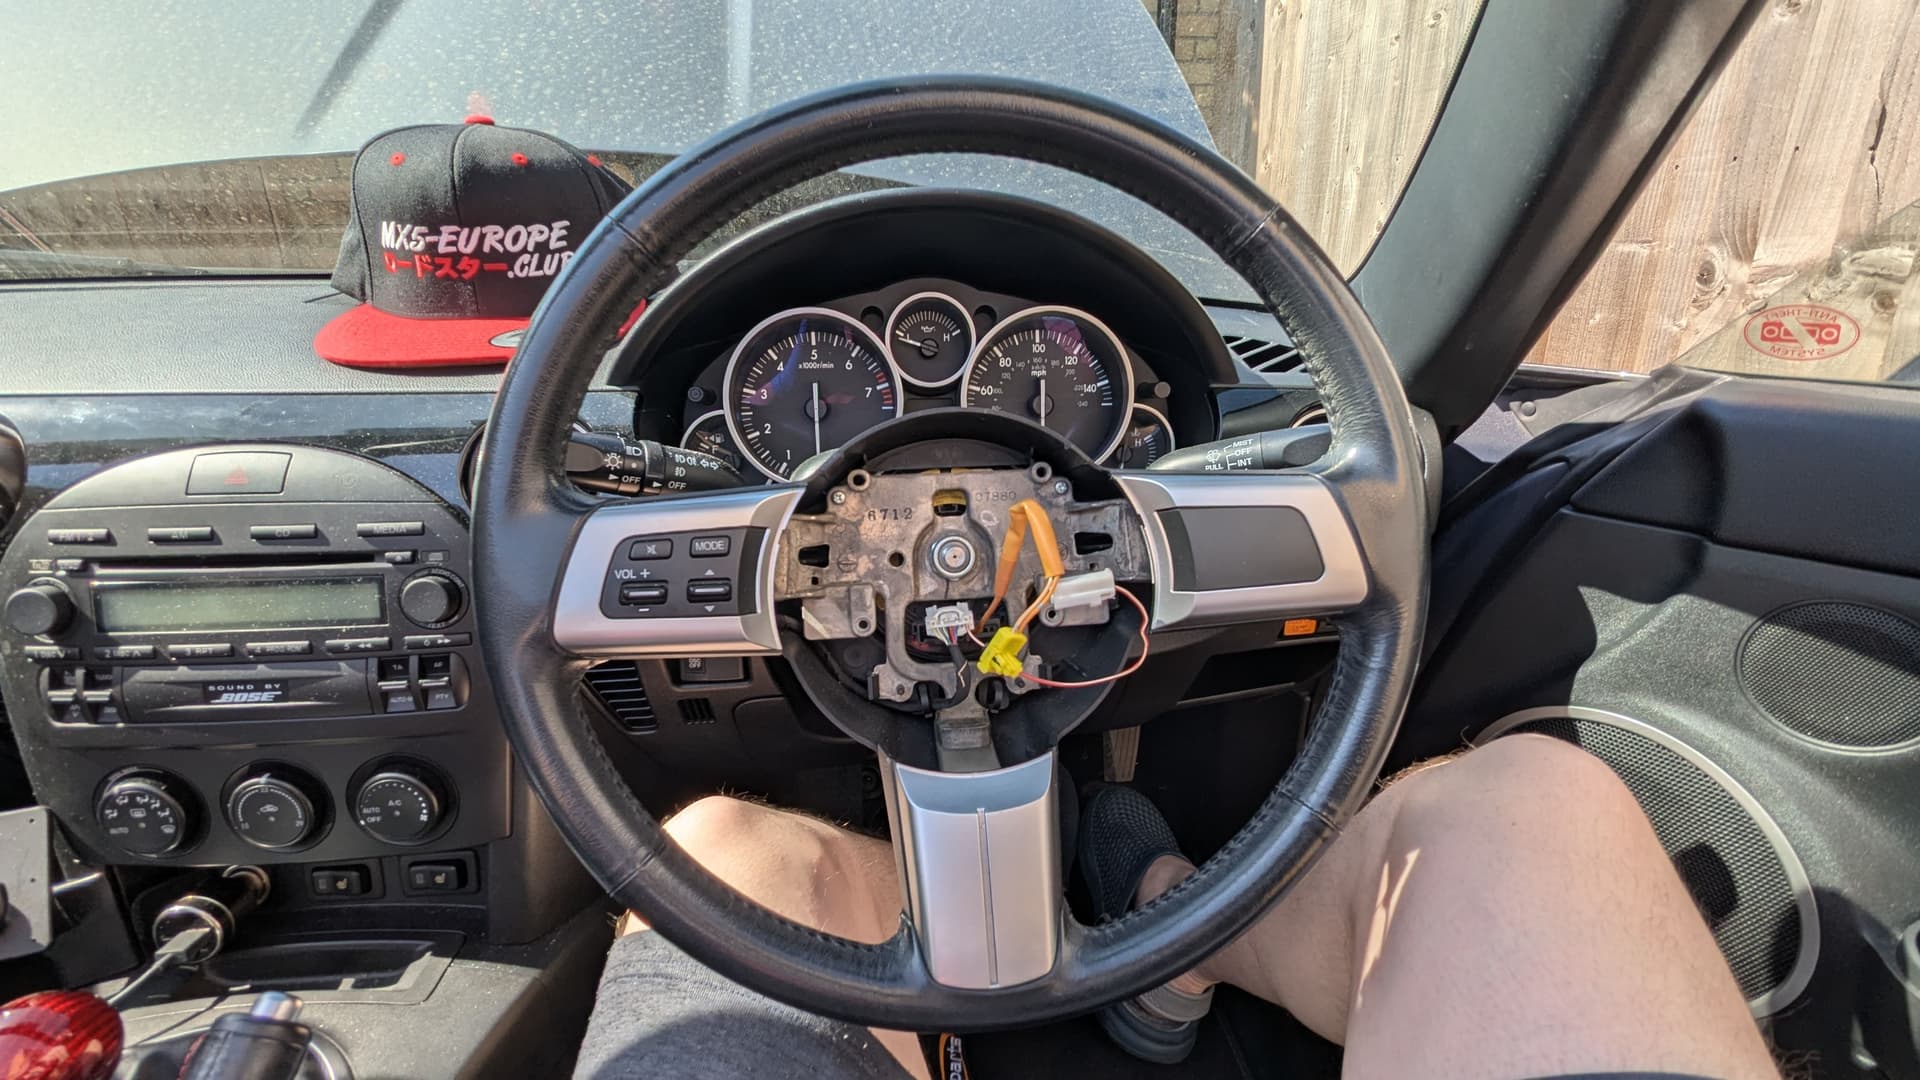
Note that I think they were working on a slightly different model. I found only the yellow clip on my airbag seen disconnected here:
Everything else was as per the video.
- Moving the plastics to the new wheel
There are two very obvious screws in the centre mass of the wheel. These hold on the back plate, along with some tight-fit plastics. There is also a clip to hold wiring for the wheel controls in place. Once the screws are out, and the wiring unclipped, don’t be afraid to give the back panel some wiggle to get it free.
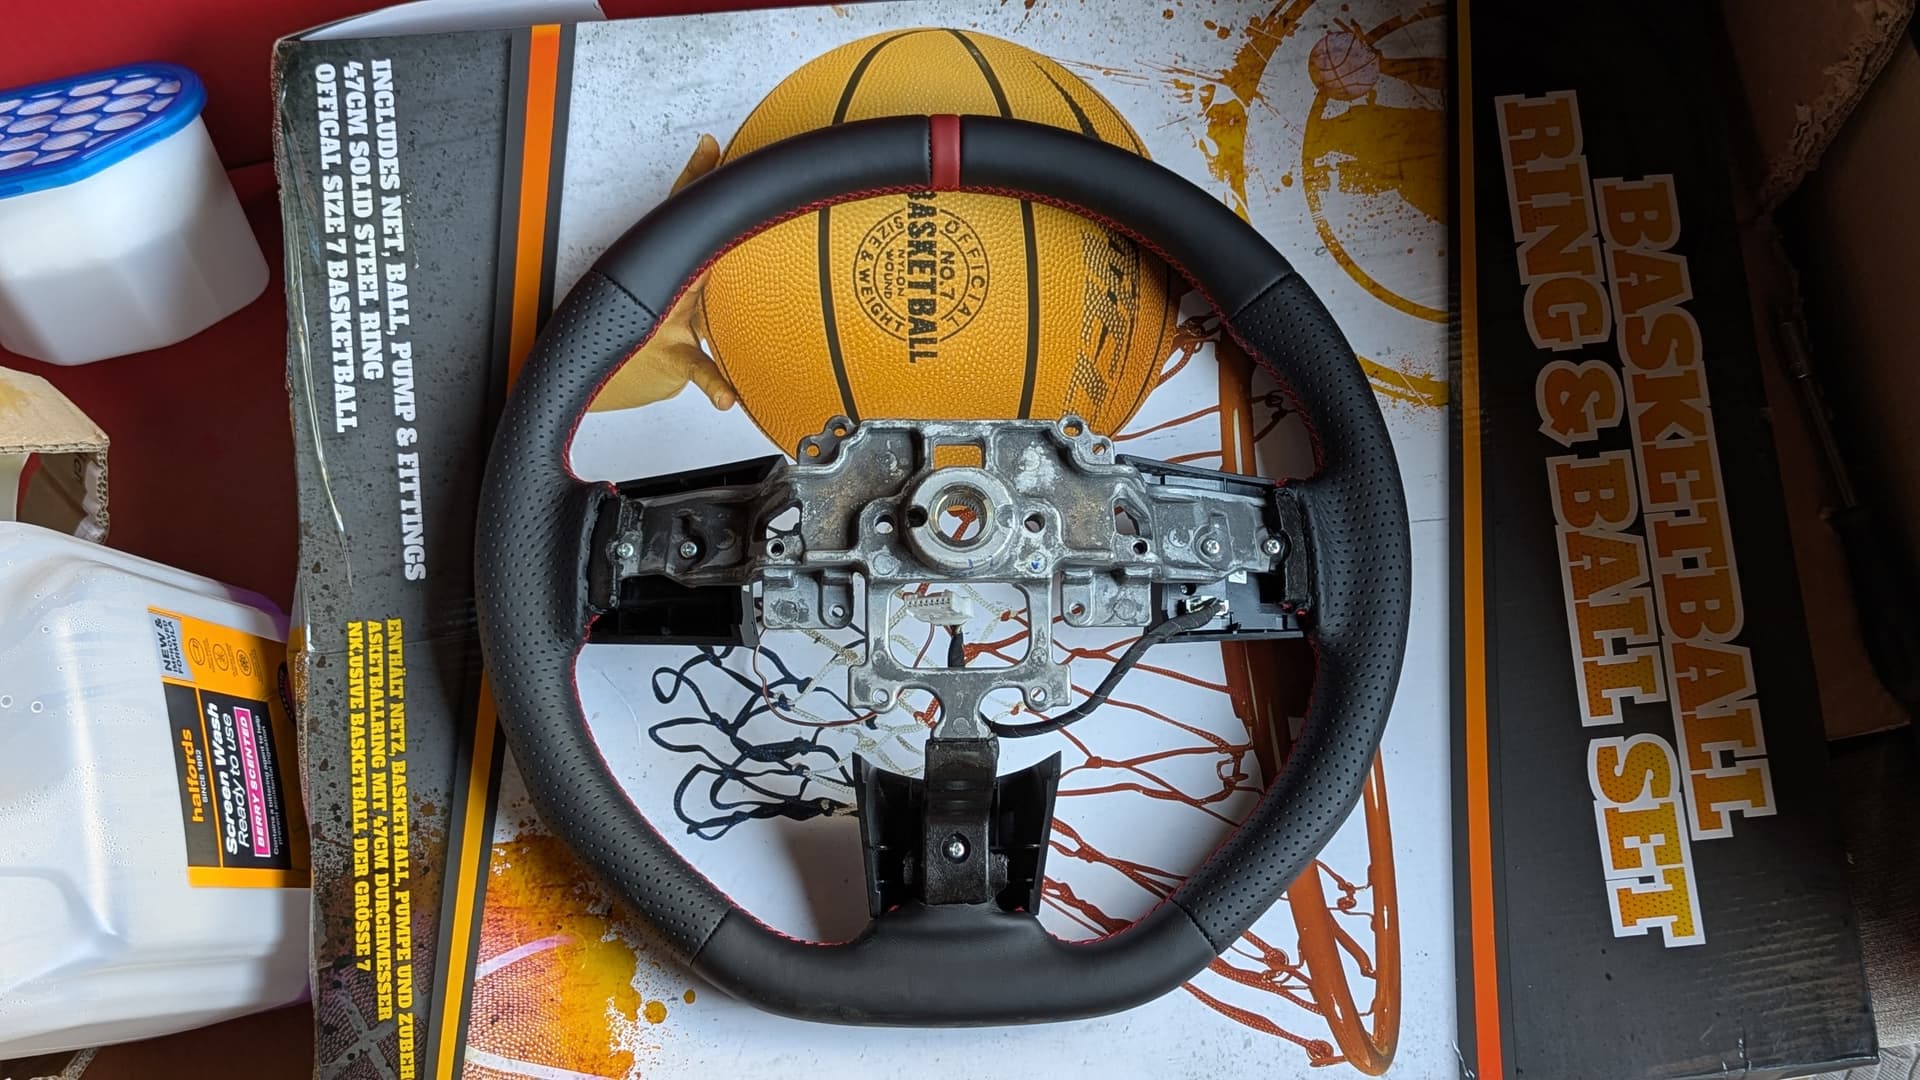
That then exposes 5 more screws on the rear of the wheel that hold the front facias. 2 per side and 1 for the bottom. Seen below:
Again, once the screws are out give the facias some wiggle!
Once everything is off, repeat in reverse onto the new wheel. However, do not clip the wiring back in! You will want to route the wiring to give you maximum slack for later.
- Changing to the RX-8 wiper Stalk
Again another YT video to the rescue. I think I found this far easier to complete without the wheel on. Just be careful re-routing the wiring for the welcome light over the ignition lock.
- Installing the Spacer
There are (not great) installation instructions here: Mazda MX-5 Steering wheel spacer installation
The spacer comes in 2 parts, the female fitting to the original column and the adapter plate that adds a new column “spaced” over the original. They ship it put altogether, so go ahead and pull it apart before installation.
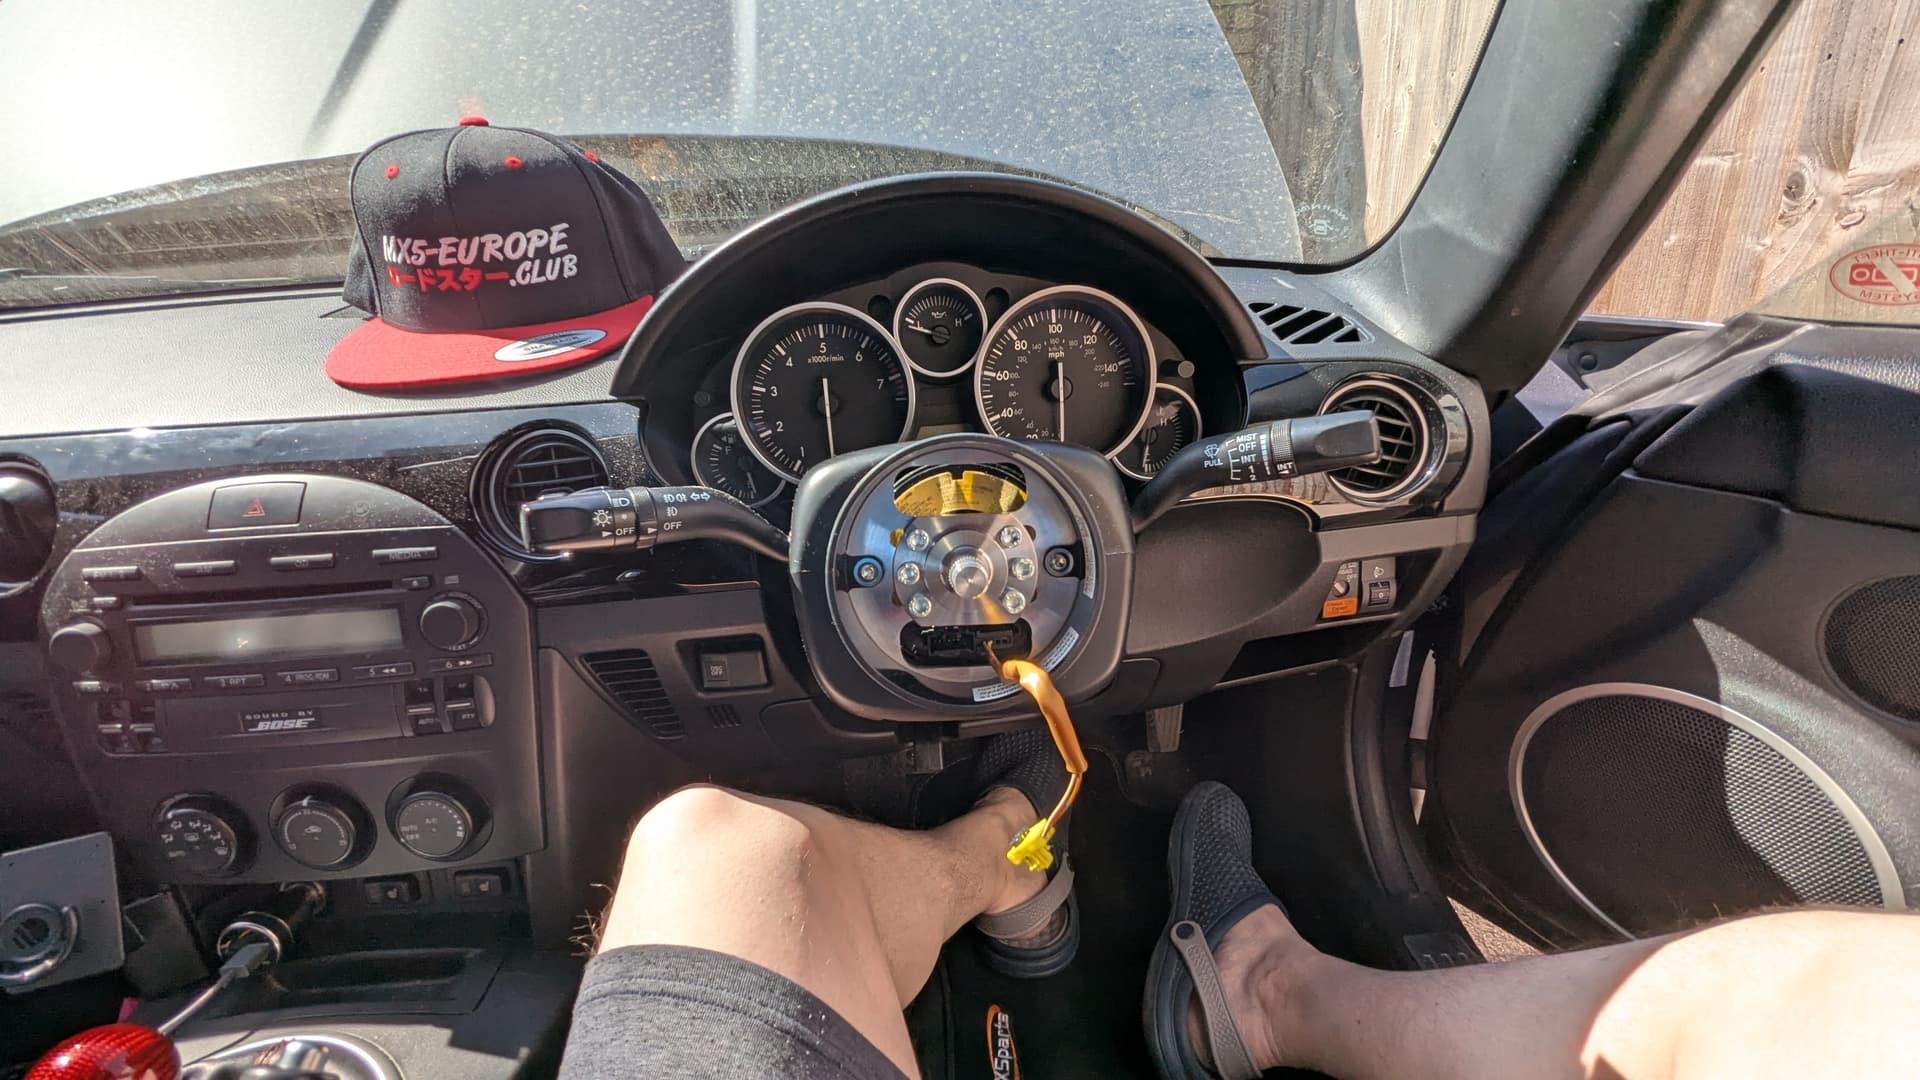
Placing the female fitting was easy enough. Feed the airbag wire through the lower opening on the spacer. There are split lines on the plastic surround at North and South that help you line up the steering angle sensor and spacer with the North arrow that is helpfully embossed on the plastic column housing.
The most important thing is that angle sensor is lined up. Thanks to the splines, you will probably find it looks very off-centre if you miss the right “North” for the spacer.
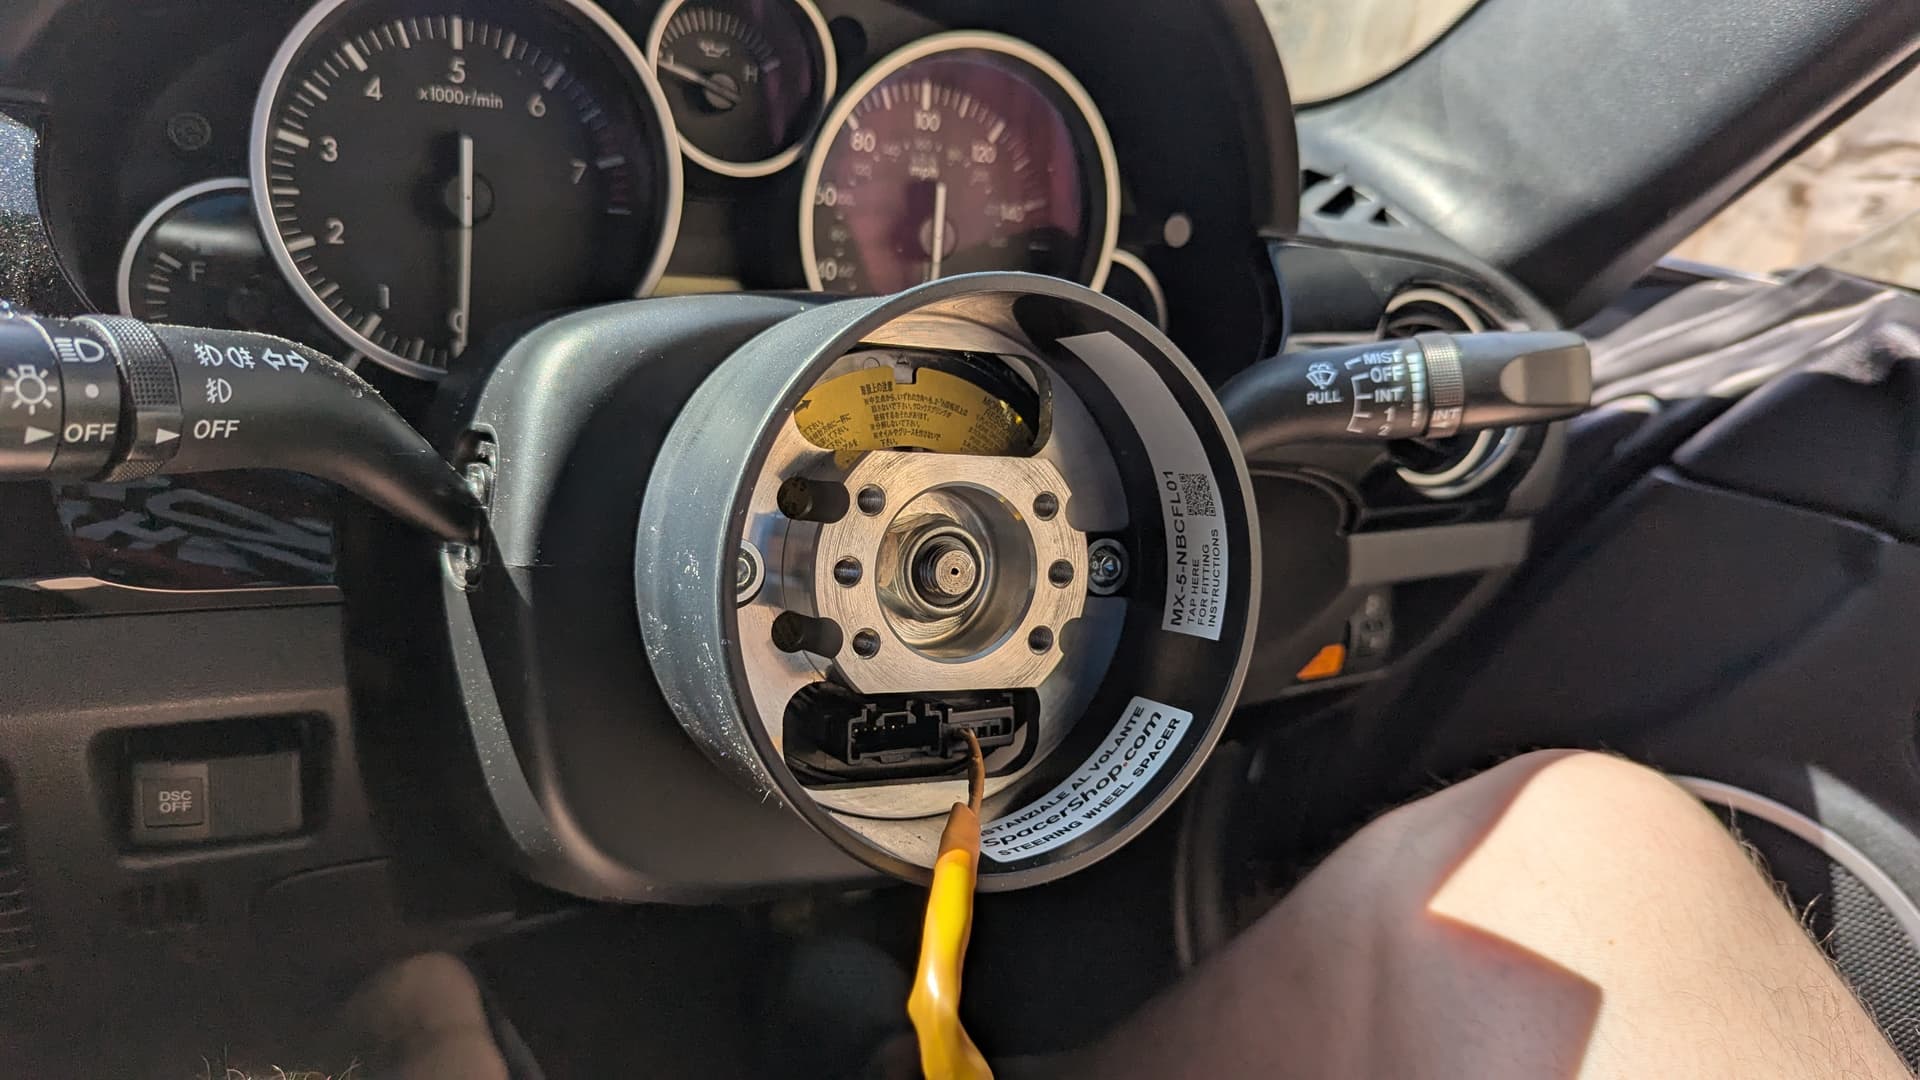
Once in place, you then use the OEM Nylon nut to torque down the spacer onto the column. See:
Now you place the adapter on top with the 6 socket cap bolts. Seen here:
- Replacing the new wheel
This is entirely step 1 in reverse, you have not clipped your wheel controls wiring back into the wheel plastic, so you have more slack to reclip it into the car. Just make sure the wiring doesn’t/can’t interfere with the airbag wiring.
There is one other thing. The spacer uses a 22mm nut, instead of the OEM 21mm. Tiny I know, but an annoying faff at the finish line!
- Enjoyment
The wheel feels fantastic but looks close enough to OEM that it doesn’t look out of place. The build quality, as you expect of AutoExe, is excellent. I’m already finding the thicker and changed grip profiles far more ergonomically helpful, both driving in earnest and manoeuvring around car parks.
The spacer has done exactly what I needed it to as well. I’m 6"1 and I’ve already dropped the seat with a pair of Jass brackets. As a result I was finding that I had to either stretch to reach the top of the wheel, or cling on with a death-grip to avoid losing control. It’s not adjustable, but it has made a huge difference. Now I feel far more like McRae at the wheel of his scooby, instead of Doris clinging on to her Rover Metro.
The wiper stalk? It works, so +1 for adjustable intermittent wiper function…
Onto the next.