Welcome Lights for less than £15

Guys, I thought I would share with you my welcome lighting project. It’s been fantastic day although I have dismantled the interior of my brand new :100: Anniversary MX5 to get there.

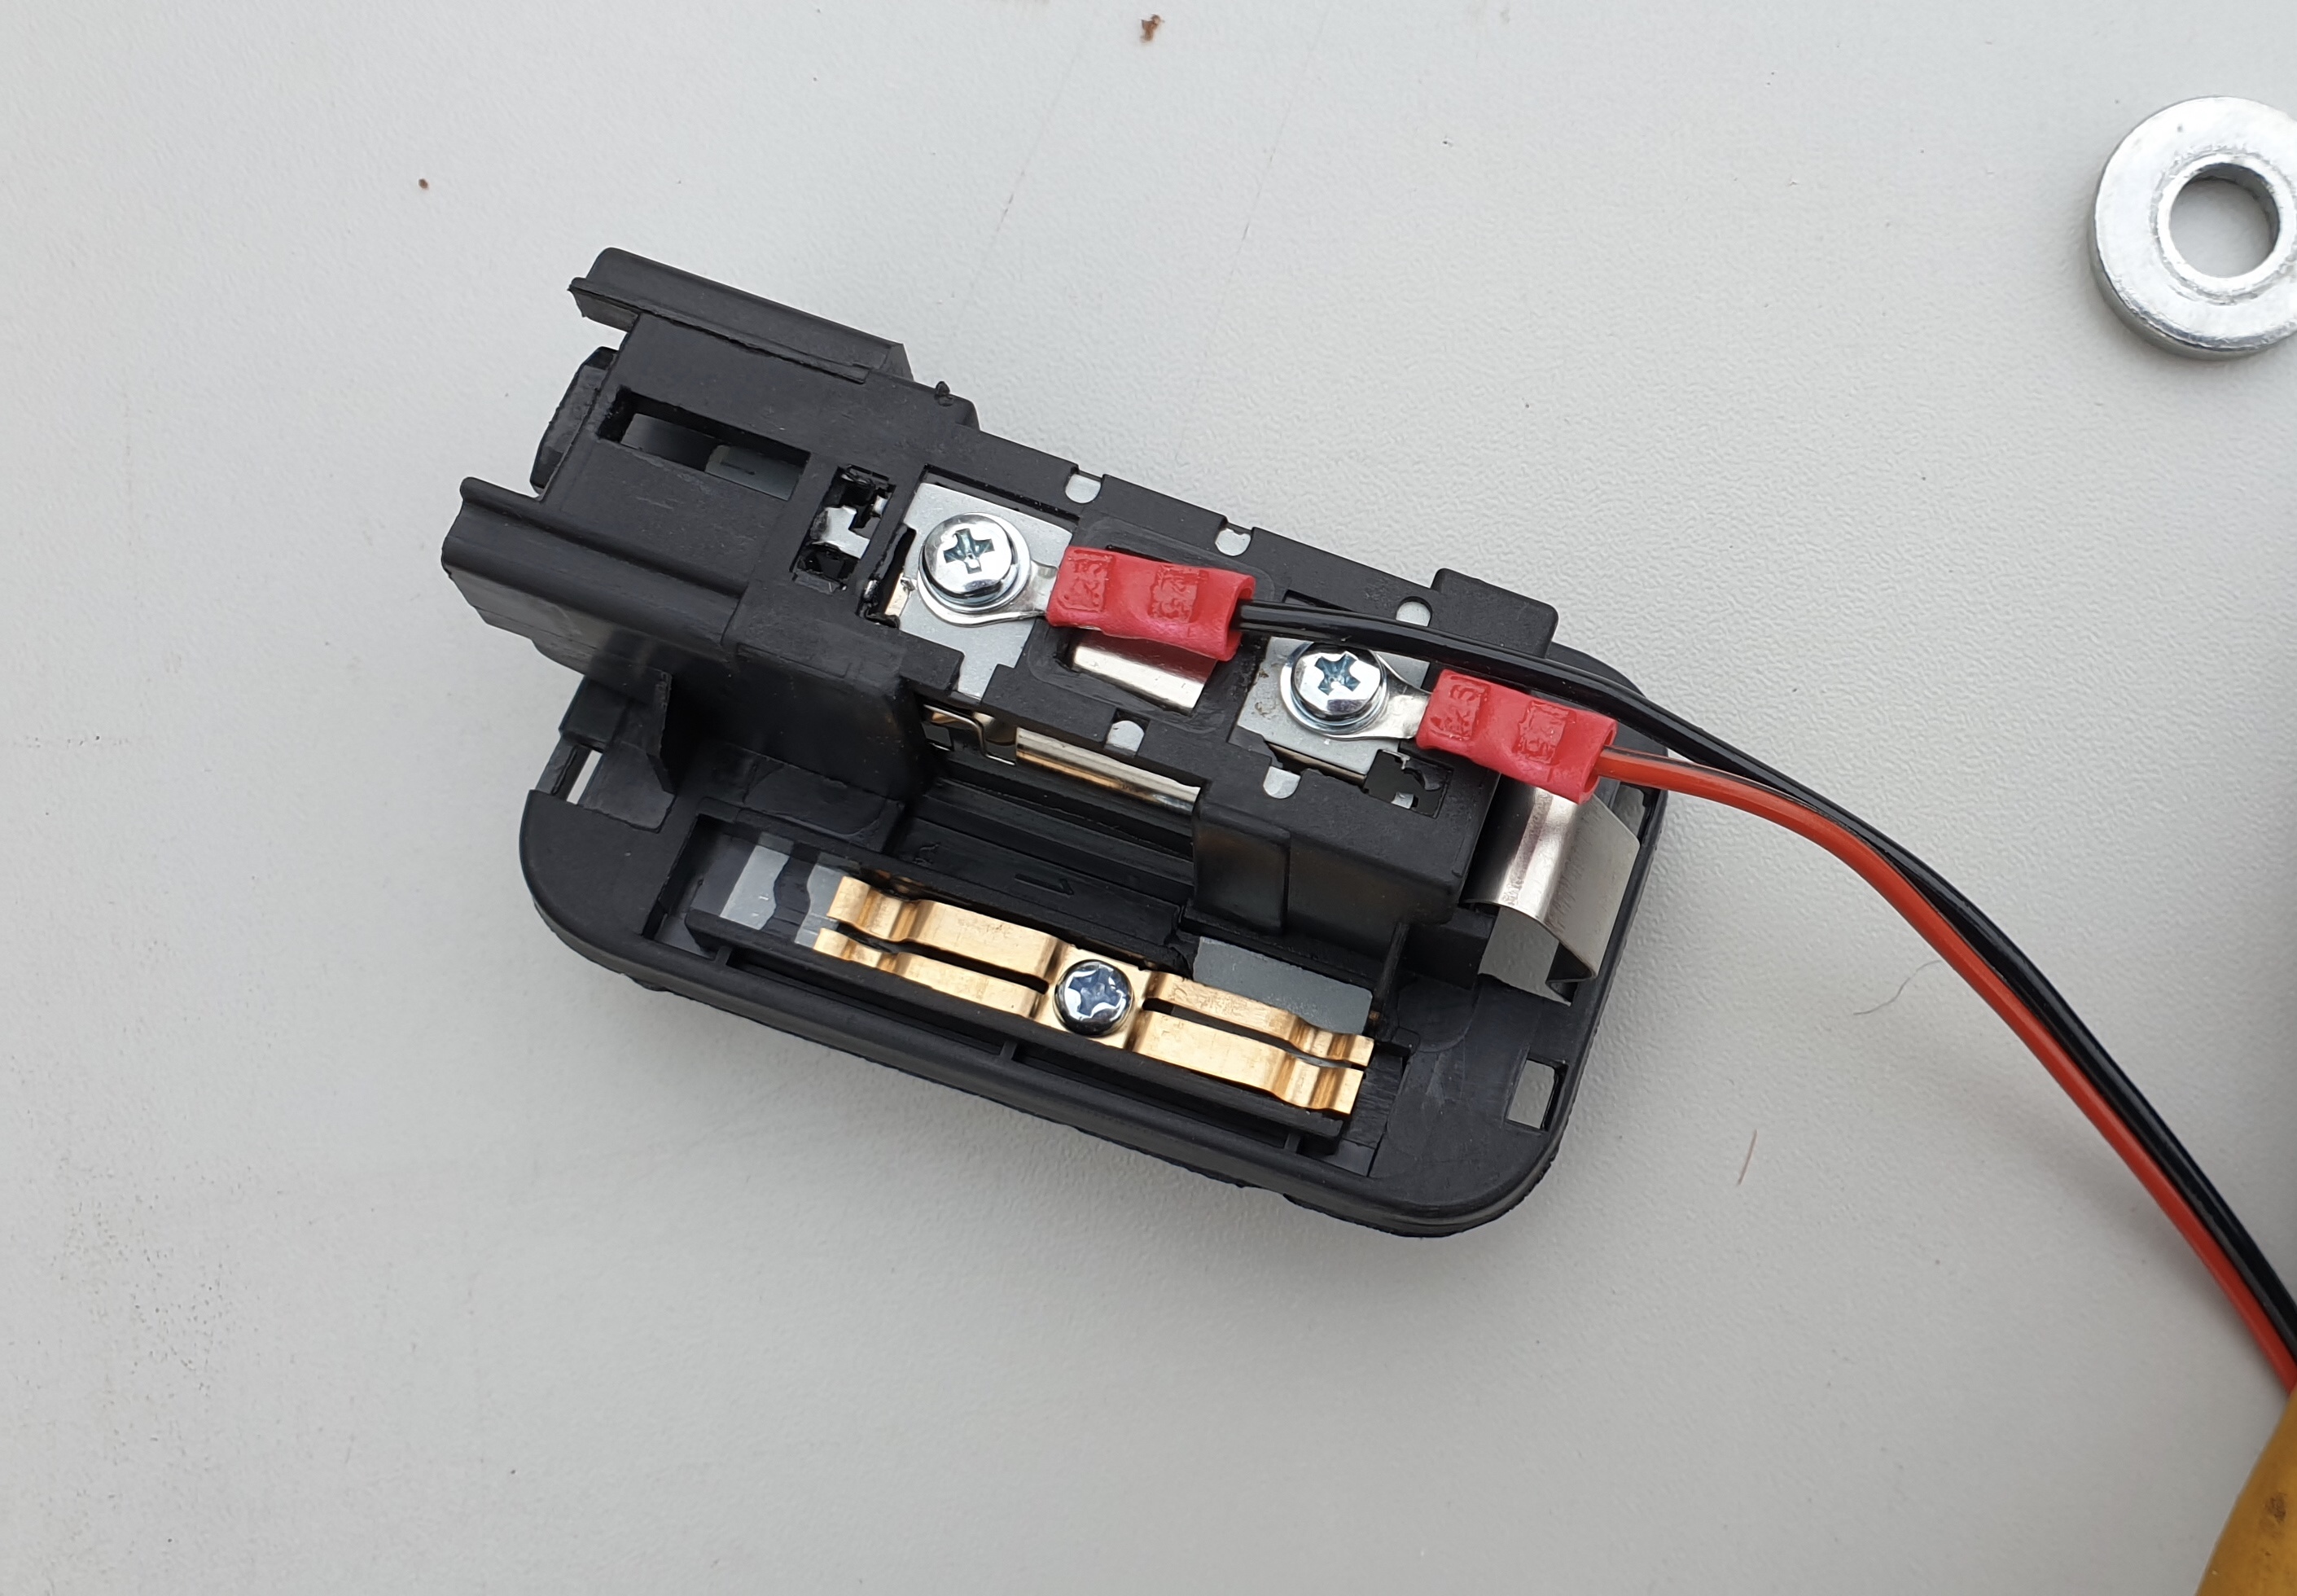
I made up a wiring loom, Connected one end to the internal light, ran the cable along the headliner down the A pillar on the driver’s side, then onto each footwell with a connector . The LED lighting strip was stuck with 3M tape to the footwell panelling.

When the interior light comes on so does the LED welcoming lights.

I bought all the bits off Amazon, wire, connector plugs, 3M tape and red LED strip lights, Total cost was about £10-£15.
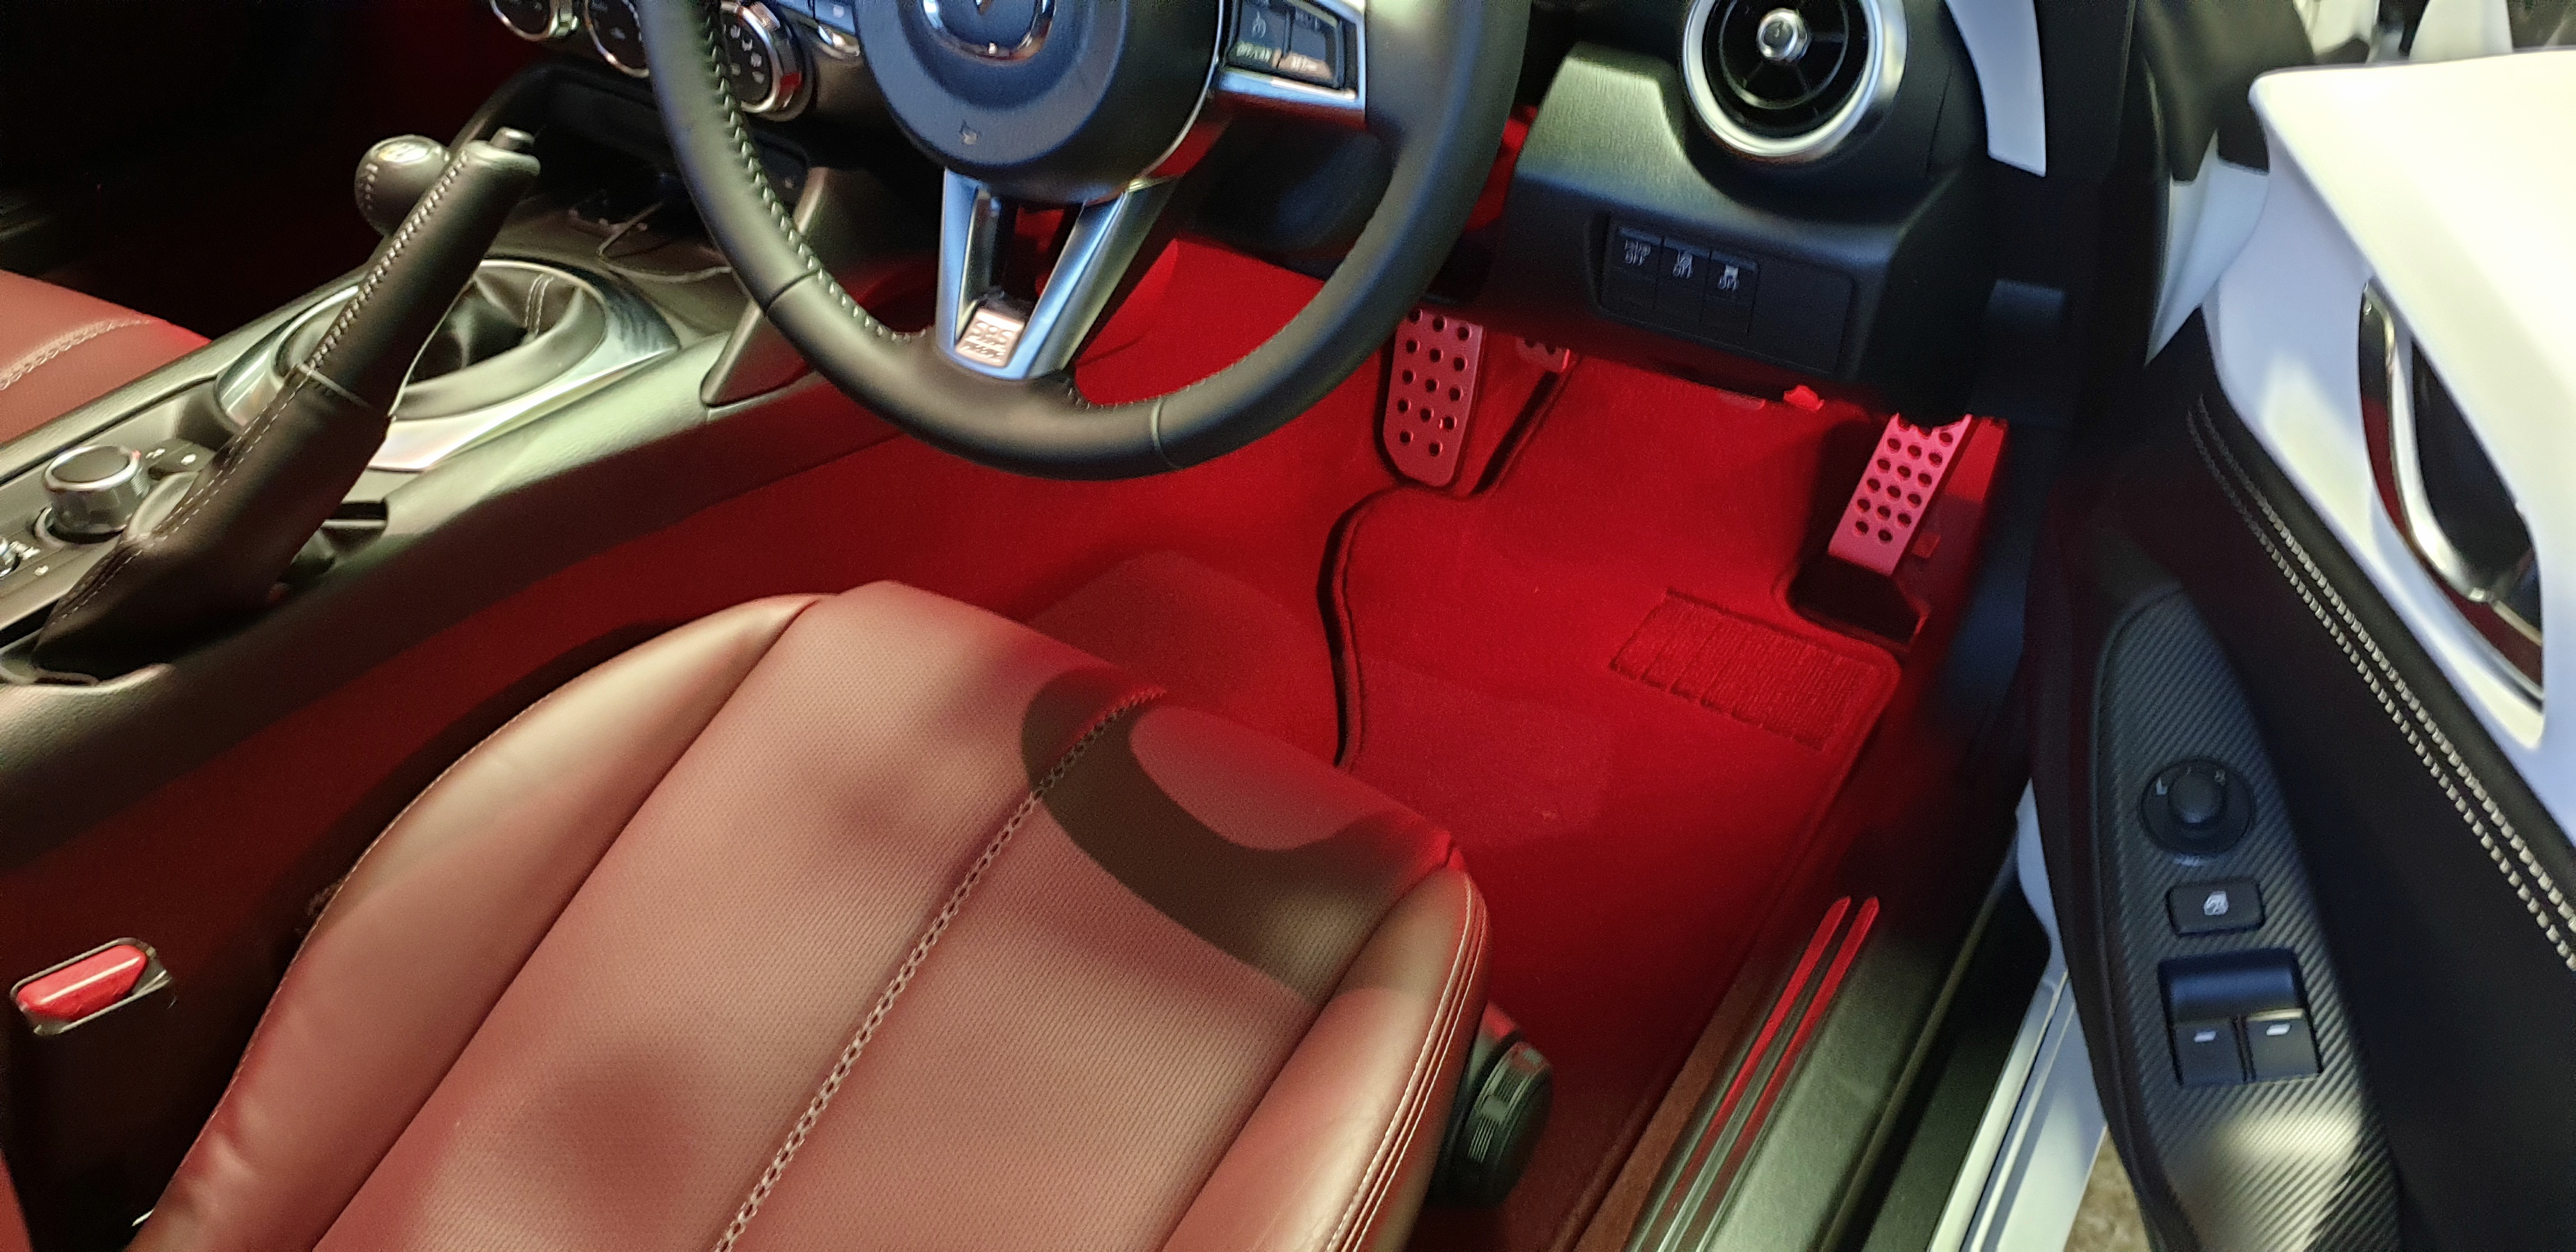
 :grinning:

The LED’s are red, to match the carpet :smiling_face_with_three_hearts:. By using connector plugs I could change the lights to white if the red didn’t work… but it does work and so well.

At the same time and while the car was in pieces, I installed the cable for the dashcam which follows the same route as the lighting cable.

Here are some pictures of the install:

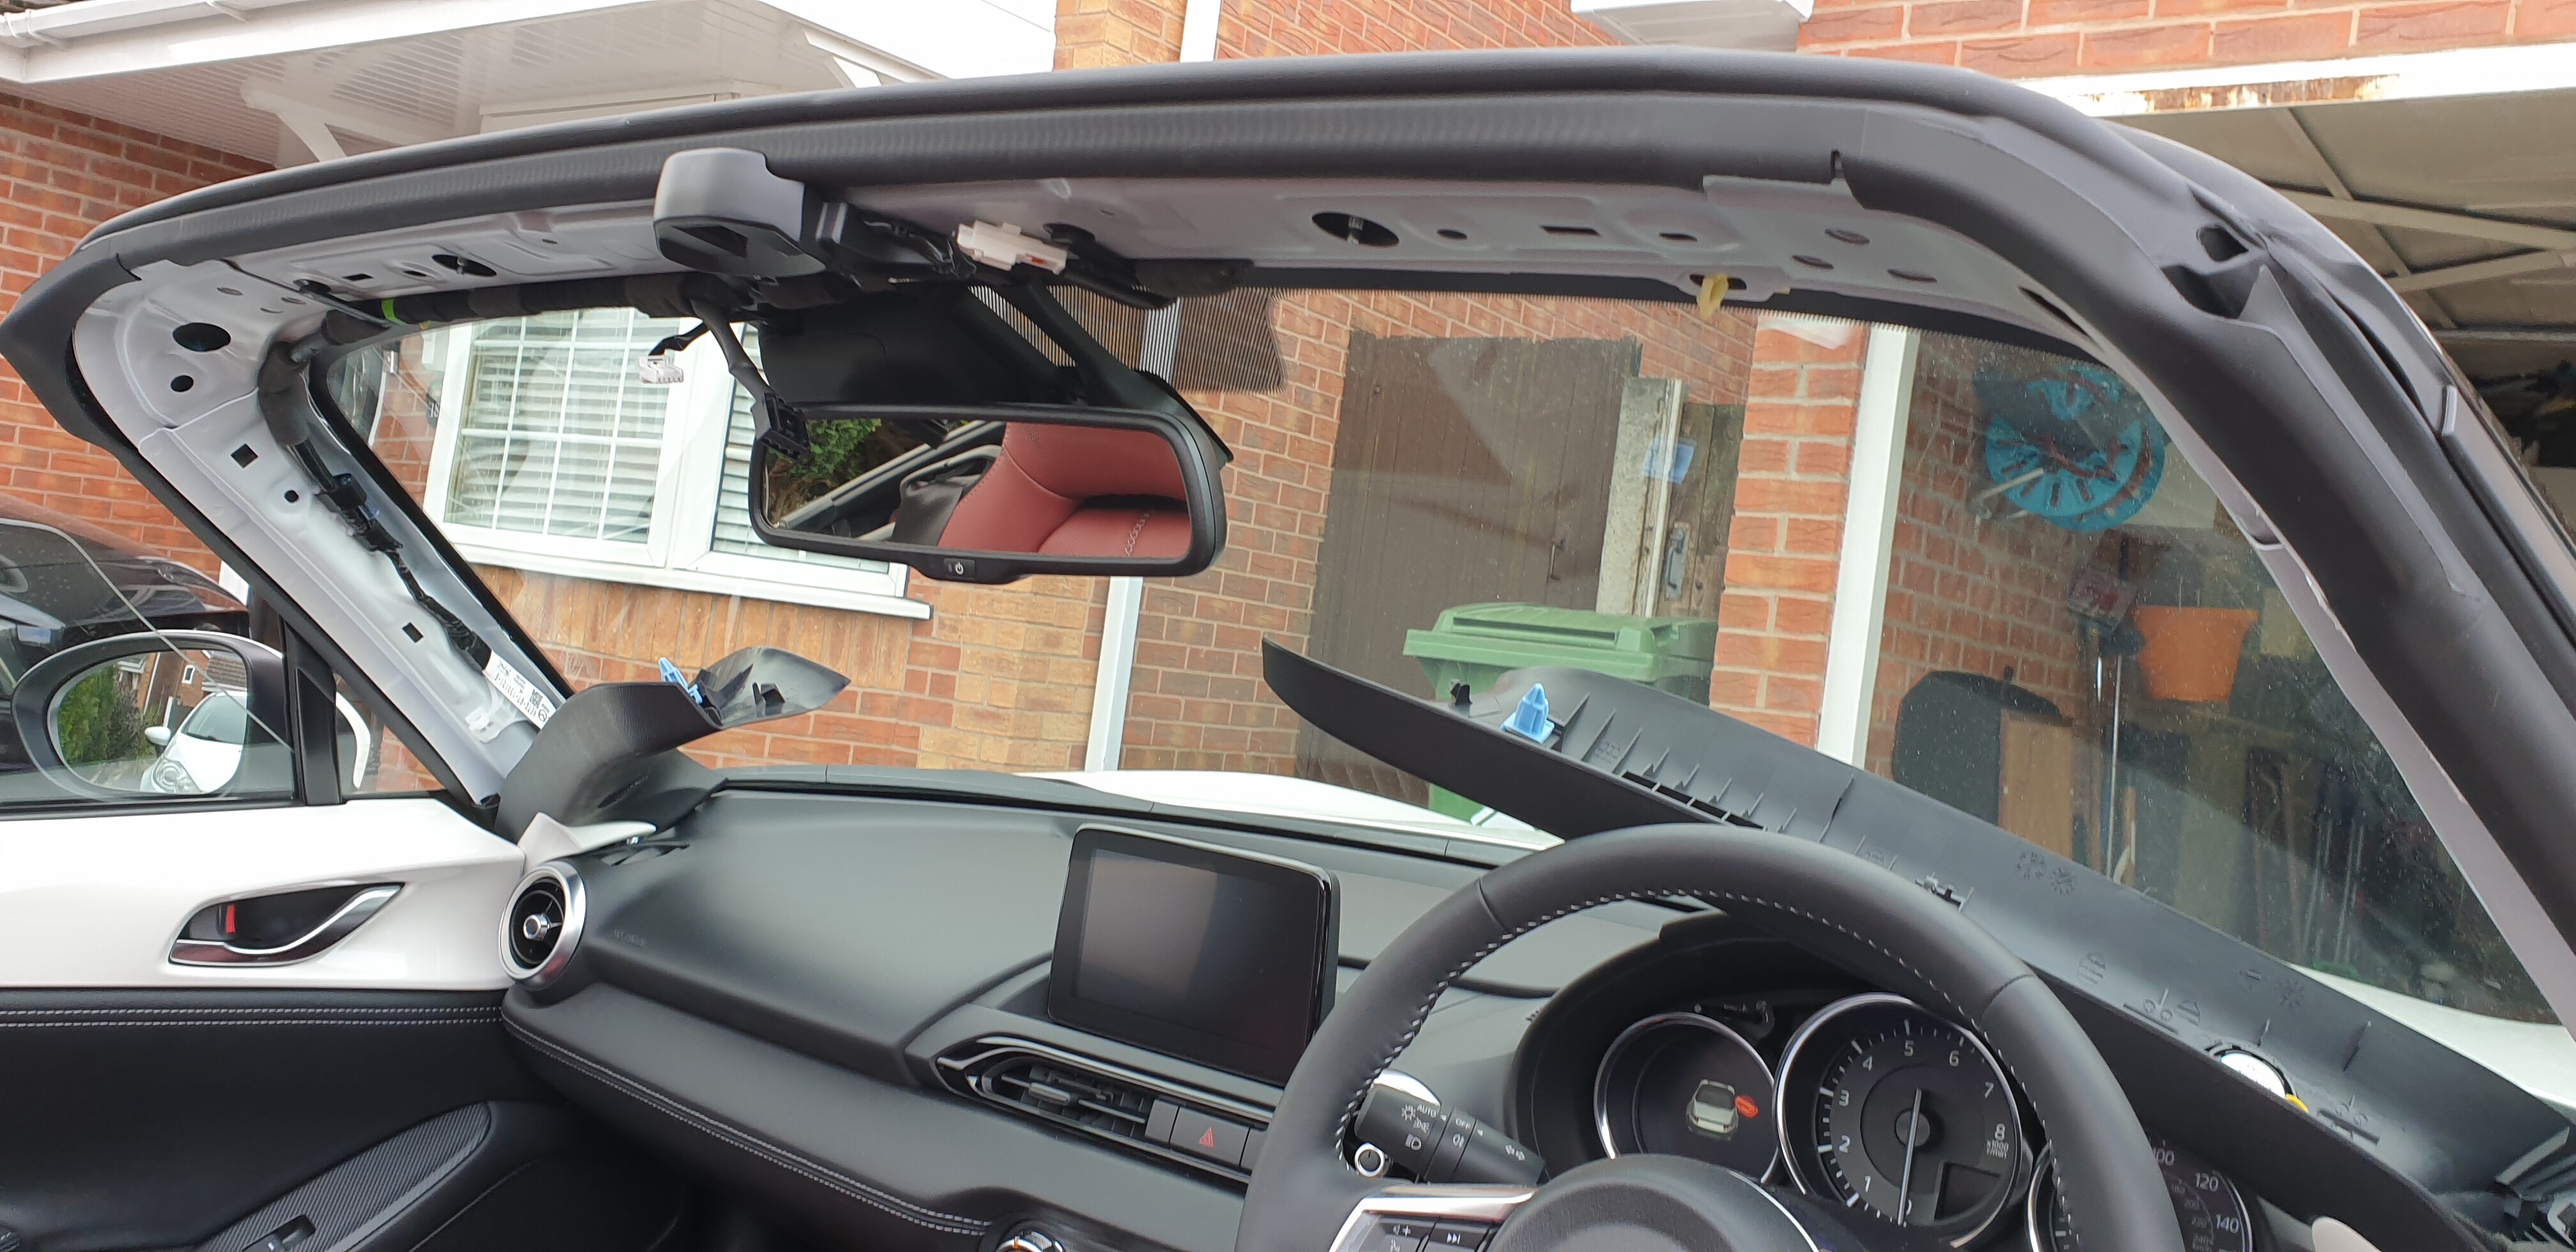
Headliner removed, both A pillar interior trim pieces have to come off too.

Note the cabling on the passenger side A pillar, the driver’s side is clear so determined which side the new cables would run.

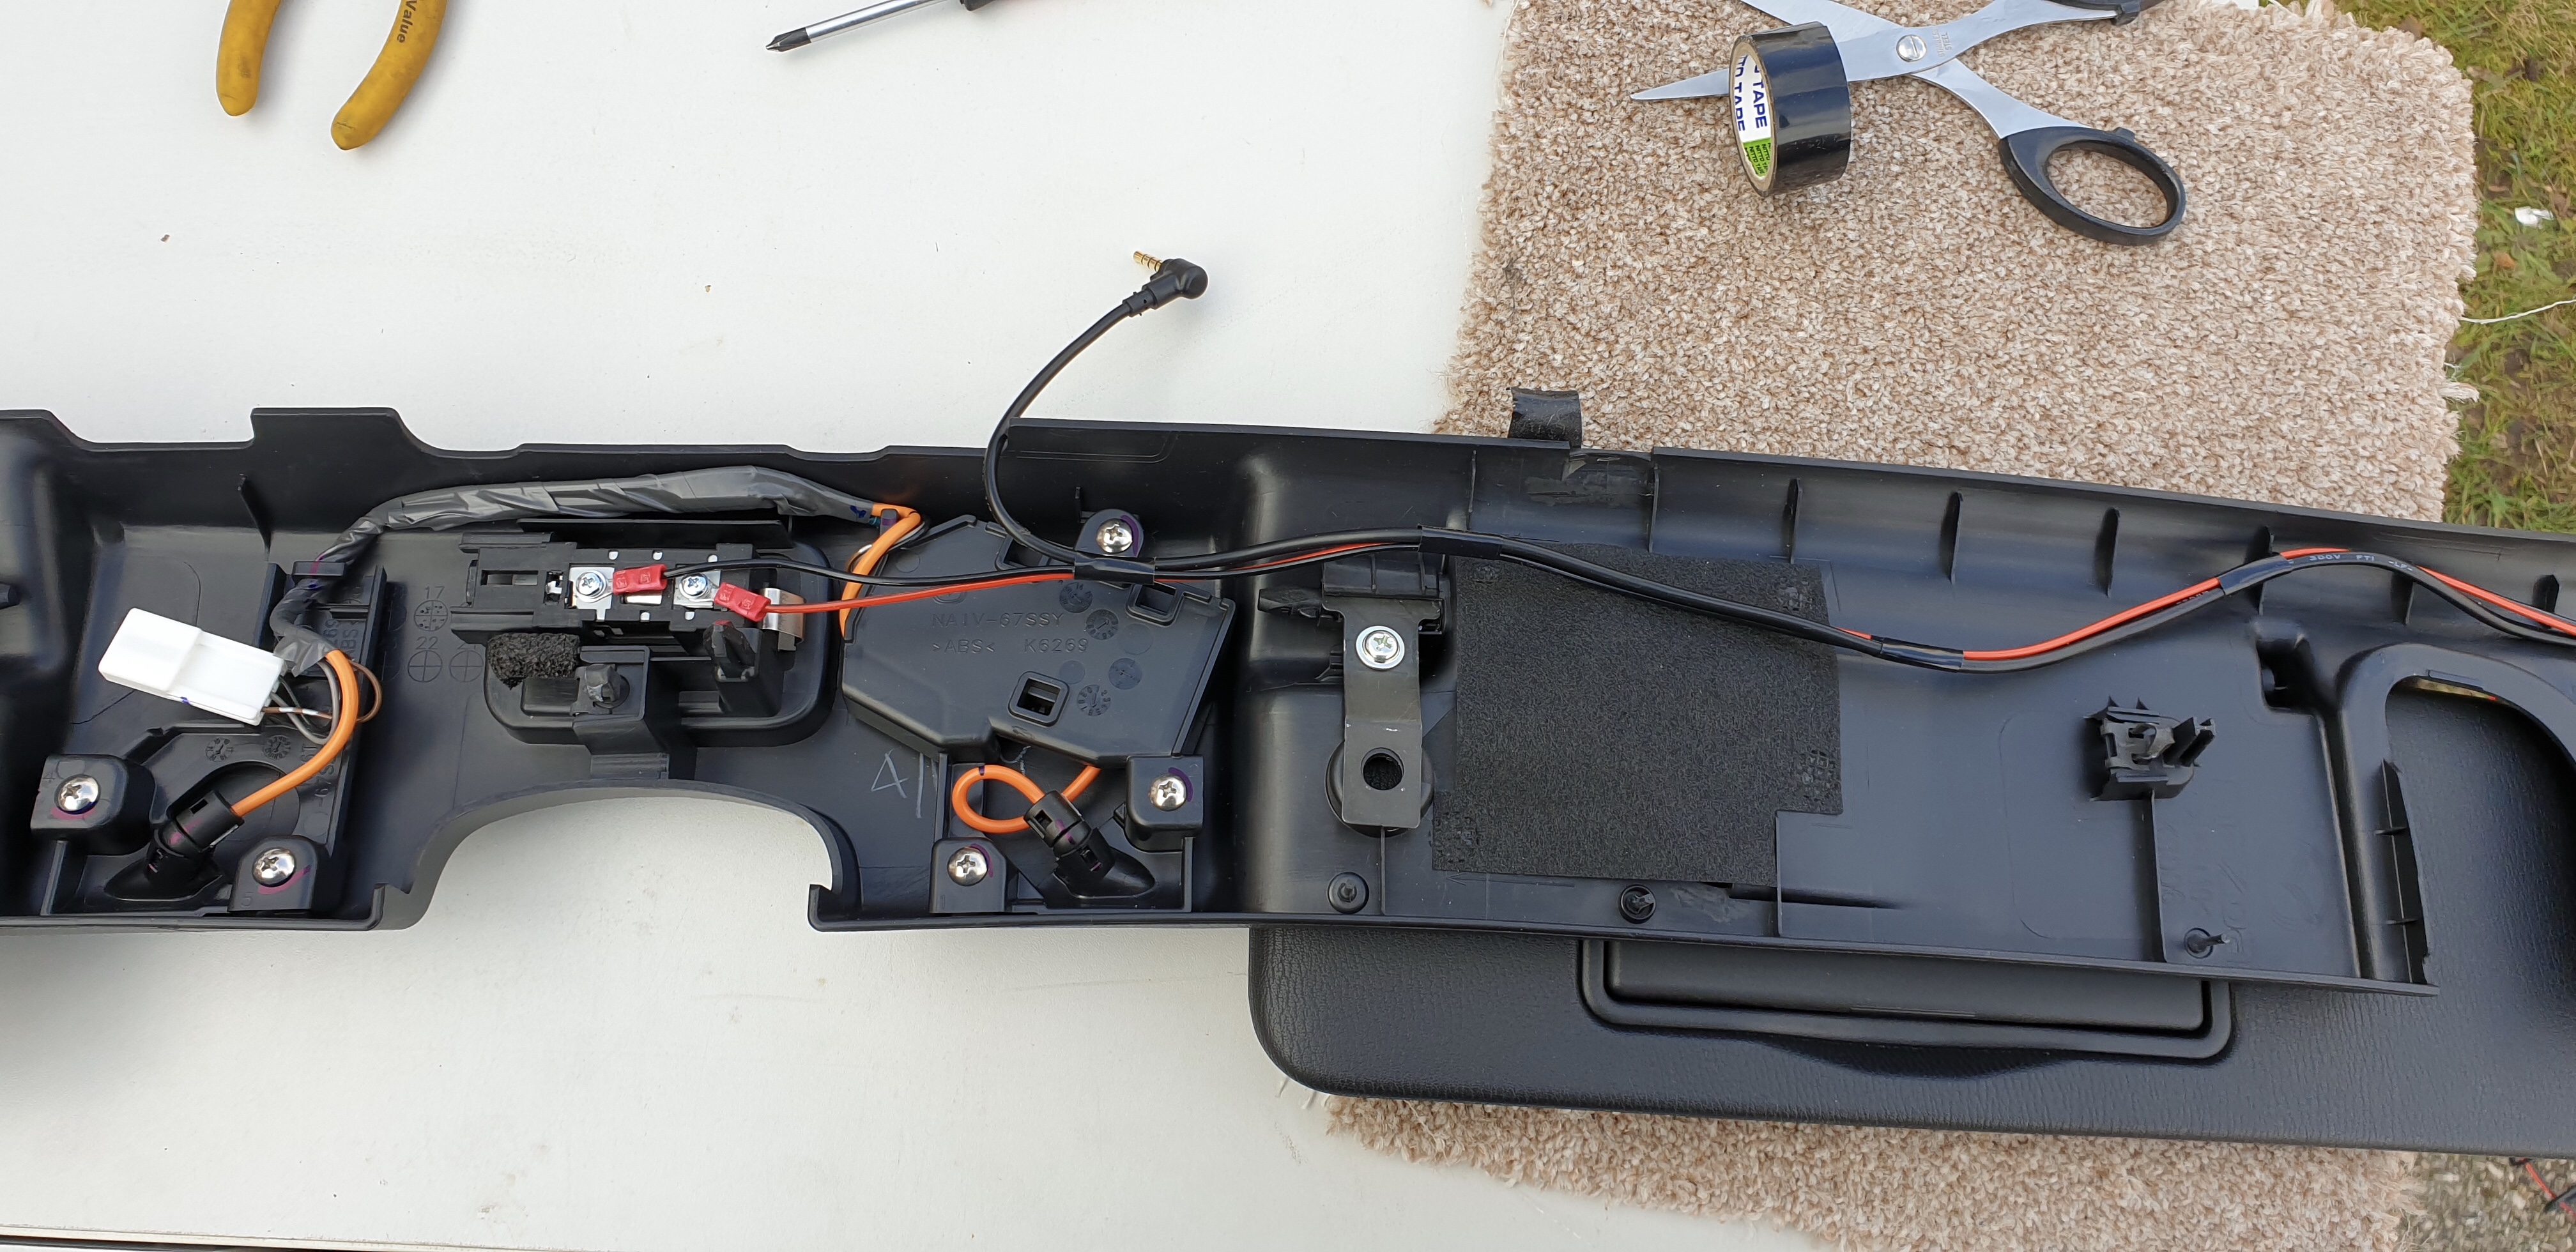
Headliner showing the cable, you can also see the dashcam plug.

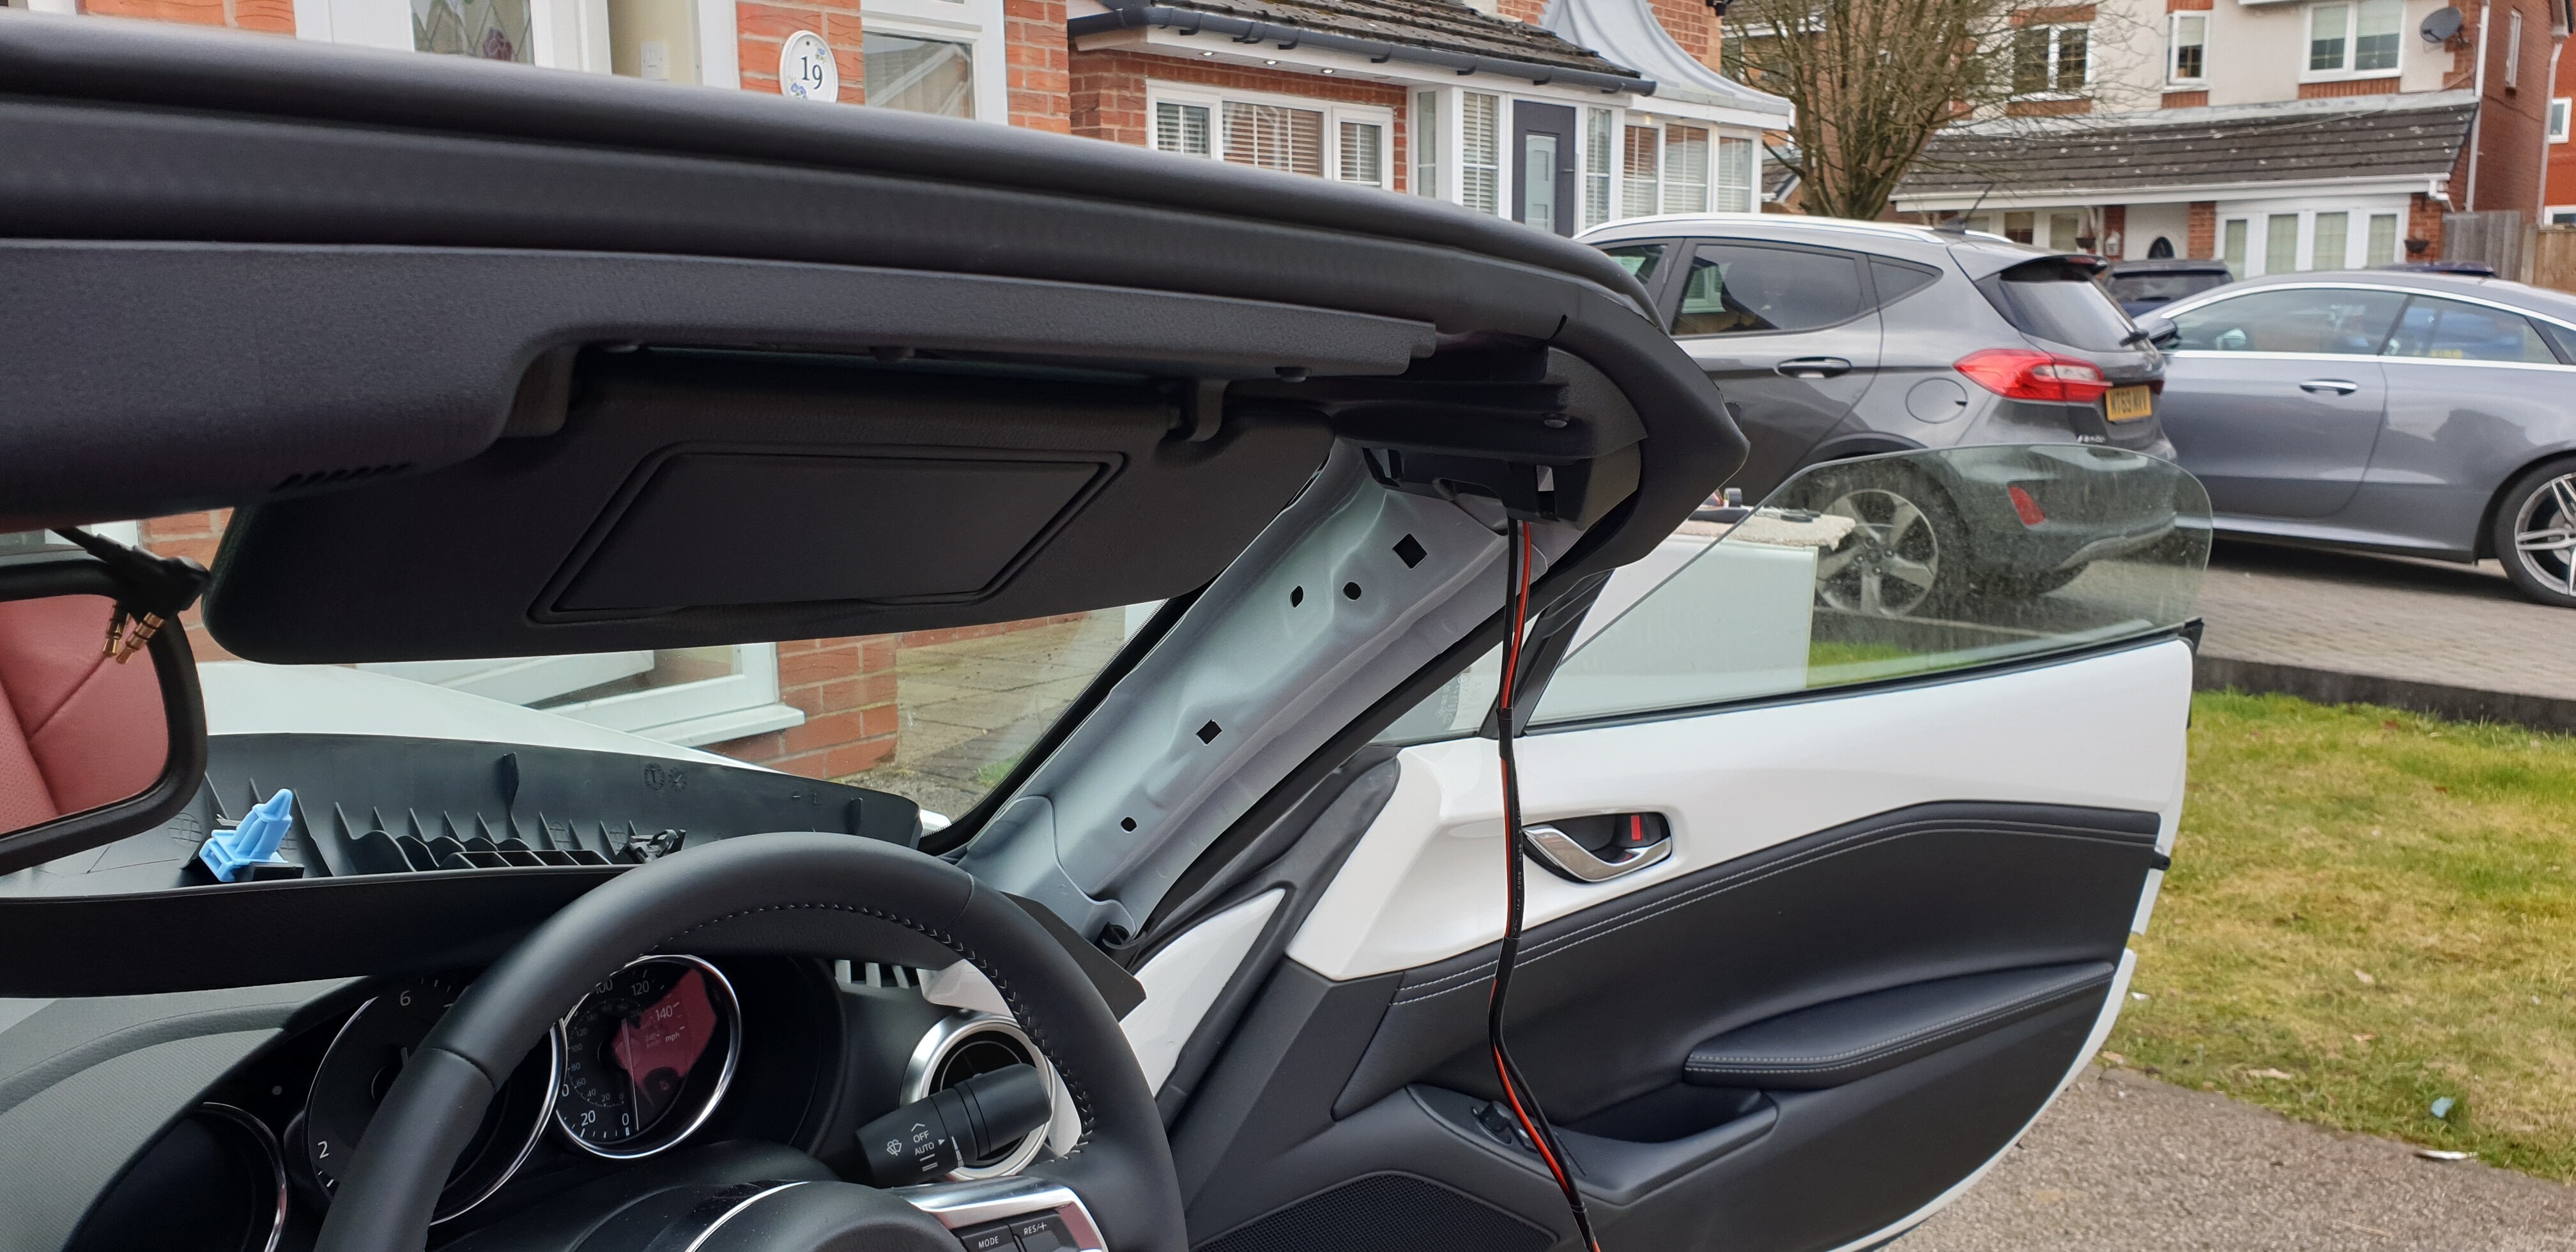
Headliner re-fixed with the cables ready to drop down the A pillar.

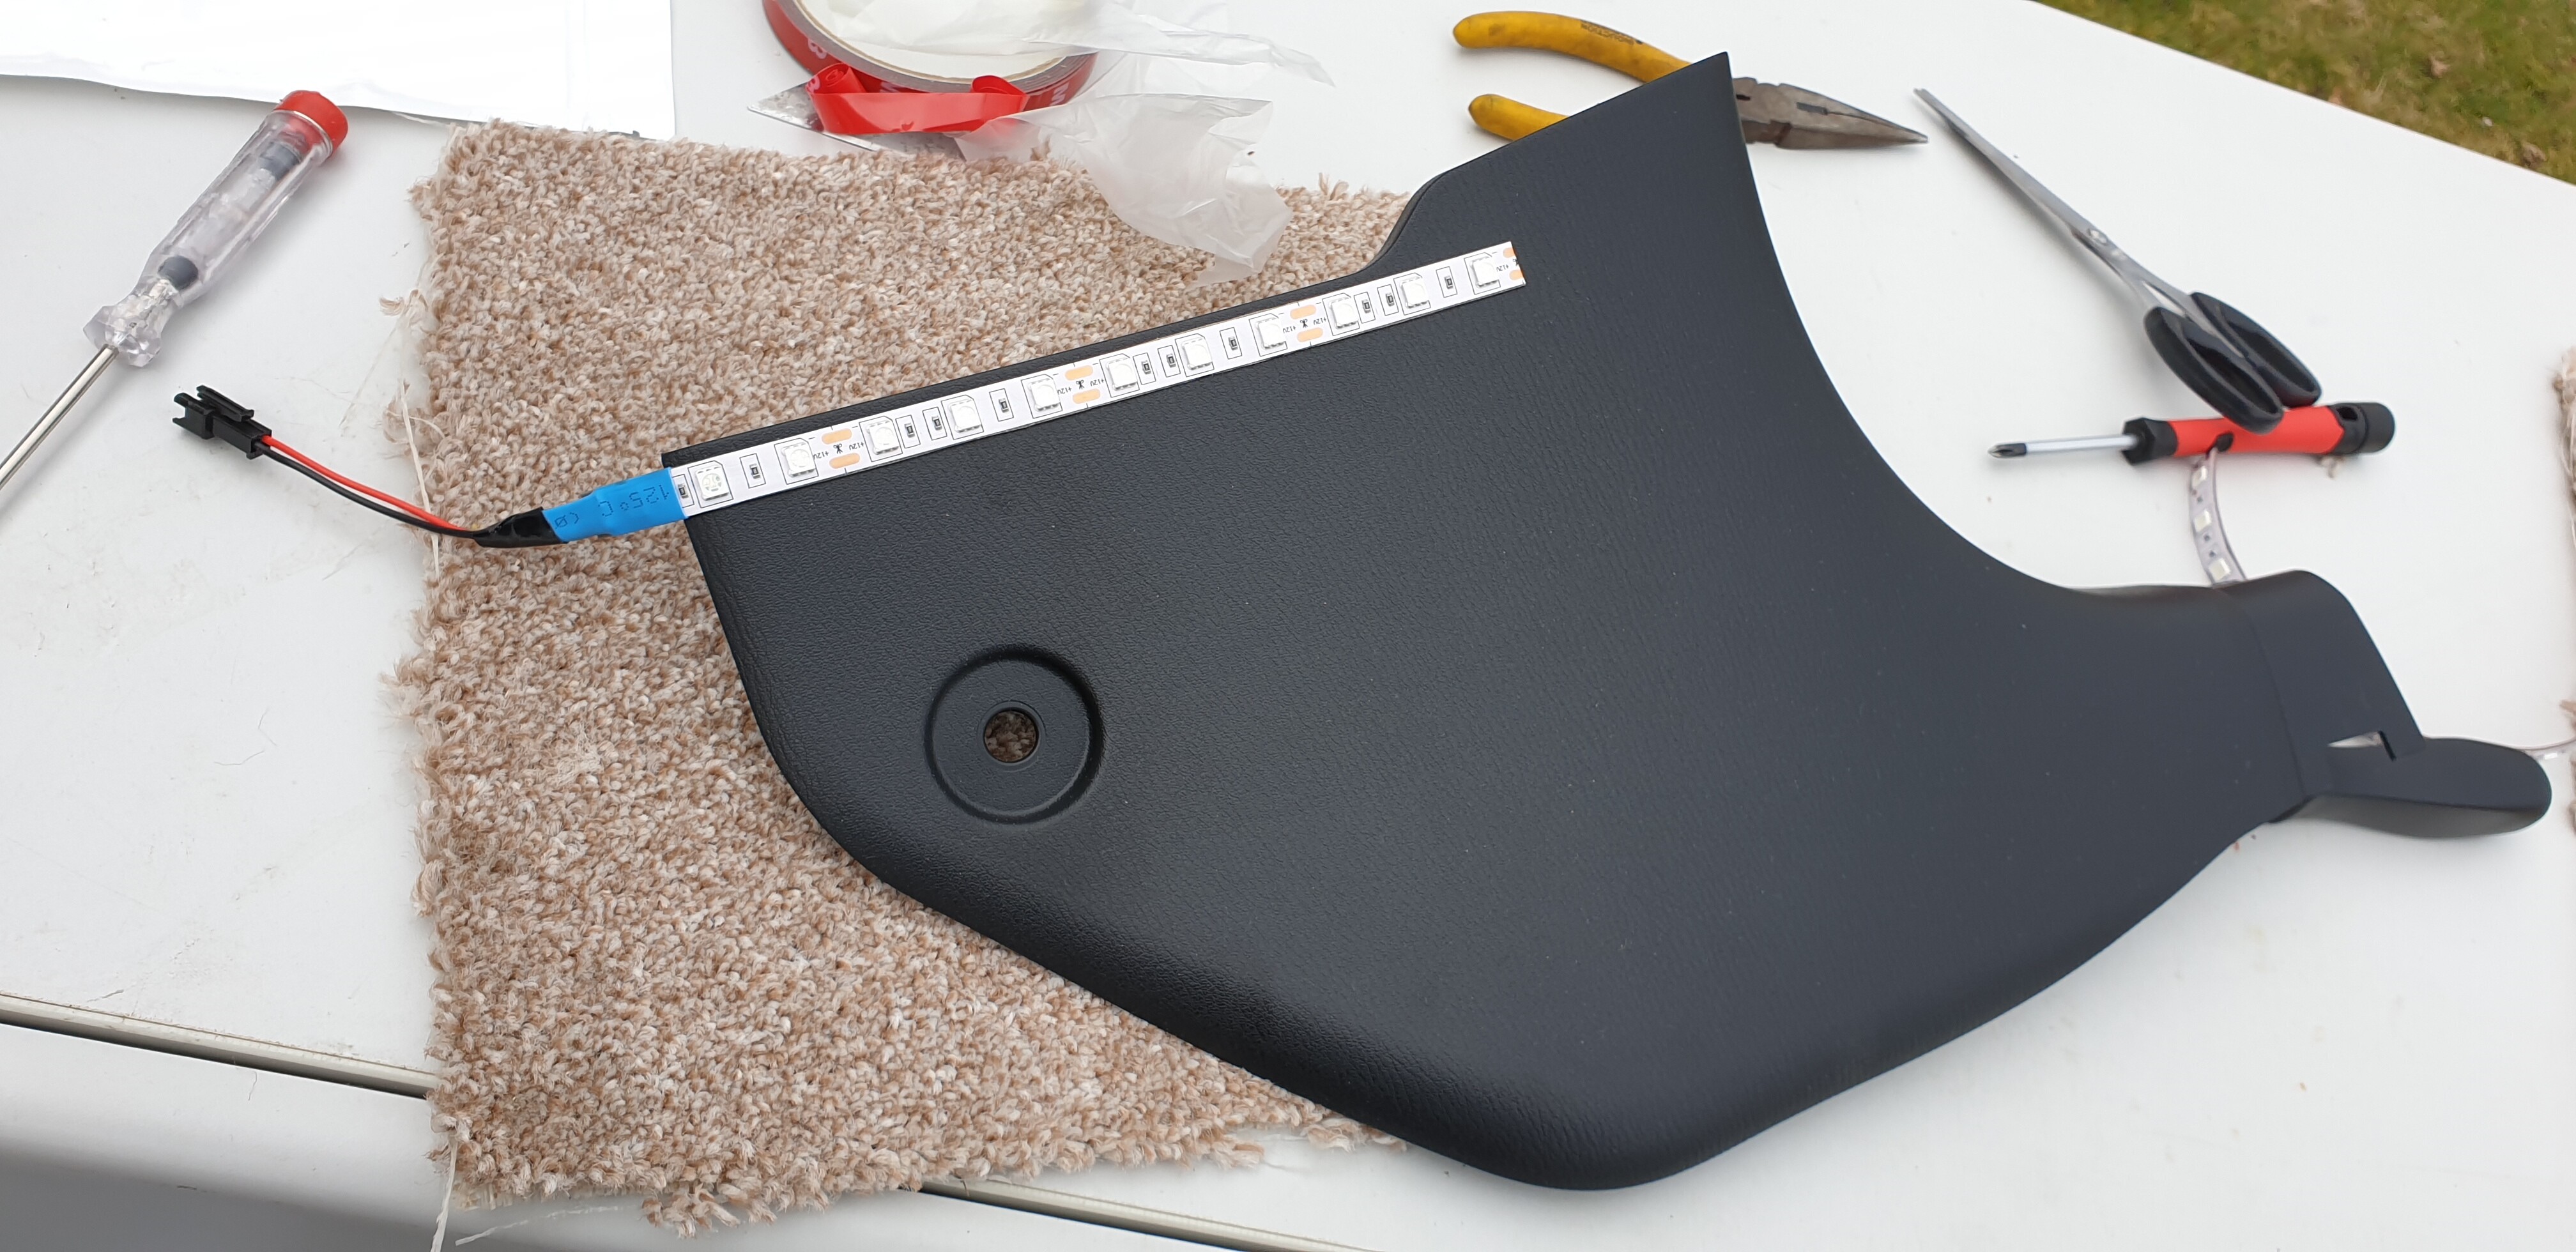
LED light strip stuck on the footwell panel with 3M tape. The sticky on the lighting strip isn’ up to the job.:confused:

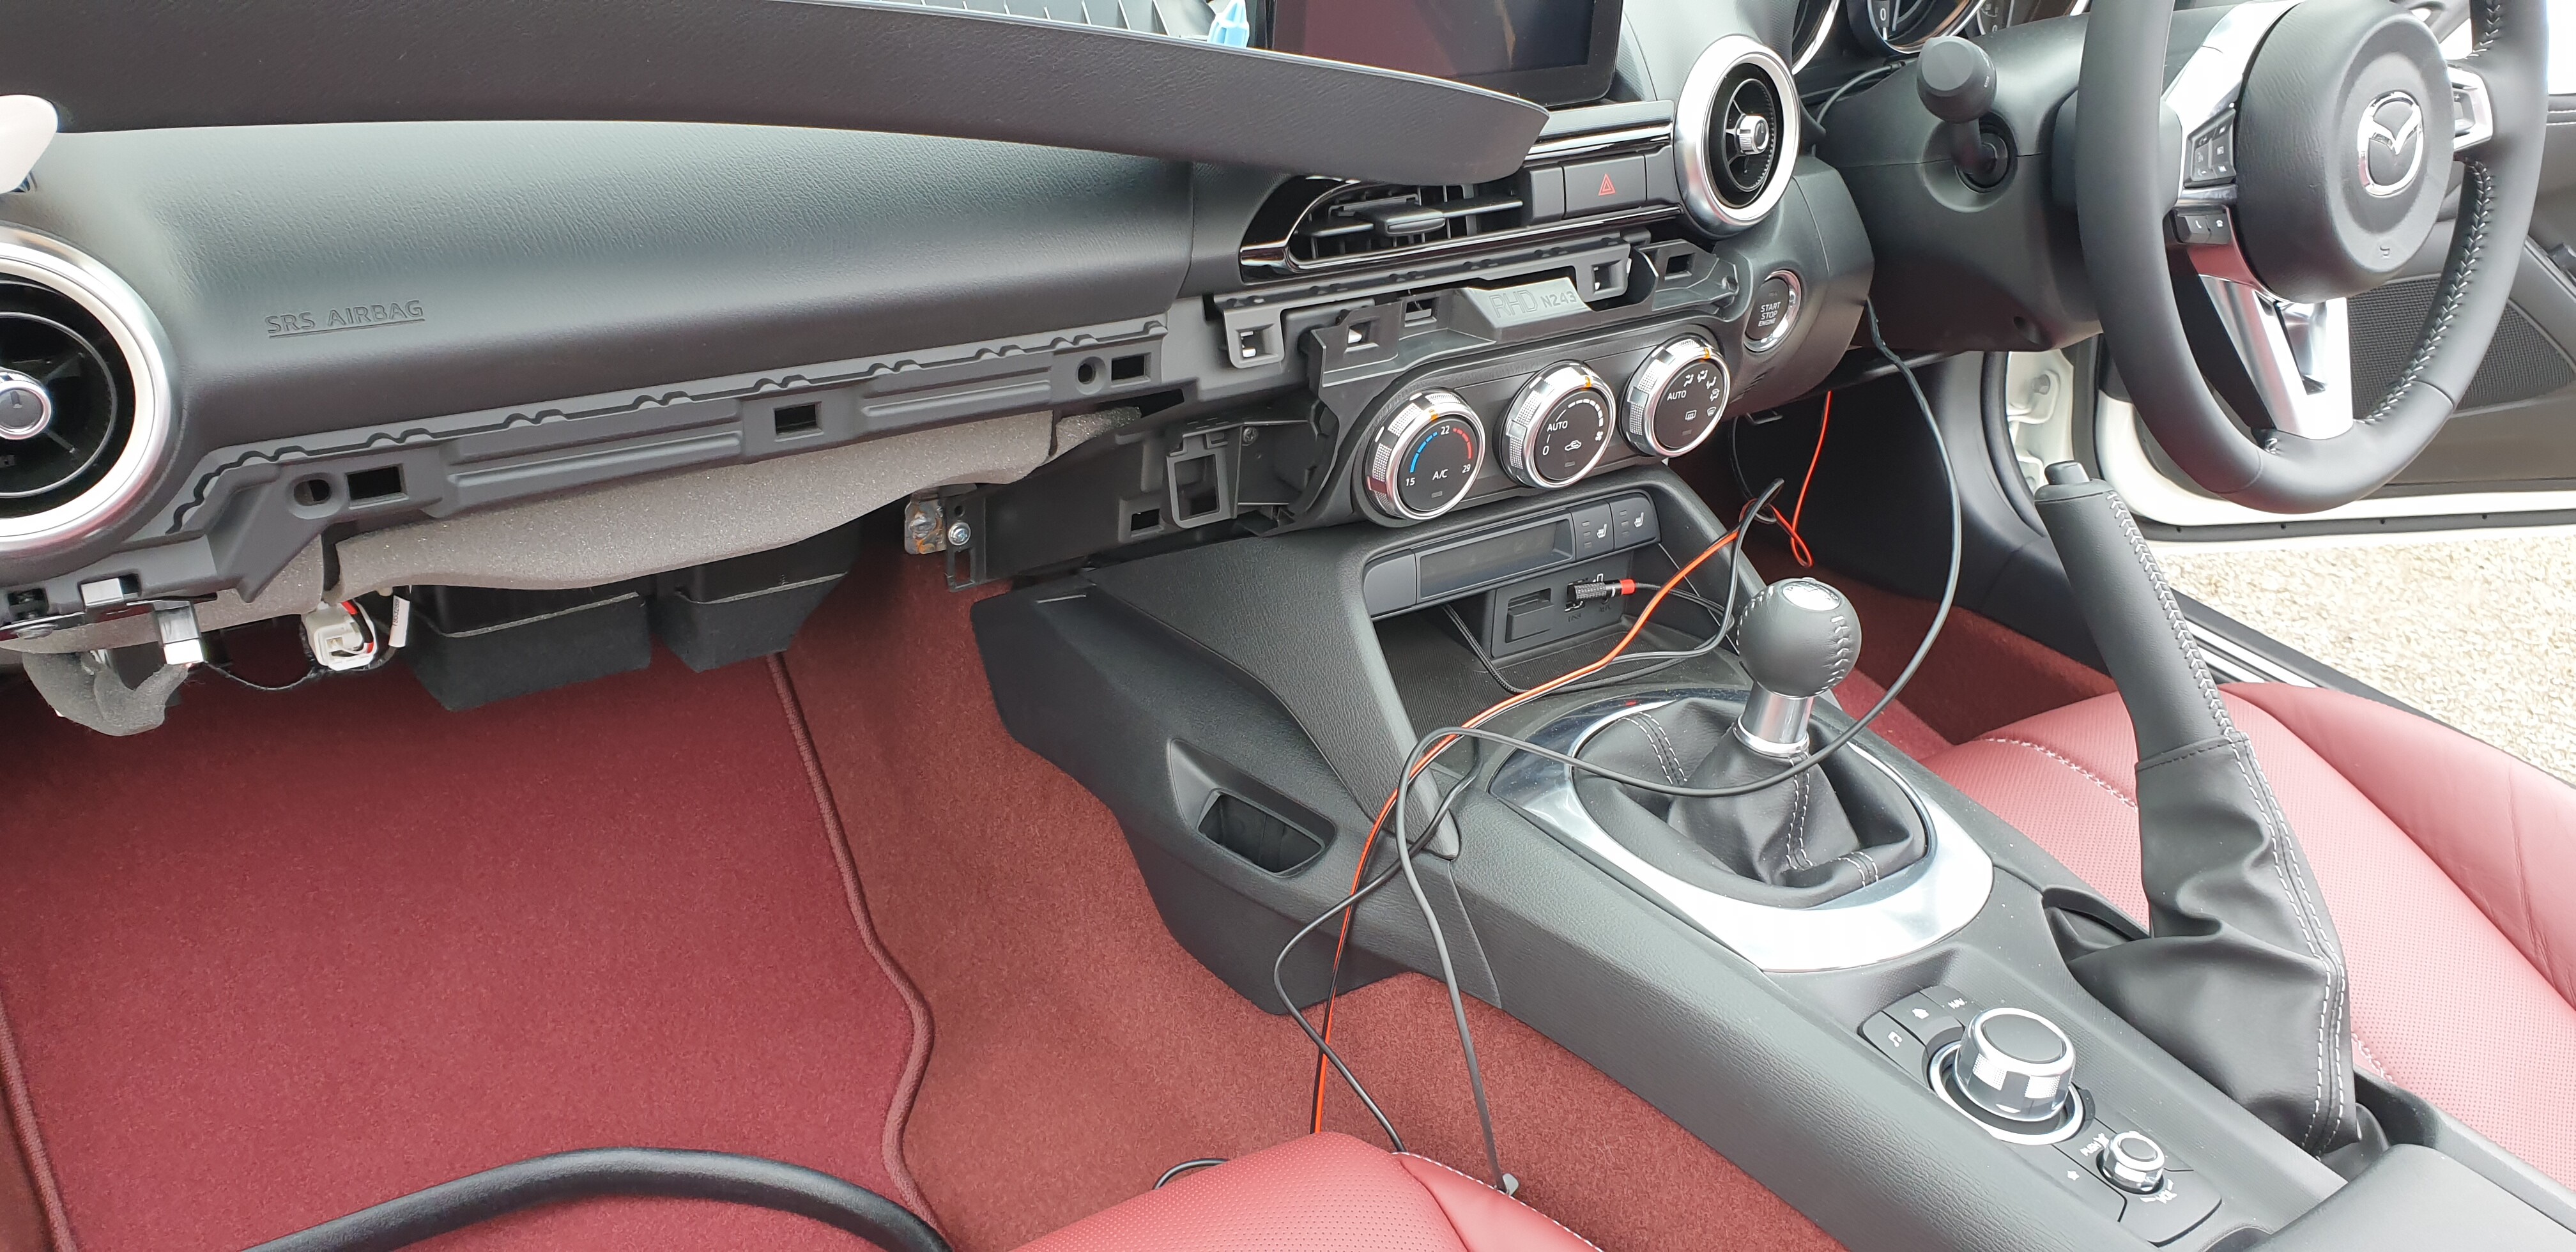
Routing the cables behind the dashboard. Once in the passenger foot well the dashcam lead goes to the 12v accessory socket. All hidden under the dash :+1:

MX5 back in the garage, job done… what a result. I am really really pleased :smiling_face_with_three_hearts::smiling_face_with_three_hearts:

7 Likes

Wow! Looks great!
You’re very brave, if I attempted that I’d probably snap all the connectors!
Steve

Looks terrific! Well done! That’s some serious courage there to do all that dismantling there- such a tidy job too

Looks very smart. I’ve got blue welcome lights in my blue NB.wired them from the button on the passenger door

Excellent job , I’d like to do the same but I’m not as confident as you :grinning:

unless I’m mistaken it was a feed from door button and a live from behind the dash. Nothing too complicated

If anyone wanted to make a set of these, I’m sure folk like me would buy them :slight_smile:
I’d like a set that comes on when opening/closing - so wired to the welcome light, but also comes on when the lights come on too. How would the wiring work for that?

Mine in a ND, there is no switch in the door that turns the interior light on or off, so connecting to a door switch wasn’t an option.

Instead the welcome lights are connected to the interior light. When the interior light comes on so does the welcome lights. This happens when the doors are opened and when the interior light switch is operated.

The dimming feature also works with the welcome lights when they are turned off.

The picture below shows the view from the back of the interior light. The welcome lights positive and negative are connected either side of the interior light terminals. When power is sent to the interior light (by opening the doors or operating the switch) the welcome light circuit become live and they turn on too.

The welcome lights are an LED strip, the current they draw is very small.

EDIT: @DC04R did you mean having the welcome lights turn on when the headlights are turn on too?

That would involve messing about withe the headlight circuits. Personally I am not sure I would want to do that but I am sure there would be a way. You would need a supply that becomes live when the headlights are turn on??

1 Like

Yeah my skoda and Civic did it with both. not a big deal though, think i’m going to attempt the same as you’ve done there, this weekend. Need to get the trim off to do the dashcam hardwire anyway. How do you remove the trim? Just pulls off or any special method?!

Take a deep breath and pull the trim pieces off :cold_sweat:.

Start with the ‘A’ pillar trim. Working from the top down, pulling to the inside of the car. It will “click” off, the trim then lifts out from around the air vent. I could never unclip the tweeter speaker cable so just left the trim perched on the dash.

To remove the head liner trim you need to remove the sun visors and locator sockets for the roof. The panel then “clicks” off with a gentle pull. The cable plugs for the alarm sensors and interior light will unplug allowing the headliner trim to be removed completely.

When refitting, which is the reverse of the above, I closed and locked the roof before giving the locator sockets a final tighten.

If you are removing the lower dash board there is a bolt next to the door pillar than needs to be removed before the rest of the dash panel can be “clicked” off.

You will end up lifting the door sill trims and the door rubbers too to ease access :roll_eyes:.

I have carried out this process three times (twice with my previous ND and once with my new one). It is a daunting process but it will go back together.

Like most jobs, don’t rush it :+1:

1 Like

This looks great, I should have done this when I changed my radio head unit and hard wired the dash cam in my NC. However, I will give it a go.