Wildest wiring for radio

MX5 NA - 1994

Decided to upgrade/fix the head unit.

The wiring is interesting…

I assume that the wires closest to the loom are the standard Mazda colours - these seem to have been randomly extended with arbitrary wires, but if this is a known scheme do let me know!
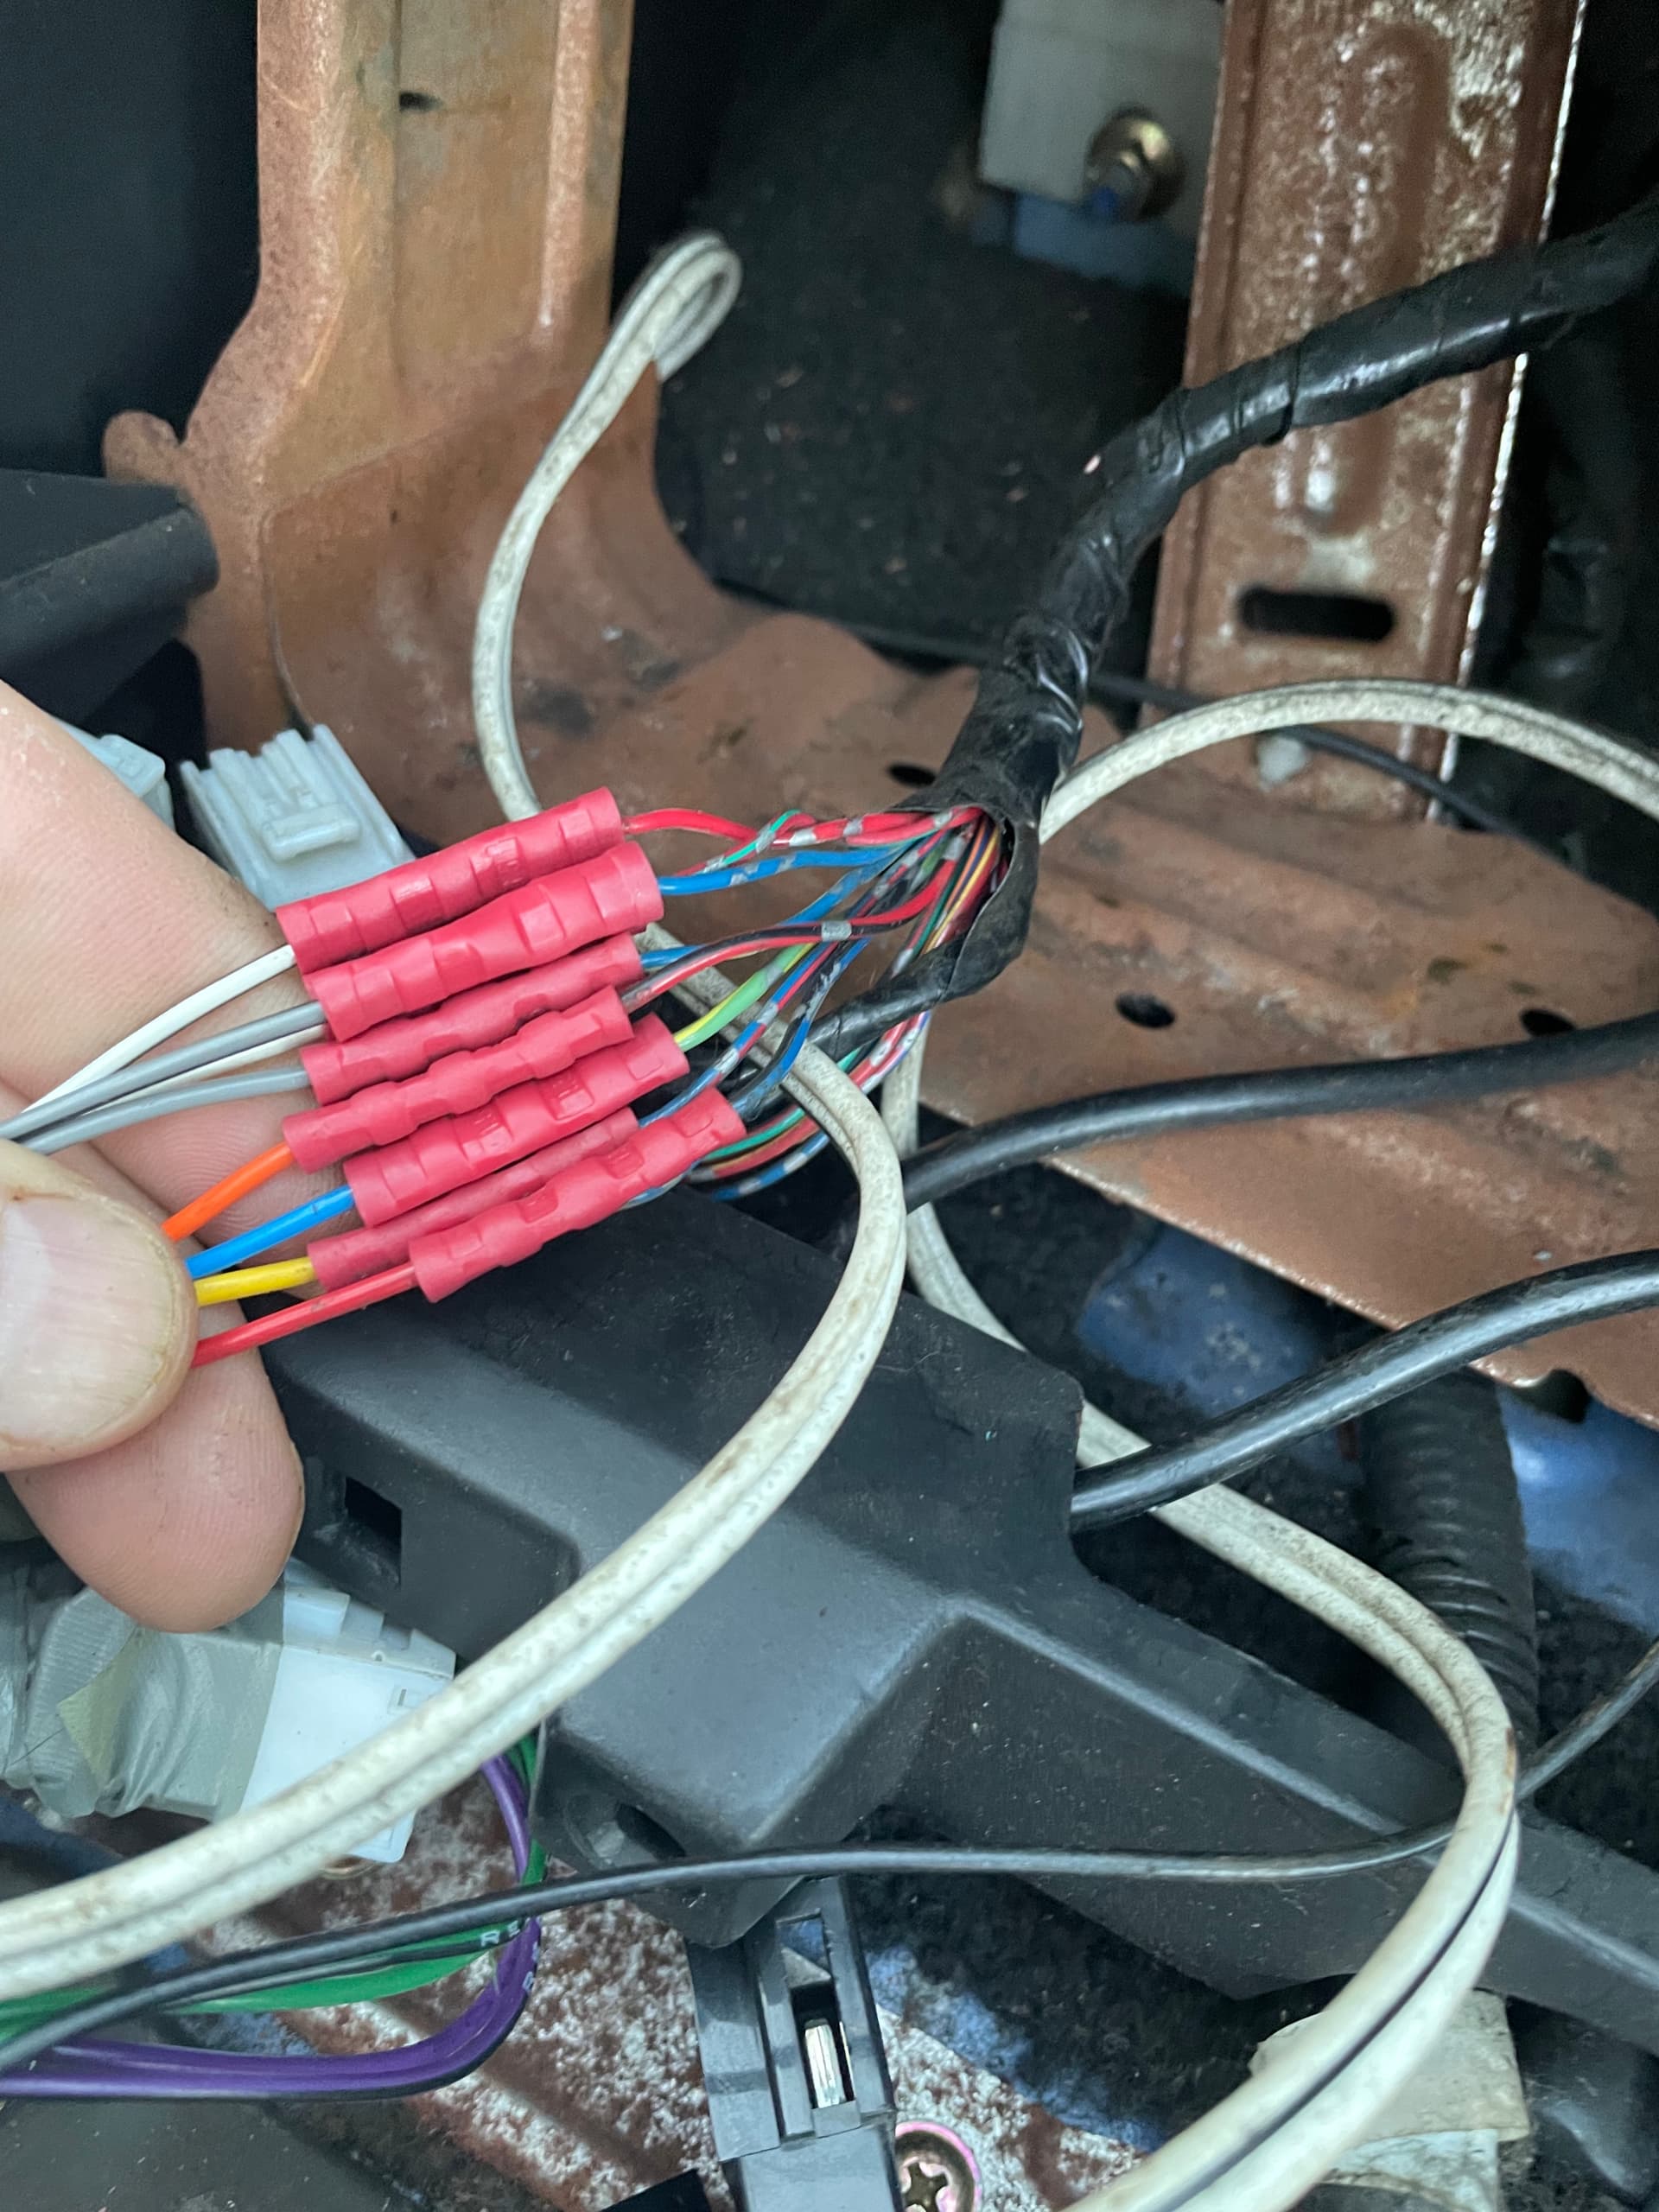
these wires

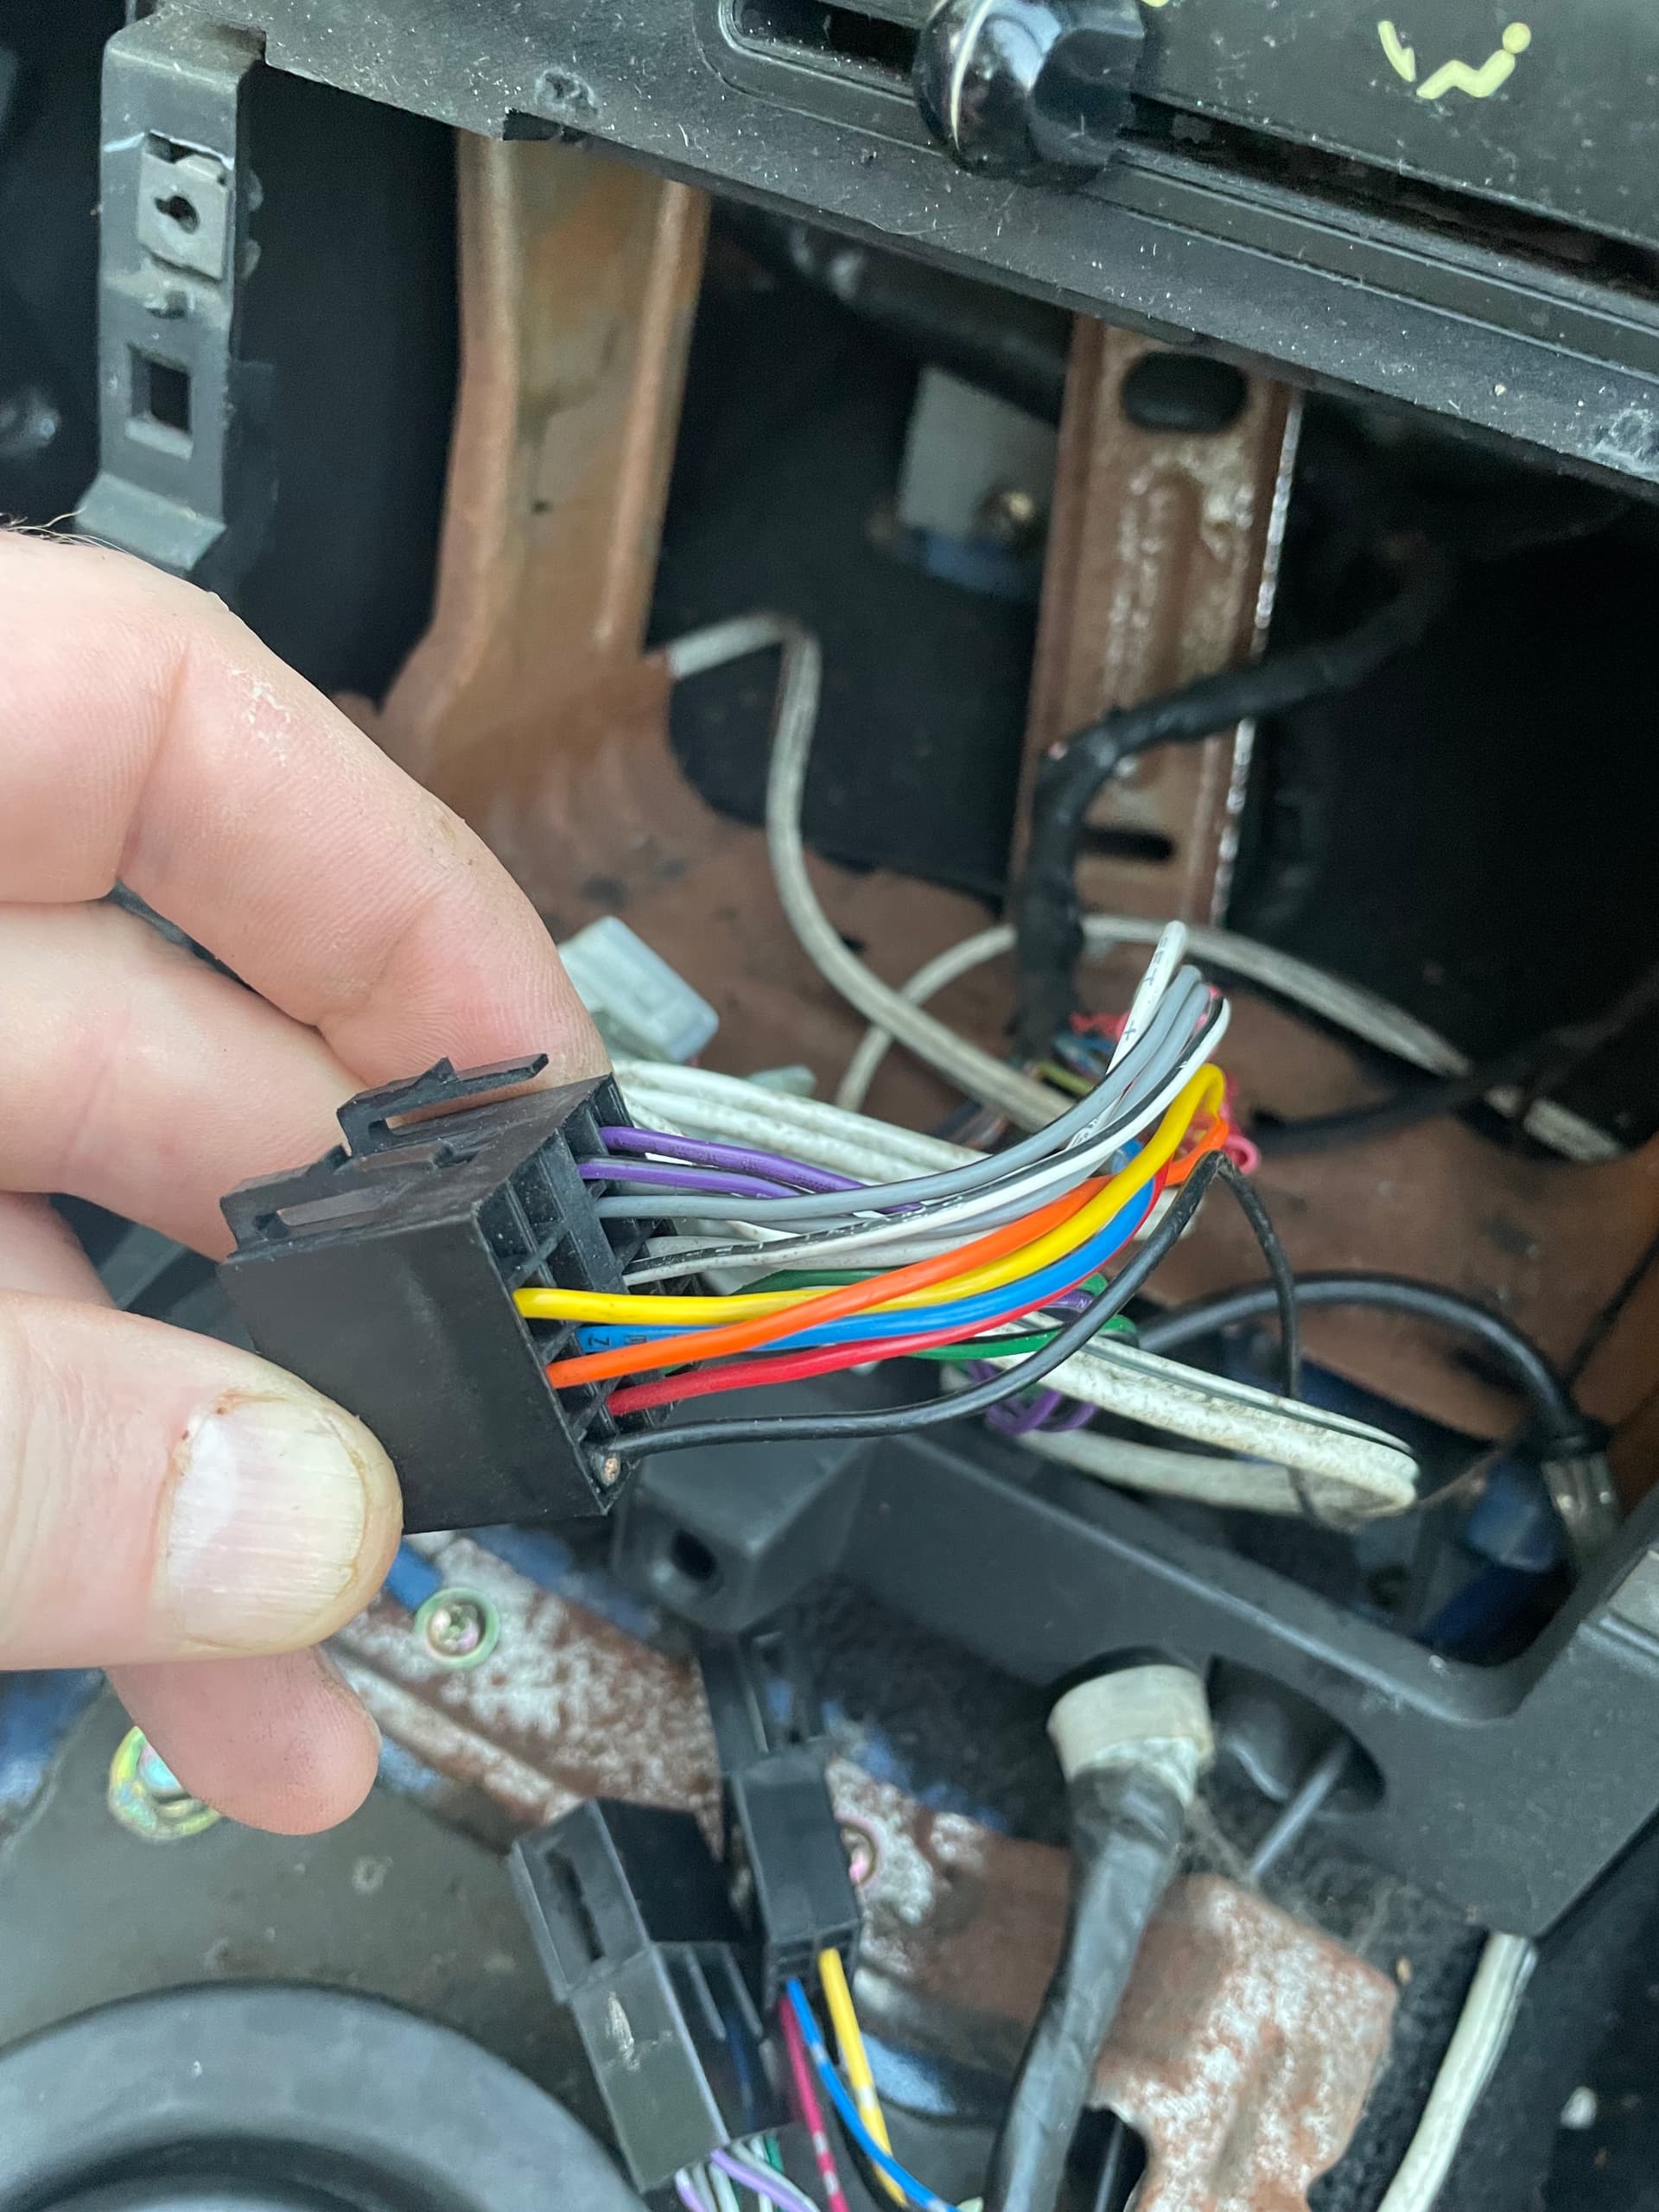
end up in this connector - is this a particular standard?

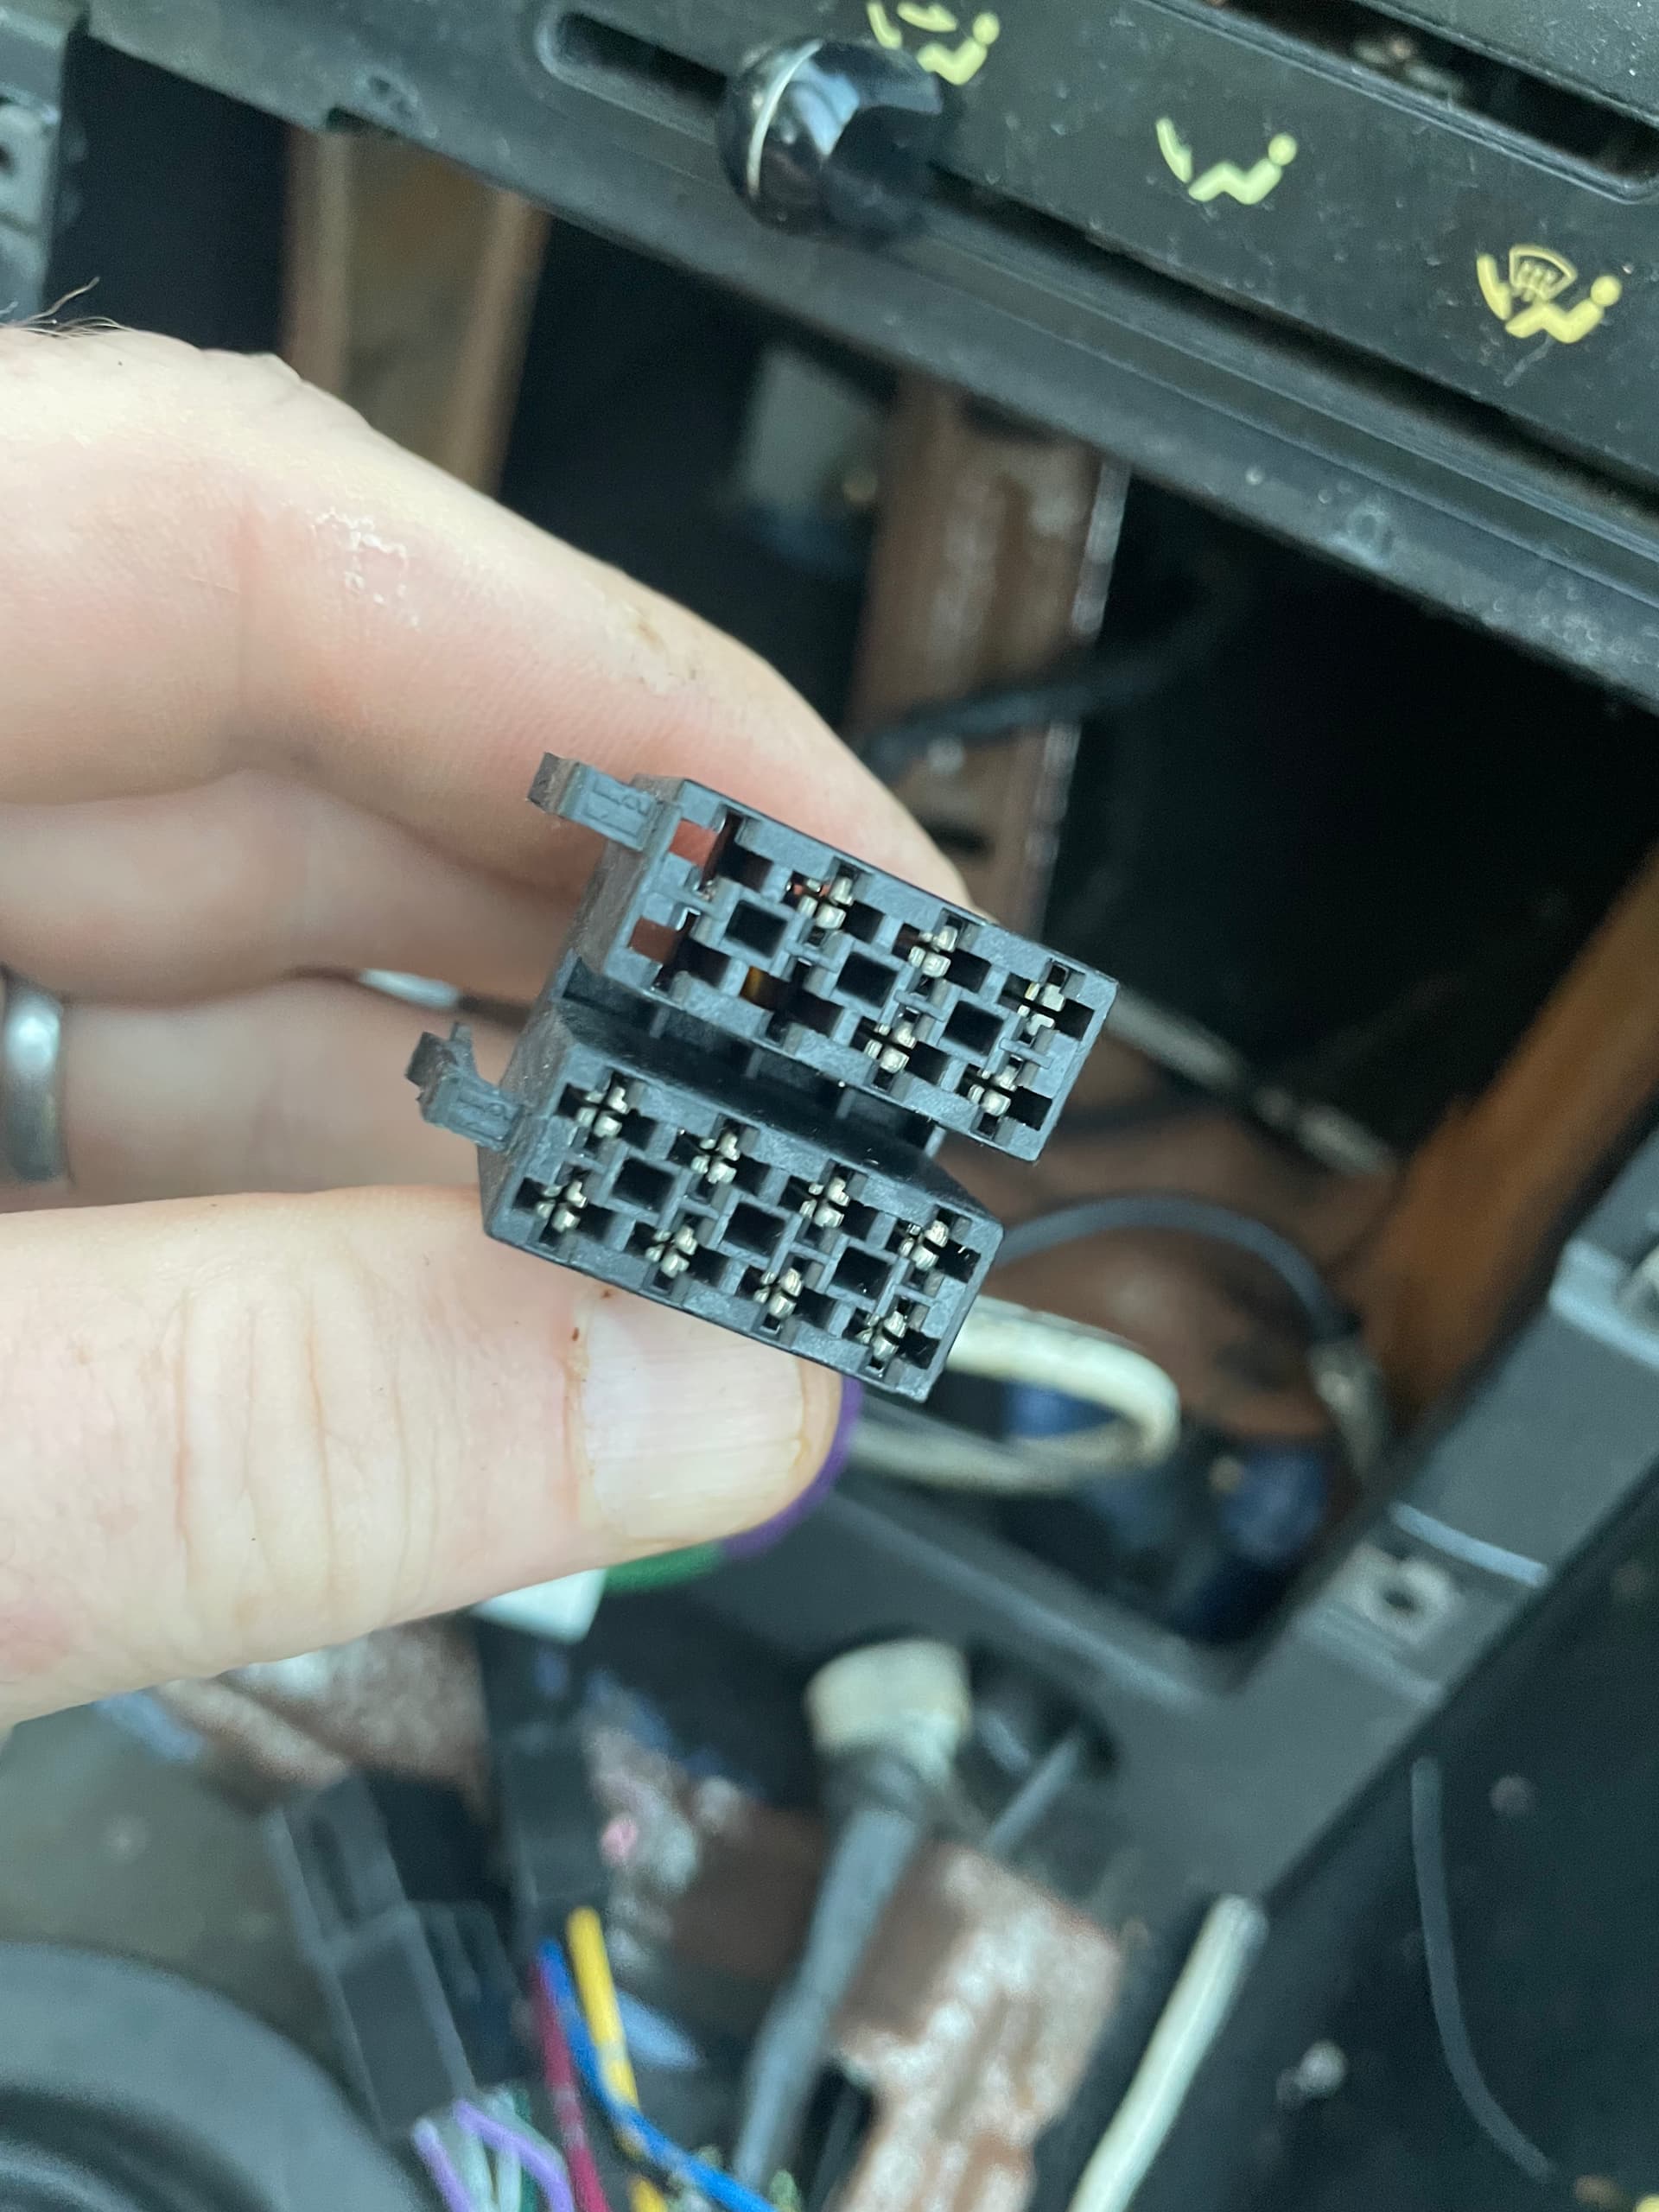
which then has these two other connectors attached (with different coloured wires again!)

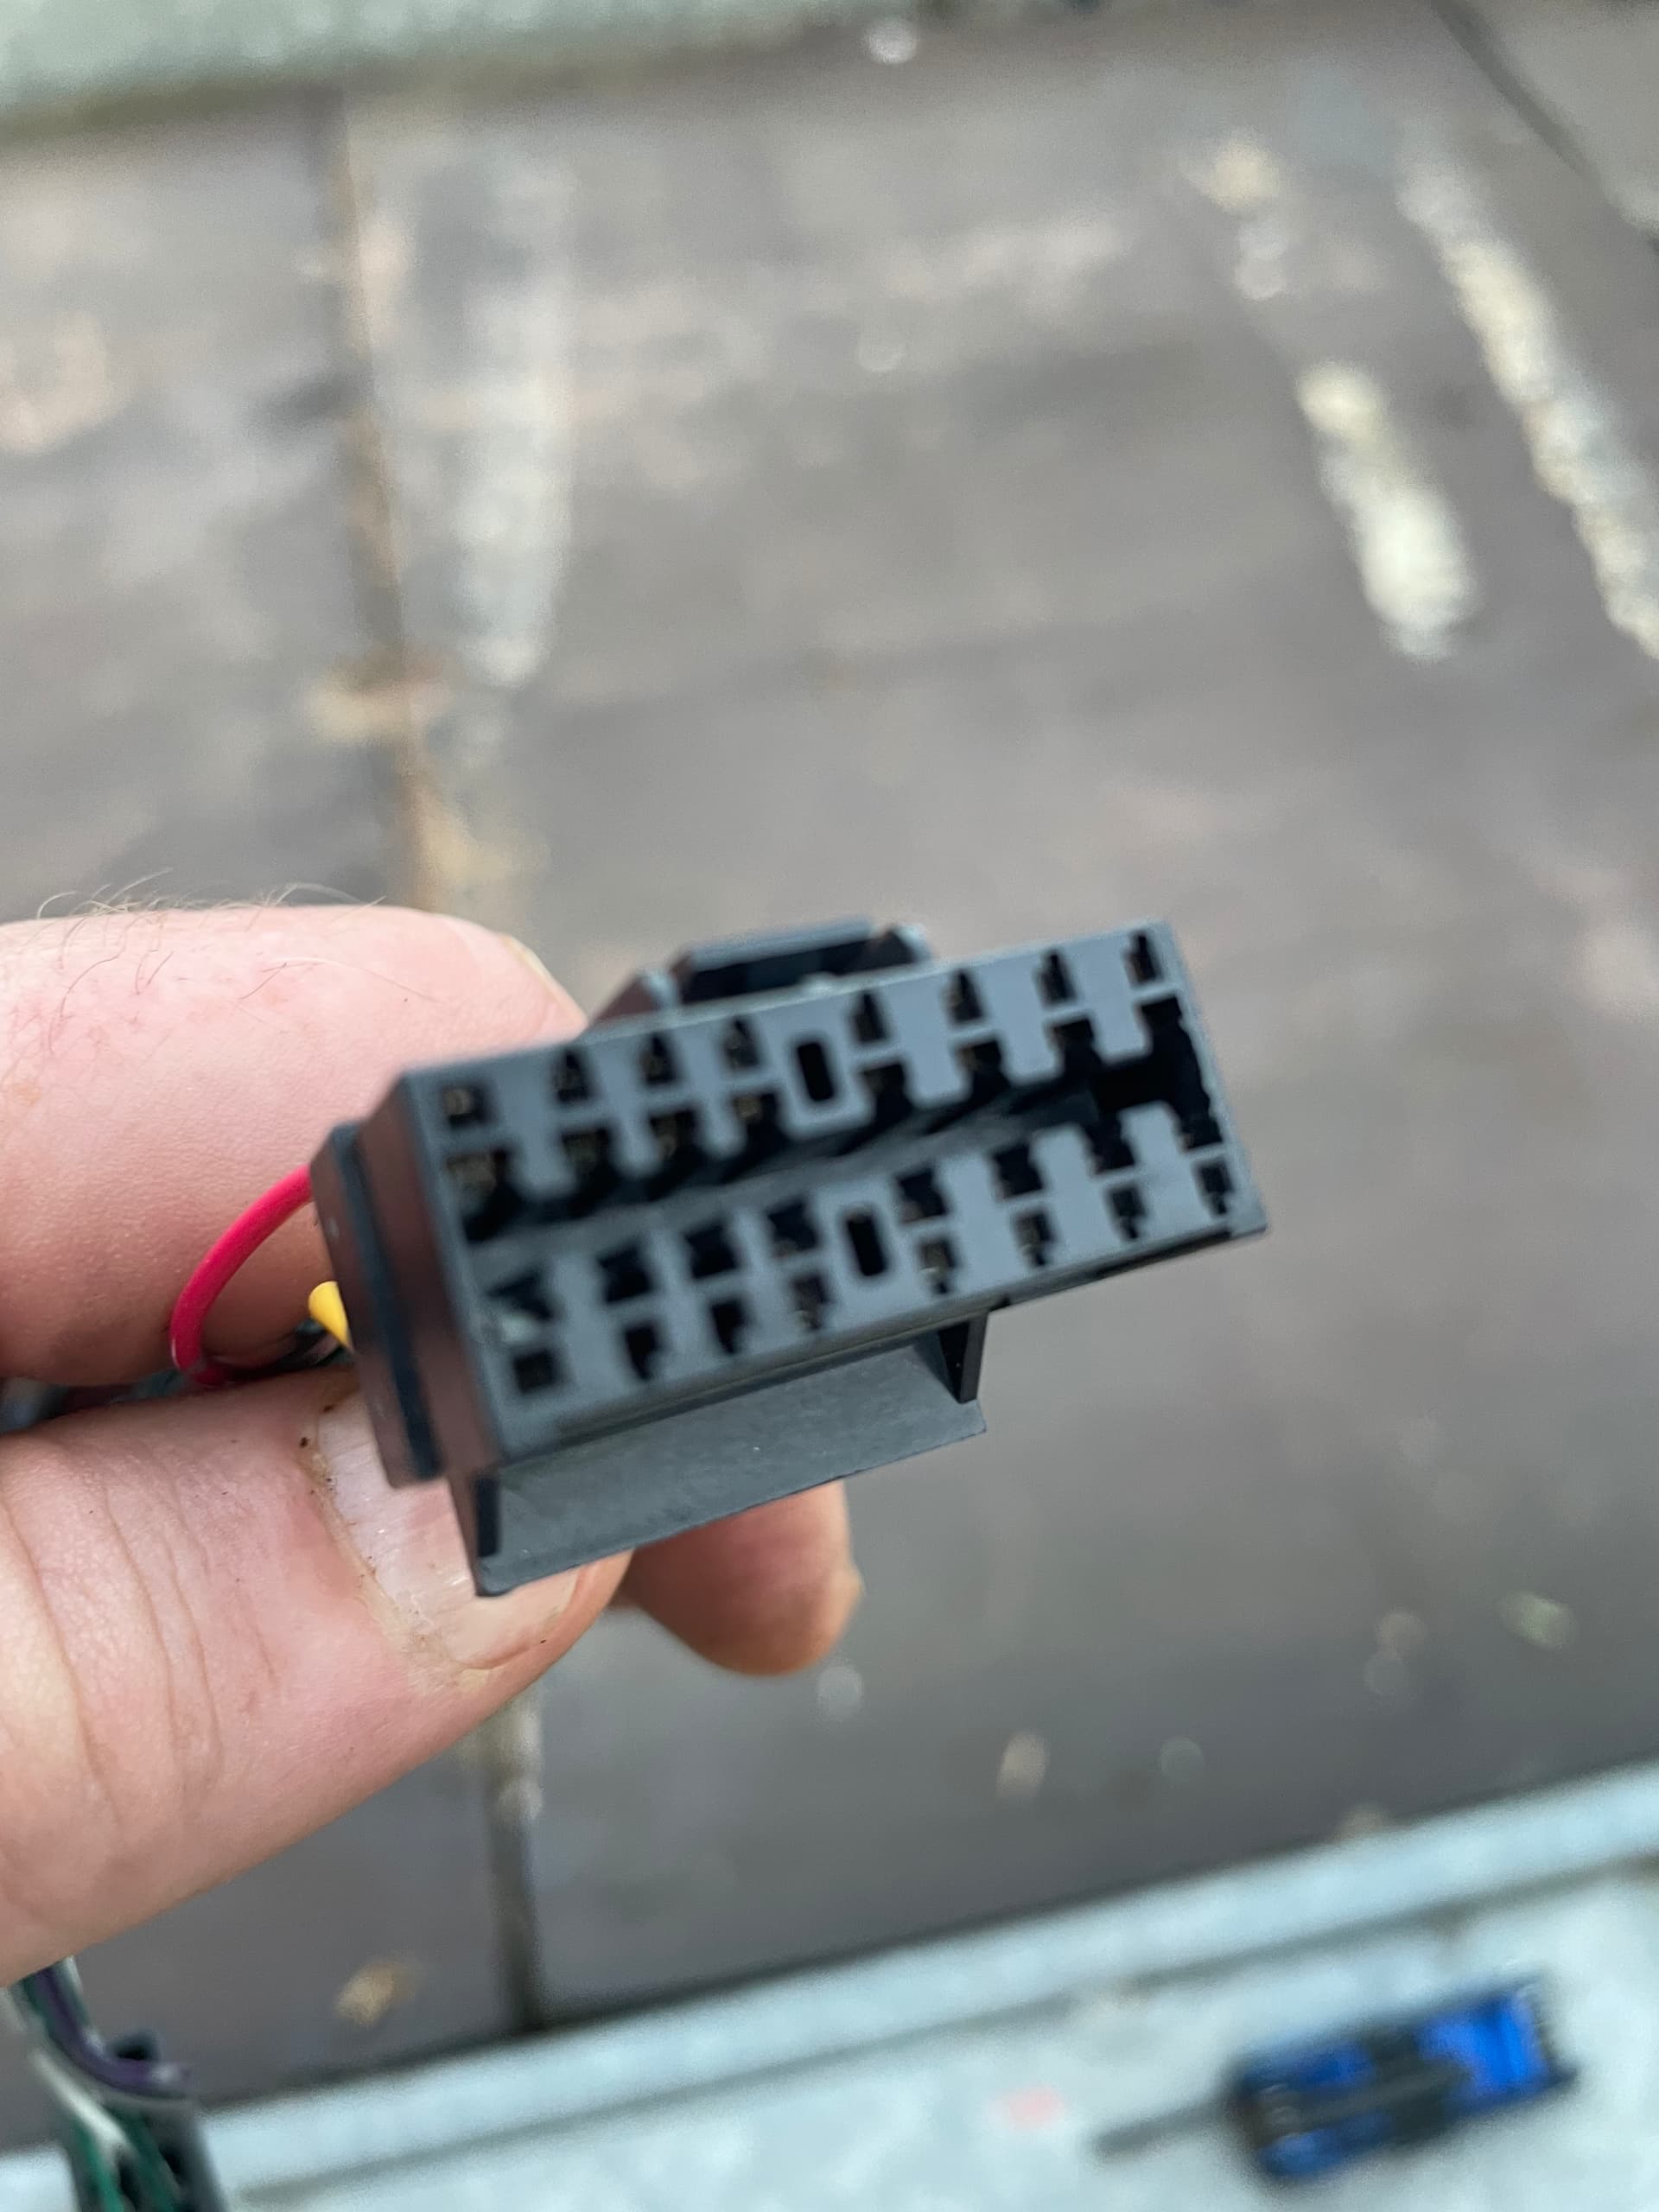
ending in this which attaches to the existing (old, non-original) head unit (a Sony).

Questions - are any of these intermediate stages a recognisable standard? Does anyone have wiring diagrams for any of the intermediate or, ideally, the end connector so I can cut that off and use those wires for appropriate things in my new head unit? I’ll be adding head rest speakers but know about the odd wiring of Mazdas for those - mine is weirder in that an aftermarket hack to add one speaker to each headrest has been done, badly. But that I can solve easily…

Edit - is the 3rd photo down an ISO connector? could be that the next harness is ISO->Sony, in which case I can identify key wires from that…

2 Likes

The 3rd pic down is indeed the ISO connector. You need to buy the specific lead from this to your new head unit. Connects2 are good for supplying these.
This may help.

D

Your new head unit will [usually] come with a version of the wires in photo 4. They will connect your new head unit to your old wiring. You should not need to cut or anything.

usually true - this one is Chinese and has a large variety of connectors. I was looking at having to rewire the 3.5mm plugs it came with, but I’ve not discovered a harness connector too, so progress is happening…

1 Like

So, after two weekend afternoons:

centre console out, vents out, tombstone out, old radio (Sony single DIN) out, swap cubby box to top slot, put 2 3" speakers in each headrests of driver and passenger seats after removing the one in each that was rattling around before, drop wiring down back of seats, crimp and solder connectors on, wire it up via central tunnel, reversing camera (not necessary but why not) on underneath boot lid, reverse signal from rear reversing light, all routed via centre to front, wire up speakers, remove A pillar trim and fit DAB+ aerial, refit A trim, fix GPS receiver up near vents, connect all, test, reassemble. Oh, and removed the buzzer relay that Eunos’s have which is annoying.

So now I have a single din head unit with removable front plate, so when off looks like nothing worth nicking is there, but when attached and started, screen flips out (missing gear lever and handbrake, and not obscuring HVAC controls) and gives double DIN sized screen for DAB+, radio, bluetooth (streaming music and phone), SD card playback, CD playback and CarPlay. All in all a cost effective and sensible solution for a soft top that will be left hood down most of the time. Gives a lightning connector in the central box and a USB port in the glove box too.

Sounds are much better. Waiting for the replacement door speakers cos the current ones look knackered and one doesn’t work - and then it’ll be sorted…

Do note that the telling of this is coherent and step by step, whereas the actuality had a few “whoops forgot that” bits, and a few more partial builds to check connections. And the odd pause for rain, cups of tea, etc. But nothing too difficult, just had to be patient and logical.

1 Like

so to update: unit has been unreliable, with flip out screen not flipping out. Decided to return it, and probs ly replacing with double din Sony unit. It fits fine, but am just considering where the loss of the suntan lotion holder is worthwhile… piccies as and when…

1 Like