I’m looking for technical help or recommendations on: __ installing a new CarPlay head unit.
Hi All
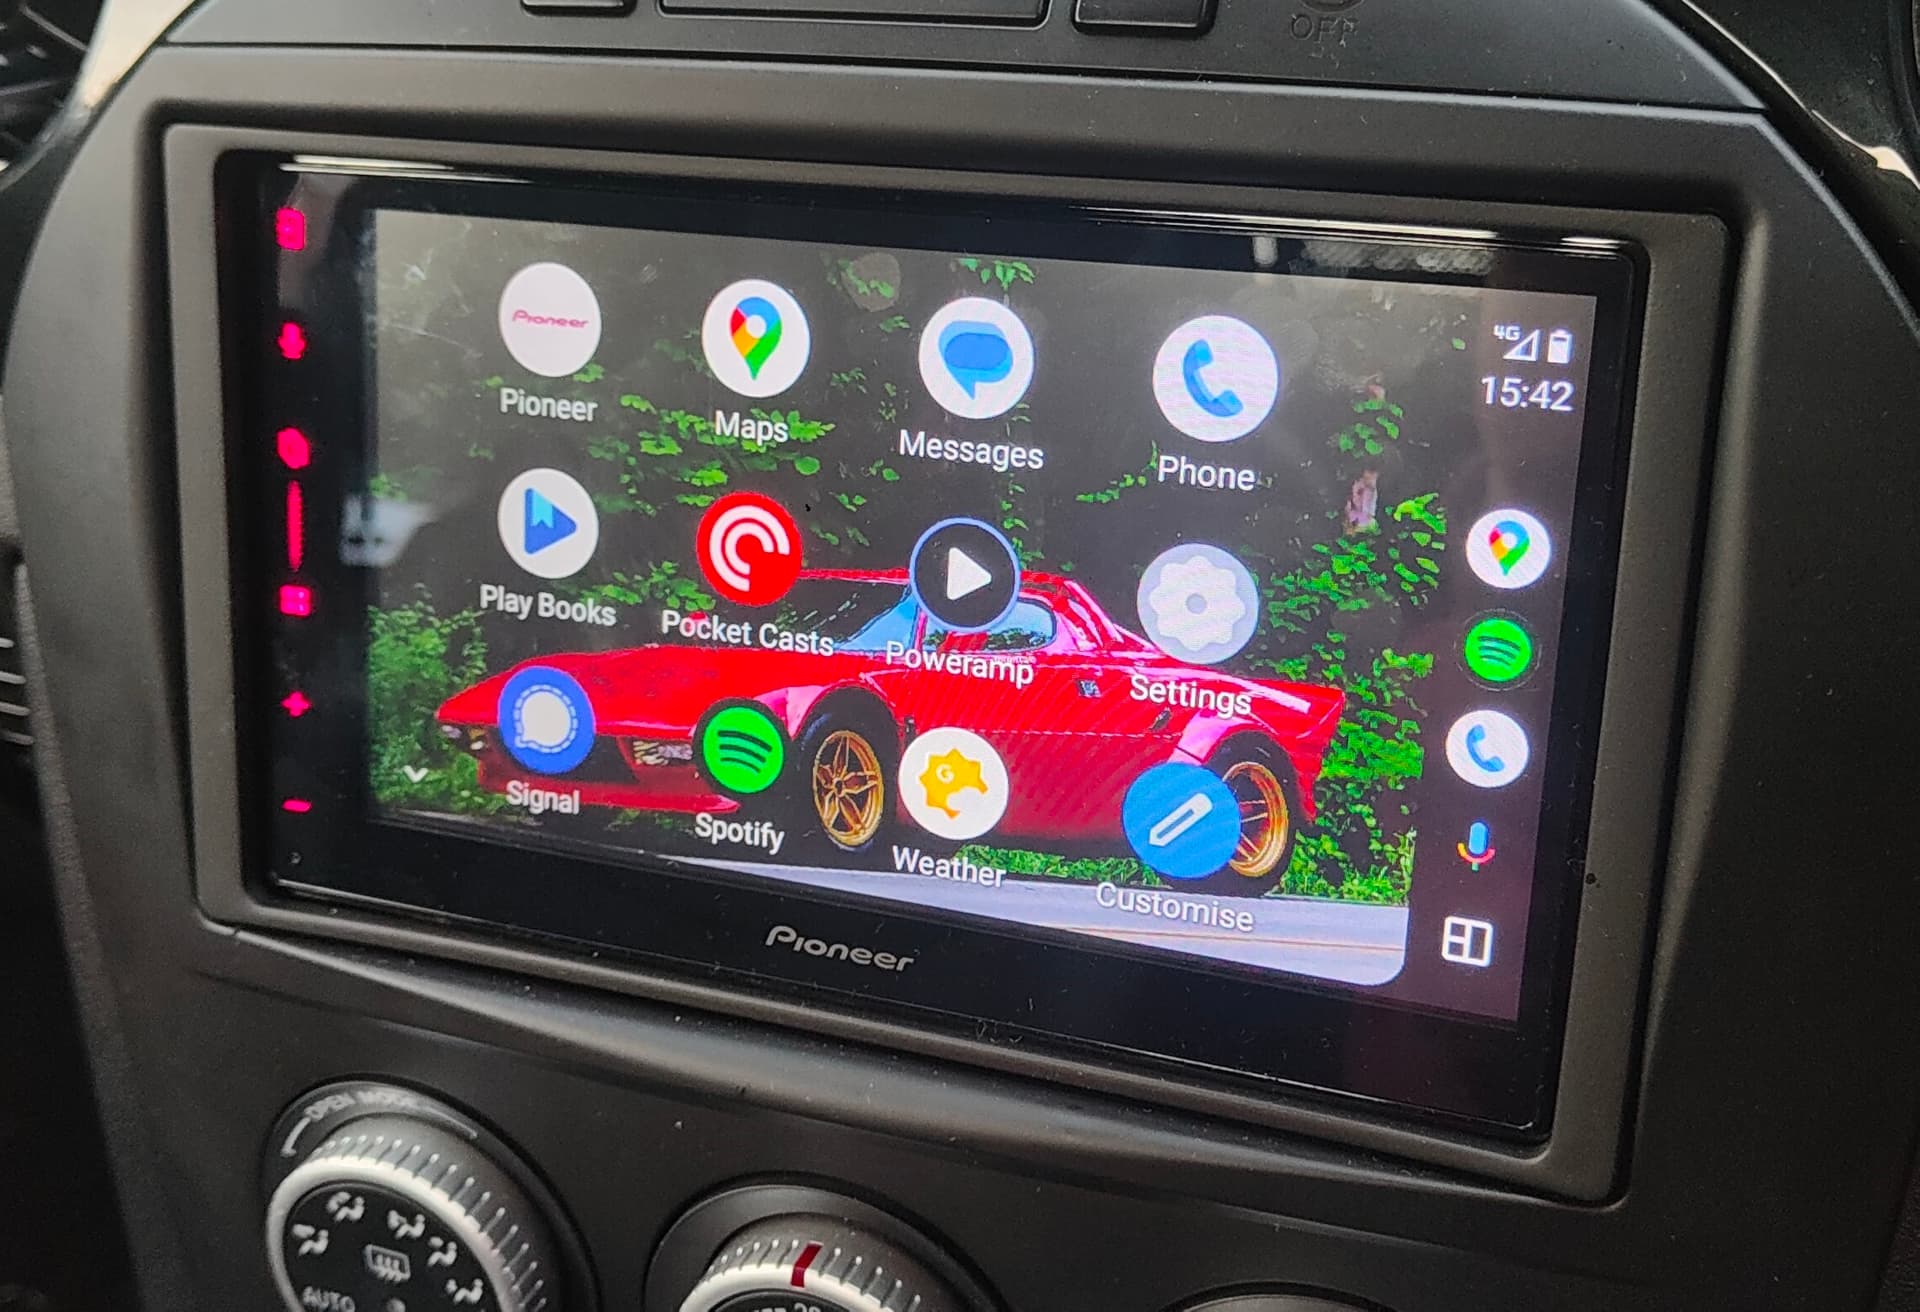
Looking at this little lot to install with a Pioneer SPH-DA77DAB.
A few questions:
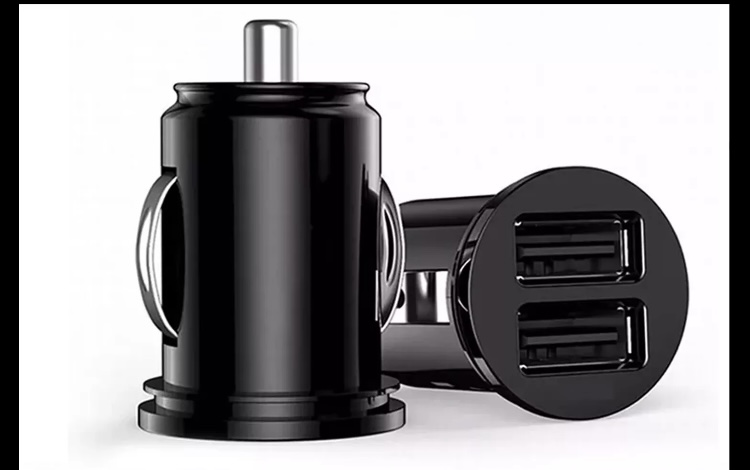
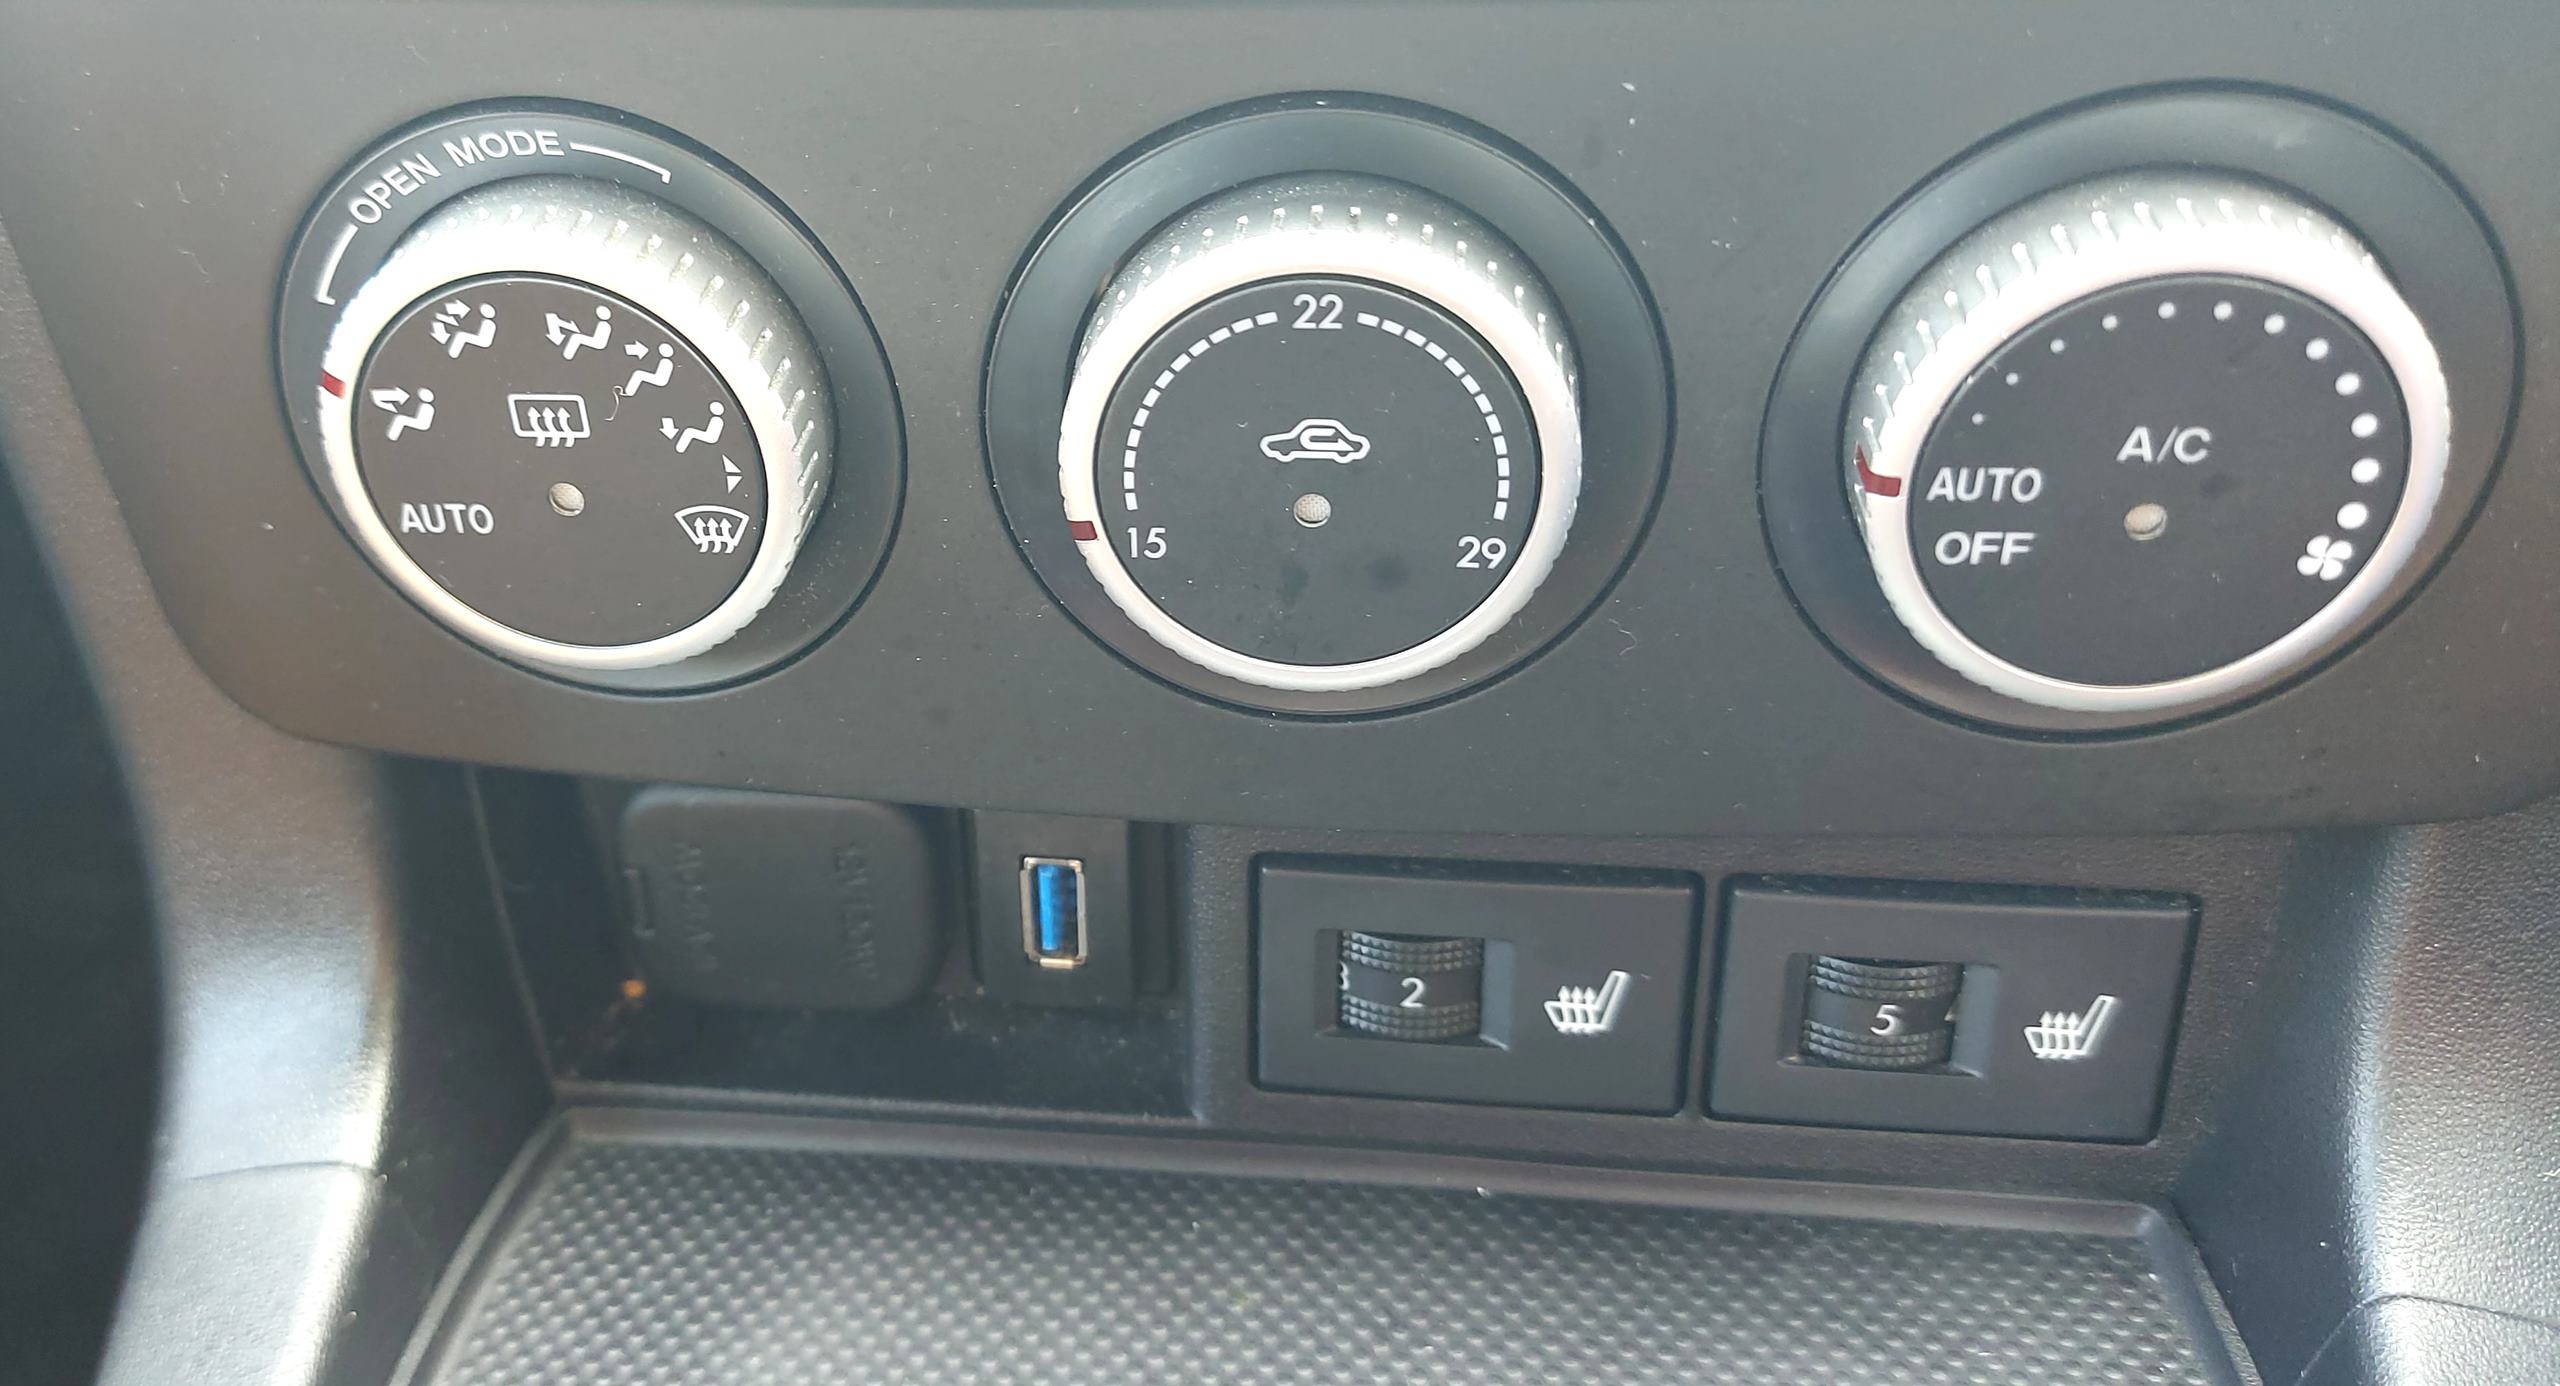
Although it’s a wireless unit I’d still like the option to charge on longer journeys so would be looking at installing a USB port. Where do most people install theirs?
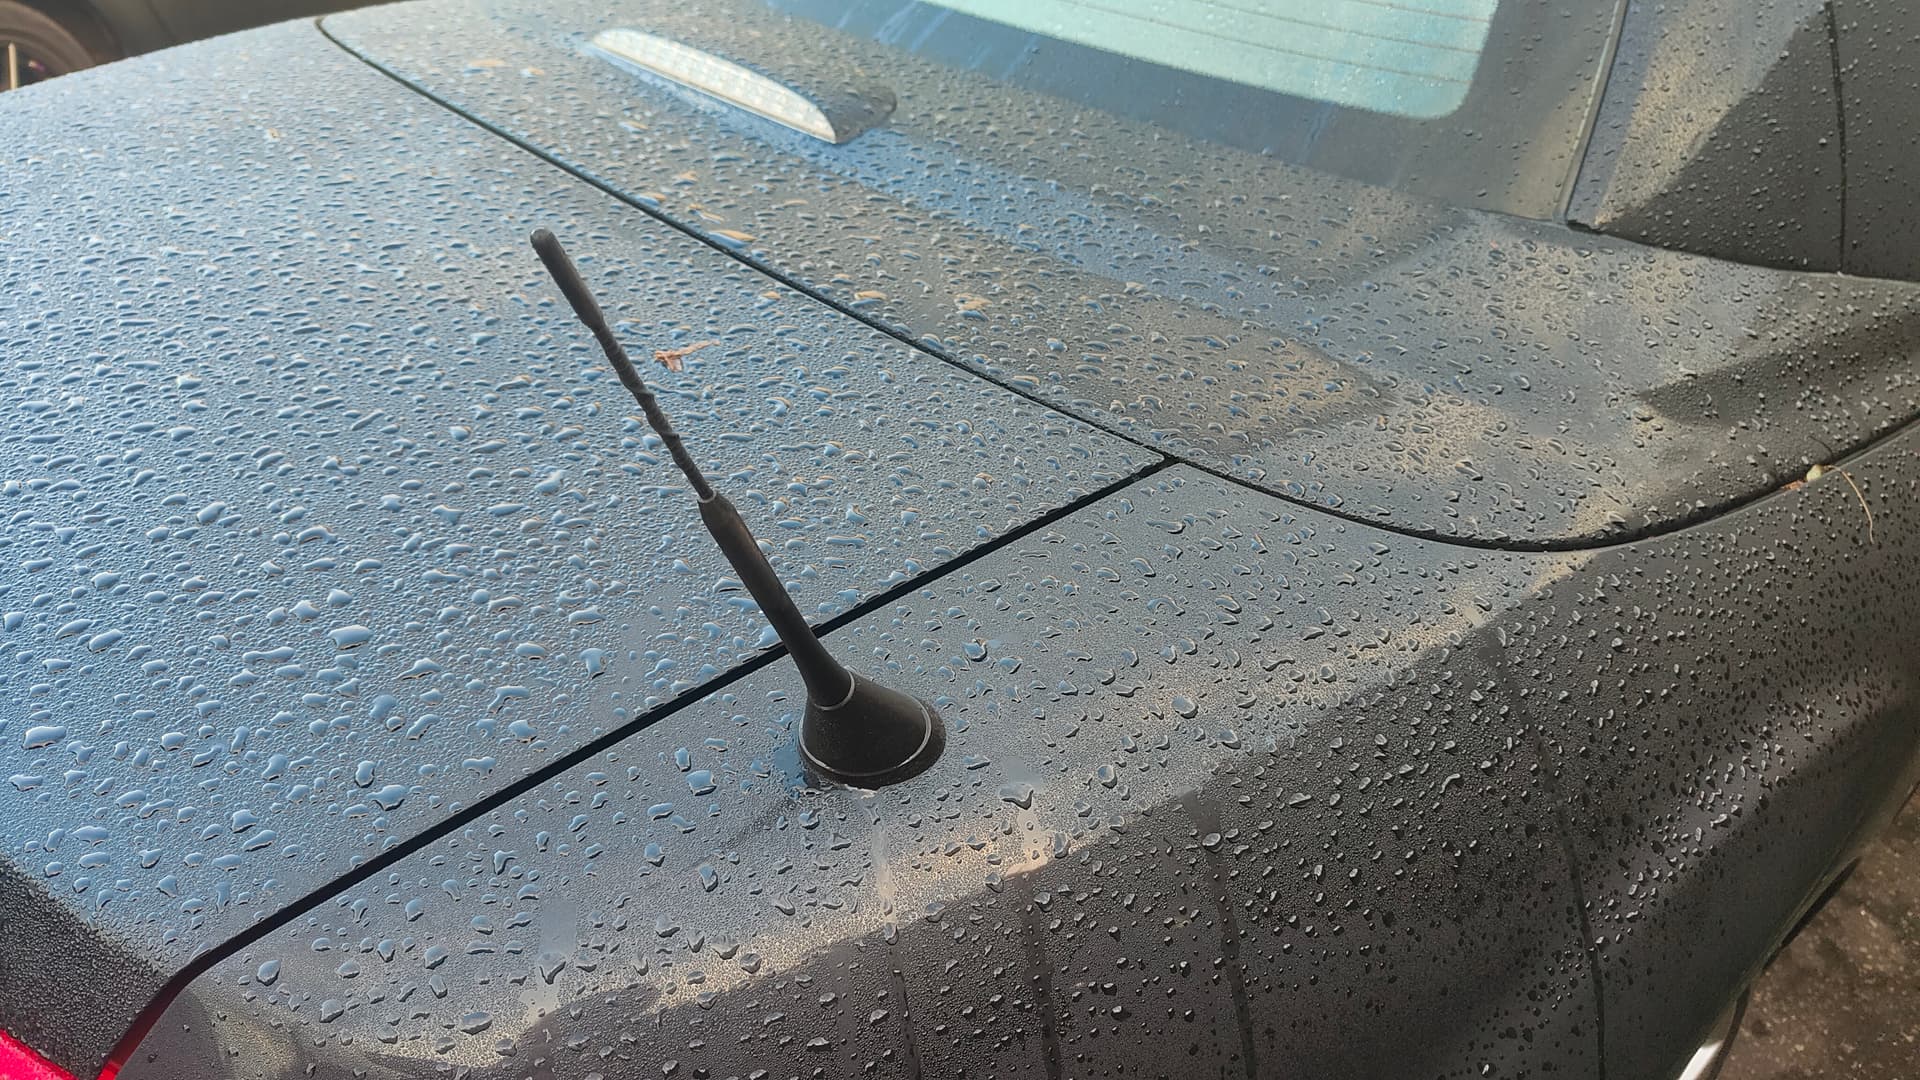
I’ve seen this offers the ability to use the aerial to pick up DAB rather than have some windscreen install. Will this work? (I currently have the ILS Motorsport ‘stubby’ aerial.)
I think the Bose has a mic somwhere as there is voice activation on the steering wheel, so I don’t need a seperate mic? (If I do where do most people install it?)
Anyone recommend any good installers in the Brighton/Sussex area (I won’t be doing this myself!) who have done similar installs?
If you look at the installation manual you’ll find there is a USB port on the rear. I’d just connect a cable to that.
In another topic in this category someone tried a Connects2 with success.
I highly doubt the connection of the Bose mic (not sure if there is one, I know very little of the Bose setup) is plug and play and if it’s 1:1 usable. I can imagine that at least an adaptor is needed to connect it (again, if it’s there).
I have the DA77 and bought a short quality, braided USB-C cable, as the included usb cable is female ended.
On my car the cable goes left up and then out through the glovebox, before getting tucked in along the passenger side of the centre console and then out by the passenger seat. I rarely have passengers in my car so the phone sits on the passenger seat. If I have a passenger, I put my phone in a soft pouch in the glovebox.
The charging from the Pioneer is only 1.5A so it doesn’t charge very quickly, which may not suit you. For faster charging, plug an adapter into the 12v socket.
I didn’t want a screen mounted aerial so replaced the stock aerial on the rear with a new powered one by Hama, from Amazon for around £60. Superb coverage and a lot of stations.
I don’t have Bose but I replaced the stock (Alpine) mic with the one Pioneer included. From memory, I’m sure the stock mic had a different connector to what you’d usually expect. I just routed the new mic the same way the old one went but put a glue dot on the bottom of the mic to hold it in place in a place. If you put the new mic on top of the steering wheel column cover, then it’ll block the view of the small dash computer. My mic is mounted on the “slope” at the back of the cover. Voice commands work well.
I installed the new GPS module up under where your dash speaker would be. I don’t have this speaker so couldn’t advise if GPS would be affected by this speaker.
It’s a great bit of kit, snappy with plenty features. I doubt you’ll be disappointed.
Hi like you I am looking to install the same head unit and didn’t really want to fit the unsightly screen aerial.
Do you have a link for the hama dab aeriel you mention, does this just wire up to the existing aeriel?
As I’d like to Keep my stubby version.
Mg
This is the link to the Hama aerial on Amazon, currently just under £55. You will also see cheaper options by other brands that look very similar - I can’t tell you if these are as good as the Hama one. I bought this after seeing a user on Miata.net had installed it. I’ve heard the Jass Performance stubby has good DAB reception, whichever yours is might do too. I didn’t bother replacing for a stubby as the Hama isn’t too long, not longer than the stock anyway.
You will find that circlip pliers are needed to remove the external base of the existing aerial. I have the £7 Silverline set from Amazon which has various “heads” for different uses - it’s also useful for roof latch adjustment if you need to.
You will need to remove the plastic boot panels and then just remove some of the clips holding the panels behind the drivers seat, including the scuff plate. I also removed the centre console.
The internal part of the original aerial base requires a large Philips screwdriver - getting this undone was probably the hardest part, as it was quite tight to undo. The new aerial has a nut which has only been nipped up finger tight but it forms a good seal and hasn’t leaked in any water.
I taped the 3 wires (DAB, FM, Power) together every 30cm to keep them neat and fed them around the RR wheel well using used my trombone cleaner to push it through to the cabin. This just made it easier but you could probably just push the 3 wires through without a “tool”. I then moved to the front of the car. I took out the centre console (I had to do this anyway to remove the head unit) then removed some of the clips behind the driver seat to get my hand behind (you can see what you’re doing at this stage, it’s not “blind”), then fed the aerial wires to the middle of the car and then below the cubby/storage and along the centre tunnel, keeping it neat alongside the existing wiring. I used a couple of small cable here ties to keep everything neat.
I did not remove the original stock aerial wiring. The steps outlined above took less than 45 minutes including removing the existing aerial.
I used a fascia and wiring kit from DynamicSounds. I fitted the new Pioneer unit to the fascia “on the bench” first as it’s a snug fit and needed a little bit of aligning to sit perfectly.