This replaces the existing aerial unit, entirely.
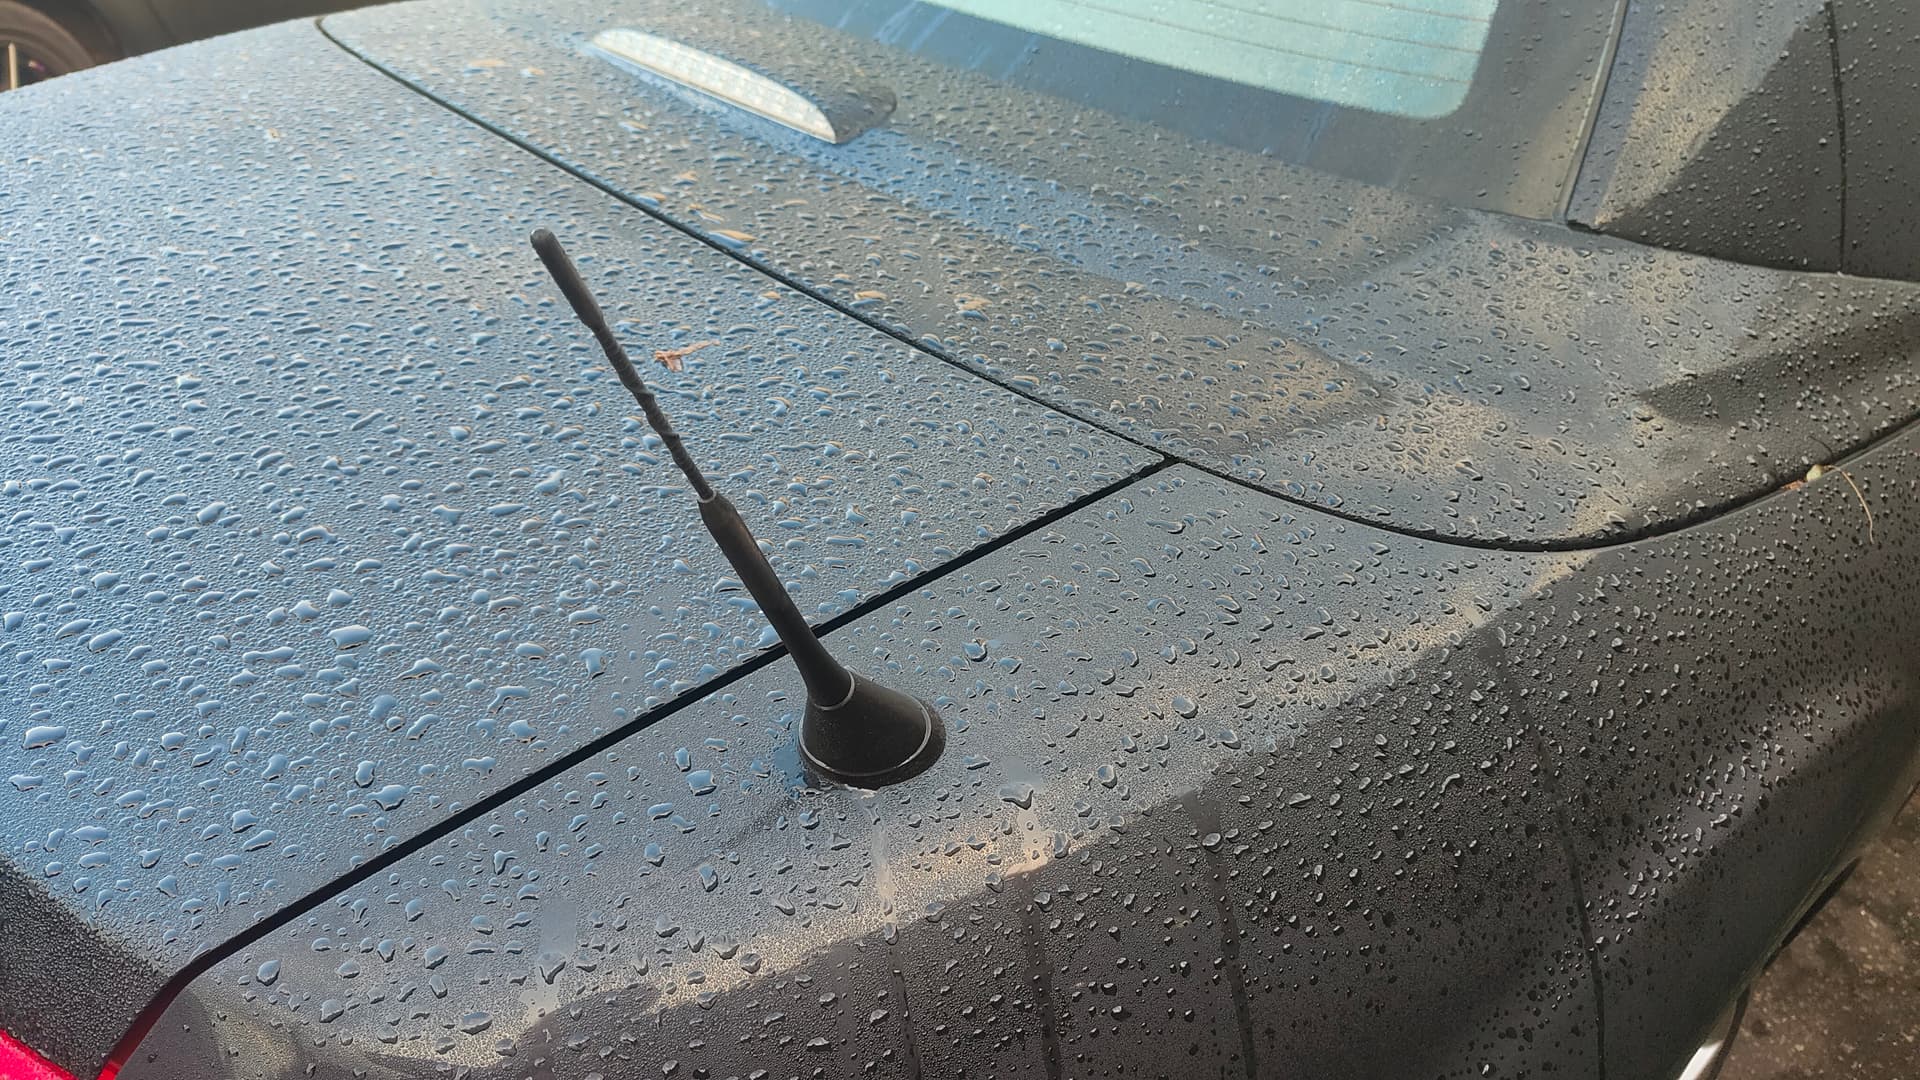
This is the link to the Hama aerial on Amazon, currently just under £55. You will also see cheaper options by other brands that look very similar - I can’t tell you if these are as good as the Hama one. I bought this after seeing a user on Miata.net had installed it. I’ve heard the Jass Performance stubby has good DAB reception, whichever yours is might do too. I didn’t bother replacing for a stubby as the Hama isn’t too long, not longer than the stock anyway.
You will find that circlip pliers are needed to remove the external base of the existing aerial. I have the £7 Silverline set from Amazon which has various “heads” for different uses - it’s also useful for roof latch adjustment if you need to.
You will need to remove the plastic boot panels and then just remove some of the clips holding the panels behind the drivers seat, including the scuff plate. I also removed the centre console.
The internal part of the original aerial base requires a large Philips screwdriver - getting this undone was probably the hardest part, as it was quite tight to undo. The new aerial has a nut which has only been nipped up finger tight but it forms a good seal and hasn’t leaked in any water.
I taped the 3 wires (DAB, FM, Power) together every 30cm to keep them neat and fed them around the RR wheel well using used my trombone cleaner to push it through to the cabin. This just made it easier but you could probably just push the 3 wires through without a “tool”. I then moved to the front of the car. I took out the centre console (I had to do this anyway to remove the head unit) then removed some of the clips behind the driver seat to get my hand behind (you can see what you’re doing at this stage, it’s not “blind”), then fed the aerial wires to the middle of the car and then below the cubby/storage and along the centre tunnel, keeping it neat alongside the existing wiring. I used a couple of small cable here ties to keep everything neat.
I did not remove the original stock aerial wiring. The steps outlined above took less than 45 minutes including removing the existing aerial.
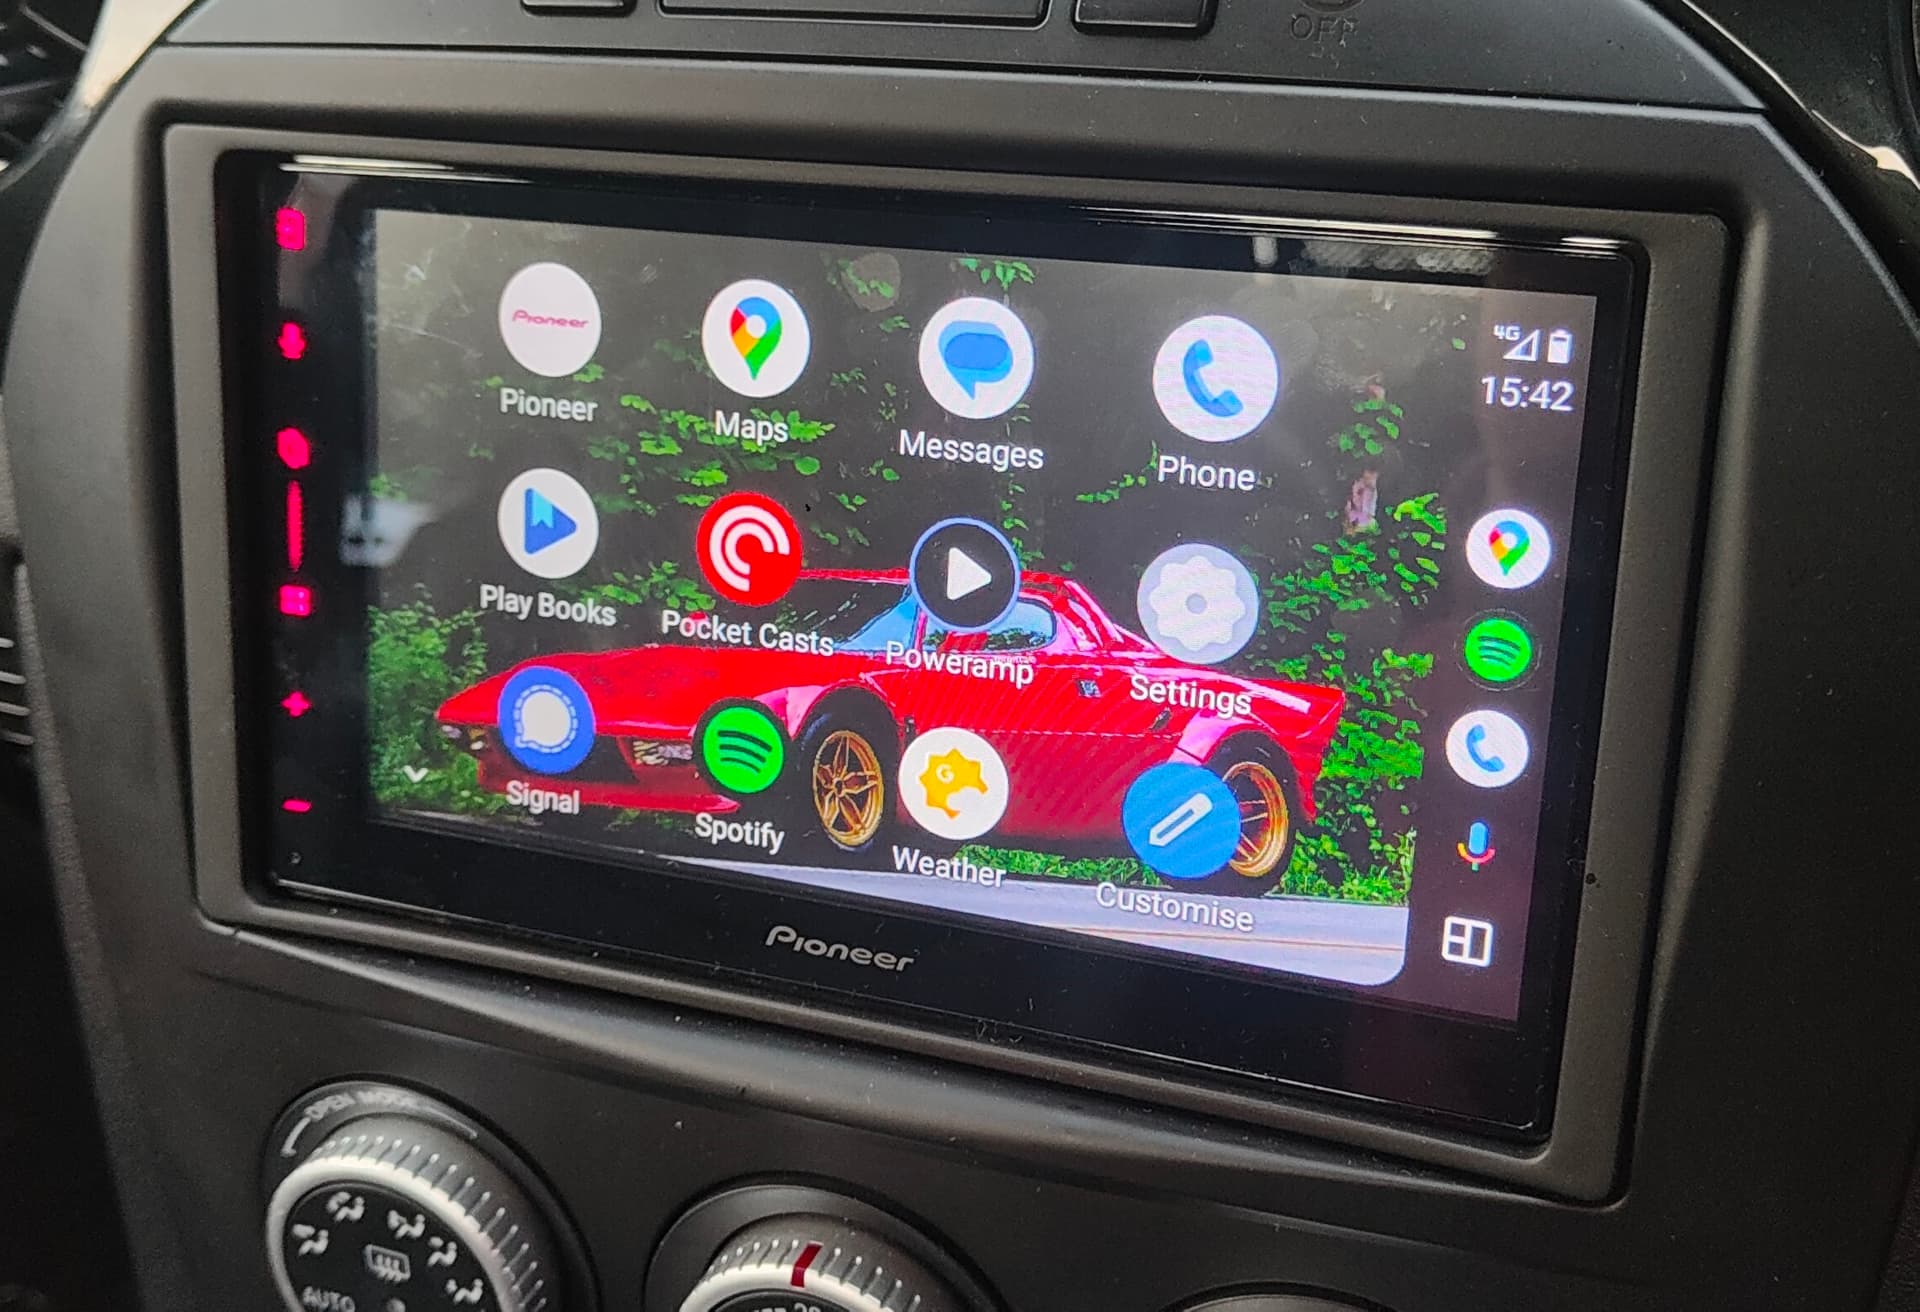
I used a fascia and wiring kit from DynamicSounds. I fitted the new Pioneer unit to the fascia “on the bench” first as it’s a snug fit and needed a little bit of aligning to sit perfectly.