- My model of MX-5 is: NC
- I’m based near: Preston, Lancs.
- I’m looking for technical help or recommendations on: Sharing experience.
Hi Folks,
Joined the forum a while ago - this is my first post, be gentle! Just want to share my experience of the NC 1.8’s engine knock & smoky exhaust issues.
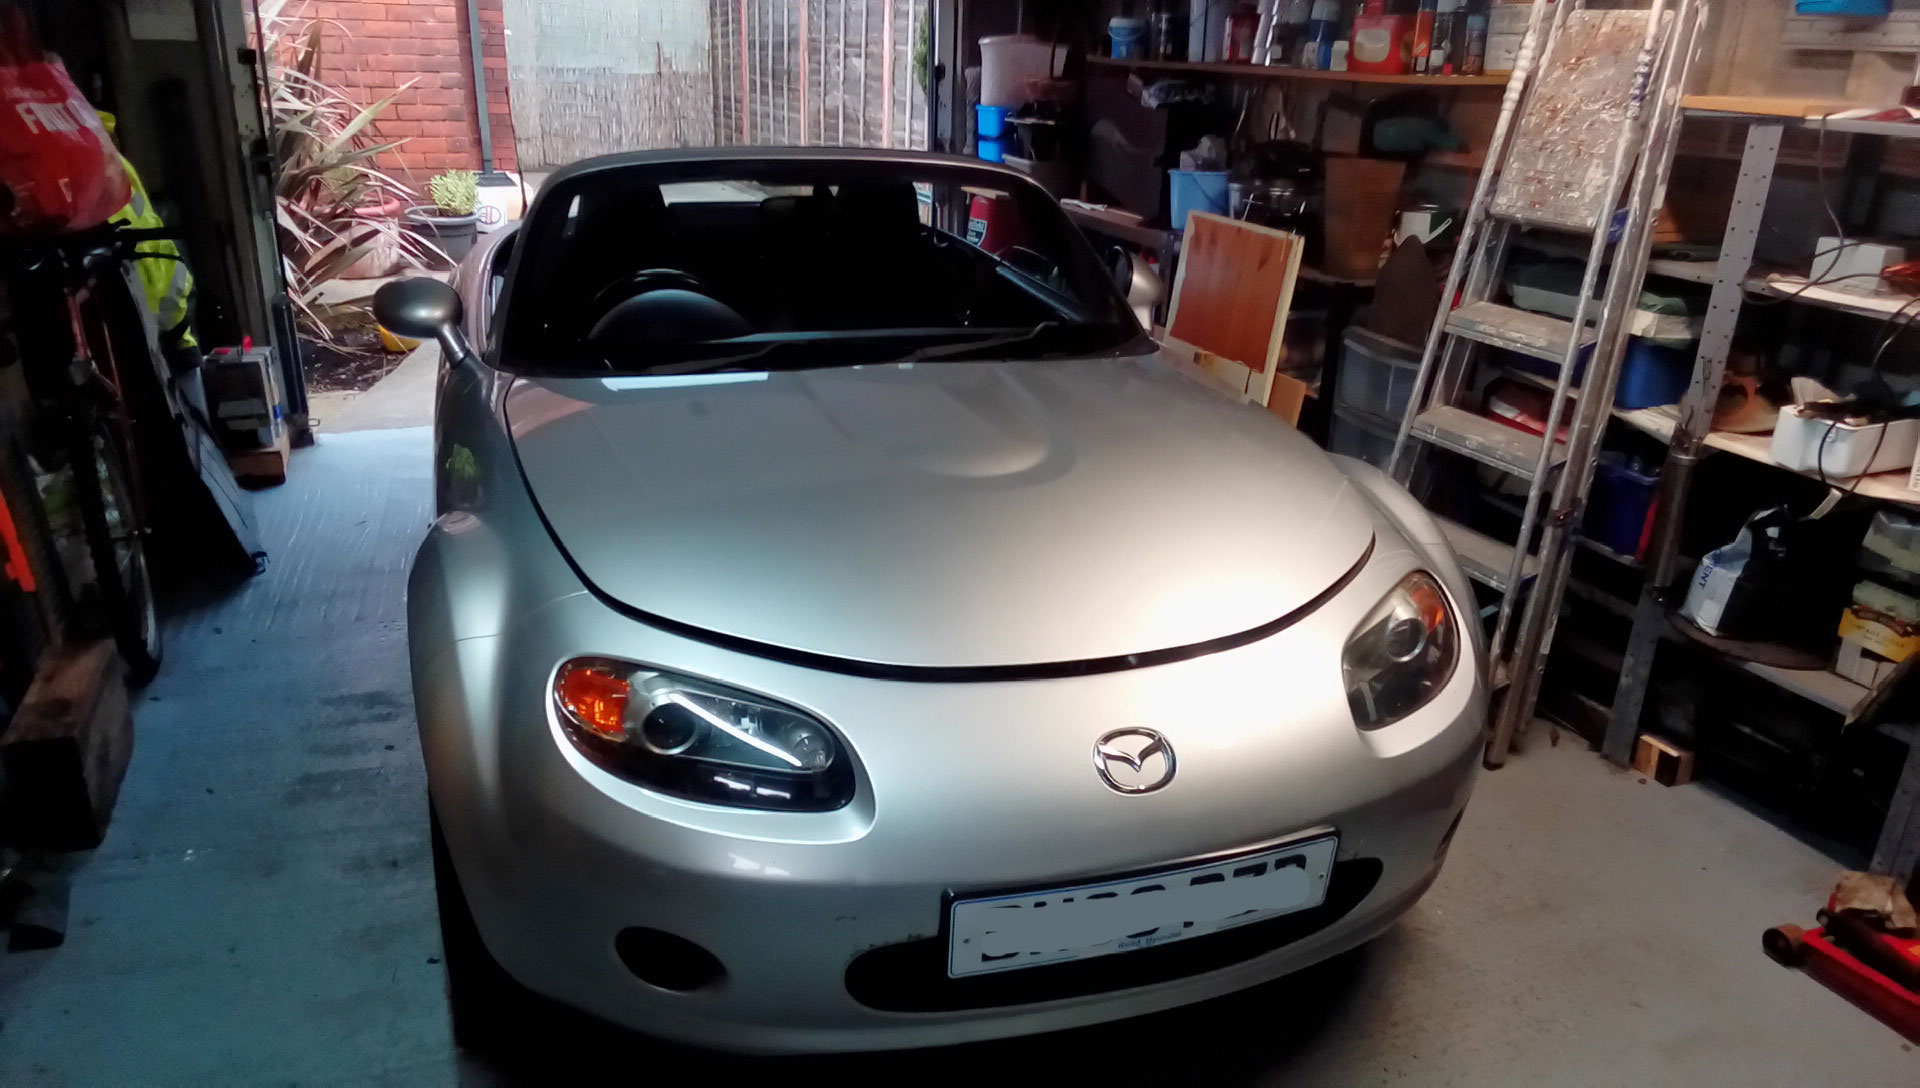
Bought a cheap 2016 NC 1.8 unseen from ebay in December last year. I knew for the money it wasn’t going to be a show car or anywhere near. I bought it as a project aiming to get it ready for this summer.
Soon discovered via the various forums that these cars are susceptible to high oil consumption leading to oil starvation leading to spun/worn bearings. Also discovered that the oil pressure gauge is a fake that might cause low oil level to go unnoticed. Anyway, my car suffered from all of that. The knocking was barely noticeable but was there. And the blue smoke was most apparent on start up. There was also a clatter from the engine for a few seconds on first start of the day.
Once I found out about the fake oil pressure gauge I decided to fit a warning lamp so I could monitor what’s going on. I was able to trace the oil pressure switch input going into the instrument cluster to a light green wire going to connector pin 1H. I soldered a “Y” connection to this.
The switch is normally closed and the correct way to wire it up would be to connect the anode of an LED to a +V supply and the cathode to the switch, hence the LED will stay on until the oil pressure builds up. I was going to take a +12V wire from a convenient ancillary circuit such as the radio or cigarette lighter but noticed that this circuit is switched off during cranking.
With the incomplete wiring diagrams I have, I couldn’t find an ignition-on wire and I didn’t fancy spending hours trying to trace one in the various looms. So ended up inverting the indicator so that it comes on when the oil pressure is on – the LED anode goes to the oil pressure signal and the cathode goes to ground. The internal pull-up in the instrument panel is sufficiently strong to illuminate the LED when the pressure switch opens. With a simple 3D printed housing I mounted the indicator on top of the steering column cover:
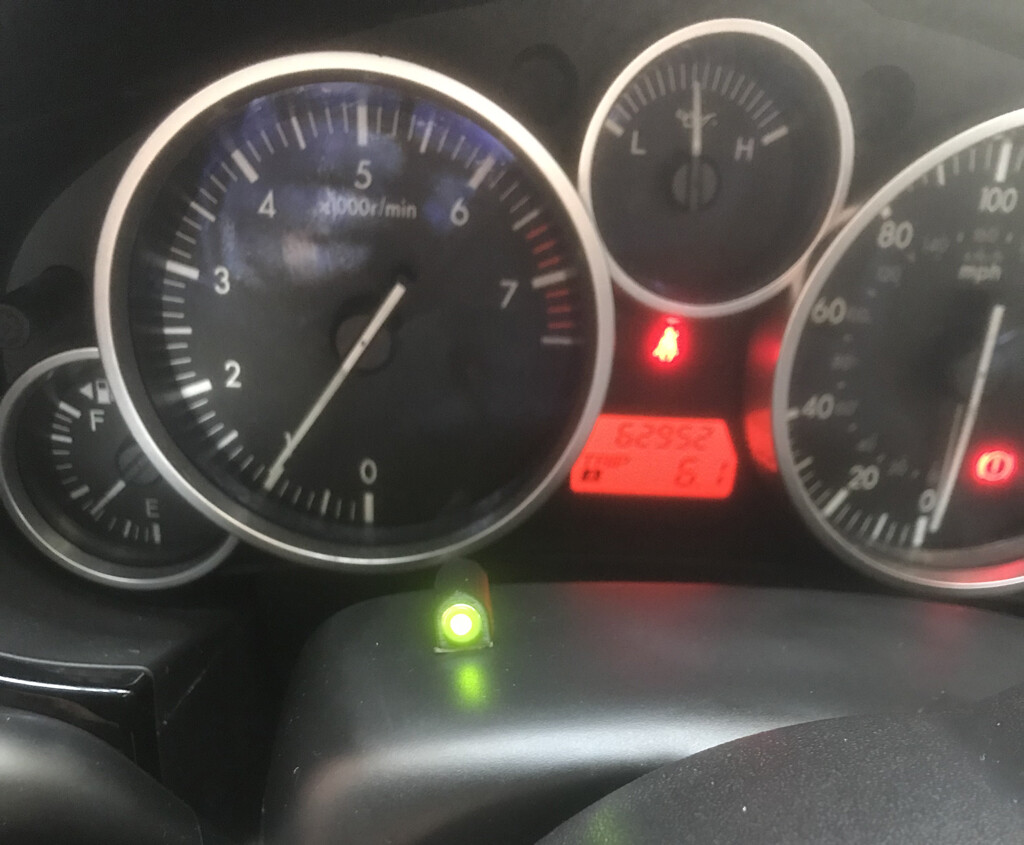
The indicator can give a vague idea of whether the oil pressure is “good” or “bad” by measuring the time it takes for the oil pressure to build-up during cranking and drop-off when the engine stops. On a “good” engine the oil pressure should build-up after just a couple of seconds of cranking and, when the engine is cold, should take 20 seconds or more to drop-off after the engine stops.
The engine took more than 10 seconds of cranking before the indicator flickered on and goes off in just a few seconds when the engine stops. This is a fairly good indicator that the oil pressure is poor, almost certainly due to excessively worn engine bearings. This explains the knock and also the clatter from the engine on first start. So, no option but to strip the engine.
Before I took the engine out I did a dry compression test: Cylinders 1 to 4 (Bar) 17.5, 19.2, 19.8, 18.0. The service manual says minimum is 12 Bar and max difference between cylinders is 2 Bar so the results I got were above the minimum, although the difference between 1 & 3 was just over 2 Bar. This convinced me that the engine was worth saving.
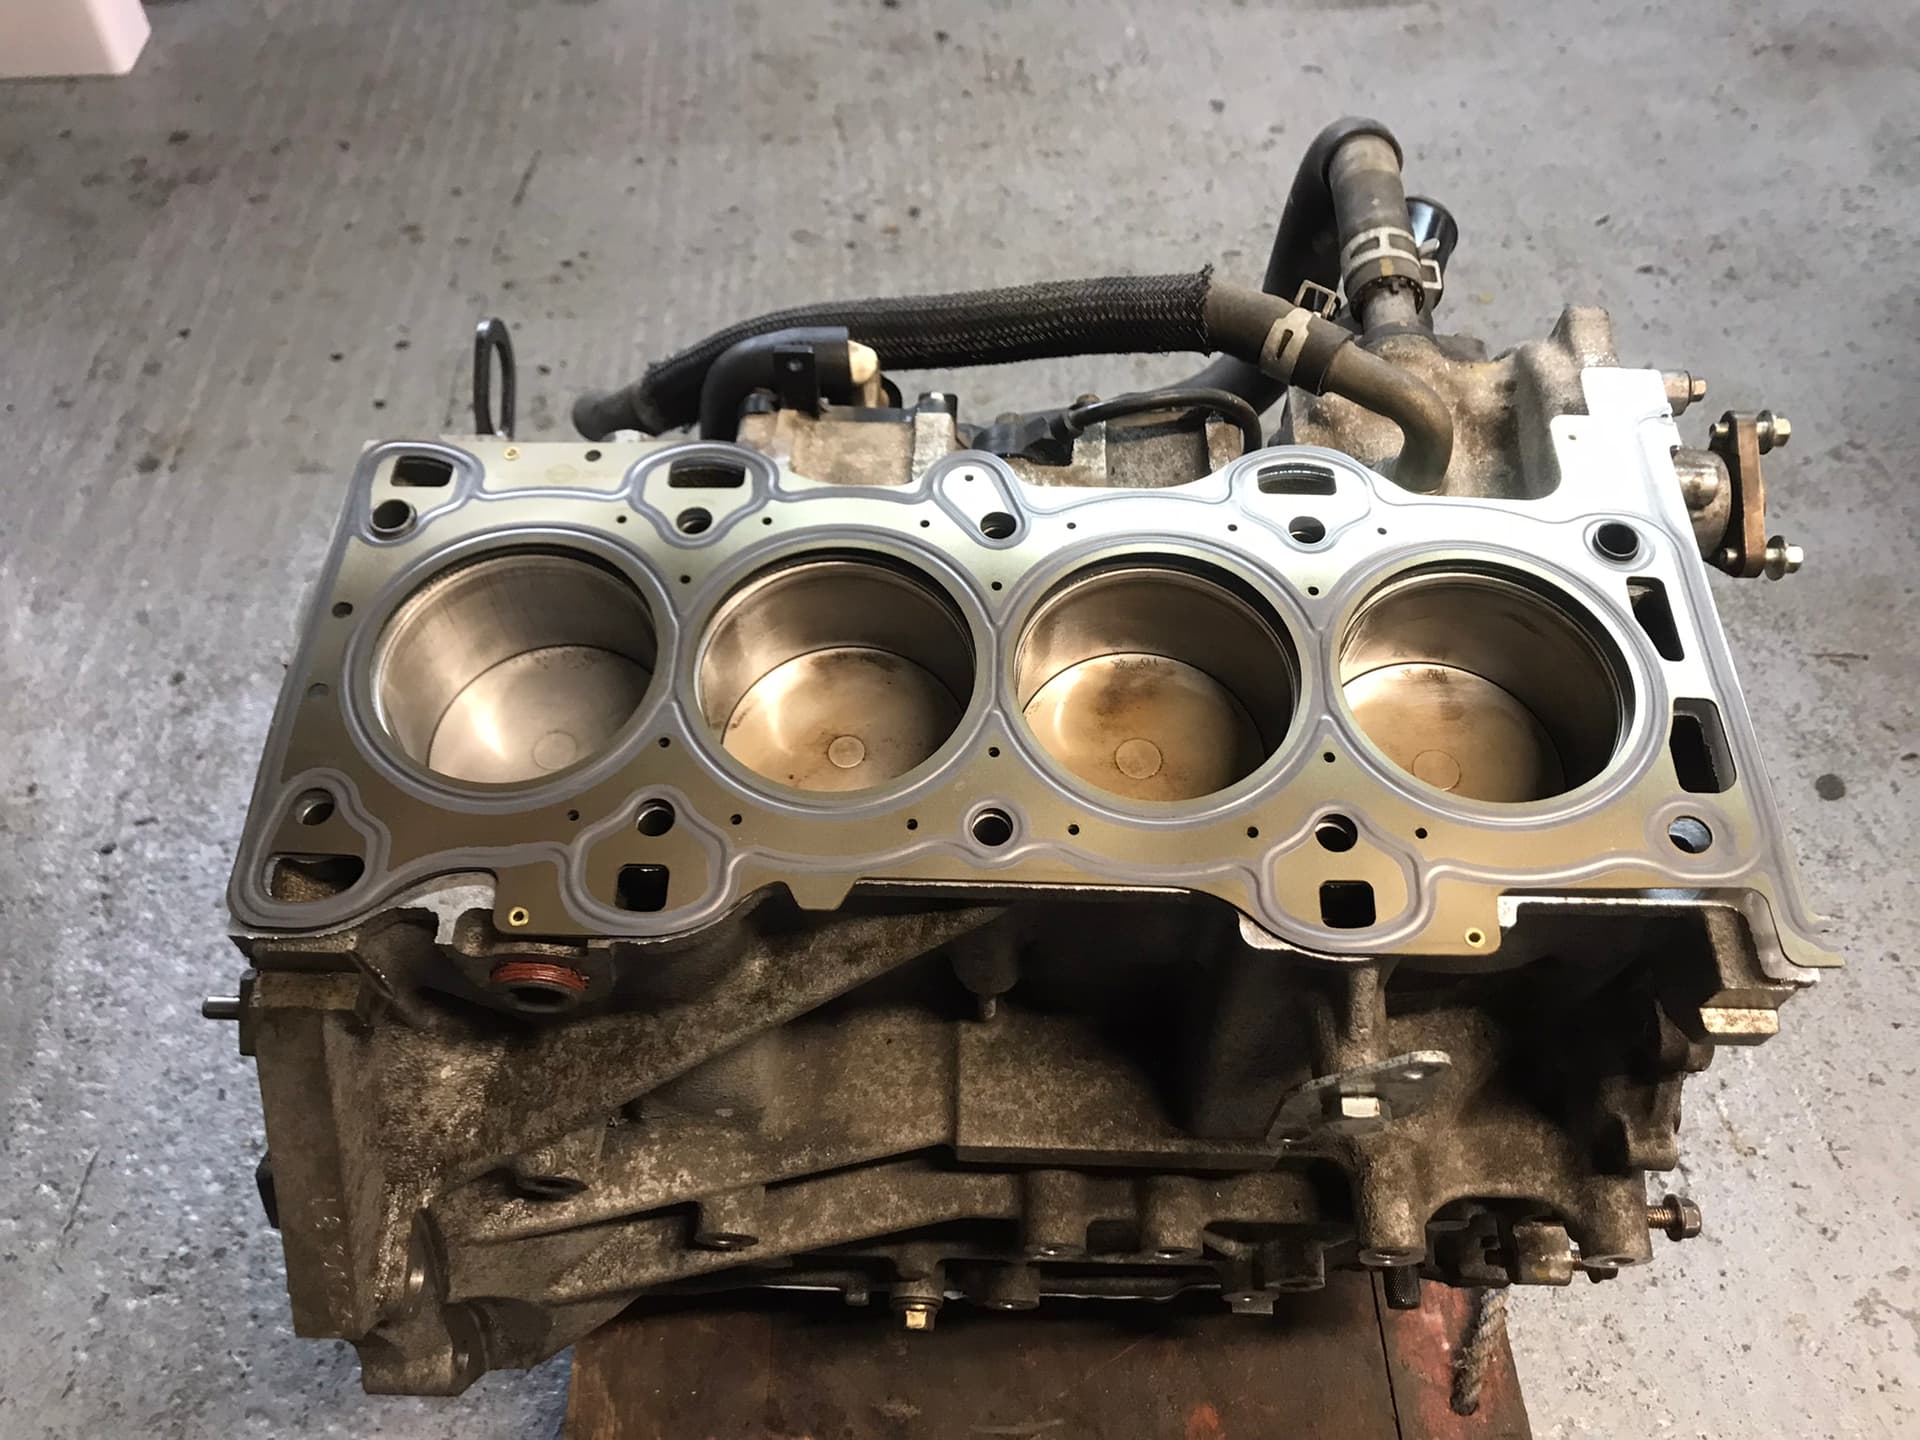
I dropped the engine out complete with gearbox & subframe. Engine partially stripped shows oil in all the cylinders. There was no evidence of oil coming though the valve stem oil seals and the PCV valve worked OK. It seemed a good bet that the oil rings had failed.
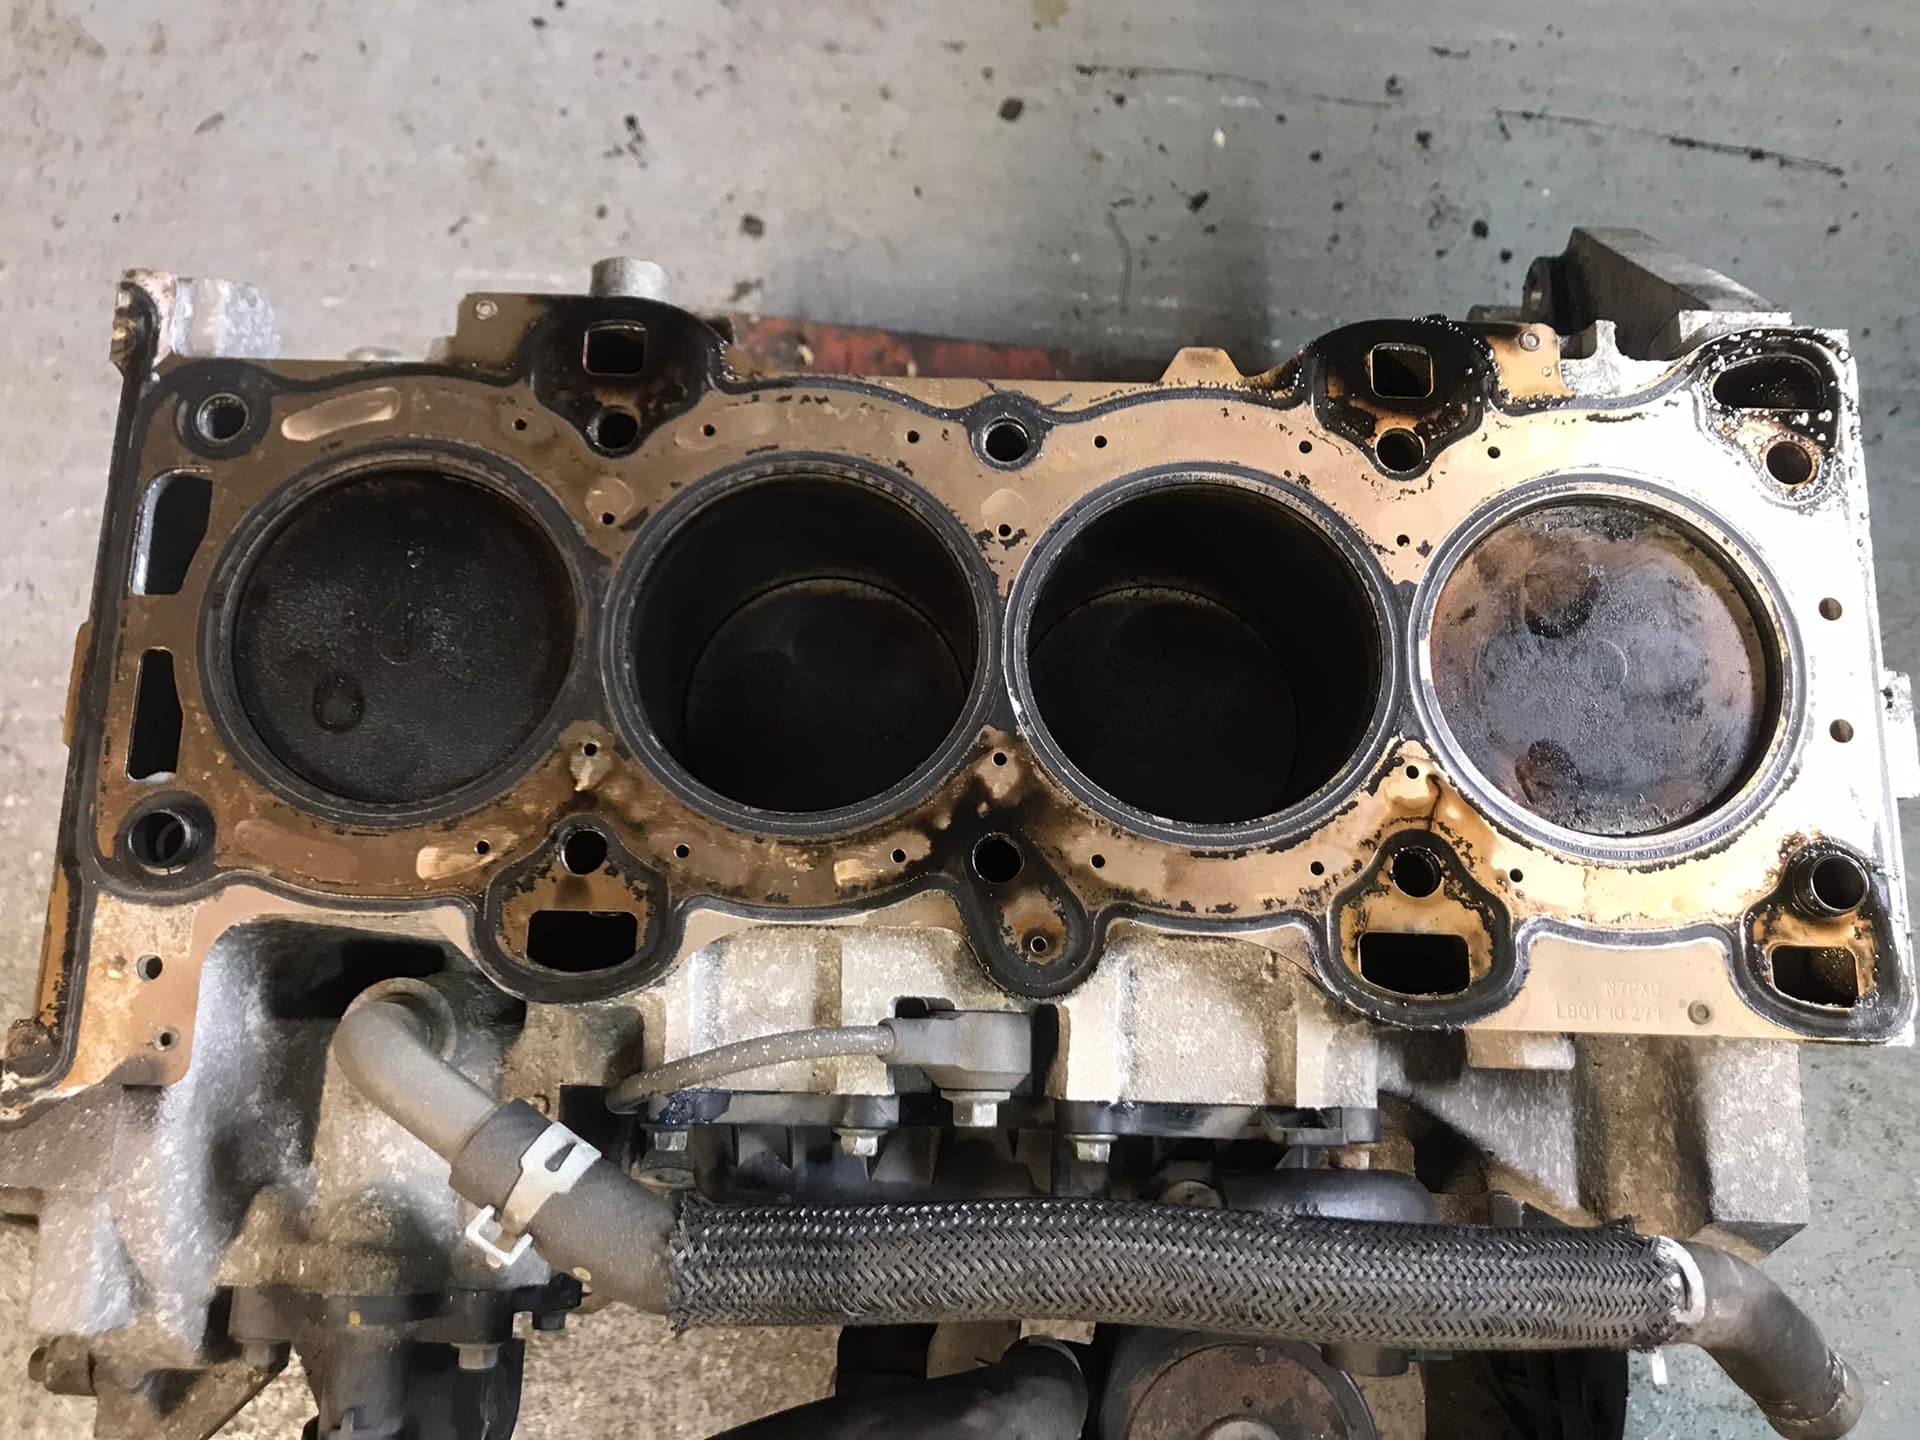
Further stripdown showed the effects of an oil burning engine and the Exhaust Gas Recirculation (EGR) nonsense:
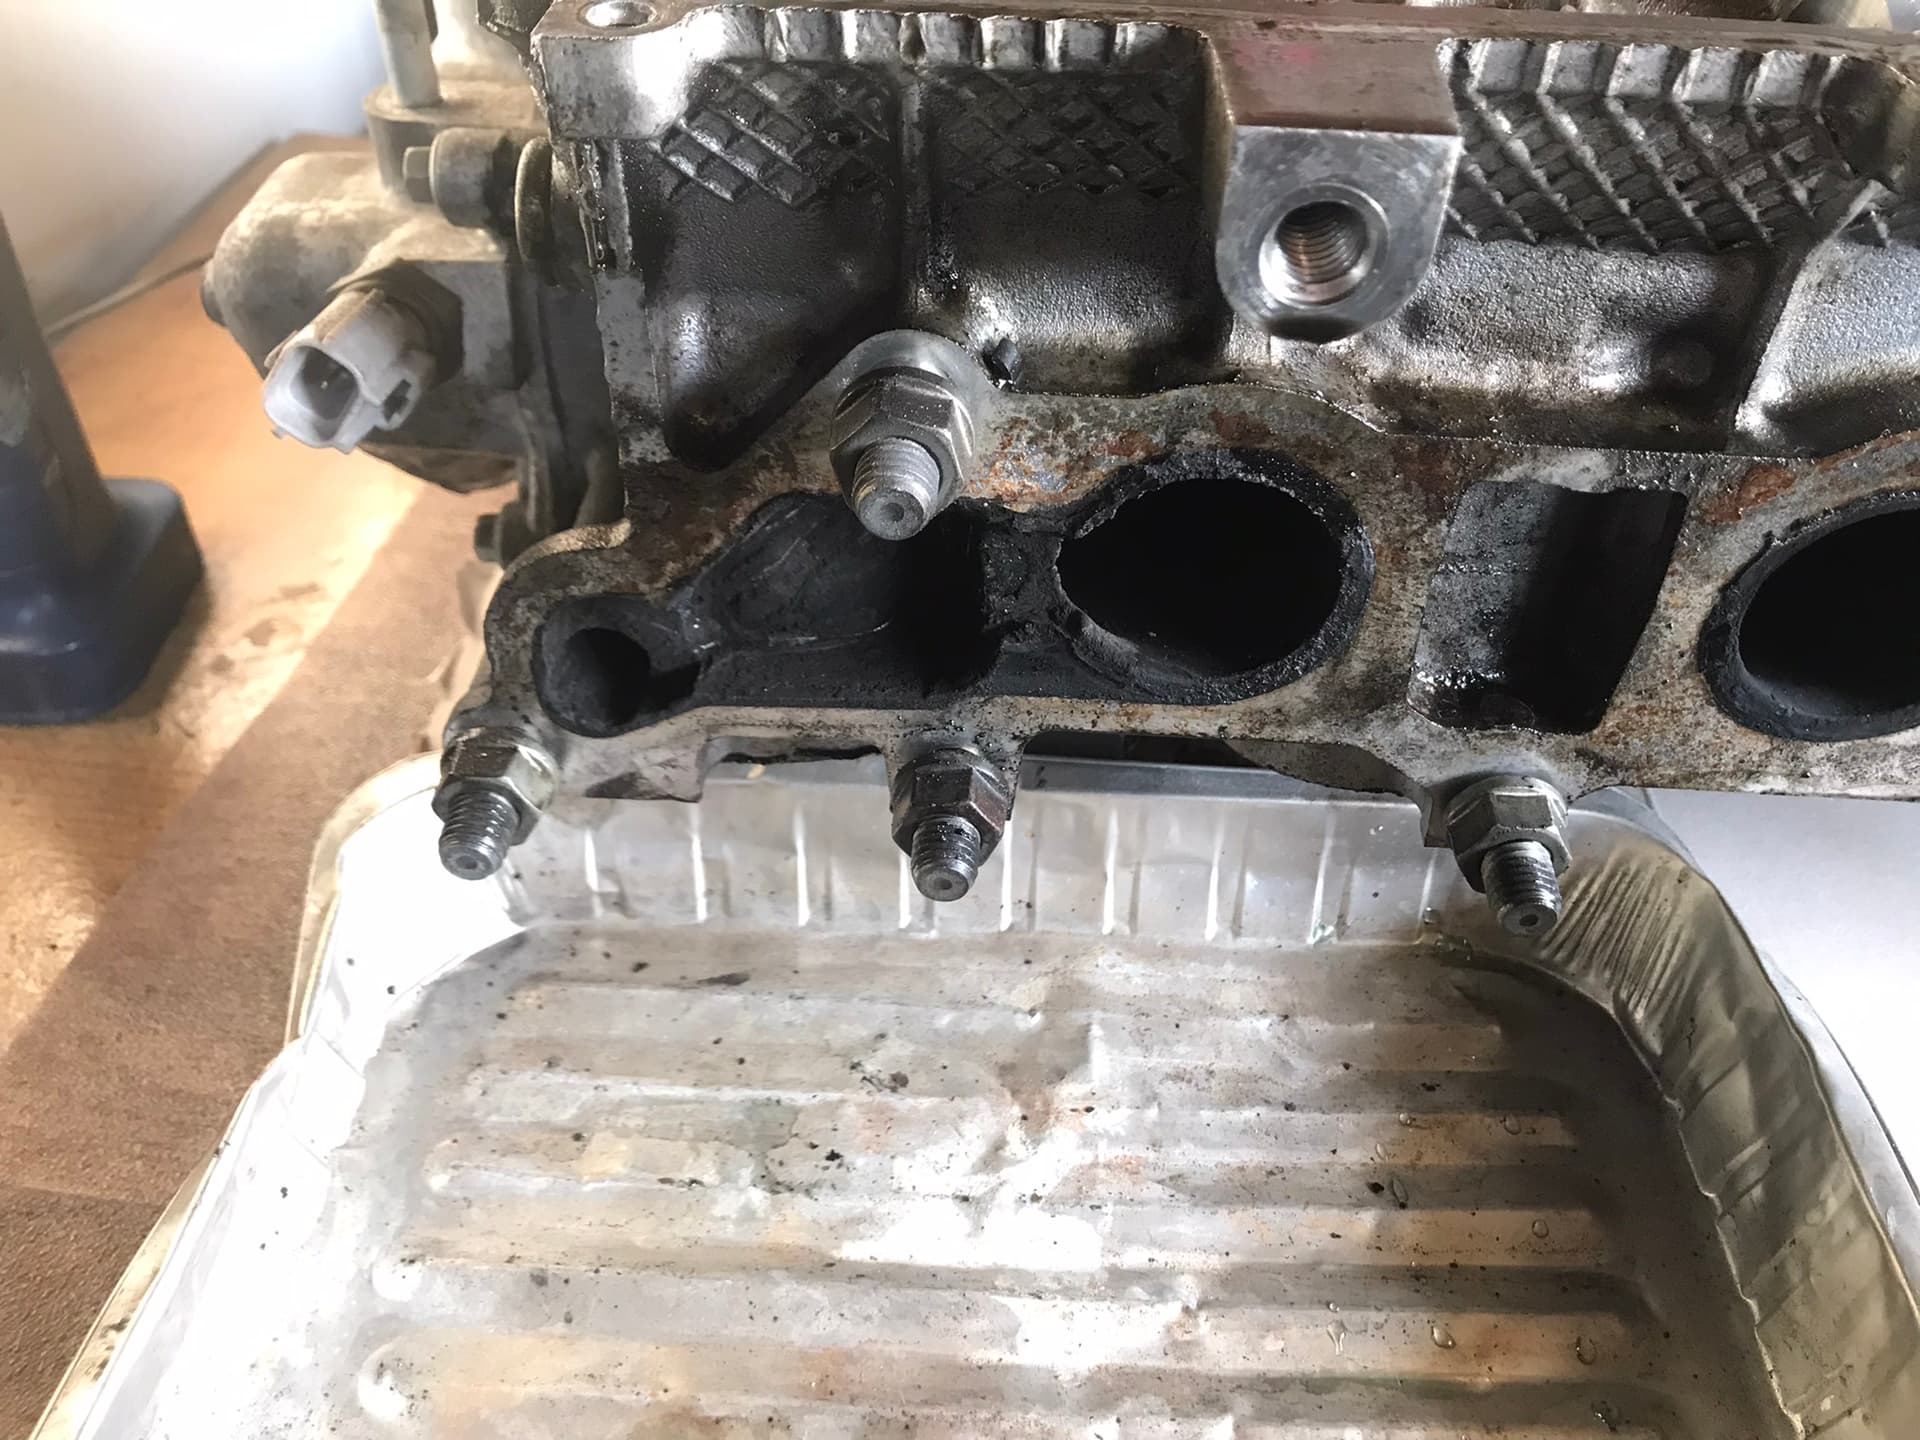
Exhaust valve at cylinder 4:
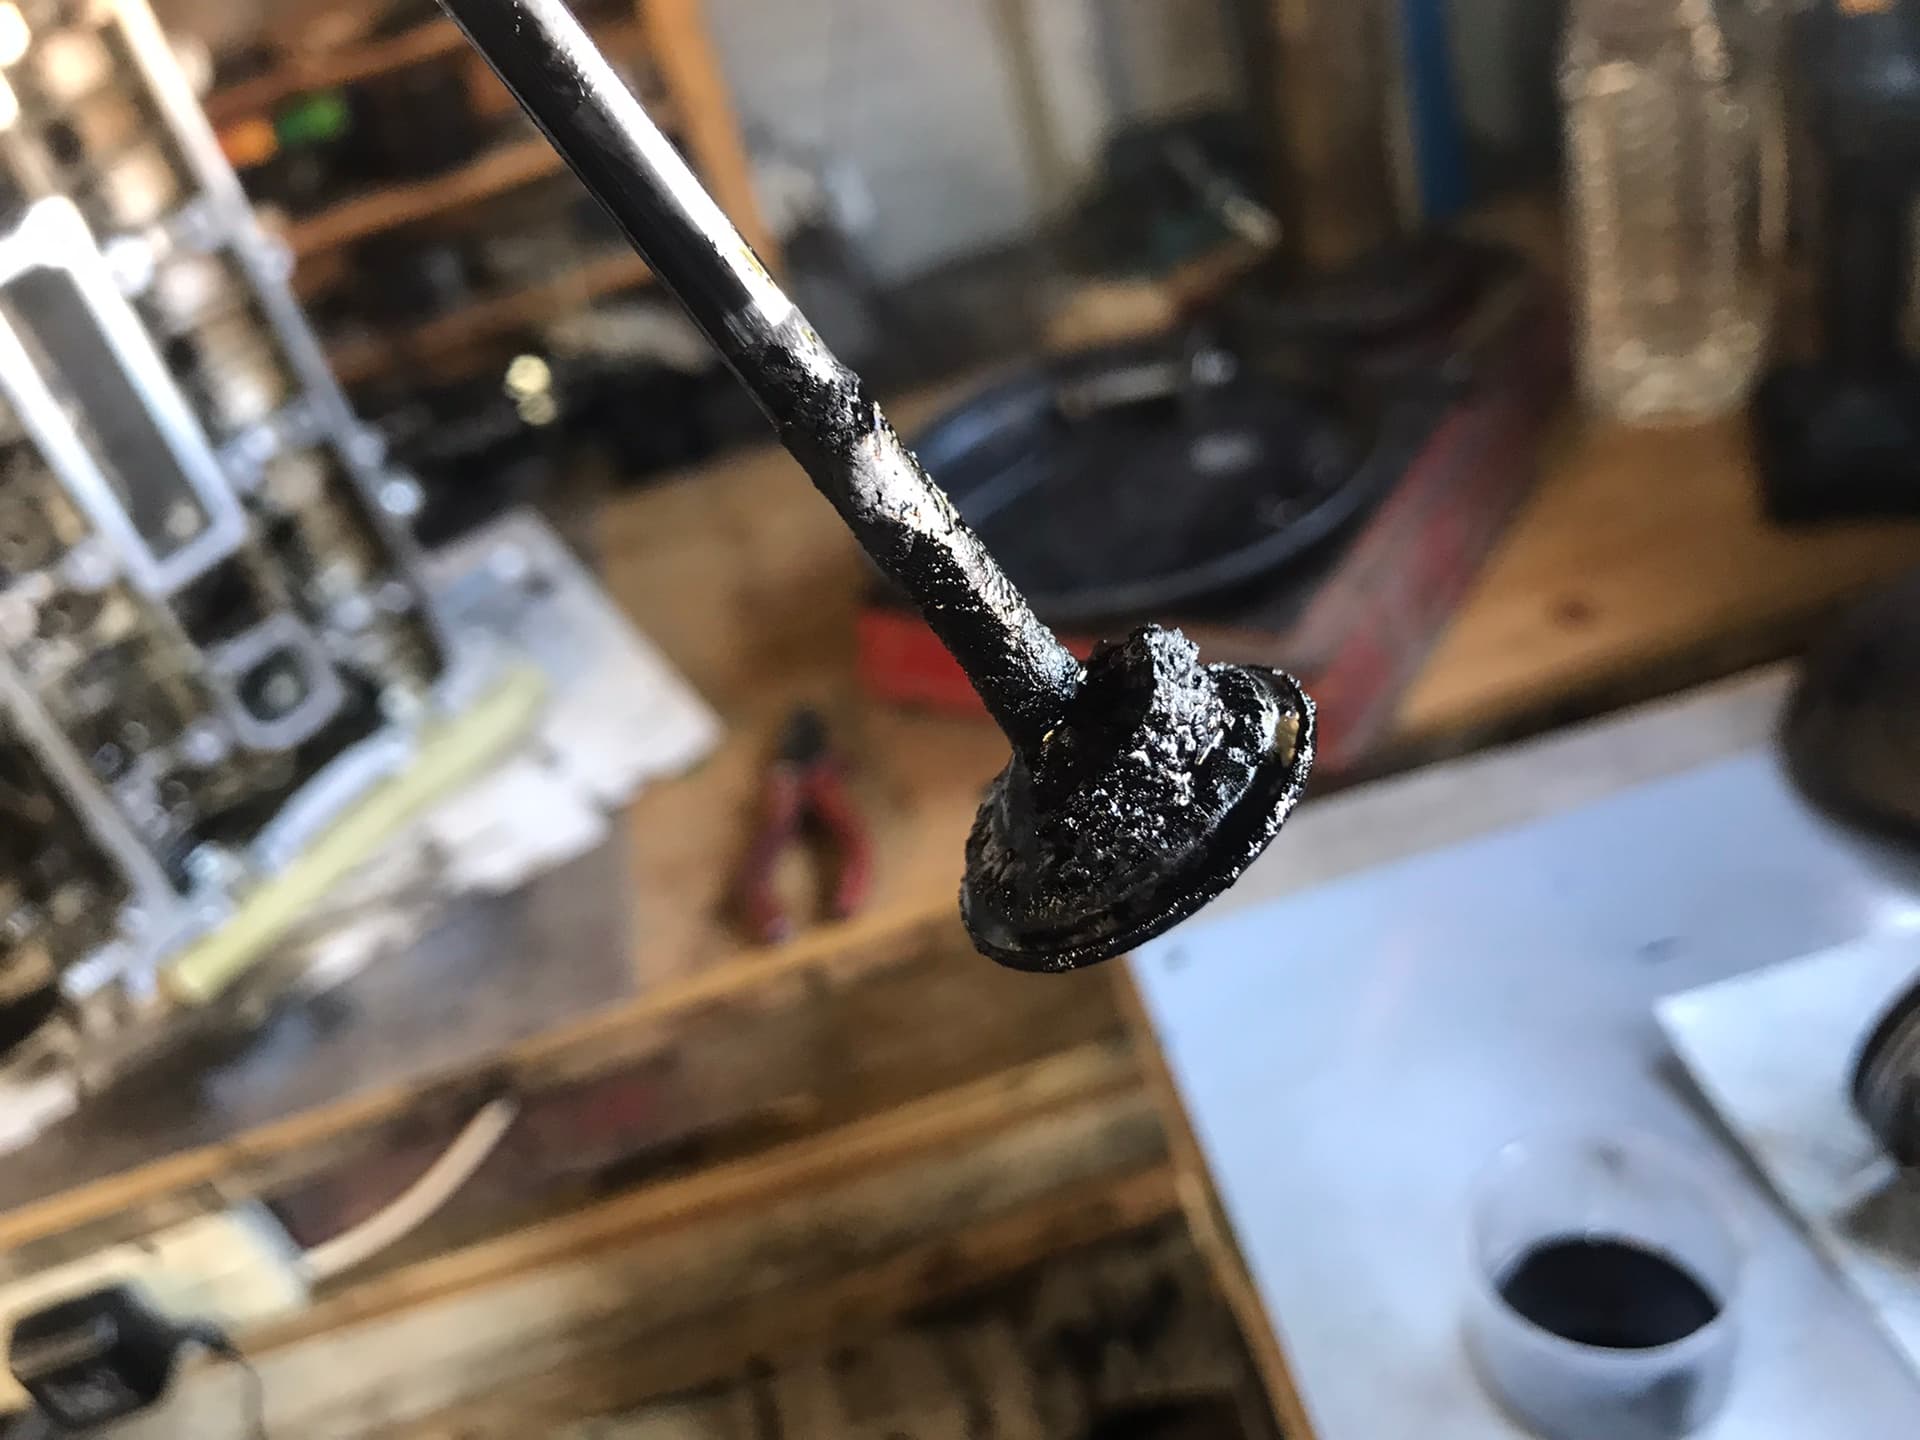
The EGR system feeds into the intake manifold adjacent to cylinder #4, hence this is the most heavily contaminated by oily soot.
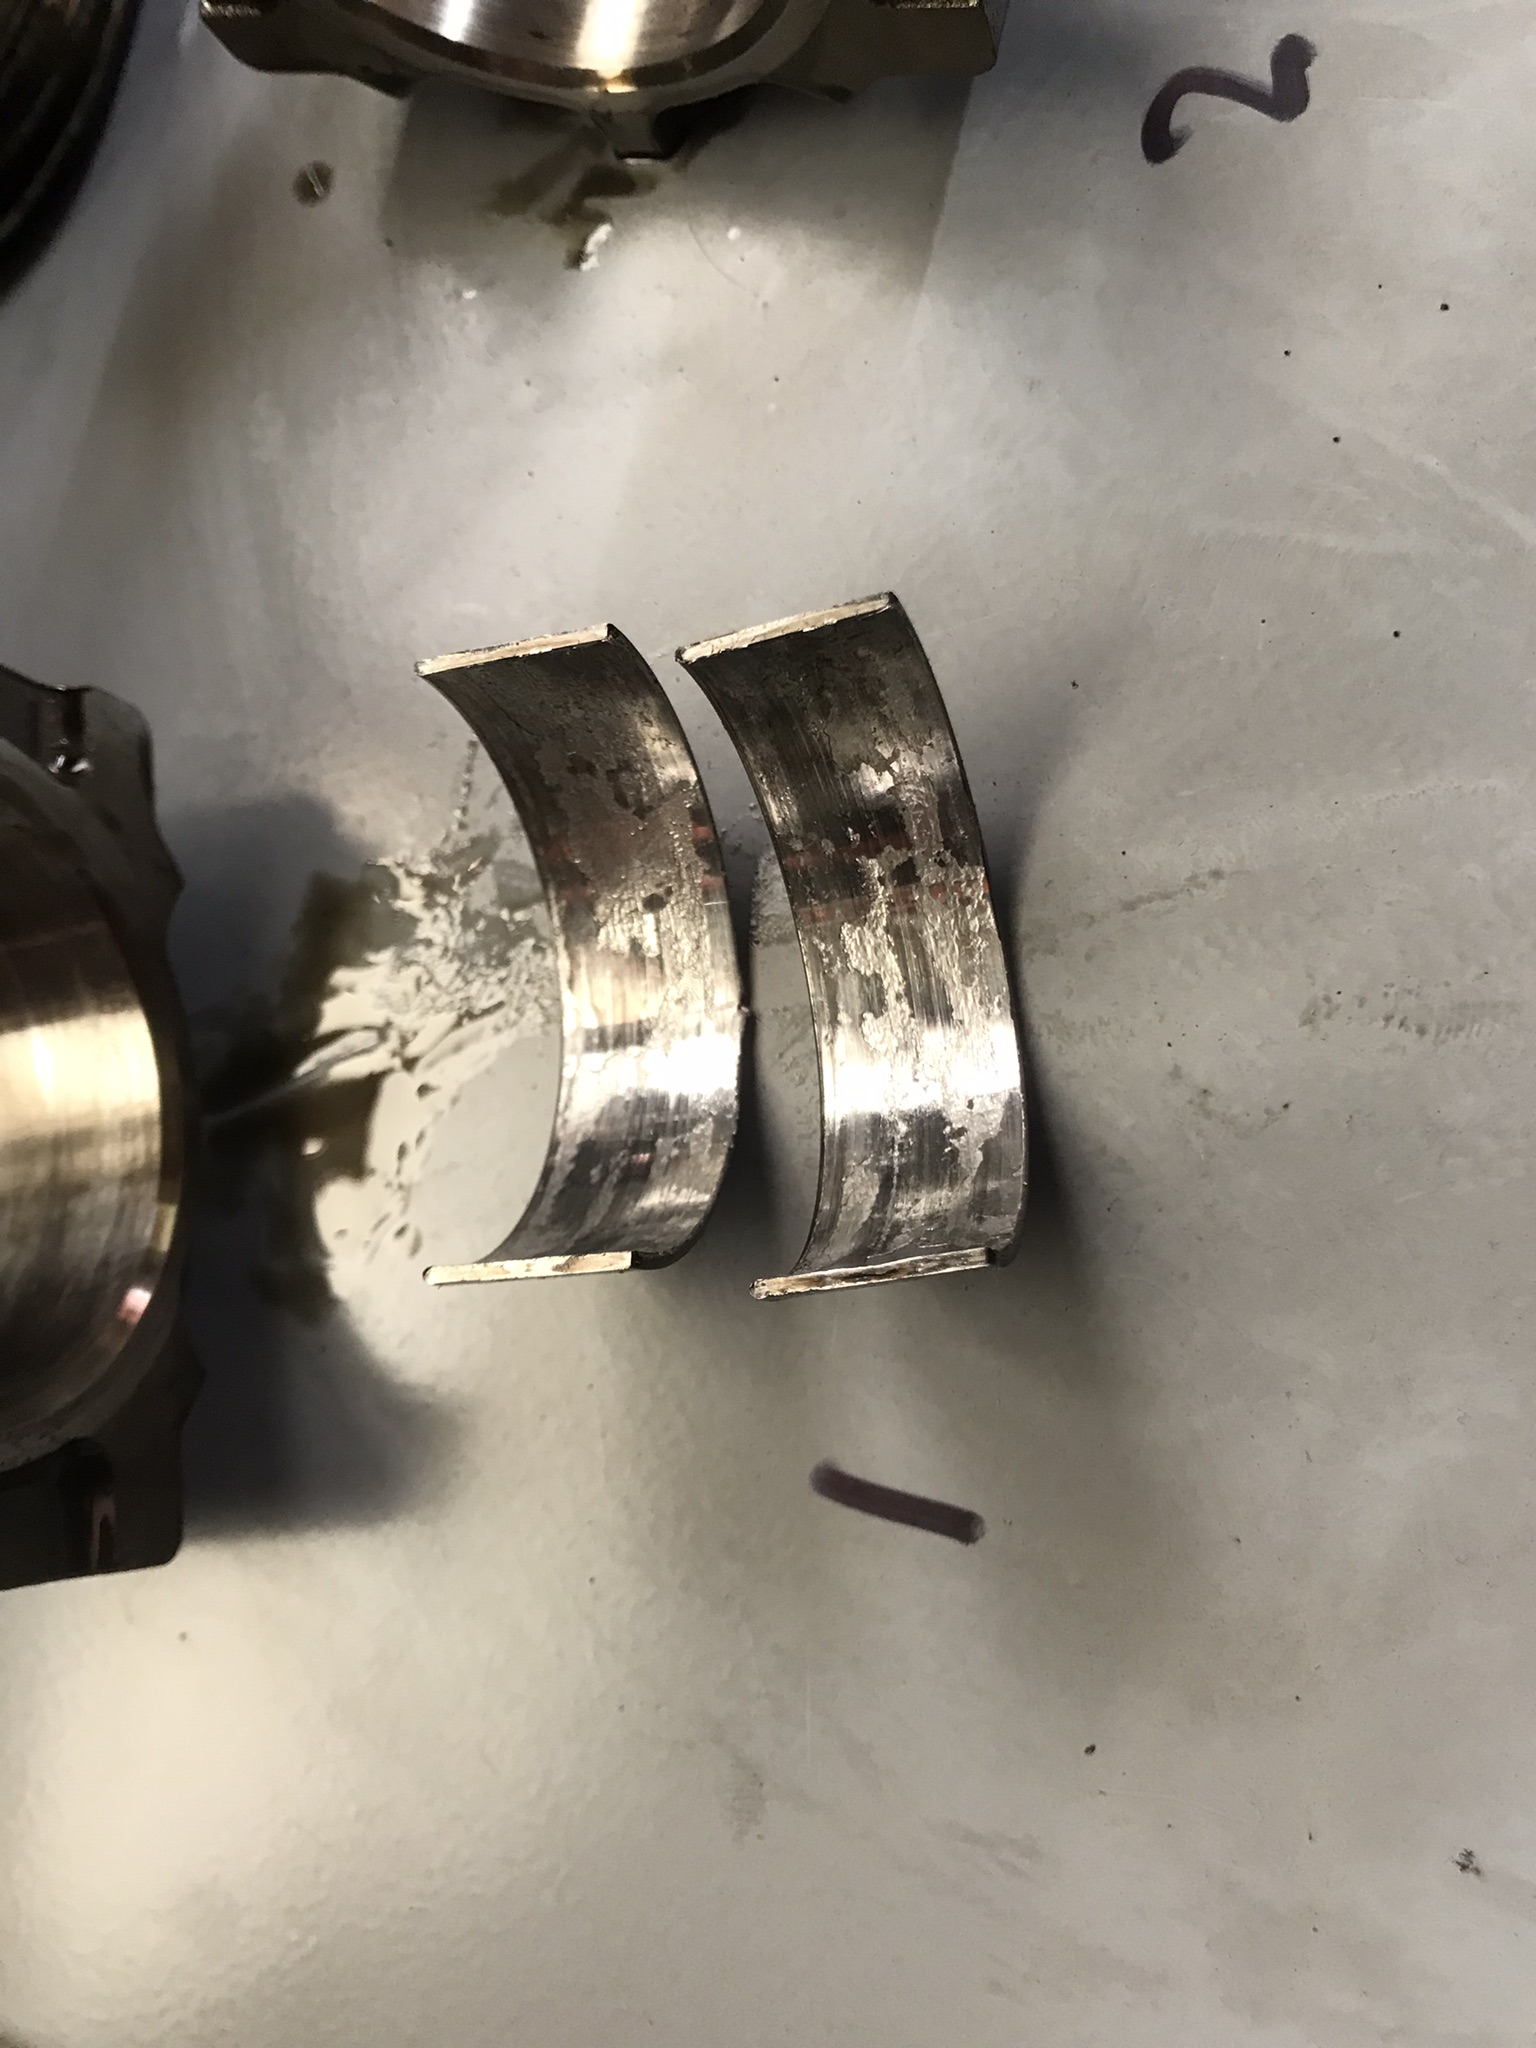
Big end bearings at cylinders #1 & #4 had “spun” and were the worst damaged:
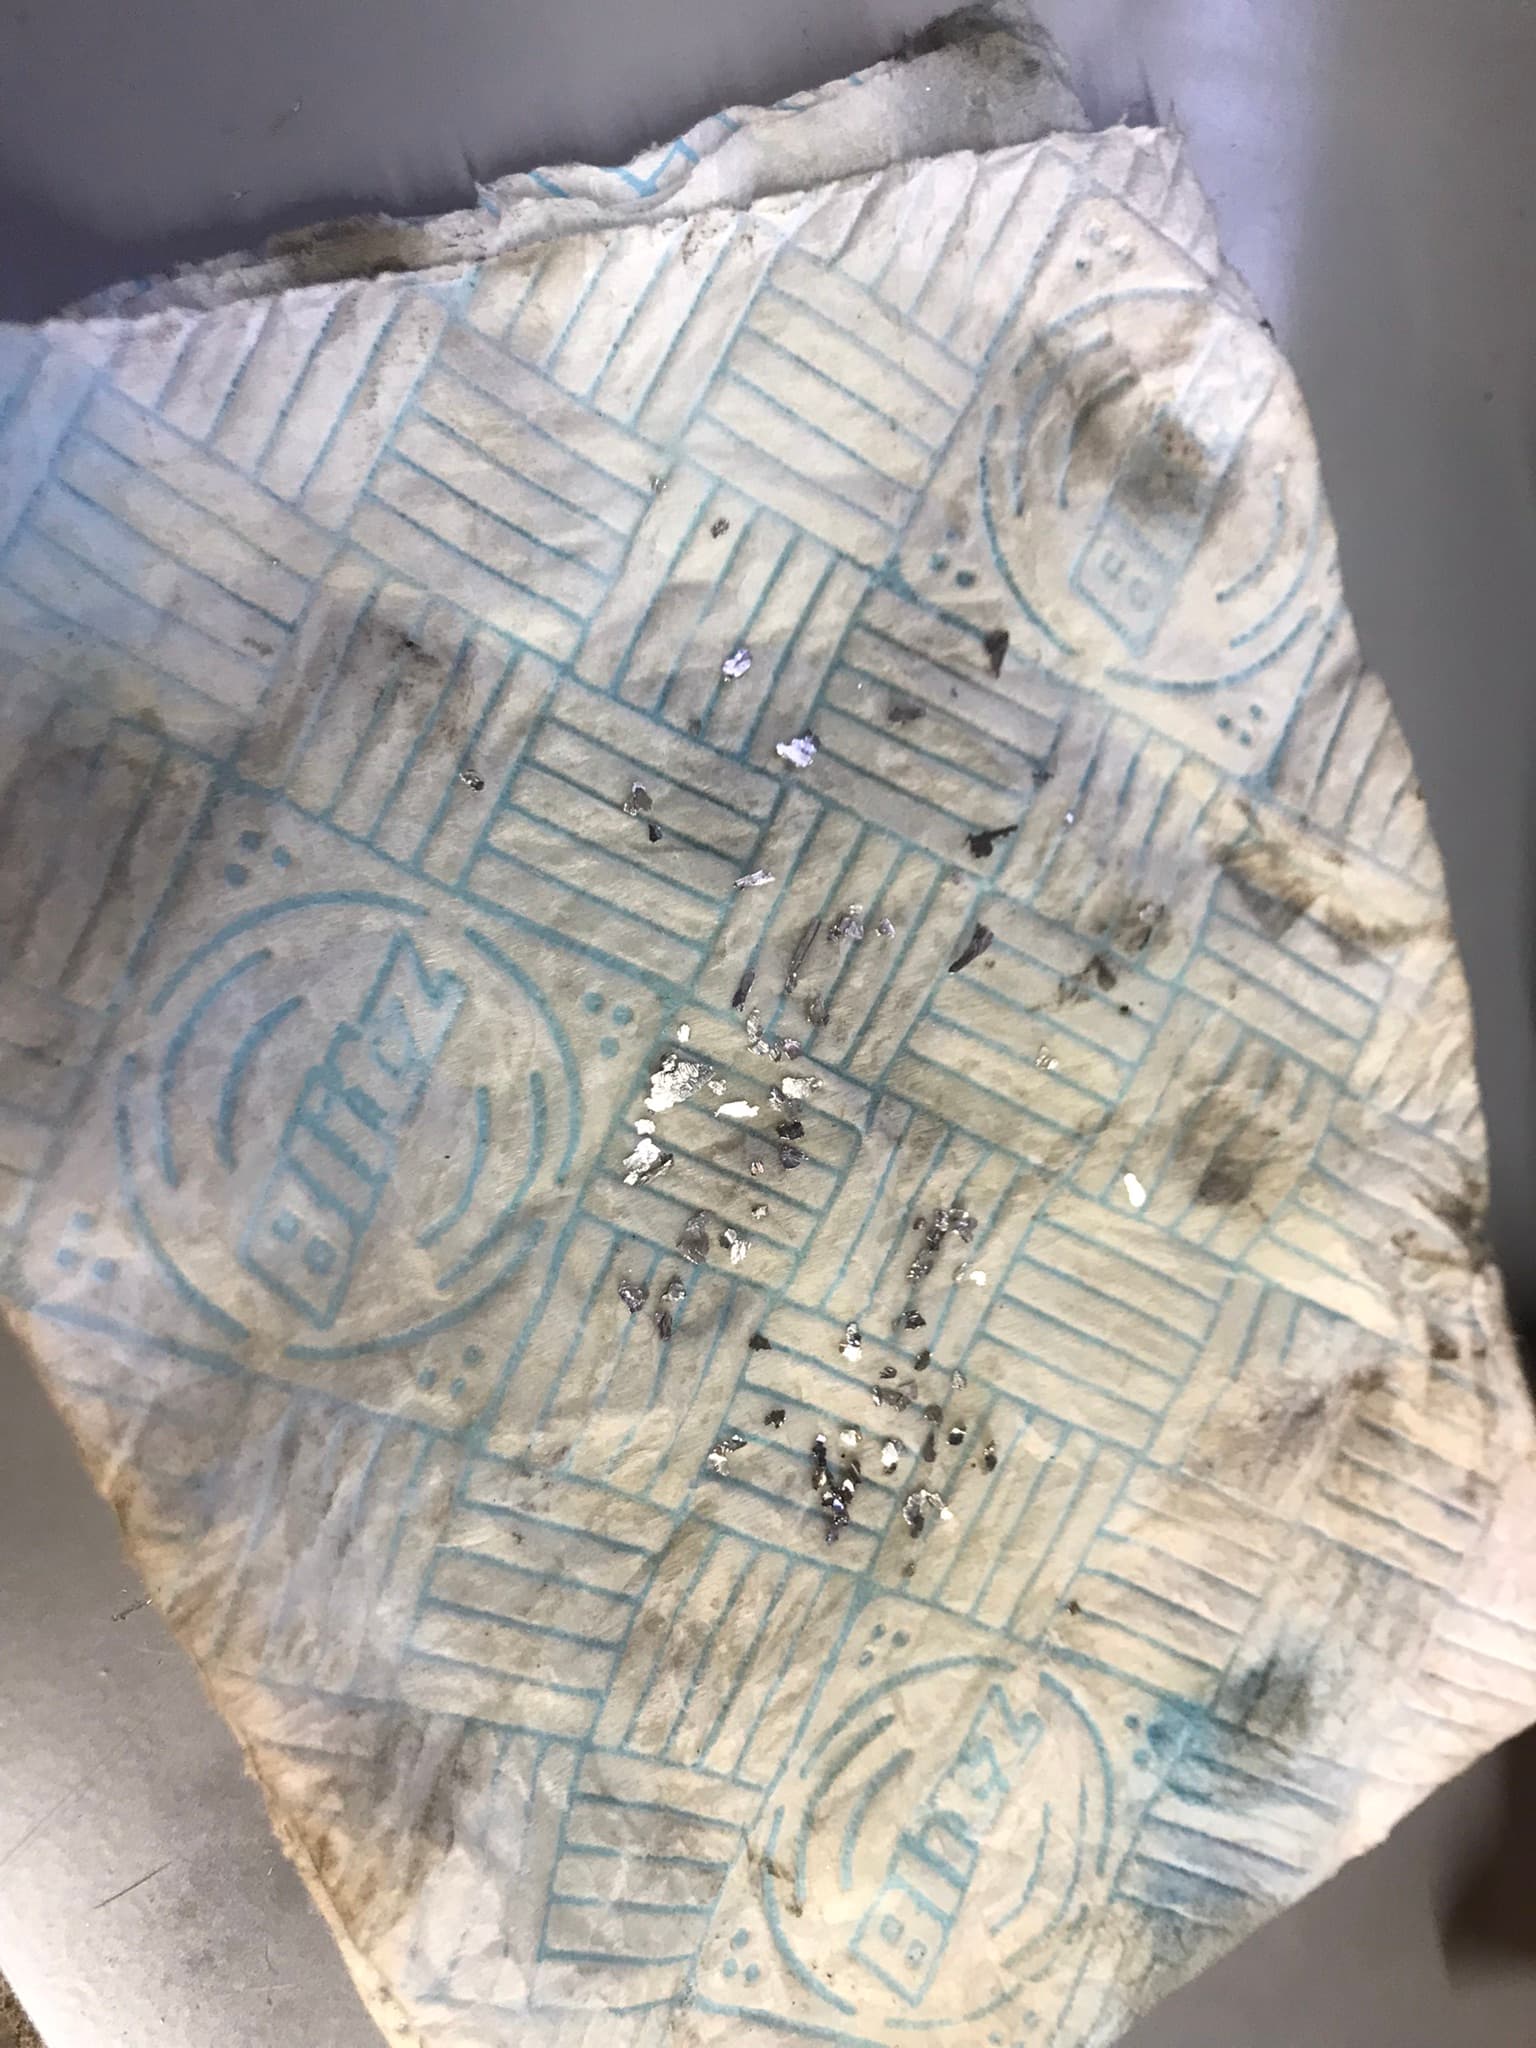
Bearing material from the oil strainer:
The main bearings were hardly affected and the crankshaft escaped major damage and I was able to polish out some light scratches with 400 wet & dry.
The oil scraper rings were encrusted in carbon and the oil control rings and oil drain holes in the pistons were clogged with sludge.
I ordered up the following parts for the rebuild:
King CR4515SI big end bearings
King CR5442SI main bearings
Goetze 08-429400-00 Piston Rings
Elring head gasket
Elring front & rear crankshaft oil seals
Valve stem oil seals
Ajusa head bolts
Mazda crankshaft pulley bolt
Clutch & release bearing
Note that searching online for “Ford 1.8 Duratec” parts instead of Mazda MX5 NC can yield more results. The Goetze piston rings for example are listed only as Ford parts.
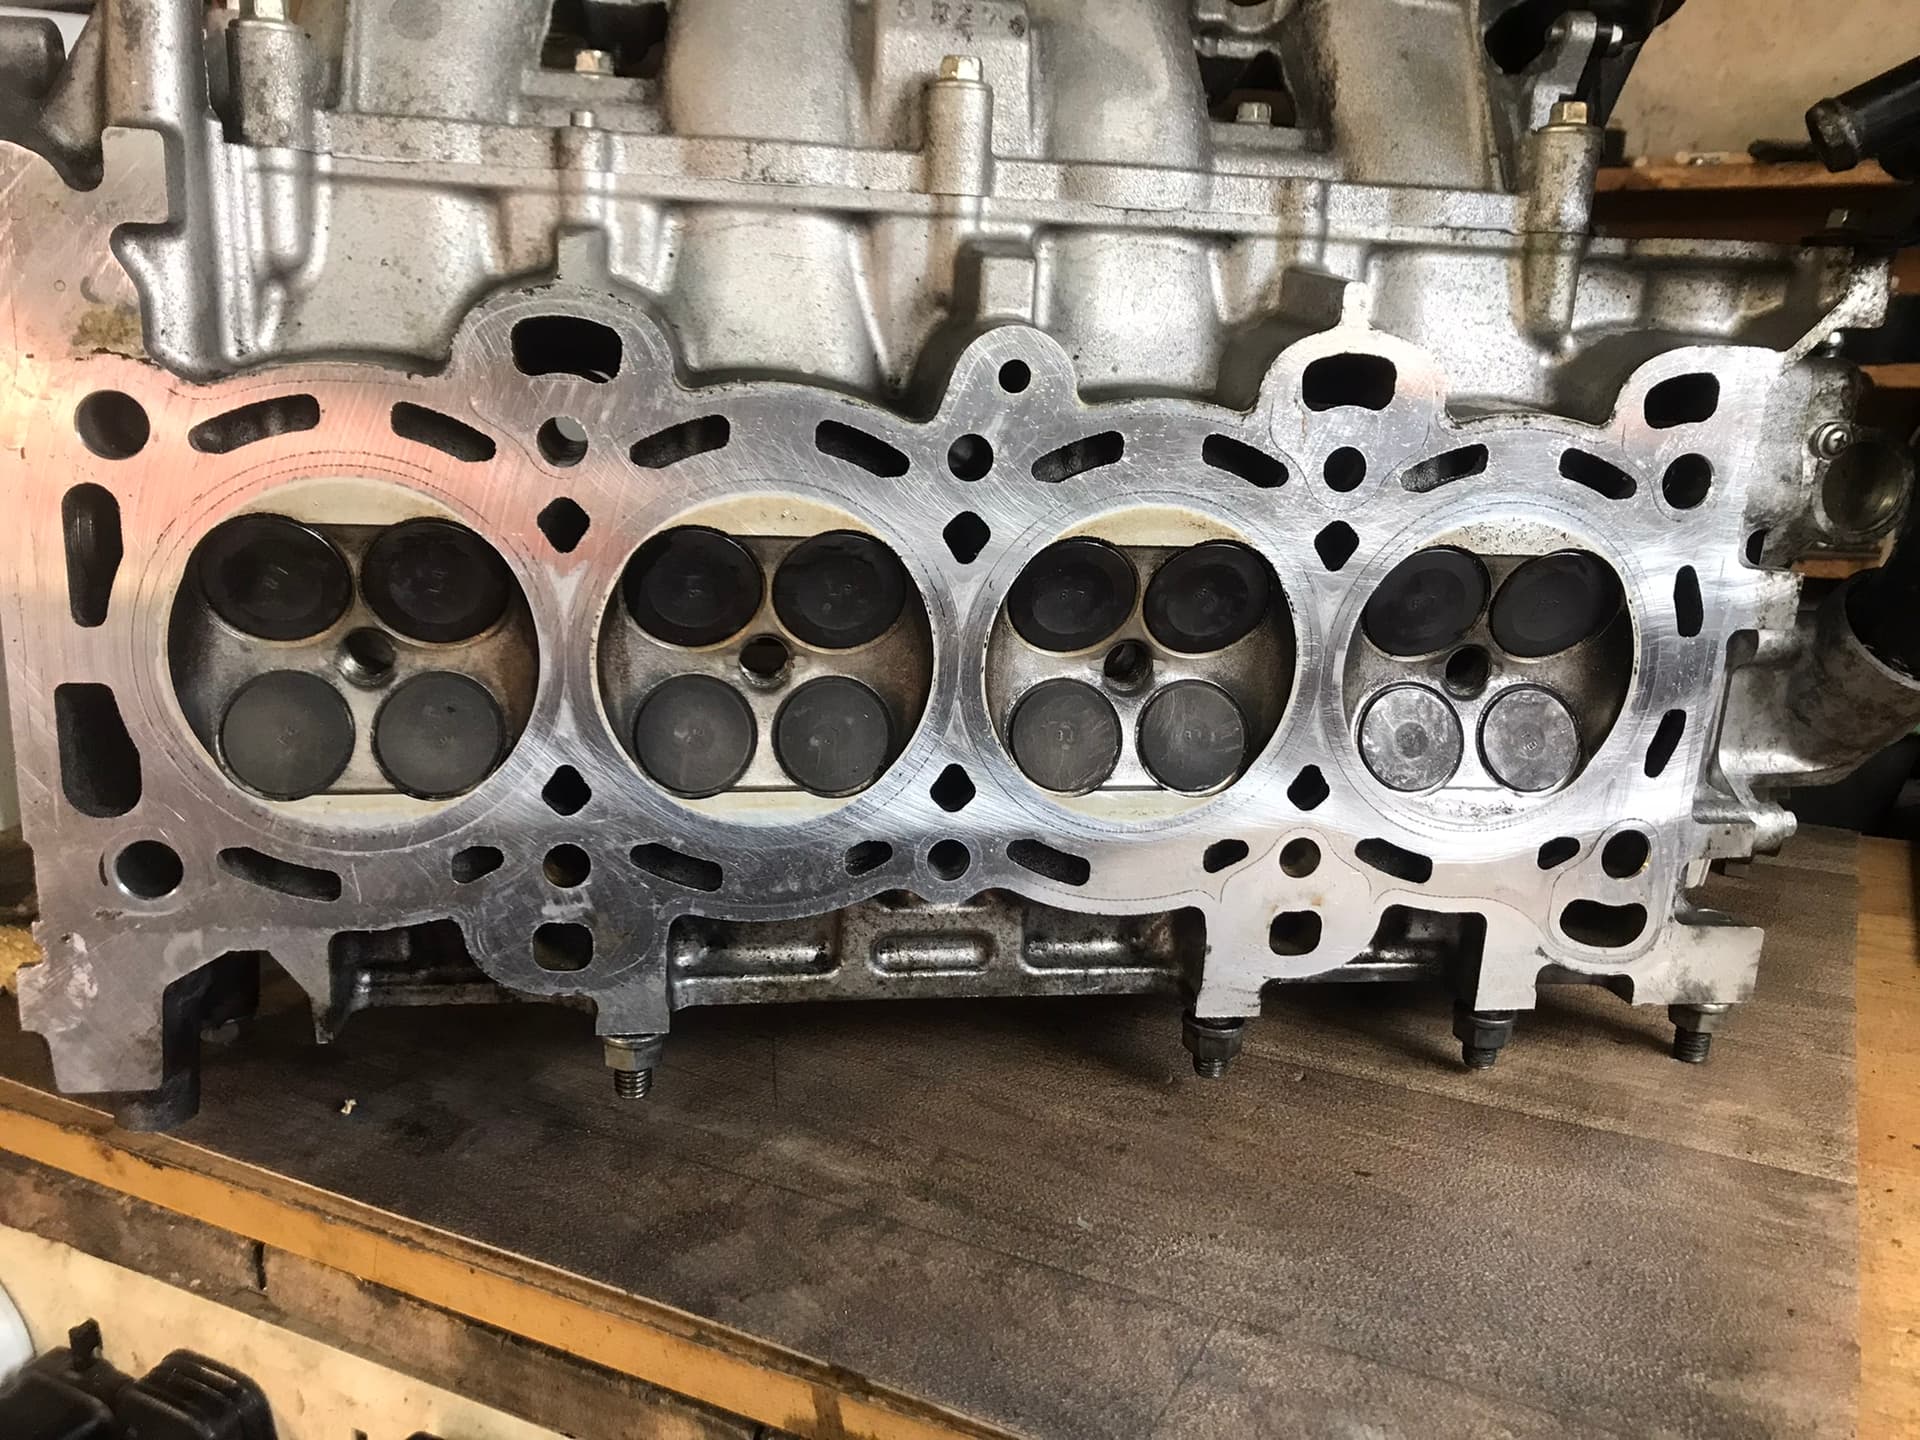
I don’t have the luxury of a caustic bath so had the clean the soot from the cylinder head ports by hand – this was a messy job and took ages but found that engine degreaser or white spirit and a toothbrush worked OK. I flushed the EGR valve by removing the motor and depressing the valve by hand the blowing it through with an air line after soaking it in white spirits for a while.
I numbered all of the cam buckets before removal then took each valve out one at a time for inspection & cleaning. A couple of valves had light pitting on the seats so lapped them in with some fine grinding paste. None of the valves had excessive play in the valve guide. Replaced each of the valves with a new stem oil seal.
With all of the block mechanical parts cleaned, cylinders given a light “glaze-breaking” hone and the oil ways flushed through with an air line, re-assembly was pretty straight forward, strictly following the procedures in the manual and the associated torque specs.
The only issue in re-assembling the engine was getting the final 90 degree turn on the crankshaft bolt – took two of us and an extension on the breaker bar. Once the bolt starts to turn (overcomes stiction) it moves a lot easier, so best to try and get the 90 degrees on in one movement if possible. Took some jiggling to get the engine, gearbox & subframe back on the chassis mounting points but got there in the end.
Filled the engine with Asda’s finest 5W30 fully synthetic just for the first 200 miles or so. The theory behind using a cheap oil after a rebuild is that it allows the rings & bearings to bed in quicker as the the cheaper oils don’t have the same lubrication properties as the more expensive brands – if you believe the hype, that is. I’ll be using Castrol Magnatec or Edge in future – it’s mostly down to personal choice but I think (or hope) the more expensive oils help prevent sludge build-up in addition to improving lubrication. I will use 5W40 oil instead of 5W30. I just think a thicker oil would be beneficial in a older engine, especially one that’s suffered oil starvation.
Once everything was reconnected, cranked the engine to get oil pressure. When oil pressure came on, I was relieved to see it stayed on for a good while after cranking was stopped – indicating much better pressure than before.
On first start, there was a LOT of white smoke from the exhaust that caused me a bit of concern. However, it cleared after a few minutes – this was probably the remnants of all the cleaning fluids left over in the engine. But – no blue smoke and no knocking!
Done nearly 100 miles so far. Engine running sweetly with no knocks or smoke and there’s no more clatter on start up. Plugs showing little sign of oil or soot. Will update after about ~1000 miles and let you know how well (or not) these repairs turned out.