Having become very accustomed to the parking sensors in the Mazda3 I though I’d have a go at the NC, and bought the usual kit from MX5 Parts. This is generic and will work with any car, and by corollary any generic kit will work with the MX5. It all went as expected, each sensor works, with steady tone at about 0.3metres and no beeps beyond about 2metres.
I followed the standard Mazda installation guide C841-V7-290A which has a template for the holes, necessary for my earlier bumper which does not have the locations marked on the inside, later bumpers do have these markers.
There are only three points that were less good.
-
The cutter (marked 19.5mm) takes a long time to cut through the bumper, it is blunt and leaves a hole that is a fraction under-size and with raised burrs. I used a step drill to carefully clean off the burrs and make the holes that little bit bigger, just enough to be able to start the sensor through them. Also I took care not to press on the centre of the sensor, just the rim.
-
The beeper is weedy in its current location as per Mazda instructions, even on the maximum setting. I might relocate it closer behind my ears at another time, the lead is long enough, but routing it will be a nightmare.
-
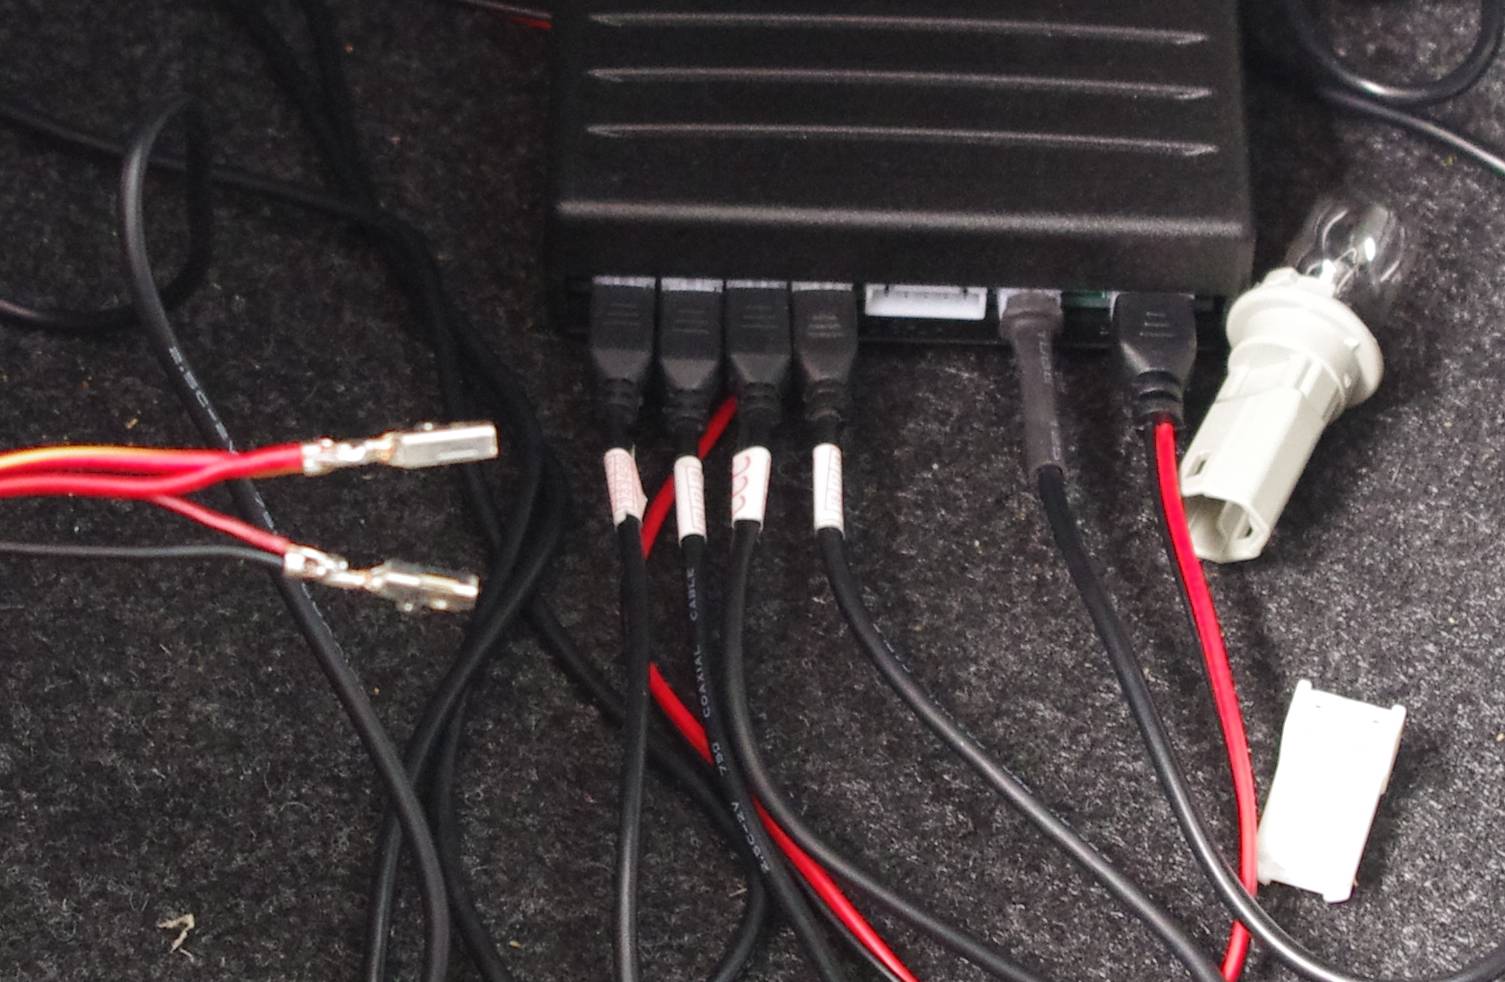
The lead from the reversing light to the control box could have been a foot longer, then it would have been neatly tidied away with the rest of the wires.
Here are some pictures.
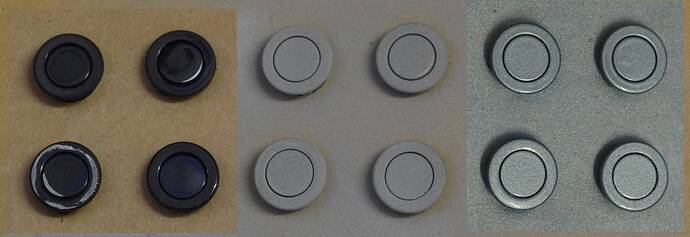
First of all I rubbed down the sensors with 180 grit and 1000 grit wet and dry, just as well, one had almost no paint and it just fell off. Then primer, then base coat and lacquer
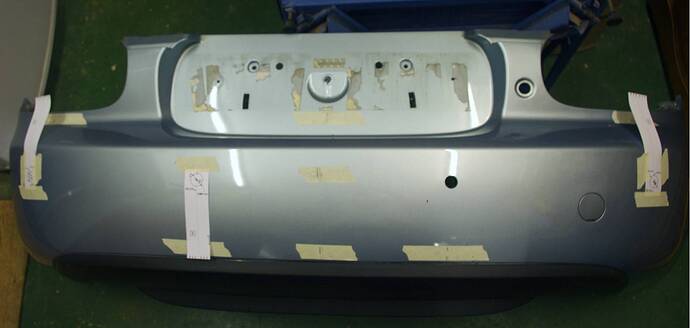
While the paint was drying I dismantled the back of the car, removing all the boot lining, the rear wheel arch lower liners, the rear light housings, and the bumper. This was then marked up with the paper guides, and much, much, much re-measuring before drilling the holes. I needed to put in pilot holes because the guide drill in the hole cutter was so blunt it made no impression on the bumper.
Then it gets fiddly. I inserted the sensors, connected them to their long leads (all almost the same length, but D was longest so that went to drivers side sensor etc), checking that there was a sealing o-ring in each connector, cable tied them in place on the inside of the bumper away from the crash bar, and fed the small ends of the leads through the grommet I’d removed from the back of the car. Then I fitted the bumper and grommet and leads back on the car, easy enough when everything is clean, tidied the lead length between bumper and back of the car, and sealed the leads in the hole in the grommet with silicone.
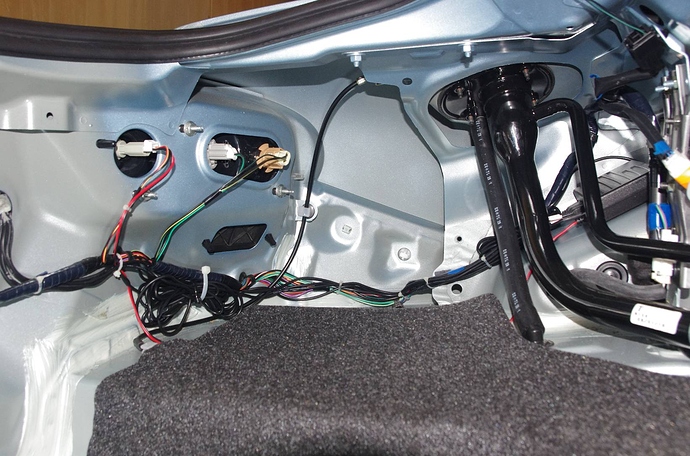
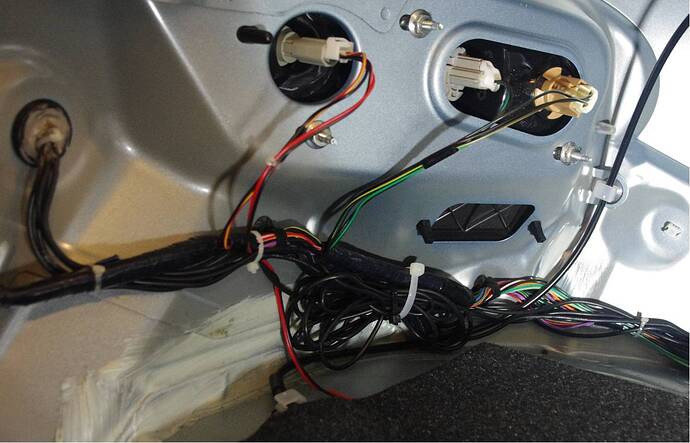
I needed to find the reversing light power, and the obvious place was the contacts for the bulb. So I extracted the contacts and soldered the power lead for the control box onto the tangs of the bulb-connector loom contacts. I then tested it all worked before tidying it all away.
This shows the leads coming in through the grommet on the left and the first part of the loom secured to allow the silicone seal to go off while I did the rest.
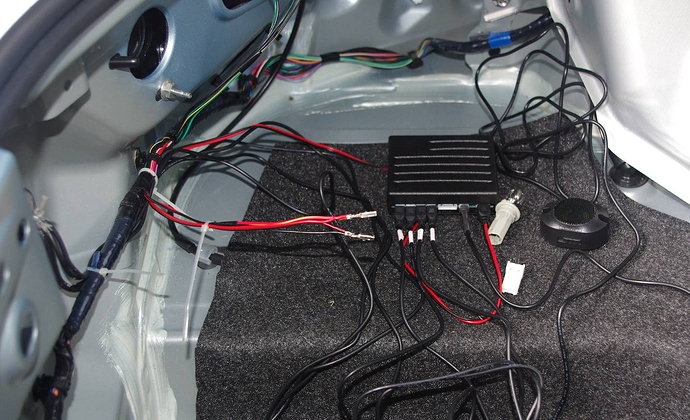
This is when I discovered the power lead is a bit too short for a tidy route to the preferred location for the box, so I cheated by putting it under the carpet.
An overview showing how the bulk of the loom can be neatly tucked away with the surplus from the sensor cables bundled into a convenient space.
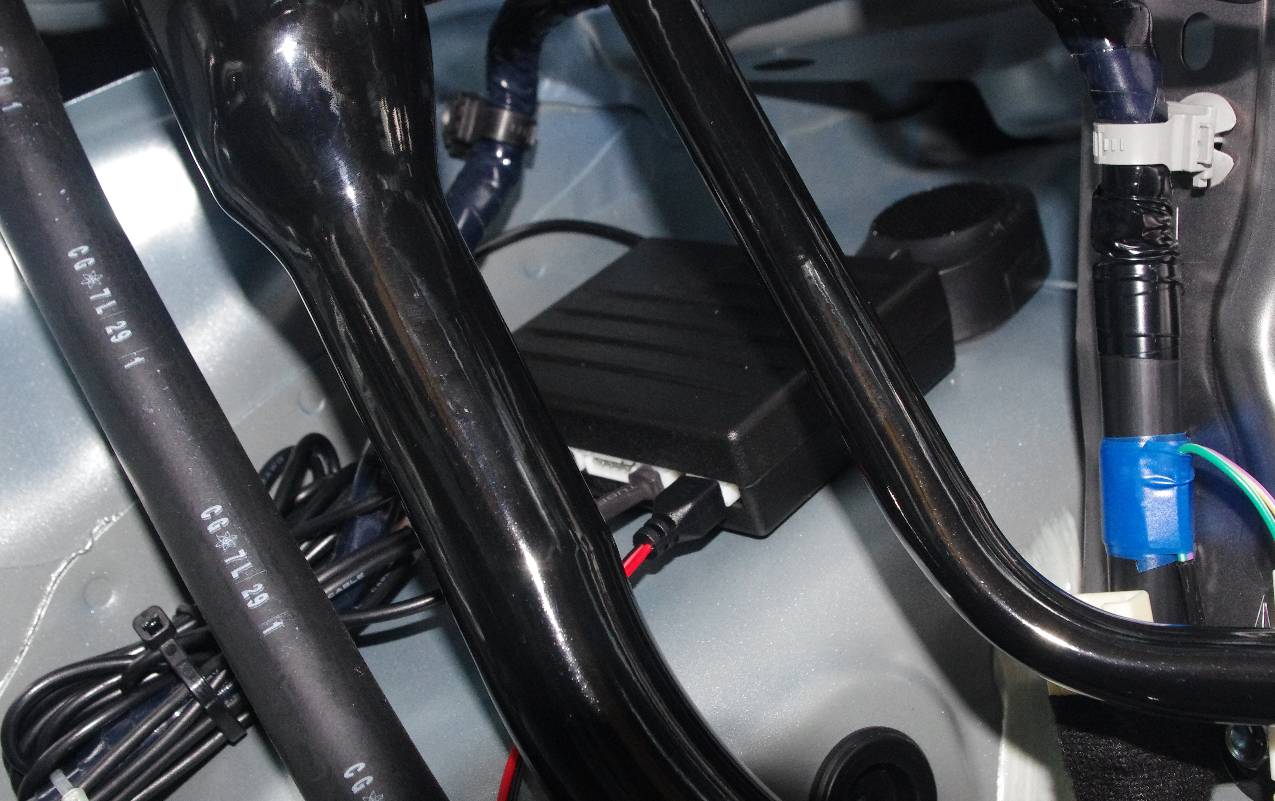
And it is just possible to see the control box and beeper behind the fuel filler system
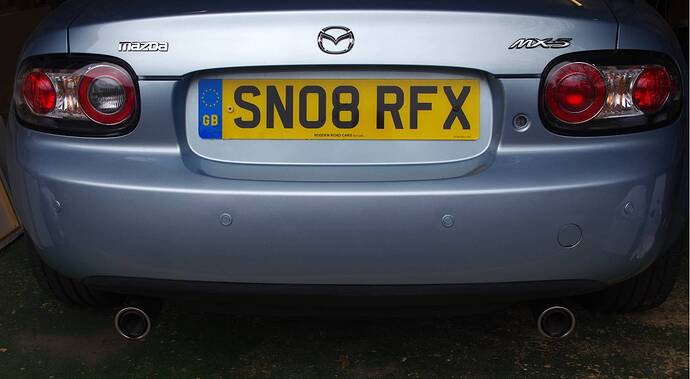
And the final result
EDIT
Removed some dead links and posted the pictures again to use the new forum properly.
See also my later post where I move the beeper closer to my ears!
