- My model of MX-5 is: __Mk3
- I’m based near: Sheffield
- I’m looking for technical help or recommendations on: paint defect / Galvanised panels
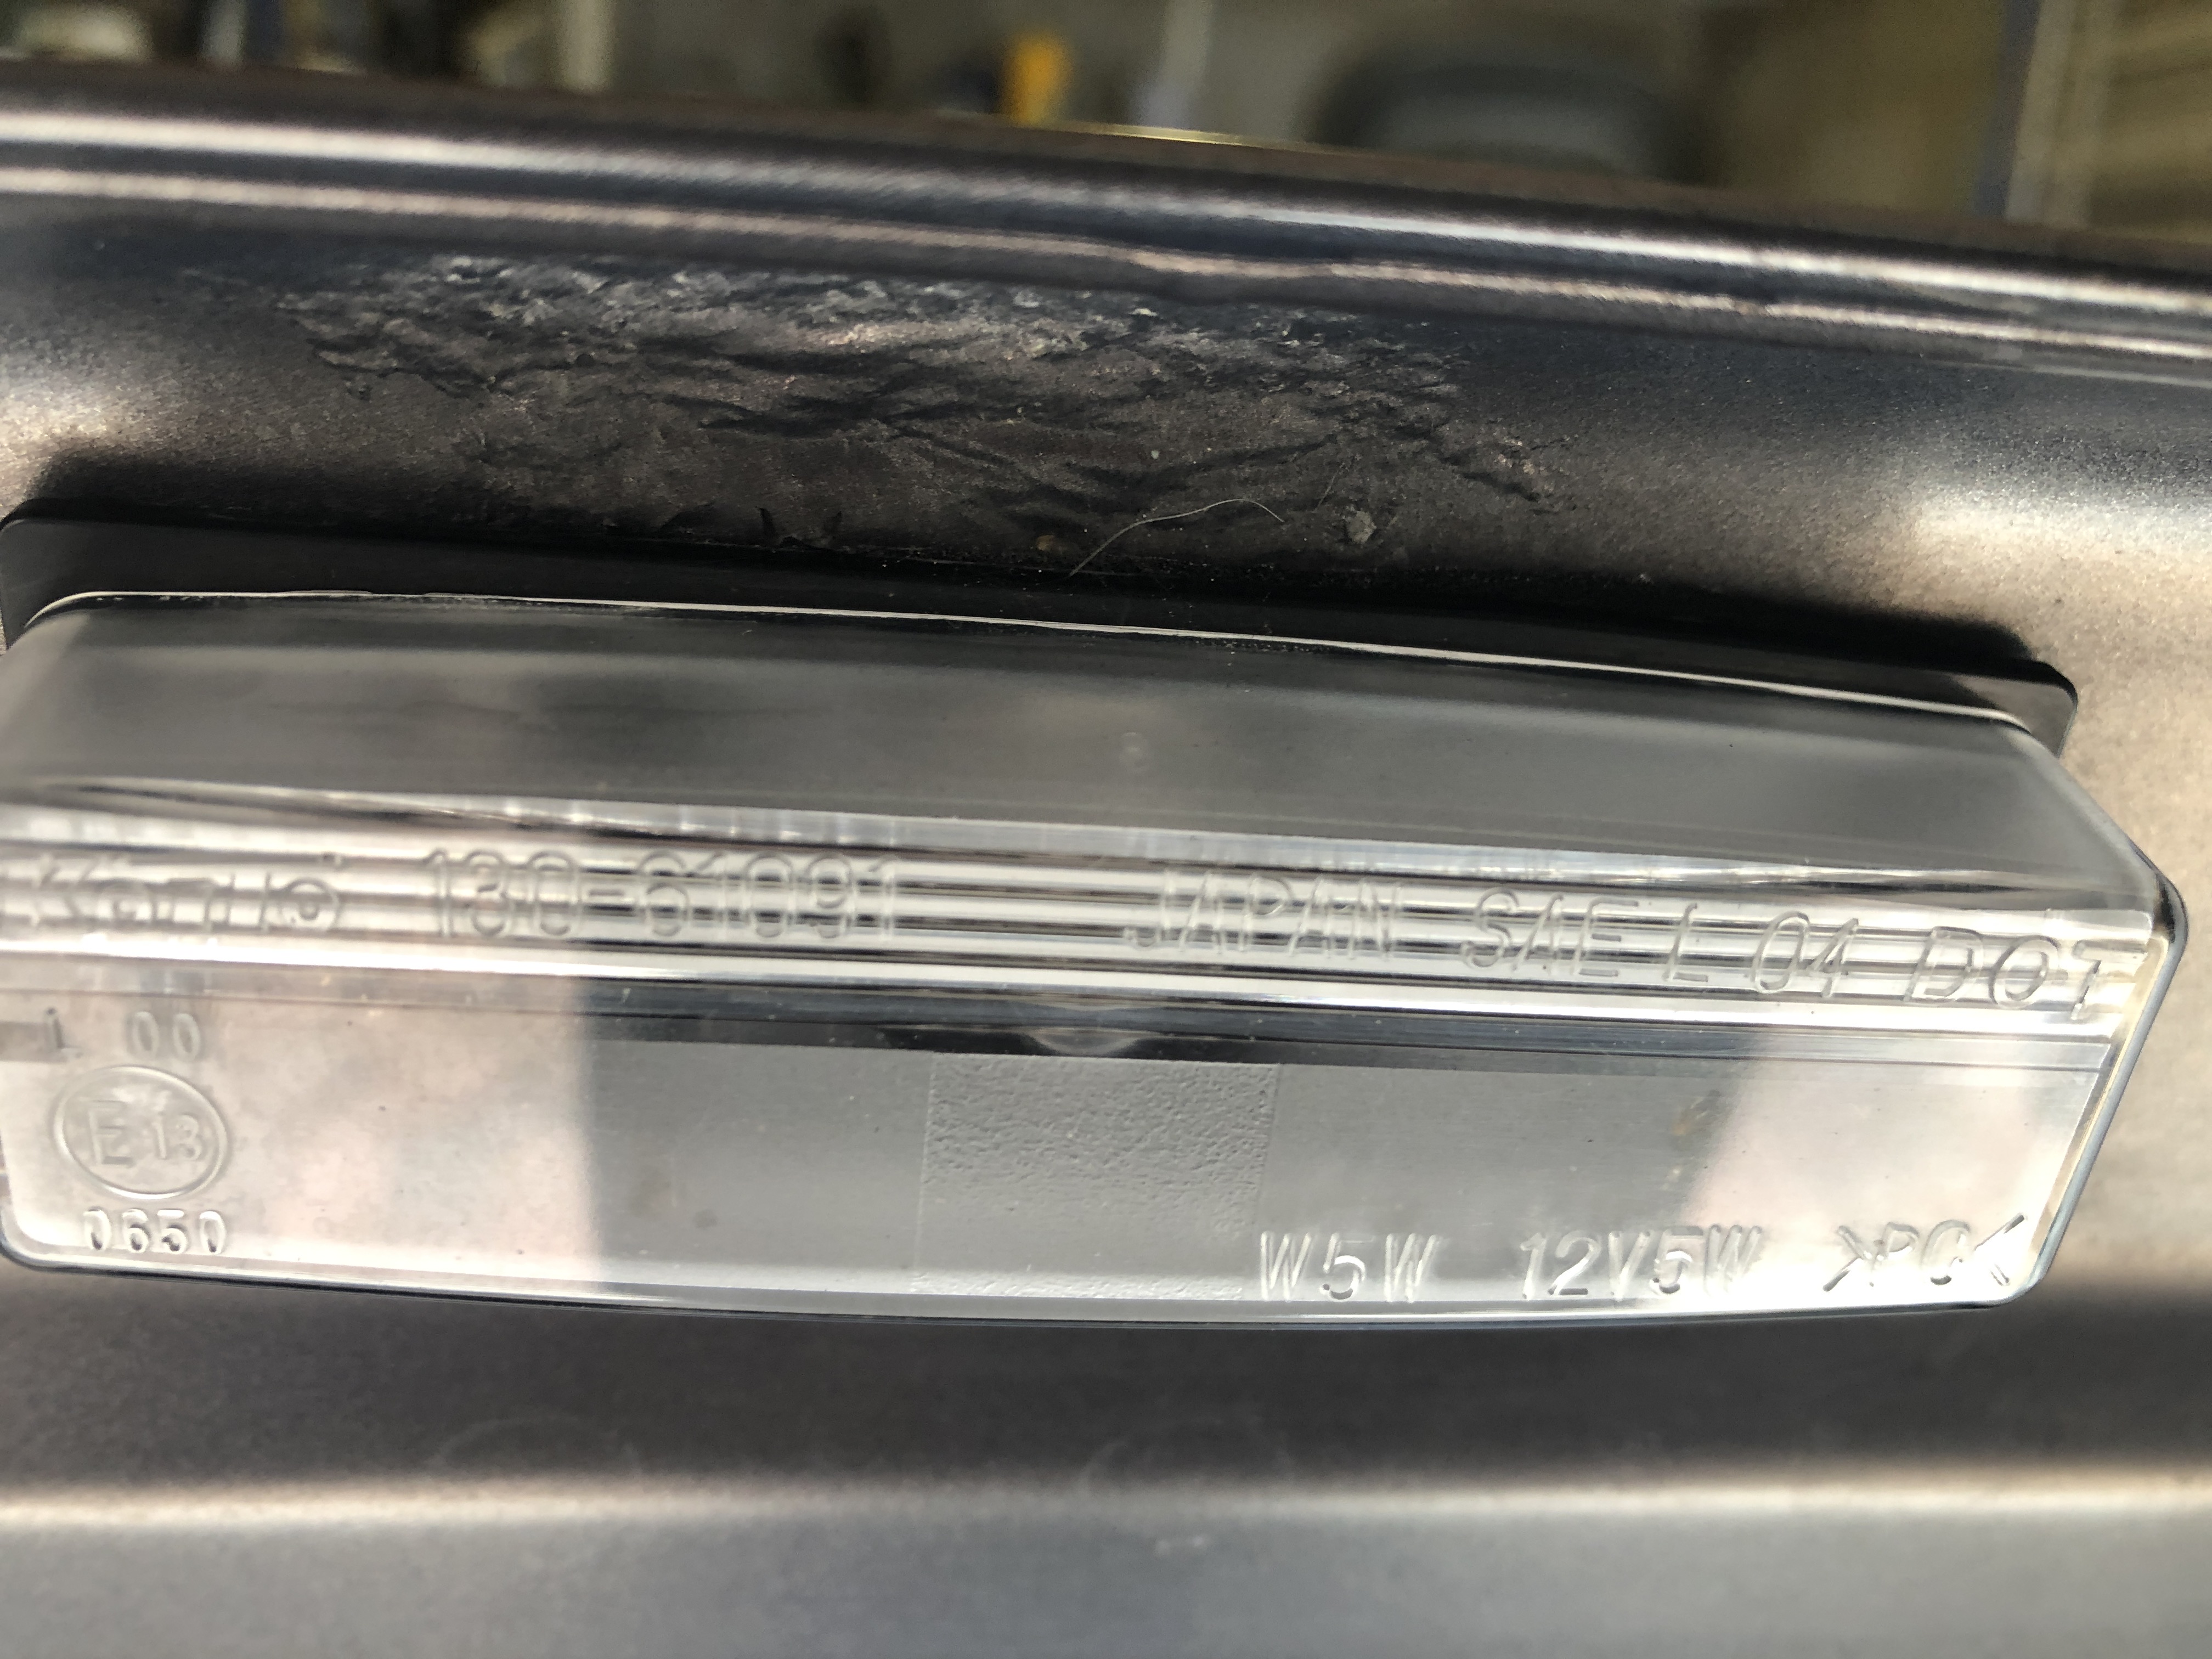
I have recently brought my first MX5 and it appears to have a paint defect on inside of the boot lid .
My question is : Are 2009 plate MX5 fully galvanise and any idea what caused this defect as the substance underneath appears ok but don’t want to disturb it to much ?
There no obvious red rust external or internal or on the outer boot lid.
Many Thanks
Wish they were.
If a soft top the only parts on that model that aren’t just painted steel are the boot lid and bonnet, they are aluminium.
Are you having problems with paint peel with the bonnet or boot lid?
Thankyou it’s the boot! I’ve just posted a photograph of the defect and I hope it helps. It is a soft top, I get now why there’s no red rust if the boot is aluminium! What would the next steps be?
Interesting, is the boot material different on the PRHT and the Soft top?
Is it different between NC1 and 2?
The inner skin and the outer skin is steel on PRHT (NC2) as is mine.
Just my opinion, but that looks like bubbling rust under the paint to me.
Get the trusted magnet out.
(Either the right or left number plate light).
1 Like
Around the number plate lights guessing.
Strip back the paint to bare metal prime and paint. I used rattle cans, can’t see the joint as they say, neat, job done.
If it’s on a part of the boot showing (upper surface) then it could be a pro job.
Edit… didn’t see the picture before I posted. Pop the the lights out and treat the area prep/paint should look good when done if you’re handy with a rattle can👍
1 Like
Just done the magnet test and it non magnetic so non ferrous ! So Aluminium !
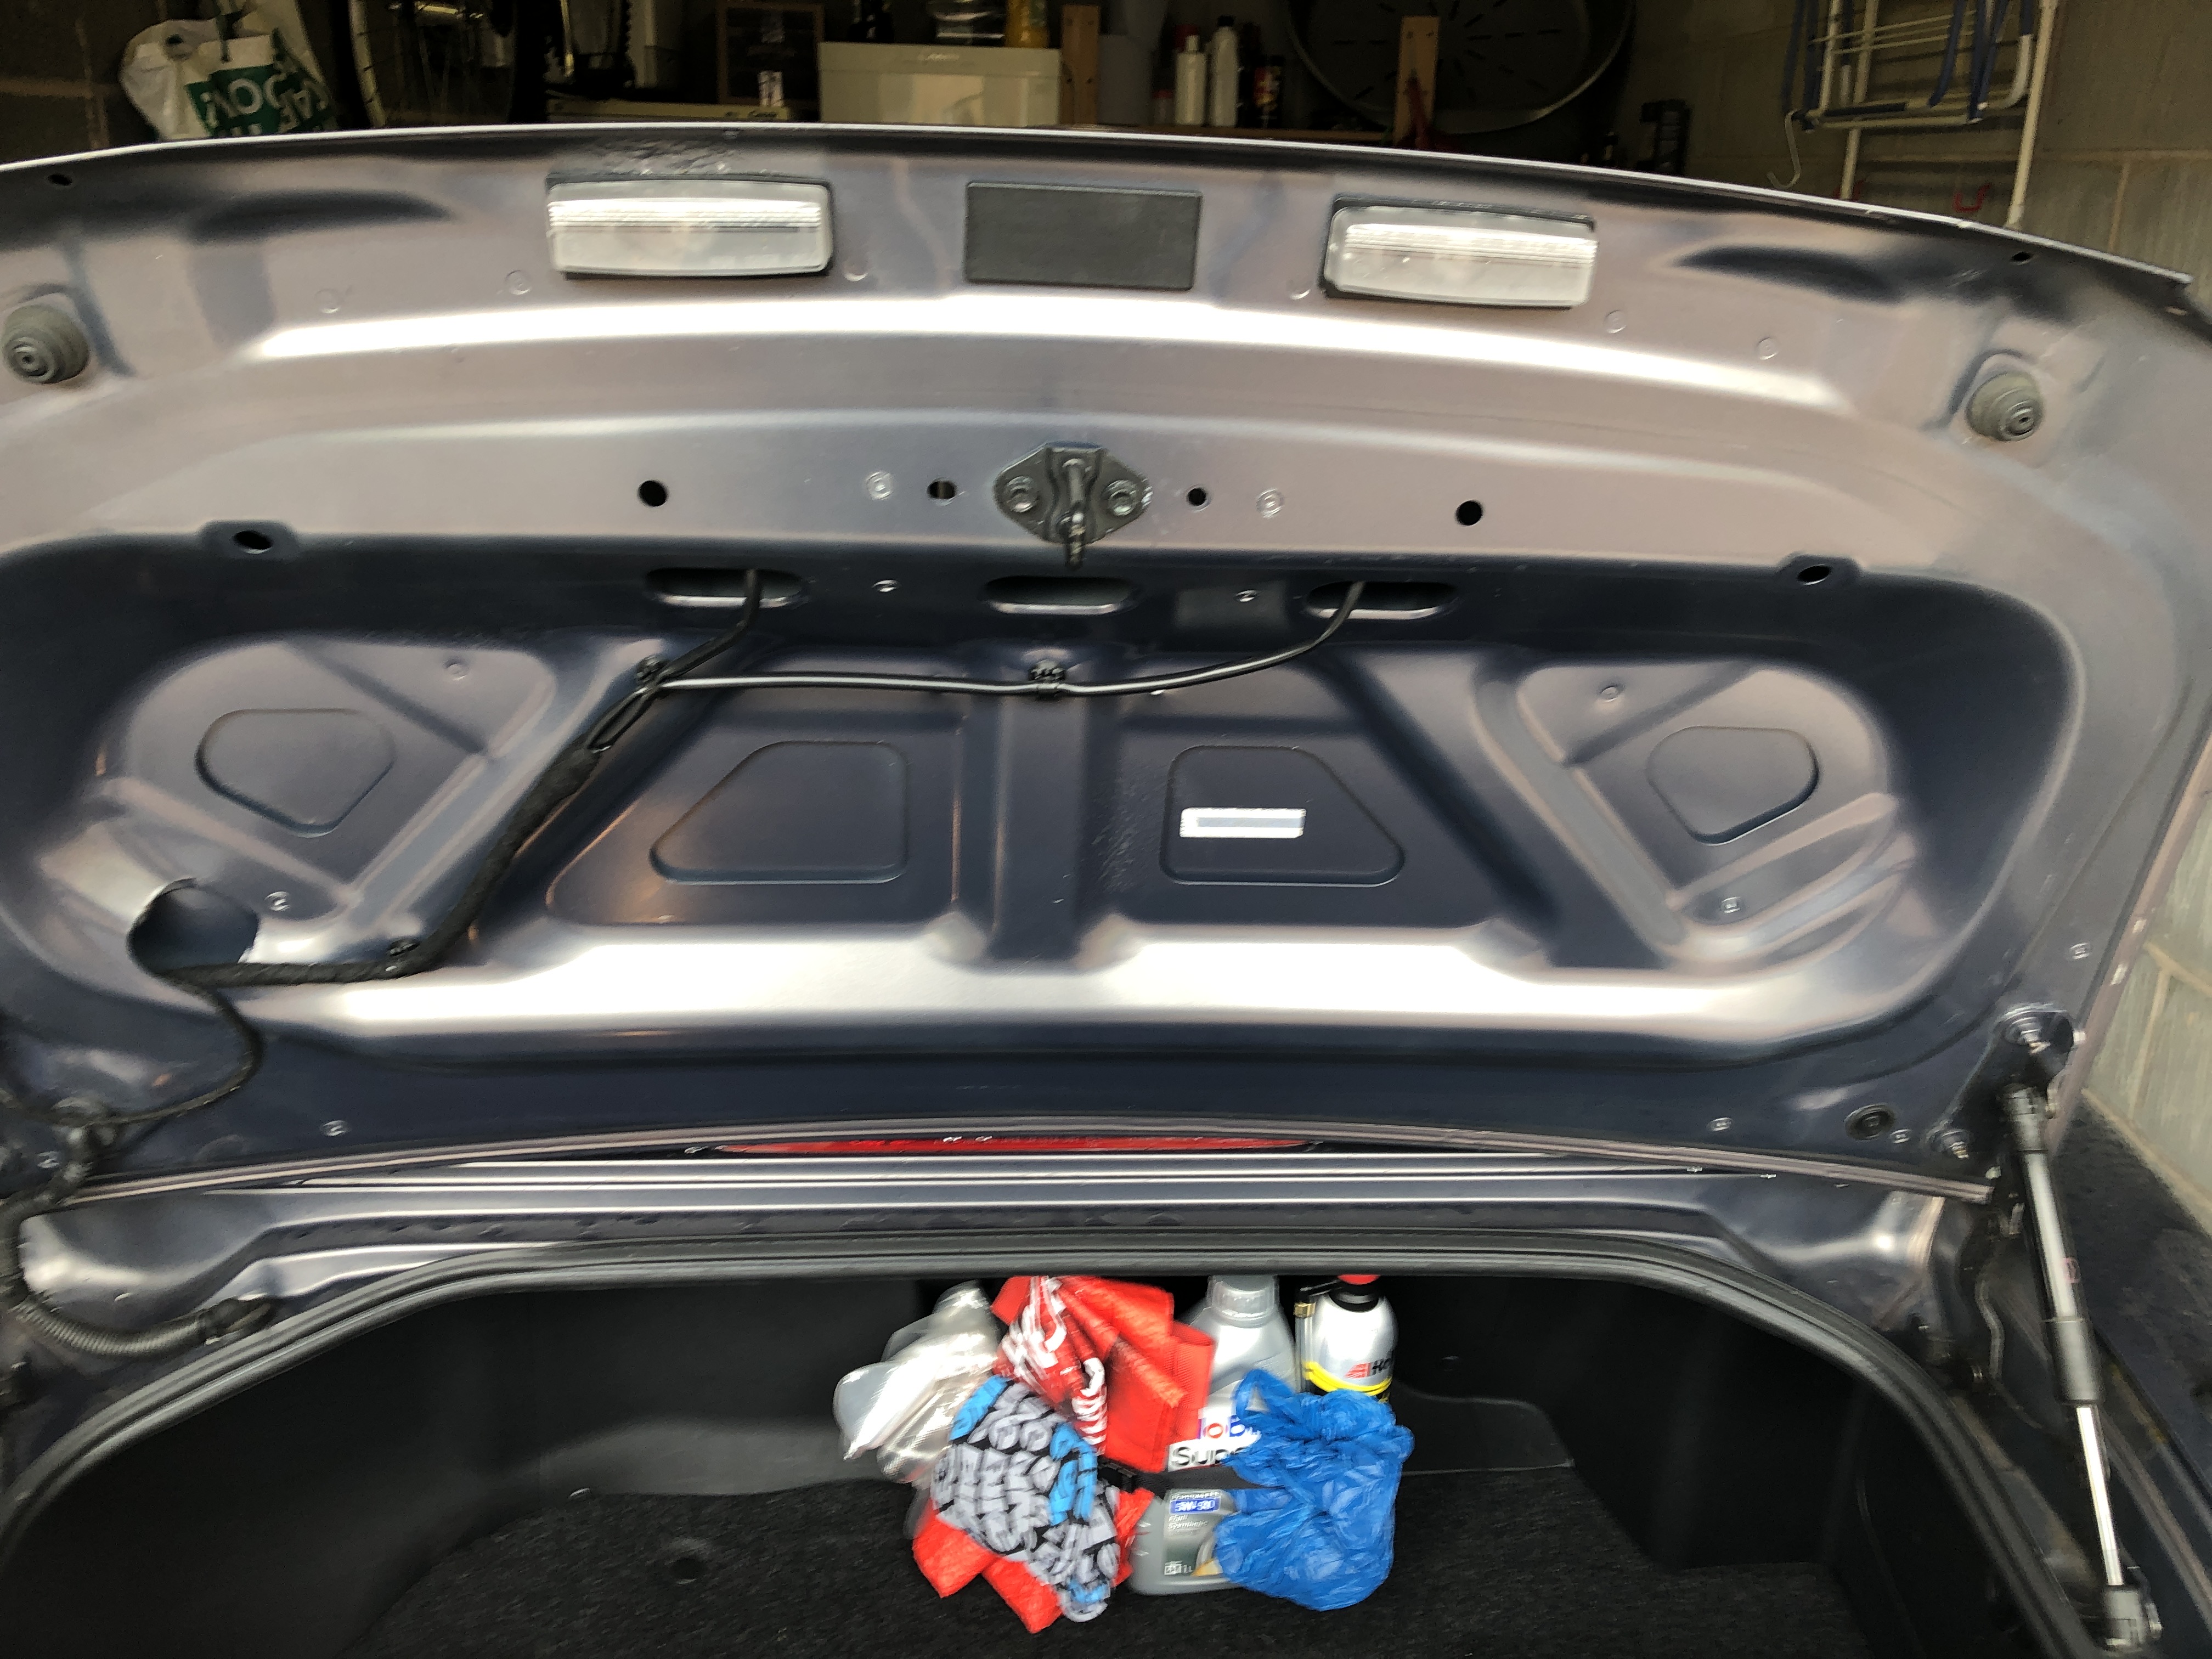
The defect is on the inside of the boot lid, I’ve taken a picture of the whole boot lid. The defect is above the left hand side above the boot lid light. A close up is in my first post.
As I said aluminium boot lid if you have the soft top.
Get something like an old credit card and slide it under the rubber and light lense at the left hand side and push towards the middle of the boot. It should pop out if eased out at the same time, it maybe a bit sticky on the rubber seal. Once out remove the electrical connector and you can set about cleaning up and painting the area.
As I said above I did mine with rattle cans, had three areas to do so both lights came out. Paint can be had from Mx5parts, matching colour.
Many thanks everyone and happy motoring 
Every day really is a school day !
1 Like
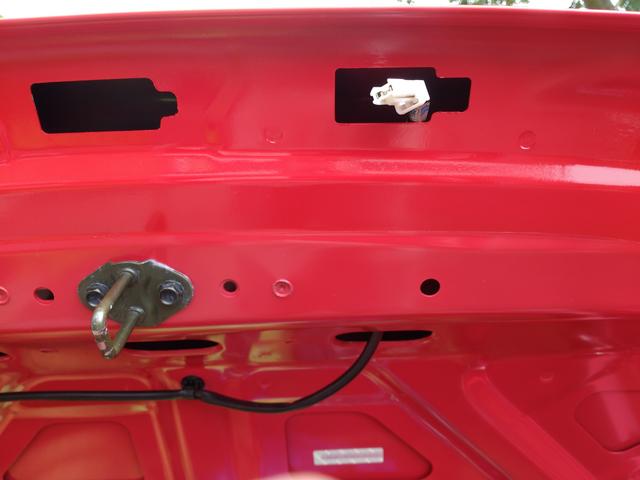
Mine before and after treatment. They all go like this, lack of proper paint in that area me thinks.
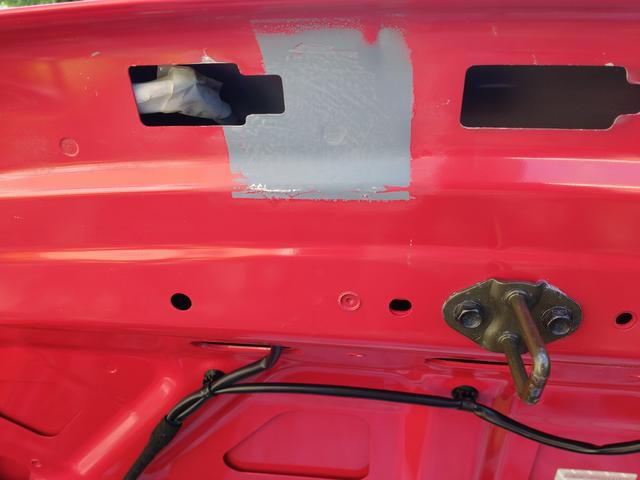
2 Likes
It’s a common fault if the underside of the boot lid is not washed and dried when cleaning the car. Had to rub down and spray my 2012 Mk3.5 when I bought it a year ago.
2 Likes
I suspect the gasket is made of the same biodegradable foam as the scuttle cover insert gaskets.
The gaskets fail and let water get to the vulnerable sharp edges of the cut outs for the lights.
BTW, @hindleyamanda39 , check your passenger carpet for dampness.
If it’s dry, somebody has almost certainly already sealed the gasket that always fails.
If it’s wet, you will need to seal the insert with silicone sealant.
It’s not a difficult job.
The gaskets that fail are there to seal the join between the metal scuttle at the base of the windscreen and the inserts that the plastic scuttle cover screws into. The cover being the plastic between screen and bonnet.
The lights both need to pop out at the left end, where there is a clip and then slide left to unhook the right hand end.
1 Like
Thank you for that information, yes the passage side mat is slightly damp!
Is there any other know faults as a new owner I should know?
Many Thanks
The boot lid corrosion is just minor, don’t look under the car, it’ll give you something to do if you want it.
The other common problem is a low biting point for rhe clutch pedal.
There is an adjustment mechanism at the top of the pedal but it’s awkward to get at, involving being upside down under the steering wheel.
The adjustment itself is simple enough though with a threaded pushrod and locknut to twiddle.
It’s important to seal the leak into the passenger carpet as there is a fusebox for the water to run through before reaching the carpet and water in there can cause all sorts of problems.
There are two small circular screw caps to carefully prise out first, unscrew the screws underneath them, then remove the wiper arms so you can pull the plastic scuttle cover off, all with bonnet open.
Remove the remains of the foam gaskets and get the area clean before pulling the plastic inserts away from the metal as you can lay a bead of silicone sealant all the way round between the plastic inserts and the metal scuttle. Get the sealant underneath the insert, not next to it.
It’s important to keep the inserts pulled away from the painted metal of the scuttle until the silicone sets or the silicone seal will be broken when you tighten the screws to hold the cover in place, as the fit is loose without the thick foam seal in place, taking up the gap.
We were able to remove the screw and the clips under the rubber but there seemed to be another clip we couldn’t see near the washer jet under the larger panel on the passenger side We didn’t want to pull the panel and break it. Is there another clip under the panel? Is it just a case of pulling it off ?
The car it’s self has been serviced and MOT by the Mazda dealership in Sheffield for the last couple of years with the last MOT in March of this year. It was waxed underneath by a Mazda specialist based in Sheffield approximately 2 years ago, so I’m hoping the underneath should be ok! spotting the rust under underneath the boot lid and now the water in the passenger footwell is worrying!
If you’ve released the rubber strip under the bonnet from the clips there shouldn’t be anything else holding the panel in apart from the washer pipes, they are clipped to the panel.
You can get the panel sufficiently out of the way to seal the grommets without unclipping the washer pipes, just make sure you remove both securing screws for the panel, driver side too.
1 Like
On the bubbling paint around the number plate lights, abrade the corroded aluminium and then use an etch primer to ensure a good bond with the top coat.
Plenty on this forum about sealing the scuttle grommets, use Sikaflex from Screwfix far better than silicon sealant which will degrade and leak again.
Also ensure the roof drains are kept clear, again plenty of info on this forum.
Finally keep the engine oil at the max mark and enjoy the car. I’ll keep an eye open for you as I am in Halfway Sheffield regularly picking up the grandchildren, if you see a copper red mk3 give us a wave.
If you want to temporarily stem the flow of water before you seal the inserts, there is a well on the passenger side of the plastic scuttle cover that has a tiny drain hole.
Temporarily stopping up the drain hole with bluetack or something should at least reduce the amount of water getting in.