Very tempting now Dean and thanks for your review. ![]()
1 Like
Based on what I feel so far I now wouldn’t hesitate to recommend them. As I say my last set of tein type flex weathered very well long term, the only mtce required was to clean off the shock body threads whenever I took the wheels off and occasionally check the top nuts were tight and add a little grease to the pillow all mounts, but the nc has rubber ones so these aren’t an issue. ![]()
1 Like
Nice review. Did these coilovers lower the car much?
Hello mate, they’re fully adjustable so you can go anything from very slightly lowered to as low as you want to go ie. Riding round with the tyres touching on the arches (not that you would). Because you adjust via the bottom mount and not the spring perch you still get the full travel of the suspension and have control over the damping without changing the spring preload and altering the ride by doing so. ![]()
Obviously the limiting factor to suspension travel would be the ride height - the lower you go the firmer you’d have to make the damping in order to stop the tyres hitting the body with bumps or body roll.
! Important word of caution though on these coilovers !
Tein themselves state that these coilovers are designed as twin tube with a balance of performance and good street manners in mind. As such they’d be fine for occasional track work but are best suited to a road going car primarily, however they did say the flex twin tube setup has been fitted to cars that had success at the nurburgring which is more than I’ll ever put them through! They do offer high pressure mono sport setups for cars that would be more track oriented or there’s all the tried and tested varieties that people currently use and rave about. For me the main worry having had mono coilovers before was that they’d be too unforgiving day to day and get on my nerves rather quickly, that and I have experience and like tein as a brand which I’ve said before ![]()
This is well worth a read.
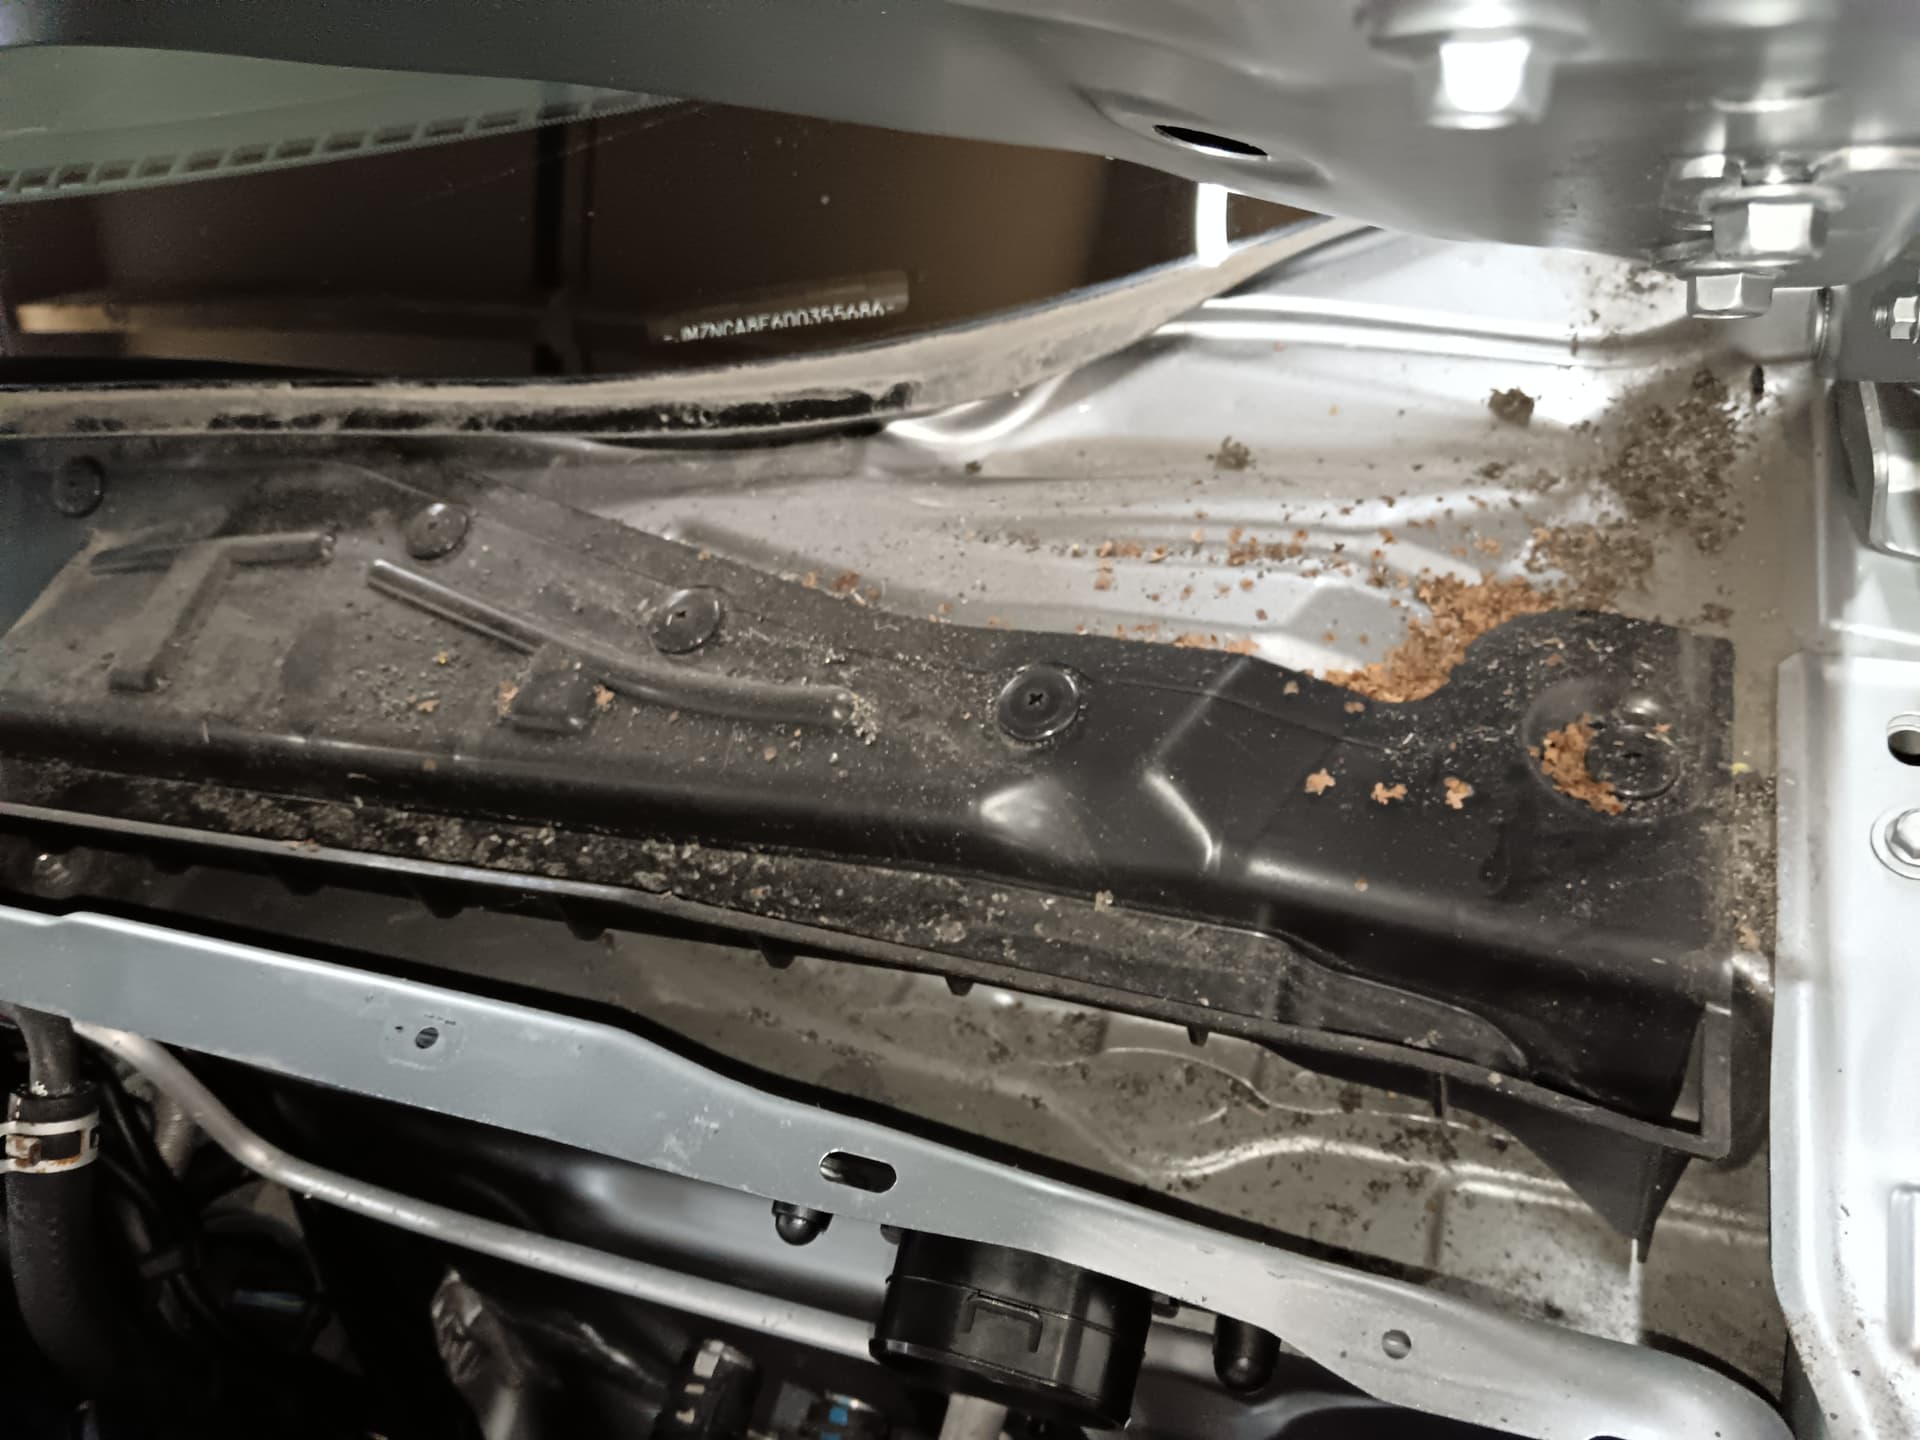
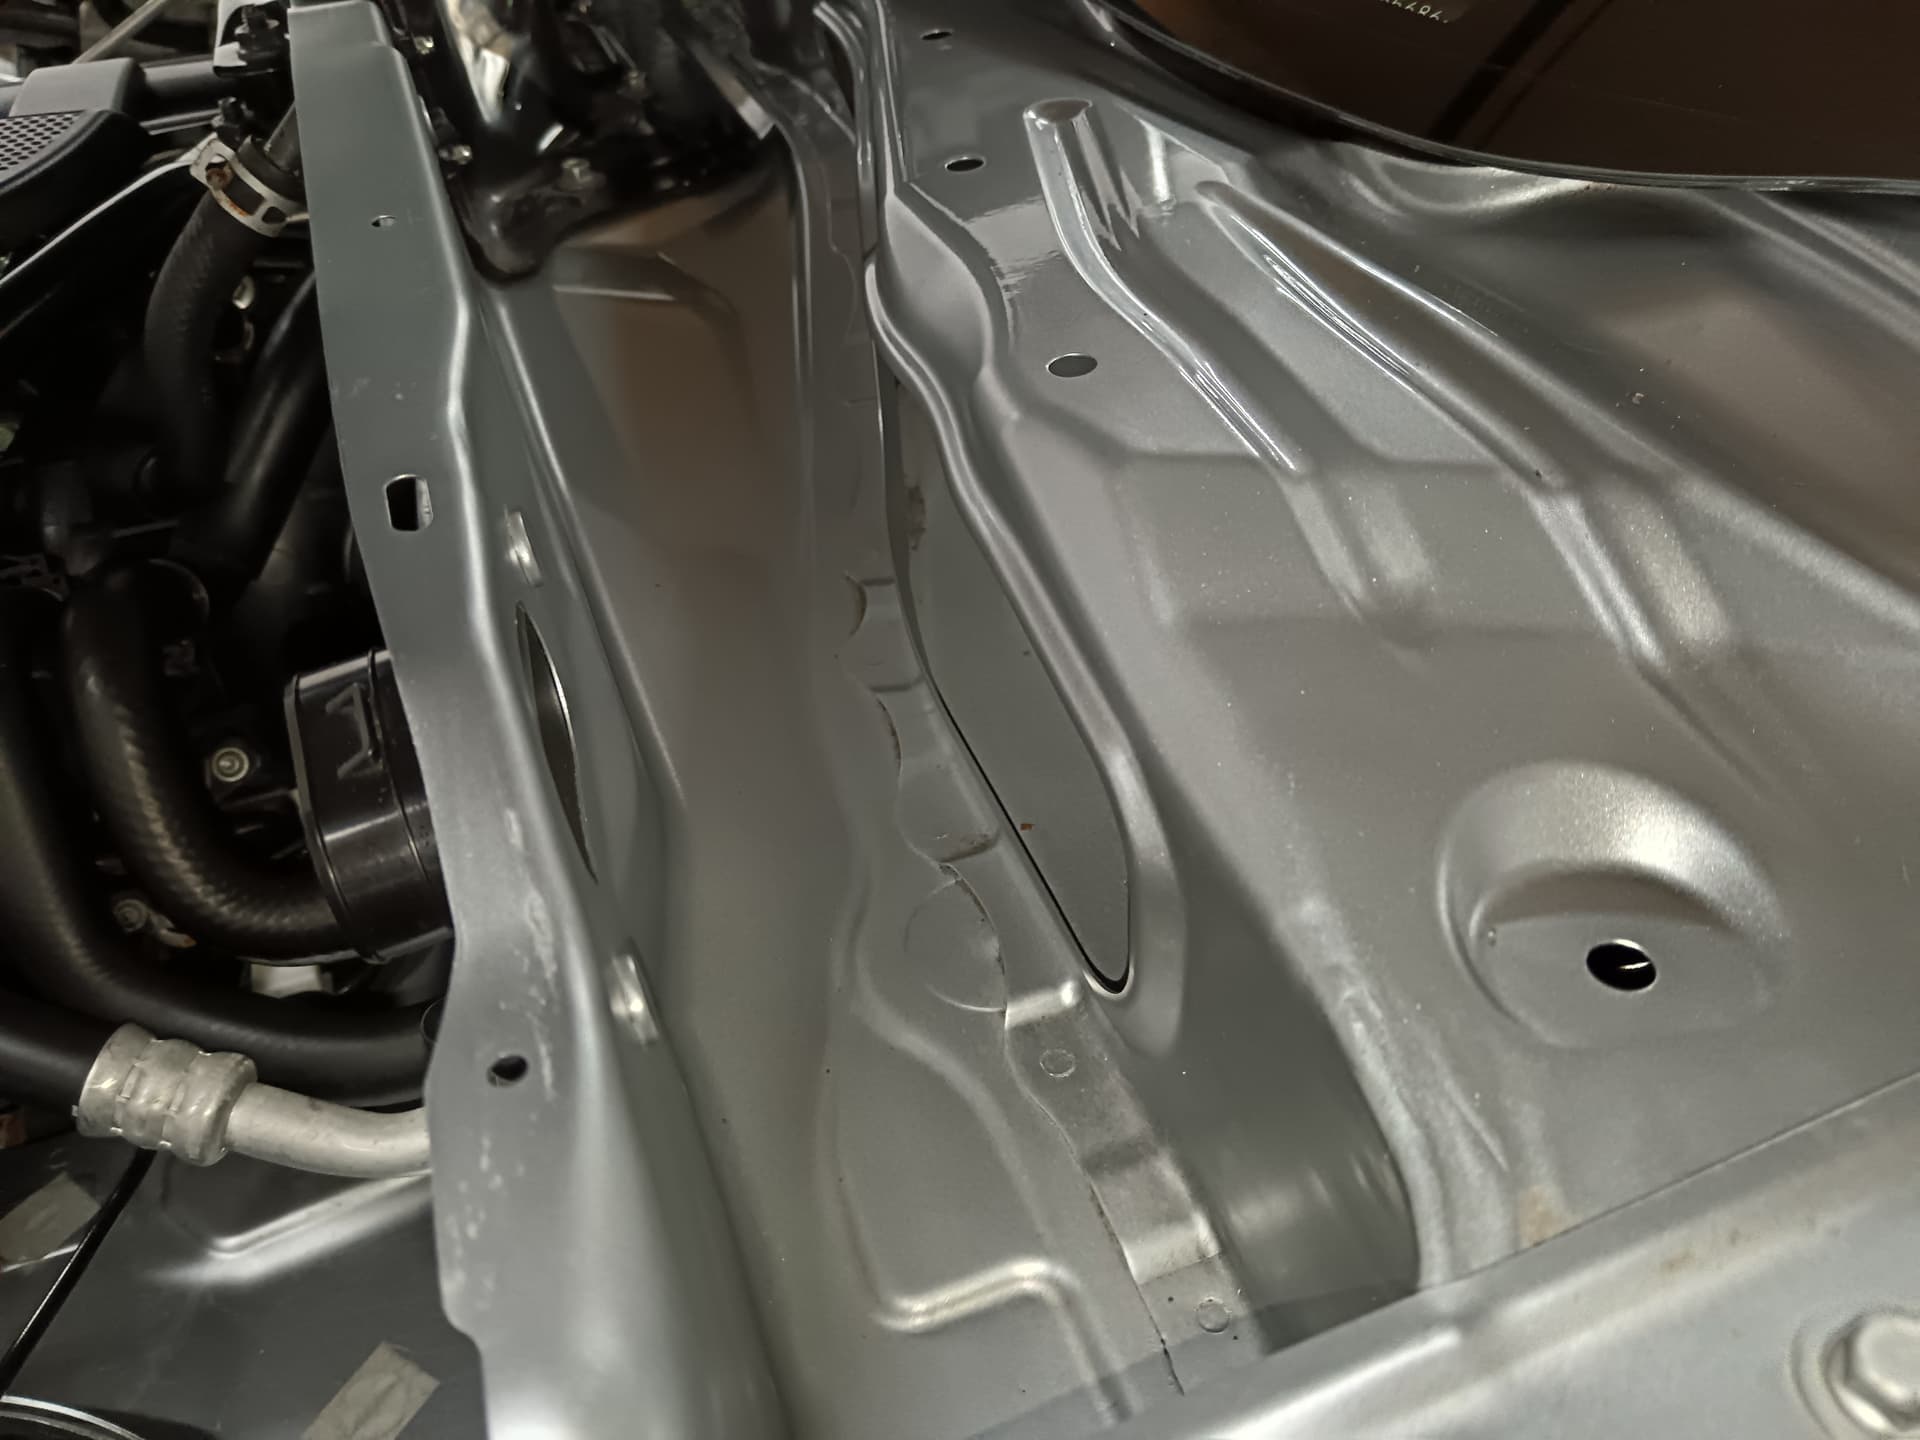
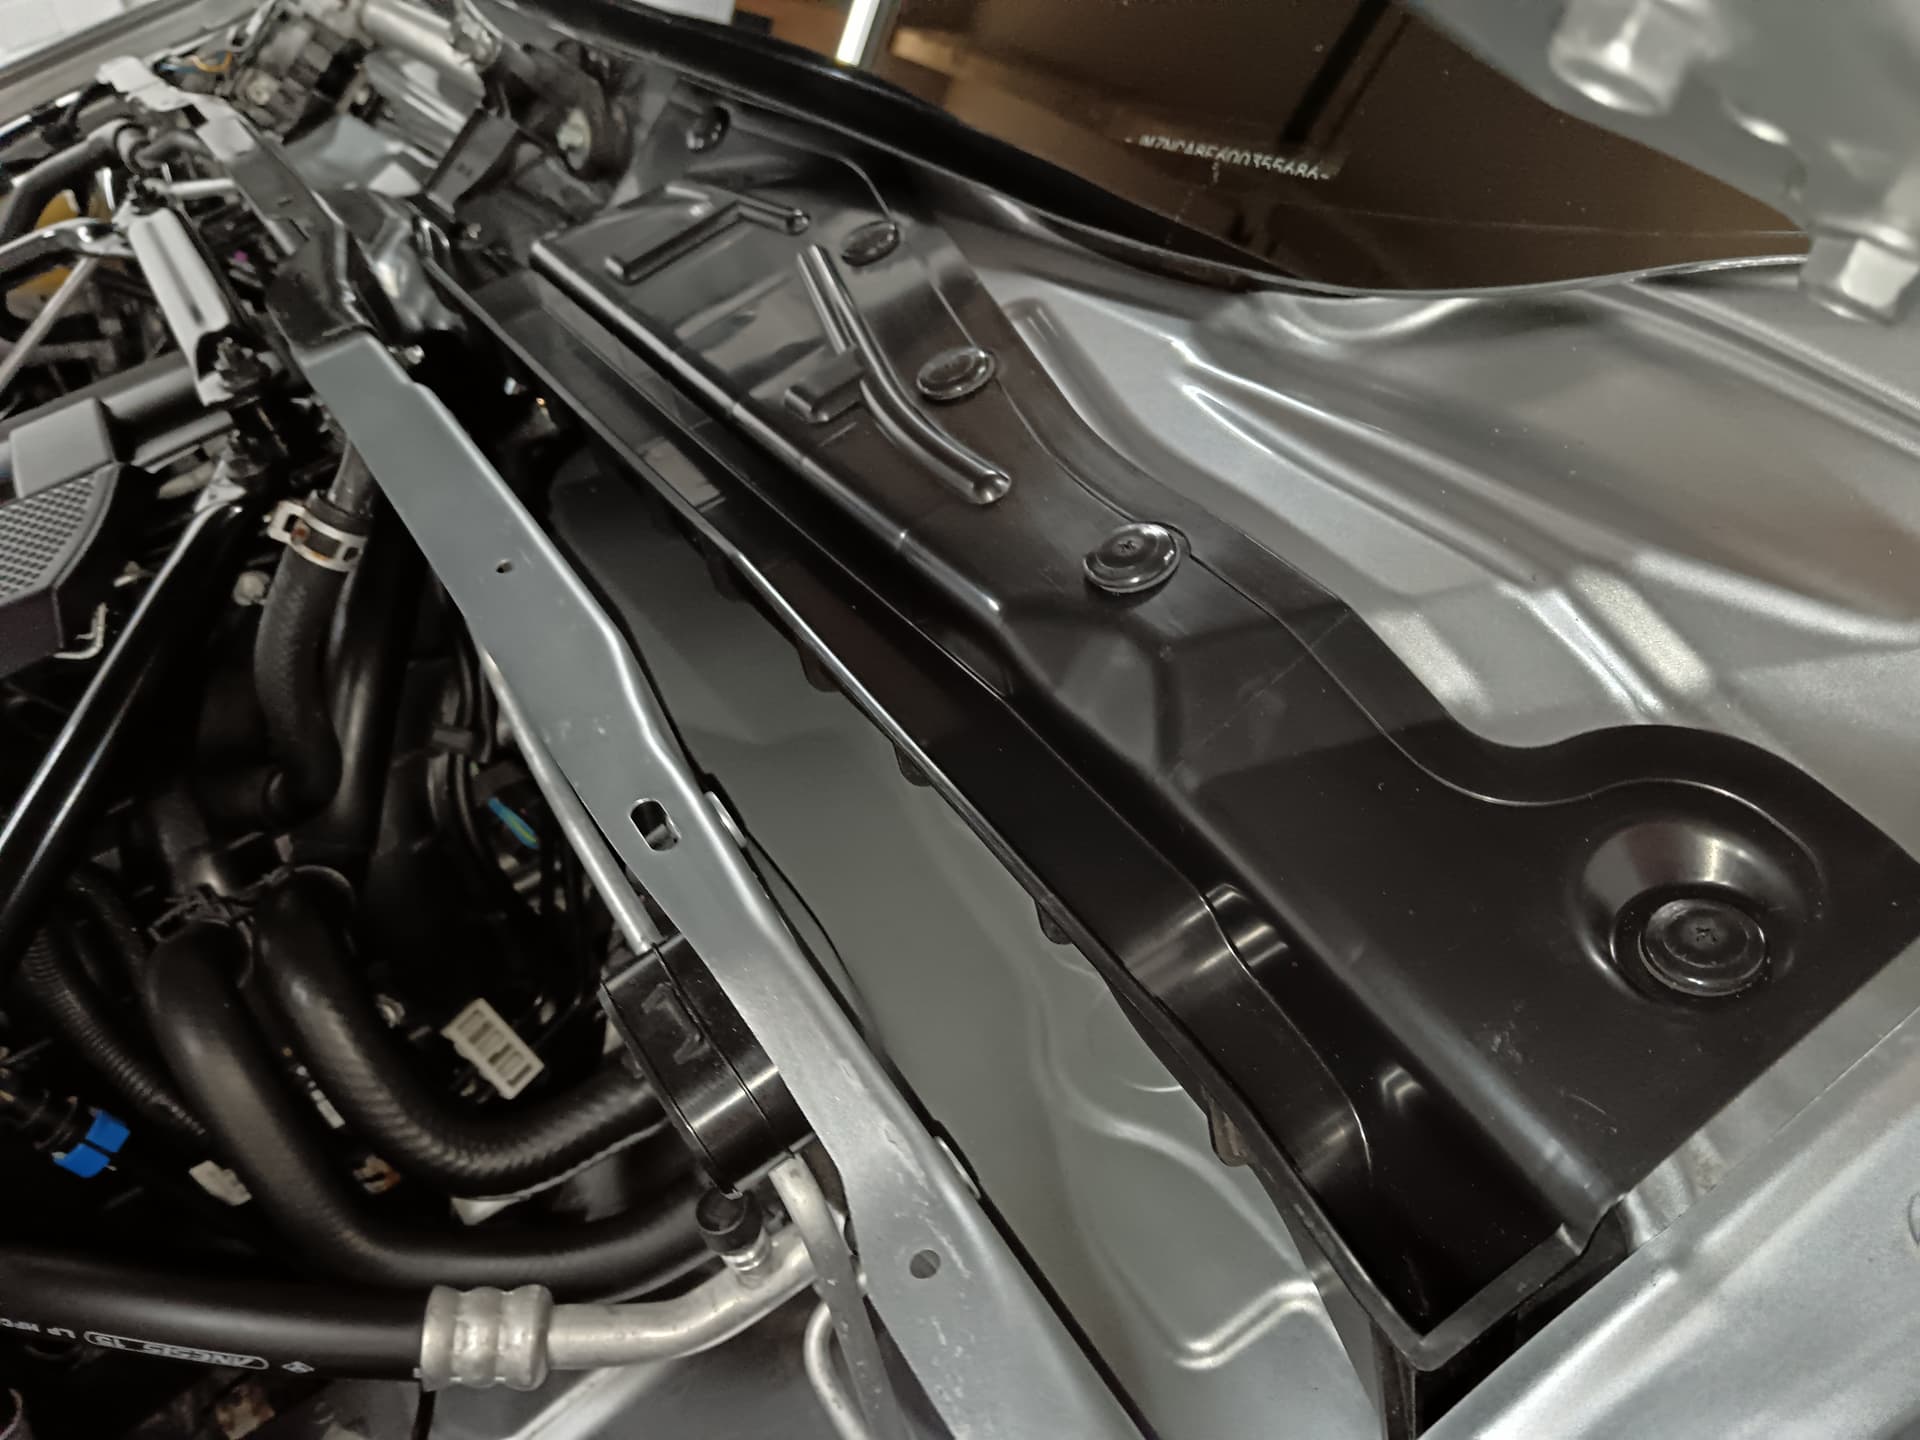
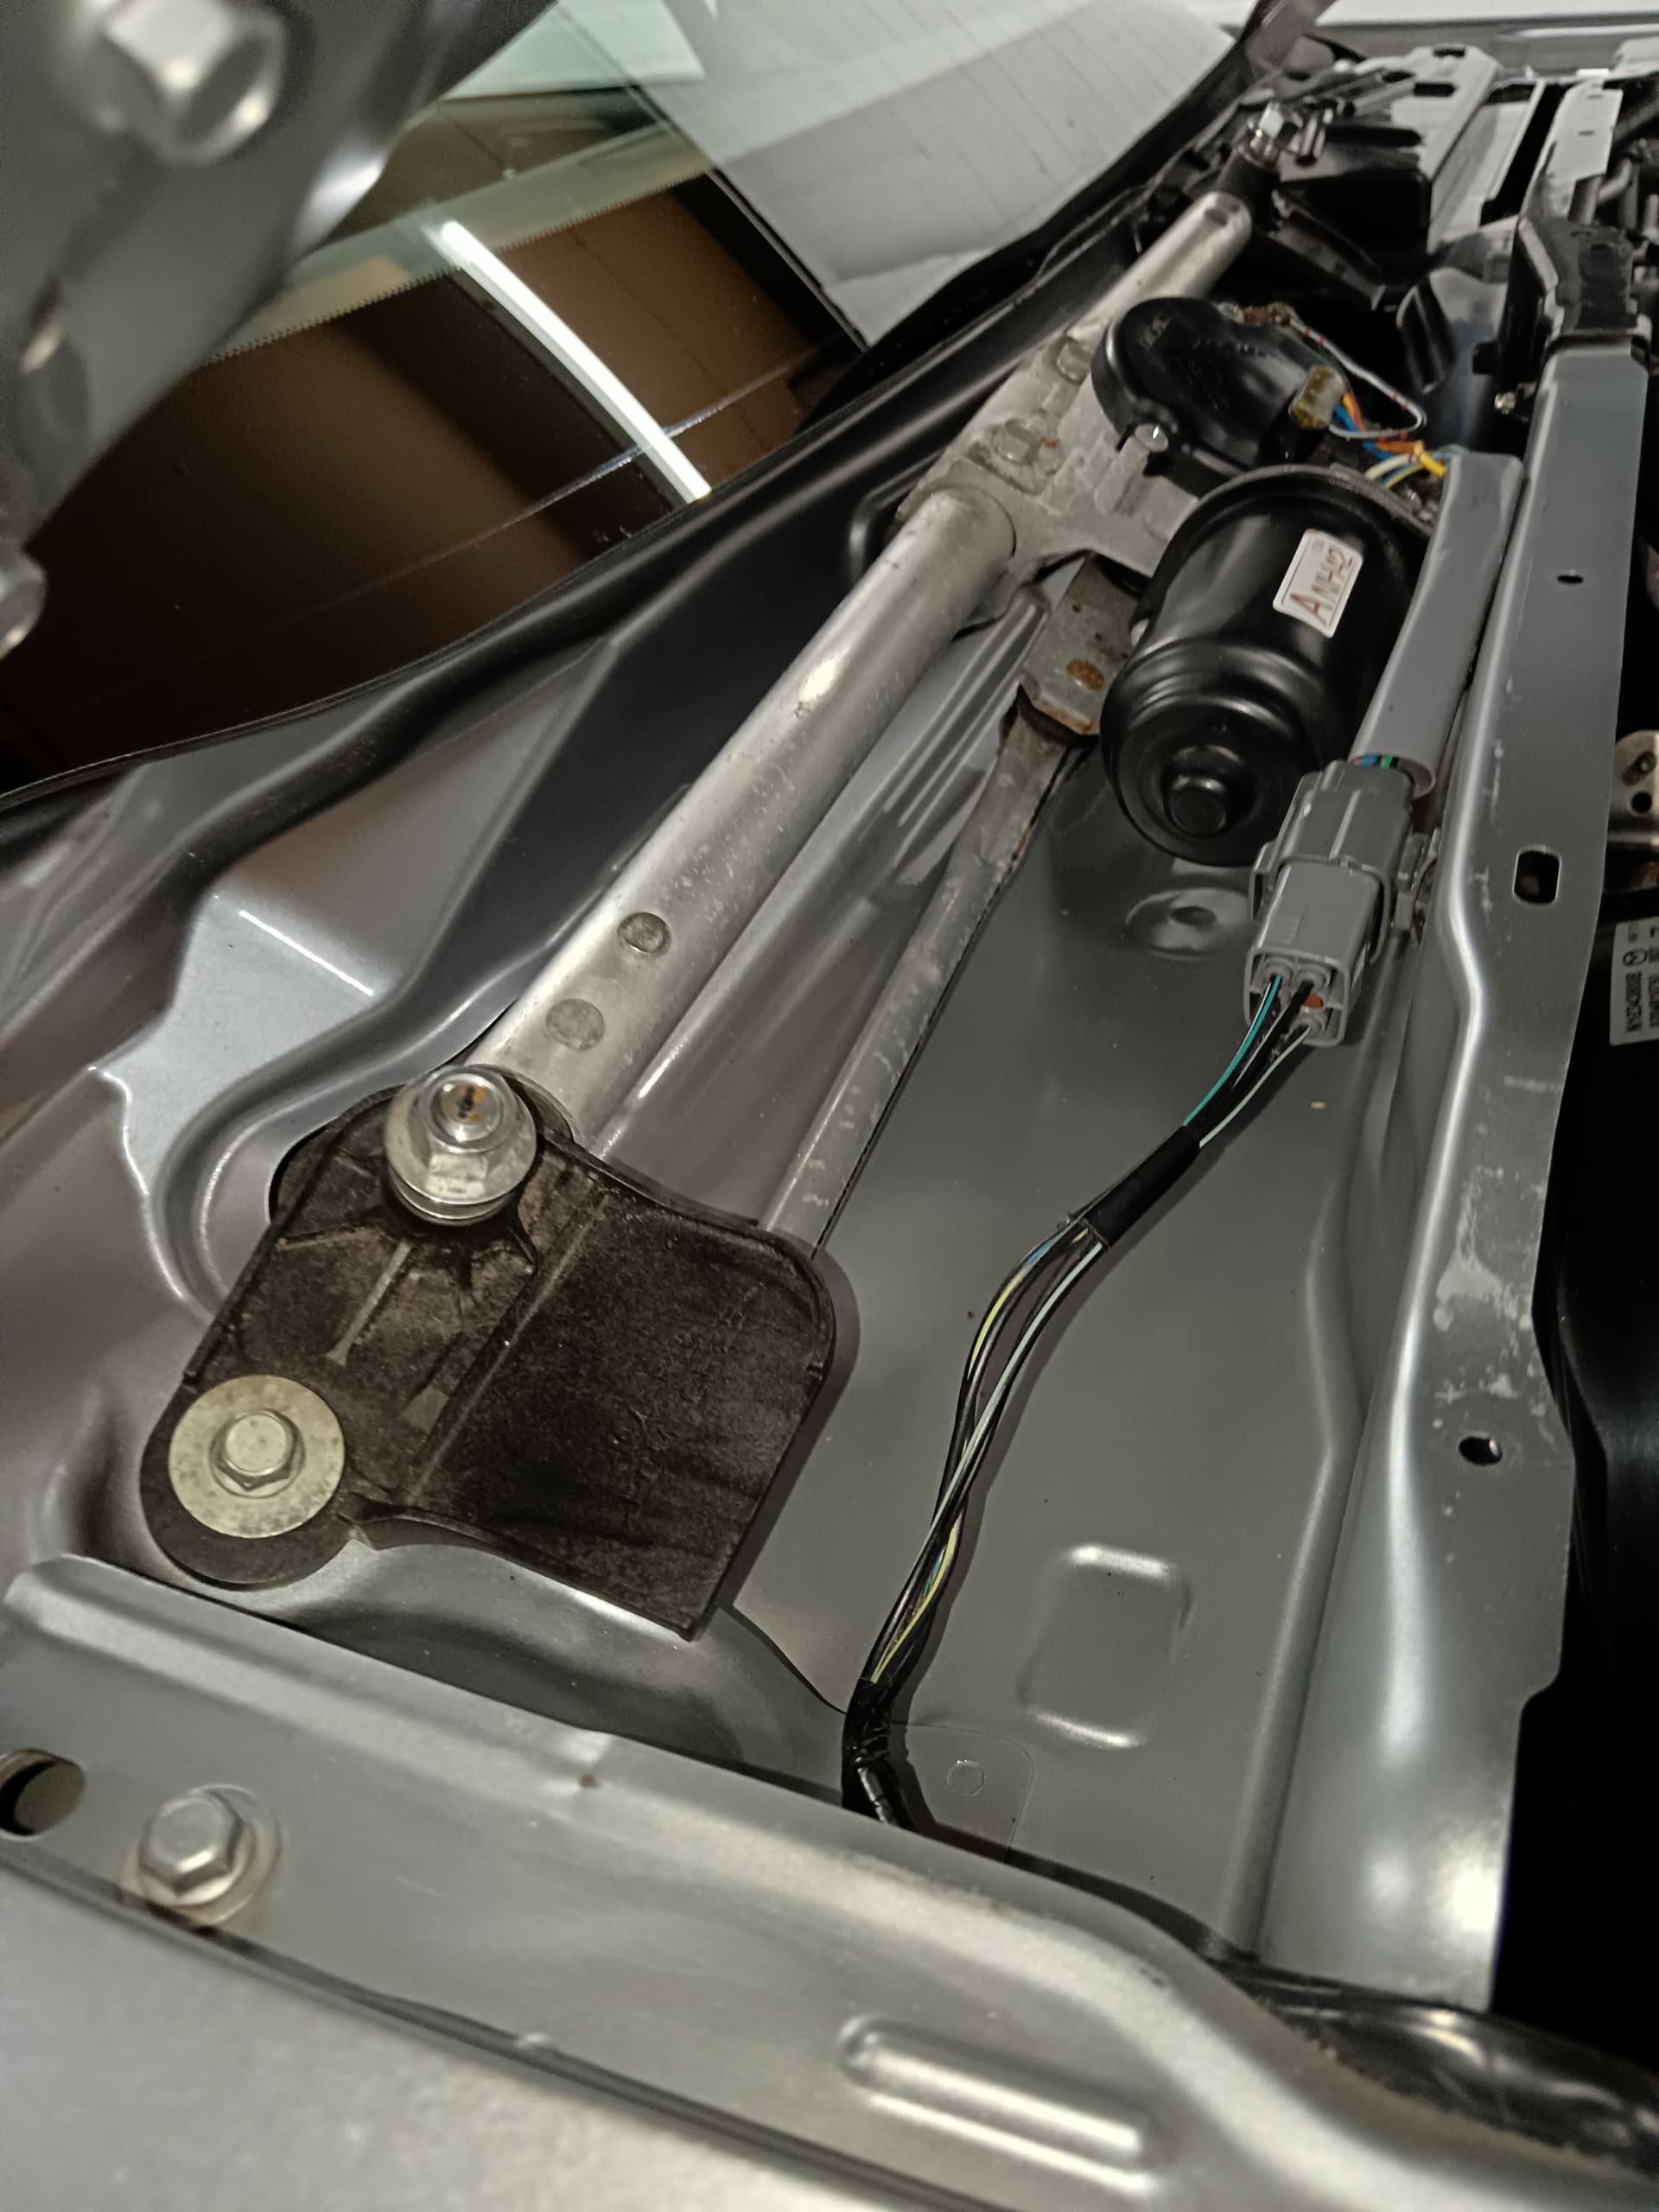
Prevention being better than cure, I’ve removed and replaced the scuttle grommets and cleansed everything out. Clearly the scuttle had never been off but no evidence of any leakage.

1 Like
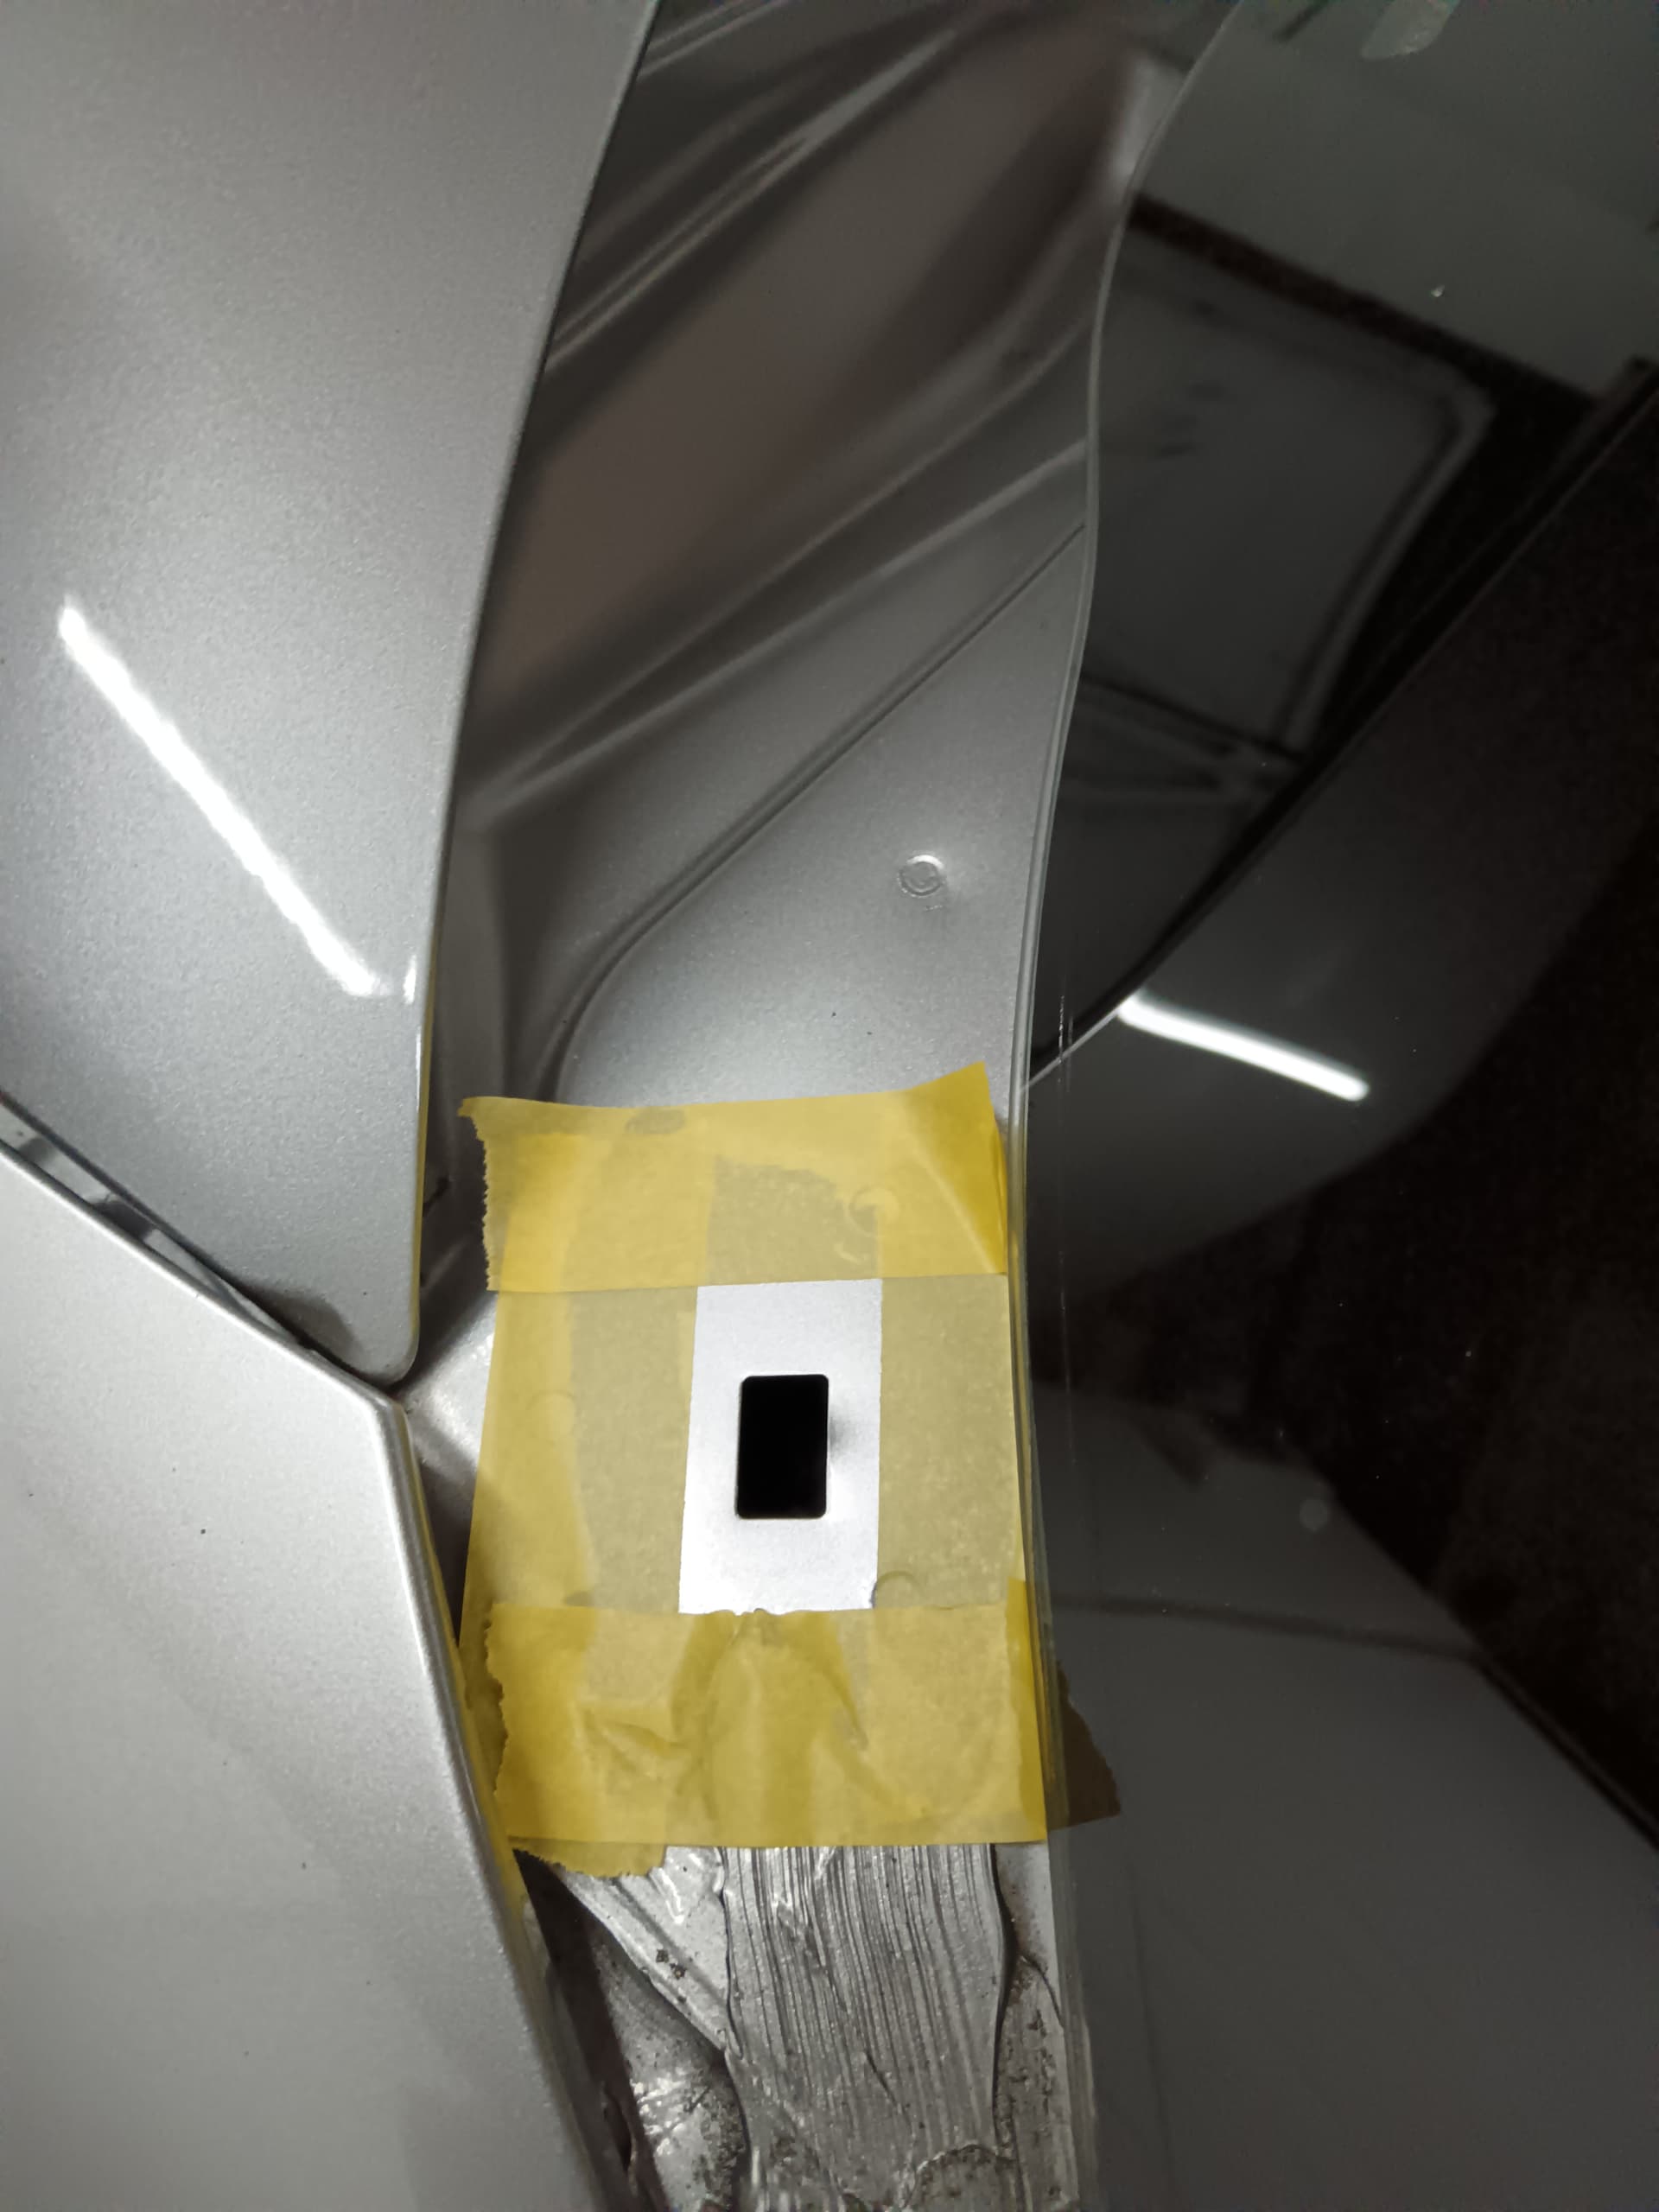
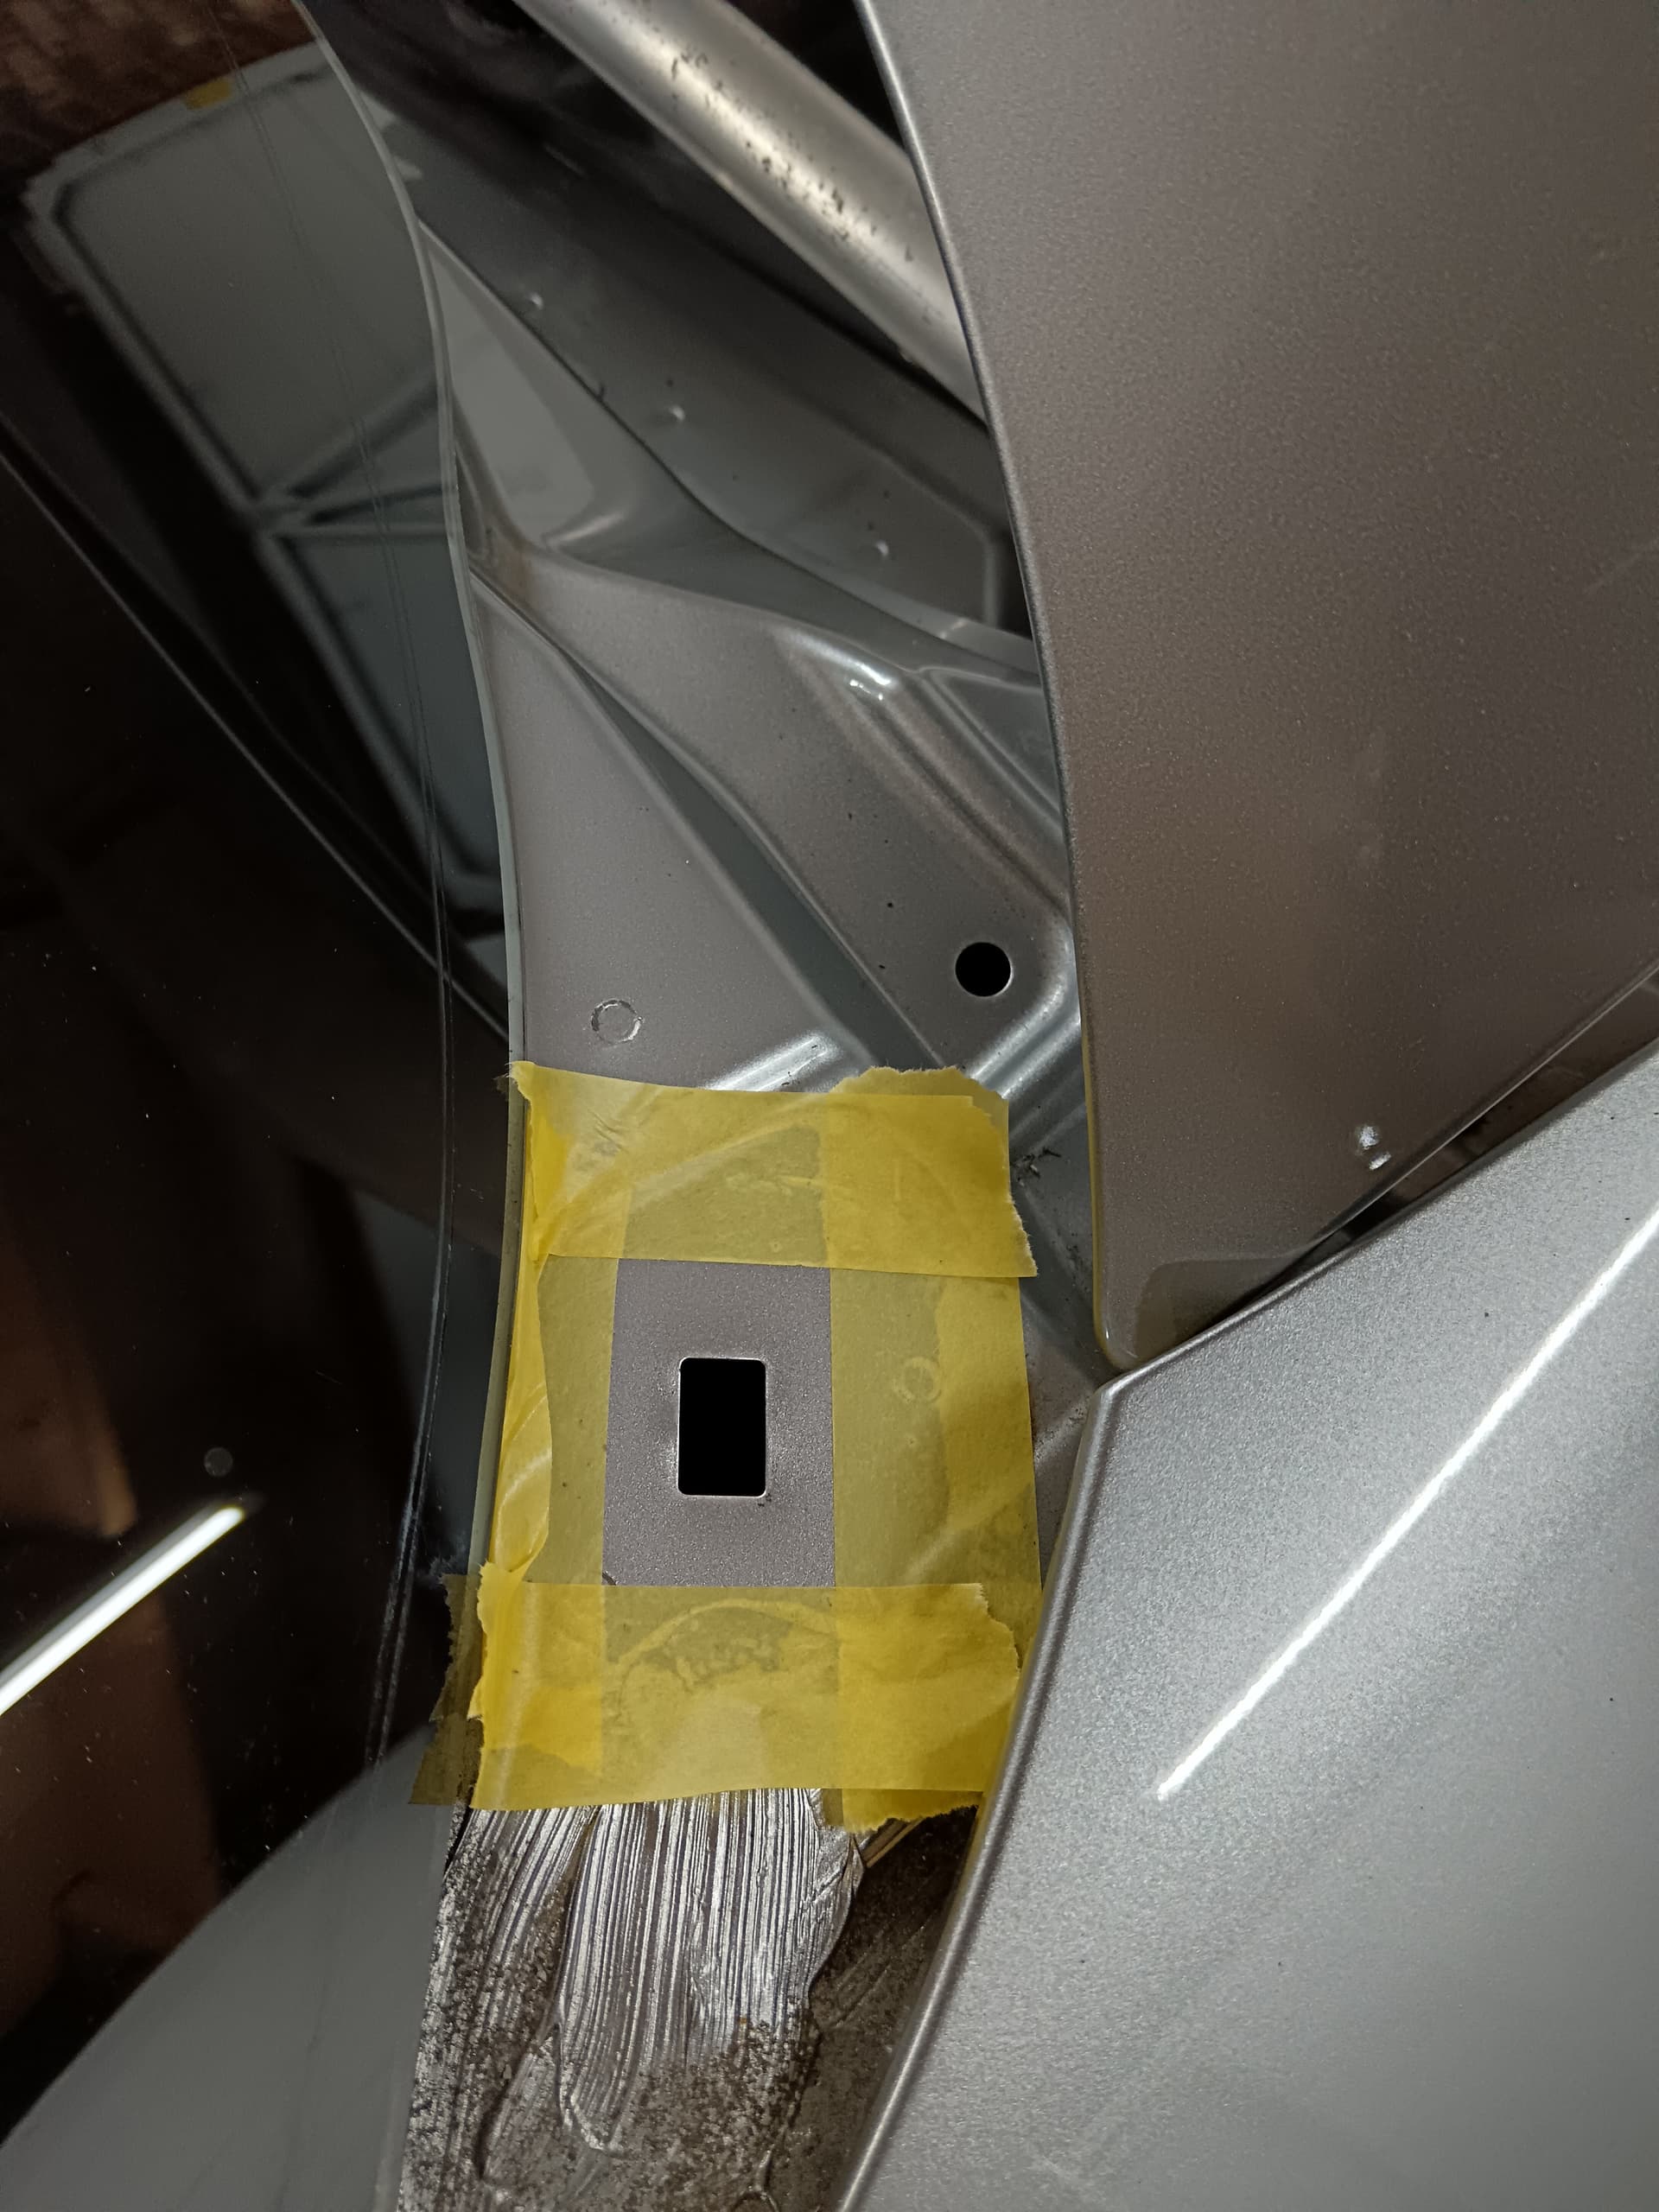
Can’t decide whether to use a square of duct tape over them once it’s dry or use a square of flashband and apply a little heat then roller it on. I don’t want these to leak ever!
5 Likes
Nice work ![]()
![]()
![]()
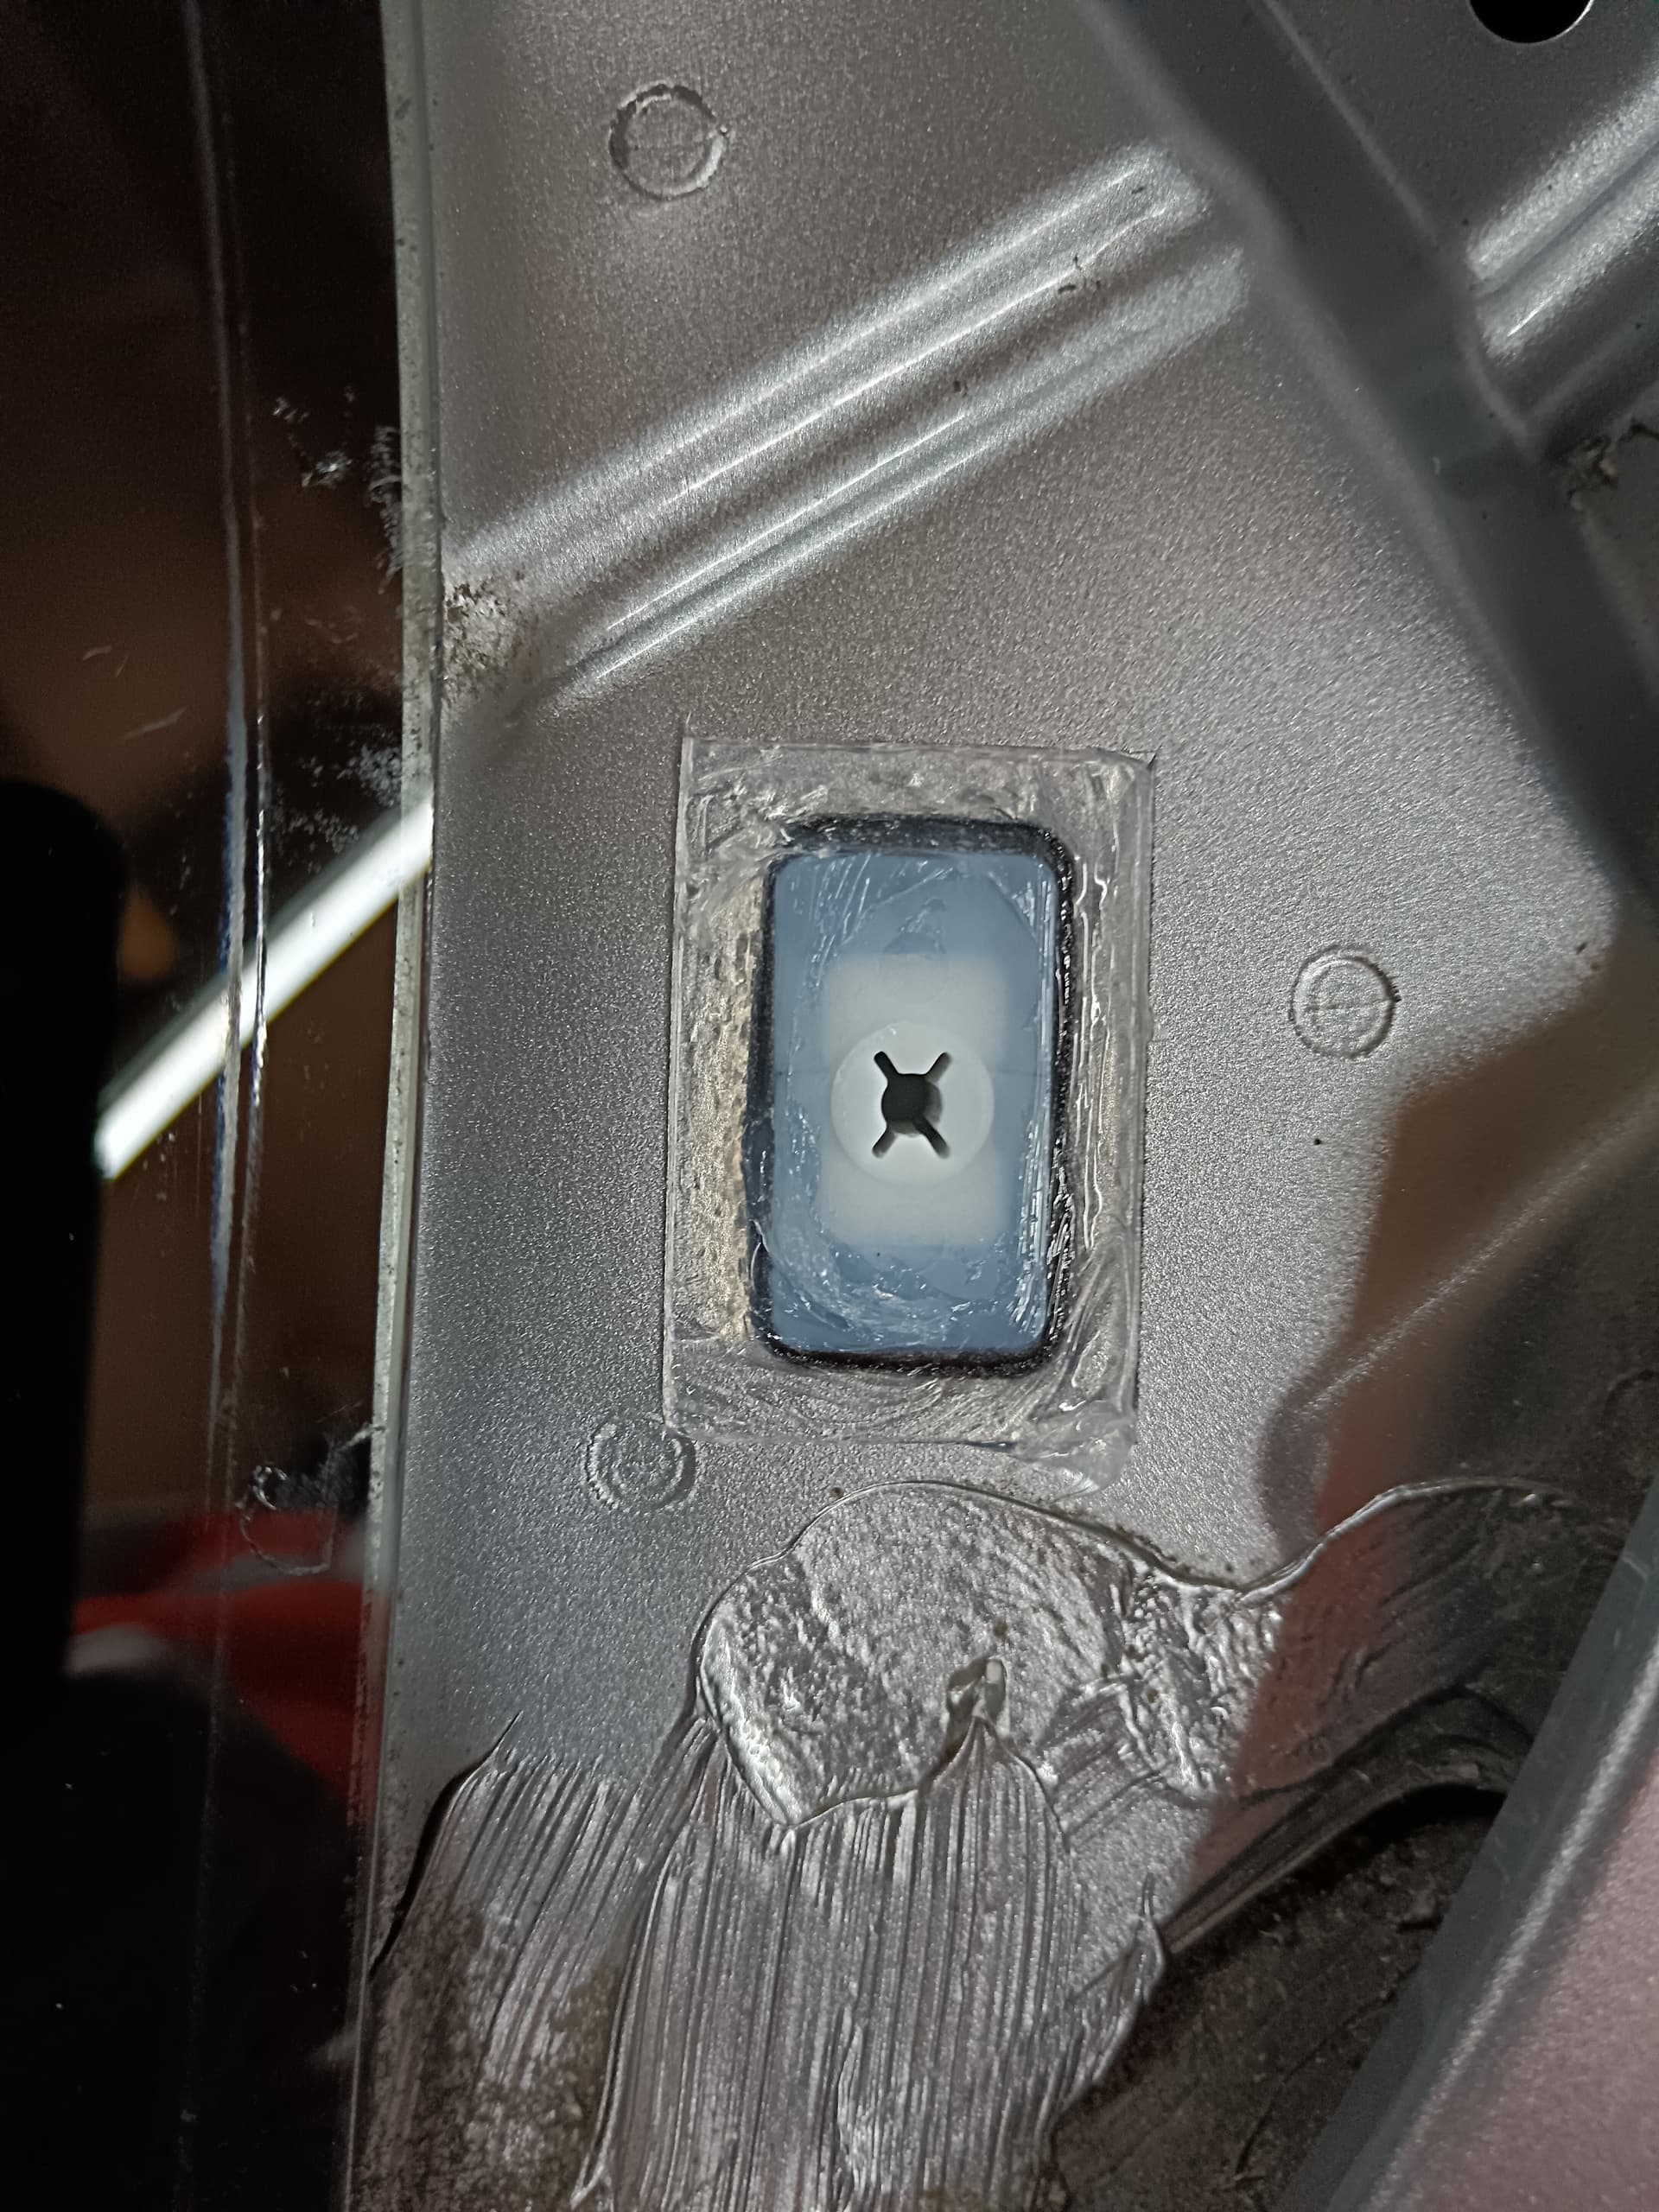
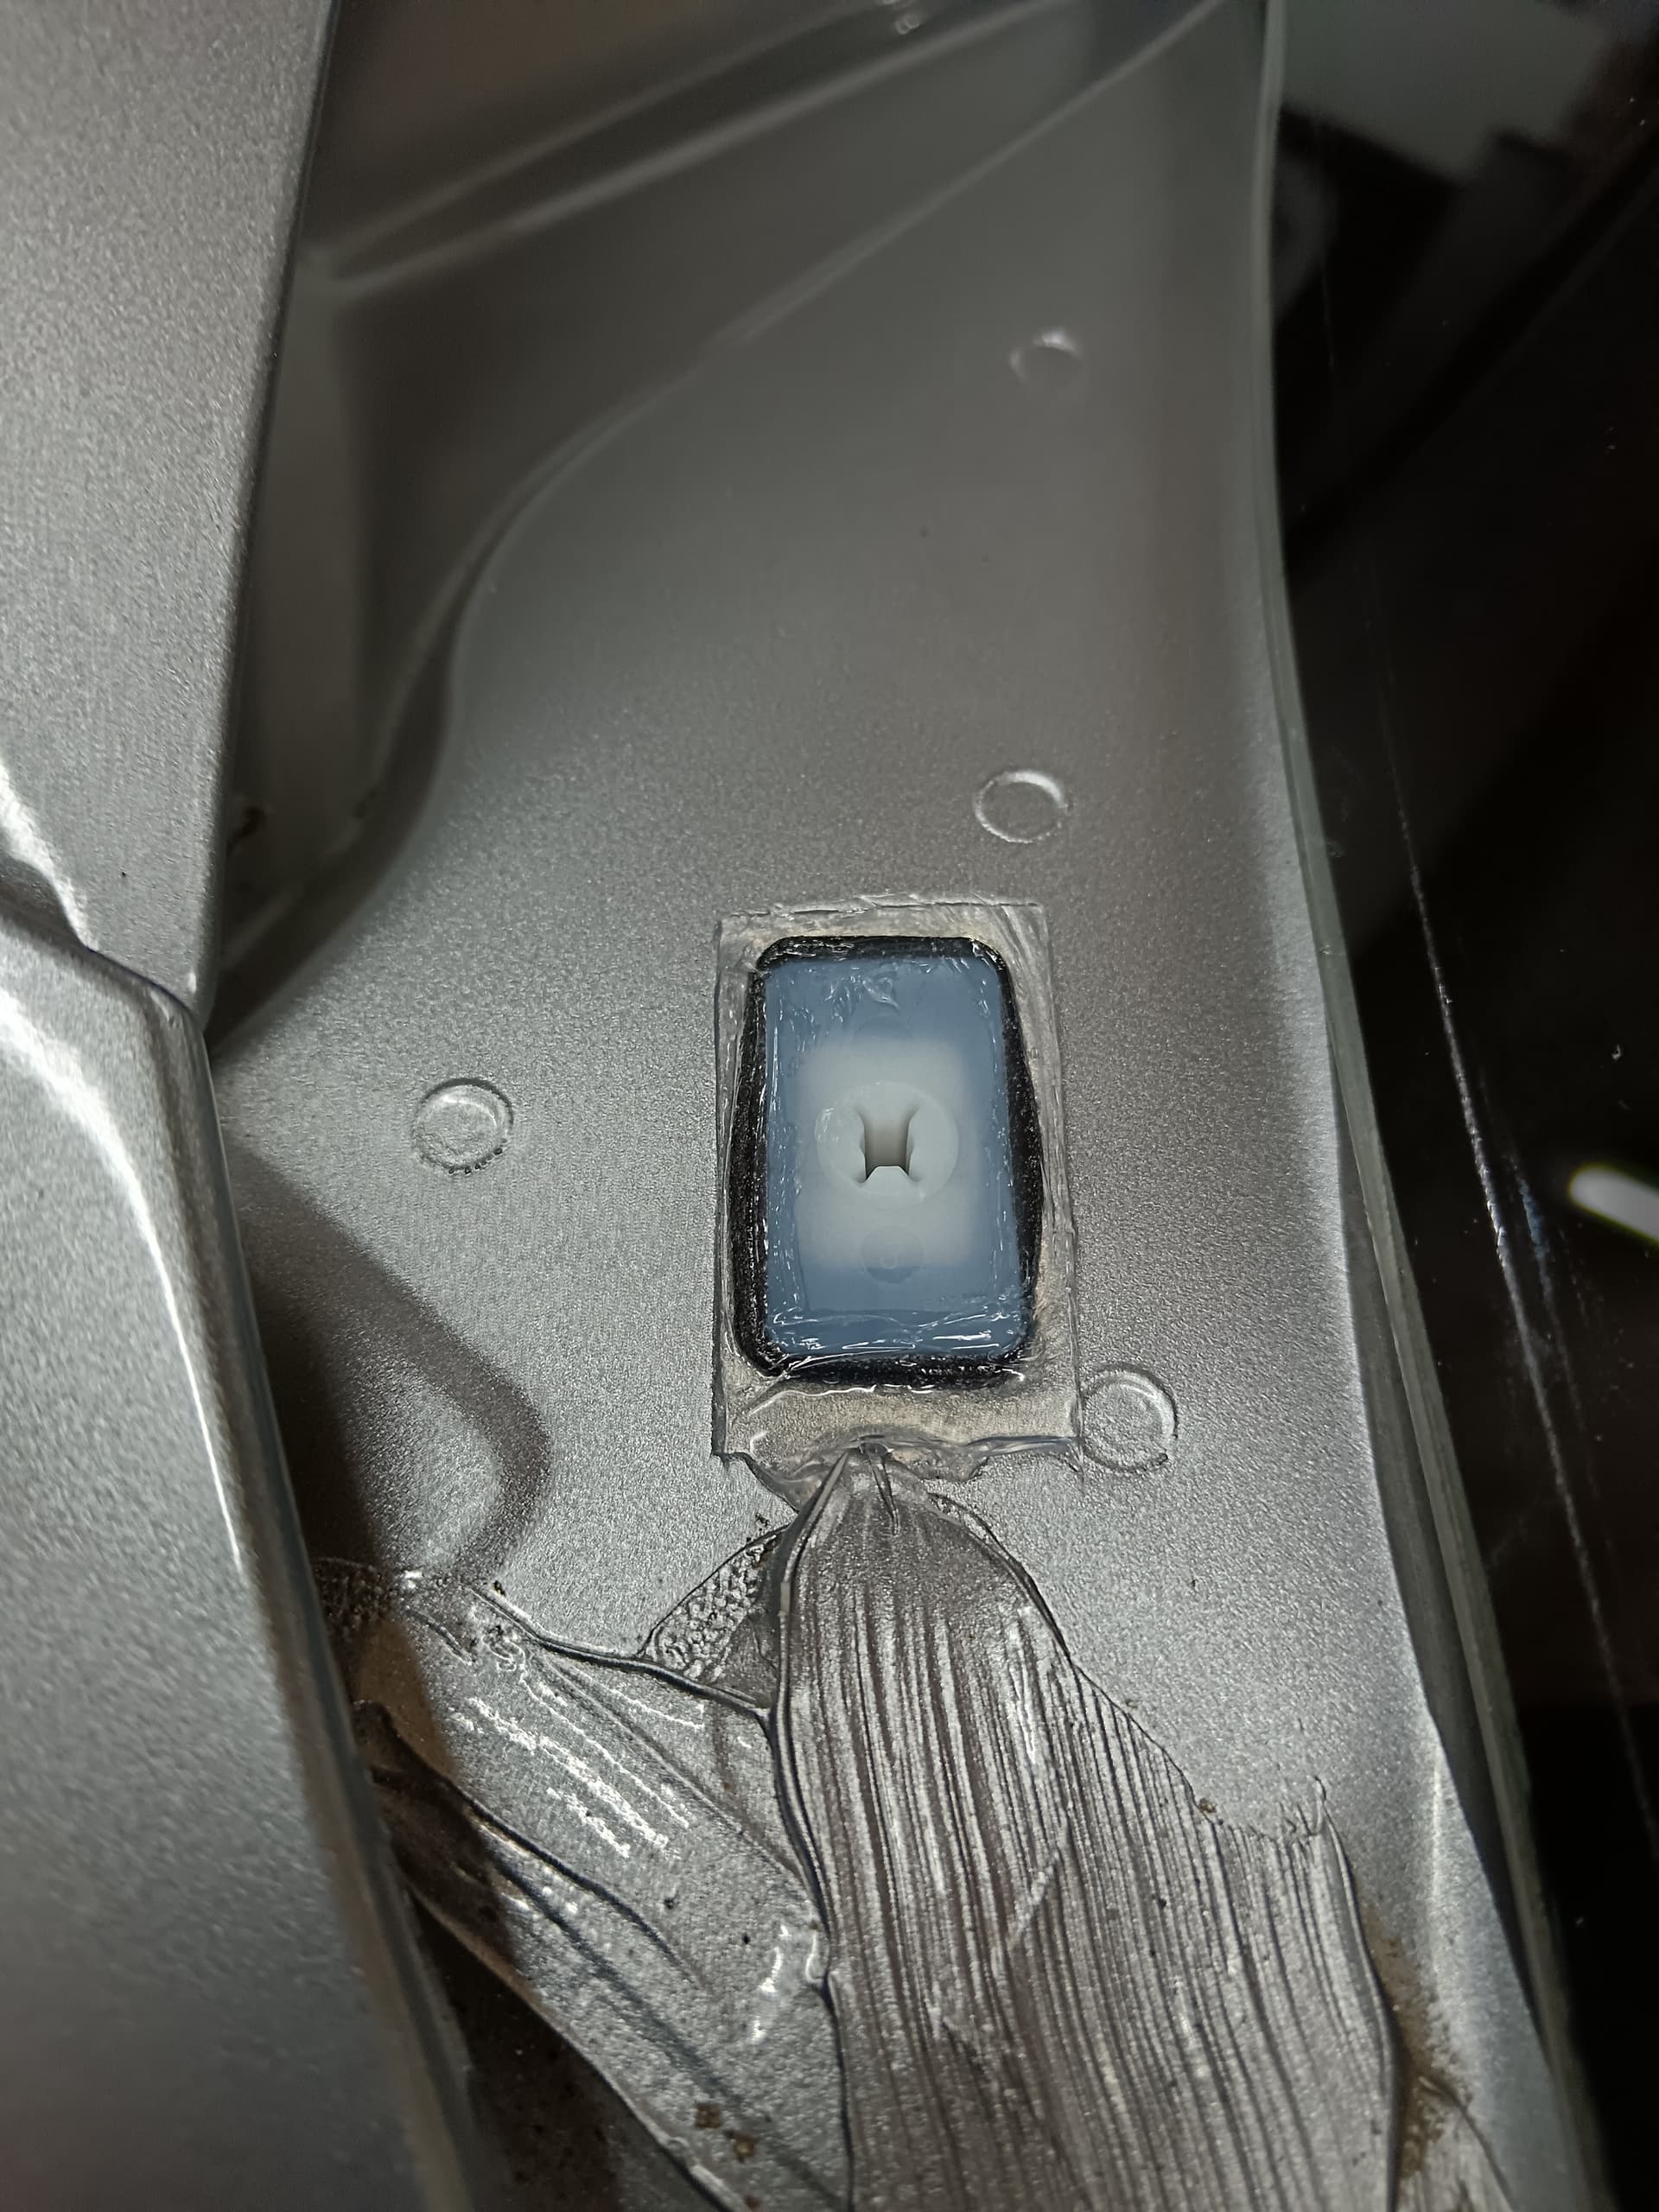
Probably overkill but I had some of this spare and covered the grommets with it.
It is very good at sealing whatever you stick it too.
1 Like
That’ll do it ![]()
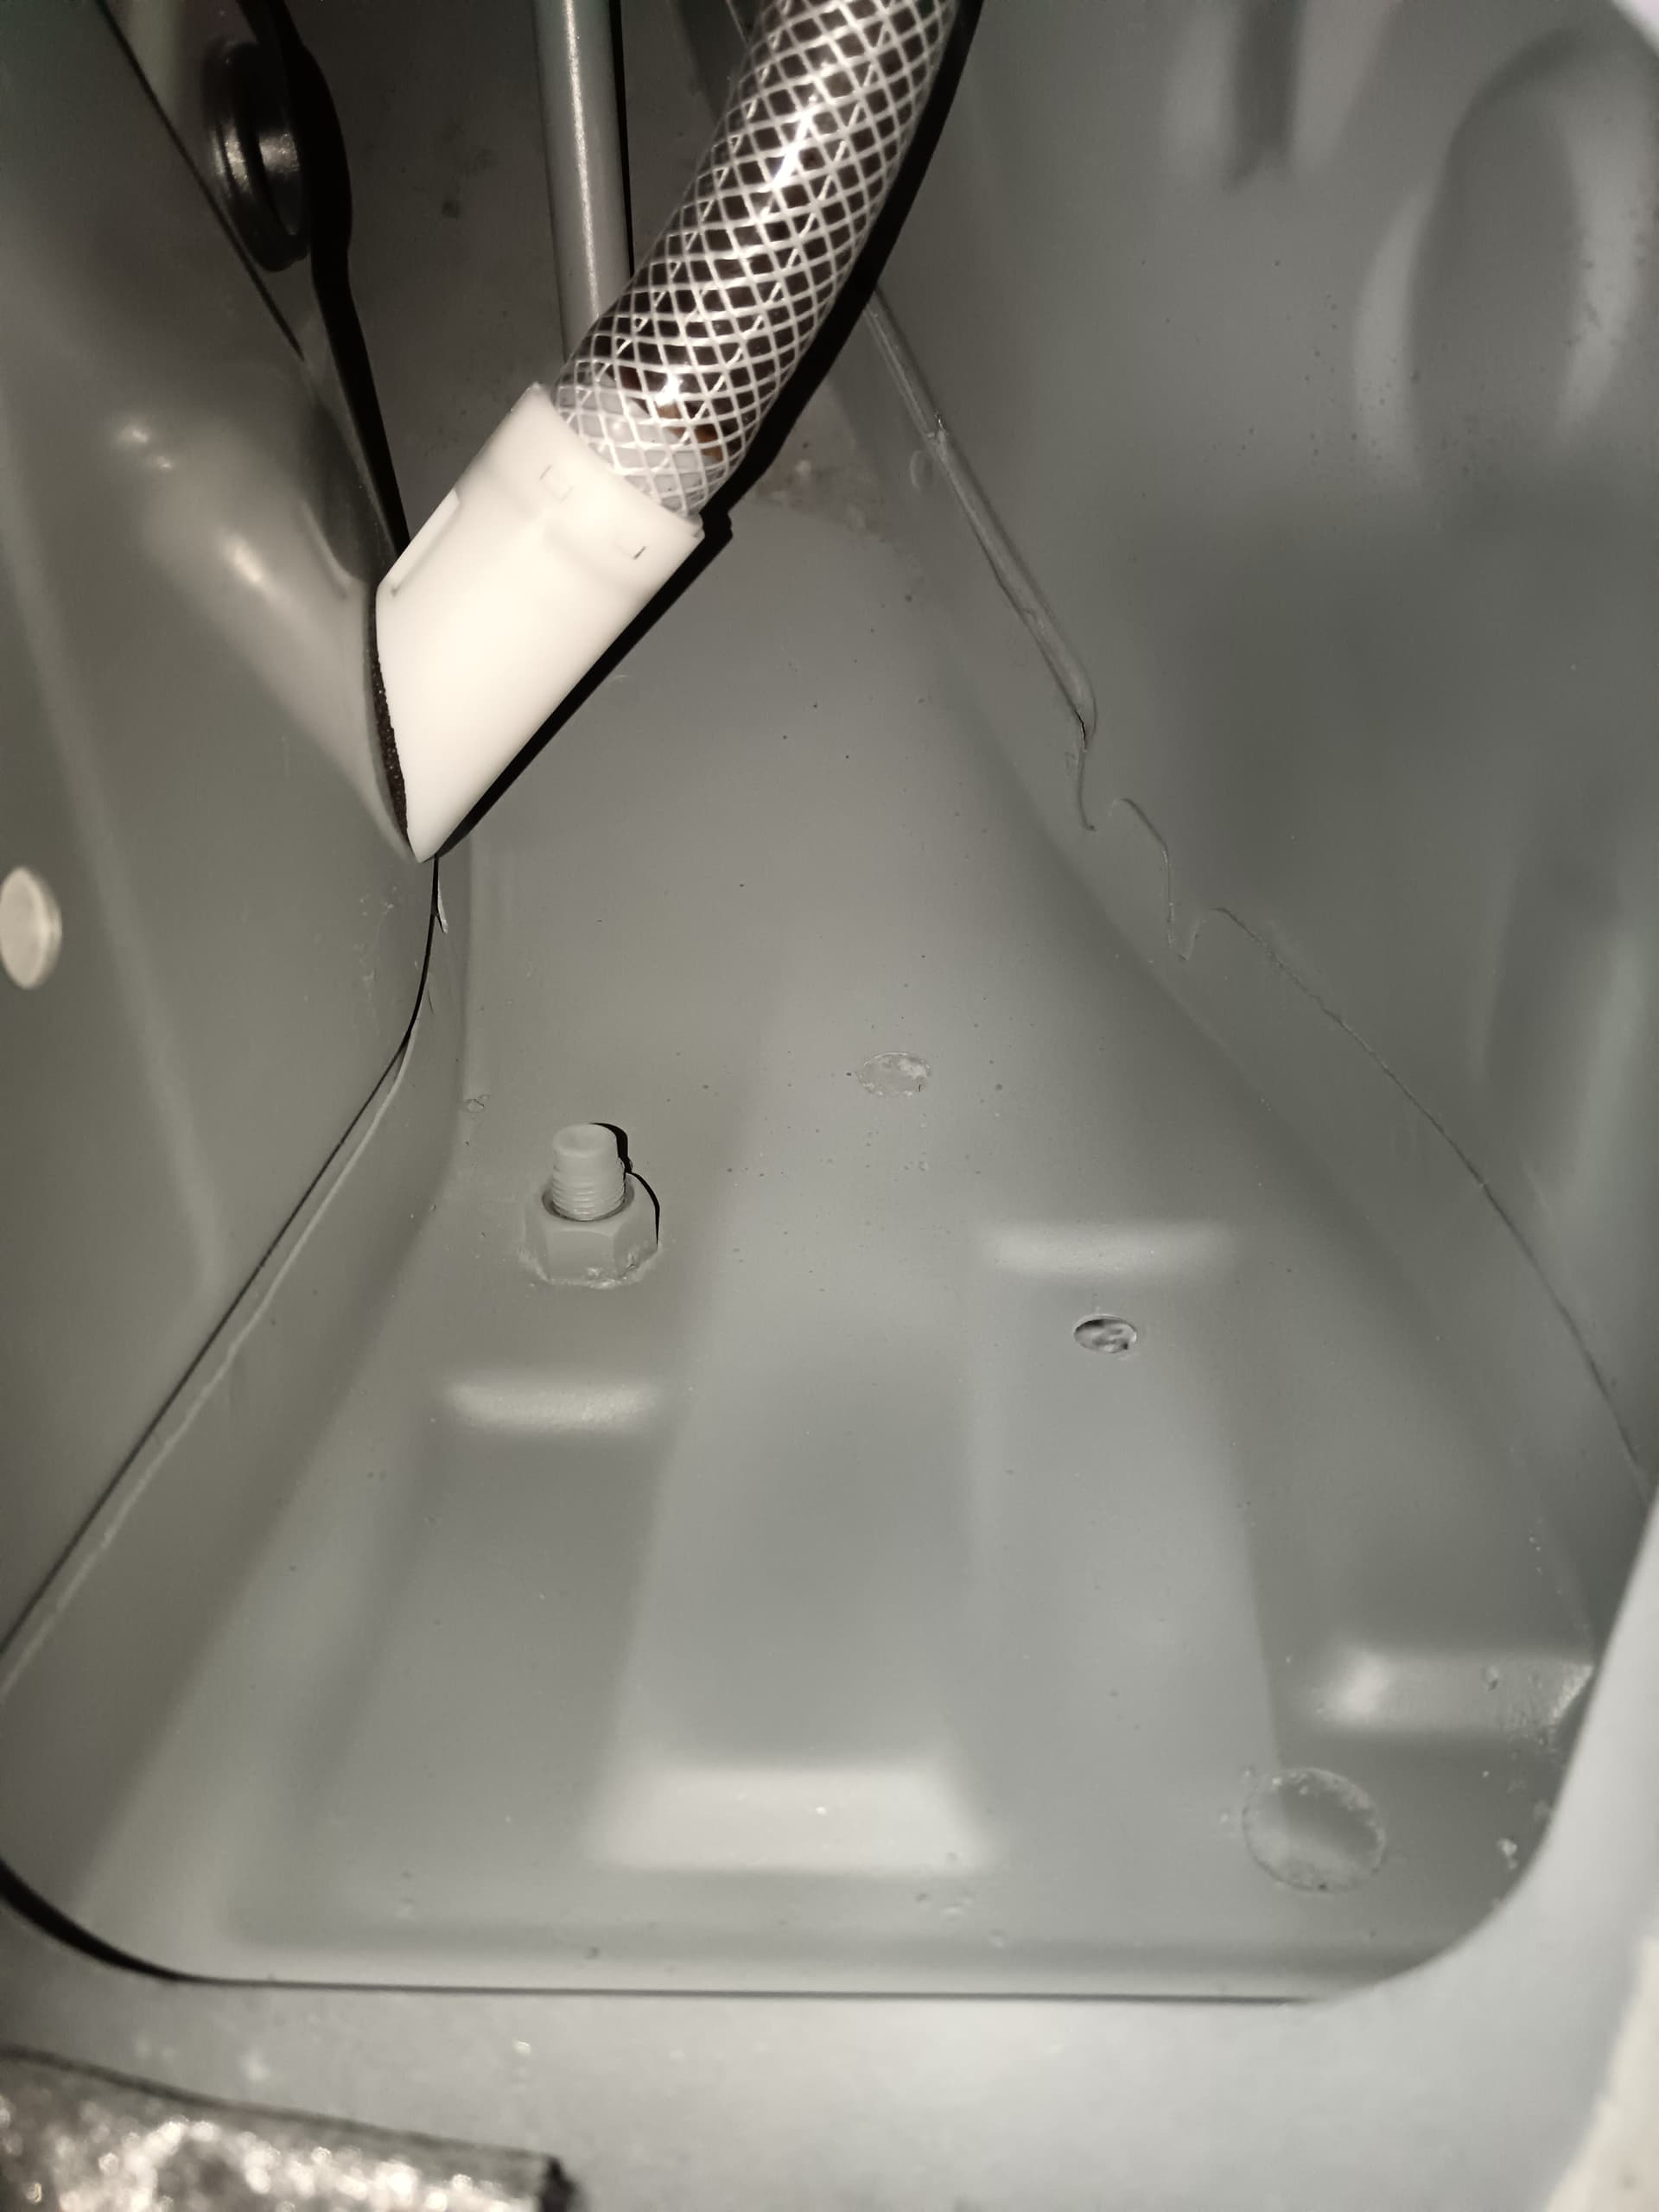
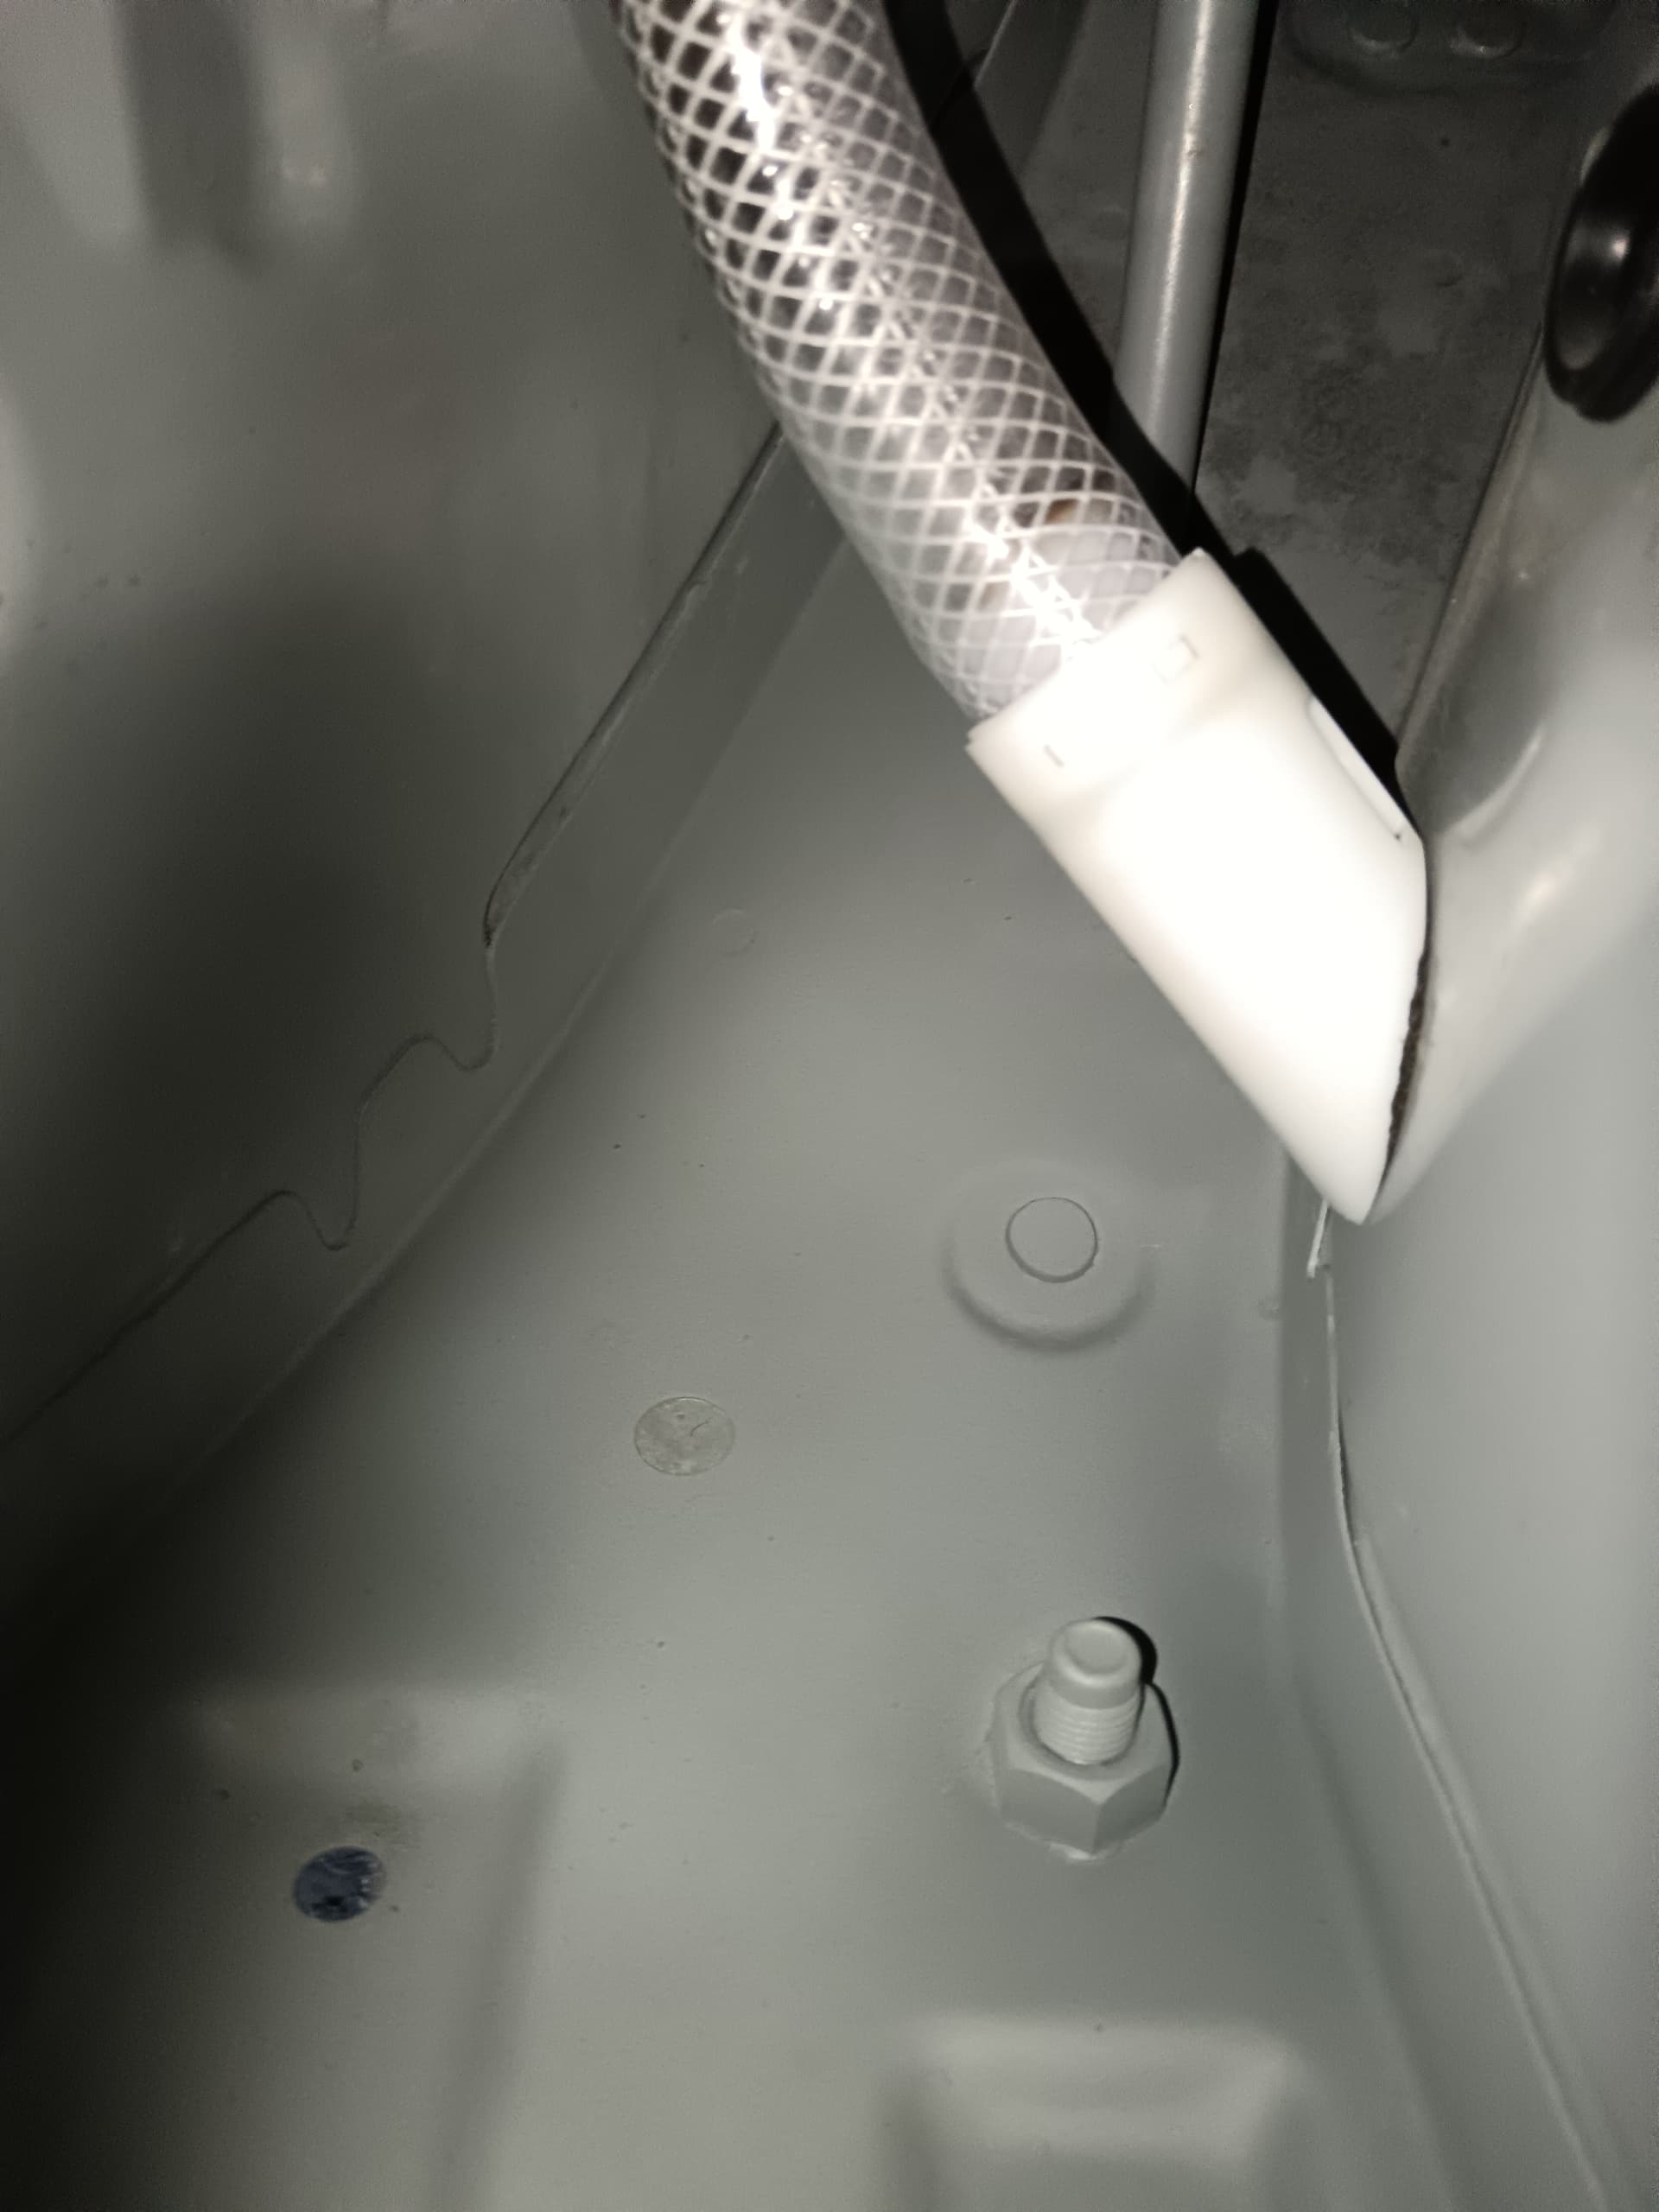
Had a little time for it today, removed seat belt tensioners to check the problem areas inside the rear sills. No problems but whilst there took apart and checked the drain flaps which seem OK… Added the fishtank filter membrane and refitted. Whilst there I cleaned them out and degreased and galva-zinc’d both voids to protect them as much as possible if any water ever did get in there.
I was surprised to see the front most captive nut for the subframe support bars, having seen videos stating this fixing was inaccessible due to being inside a box section and when seized having to make repairs to the bars in situe rather than extracting the bolts and replacing the pair for much less money and effort…
4 Likes
For anyone who liked and was interested in the wheels, they’ve been put on black Friday on driftworks. A set of 4 now 594.00 delivered, available in black and white as well!
https://www.driftworks.com/catalogsearch/result/?q=356+tfs+17+5x114
Wish I’d known, could of save myself a few quid so far on those and coilovers but hey ho ![]() , maybe someone else can save some
, maybe someone else can save some ![]() .
.
1 Like
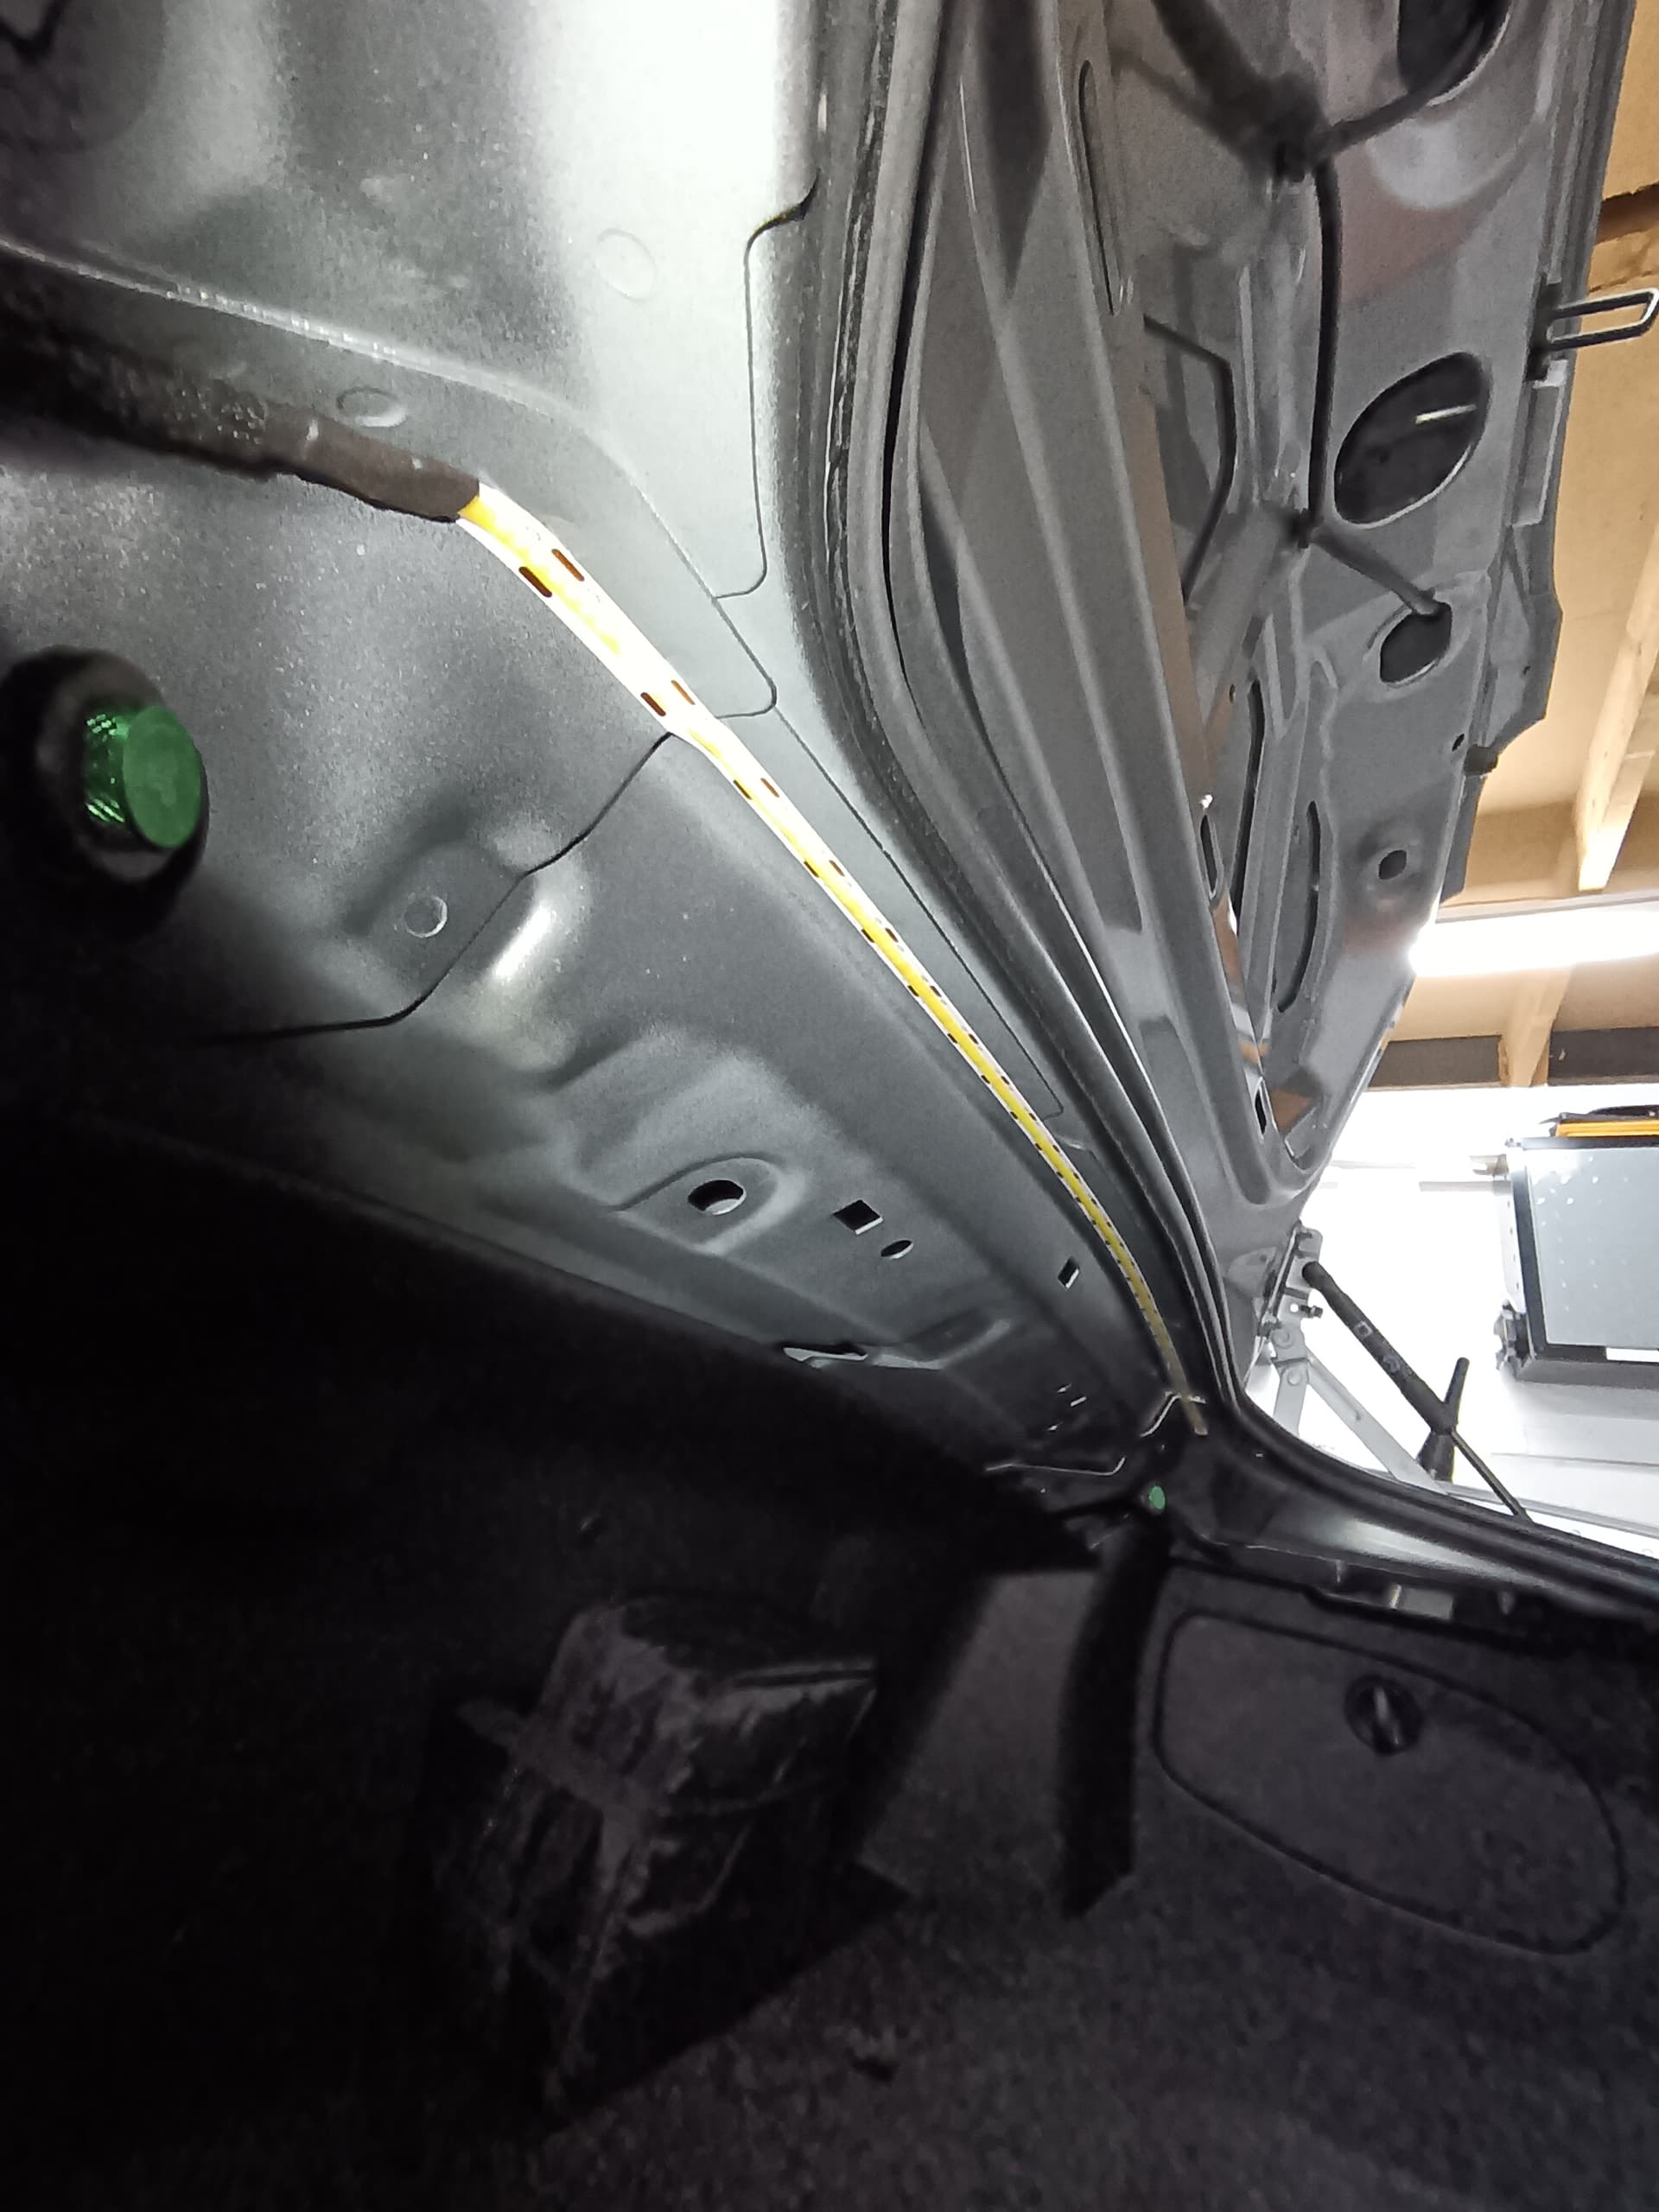
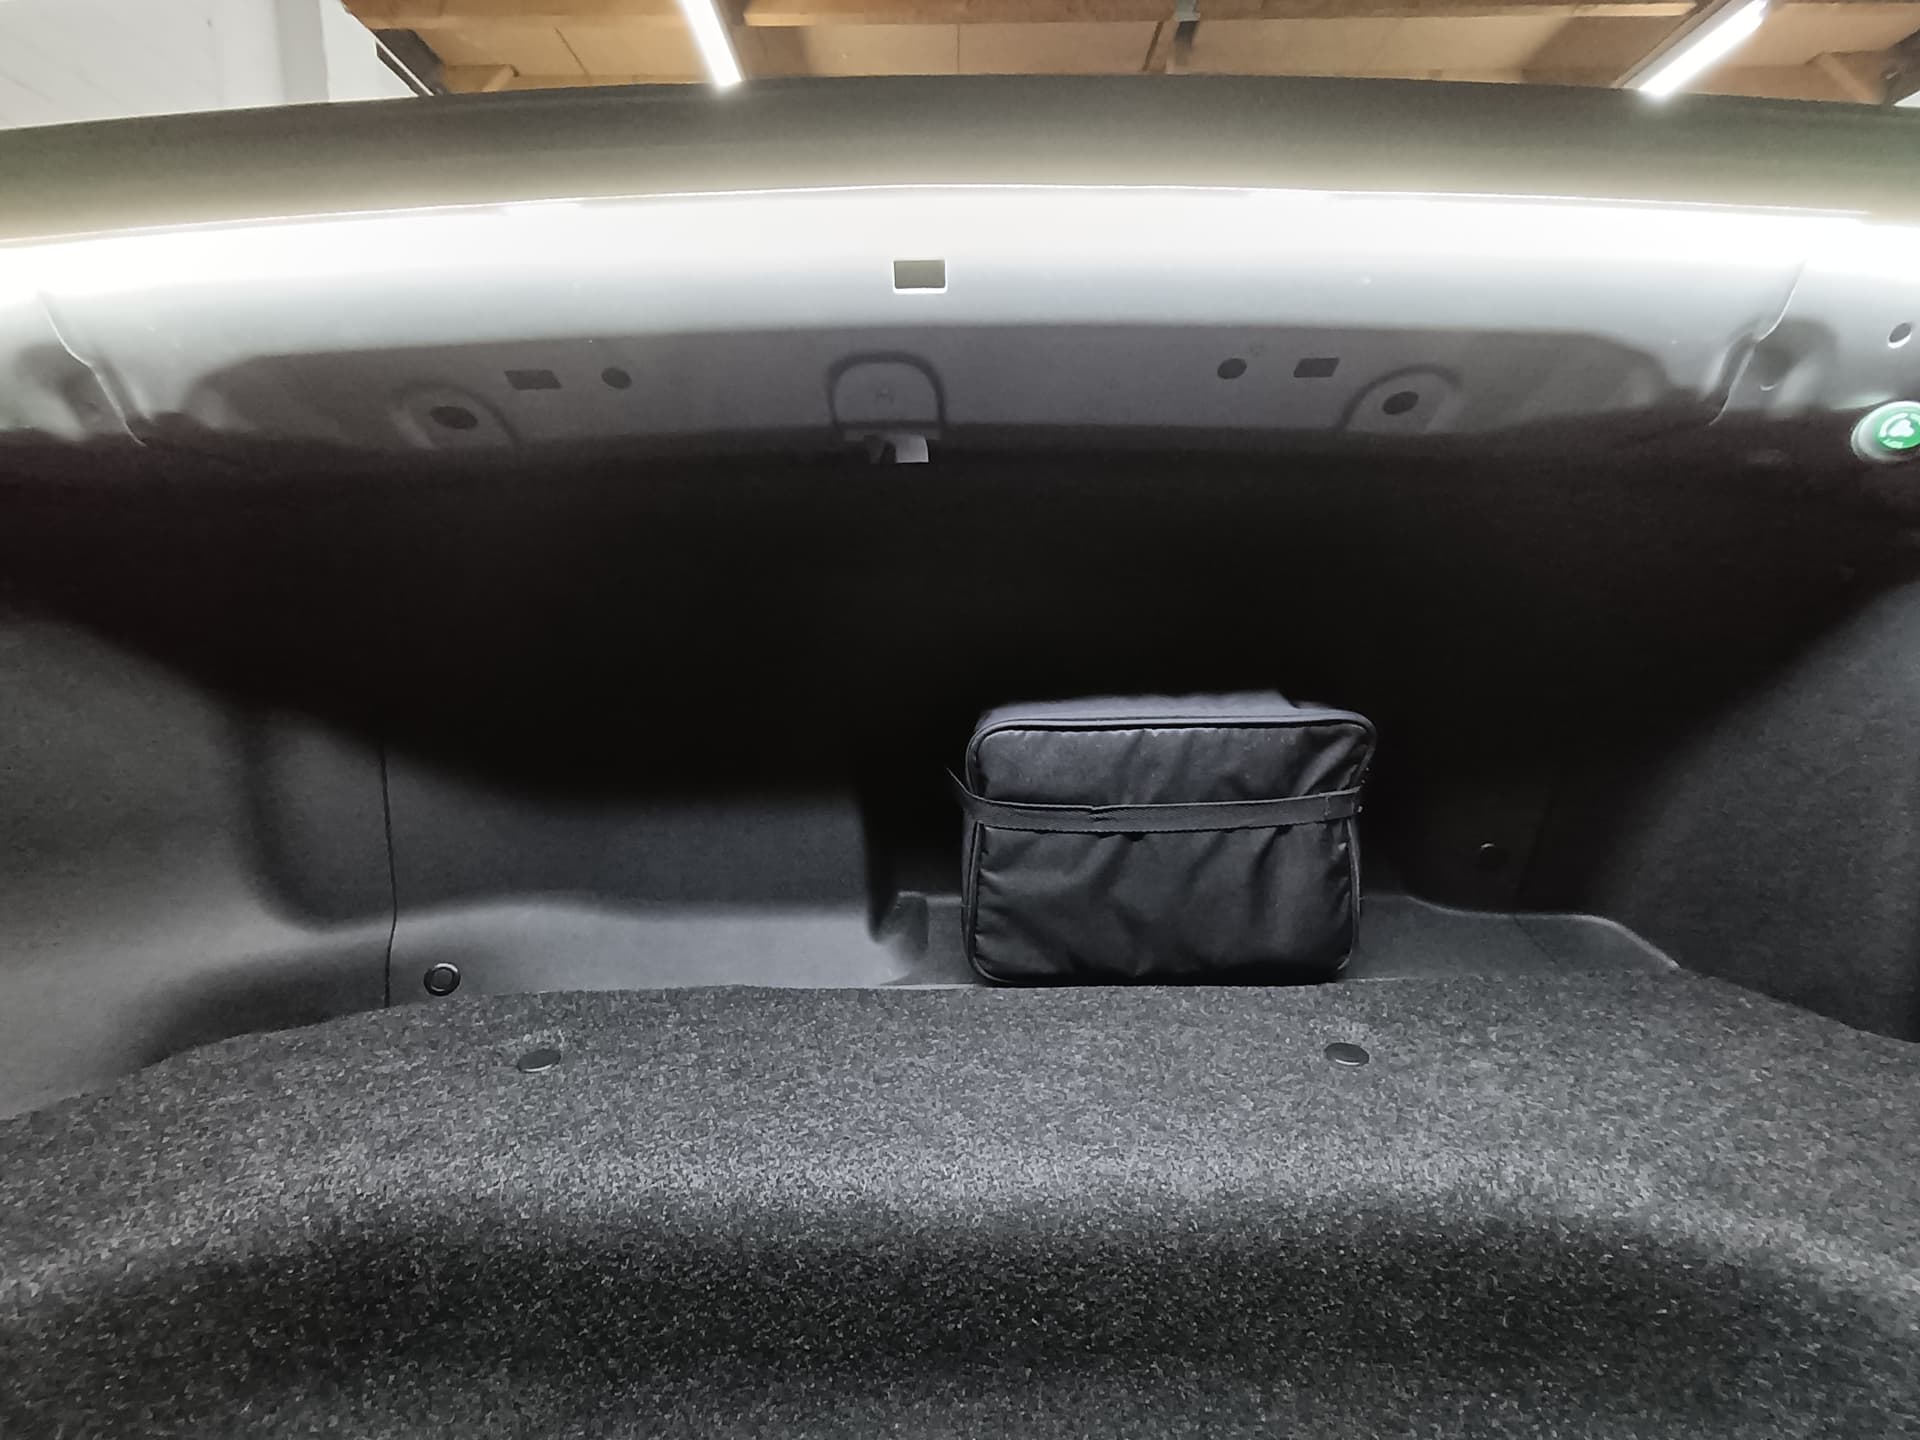
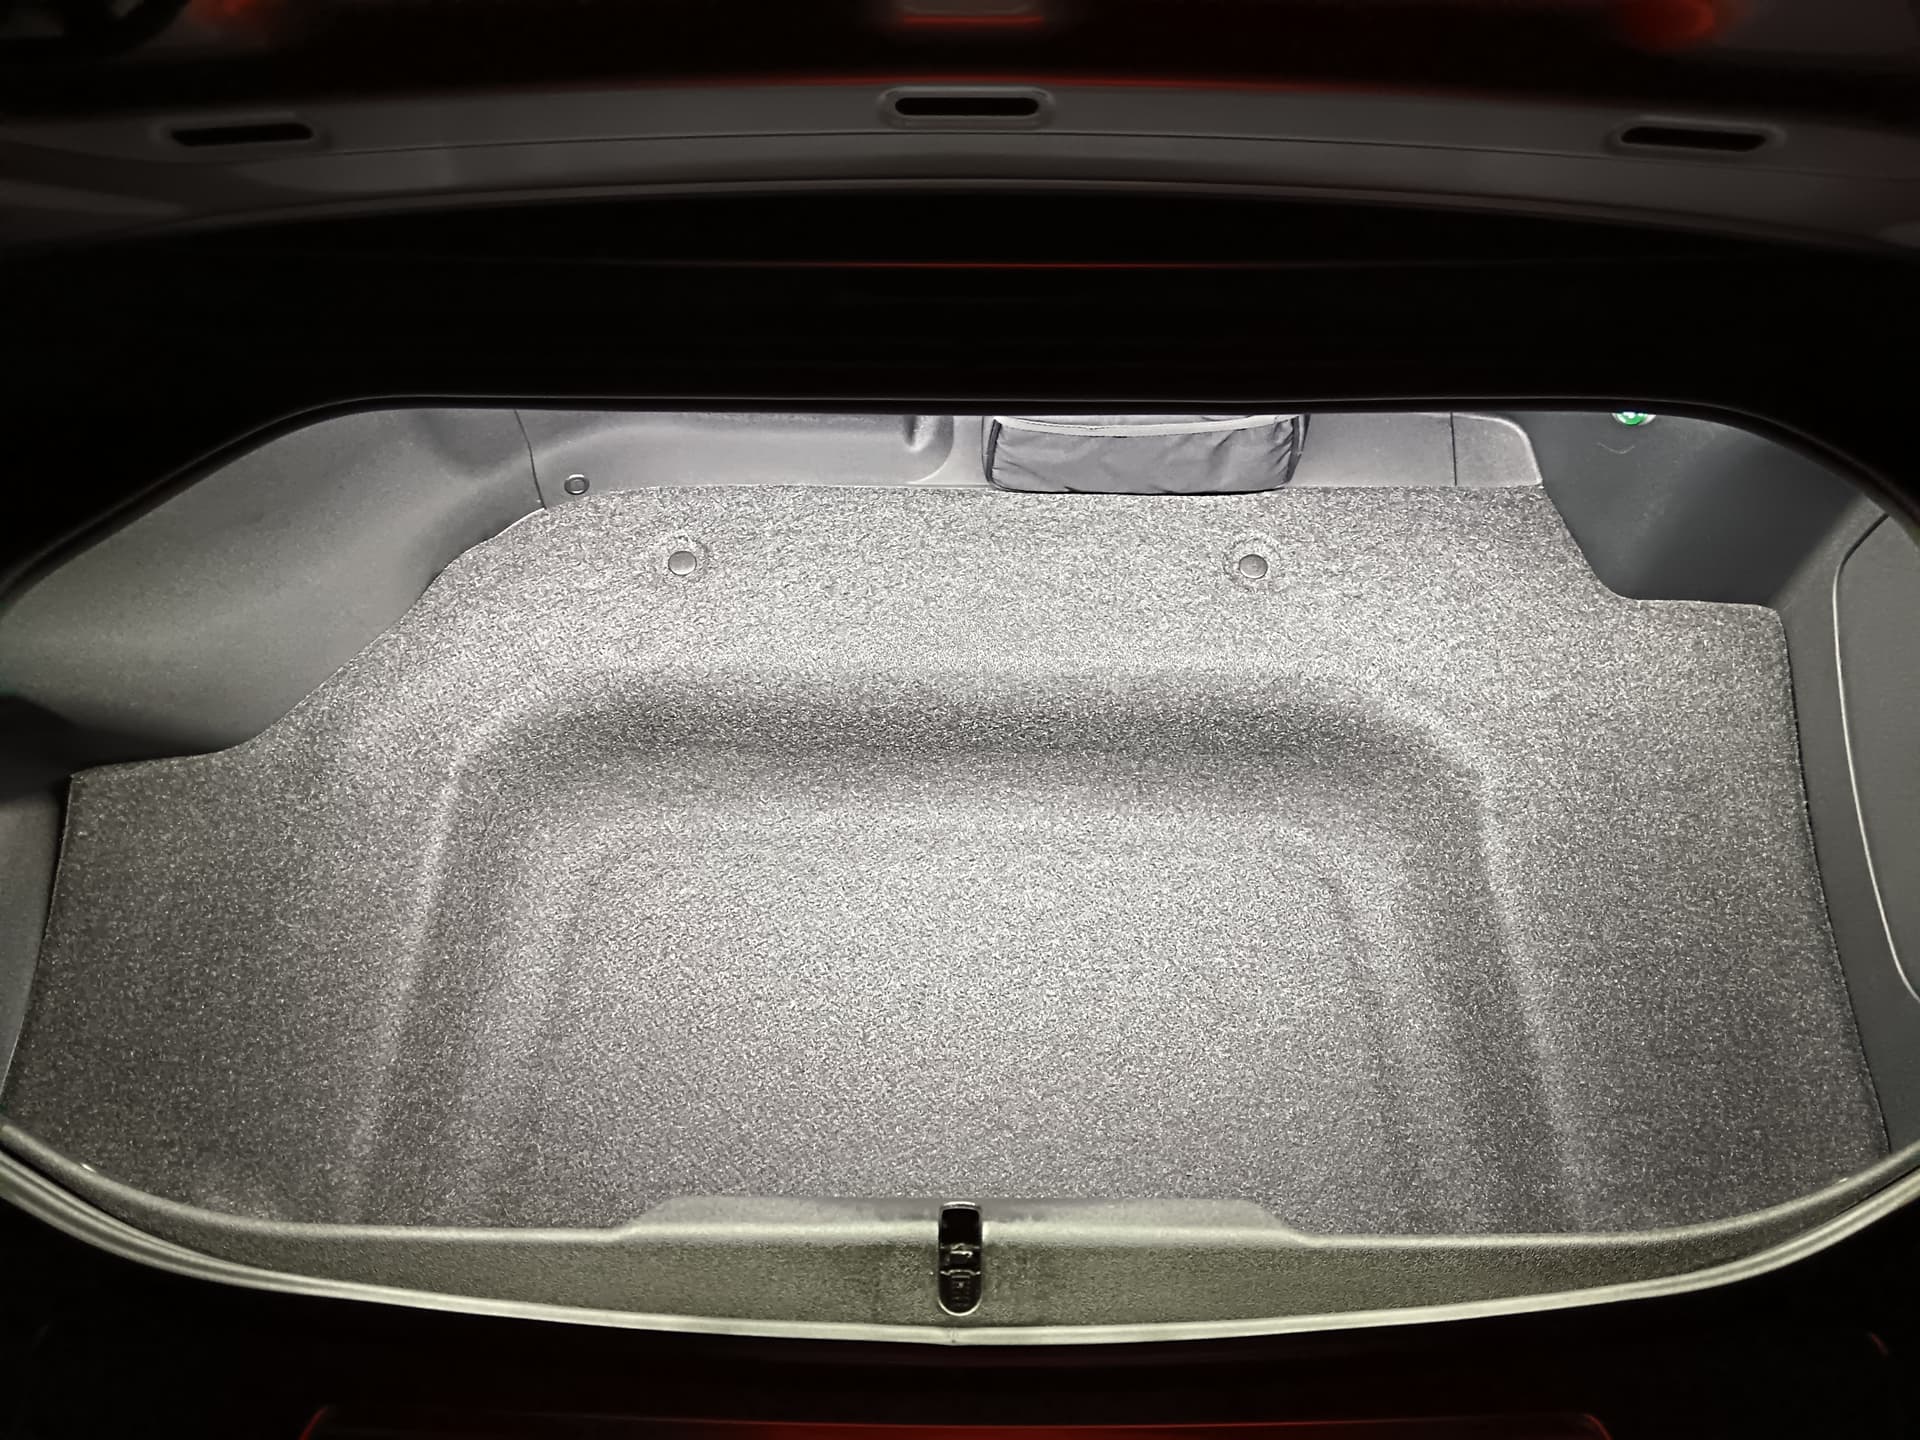
Found that even with the upgraded led the boot light was pretty inadequate - I work early starts as well as nights and always have stuff in the boot going to and from work.
Installed a 12v strip light concealed above (£3.99 ebay) and you’d never know it was there. Fantastic results, don’t even need the original light switched on ![]() .
.

3 Likes
Also crawled under and fixed a couple of annoying rattles. Appears that the little plastic access flaps on the bracing and undertray aren’t a very good fit when snapped shut and were resonating, so I have secured them closed with zip ties. I won’t use them anyway as I removed the panels completely when servicing for better access.
1 Like
Now that is excellent! Yet another thing I can add…
I have loads of strip LEDs left over from various installations around the house, white and RGB etc. Compared with most of the whites alas, the RGB are almost useless and fade quite quickly.
My wife added the smaller size to her shopping list to fit in the NC’s boot. Cost less than £1, I’ve yet to fit it properly, looks like it’ll do the job by sticking to the metal framework.
That’s an awesome idea.
Is it simple to wire in?
1 Like
Thanks ![]() .
.
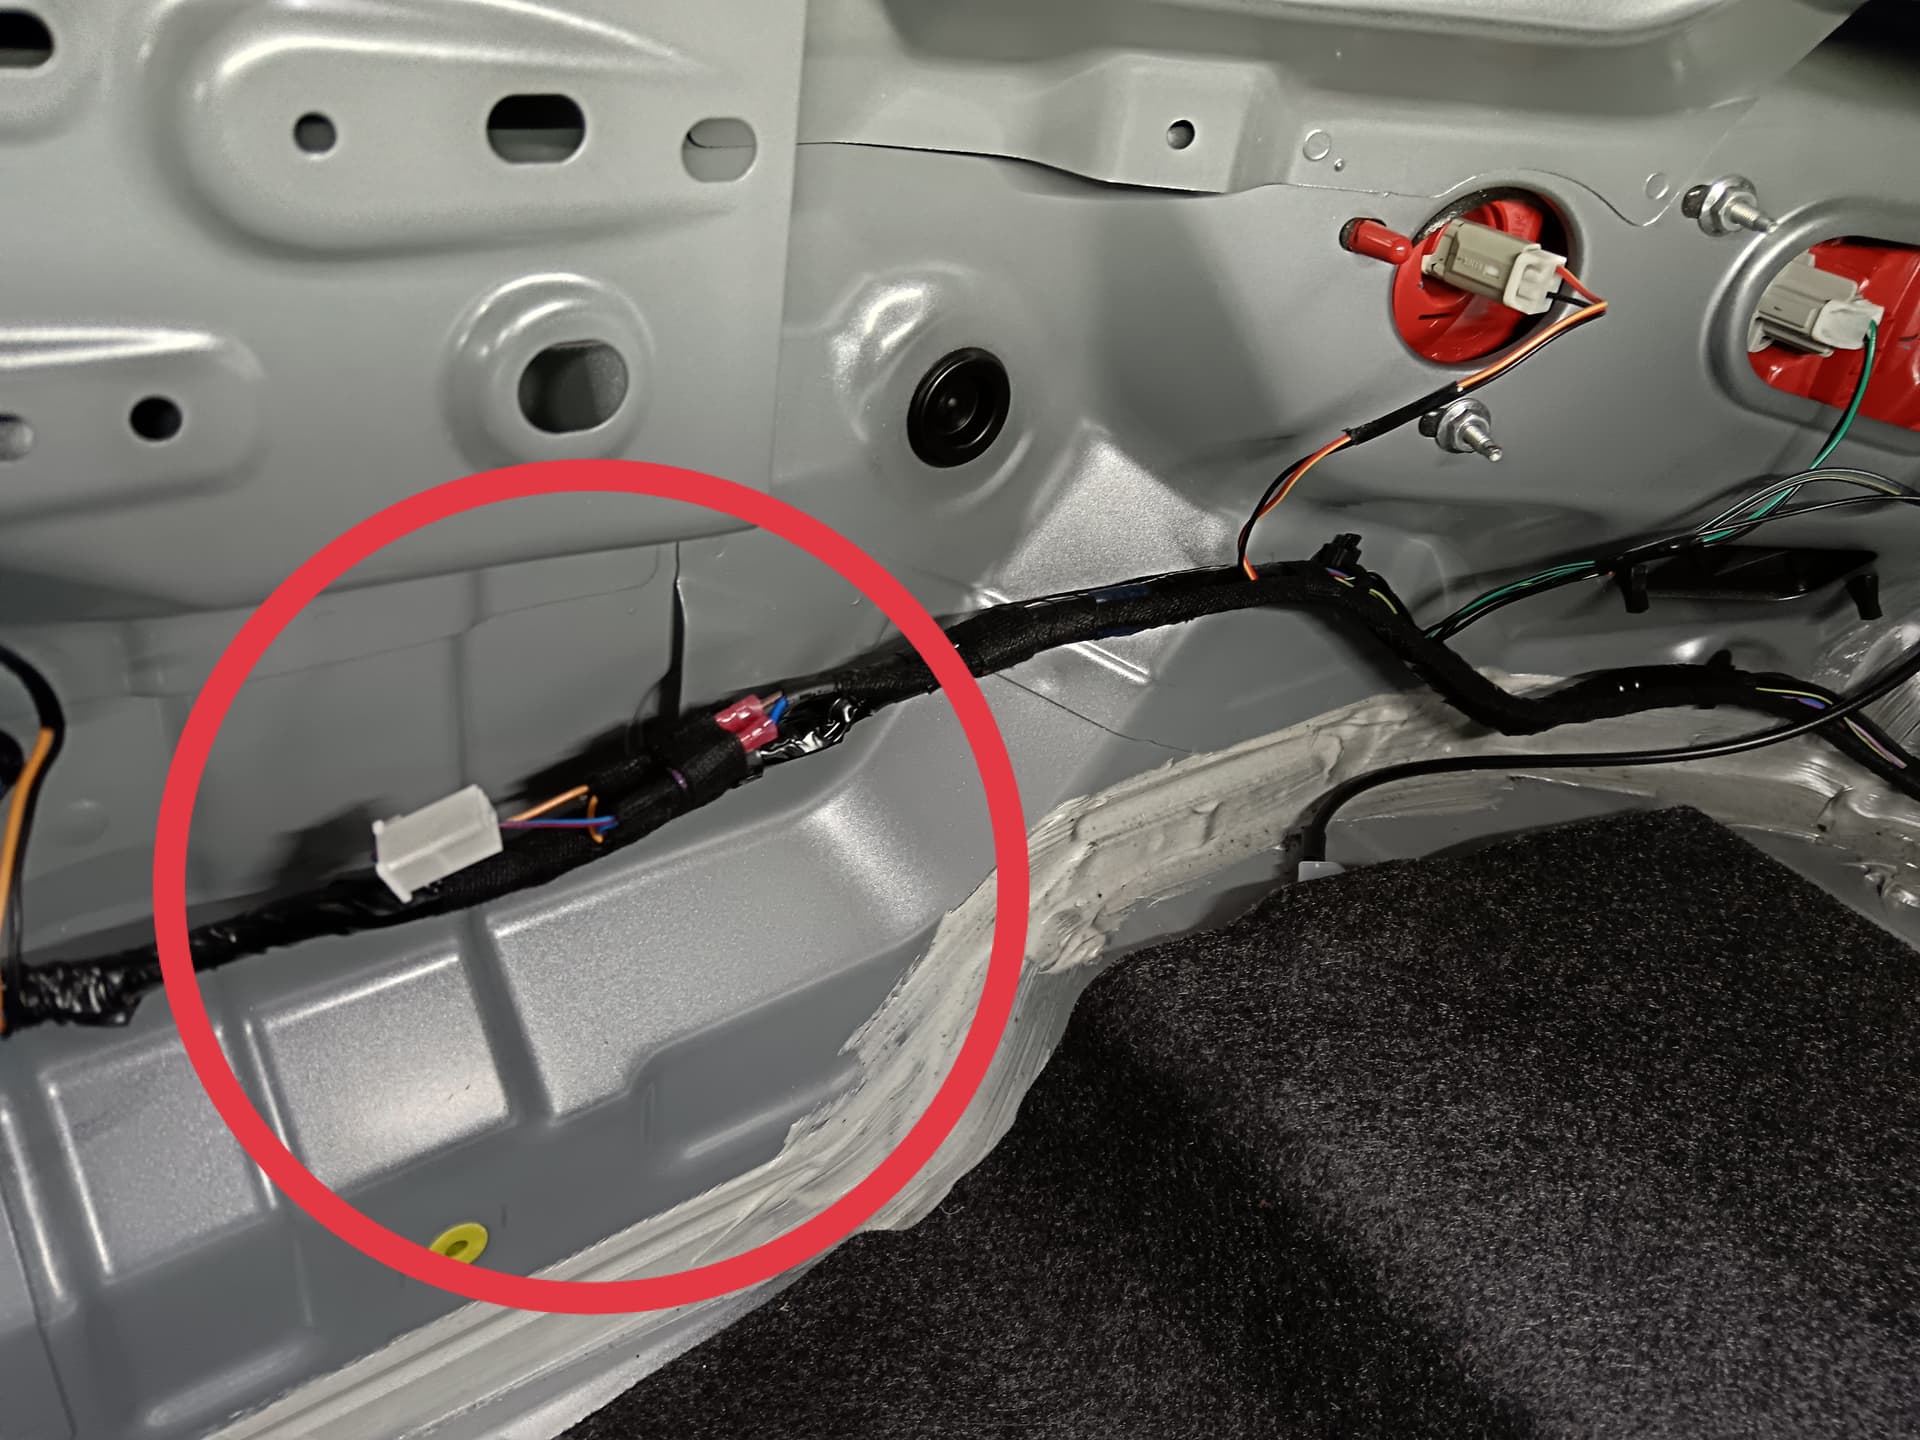
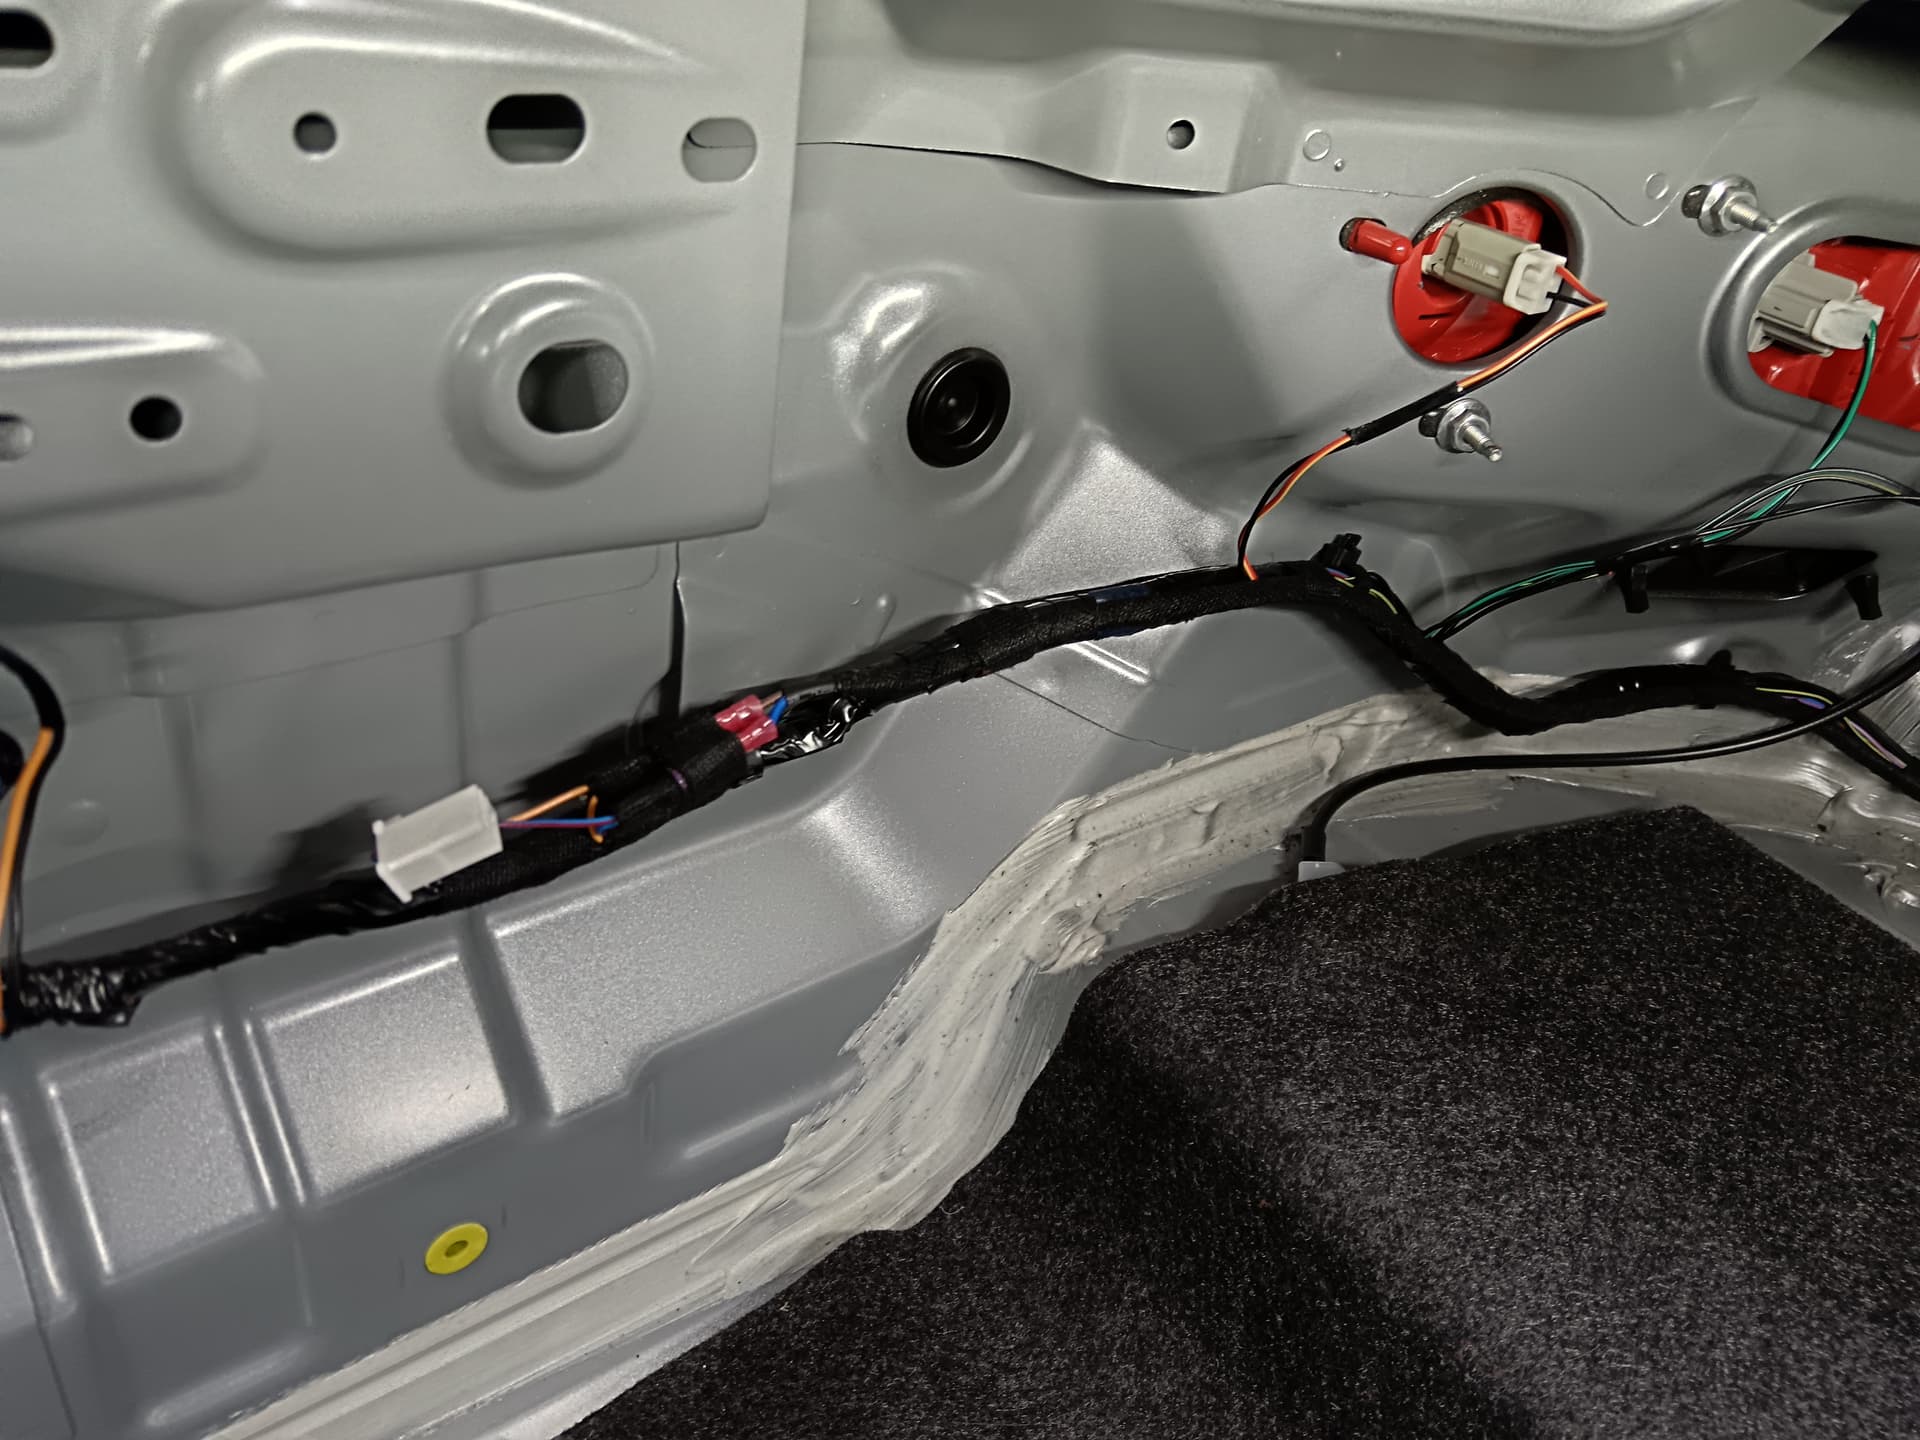
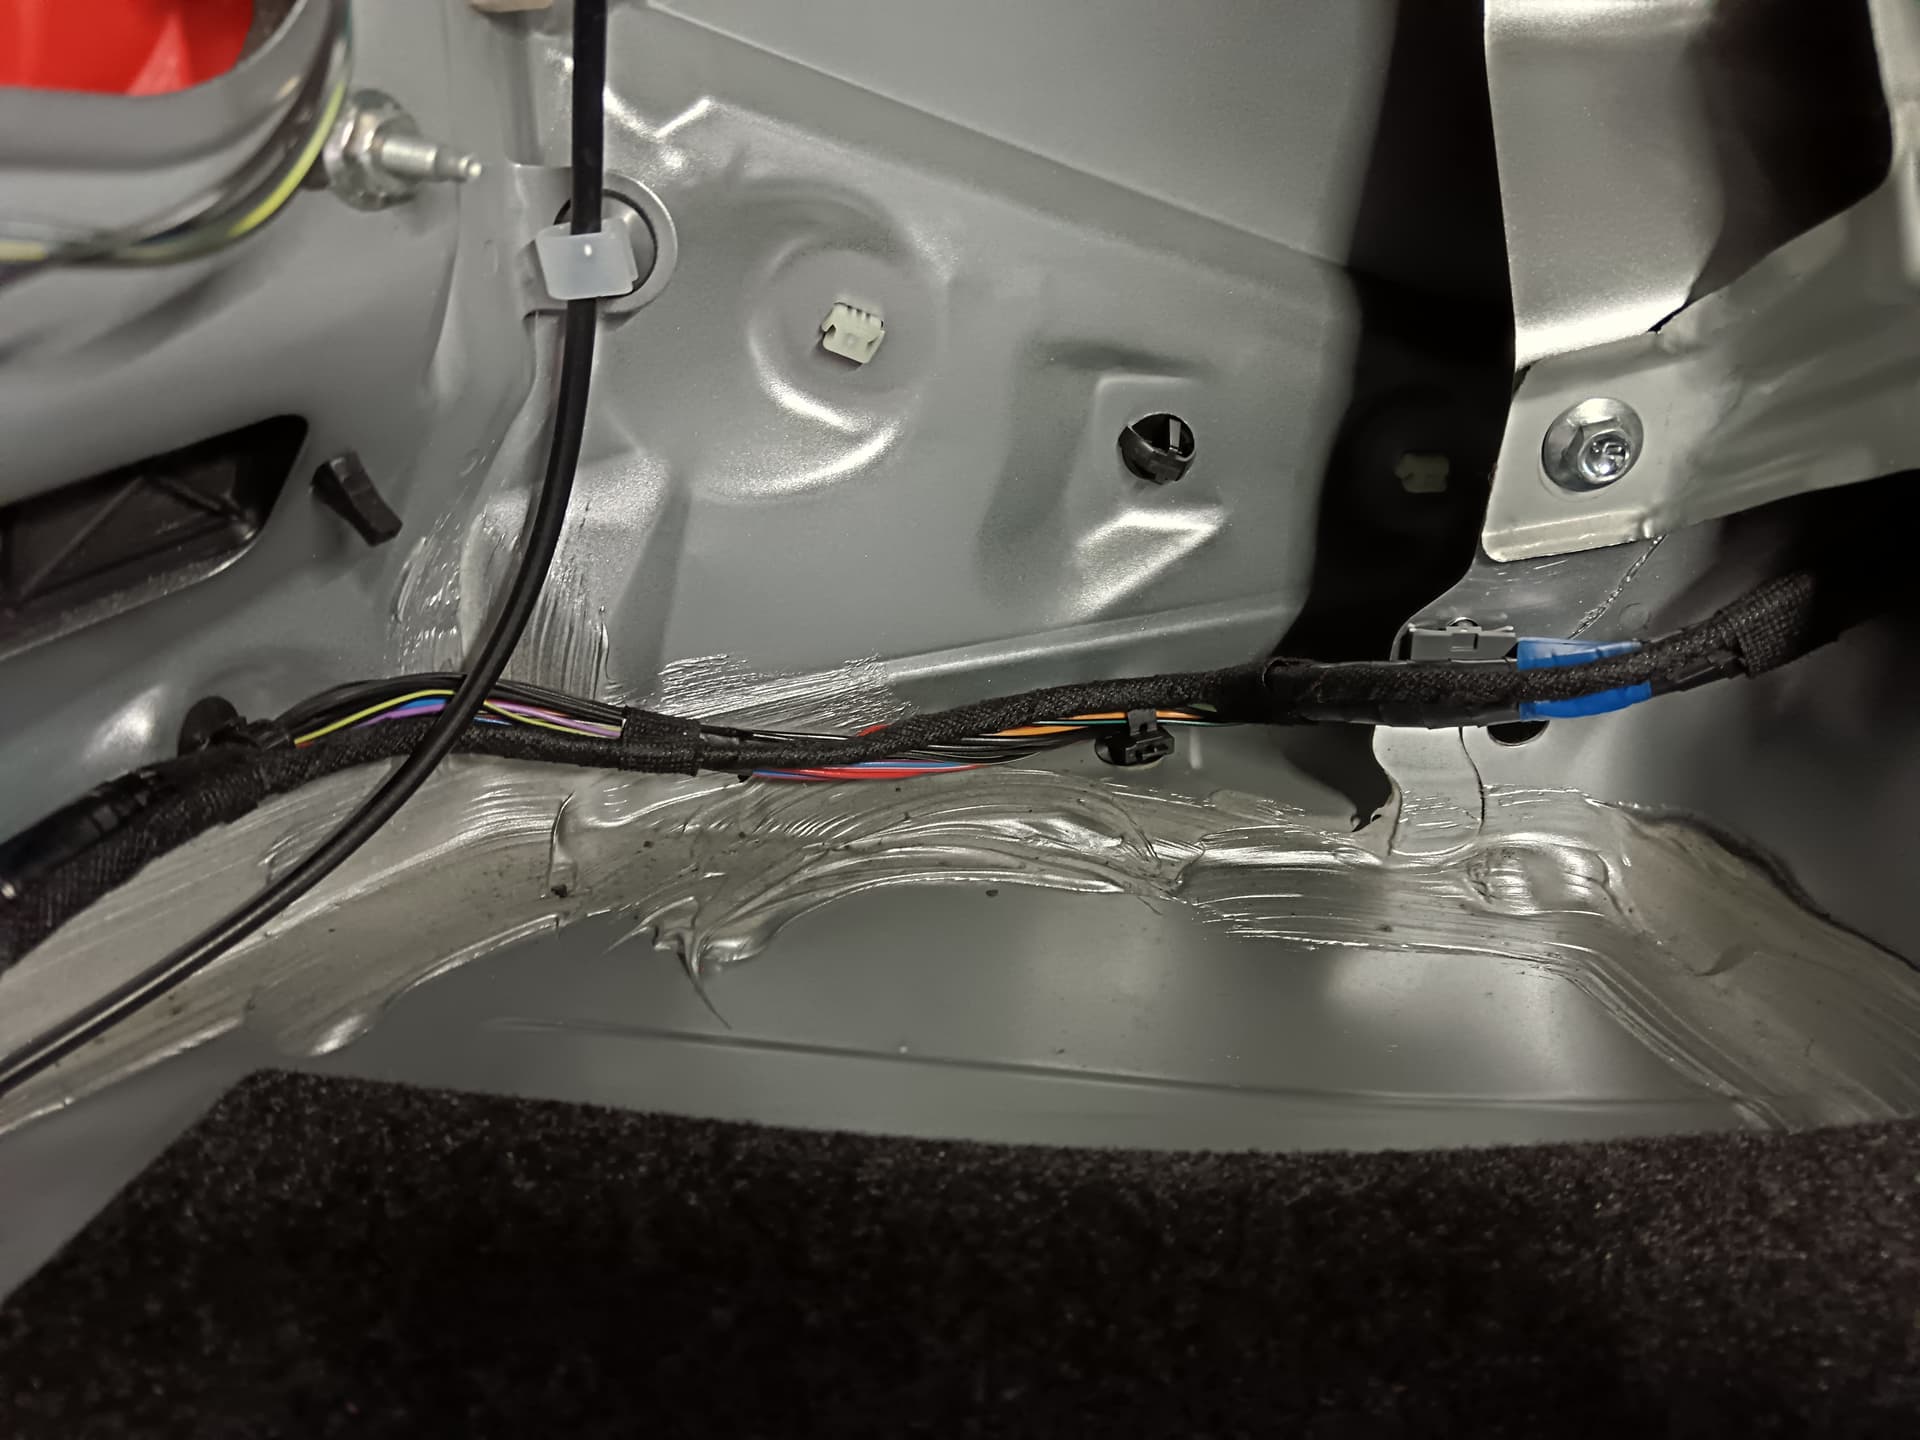
Yes it came with a positive and negative lead, just extended this and spliced into the wiring to the original light as per the pics. Original plug is in white. What I used was basically a metre of 2 core cable (I used an old ac power cord) some crimps, some loom tape and the light. I had everything already apart from the led. For some reason they’ve changed the price after I bought it
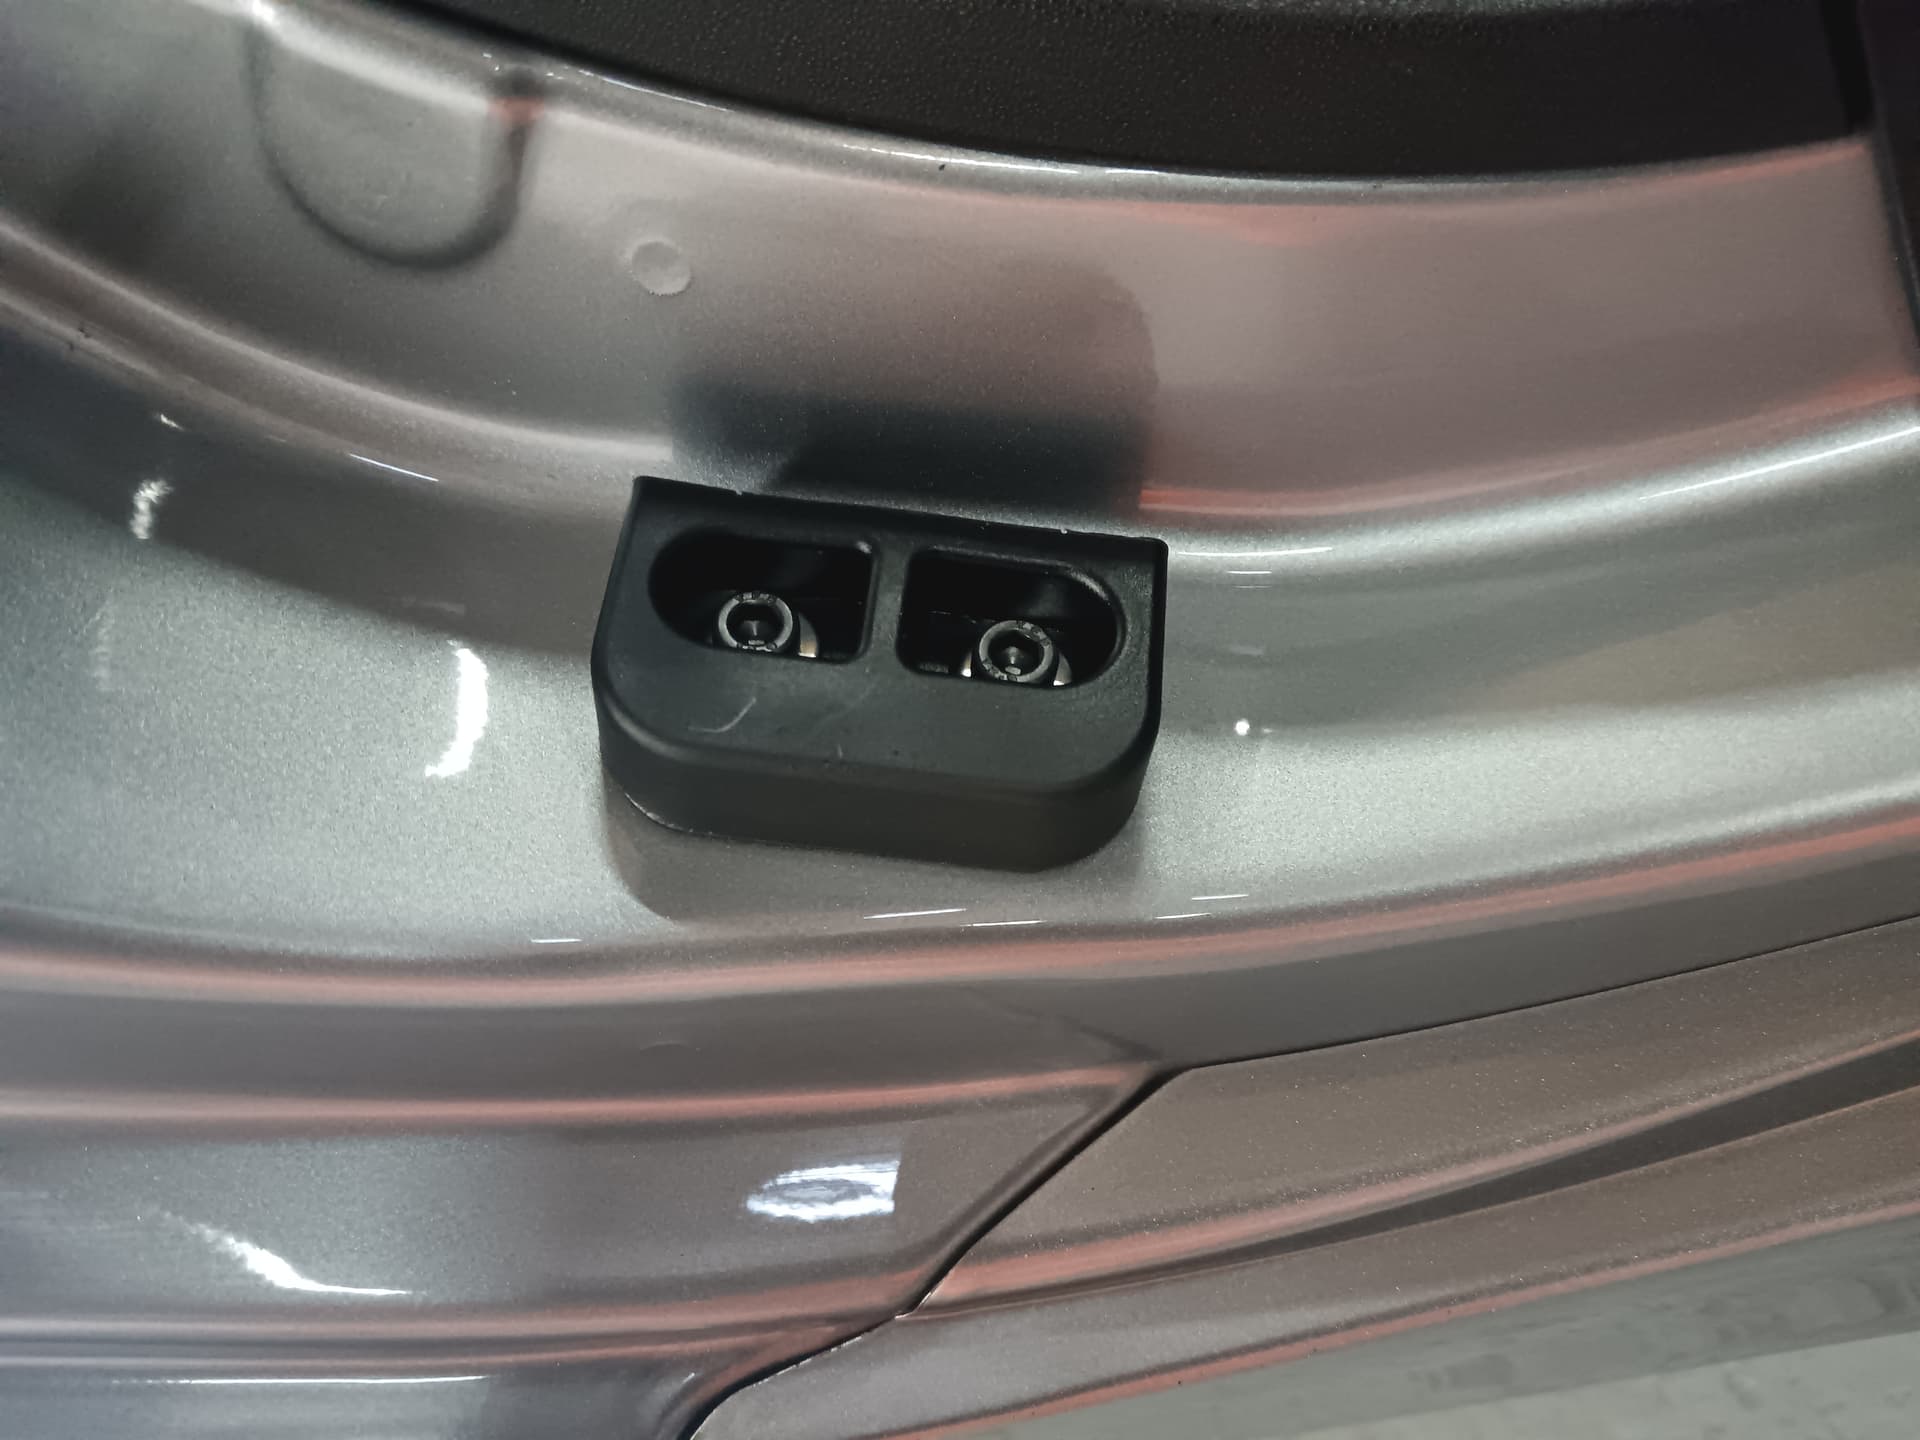
Fitted mx5 parts poly bush door bushes. Hopefully they make a difference though the car didn’t feel baggy at all anyway. Not too impressed that the poly isn’t laminated on to metal, not as secure as the originals I wouldn’t say. But does sound nicer closing the doors…
1 Like
Did you fit new door cups at the same time ?
They are quite a good fit - you can tell because the doors take quite a slam to close if the car is not on perfectly level ground.