Looking for recommendations for decent drop links front and rear for my 2007 mk3. Seem to be loads of cheap stuff out there but don’t want to be changing them after only a few miles !!! Thanks.
I’ve just replaced the two front ones…bought a pair from my local motor factors. Unless you want to spend silly money, they’re much of a muchness IMO.
1 Like
Every car I’ve owned or worked on in the last few decades has broken (GM plastics) or worn out some of its drop links.
I regard them as consumables, like brake pads and disks.
I changed the rear drop links on the Niseko after it sailed through the last MOT because neither the dealer nor the tester could find the rattle-clonk.
They were effectively seized but with intact boots. One had shattered the spring inside so clonked, but being full of rust fragments, no obvious play! I injected more grease into the boots of the replacements, just in case.
Only 35K miles, but twelve years, so time was the real killer.
IL Motorsport adjustable for me
I recently ordered front and rear drop links (non-adjustable) direct from IL Motorsport, cost just under £70 all in.
1 Like
Bought a full set from mx5 heaven £40 all in. The OEM ones don’t fare any better than the pattern ones IMO. As Richard said above, consumables really.
Barrie
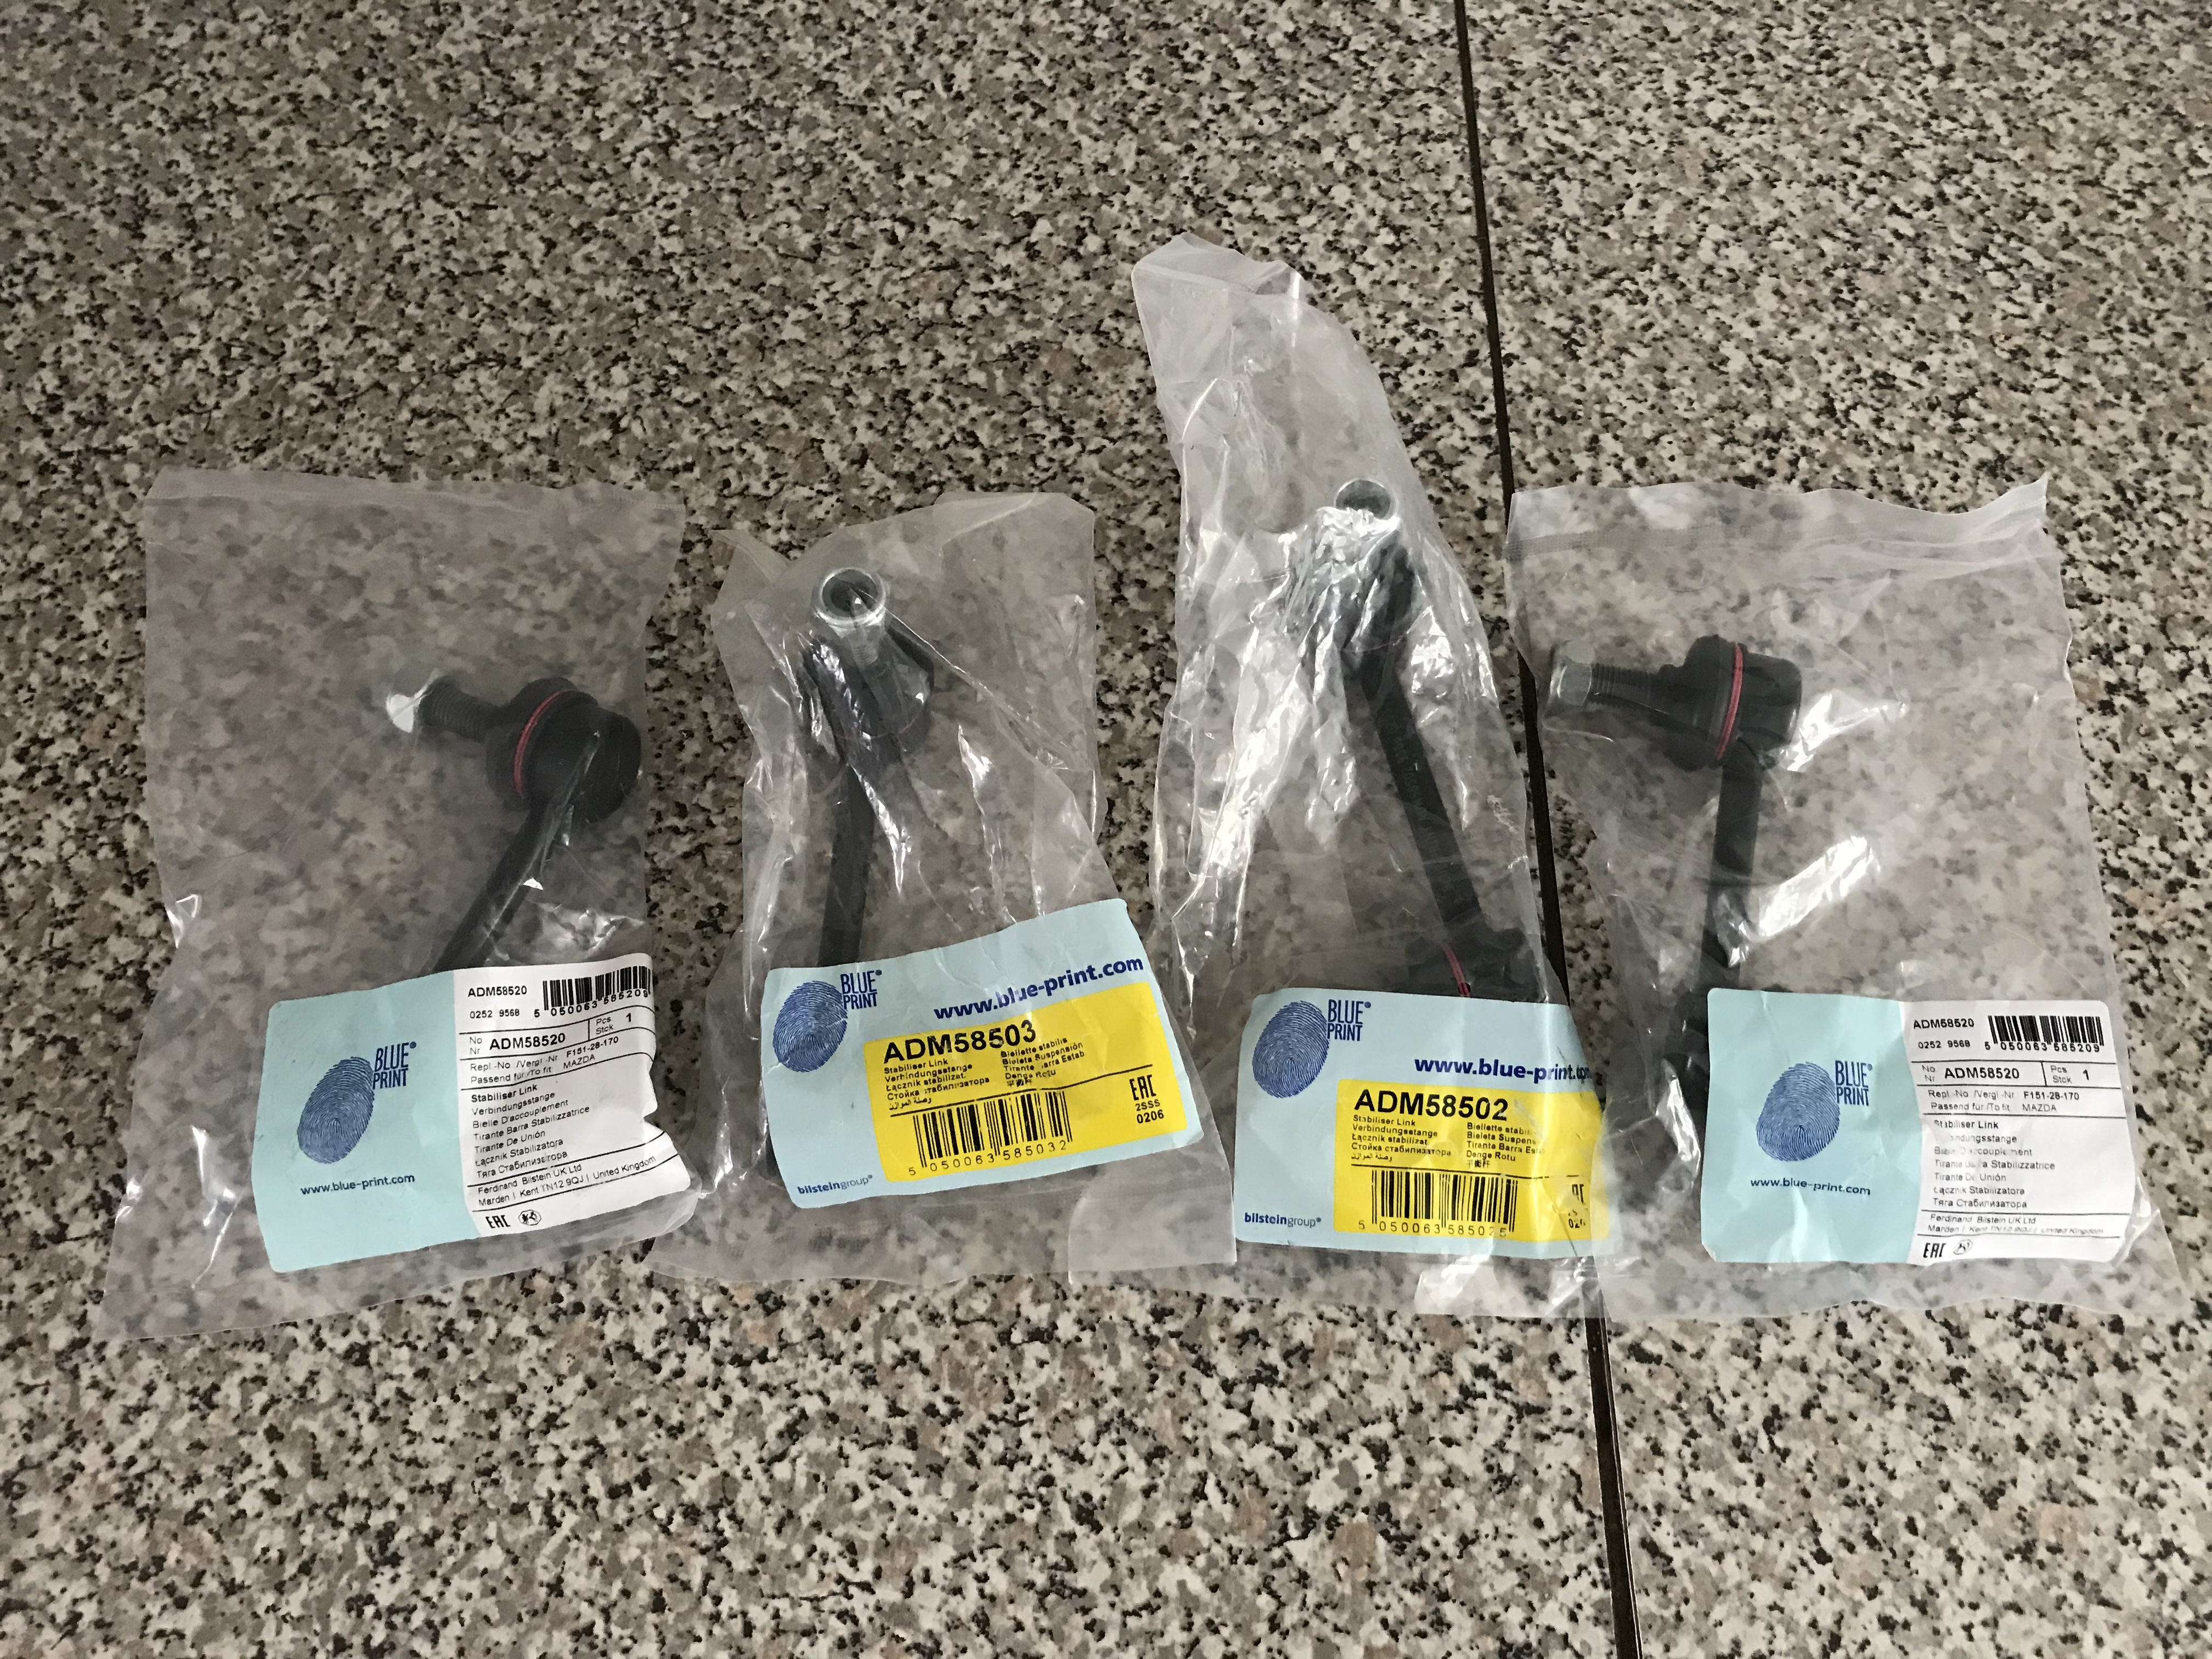
Bought rear pair off fleabay Blueprint brand, made by Ferdinand Bilstein. Just over £12.00 each and look good quality and fitted easily.
Thanks everyone. Just ordered Blue Print front and rear from my local motor factor, £45…
1 Like
Have an MOT Advisory on my 08 MX5 "front drop link gaiters slightly deteriorated (both sides). What is a drop link and are they easy to replace? Love to view a photo.
Drop link is a short piece of steel rod with a ball joint at each end. One end of it connects to the lower suspension arm and the other end connects to the antiroll bar. One each side of the car. There is one 14mm nut at each end that secures the balljoint to it’s relative attachment hole. Because of their exposed position, excess thread and type of steel they can be a bu%%er to undo. There is usually an allen key recess in the threaded stud to stop rotation as you try to loosen the nut but in practice once the nut is partially loosened it will seize on the stud and make life awkward. Most people will use an angle grinder or hacksaw blade to cut the joints off. Copious amounts of penetrating fluid, patience and or good luck may be required.
Anti seize eg copaslip on the new link studs may help for next time.
Many thanks mk375 for a speedy reply :-). OK, I have a front wheel off and I can identify it now. Guess with the potential hassle of replacing them, I’ll have to eave it to a professional!
Not bad ordered yesterday at 12.00 and picked up today. These Blue Print are definitely thicker and heavier than the ones the previous owner put on! Also on the labels they say Ferdinand Bilstein LTD so not sure if this is the same as Bilstein Suspension. If so then that’s probably why they have a good reputation.
1 Like
I can vouch for that!
1 Like
Our local garage said lots and lots of rude words when replacing ours.
Fortunately, they didn’t charge us extra!
Yes they are the UK sales outlet for Febi Bilstein. They own the Blueprint brand. They are the aftermarket brand for Thyssen Krupp Bilstein GmbH who make the OE parts for a number of large automotive manufacturers.
2 Likes
Thanks Meneer, I guessed that might be the case. I’ll have to wear ear plugs in addition to a mask when I find someone to do the work.
1 Like
Thanks. I never knew.
When I changed mine out of 8 nuts 2 rounded off the inner hex. With wheels off access is not a problem. I found I could break the nut loose with a breaker bar after the application of releasing fluid. I always use a mixture of acetone ( nail varnish remover) and auto trans fluid which I try to apply the day before and again when I start a job. Then rather than an Allen key I have a 5mm hex driver bit on a ratchet handle. On all but 2 nuts, one front one rear, I was able to remove the nuts with some effort. On the other 2 the hex rounded off due to rust. I found it easier to drill through on flat then split the nut and release the drop link.
1 Like
I found the rears easy, the nuts came loose so a few minutes they were done.
The fronts a different story, I had to literally break them off. If I remember correctly the top fixing I knocked the joint apart, then I had the ball part stub just there. I got my stilsons on the ball part for grip and with plenty of release oil on the nut it gave way.
I used aftermarket parts.