Off the top of my head, I unraveled the tape on the wire and connected it directly to the head unit, via the loom plugs etc.
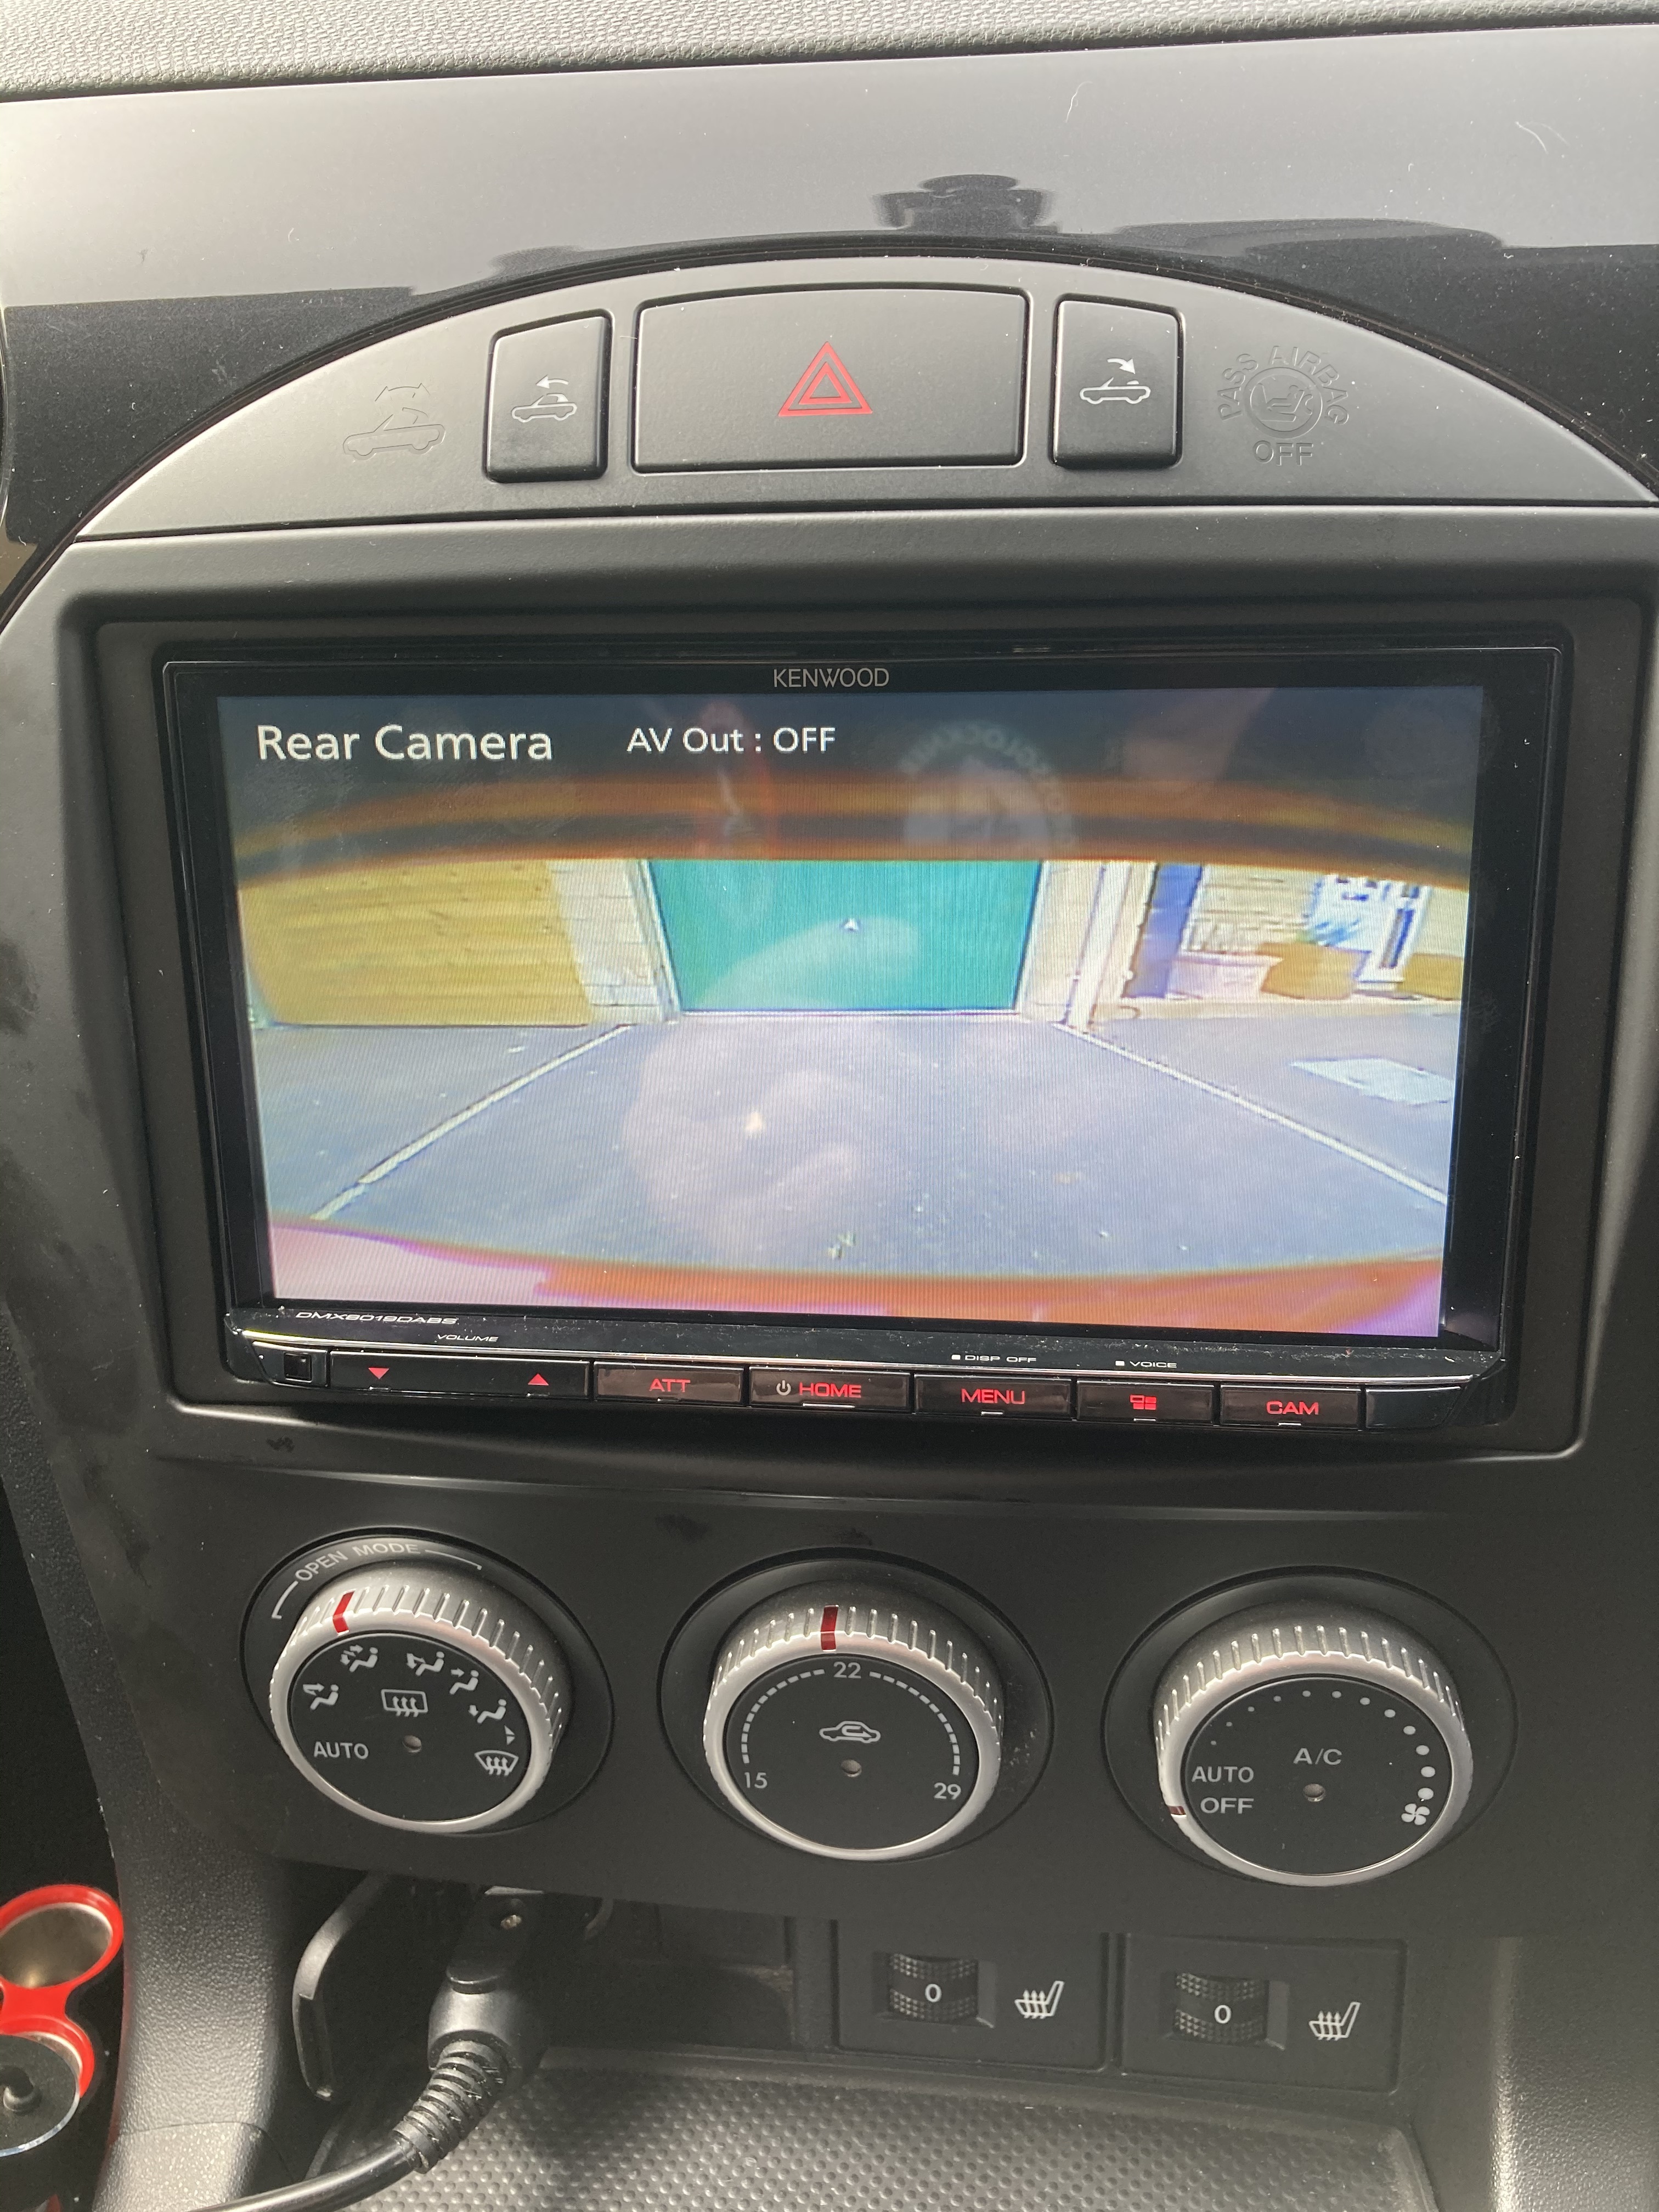
It then automatically selected the display when reverse was selected.
Likewise, (on mine Kenwood) if I pressed the reverse camera button on the head unit all was good.
I will check my pictures tomorrow and come back to you.
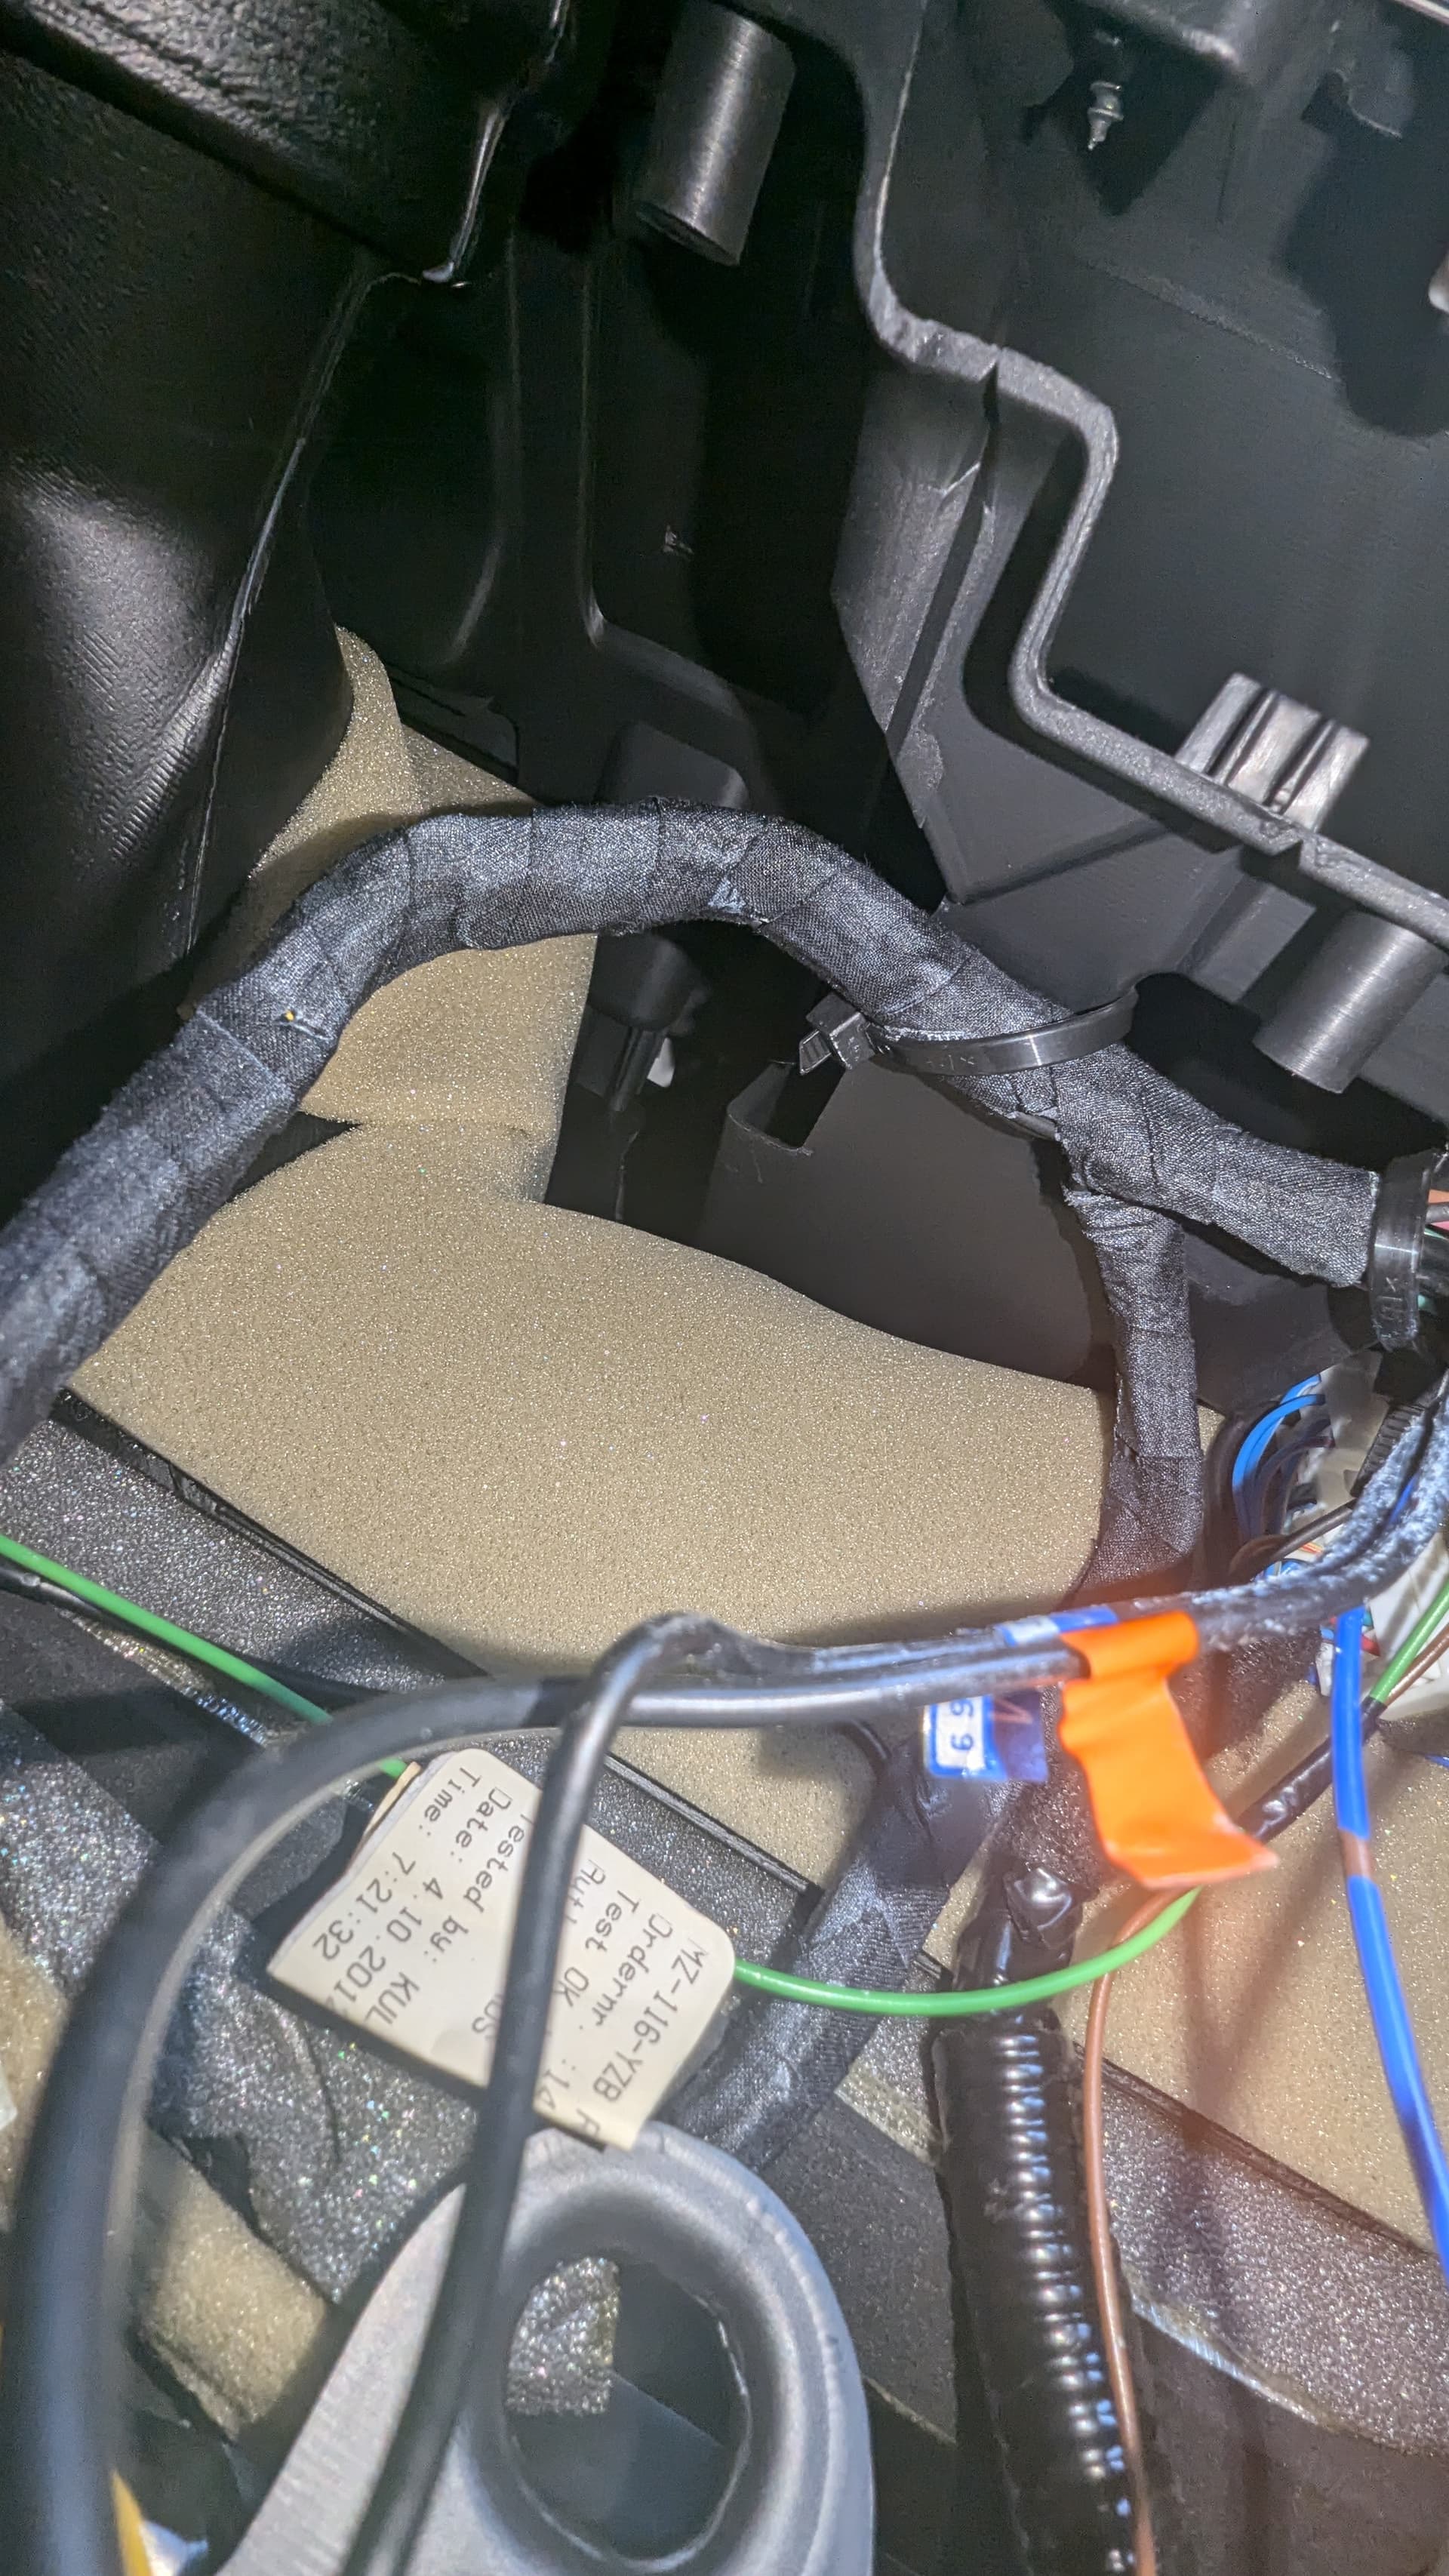
On mine that green wire ran behind the glove box and then to the reverse light harness/wires.
Sure you have worked a route for the cable.
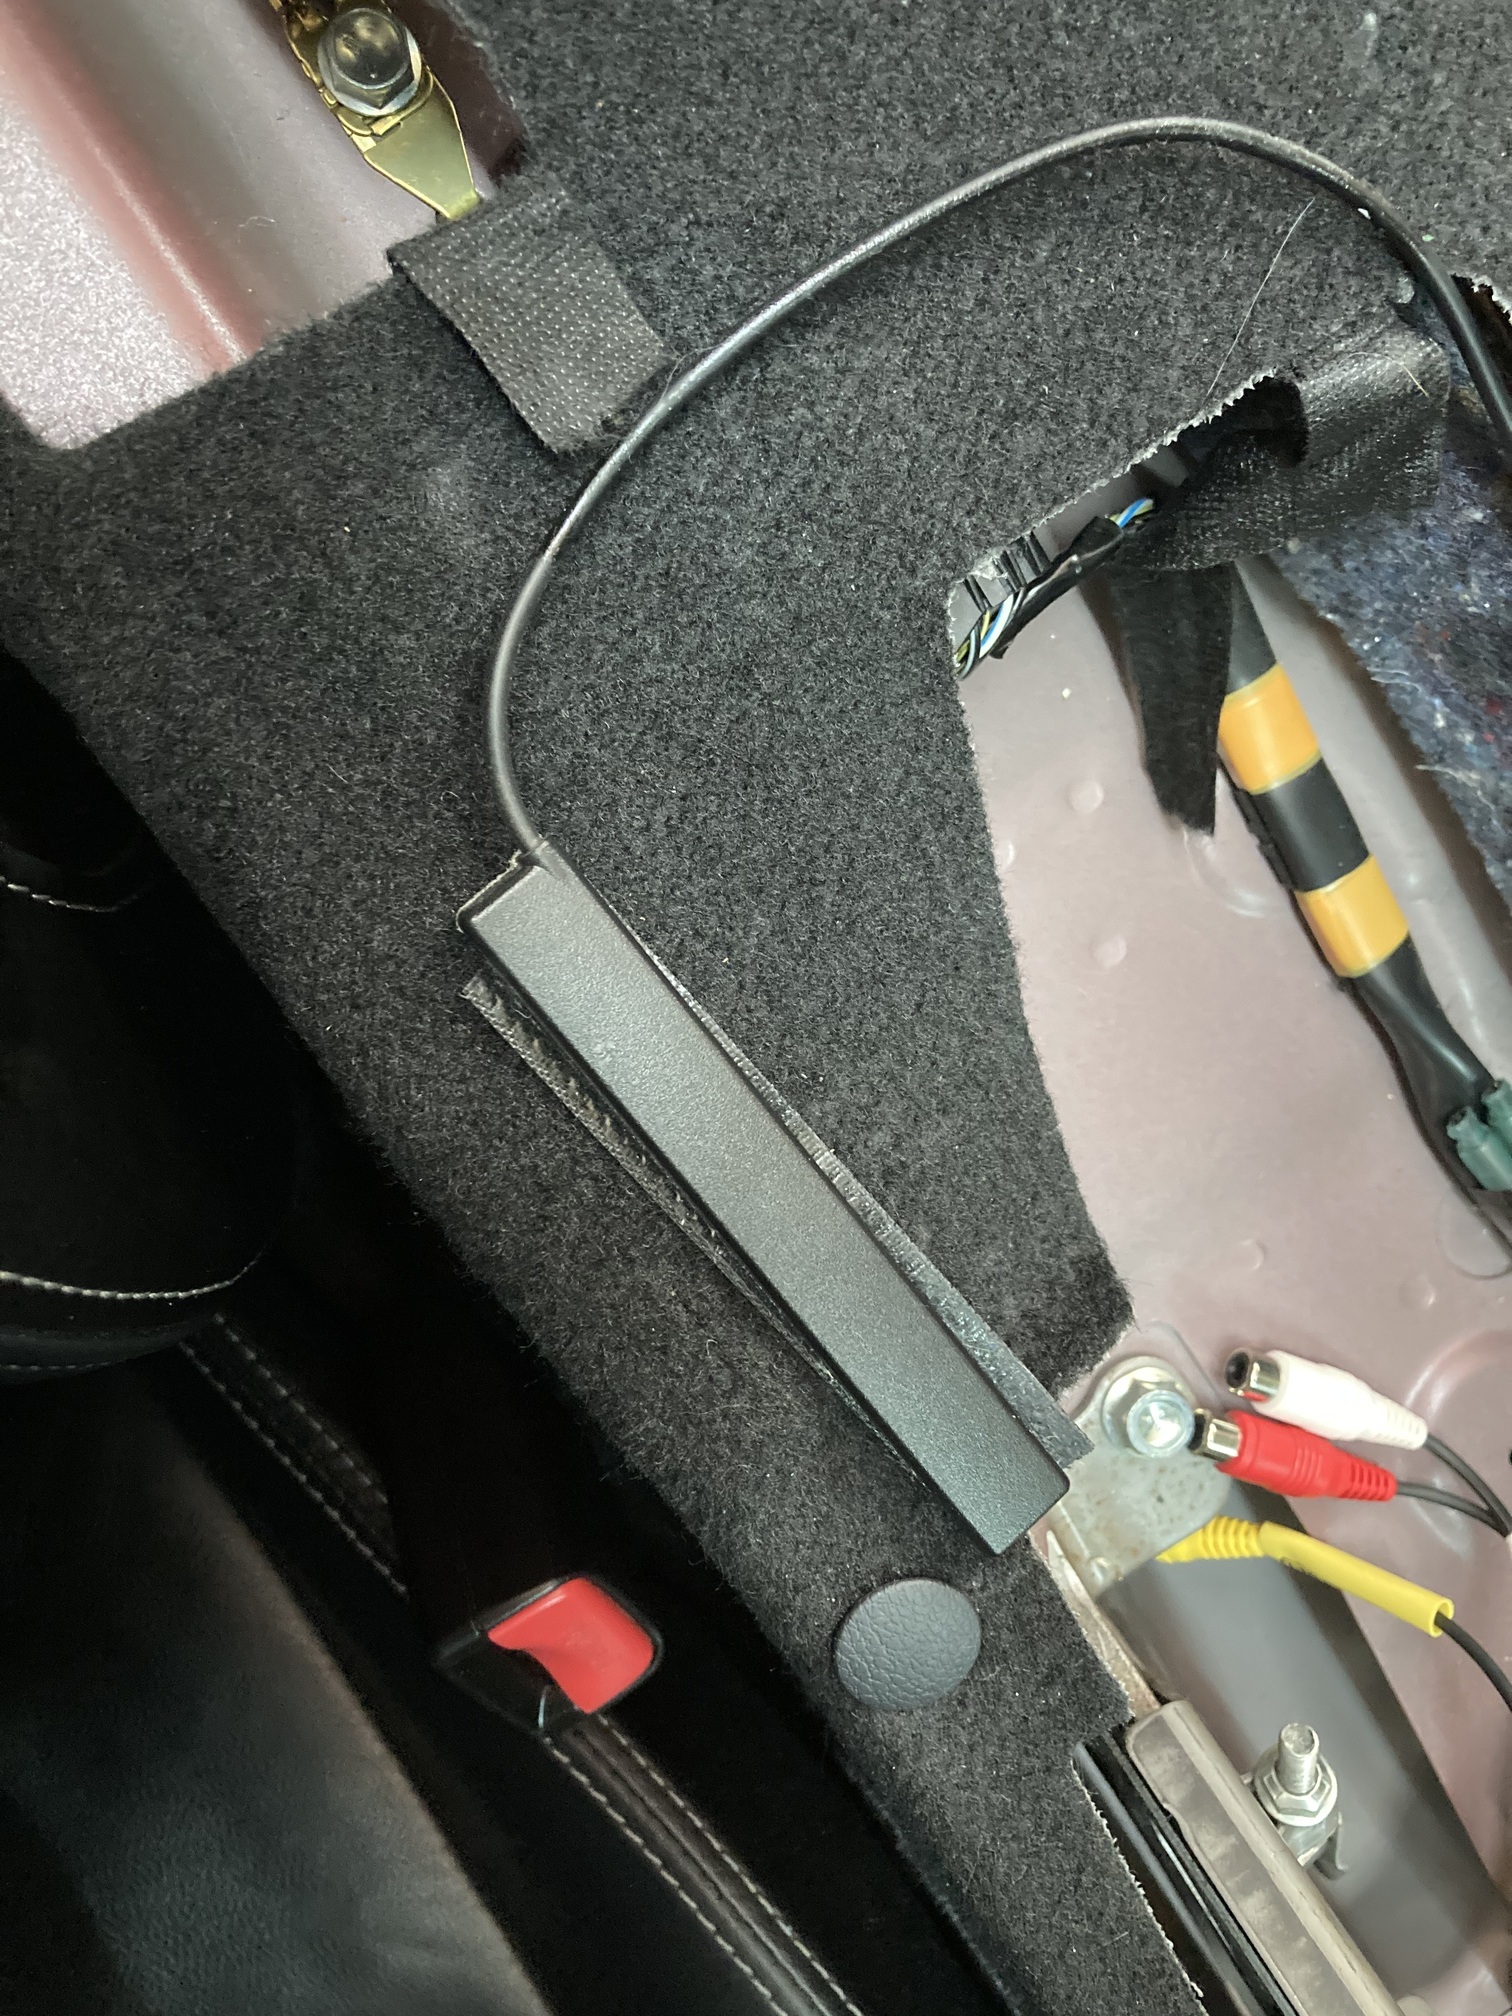
But I routed mine from the head unit down and along the tunnel out through the back (wire coat hanger helps) and then up through the boot on the left.
Had to remove the plastic side panel, back panels but that’s quite easy.
If you get a silicon nozzle, cut the small end so the plug just fits through.
Cut along the length and then slide it in (bit of lube) through the top and bottom seals.
You then tug/pull/cut the nozzle out and the cable will be sealed without having to cut the cable to fit.
Just a thought if it helps.
Fantastic bit of knowledge sharing, Glove box will need to come out now and I’ll need to figure out the way to route through under the tunnel cover and I to the boot. You tube video searching I go.
Luckily the mx5 is a toy and I have left the head unit and tunnel, trims all loose for the moment as I’ve no immediate need to drive.
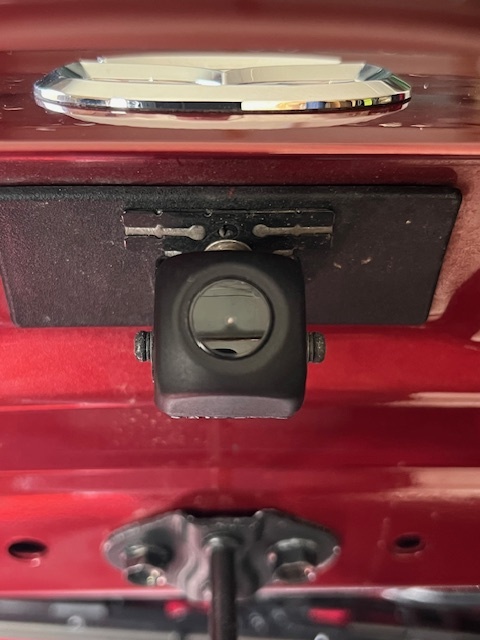
Reverse camera cable can go from under the dash down under the driver’s side sill plate (they just pull off) then remove partially the back panel behind the drivers seat to feed the cable into the lower corner of the boot space past that sides suspension turret.
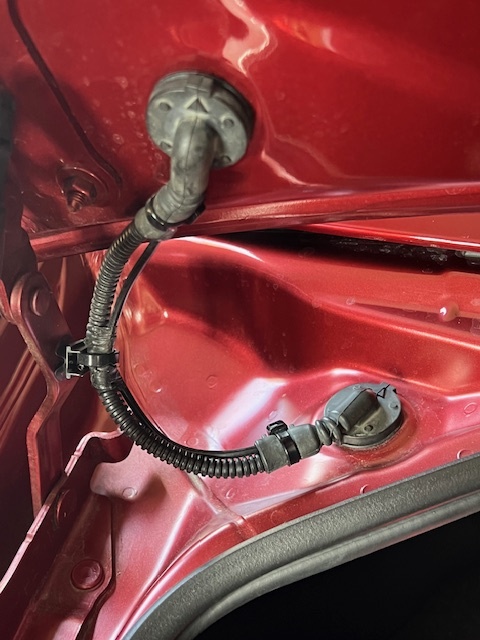
Remove panelling in the boot and pass through the rubber grommets etc to the boot lids. You’ll need a live from the reverse light and a ground cable fixing point.
The glove box just pops off.
Did you not have to take the centre consul out to remove the long gps thingy?
As Mick says above, various routes which suit your good self.
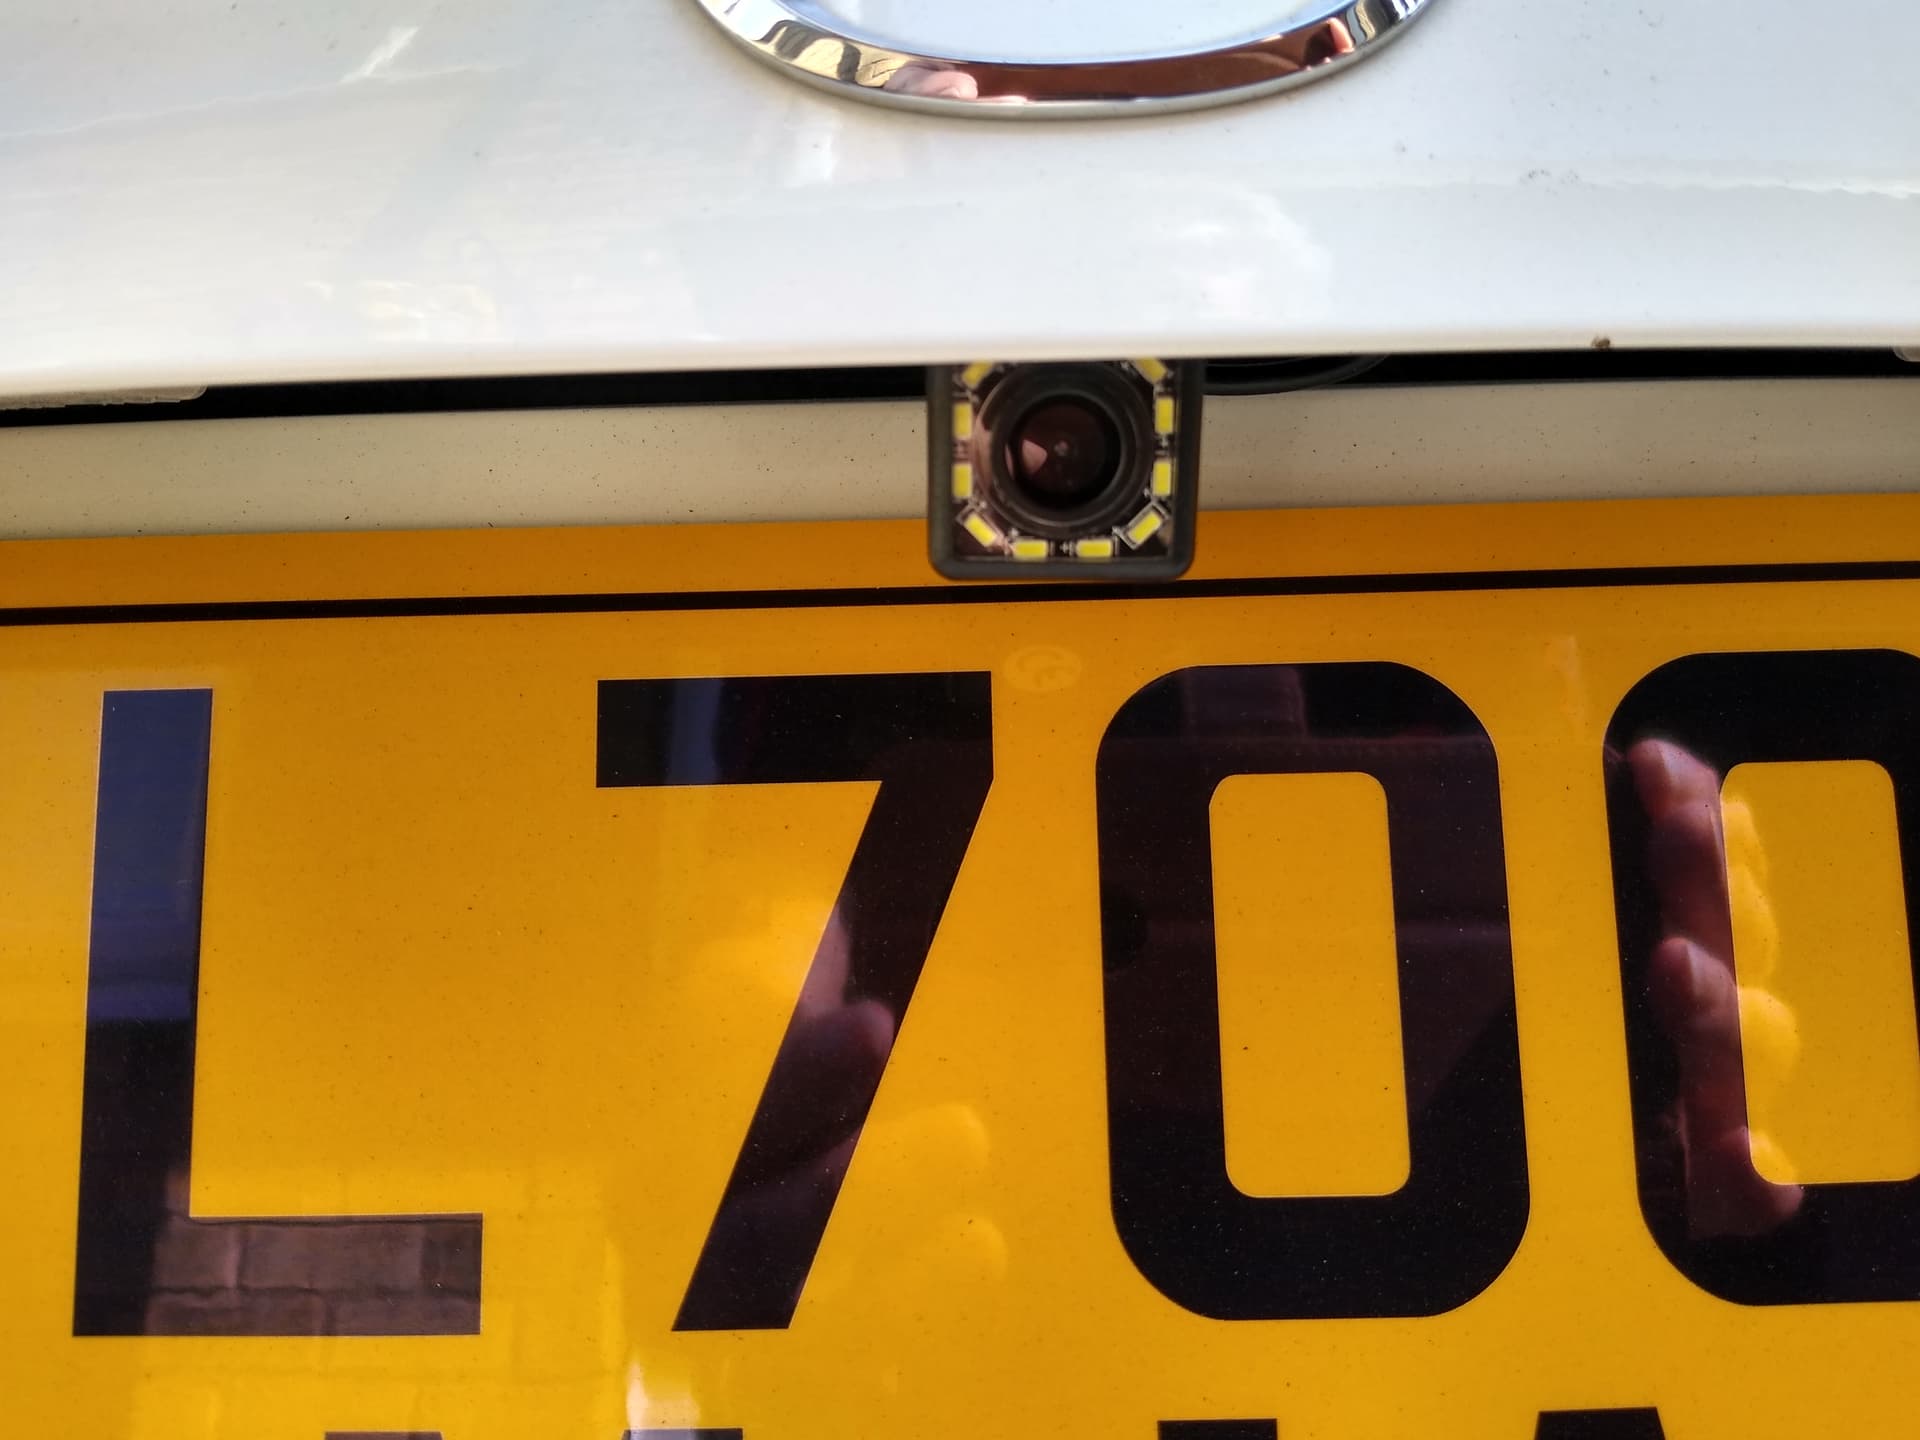
The Lime Green wire on these (3.75 with the TomTom satnav) is a direct feed from the reverse light loom and can be connected directly at the head unit/plug harness.
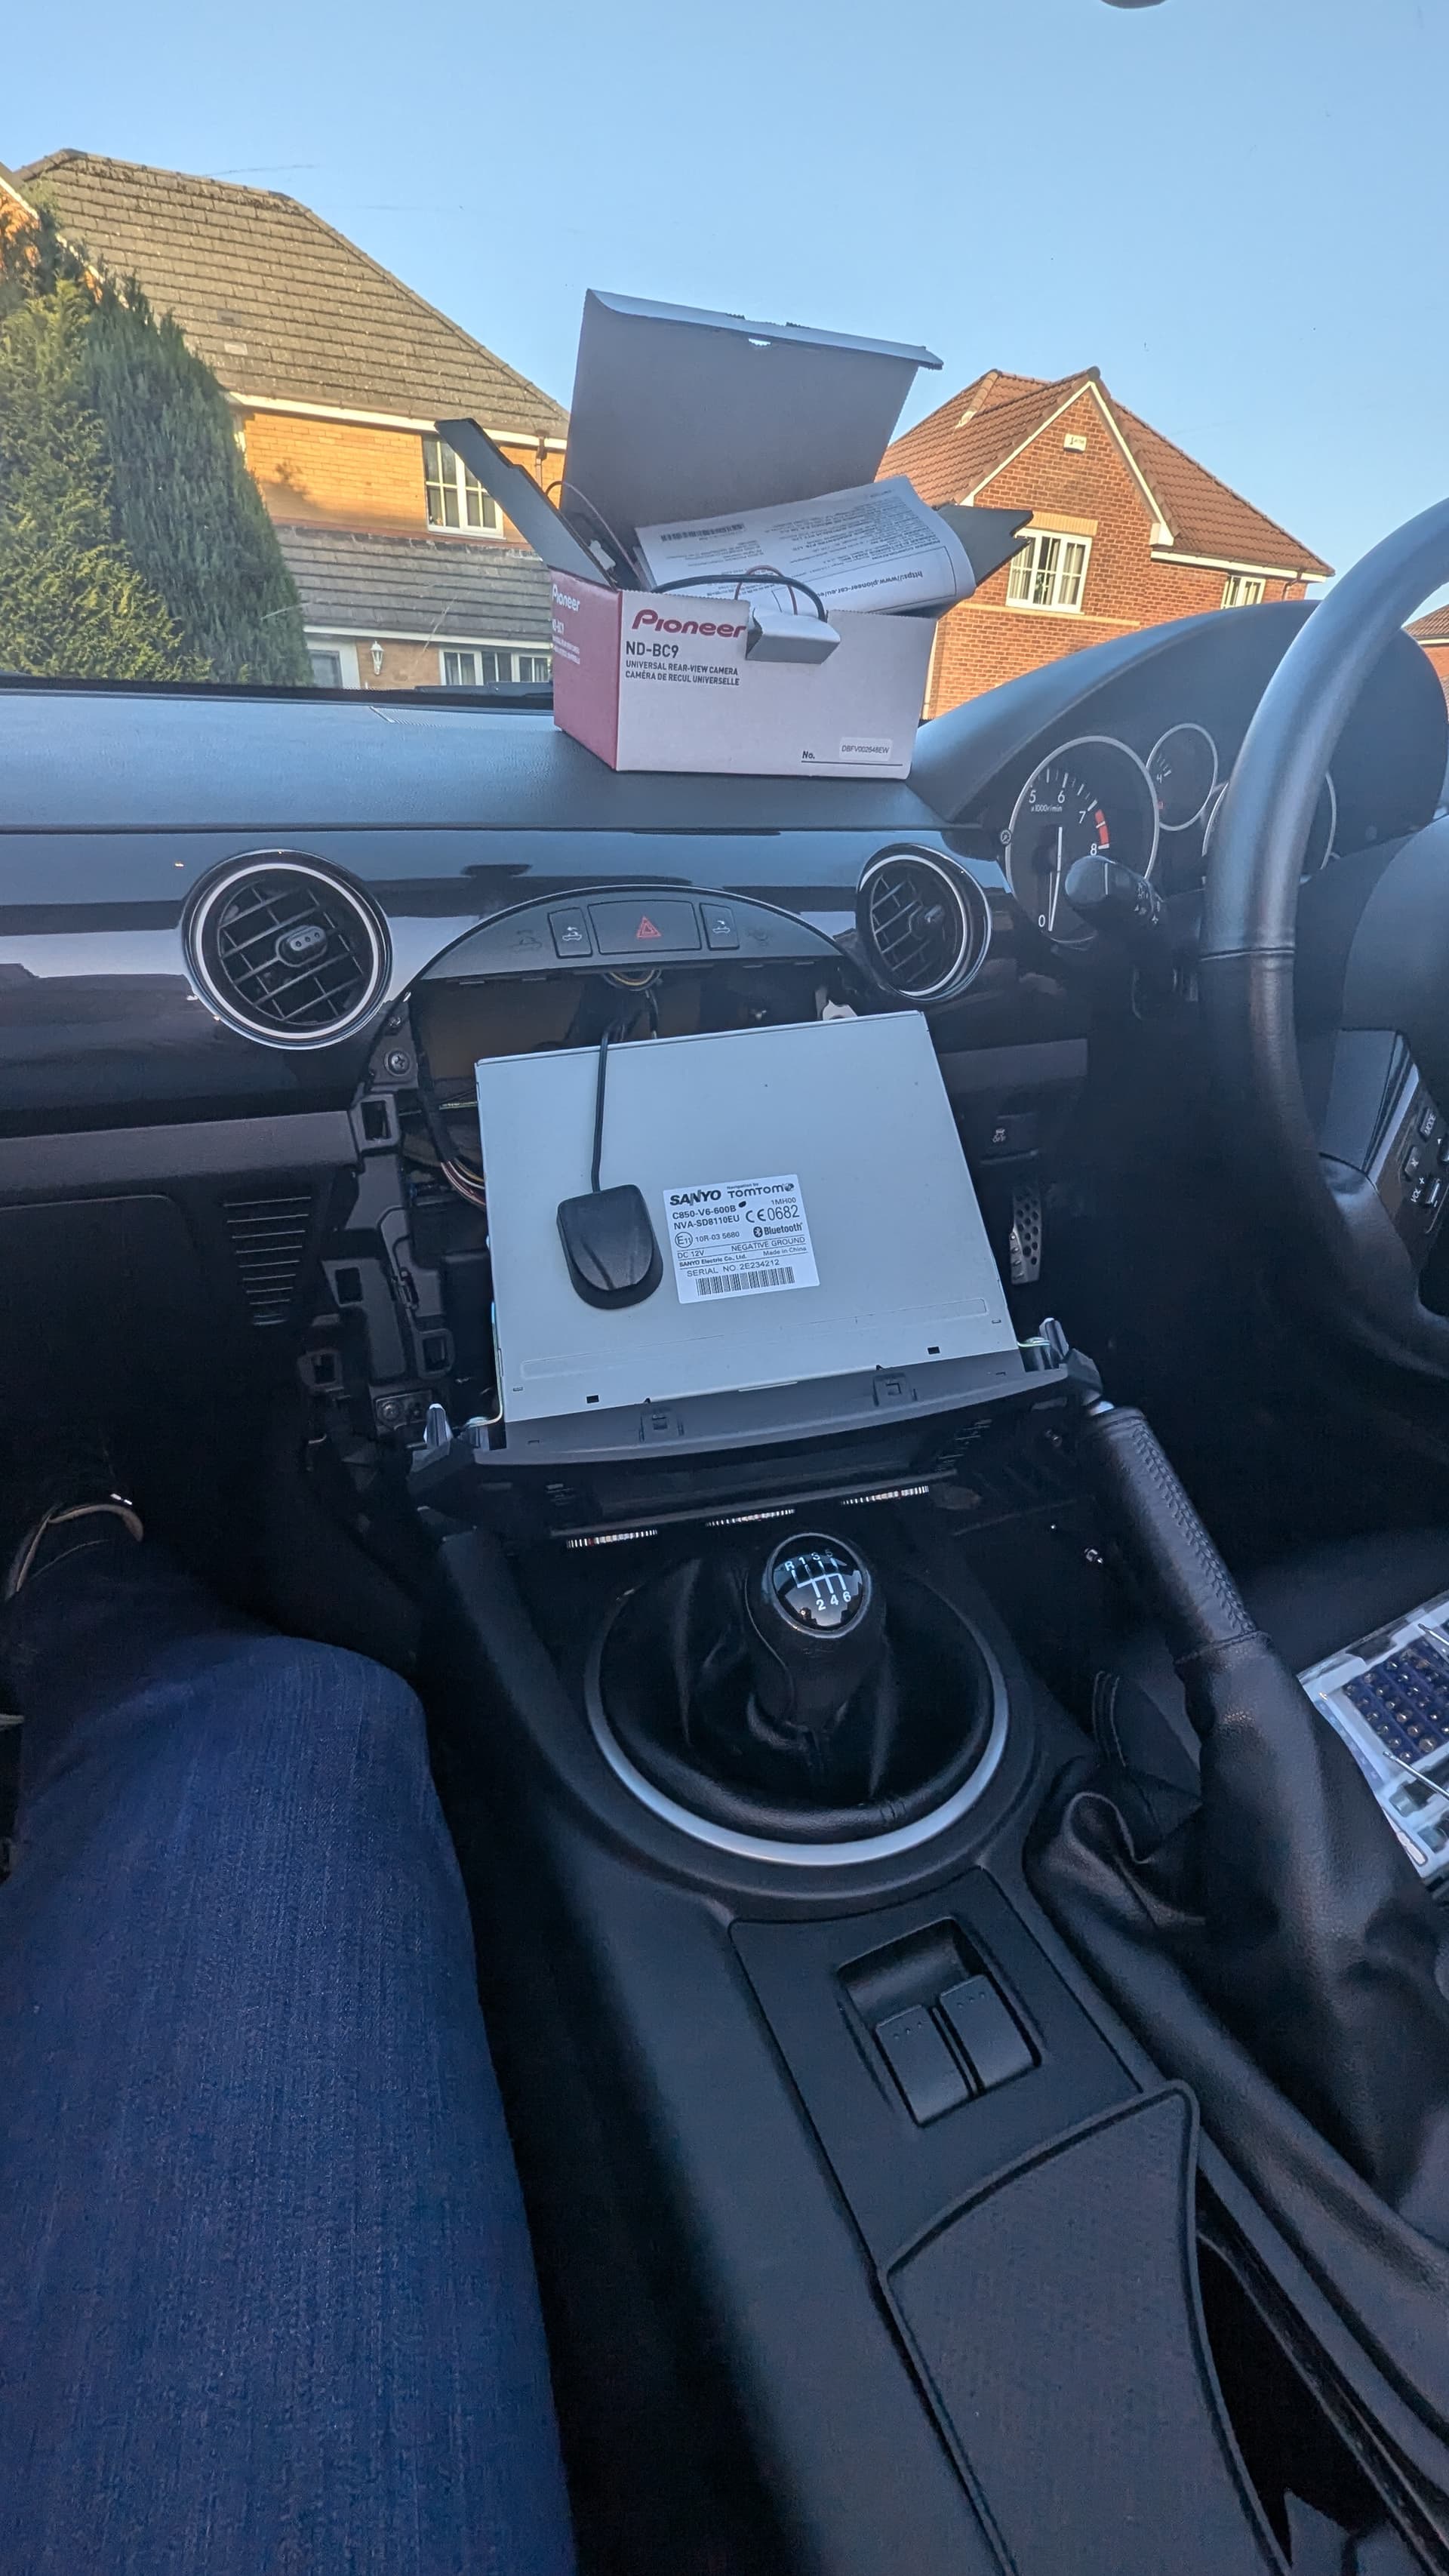
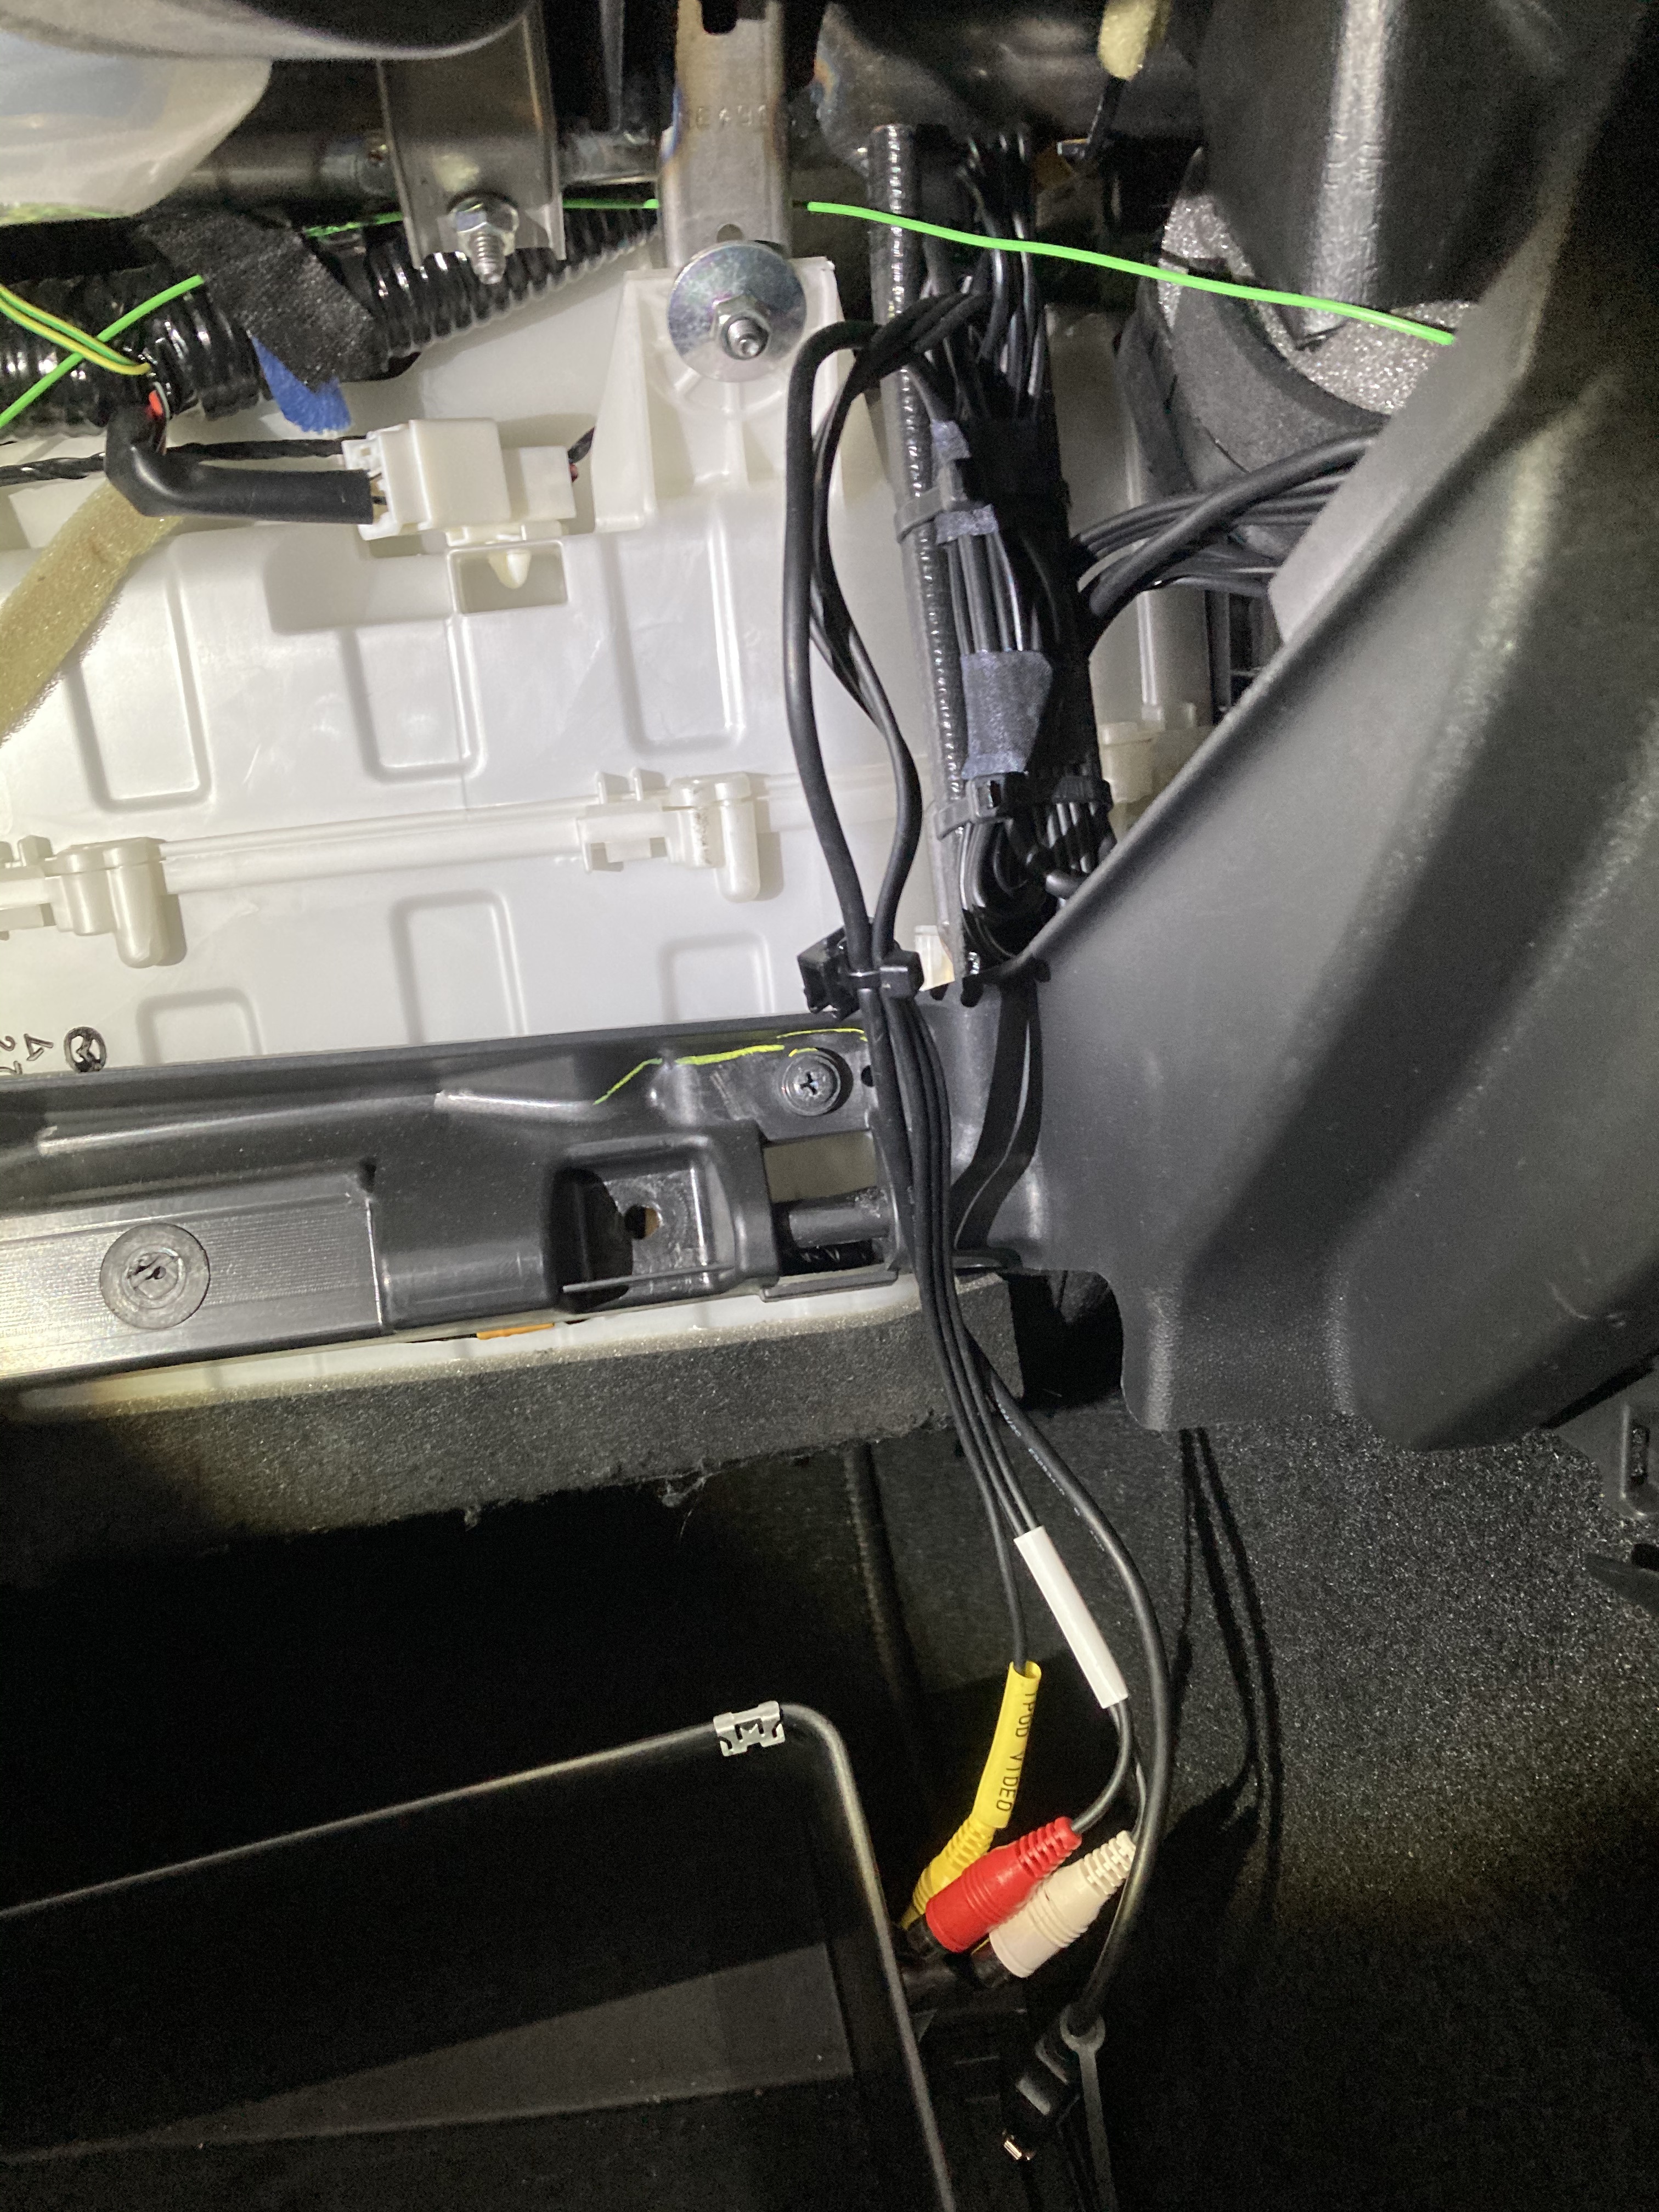
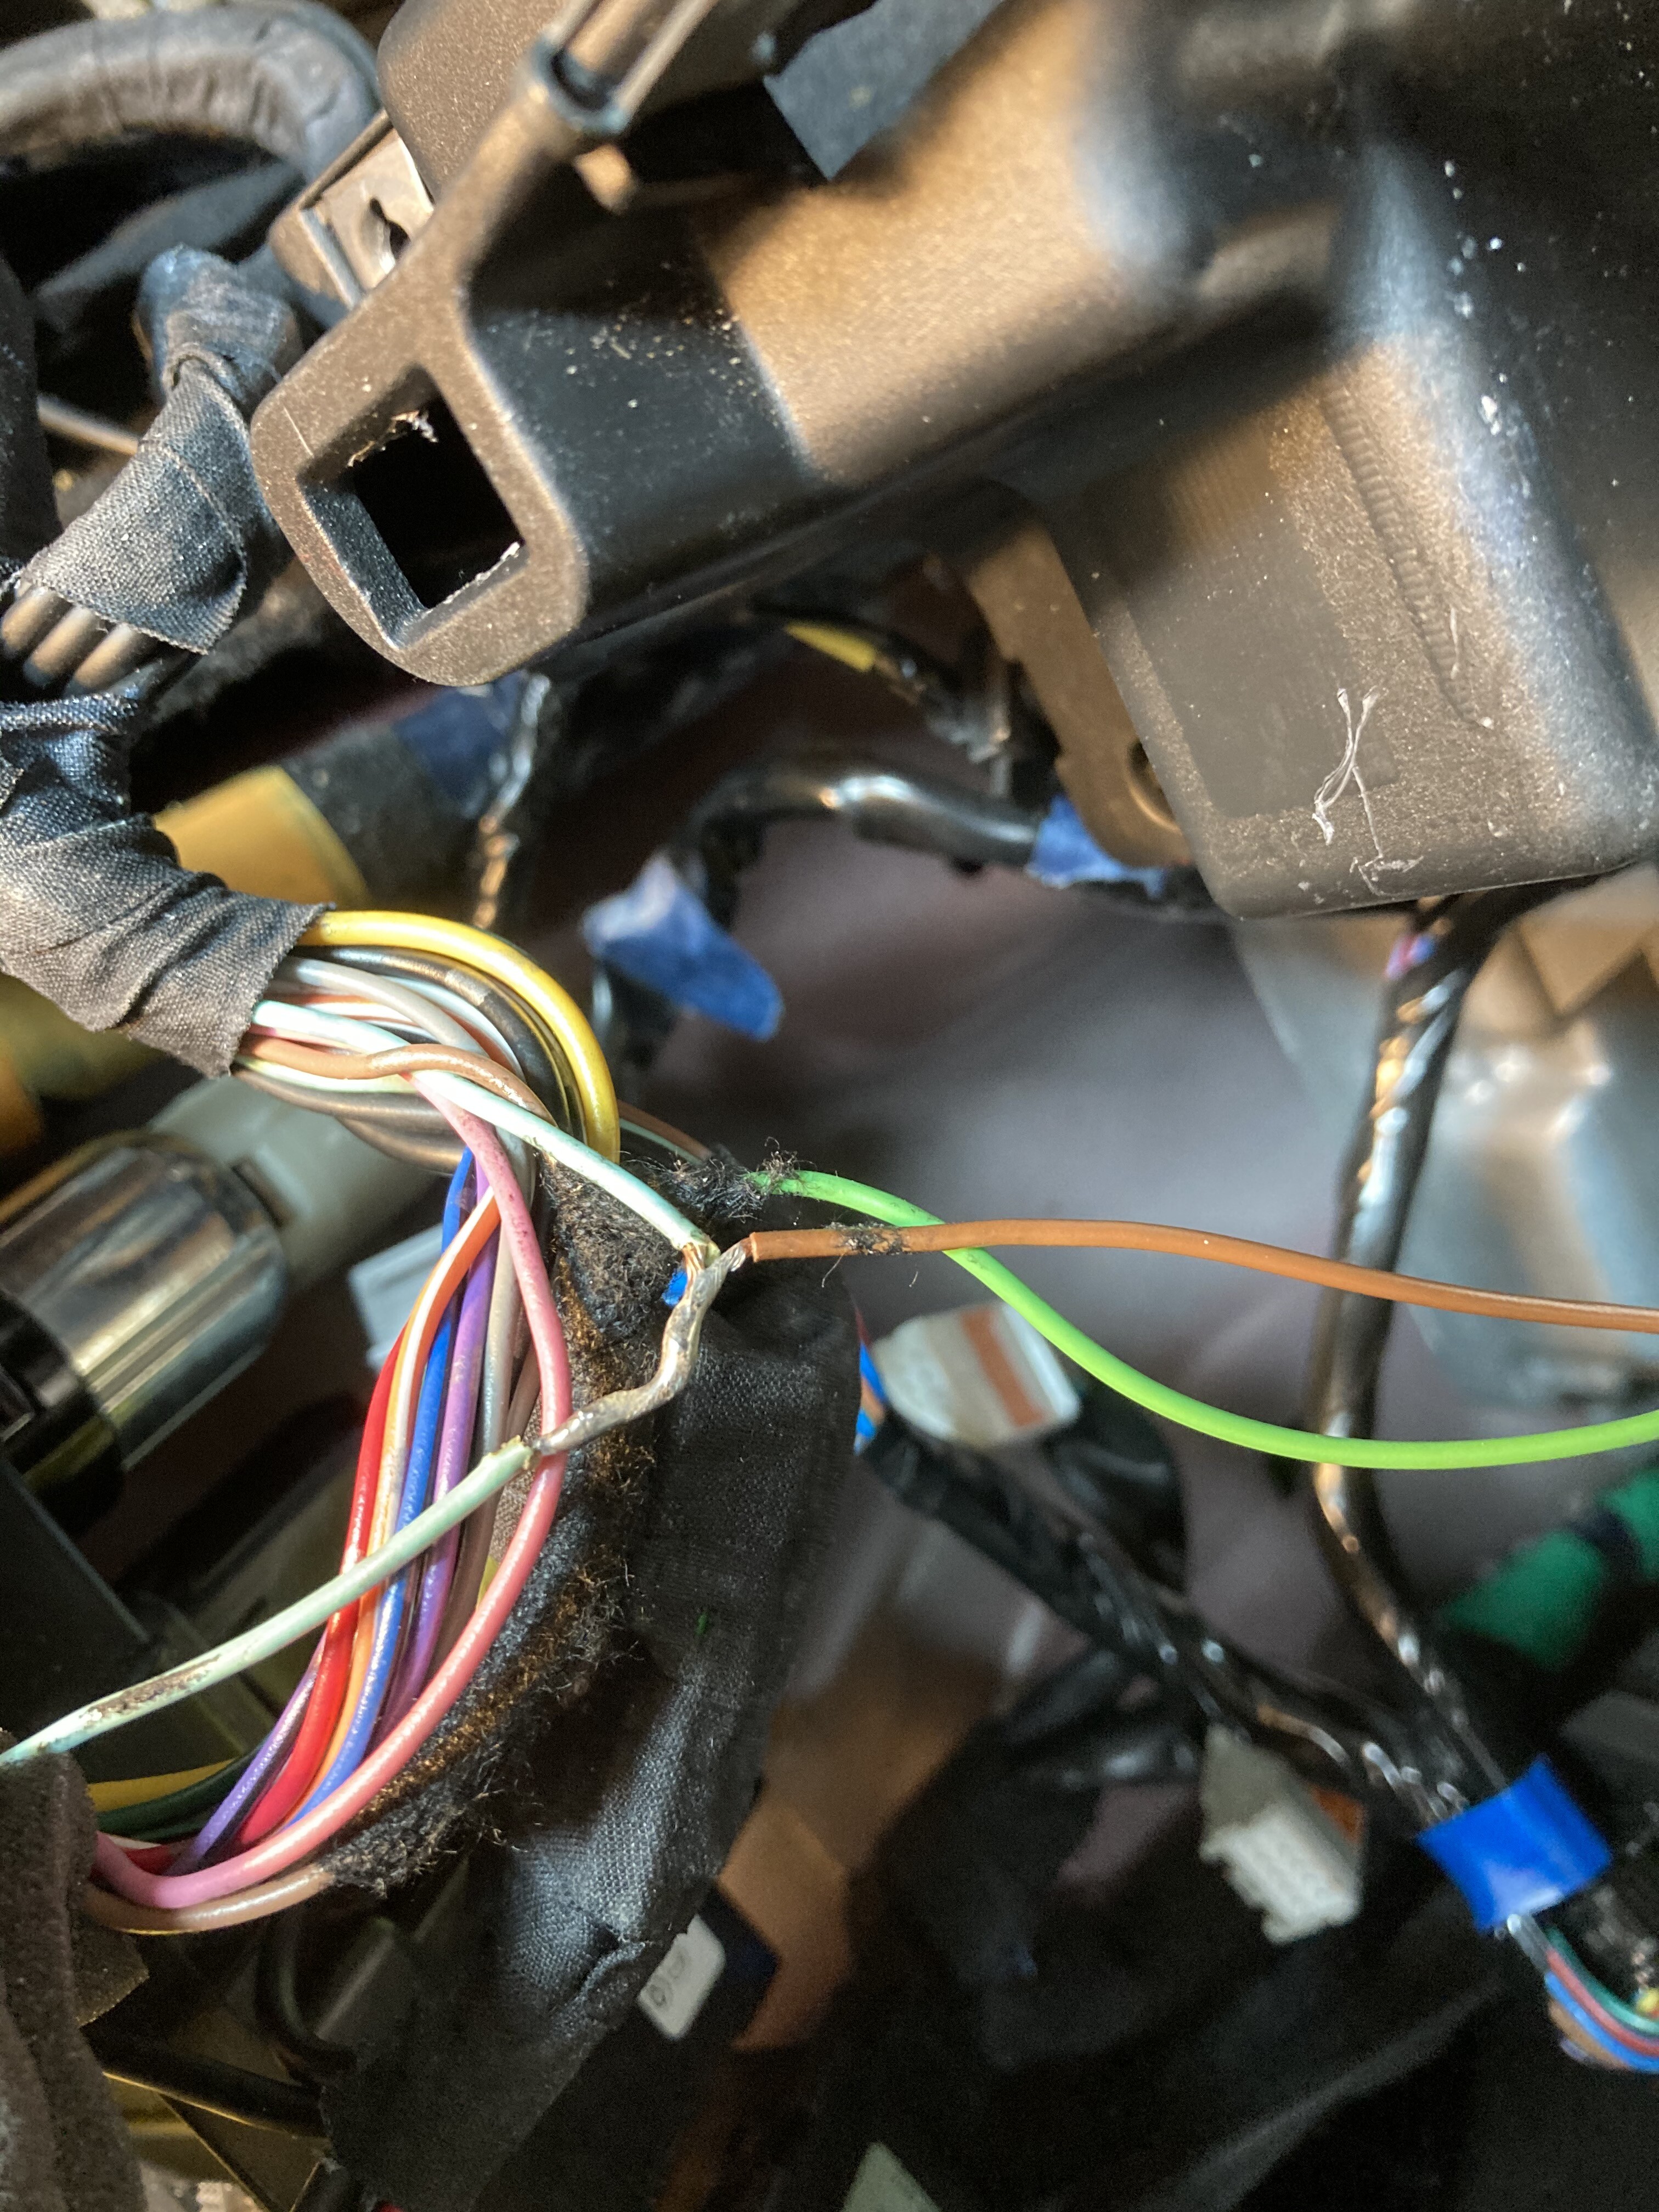
OK, I am still having installation issues. I have some connectors coming from the car that did connect to the old Sanyo that I don’t seem to have anywhere to connect on my new Pioneer.
I also have a Pioneer steering wheel control cable that I can’t seem to find out where to connect in the car.
I have not yet installed the reverse camera or the steering wheel controls. currently scratching my head and trying to diagram, photo so I can explain properly…
Have you removed the “complete” Sanyo wiring harness from the car?
It’s tucked up towards the front and taped up.
That is an additional one added to the car for this unit.
That needs to come out and then pretty straight forward in plugging everything in.
I haven’t removed all the Sanyo additional wiring loom. That explains the extra plugs!
Looks like a wee job for tomorrow, and I didn’t even look at the black box on the connects2 new harness to see if that’s where I should plug in the wee cable!