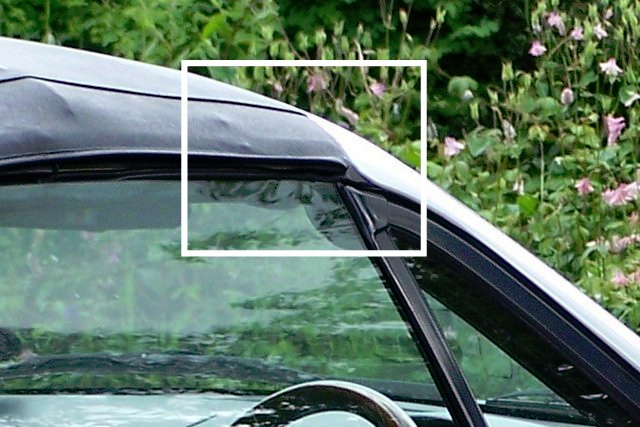
Back to Google again to see what I can do about the hood stitching. The damage was where the material is folded and wrapped around the corner of the frame. I soon came to the conclusion that there were too many layers for me to even attempt adding more stitches. I thought I might be able to find a strong adhesive/filler to do the job.
There are many guides and videos about repairing torn hoods (with varying degrees of neatness) but nothing for what I wanted to do. I did, however come across a UK one that mentioned a Stormsure adhesive to glue on a patch.
I decided to find more about this stuff. Google is my friend, and I found their website with lots of useful information and a couple of relevant videos. This stuff looked promising.
The user information notes that this adhesive will not store for long after opening, so I bought a 3-pack of small tubes in black. This stuff sticks like the proverbial, so wearing disposable gloves is essential.
I cleaned and dried the damaged area and simply applied the adhesive – just enough to secure the stitching. I figured if one side had deteriorated, the other would also go, so I applied adhesive to that also.
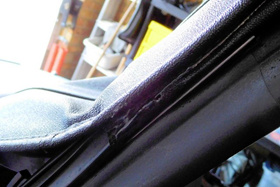
Two years later and after many hood ups and downs, the adhesive has proved itself. This is what it looks like now:
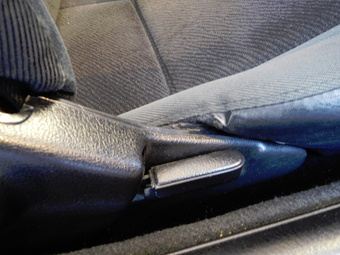
I decided to see if this adhesive would also repair some damage to the driver’s seat vinyl. It’s that part of the seat, adjacent to the recliner handle that seems always to be just outside the camera view for cars that are for sale. It seems to be a common wear point and, on mine the vinyl had simply worn away from its cloth backing. The seat seam and stitching were still OK.
I wedged the squab away from the plastic frame (I didn’t want it all sticking together) and removed any remaining loose vinyl. I carefully applied a thin layer of the adhesive to the damage area, trying to replicate how the original vinyl adheres to the cloth backing and making sure the adhesive blended into the edges of the undamaged part.
Two years later, the repair looks like this:
I’ve since used this adhesive for other things, including repairing a split in the upper/sole bond of a pair of old shoes for gardening. Useful stuff to have in the cupboard.
Bob
(South Essex)