gaiters FINALLY arrived , ordered on 20/06/20 from mx5parts
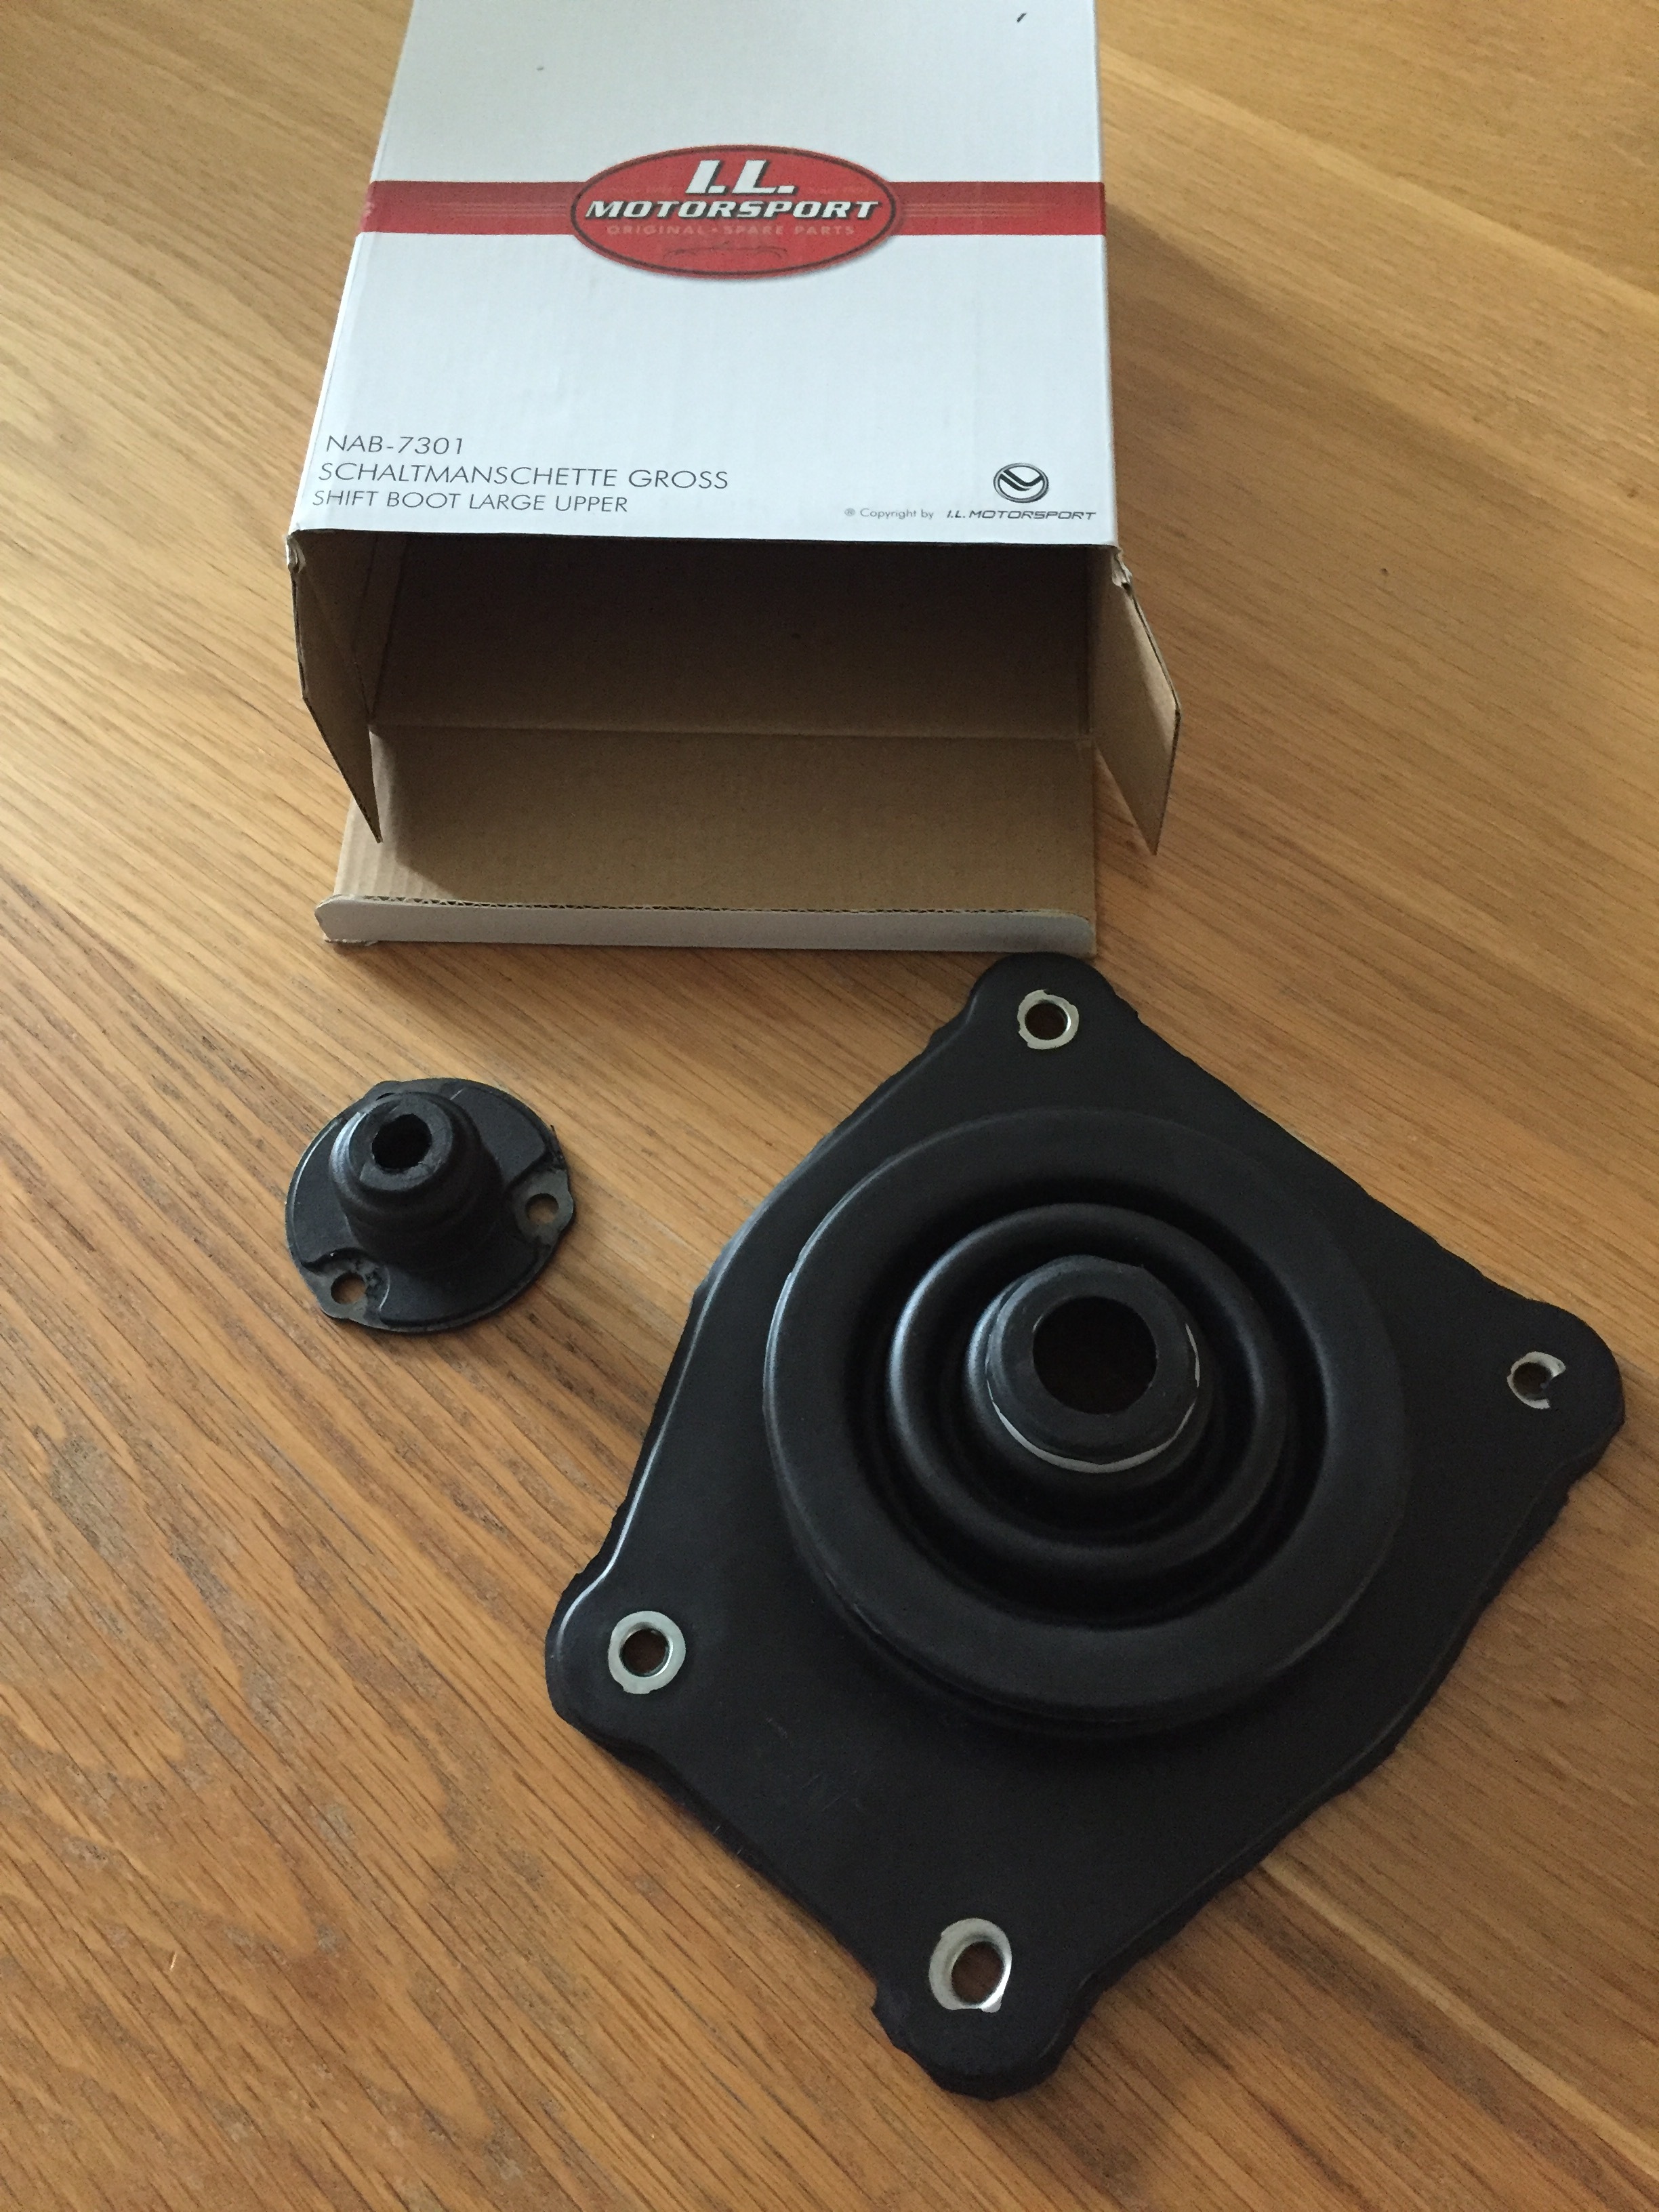
bottom boot fitted , top boot in place ( needed a bit of lube ,  )
)
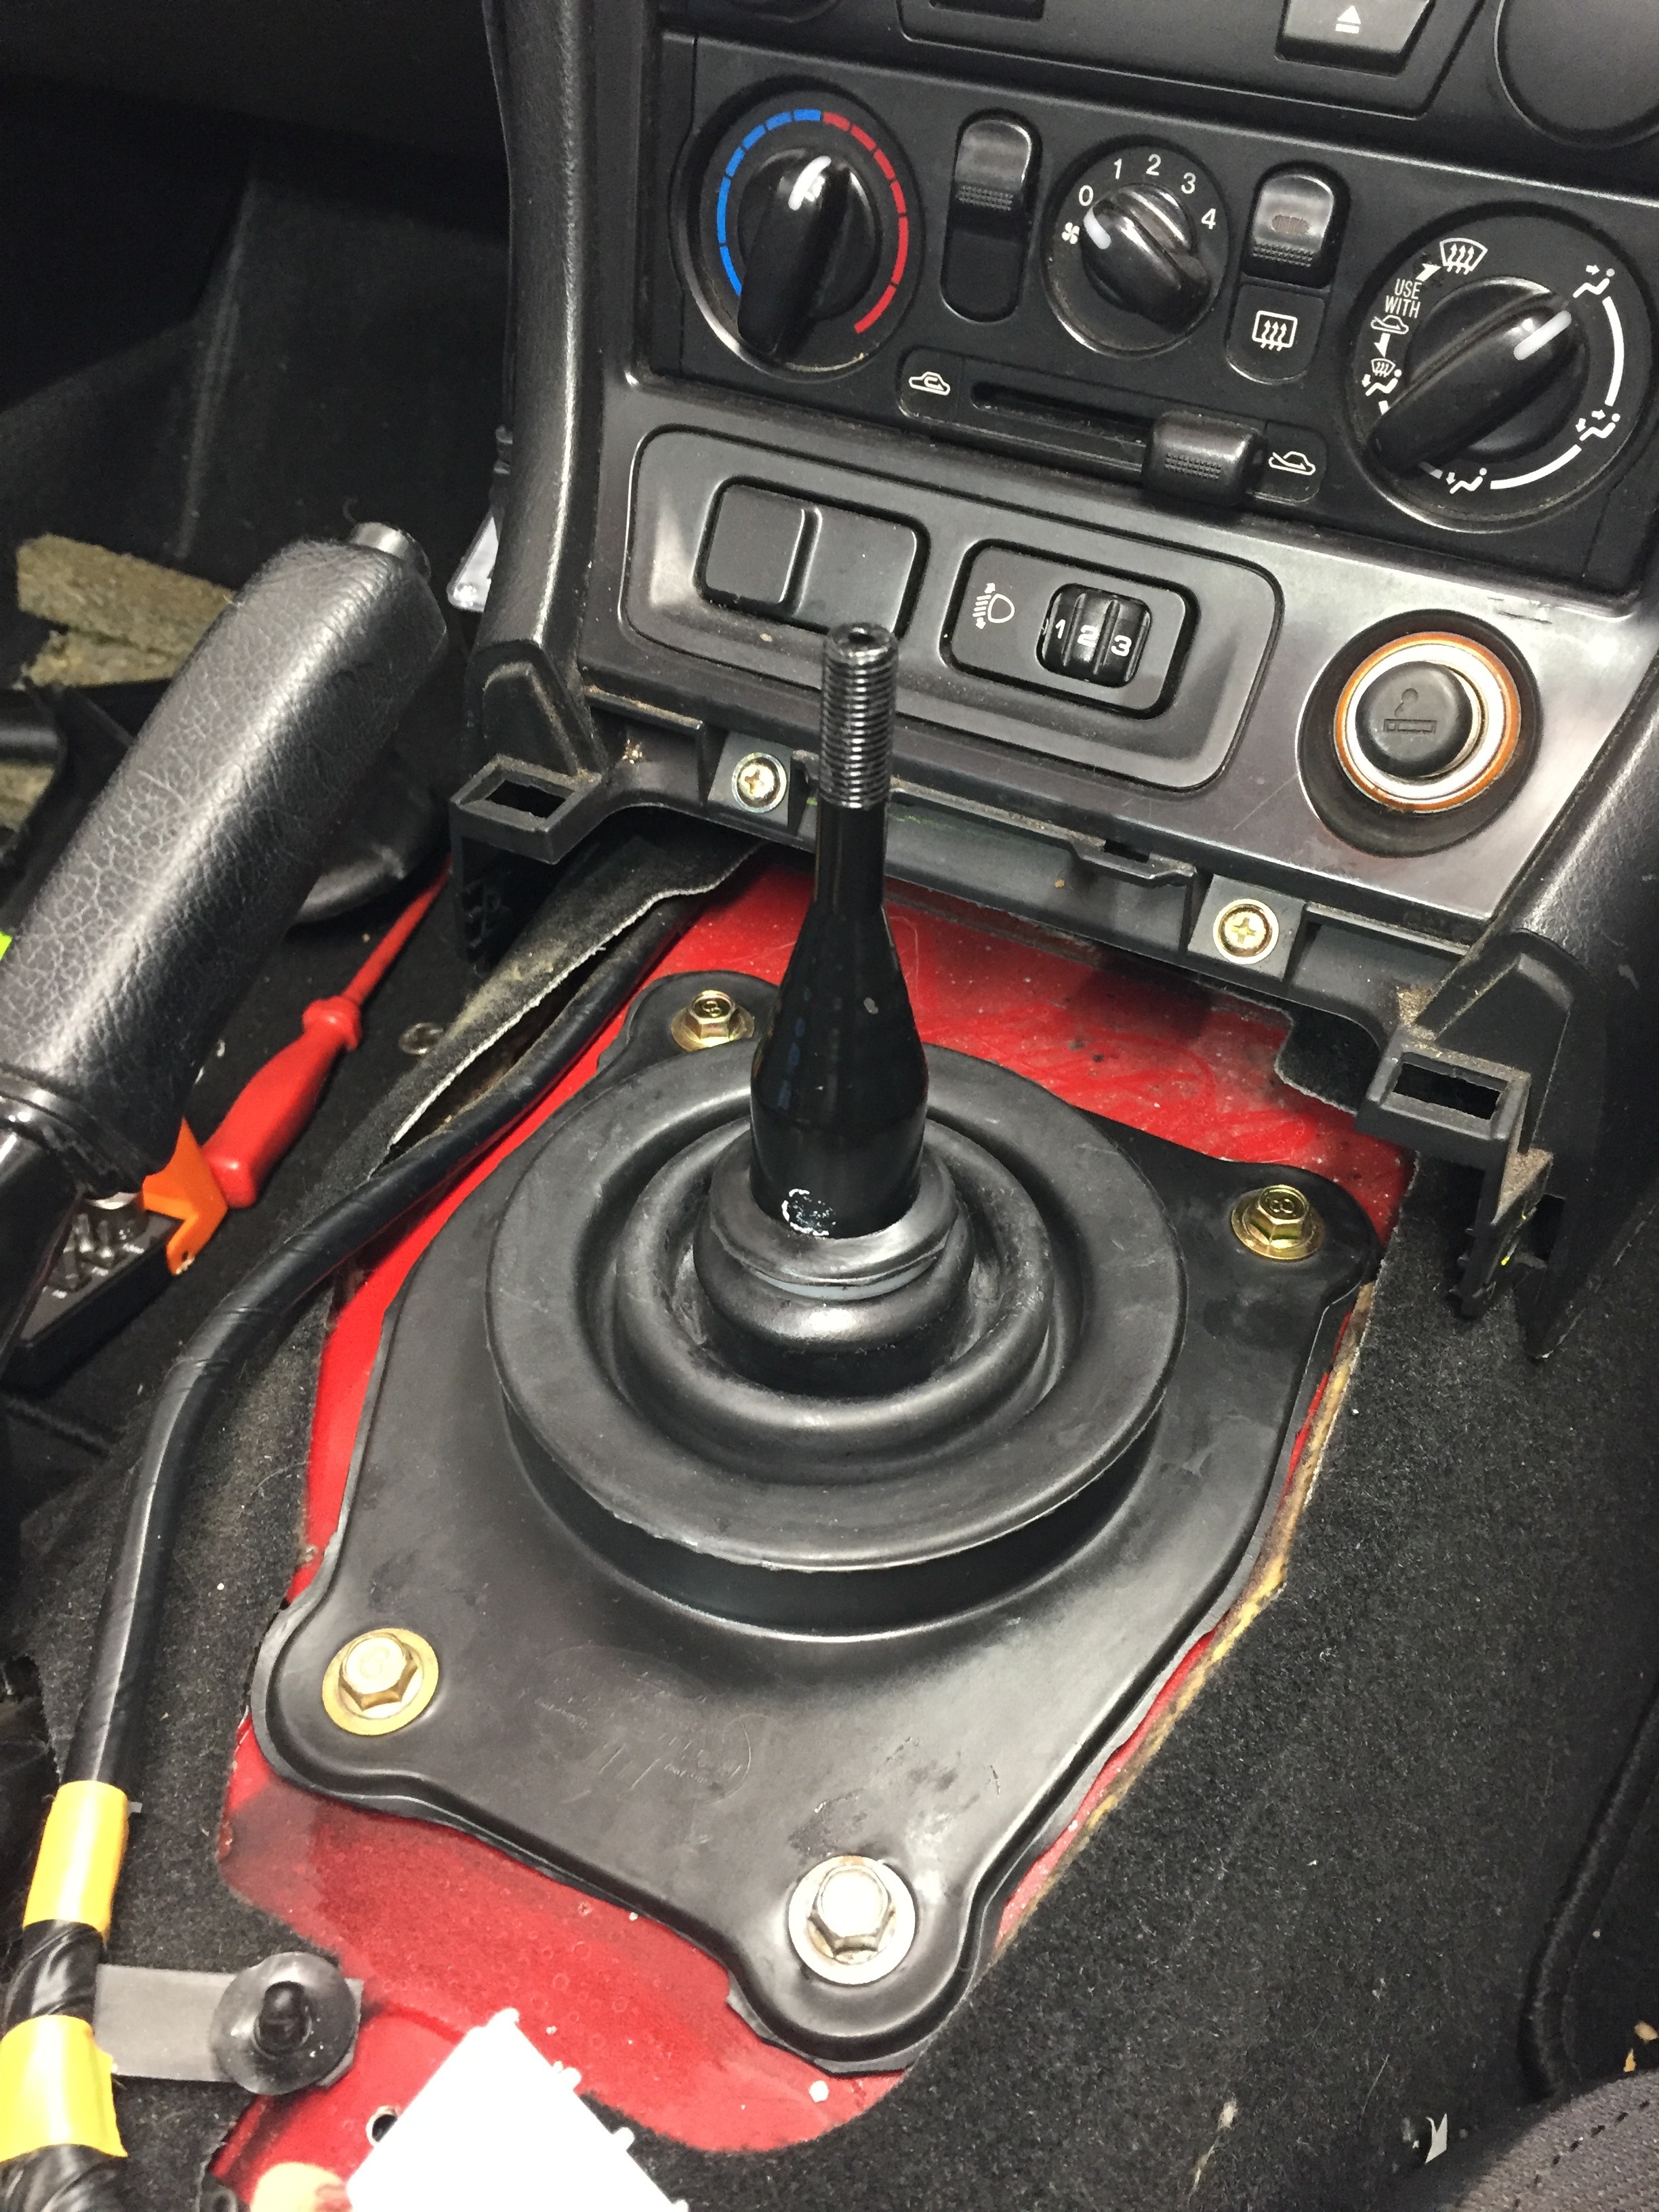
topped off with a knob i bought for my first mk1 but never fitted 

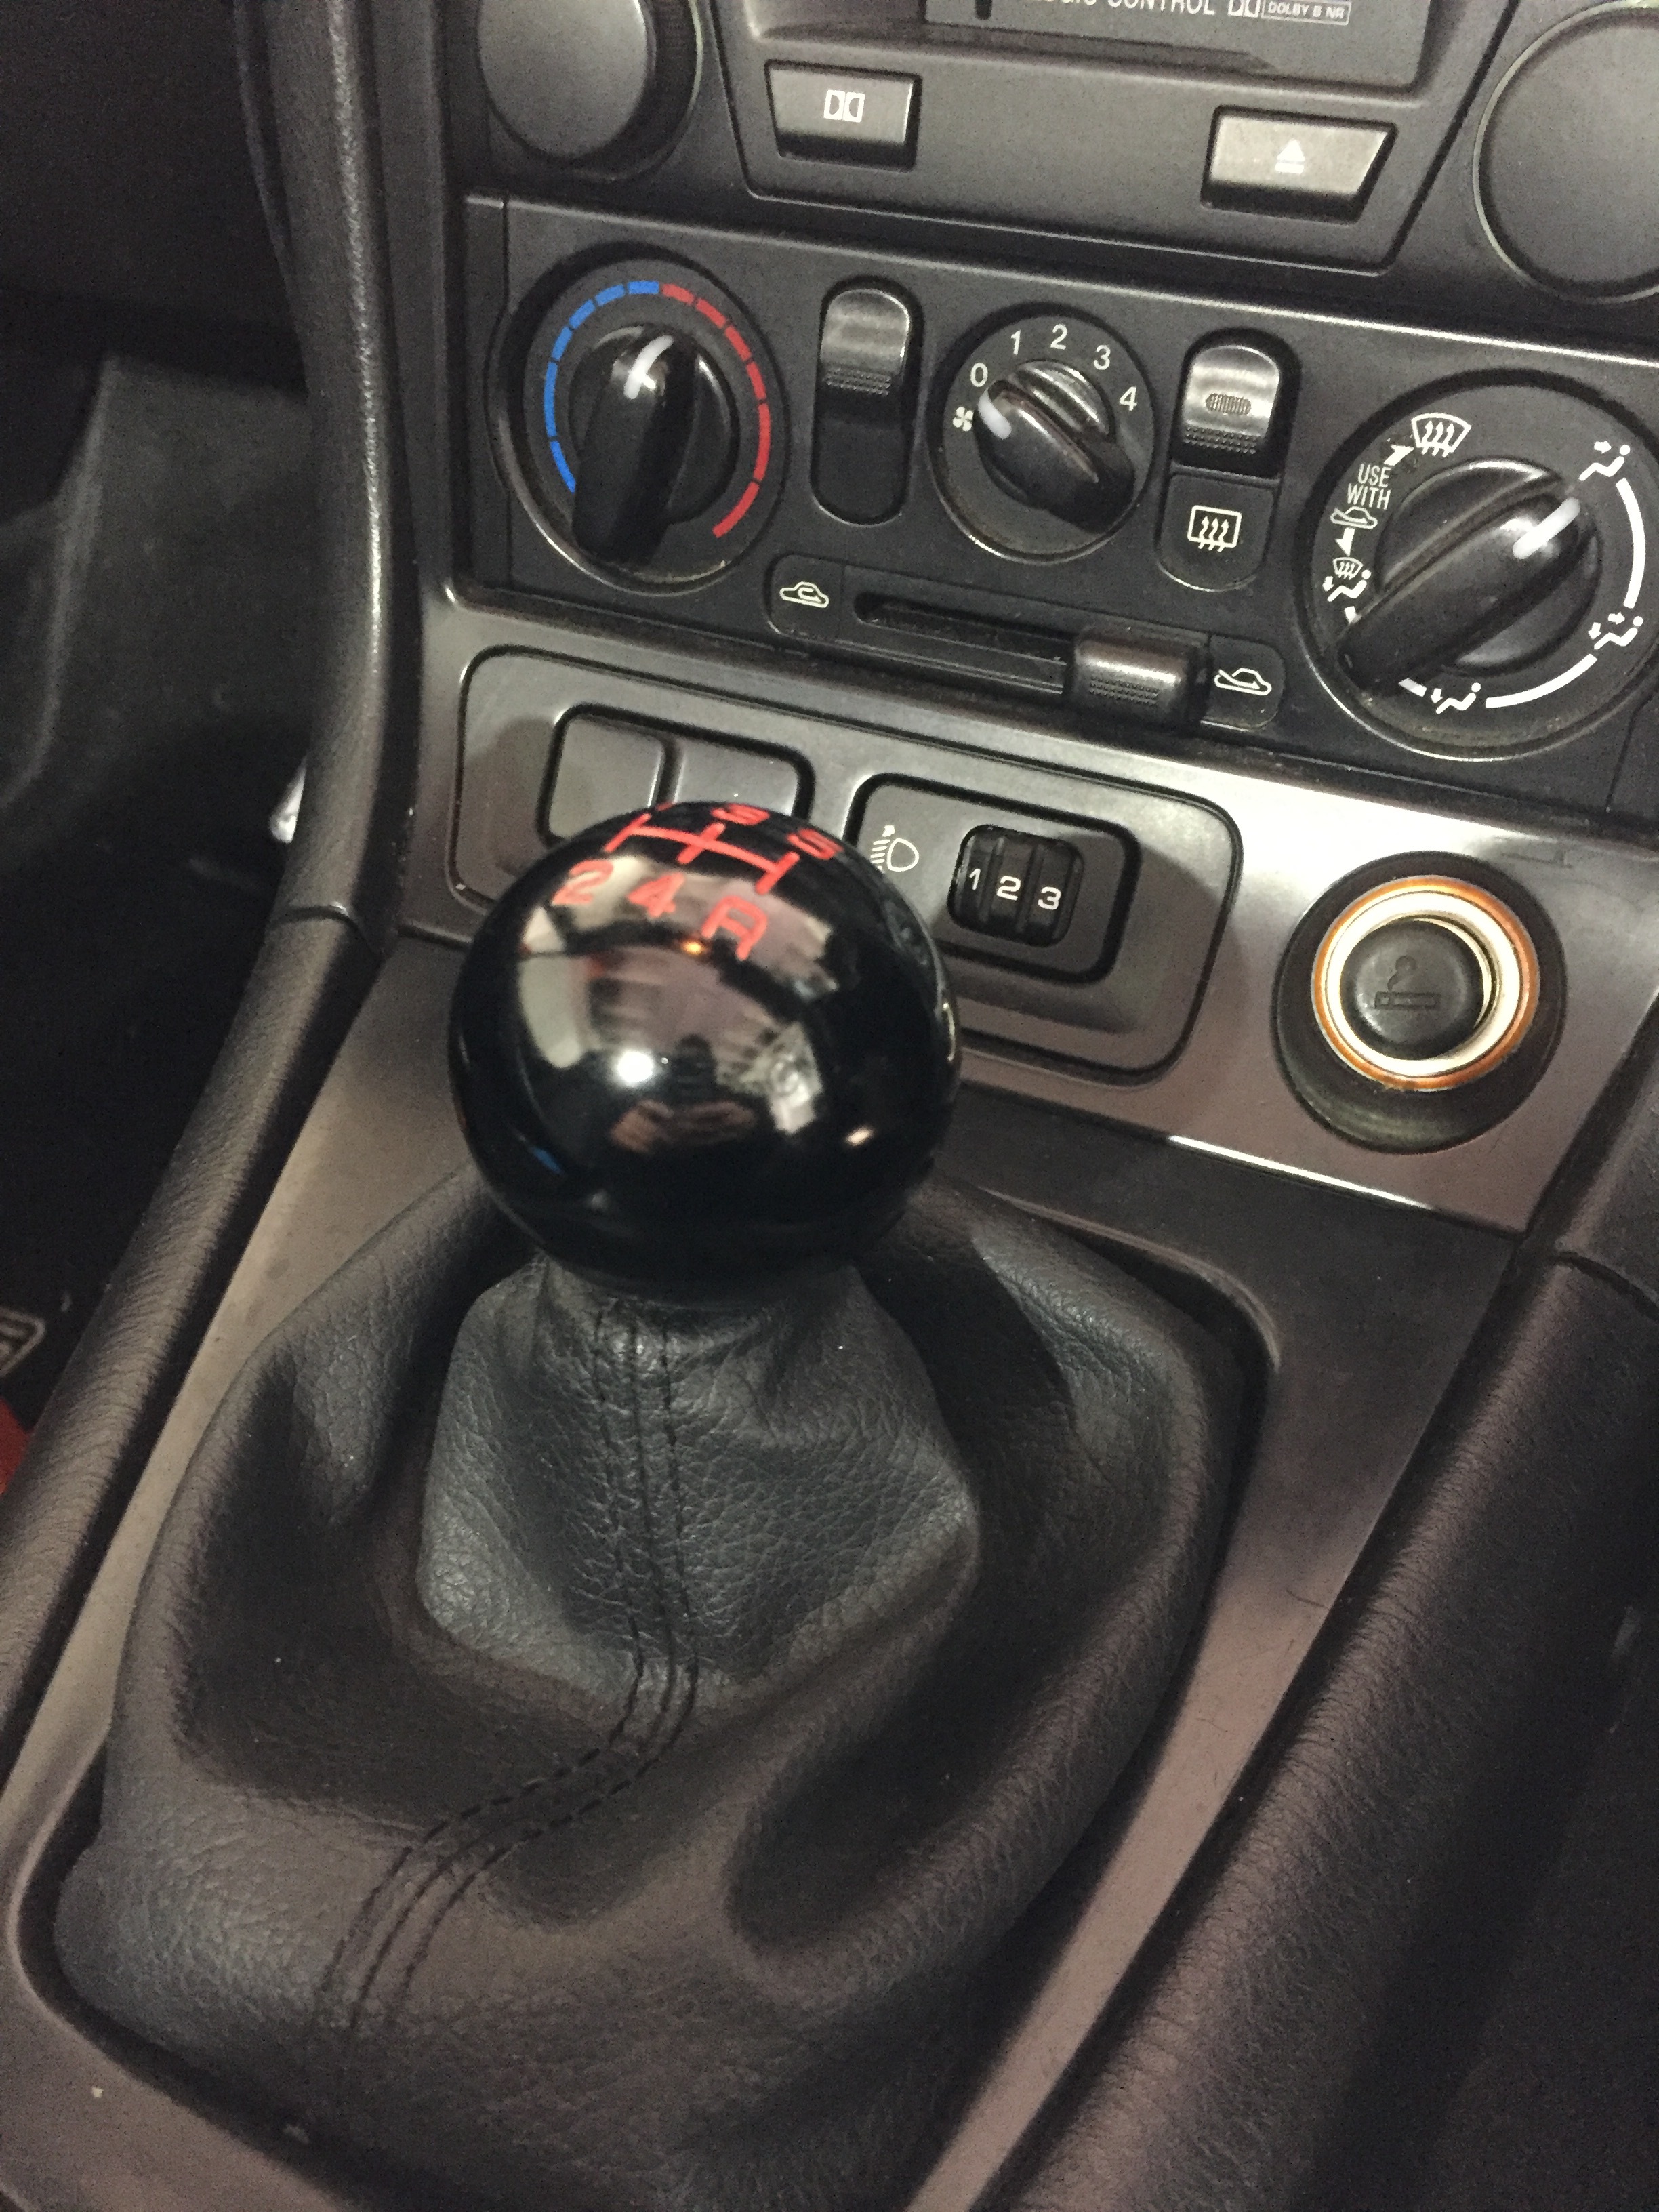
need to get out and drive it , when i get the chance 
gaiters FINALLY arrived , ordered on 20/06/20 from mx5parts
bottom boot fitted , top boot in place ( needed a bit of lube , )
topped off with a knob i bought for my first mk1 but never fitted
need to get out and drive it , when i get the chance
Glad you got your bits finally Geoff  hopefully, new boots will improve the situation! As you say, not ideal weather today, or yesterday, or the day before that!
Barrie
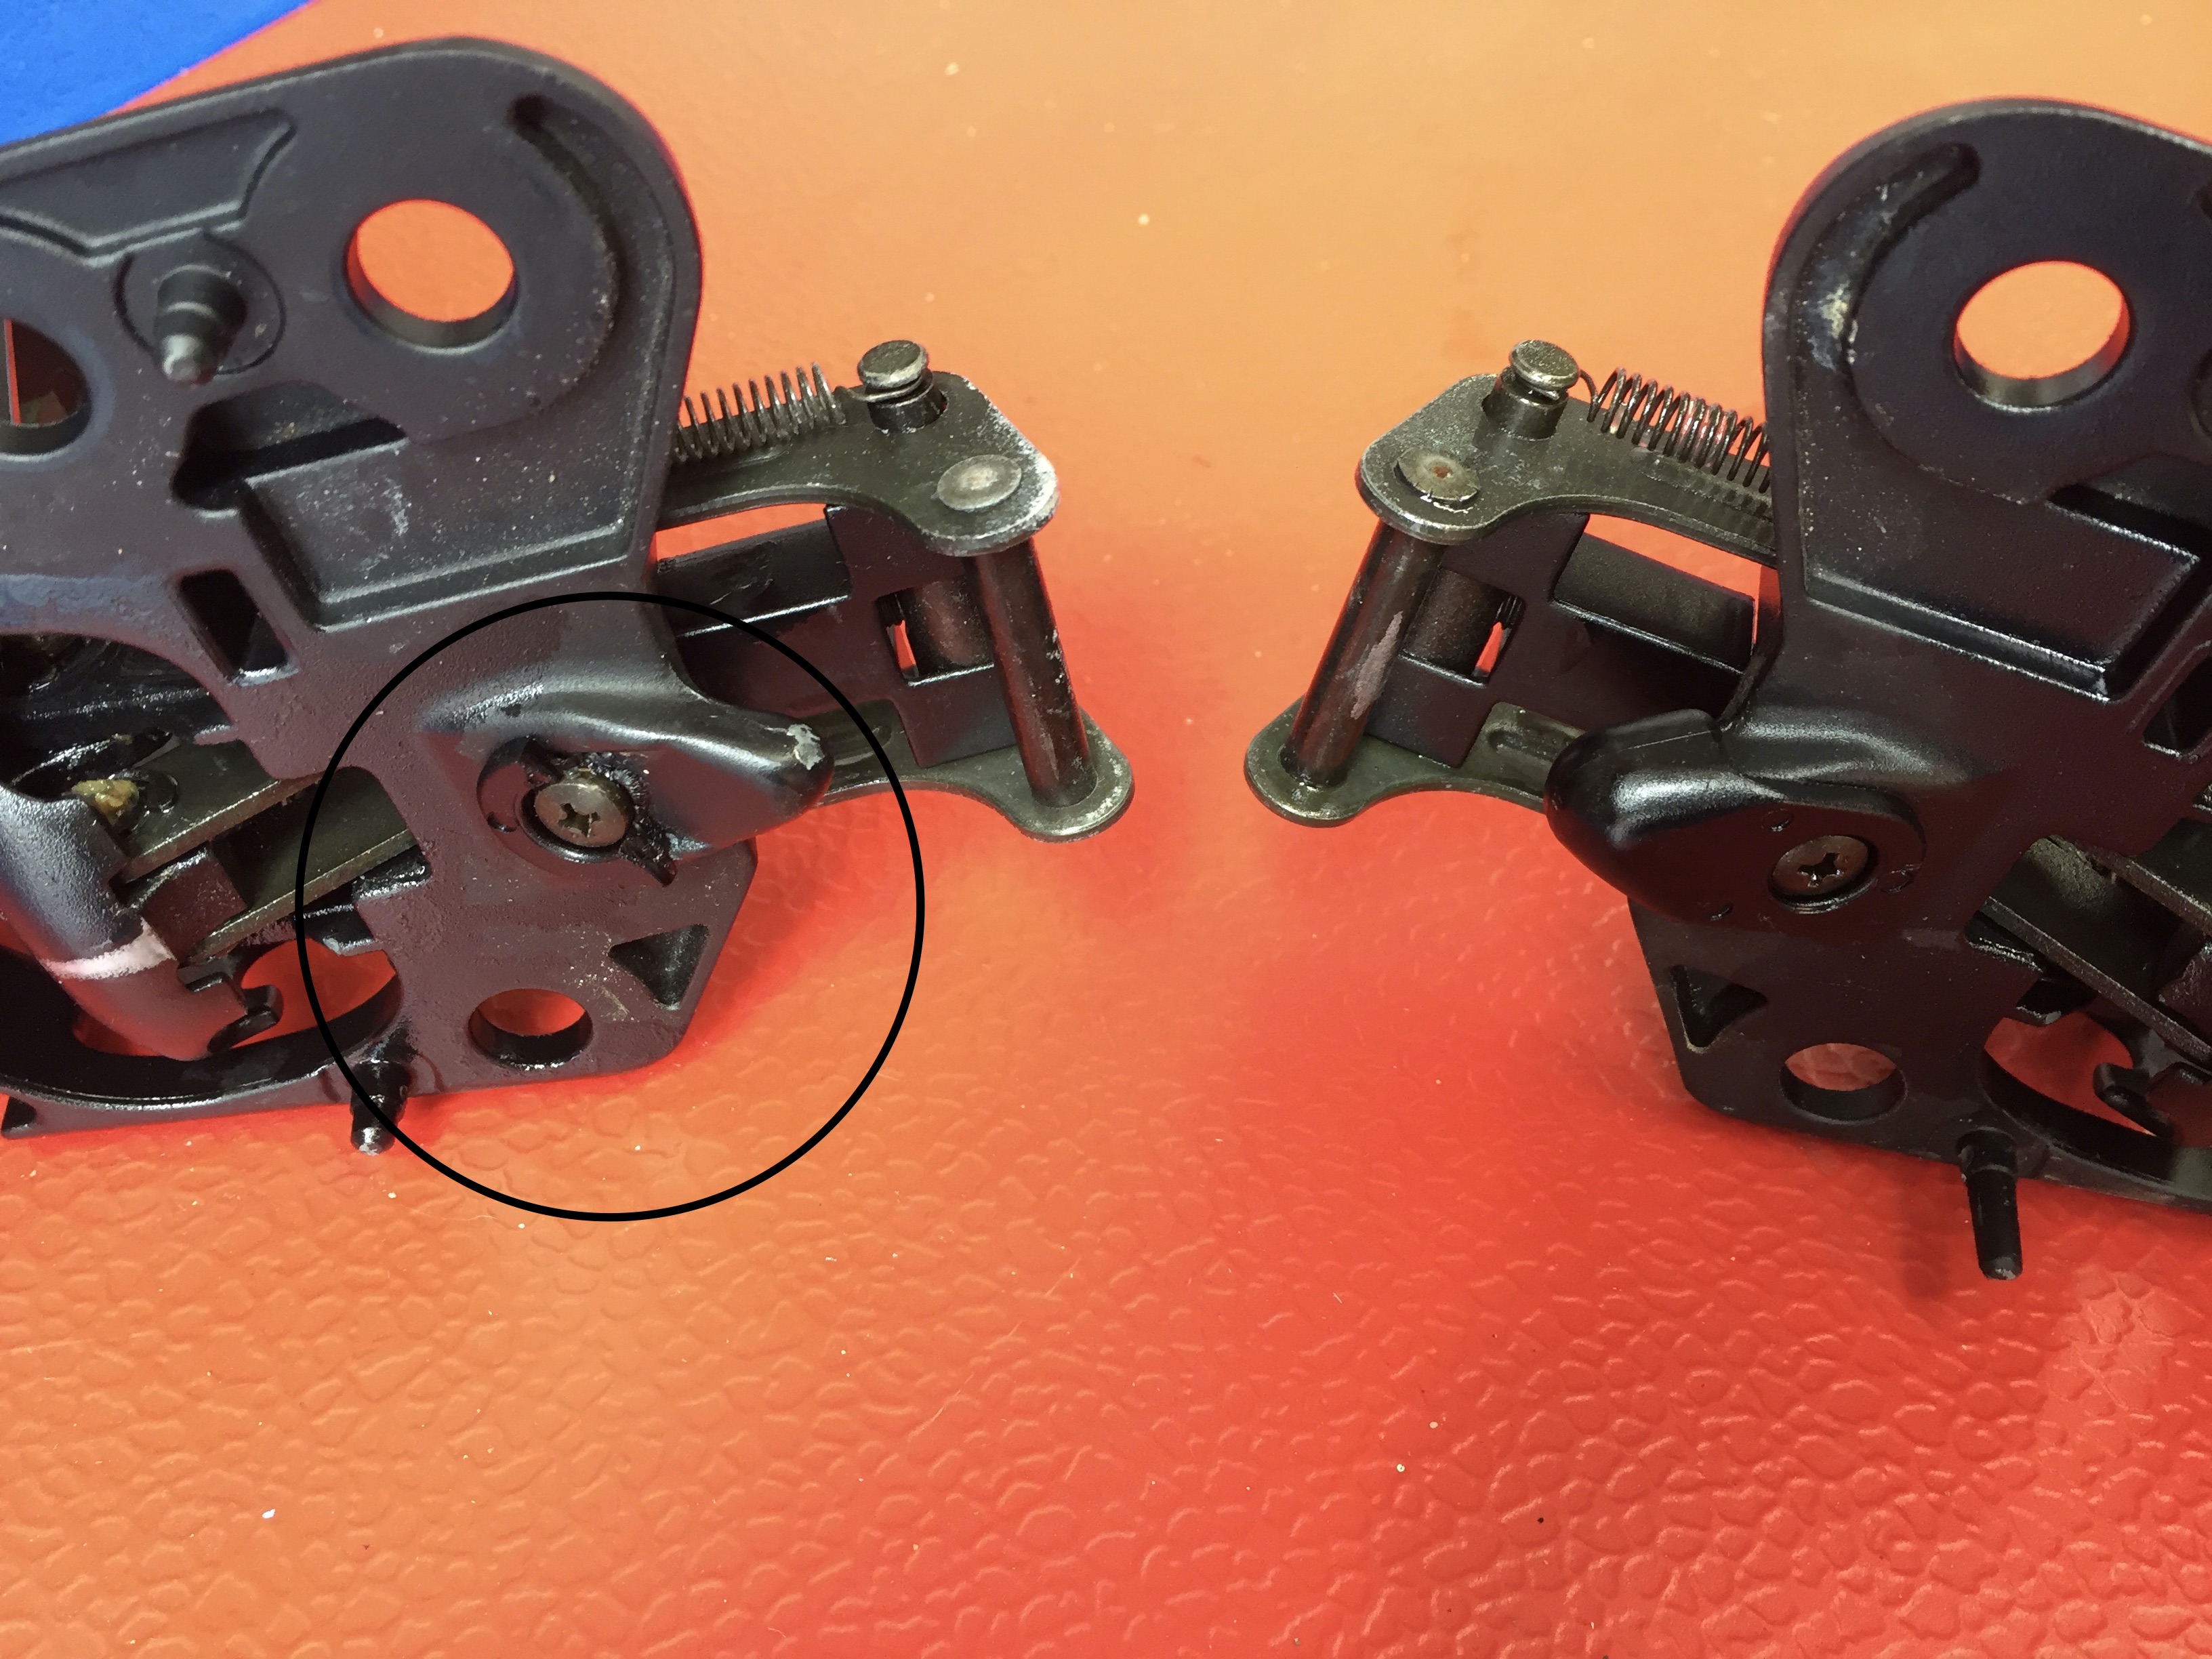
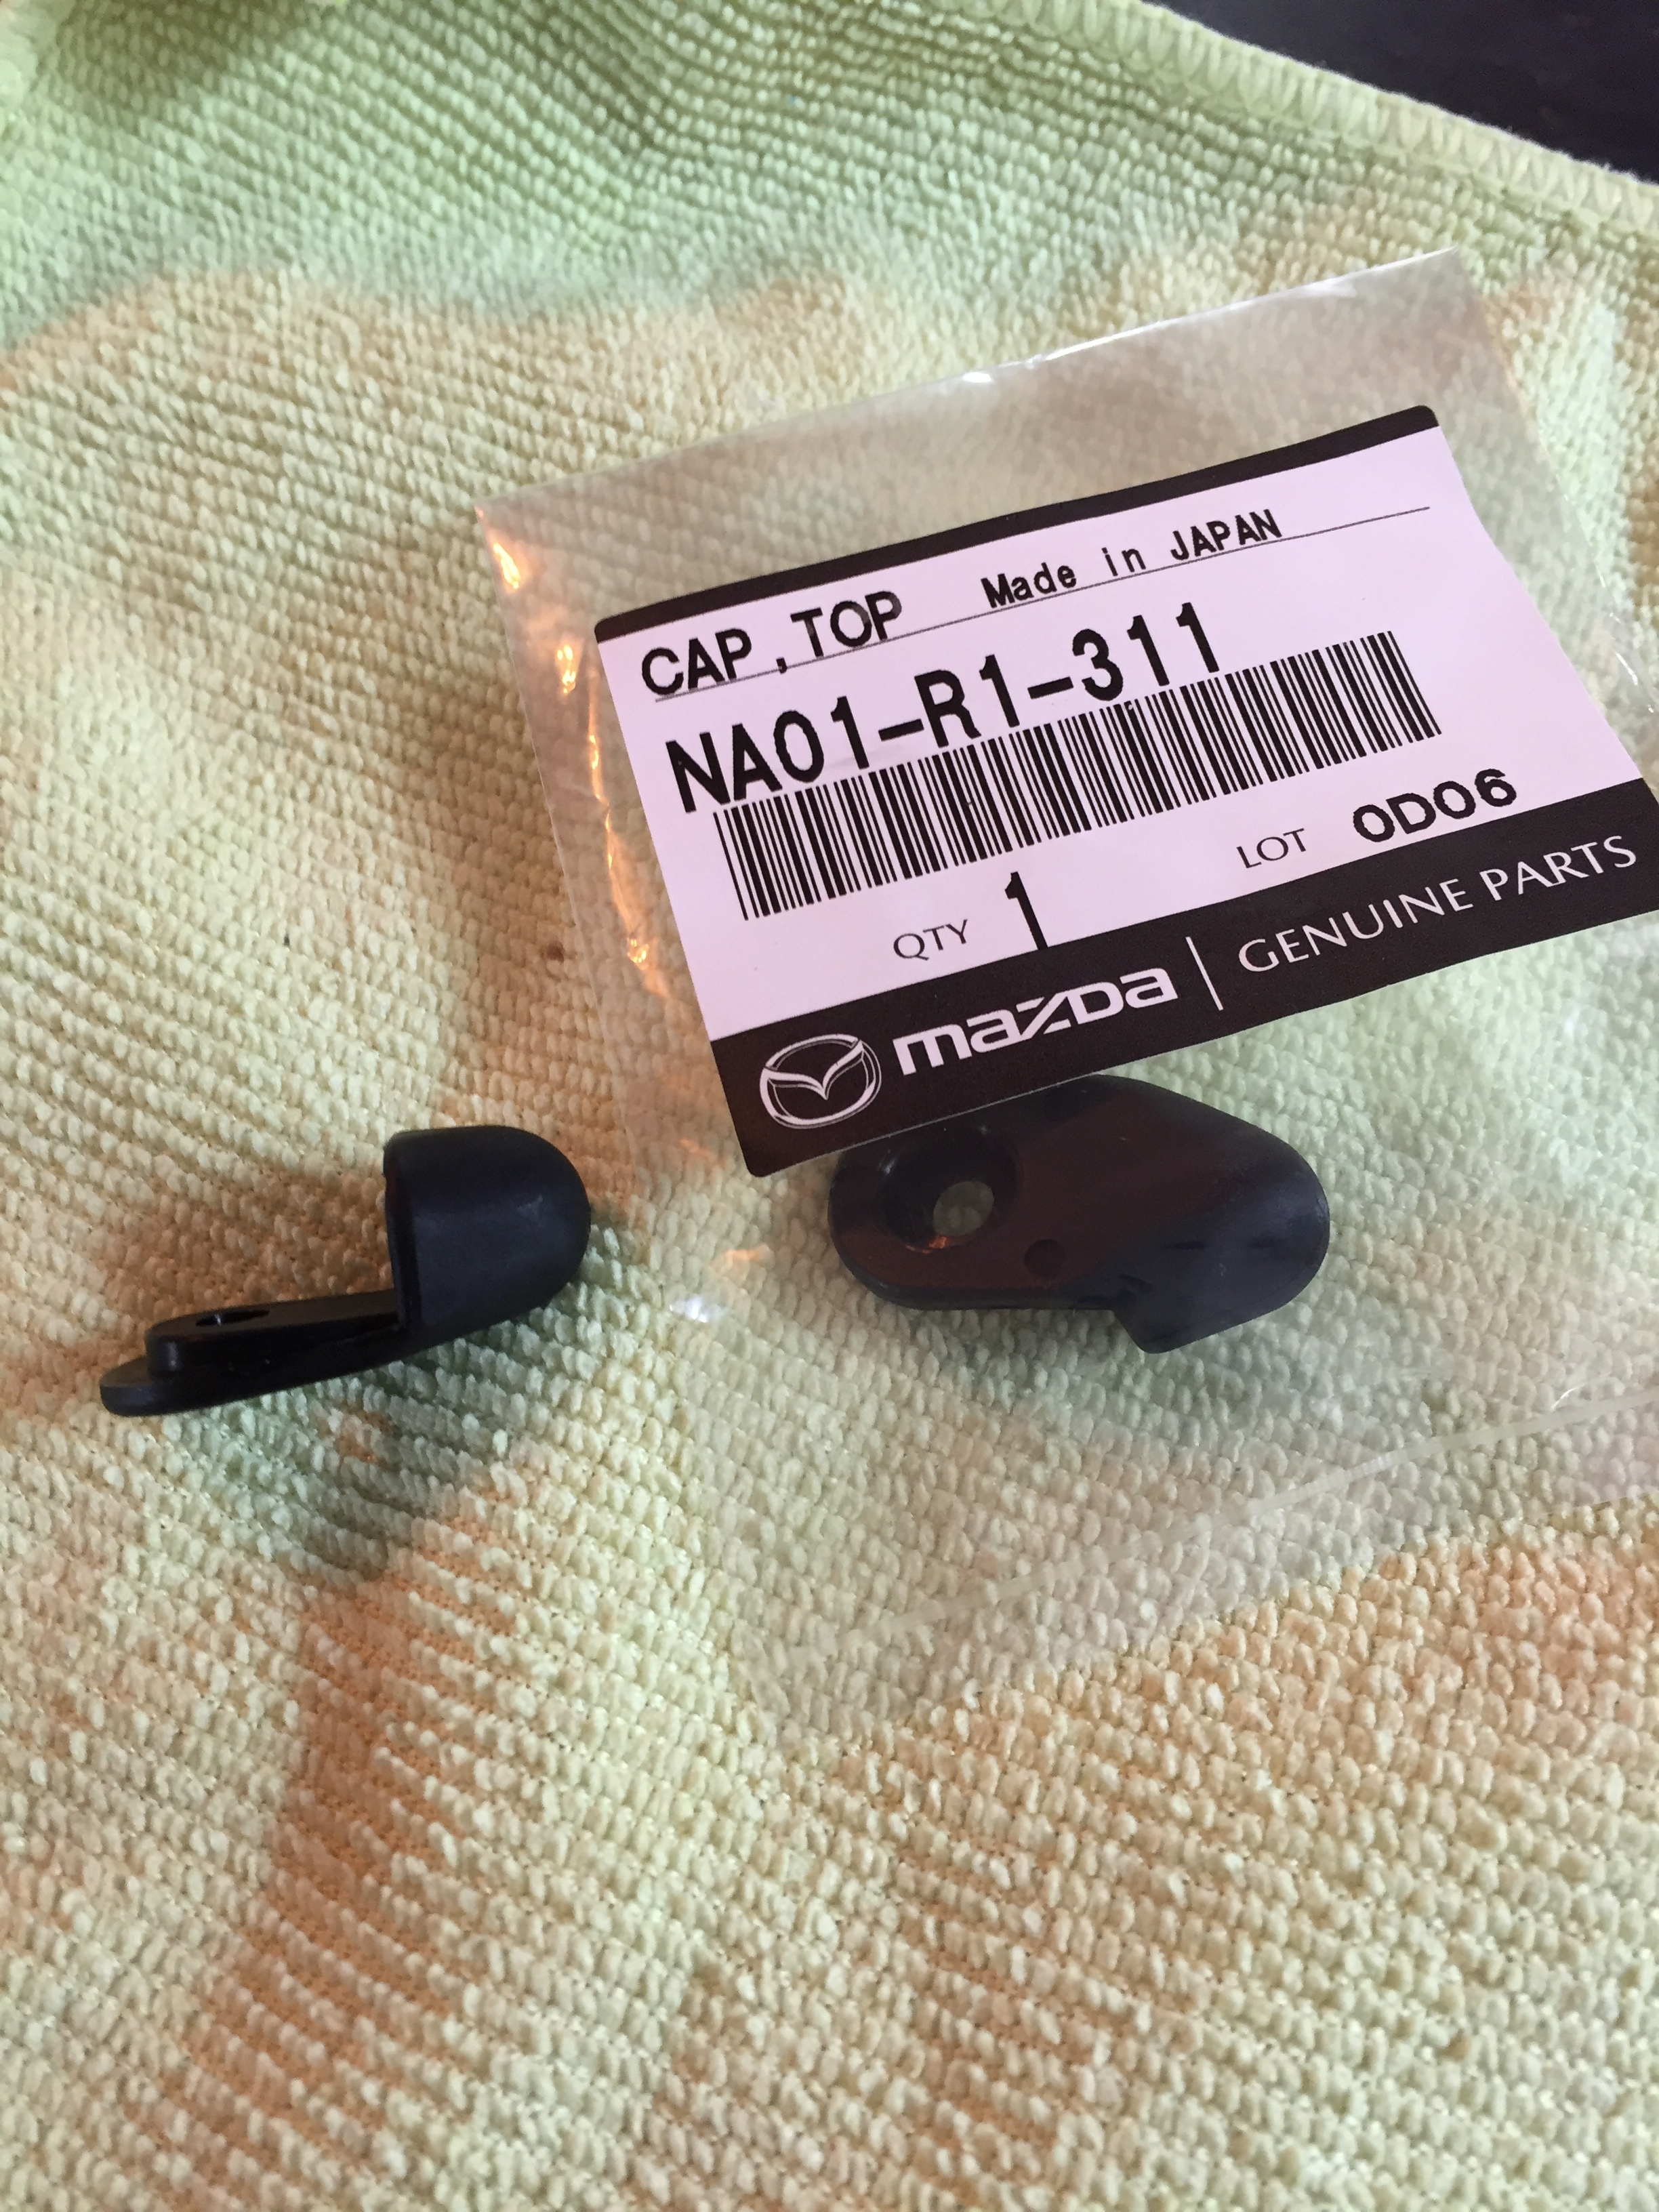
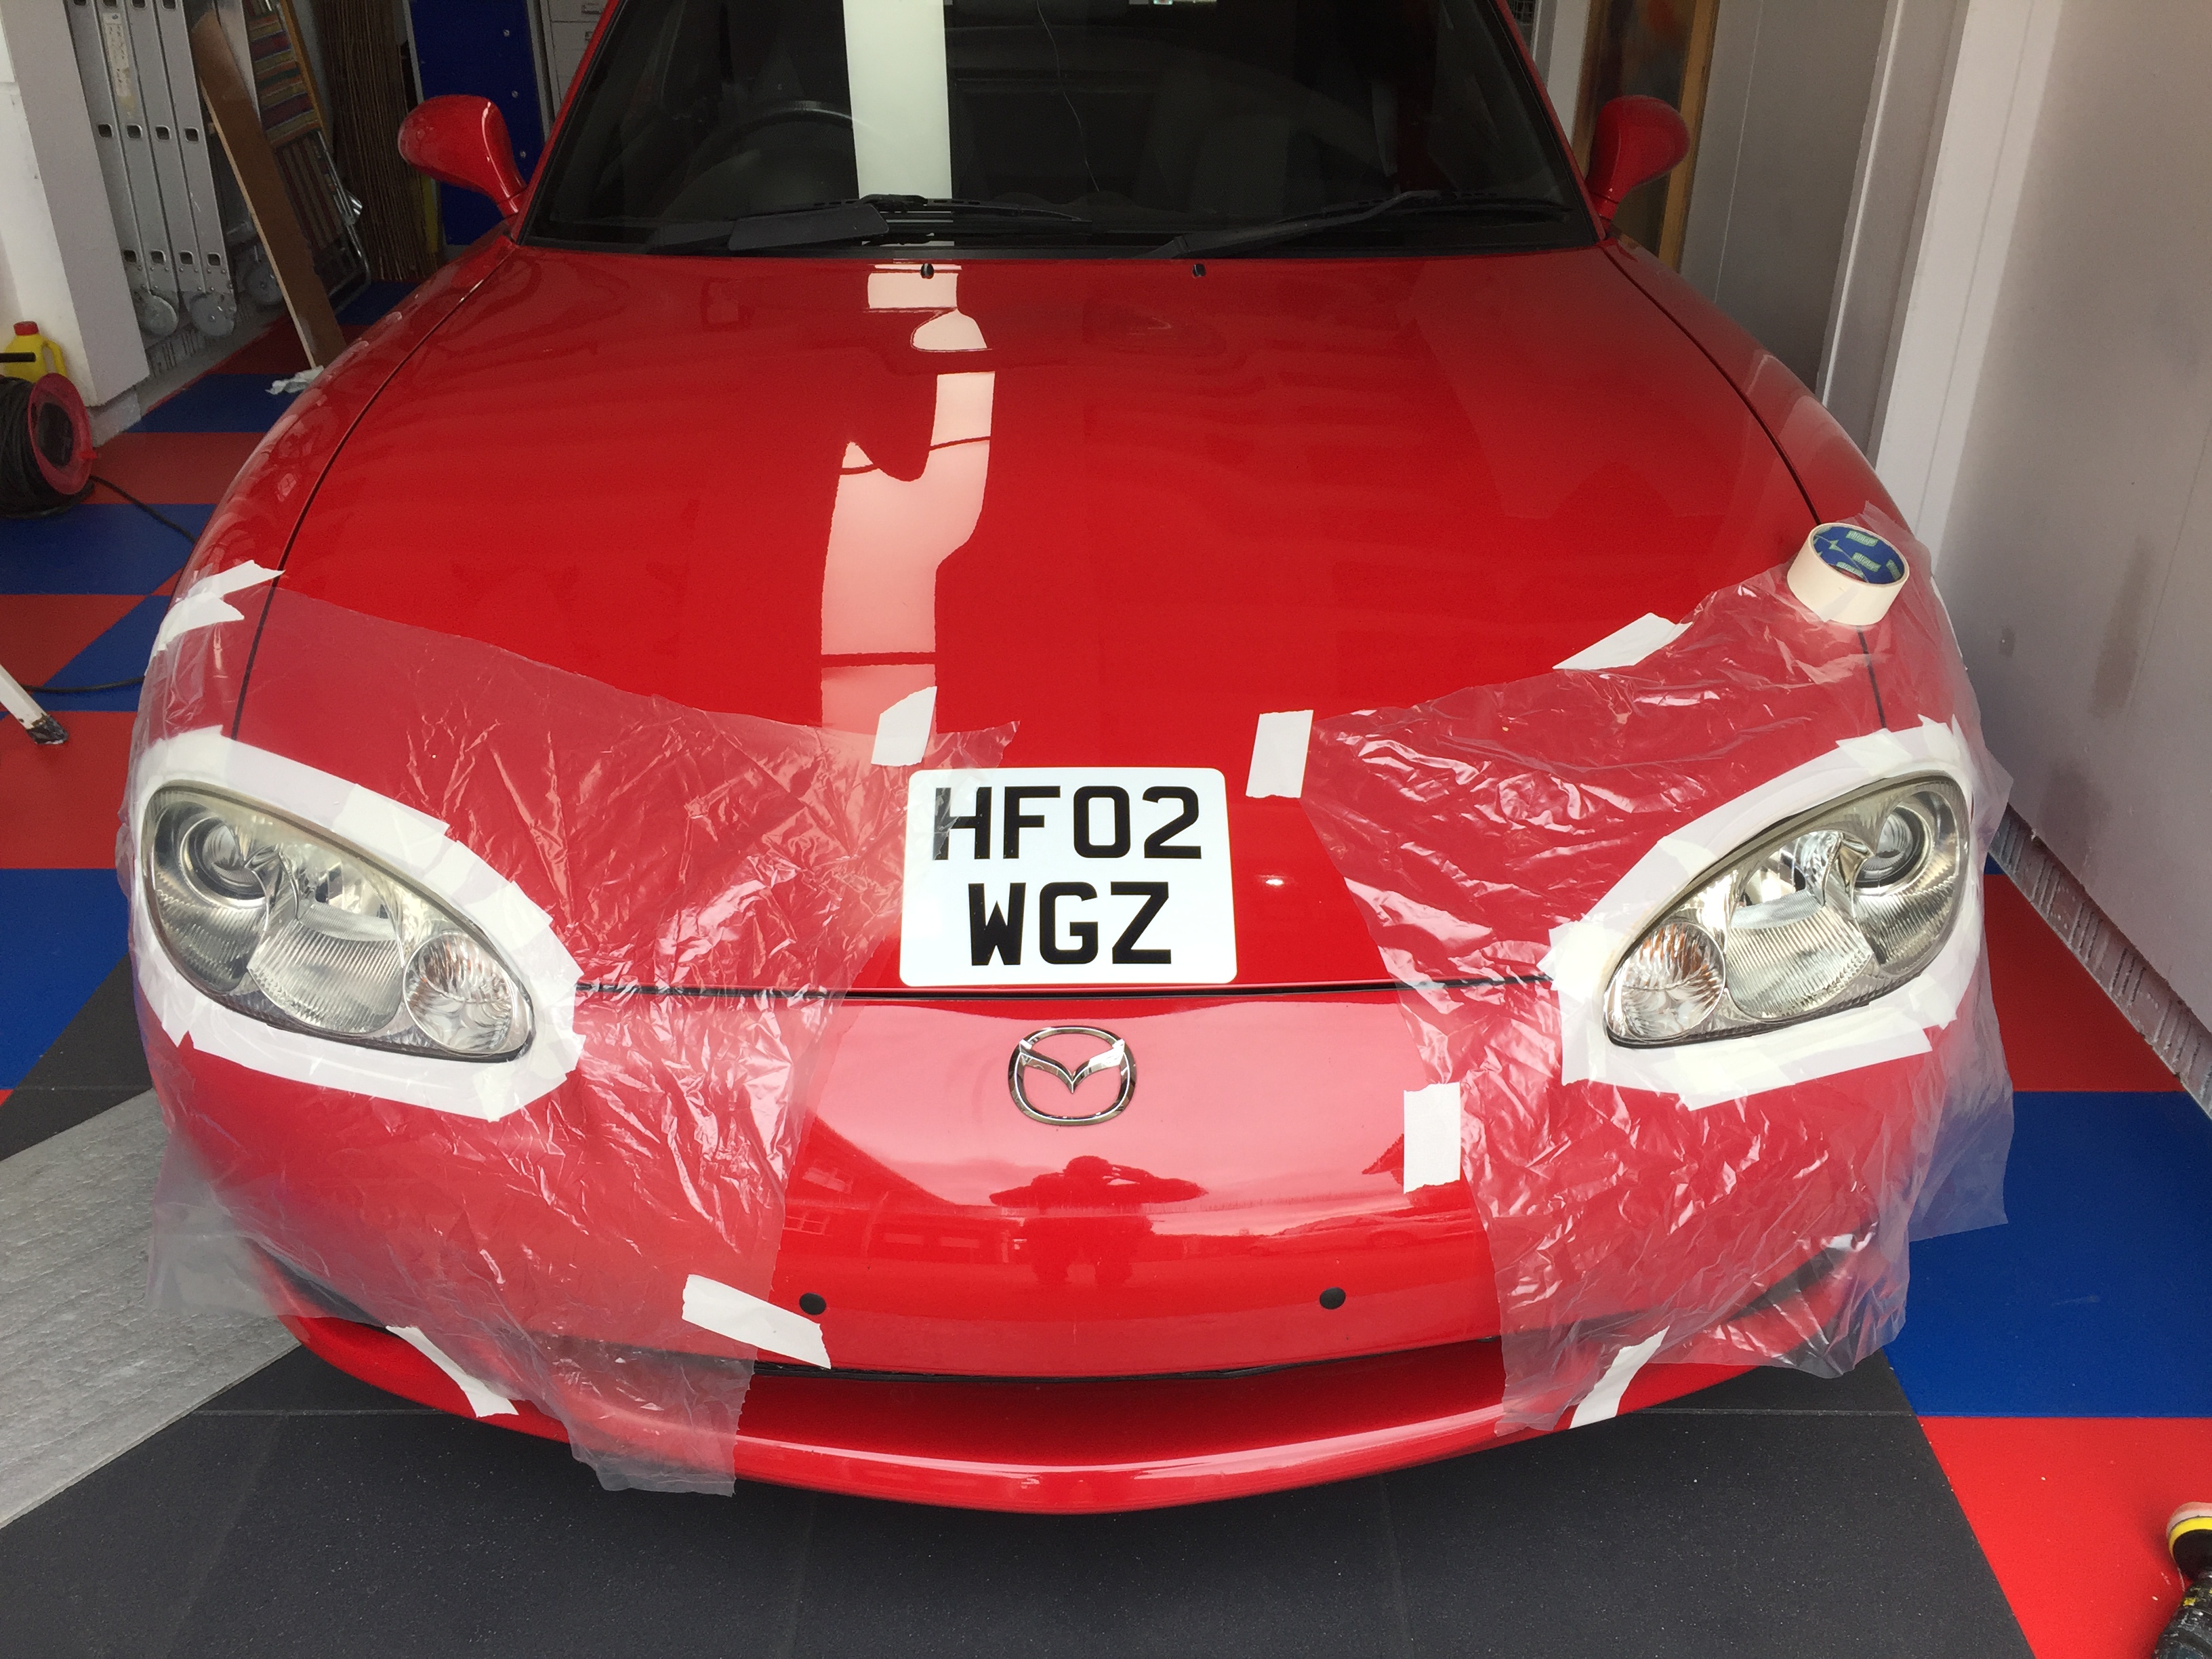
new " hood catch nipples " ordered from mx5parts , because 1 had broken ,
see pic,
easy job , remove catches ( 3 studs in each )
then remove broken nipple ( 1 screw ) …
i replaced both. 
then refit , 10 min job
Those nipples look really nice Geoff! 
Wish I had a pair like them!  Seriously though, has it made a difference?
  I guess that knowing everything is tip top, is sufficient.
Barrie
Hi Barrie
Yes just feels a bit tighter fit now and
Cheap repair too 

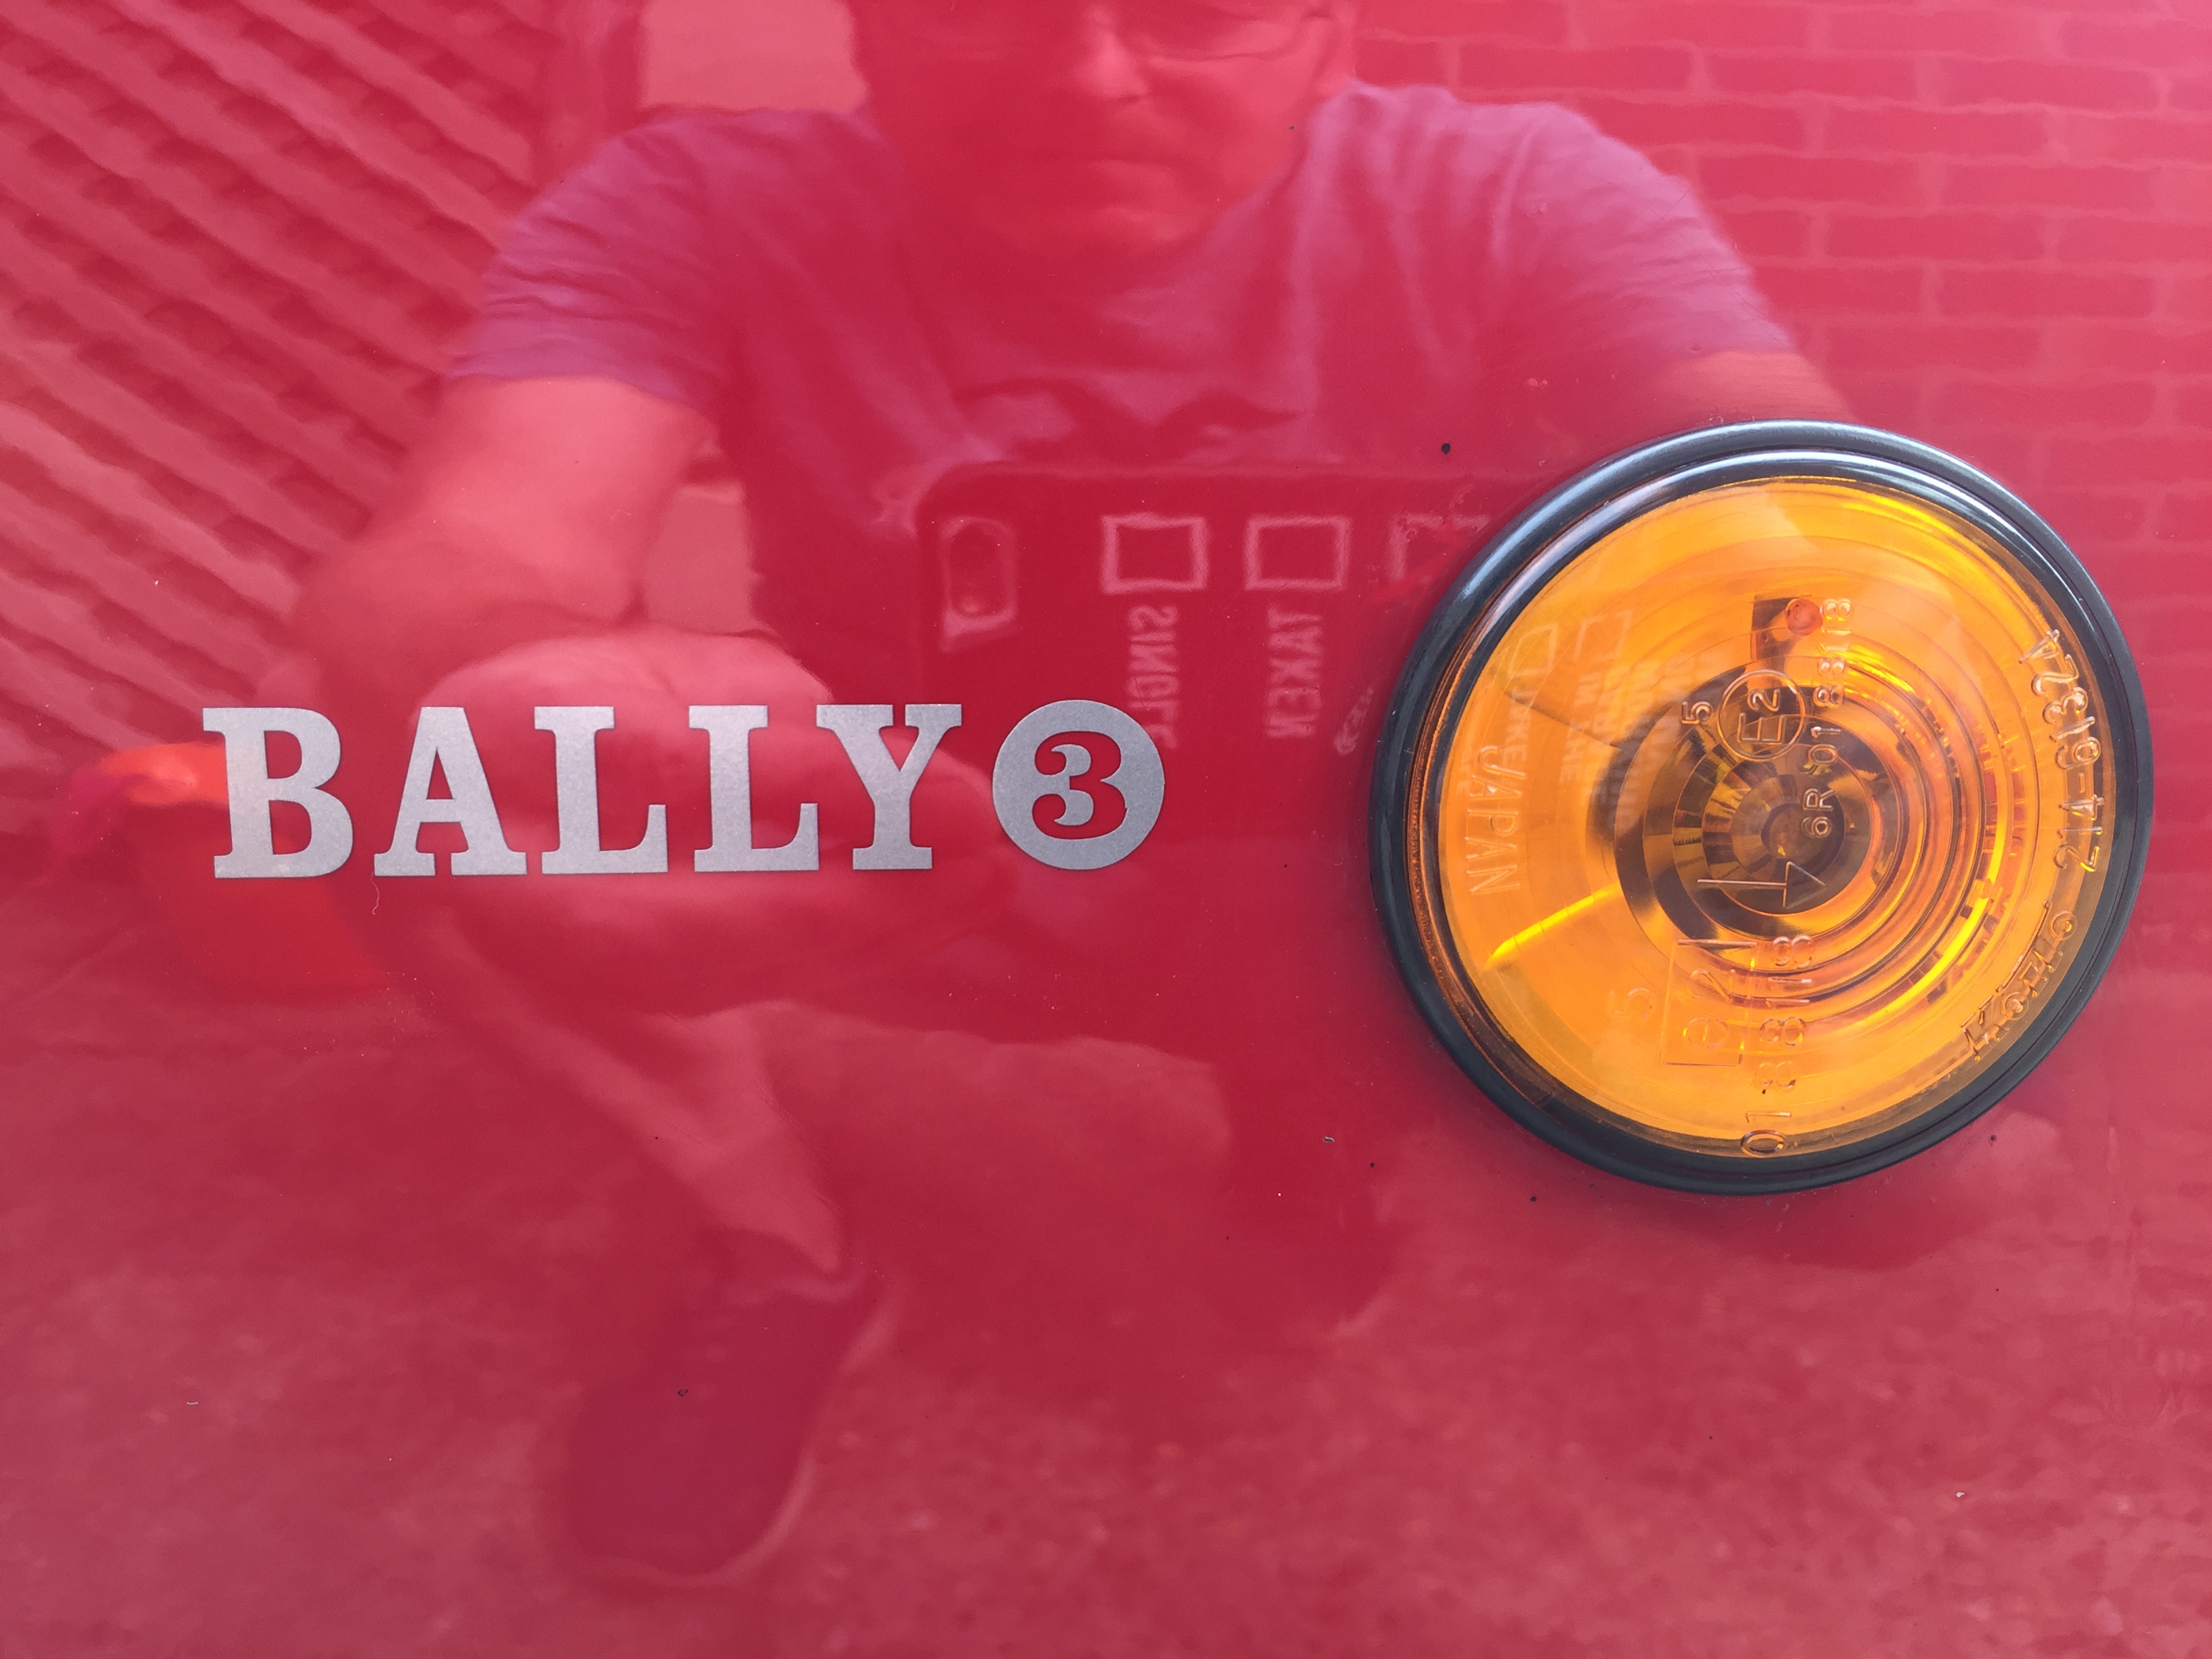
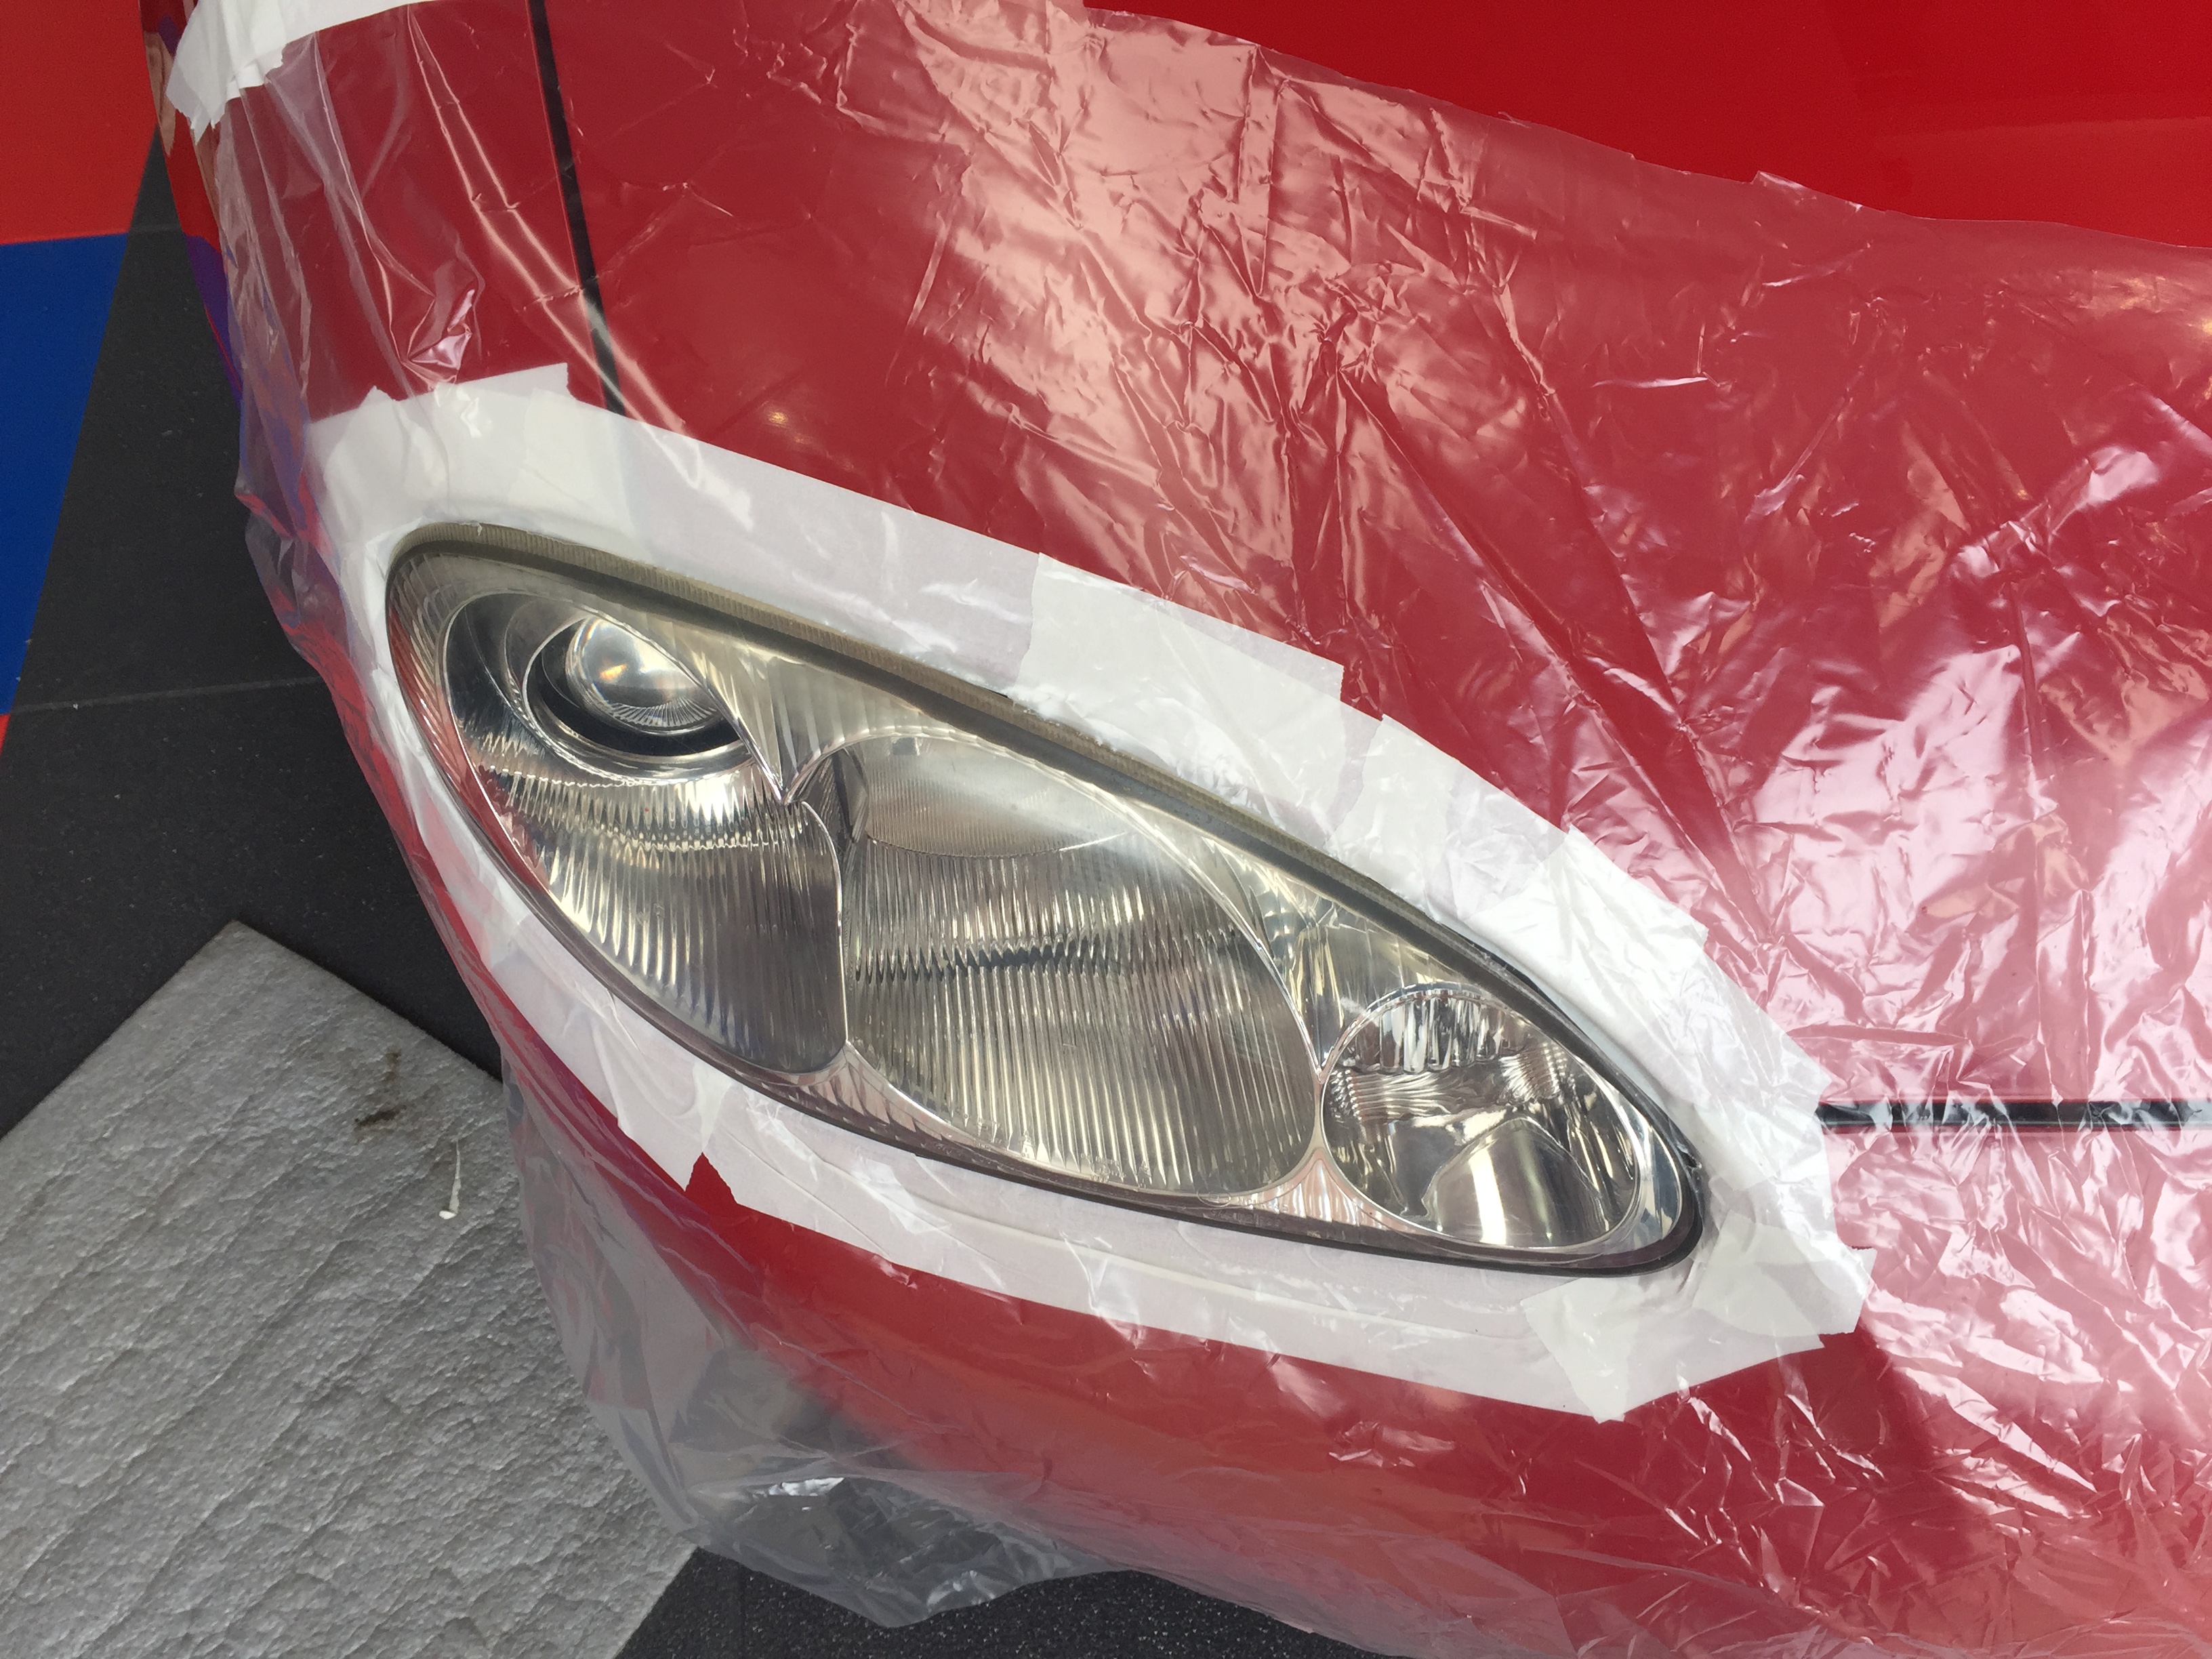
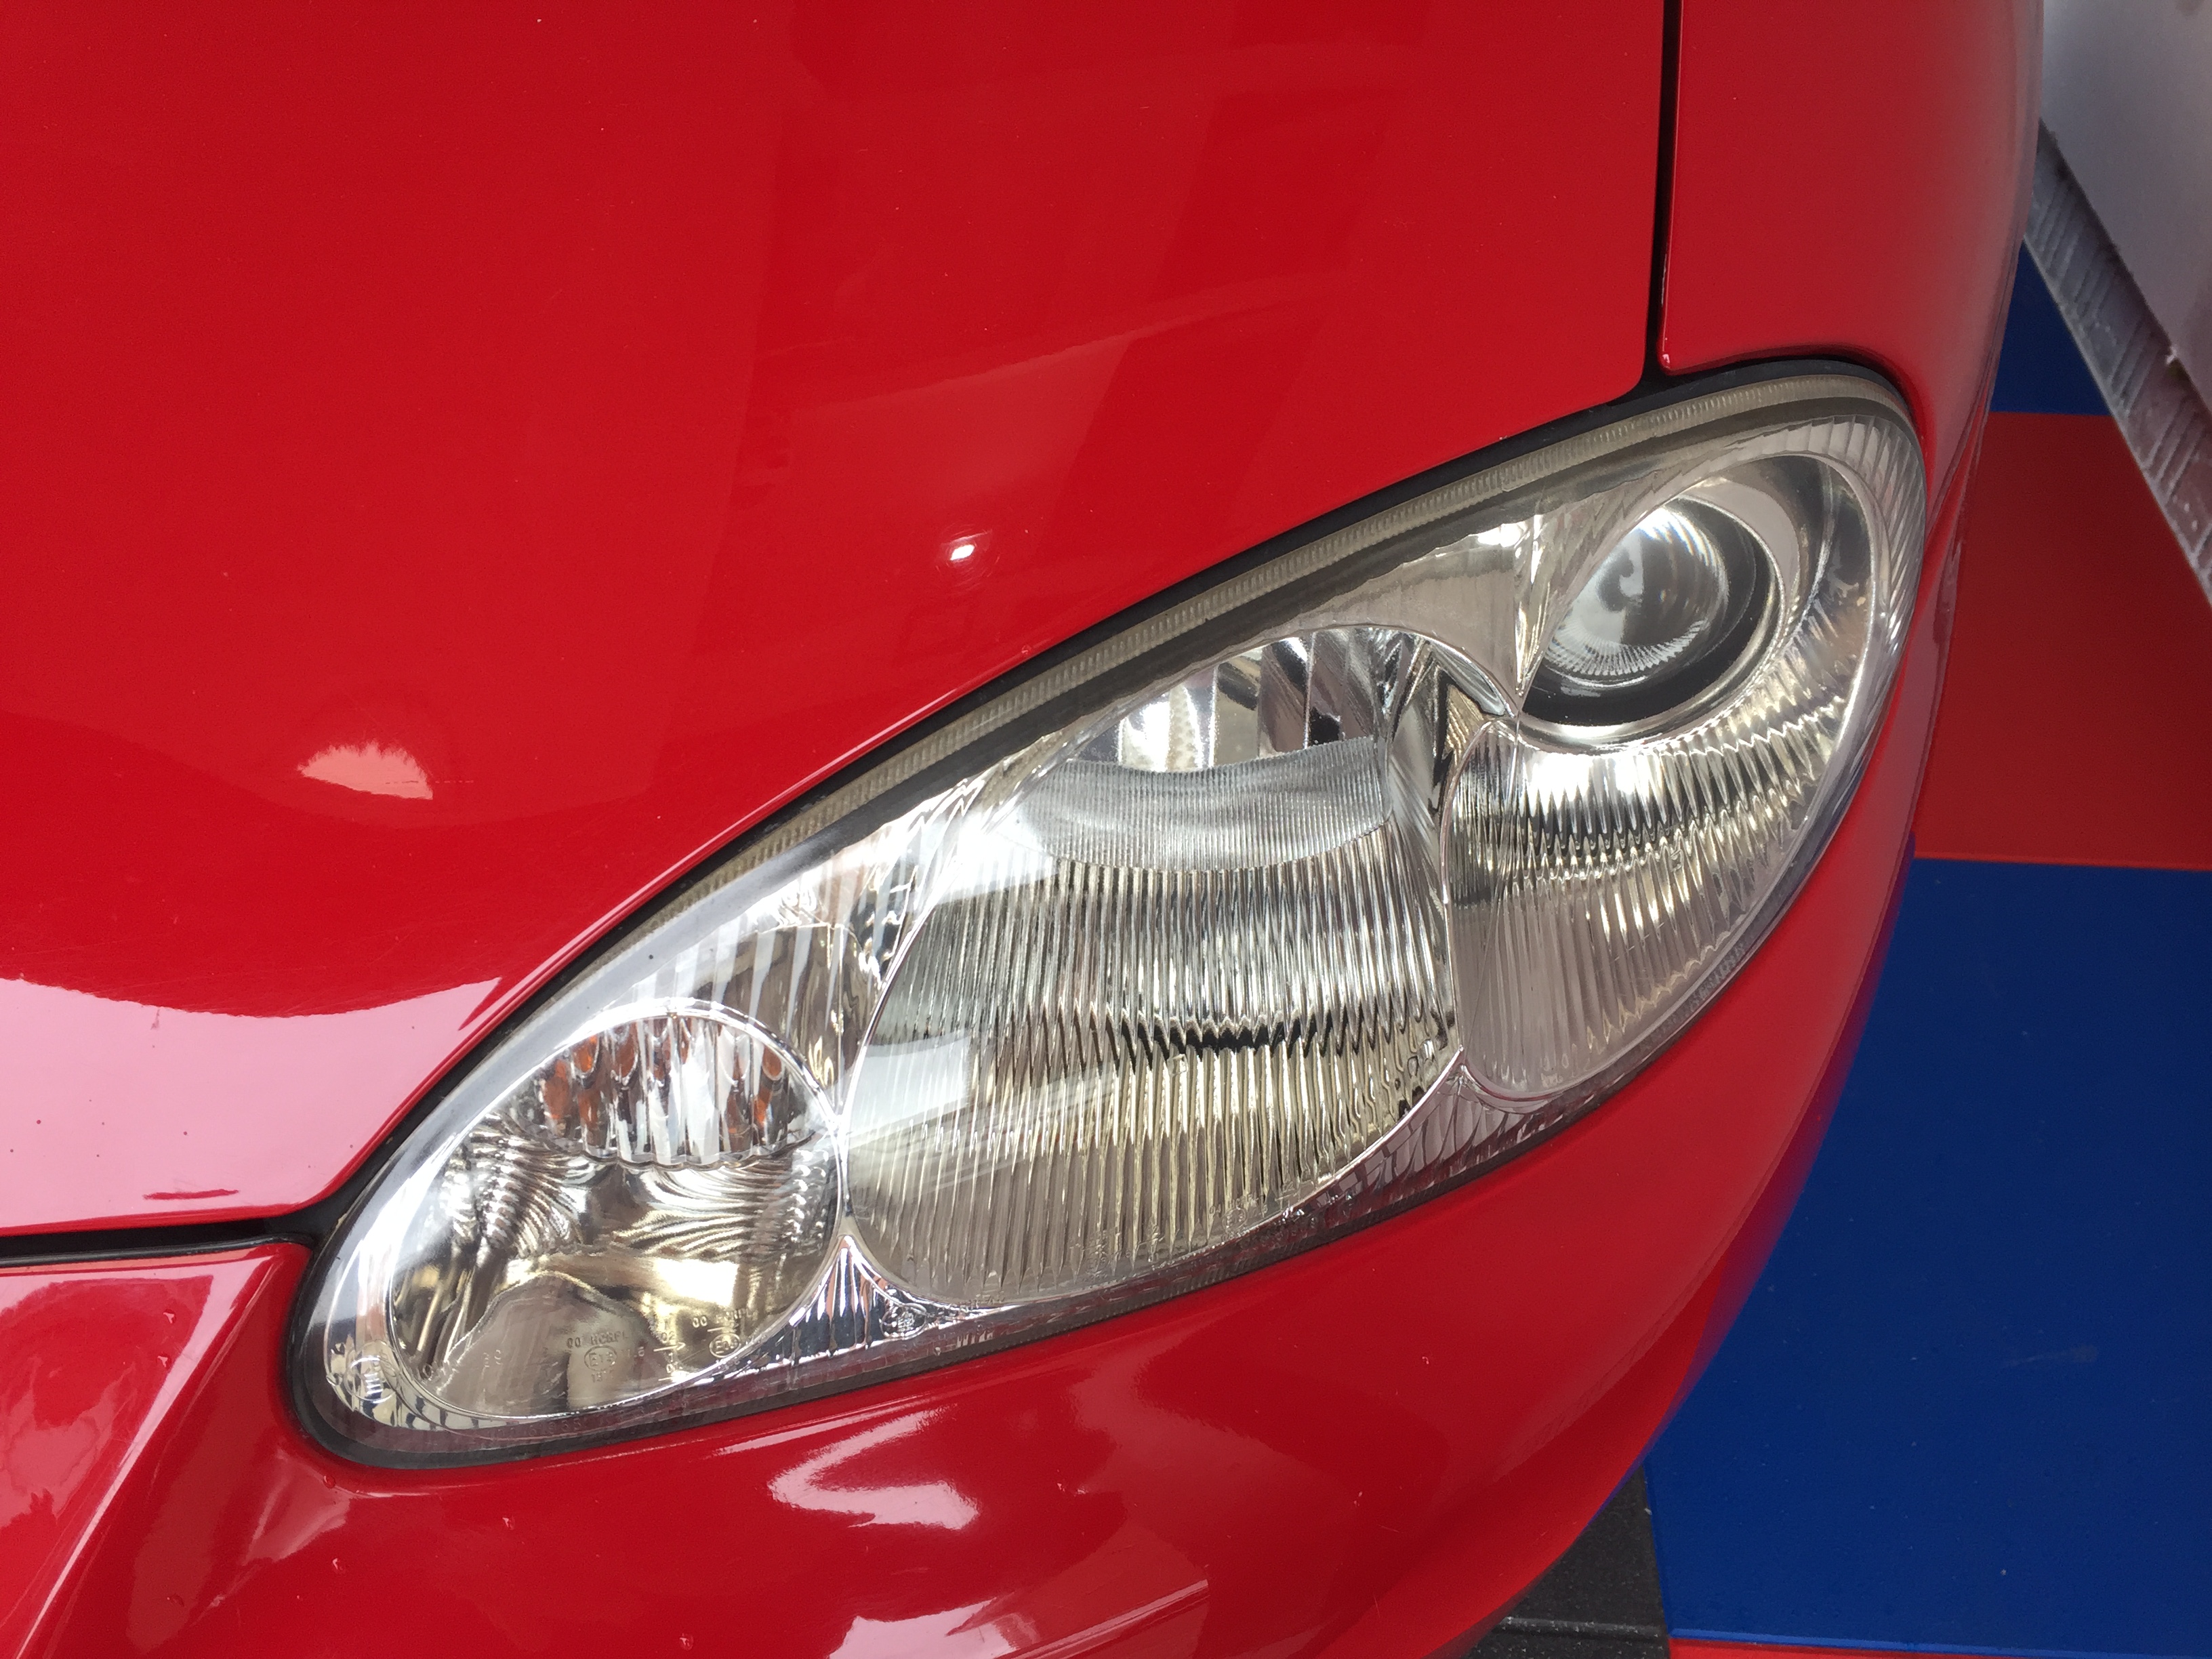
as my headlights are a little “milky” , so i had a go at smartening them up ,
these are all ready to be fettled , 
after 5 mins with my drill buffer and T cut , this was 1 light unit done
so 30 mins later all done ,
a good clean after with autoglym fast glass , then a rub over with wax . 
i dunno if you can see difference on pics , but i’m happy with results
Looking nice Geoff when you left my place the other day, I deliberately watched and listened as you went up the road. Car looks great on the road and the exhaust is rather ‘sporty’ now, after the new fabricated one has been fitted!
Barrie
Lol cheers Barrie 
“Sporty”… does that mean too loud ???
I have been looking at those baffles you mentioned
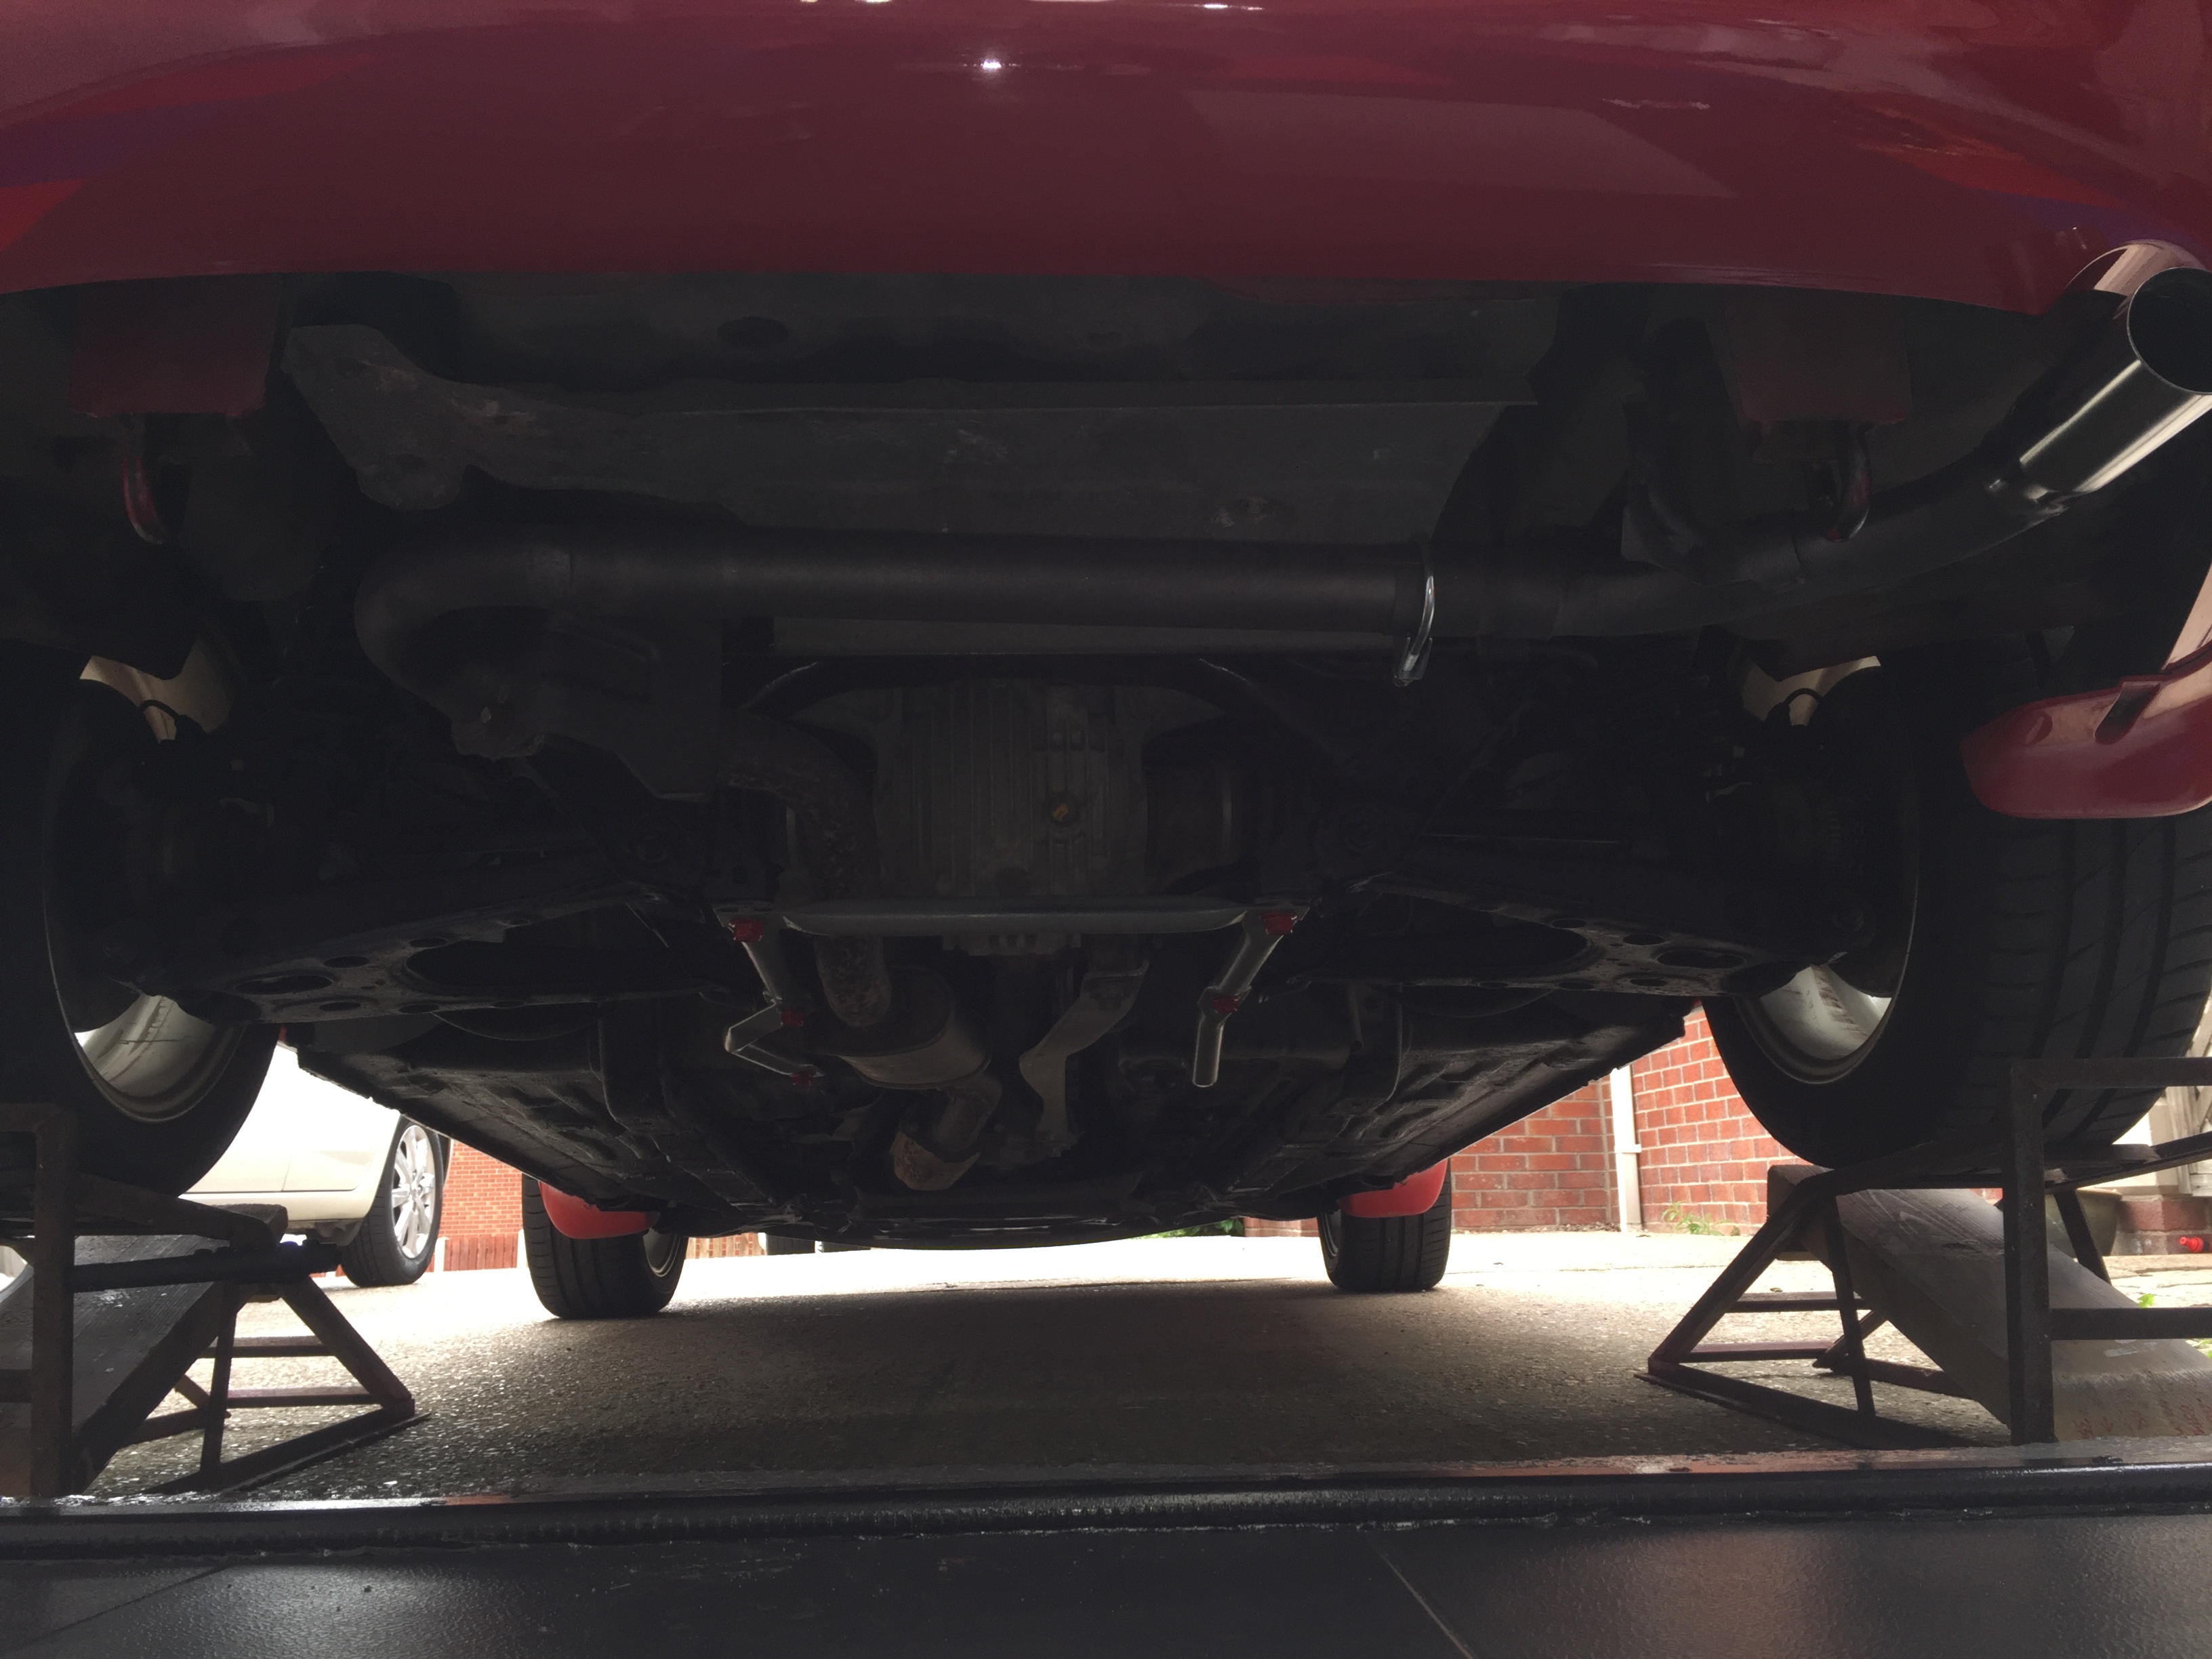
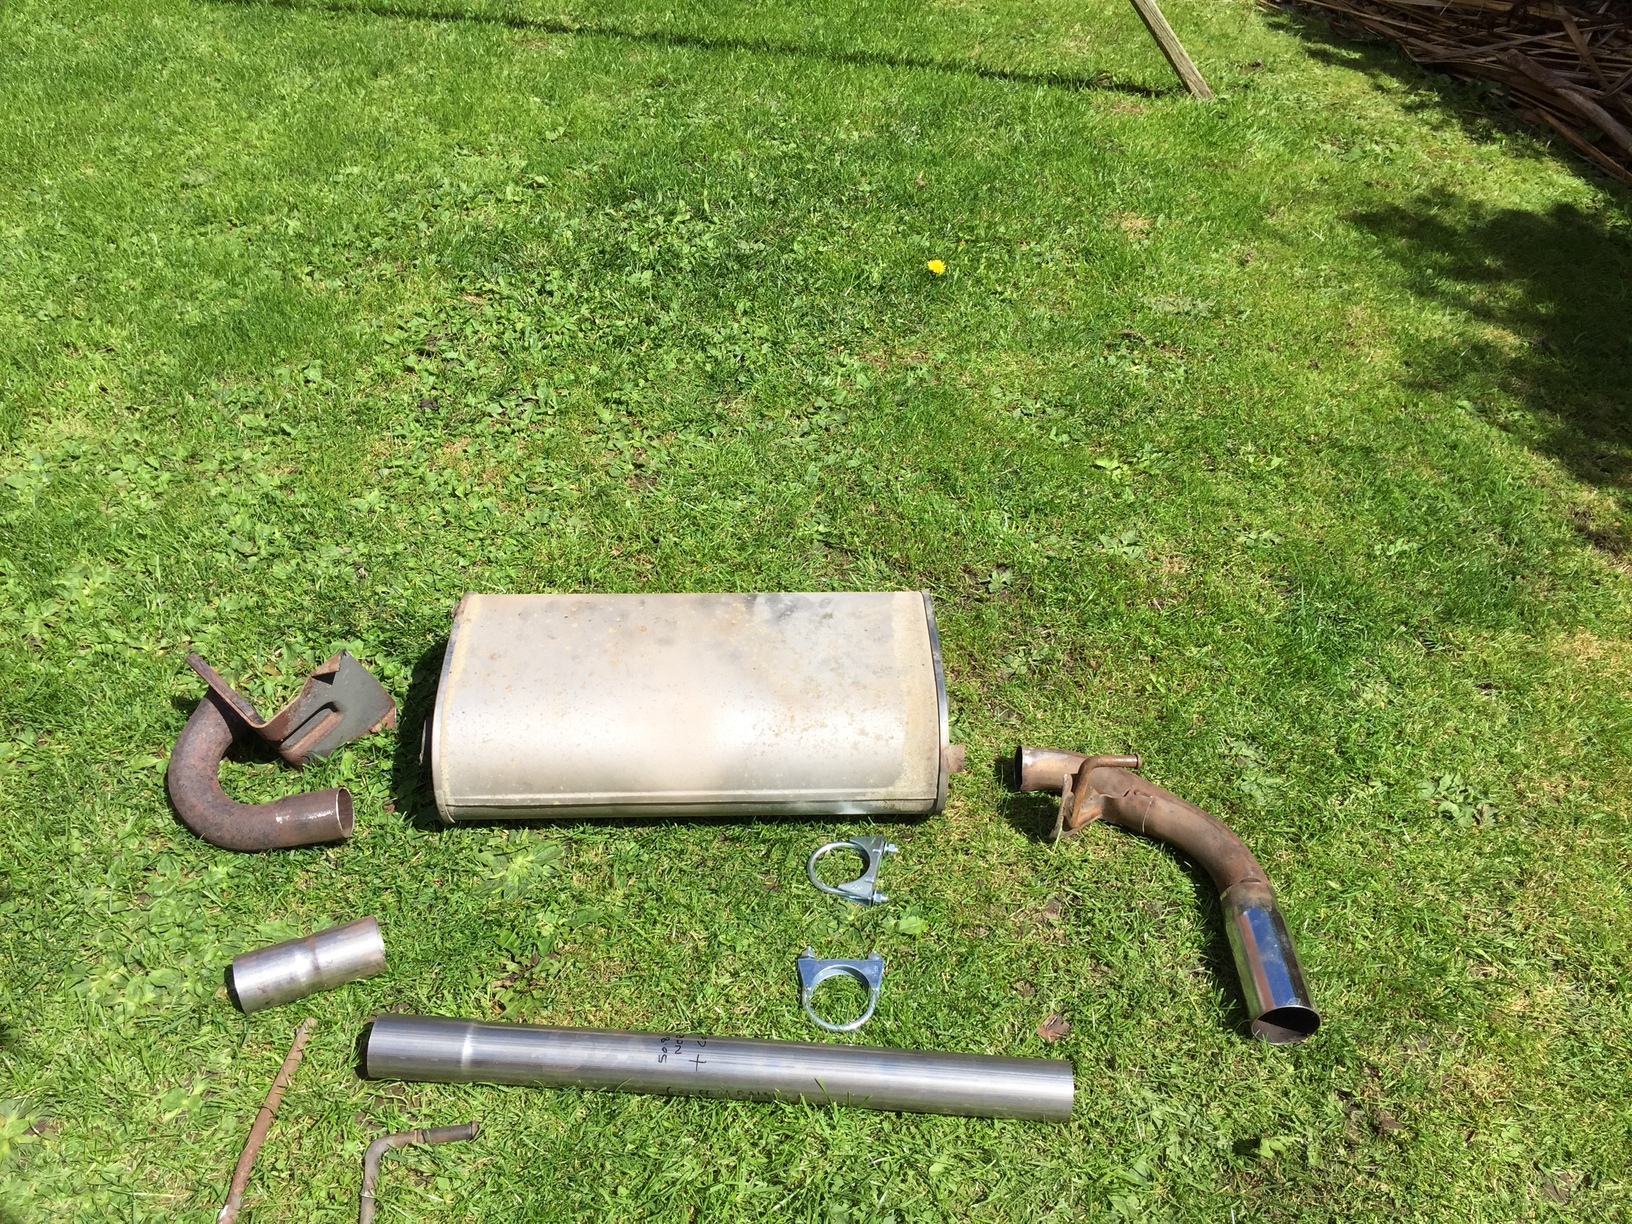
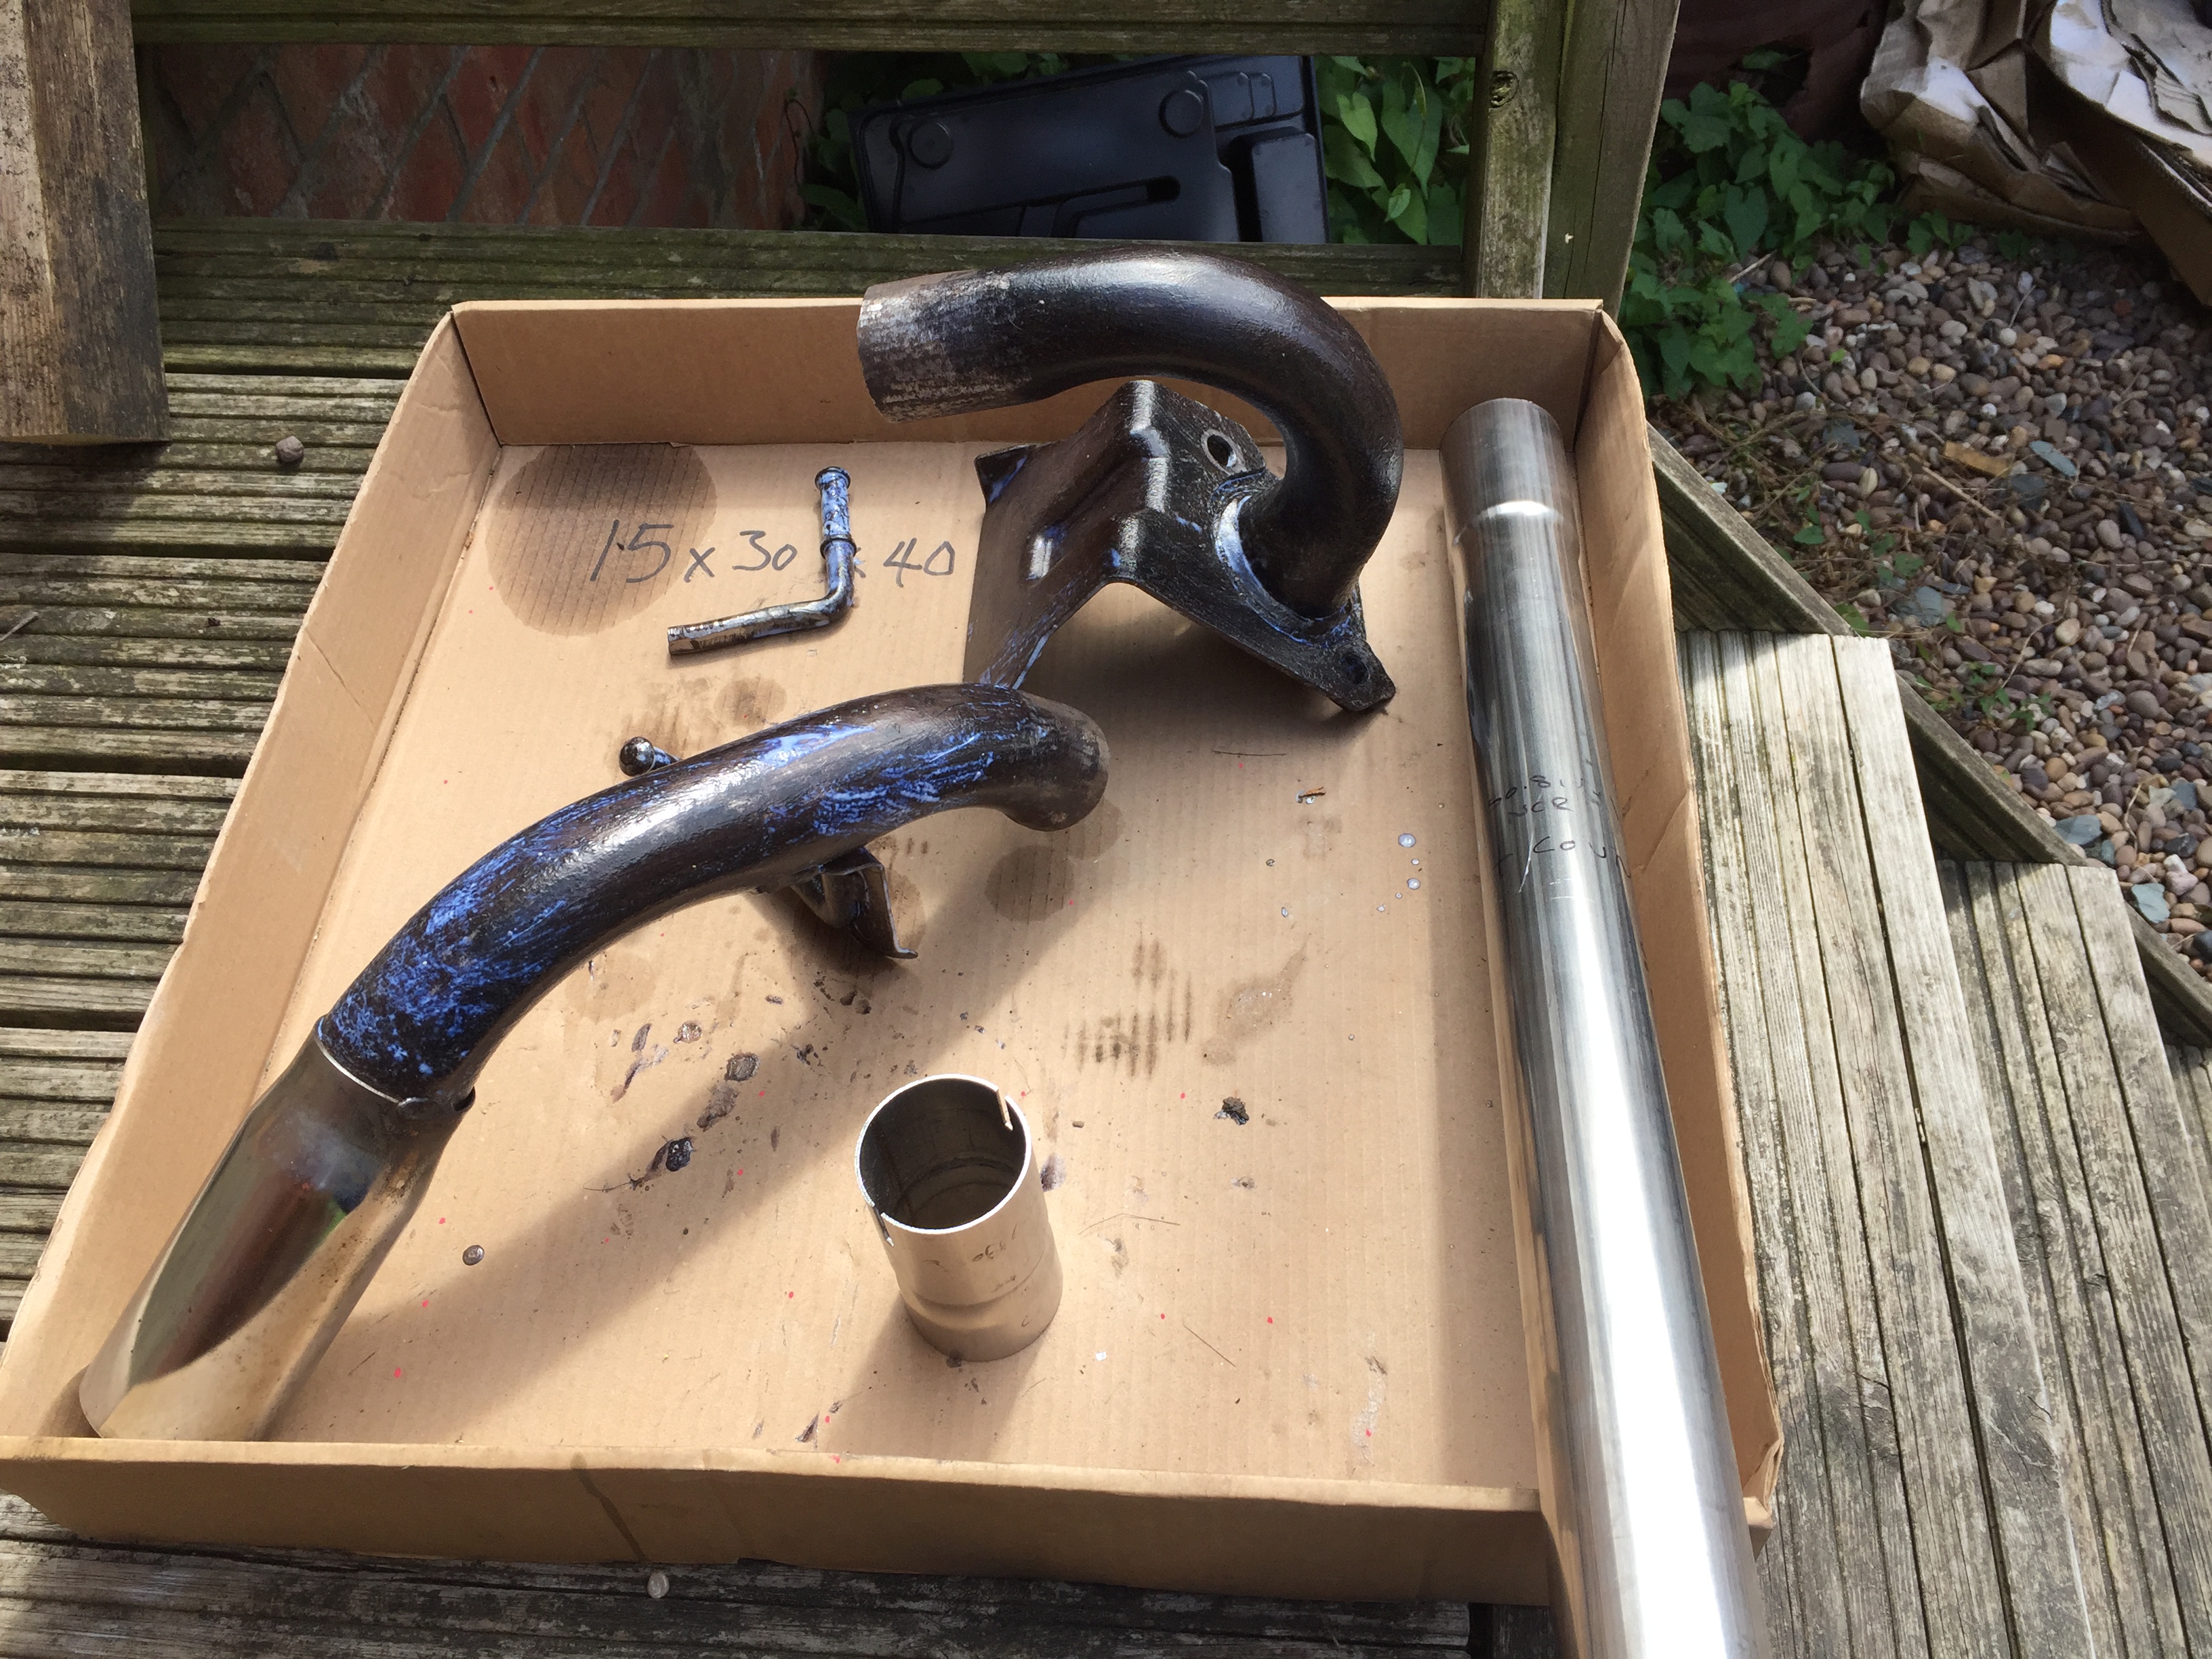
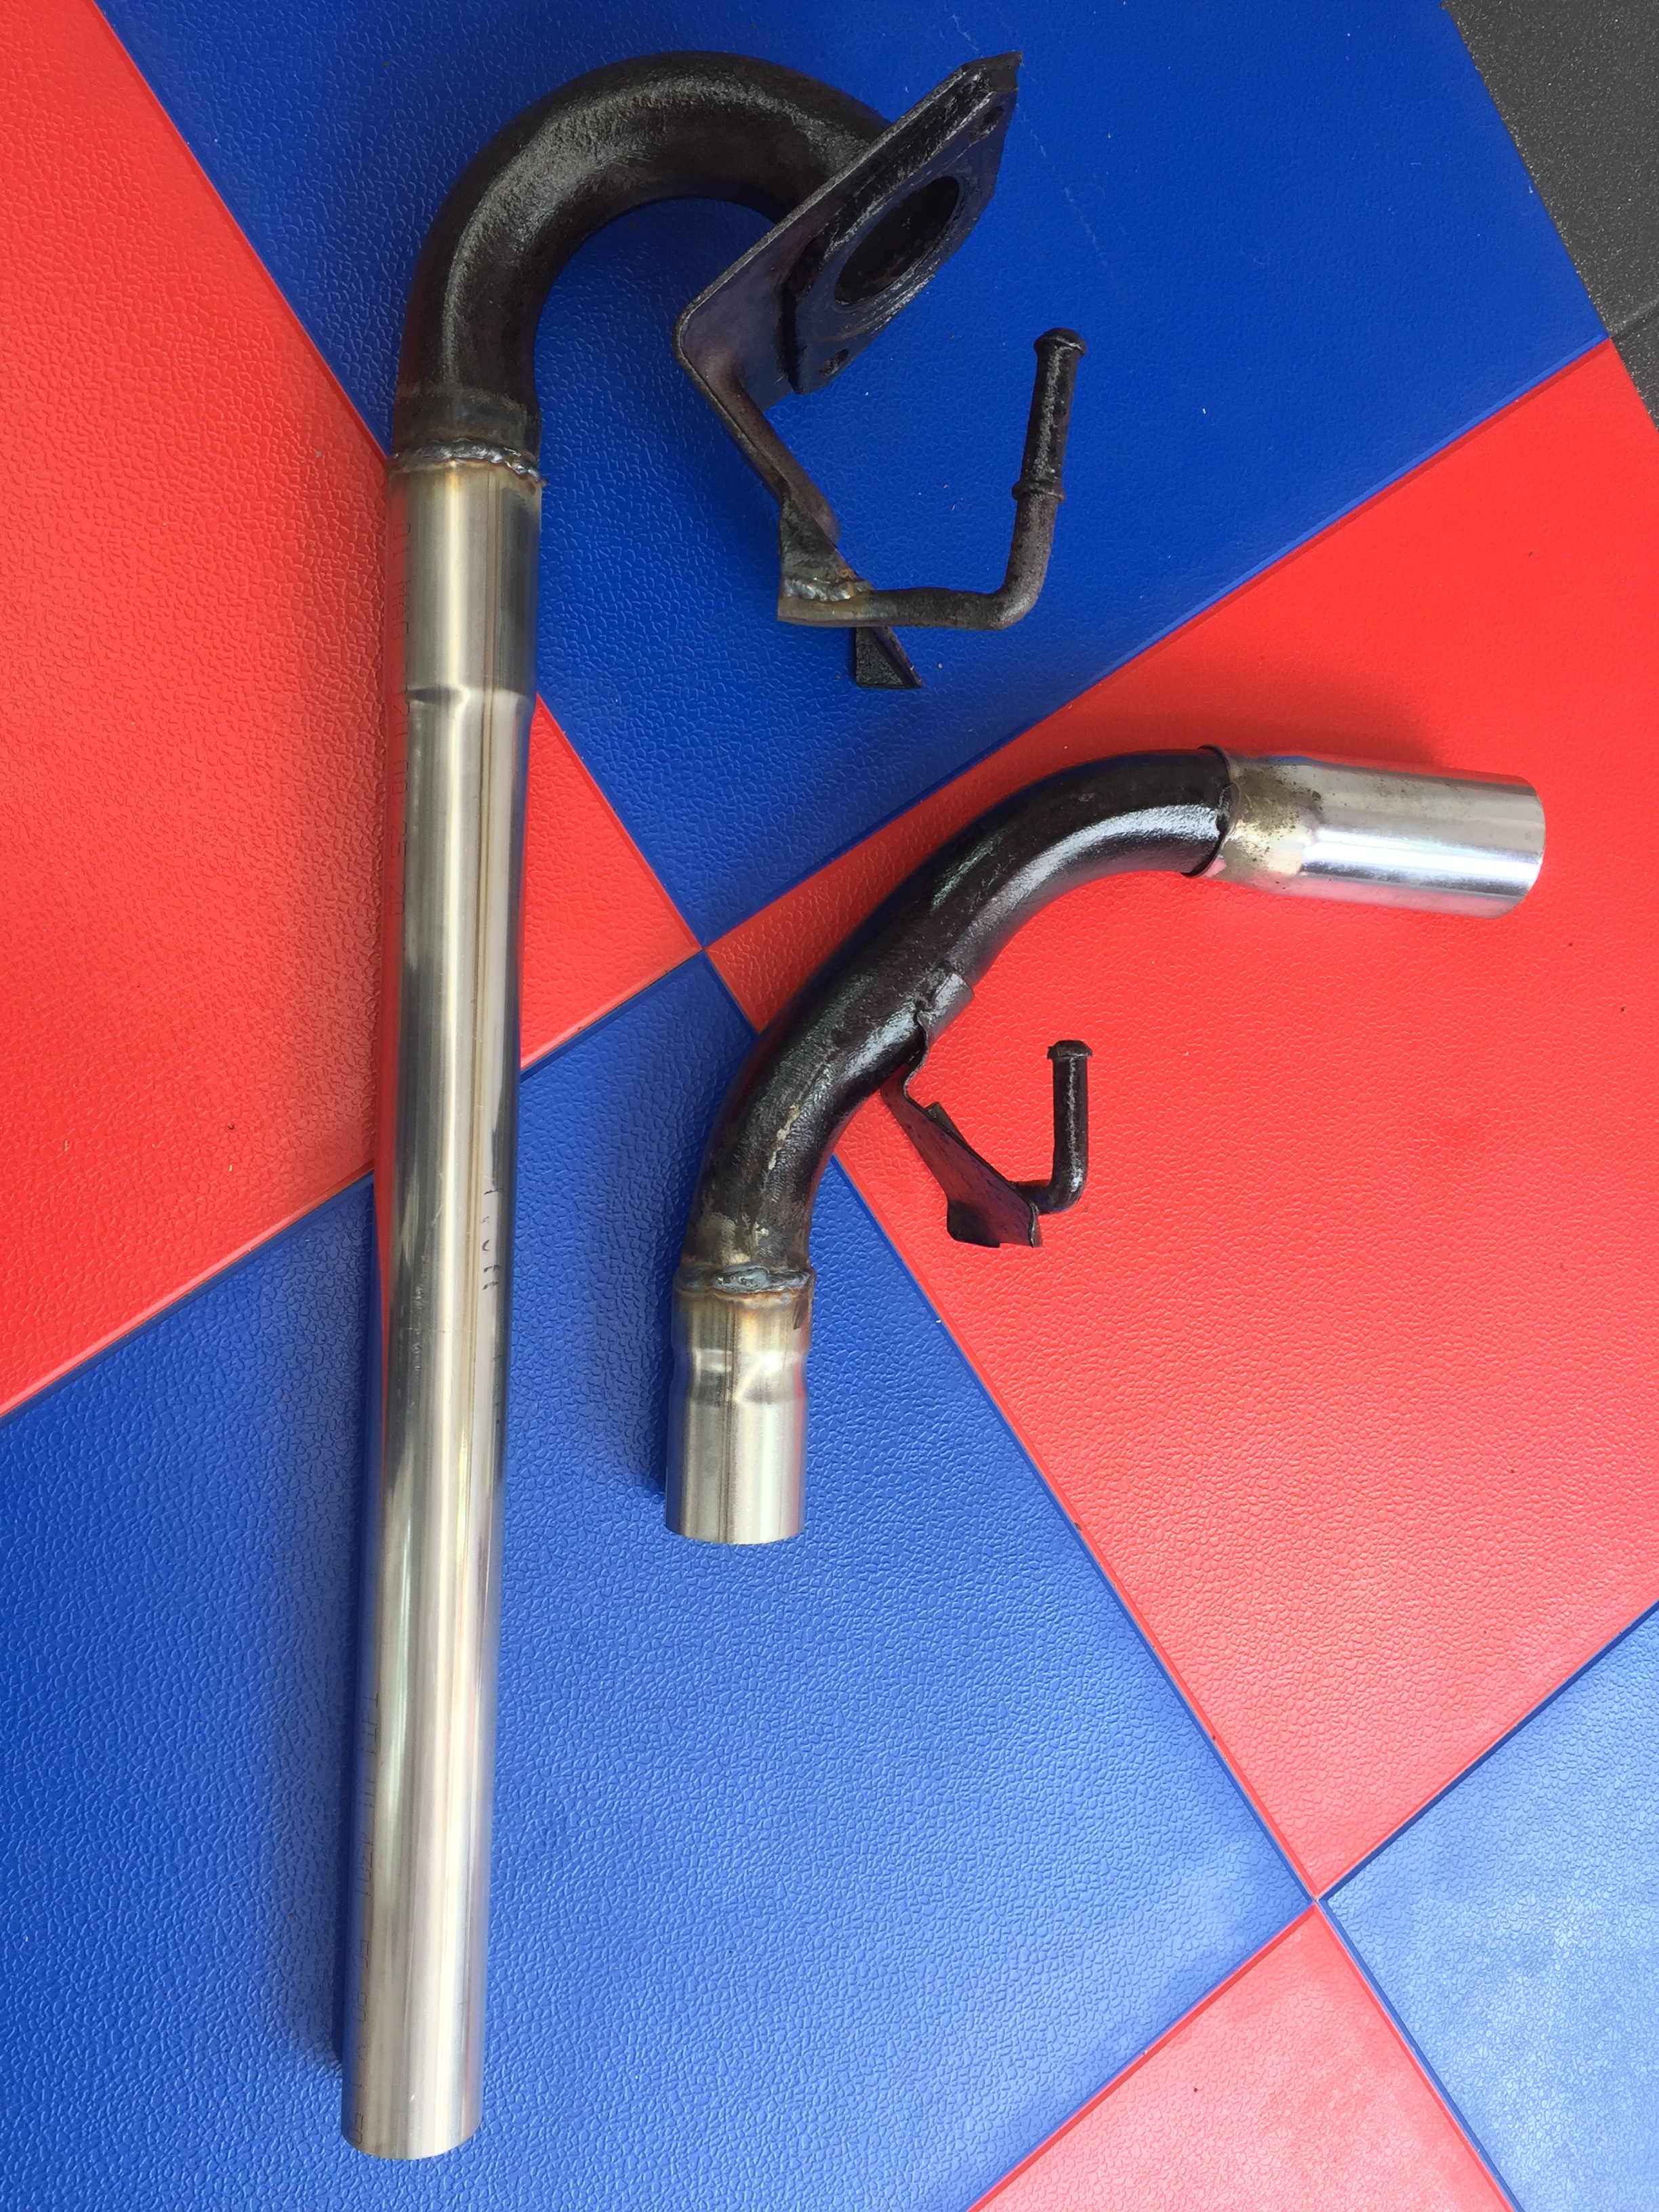
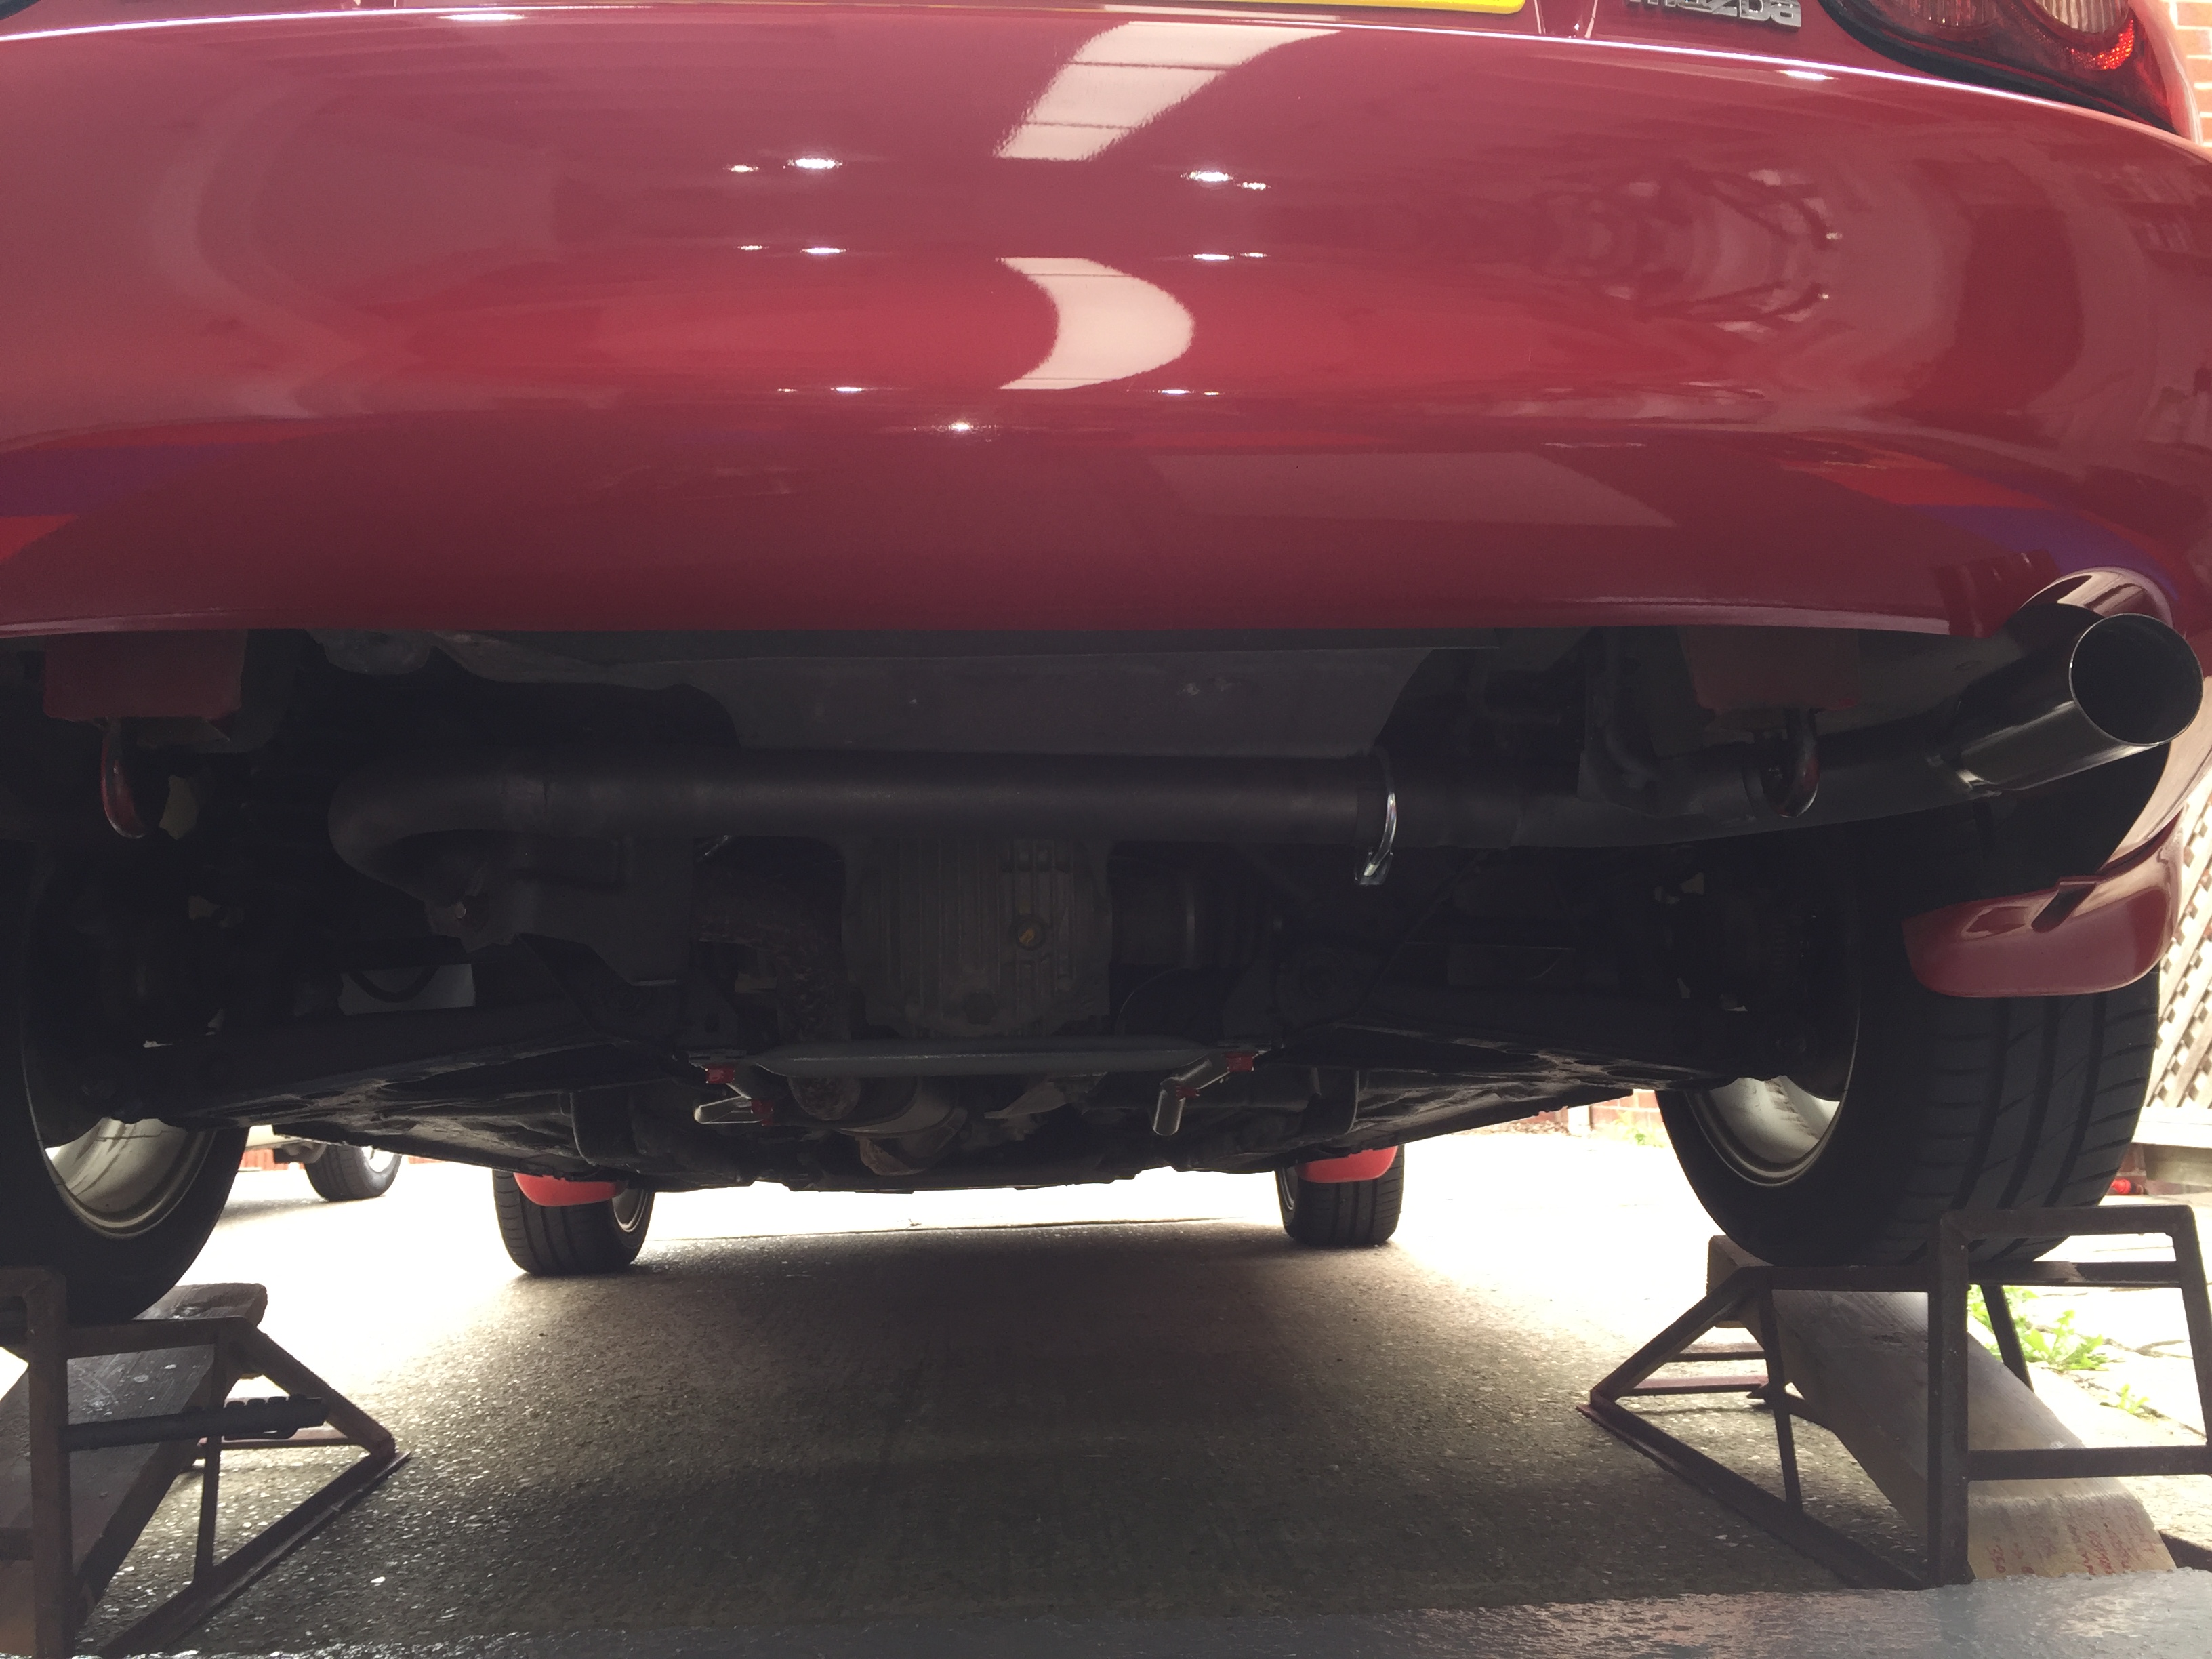
here’s the “fabricated” exhaust that barrie mentions ,
after i bought the stainless exhaust , was left with the standard one in my garage and decided to have a go at making it a "backbox delete "
so it was cut into pieces , bits i needed and bits to dump ,
new 51mm exhaust tube was bought and the old reusable parts were rust treated. 
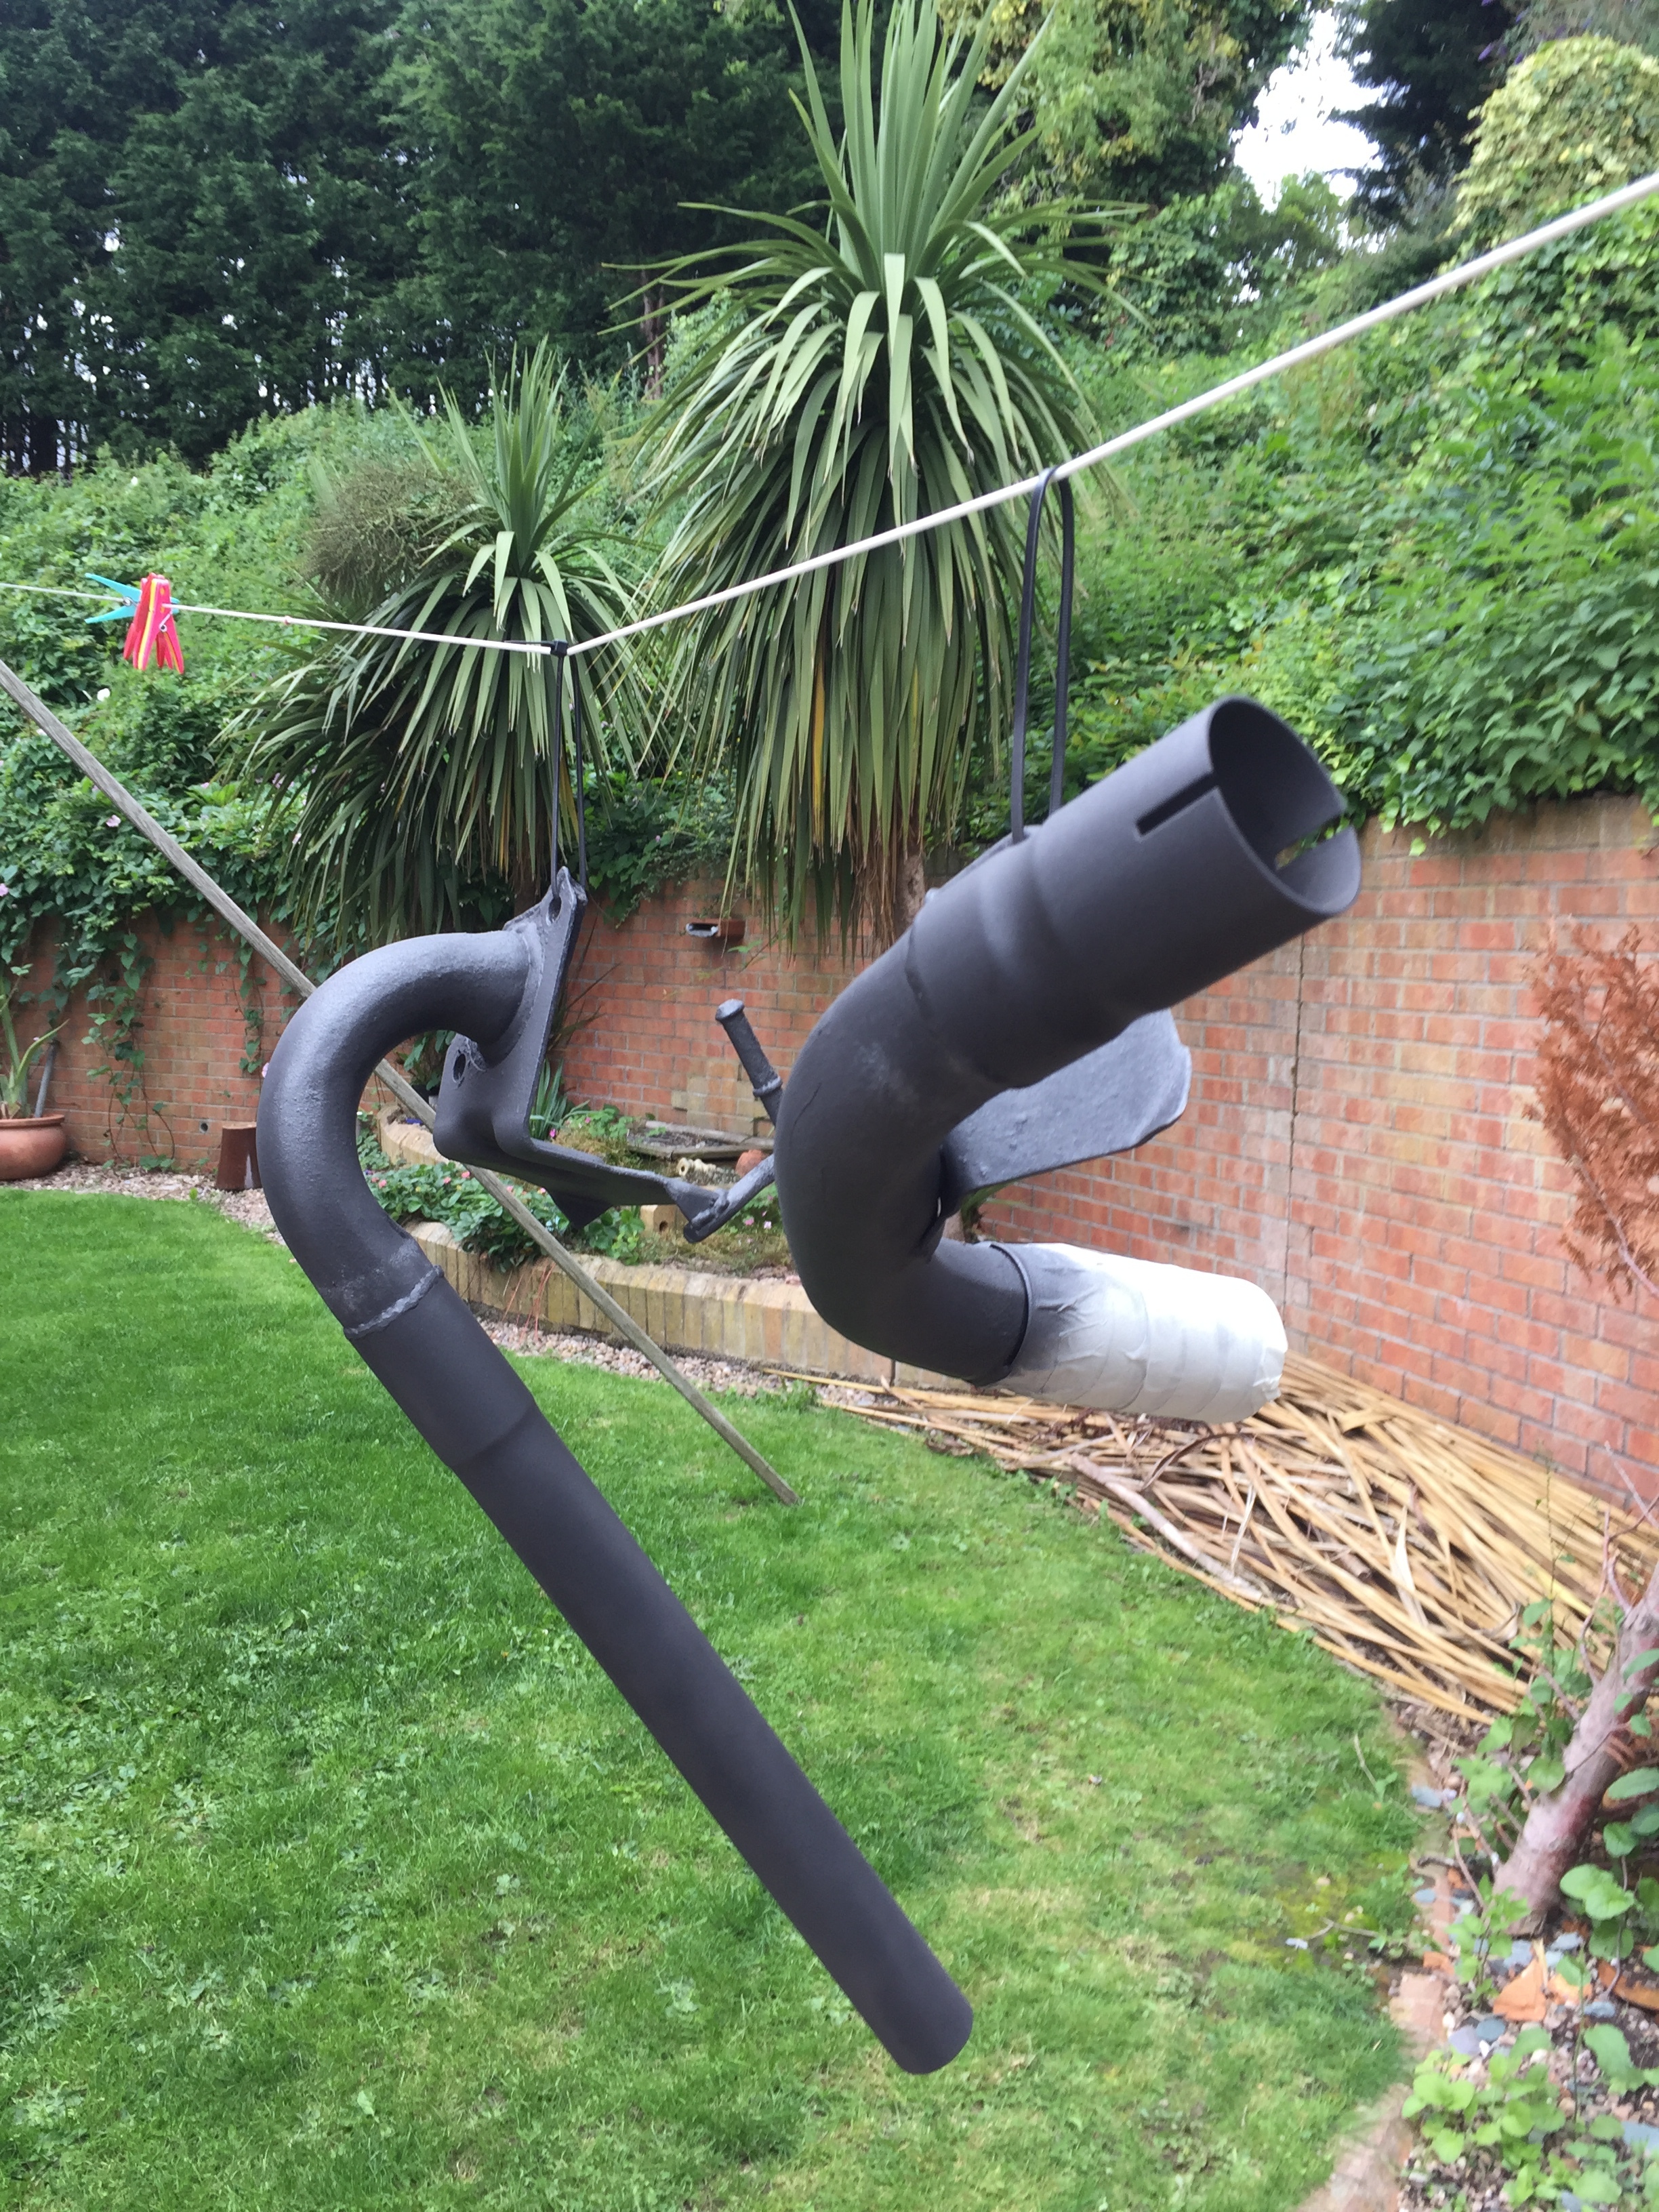
the parts were welded , then sprayed with 600 degree VHT paint.
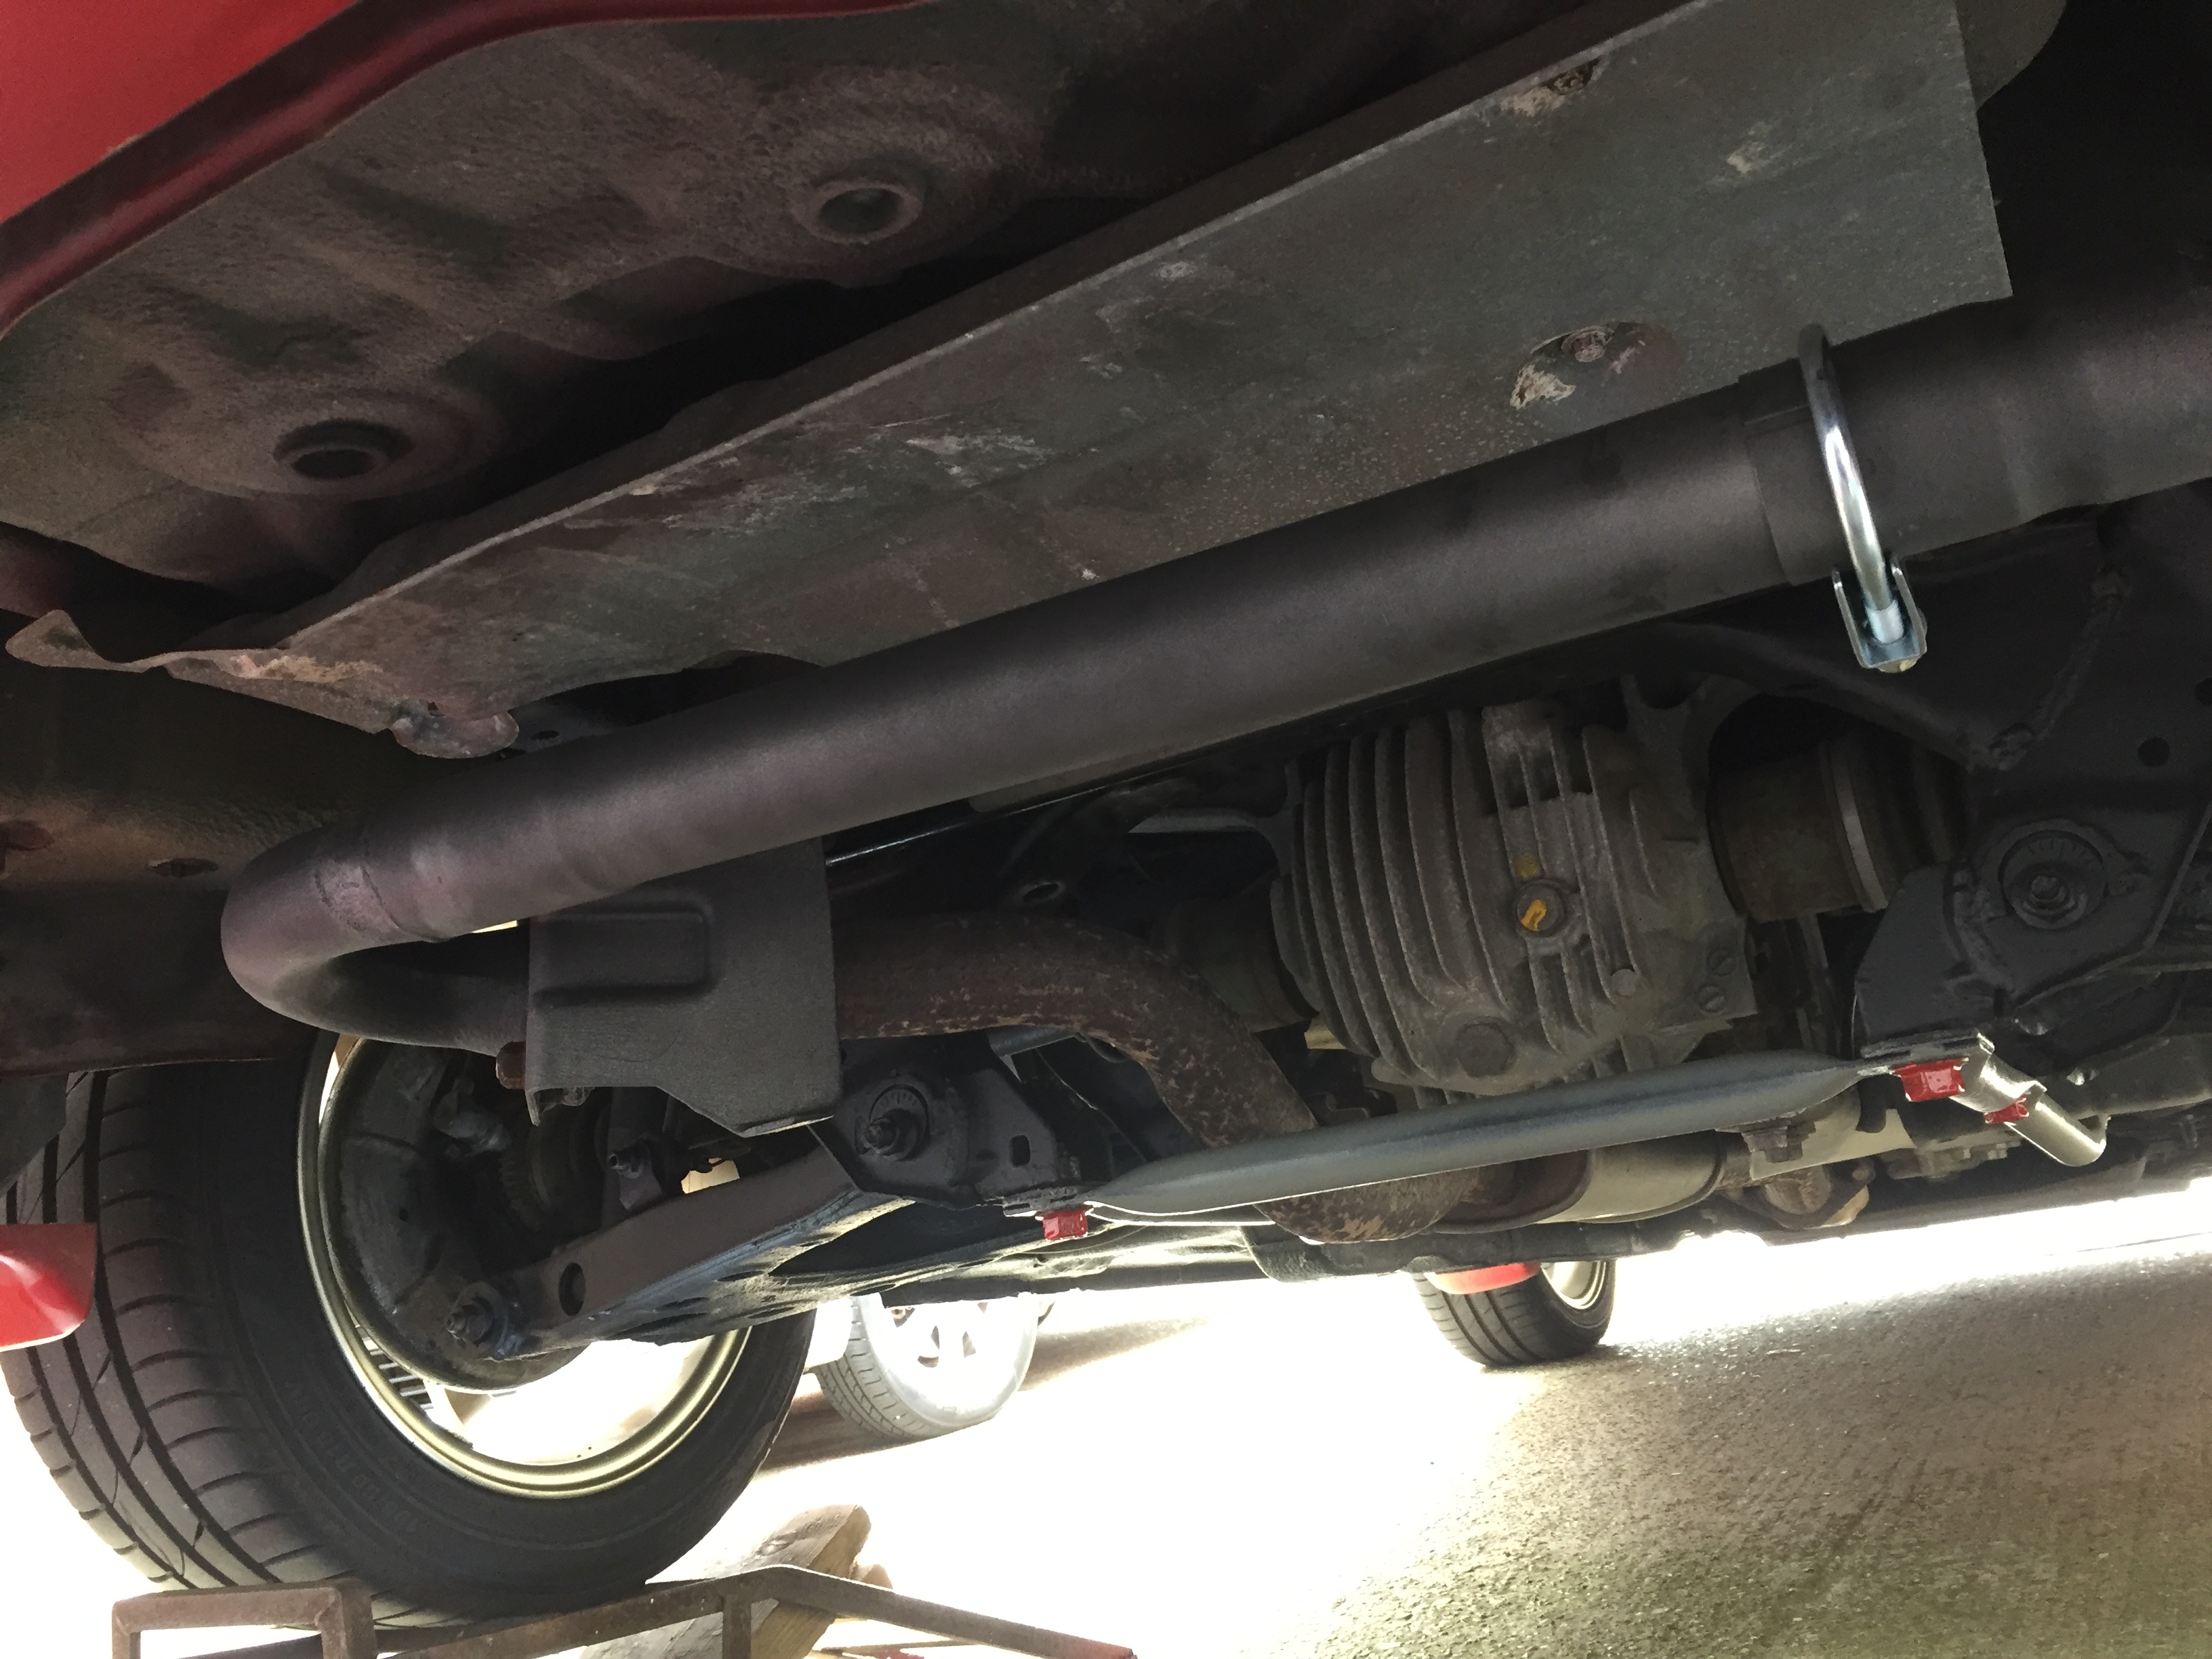
then fitted …
it is quite loud under acceleration , but fairly quiet at motorway speeds .
going to order and fit a baffle , see what change that brings .
overall i’m happy how its turned out .
it looks a neat job
Watch clip here 
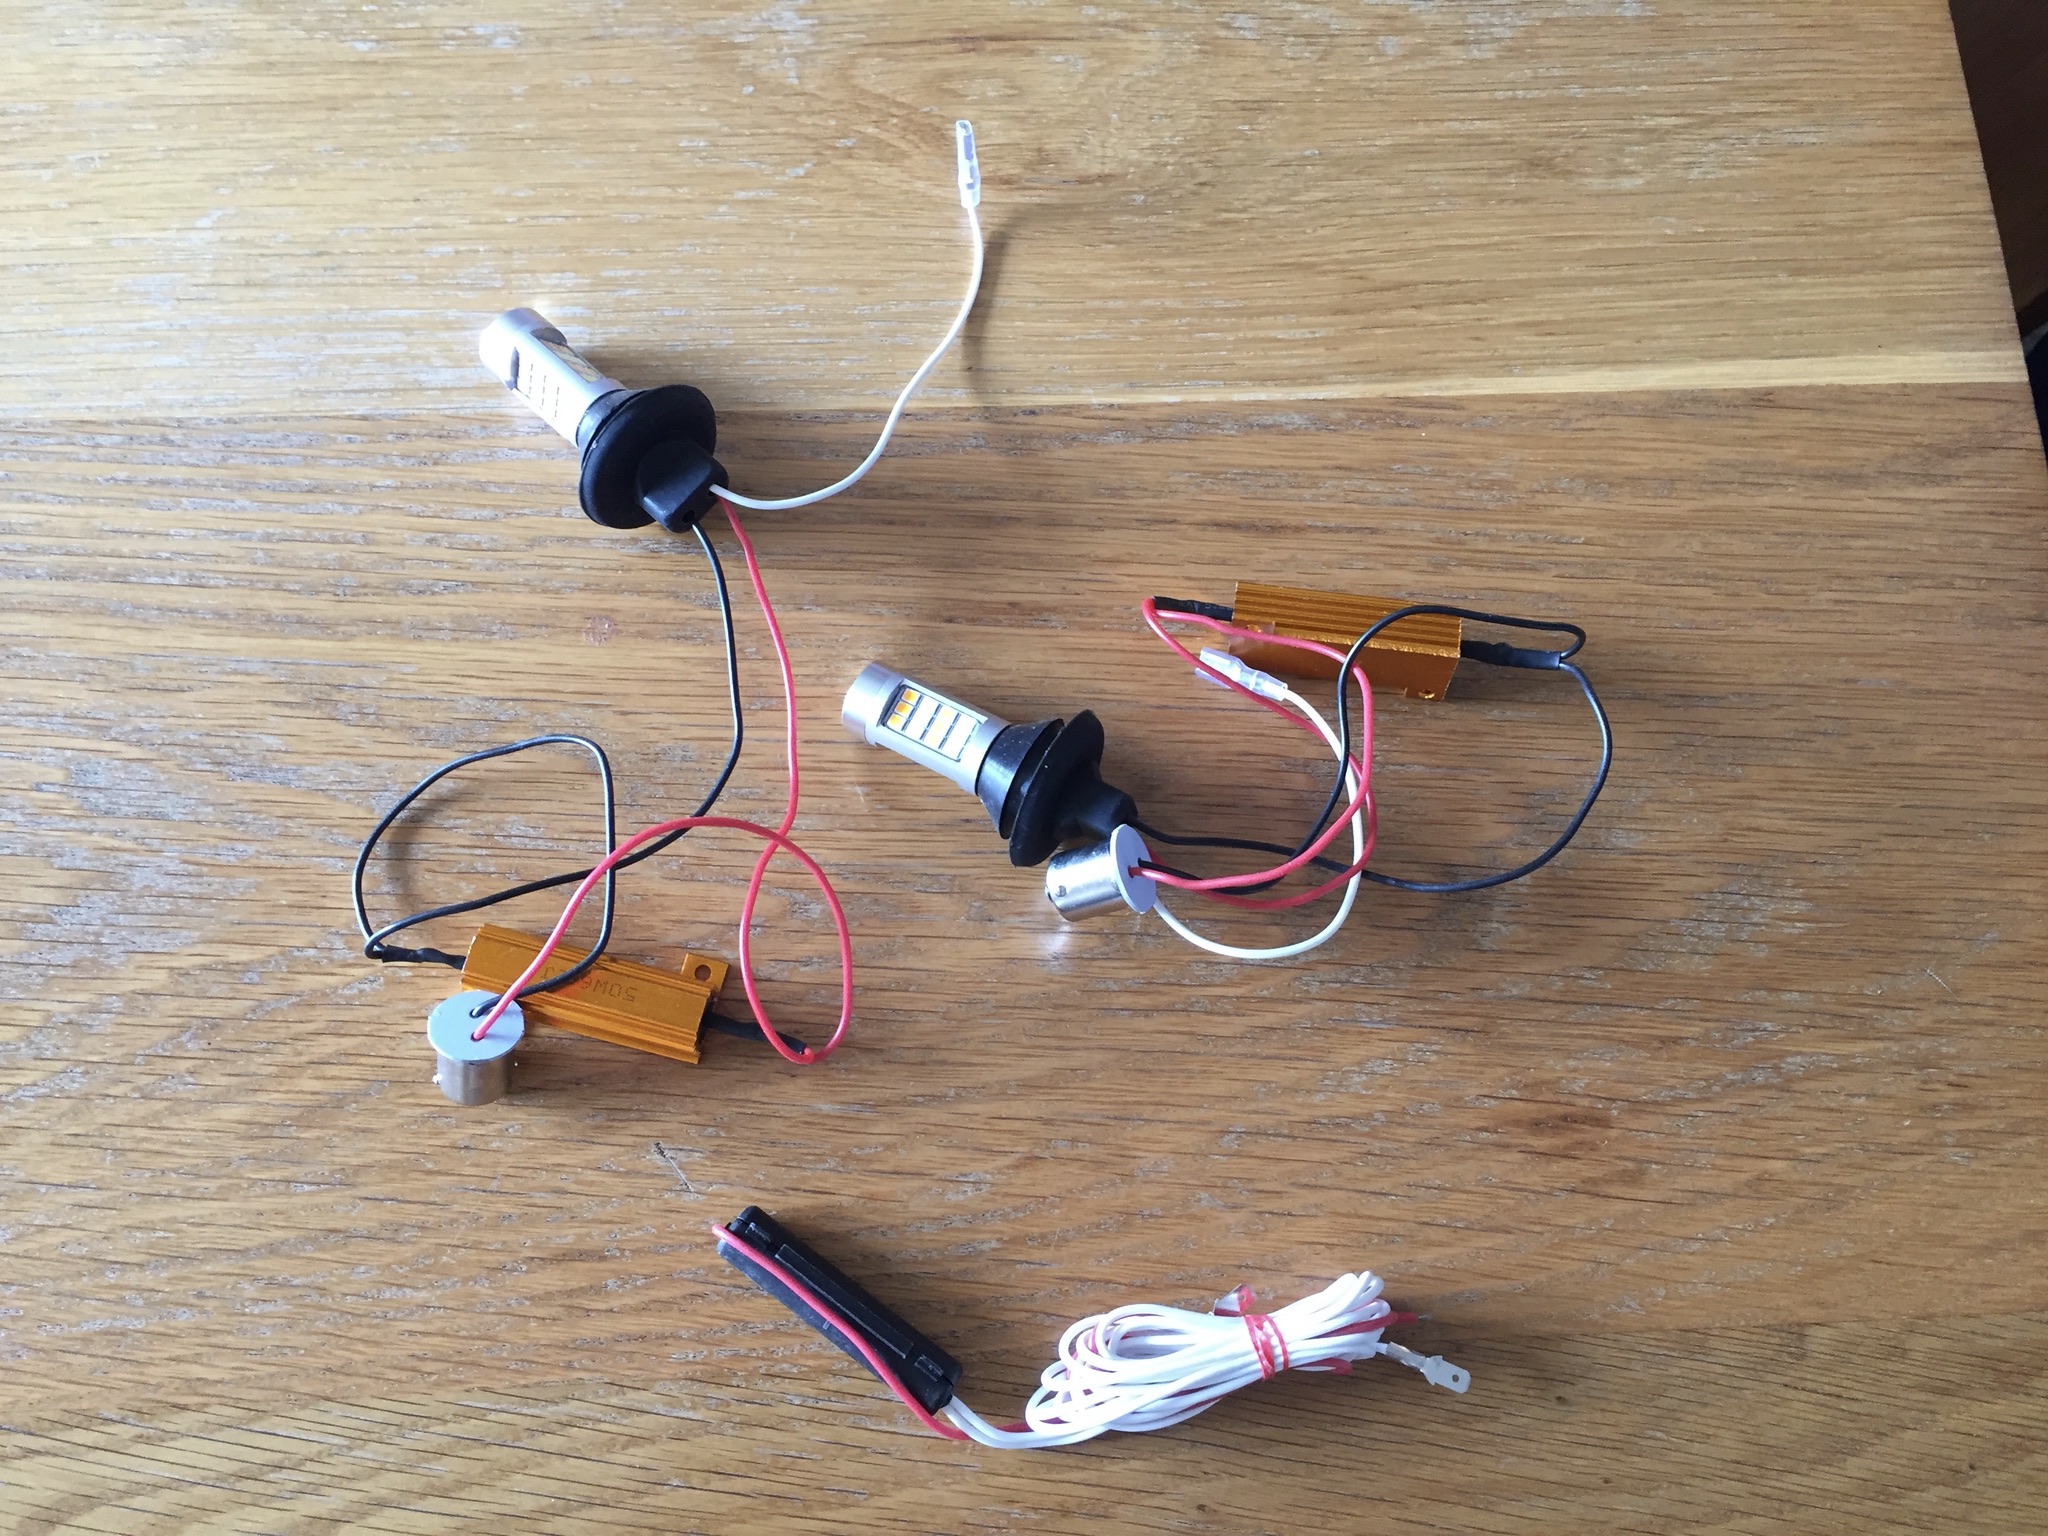
Fitted DRL’s to my 5 , used similar kit to the one on my old sport tech .
These are a bit trickier to fit as you need to change the supplied bulb holders ( bit of fiddly soldering)
Here’s the results
Have you tried disconnecting those dummy load resistors? Surely they are redundant?
Hi Richard,
I’m lost … why would I disconnect the resistors
More to the point, why have them there in the first place? They are not needed for CANBUS compatibility on your car. Connected in parallel with the bulb, all they are doing is wasting power.
came as part of the supplied kit
they are ( i assumed ) resistors to stop hyperblinking
my electrical knowledge is limited … but everything is working fine ( so far !! )
thanks for reply
Hyperblinking might happen with the timer relay on turn indicators looking for a blown or missing bulb, but not in a simple aftermarket DRL system. DRL do not need load sensing to operate correctly, except when OEM with CANBUS checking.
There should not be any beat or flicker interaction between the external DRL dimmer and the LED bulb’s internal current/temperature controller.
If the DRL dimmer has the usual kind of PWM (Pulse Width Modulated) controller for night-time use, then the fat resistor does nothing except put extra load on the controller to make it a bit warmer.
The majority of PWM dimmers work below 100KHz with sub-harmonics down in the audio because of the ‘big’ inductance on the ‘long’ wires (‘big’ and ‘long’ are relatively speaking compared with inside the LED bulbs) going to their eventual loads. Some young people could hear the chokes singing on earlier systems (eg LED display backlight, wall lamp dimmers for dimmable mains LEDs) because of magnetostriction effects.
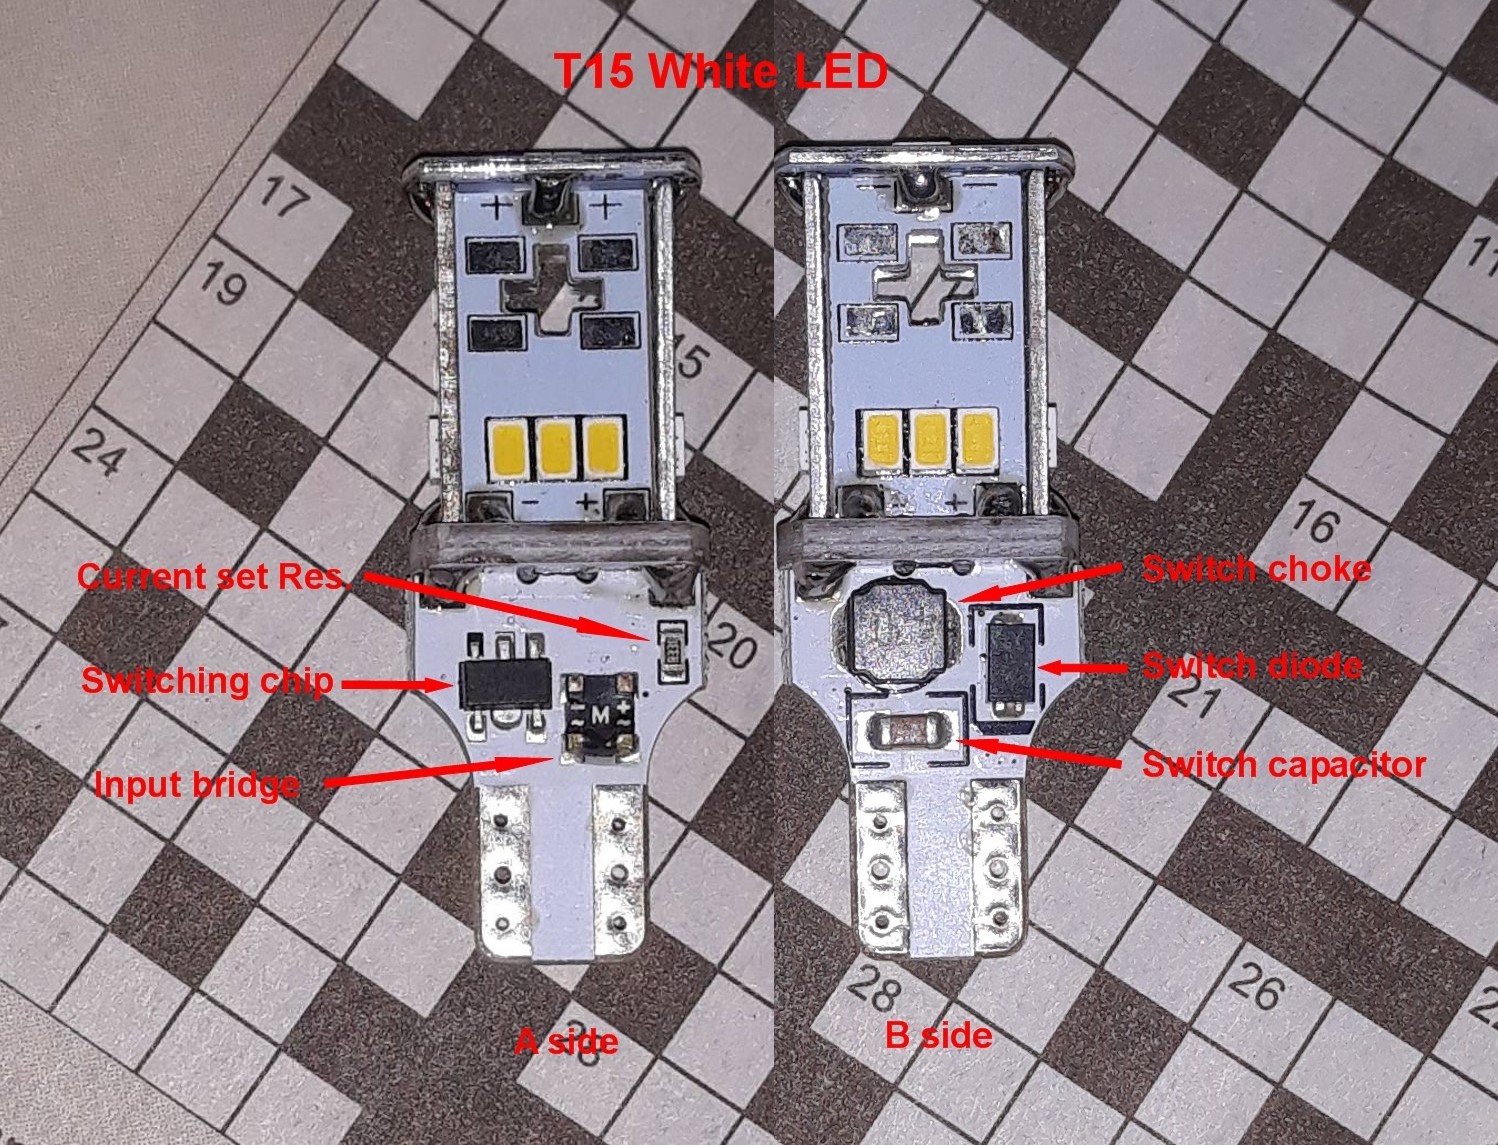
All the better modern LED light bulbs have a bridge rectifier (to plug in either way round) and an internal switch-mode constant-current supply system (to work on 12V to 24V AND keep chip temperature down). This switcher chip needs to work up in the several MHz region (short wave radio) because of the microscopically sized chokes and capacitors used.
This slightly disappointing T15 LED bulb I used in my NC reversing light illustrates a minimum solution of input Bridge rectifier, switching IC chip, charge pump Capacitor, output flywheel Diode and energy storage Choke. The little resistor tells the IC what current to aim for.
You totally lost me , but I believe you .
I’ll be leaving them as they are while they’re fully operational 
Thanks Richard
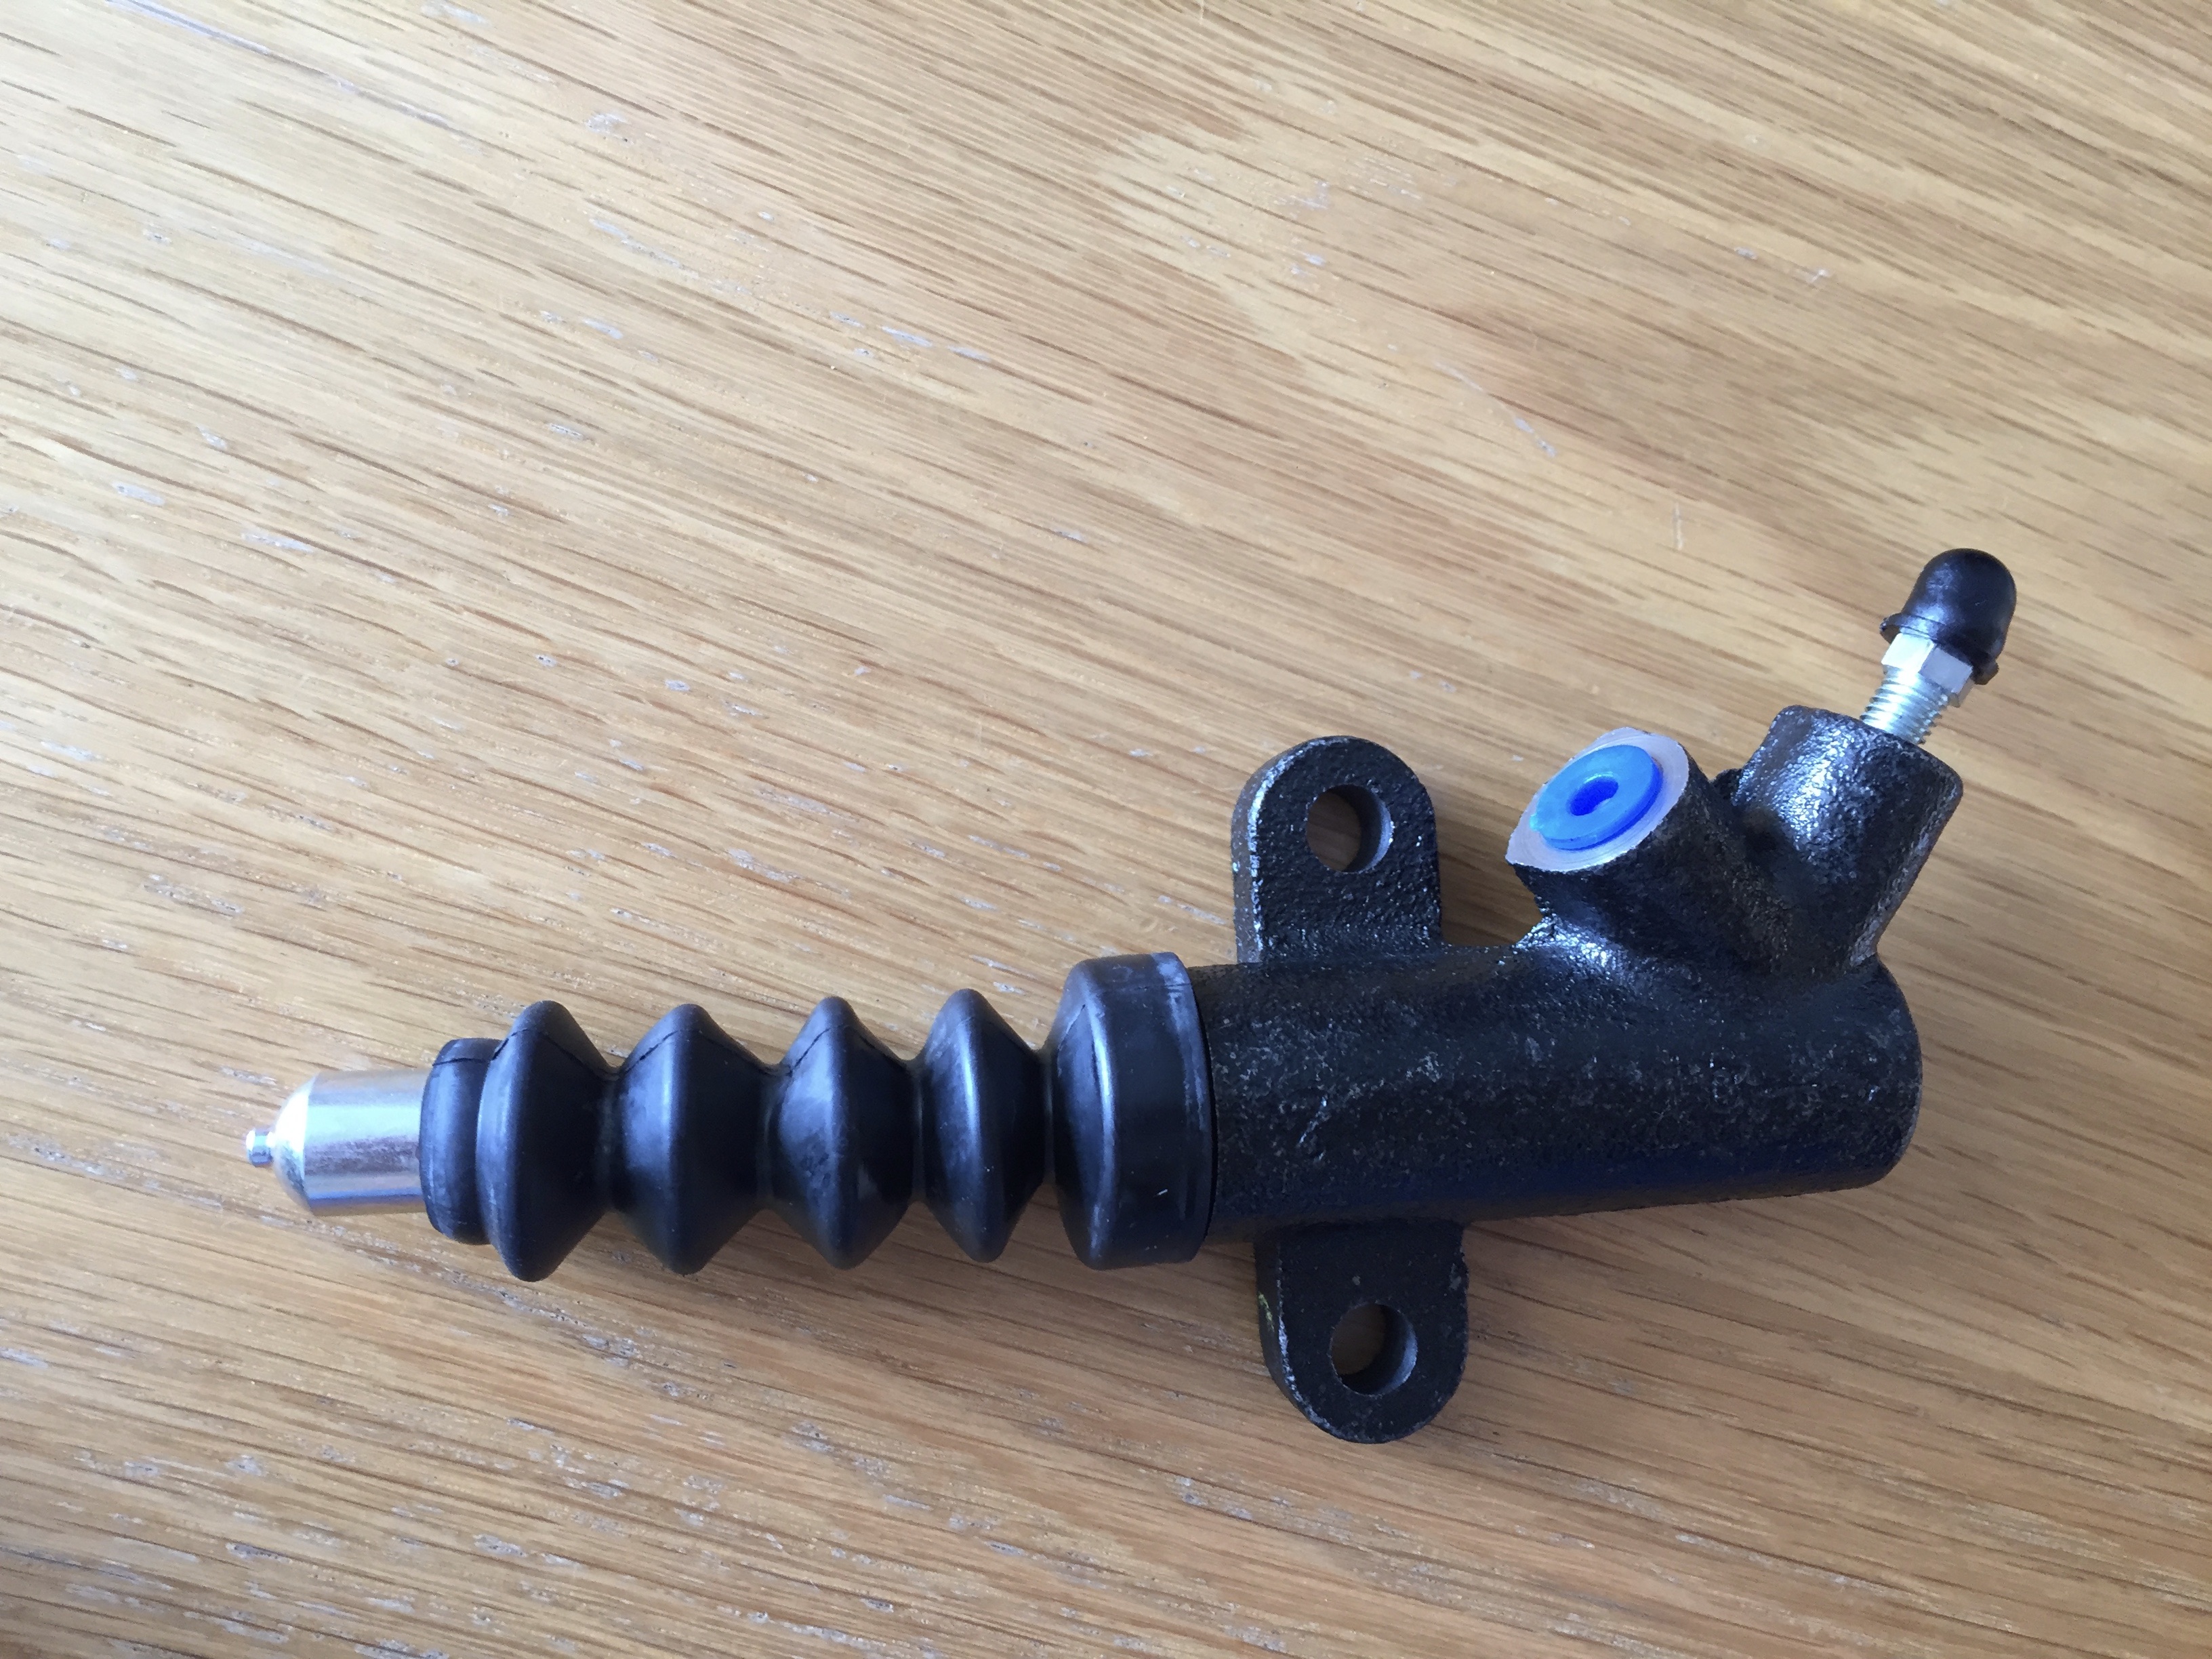
my little 5 had started to develope a little squeak when depressing the clutch pedal,
everything given a squirt with WD40 on pedal linkage , still there 

so got mrs B to sit in the car pushing the clutch pedal while I listened and decided it must be the slave cylinder 
new one ordered and fitted …
this one straight in bin 
no more squeak … 
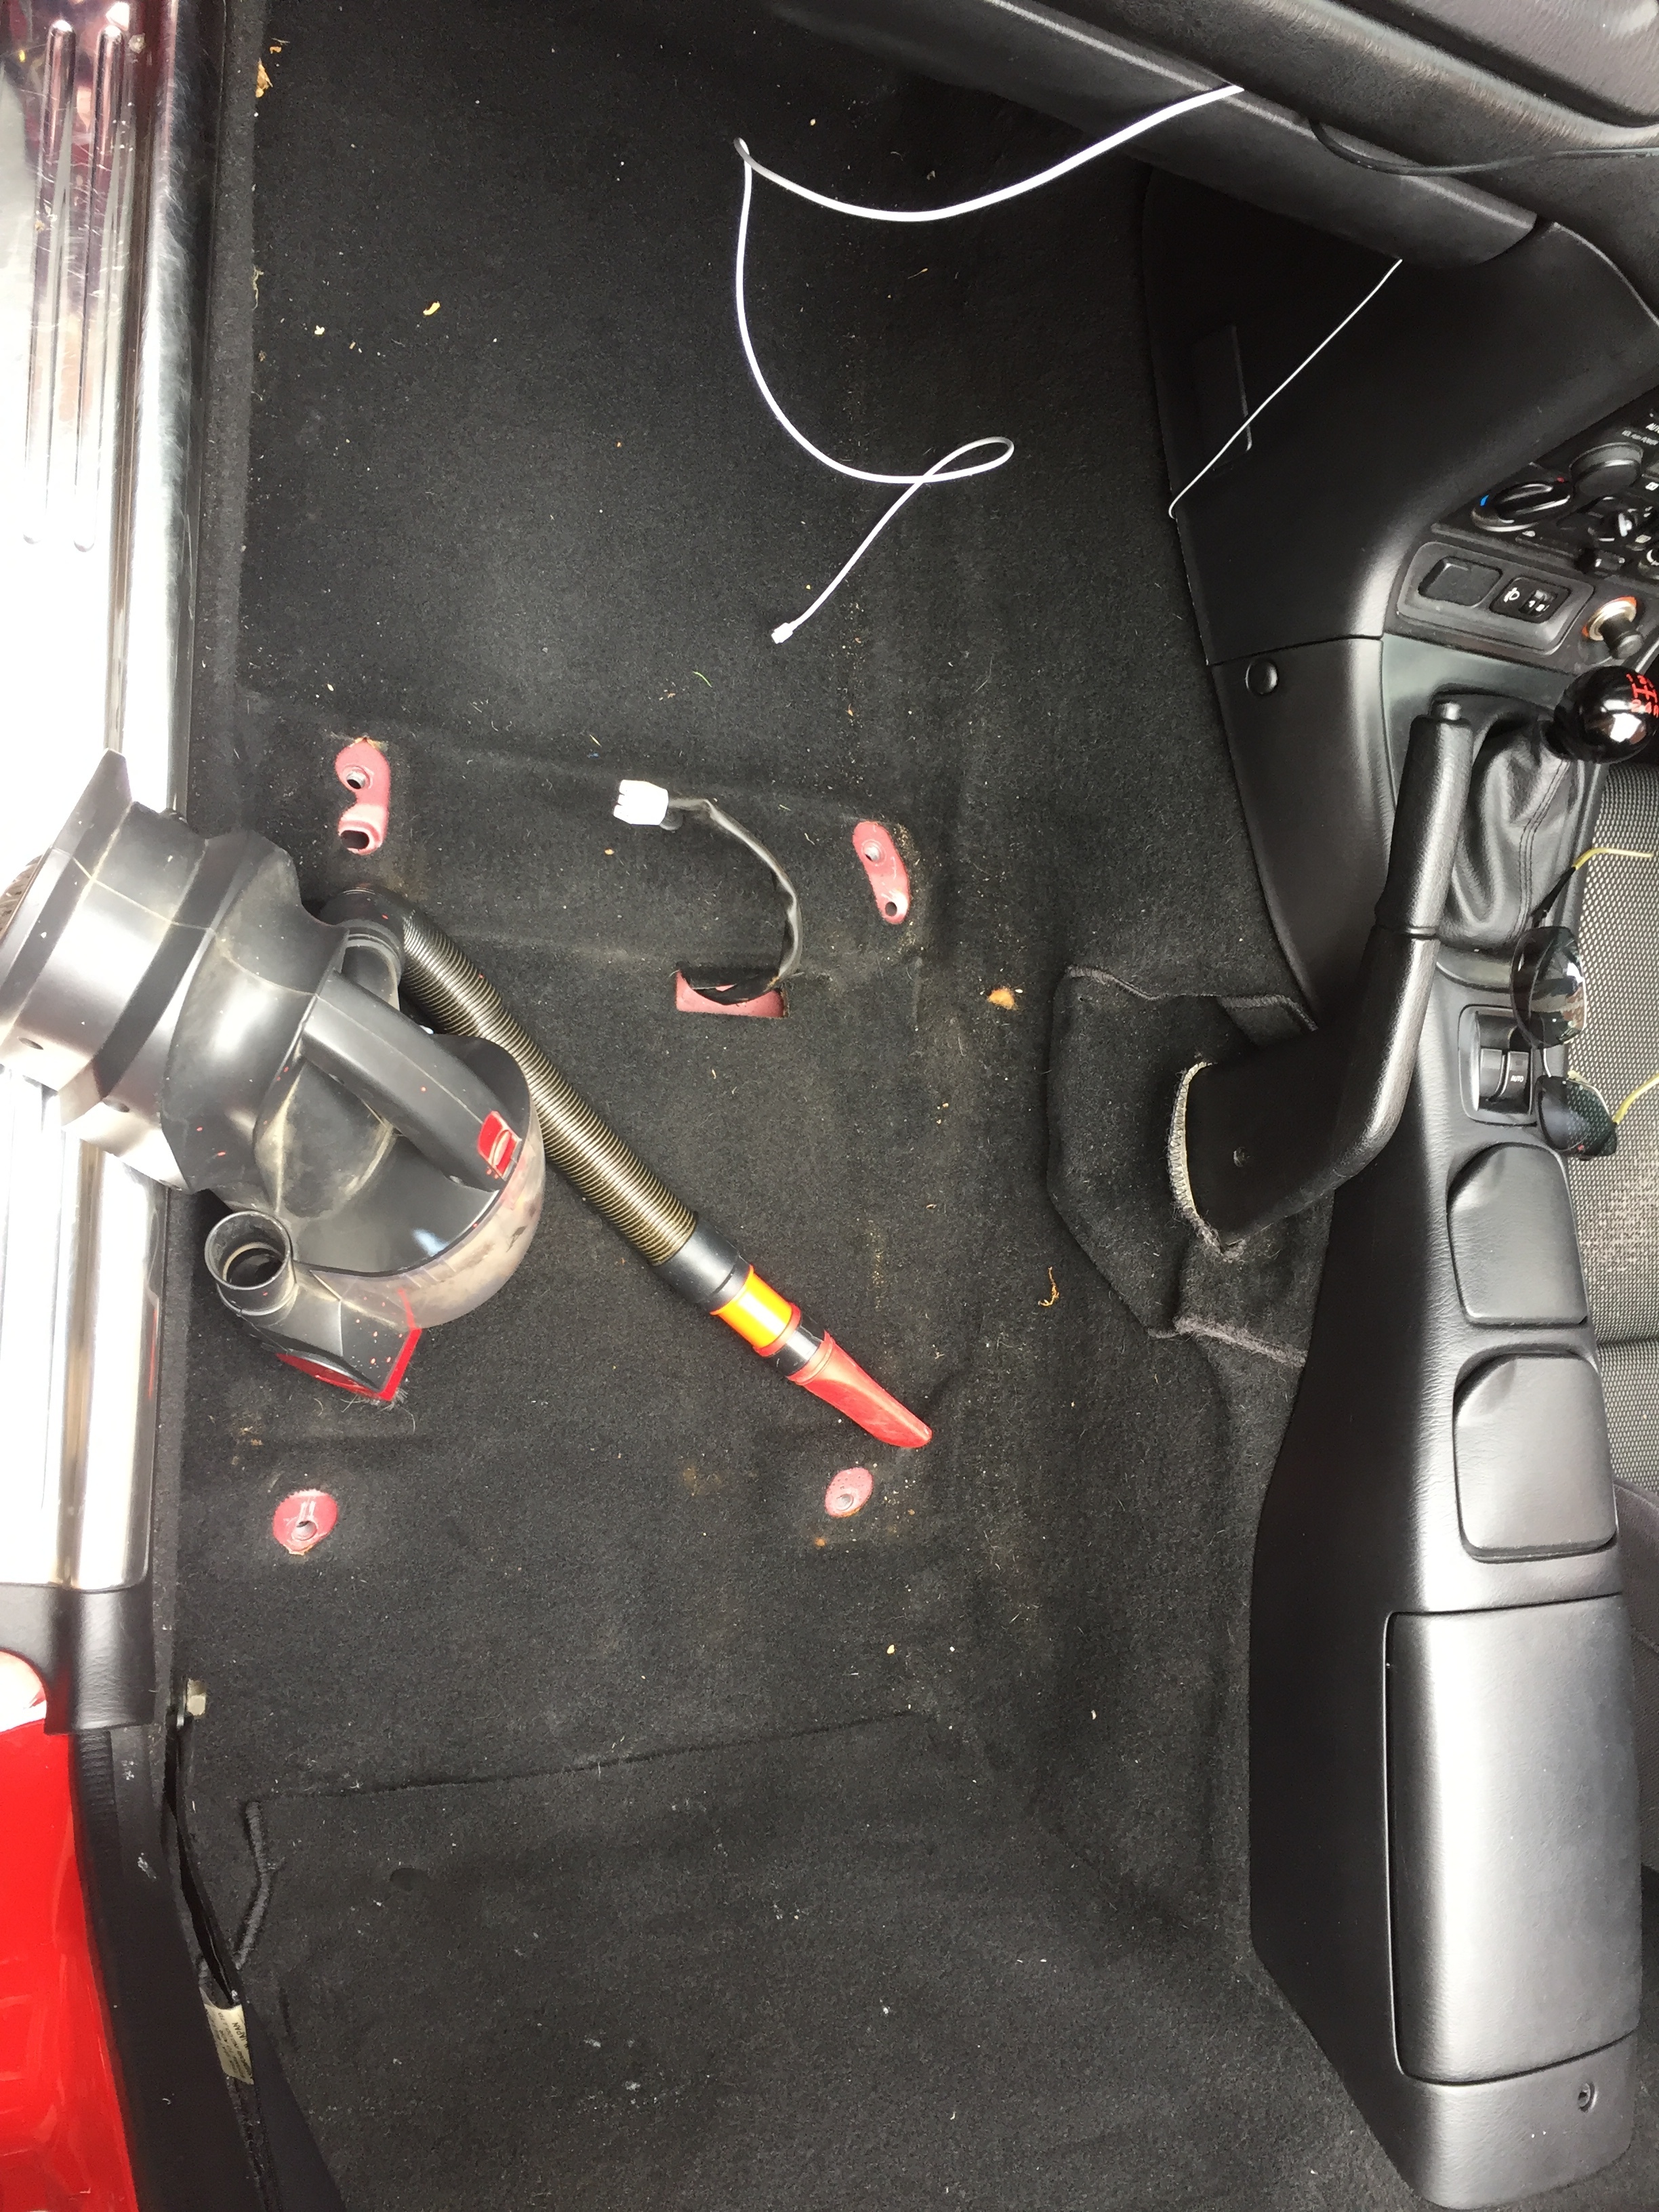
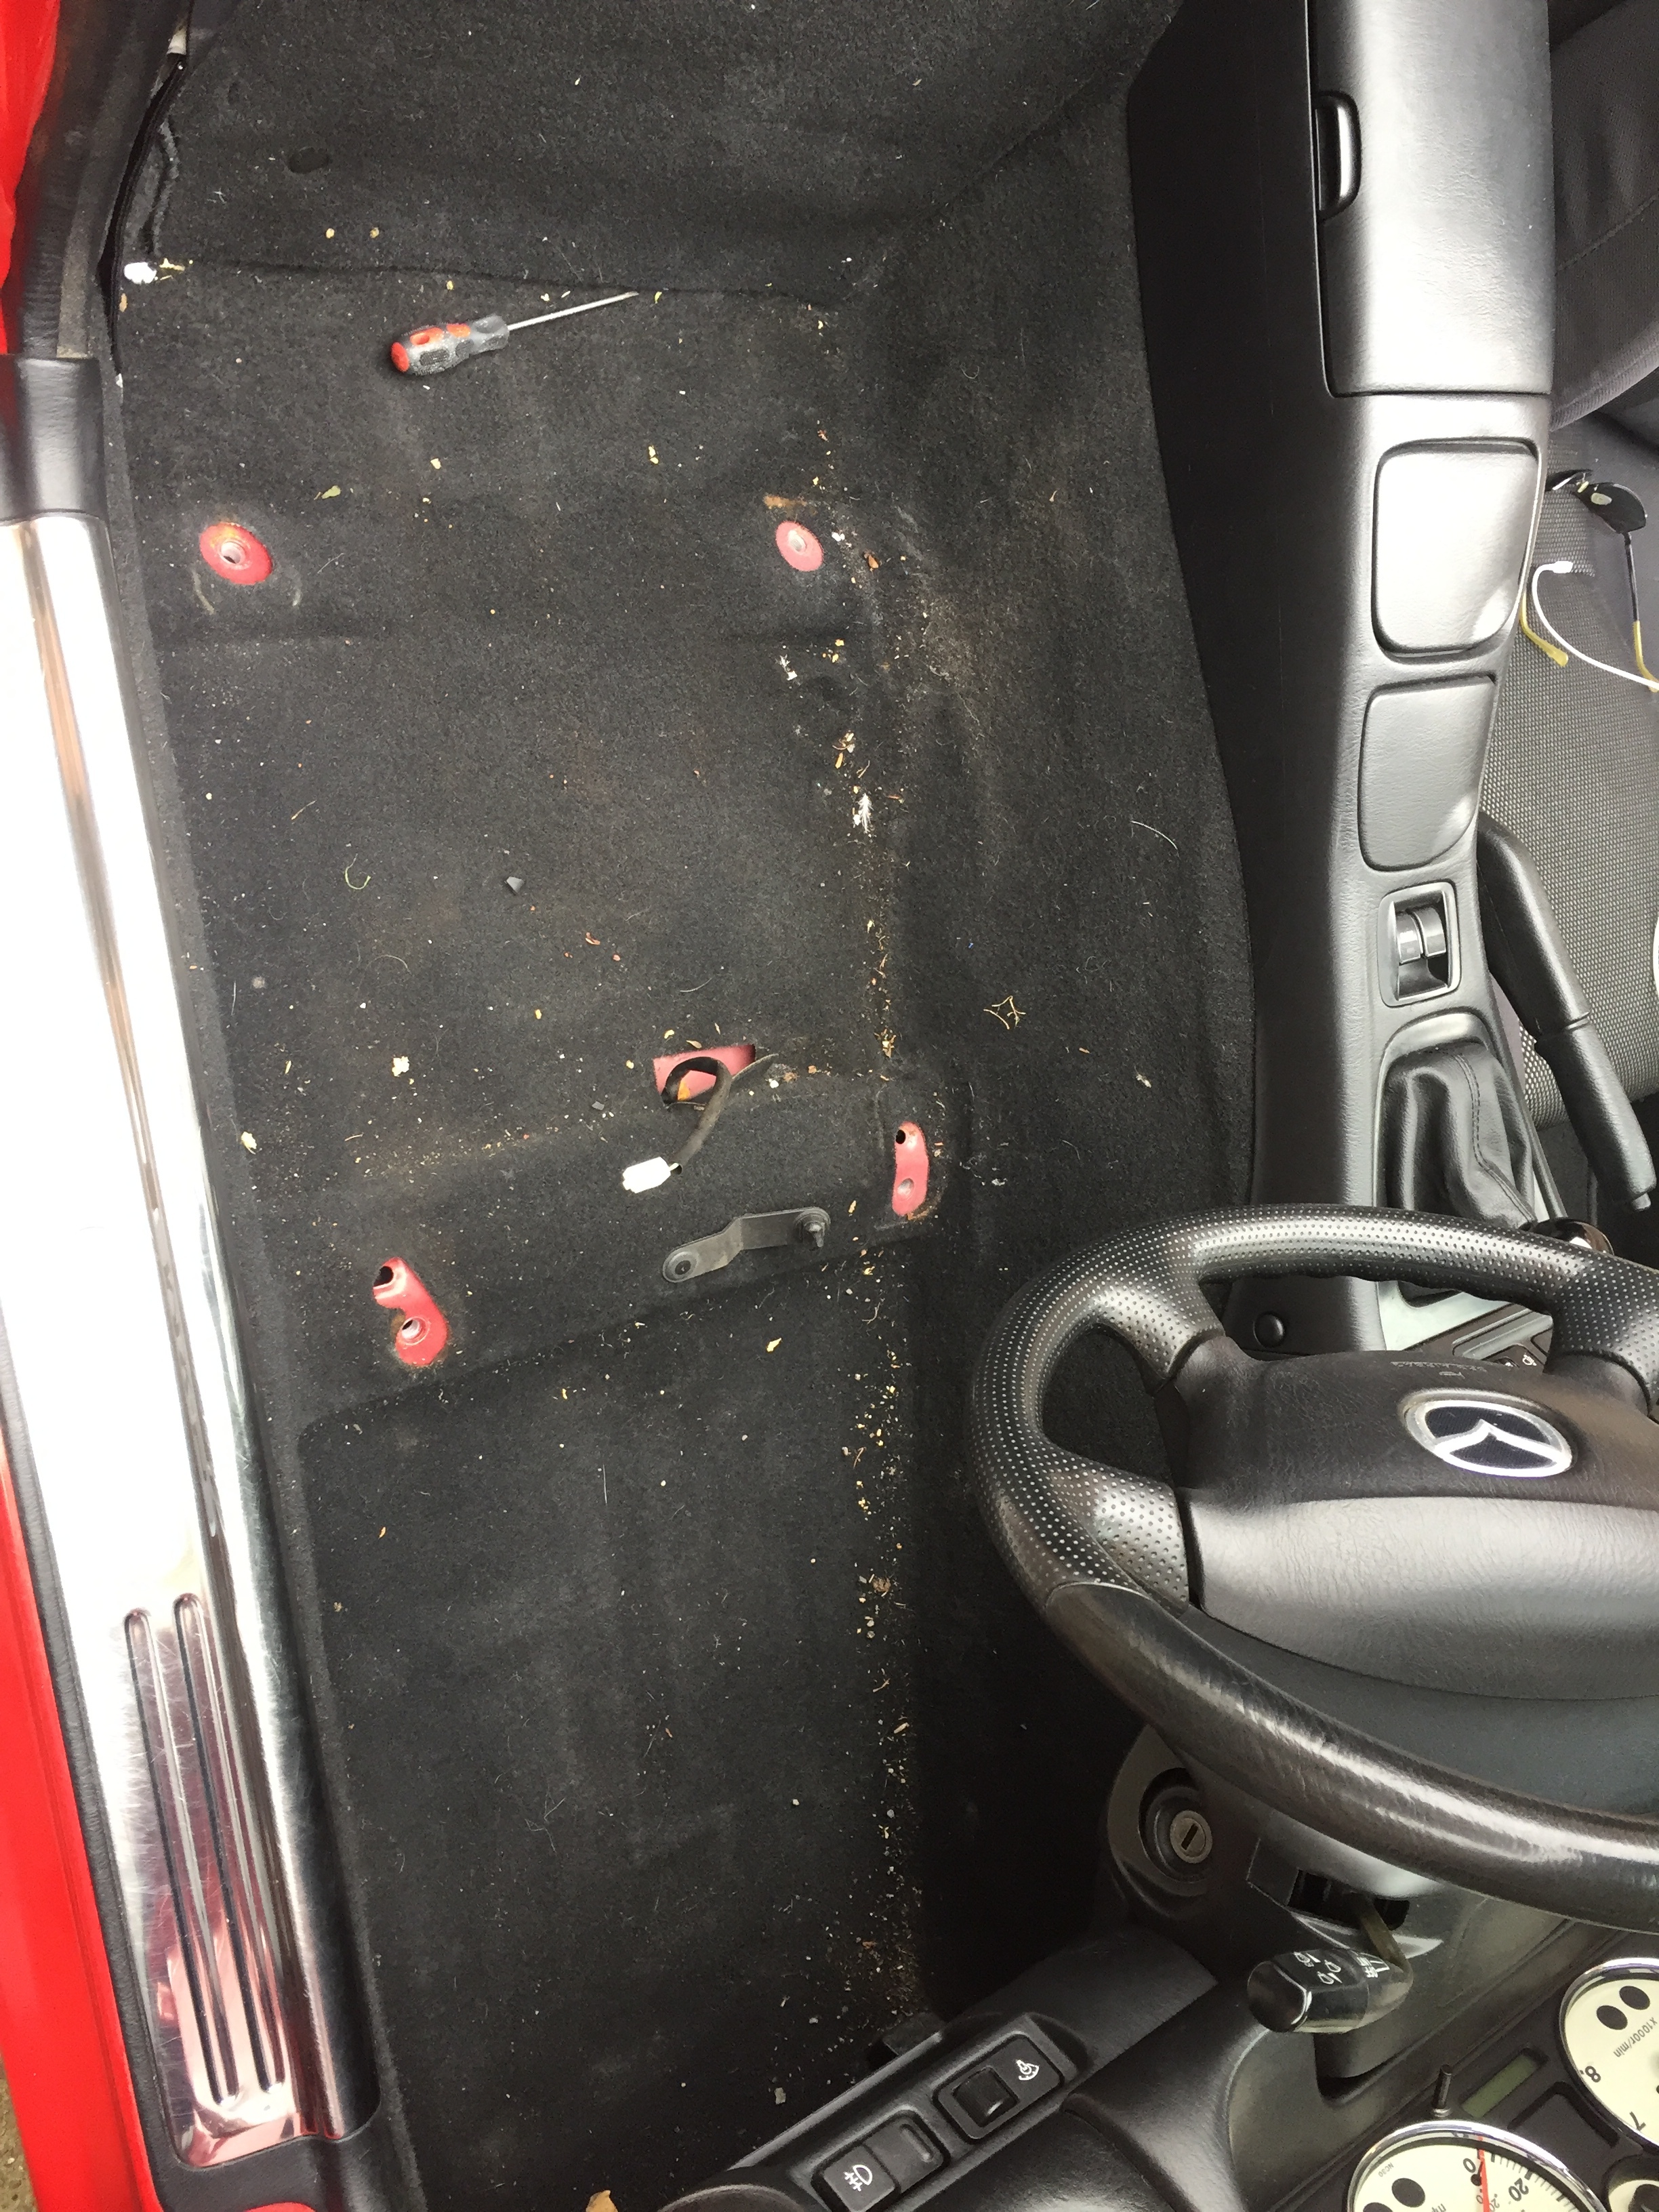
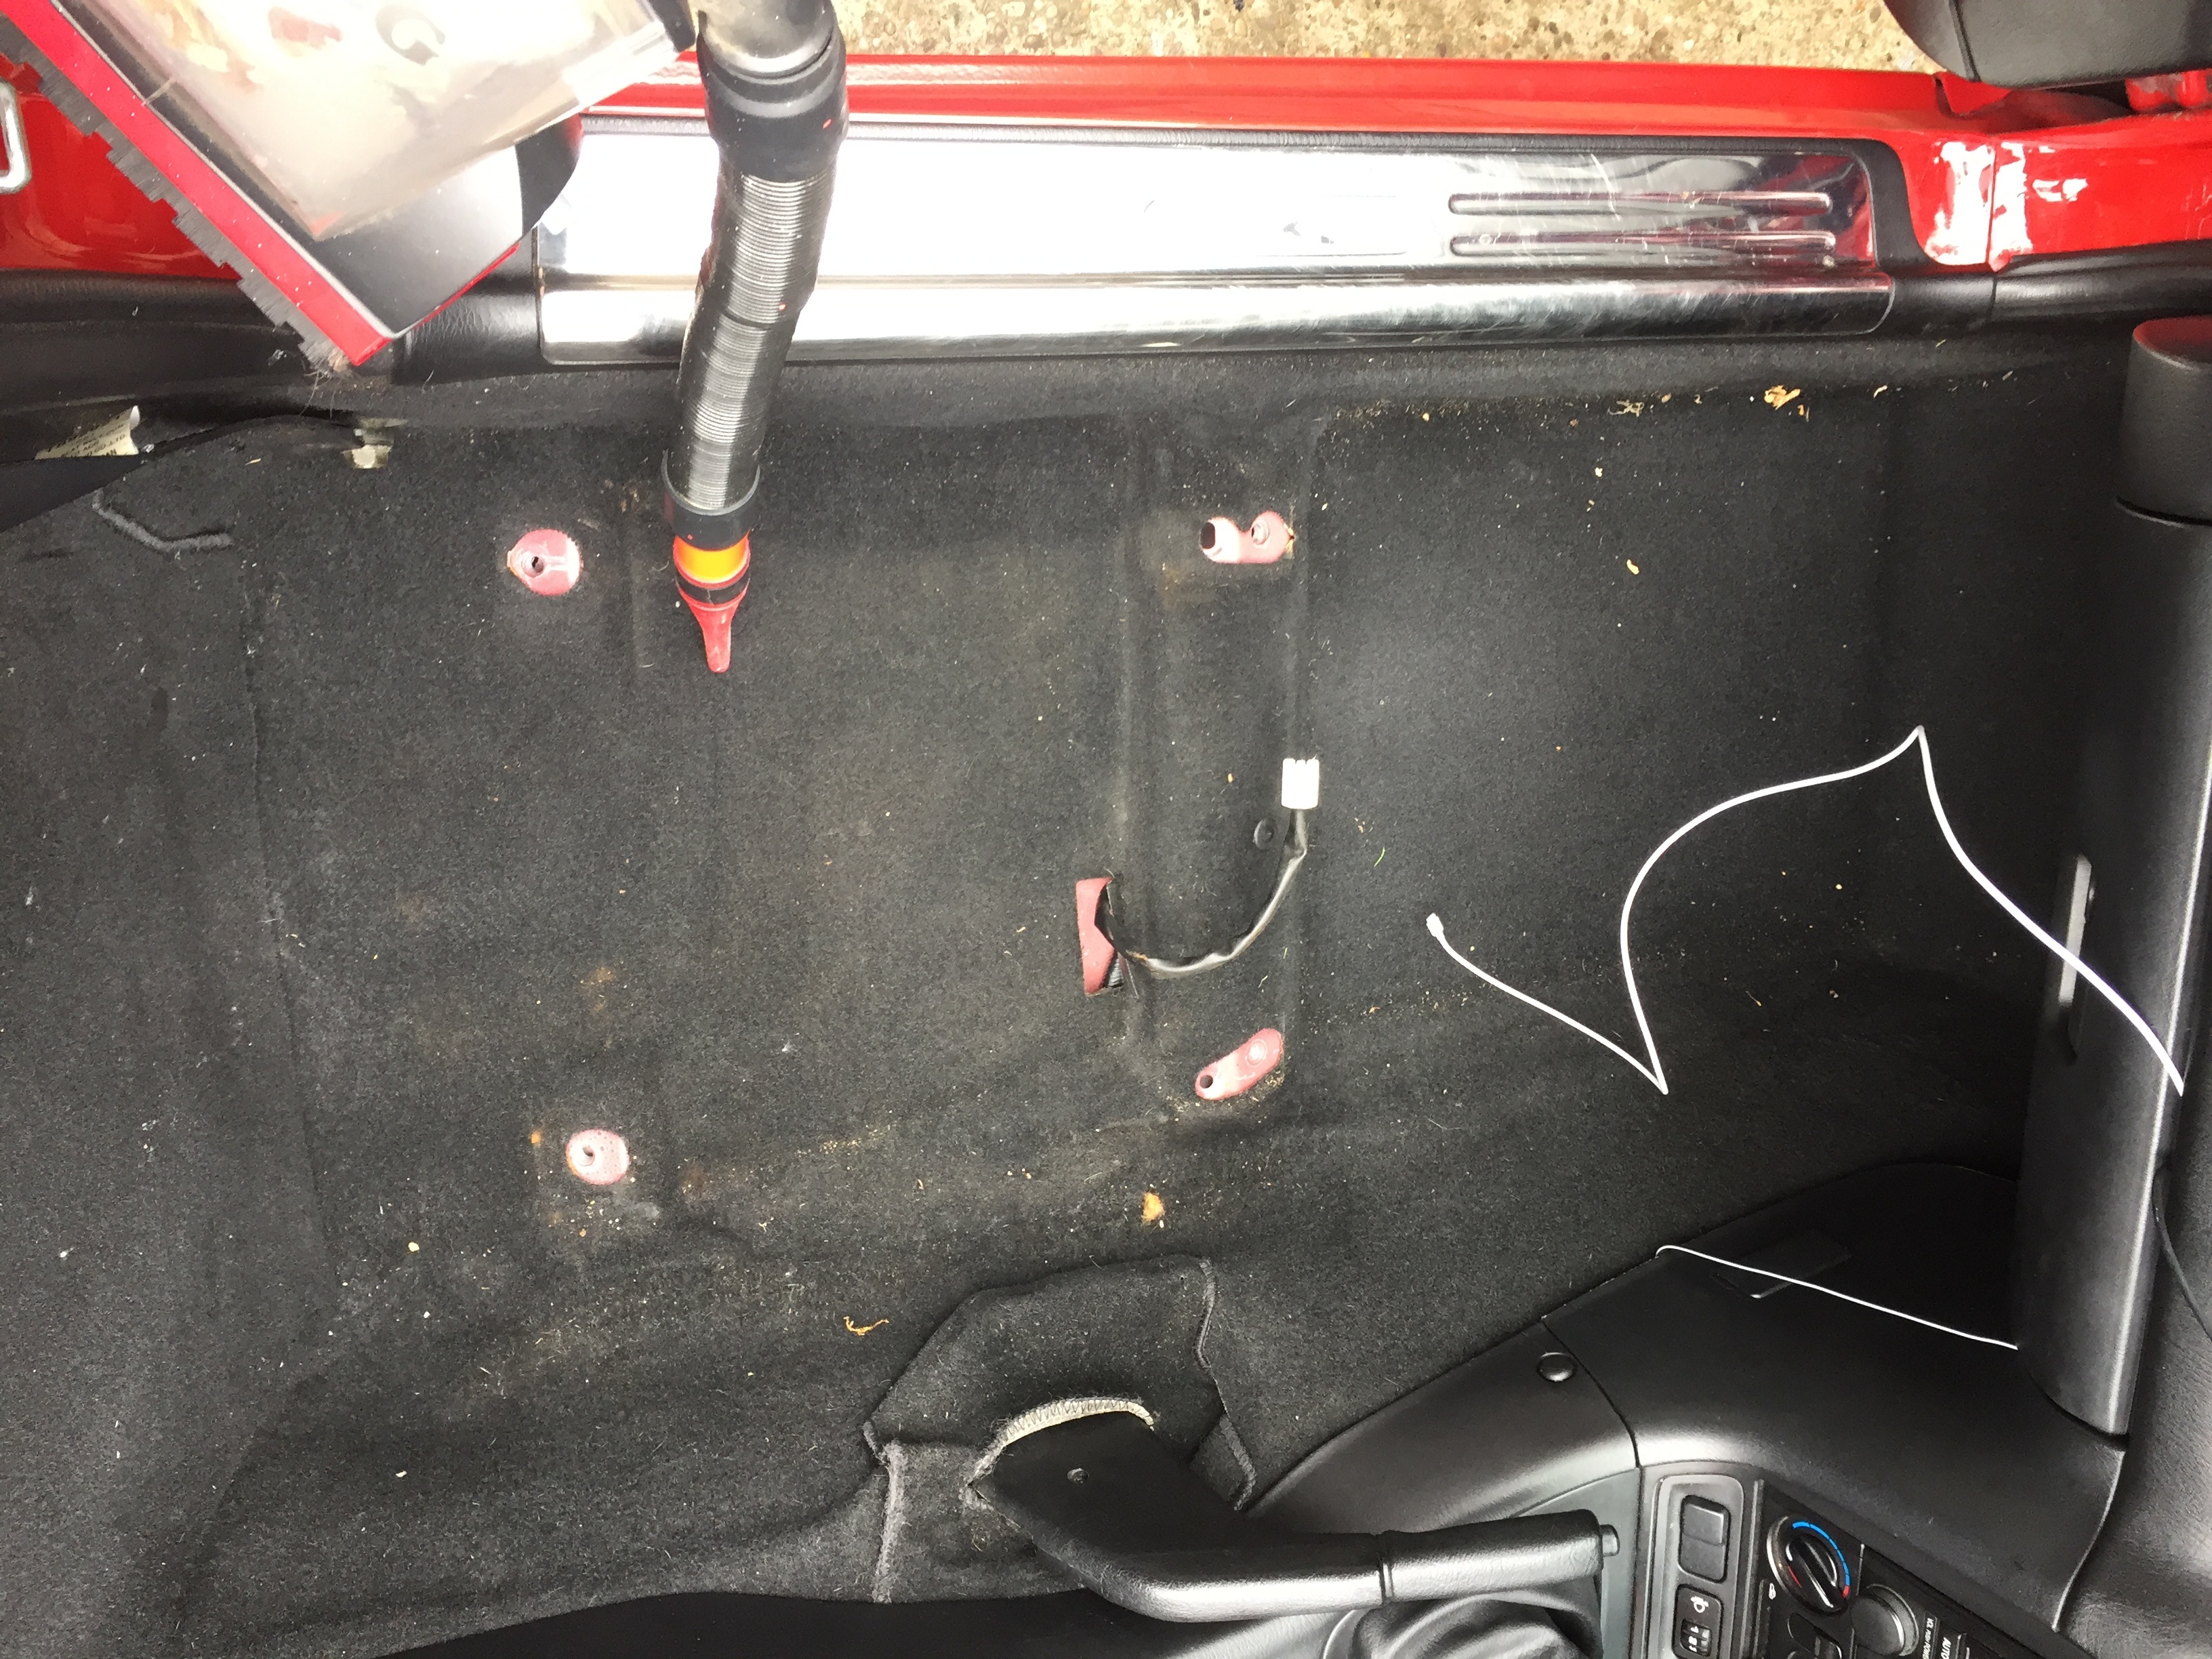
Had chance to clean the inside of the 5 for the first time today before my ride out with bettabuilda tomorrow
Seats out , good fettle
Also my baffle came today so fitted that too
Hope it doesn’t sound as “sporty” , Barrie
Interesting Geoff, that decibel killer should do the trick I’ll let you know tomorrow mate! Hopefully you’ll have at least the drivers seat back in!
Barrie