Really wish I had the confidence to take on a project like this. And actually the time too…
Great to see the progress.
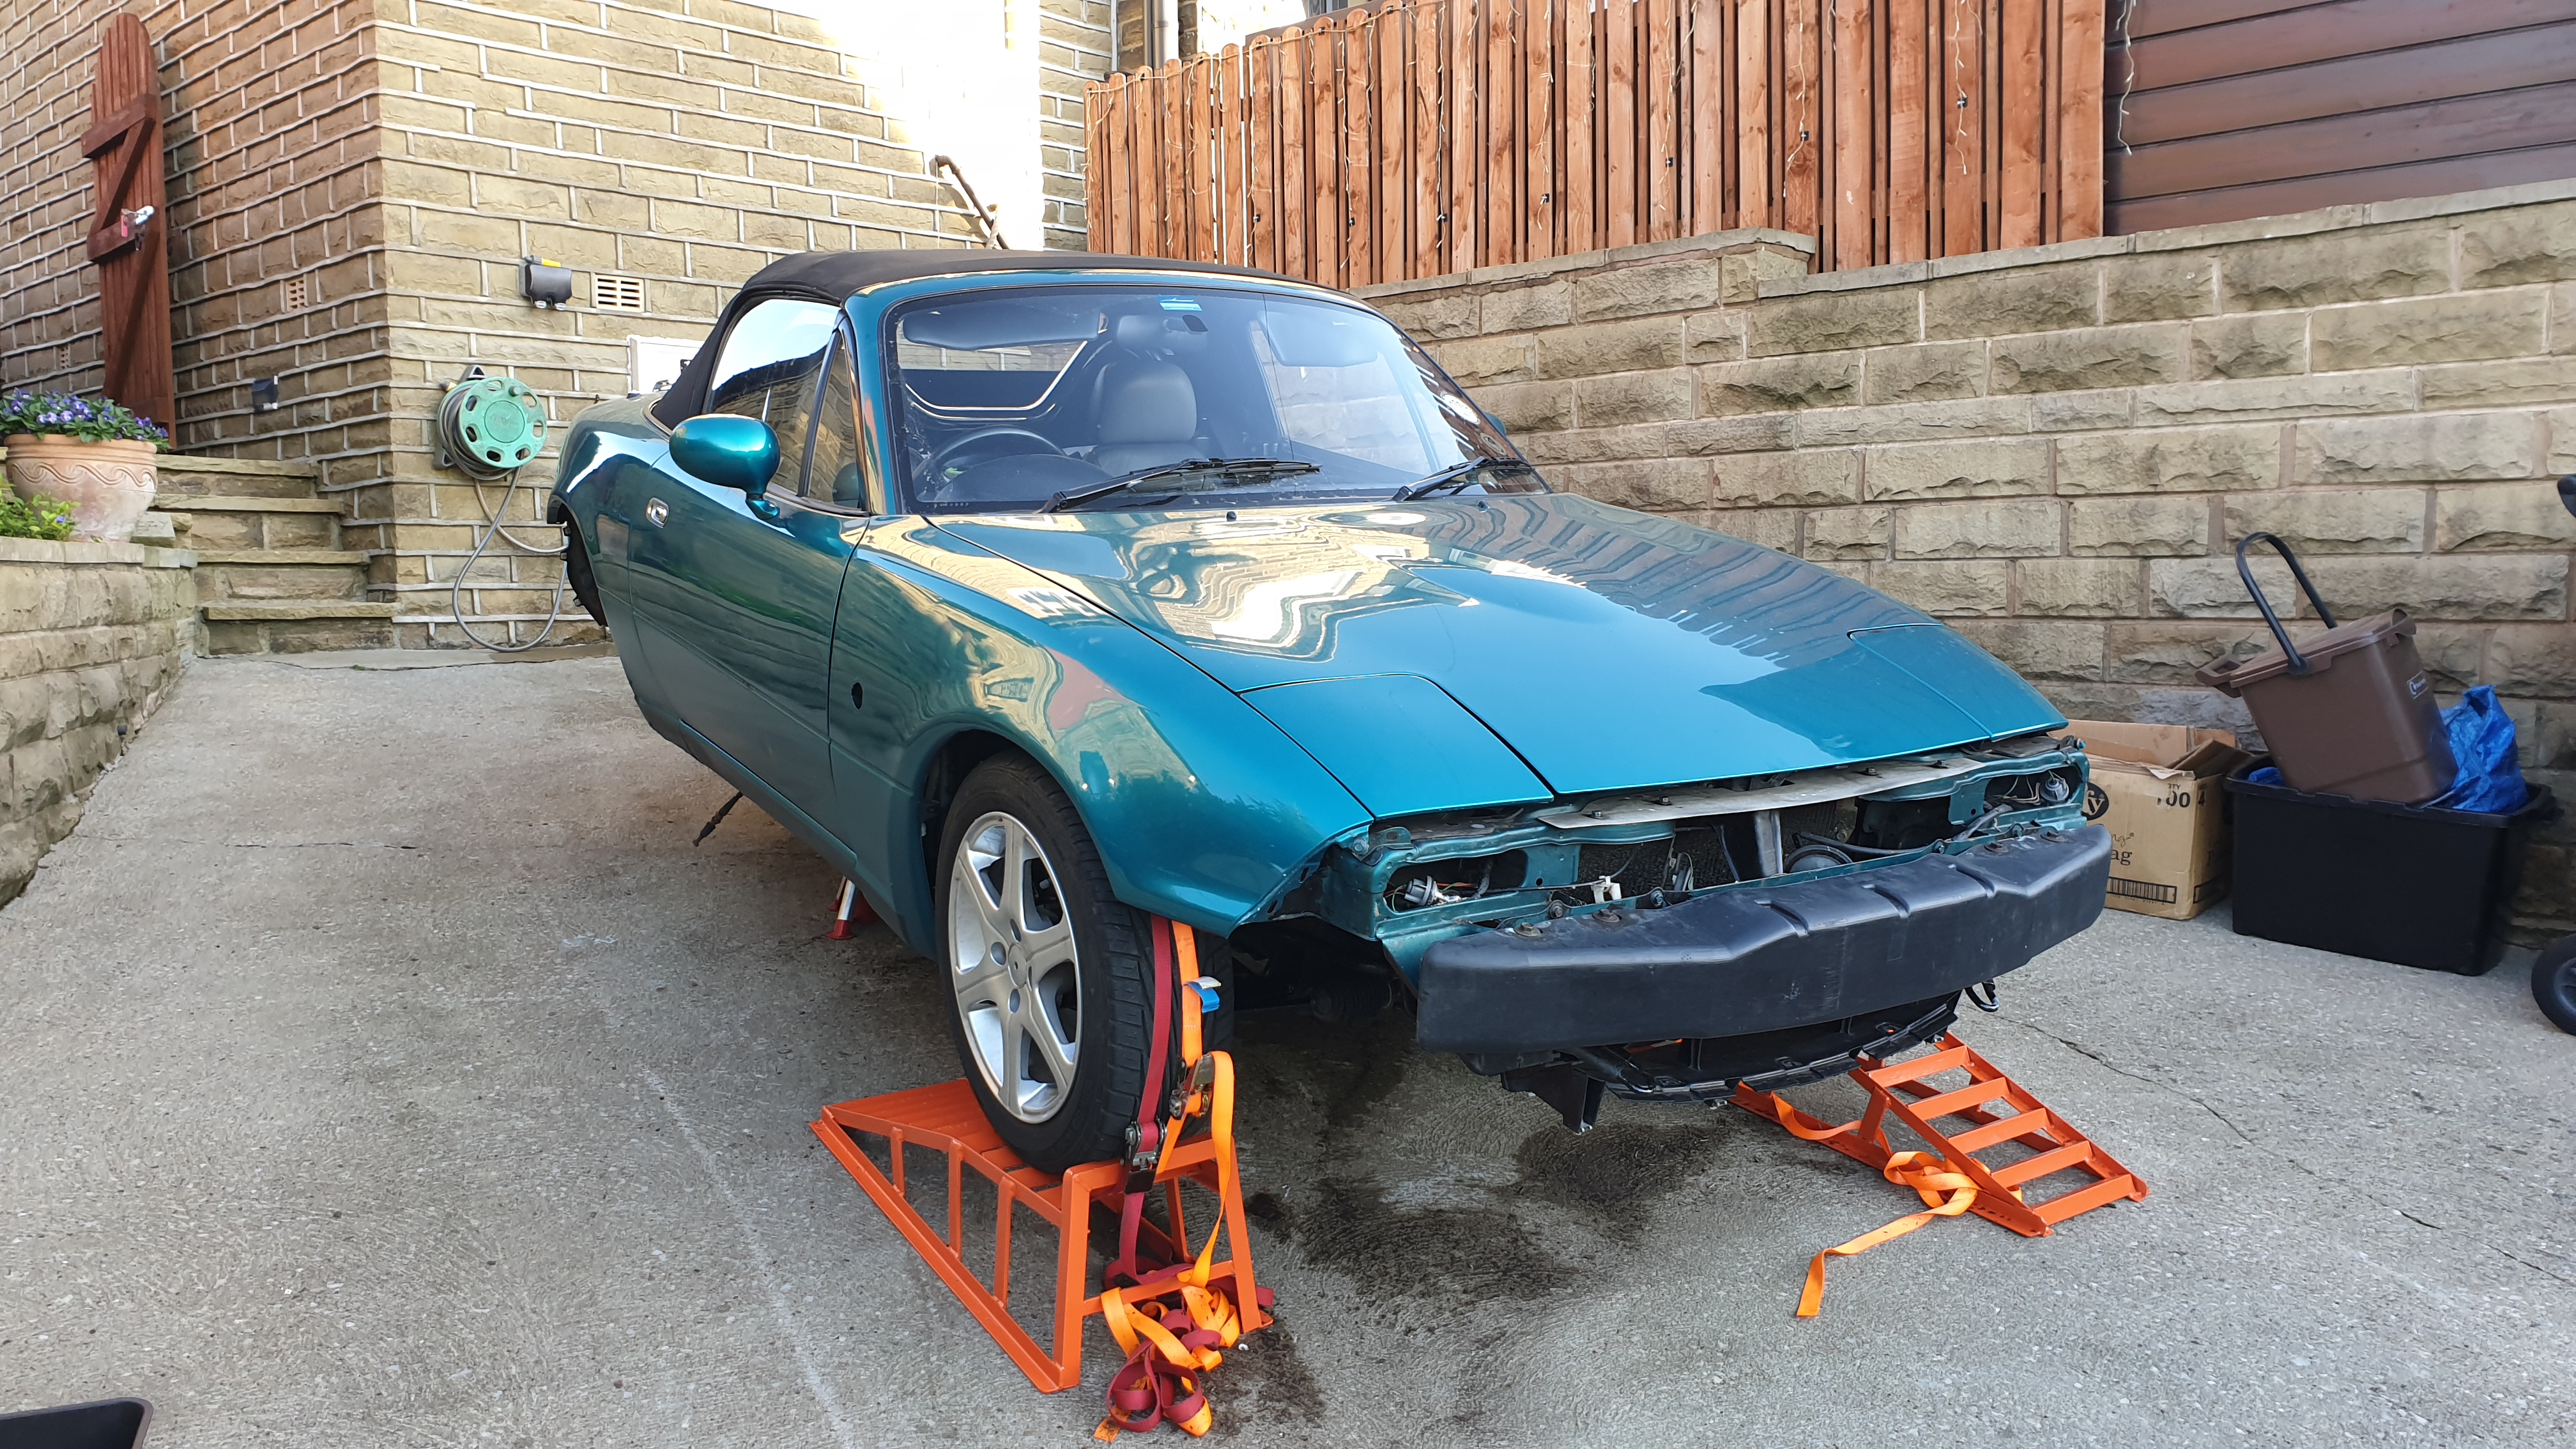
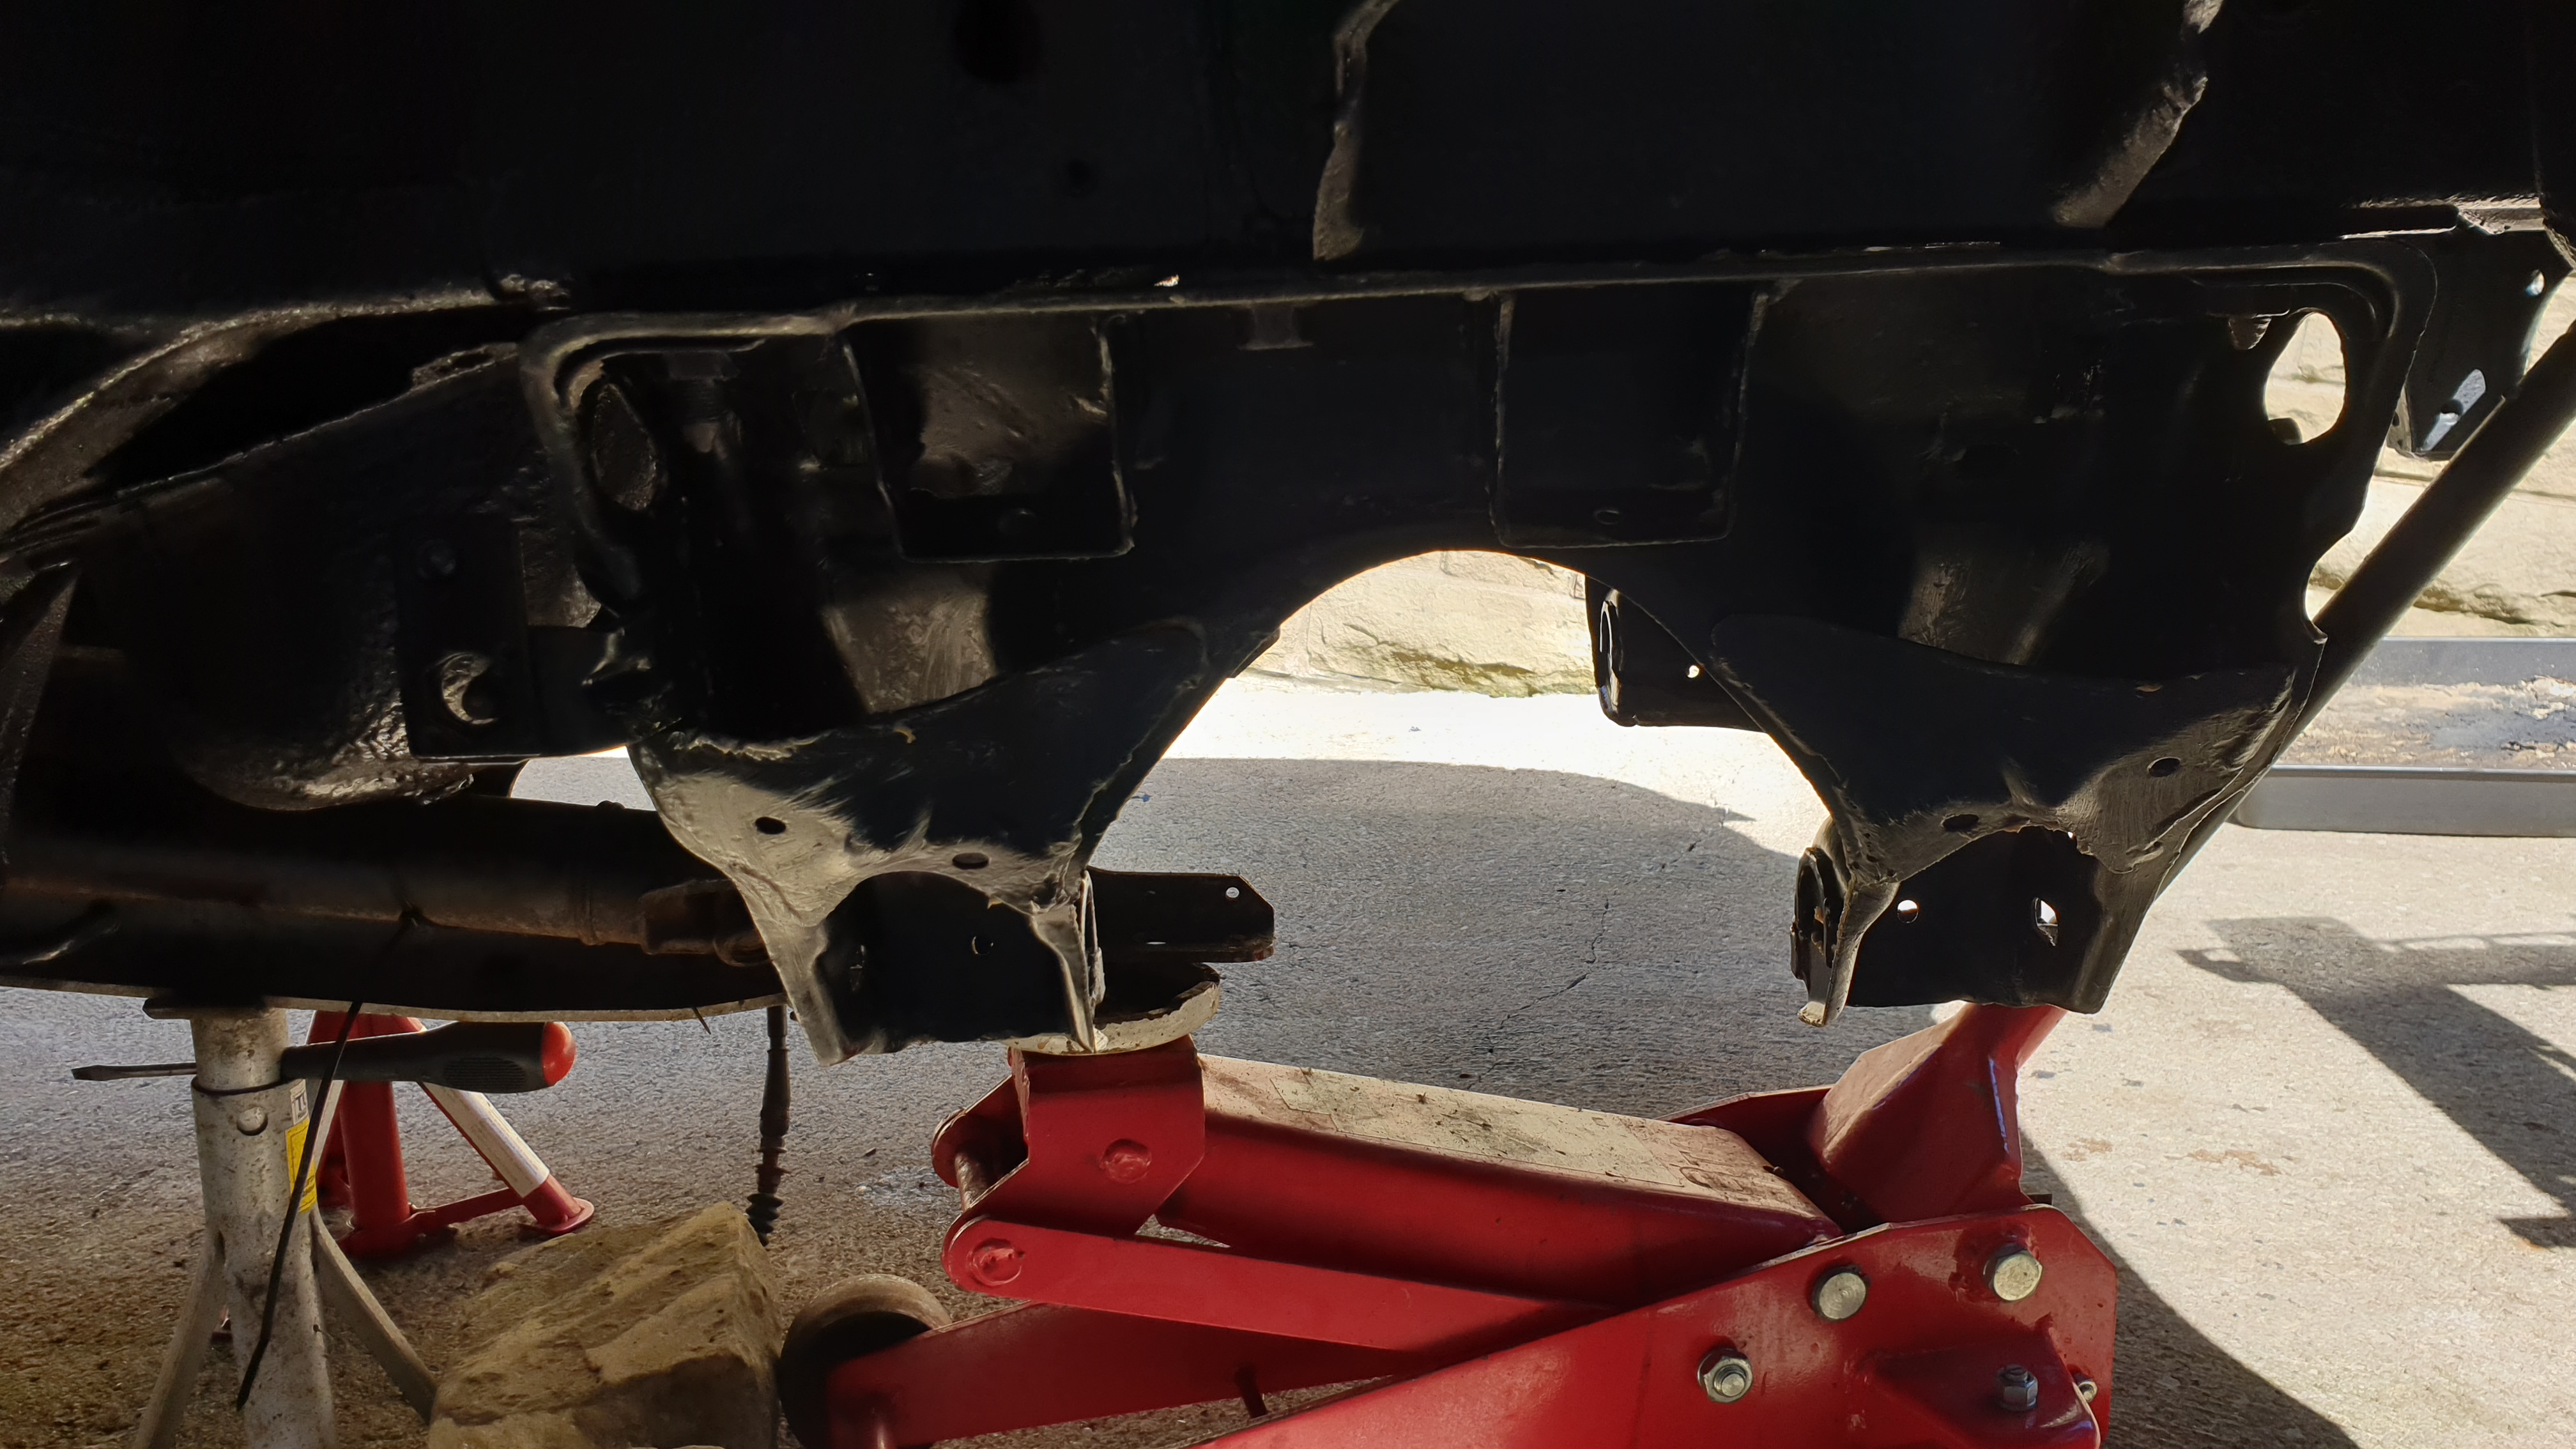
Many thanks. I have had to manage on a sloping drive outside and the hardest thing was to work out how to get the rear end done with it being rear wheel drive, so it didn’t roll away. A set of ramps, one in either direction and some ratchet straps around the tyres and ramps. Then 2 axle stands, a trolley Jack and the car Jack.
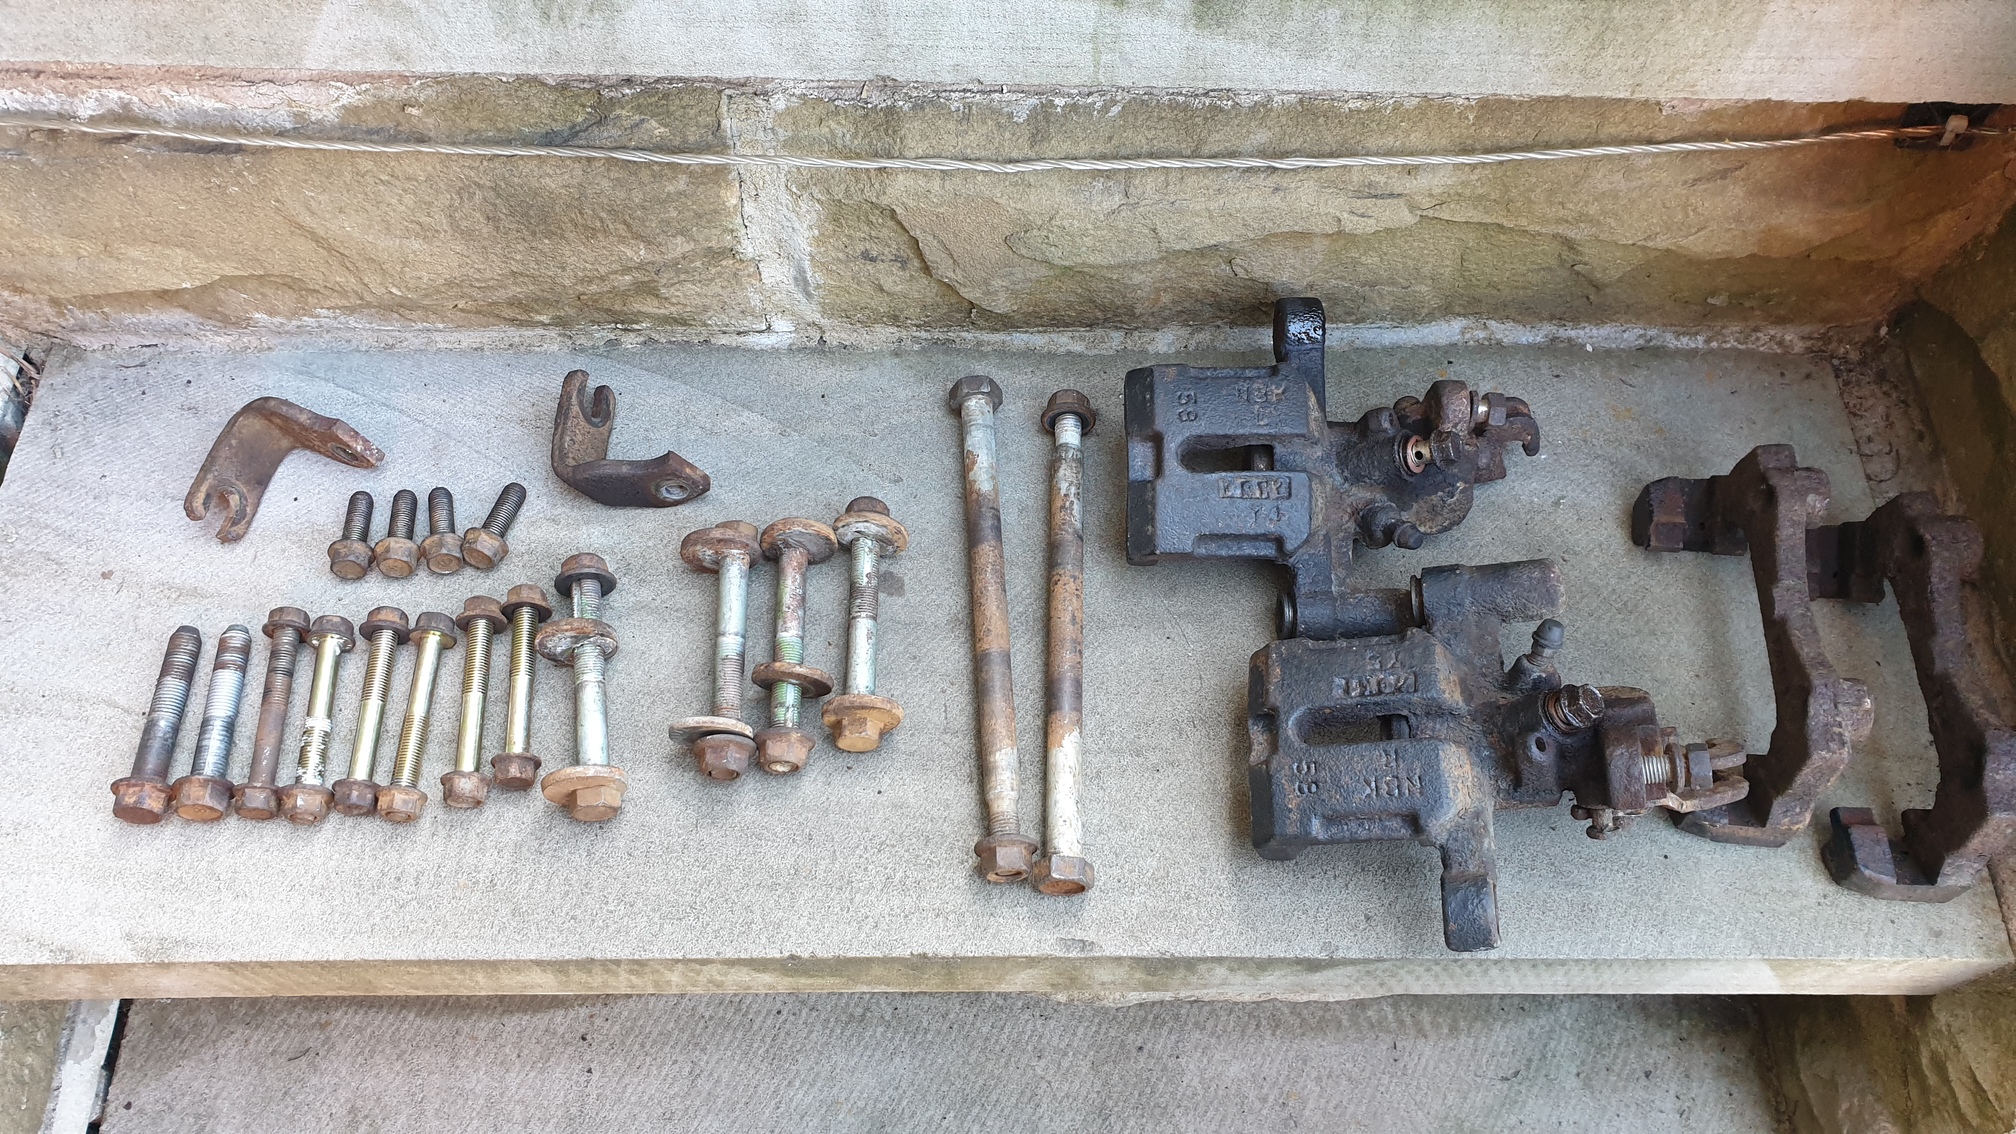
I have just received some more items today ready to put it back together over the next few days before it goes to MX5 city for the sills and wheel arches replacing and then off to the body shop for a respray.
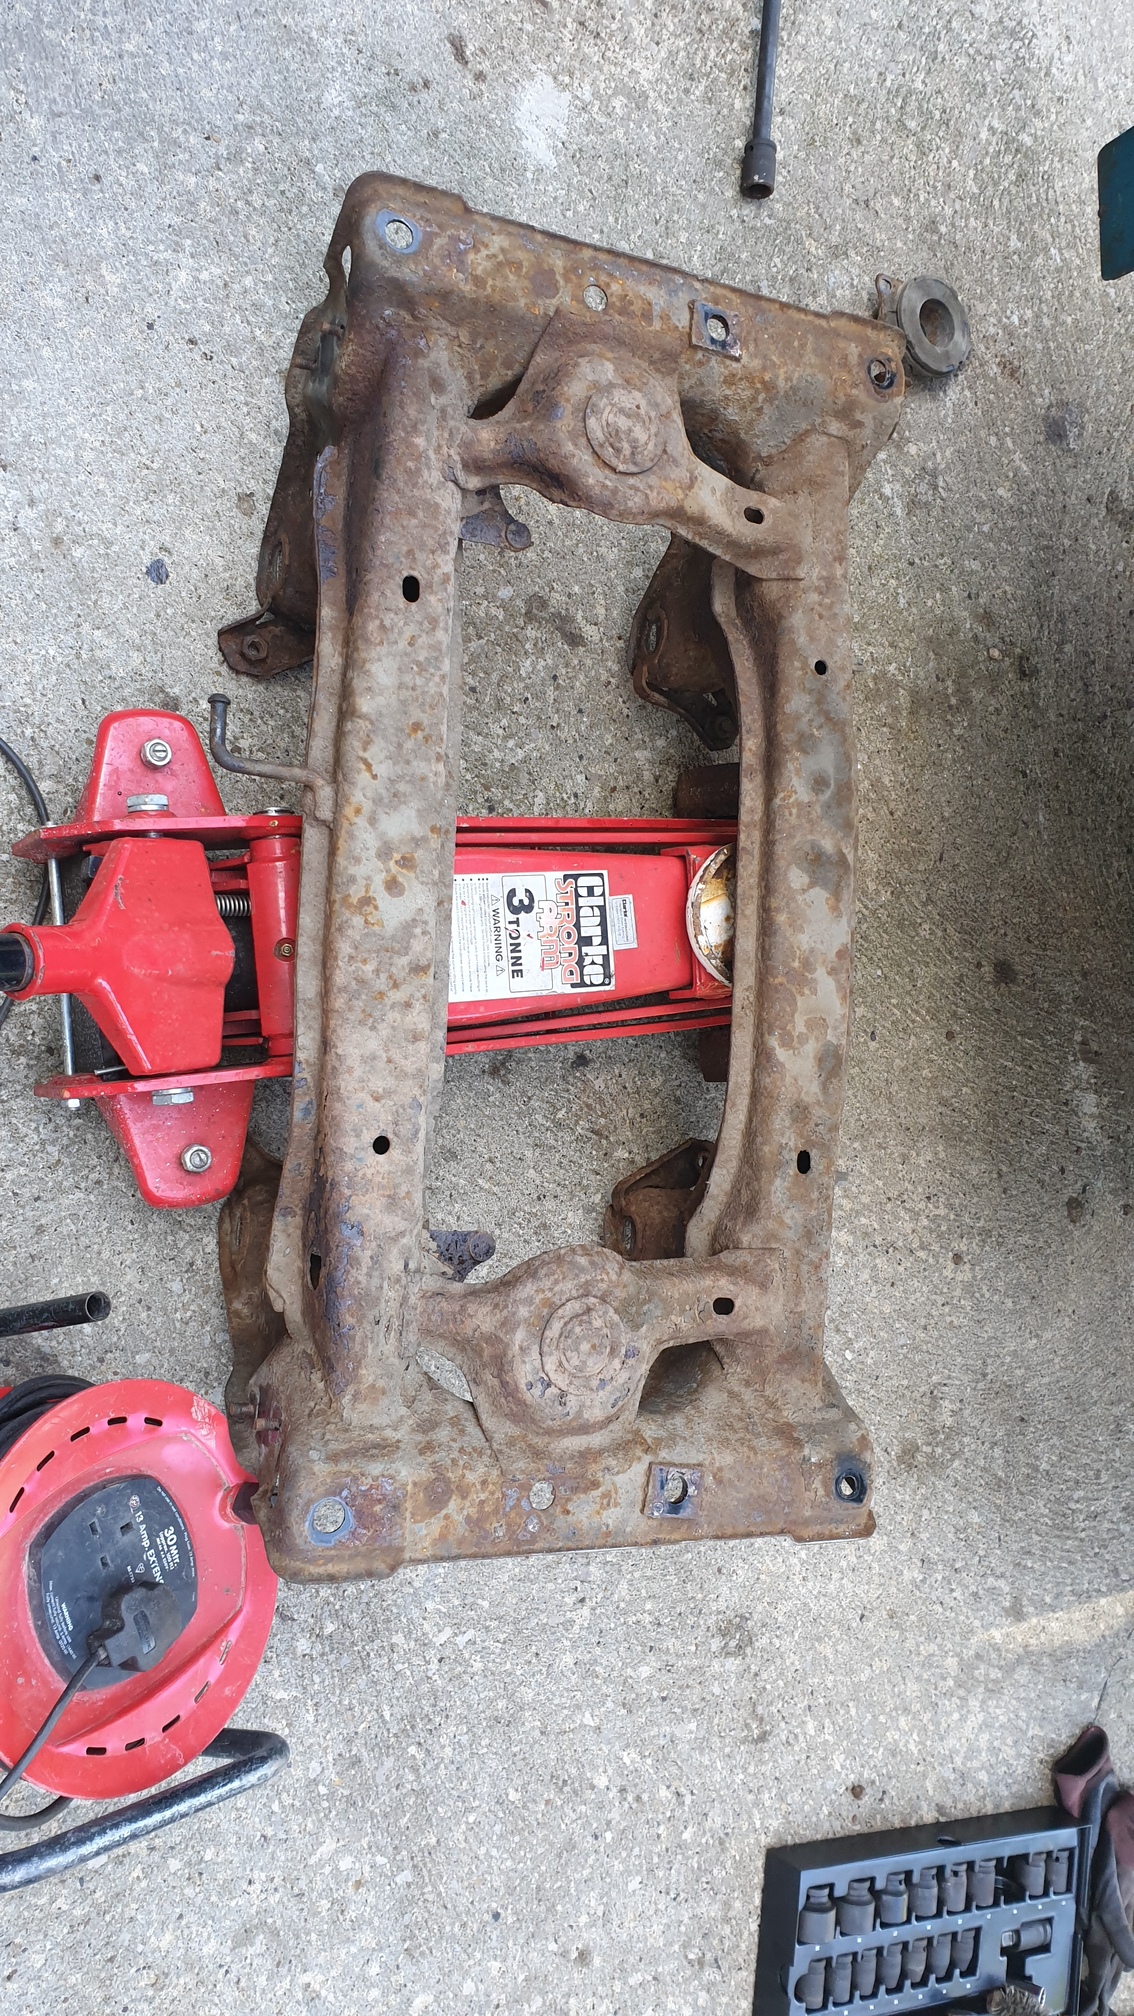
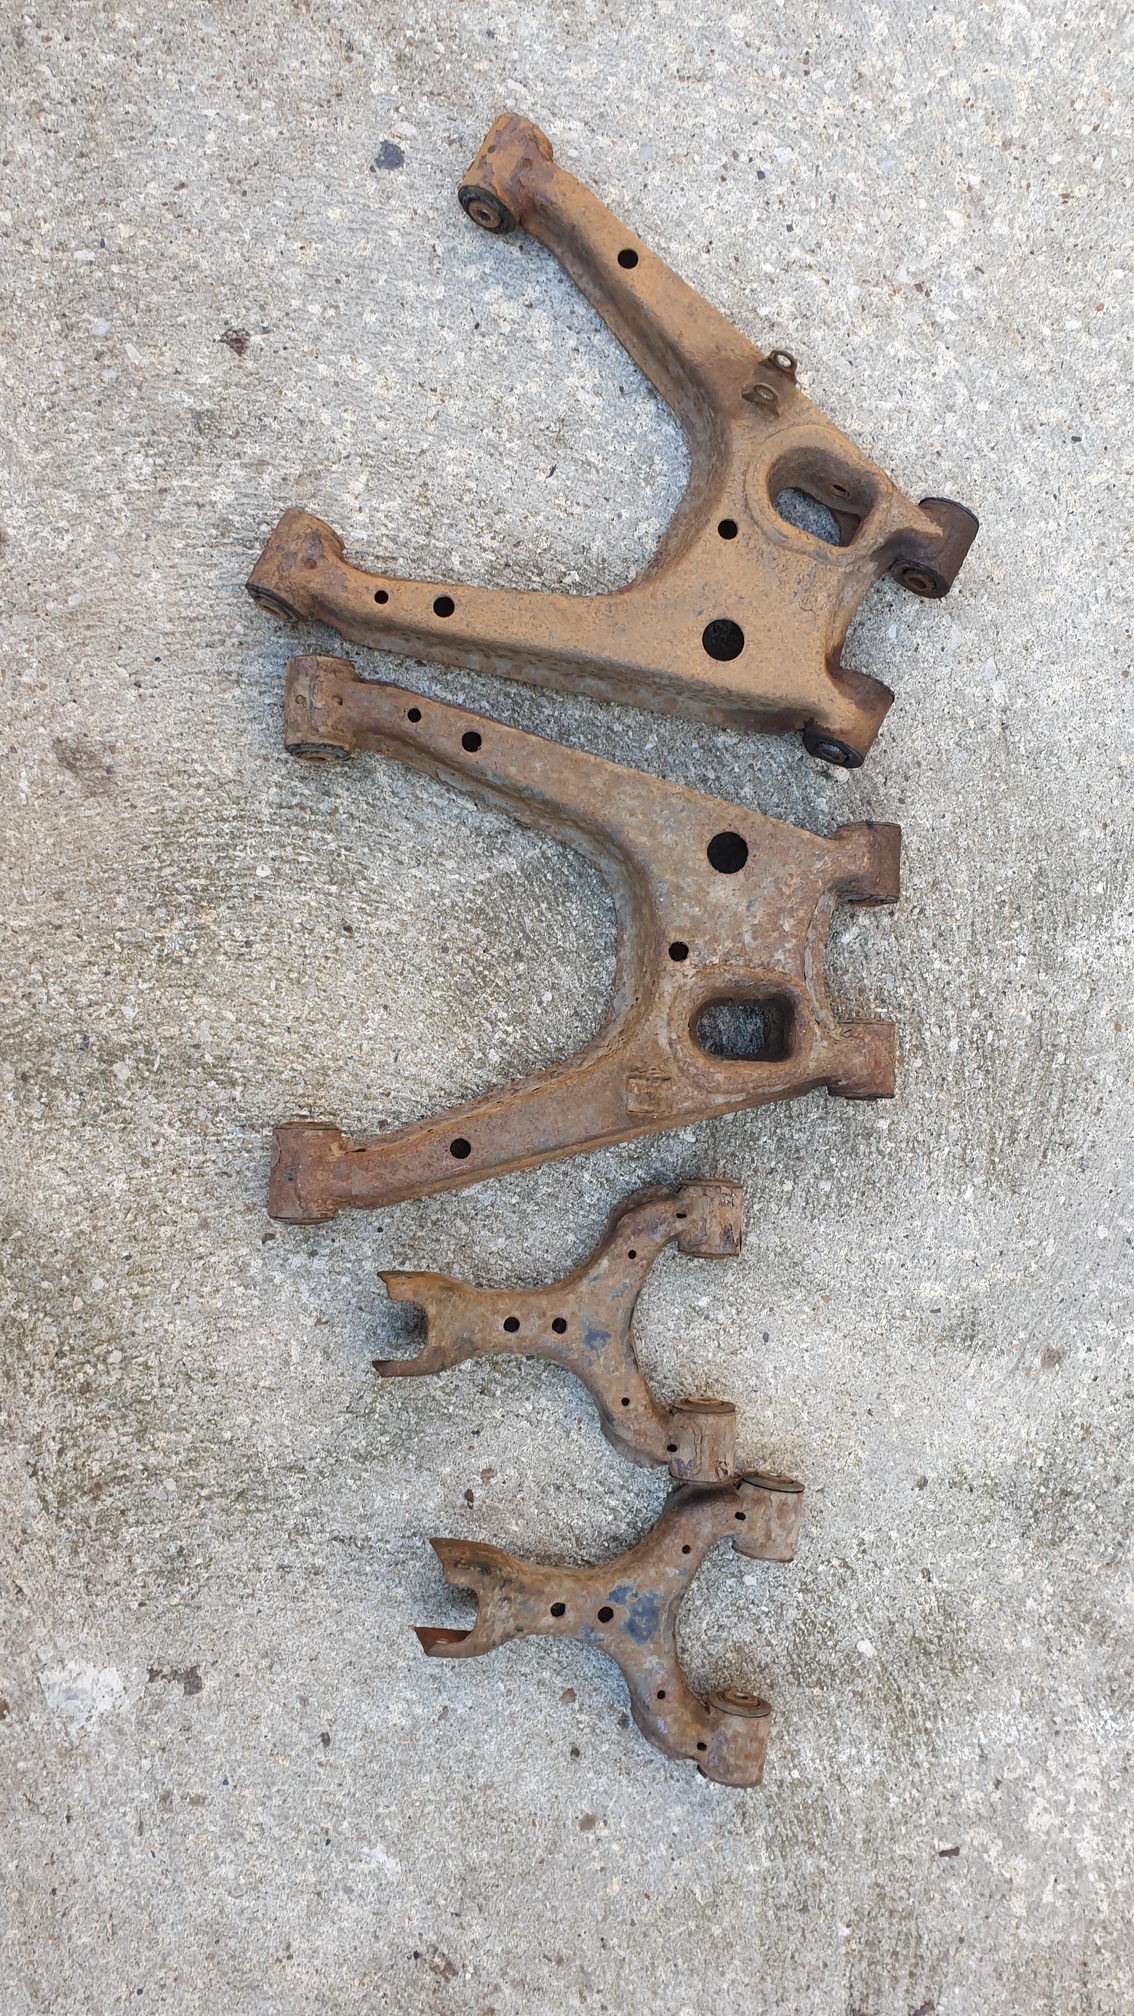
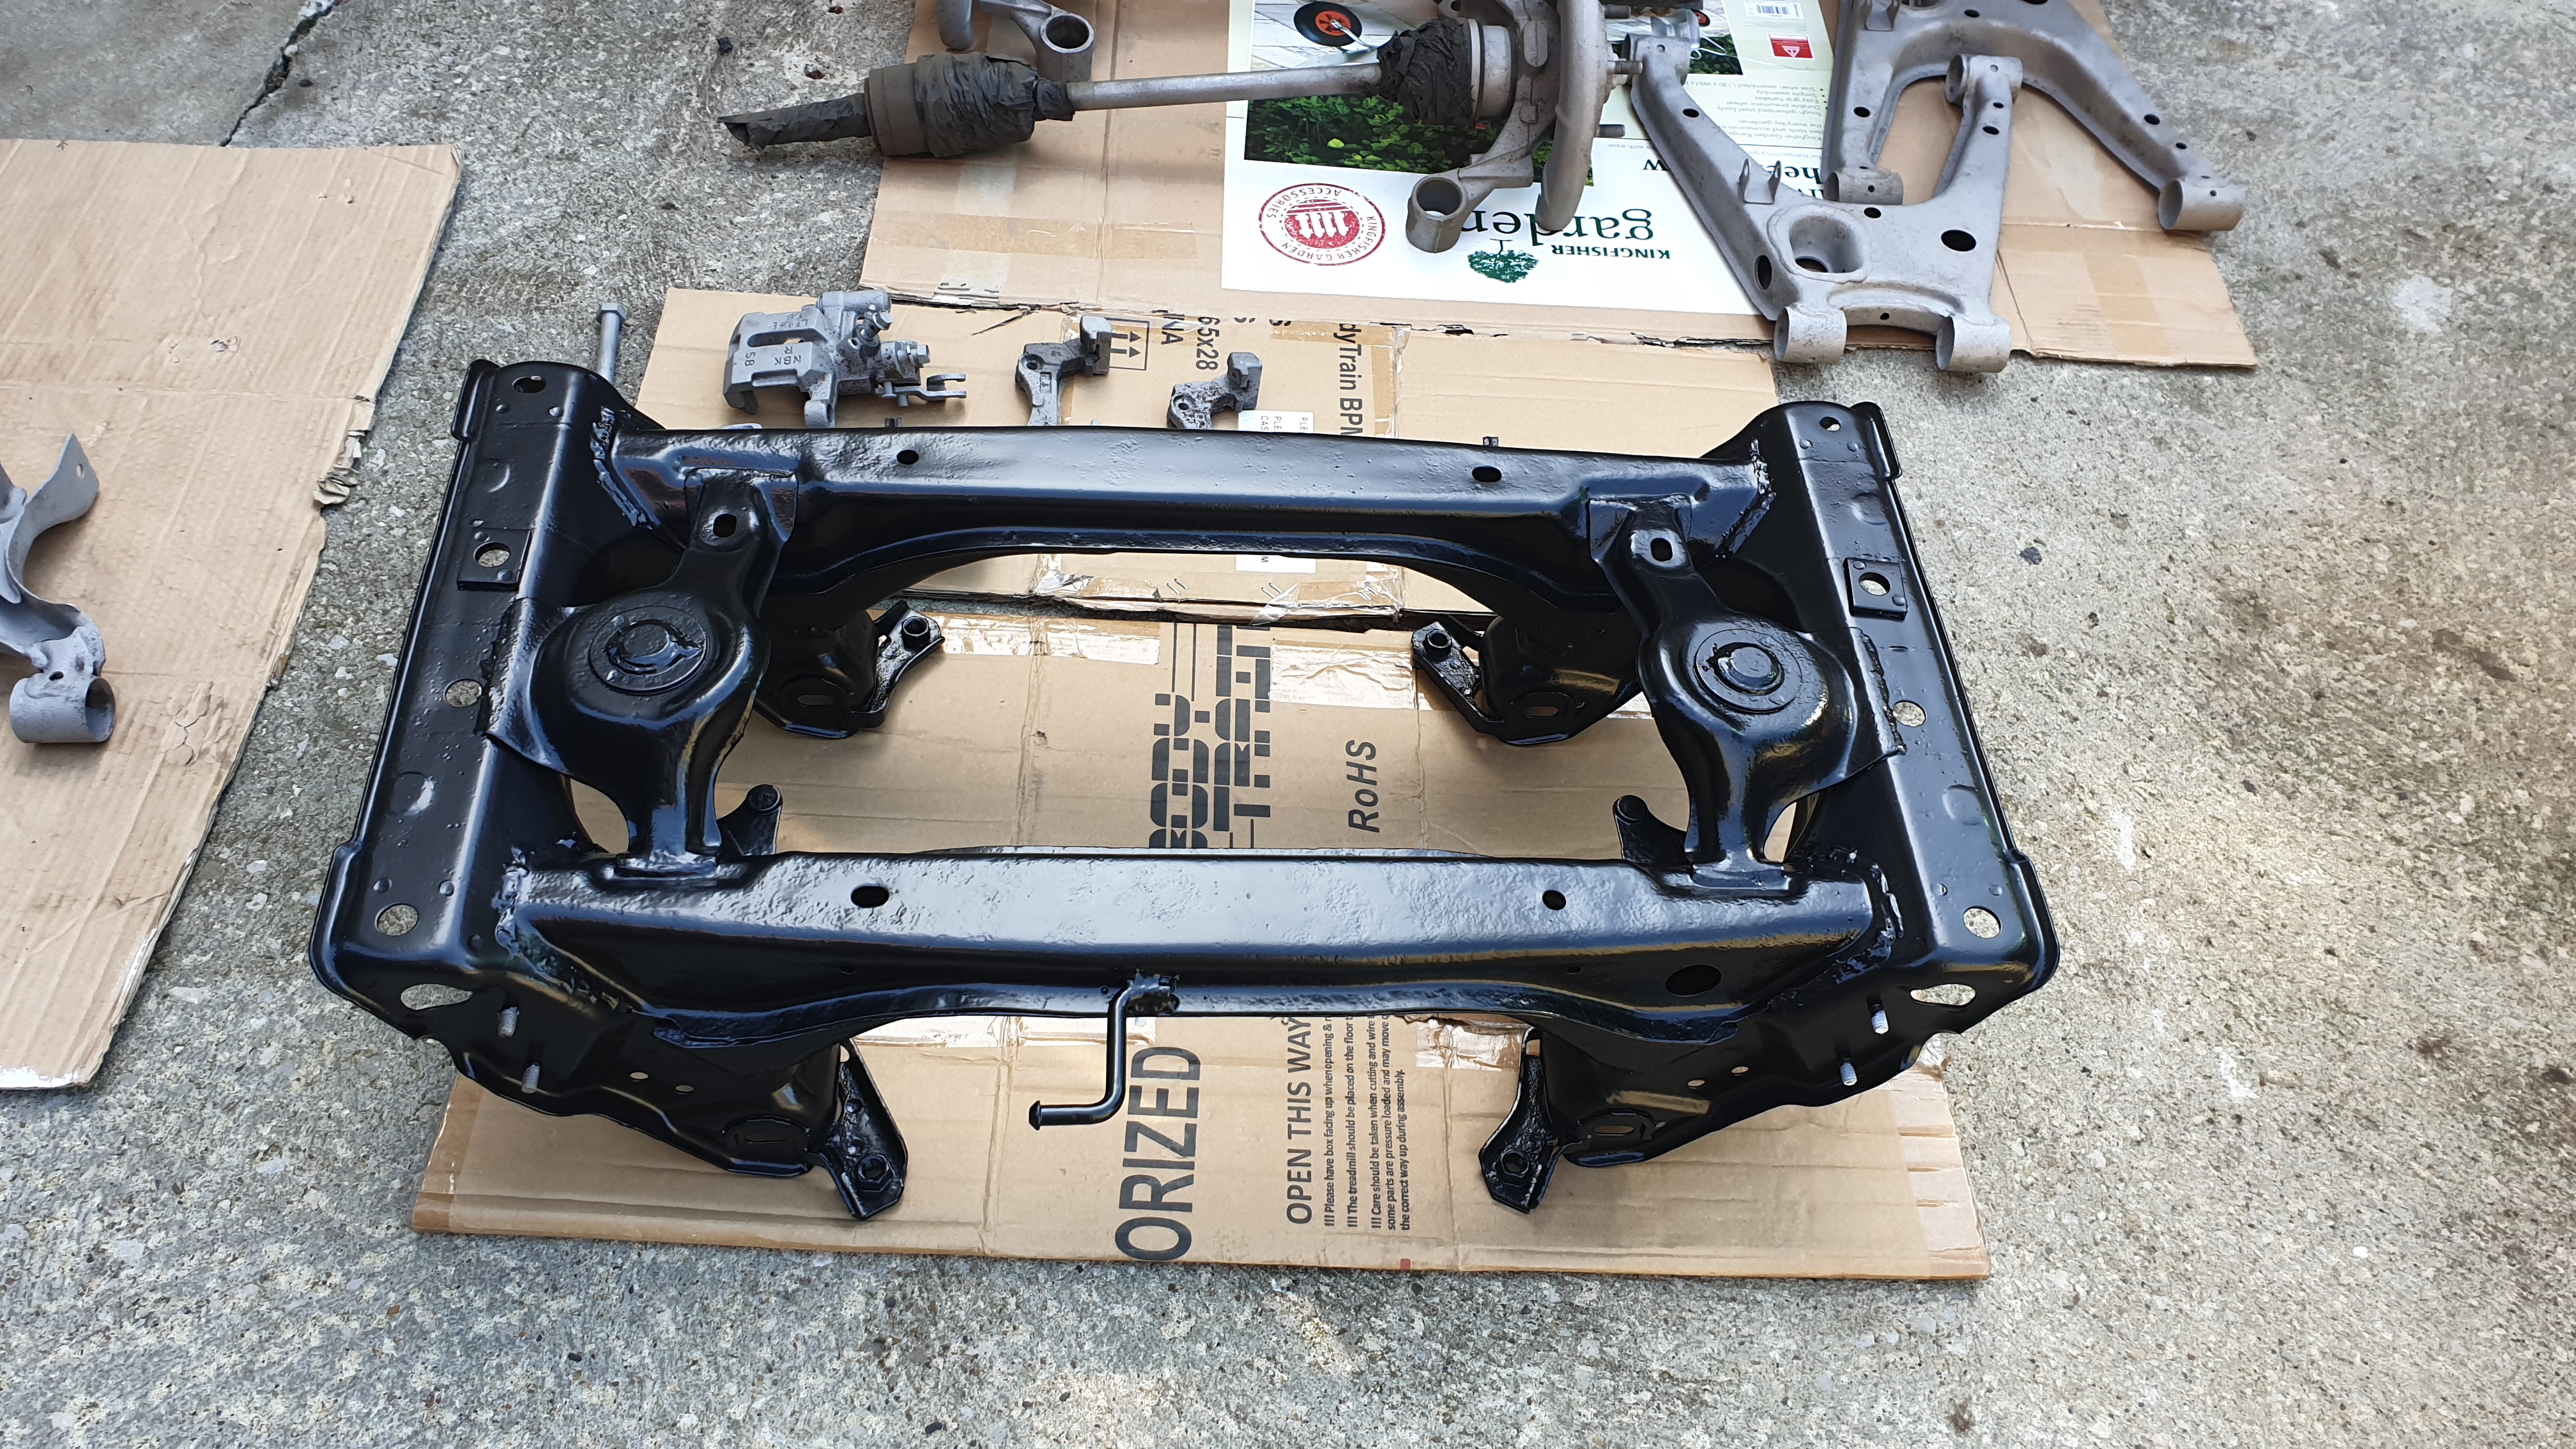
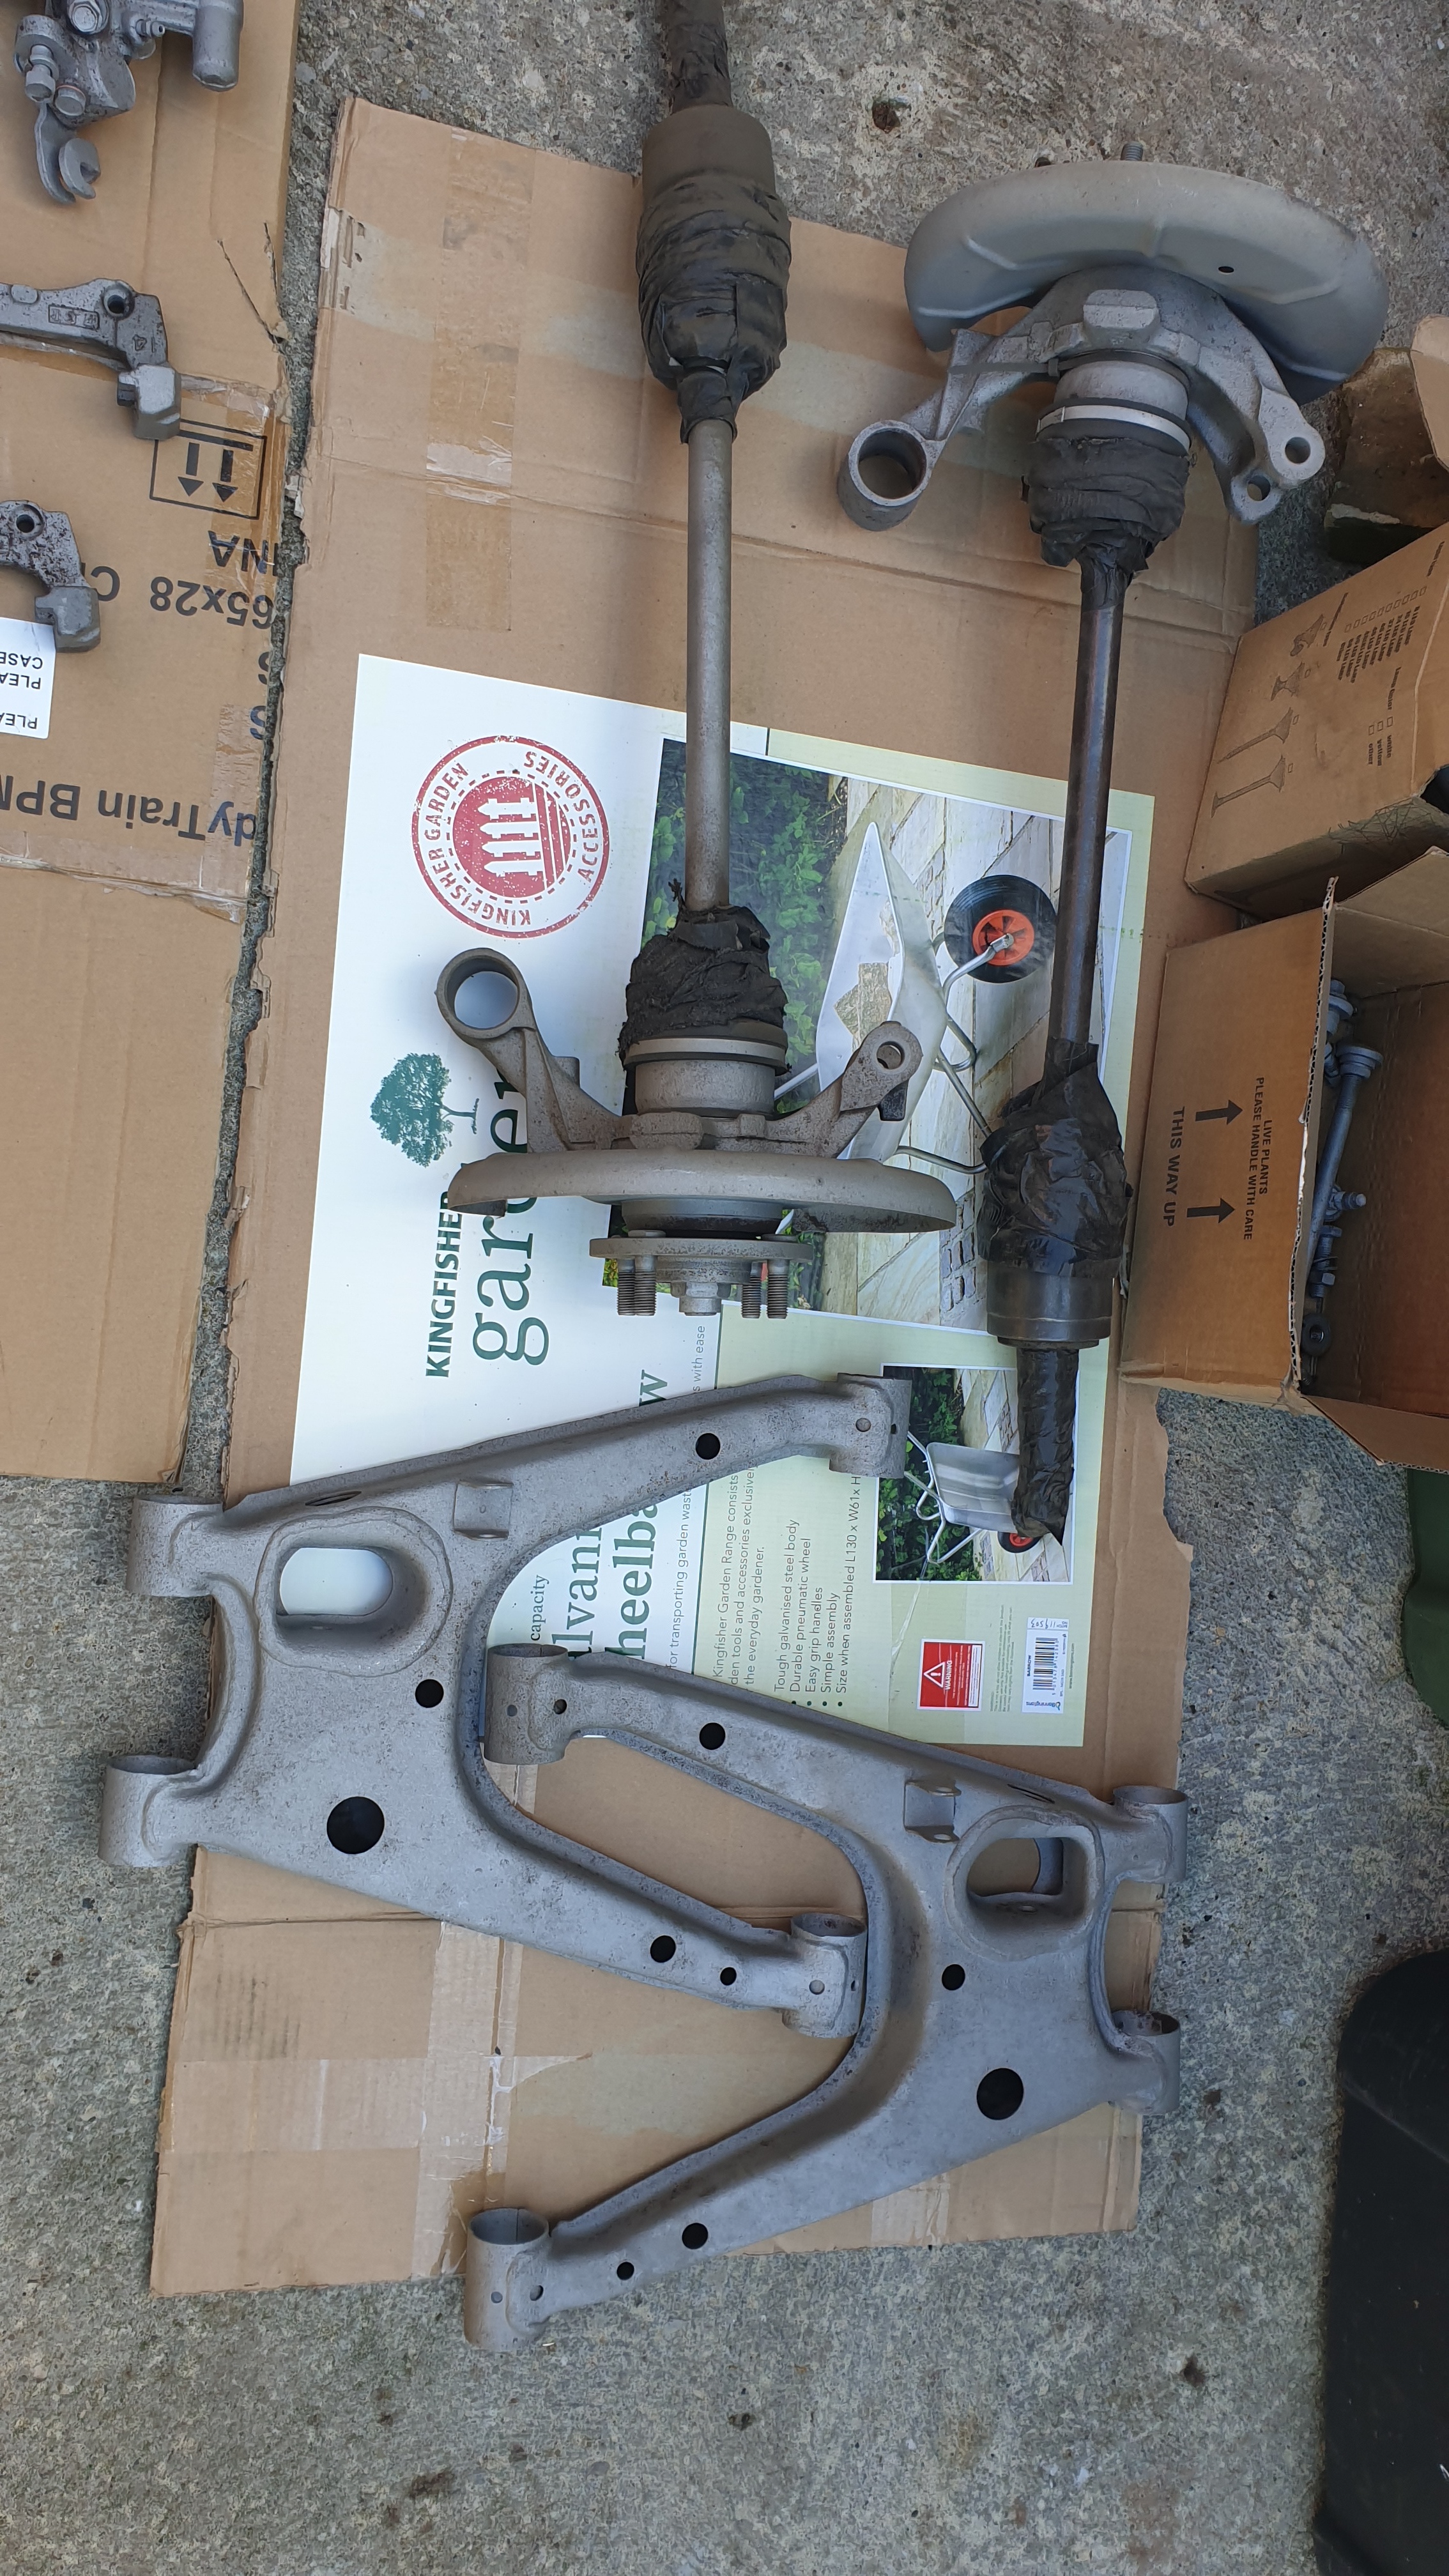
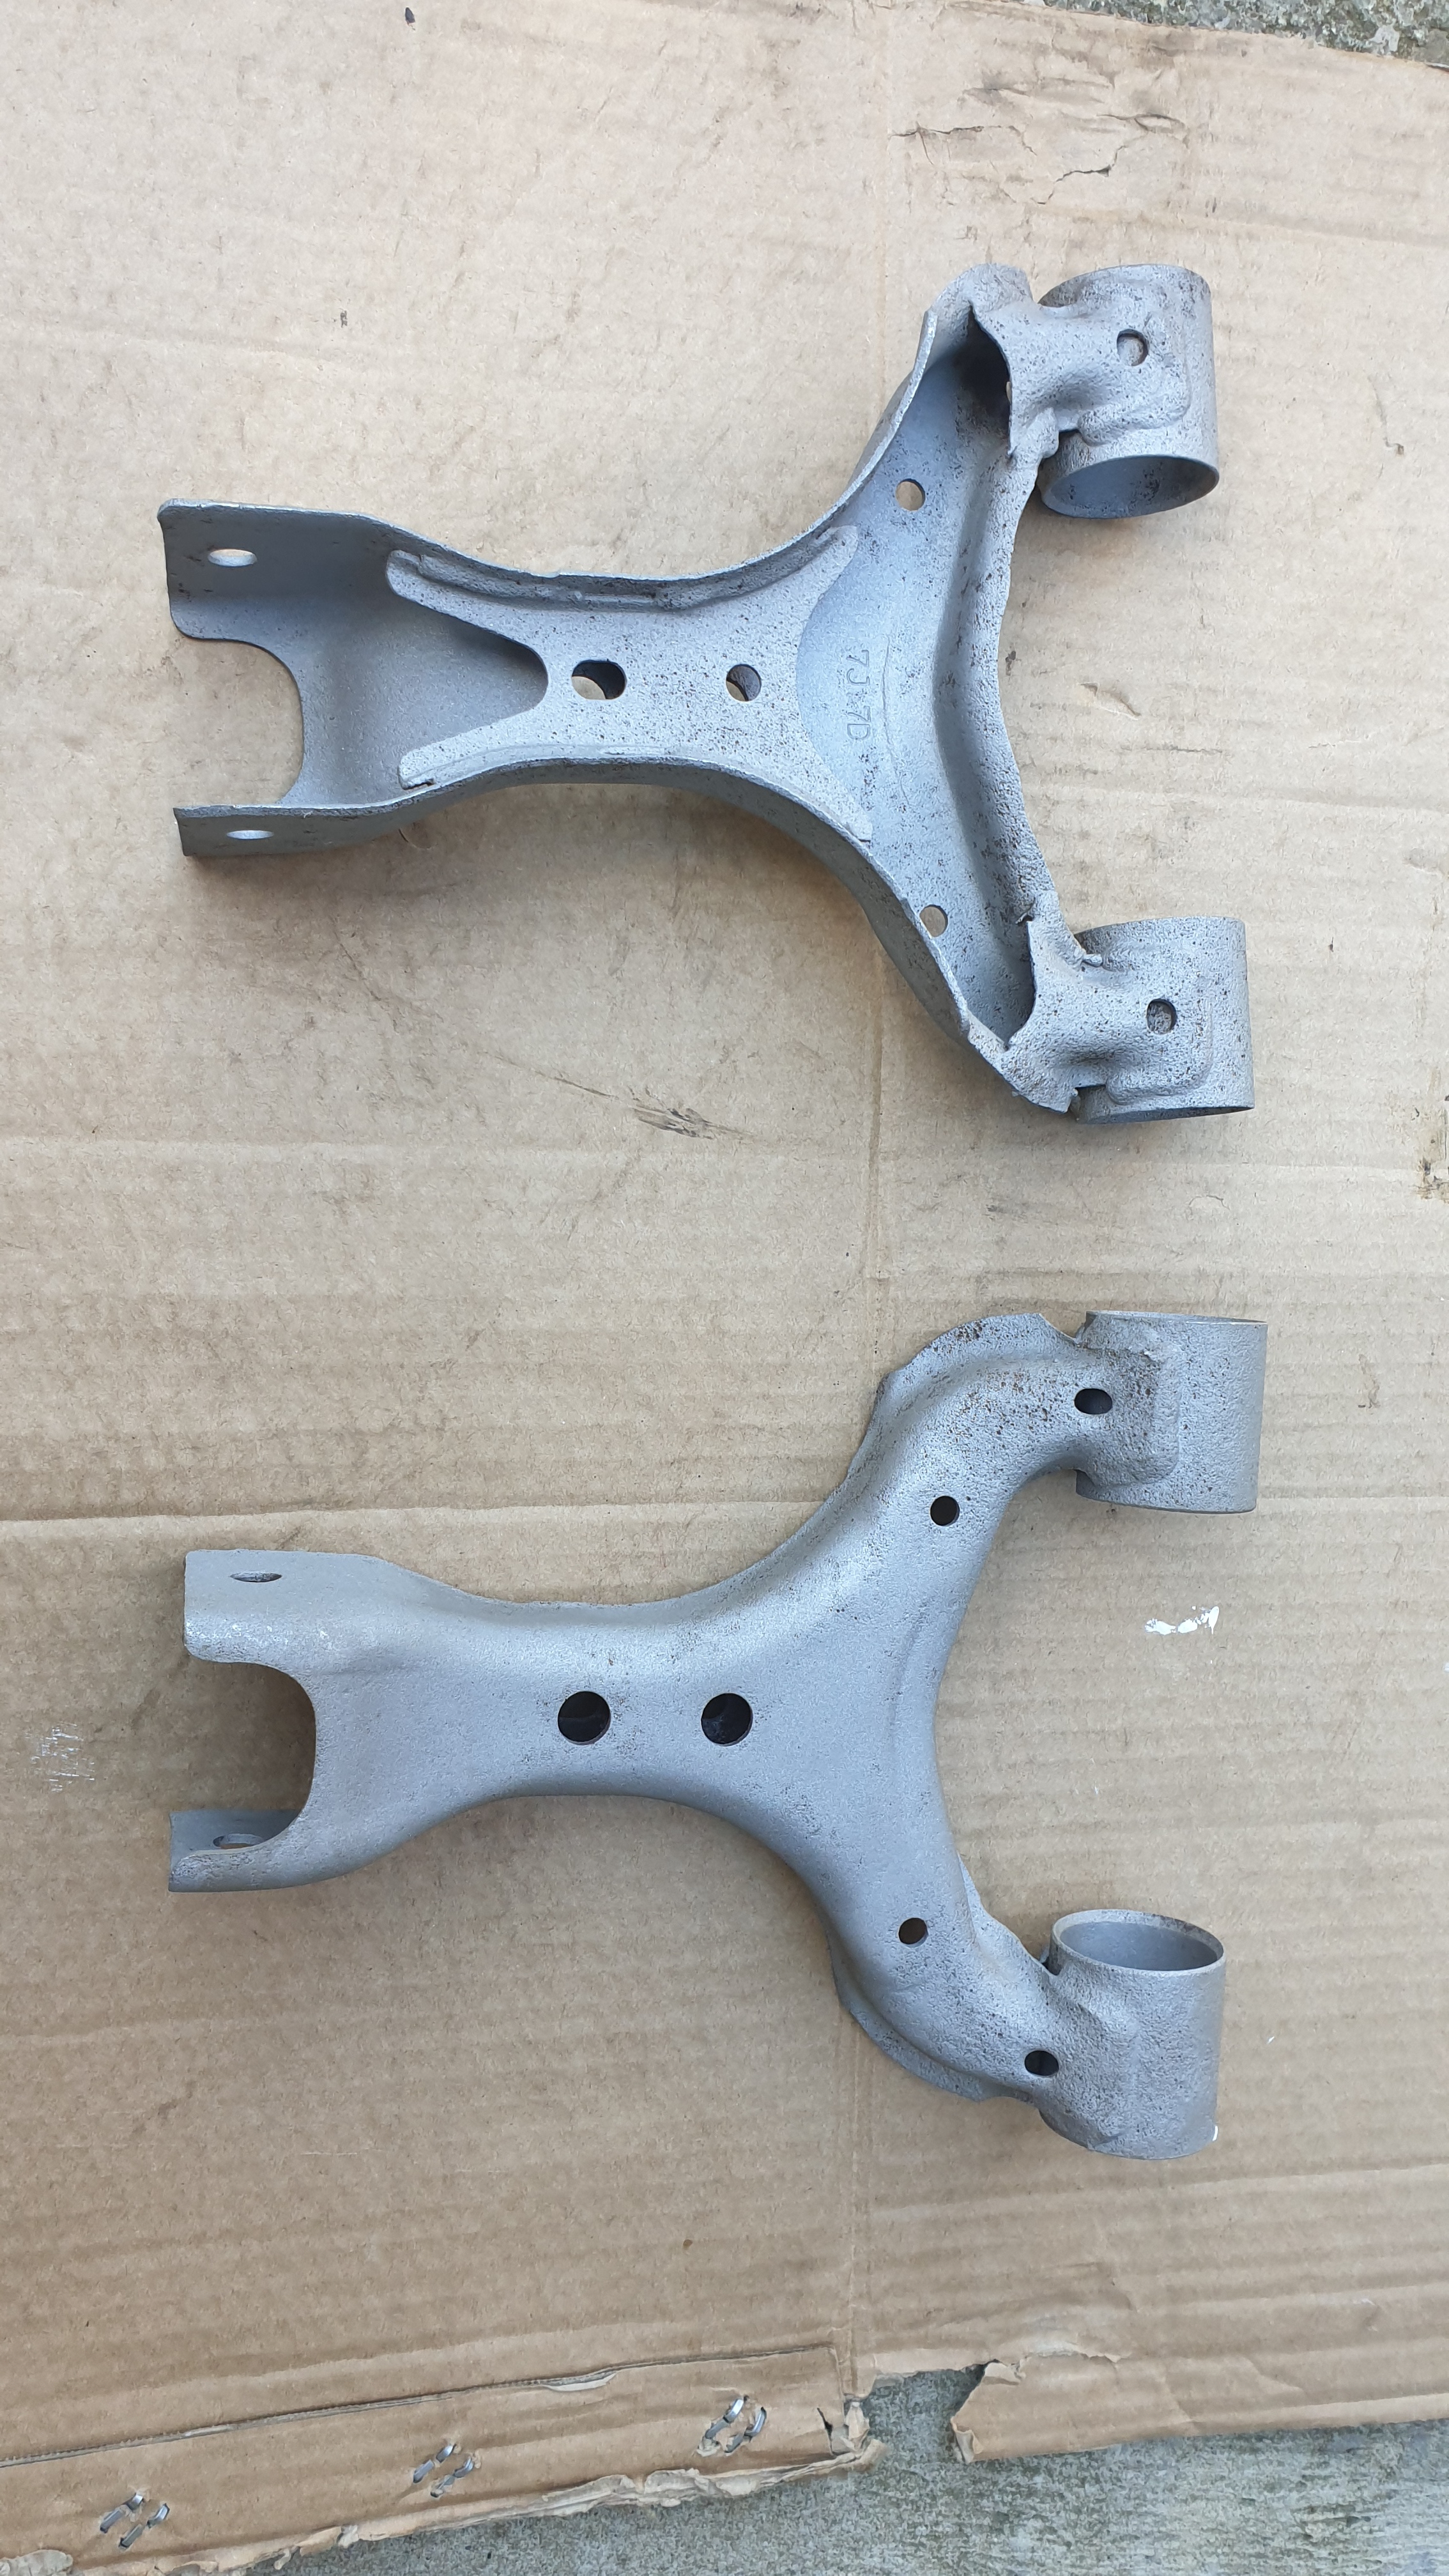
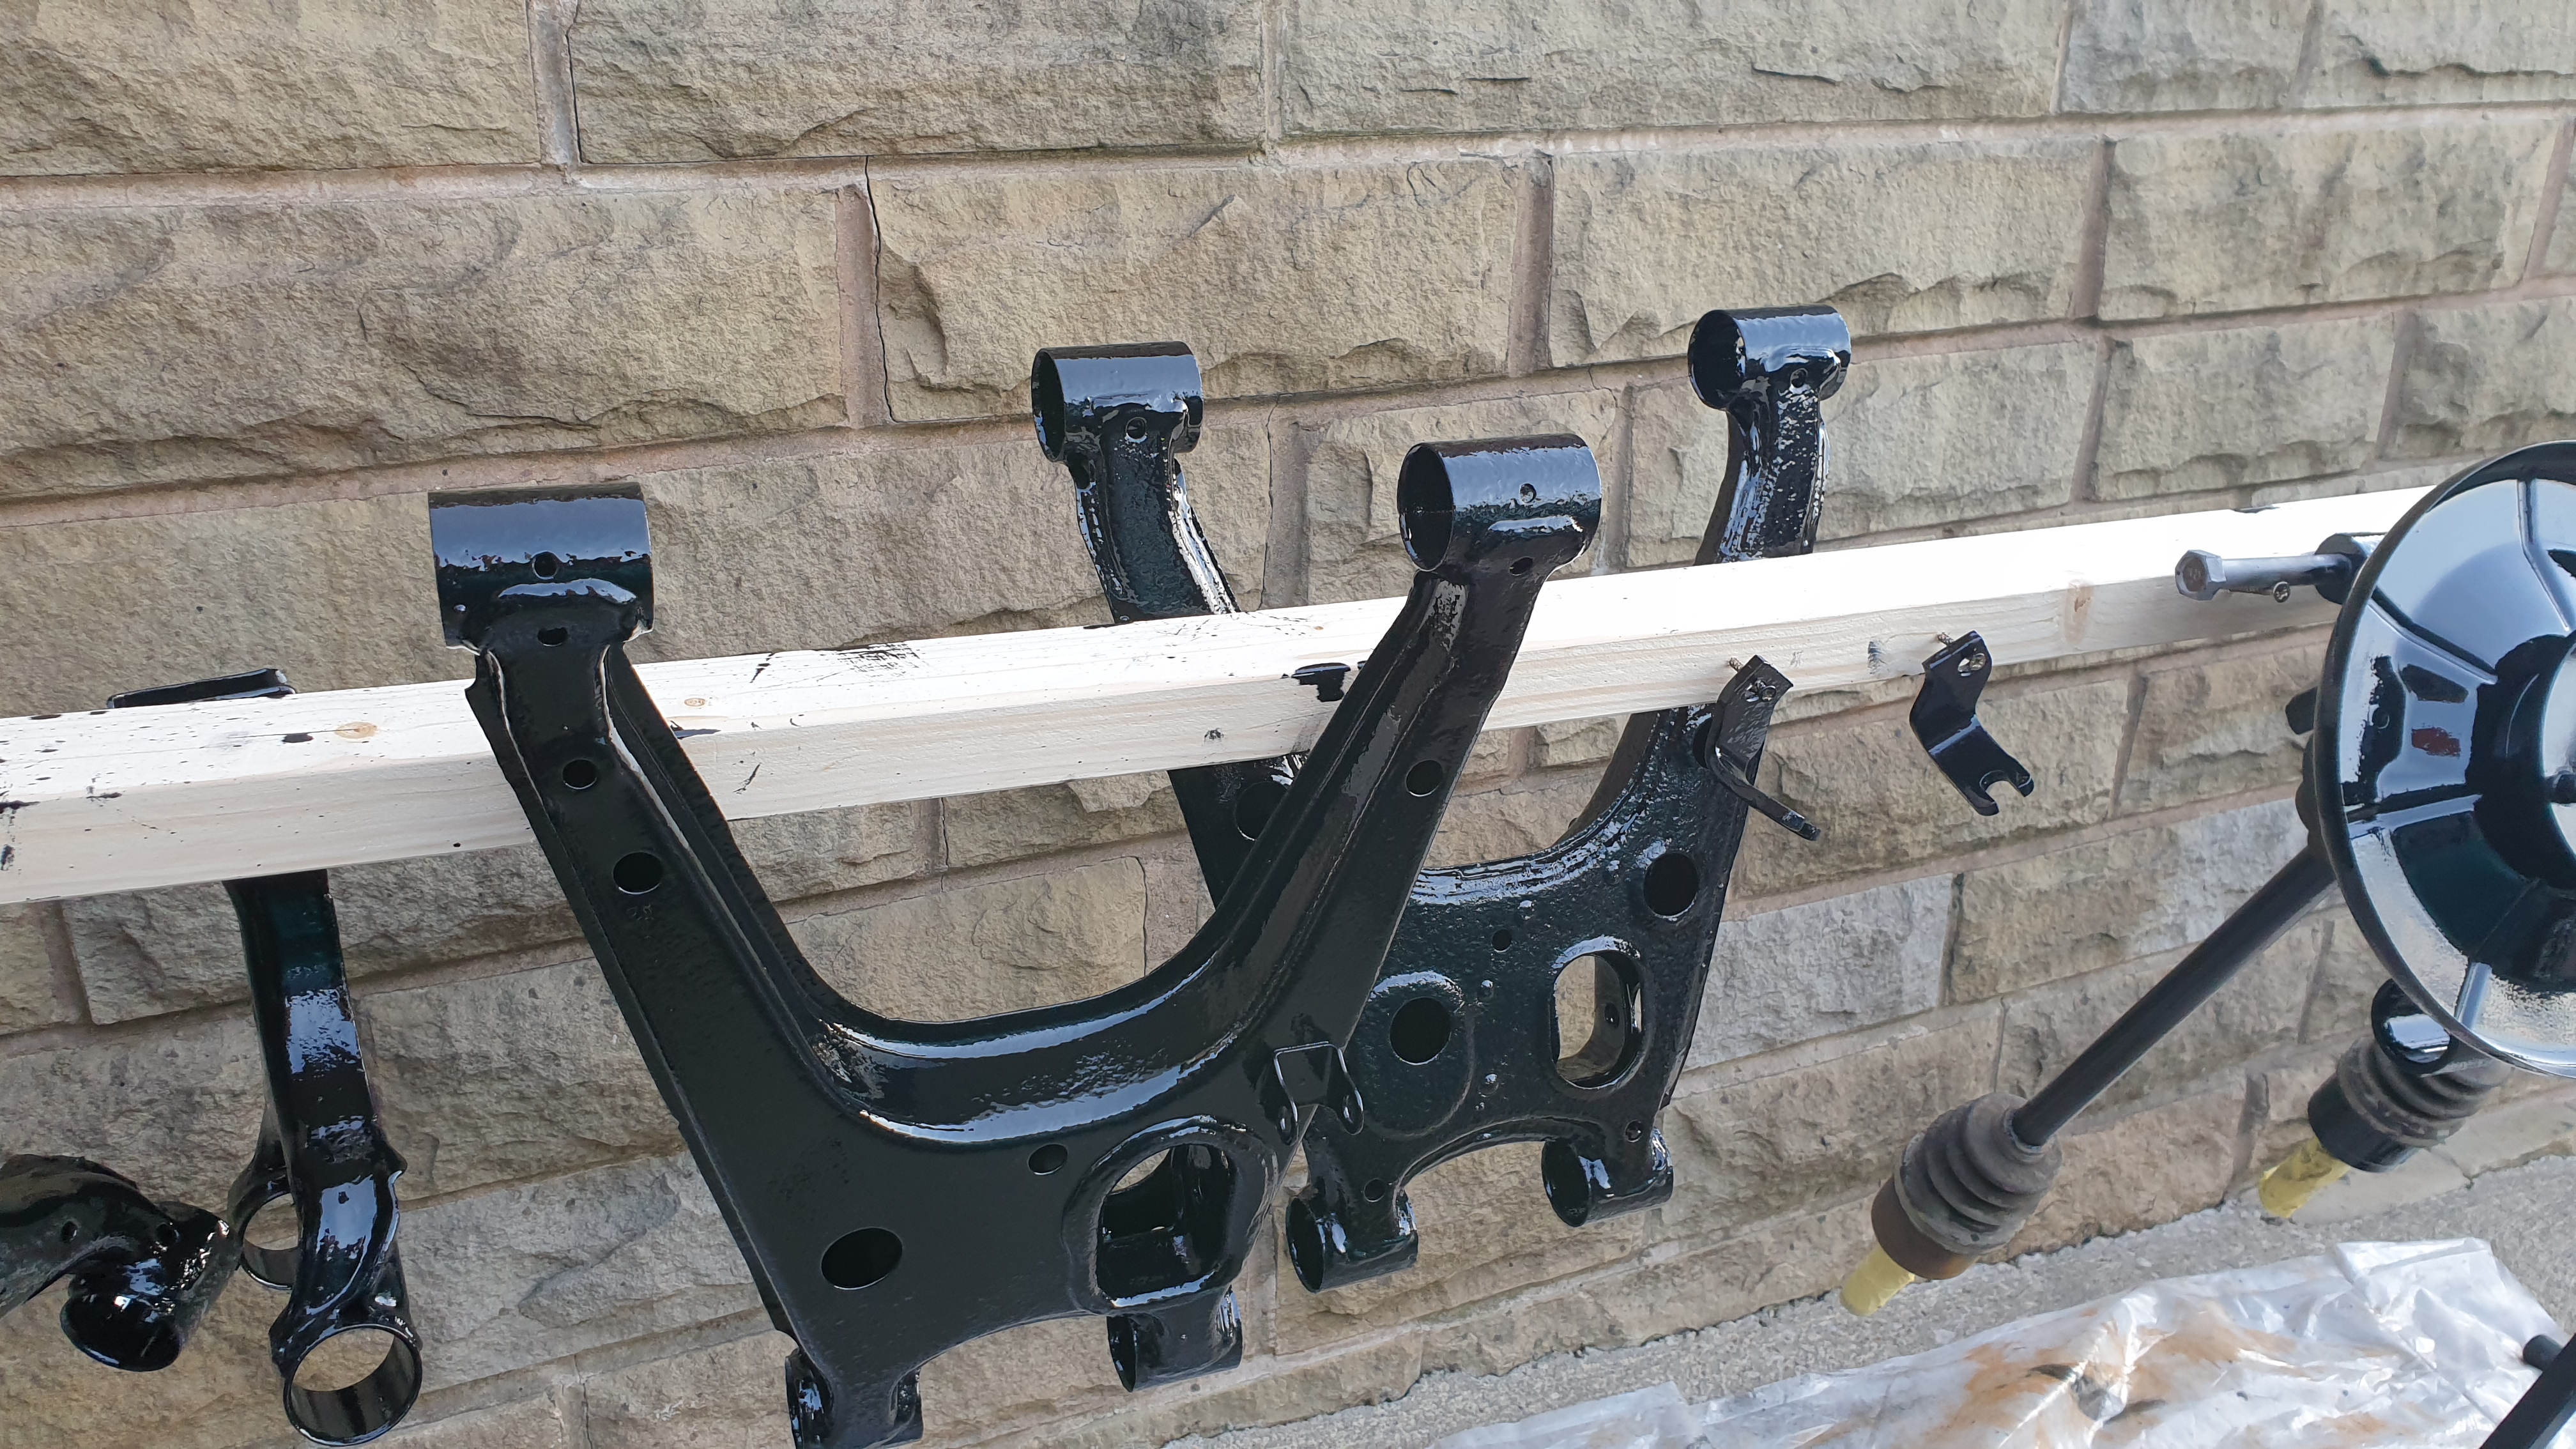
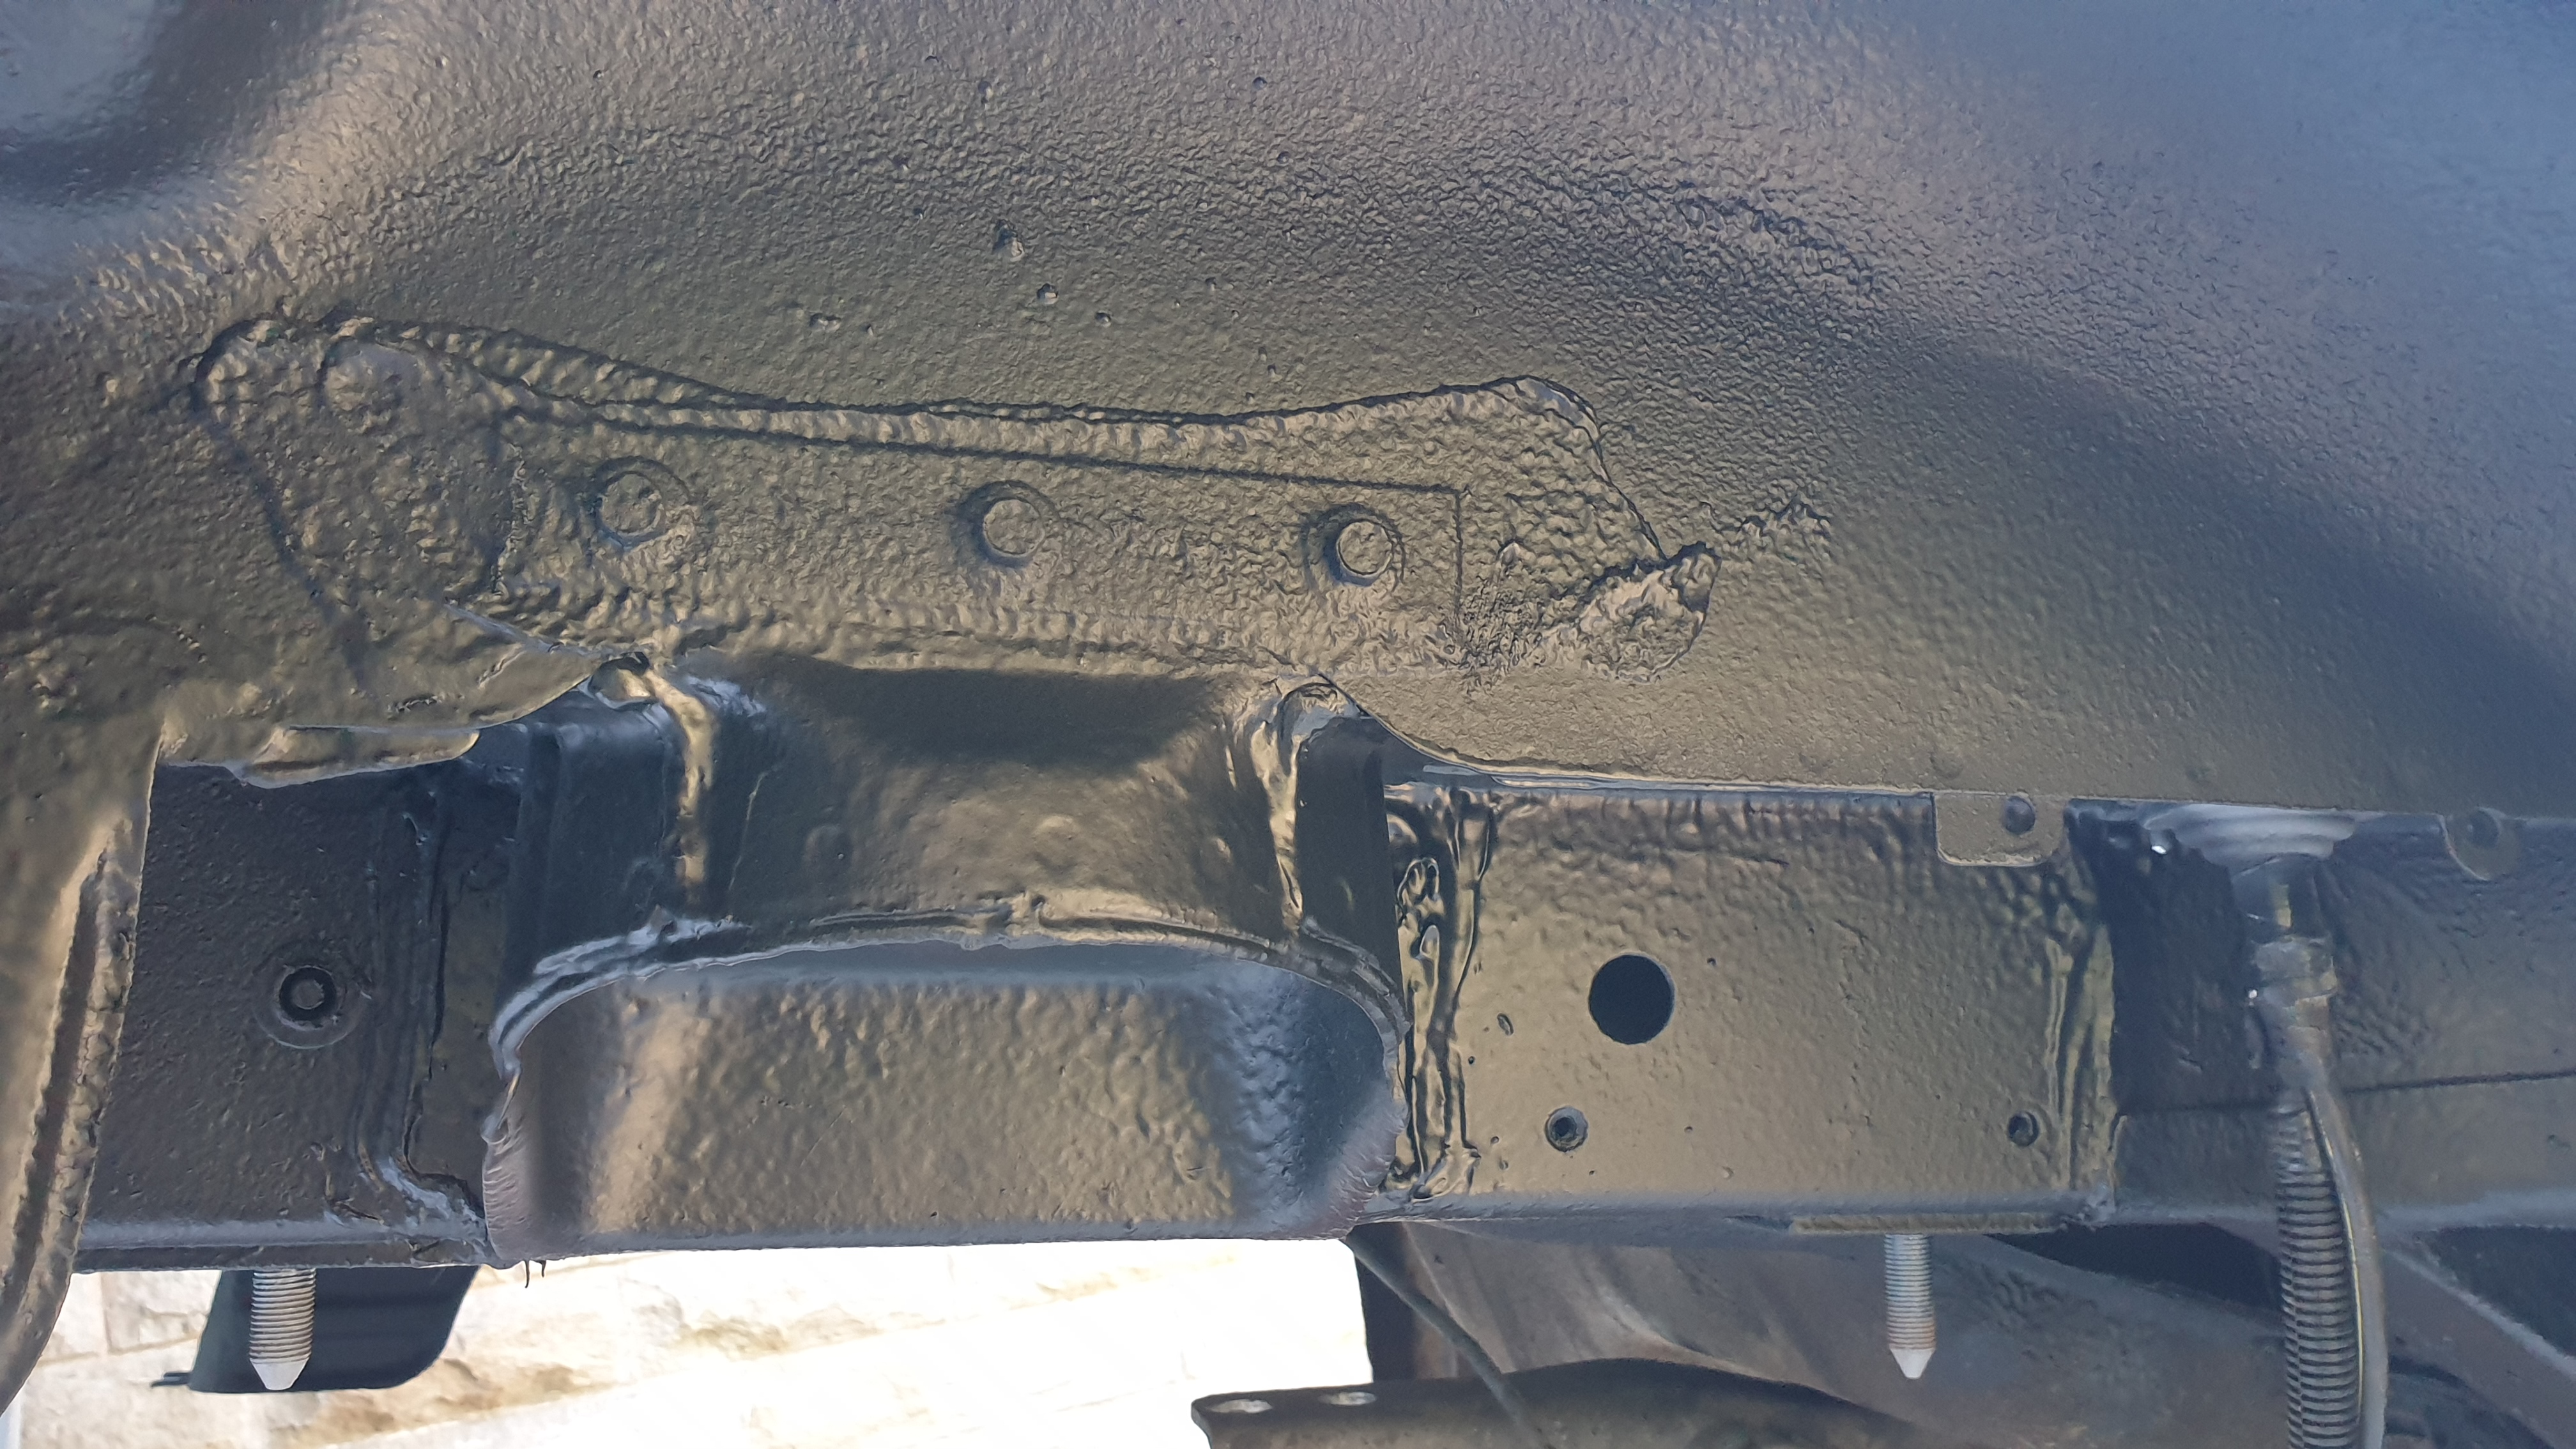
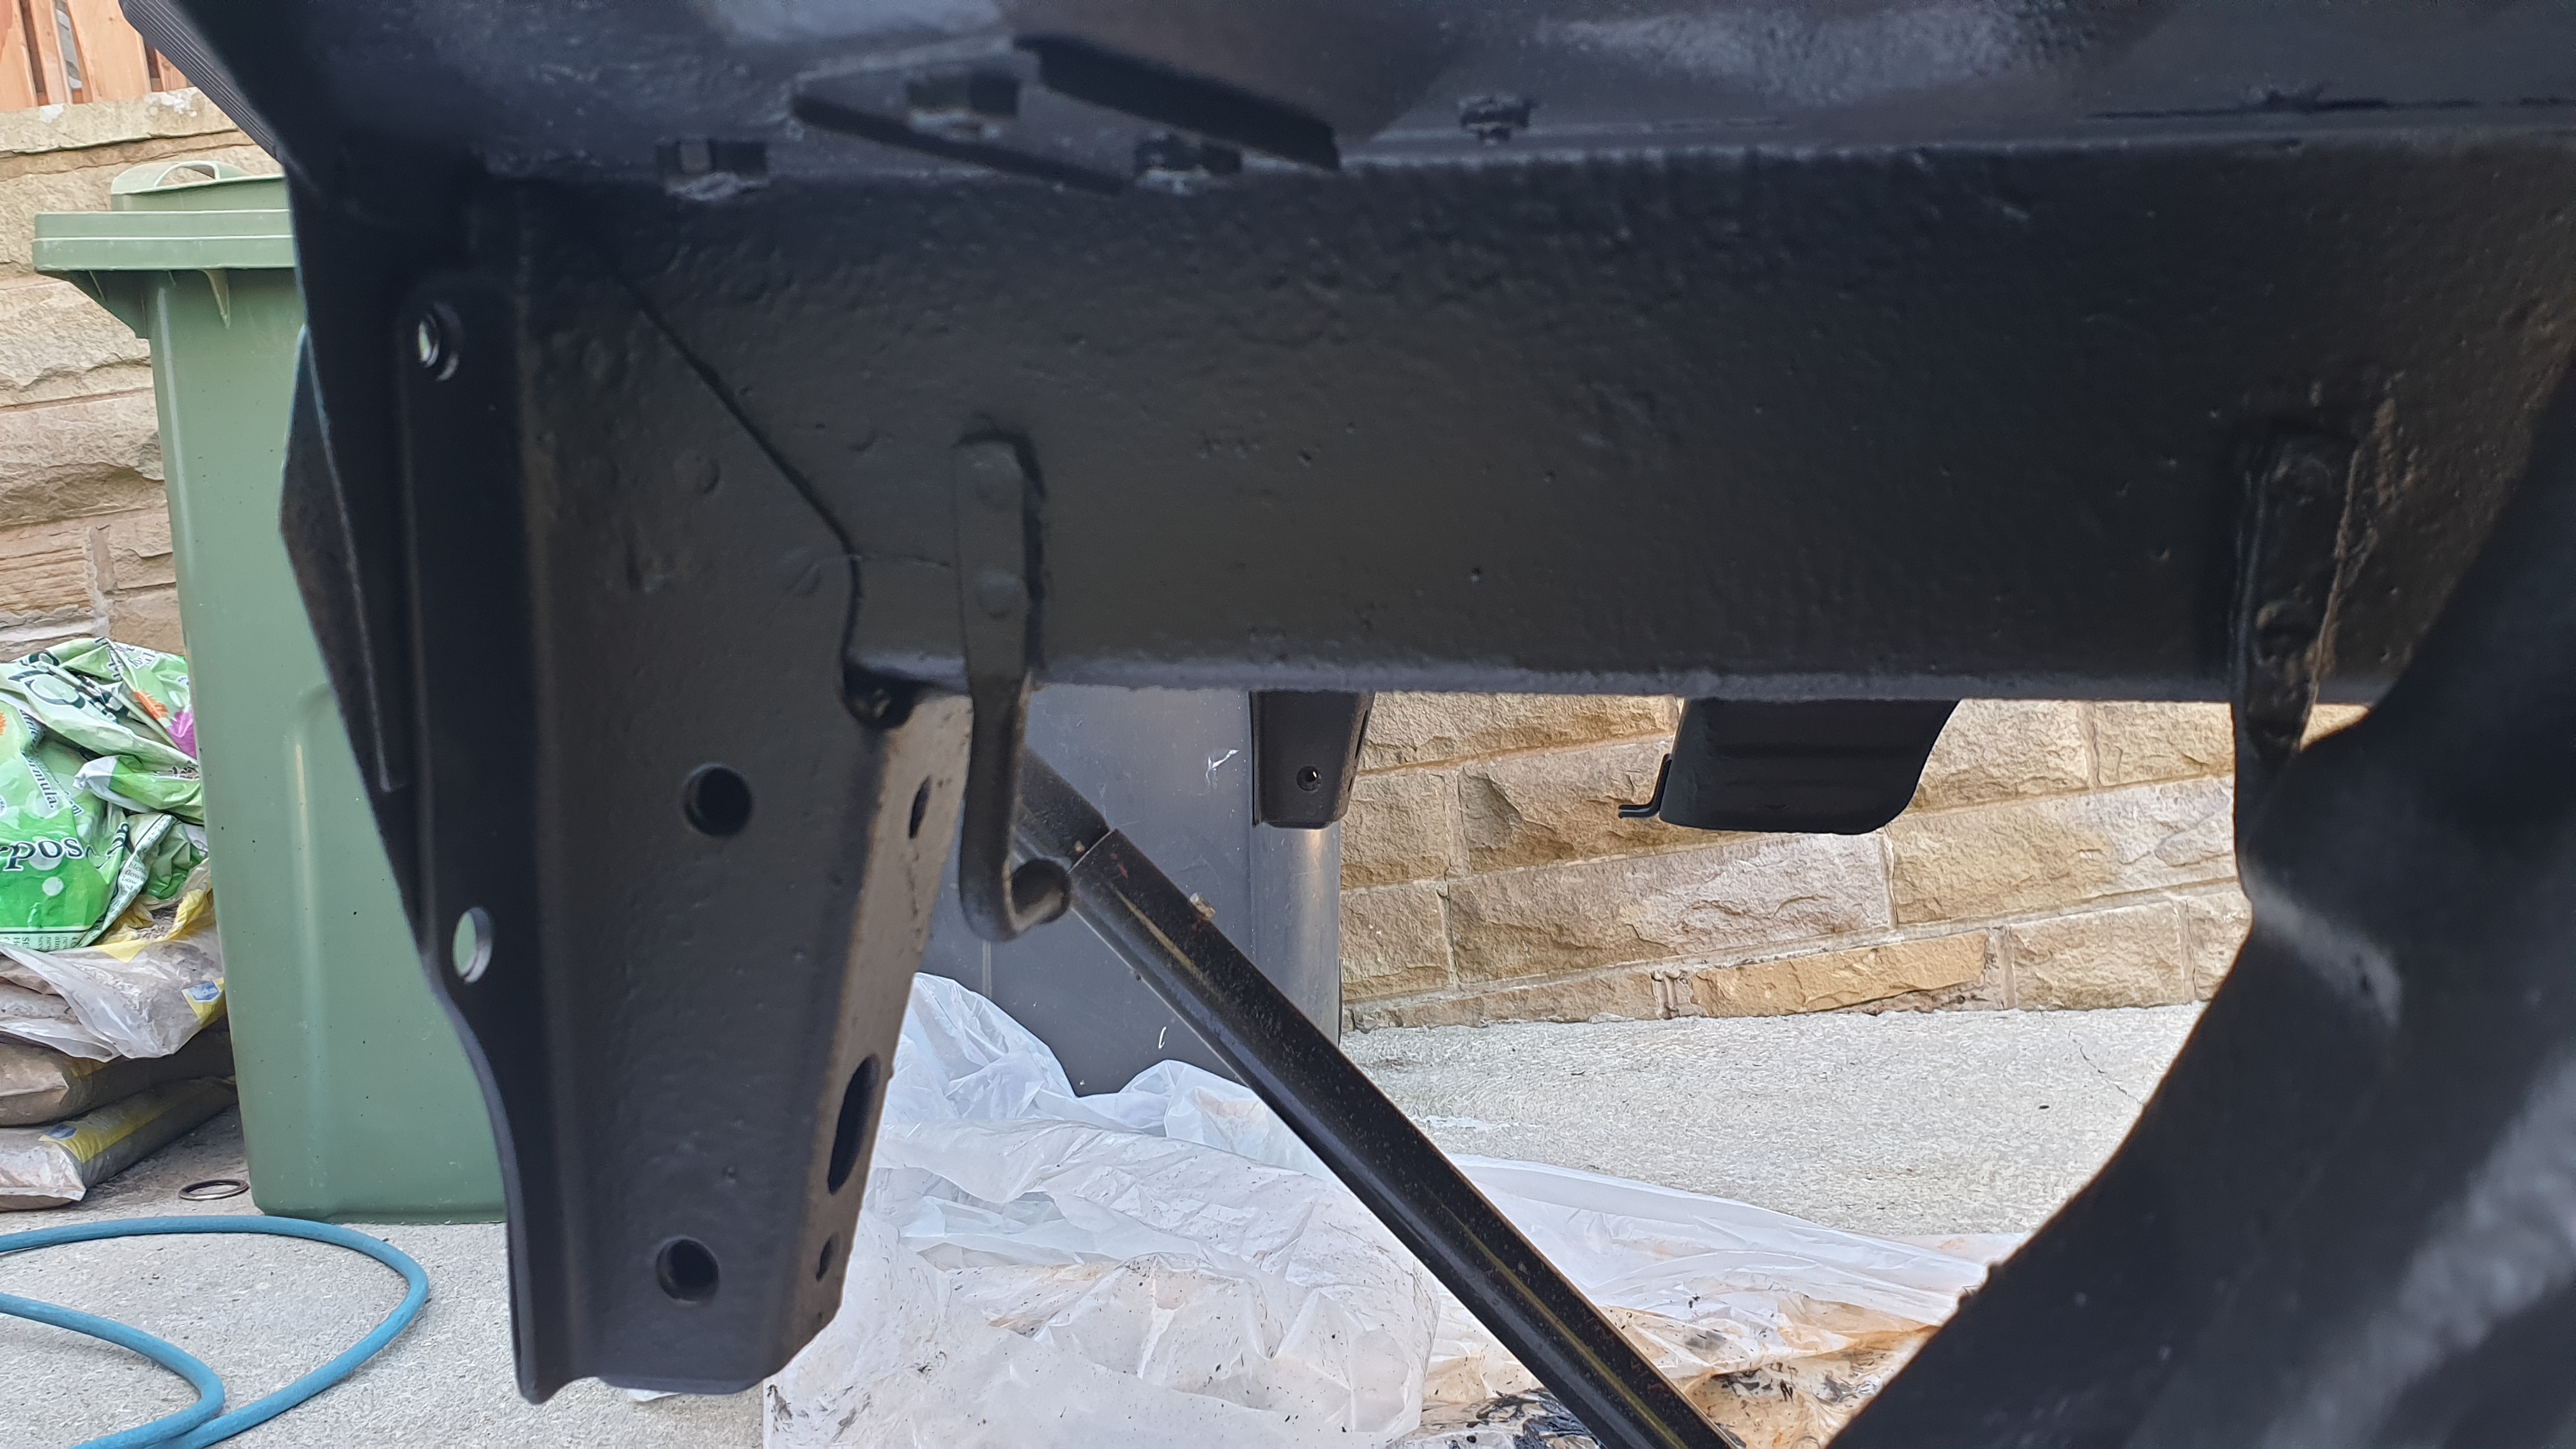
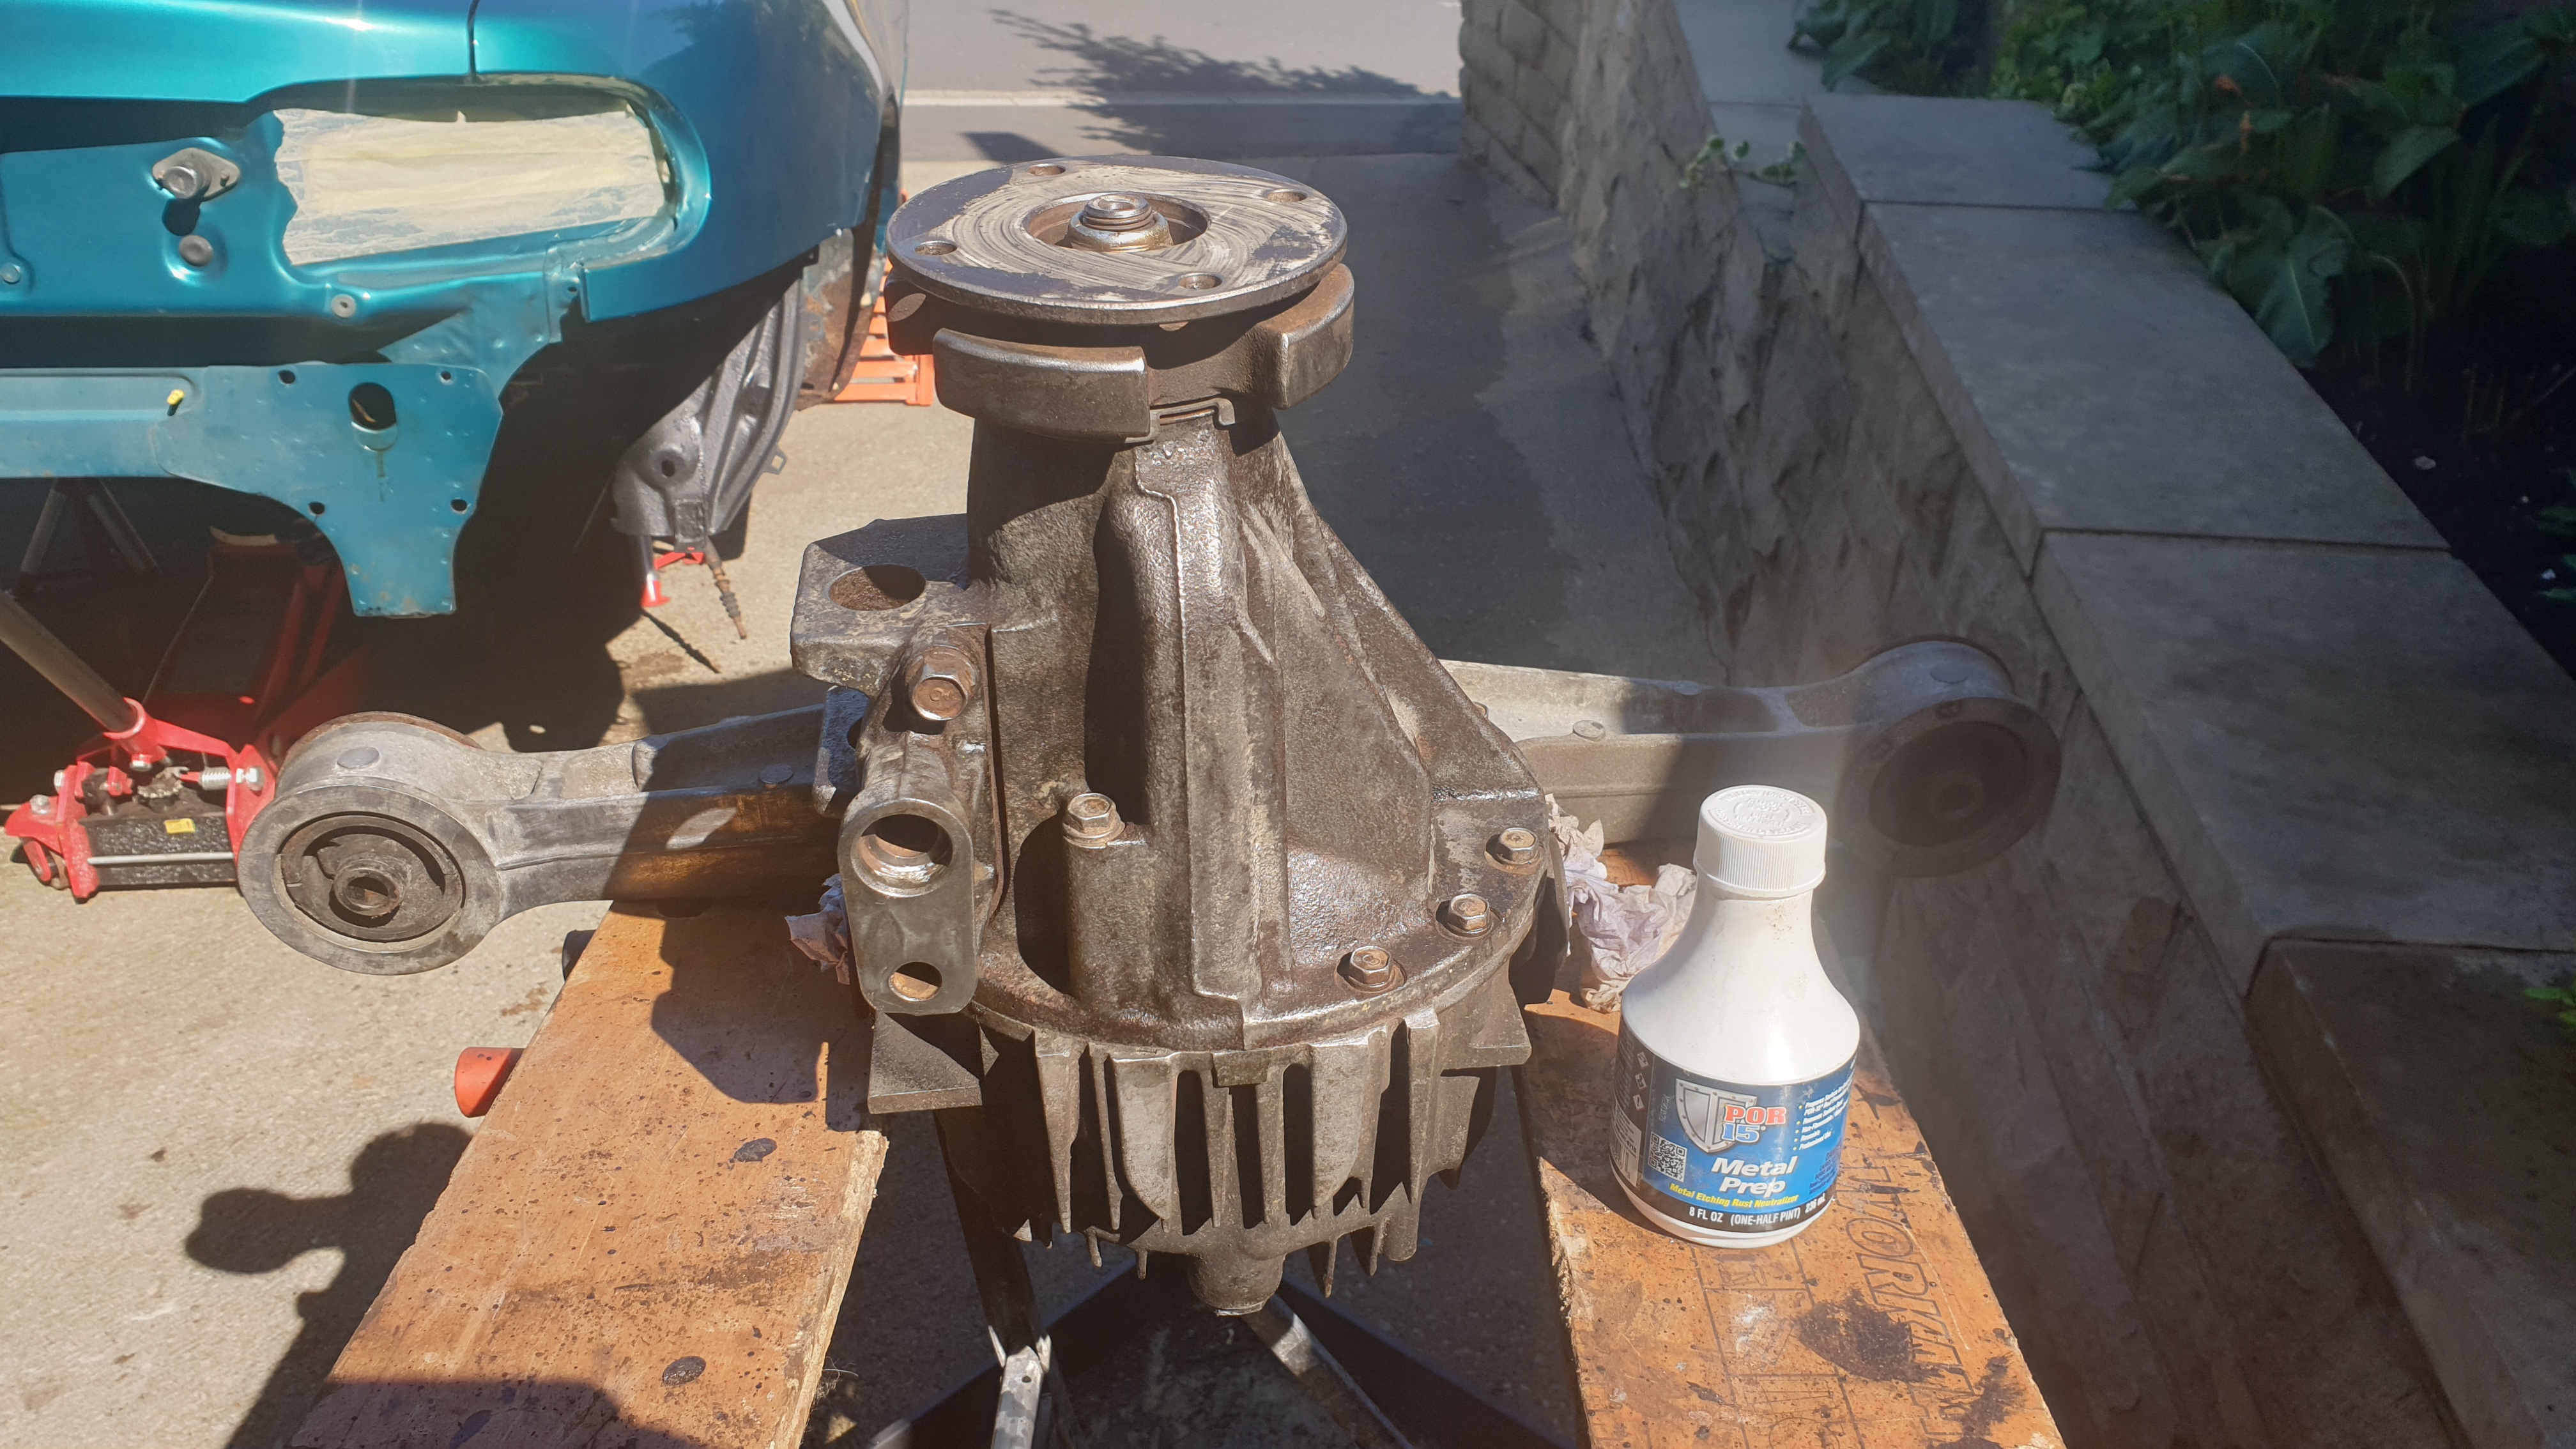
Superpro bushes to fit tomorrow to the rear suspension and then the torsen diff to clean and paint and under the rear to stone chip before the sub frame and suspension get built up again with the new KYB AGX shocks and Eibach Pro Sport springs. Brake calipers to finish painting and then new seals and Goodridge hoses and EBC discs and green stuff pads should complete it. Can’t wait to get it on the road and actually drive it.

If you are wanting to work on the front end, simply make sure the car is in 2nd or 4th gear with the handbrake on and a couple of chocks or bricks at the back of the rear wheels. Then Jack up the front and place axle stands under the rear of the front subframe and that should be fine. I also had a trolley Jack under the engine as an extra precaution. To work on the back it’s as I have done and explained in the previous post and photo. Axle stands under the chassis rails and the trolley Jack under the diff. I would always advise to give the car a gentle wobble to confirm it is sturdy and never go under if you are not 100% happy with it. Mine has been like that for weeks with no movement… Withh the ramps, I drove up and once on, jacked up one side enough to swap the direction so there was no chance of both rotating forwards. Then 2 ratchet straps around each wheel and through the ramps. Hope this helps.
Great to see your progress. You first question was is it worth it? Looking at the extent and how much work you are doing, I would say that the value will definitely be heading upwards quickly (as I am sure are the bills). If it ultimately pays you back I am not sure, but if you are planning on keeping the car it will pay dividends as I am sure most cars need work to keep them roadworthy. I bought a Mk1 last year for £1650 off e-bay. Did not even go to see it. It looked ok, but failed its MOT a few weeks back as it needed a LOT of welding underneath. I decided I wanted to save it and keep it for a few years and decided that i would see if I could get it through the MOT. It is currently being welded by a local garage and it will cost approx £1,000. It still needs a few things doing, but once I can drive it, the rest is mainly cosmetic. I changed the brakes, the mirrors and the tyres and all in it will probably owe me just over £3k. I couldn’t sell it for this, but as I am keeping it I am not overly concerned. I was fortunate to have a couple of Boxsters. The first needed a new exhaust etc and cost me £4k and the 5 year old one I sold last year cost £2,500 for the last service alone by the time it had new brakes. I have decided I get far more fun out of the MX5 and whilst it is costing money, I feel I am getting better value overall.
Anyway, keep up the great work and make sure you have some fun when you have finally finished, it looks a great job!!
The car was given to me and I’m sure that I have spent more than I would get back if I sold it, but the plan is to keep it and enjoy it. With what I’ve done so far, there isn’t anything which will need replacing for some time. It’s edition 372/400. I have had the opportunity to drive many exotic and classic cars and I can say that for the few miles I have covered, this is certainly more fun.
Today I have managed to fit all the bushes on the rear and stone chip and dinitrol ML cavity wax everywhere at the back and put the rear subframe back on, which was a bit of a job on my own. Just waiting for diff oil and some more POR 15 to finish off the back end. I only have until Thursday before it goes for the welding.
Does anyone have any of the original alloy wheels from the Berkeley to make this one original? Just missed out on some on eBay.