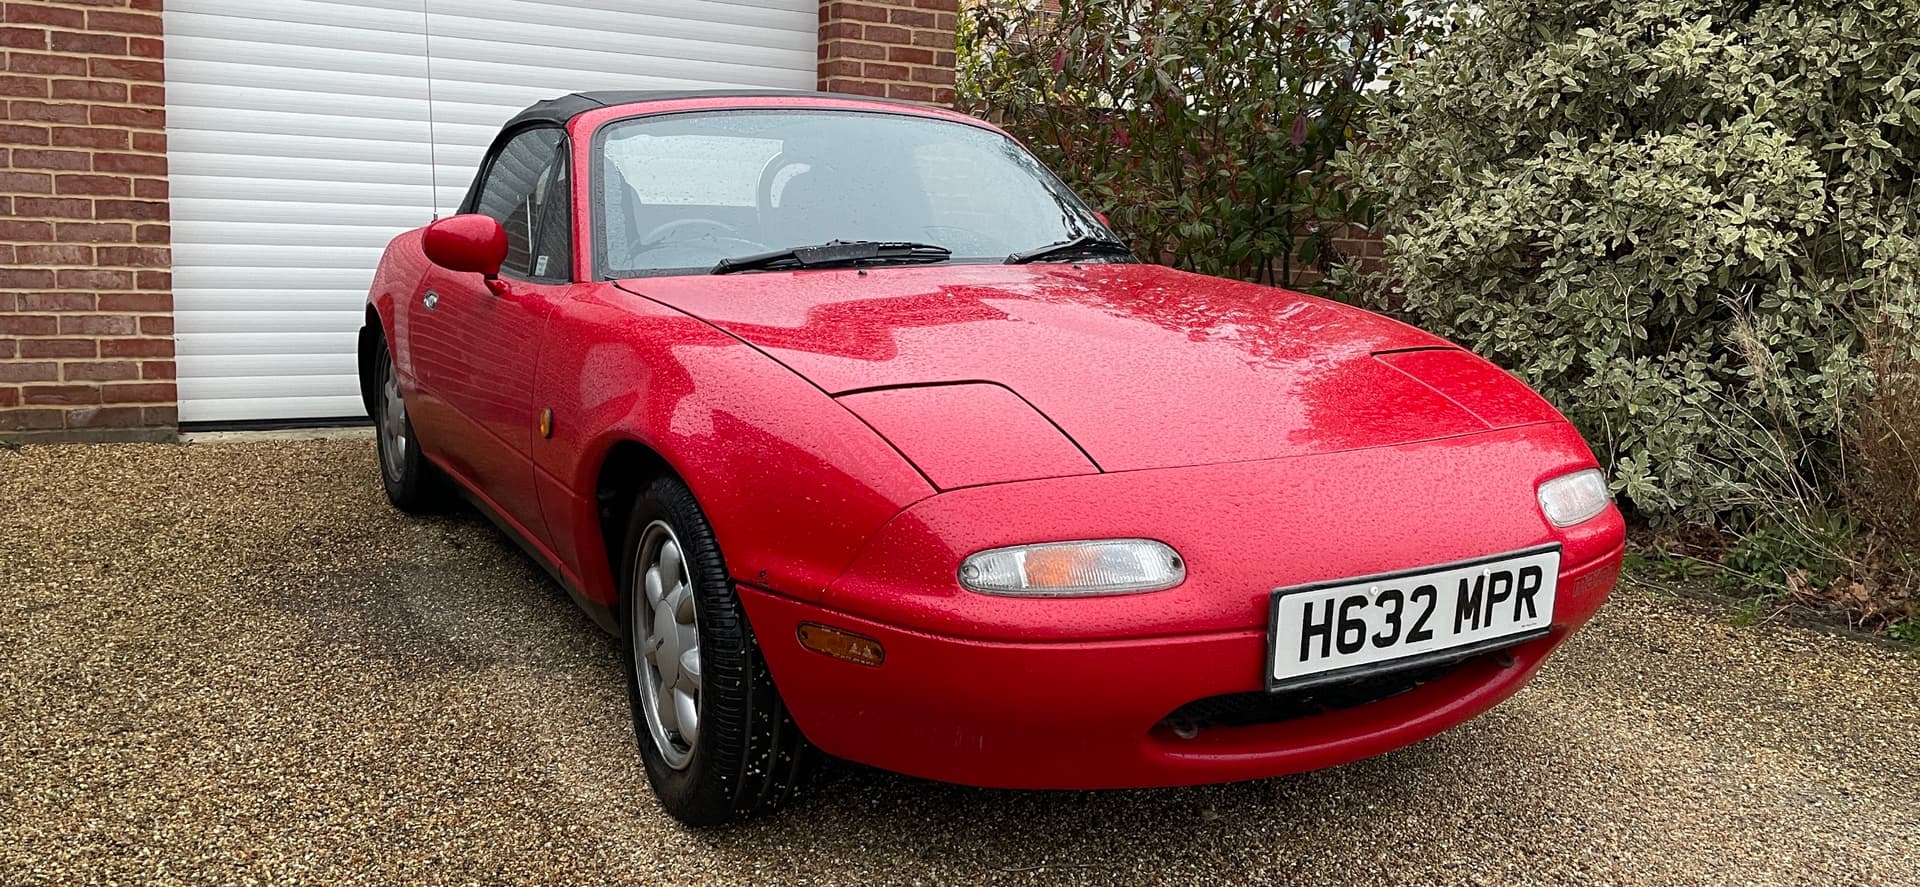
Hello All, I have just purchased a second mk1, a 1991 in classic red and have a couple of questions I hope those with knowledge of older mk1’s could help with?
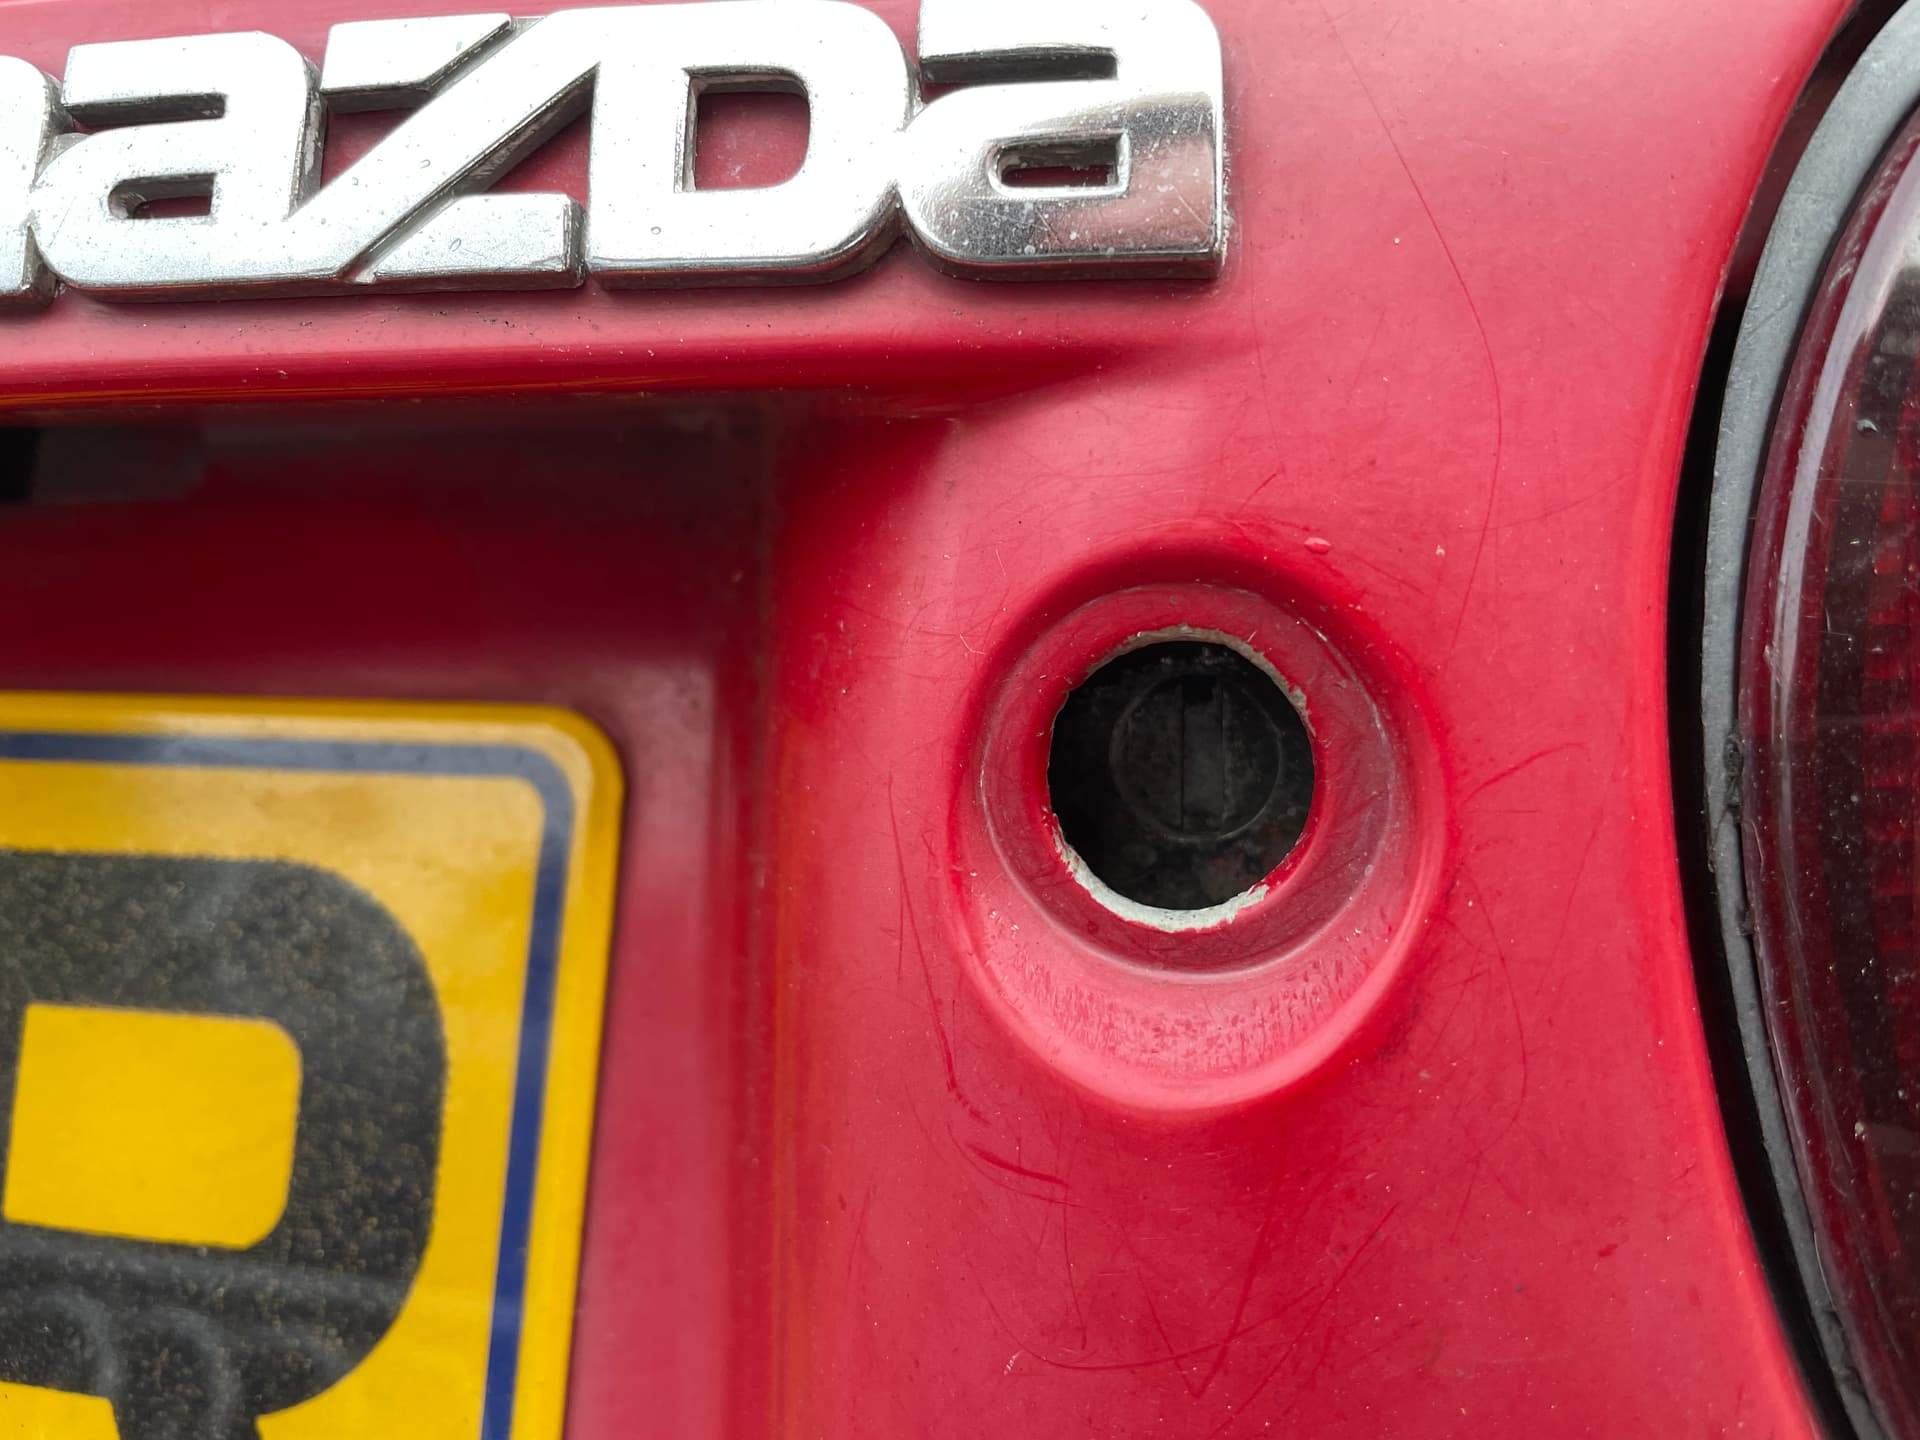
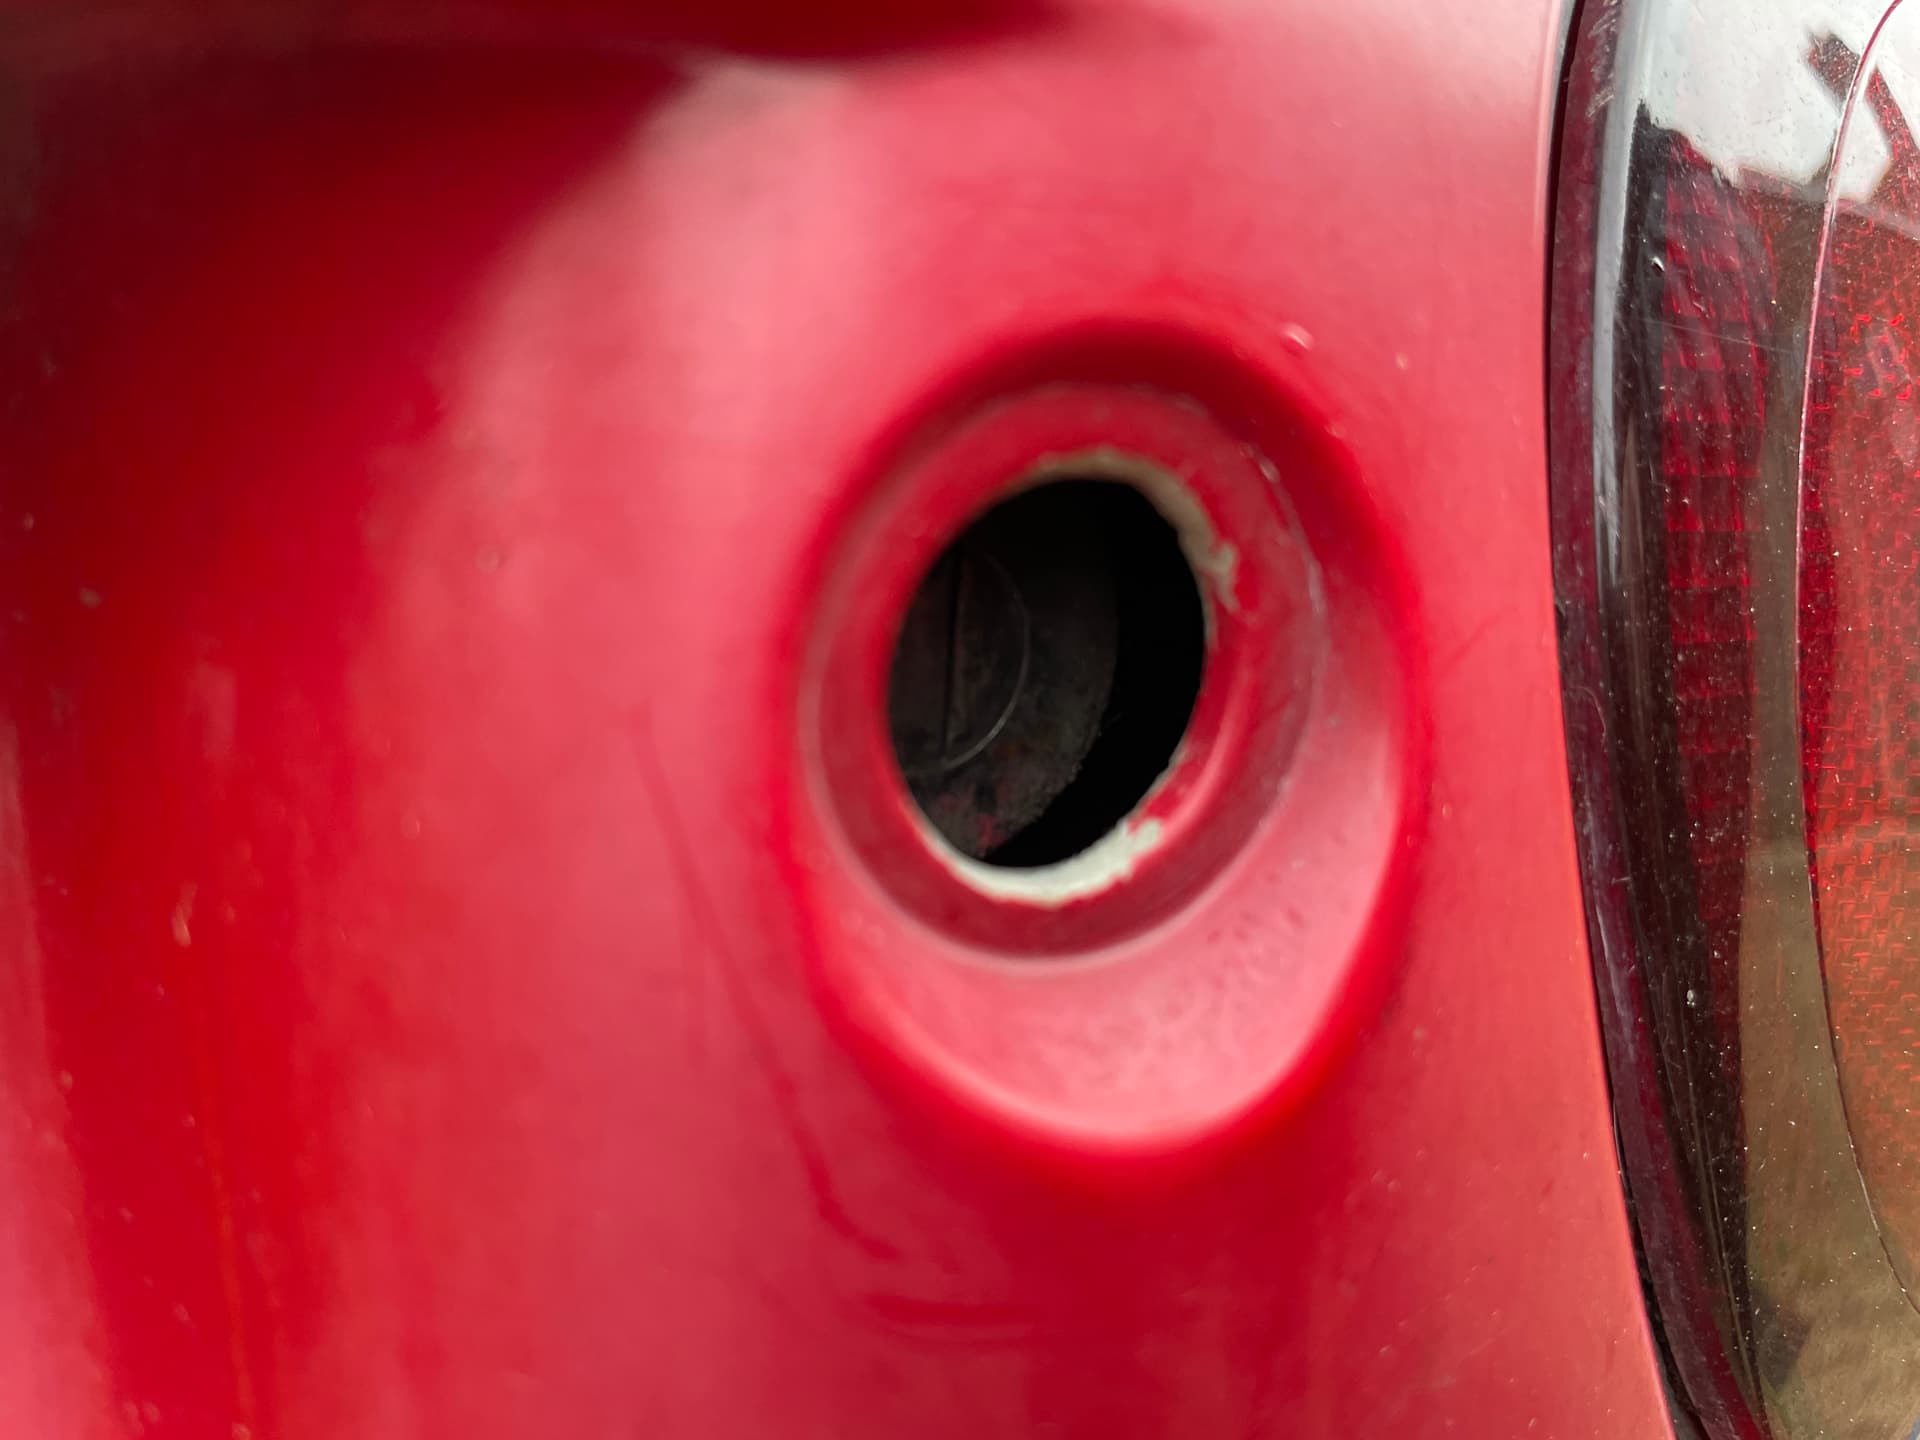
The boot lock seems to have sunk in behind the number plate panel - is this how it should be? On my 1996 mk1 Merlot it is fitted flush with the panel
There’s no boot release under the arm rest, was this not introduced until later?
It has electric windows, I wasn’t expecting them on a car this age, would this have been a factory option?
It has adjustable suspension, I know nothing about having this so any advice appreciated! I am not sure what make, presumably if I turn the wheel I should be able to see the make etc (I only picked it up yesterday so I’ve not had much change to have a really good look)
It was refurbed in 2009, sills and rear arches all done, it was documented in the Aug’09 edition of the owners club mag and dry stored/very low miles since. There’s a little rust on the front wings which weren’t done at the time
The headlights pop up on the button, but do not always pop up when using the stick. I turned the headlights on on the way back from pick up and the lights popped up randomly after about 15 mins! Any ideas what could cause this?
The paint on the rear number plate panel has faded a little, what would be the best product to bring this back?
Thank you so much for this, really helpful Yes it’s a UK car, I’ll have a closer look at the boot etc in that case.
With the shocks, I drove down a bumpy country road home and wondered if I could hear some contact somewhere over bumps which is why I wondered if they needed adjusting, sounded fine on smooth road.
The sills are good as these were done as part of the refurb in 2009 and it’s been dry since (apparently). I did get on the floor and have a look underneath where I could and it looked ok apart from the bottom of the front wings which weren’t done at the time. Thanks again, looks like I’m starting to get a decent to do list together!
Front wings. It is common for the bottom edge at the rear and the front of the wings to rust. There can be a bit if a dirt trap behind them, especially at the rear. They might clean up.
If its bottoming out on the bottom of the car, then the leading edge of the channels under the floors will be scraped.
Or it could be bottom in the bump stops, particularly at the rear. Have an inspection. Many aftermarket shocks will use generic polyurethane bumpstops. The shock is supposed to hit them from time to time. If they look smashed up, then you need to replace them, and firm up the settings. If the bumpstop feels oily, the shock has failed.
But if it looks ok, go up a click or two. As its a new to you car, you are best figuring out how many clicks there are from softest (anticlockwise) to stiffest (clockwise), Start at a middling setting, with the fronts 1-2 clicks stiffer than the rear. Adjustment can be on the shock body itself, for which you need to get down on the ground, and work blind. Road grime can seize these up. Other shocks are adjusted from the top, by way of a knob. Konis need an Allen key tool, and don’t click, instead you adjust by numbers of turns.
Changing height; a knurled ring on the shock, sometimes, but not always, with a locking ring. Chinese shocks use this double spring perch idea, so a generic insert can be used with a custom bottom part. You raise/lower these by lengthening the shck body, NOT by adjusting the ring resting by the bottom of the spring. Easiest to with the car on a lift. Use proper C-spanners, don’t try using a screwdriver/hammer, molegrips, pipe wrenches etc. Tool merchants will size these in different sizes.
If you are not sure if its the bump stops contacting, test with a bit of talcum powder, on a dry day.
We’ve got a 1991 NA. The other folks have given you much better answers on everything that I could to be honest. Only thing I’d add is that the window mechanism inside the door can really start to suffer on cars this age. It’s a relatively easy fix and you can buy a kit online with new bushes etc. Its on our list for this Spring. If yours are all good - ideal! If not, worth having a think about building that into your plans.
The elec windows are really slow going down quicker to put up, would that be related to what you mentioned? I thought I’d start with cleaning where they run to see if that helps at all, otherwise I guess take the door card off to see what’s going on. I’ve not done anything like this before but keen to have a go!
Hi, yes sounds like the same as ours. Giving them a good clean certainly won’t do any harm. Could even take the door cards off just to give it a good clean in there and see what the story is whilst you are at it. There are some cracking instructional videos on youtube that go through how to change over the mechanism if that is what you end up doing
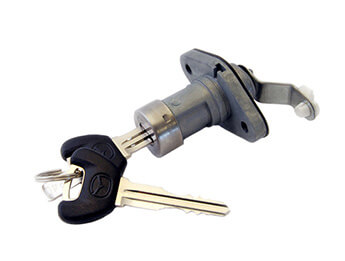
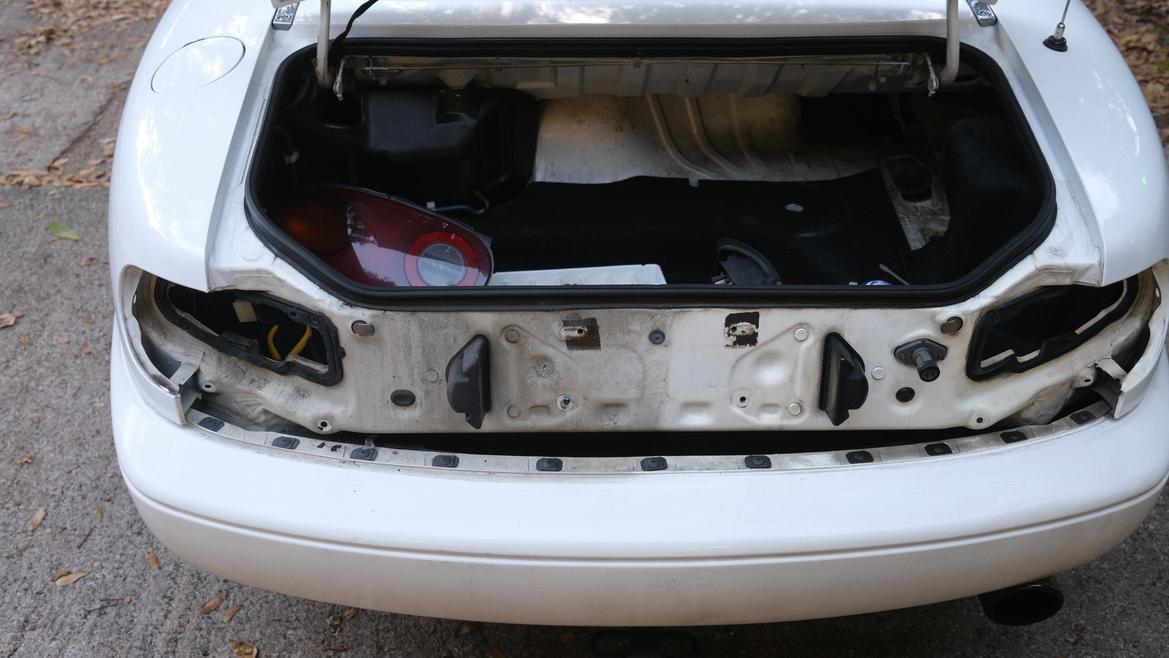
I upgraded to the remote boot release on my old '91 as I got fed up with having to stop the engine to take the key out if I wanted something from the boot! It also gives you a second way of opening the boot incase you accidentally put your keys in there and close the lid (cough cough) It’s quite a satisfying job and you can get the parts you need from eBay sellers like this:
Not always need to remove cards.
So long as you can get a WD40 SILICON lube straw down the channels…by easing back the window seals with a plastic spatula or similar and just flood the metal channels.
A must…lube the quarter light channel guide with the straw…it should do the trick,
Often the channels just dry out and need a bit of silicon spray injected…otherwise they grip the glass and the last thing you want is the wire pulleys snapping.
I did both our 5’s last week after watching a useful Google.
NB.
Only use Silicon spray stuffs. They are pretty much all the same but you will need the long red straw to get deep into the channels. No point in a normal spray head…it just goes all over the place.
Might as well do locks and hinges too! And it’s good to rag over the engine bay’s black plastics but keep it away from drive belts.
Pretty much nailed it with the silicon lube in the rubber channels to speed up the windows. The one thing I will add is that it can be done without removing the door panels. Drop the window and spray the exposed channel. Raise and lower the window and repeat. Do this a few times and the glass will take the lube down into the rest of the channel. Obviously if you are taking the cards off for some other reason then spray directly into the bottom of the channels.
So many other uses for it too. Much better than WD40 for locks and catches.
So new development overnight, the first time I’ve driven it in the dark - no centre console lights. Dash is fine and hazard button is lit, but no heater or courtesy lights.
Would anyone know if they are on the same fuse? I tried to research and thought they may be on the ‘room’ fuse but couldn’t find a definite answer…
If the instrument cluster lights are working then it is either bulbs , unplugged or dirty/tarnished connections they are on the same circuit.
Courtesy lights will be bulbs or tarnished connections.
Its either a baly fitted finisher panel, though it looks ok, or the metal work behind has been punched in, and that might have happened is someone tried to force their way into the boot in the distant past.
A least likely possibility is that someone has fitted the lock to the inside of the rear panel, not the outside, because they didn’t want to remove the finisher. I suppose that might work.
As I said, this looks old.
You could investigate further, or live with it, maybe look for a chrome bezel piece. Moss do one for the NCB, but not sure it will fit a NA
 Yes it’s a UK car, I’ll have a closer look at the boot etc in that case.
 It’s quite a satisfying job and you can get the parts you need from eBay sellers like this: