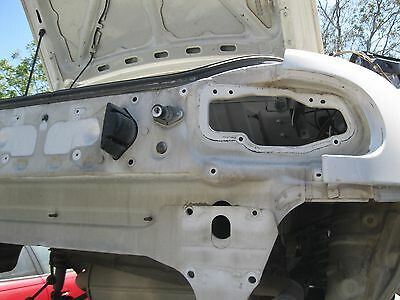
I seen a panel removed, and the back panel masked to stop the inside of car filling up with primer, paint, dust
If not, then the panel was removed sometime in the period 1991-2008, in order for the lock to be bodged. The way the paint has worn and flattened suggest non-factory paint, replacement part (the replacements come in white).
Hence, a close look at that edge of a hole, and are the bolts horizontal?
I can’t see a third bolt hole there. Another scenario is that the boot lock has been forced open, damaging the panel, and the lock reattached by drilling an addtional hole.
I’ve now got the dual cables to do this job at some point (once I’ve resprayed the back panel and moved the boot lock to the correct position) - was installing it easy enough to work out or did you use a YouTube vid or something?
I seem to remember I just followed the route of the petrol release cable and the rest was fairly self explanatory. Pretty sure some of the mountings were already there waiting.
I think I had to dremel a bit of metal away from the body mounting point where the levers go to get them to fit. It may depend on the age of the car, mine was a 1990.
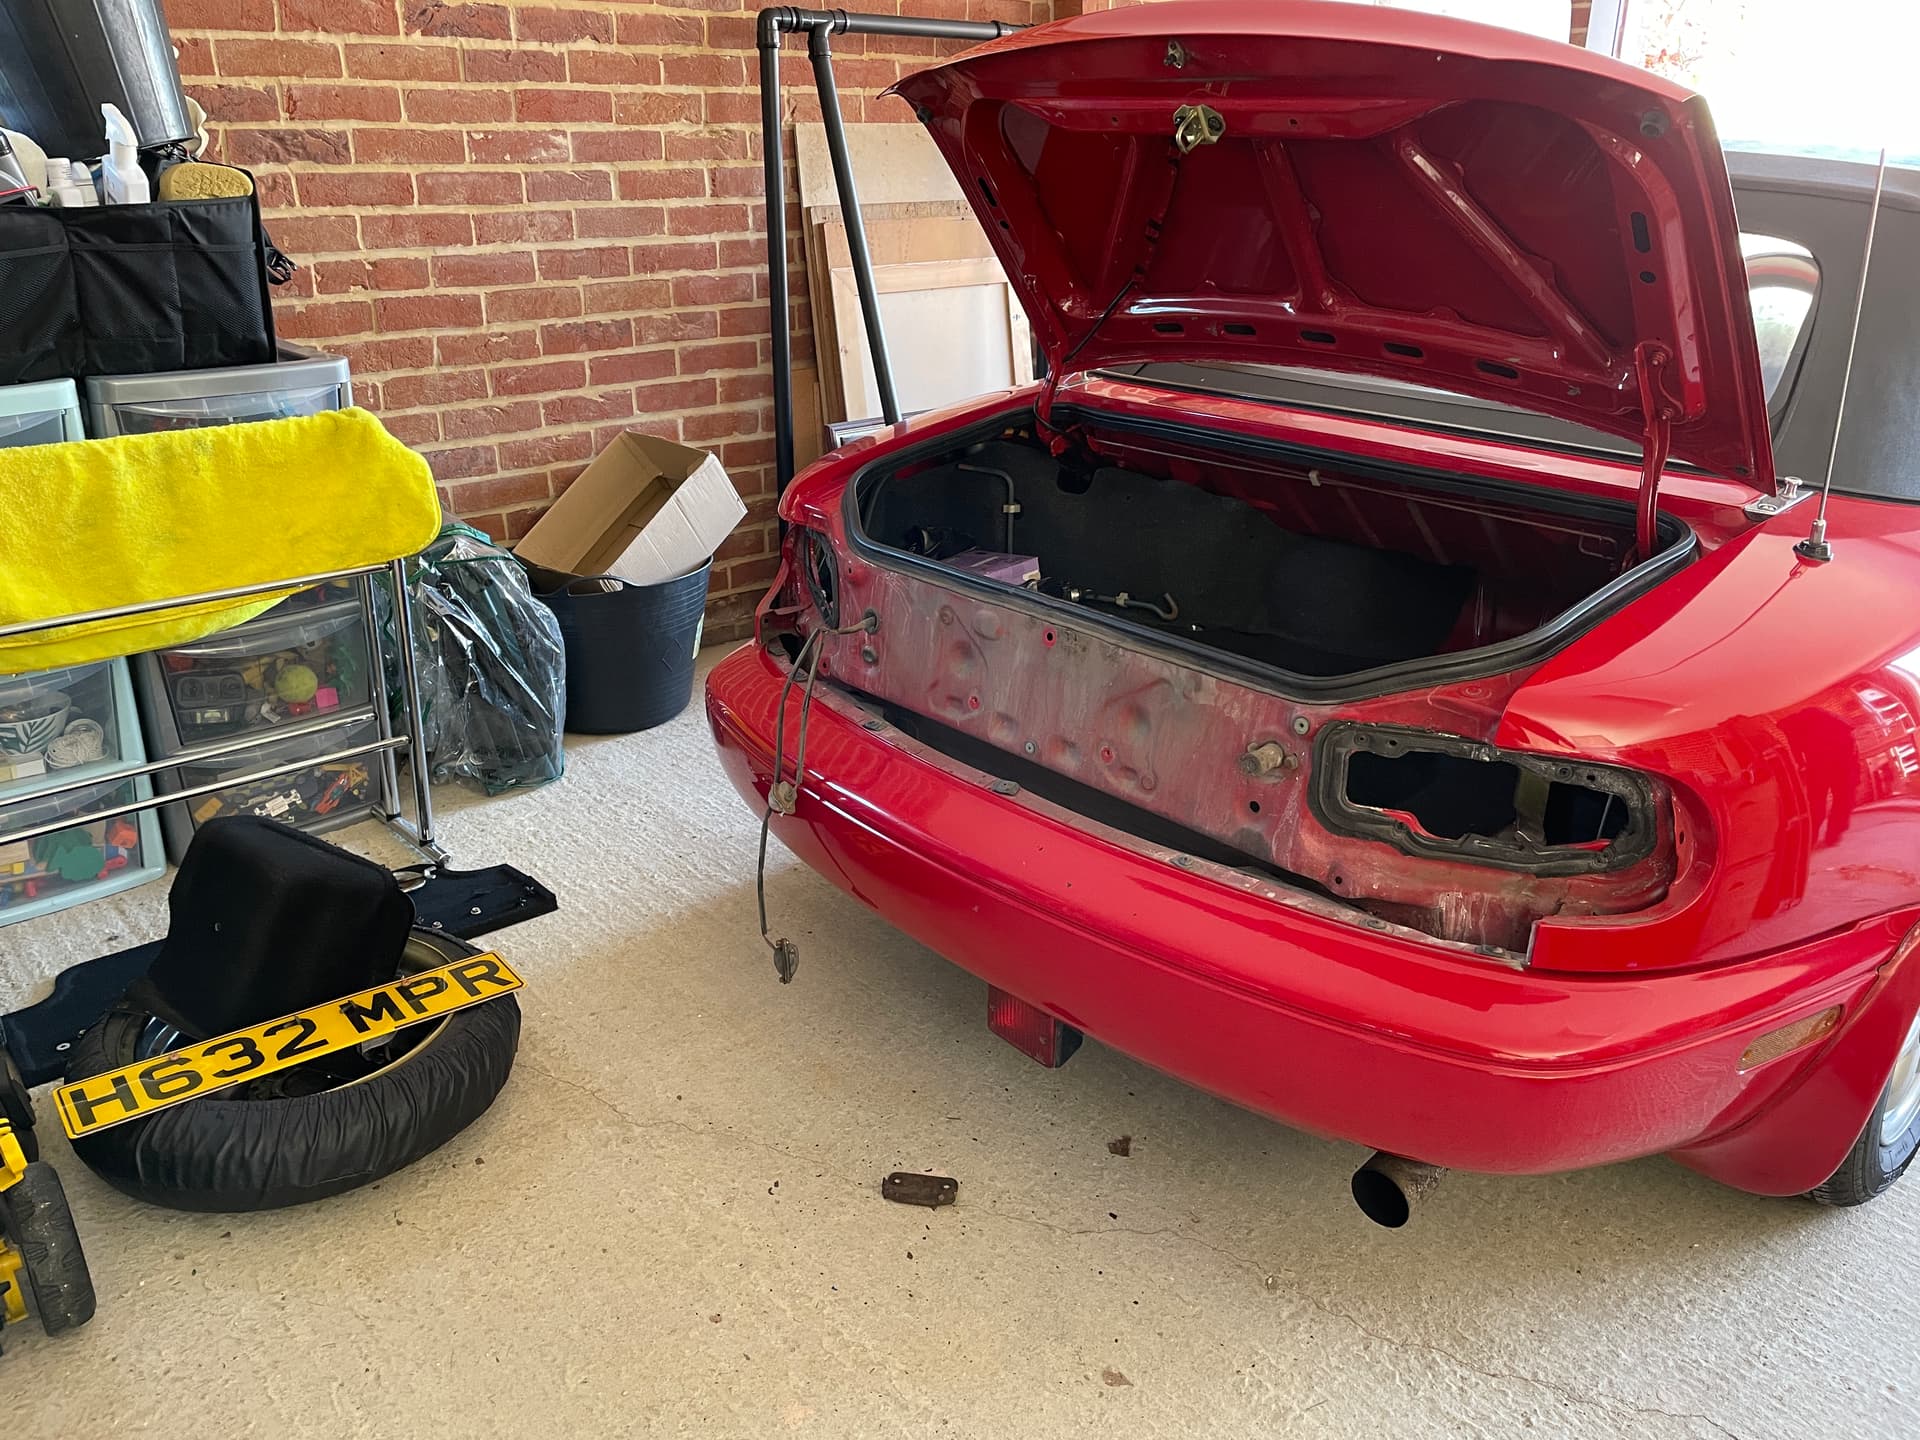
Thank you both I’ll bear all of that in mind when I get to it - I need to get the faded rear panel resprayed first before moving the boot lock and fitting this. I’m having trouble identifying a can of SU that doesn’t dry matt/need lacquer as I understand Classic Red doesn’t have a clearcoat?
Paint issue solved - I found a red rear panel in perfect condition for sale on marketplace for less than the price of all the bits I would have had to buy to repaint the current one, so I had that picked up from the south coast. I now have everything for my list of jobs, probably Easter weekend:
Remove old back panel
Move boot lock
Remove centre console
Replace fuel release with dual fuel/boot release
Replace new back panel
Replace heater and courtesy bulbs
Renovo the plastic window
Clean
I now have two homemade hardtop stands made from plastic pipe which will come into use very soon (the Merlot’s currently away for a few weeks having her surgery).
Sometime over the next few months the red one will go to have it’s little rust patches sorted, after which I have some 3” vinyl stripes to add to the doors. So pleased the weather is finally improving to be able to do things like this
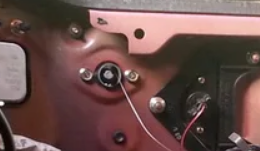
So I’ve finally got to the job of the boot lock - lights and rear panel removed (I have a new panel to replace) and lock ready to refit in the right place. What do you make of the third hole?
Agreed; either the legacy of some sort of rear end damage, damage to the lock, or the result of someone leaving their keys in the boot (not uncommon) and then having no way to open the boot to retrieve them. Besides the extra Black and Decker work, the side of the mounting hole is mangled from someone working on the lock.
Because the hole for the stud has been enlarged, you might need a washer on that side to secure it.
If it were me, I clean up the area, treat/paint the bare metal. Make sure the metal is as true as possible. I might have a bit of play with some thin aluminium sheet, shaping it to fit the curvature of the metal, and be sandwiched between the panel and lock, maybe a bit of epoxy, to try and reform the proper hole. Or as suggested, refit the lock, fill in the hole with silicone.
Thank you both for your comments, Robbie I was referring to an earlier comment from Saz a few weeks ago regarding the suspicious hole. There are several missing fixings and scratches where something has been done, gradually putting it all right I just finished putting her all back together, silicone added when the lock went back on.
Next on the list: remove centre console to swap in dual fuel/boot release and courtesy/heating bulbs