I’ve had the dreaded ‘CHECK CD’ on the Bose 6CD stereo. It was like that when I bought the car and I wasn’t too worried about it as I knew I could integrate the iphone and ipod to give all the music required. Figured I’d probably get a newer unit anyway at some future point.
This morning I thought I’d take a closer look and do some dismantling. Don’t know why …think my inquisitive side took over!! I had tried a few of the suggested remedies found online, holding down buttons, thumping the dash above the unit, disconnecting the battery even. All to no avail. The unit would not even take a cleaning disc without saying CHECK CD.
There is quite a lot to be found online for the Mk3 radio removal but not too much for the 3.5. Things are a little different from the gear shift to the heated seat fascia section and the side cheeks. The side cheeks on the mk3.5 you cannot get out without removing the section between the seats.
This youtube video gave me quite a few valuable insights.
https://www.youtube.com/watch?v=fOddbUjympA
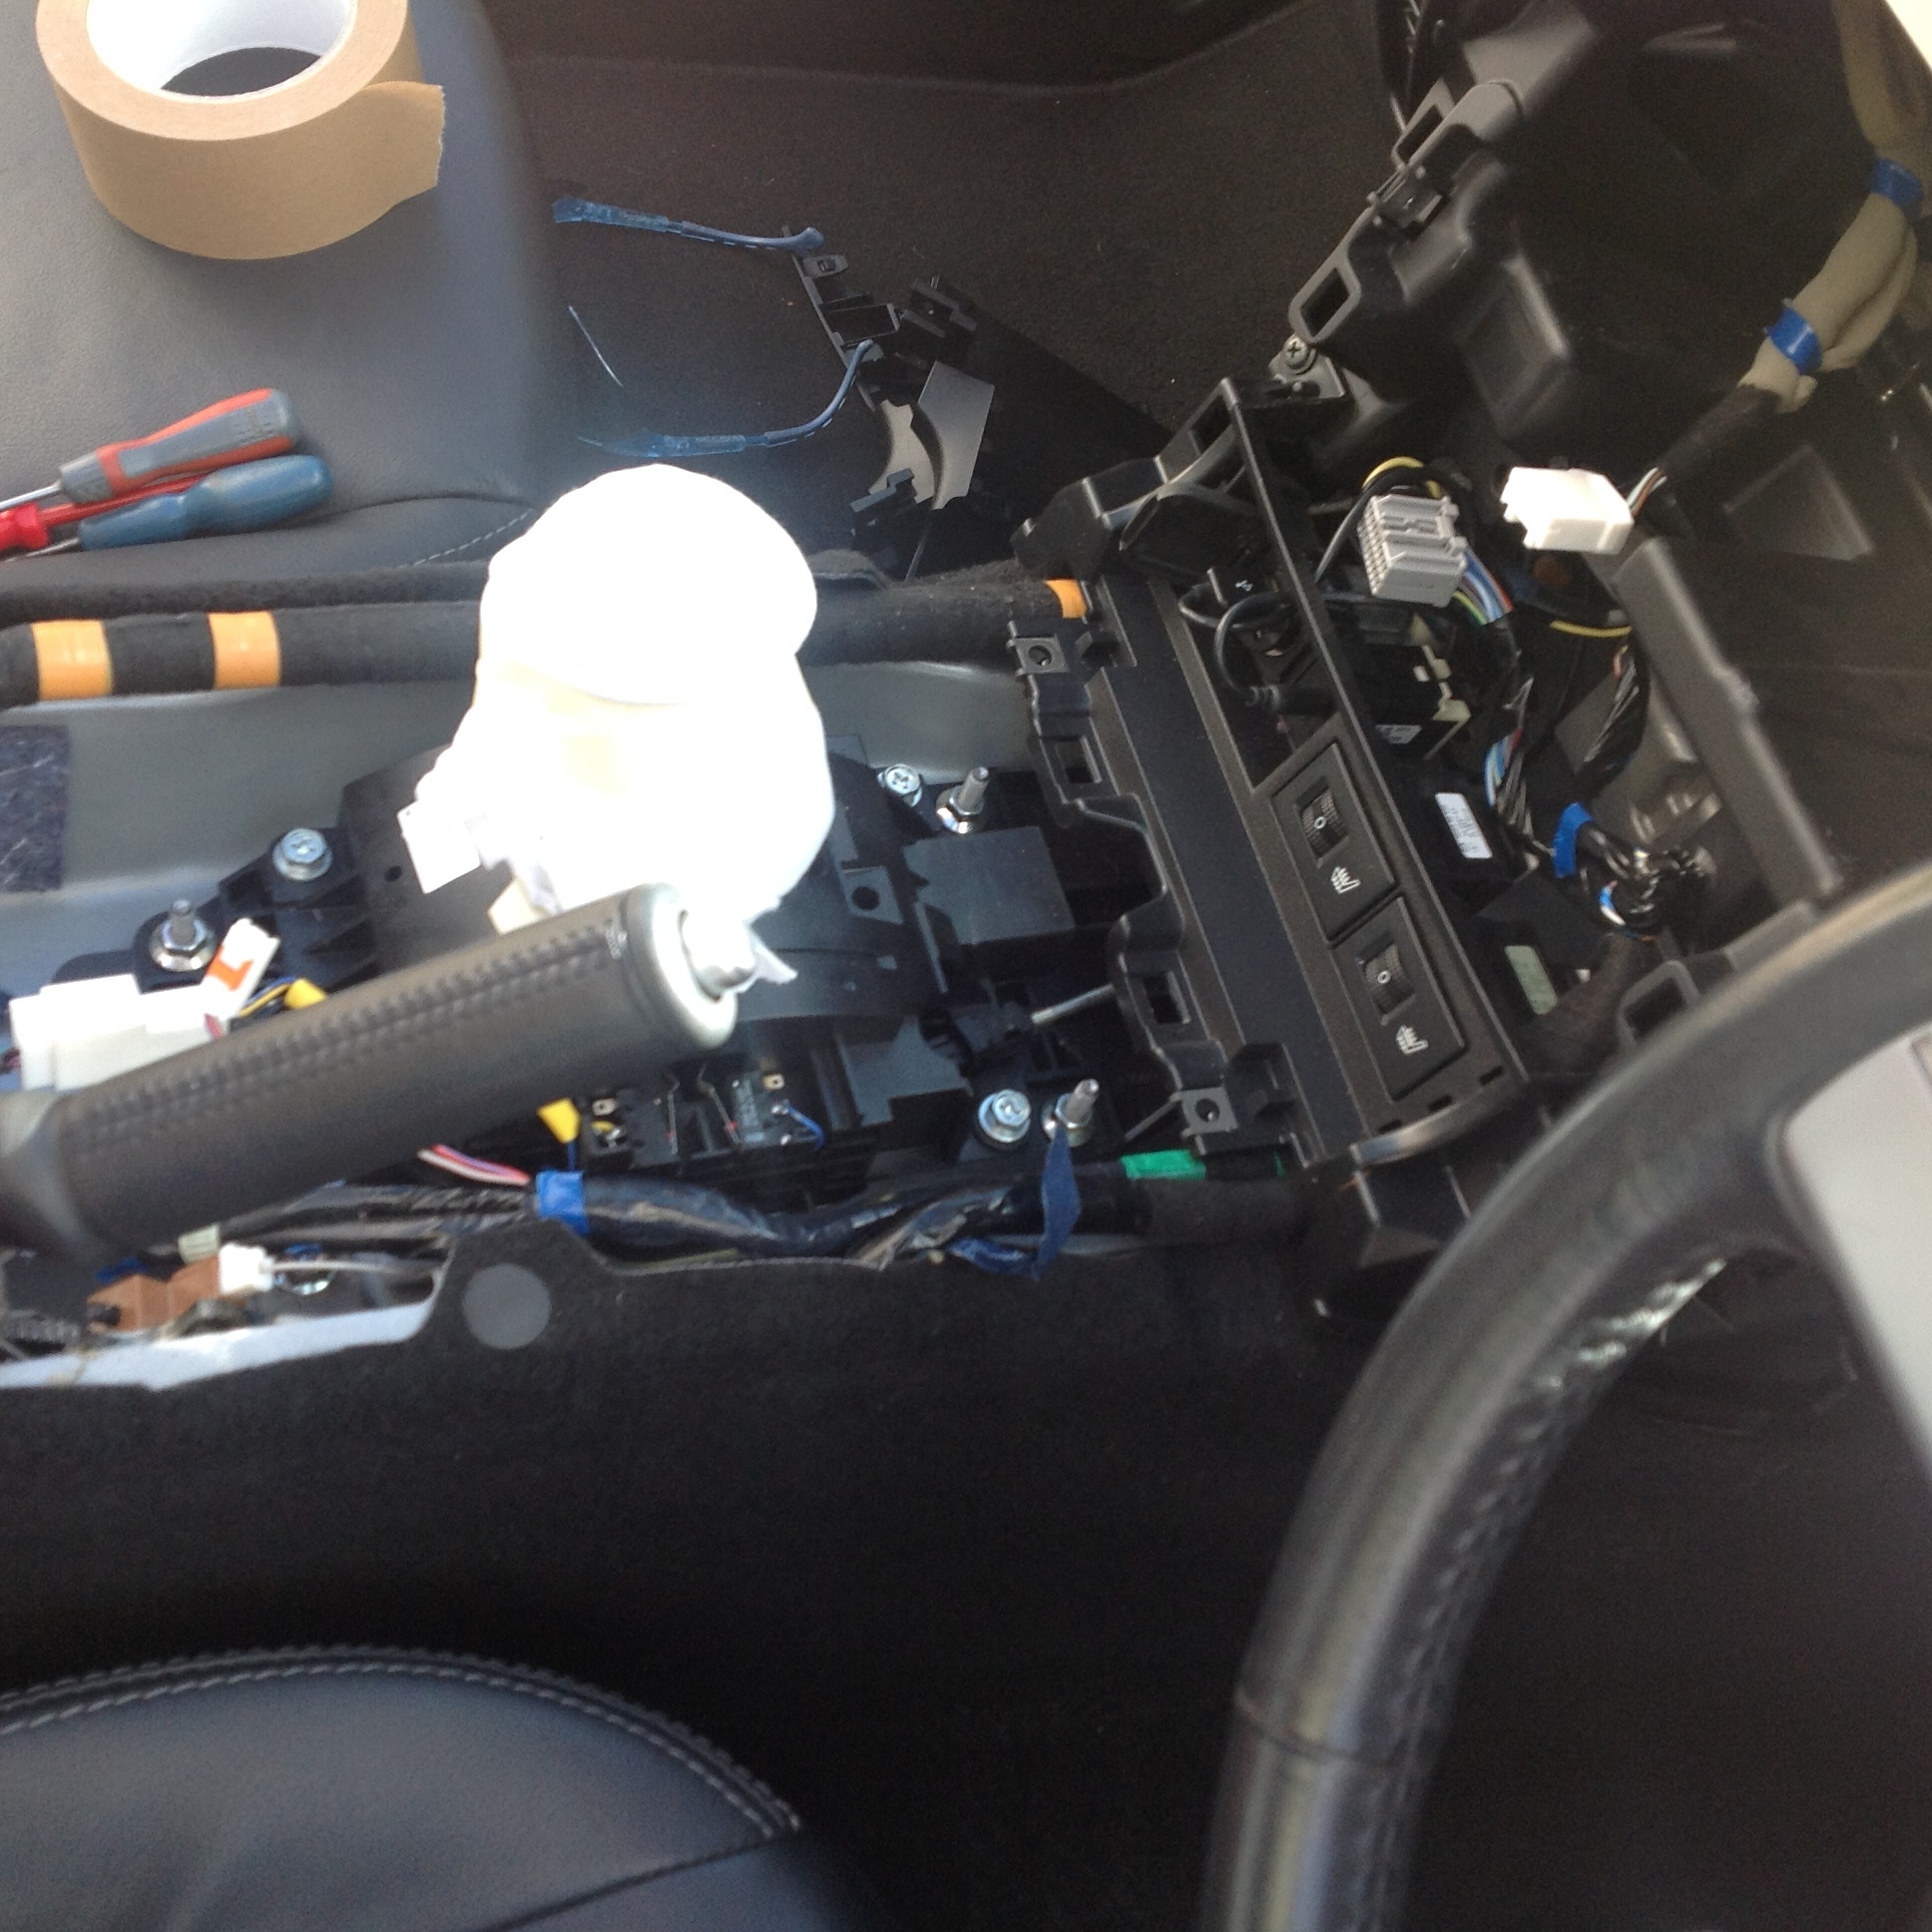
My car is the automatic and I found there are 2 plugs to disconnect on the underside of the centre section. One is easy the smaller white one is a little more tricky. Then it comes out as in the video. Then you can remove 2 more screws and slide forward the side cheeks to remove.
Having got as far as the radio removal itself, this next video shows how to get the radio out. Make sure you put some protective tape around the unit, remove the gearknob and wrap a protective cloth around the gear shift rod. You don’t want to damage the radio facia getting it out. Basically there is one screw each side (covered by those side cheeks) and the PITA 10mm security bolt that you’ll see in the video. Then you prise the radio out with your fingers and thumbs as shown in the video. Gentle but firm pressure and you’ll feel it start to ease forward. The cabling behind gives a fair degree of resistance to your pulling of the unit.
https://www.youtube.com/watch?v=2RaFYIvFm1s
The loom is quite a tight fit and you’ll need to disconnect the plug to the a/c unit and 2 plugs and the aerial on the radio part. They are bloody hard work. All I can say is persevere and stay calm.
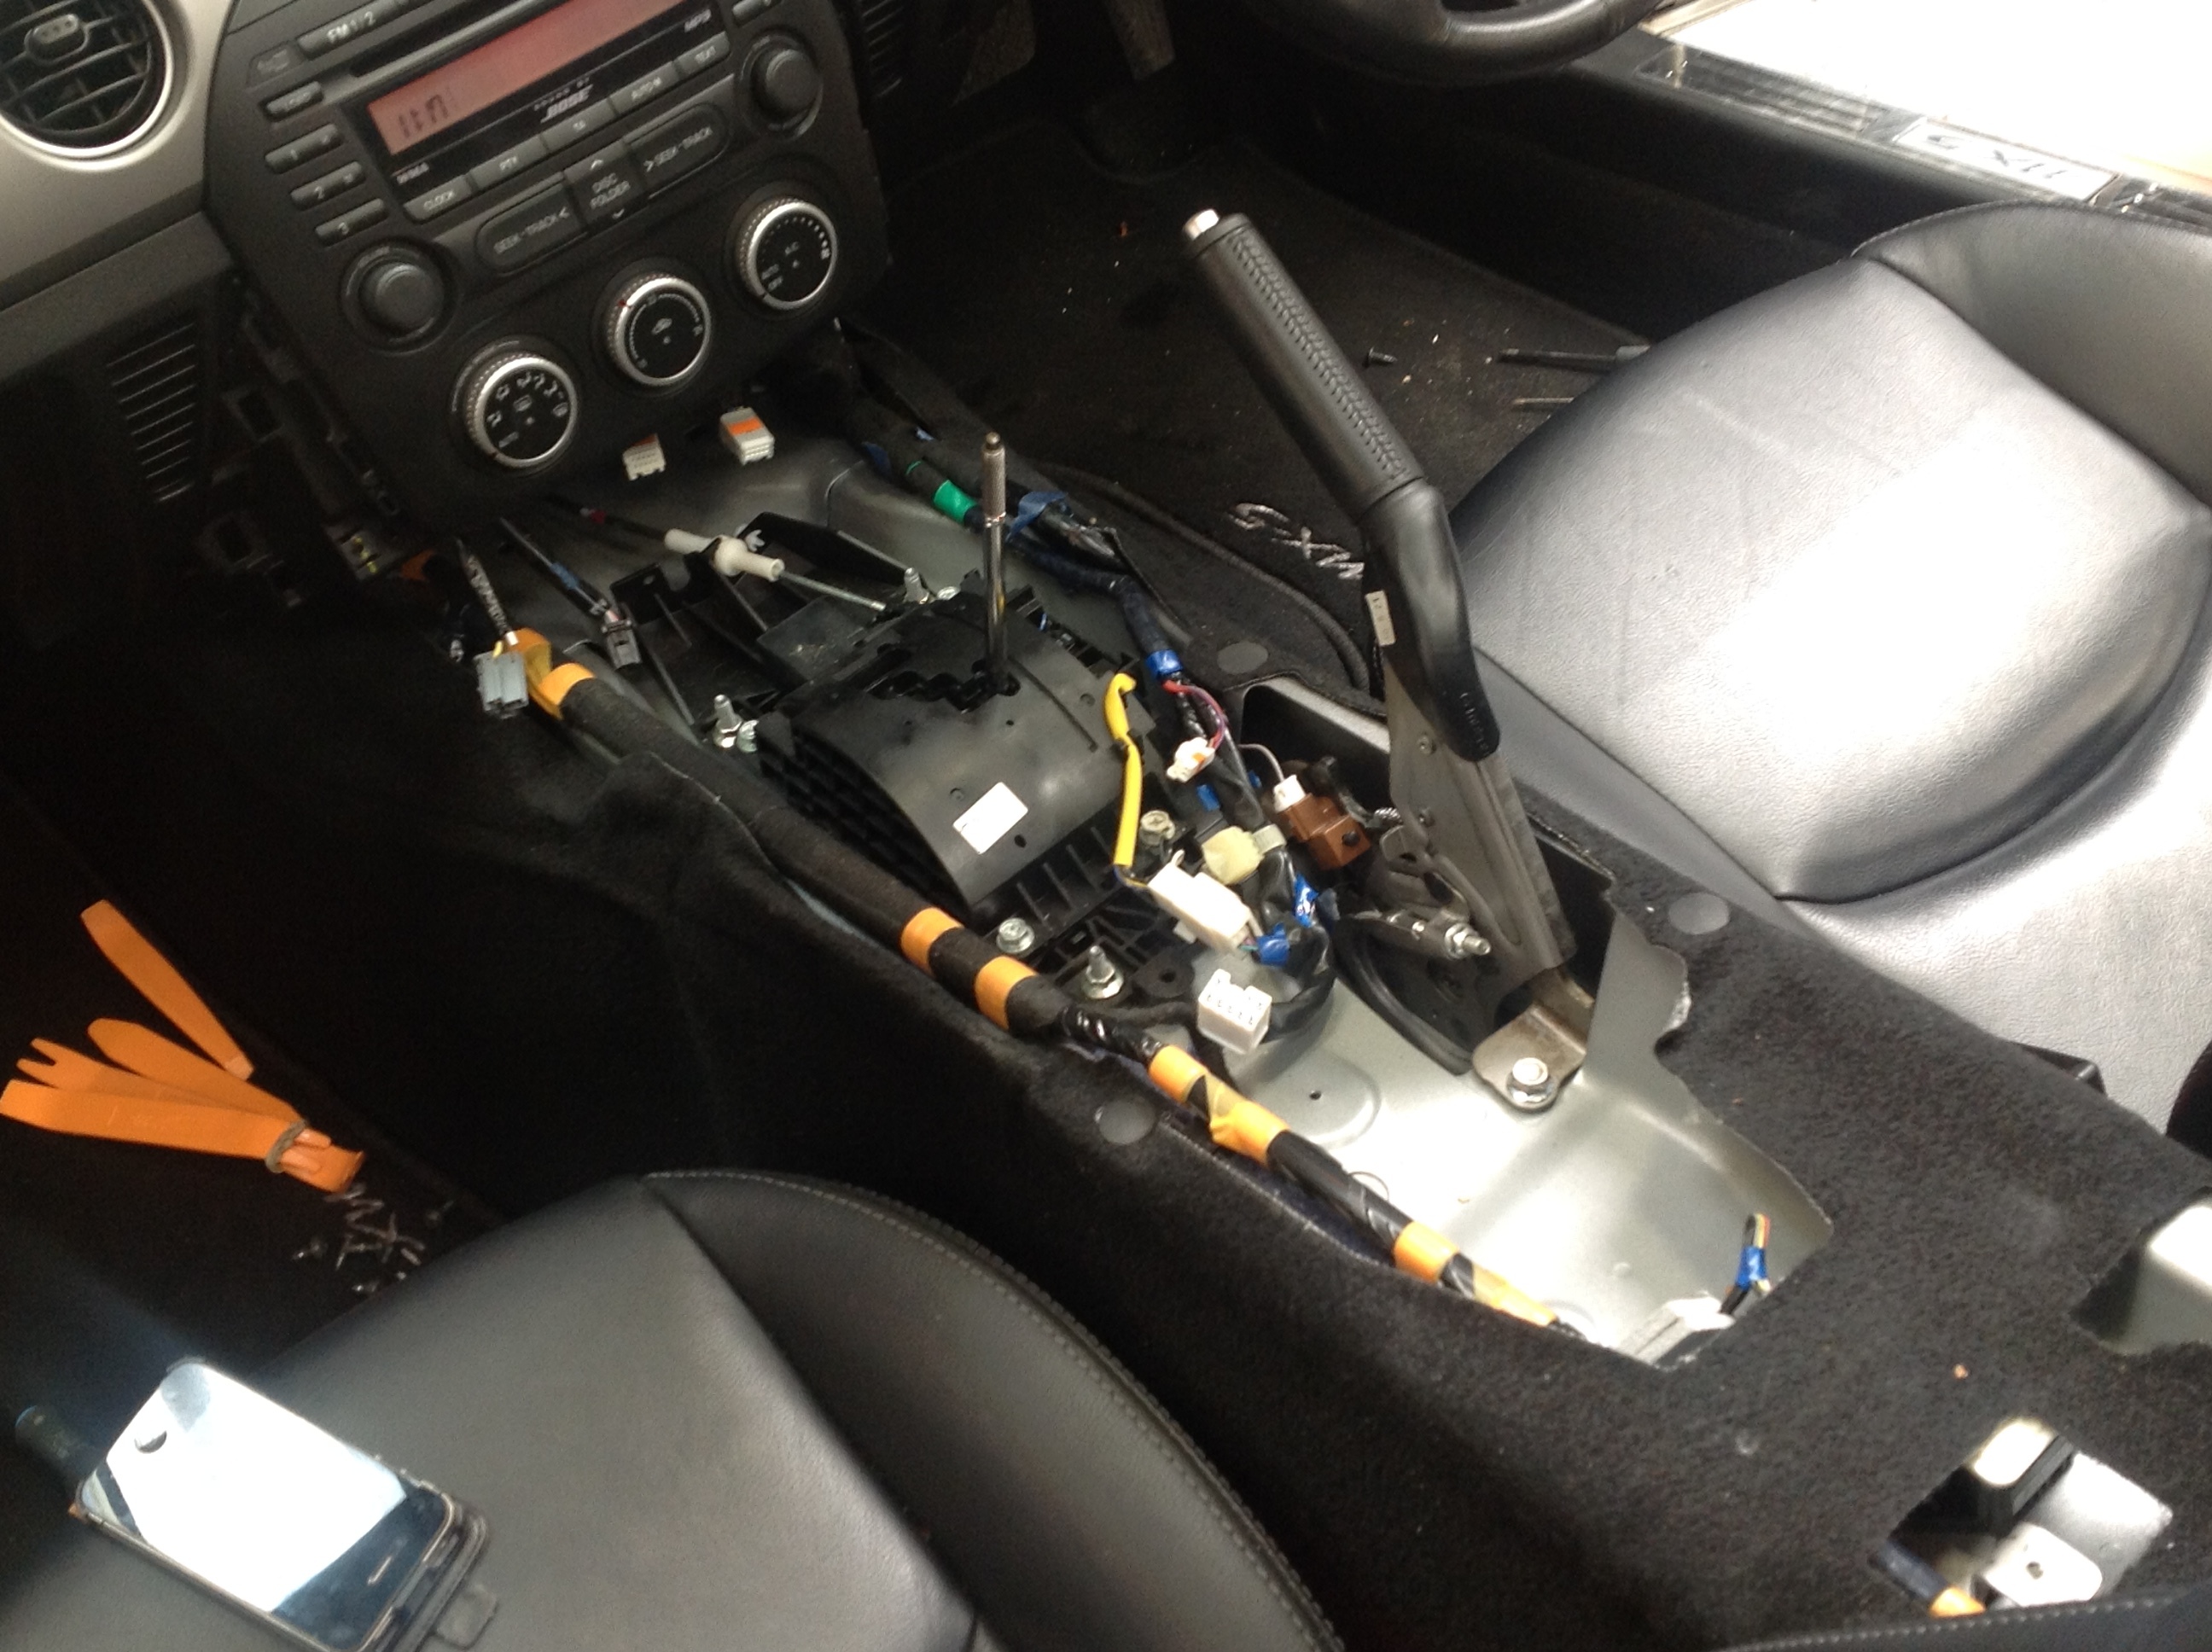
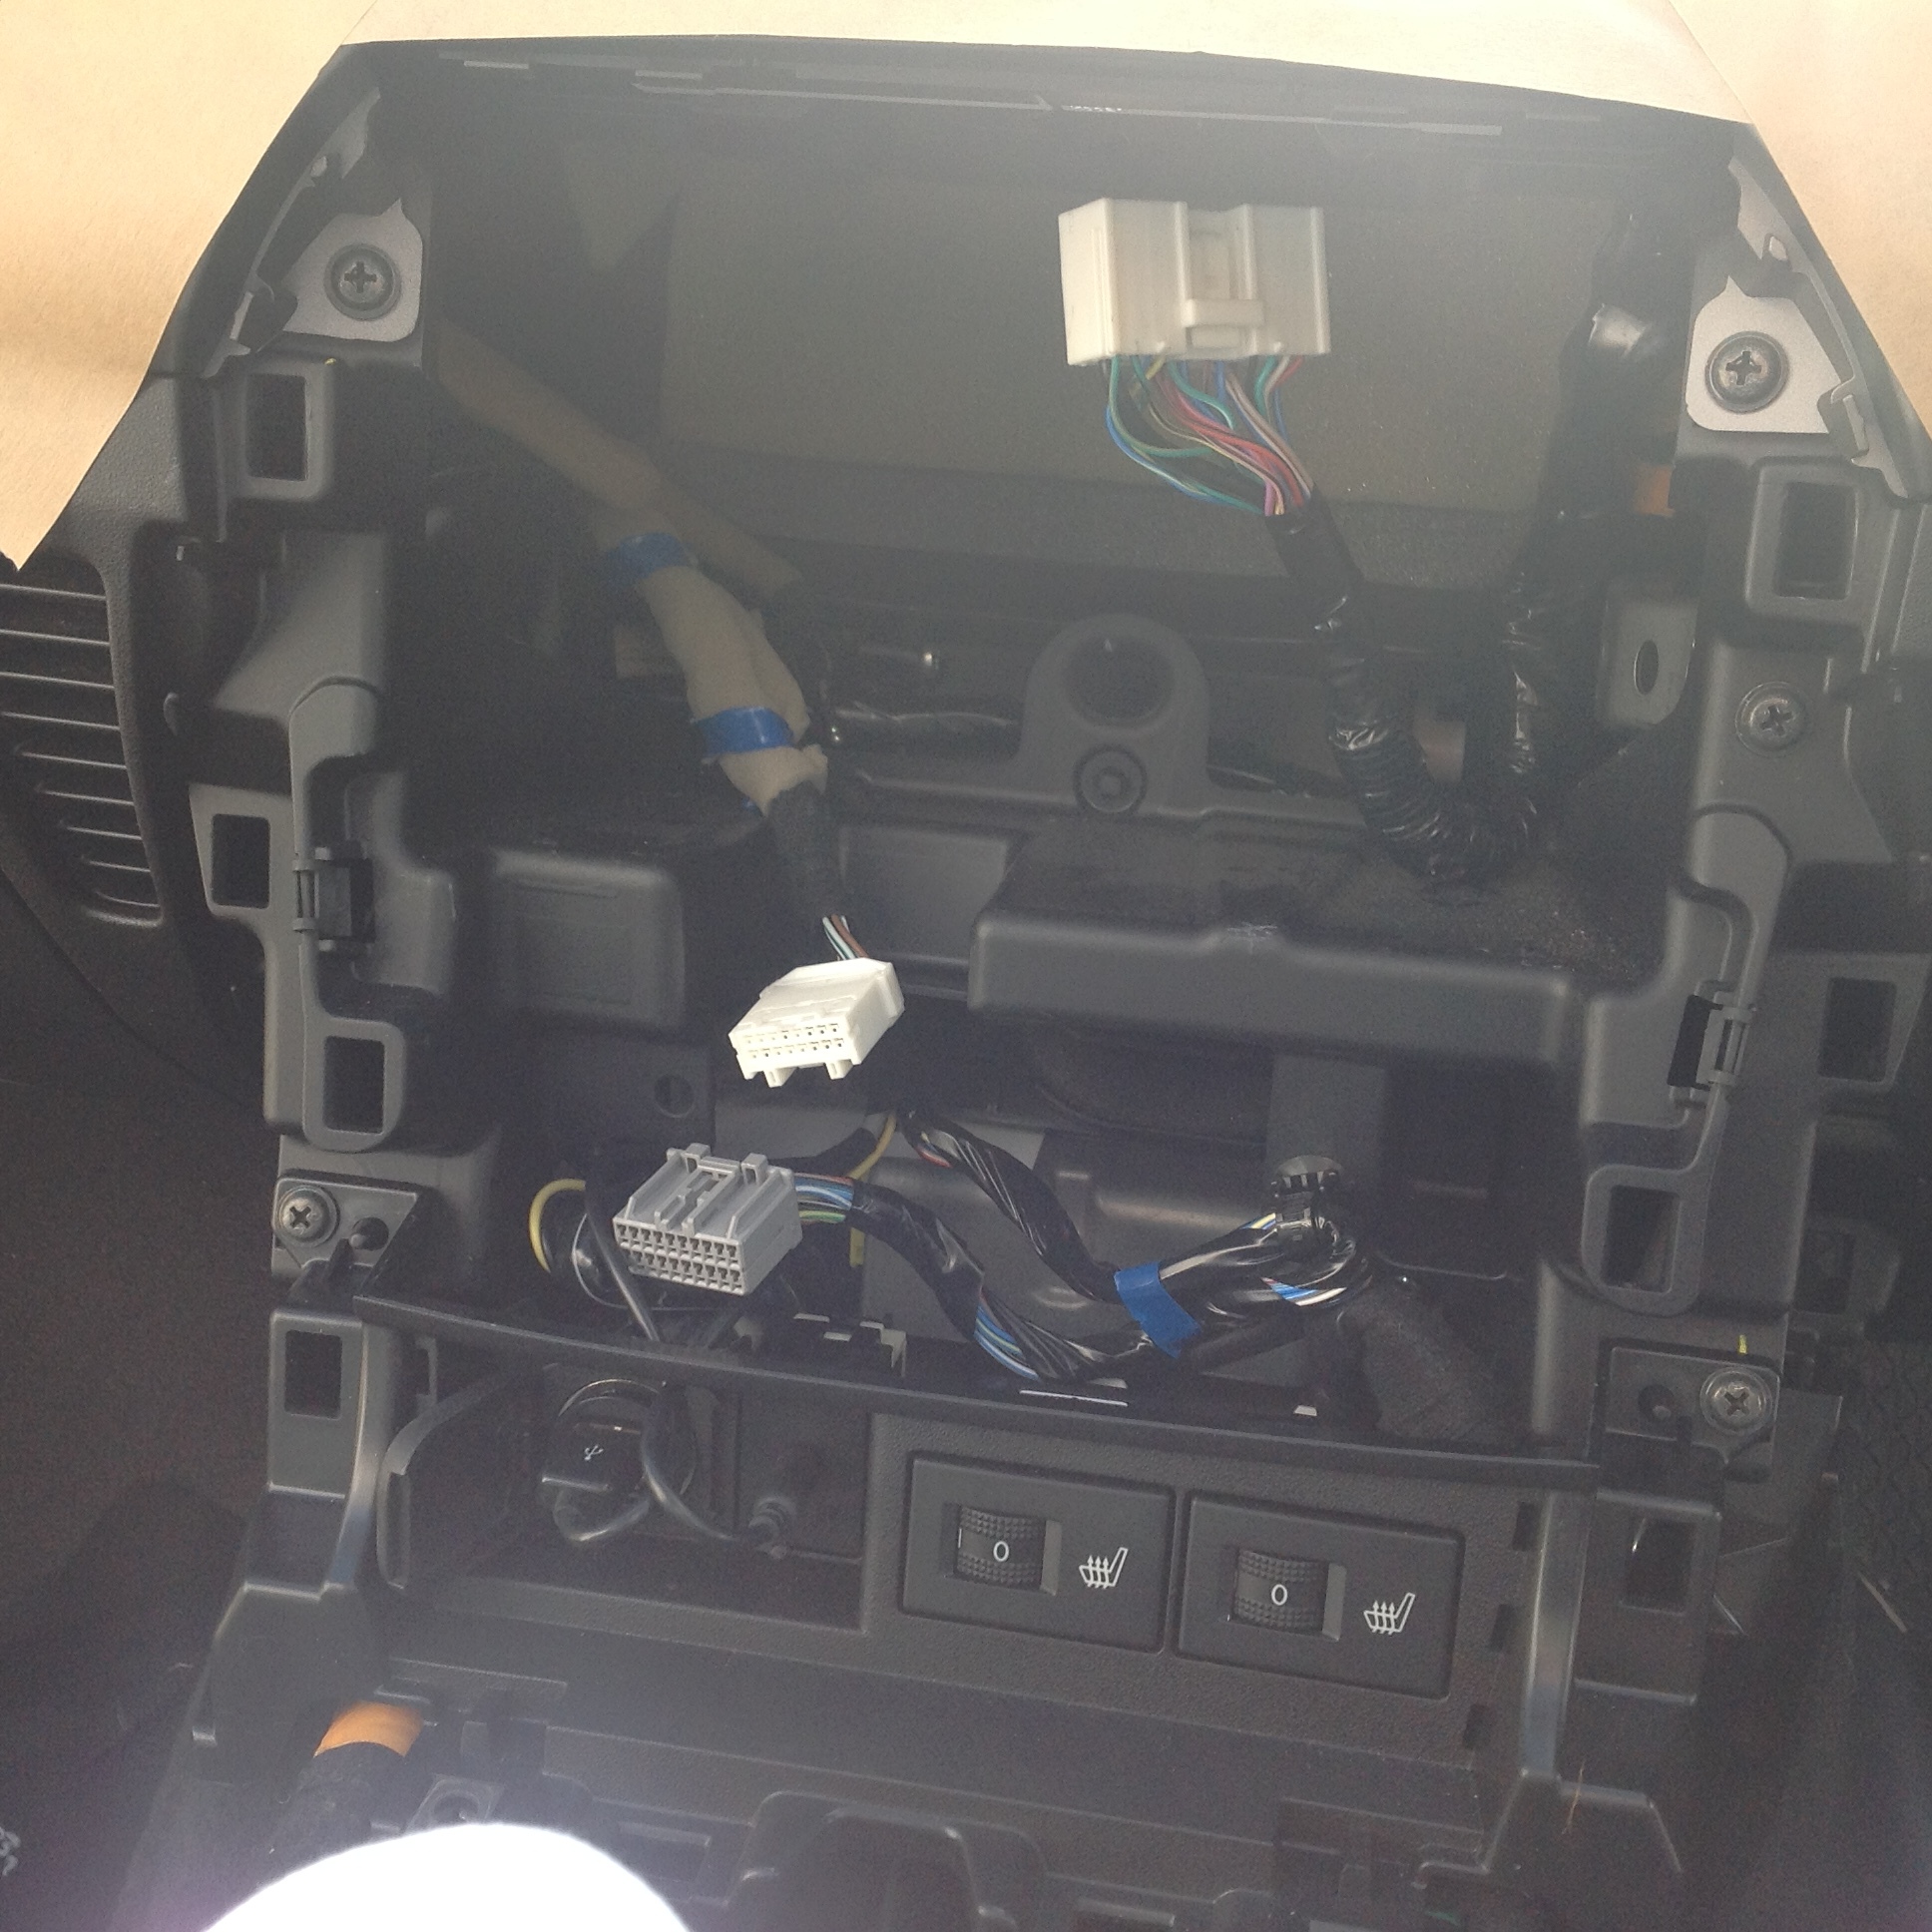
This is how it looks with the centre section, side cheeks and radio removed

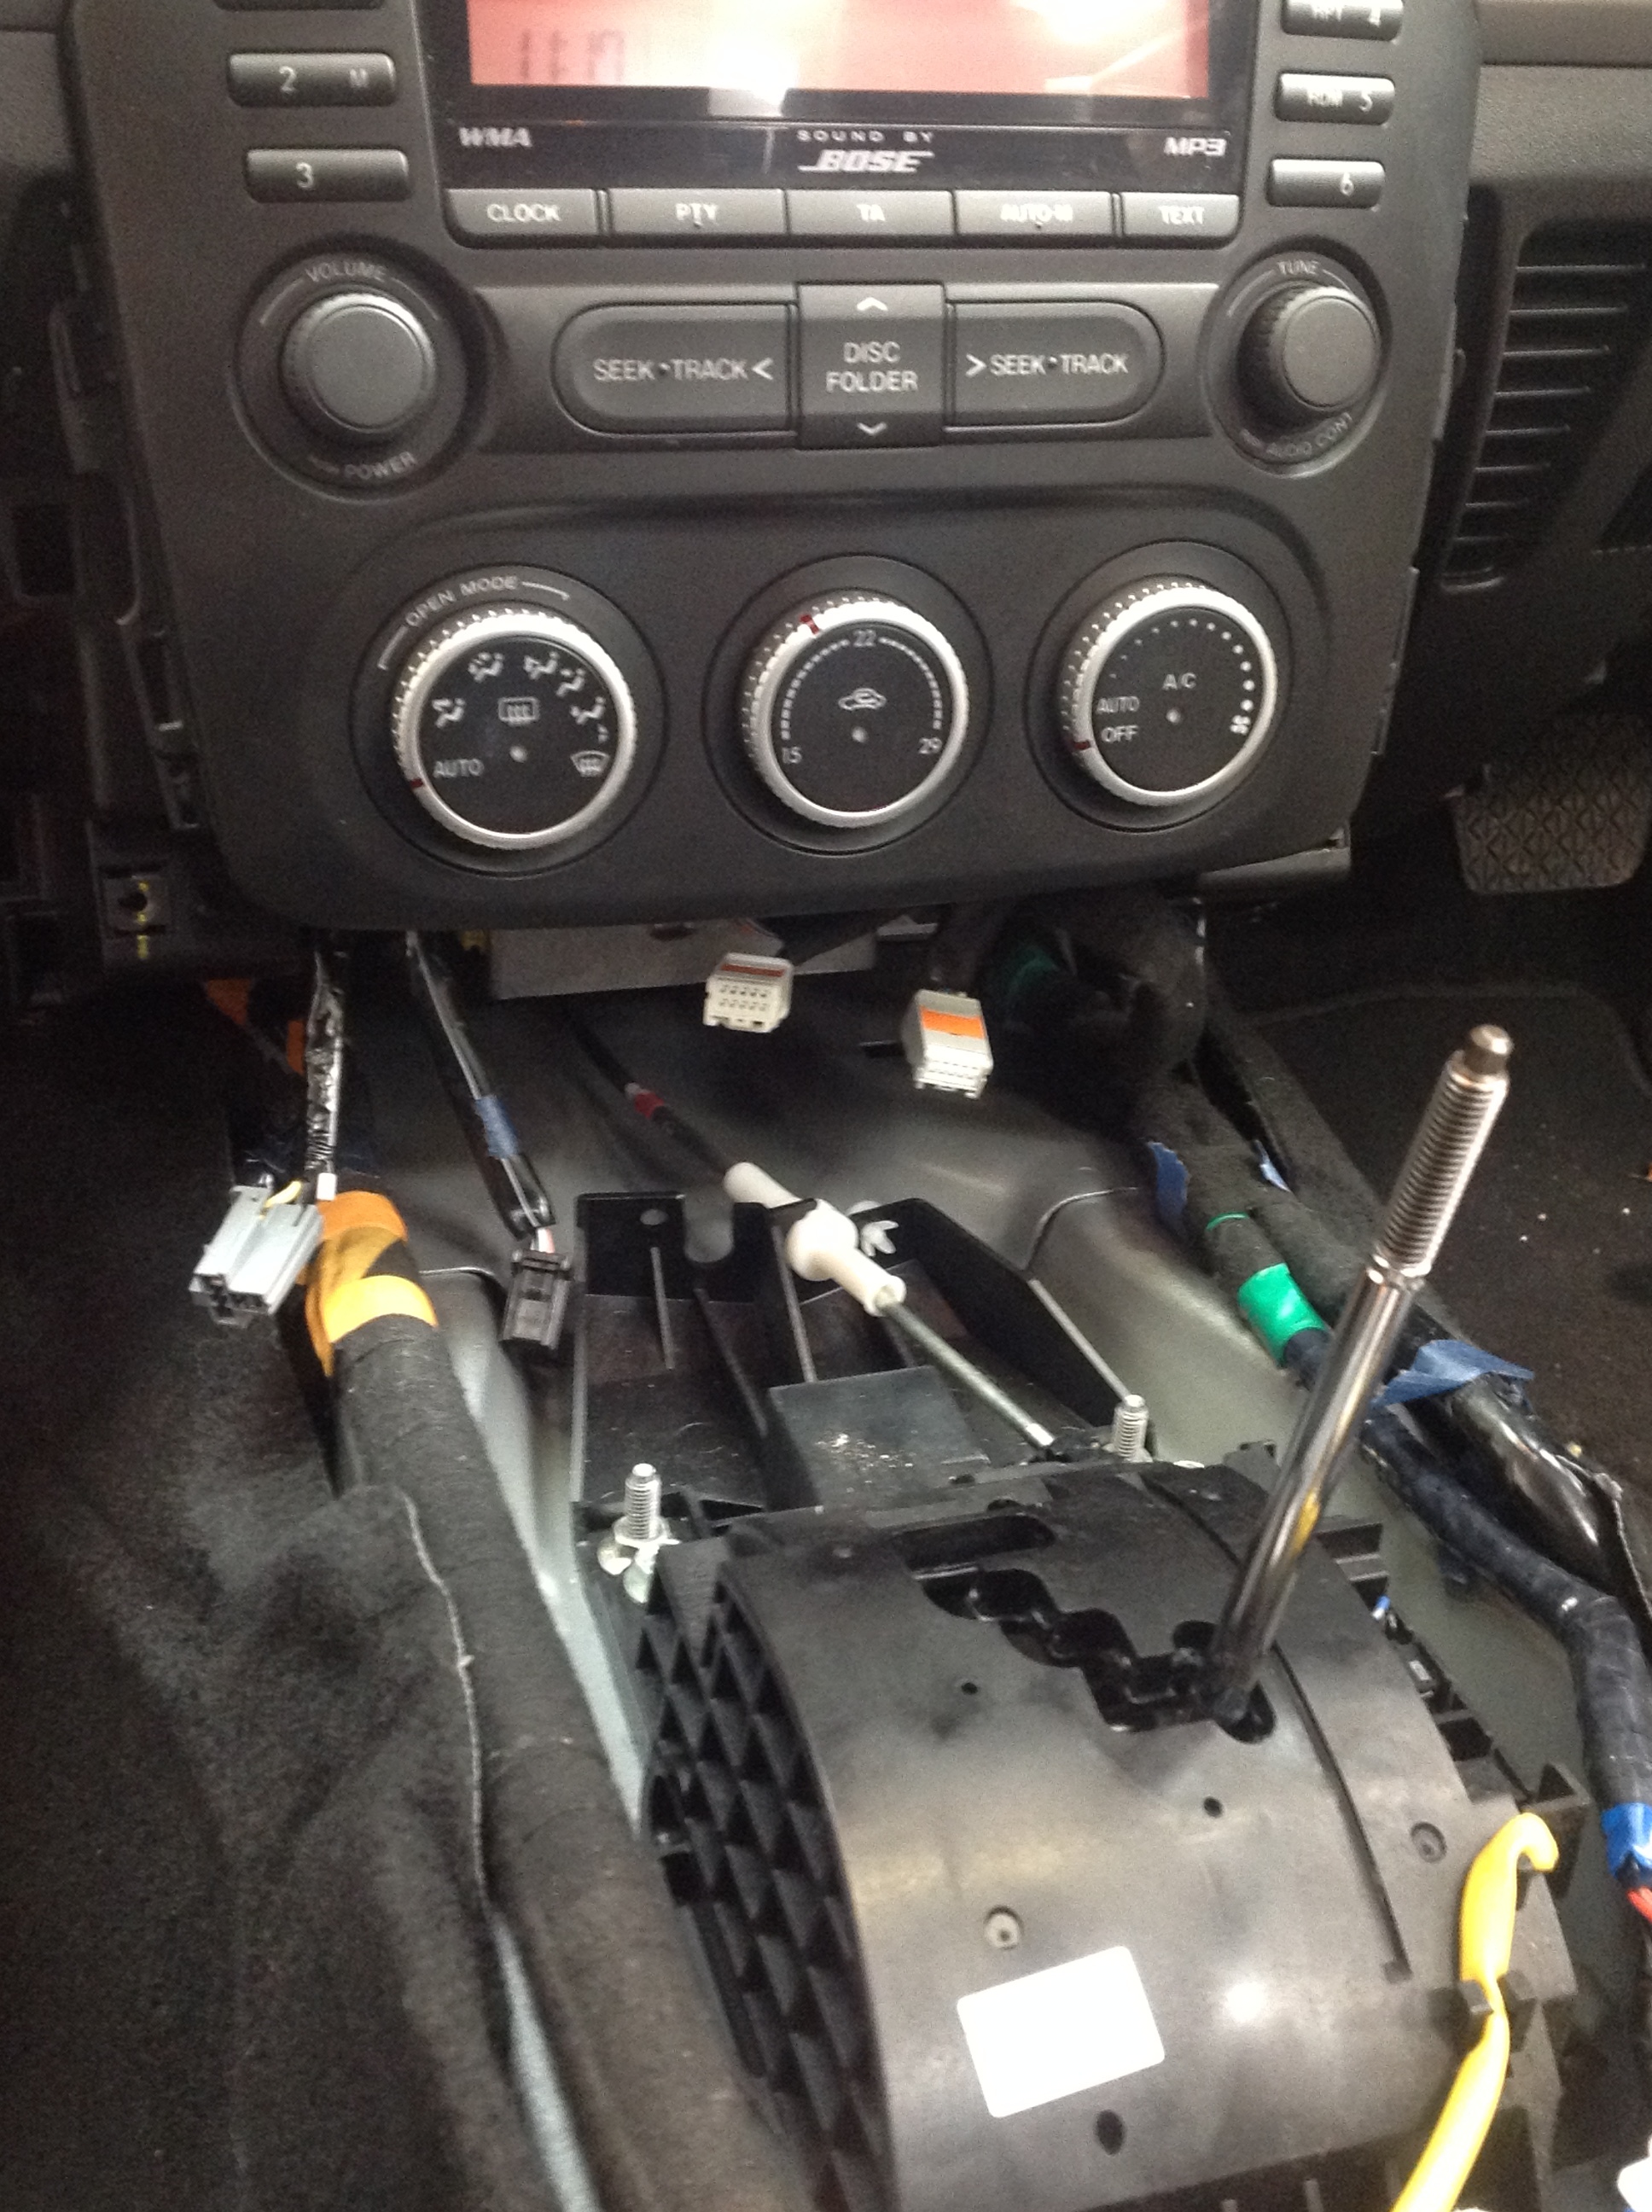
A closer shot of where the radio came out showing the connectors

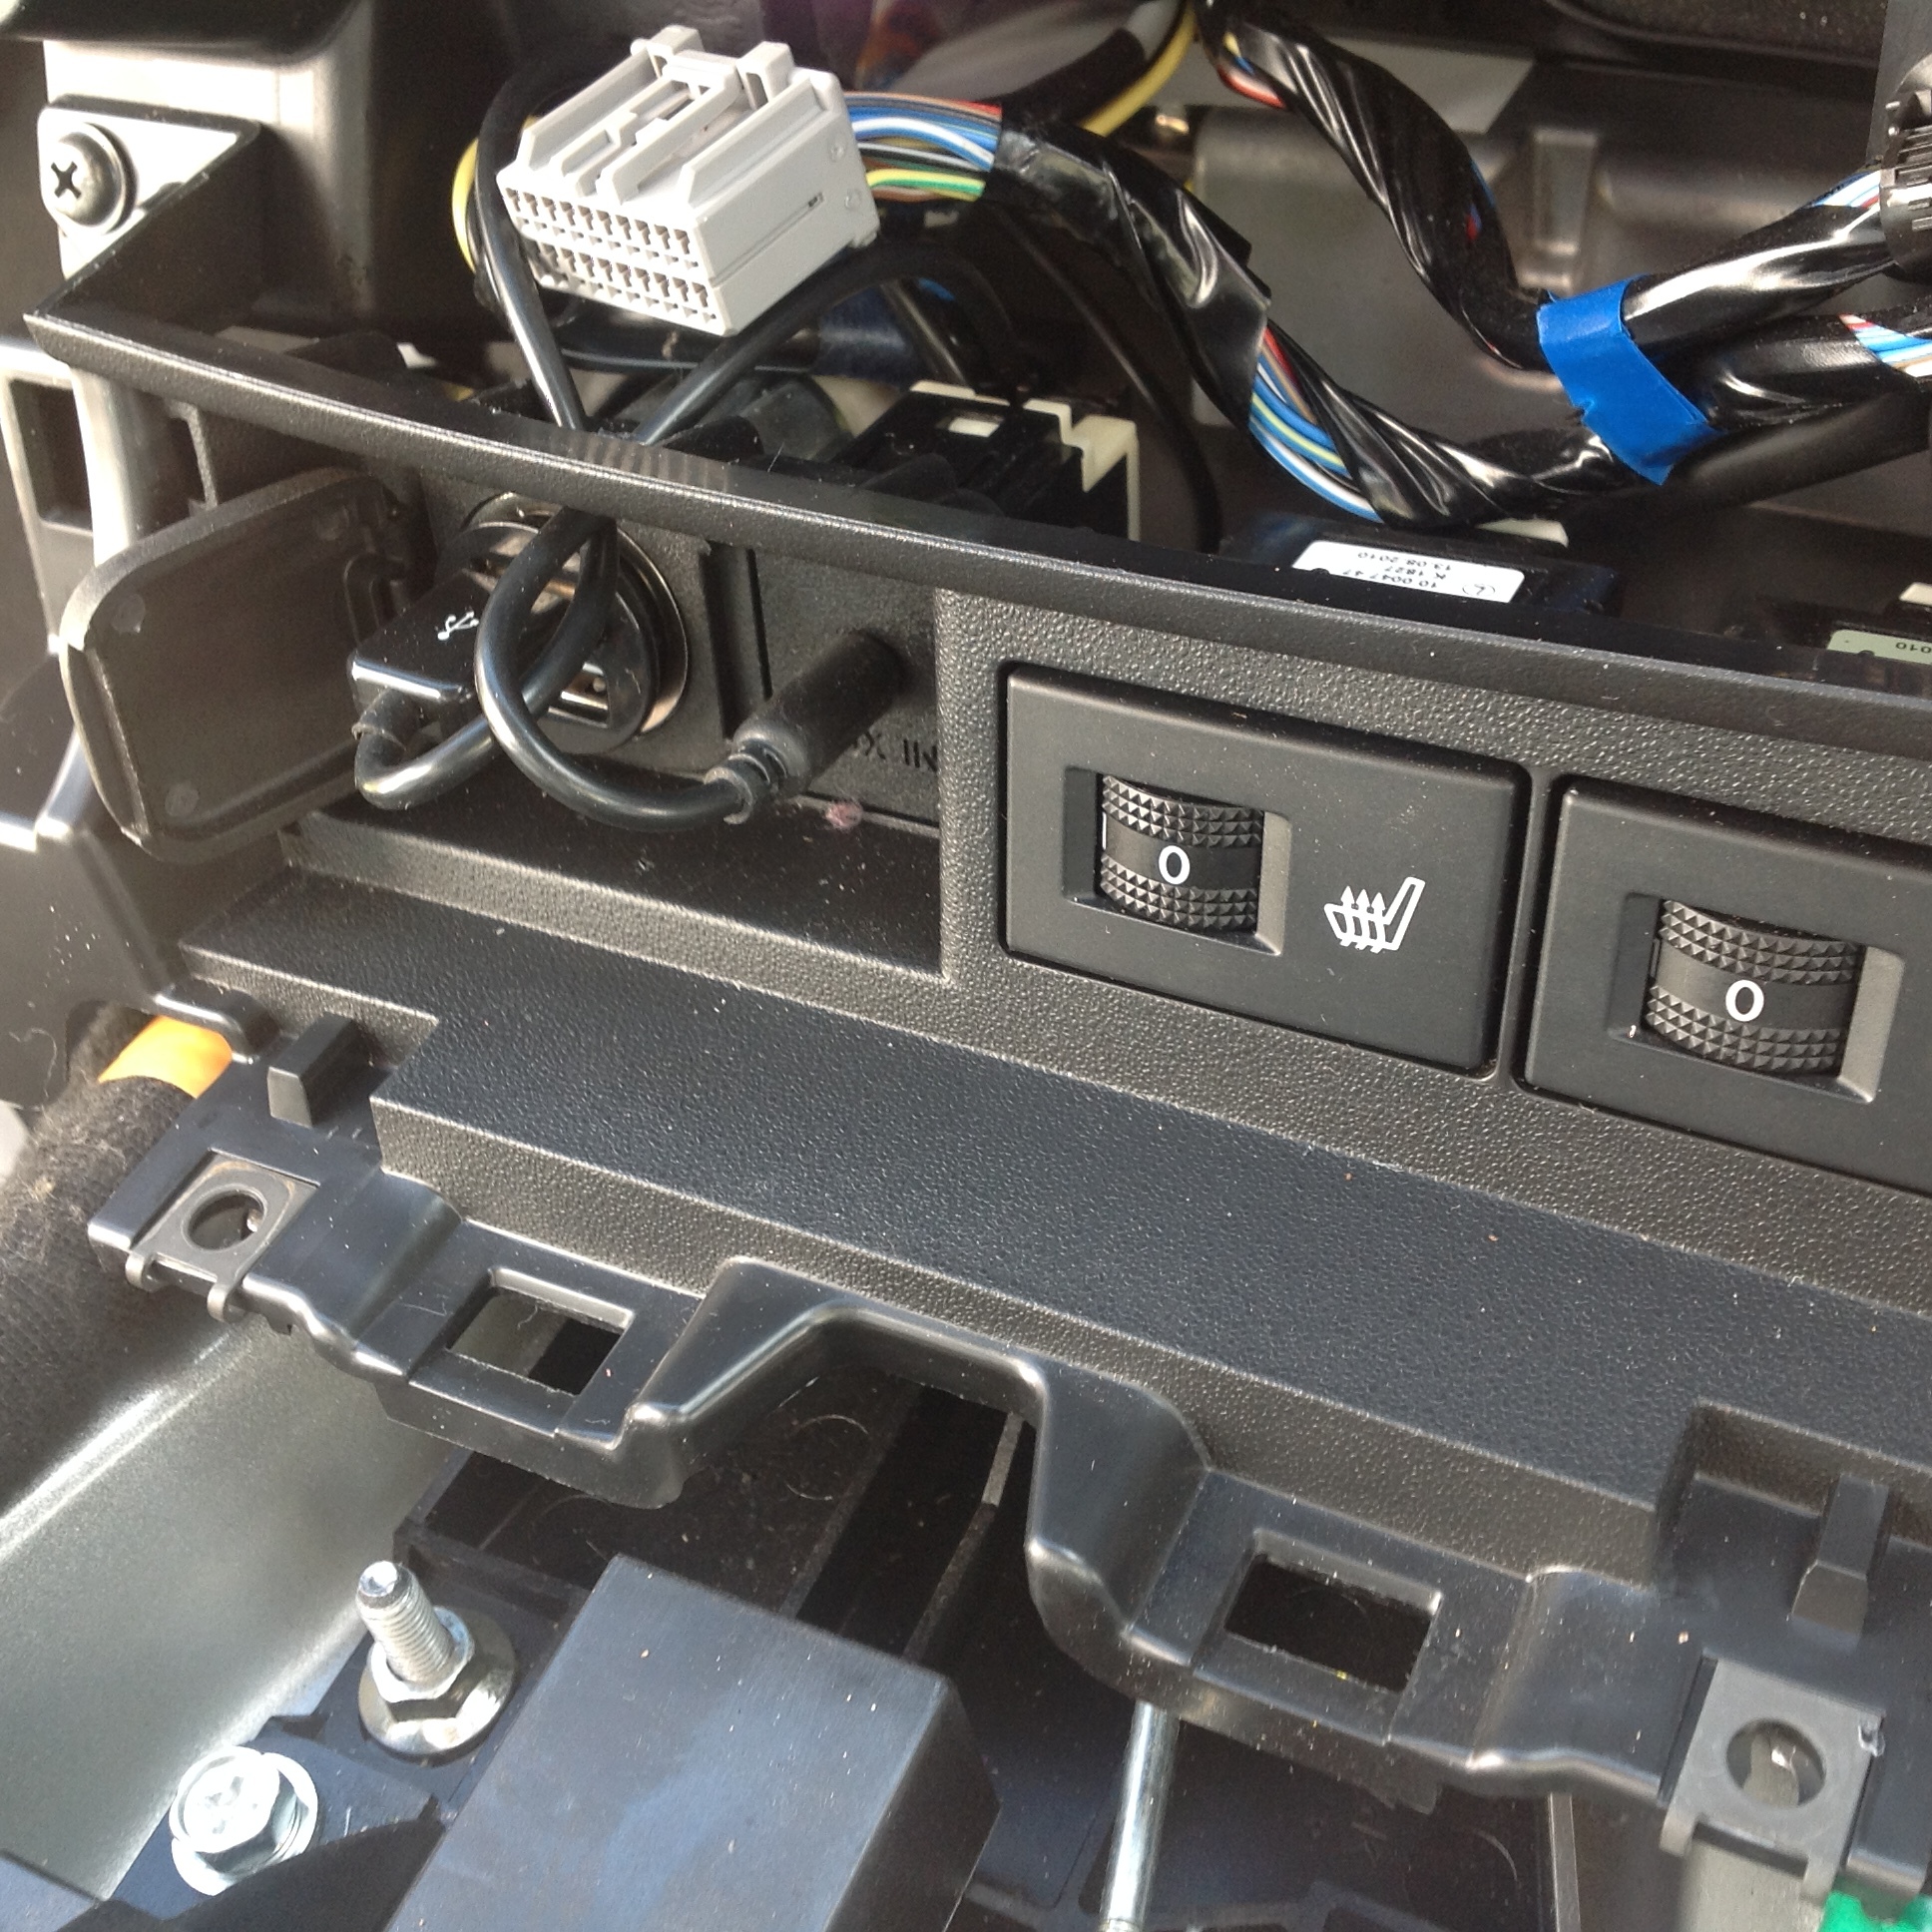
You can see the cabling I did a couple of weeks back to integrate the ipod and iphone using the aux socket.
Here’s a close up

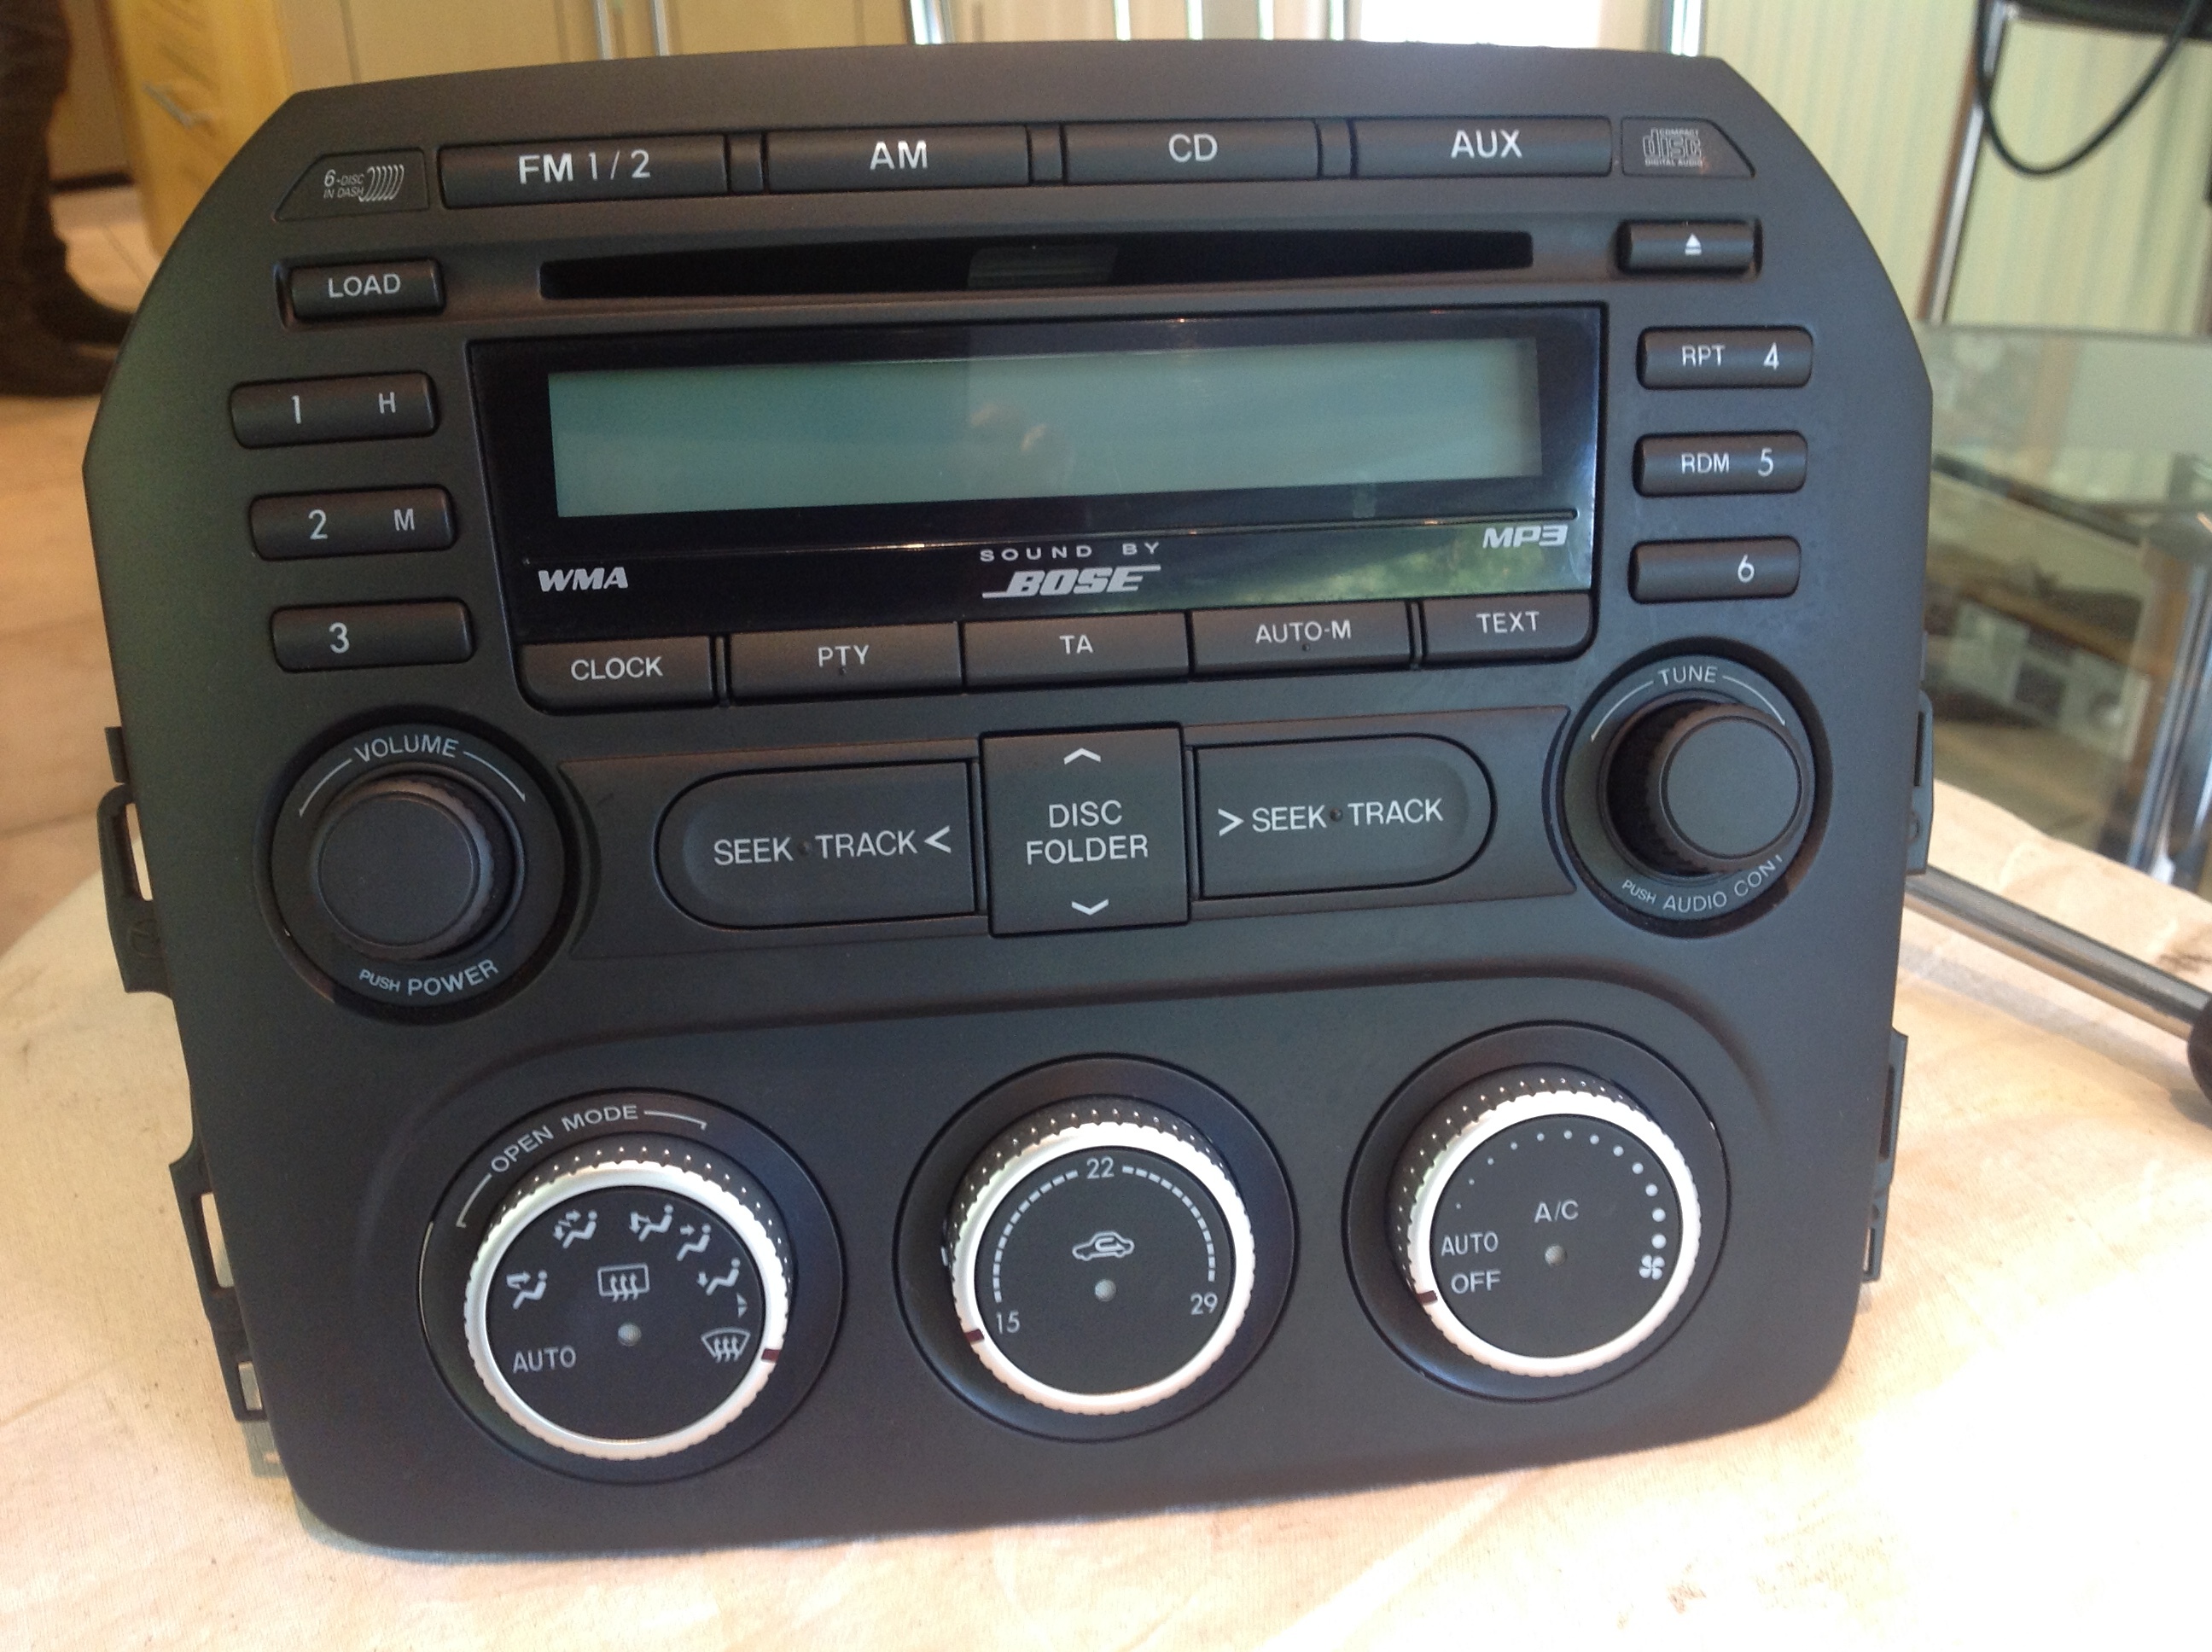
Next it was take the radio to the workbench and have a good look.

I wondered if there was a CD stuck or part of a label from a homemade CD or a dirty lens …it was puzzling me.
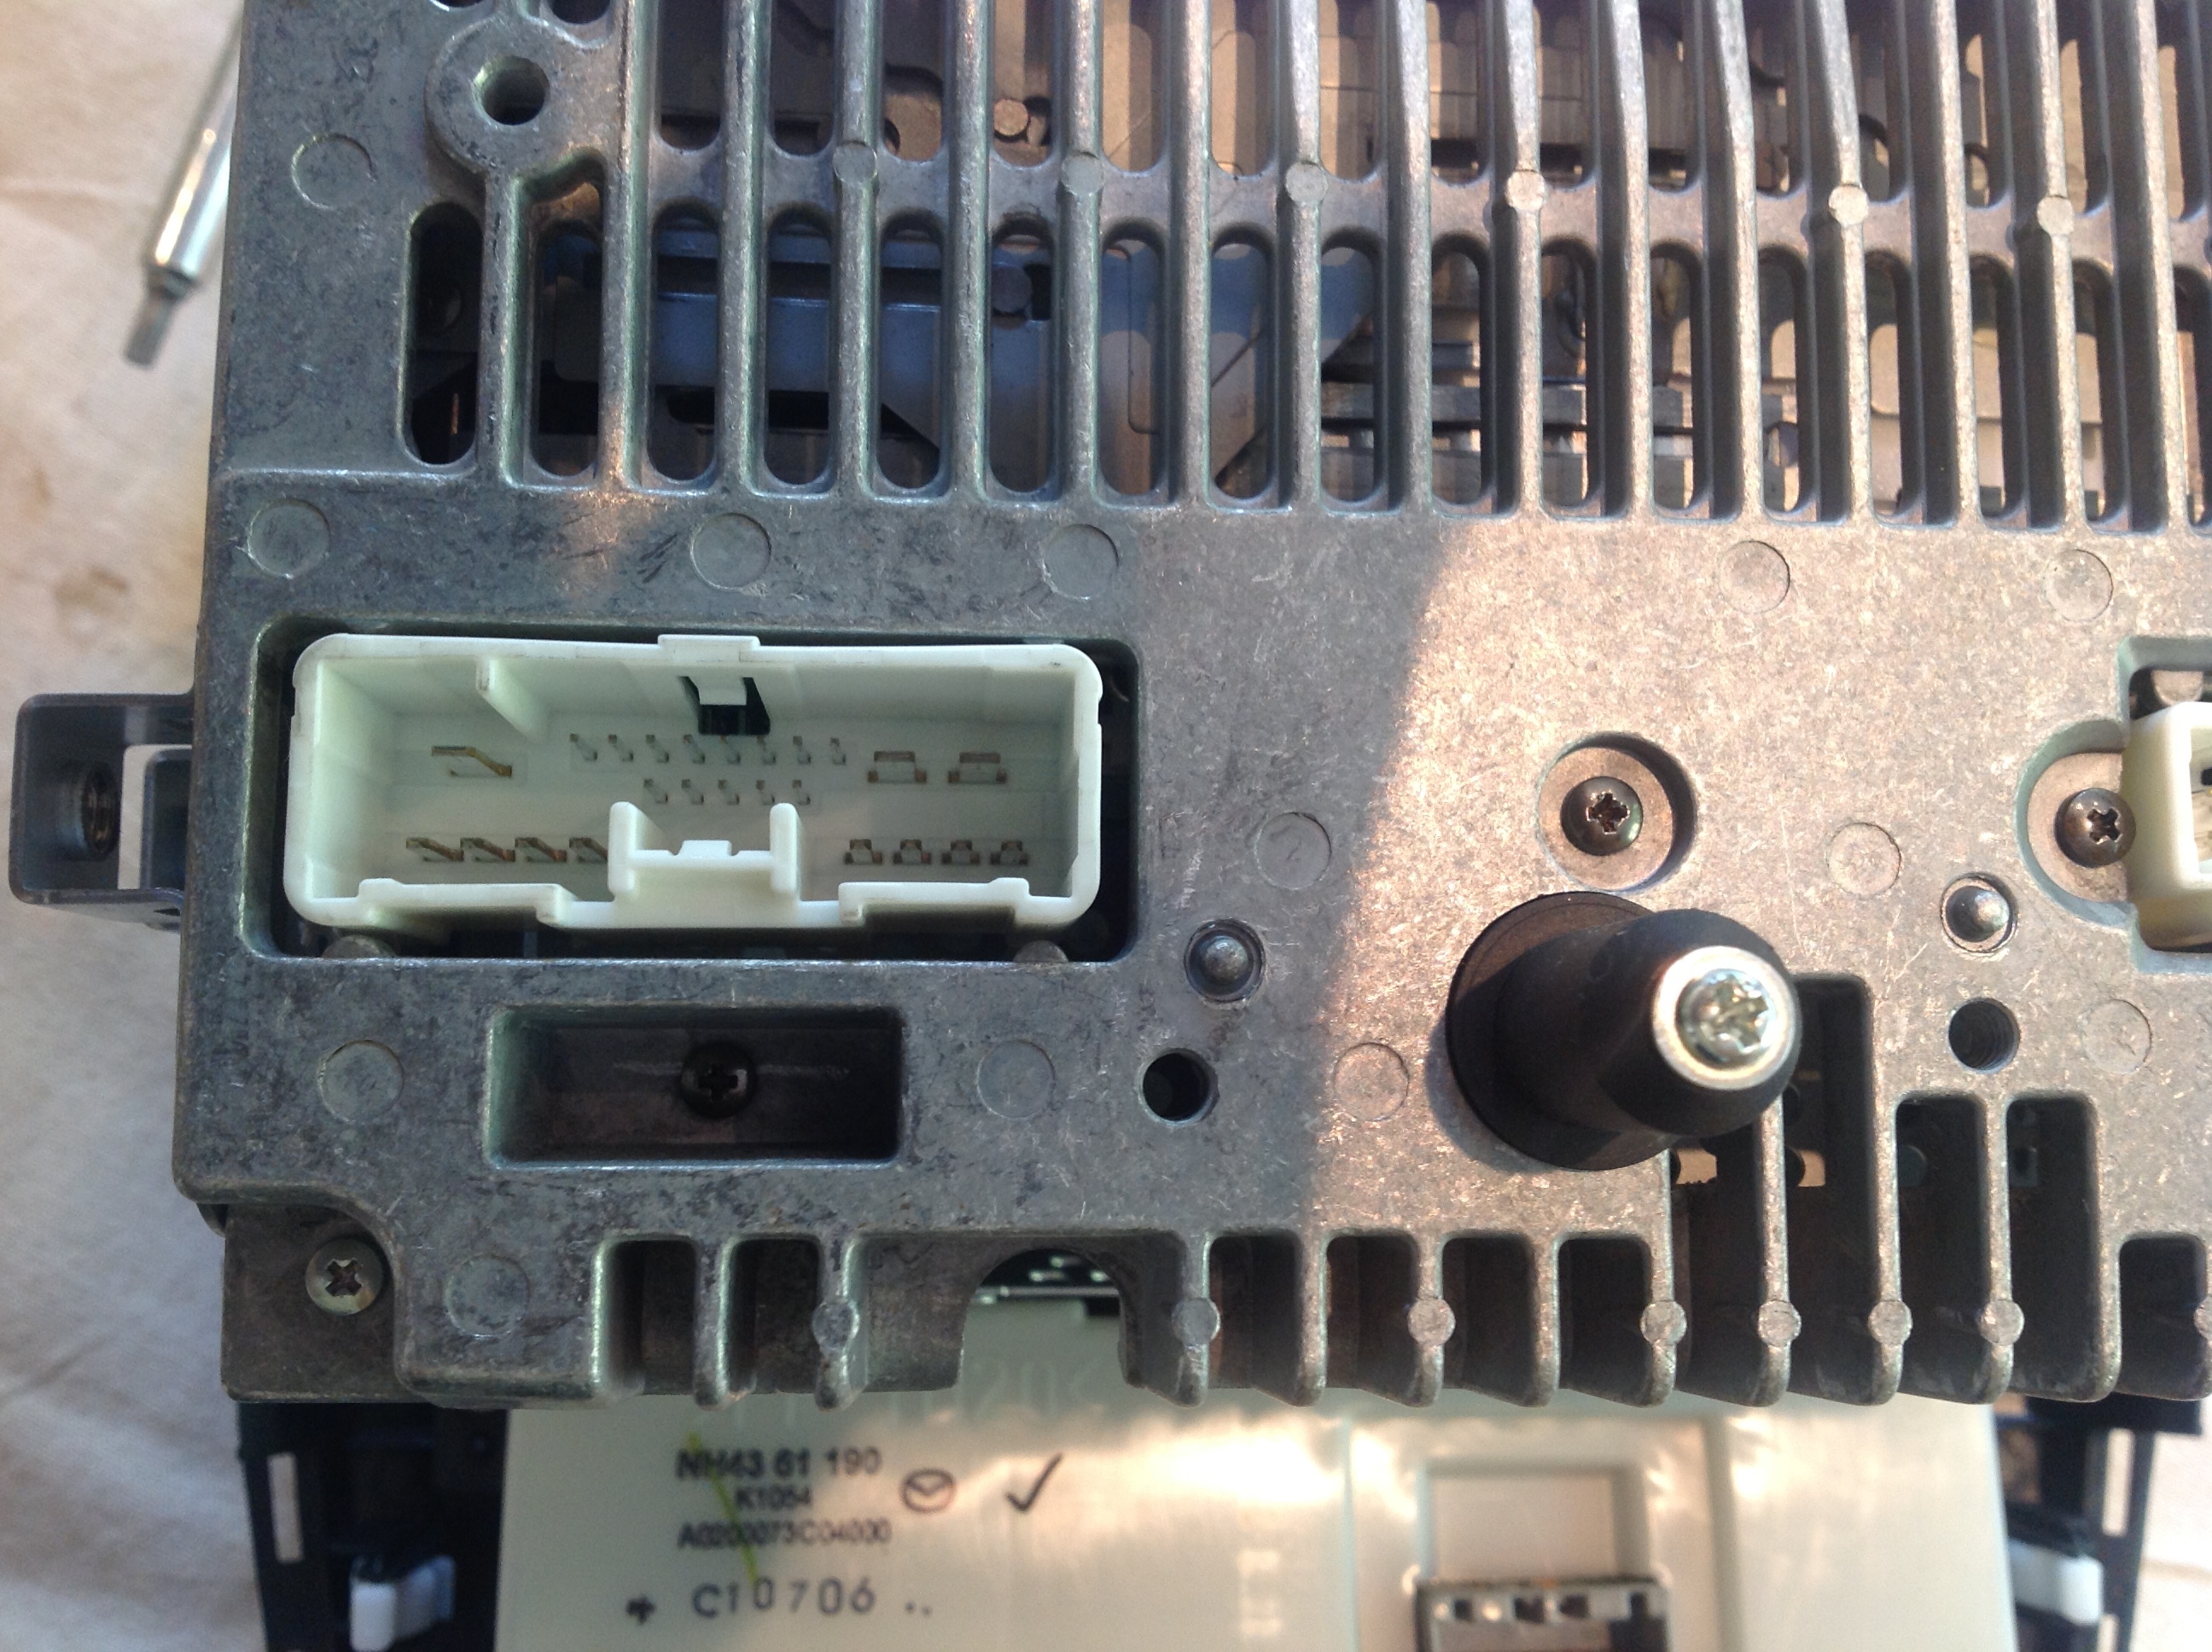
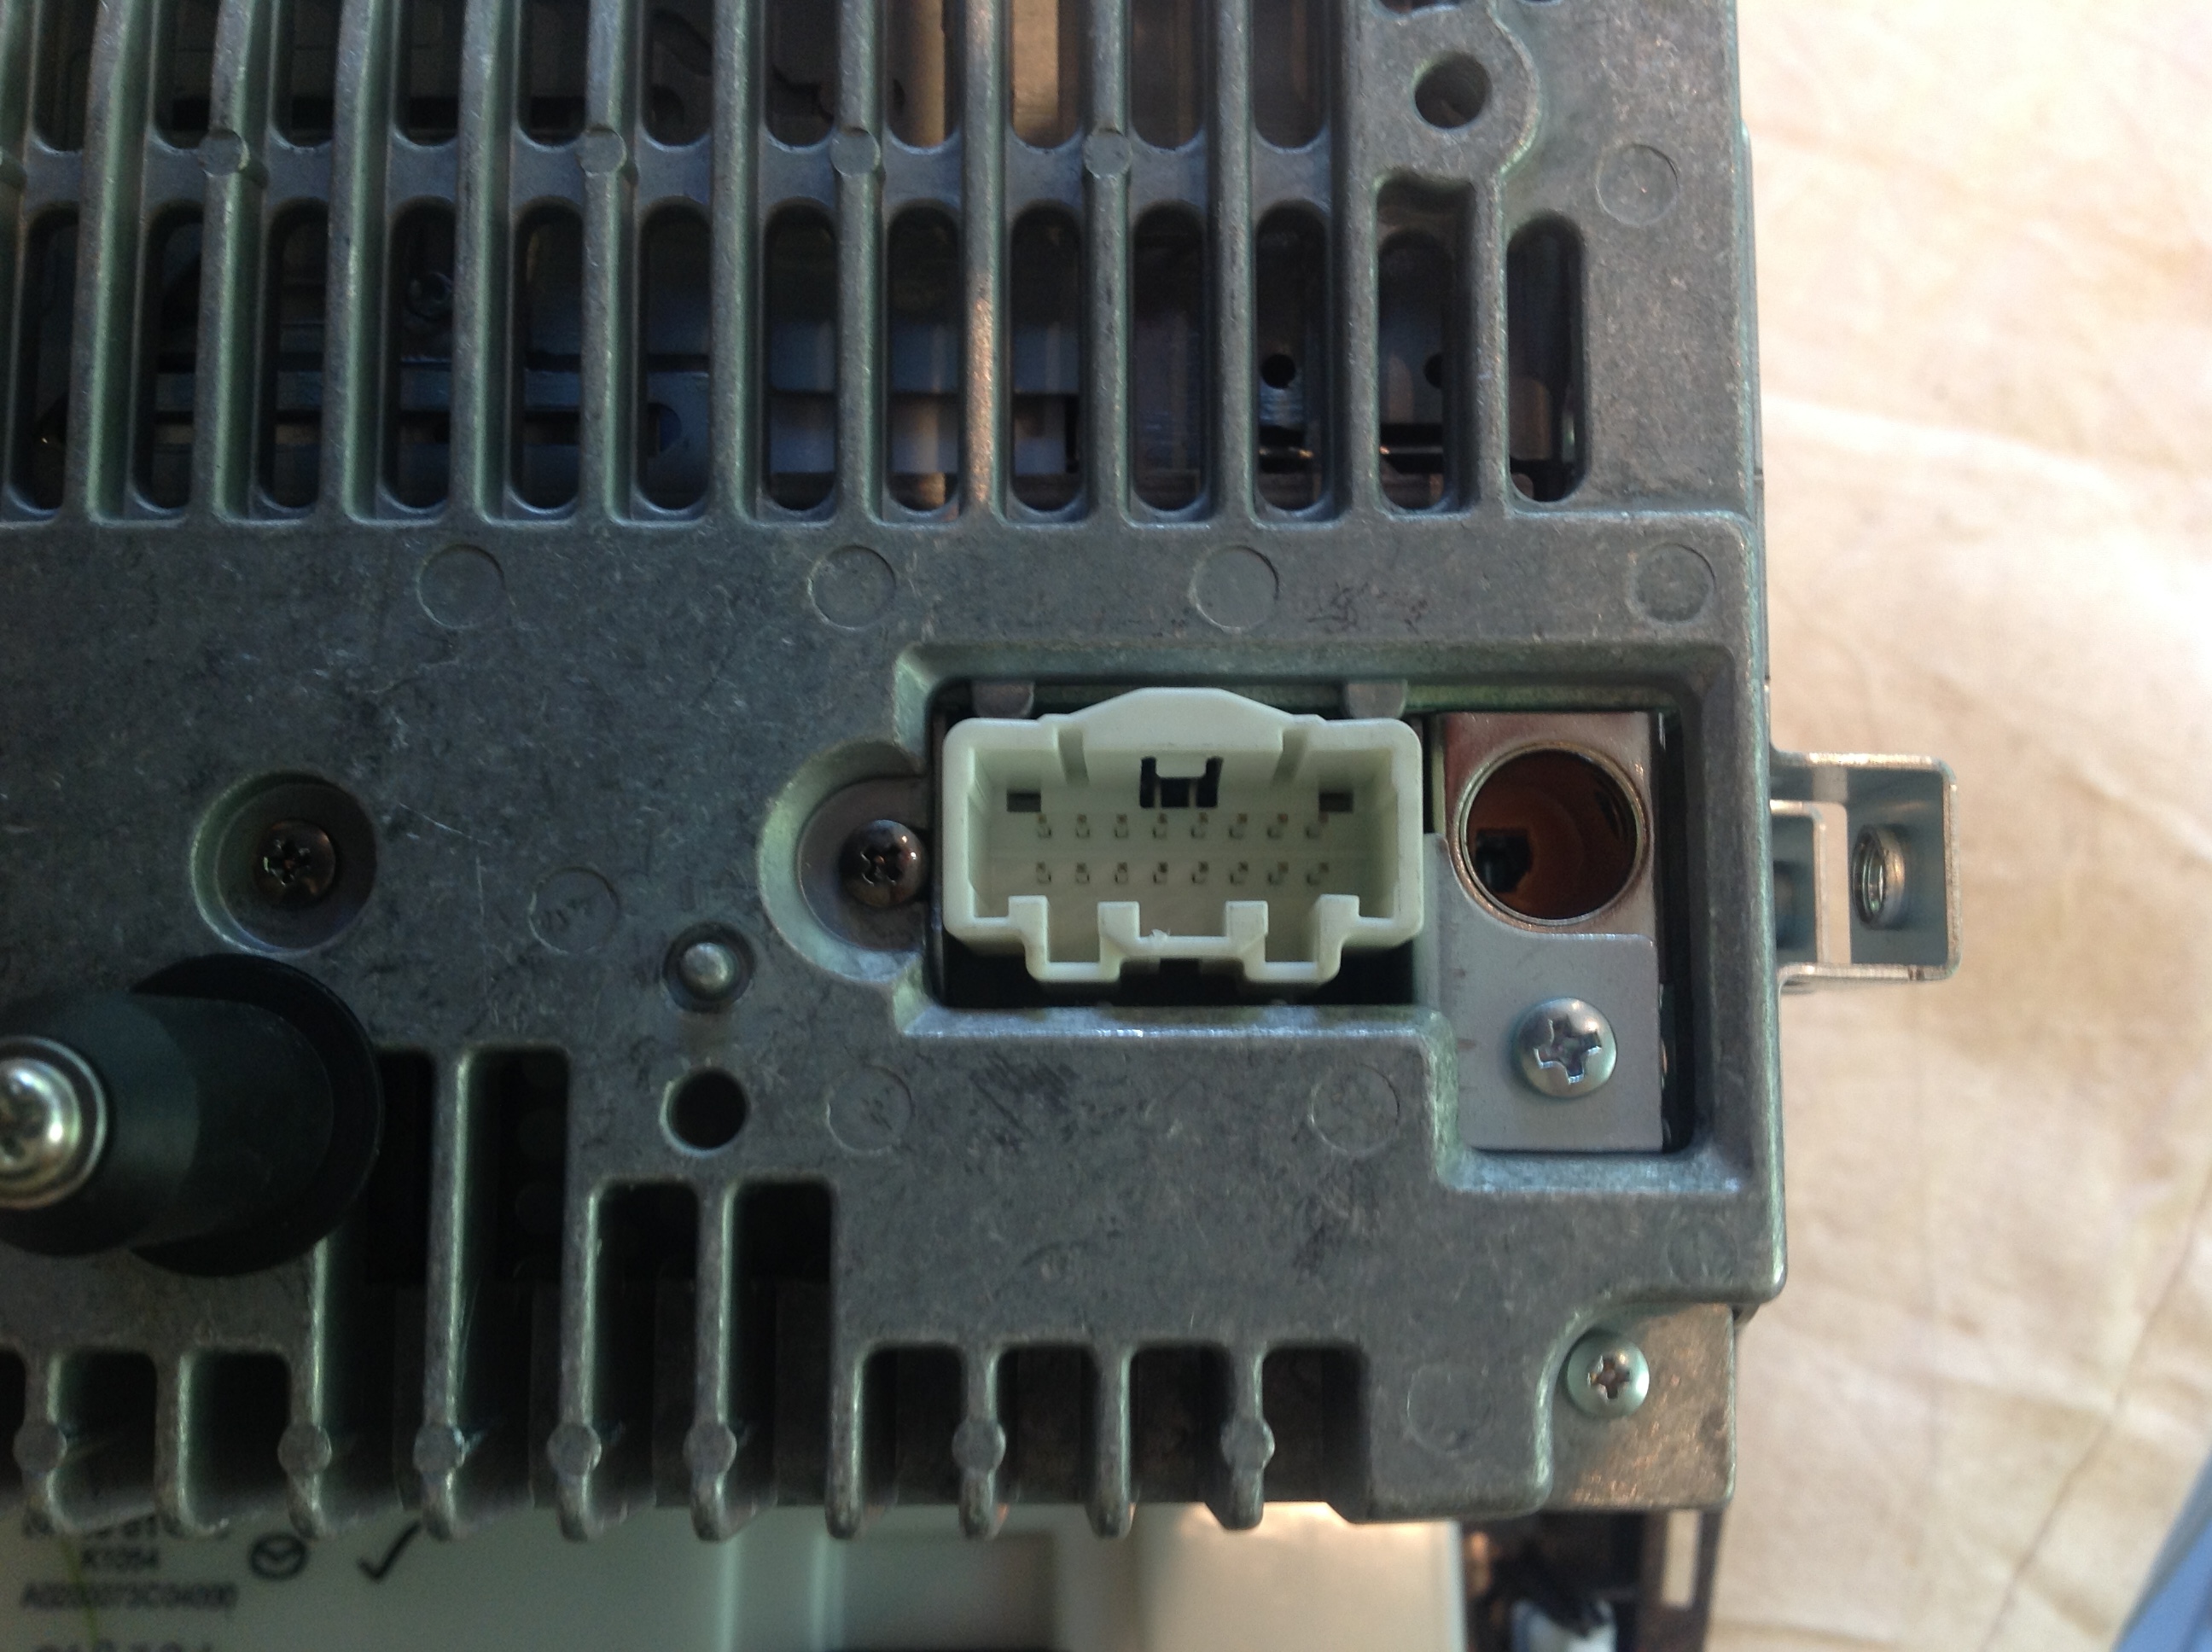
This is the unit from the back. In case anyone needs detail of the connectors.

There are 4 pink coloured screws to remove and then the unit can be removed from the front section. Remove the one small screw from the front top area of the lid section and the lid can be prised gently upwards and off to reveal the mechanism interior. Be very careful going in here! I gave the interior a gentle blow out with a low pressure airline. But there was nothing really of any note loose inside. There was no label and no CD stuck in the wrong place! Then I carefully cleaned the laser with a cotton bud and ispropanol. The Cd spindle and laser are on the left hand side (looking from the front of the unit). You’ll need to very gently lift this to get to the laser head. I could also see a slight deflection on the thin silver plate at the bottom, under which is a large ring gear. Whilst there i figured I’d straighten that plate as best as I could as it could have been pressing down onto the ring gear. Sorry, I should have taken pics of all this but I became totally engrossed in what I was doing and ensuring i put it back together correctly
Then I put the whole lot back together and refitted into the dash. This part is bloody awkward … to both get the connectors back on and push the looms aside to get the unit back in. Much cursing and grunting later and it was all back in place. There is pleasing sound of the unit going through its start up motions as the connectors are attached. But what will follow?
Cripes it works!!!
I honestly don’t know what part gave the cure … all I can say is that now THE CD WORKS!!!


It has 6 CD’s loaded with Originals, burnt copies and an MP3 cd holding 64 tracks…and they are all working perfectly…thus far anyway!
I hope that is helpful to some of you with Mk3.5’s that have had the CHECK CD issue. It may just be worth a try for you too!