I wired up my Fisher Fury R1 from scratch. It’s not too difficult really. You just need to document the colour coding and be methodical in crimpoing and soldering everything to keep it reliable. AND chose the right thickness wires for each application ![]()
3 Likes
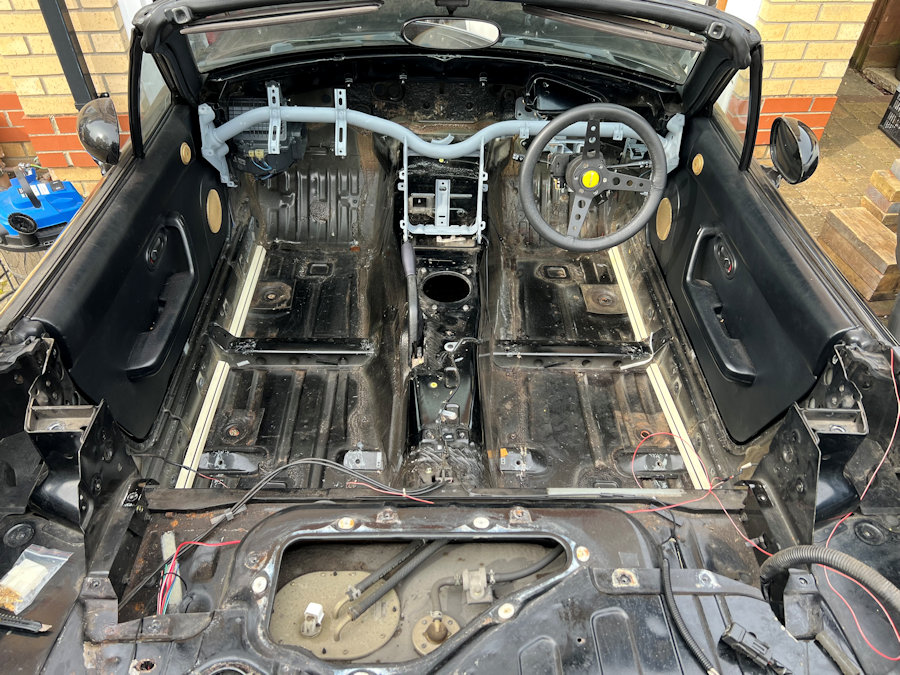
We have now completely stripped ALL of the wiring out of the MX-5e and started to rewire it with a much lighter, custom loom. We have removed lots of redundant wiring that wasn’t even used in the original car, much of it for options that were not fitted. I wired my Fisher Fury R1 from scratch so this is not a big job for me and doing it will save us about 8kg off the final weight of the car.
4 Likes
Thanks for this. I have ordered one. Not because it just looks good but, mostly because it frees up some more space in the engine bay ![]()
Rob
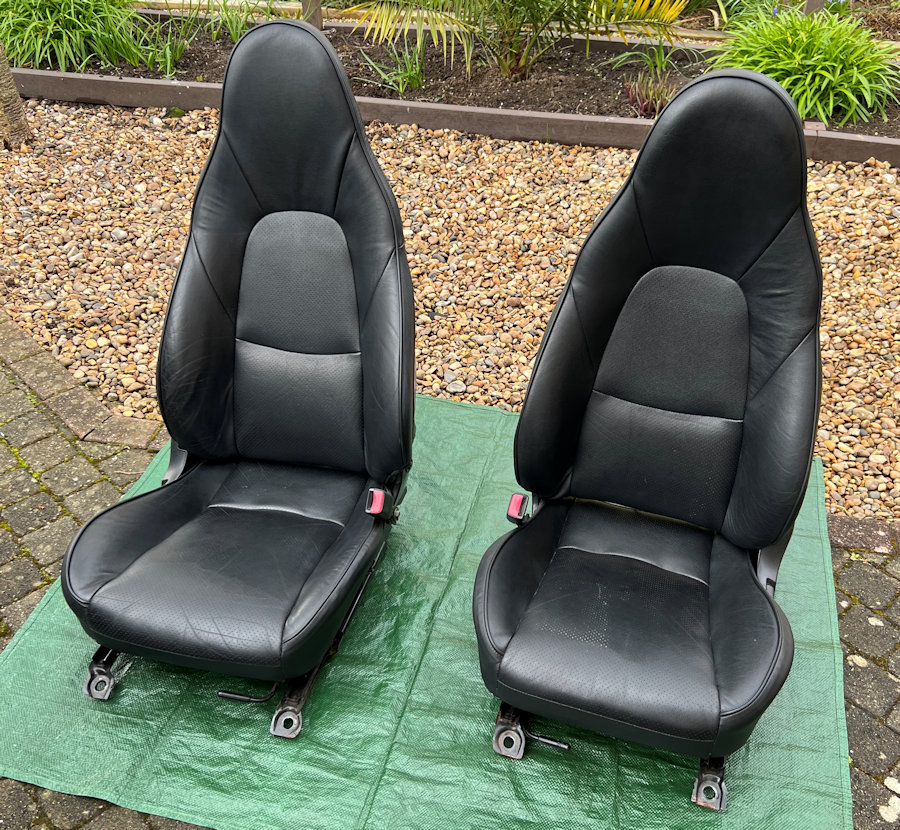
Picked up some “new” mk2.5 leather seats for the MX-5e from Suffolk Mazda for £185 the pair. These are in really good condition and have the added bonus of being heated, so we are adding switches and wiring for them. Heated seats make a lot of sense in an open top sports EV. They can be used to keep you warm and each one uses just 65W. The alternative is to switch on the cabin PTC heater and this can use 3000W. The seats are currently being cleaned and refurbished.
6 Likes
Plus, they look and feel great too.
Win, win ![]()
1 Like
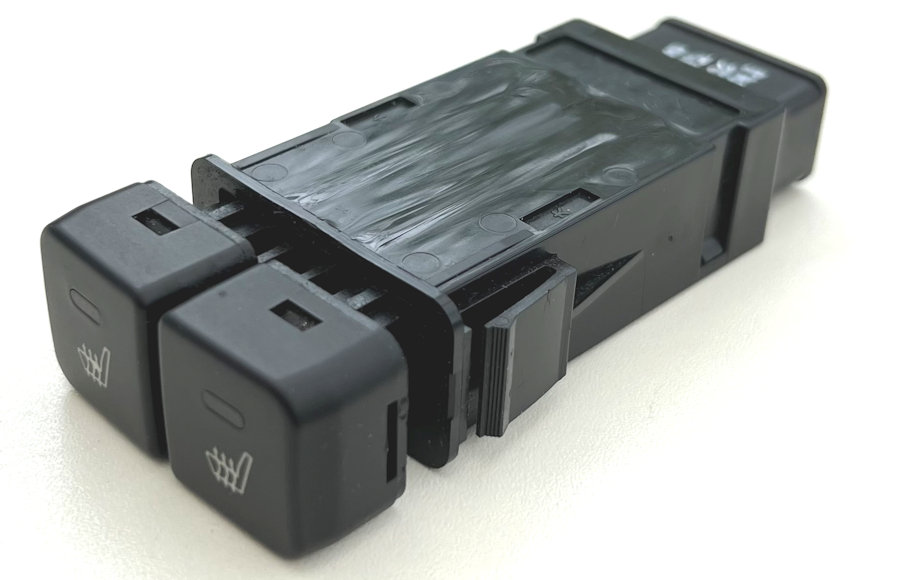
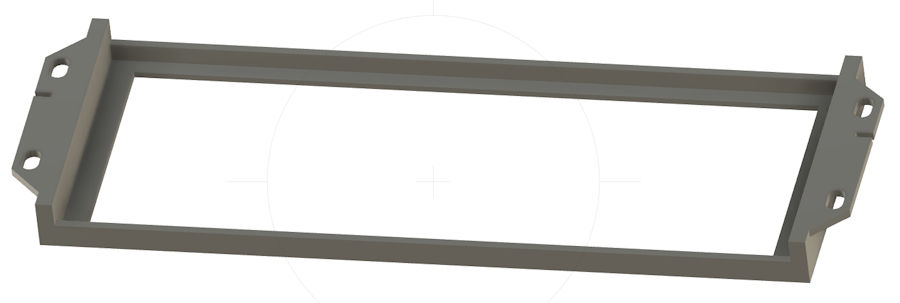
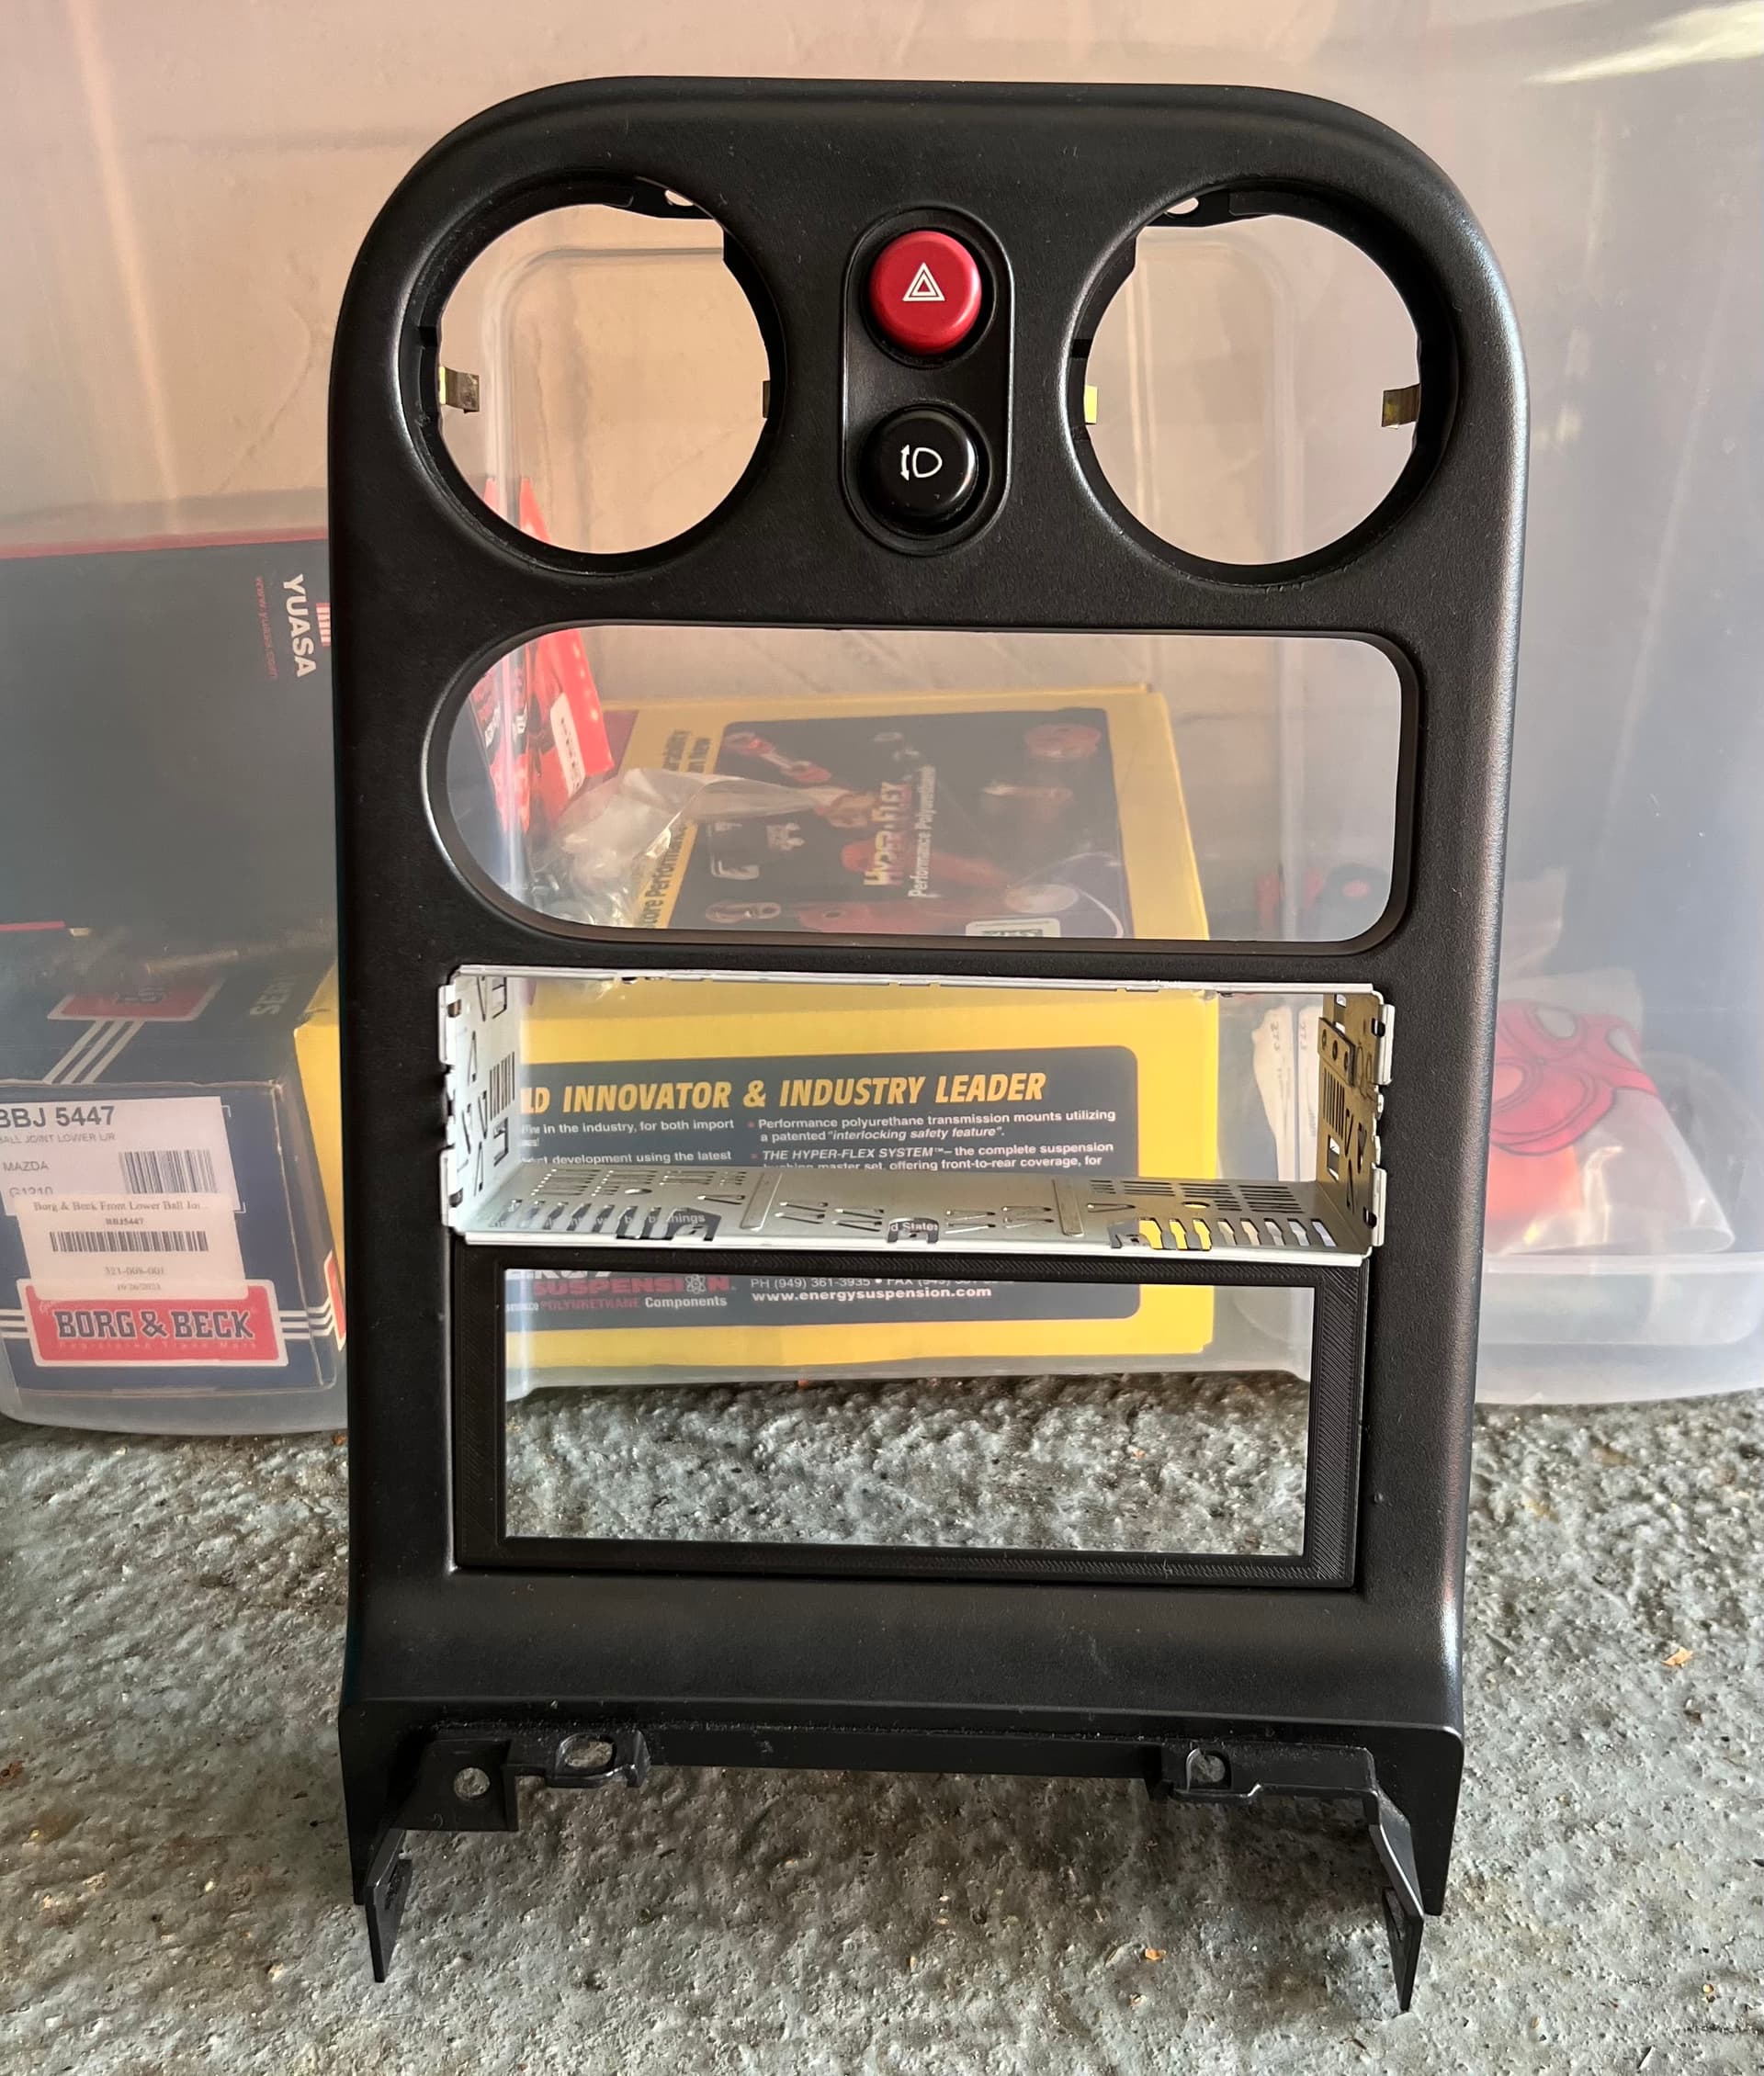
Picked up some switches for the heated seats on eBay for not a lot. We are running out of places to put switches, so I’ve designed a 3D printed plate to replace the cubby hole under the radio. This is just a template to check my measurements initiallit but, they were spot on ![]()
1 Like
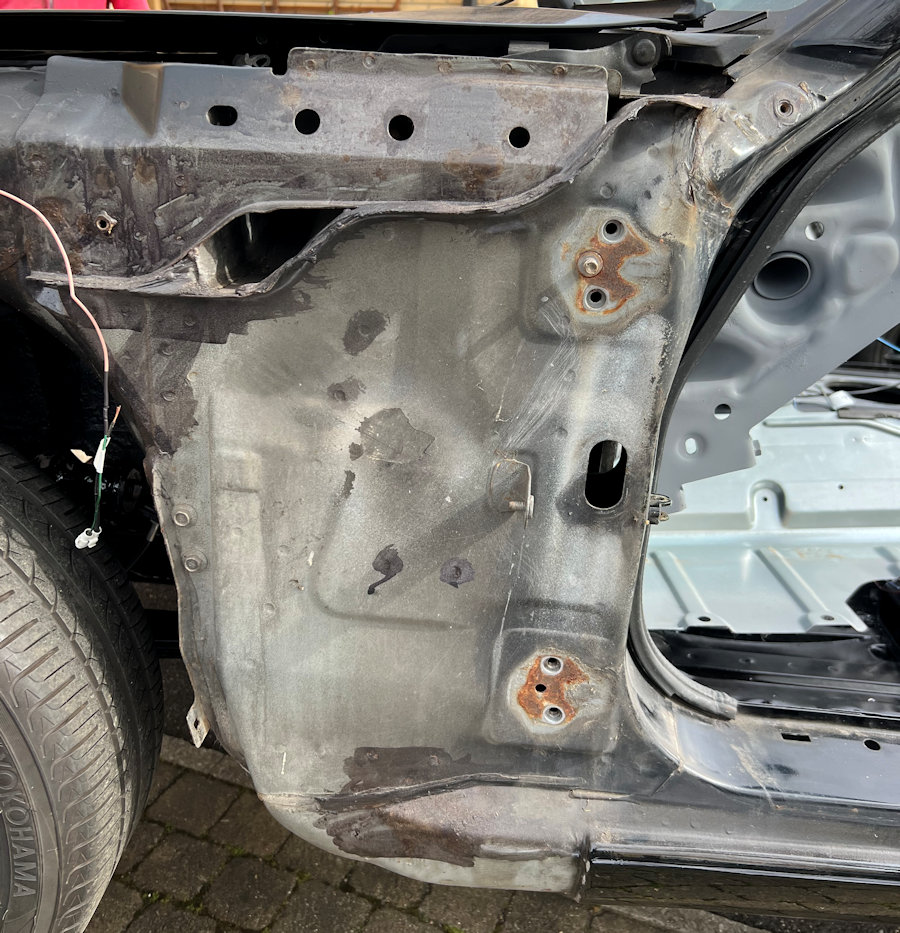
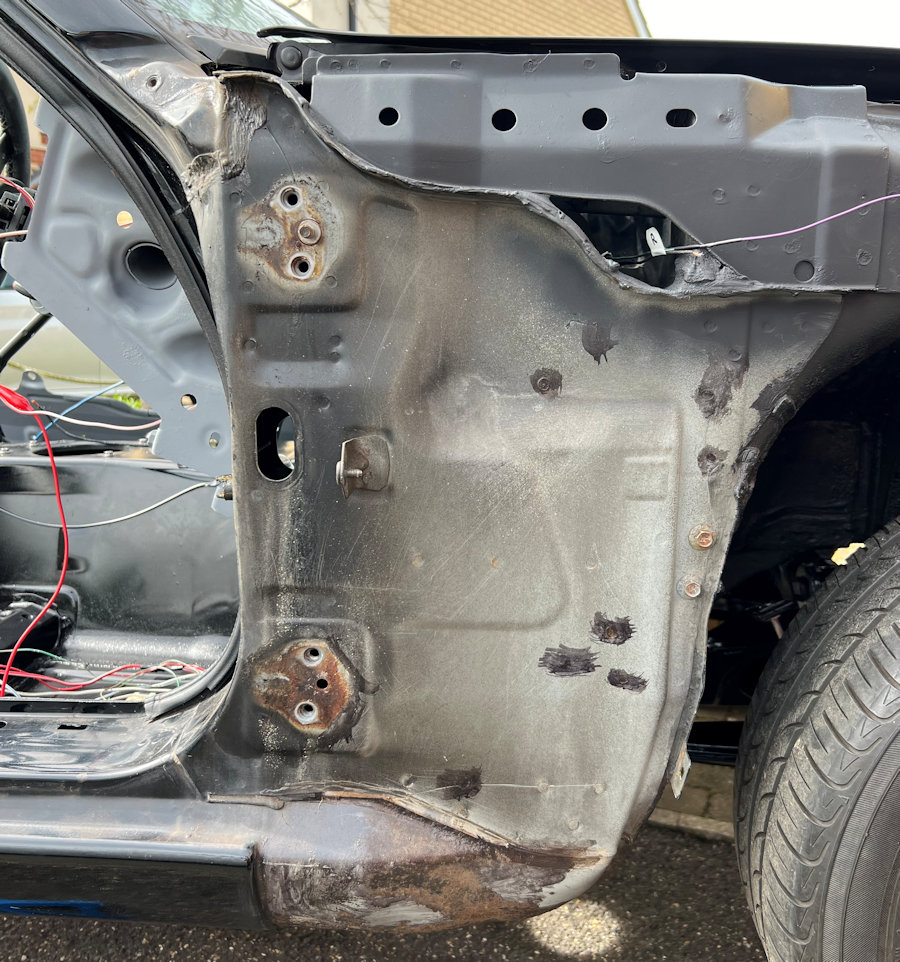
Took the doors off, to get to the last few bits of rust on this car. We are using Buzzweld glass reinforced primer and Buzzweld WAR underseal to protect the car.
It’s looking much better for taking the time to do it right
1 Like
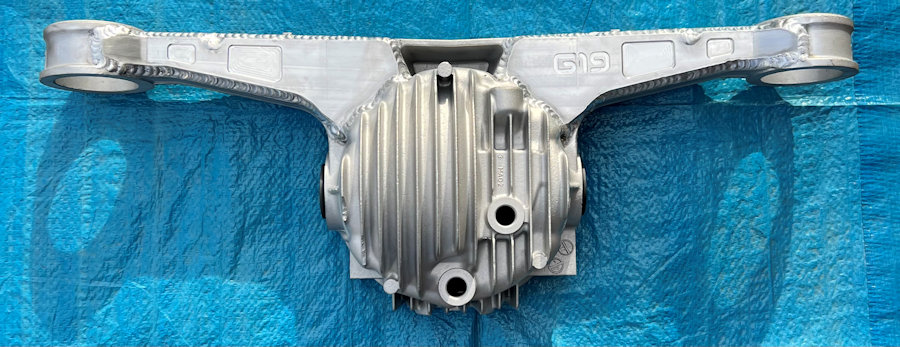
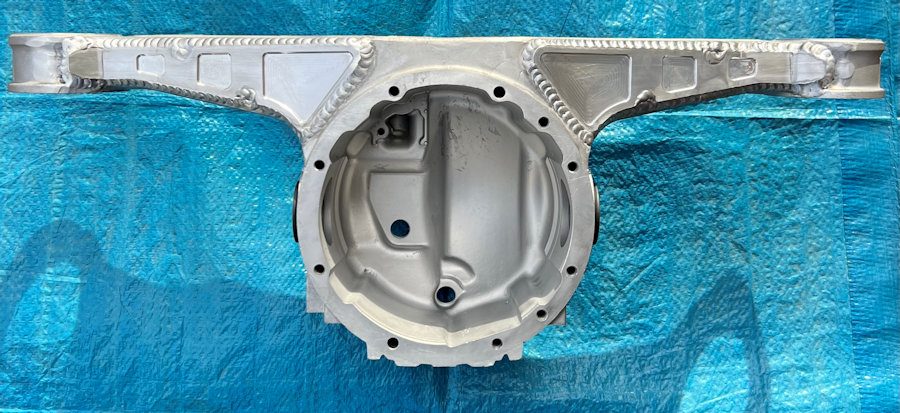
Got the LSD aluminium diff casing back from G19 Engineering today. It’s looking really good! We don’t know if this is overkill for our MX-5e but, we have an upgrade path to 215hp and 400Nm of torque, so it makes sense to do it right. We plan to replace the side seals before putting it all back together.
3 Likes
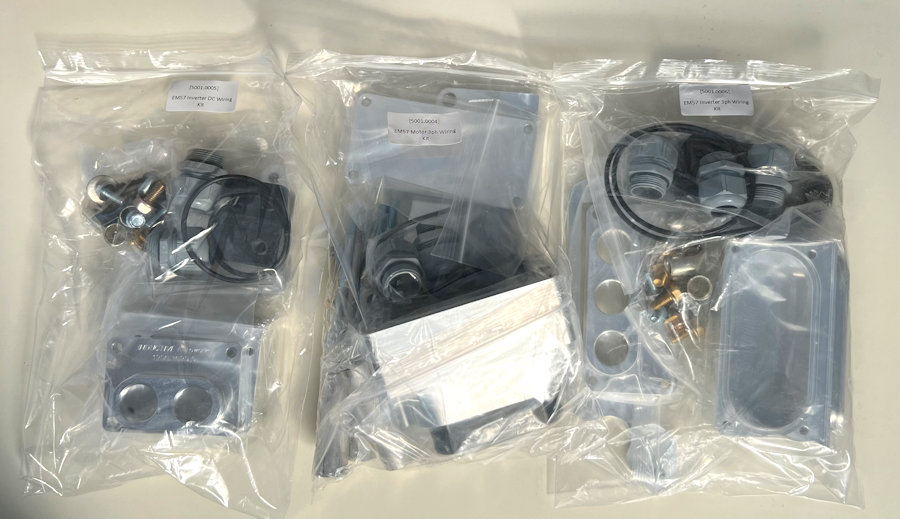

More shiny bits in the post from Inductive Automotive (USA based). This 3-part kit allows us to remotely mount the Nissan Leaf inverter from the Nissan Leaf motor and to supply 400V dc to the inverter. Lots of billet aluminium parts. Yes, it was expensive but, this level of fabrication is beyond my skill set. When we come to register the MX-5e as an EV, we want the DVLA inspector to look at and think these guys did it right ![]()
6 Likes
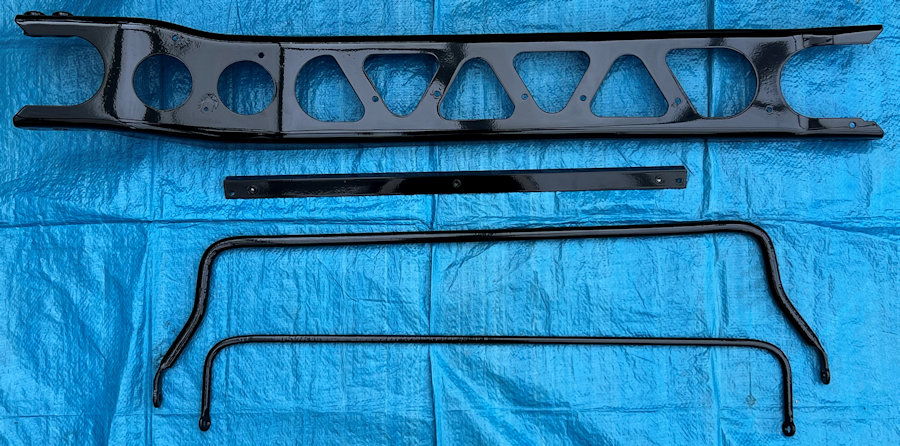
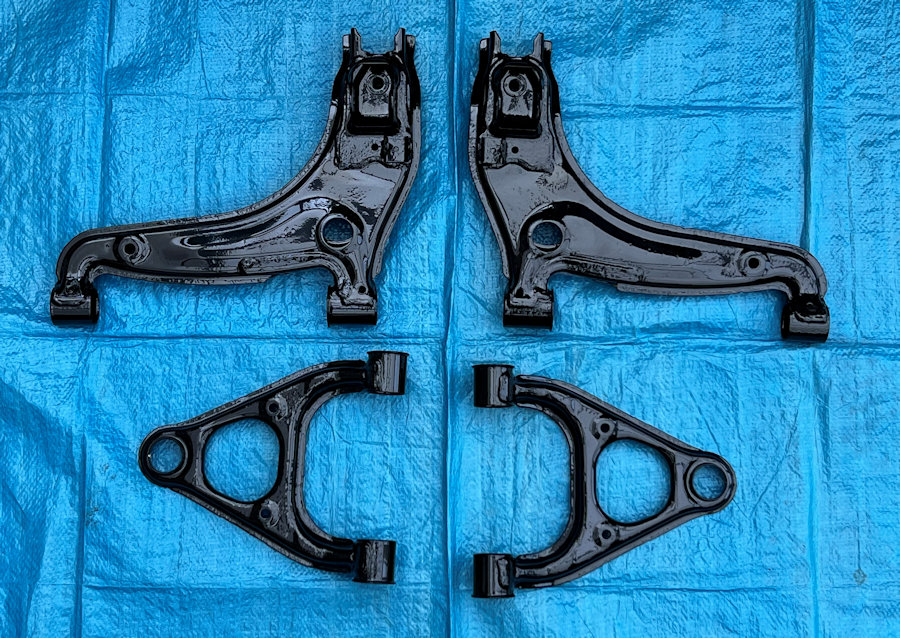
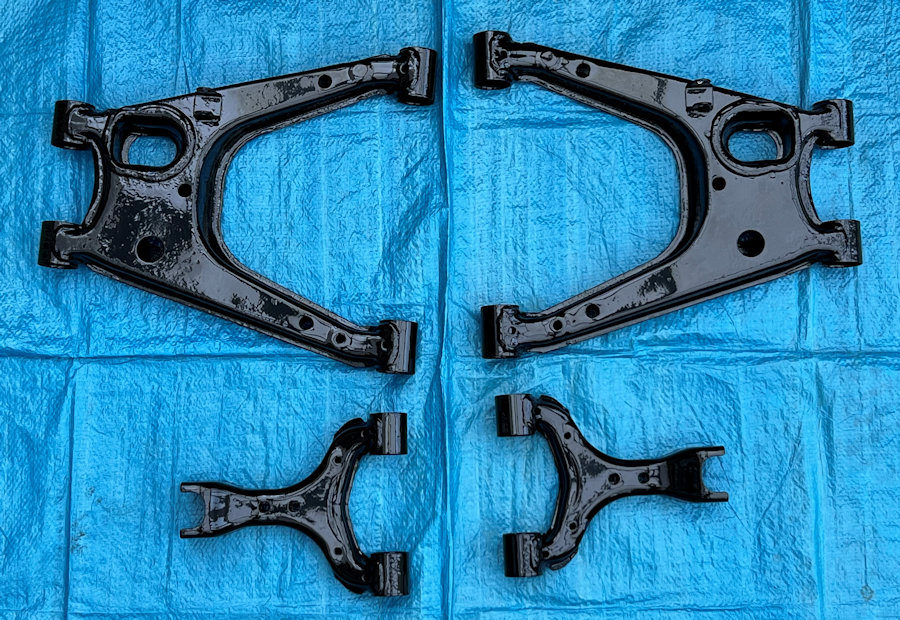
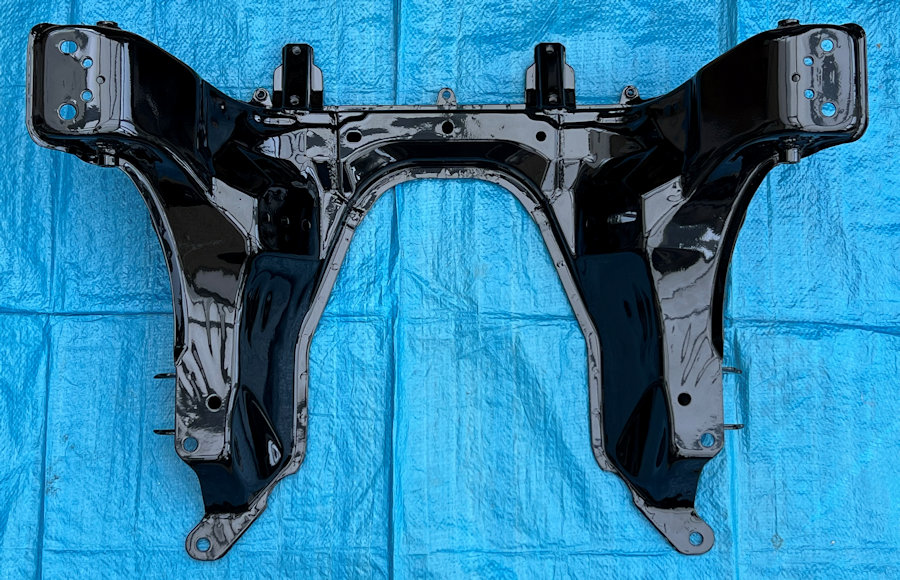
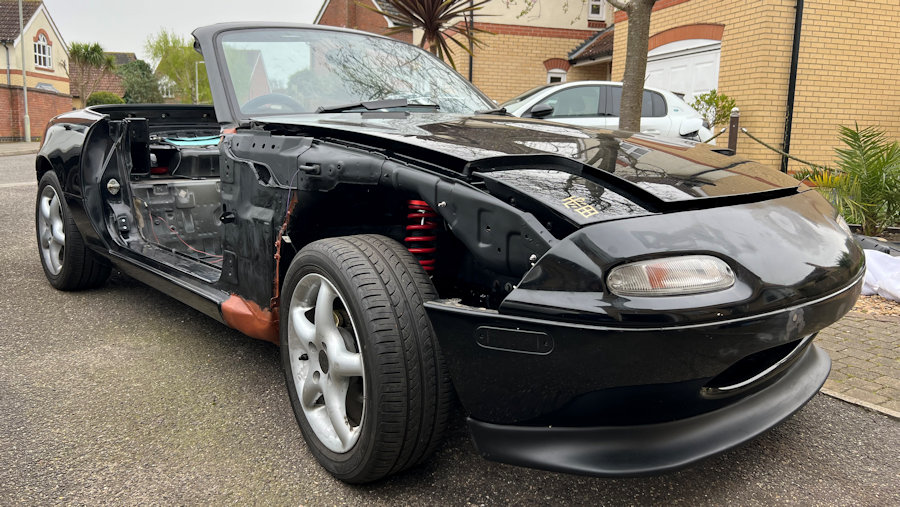
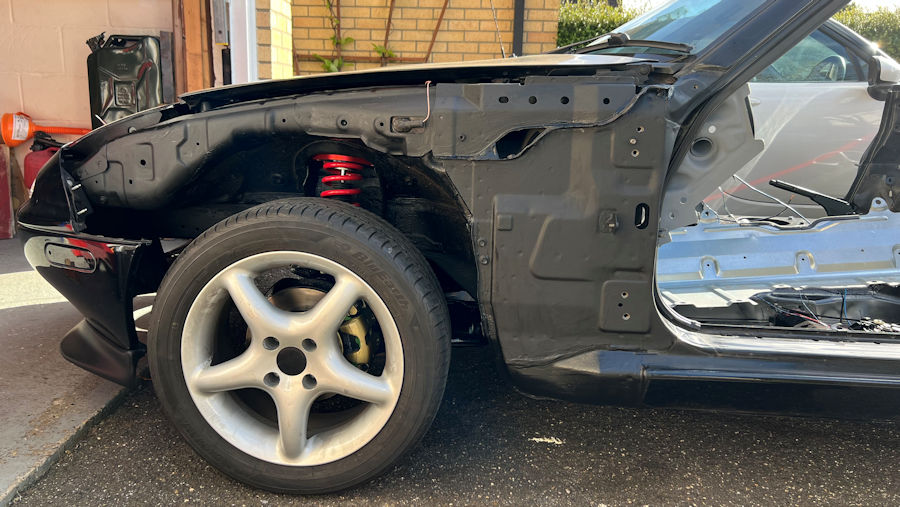
We are on the home straight! It feels like it has taken ages but, restoring a 30+ year old car does take a while. We have now removed the rear sub-frame and the fuel tank, so we can clean up and treat the last part of the car. This will then be painted with Buzzweld glass reinforced primer and several coats of Buzzweld WAR underseal.
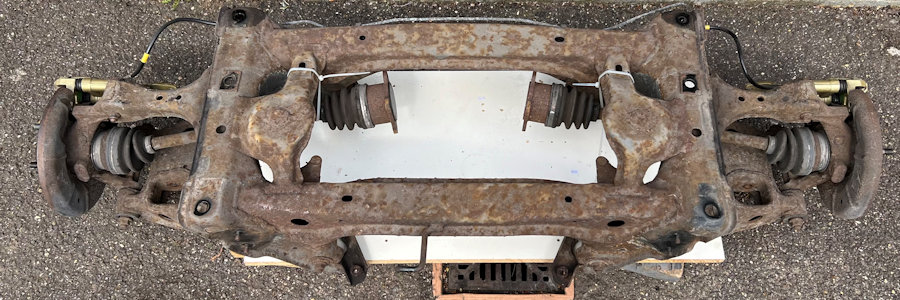
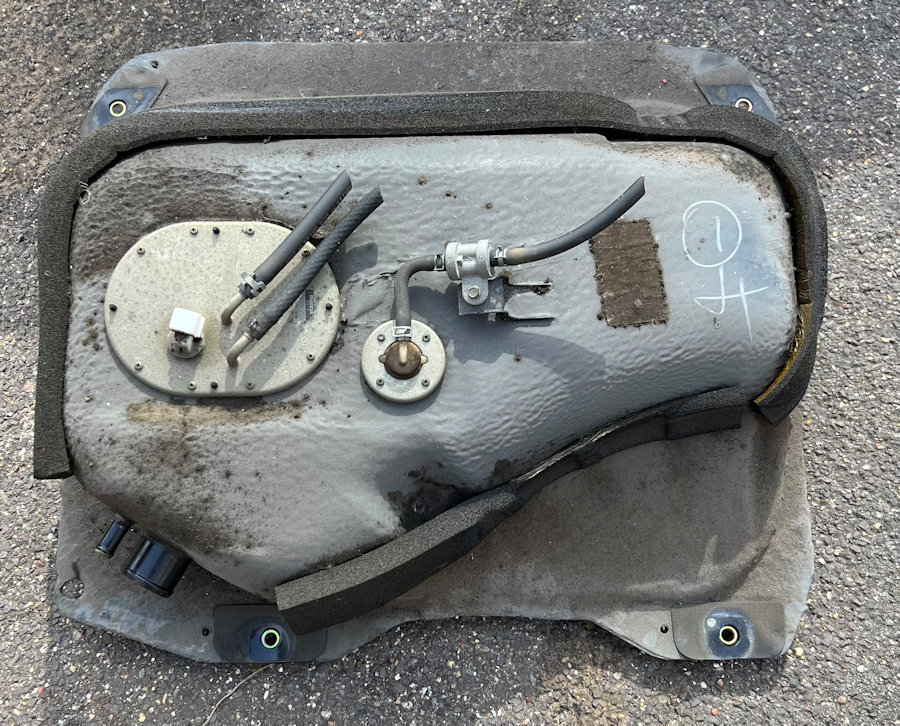
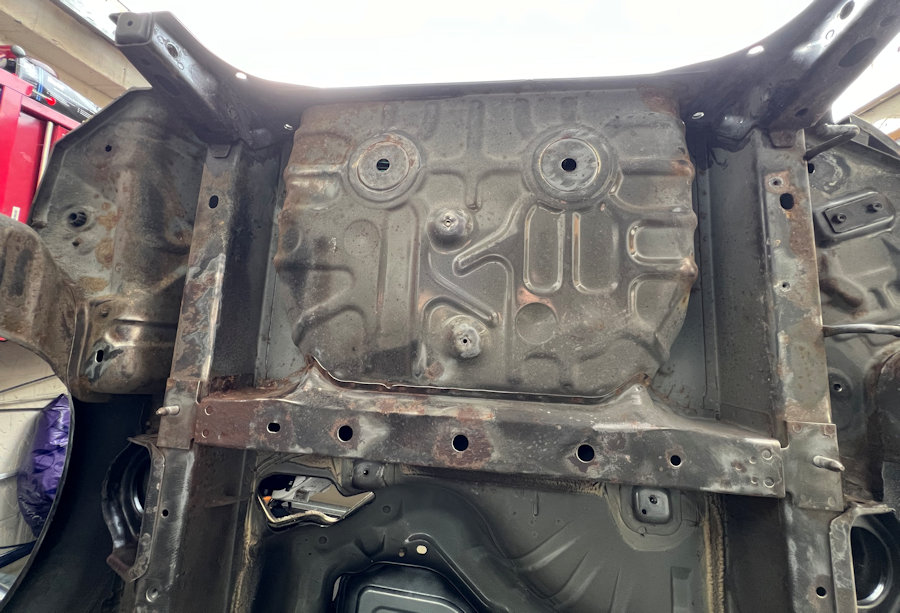
The sub-frame is being shot blasted and powder coated, along with the suspension arms. These will then be fitted to my son’s 1990 Eunos Roadster. I have a newly powder coated sub-frame and suspension parts to go back on the MX-5e. The fuel tank is for sale. That’s another 11.1kg saved ![]()
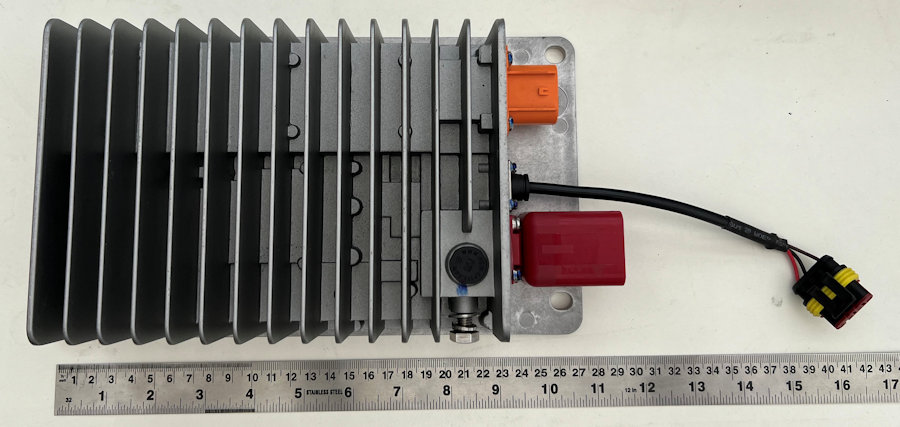
A delivery from Fellten today. We now have a dc-dc converter to run the 12V side of the car and to charge the 12V battery from our HV battery pack. It weighs 2505g and is air cooled. Also have a 3kW PTC heater to fit into the old Eunos heater matrix. It weighs just 1500g.

4 Likes
A good opportunity to paint the fuel tank while it’s out too! ![]()
Edit: Sorry my humour was wasted, just seen that you said that the fuel tank is for sale.
2 Likes
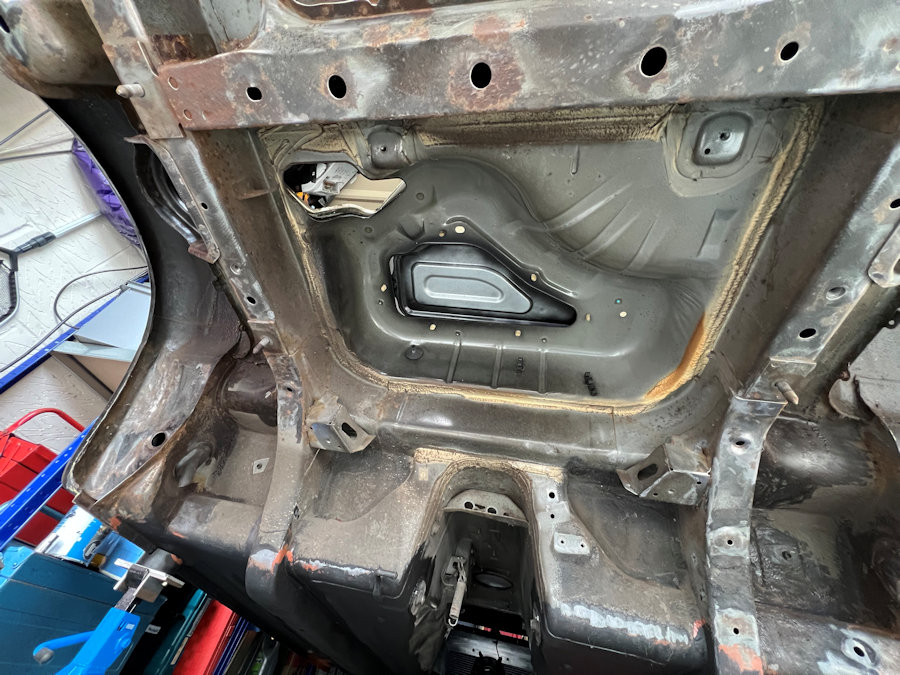
Yay! We have finally finished restoring the underside of the car. It has been stripped back to bare metal, any rust treated and then painted with Buzzweld glass reinforced primer and WAR underseal. It’s been a massive job and very time consuming. Hopefully this car will now see out another 30+ years on UK roads.
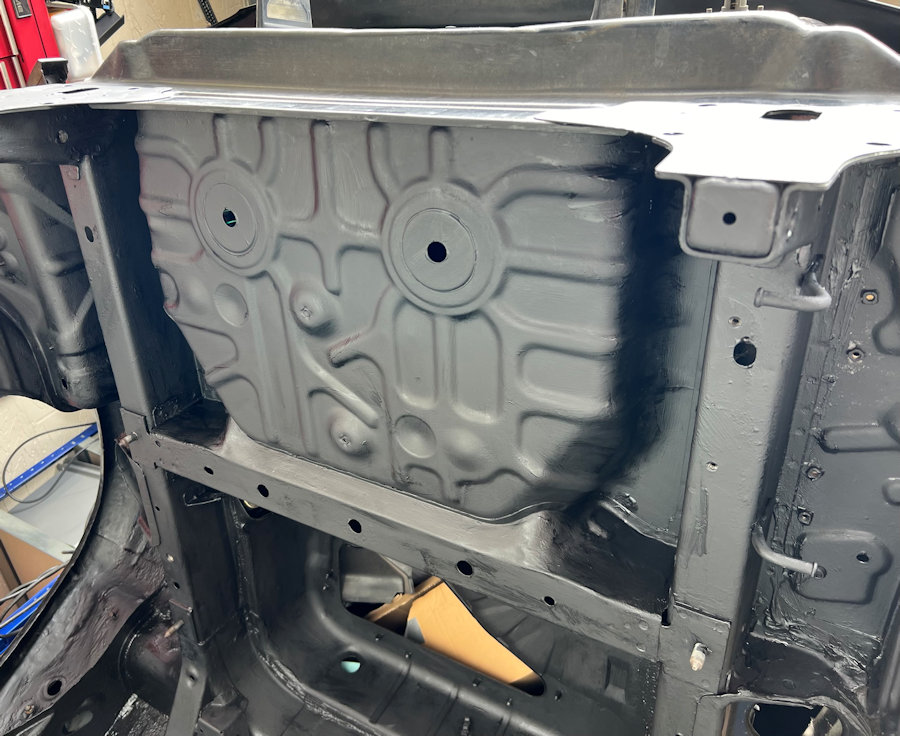
We have been stripping the old sub-frame and will soon be sending all the parts off to be powder coated. We have quite a few parts ready to go on the MX-5e though.
Getting the old drive shafts out has been a bit of a nightmare. We eventually managed to get the driveshaft nuts off with a larege impact driver. We have now bought a 10-ton bench press to get the last stubborn driveshaft out. Our ‘new’ driveshafts have a different sized thread but fortunately the new bearing kist come with both sizes.
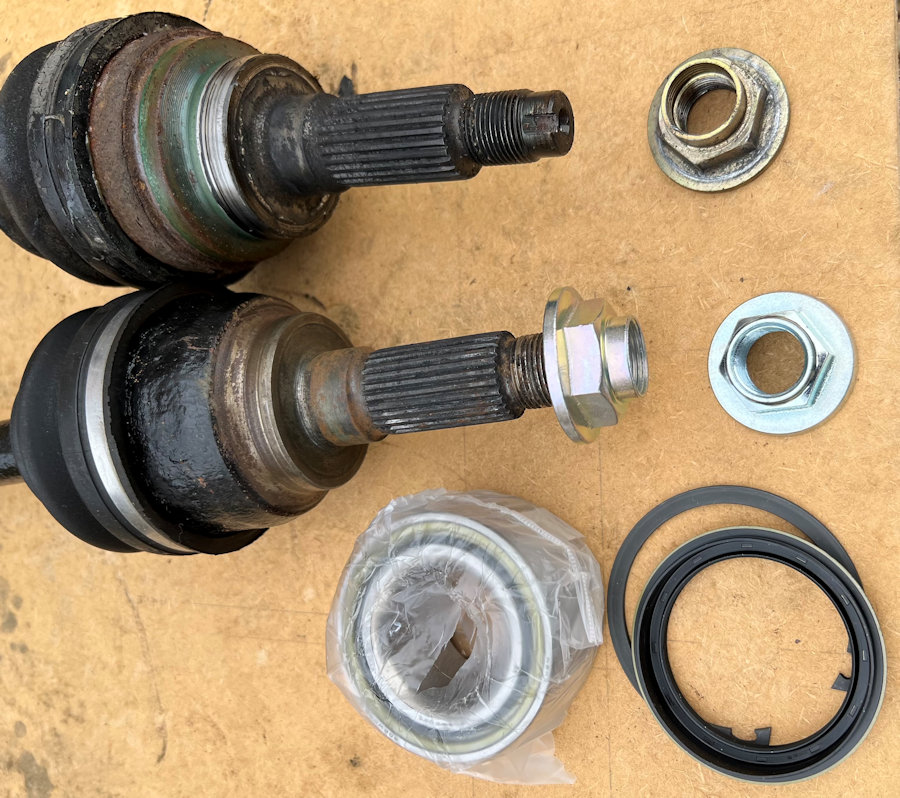
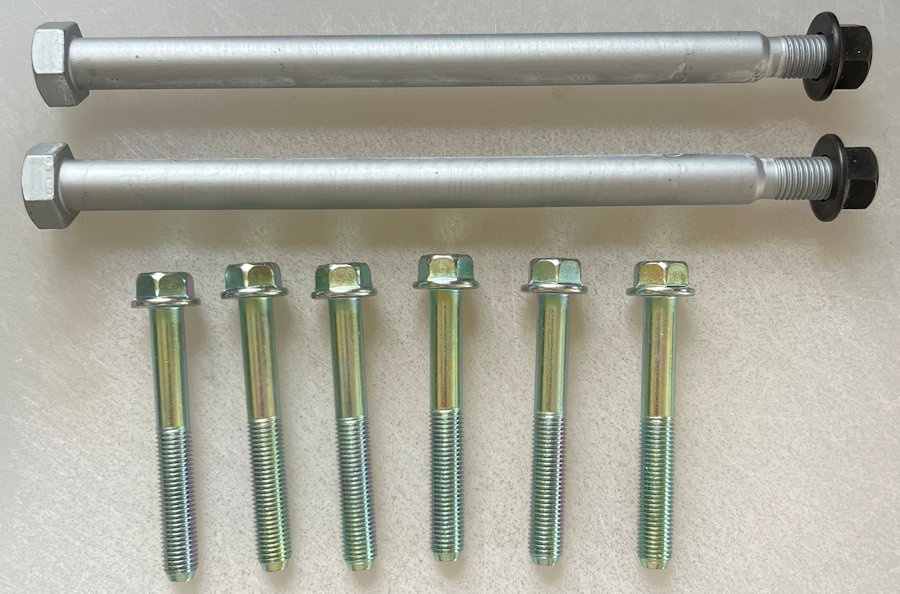
We are fitting new brake pipes and hoses, so we have a quality brake pipe flaring tool to do a proper job. We have bought new suyspension bolts from MX5 Parts as the old ones were too rusty to refit.
8 Likes
Terrific progress! ![]()
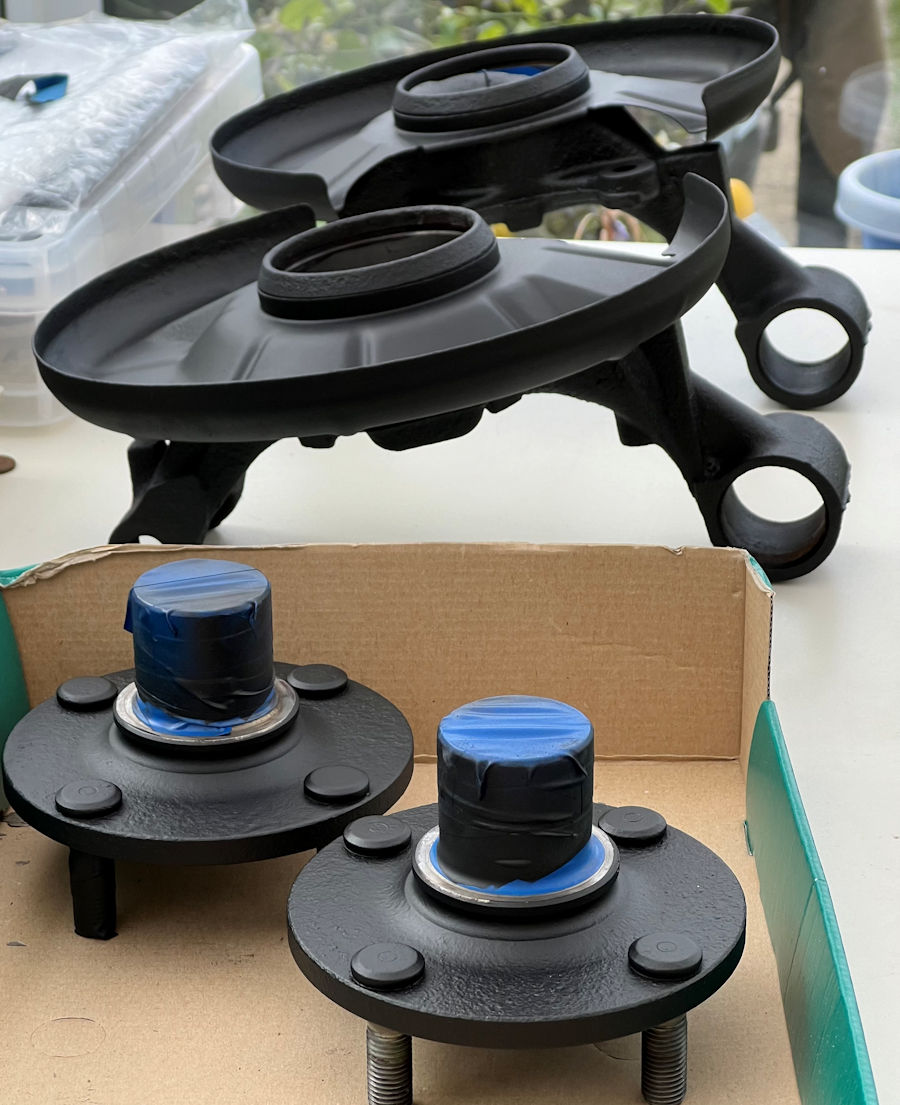
With the second drive shaft finally removed from the rear hub, we set about cleaning up the hubs and hub carriers, then adding a primer coat.
Whilst doing this, we realised that we reached a milestone today. We have now taken off every single nut, bolt, bracket, pipe, clip, wire, bush, bearing, hose, etc. on our MX-5e whilst restoring it and preparing it for the EV conversion. The only two nuts we have not undone are the two front hub nuts, because we don’t need to. We have even taken off the doors and had them apart to fit new electric window cables and guides. From here on in, we are only putting stuff back on the car ![]()
10 Likes
Sounds like it’s all downhill from here (also good for re-gen braking )
1 Like
Well, it should be done for the rally in June!
3 Likes
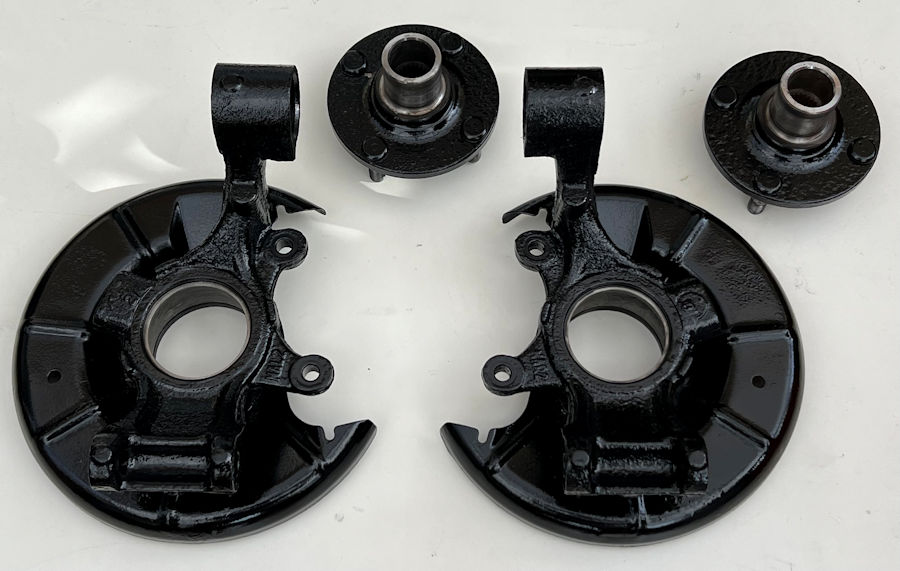
The MX-5e rear hubs and uprights are ready. Really pleased with how these have come out. We didn’t powder coat these because there are too many parts that need accurately masking off and kept clean.
2 Likes
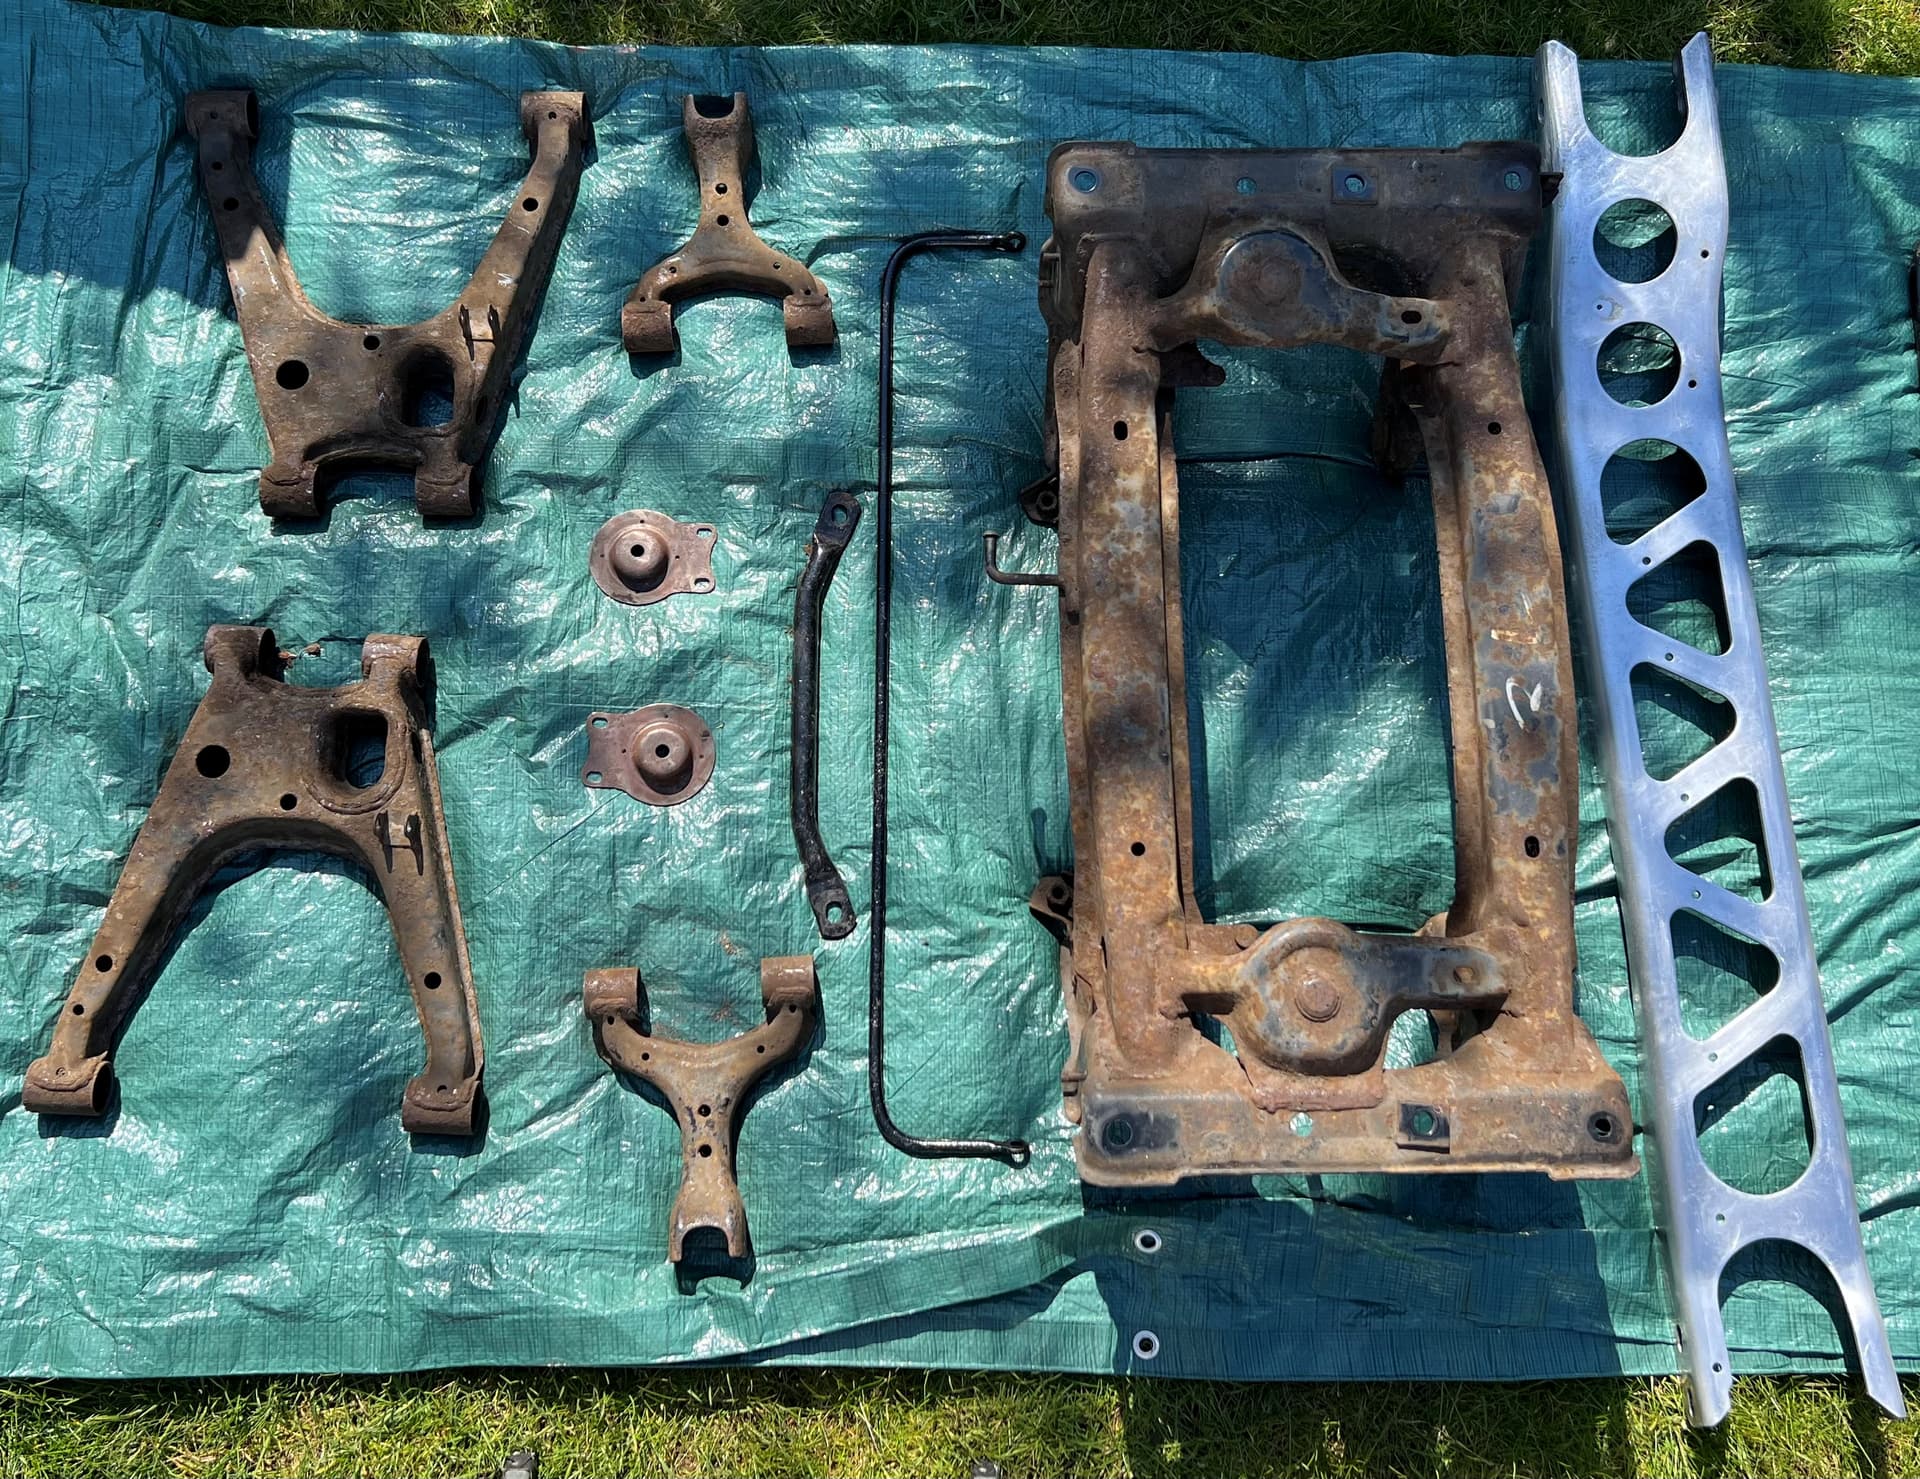
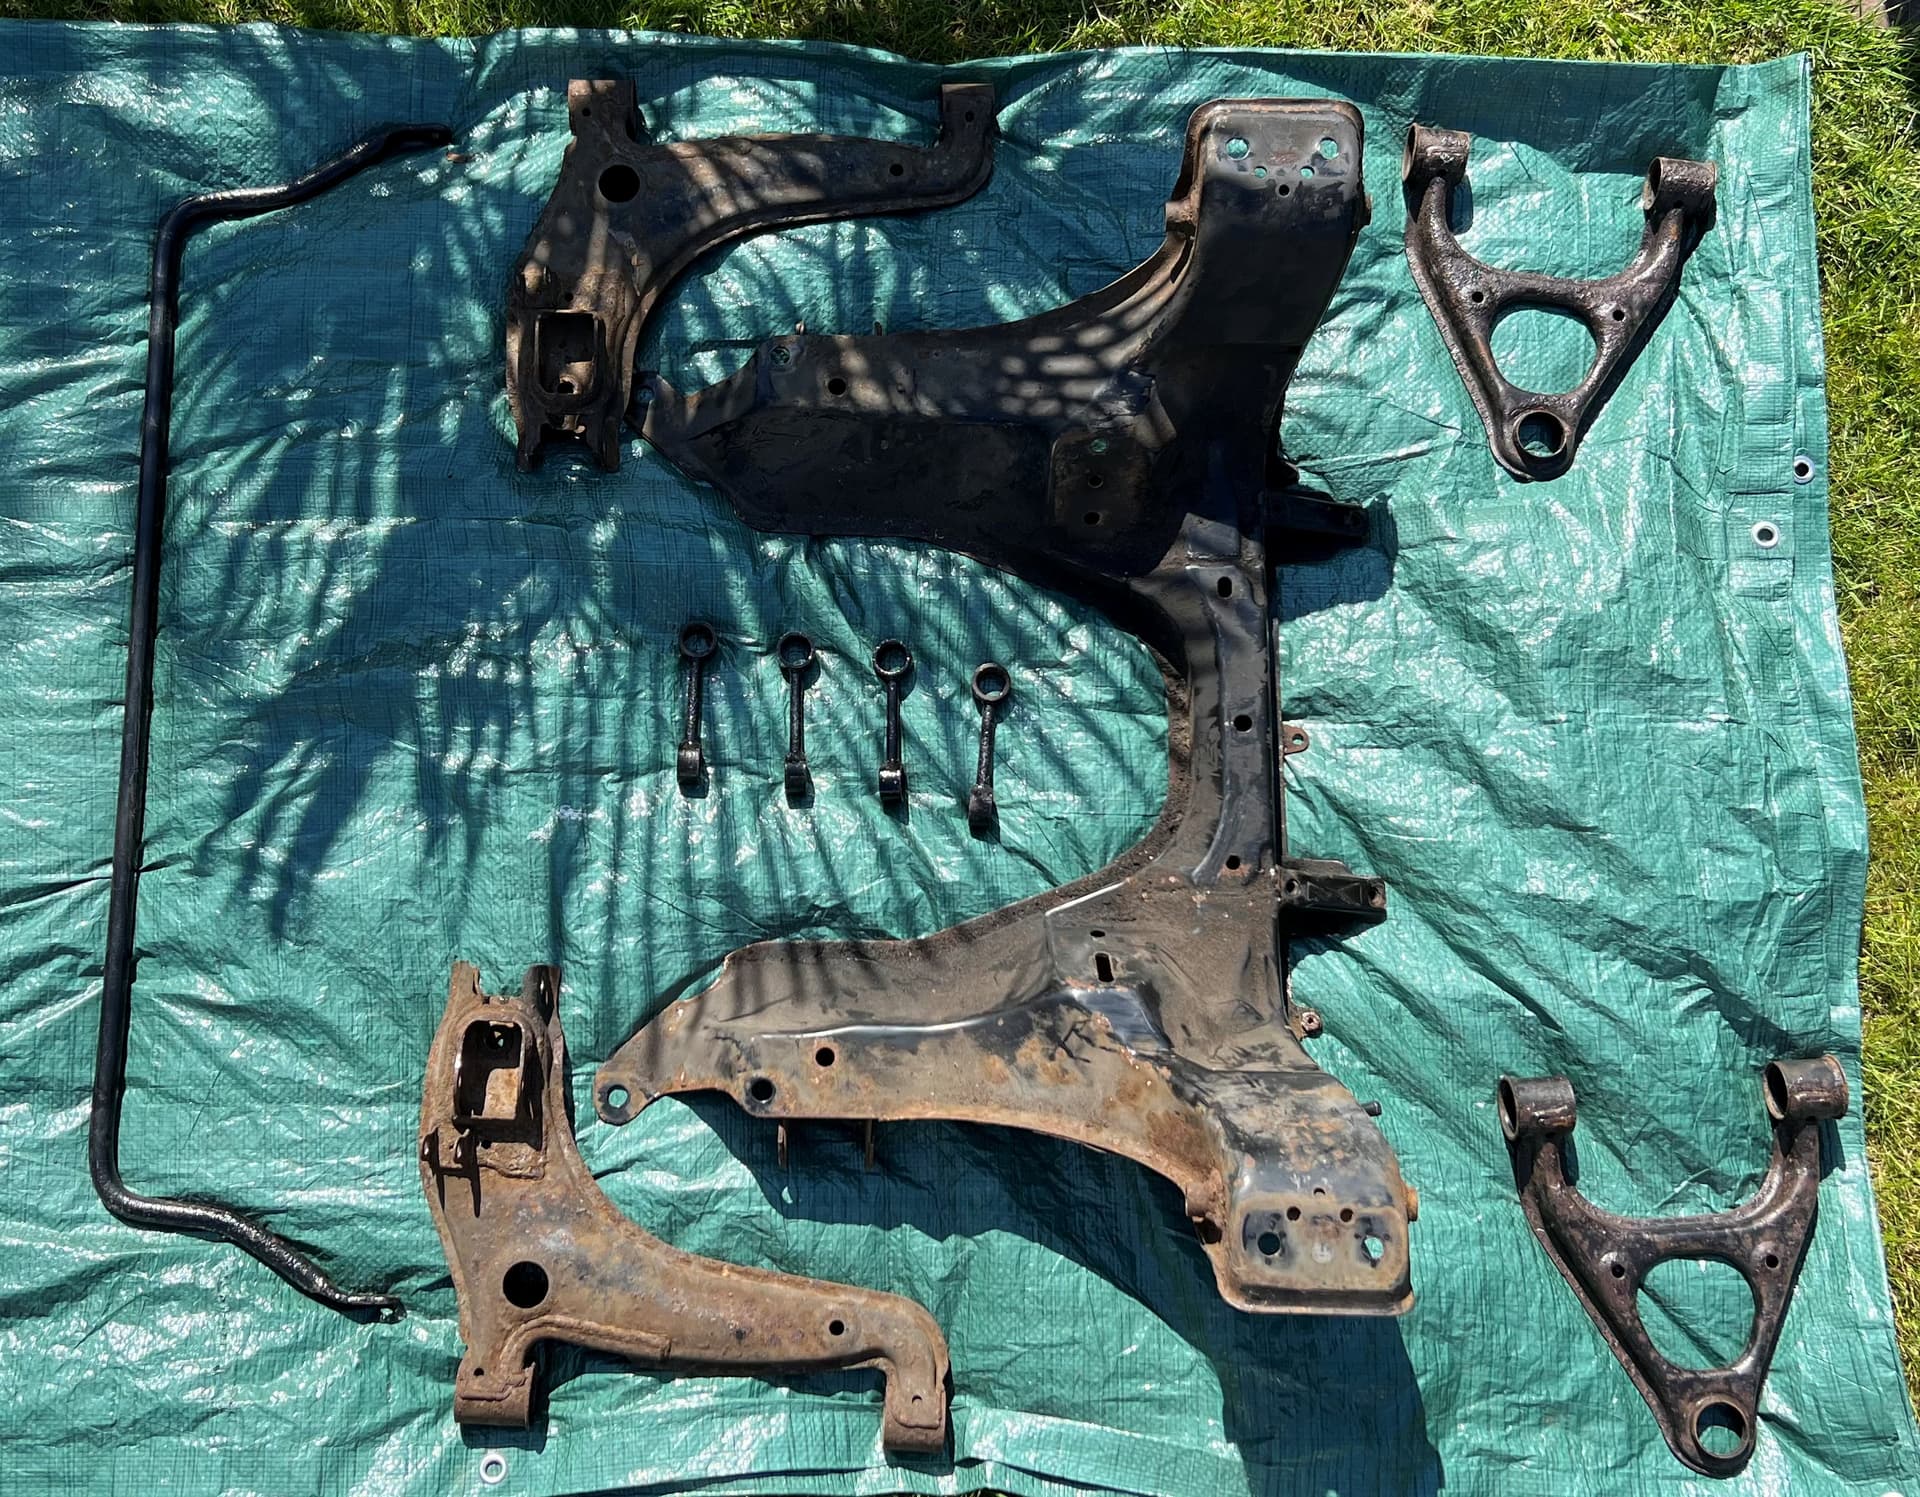
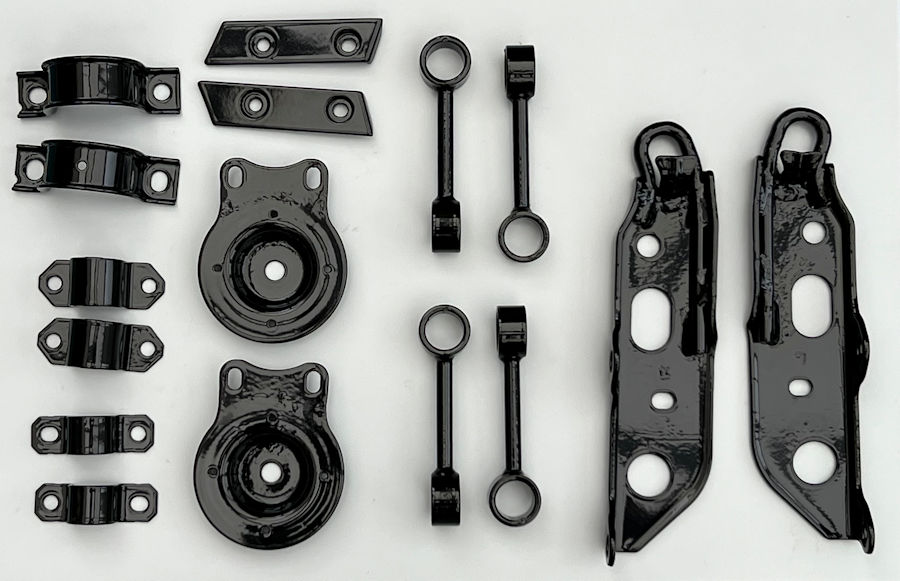
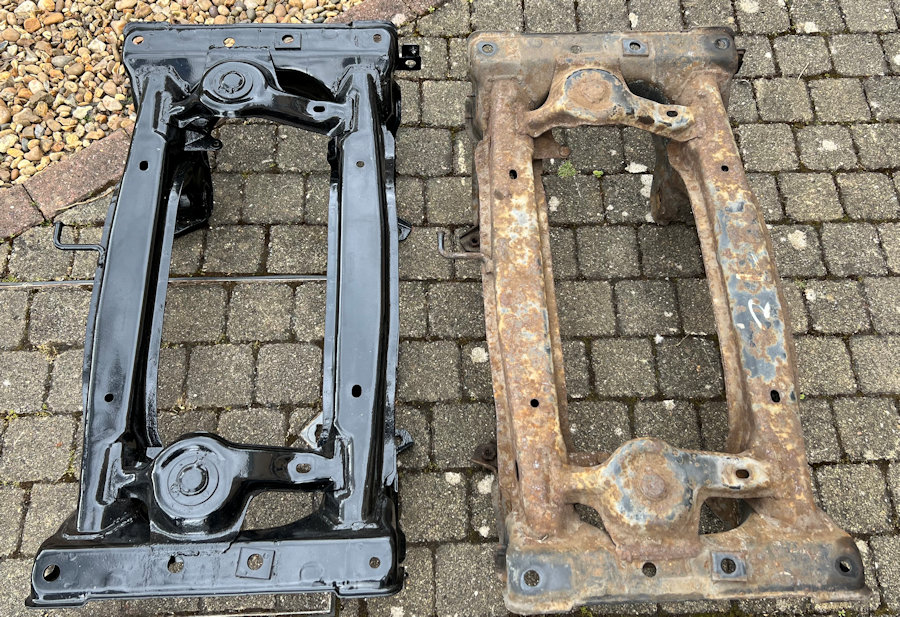
These are all the bits that are off to be shot blasted and powder coated. £446.40 to do the work which I feel is a fair price and is going to save me a lot of time and effort.
2 Likes